
Matt's 85 GSL (better than last time) T2 FB build

Thread Starter
Joined: Dec 2007
Posts: 541
Likes: 2
From: Dallas, Texas
I pulled a door panel to paint to see how things came out. i think it turned out pretty good. im going to order a new lock bezel and the cup behind the door handle so i dont have cracked shitty ones.
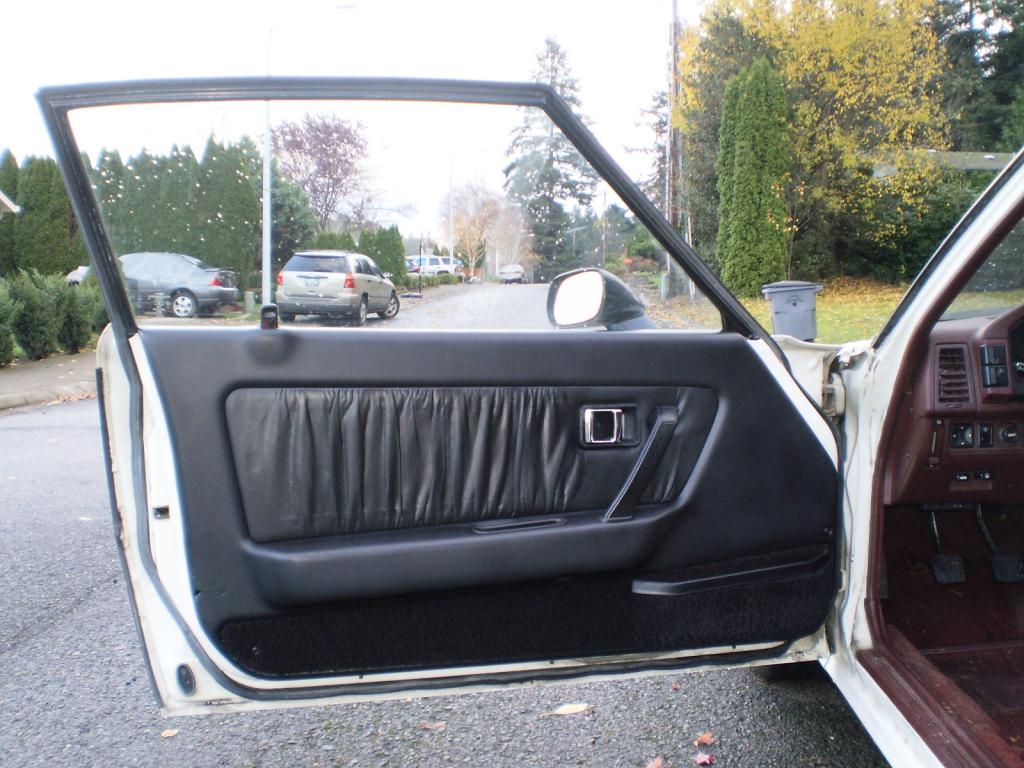
Plan is to gut the interior this weekend and separate everything by material and do all the plastic, vinyl, carpet and leather individually.
Thread Starter
Joined: Dec 2007
Posts: 541
Likes: 2
From: Dallas, Texas
Im using sem products to do the interior. i have all the cleaners, prep sprays, plastic adhersion promoter. using sem color coat as the paint. it works on vinyl, plastic, carpet pretty much whatever.

Thread Starter
Joined: Dec 2007
Posts: 541
Likes: 2
From: Dallas, Texas
Thread Starter
Joined: Dec 2007
Posts: 541
Likes: 2
From: Dallas, Texas

Thread Starter
Joined: Dec 2007
Posts: 541
Likes: 2
From: Dallas, Texas
Thread Starter
Joined: Dec 2007
Posts: 541
Likes: 2
From: Dallas, Texas
I dont really have any updated pics right now. Ive been removing the molding and starting to rub off all the tape that held it on. the weather has been really shitty and it gets dark an hr after i get off which doesnt leave me too much time to work on it. I have the week off in between xmas and new years and im going to try to get some stuff done then. I have been buying lots of parts tho 
I went back and reread your last build, Are you still thinking Goopy seals this time? I was putting together my engine build parts list today, and think I'm going to get the 2mm seals from Goopy. Hope to have a quote from them and Atkins for everything waiting when I get back. Also going to order the drive line yoke you got. Did you mod your drive line as well, or just change the yoke. Hope it dries out so you can work on the GSL
Thread Starter
Joined: Dec 2007
Posts: 541
Likes: 2
From: Dallas, Texas
im either going to use goopy seals or the ra black super seals. if it blows this time i want it to take the rotor, housing and plates with it. haha. i bought the yoke and had a custom driveshaft made. it was only like 230 and worth every penny.
Thread Starter
Joined: Dec 2007
Posts: 541
Likes: 2
From: Dallas, Texas
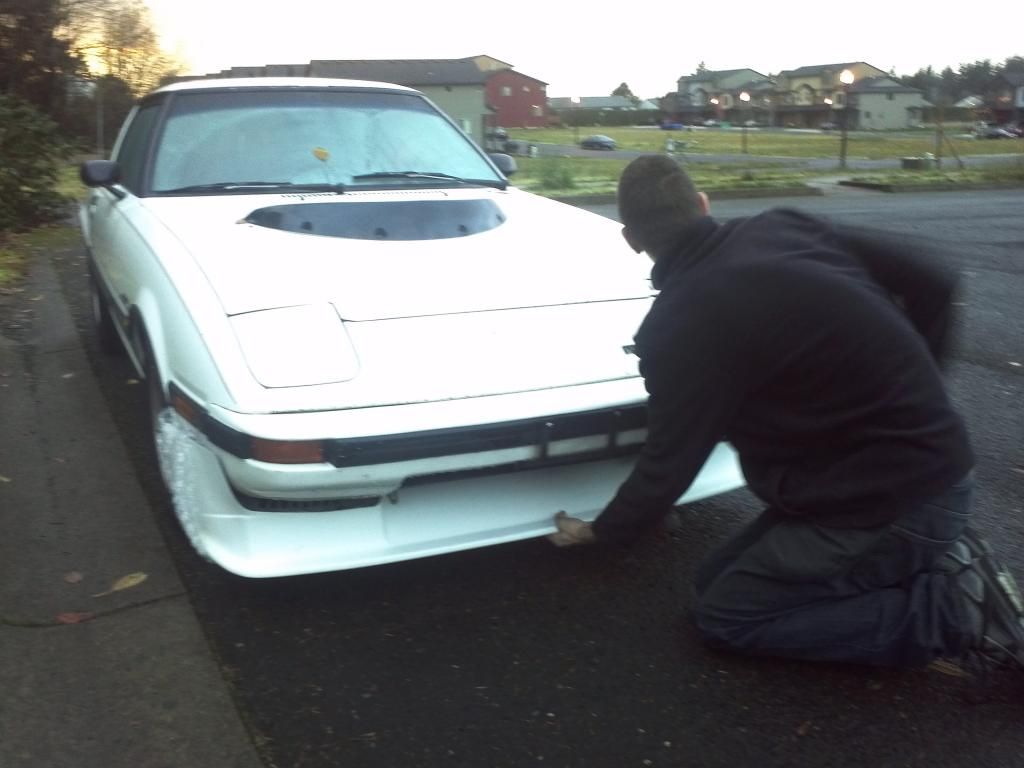
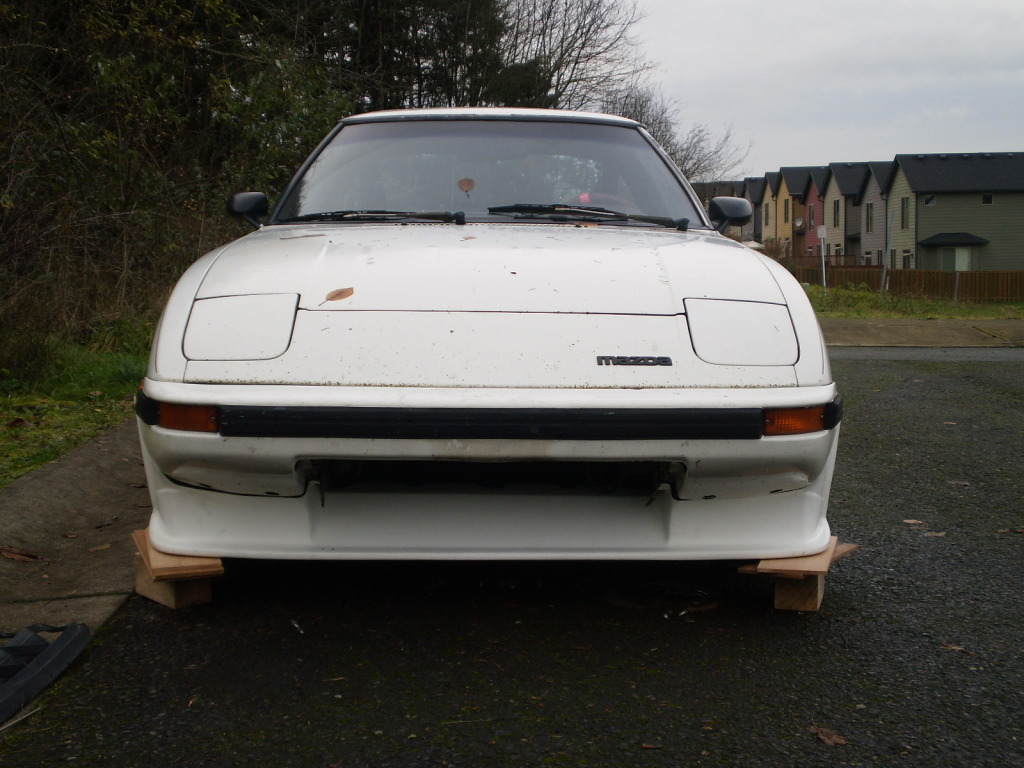
Started test fitting the new air dam, seems to fit decently and wont require too much modification. I cant get it to sit exactly how it want, but im going to pull the bumper when i mount it to see if i can get it to sit better. im still debating on how i want to attach it so that its very secure. pulled all the trim on the passenger side, still need to spend a bit more time on the tape.


Hi Matt,
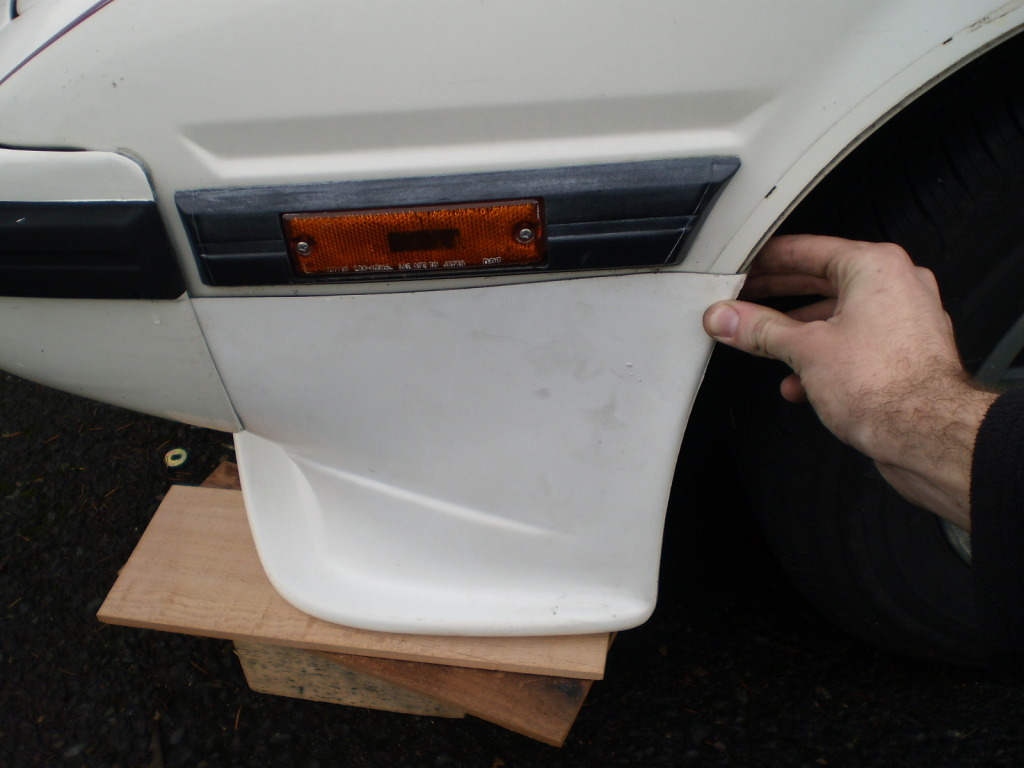
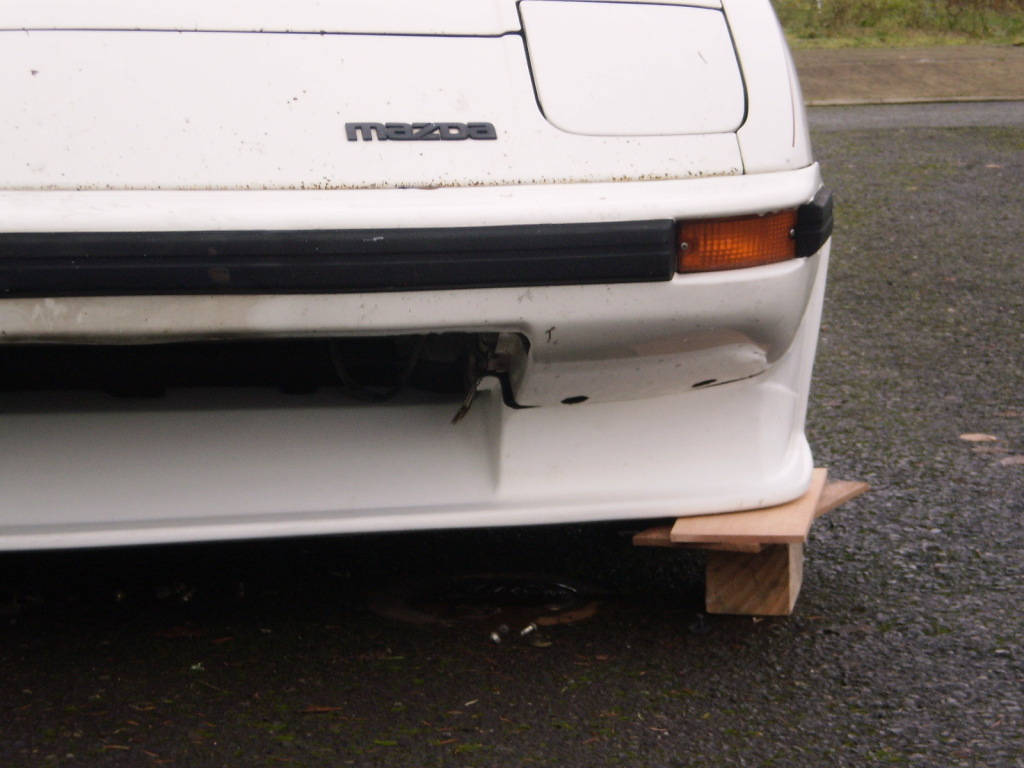
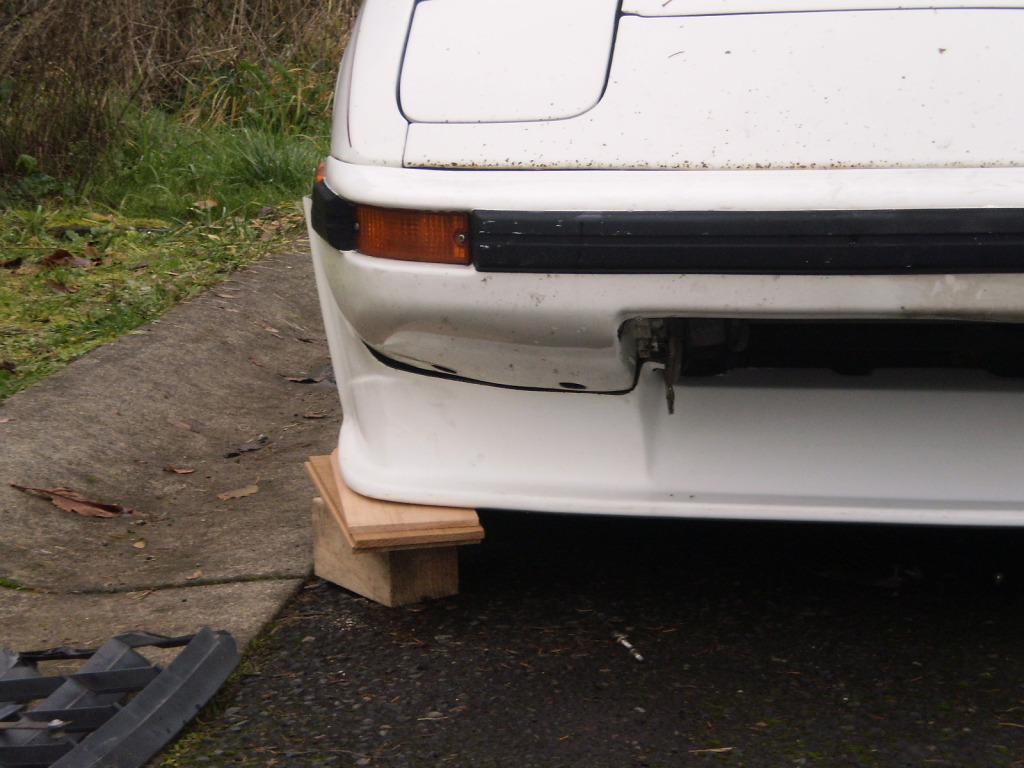
Found this thread by accident. Here are some pictures showing how that spoiler can be attached with dzus fasteners to allow for easy removal. You might recognize the car . This comes in handy for things like loading the car on flat decks, etc which is how mine got damaged. I'll be buying a new one at some point, but for now I'm back to the original setup.
Found this thread by accident. Here are some pictures showing how that spoiler can be attached with dzus fasteners to allow for easy removal. You might recognize the car
. This comes in handy for things like loading the car on flat decks, etc which is how mine got damaged. I'll be buying a new one at some point, but for now I'm back to the original setup.
Thread Starter
Joined: Dec 2007
Posts: 541
Likes: 2
From: Dallas, Texas
Hi Matt,
Found this thread by accident. Here are some pictures showing how that spoiler can be attached with dzus fasteners to allow for easy removal. You might recognize the car. This comes in handy for things like loading the car on flat decks, etc which is how mine got damaged. I'll be buying a new one at some point, but for now I'm back to the original setup.
Found this thread by accident. Here are some pictures showing how that spoiler can be attached with dzus fasteners to allow for easy removal. You might recognize the car
. This comes in handy for things like loading the car on flat decks, etc which is how mine got damaged. I'll be buying a new one at some point, but for now I'm back to the original setup.
Yes, it was only the 6 fasteners, three per side. It should hold up fine, although the holes in mine would have decreased the pressure a bit. I can't recall if the two inner pieces that stick up a bit are made to connect to the front assembly or not... that would add some strength to the front.
Dave
Dave
Thread Starter
Joined: Dec 2007
Posts: 541
Likes: 2
From: Dallas, Texas
Yes, it was only the 6 fasteners, three per side. It should hold up fine, although the holes in mine would have decreased the pressure a bit. I can't recall if the two inner pieces that stick up a bit are made to connect to the front assembly or not... that would add some strength to the front.
Dave
Dave