Build Threads The place for complete build threads of 1st Gen RX-7s.

82 GSL FB road back to old self!

Thread Tools
 
Search this Thread
 
Old 03-28-19, 04:07 PM
  #1  
Senior Member
Thread Starter
 
raven12aFB's Avatar
 
Join Date: Jan 2018
Location: Allen, Texas
Posts: 601
Received 115 Likes on 100 Posts
82 GSL FB road back to old self!

Hey guys this is my proyect, 1982 GSL. Got a lot of work to do so I will be posting up updates...

As you can see the body is in pretty good shape.

She needs some work on the engine bay...


Last edited by raven12aFB; 03-28-19 at 04:34 PM.
Old 03-28-19, 04:09 PM
  #2  
Senior Member
Thread Starter
 
raven12aFB's Avatar
 
Join Date: Jan 2018
Location: Allen, Texas
Posts: 601
Received 115 Likes on 100 Posts
Update...

Tackled the interior... Everything was brittle, the dash was cracked and the seats...well...butt ugly...


Warpped headliner
Old 03-28-19, 04:12 PM
  #3  
Senior Member
Thread Starter
 
raven12aFB's Avatar
 
Join Date: Jan 2018
Location: Allen, Texas
Posts: 601
Received 115 Likes on 100 Posts
Update...

Took everything out fron the interior...everything but the carpet...

ps. The dash is still on the pics but as of now it's history..


Old 03-28-19, 04:17 PM
  #4  
Senior Member
Thread Starter
 
raven12aFB's Avatar
 
Join Date: Jan 2018
Location: Allen, Texas
Posts: 601
Received 115 Likes on 100 Posts
Update...

Got some goodies in for the old girl..

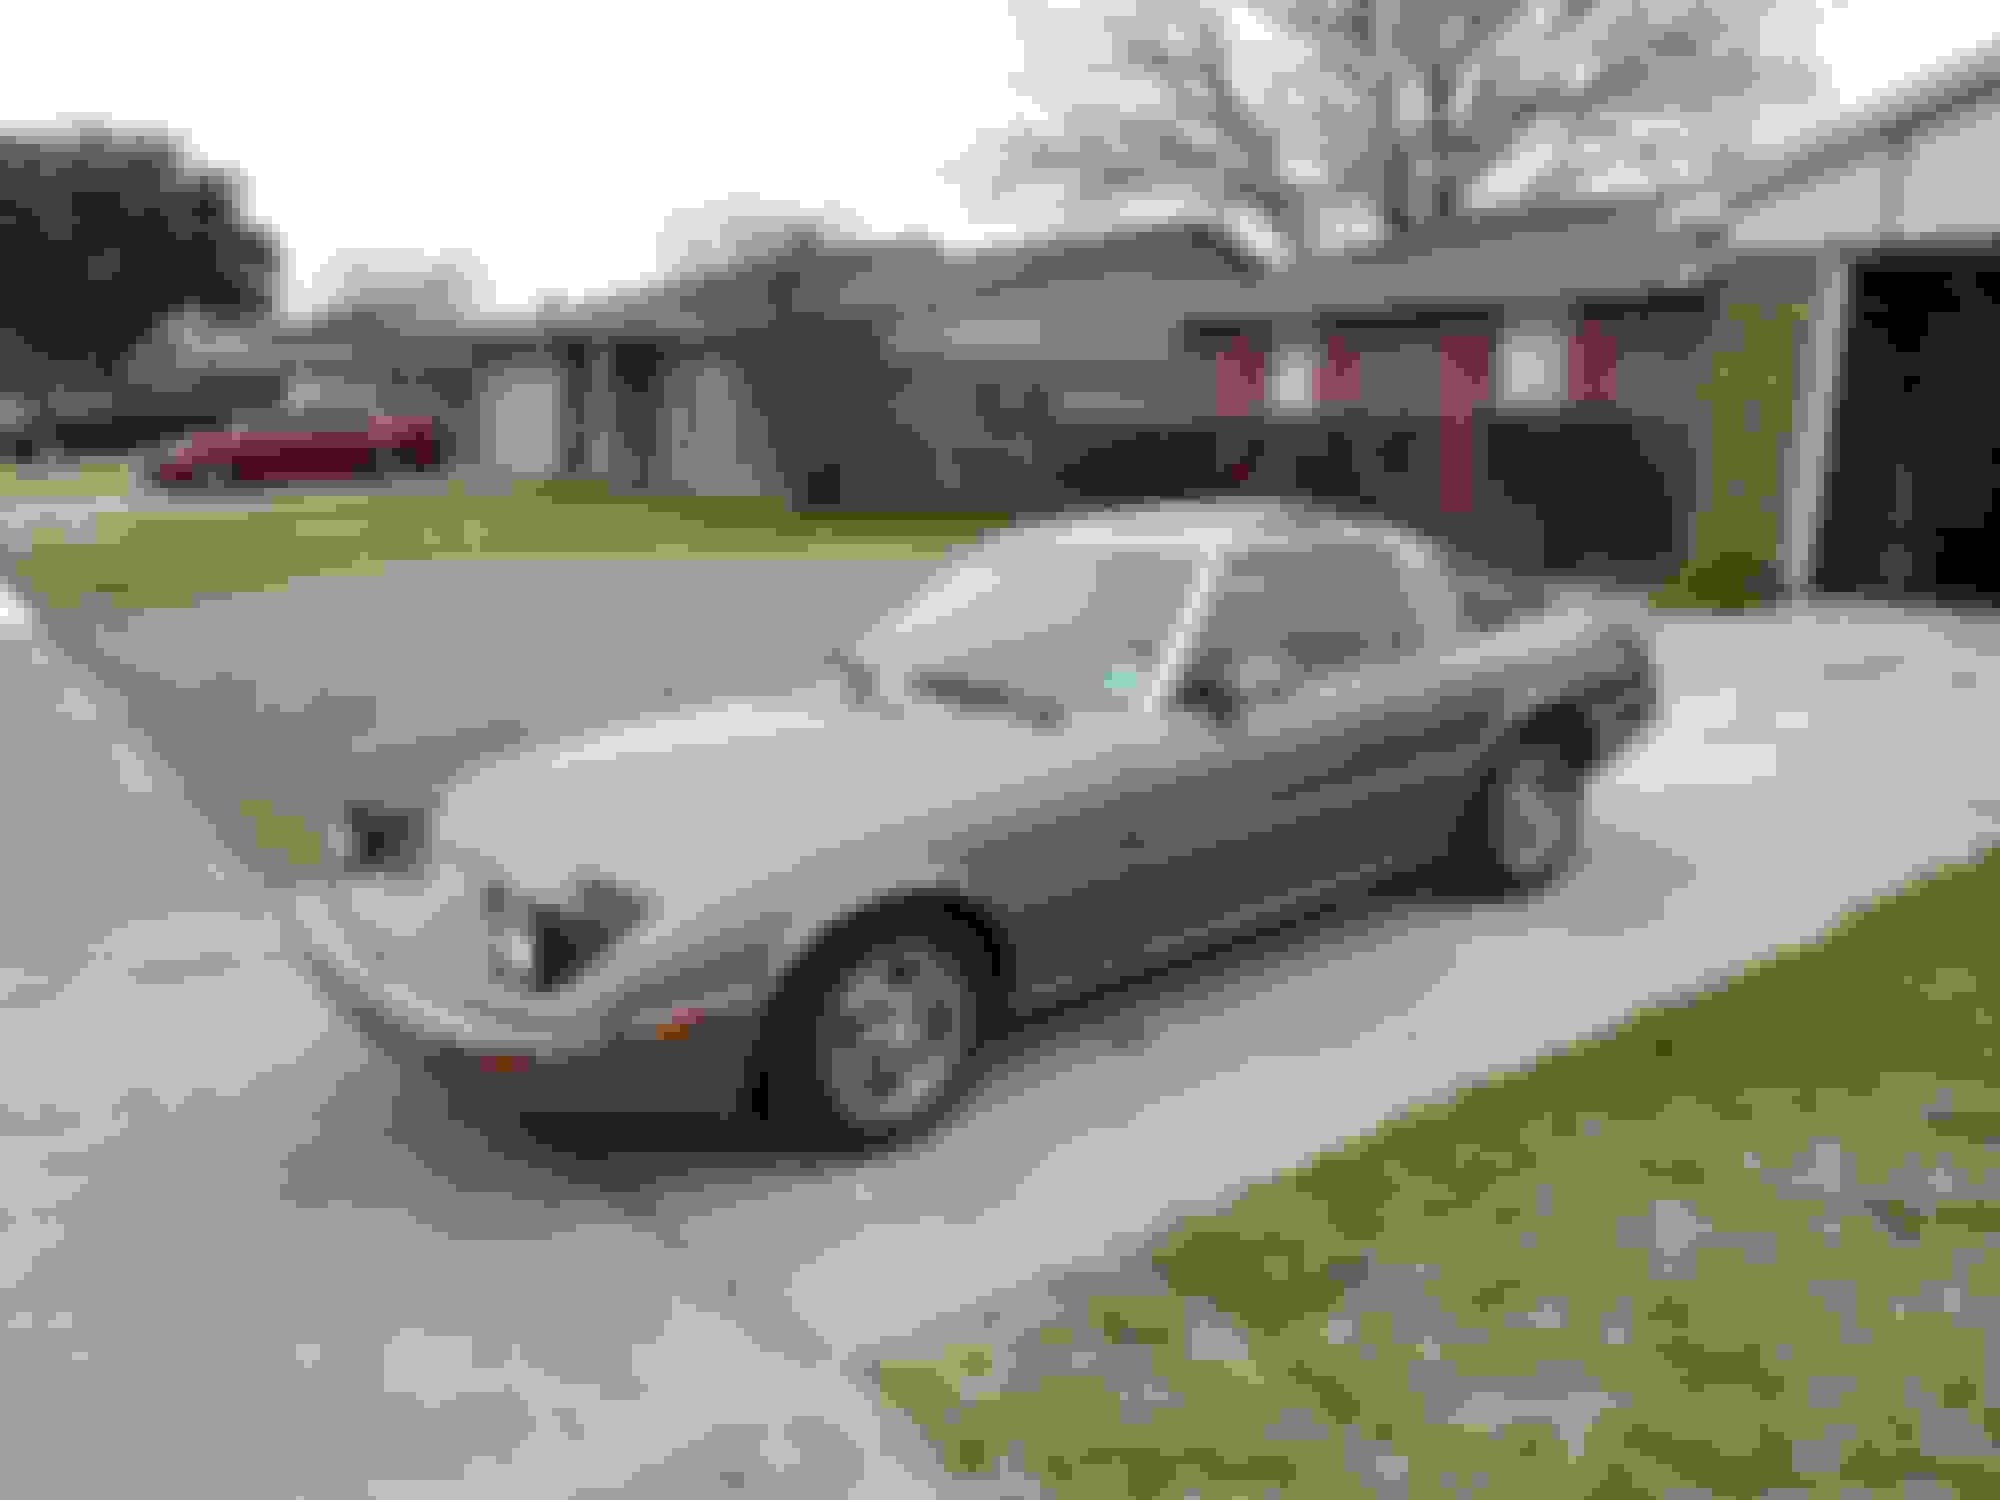
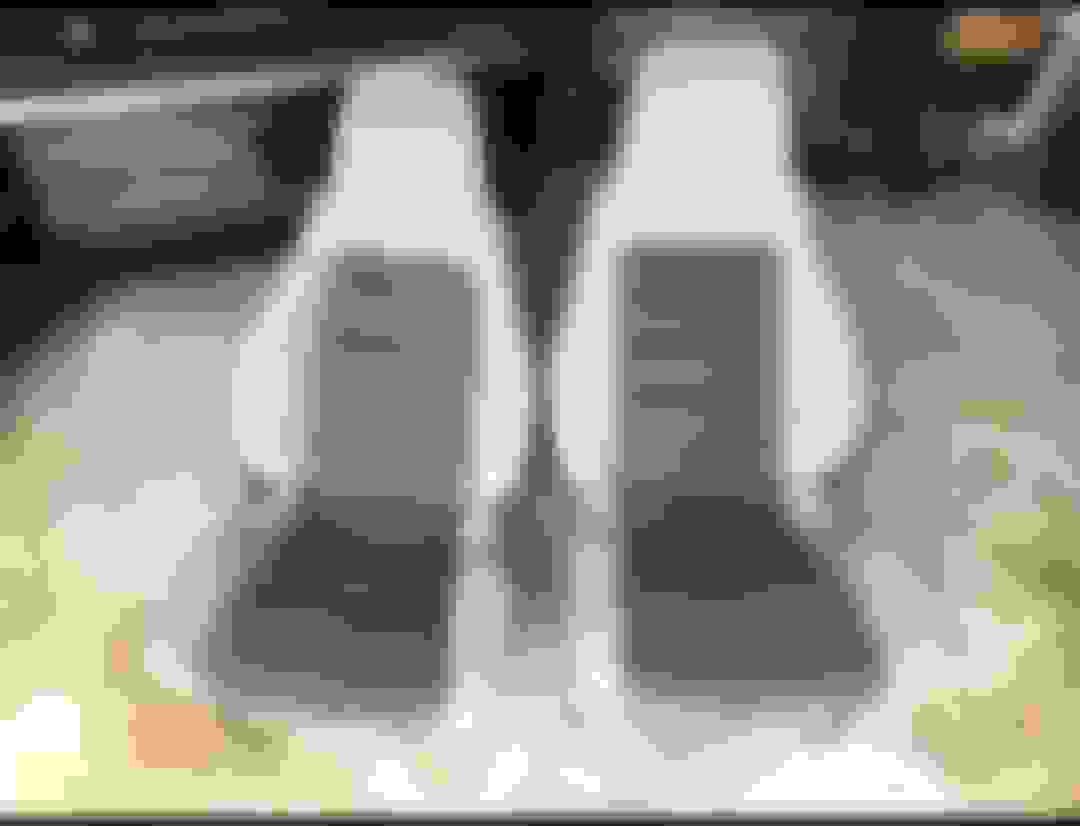
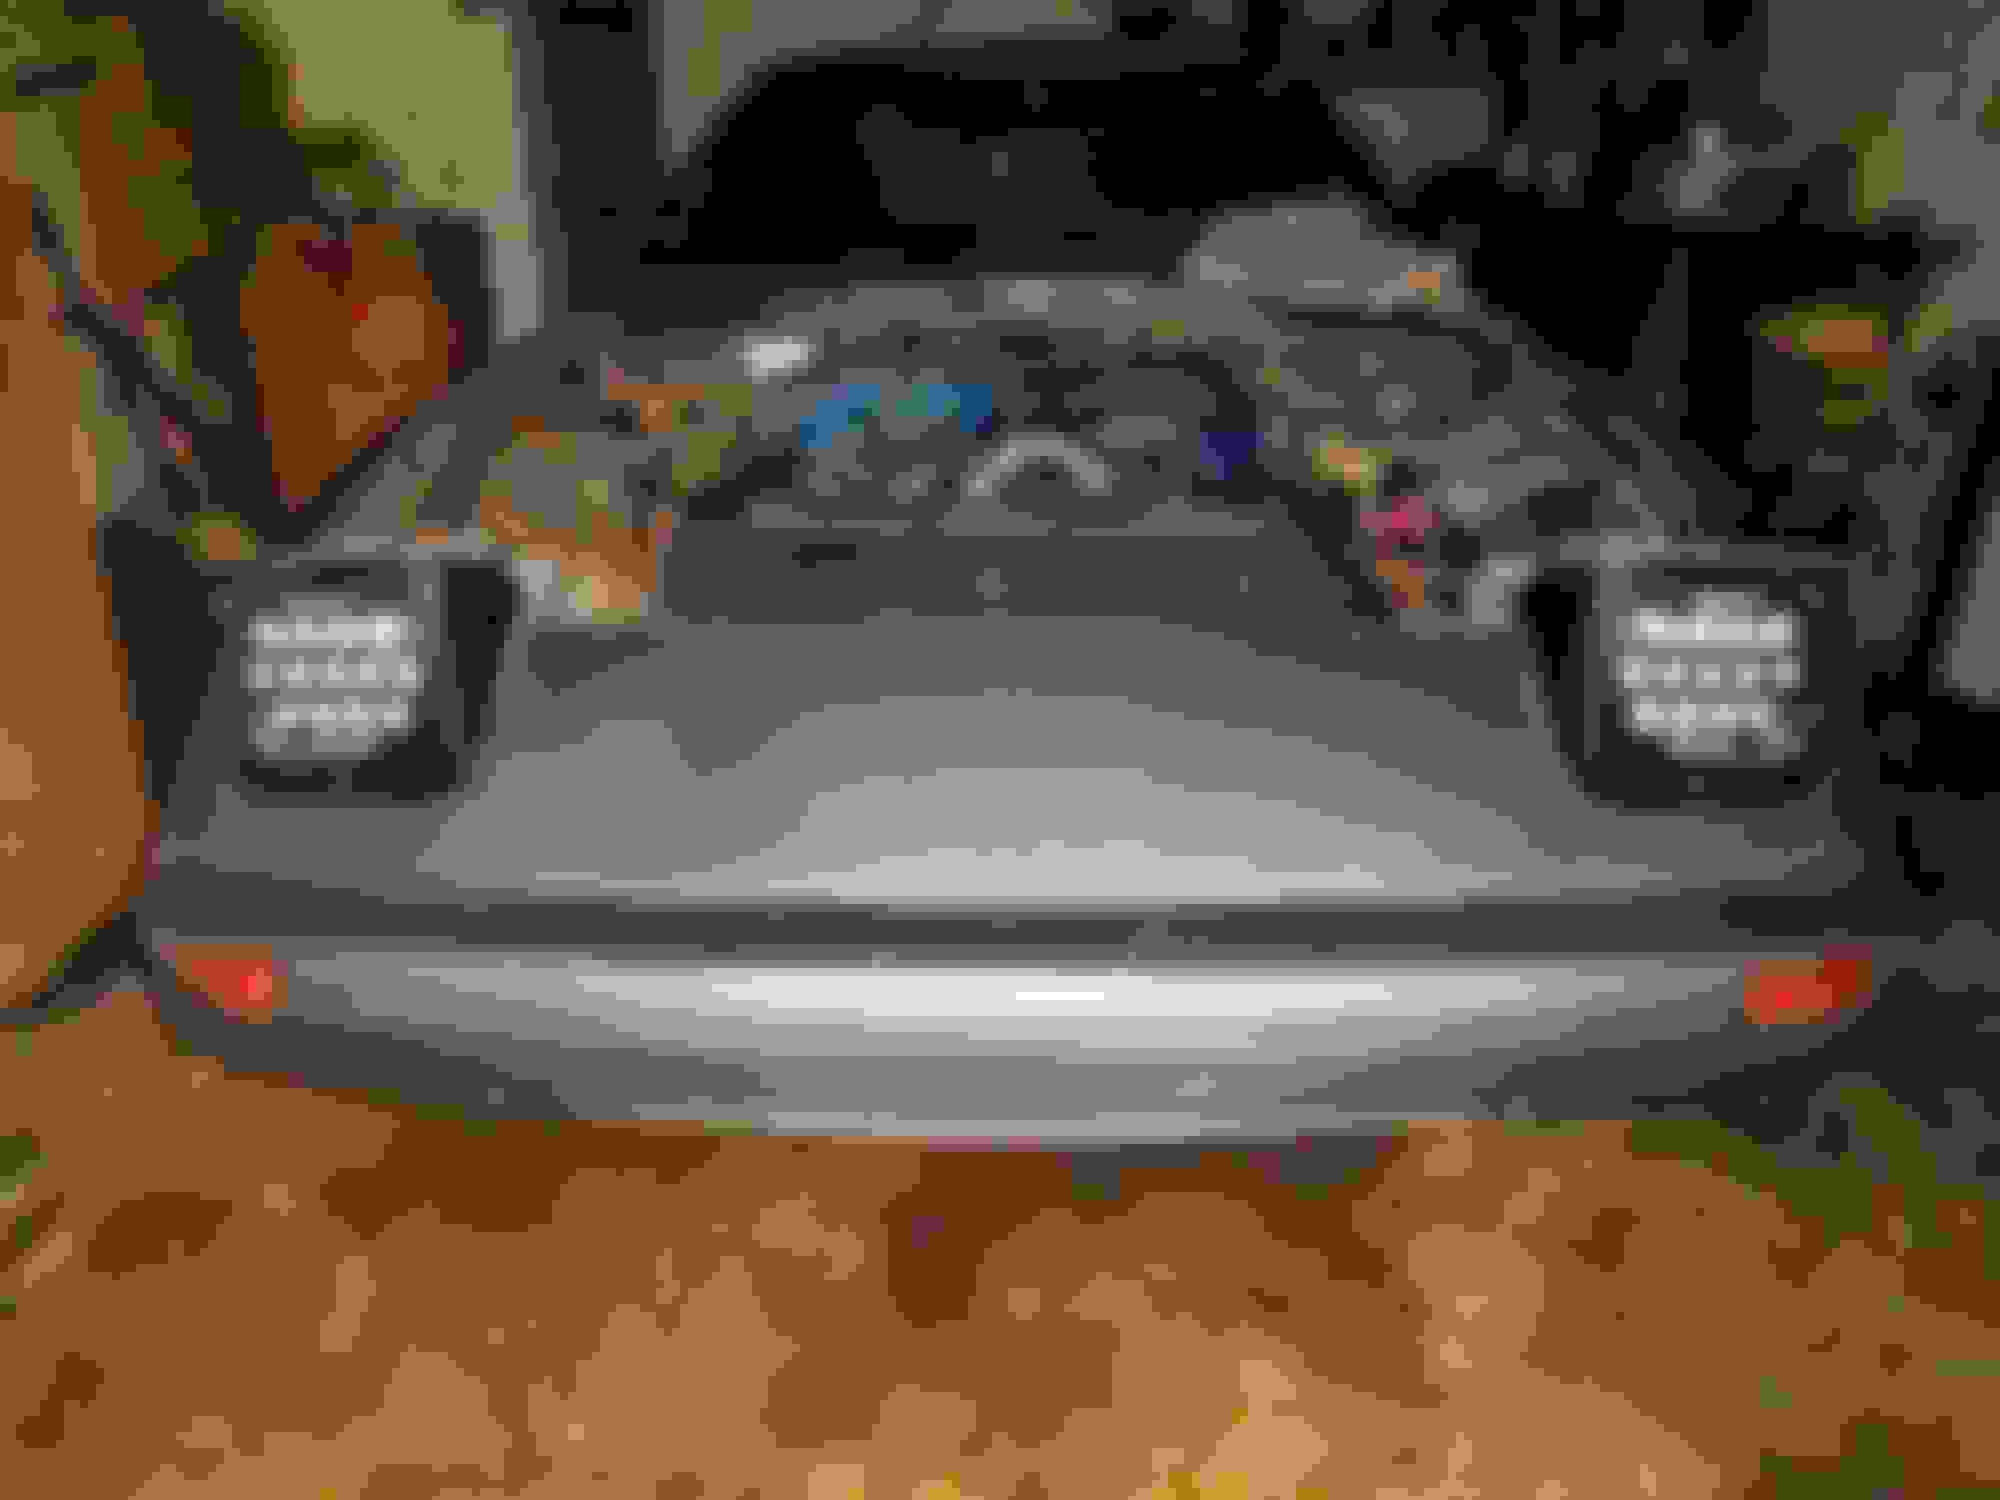
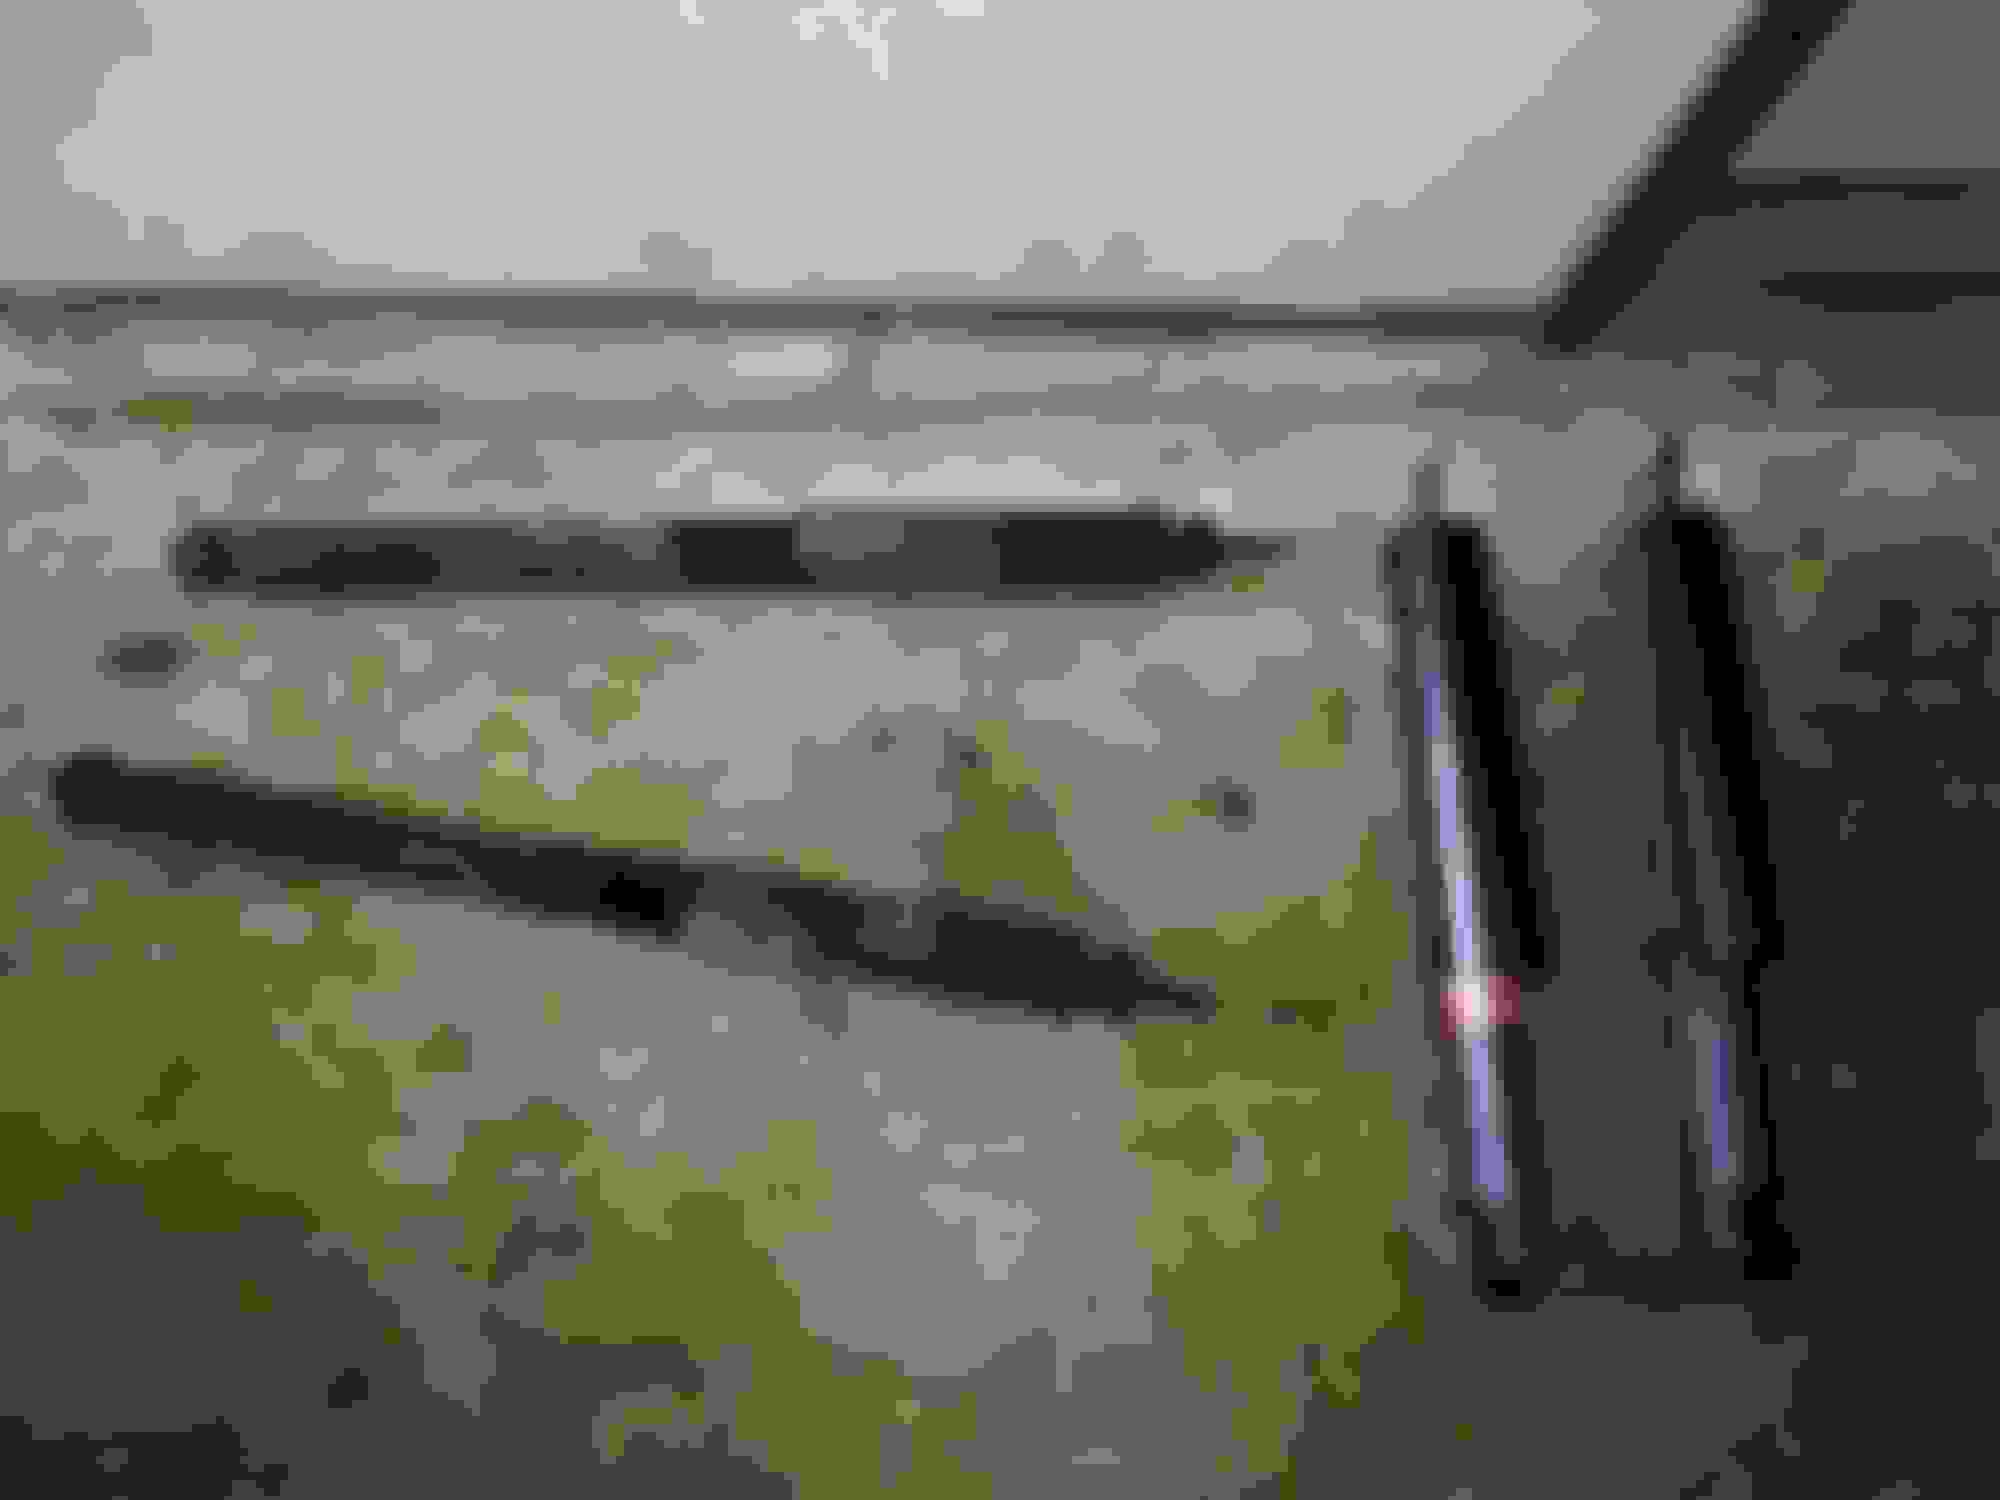
Got new KYB shocks abd struts, rear sway bar links and bushings, 2 new Accel coils (the leading coil was bad), new led headlights and new steering wheel with hub and quick realease. And also bought a set of bucket seats from a friend that cane out of a 1987 TII. I already got the FB bases to switch them out..

Old 03-28-19, 04:23 PM
  #5  
Senior Member
Thread Starter
 
raven12aFB's Avatar
 
Join Date: Jan 2018
Location: Allen, Texas
Posts: 601
Received 115 Likes on 100 Posts
Update...

Got some other parts for the girl.

Got some screw in wheel studs, dead pedal foot rest, clutch and brake pedal rubber and a Rotor ignition key...

Also bought an air compressor and some air tools to make the job easier....


Old 03-28-19, 04:27 PM
  #6  
Senior Member
Thread Starter
 
raven12aFB's Avatar
 
Join Date: Jan 2018
Location: Allen, Texas
Posts: 601
Received 115 Likes on 100 Posts
Update...

Well. This past weekend I installed the headlights and the new coils..

I haven't been able to do a lot of work as I want on her because been working 6 days a week...got to take the overtime when it's available...lol...

Old 03-28-19, 04:33 PM
  #7  
Senior Member
Thread Starter
 
raven12aFB's Avatar
 
Join Date: Jan 2018
Location: Allen, Texas
Posts: 601
Received 115 Likes on 100 Posts
Update...

Well...try to start her up.. New starter and battery. No go...

My carb it's flooding.

I just bought a stripped Nikki rebuilt with everything new. Just waiting to get it next week and get it installed.

Also I got in order the Watts link bushings and the whole set of bushings for the front and a replacement lower control arm that is bent. After I recouperate a little will order the brake rotors and pads..

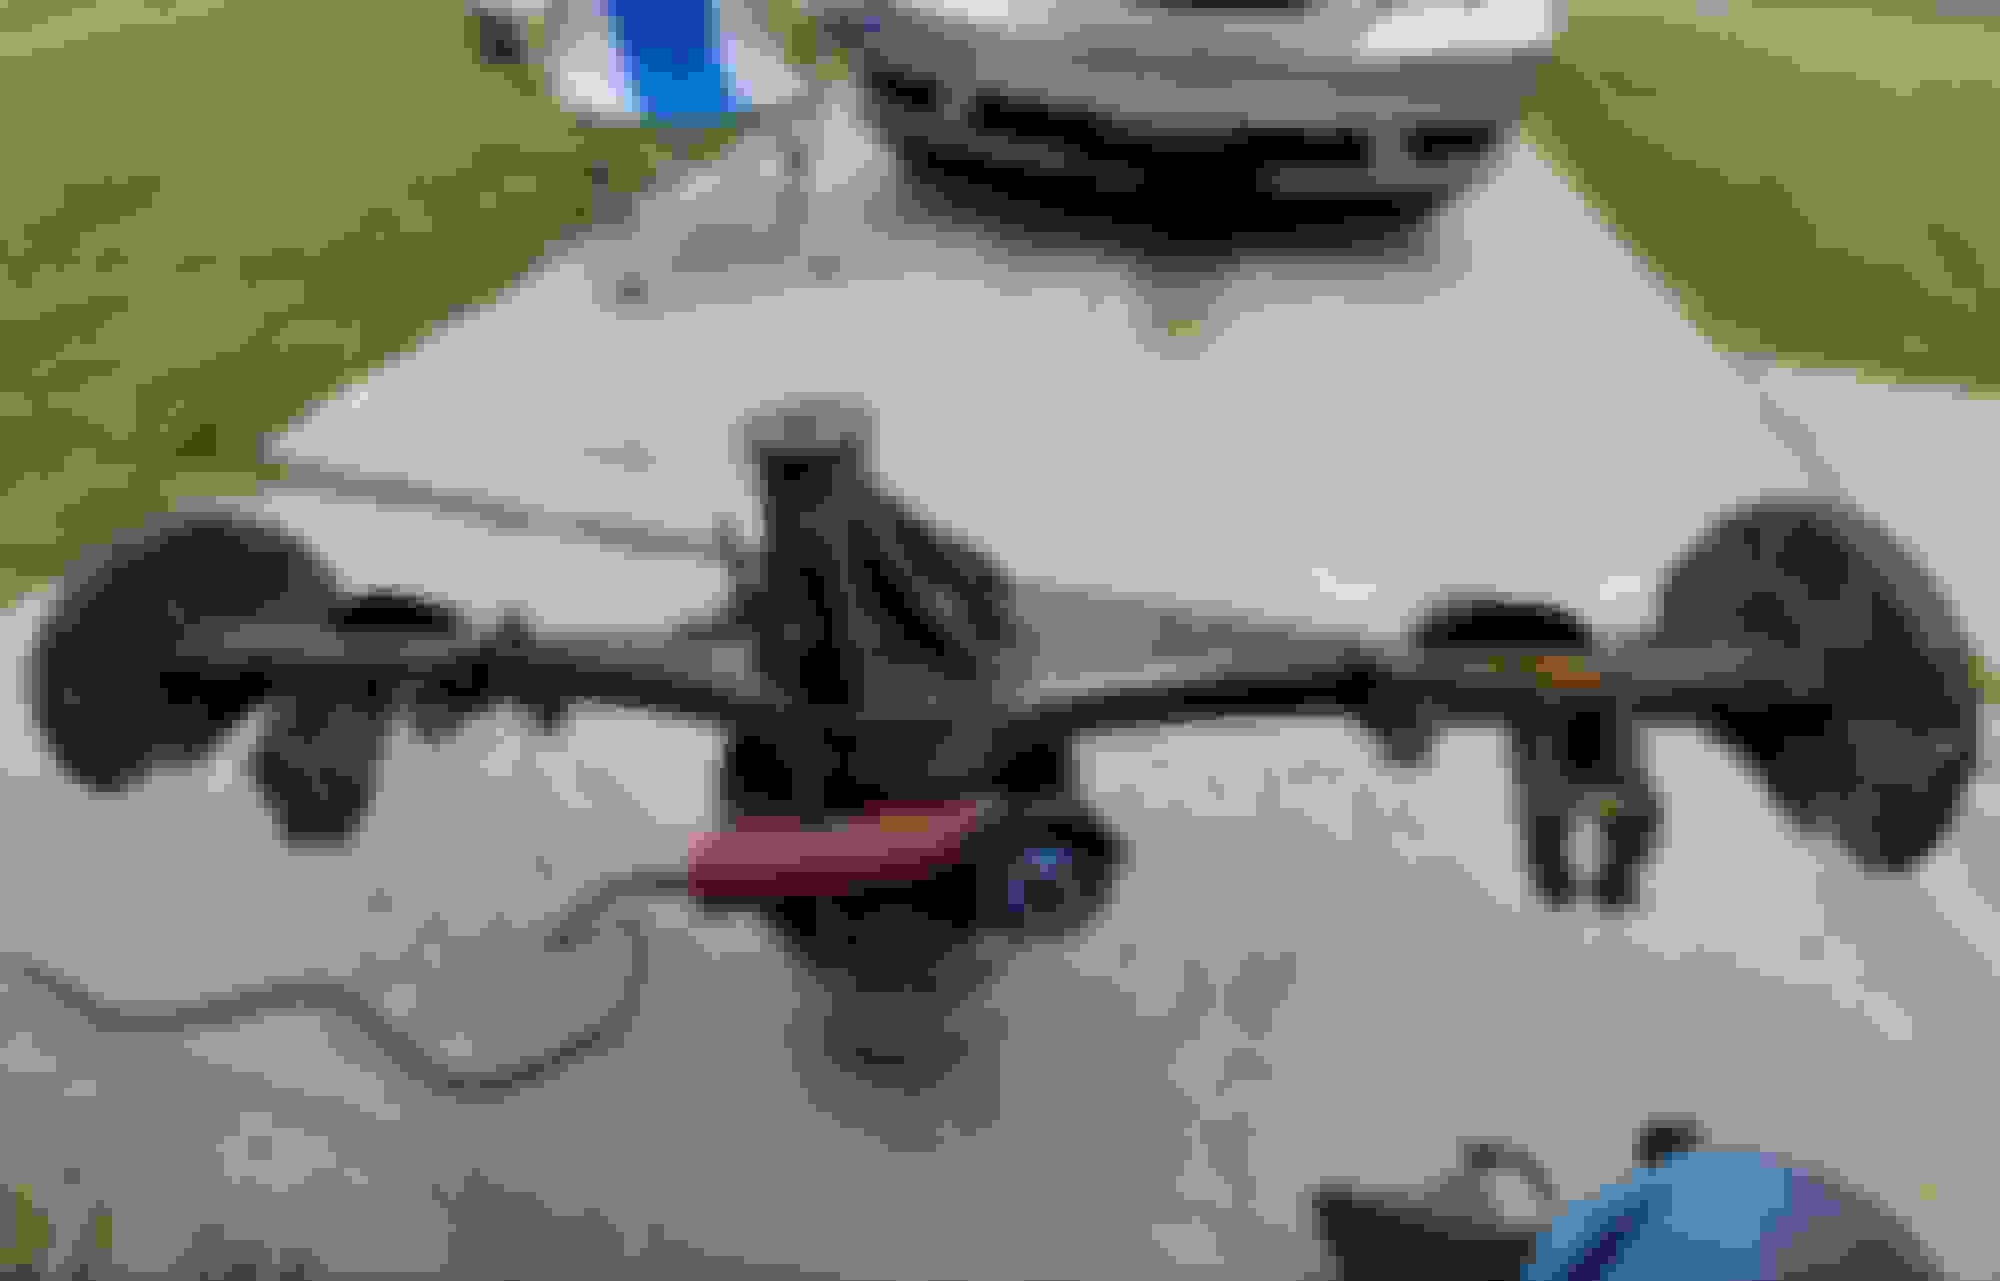
Next weekend plans are for to take down the rear diff and get it clean, sanded and painted..

Well..that is all for now...will keep udating...
Old 04-01-19, 08:17 AM
  #8  
Senior Member
Thread Starter
 
raven12aFB's Avatar
 
Join Date: Jan 2018
Location: Allen, Texas
Posts: 601
Received 115 Likes on 100 Posts
Update...

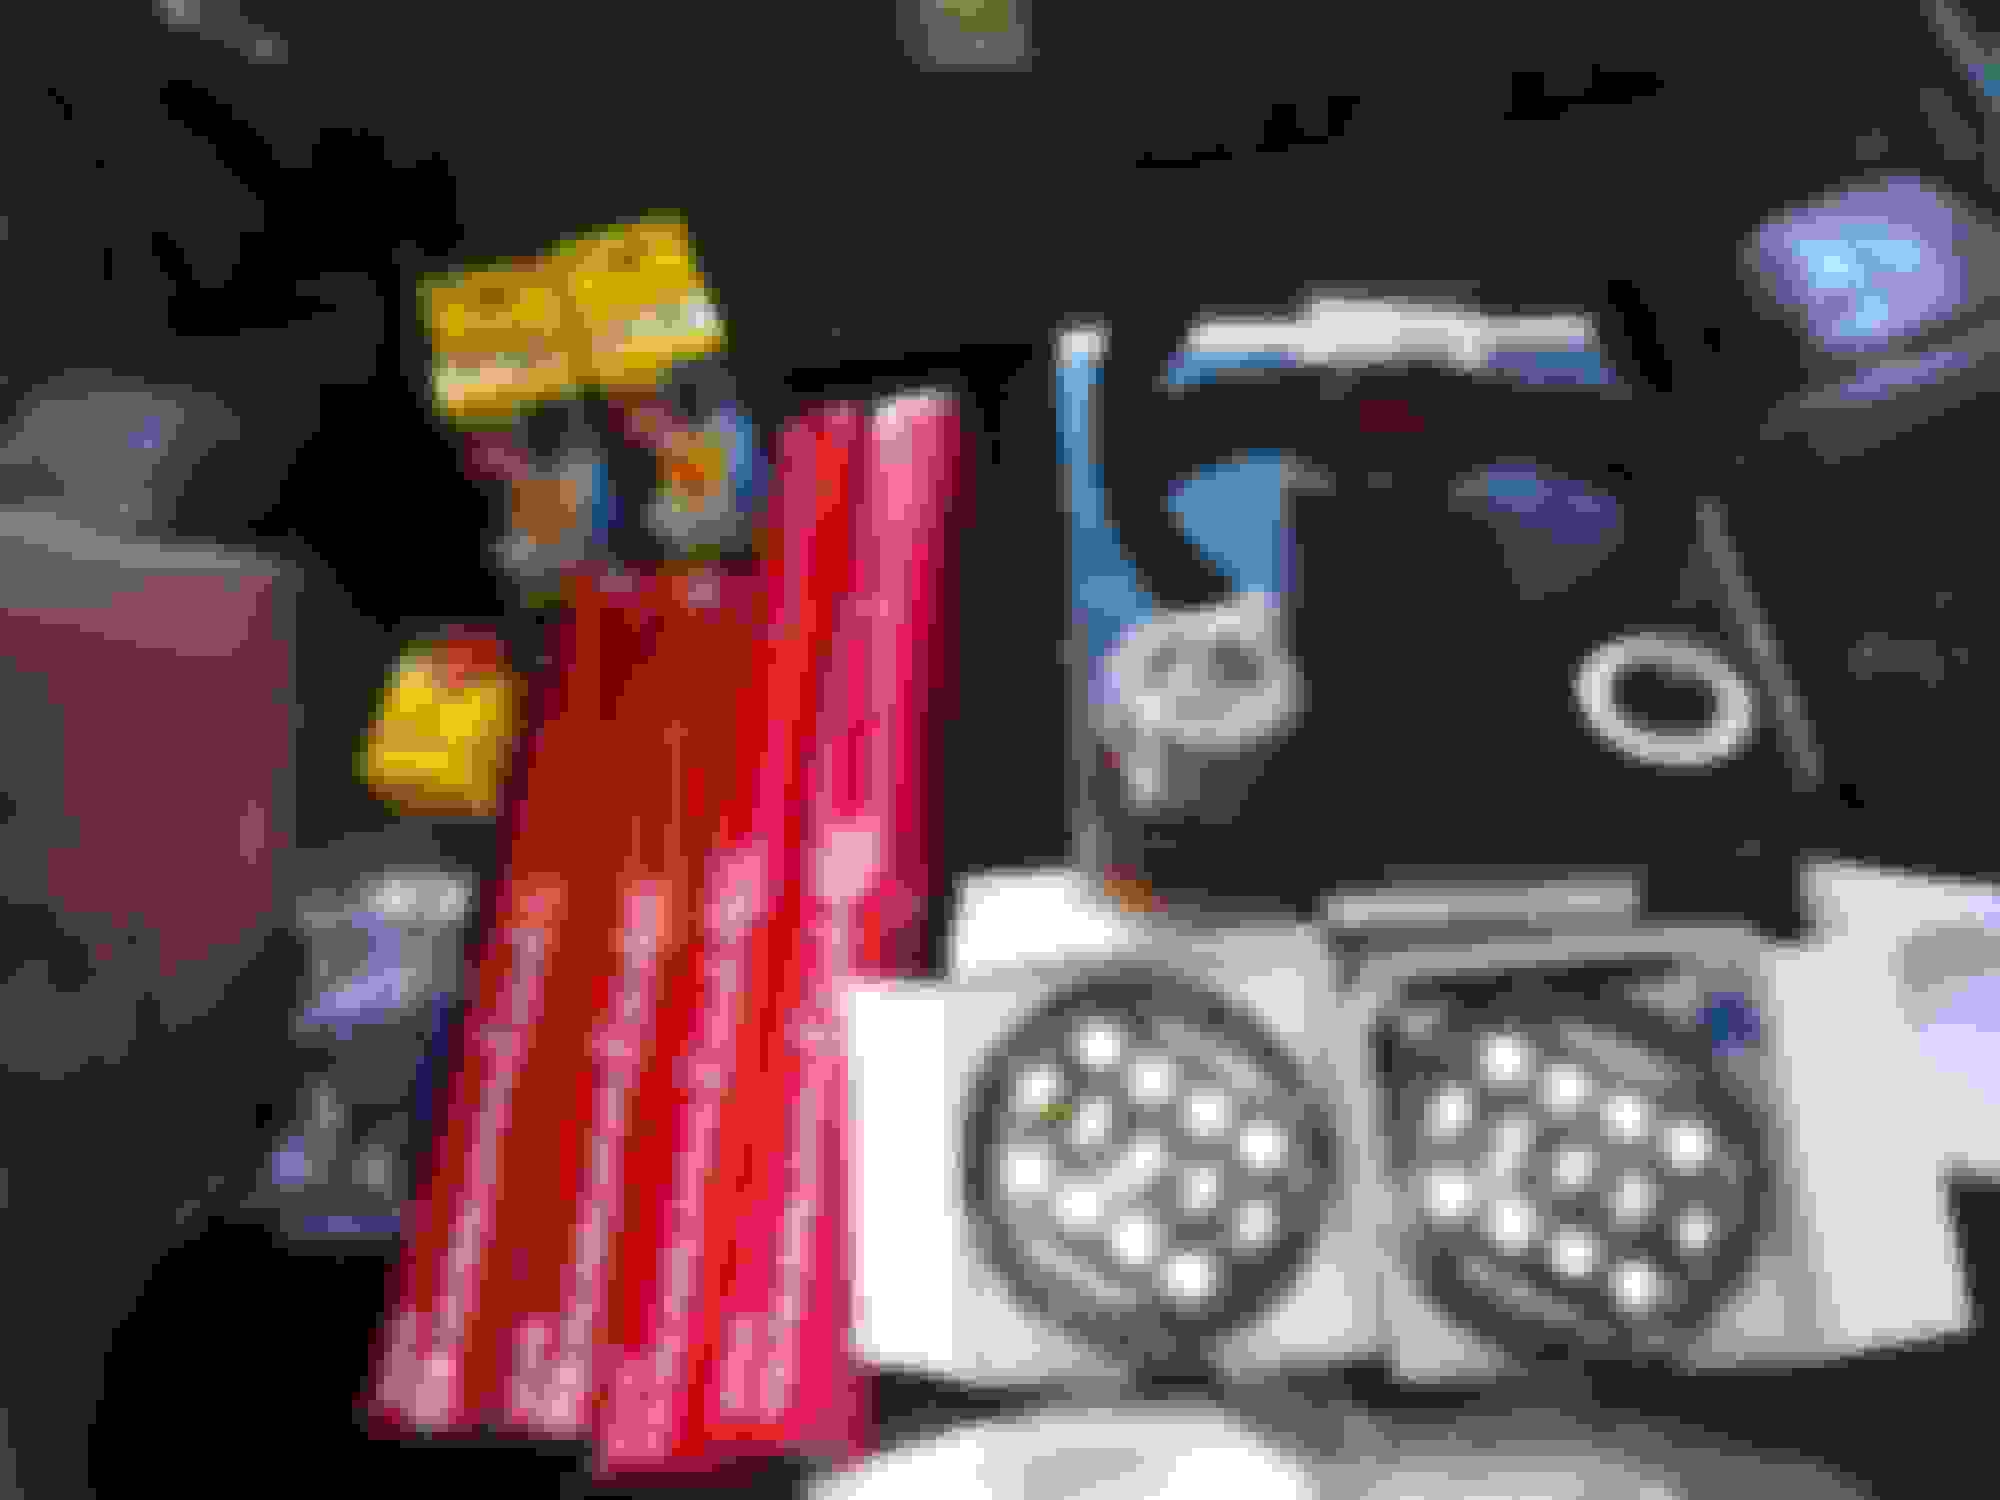
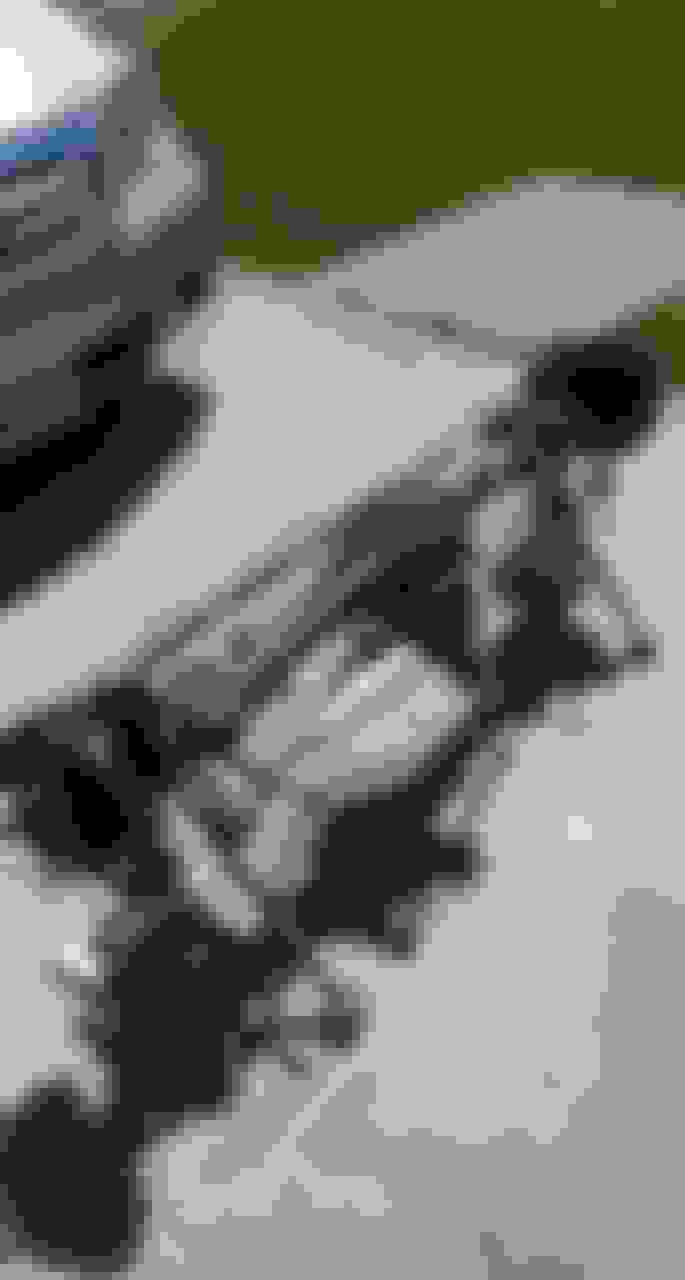
Well...not much done this weekend. Had to work on my Altima installing new headlights assemblies and led bulbs. But I managed to meet and befriend another rotary enthusiast and a Puerto Rican and score this Racing Beat. Pro Pulse filter assembly....

Well it's all for know.


Racing Beat Pro Pulse air filter assembly

Last edited by raven12aFB; 04-01-19 at 10:41 PM.
Old 04-02-19, 12:19 AM
  #9  
Senior Member
 
JOE68's Avatar
 
Join Date: Dec 2018
Location: queens ny
Posts: 325
Received 27 Likes on 23 Posts
looks good ... great save
Old 04-21-19, 10:28 PM
  #10  
Senior Member
Thread Starter
 
raven12aFB's Avatar
 
Join Date: Jan 2018
Location: Allen, Texas
Posts: 601
Received 115 Likes on 100 Posts
Update...

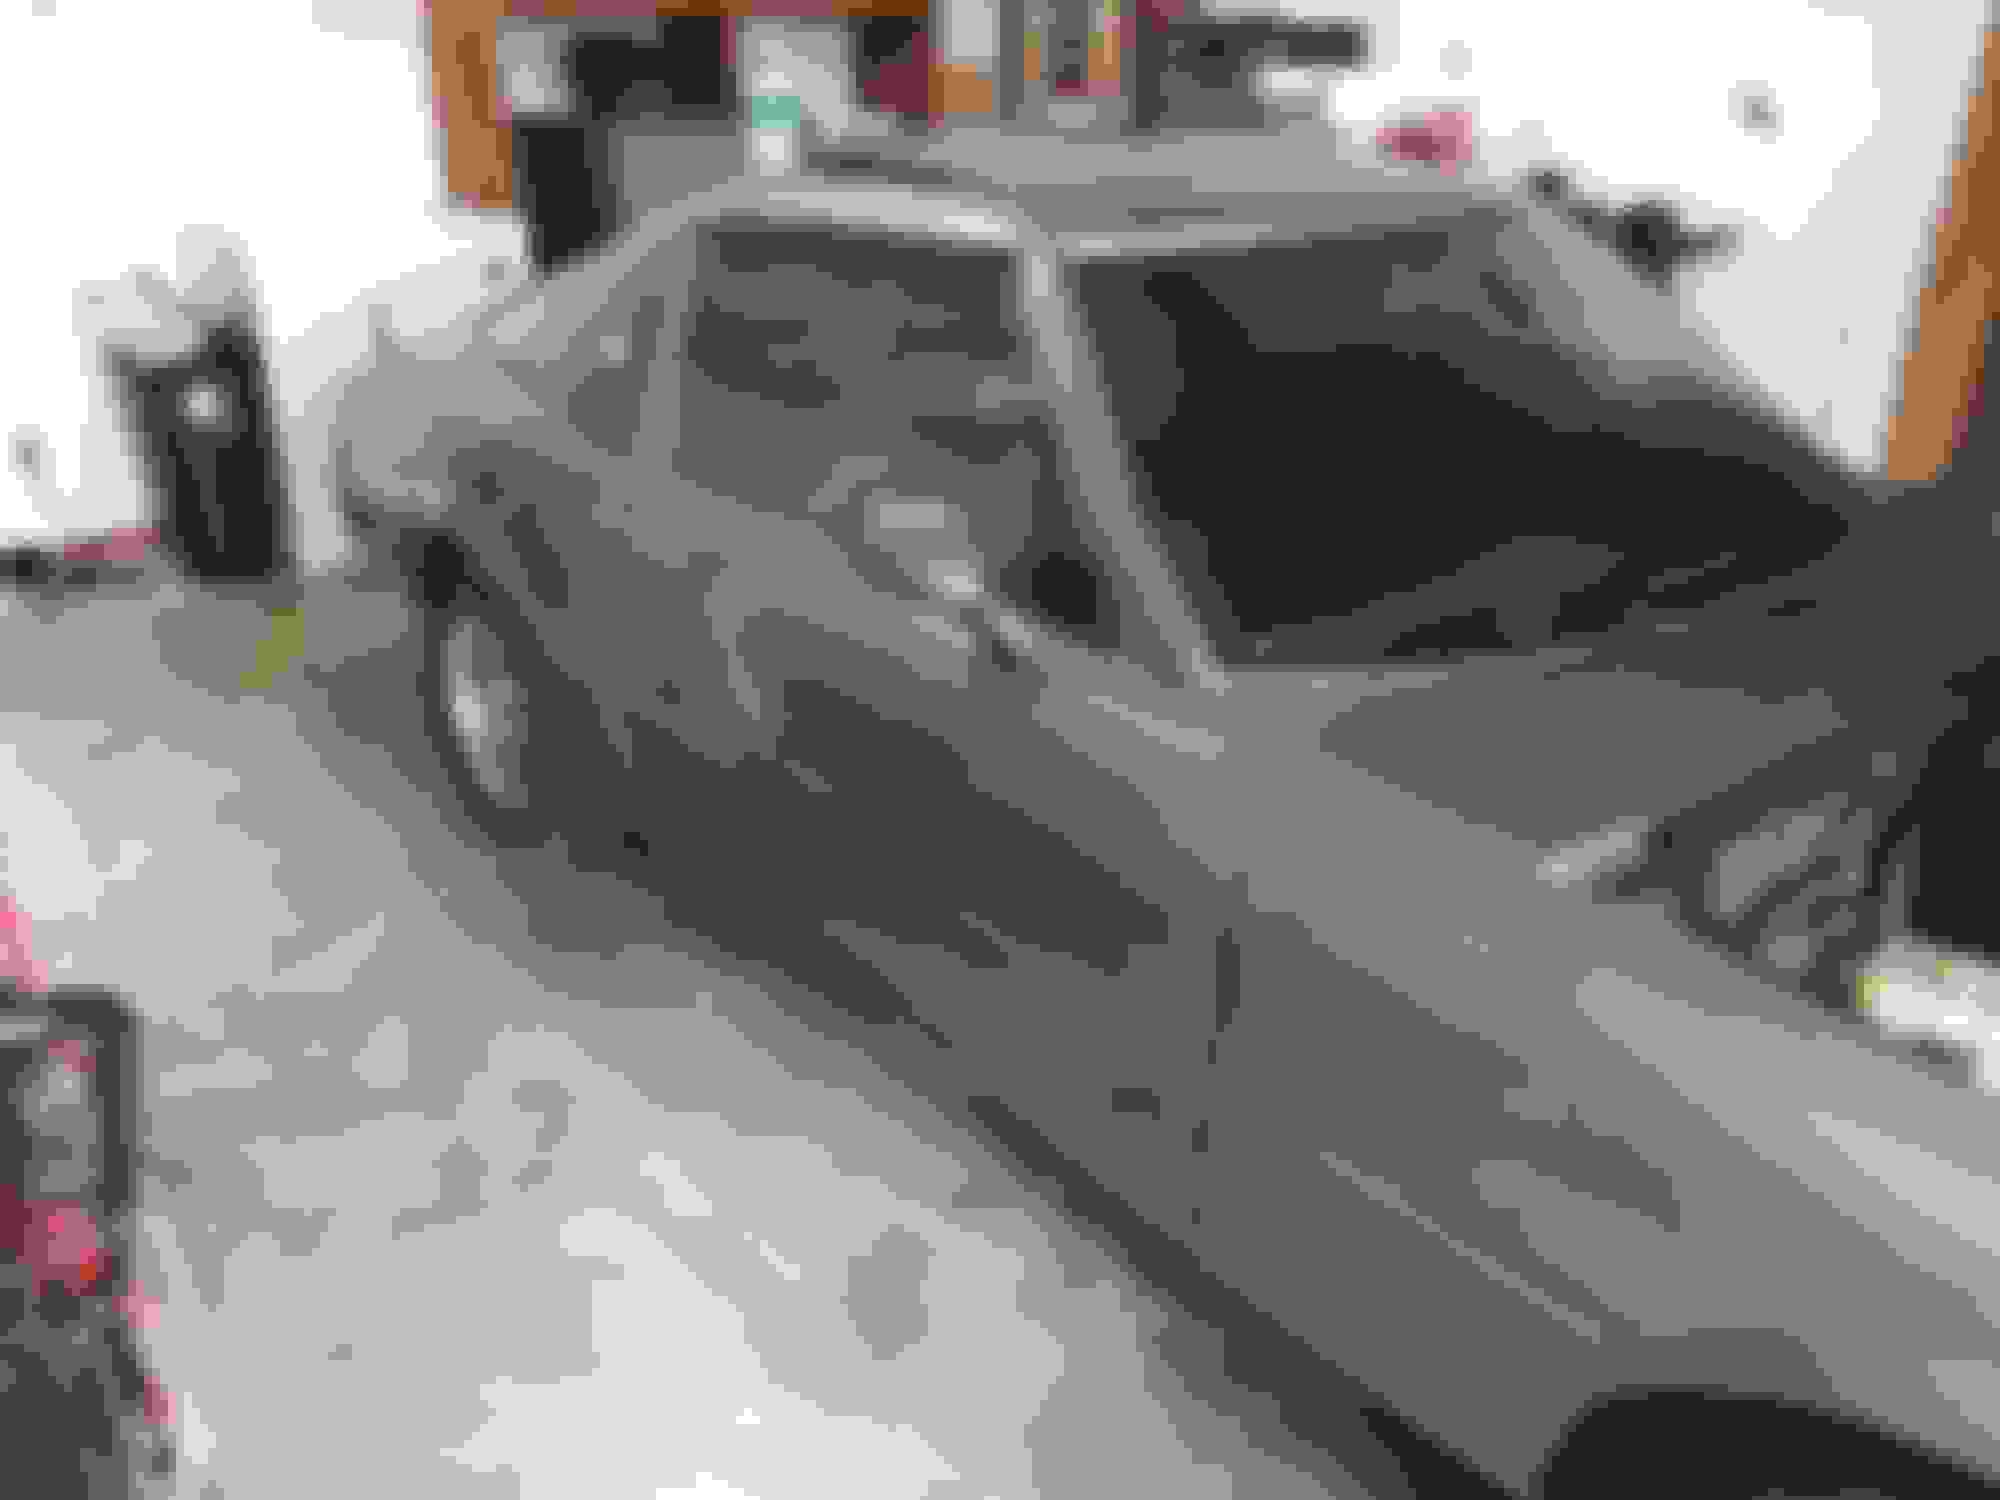
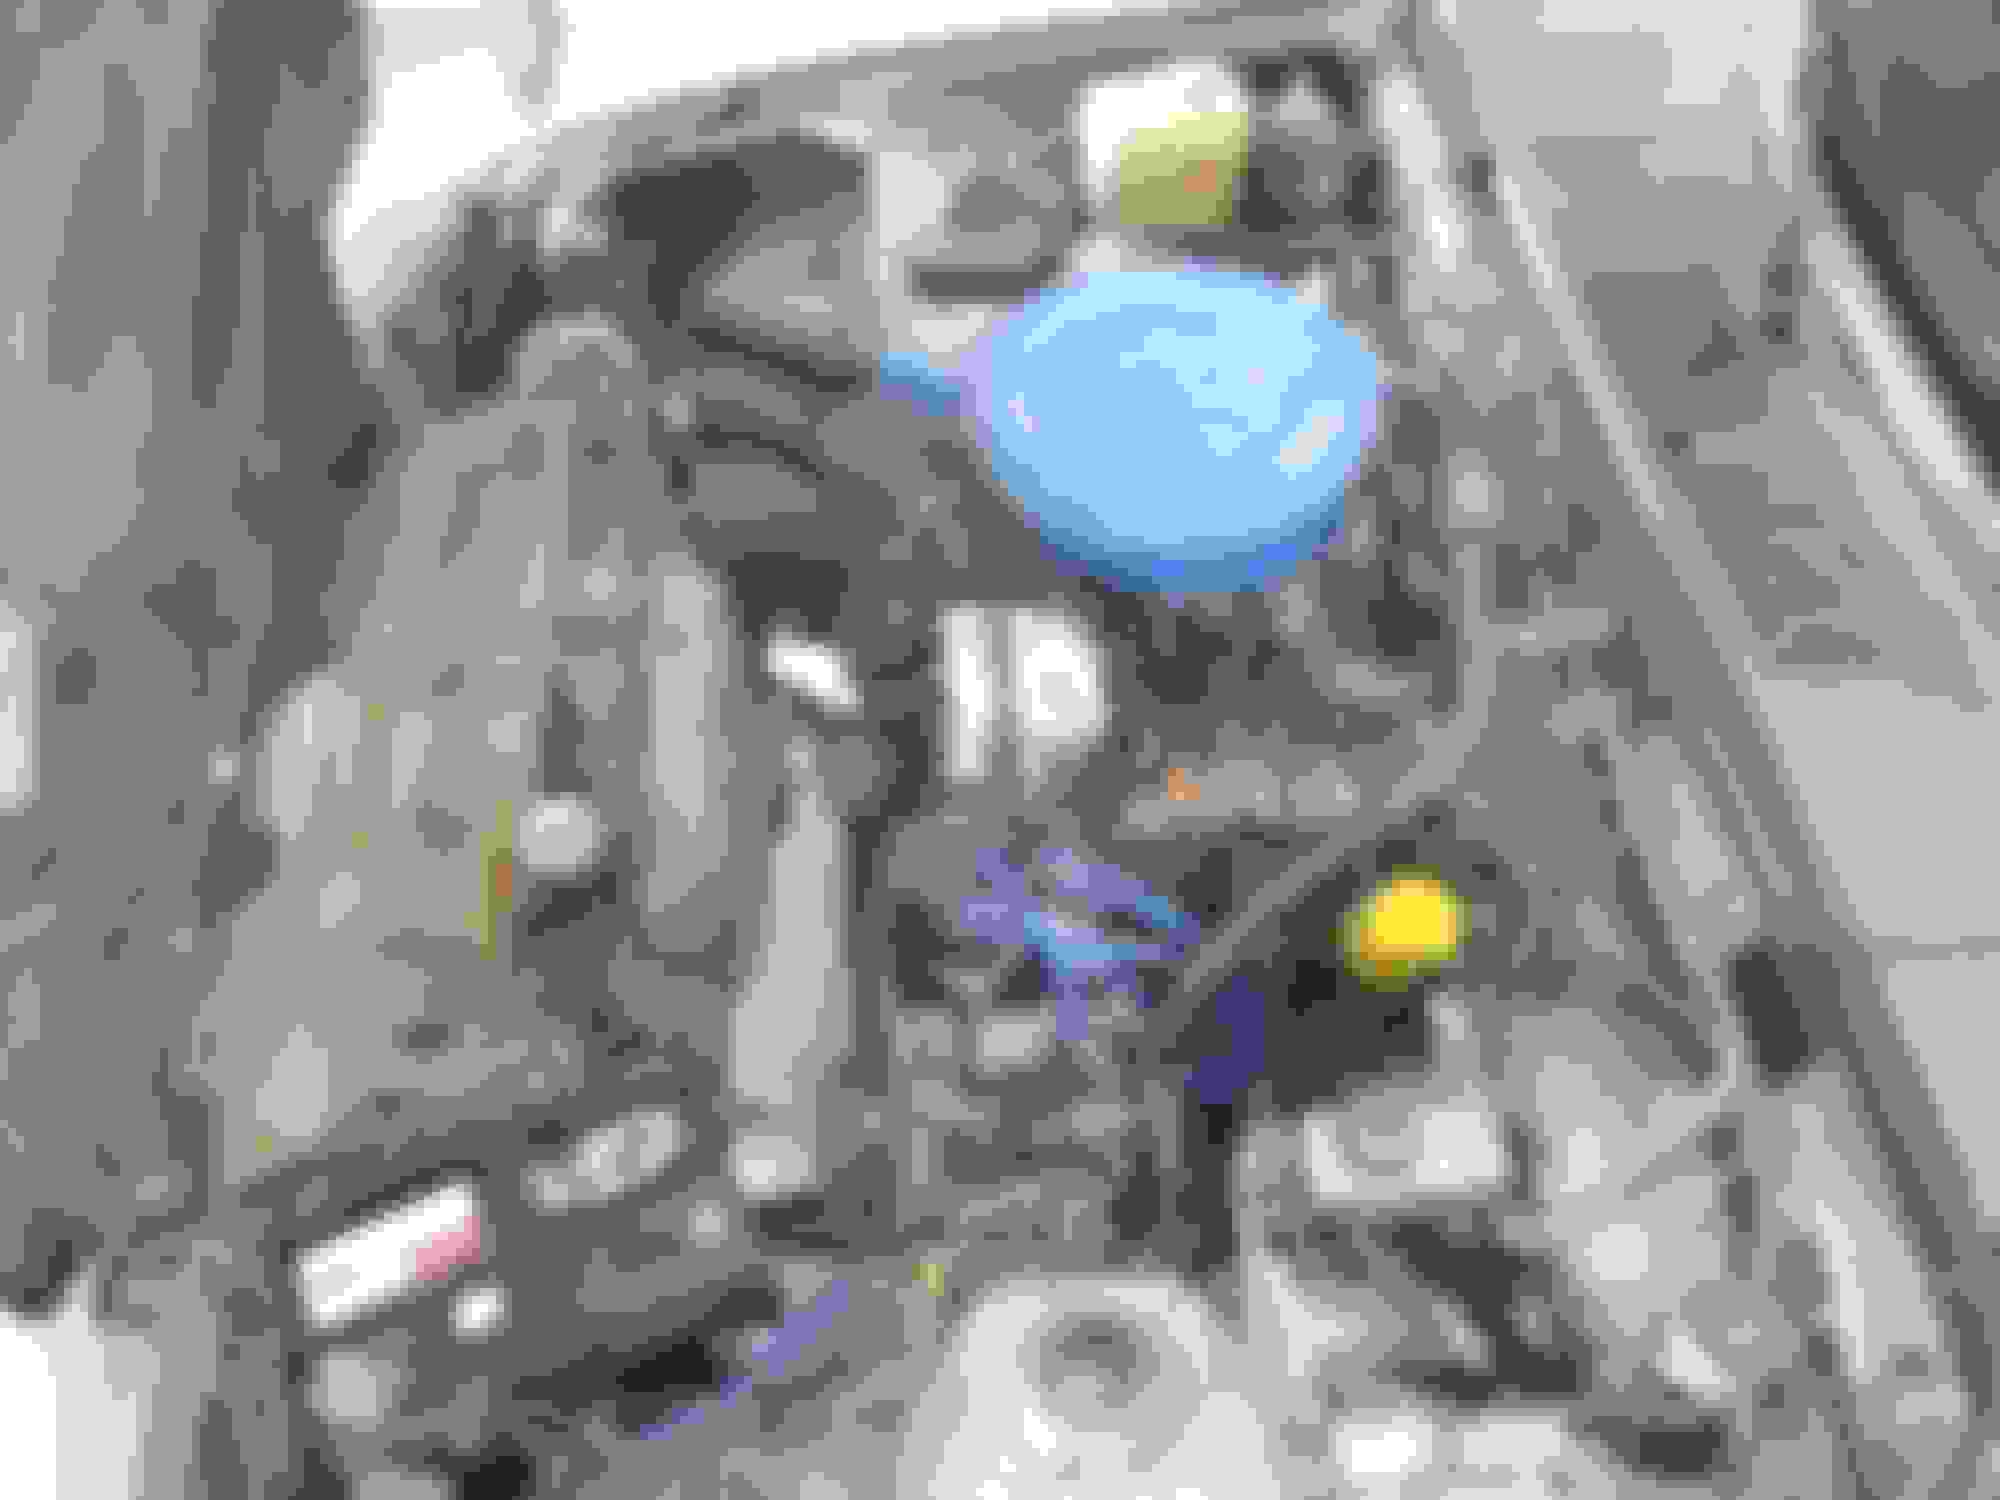
Well....I took out the intake and carburator to get it rebuilt and declureted....on a side note...I knew that the motor was rebuilt sometime in the past...I found receipts on the glove box...when I took the carb and the intake out realized that the motor got new housings.... 😊

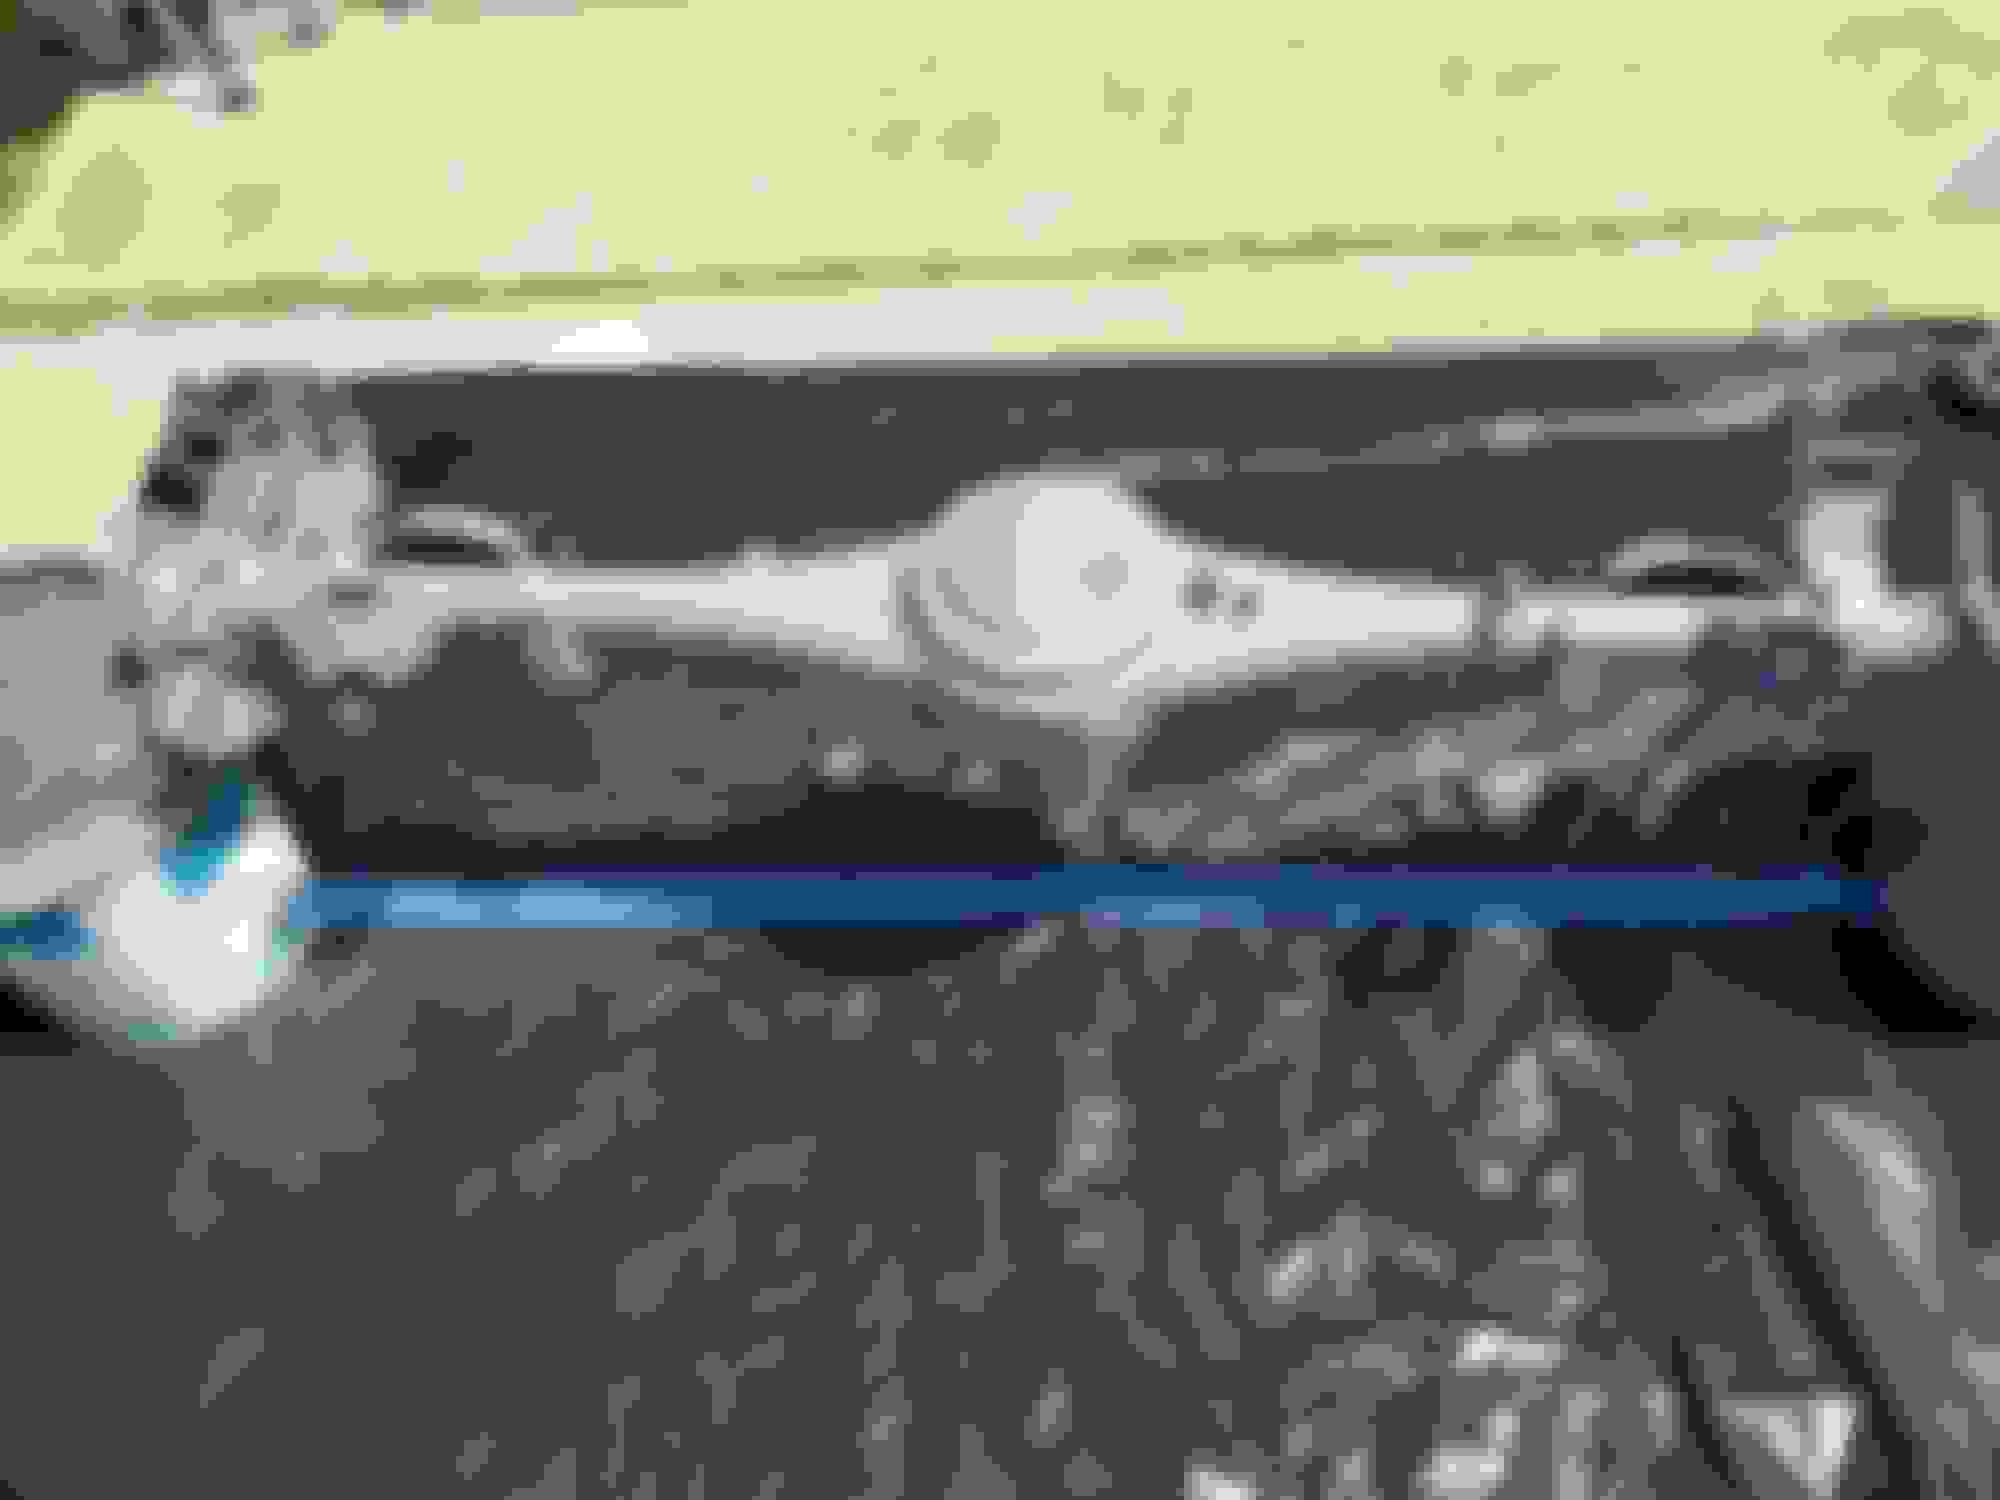
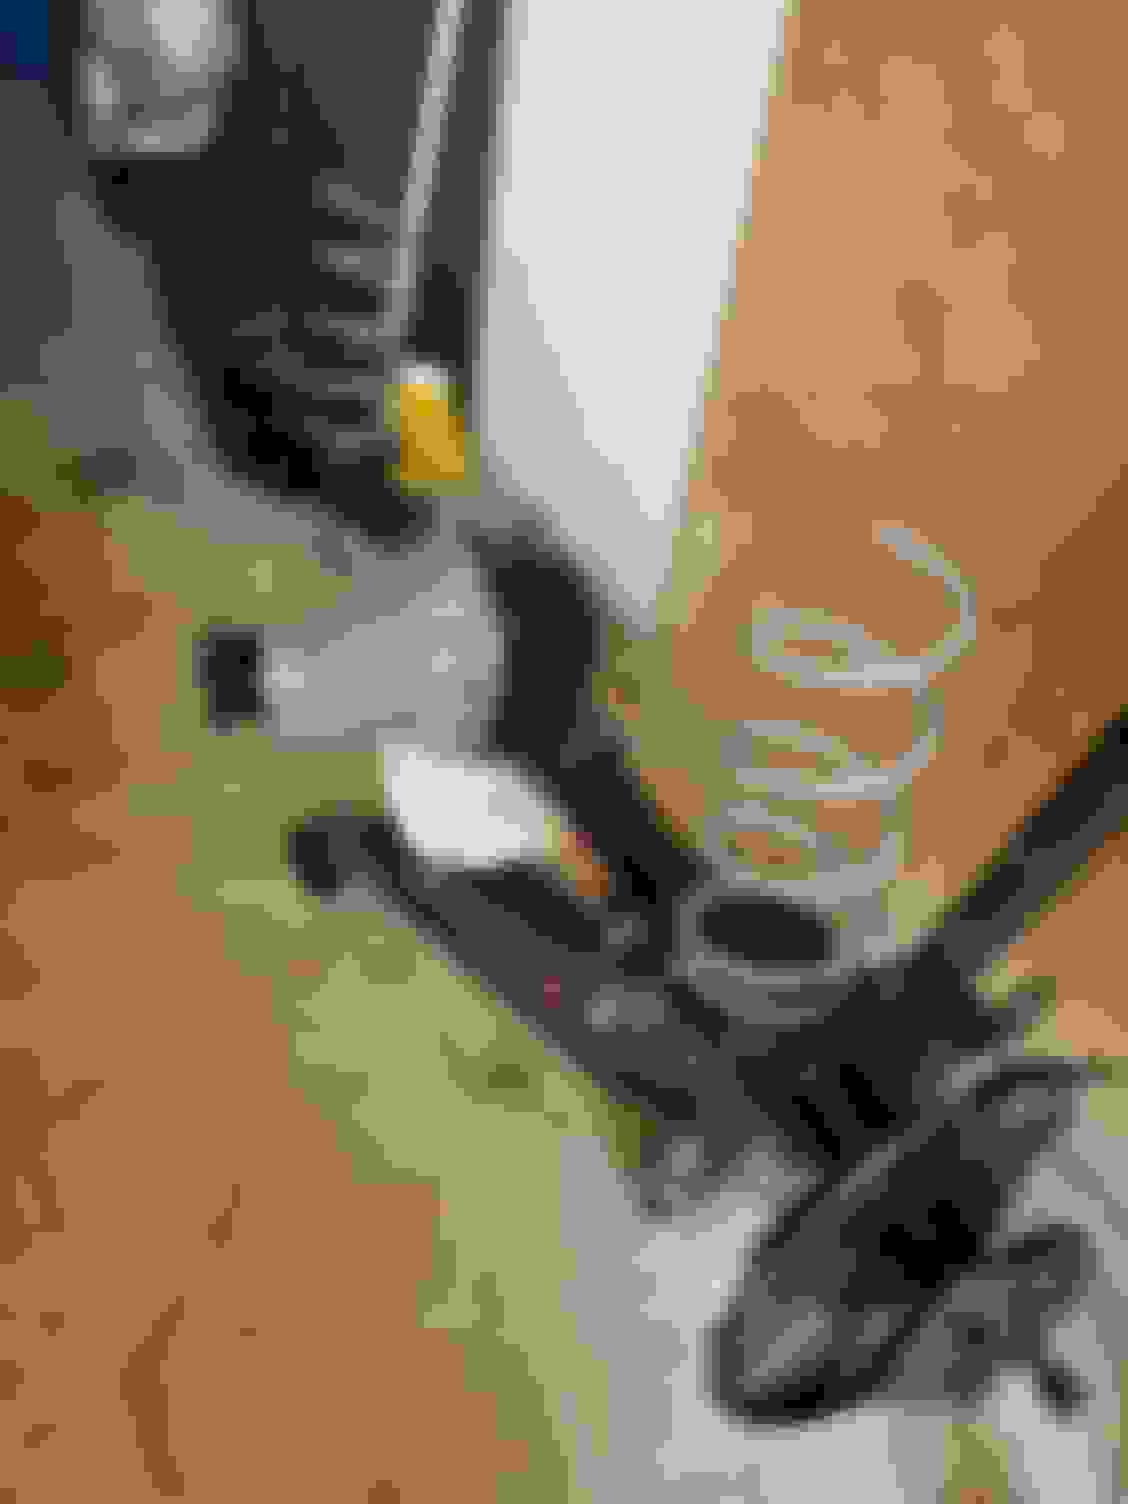
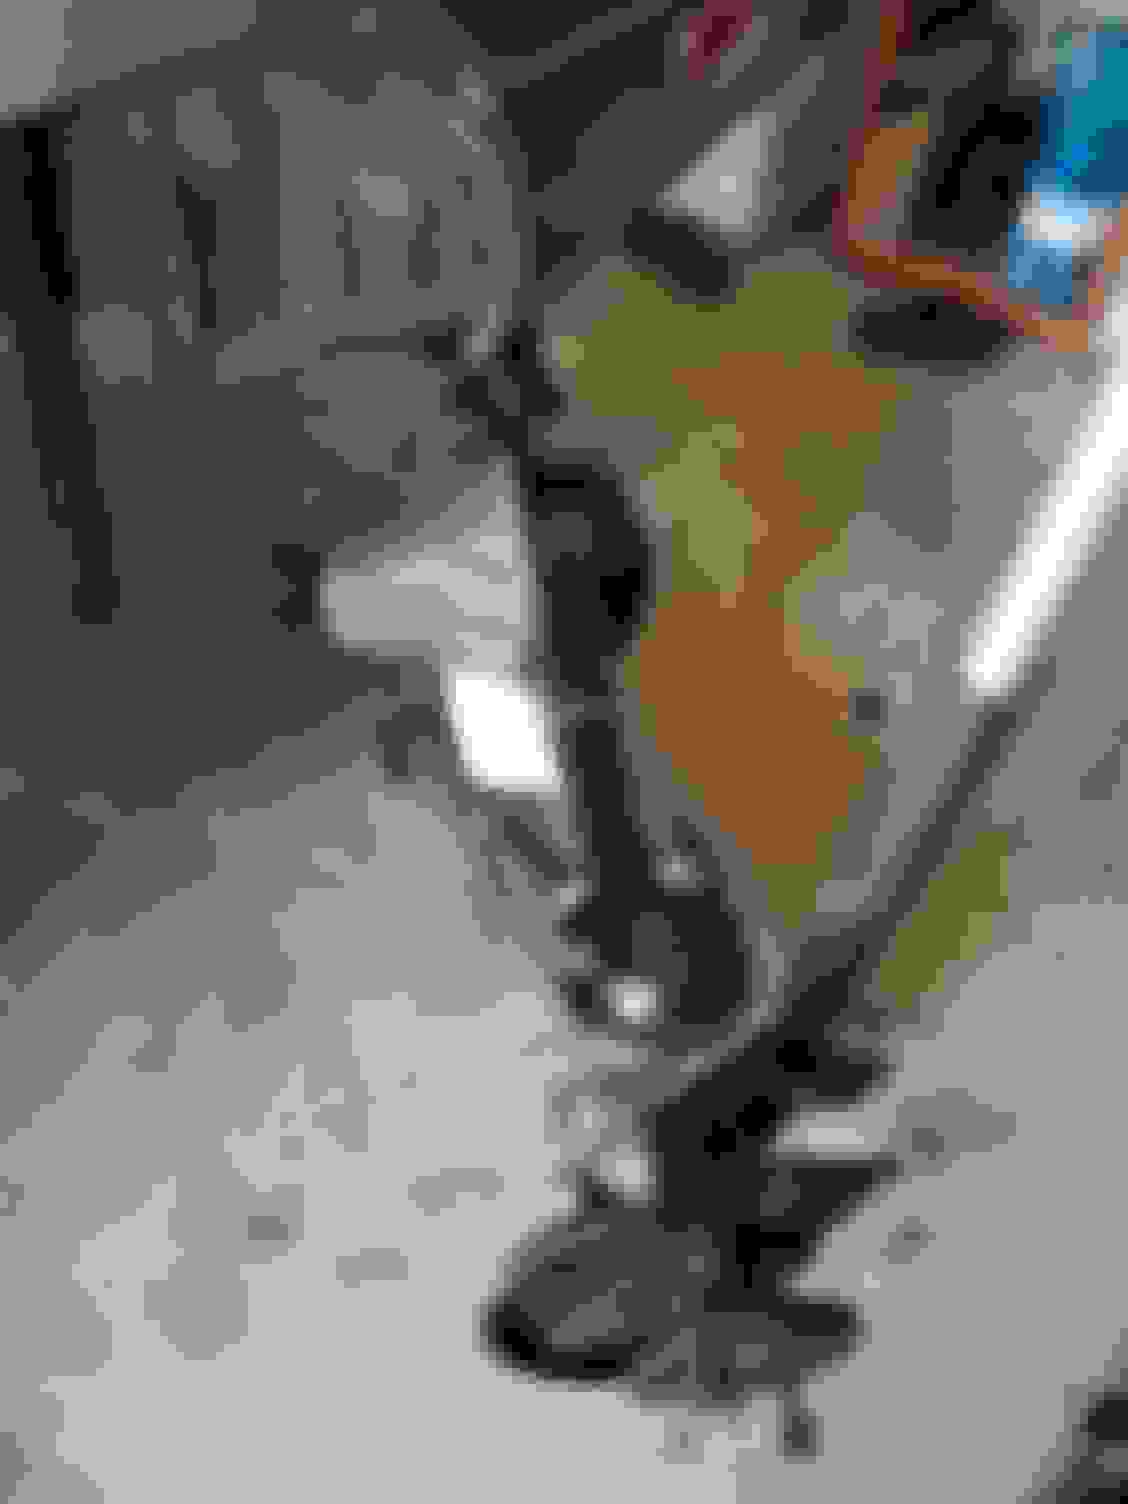
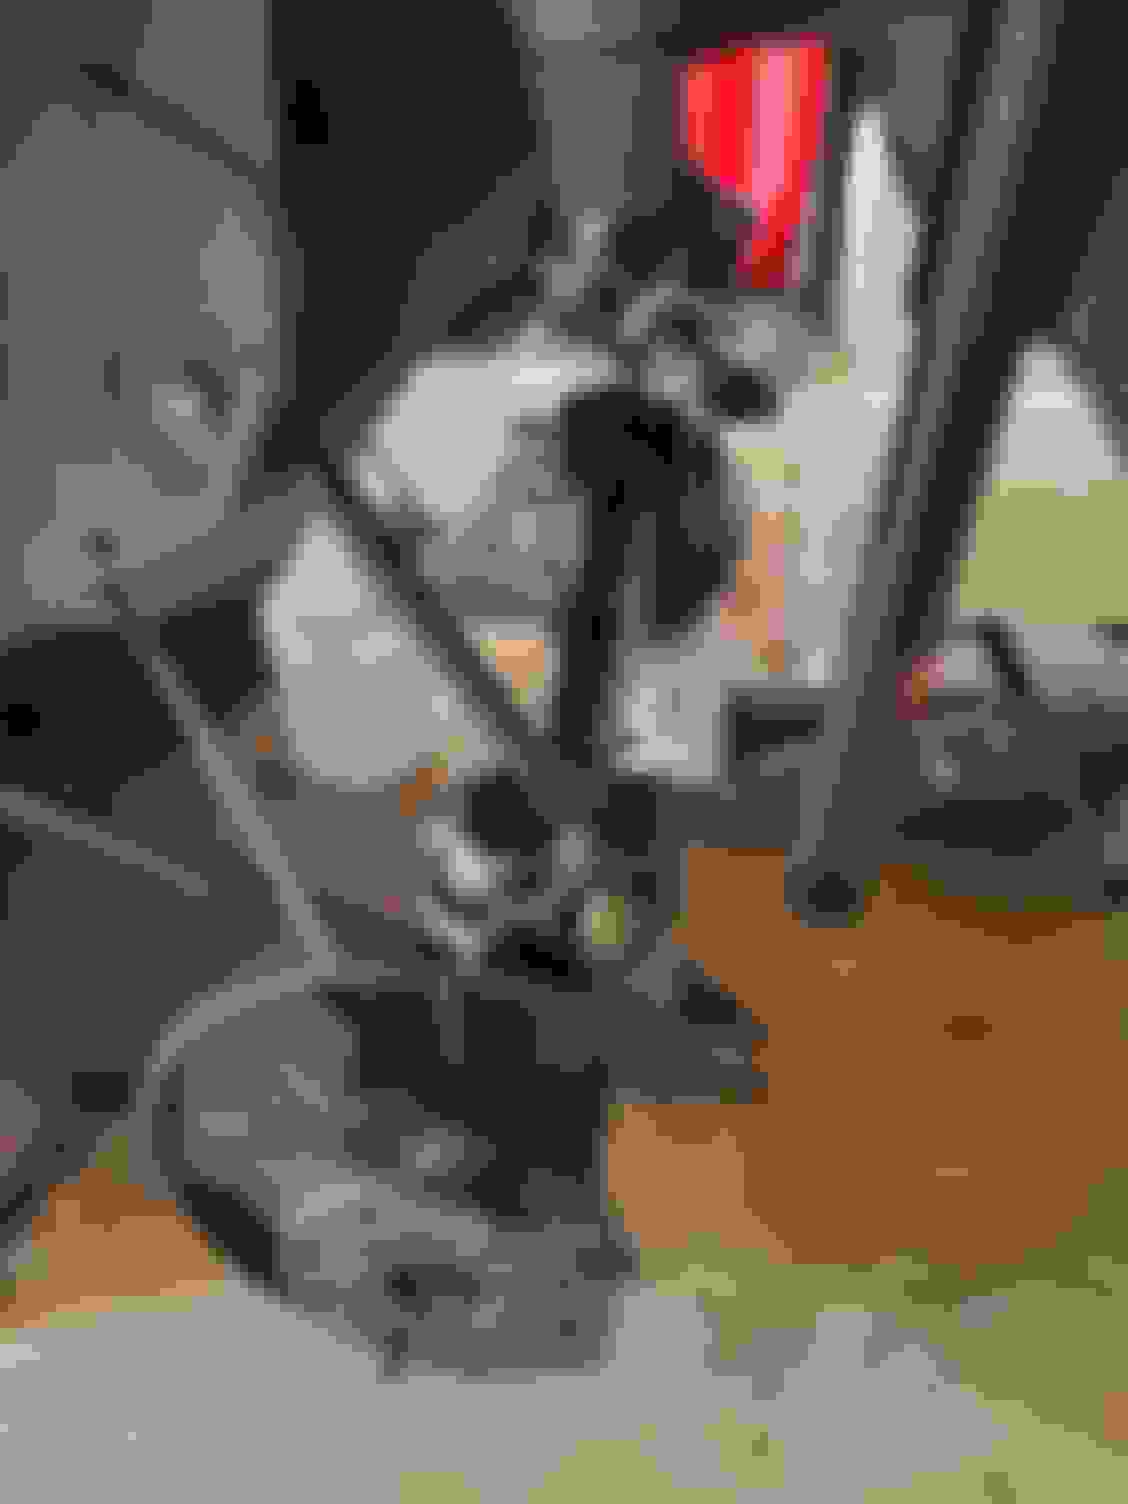
Took out the rear differential and drive shaft to get it cleaned, painted and to install new bushings, links and shocks...

Thst is all for now...will keep updating....


Old 04-27-19, 09:23 PM
  #11  
Senior Member
Thread Starter
 
raven12aFB's Avatar
 
Join Date: Jan 2018
Location: Allen, Texas
Posts: 601
Received 115 Likes on 100 Posts
Update...

Did some work this weekend...

Installed 3d printed bushings on the linkage od the headlight motors and the wiper motor.

Cleaned and sanded the drive shaft and it's readybfir heat resistant primer and heat resistant black paint....

That is all for now....


Old 05-01-19, 06:05 PM
  #12  
shut up you jack wagon

 
datsun1200's Avatar
 
Join Date: Nov 2007
Location: Crystal MN
Posts: 876
Received 2 Likes on 2 Posts
saludos boricua
Old 05-09-19, 10:30 AM
  #13  
Senior Member
Thread Starter
 
raven12aFB's Avatar
 
Join Date: Jan 2018
Location: Allen, Texas
Posts: 601
Received 115 Likes on 100 Posts
Originally Posted by datsun1200
saludos boricua
Saludos hermano
Old 05-09-19, 06:40 PM
  #14  
Rotary Noob
 
kevind915's Avatar
 
Join Date: Sep 2017
Location: Chicago NW suburbs
Posts: 92
Received 0 Likes on 0 Posts
Do you still have the mazdaspeed seat?
Old 05-09-19, 10:29 PM
  #15  
Senior Member
Thread Starter
 
raven12aFB's Avatar
 
Join Date: Jan 2018
Location: Allen, Texas
Posts: 601
Received 115 Likes on 100 Posts
Originally Posted by kevind915
Do you still have the mazdaspeed seat?

Yes... I still got it....but is not in great shape....
Old 05-28-19, 06:08 PM
  #16  
Senior Member
Thread Starter
 
raven12aFB's Avatar
 
Join Date: Jan 2018
Location: Allen, Texas
Posts: 601
Received 115 Likes on 100 Posts
Update

Well....Its been a while...working a lot and not much time to work on the 7..

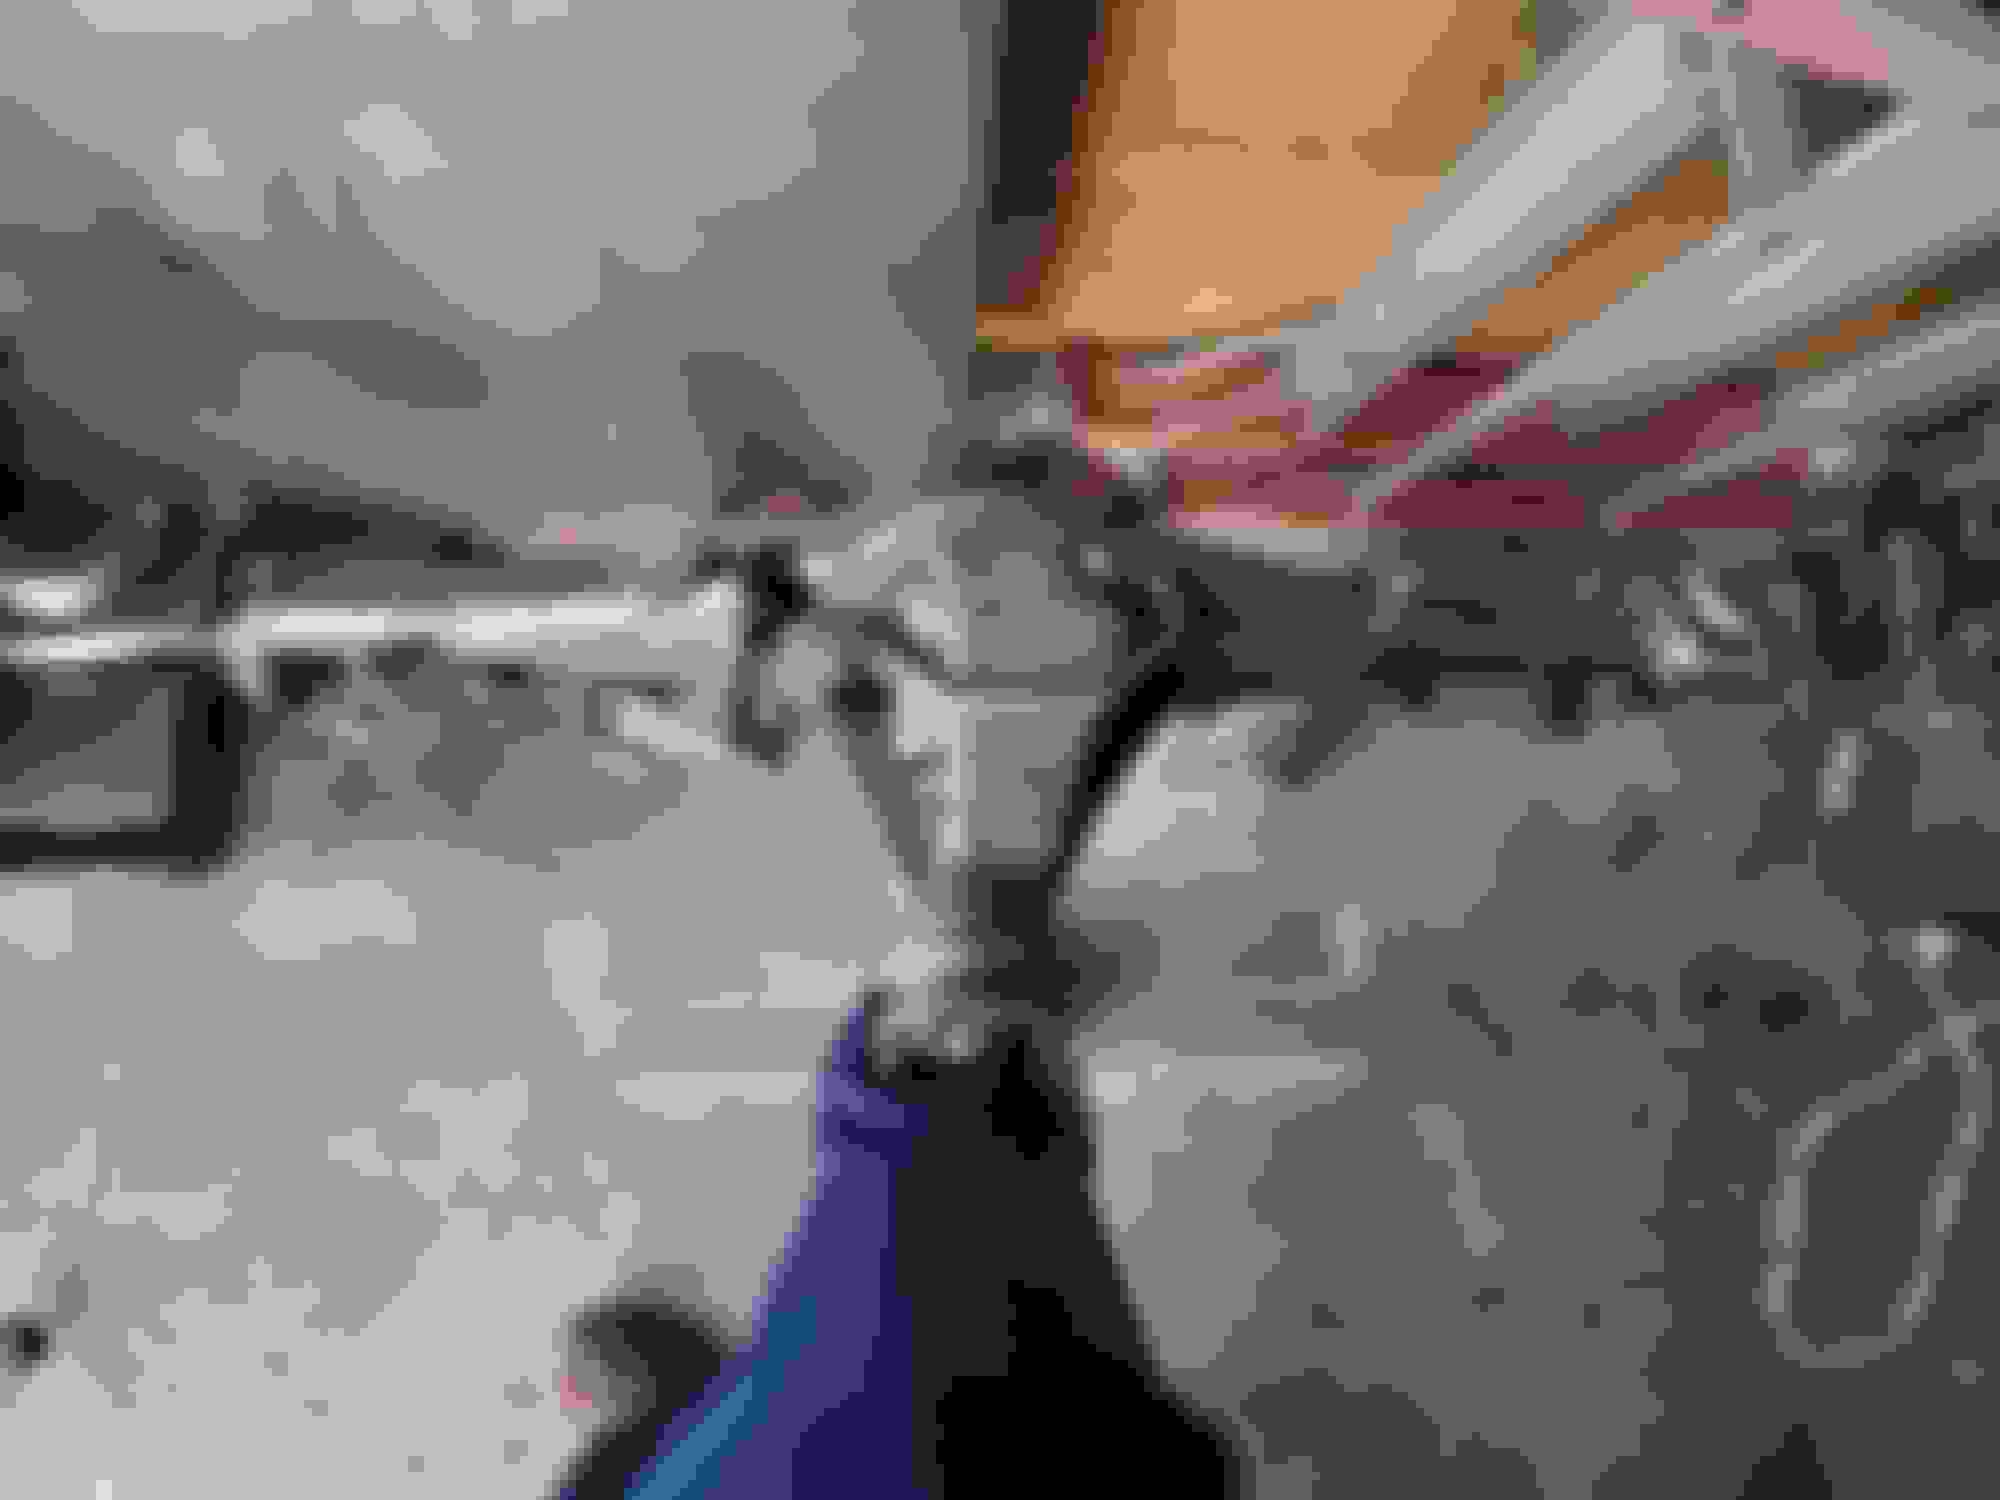
After a long day dealing with the old bushings and getting them out.. I learned a truck suggested by a friend to use a drill and a drill bit... Well..It worked. I drilled a hole on where the bushing meets the metal and after it went thru the drill bit traveled all the way around the bushing and came right out...

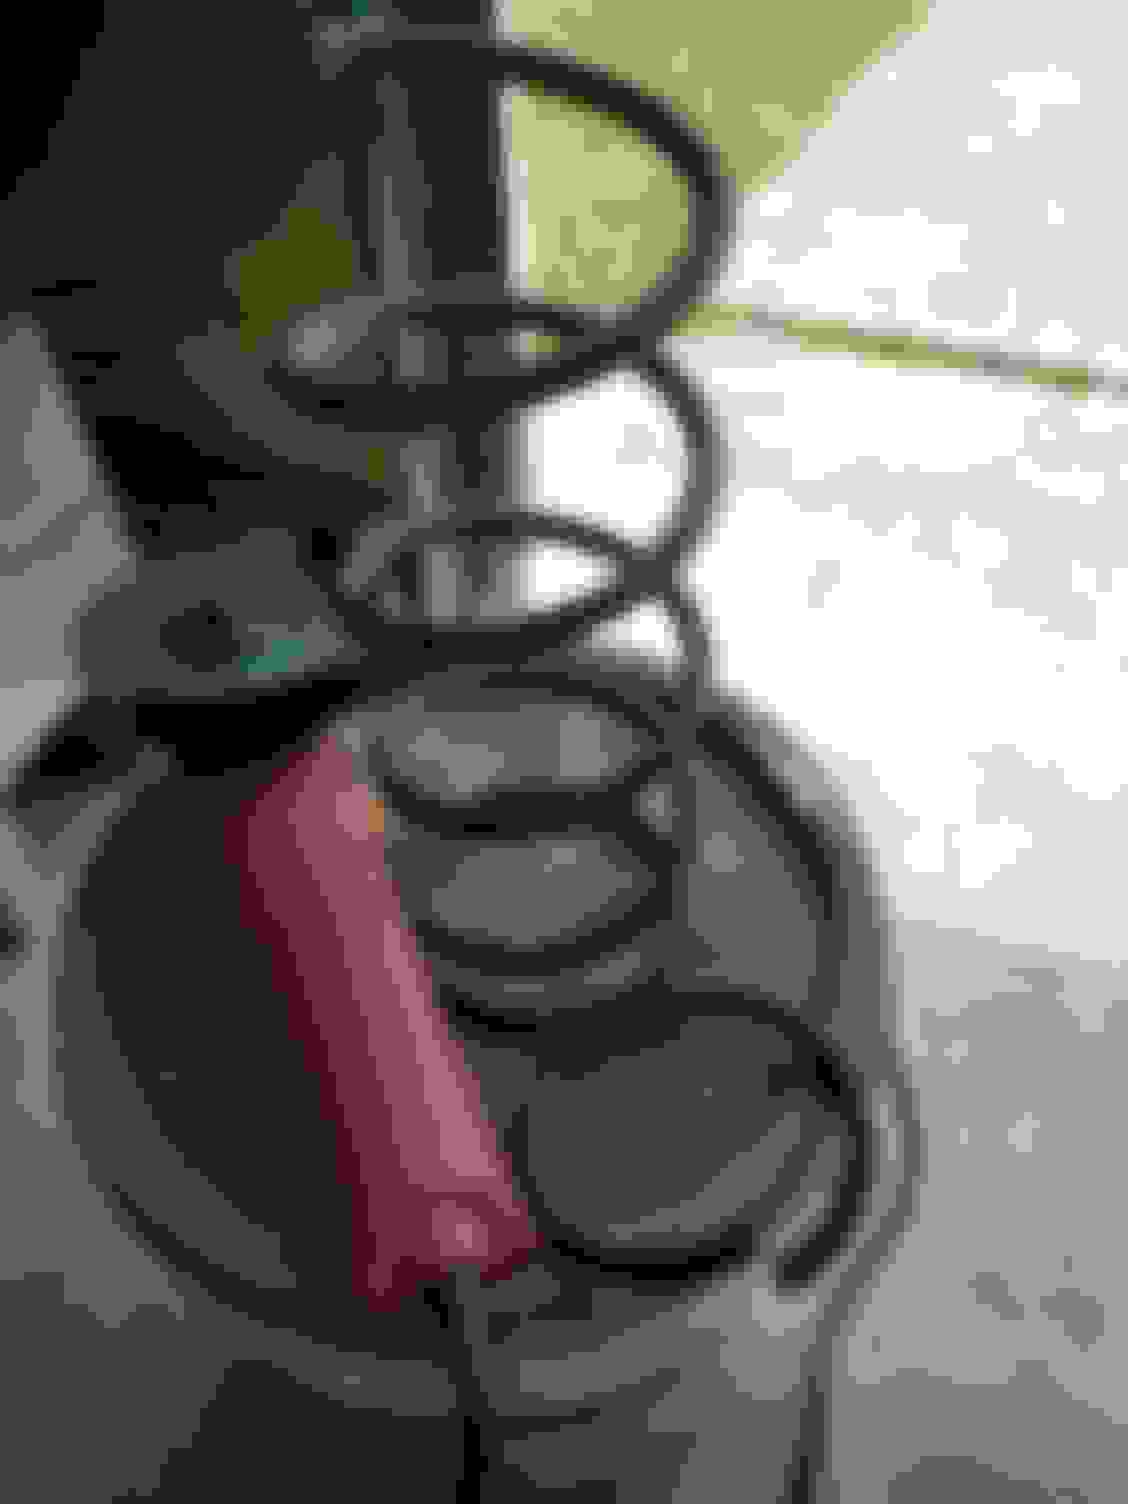
I cleaned them, sanded them and primed them...

Now looking on what to paint them...POR15 or caliper paint or muffler paint... just don't want them to get chipped or the heat of the differential make a mess on the paint...

This coming Friday I will be sanding the springs, calipers and rear differential to get them ready for primer....


That is all I got for now.... I'lk keep posting....
Old 06-12-19, 03:14 PM
  #17  
Senior Member
Thread Starter
 
raven12aFB's Avatar
 
Join Date: Jan 2018
Location: Allen, Texas
Posts: 601
Received 115 Likes on 100 Posts
Update

Well....I did some work on the suspension... Got it painted and got all the Energy Suspension bushings installed. Now this coming weekend to finish the rear differential and get it installed to then move to the front suspension...

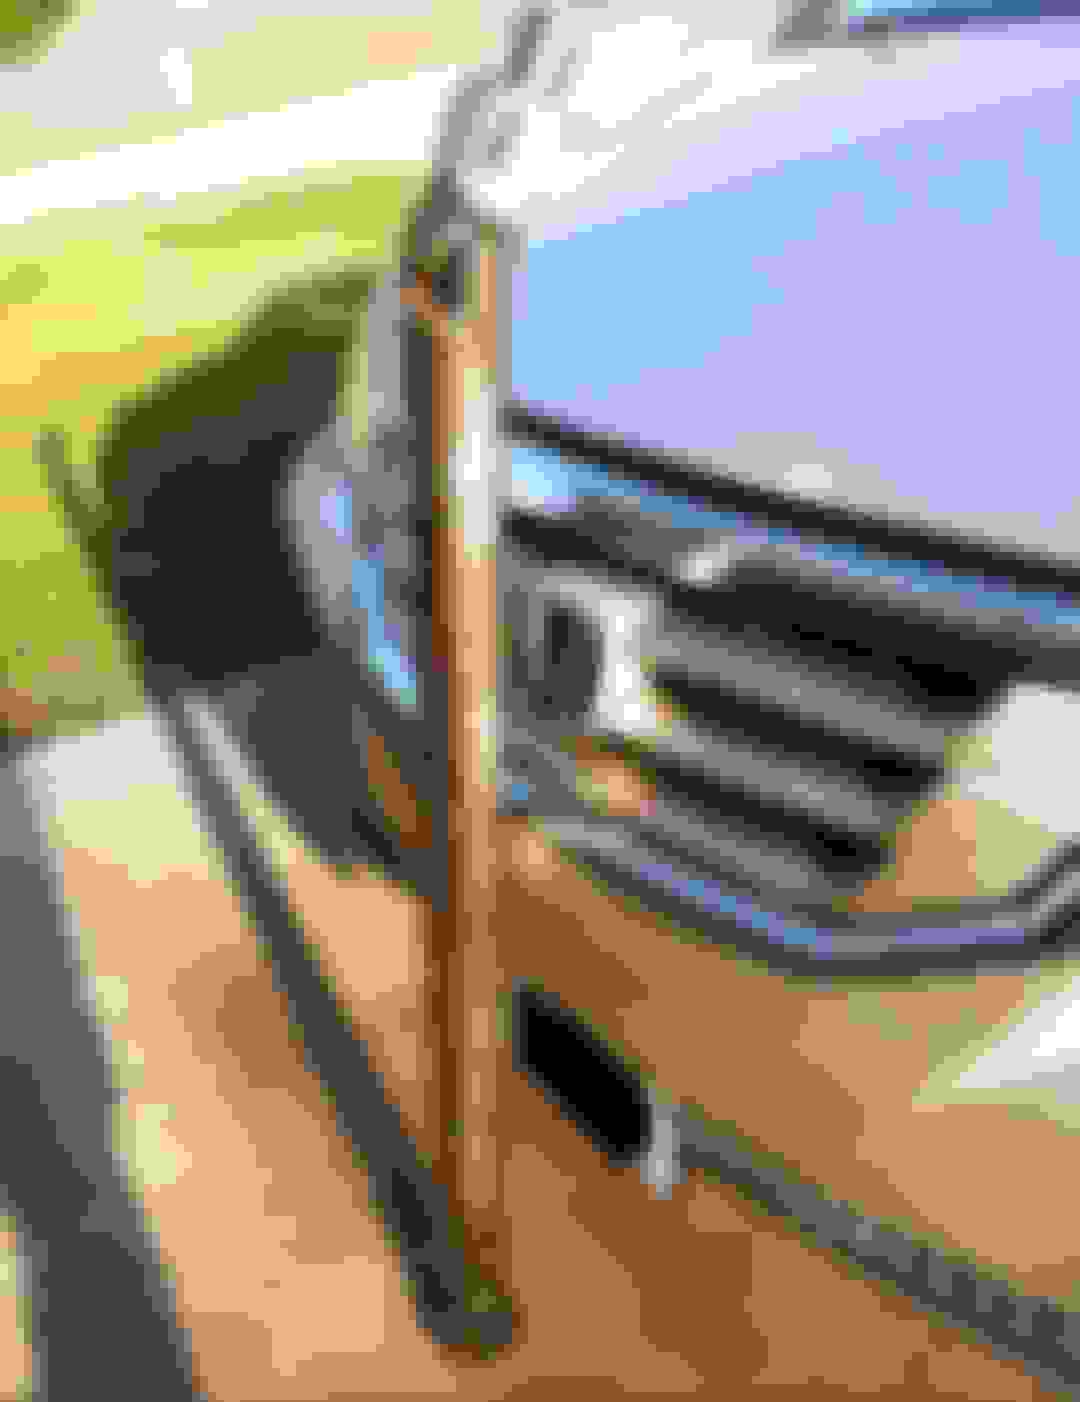
I also installed new oil cooler bases...the factory ones were destroyed...

That's all for now....I'll keep posting updates....thanks for reading. ..
Old 07-07-19, 09:53 PM
  #18  
Senior Member
Thread Starter
 
raven12aFB's Avatar
 
Join Date: Jan 2018
Location: Allen, Texas
Posts: 601
Received 115 Likes on 100 Posts
Update

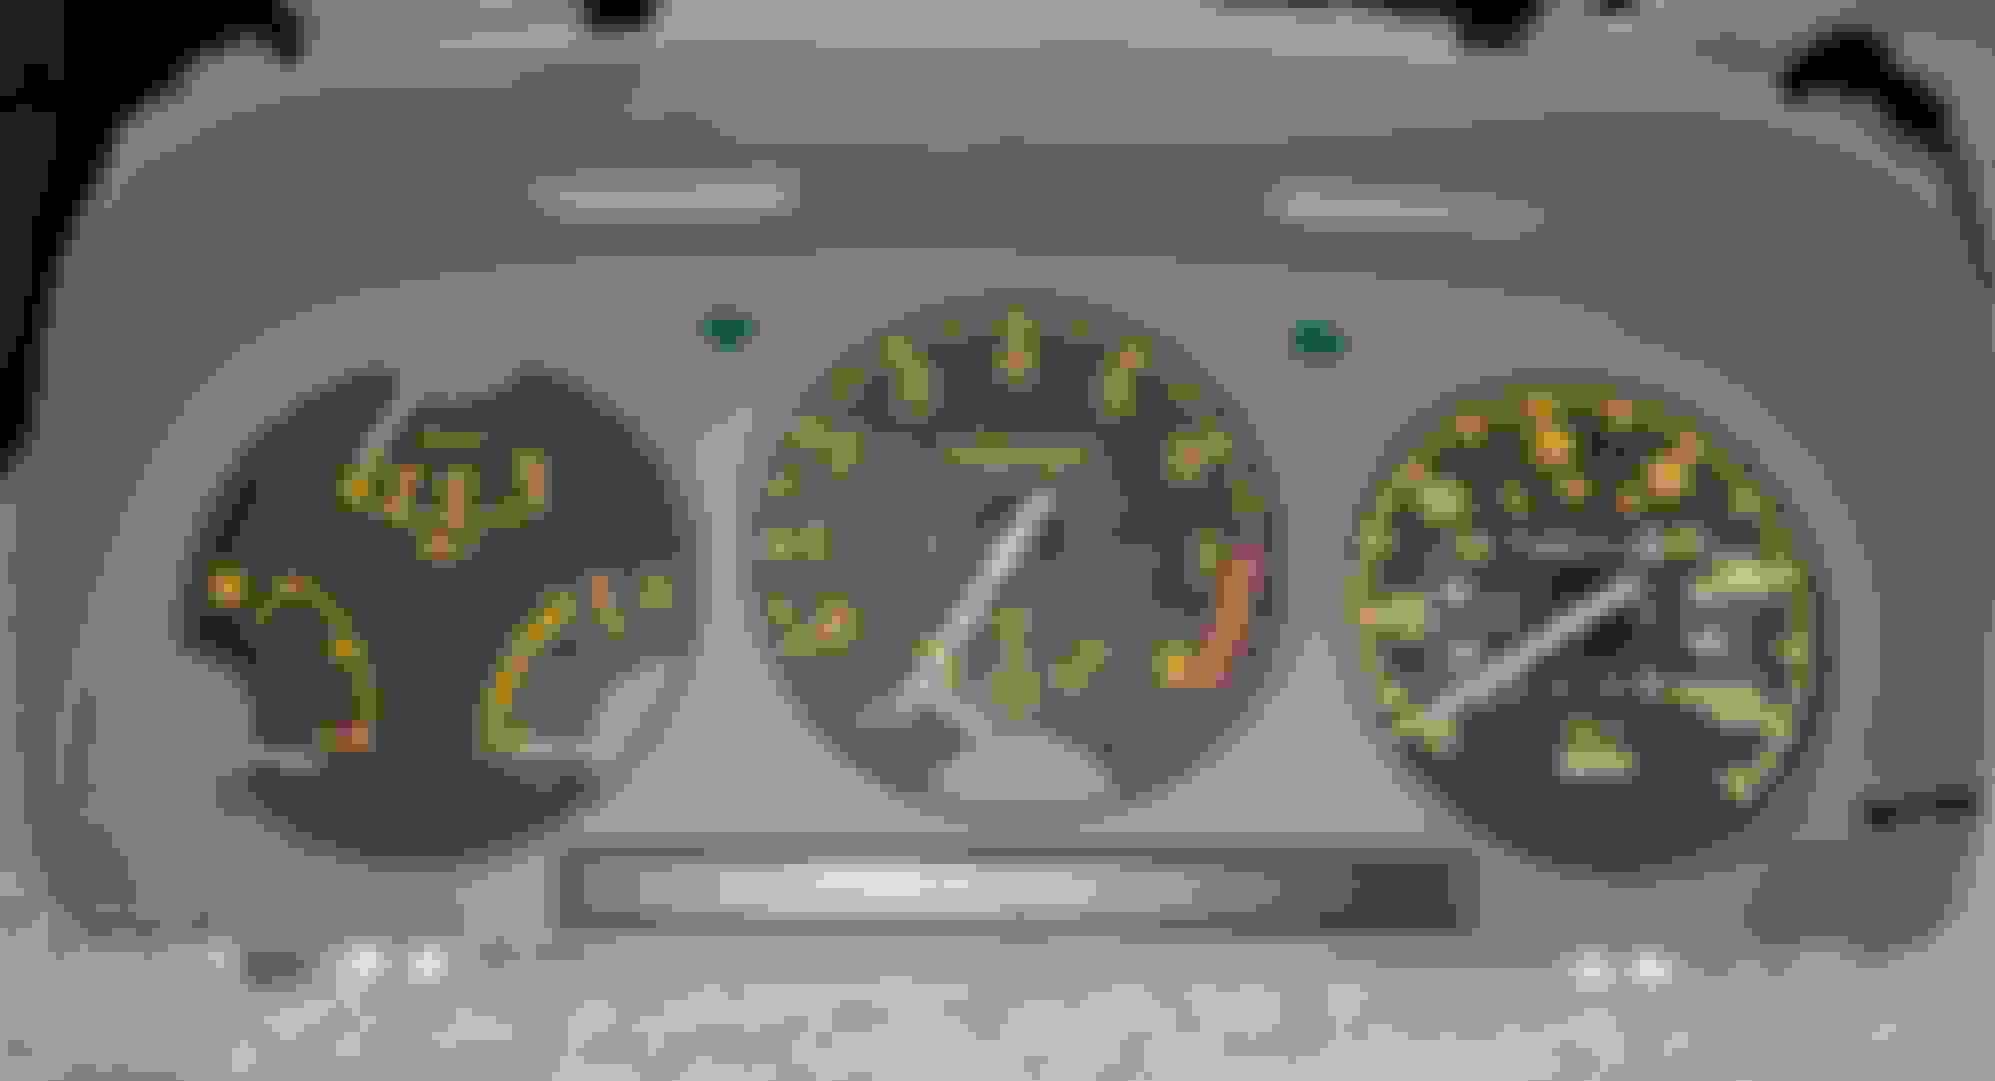
I haven't done a lot in the last couple of weeks... But I just got my hands on a 83 FB'S 130mph cluster to switch my 85 mph cluster.. This is my first 82 and I didn't like the look of only 85mph...lmao


This all for now....I'll l keep updating
Old 07-22-19, 12:43 AM
  #19  
Senior Member
Thread Starter
 
raven12aFB's Avatar
 
Join Date: Jan 2018
Location: Allen, Texas
Posts: 601
Received 115 Likes on 100 Posts
Update

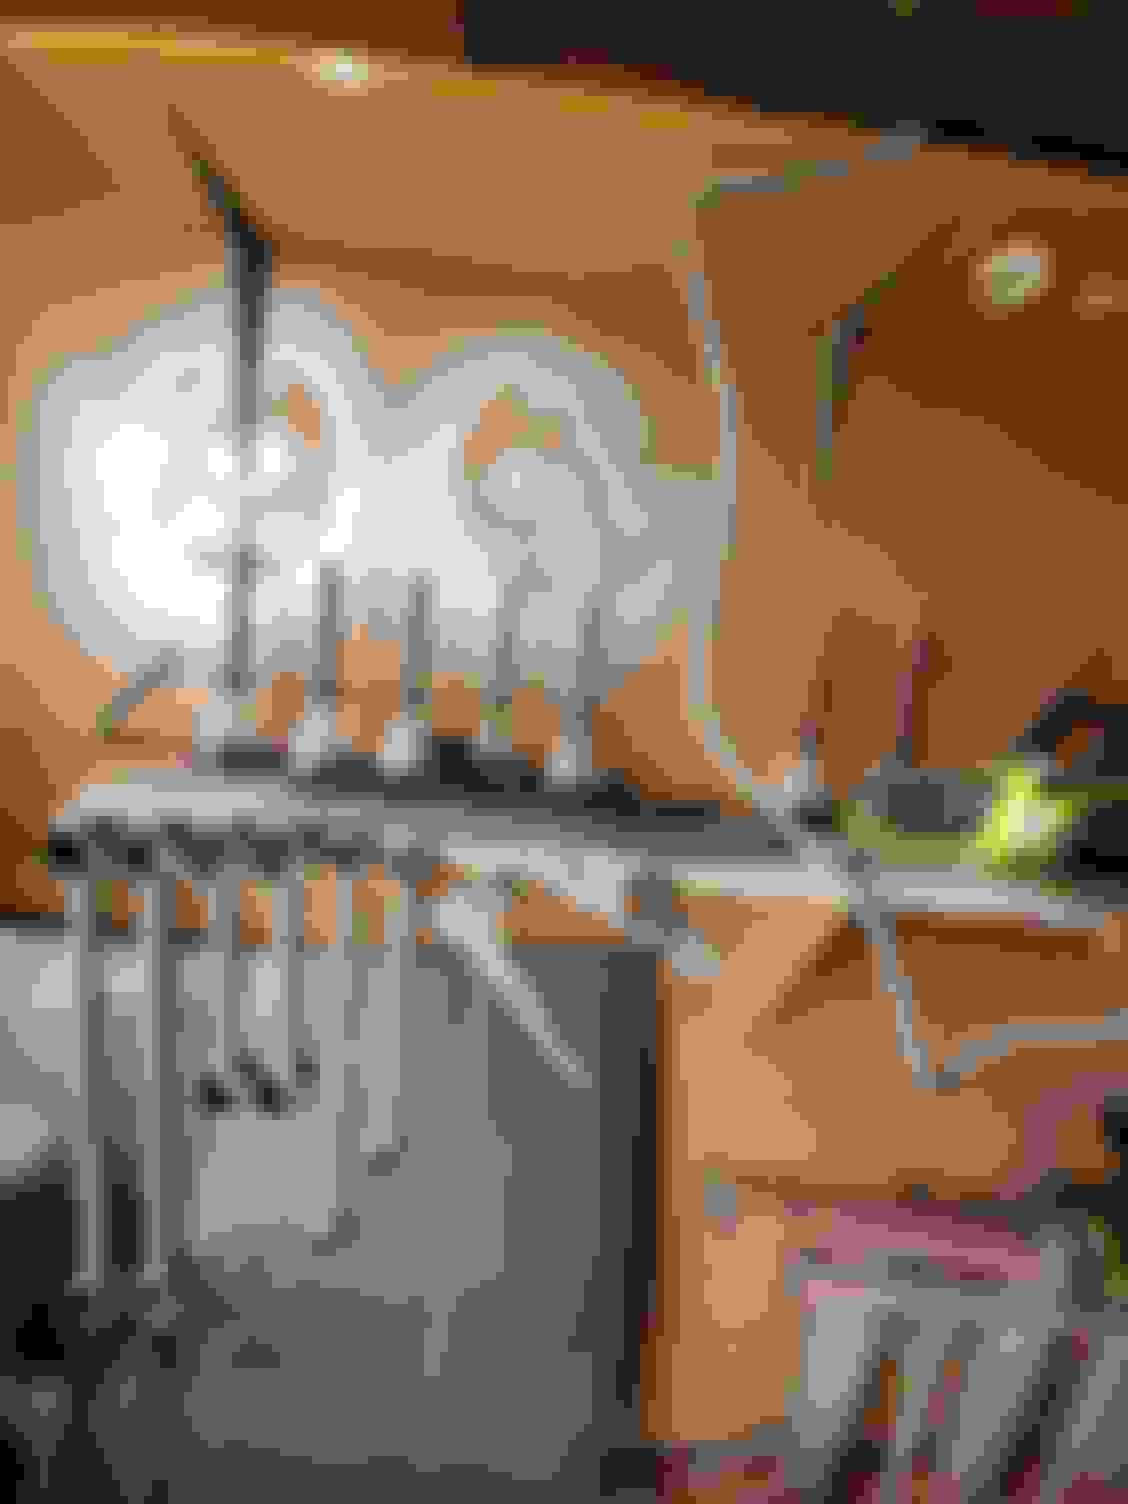
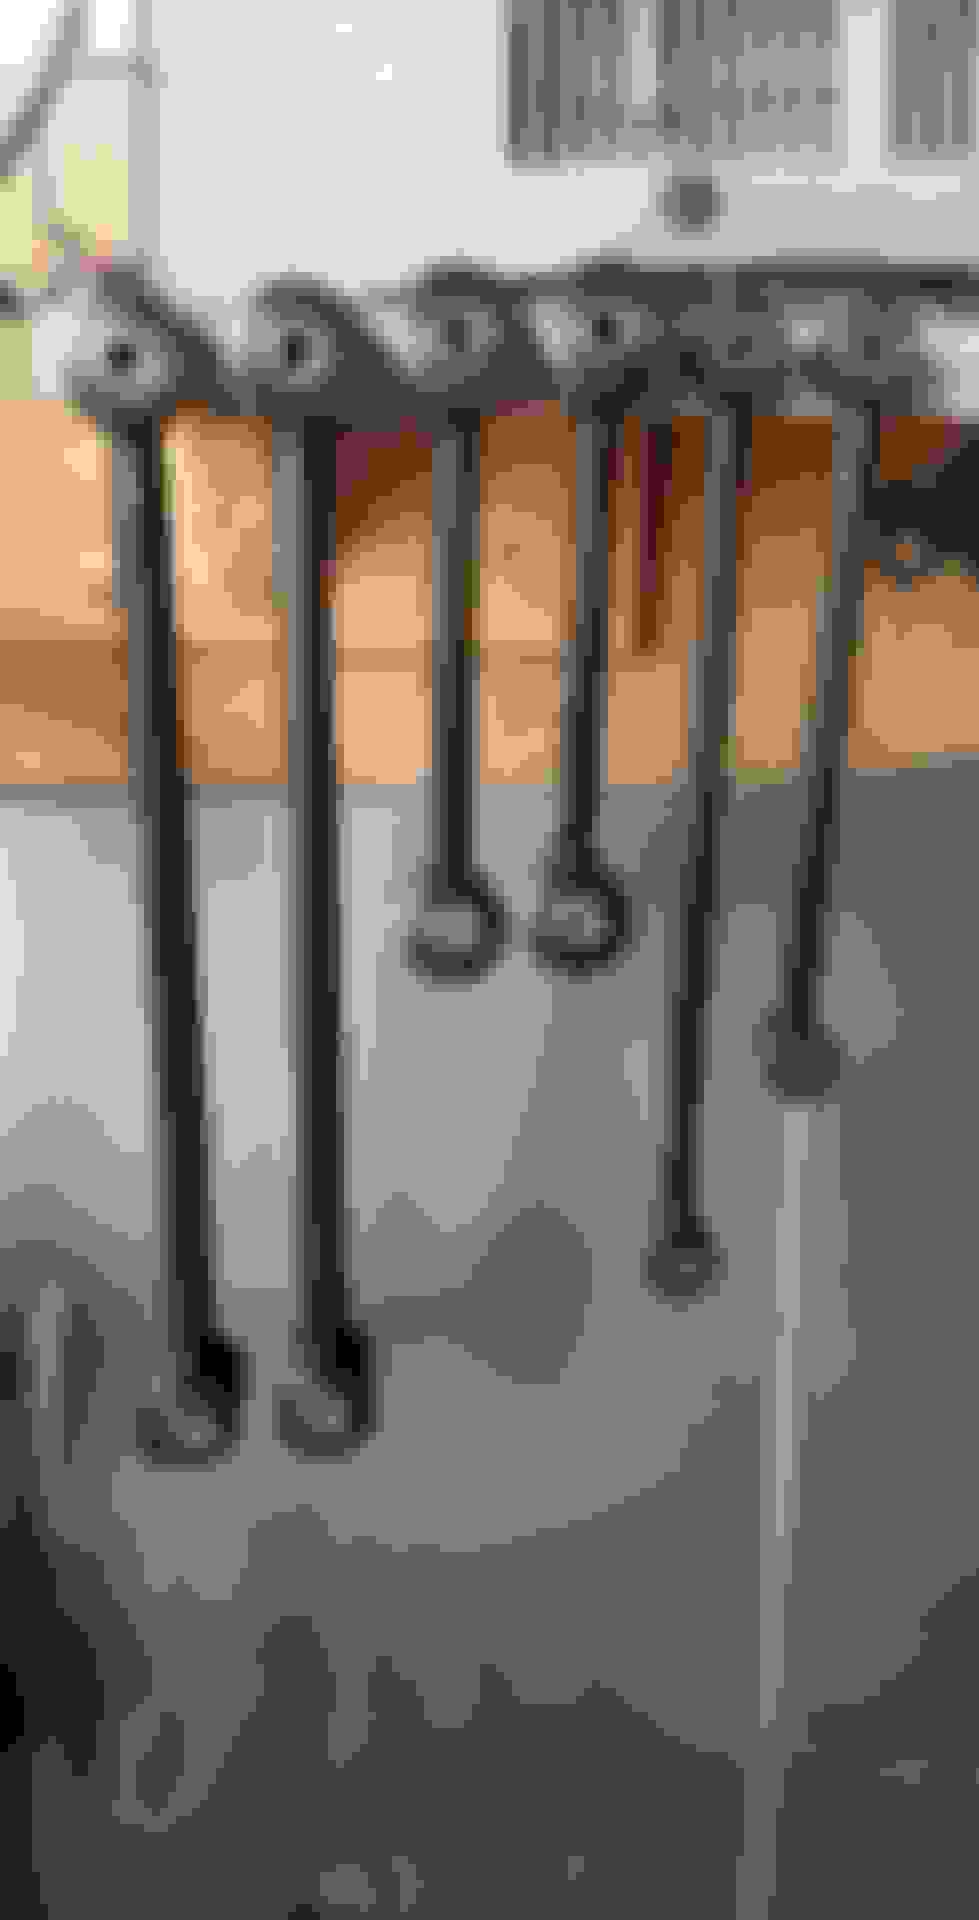
Well...finally did some painting....

Painted cluster....

Wire wheel cleaning...

Cleaned...ready for primer...

Primed...ready for paint....

Cut down rear springs 1 and 1/4 turn....

Finished product...like the way it cane out...

Rear calipers painted...

Well...it's all for now ..
Old 08-09-19, 04:40 PM
  #20  
Senior Member
Thread Starter
 
raven12aFB's Avatar
 
Join Date: Jan 2018
Location: Allen, Texas
Posts: 601
Received 115 Likes on 100 Posts
Update

Well.... I finally installed and bolted up the rear differential.

Made some brake lines....cut, bend and flared them... Came out pretty good.

Got a new water pump and a thermostat to install also...

Also ordered the caliper rebuilt kit with the rubber boots for the pins... Just waiting for the delivery..


Old 08-13-19, 07:25 AM
  #21  
Rotary Enthusiast

 
Toruki's Avatar
 
Join Date: Oct 2010
Location: MA USA
Posts: 1,064
Received 214 Likes on 170 Posts
Looking nice. One thing on the thermostat and, forgive me if you already know about it, but I've read on these forums that the exact part is important. I think it has a small hole to always allow some circulation even when closed.
Old 08-13-19, 10:45 AM
  #22  
Senior Member
Thread Starter
 
raven12aFB's Avatar
 
Join Date: Jan 2018
Location: Allen, Texas
Posts: 601
Received 115 Likes on 100 Posts
Originally Posted by Toruki
Looking nice. One thing on the thermostat and, forgive me if you already know about it, but I've read on these forums that the exact part is important. I think it has a small hole to always allow some circulation even when closed.
Thanks for the reply and the info..., I actually didn't know that...do you know where I can find more info on this? The thermostat I removed from the car has no hole on it...
Old 08-13-19, 07:45 PM
  #23  
ancient wizard...

 
GSLSEforme's Avatar
 
Join Date: Sep 2014
Location: Maryland
Posts: 2,335
Received 256 Likes on 209 Posts
OE thermostat has a jiggle valve in it,i prefer Mazda thermostats. You can drill a 3/32 hole in the middle of flange on that to essentially do the same thing. Orient thermostat so drilled hole is situated at uppermost part of t stat housing,helps purge all the air,whereas installed the opposite way can allow a bubble of air to congregate under thermostat. As you're filling radiator,you can squeeze upper hose repeatedly and burp out air.

You can look on Mazdatrix or Atkins Rotary to see oe thermostat to help get a visual on where to drill burp hole.
Old 08-14-19, 10:20 AM
  #24  
Senior Member
Thread Starter
 
raven12aFB's Avatar
 
Join Date: Jan 2018
Location: Allen, Texas
Posts: 601
Received 115 Likes on 100 Posts
Originally Posted by GSLSEforme
OE thermostat has a jiggle valve in it,i prefer Mazda thermostats. You can drill a 3/32 hole in the middle of flange on that to essentially do the same thing. Orient thermostat so drilled hole is situated at uppermost part of t stat housing,helps purge all the air,whereas installed the opposite way can allow a bubble of air to congregate under thermostat. As you're filling radiator,you can squeeze upper hose repeatedly and burp out air.

You can look on Mazdatrix or Atkins Rotary to see oe thermostat to help get a visual on where to drill burp hole.

Thanks for the info. I know about the jiggle thingy but I did not knew it was needed on our cars....I will order the right one....
Old 08-14-19, 10:38 AM
  #25  
ancient wizard...

 
GSLSEforme's Avatar
 
Join Date: Sep 2014
Location: Maryland
Posts: 2,335
Received 256 Likes on 209 Posts
Originally Posted by raven12aFB
Thanks for the info. I know about the jiggle thingy but I did not knew it was needed on our cars....I will order the right one....
The jiggle valve is to help burp/bleed air from cooling system. You can create the same effect by drilling the hole in what you have. I like to use oe thermostat,feel it's built better,calibrated closer than aftermarket ones.


Quick Reply: 82 GSL FB road back to old self!


All times are GMT -5. The time now is 02:32 AM.