When you click on links to various merchants on this site and make a purchase, this can result in this site earning a commission. Affiliate programs and affiliations include, but are not limited to, the eBay Partner Network.
Do you have a buddy who can force feed gasoline (with pre-mix) while you give it a start? Or the buddy give it a start while you, the more experienced of the two, feed the engine.
Are you sure you have all of the ports plugged up, as this could be many different engines that this has been assembled from.
I went out this morning soon as I was awake 10 am, for those counting, and took a little video.
It's not terribly easy to see, but the fuel is basically DRIPPING out of the booster, not atomizing or spraying. I think liquid gas doesn't burn, right? But why is it dripping, and not atomizing? Id din't change the booster size at all, just the main venturi.
I'm wondering if my secondary main venturis are too large so that there's not enough flow at cranking speed to properly atomize fuel?
I can measure vacuum if I can get it running. Will try that later today. It makes me nervous doing all this cranking without knowing the OMP. I think I'll mix up a few gallons of 2-stroke to put in the car.
OK I'm feeling like I'm abusing forum space, but hey...I want t get this thing running.
After taking the dog out, so I could think, I went back to the 7, put full choke on, and started the car in about 2 seconds. Even got it to idle, with choke lever pulled all the way out. I gradually pushed the choke lever in, till almost all the way off, and car was idling around 1k. Not bad right? Then it died.
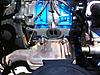
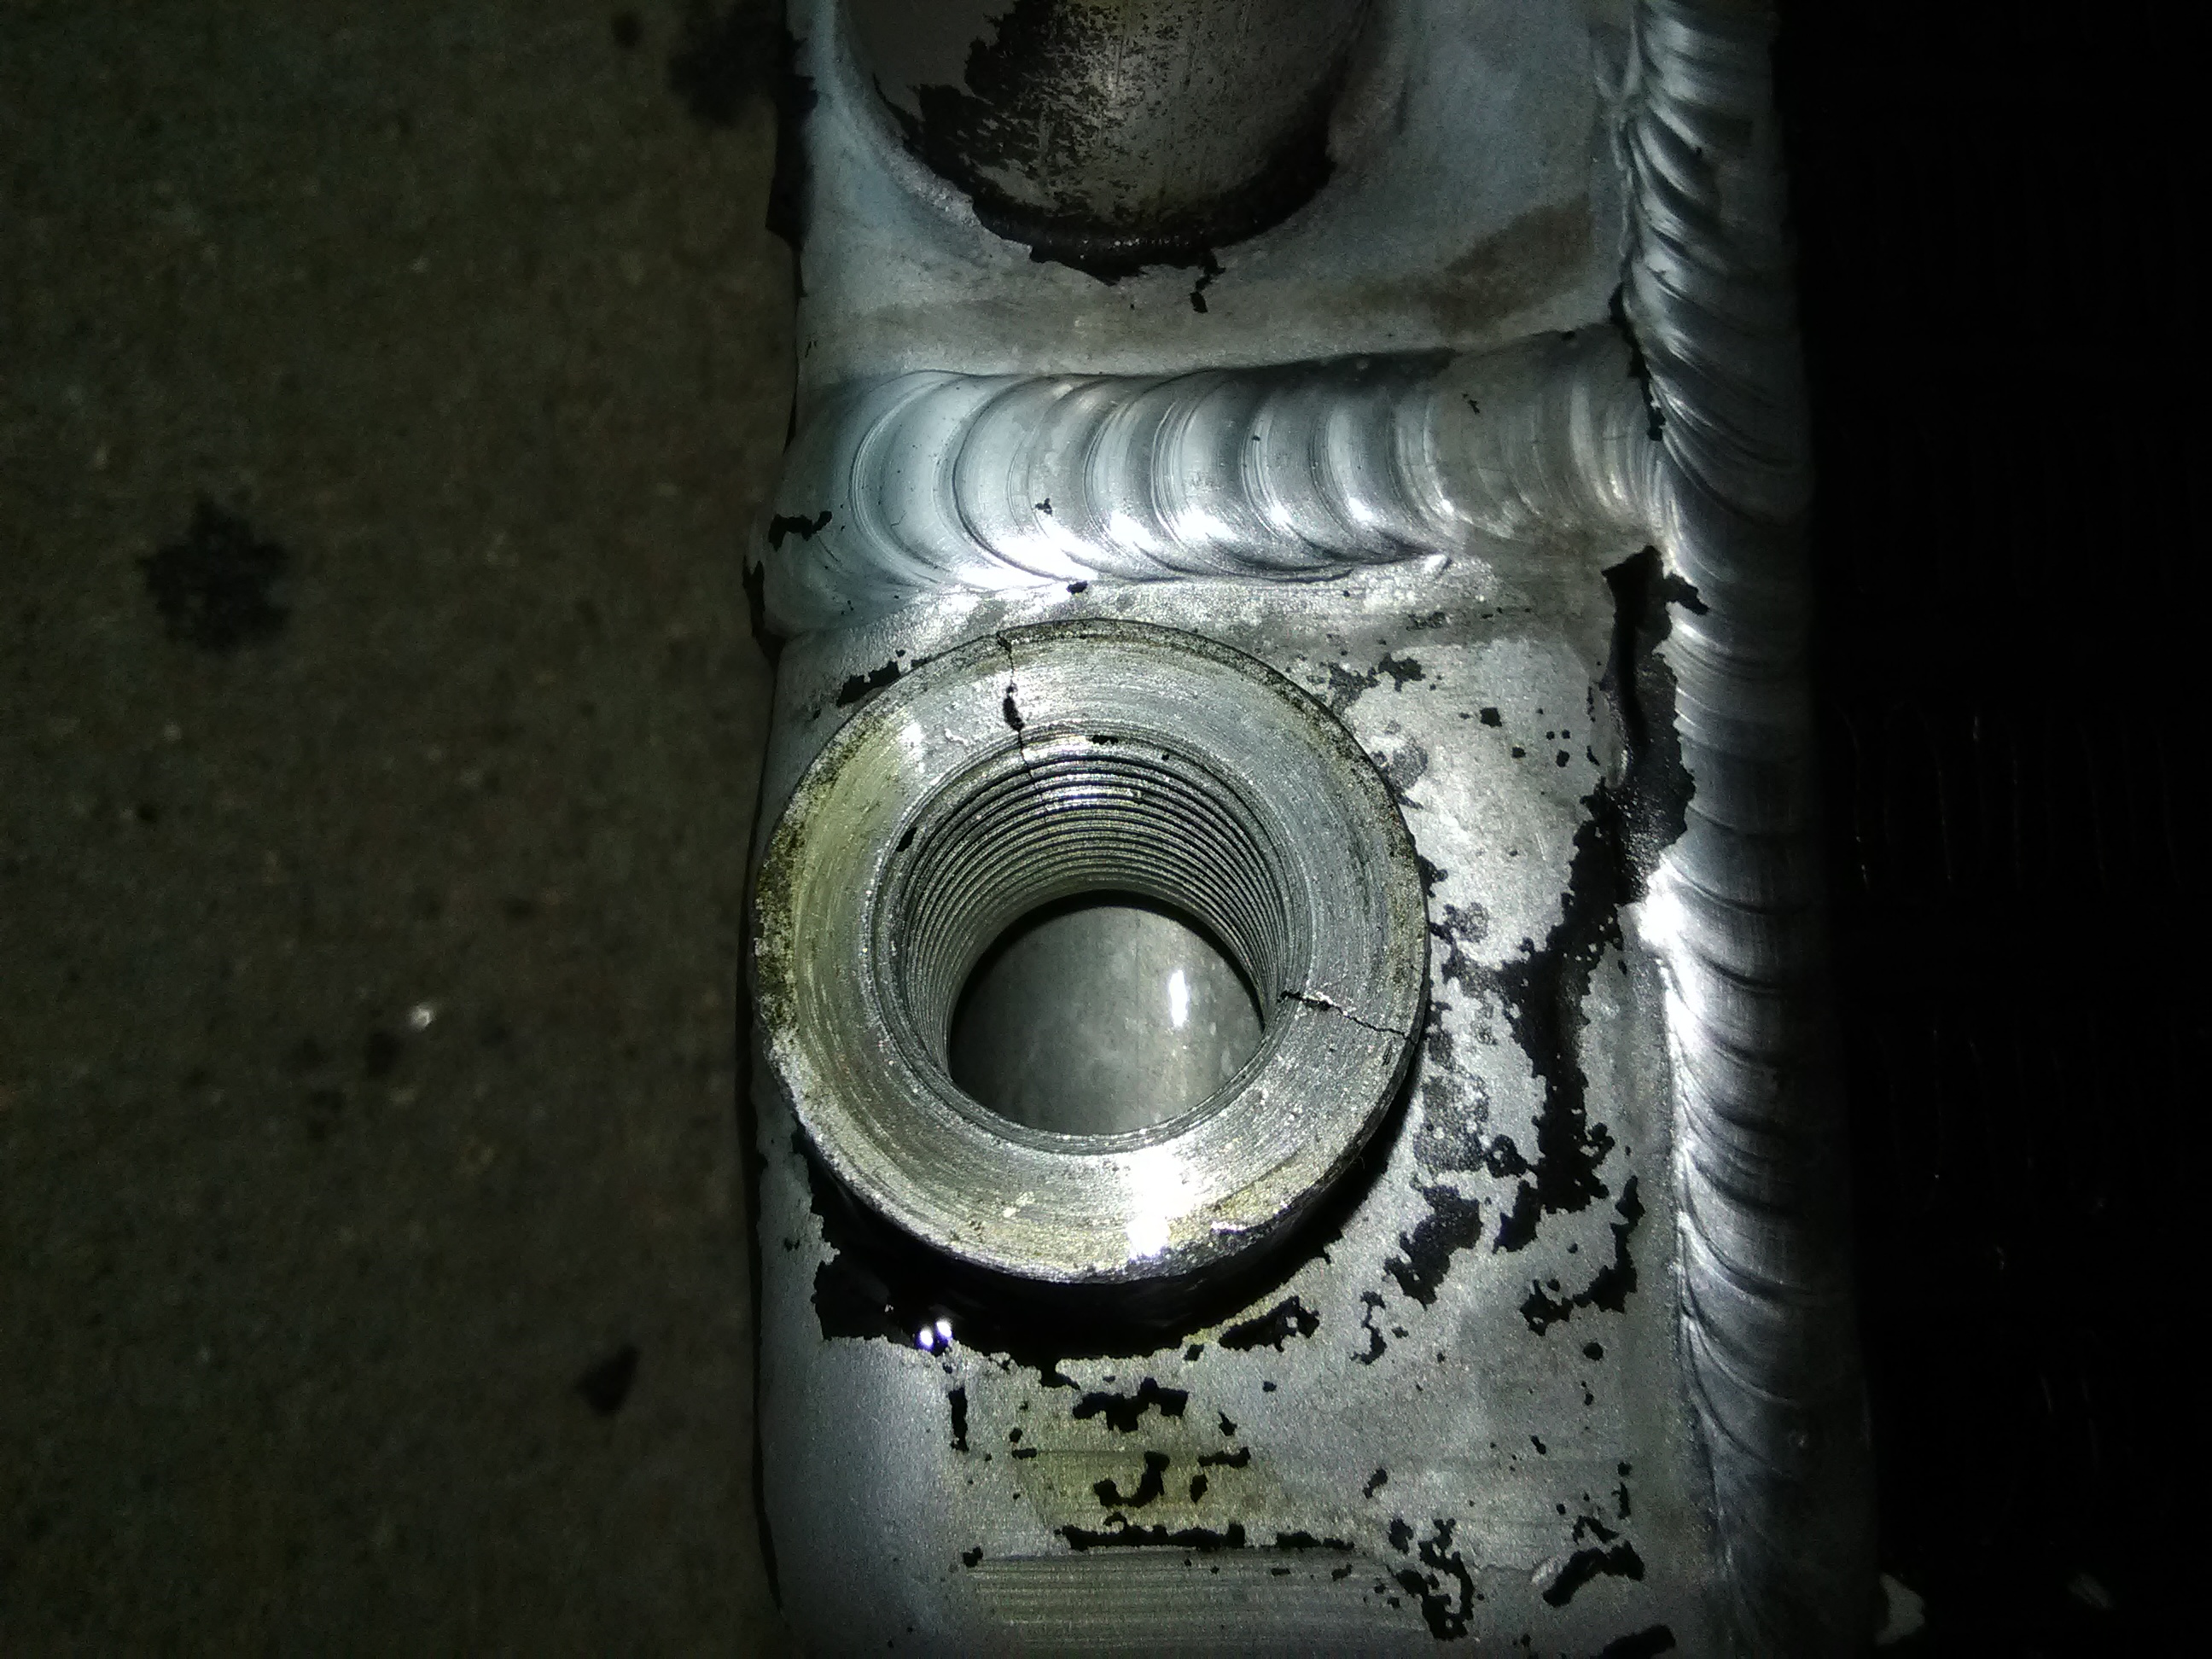
I went ahead and pulled the manifold again, cause it's still leaking fuel. here's what I found:
WHY! WHY is it leaking fuel everywhere around the gasket? I am at a loss.
That's a hand-cut manifold gasket, made from supposedly good materials for gas resistance.
I do know, that I have a non-functional float bowl vent solenoid, it doesn't click. Am I getting too much fuel pressure because of this? If pressure is too much, I think it would make sense that the venturies would not function properly, and cause the dripping of fuel rather than mist they're supposed to.
No waste of forum space... this forum is in place so that as many RX7's are on the road as possible.
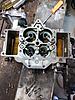
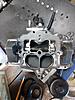
Do you have any pictures of the carb body you are using? What carb top are you using?
I had a similar experience with my carb body (from an 84 I think) and my carb top (from an SA I think). Their are two small holes inbetween the primary and secondary venturies. The holes are in the wall that divides the two. If they are not plugged up your car will exhibit similar symptoms.
Its also possible that you are just good ole fashion flooding.
Erg, max file size is 5mb? I'll have to find some other way to upload video.
I took the top of the carb off, and using some compressed air, first blew through the venturis backwards, got some crap out of them! Well more likely out of the internal passages in the carb.
Then I took the air, and blew it through the venturis, simulating vacuum, and fuel sprays out in a nice fine mist. this is with ~15 pounds of air, trying to simulate vacuum.
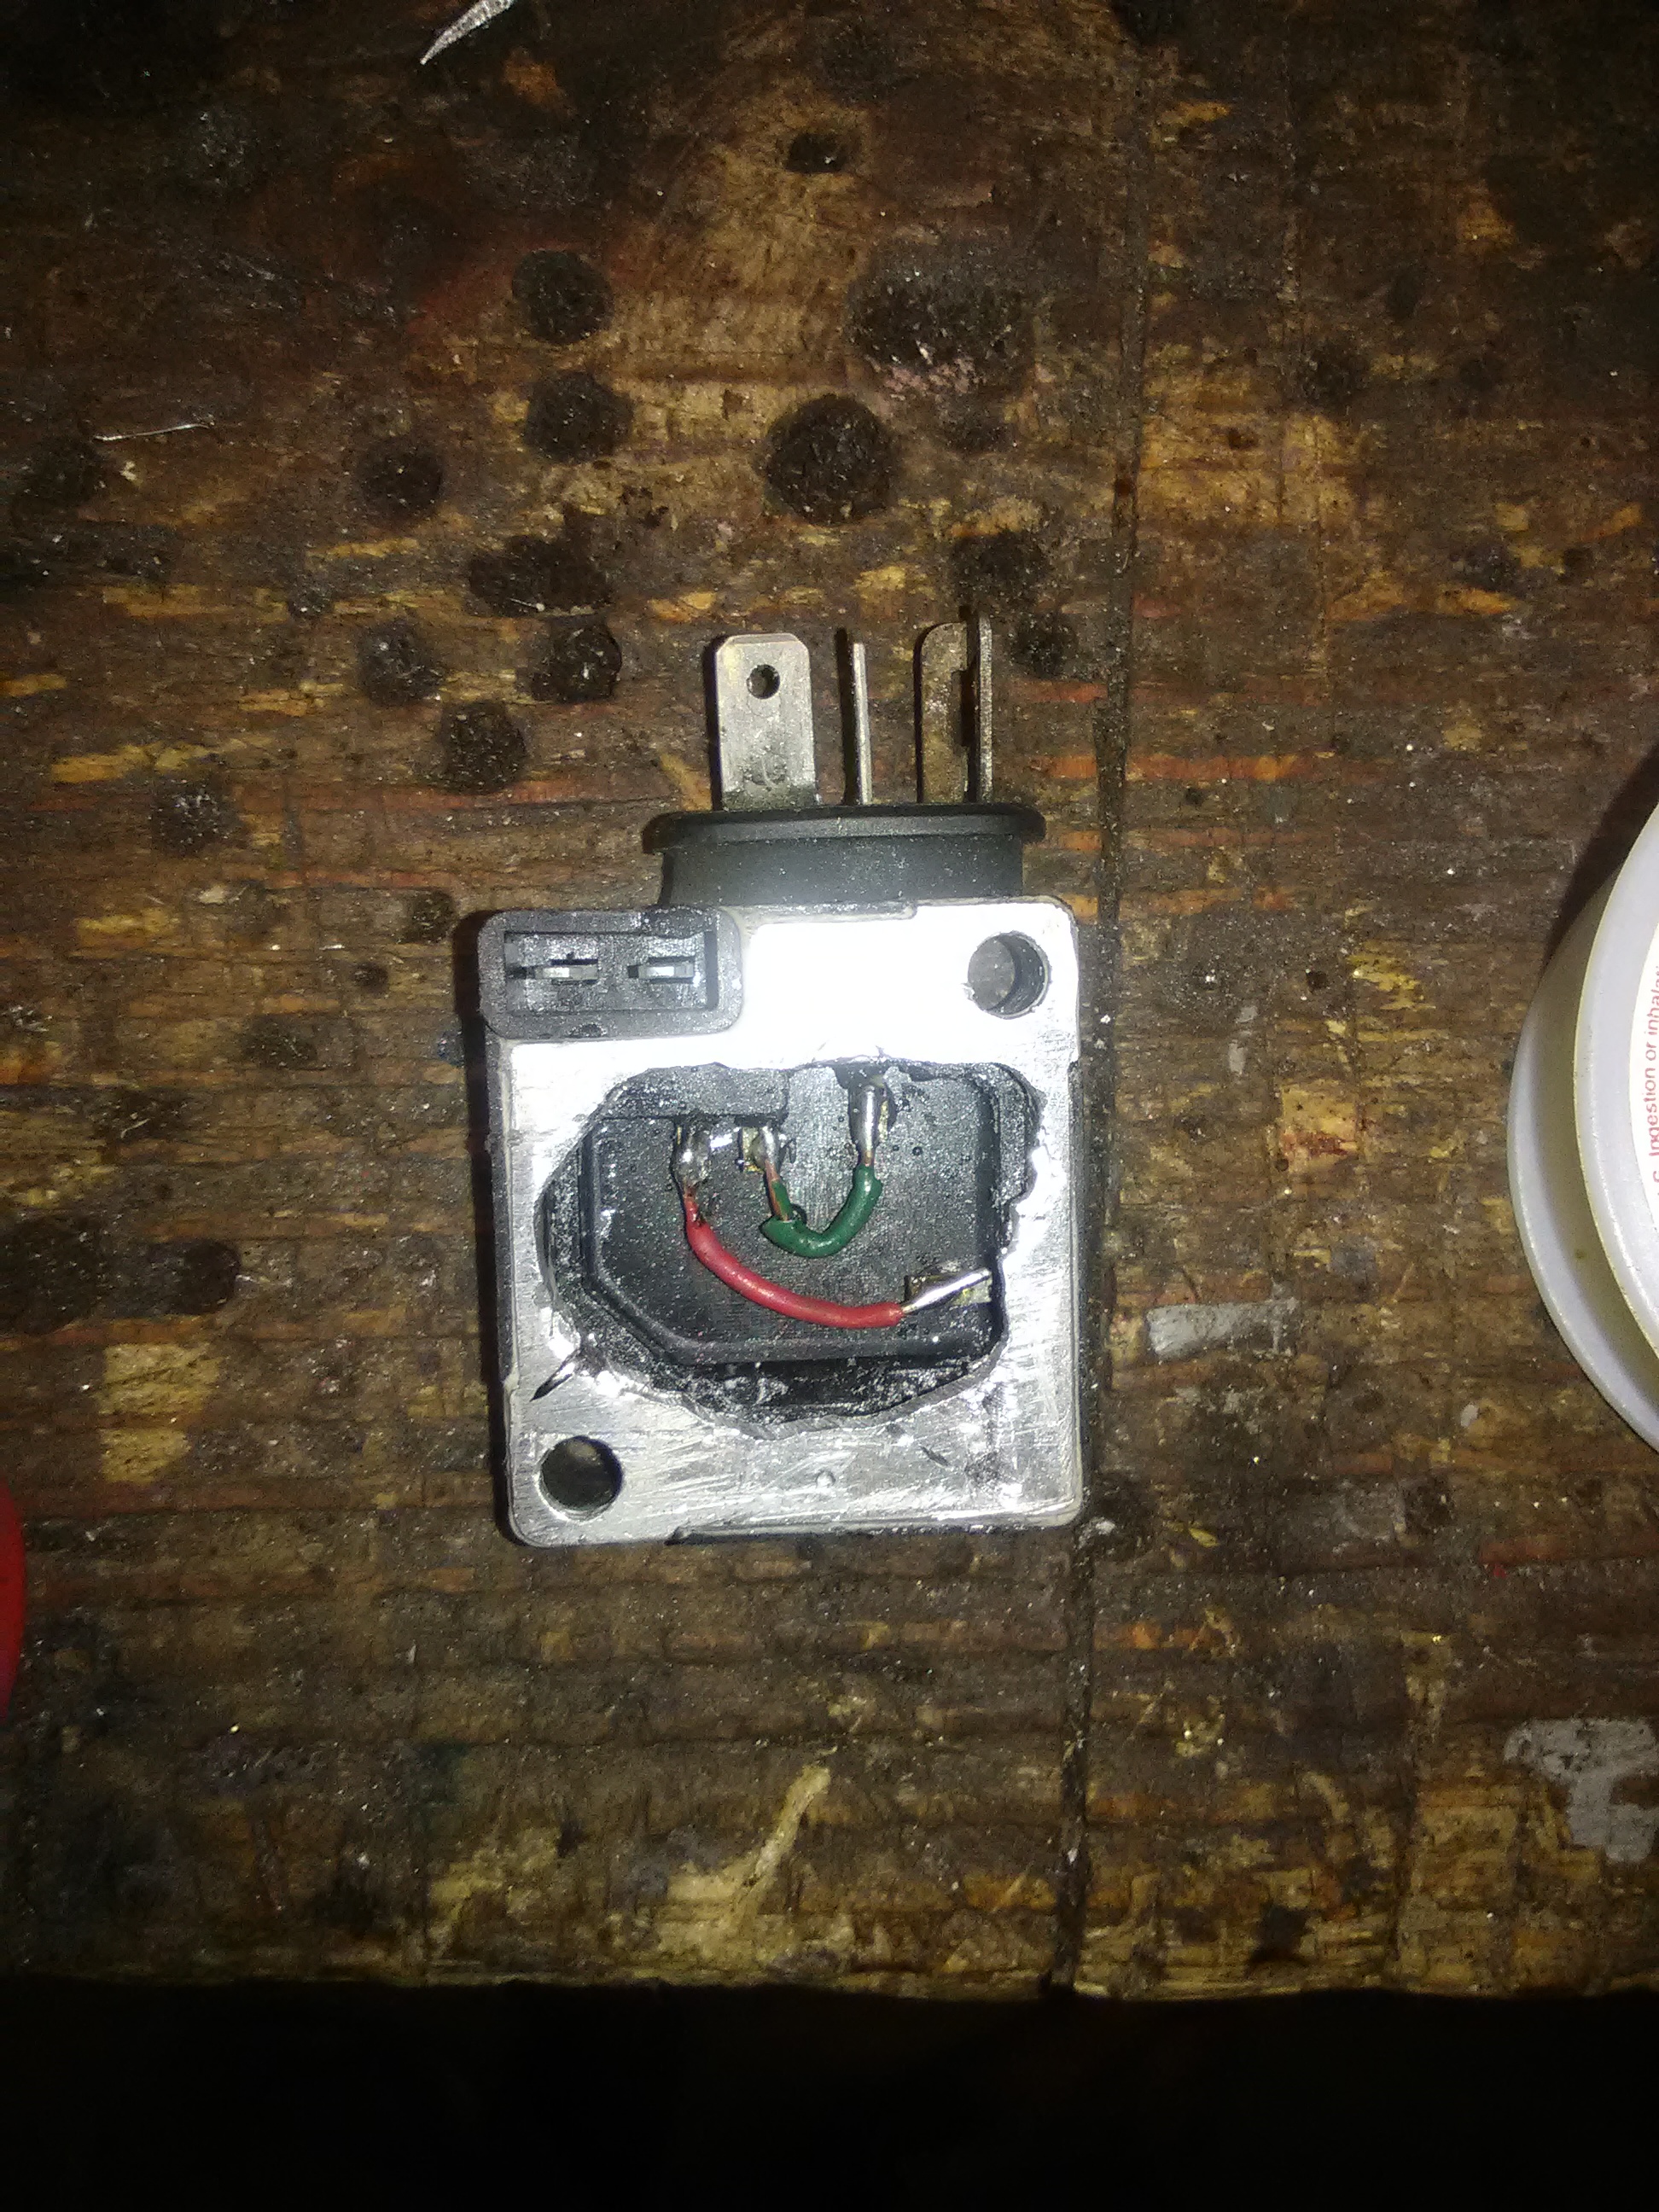
My vent solenoid is non-operational. Should I just glue it in place, in the retracted position?
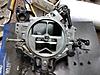
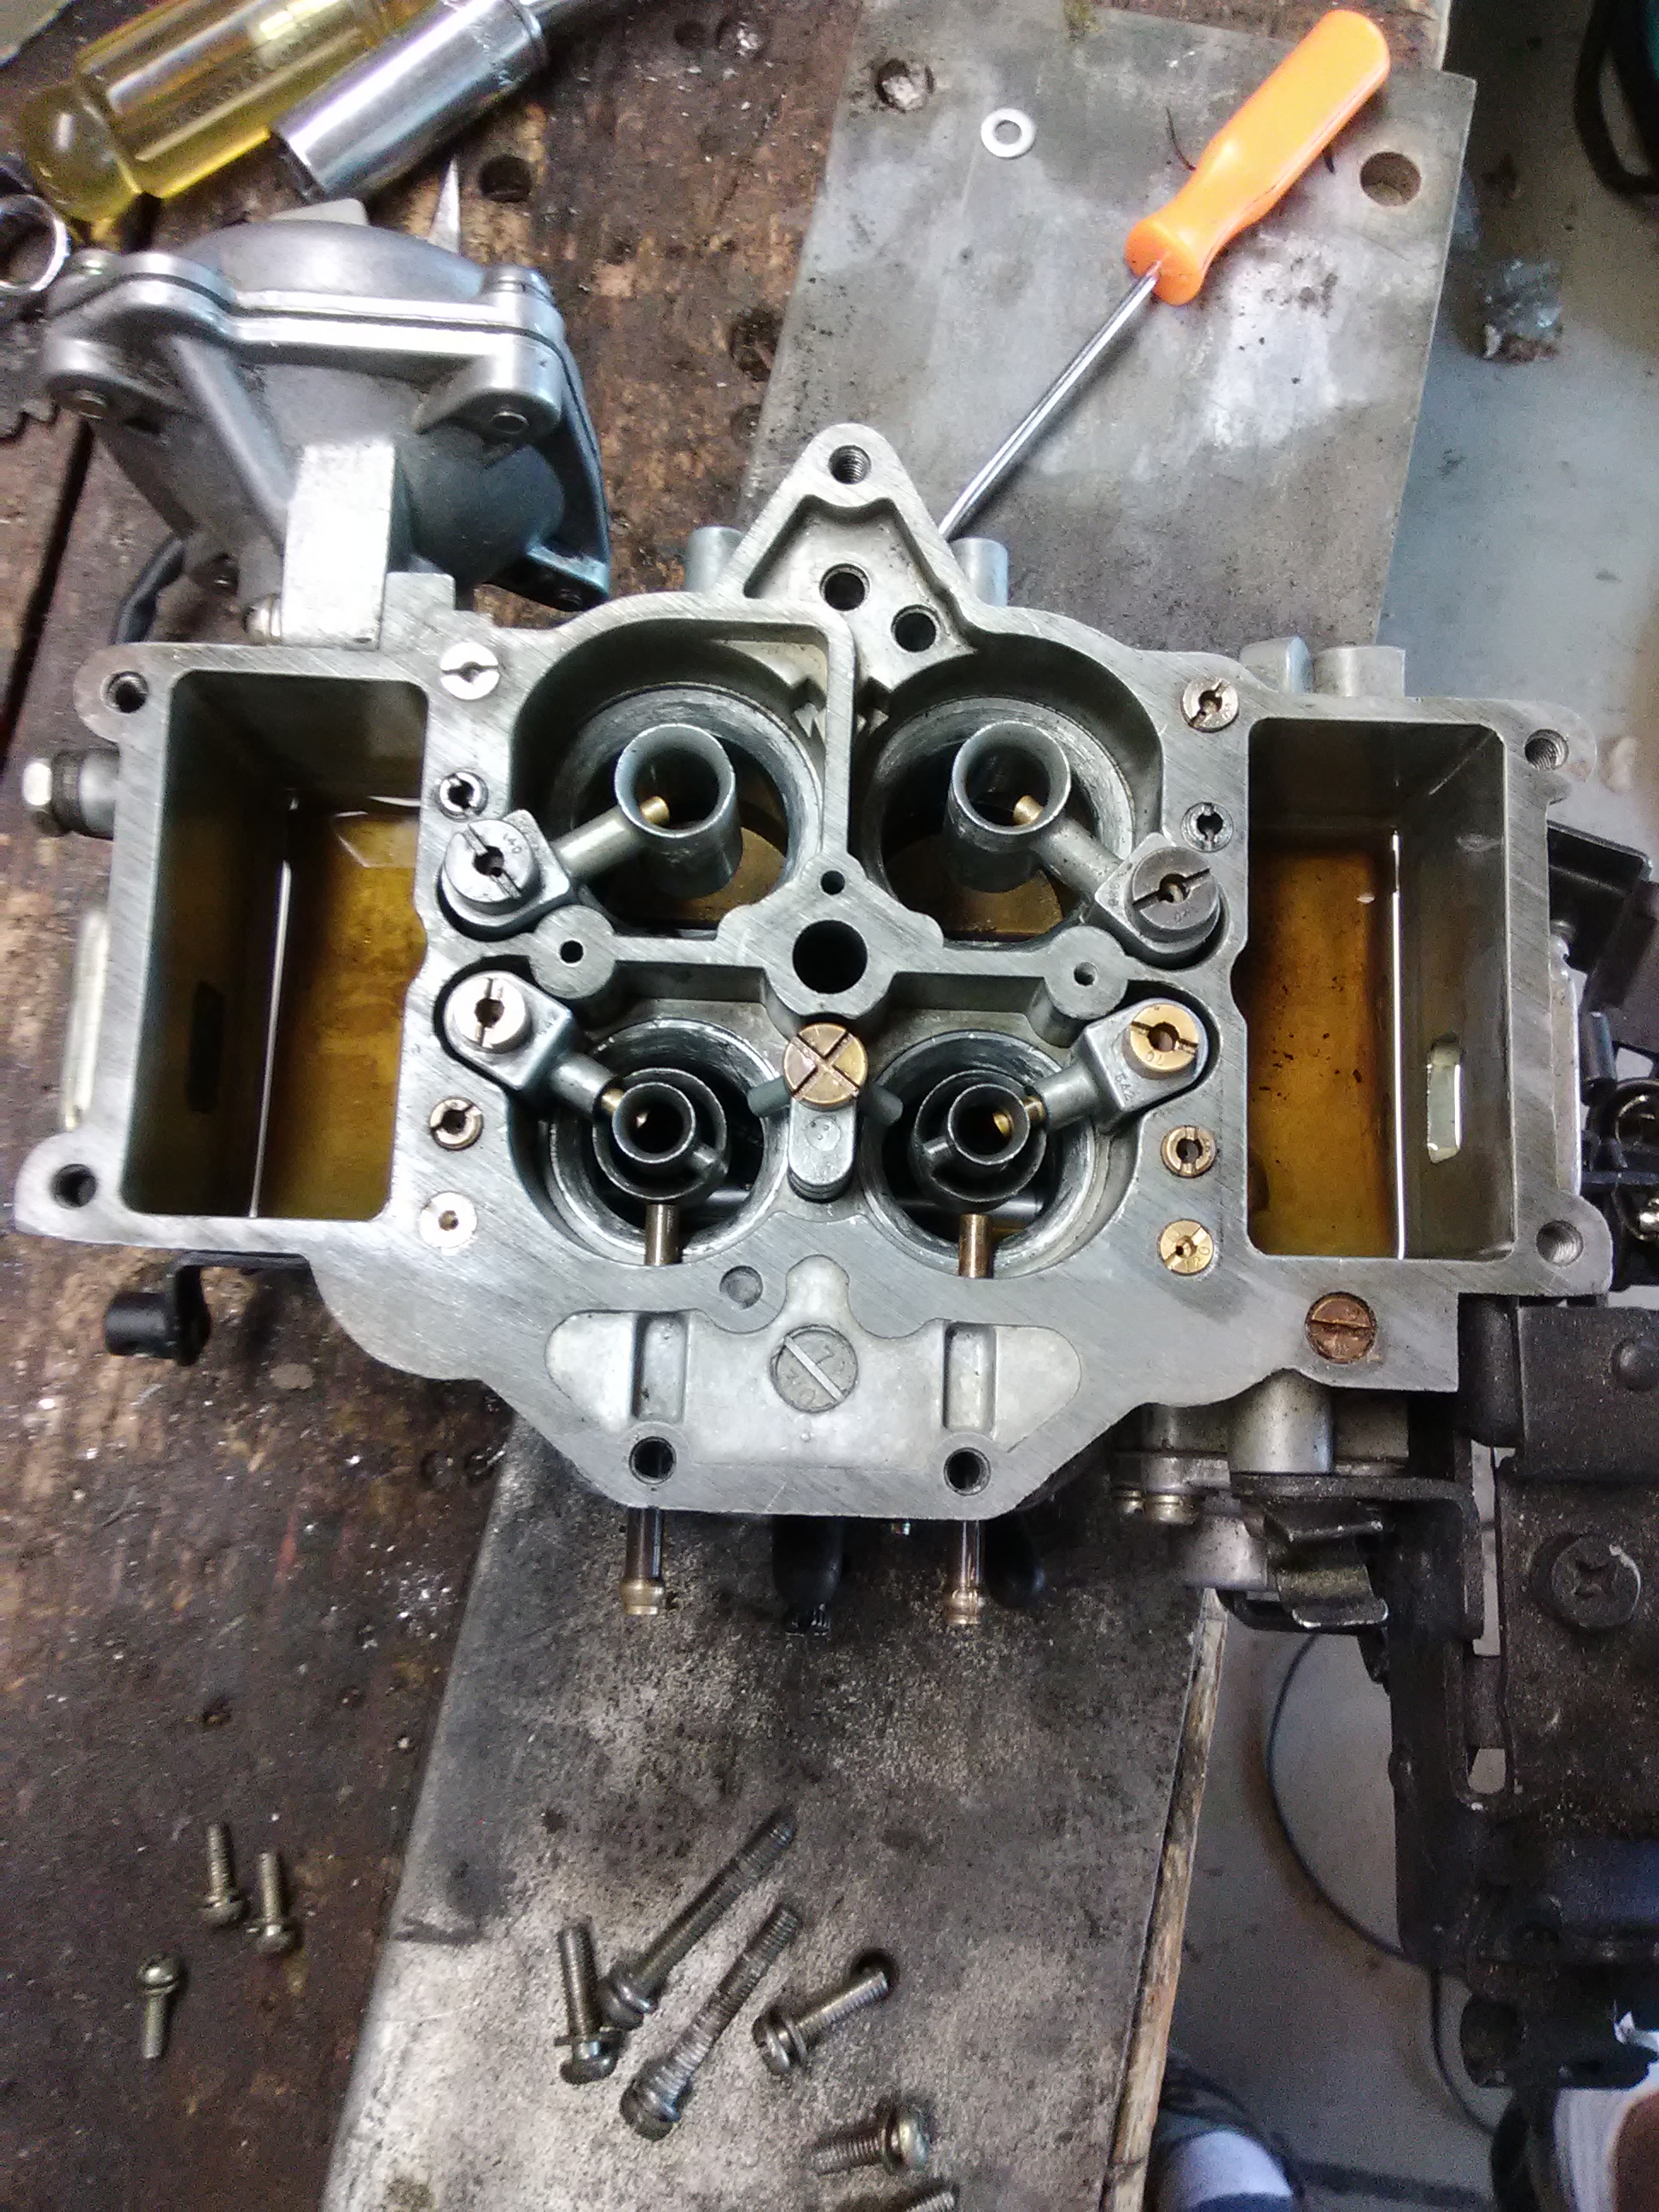
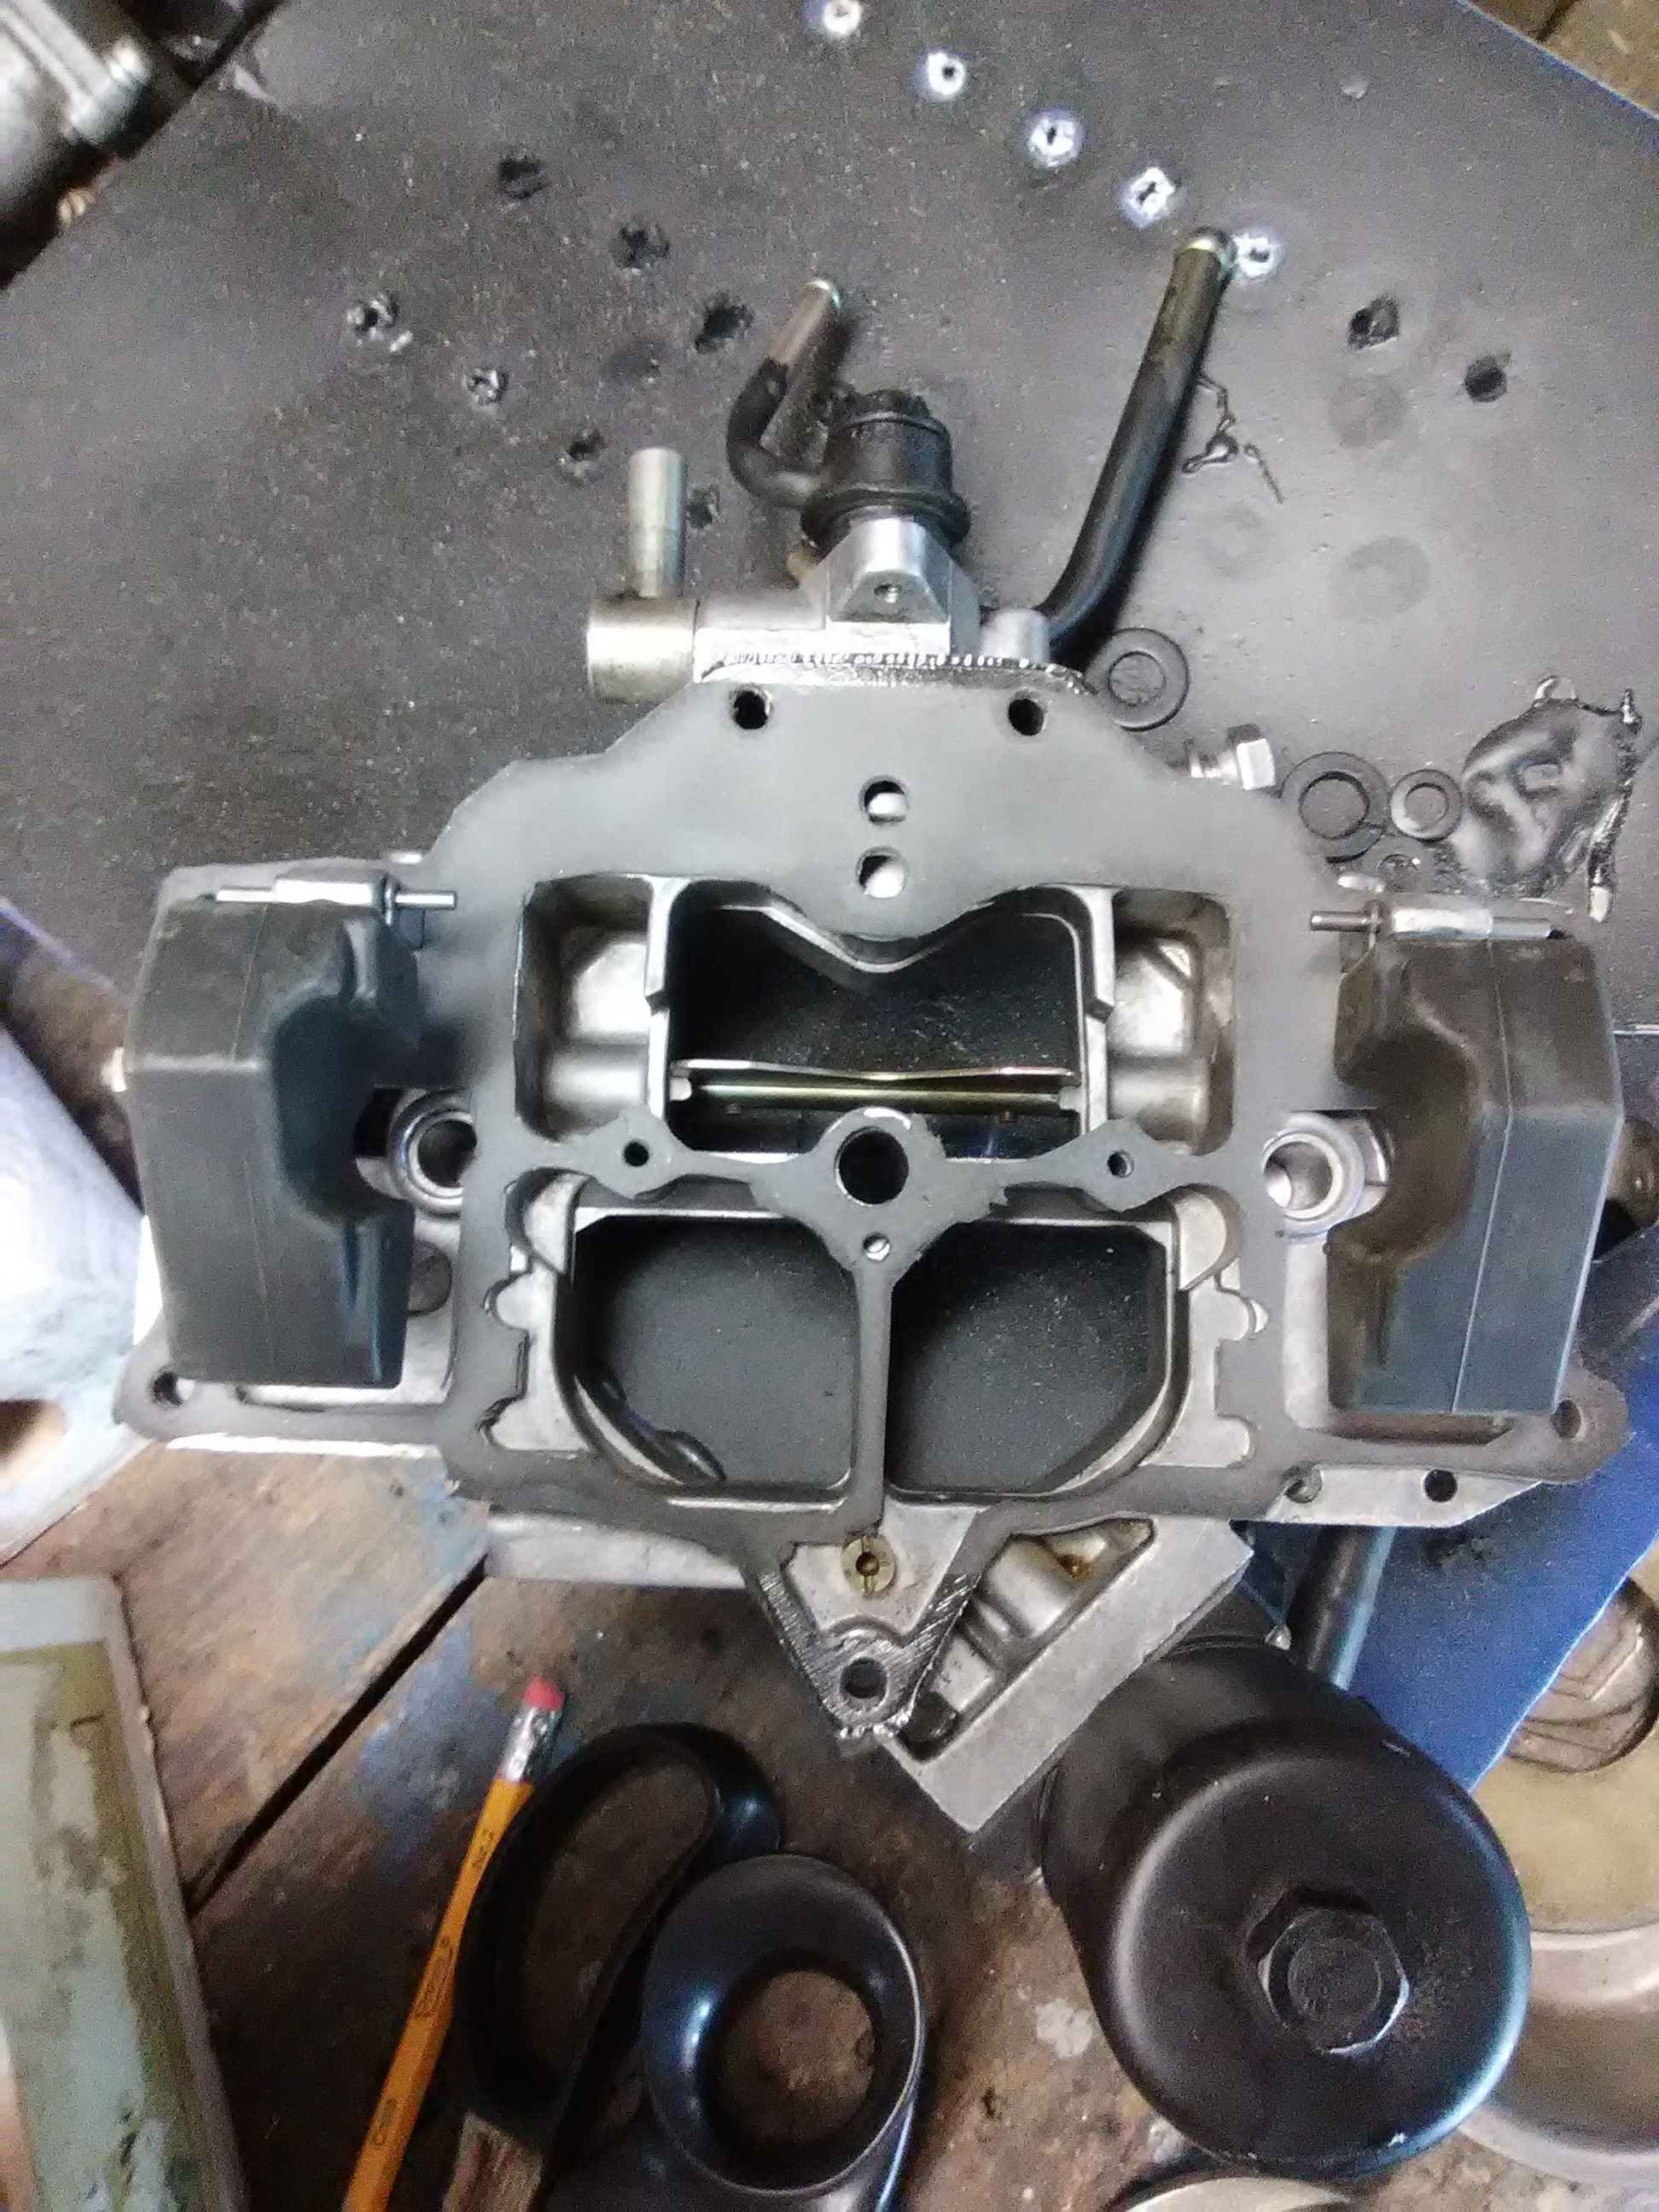
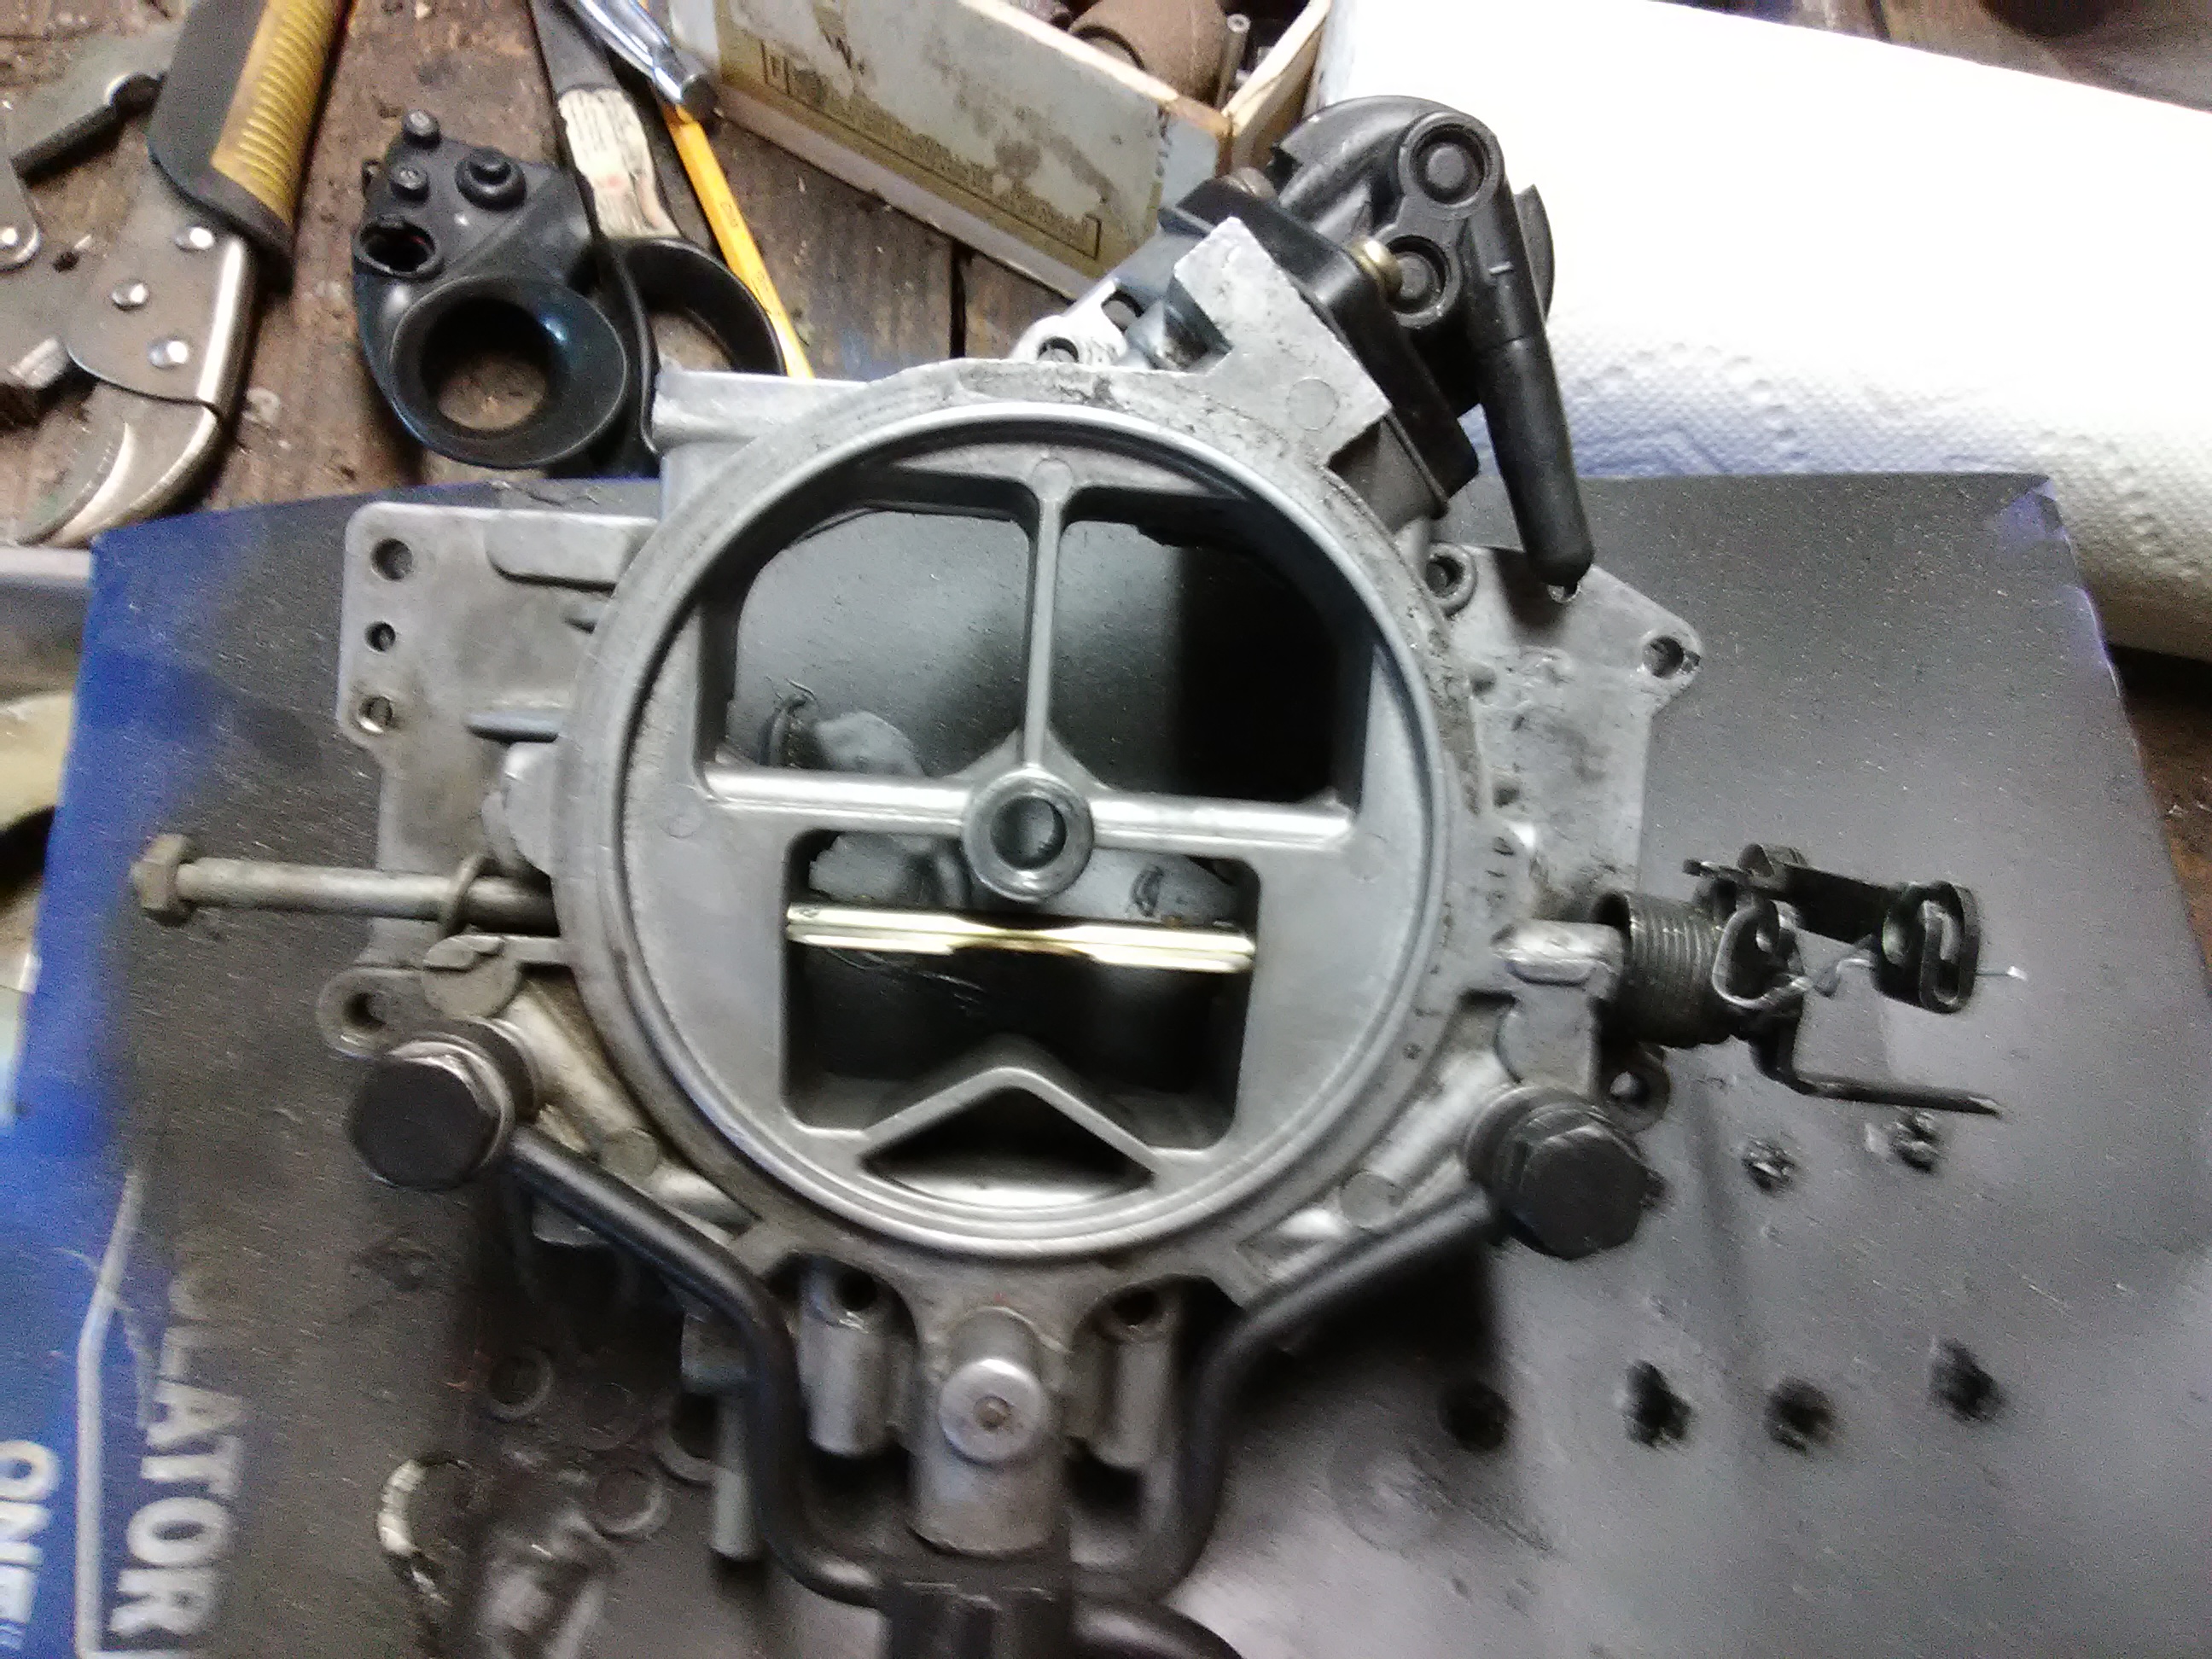
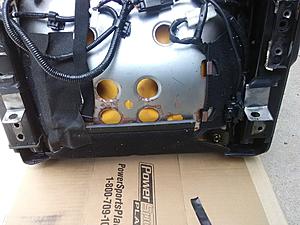
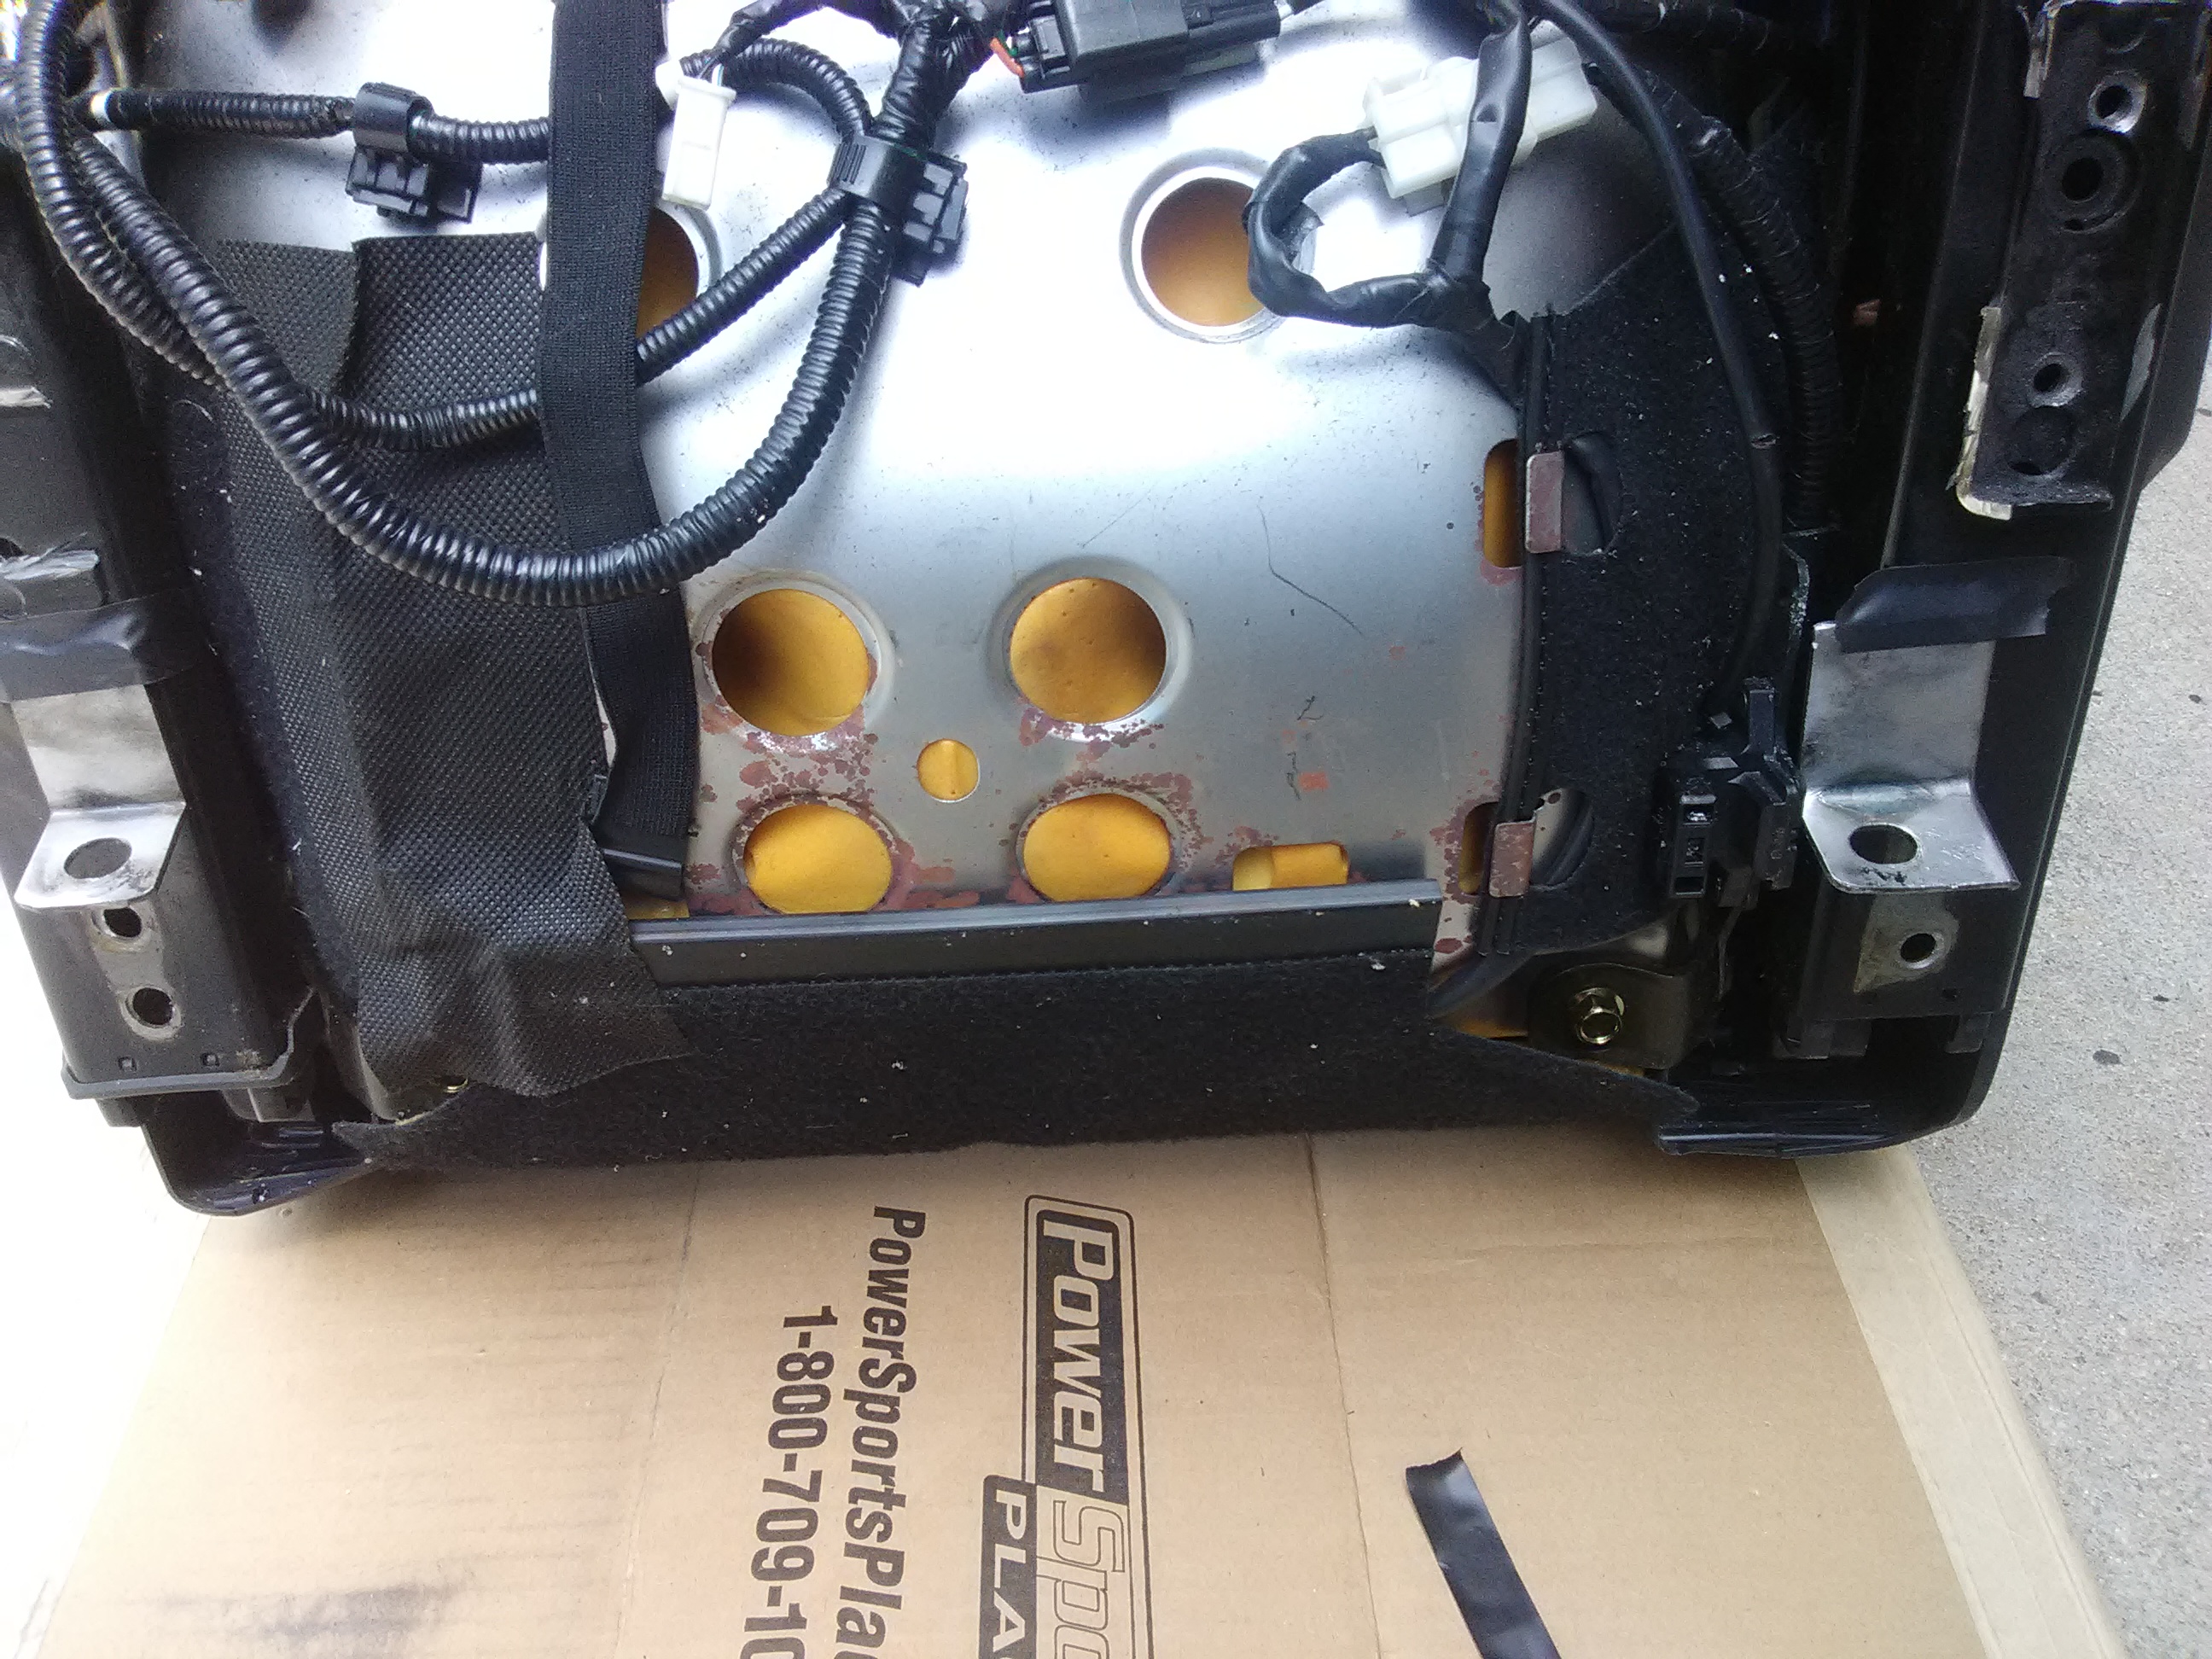
Oh here's some pics of the carb, if it helps at all:
I don't know whats going on with that vent solenoid thing... I musta deep sixed it a while back.
BUT you do have the correct top to match with the carb body.
That fuel looks ANCIENT. Did you blow out your lines after you cleaned up the tank? Bad gas won't ignite.
Liquid fuel will find its way into the carb barrels through the boosters if your carb is flooding. You can bench test the carb to make sure its functioning properly. Its less cumbersome to work on a carb outside of the car. All you need is a length of hose to connect the carb to the existing fuel lines on the car.
The fuel isn't ancient. It's rust I think in the metal lines. I'm working on blowing them out tonight/tomorrow. I put in a new glass filter in the engine bay, just before the carb so I can see what's up.
I'm 90% sure it's flooding! I took the carb off the manifold, and turned on the fuel pump, lo and behold, the sight glass is FULL of fuel. That would explain why it's leaking out of the carb, right? I don't see it right away, but with the engine not running, and the fuel pump on the carb leaks significantly! Just not sure where from. I suspect the booster venturis, and I don't see it easily, but it could be from the airhorn gasket too. Once I get teh fuel lines cleaned out, I'll experiment some more.
I also checked the pressure, kinda ghetto, but I jammed a fuel pressure gauge into the feed line, and turned on the pump, 4 psi. Is 4 what the Nikki needs? I'm curious if a clogged return line would cause these problems?
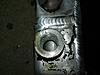
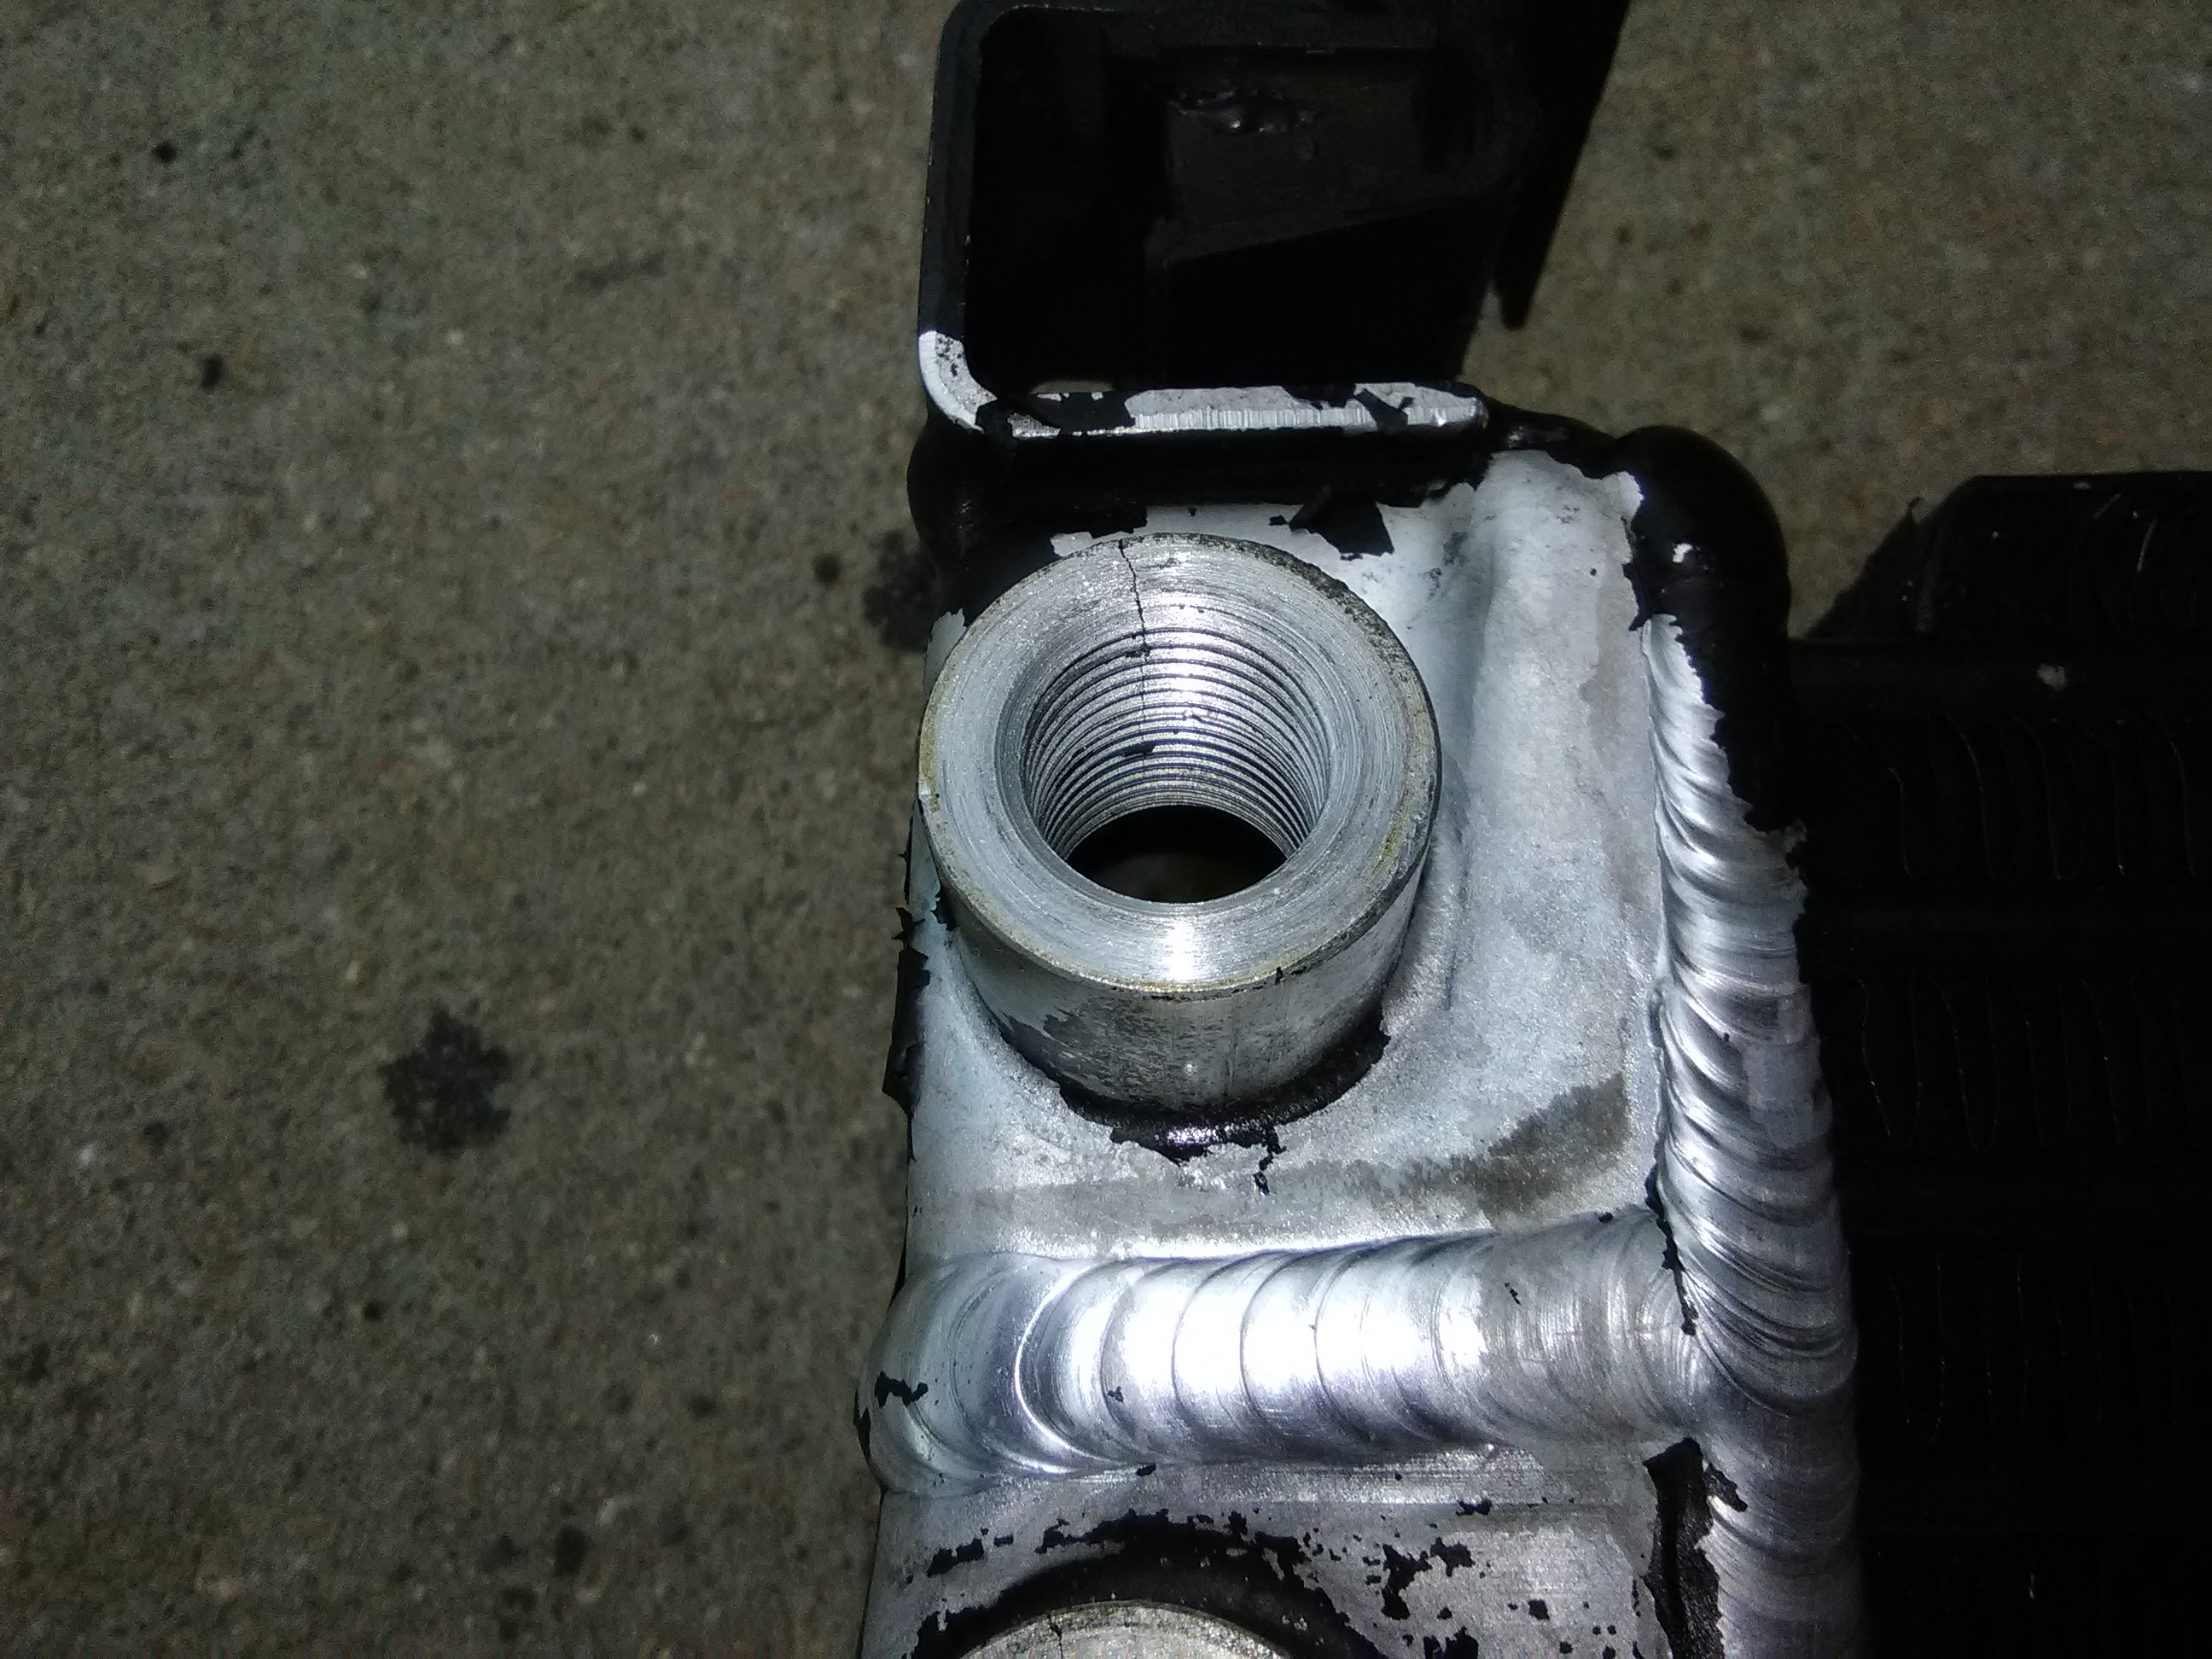
Got the car back into the garage, whoa 2300 pounds is heavy being pushed up a driveway. And I think I figured out the oil cooler leak,I used the wrong crush washers. Will try to find tighter fitting crush washers tomorrow too.
Rust and particulate from nasty fuel lines can wedge itself inbetween the needle and the seat. This will cause the bowls to flood. Once the bowls are full of fuel the fuel finds the easiest way out; the easiest way is through the boosters.
Nikkis are supposed to run on 2.5 PSIG; but I have run mine on 1 and up to 4. Its best to leave it at 2 and a half.
What regulator and fuel pump are you using? A clogged return line could cause a heighted fuel pressure.
Good thoughts on the particulates in the need/seat area. I will blow them out tomorrow. I happen to have second set of needles, with the soft rubber tips, in the spare Nikki. I will inspect the ones I have and compare.
Racing Beat recommends 4-4.5 psi for the Nikki. Seems quite high to me. My old edelbrock 650 and Mikunni phh 44 liked around 2.5 psi.
I'm not sure about the pump, it looks like some generic cylinder that was put in there, I don't think it actually fit properly, so I think it's a universal. I need to find a regulator. Will order from Summit Monday.
Now that I've got the car up in the air in the garage I will un-hook the return and supply lines tomorrow and clean em out as well. Any recommended procedure, other than hose and air pressure?
There is a lot here that I can critique and correct you on. But it is the end of the day for me and I'm tired. Tired form working on... carbs, you guessed it.
Your hand-cut intake manifold gasket won't work due to being too thin and not the right material. Order some new ones from Mazdatrix. Only use them once. If you have to pull your mani, swap in a new gasket.
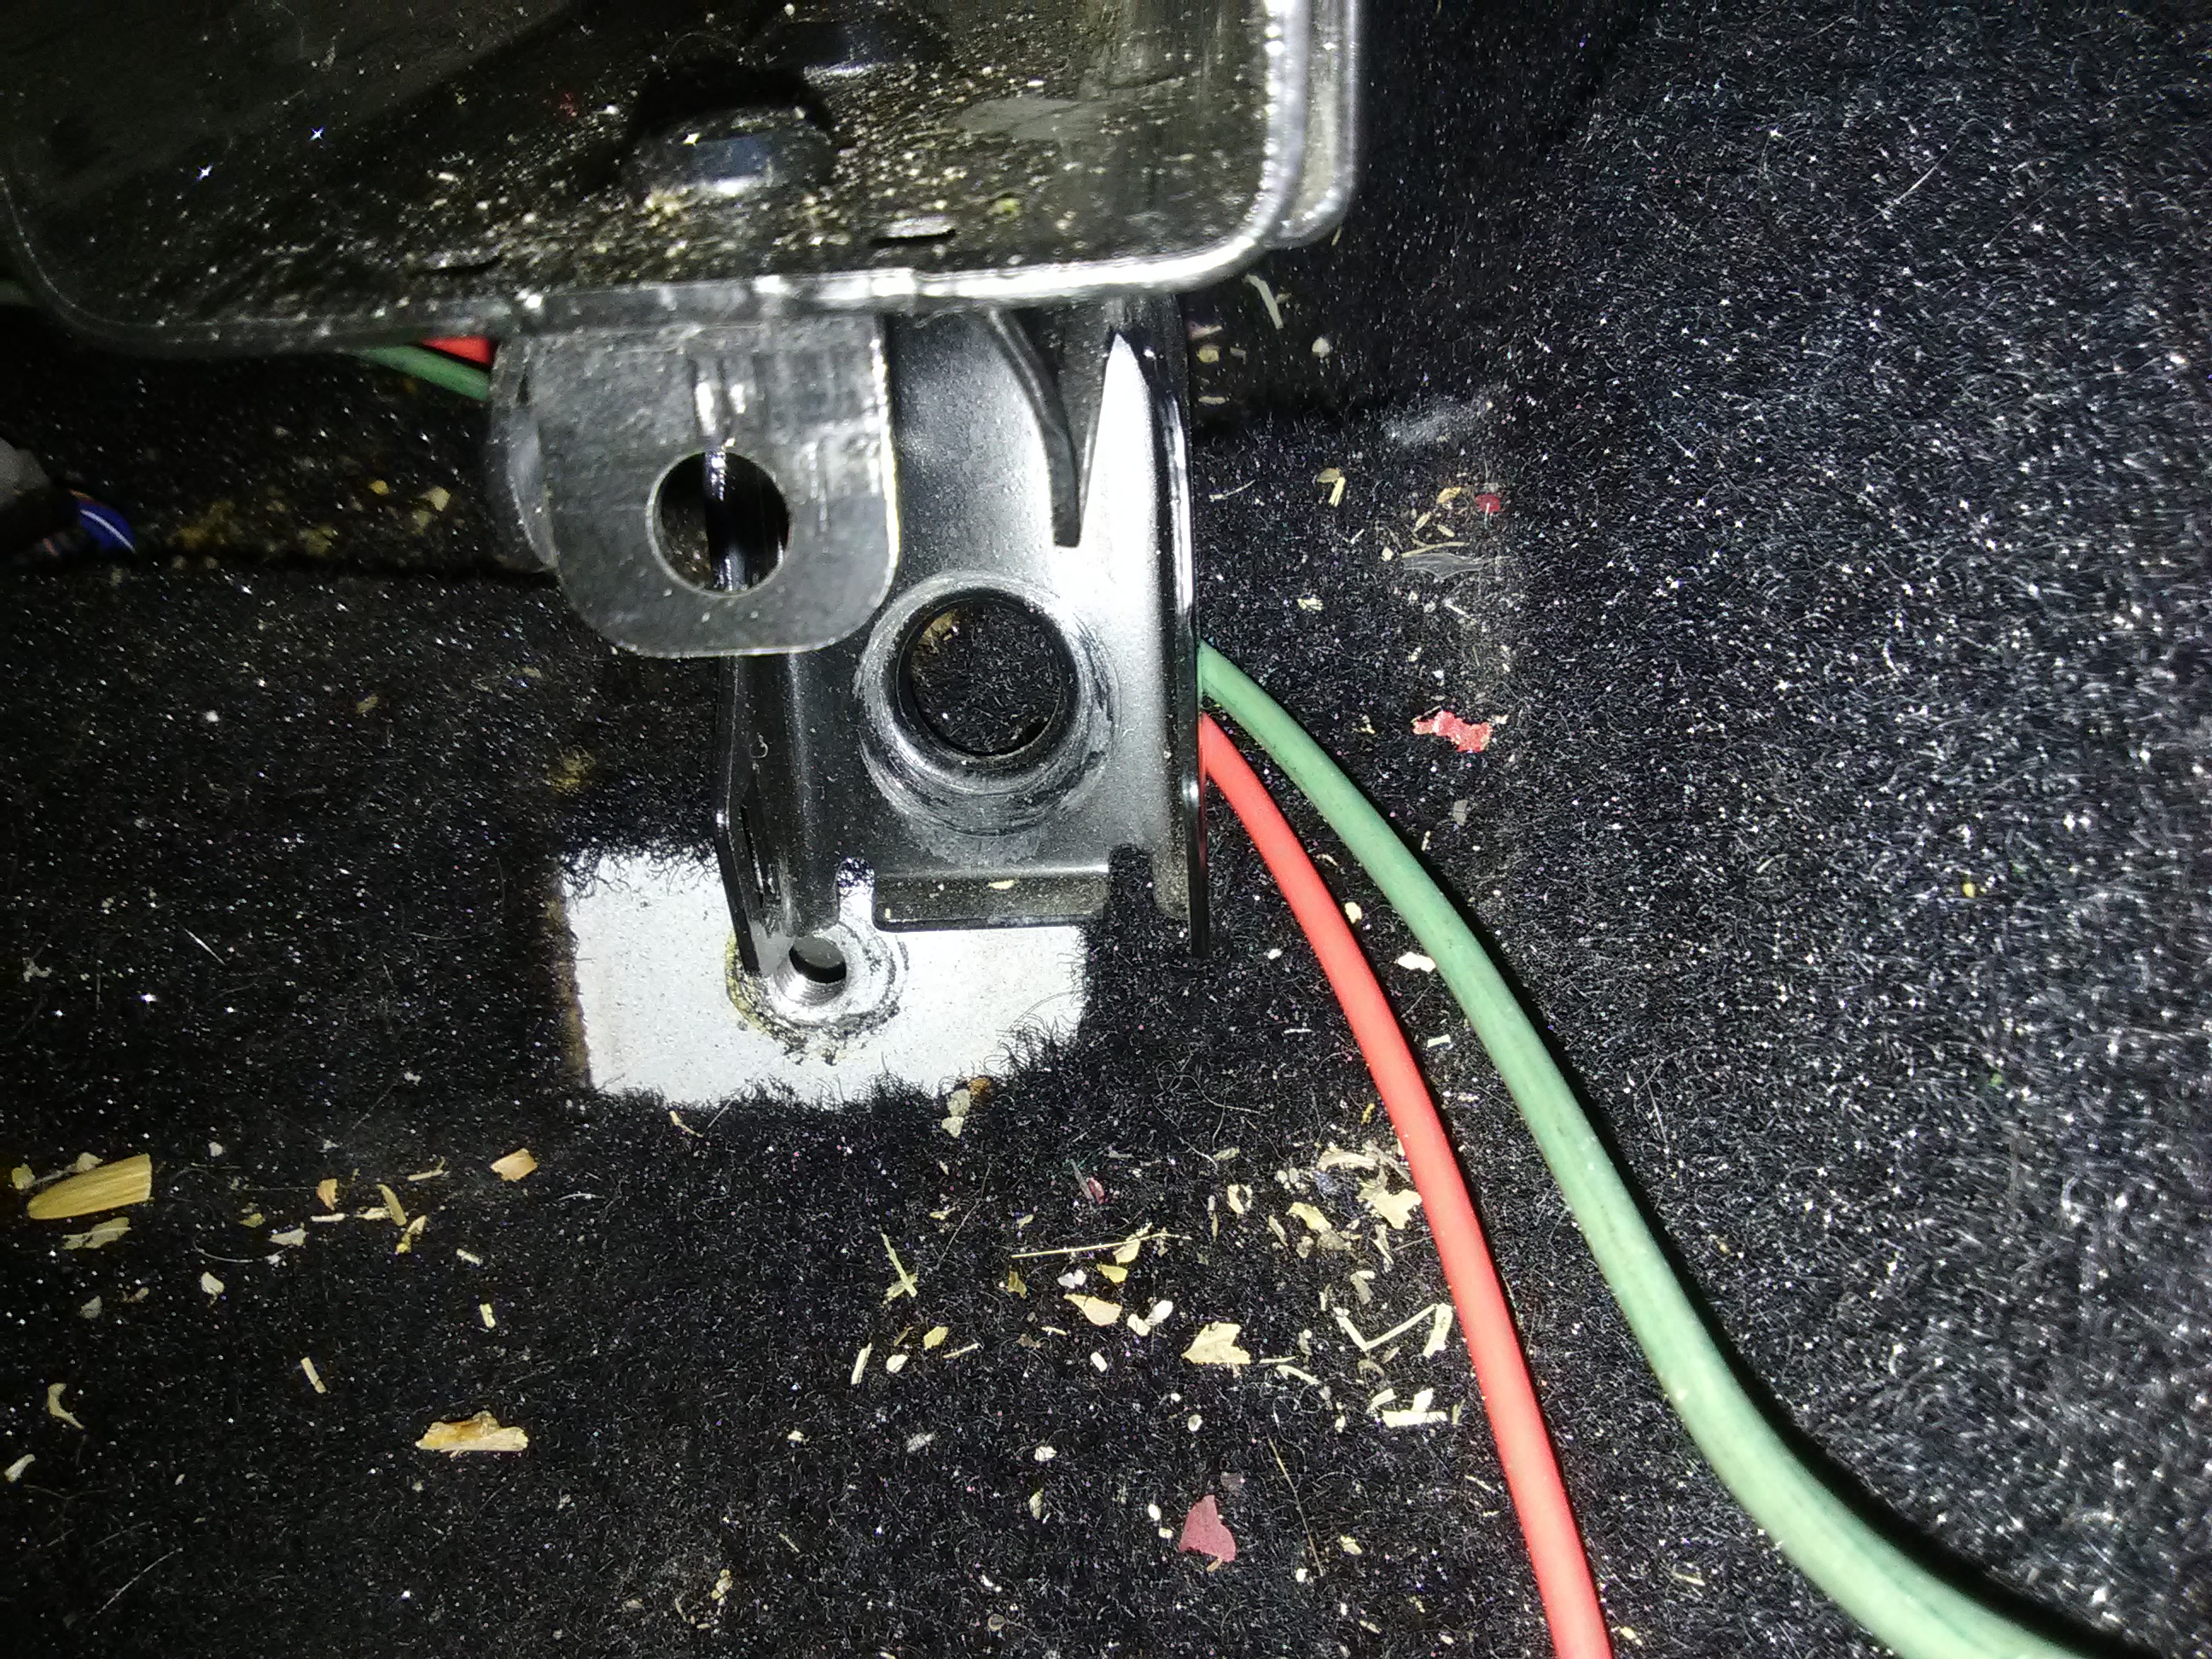
Remind me how you blocked off your coolant ports. They don't appear to be leaking on you, which is good.
You know, it was odd seeing such a stockish carb in your pics. I had to do a double take to see what you've done and haven't done.
Delete the float bowl vent solenoid. Use the solenoid gasket as a template for a metal cover piece. Same thickness allows stock screws to be reused.
Delete the altitude compensator. It allows unwanted air into the primary circuit and can affect your idle quality, which yours is lacking right now. I use 1/4" aluminum plate so the screws can be... you guessed it.
Your choke flap and shaft should be deleted and the holes filled in. When you do the idle air bleeds the way I do them and hog out the venturis, that choke flap is irrelevant and a restriction. The flap is only useful on a FACTORY setup. Yours has been modded, thus the flap can go bye bye.
Lastly, if you are using copper crush washers be sure to heat them until they just begin to glow. It works great. They can be reused again and again until they get so thin they don't work anymore.
I call RB's advice "often wrong" which they are. That advice for such high PSI for the Nikki might be based on older carbs from the 70s. They had different needles, seats and floats. Yours requires 2.5psi.
Yes you desperately need a fuel pressure reg. I can't believe you tried running without one. That might be your flooding issue right there.
You probably won't notice much come out of your lines unless they are like super dirty. Let us know how it goes.
Oh and one last addition about the alt comp deletion: there is a small air bleed stamped with "40" under the air horn which can be seen in one of your pics. This needs to be removed, soldered closed, and reinstalled. Otherwise you get .40mm worth of unwanted air into your idle circuit.
There was a recent thread where someone said his 40 air bleed had been RTVed closed and upon clearing it up, his idle improved. It was an engine swapped car of some kind (don't recall). His Nikki was totally stock. That is why he needed to be free and open. Yours needs to be blocked off, in my learned opinion.
Hey, if you have a spare one of these 40s, you can try it both ways. You already tried it the open way. Now delete the alt comp and fill the air bleed.
Did you know I'm recommending to solder fill the 40 air bleed? Because that is what I'm doing. Hint Hint.
Hey, you should solder fill the -oh I think you got it. Now act like a tennis shoe and Just Do It!
Guess what? It runs great now! Fuel pressure was the whole problem. I feel like an idiot...it's been a while since I messed with carbs, so I totally forgot about how sensitive they were.
Since I don't want to blow out my eardrums, I need some exhaust on this thing.
But It's got two outlets; I need one, so I can put the cart back into the system. I think that leaves me with either RB, or Pacesetter?
Do I still need a resonator if I'm running a cat?
Oh and I've got a bad oil leak at the cooler. I think I messed up one of the crush washers when I was tightening it down. I'm going to go get some more (really hard to find at NAPA for some reason). Worst case is an aftermarket oil thermostat, and cooler.
I was under the impression there was basically no exhaust on your car and you need to have car pass emissions inspection. Some thoughts... 1st off Pacesetter exhaust headers are crap,personal experience here. CXracing header is a copy of Racing Beat Roadrace header,personally seen cracking around the welds at collector on one-really tinny exhaust note from using thinner gauge metal.
For not a whole lot more money,the RB header is much better made & should last the life of the car. Absolute best performing exhaust system hands down is RB streetport system. Pretty certain this is universal agreement by a lot of people here.
Next best is one of their header(single outlet long tube),presilencer & muffler systems-can't be beat,performance,sound(mellow),quality,lifespan. While initial cost sounds pricey,by the time you spend money,time to build or have a system made you will be very close to that price but it won't sound as good(tinny exhaust note) and won't have performance level of RB system. Suggesting this is route you take as your car needs to be emissions inspected. The presilencer section of system can be removed and a section with cat converter and flanges on each end can be substituted-any muffler shop can make this for you. Swap one for the other to go thru testing(once a year?),probably take 40-45 mins for changeover. Other members here routinely do this annually to get their cars inspected.
The RB system does not come with section of pipe going from cat converter to muffler,assumption is you can reuse this oe section of pipe. If you don't have this part of system,again a muffler shop can make one for you,not a big expense. My 2c...
Hmm, I think I see what you're getting at there GSLSEforme. The Racing Beat Road race stuff loks nice, but I NEED to ahve a cat so the Street Port it is. I wonder if the cat itself will act as a resonator? Something else I can't find on RB's site is the actual tubing diameters, so that I can match my cat to the outlet on the header. Just wish the RB was a little cheaper, $300 is a lot for 2 tubes. My old ceramic patriots onthte 390 were $400, and they have 8 dang tubes
One more thing, it isn't the crush washers...
Looks like I need a new oil cooler too. I don't know how I missed the cracks before, but there they are.
KansasCityREPU: Are you sure about that? I'm not going to put the stock cat back in, I'm going with a Magnaflow universal, no air pump fitting on it at all. Then again, there's few Magnaflows that are direct fit, so I could hook the pump to that.
From what I understand is that the old cats in the 7's were the pellet type, 2-way converters, so they're pretty dang inefficient. A modern 3-way catalyst should perform as well if not better, with less material exposed to the exhaust.
Basically I just need to have one so that if/when a tech looks there's one there. I'm seeing lots of high power cars around here with big turbos, and such easily getting through emissions. Hell my 86 Si with injectors 30% over stock gets through just fine.
I think I'll email Magnaflow to see what they say about emissions results with/without the pump. Pump is staying for now too, so that I can have enough tension on the water pump, without stressing the other belt.
I suspect emissions testing is mostly just to collect inspection fees these days
That's the oil cooler I got. But fair warning there is no place for a thermostat.
$200 is a good deal... Can't remember what I paid.
Its fitment on an FB is less than ideal, but it'll work. I hung mine under the cross bar support. Regardless of your radiator design (short or tall) you want the oil cooler in front of the radiator. It helps mix the oil and water temperatures.
Thanks for the info Qingdao, I'm going to go head and purchase it, and will add thermostat later.
Does it fit the 12a engines? It says 13b right in the part name, but then later that it fits 13b with 12a front cover? I am confused...Their tech support is pretty useless.
I have this same cooler. It does not fit the the stock location for 12A or 13B. Mine did not come with lines. I added an Earls thermostat and made my own lines. I was lucky enough to recent come across a brand new NOS 13B cooler. If I hadn't, I'd find a first gen 12A/13B factory unit or convert to second gen.
Thanks for the info Qingdao, I'm going to go head and purchase it, and will add thermostat later.
Does it fit the 12a engines? It says 13b right in the part name, but then later that it fits 13b with 12a front cover? I am confused...Their tech support is pretty useless.
Don't think it matters 12A or 13B. Its just AN lines.
You won't be able to add a factory style oil thermostat. The hole is much to large for the factory thermostat. You might be able to rig up some kind of in line system.
Hey it's been a while! I ordered the CXracing cooler, and it fits, fine. I had to reverse one of the brackets, though. Maybe it's an updated version since yours was purchased KansasCityREPU? I put the home-made rubber isolators in and some stainless hardware an the whole thing looks good. Of course they were out of stock of the m18x1.5 to AN adapters, which I'll be getting late next week. Interestingly they also gave me around 2 feet too much hose. Eh better than too short! Once I get the thing sealed up and running I'll add an oil thermostat inline.
After waiting 3 weeks, I finally got my 1/8th BSP to 1/8 NPT adapter from Fastenall too. I've got a mechanical oil gauge stuck into the spot where the ashtray was. It's a tiny bit too big, but I'm not sure I want to dremel out some plastic yet.
I made some progress on the seats too. I think they're a little bit too wide though? I know the hump in the trans tunnel messes with the passenger side, but the driver's seems wide too. I read on a seat install guide that the "holes needed to be widened a bit on the brackets, and they bolt in". The last pic shows the bolt holes clearly don't match. Maybe my FB is too narrow...Anyone know of an FB widener I can use?
Seats are in! I figured out that I simply should stop messing with the rx8 brackets and cut them off, and weld on the rx7 in their place. Works well! But will need to fab the rear brackets as there's not quite enough inward play to get the holes to line up. I'll post a pic to explain.
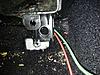
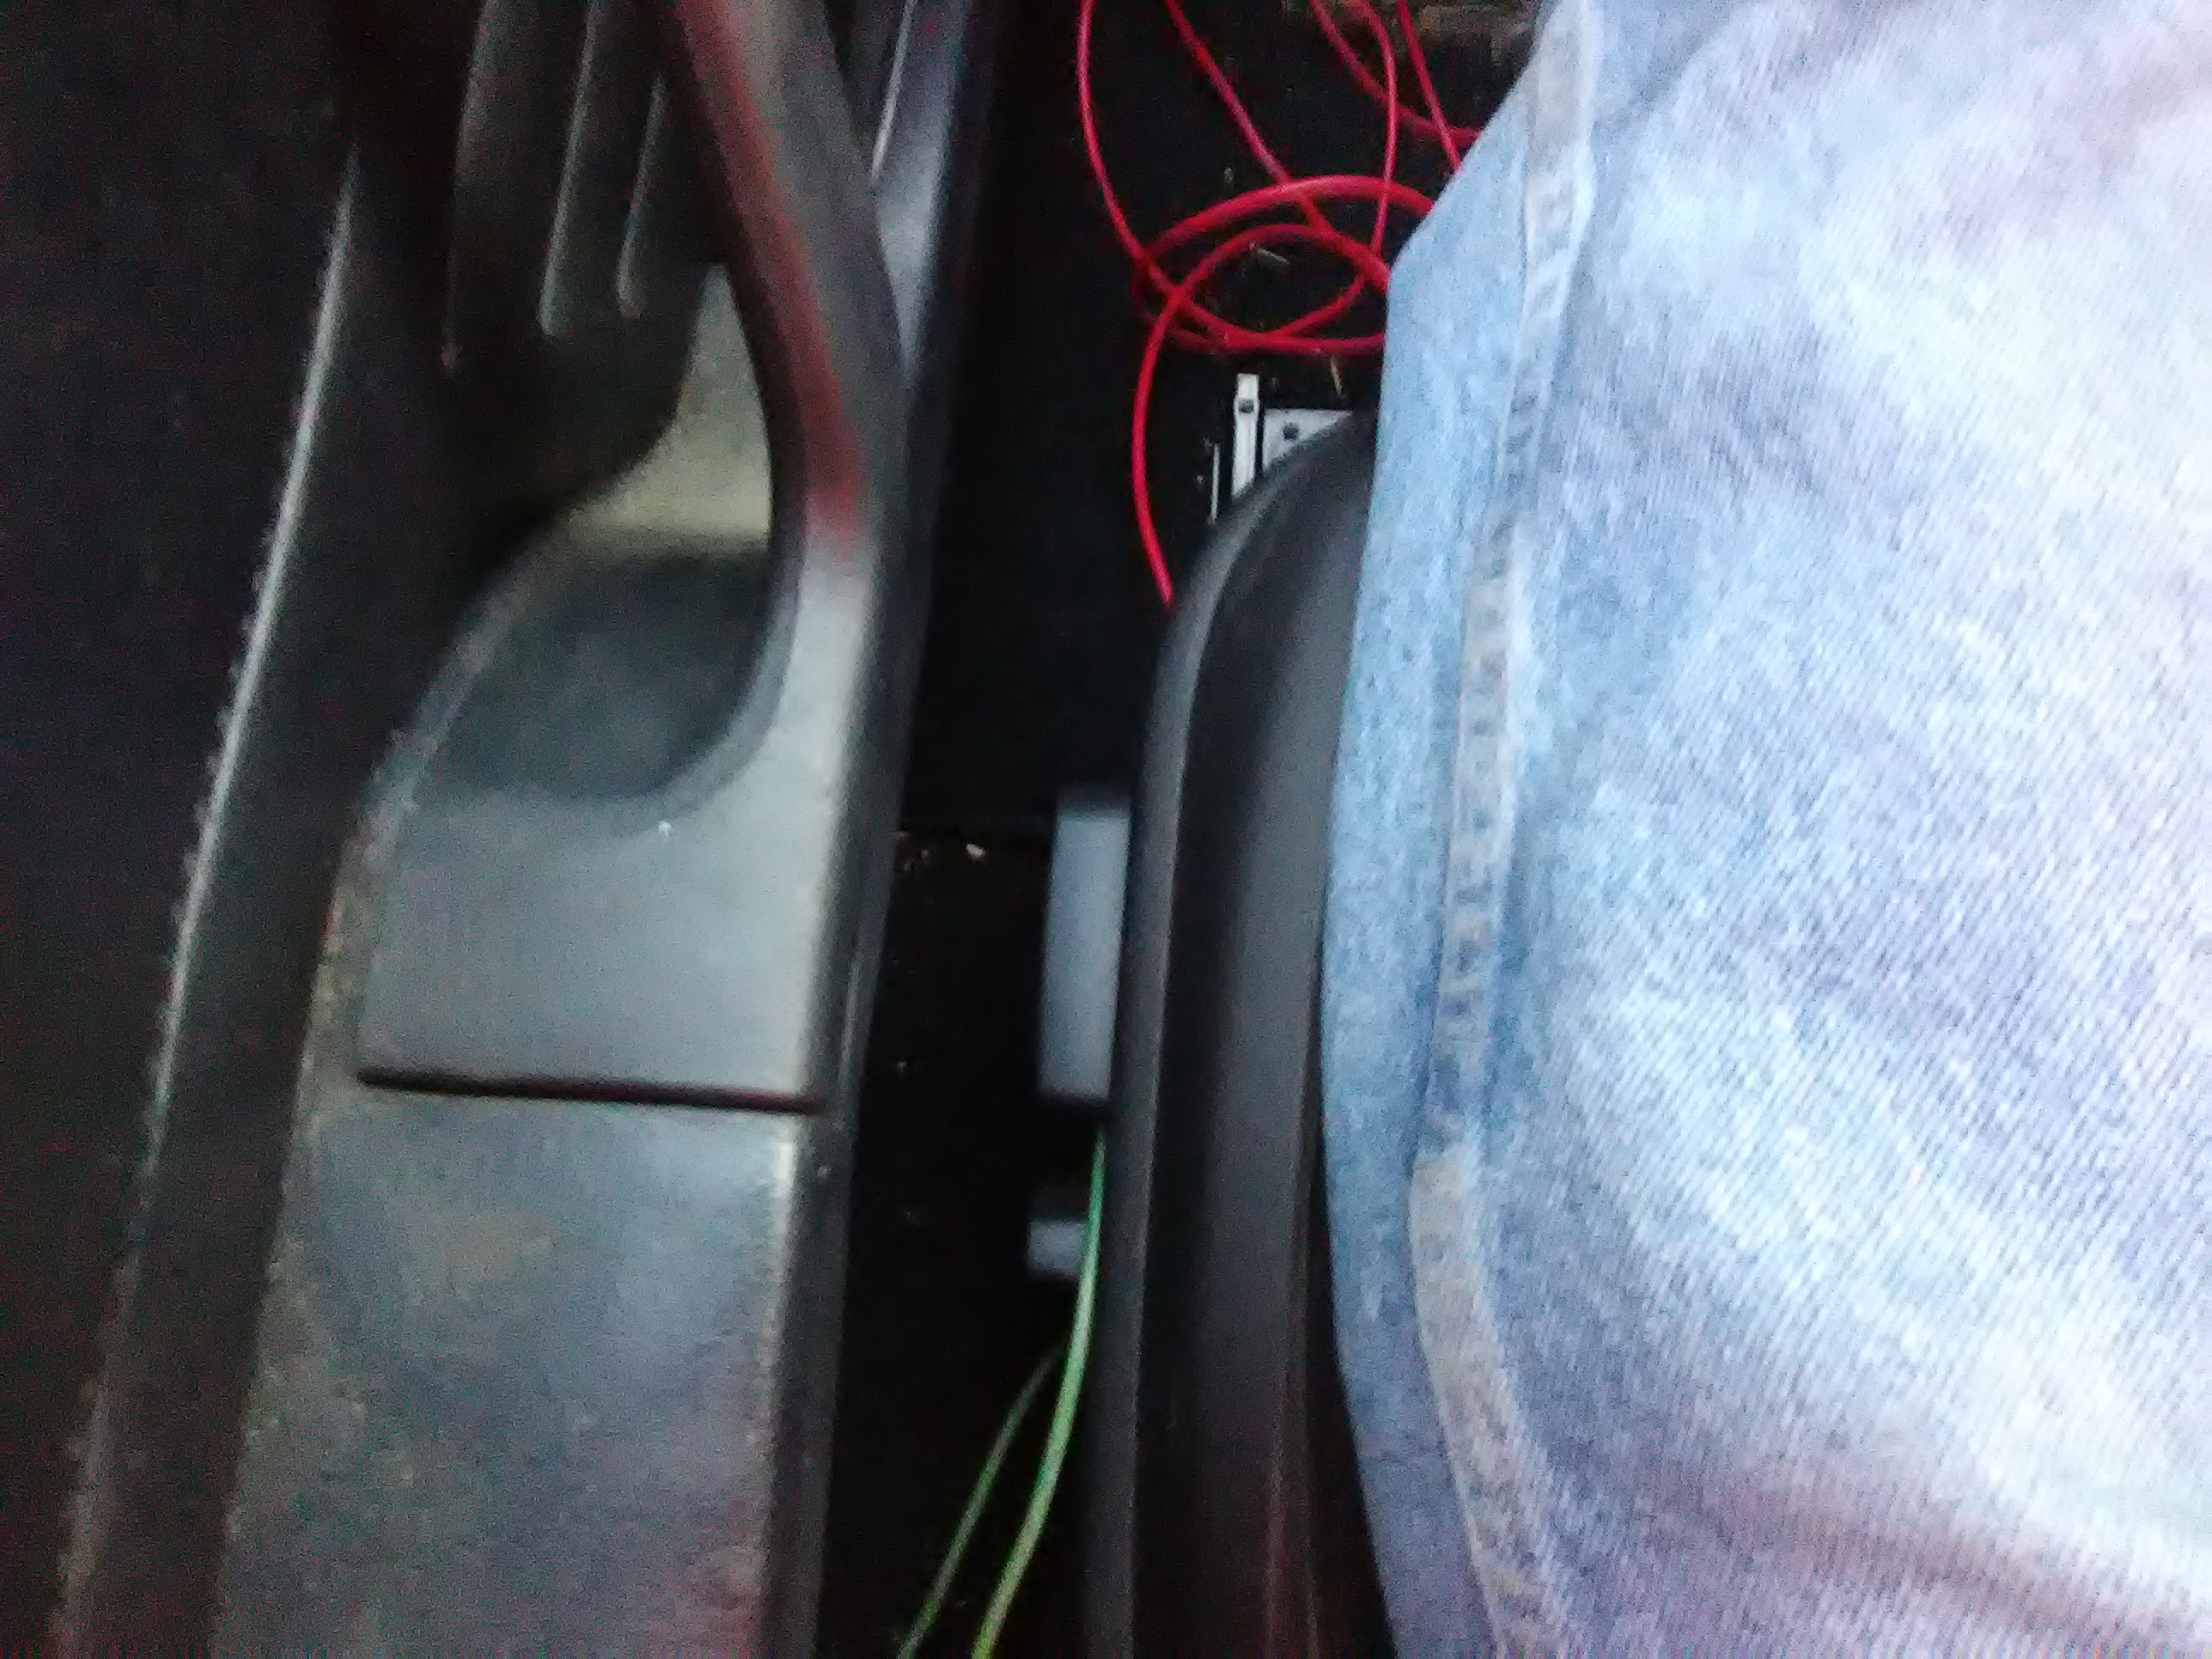
As you can see the bracket on the right side is hitting that black box thing. I'm not sure what it is, but it's in the way. Not to mention the seats, in order to fit in the 7 don't sit exactly parallel to the tunnel like the old seats did.
Also, so that others can do this too, you only need the Purple, Grey, Yellow/Red and White/grey(?) wires to move the seat and use the incline and lumbar support. Purple is ground, grey is hot. Yellow/Red is hot and the other is ground. Hots and grounds can be tied together. I've only got a 15 amp fuse on the system now, and it seems to operate fine, but I'd not use both functions at once. I ran power to the seat from the no-longer used cruise control fuse. My car has a 30 am 'power windows' fuse but no power windows, I wonder if I could use that?
Finally got my correct adapter late last week for the 90 degree fitting I need from CXracing. I'm happy with the quality overall, but the ridiculous wait time was ridiculous! I mean it's only a fitting, and they should have sent it with the cooler. Not tot mention that their tech can't measure hose lengths anywhere near right (had to cut and re-do the stainless braided line). Nor can their tech use any protection on the AN fittings, as one is all scratched up. But hey it was a ton cheaper than Atkins or an oem.
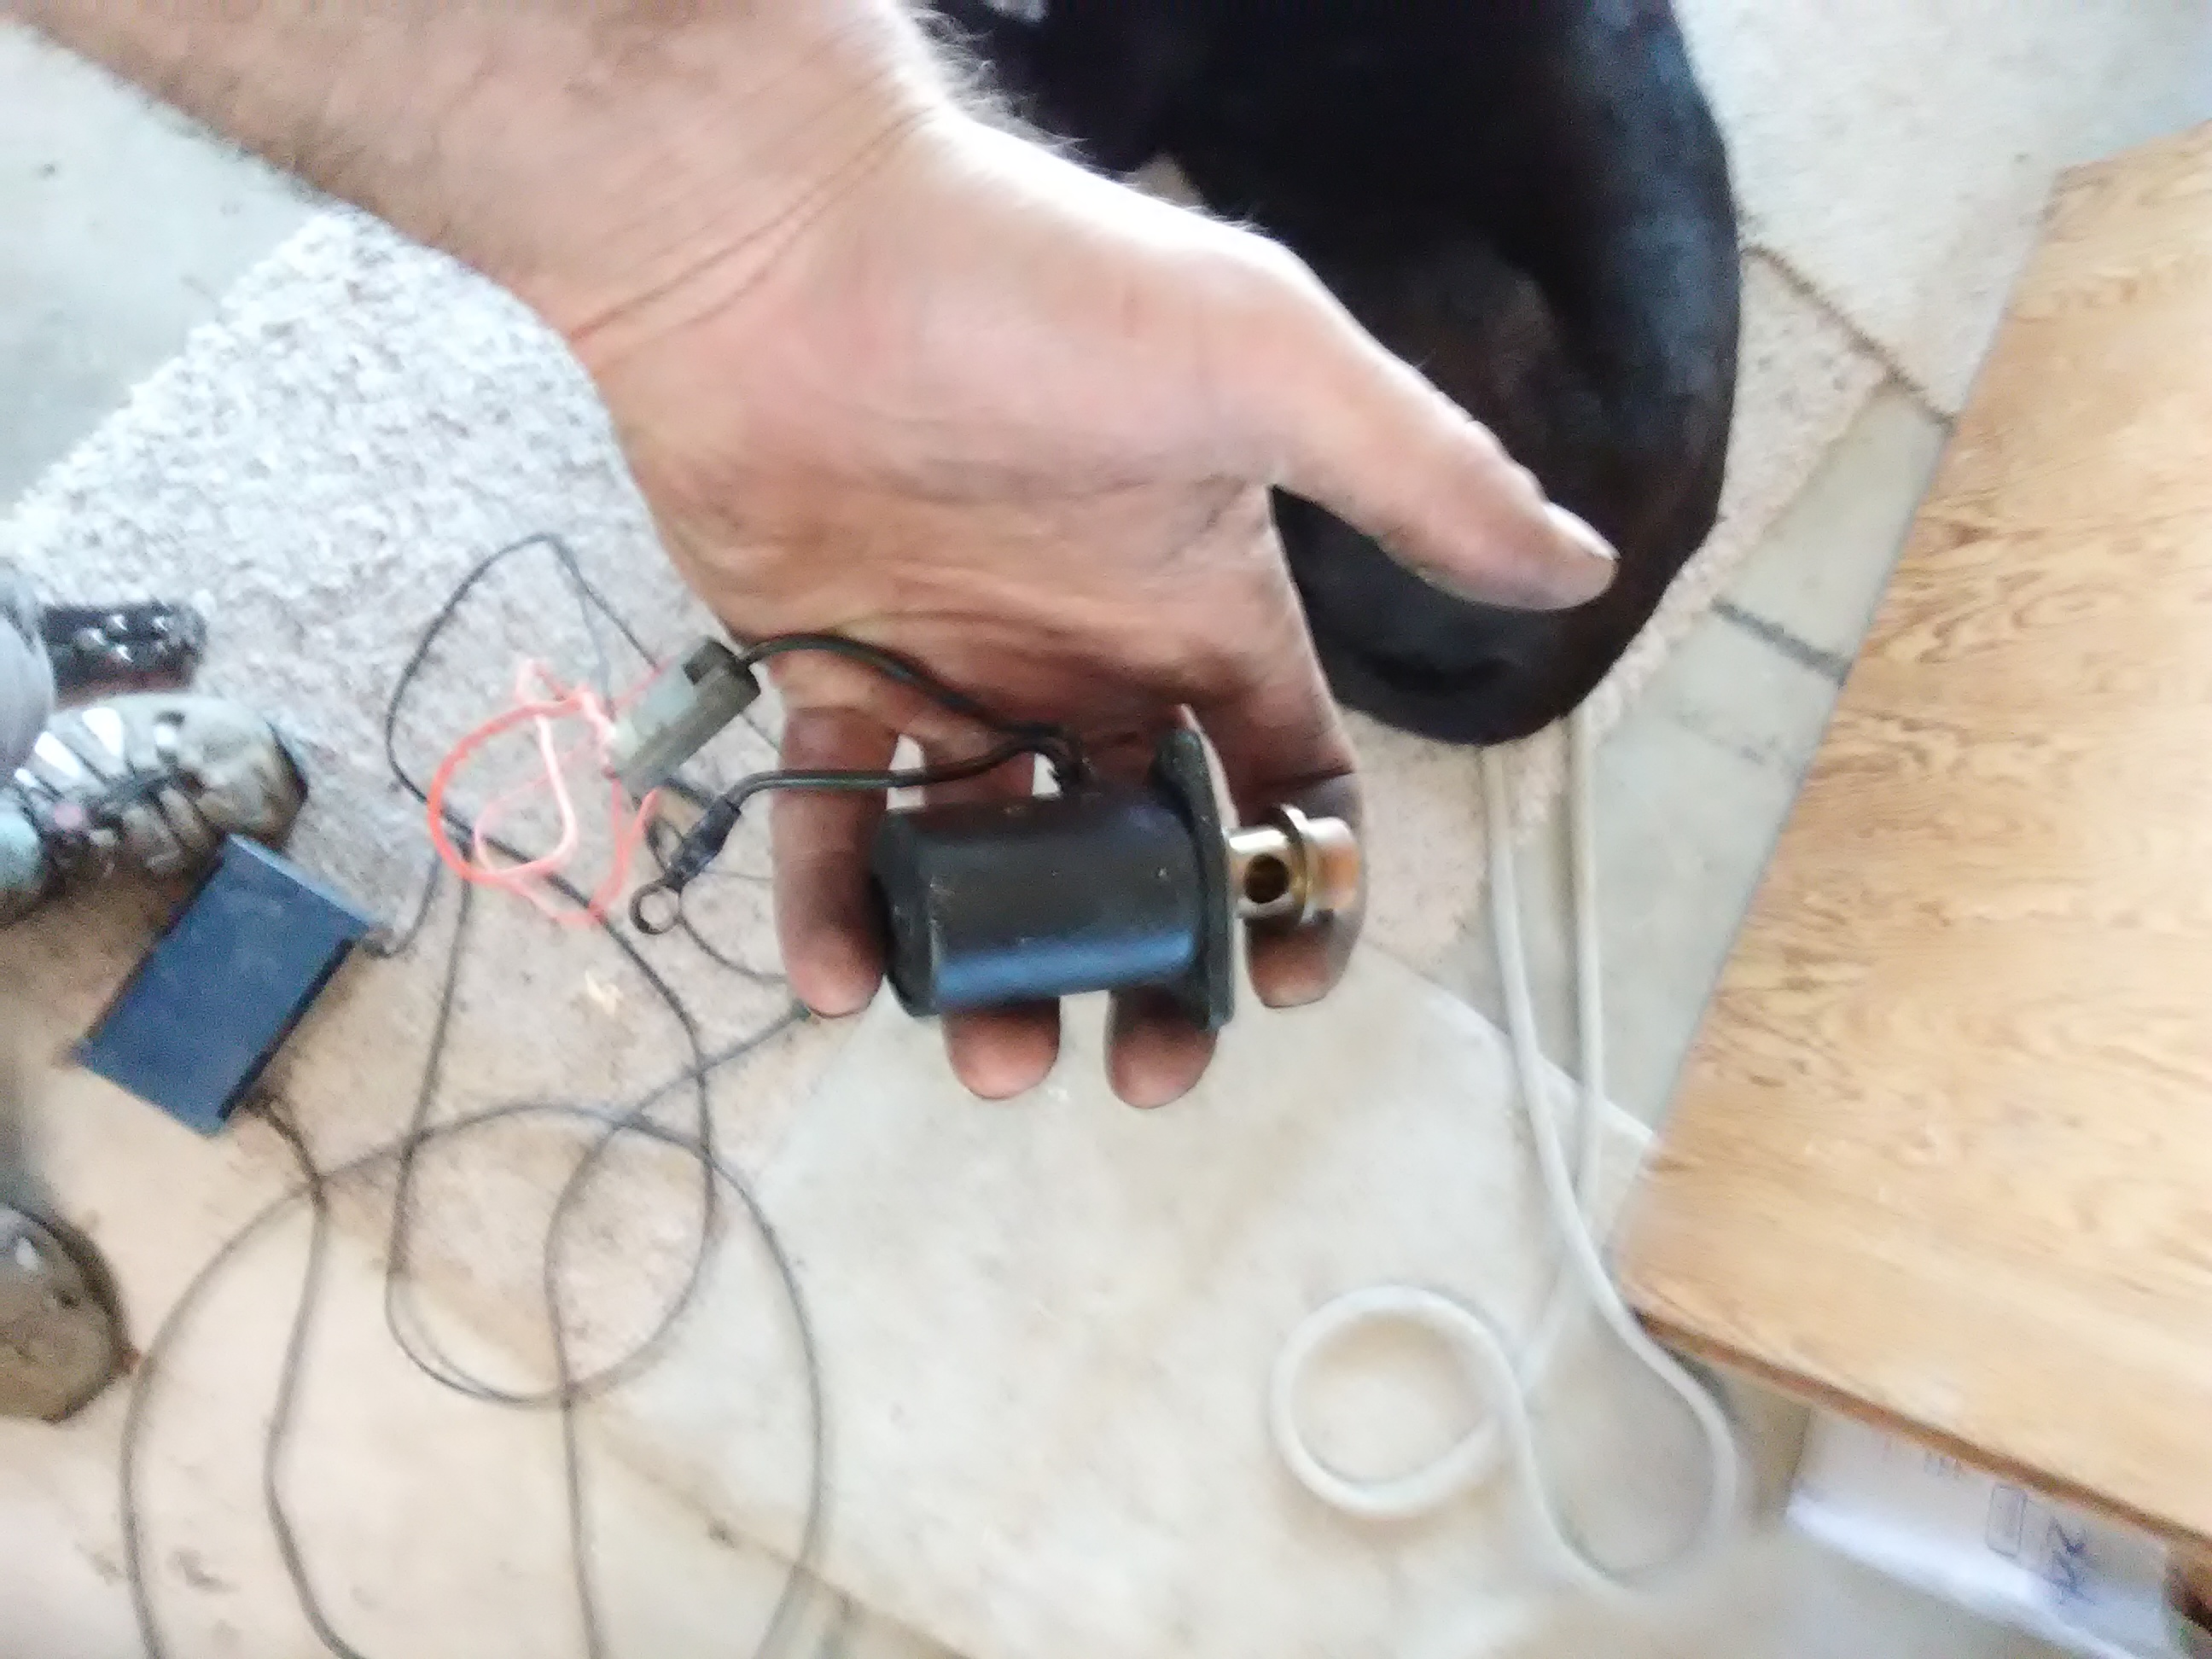
I also did some work on the DLIDFI system. I gutted my old broken j109 and am using it to drive the leading coils.
Does that look right? Right now when I try to turn on the ignition, the car dies, like no electrical power at all! I'm confused. And yes the ignition is the only system I changed before this happened.
J109 connections are backwards,you can correct polarity by switching wires one for the other on 1/4"male terminals on top of J109.
Regarding car dying with ignition turned on,no lights on dash at bottom of cluster? Do you have headlights that come on,up/down. Is the battery voltage 12+? Check all fuse links especially main,check battery connections,check ground to body and at starter.
Thanks GSLSEforme! I realized that shortly after I posted and have switched them around.
The car was dying because I had forgotten to fully tightent he hot lead at the battery post. Oops. Now it cranks fine, but a no-go in firing. I think the issue may be the ignitors themselves, and am proceeding to test them tomorrow. I um accidentally hooked them up backwards, i.e. coil side to the signal side and vice-a-versa. I figure they're fried now. that's what I get for messing with a car after working 14 hour days.


 Then it died.