
82 GSL Build


I don't think you can over tighten the flywheel nut.
With the flywheel bolted on firmly and nothing on the front stack you should have considerable shaft play. 3/16in is appropriate.
Are you installing the bronze (or brass) crush washer? That does make a difference in thickness.
With the flywheel bolted on firmly and nothing on the front stack you should have considerable shaft play. 3/16in is appropriate.
Are you installing the bronze (or brass) crush washer? That does make a difference in thickness.

Thread Starter
Full Member
Joined: May 2016
Posts: 226
Likes: 0
From: Denver
Basically it's set up like this: Front pulley nut, front pulley nut copper washer (new), distributor drive gear, counterweight, counterweight really thin washer (new), needle bearing (new), bearing plate (new), Spacer (X), Needle bearing (new), Thrust washer with the bevel facing the rotor side (new).
I''m pretty sure that's the right set up?
I''m pretty sure that's the right set up?
Thread Starter
Full Member
Joined: May 2016
Posts: 226
Likes: 0
From: Denver
Oh yeah I forgot, I just woke up when I wrote that; https://www.rx7club.com/images/smili...-reloaded3.gif yes I have the oil pump drive sprocket on there too. Right after the counterweight.
I followed the instructions/pictures from this thread here: https://www.rx7club.com/3rd-generati...3b-rew-401269/
I'm just stumped now!
Anyone want to buy an rx7? J/K...
I followed the instructions/pictures from this thread here: https://www.rx7club.com/3rd-generati...3b-rew-401269/
I'm just stumped now!
Anyone want to buy an rx7? J/K...
This is a really good video. It helped me years ago.
Check at 45min in. That's when he is doing end shaft play clearancing.
EDIT: if you still don't have any play try shoving a feeler gauge in the mix. It doesn't matter where in the front stack, but if you get play with the feeler gauge but none without you might need a much larger spacer. I had to resort to the largest spacer sold by Mazdatrix on my turbo II engine.
EDIT part duex: This is kind of a question for other more knowledgeable forum members.... Are you sure its a 12A front hub you are installing? Is the 13B hub different from the 12A hub? I wouldn't think so but you never know.
Last edited by Qingdao; Apr 15, 2017 at 10:42 PM.
Thread Starter
Full Member
Joined: May 2016
Posts: 226
Likes: 0
From: Denver
Thanks for the video. It will take a bit for me to digest the info and go test it out.
I had a similar thought about the front hub. I have 2 and they appear identical. I would be surprised if they were different. I wonder, if instead of a larger spacer, if I just shaved a bit off the back of the front pulley/hub, if that would get me the needed clearance?
Either way, I've been busy resealing the trans, and inspecting the internals. All looks good, much relief.
Hmm one more thing, I read some people pull up on the front counterweight with a screwdriver or the like. how much force are you supposed to use? When i pried, with my hands on the bottom of the flywheel (with the engine verticle on the stand) I was moving the entire stand, and not feeling anything or seeing anything on the dial gauge. I'm going to order a more accurate dial gauge. This flexible stand is crap I think.
Last edited by Repuguy; Apr 16, 2017 at 08:08 PM. Reason: Forgot info
Thicker spacer makes for more endplay 
It doesn't take much force at all to move the shaft too and fro. I generally do it from the flywheel side. After looking at the video again, I might try the front stack side next time. When you do pry on it the engine should have kind of a thunk sound emitting from it. Its all of the bits moving from one side of their given acceptable play to the other side.
It doesn't take much force at all to move the shaft too and fro. I generally do it from the flywheel side. After looking at the video again, I might try the front stack side next time. When you do pry on it the engine should have kind of a thunk sound emitting from it. Its all of the bits moving from one side of their given acceptable play to the other side.
Thread Starter
Full Member
Joined: May 2016
Posts: 226
Likes: 0
From: Denver
So I've got eh 'X' pacer in there now which is .06mm bigger than the stock V. I carefully removed material from the back of the pulley wheel and I'm making progress now to where I get play at 50 ftlbs, which is better than before. After 50 ftlbs it doesn't move at all. it's a slow process of removing material, test-fitting, and then removing more material.
I can slip my .0020 inch feeler between the oil pump drive and the timing gear, but I thin that's just because of the slight bevel.
I can slip my .0020 inch feeler between the oil pump drive and the timing gear, but I thin that's just because of the slight bevel.
Thread Starter
Full Member
Joined: May 2016
Posts: 226
Likes: 0
From: Denver
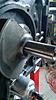
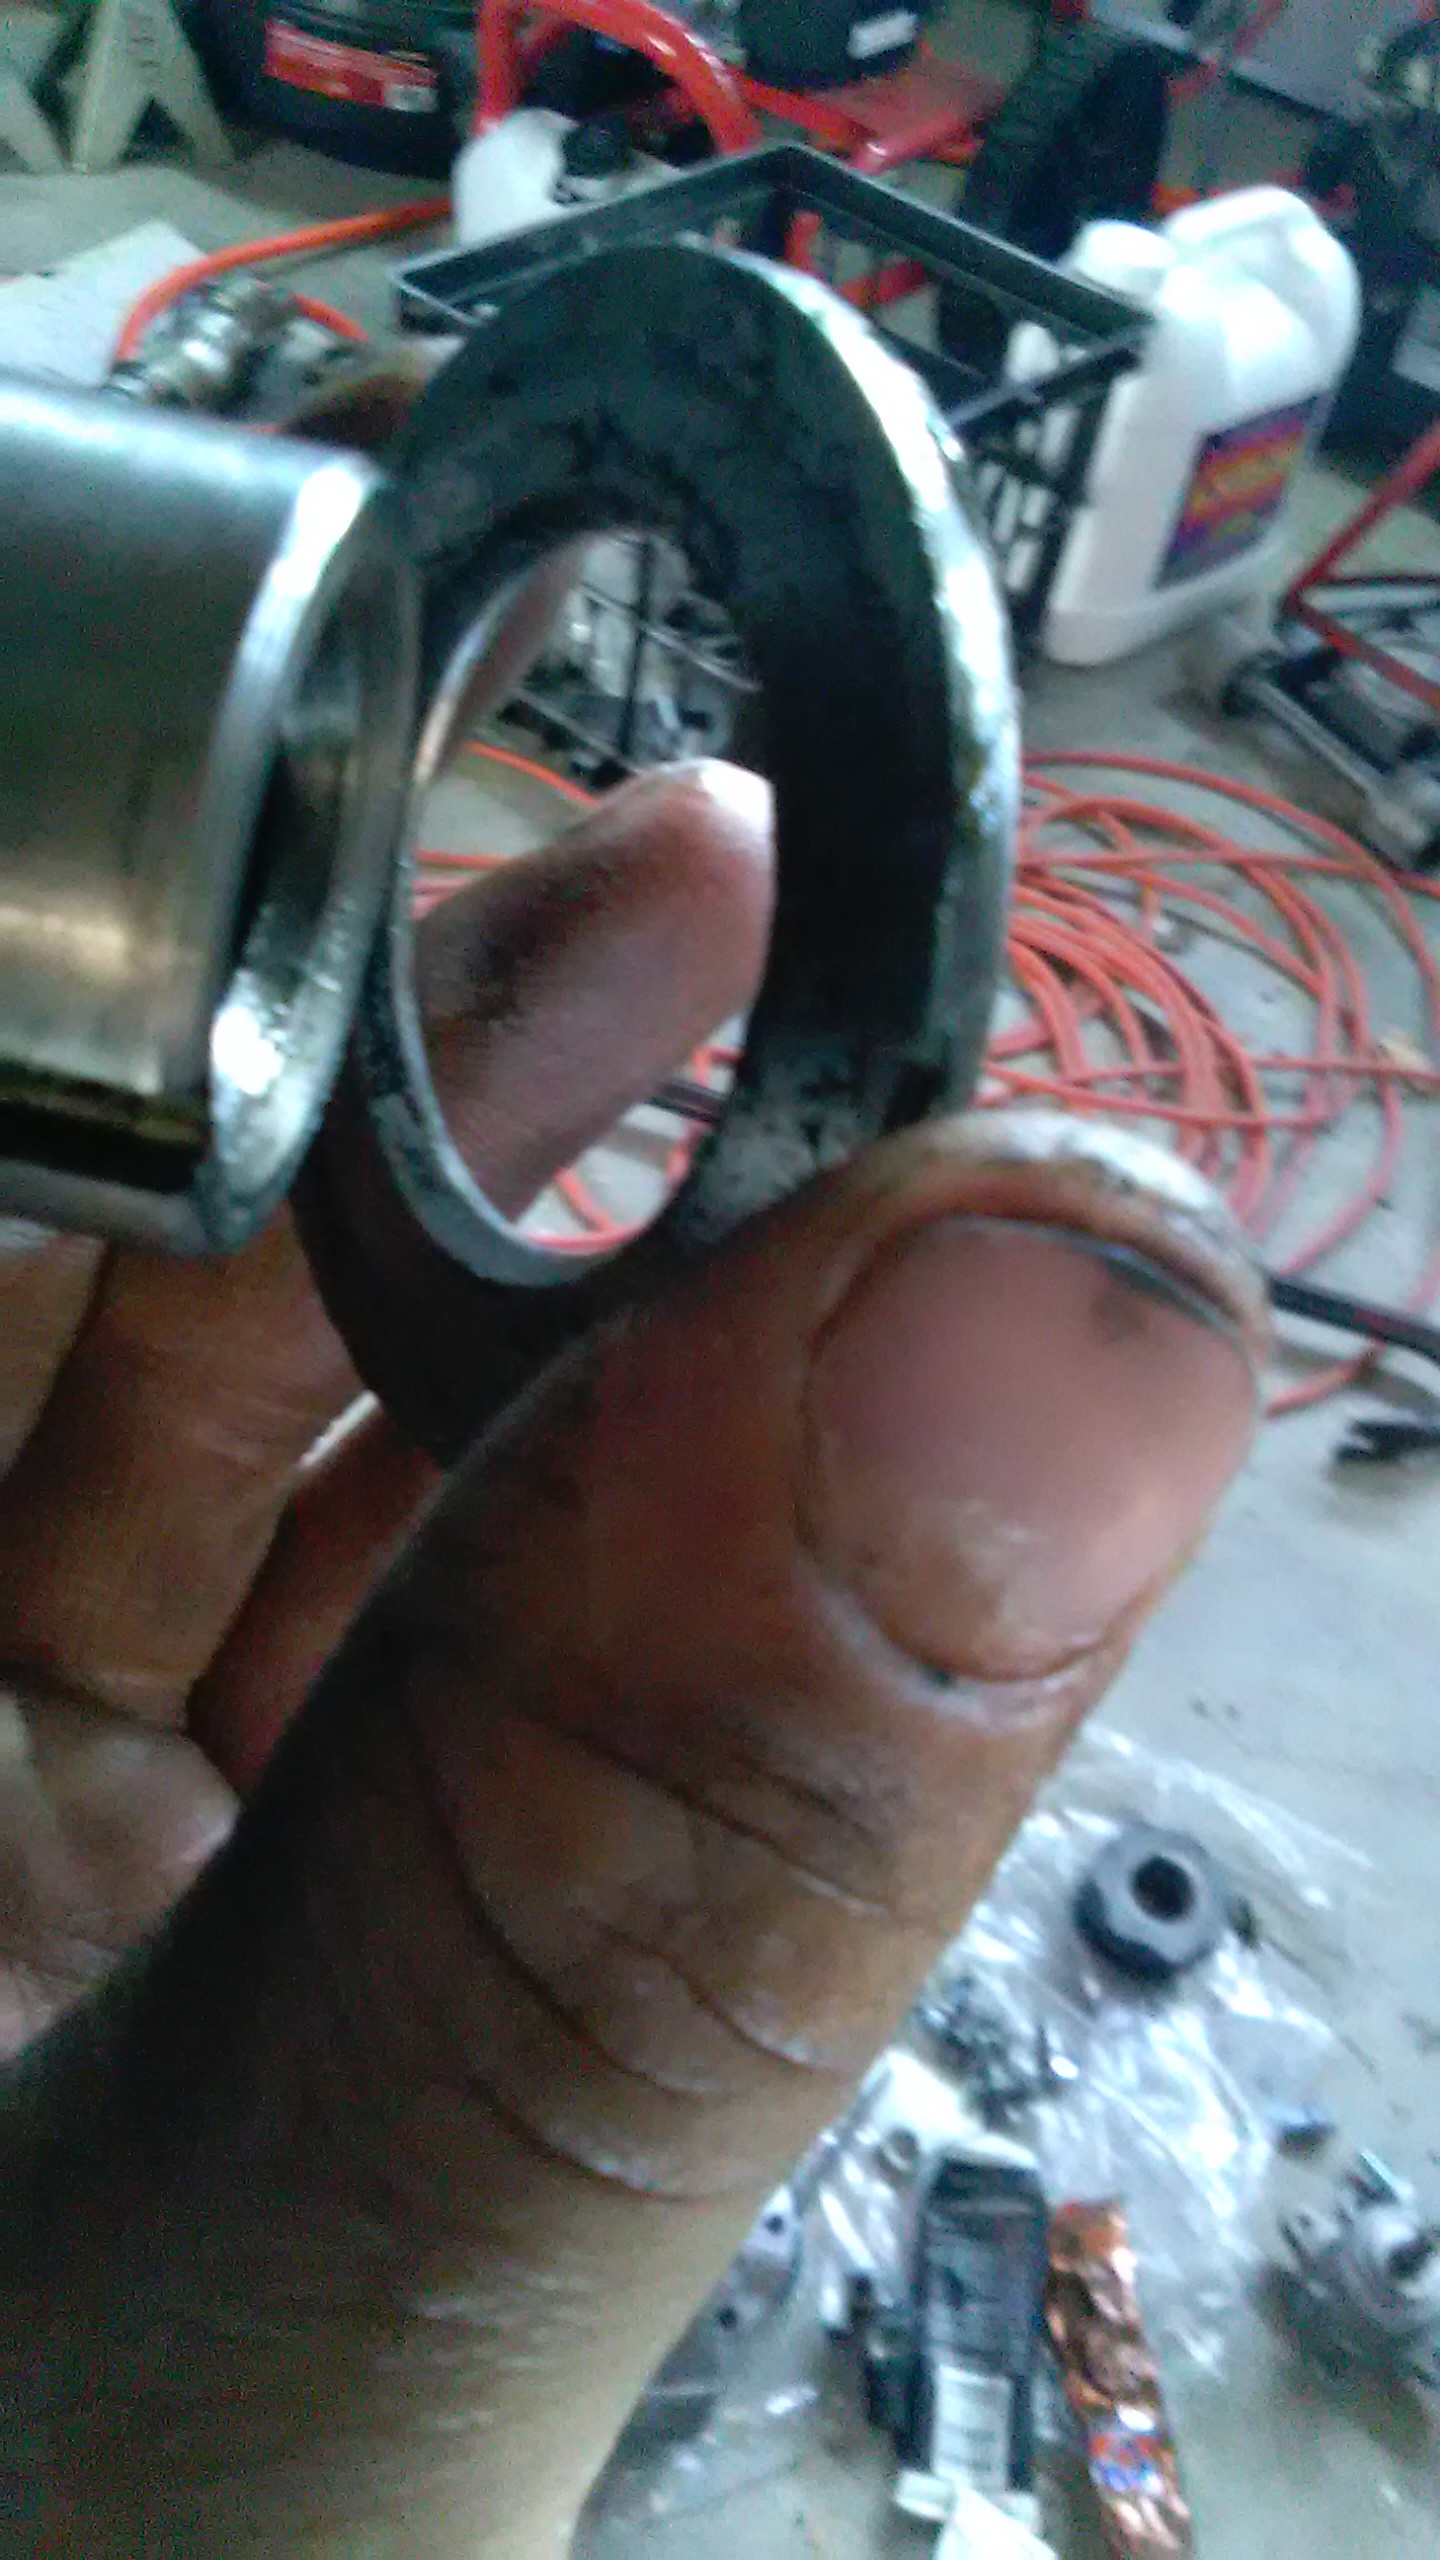
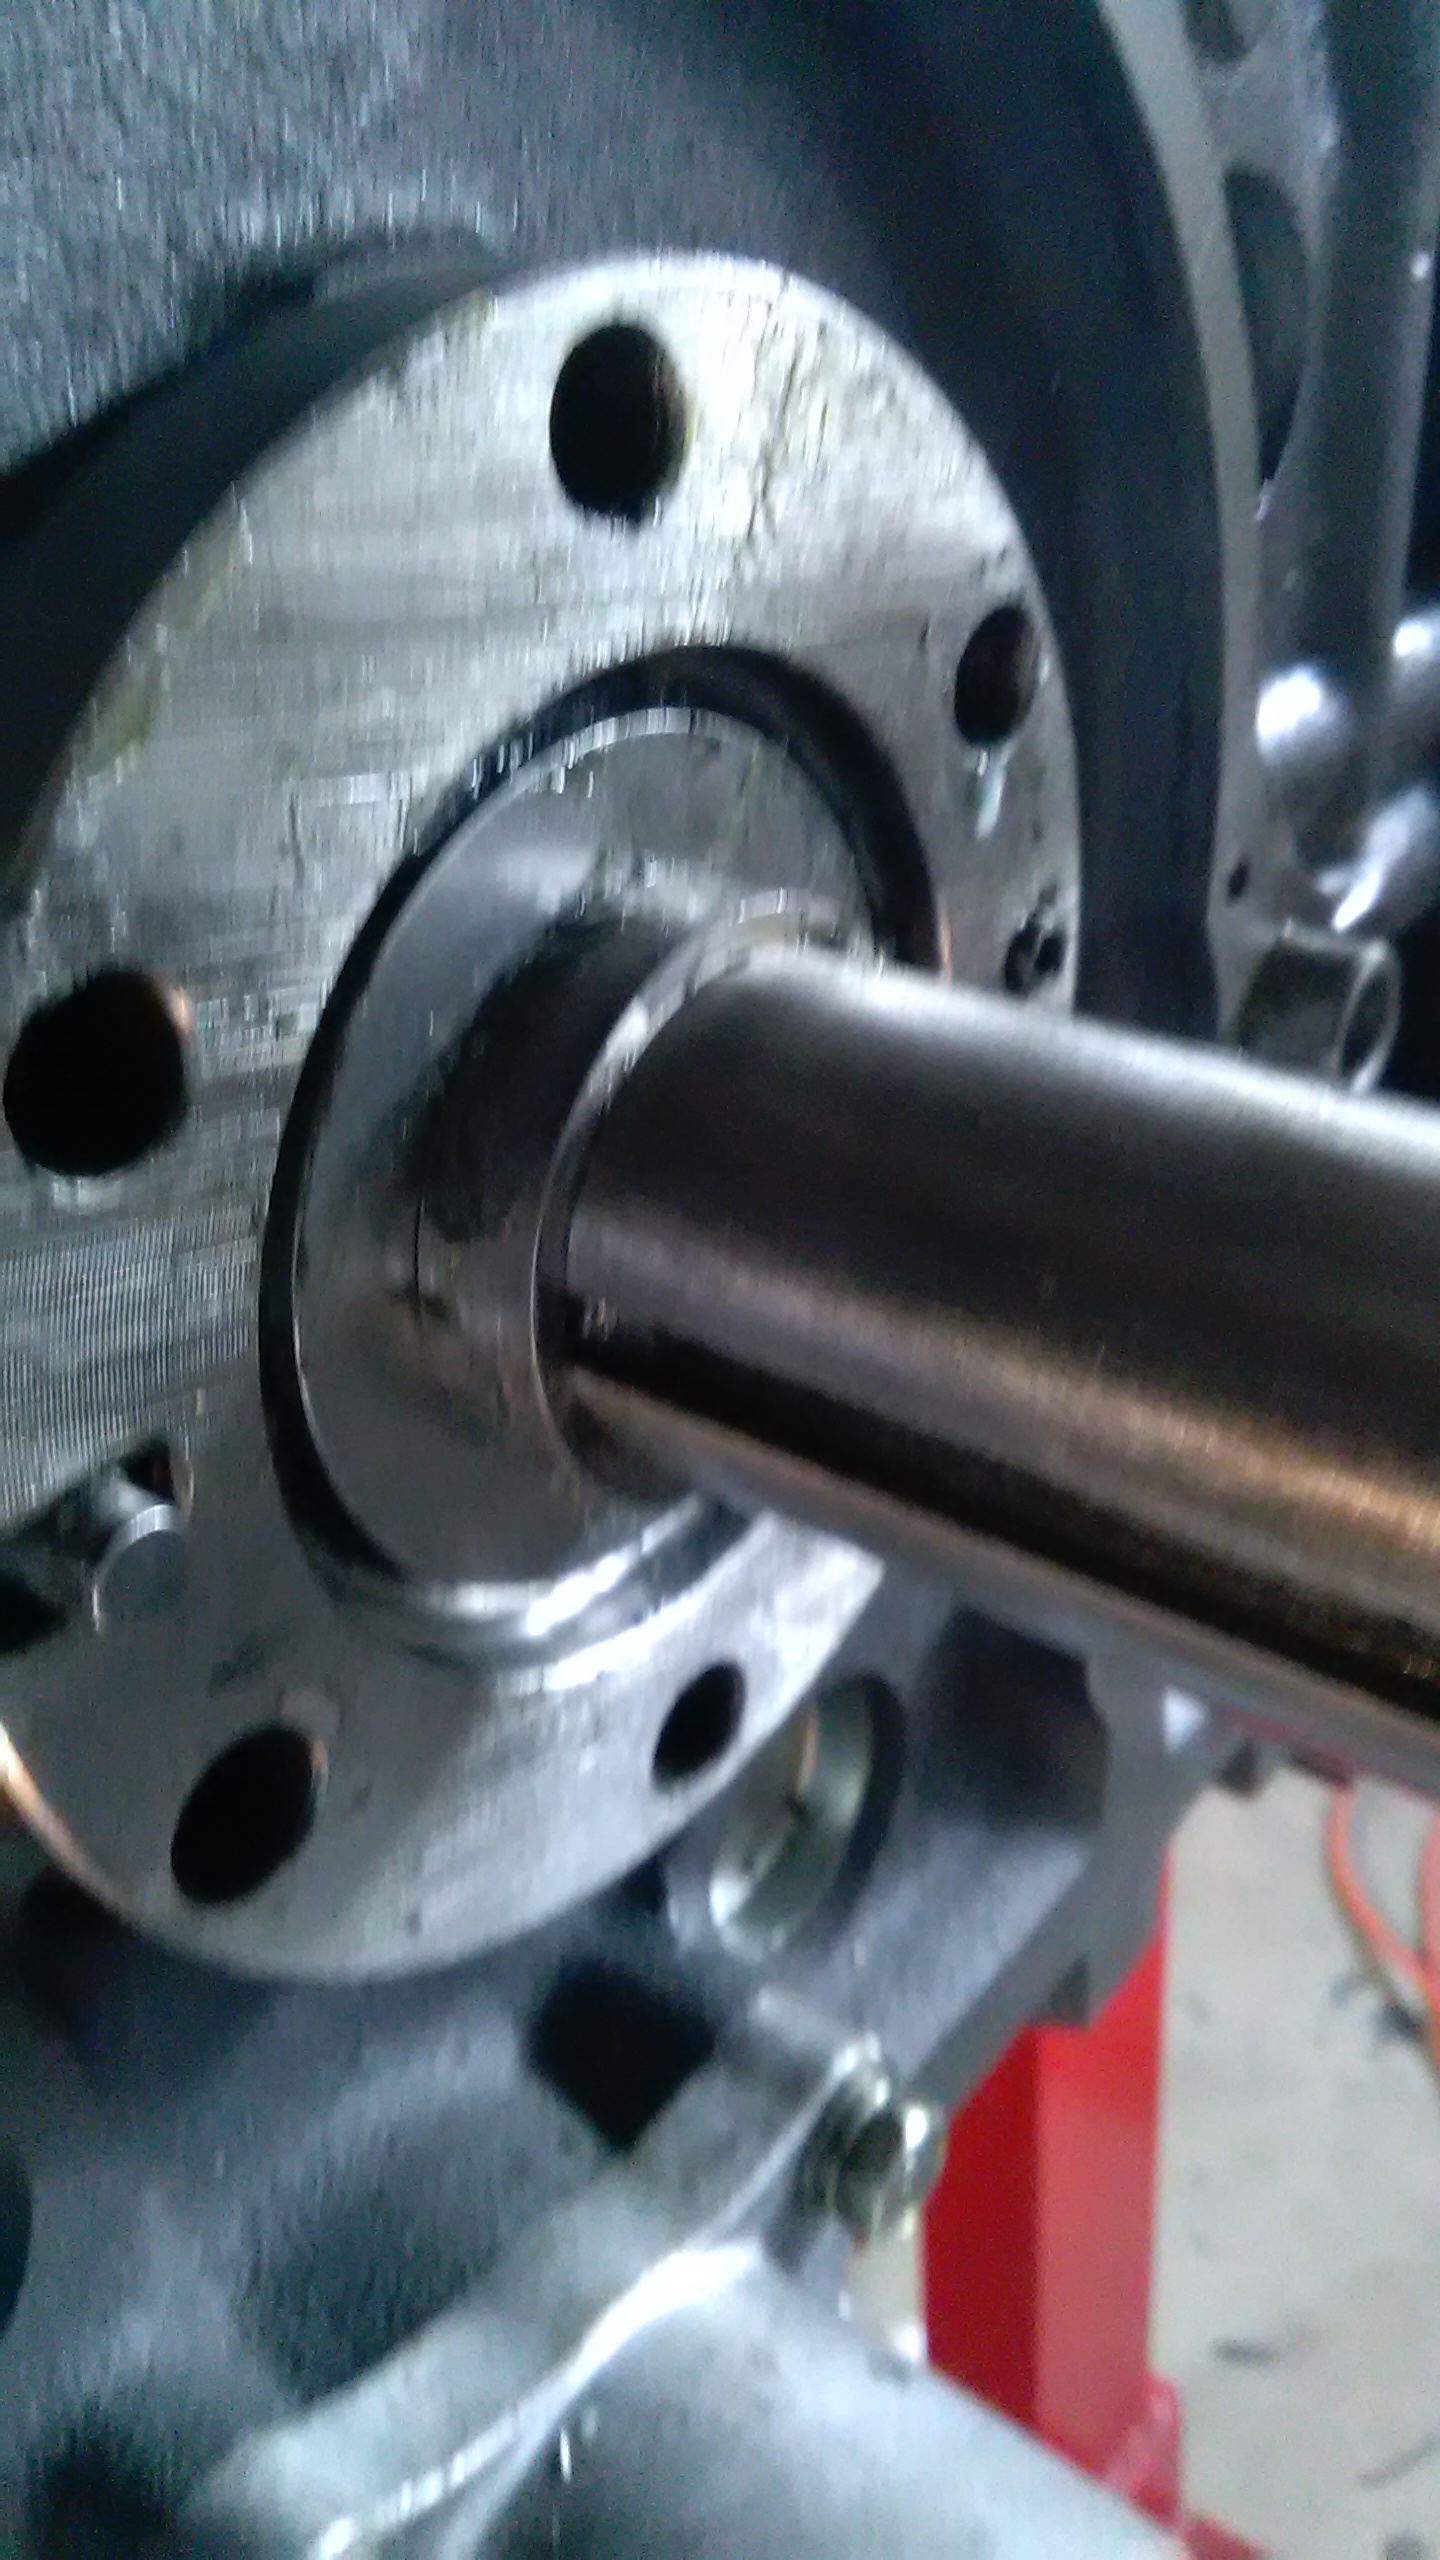
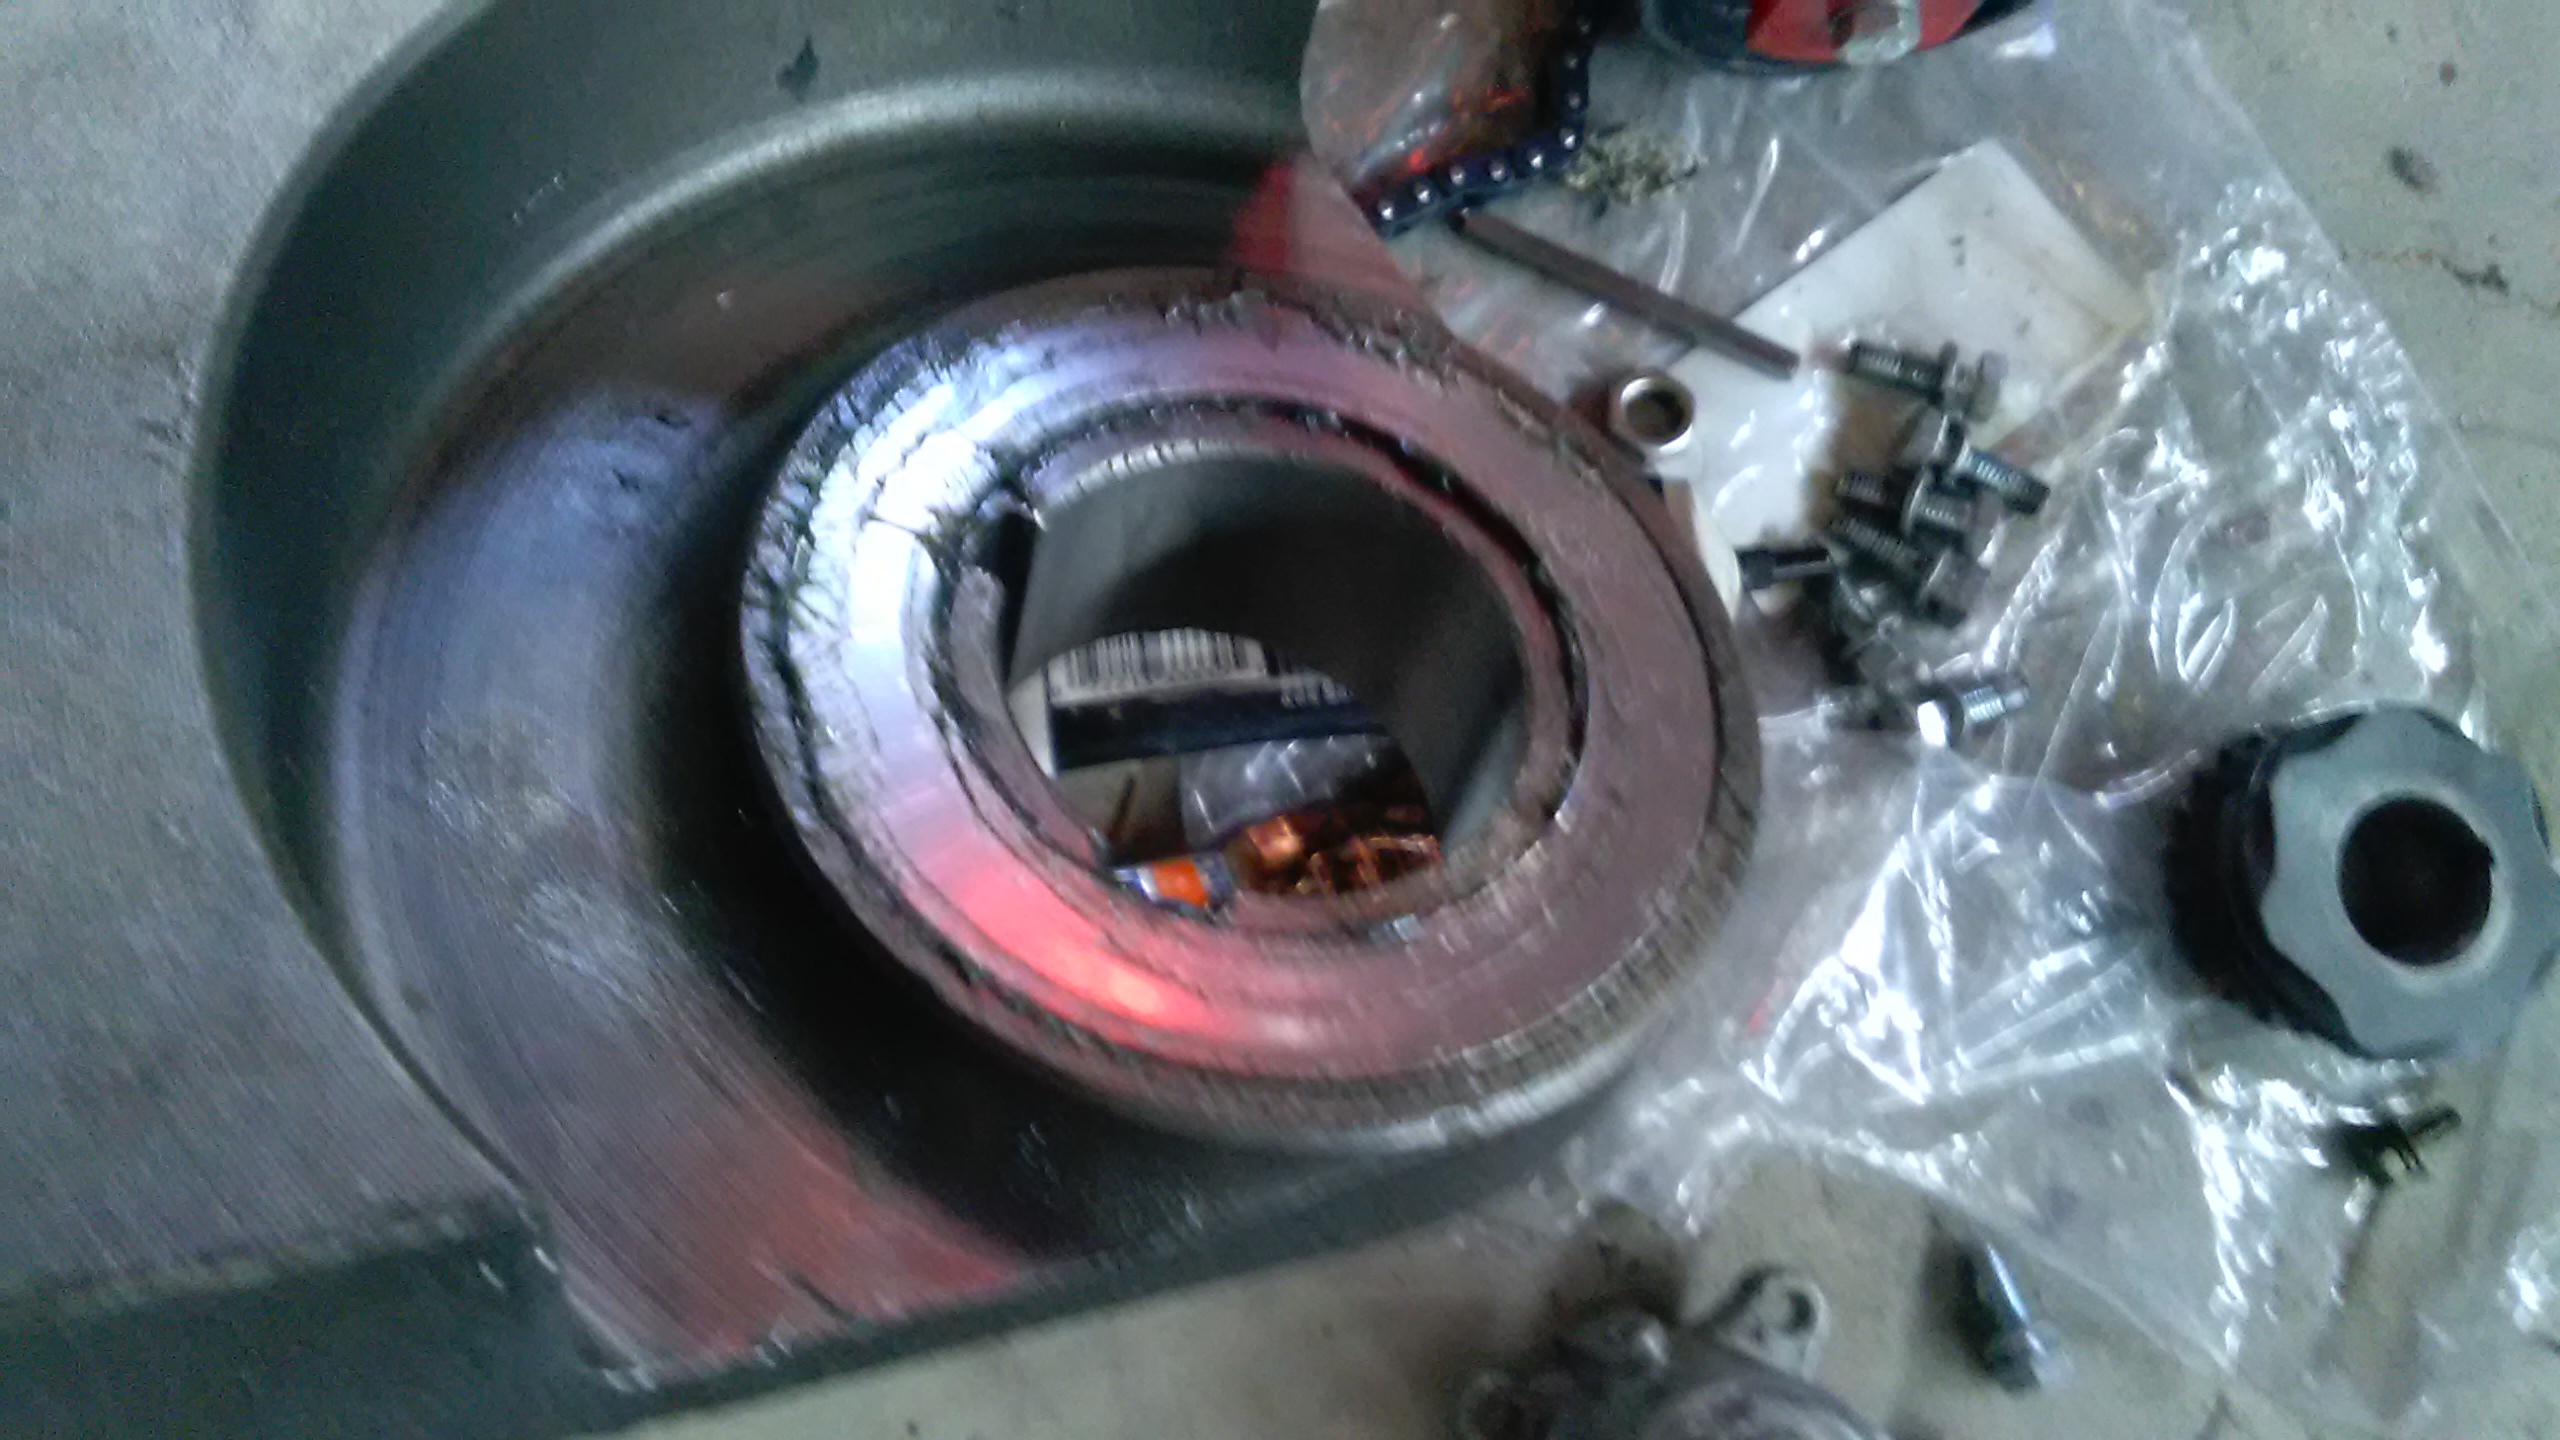
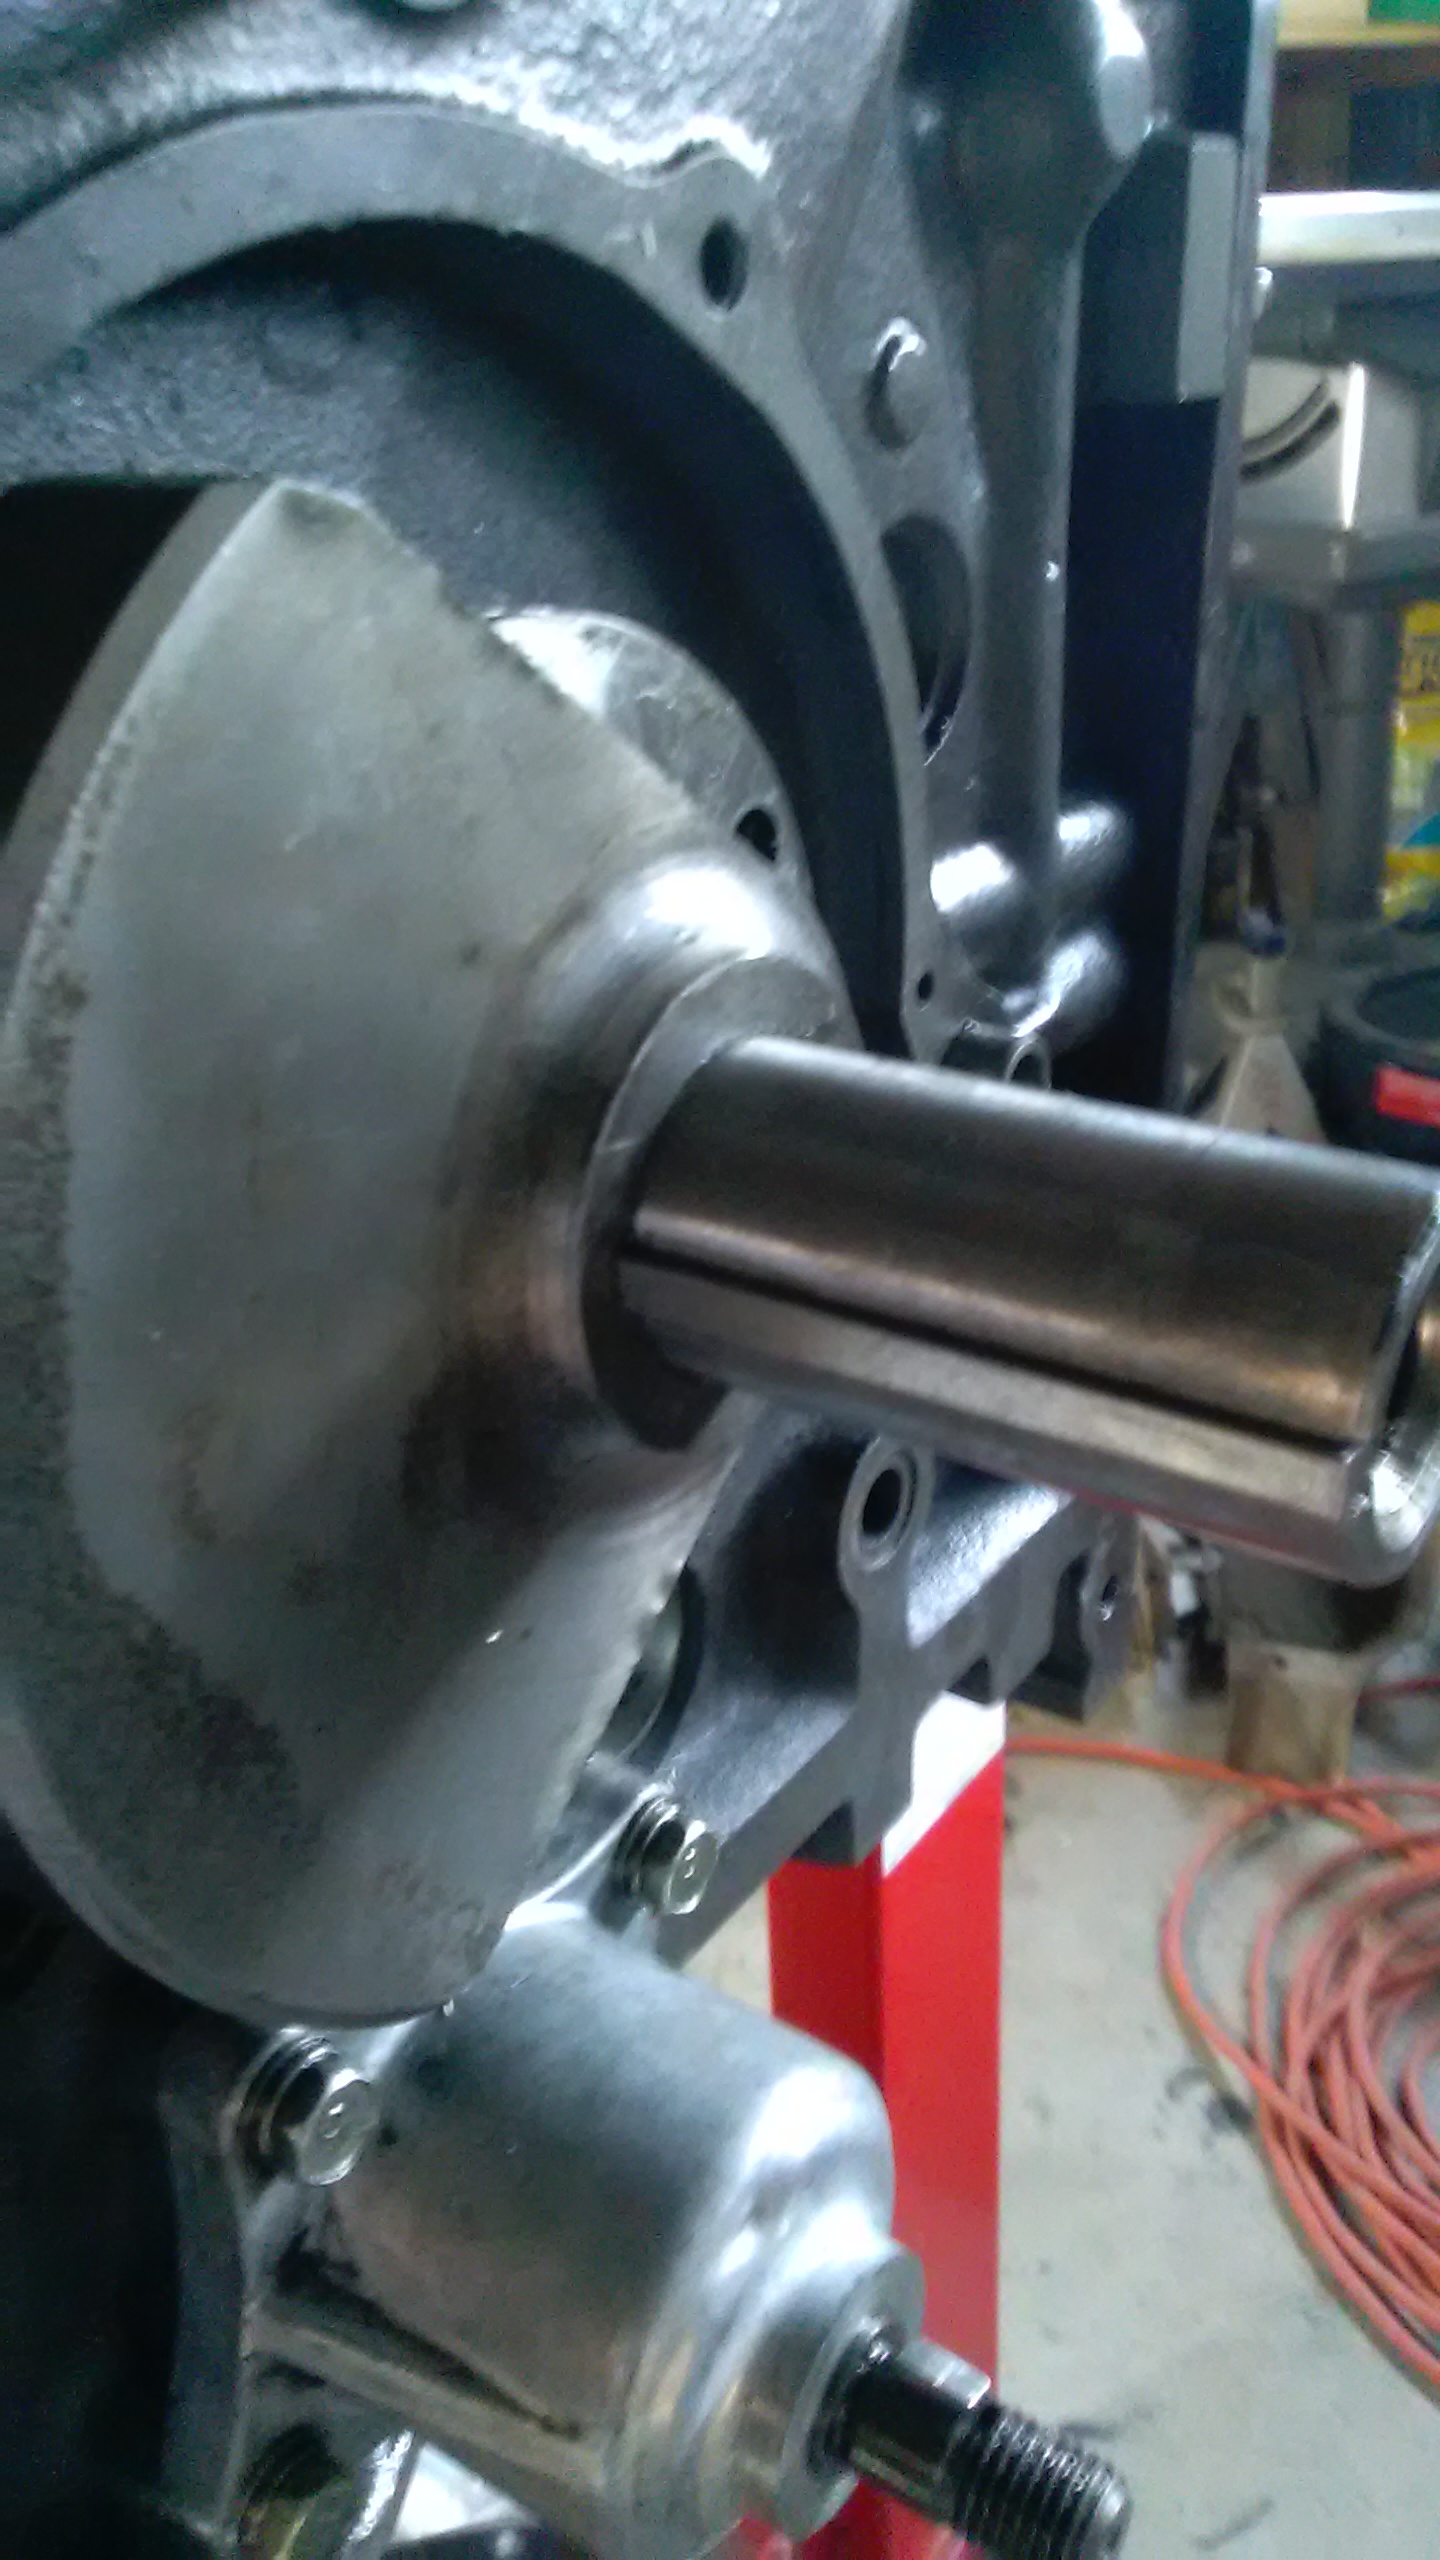
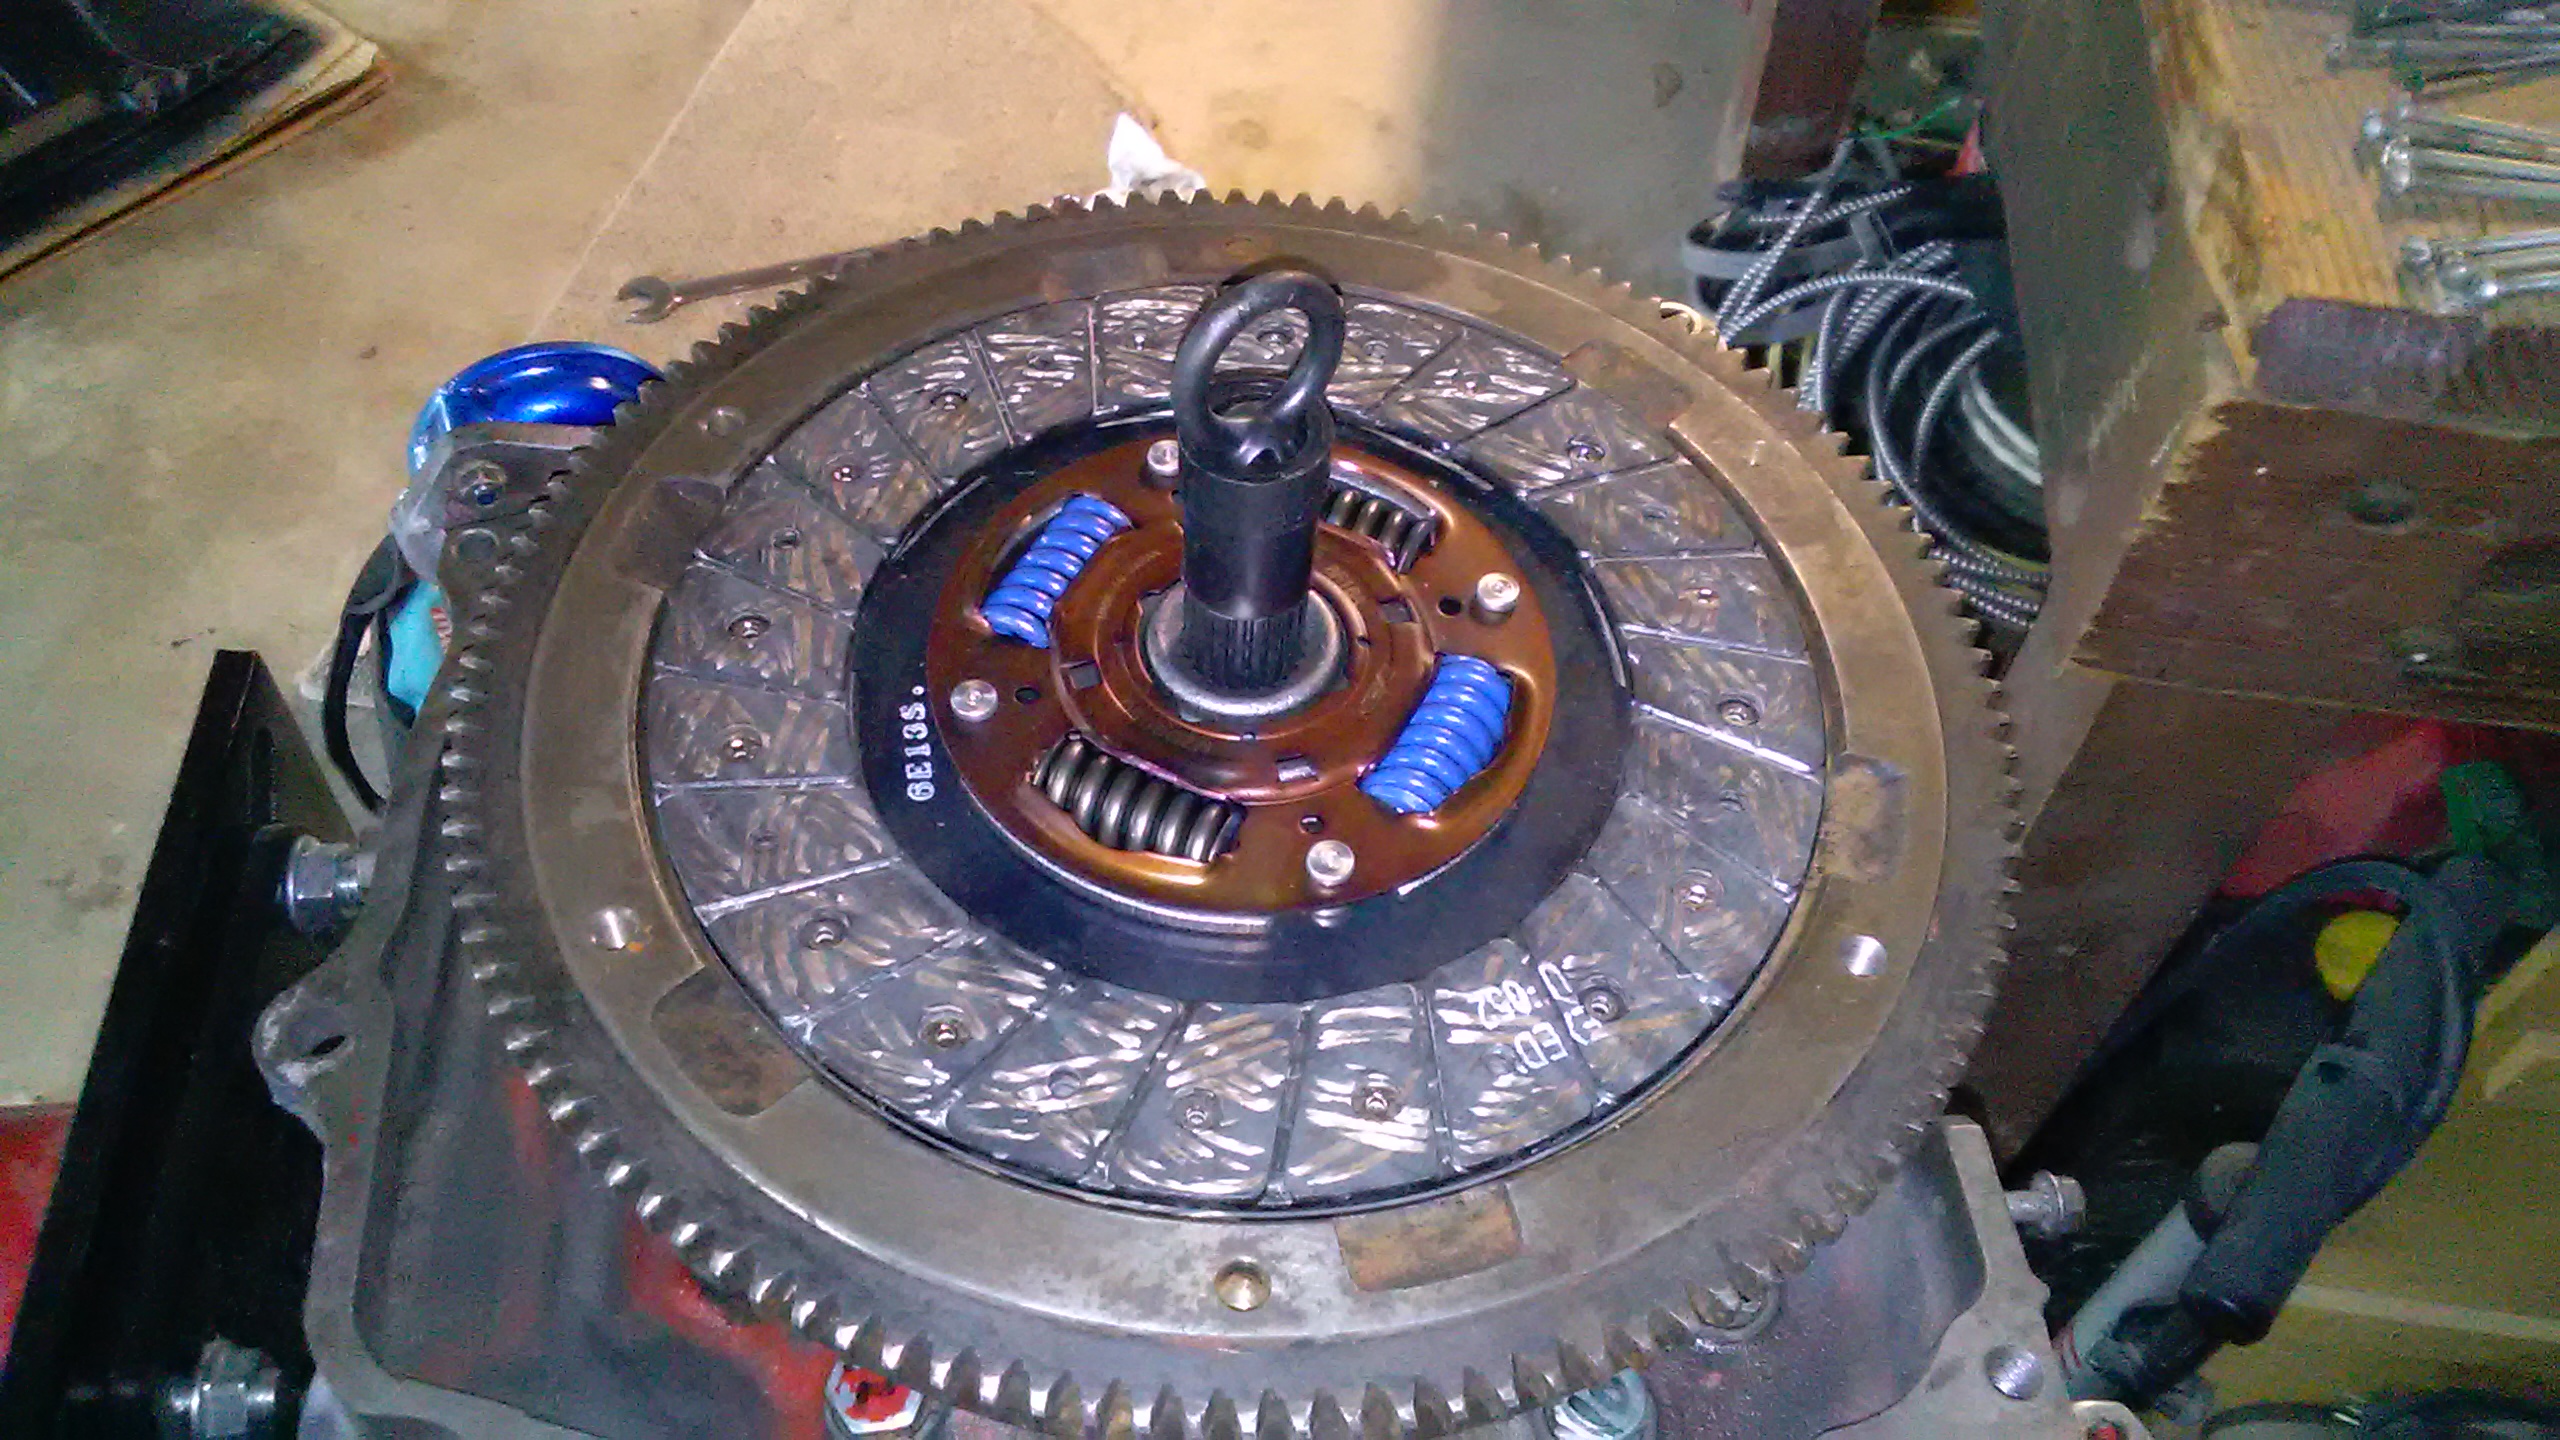
OK I decided to take pictures of what EXACTLY my setup is, so I can see if you guys see anything obvious I'm missing. Seriously it has to be something right?
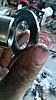
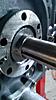
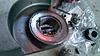
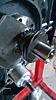
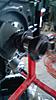
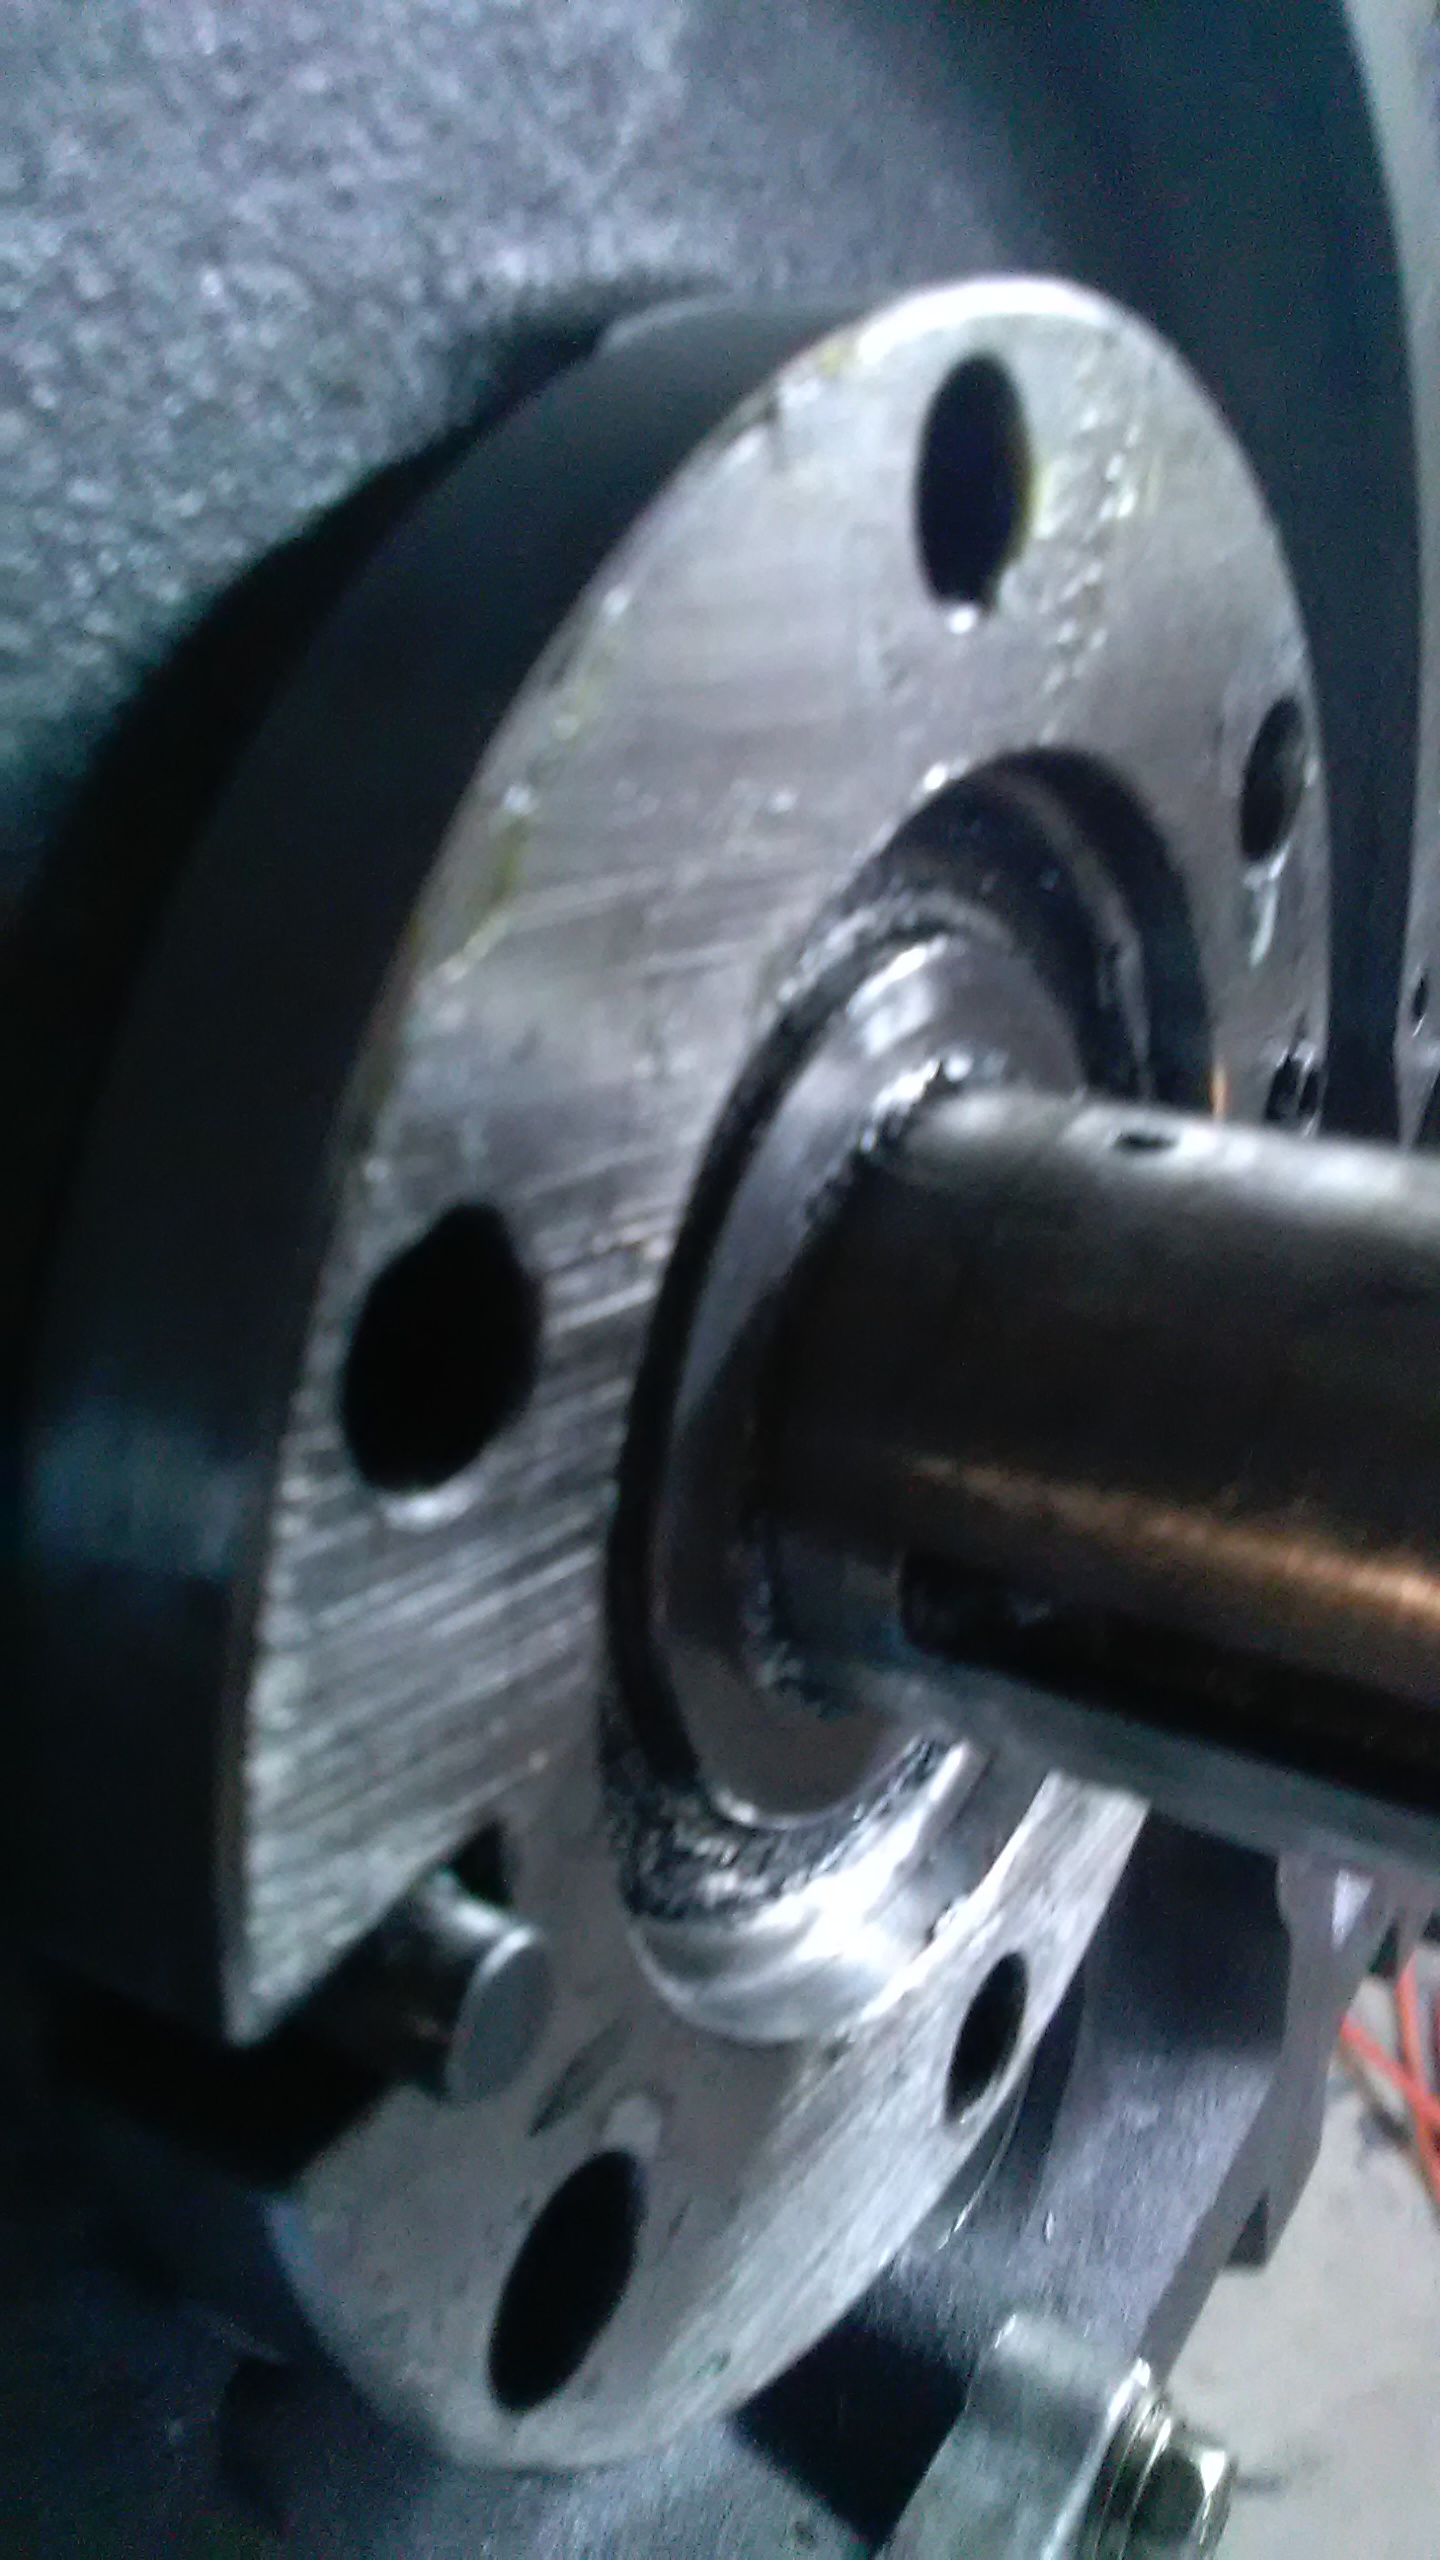
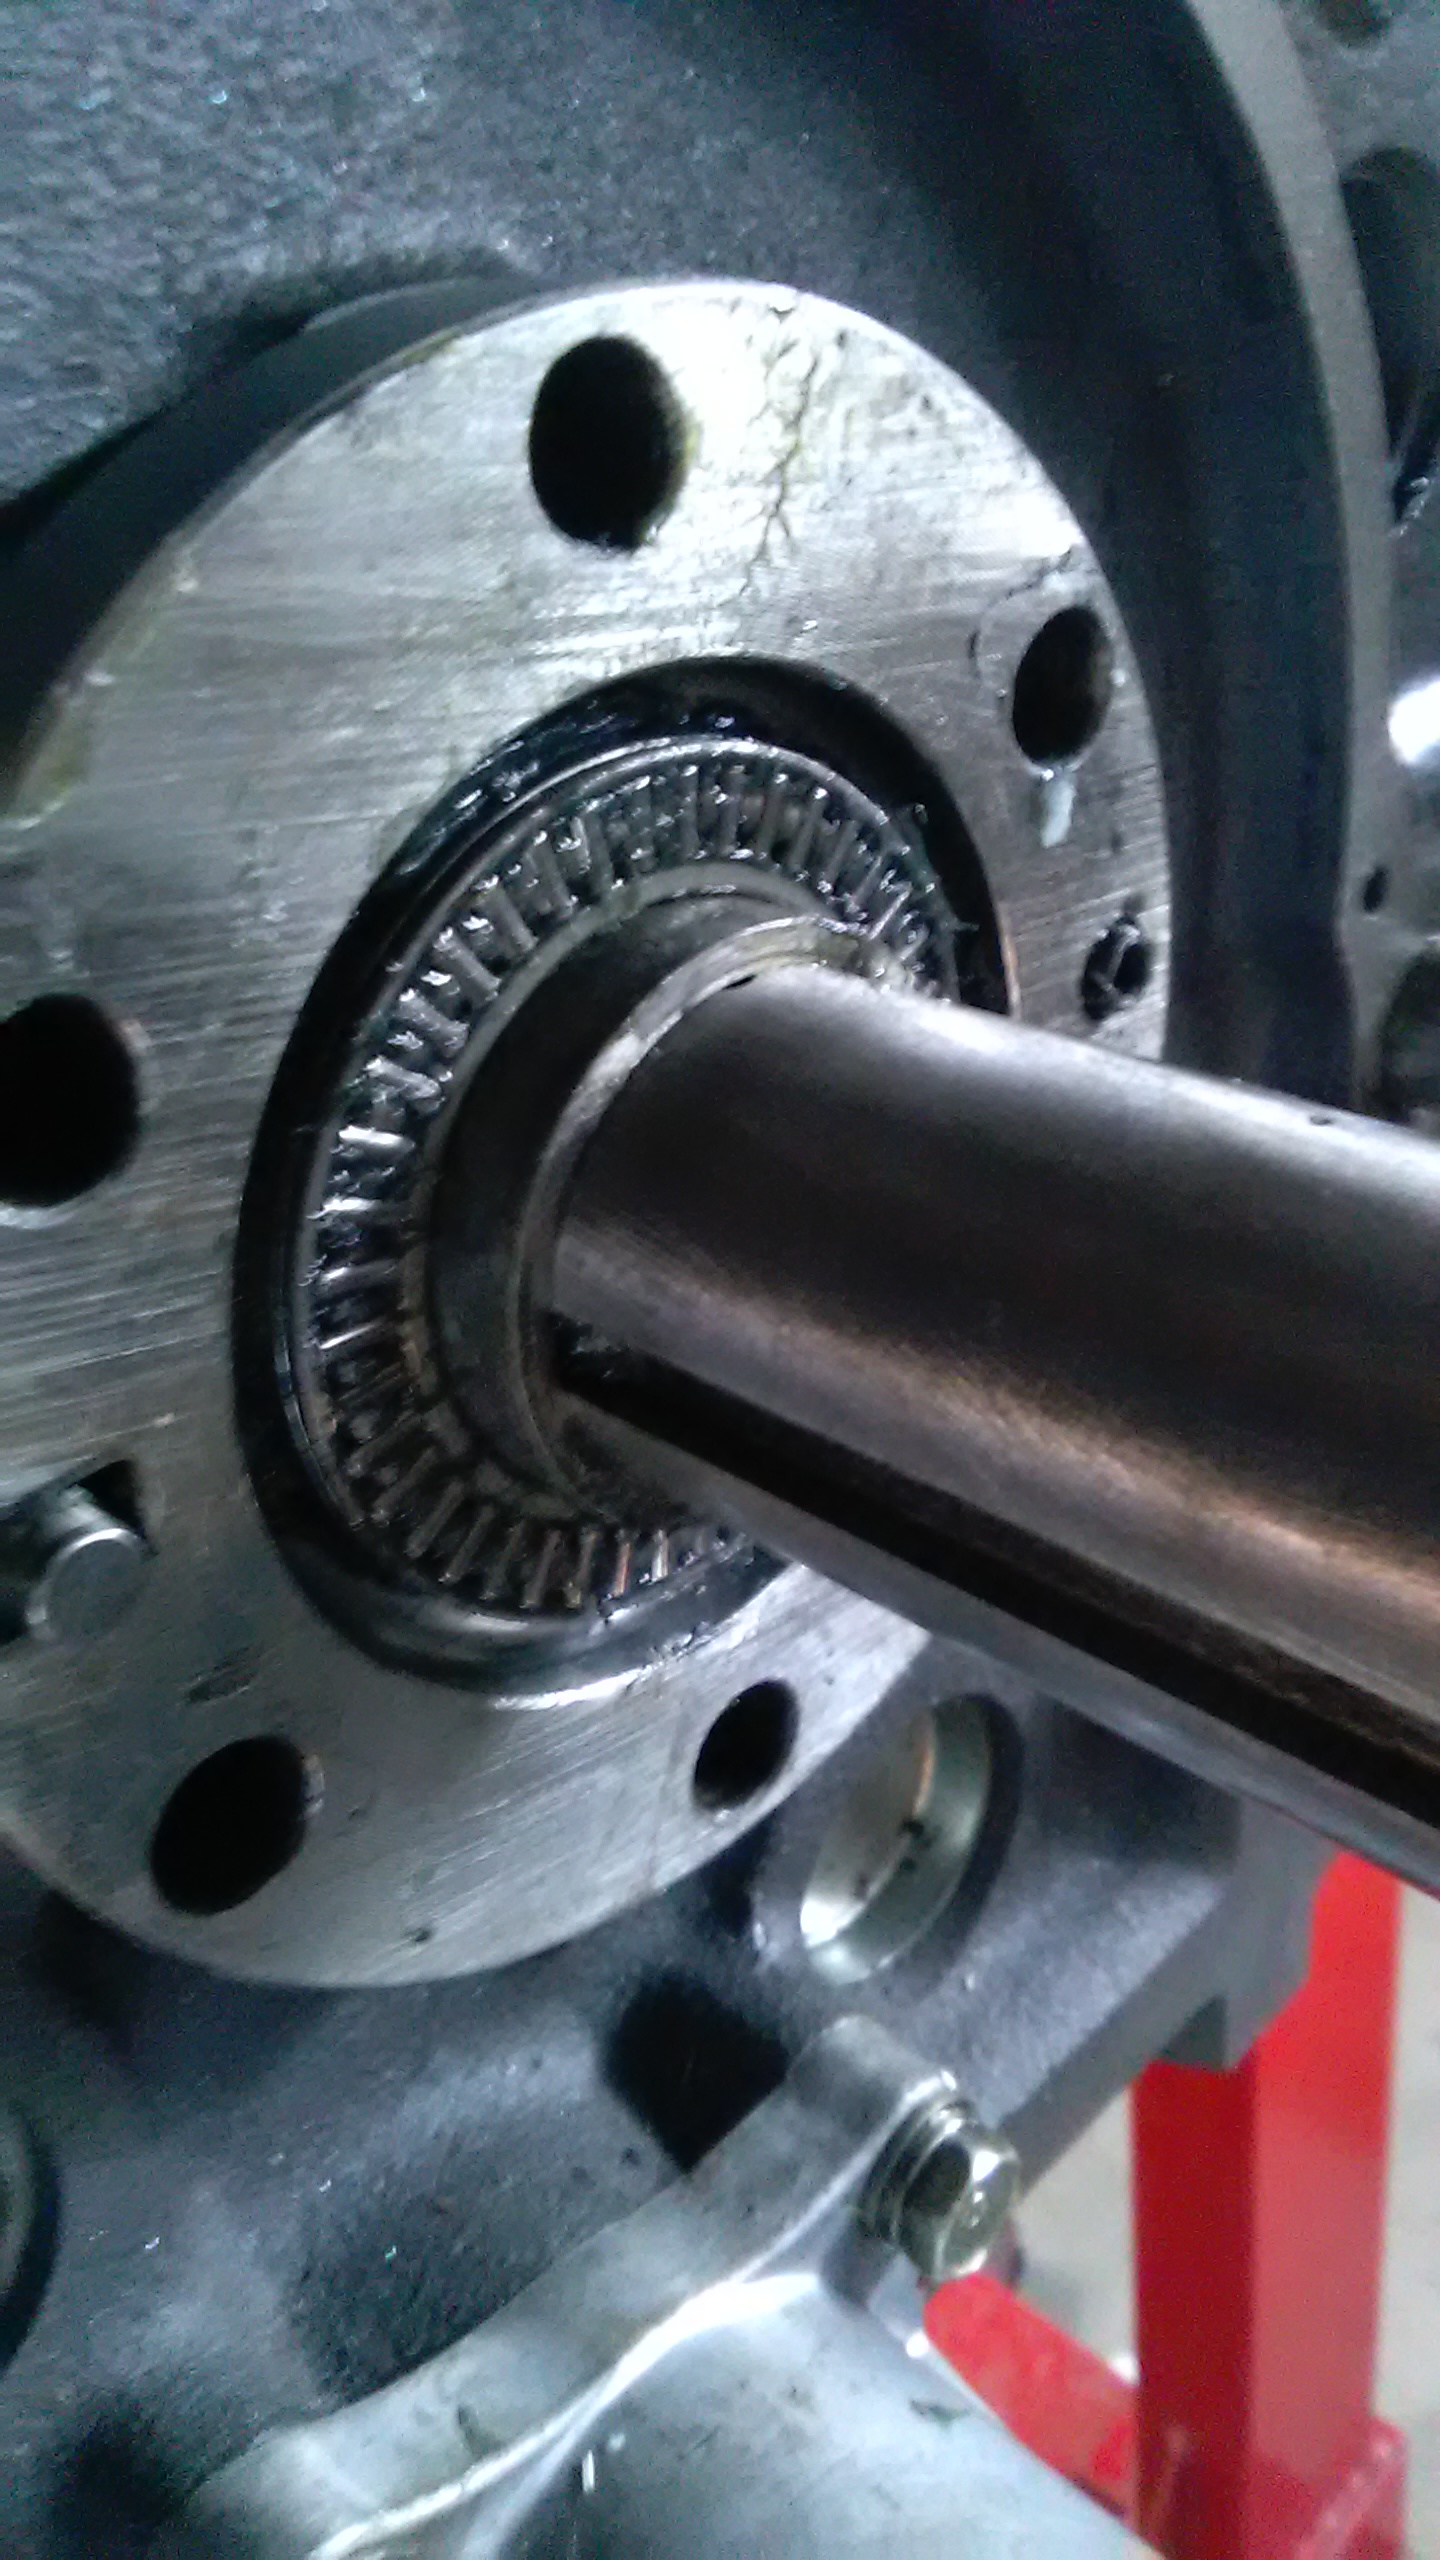
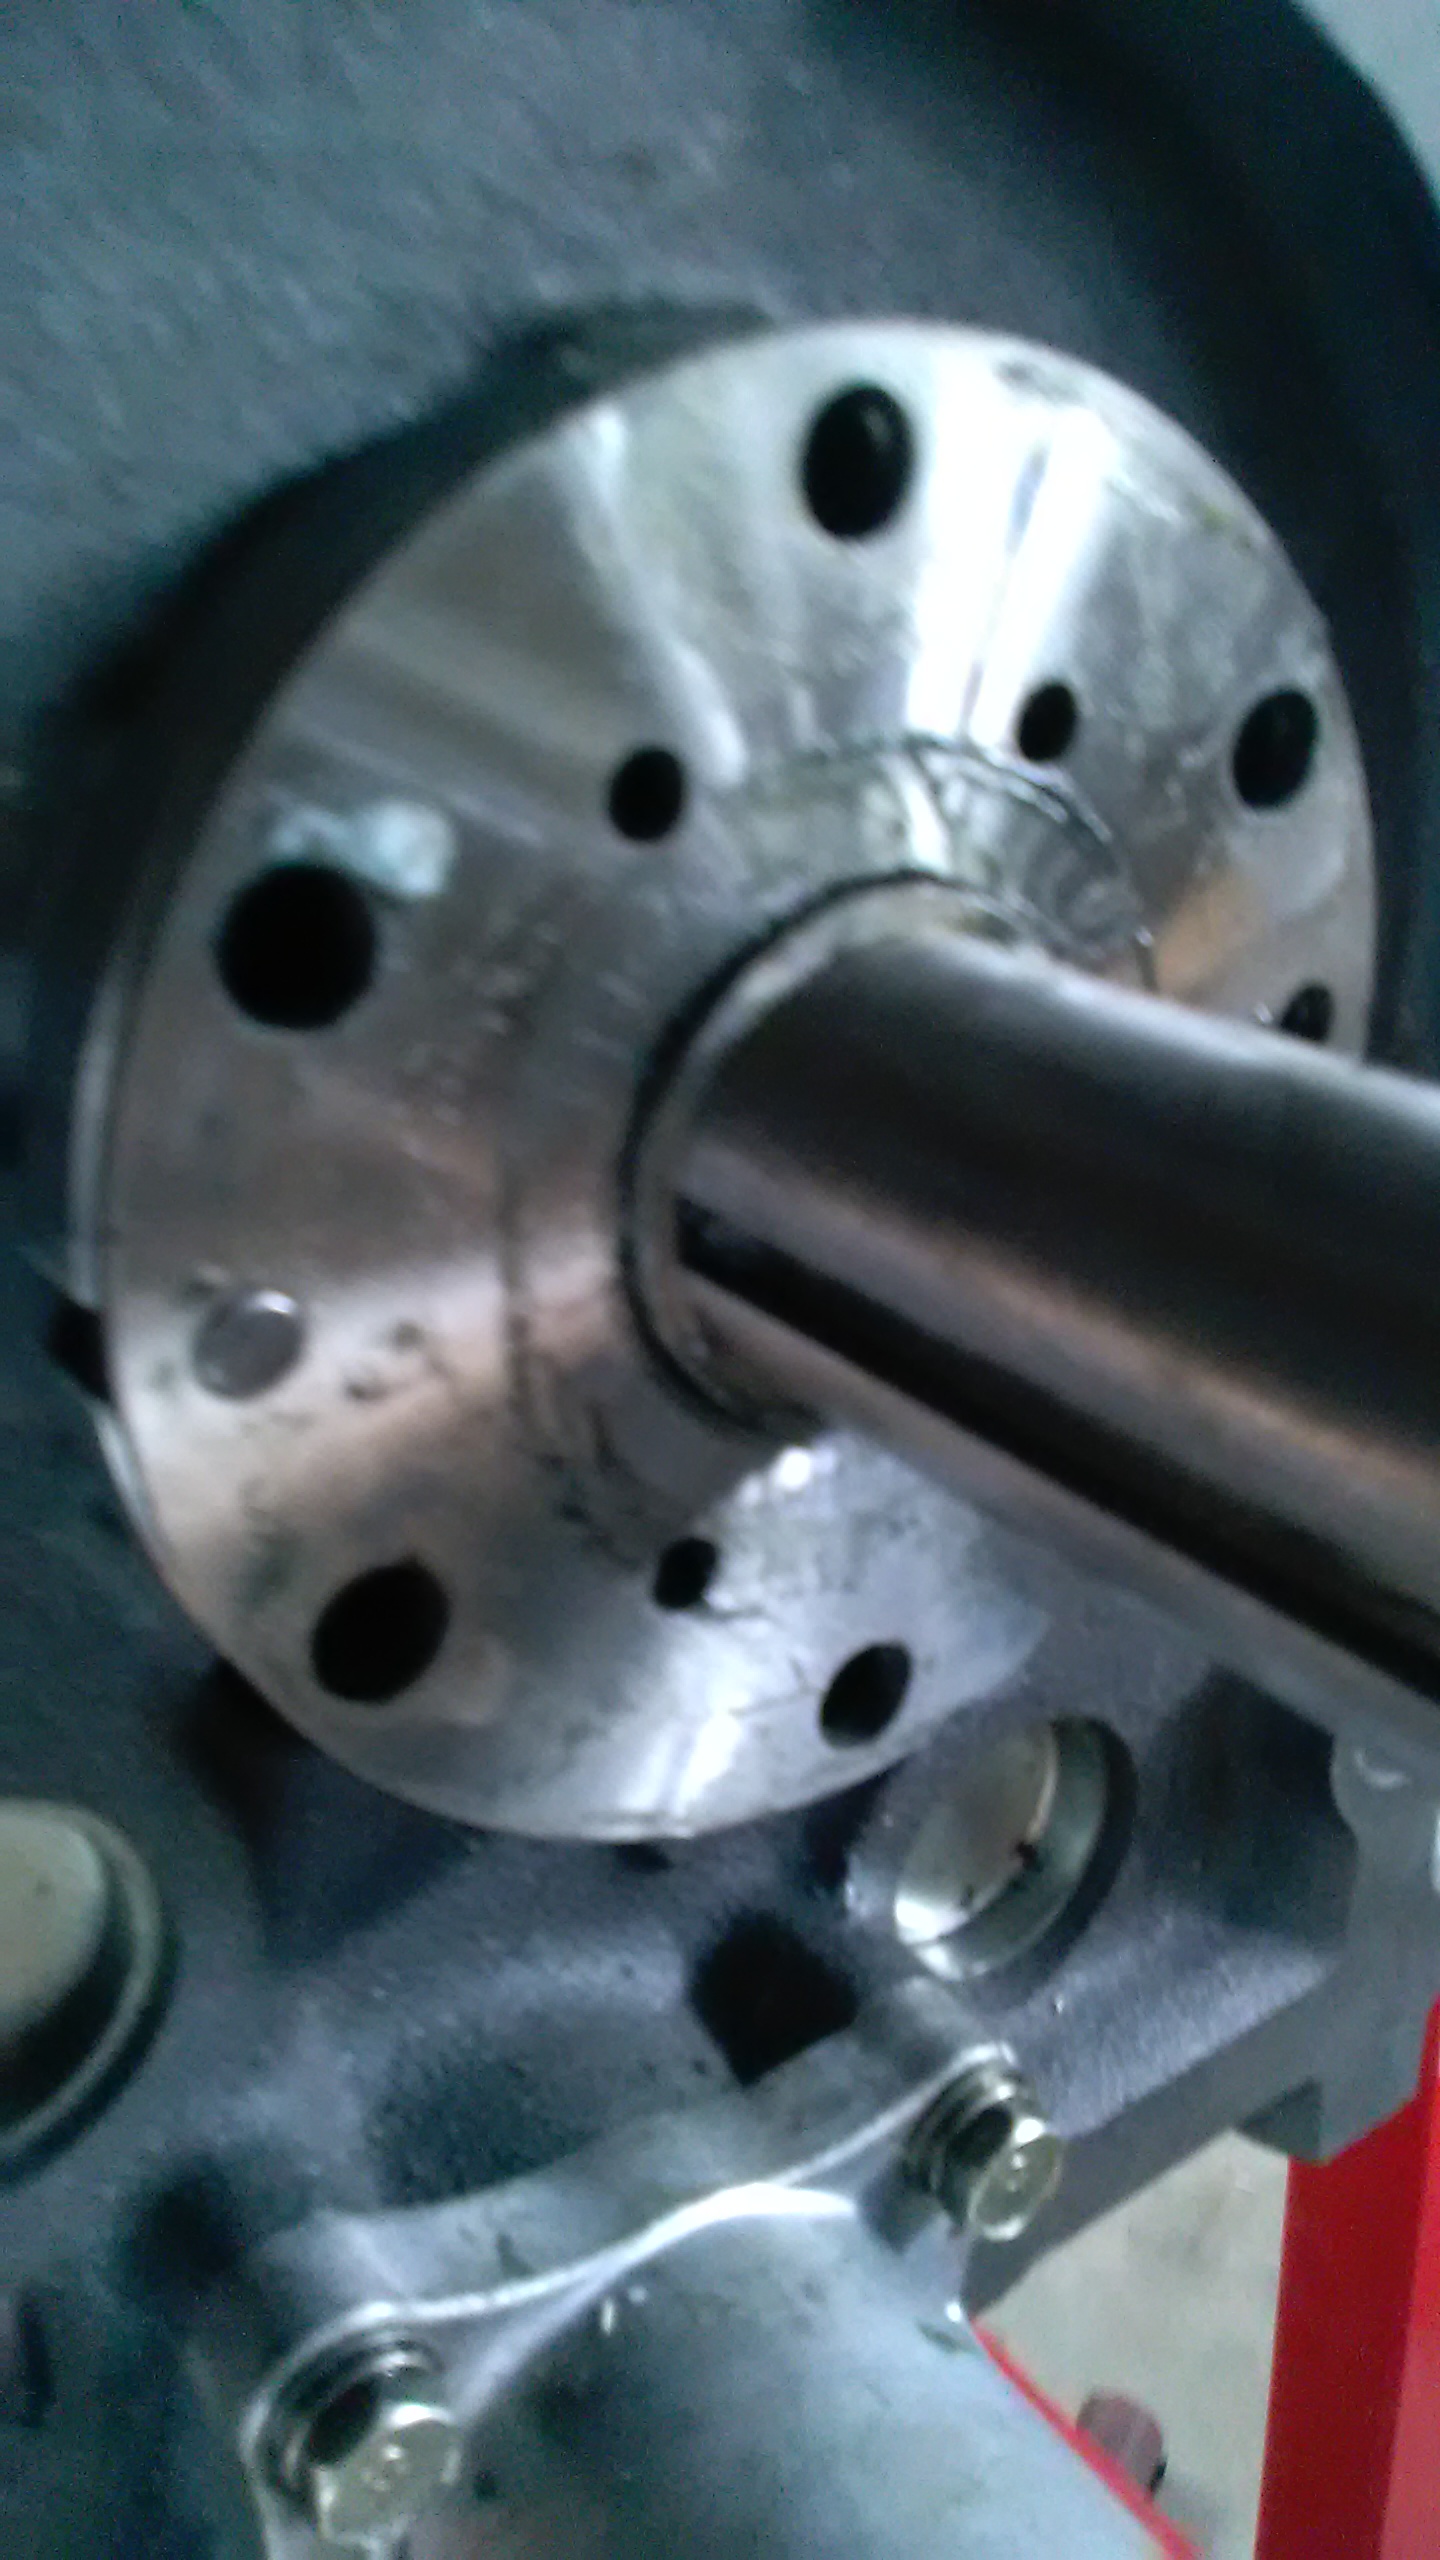
The first pic is with the e-shaft pushed all the way forwards. ofr reference, it's about 1/8th or so inches, maybe a little more. Pics after that are the order of assembly. Oh and the copper washer ( a little worse for wear, is under the bolt head where it's supposed to be, forgot to capture it)
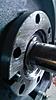


I tried another alternative and shaved off about 1mm from a spare eccentric shaft pulley, to see if I could gain enough clearance. No luck.
The first pic is with the e-shaft pushed all the way forwards. ofr reference, it's about 1/8th or so inches, maybe a little more. Pics after that are the order of assembly. Oh and the copper washer ( a little worse for wear, is under the bolt head where it's supposed to be, forgot to capture it)


I tried another alternative and shaved off about 1mm from a spare eccentric shaft pulley, to see if I could gain enough clearance. No luck.
Thread Starter
Full Member
Joined: May 2016
Posts: 226
Likes: 0
From: Denver
Hmm I'm sure you're right, concerning removing material from the spacer rings, but also the Pulley? I'd have to think about it. You're probably right. Good thing I have a spare.
I do bolt down the stationary gear cover thing when I actually check for endplay, I was leaving it undone simply for expedience when taking pics. Unless there's something else I'm not thinking of that needs to be bolted?
I do bolt down the stationary gear cover thing when I actually check for endplay, I was leaving it undone simply for expedience when taking pics. Unless there's something else I'm not thinking of that needs to be bolted?
Thread Starter
Full Member
Joined: May 2016
Posts: 226
Likes: 0
From: Denver
I THINK I GOT IT!
So I went ahead and put the un-modified crank pulley on, and torqued it to 80 ftlbs. Then I set my dial gauge on the bolt, with the snout of the enigne facing up. Zeroed the gauge, and then flipped the engine so the snout was facing down. the gauge read about 20-25 thousandths! that's on the high side, but within spec, ja?
I'm not sure why I couldn't see the flywheel move, or hear it when I was trying it the conventional way, but I think I have a valid measurement this way?
Thread Starter
Full Member
Joined: May 2016
Posts: 226
Likes: 0
From: Denver
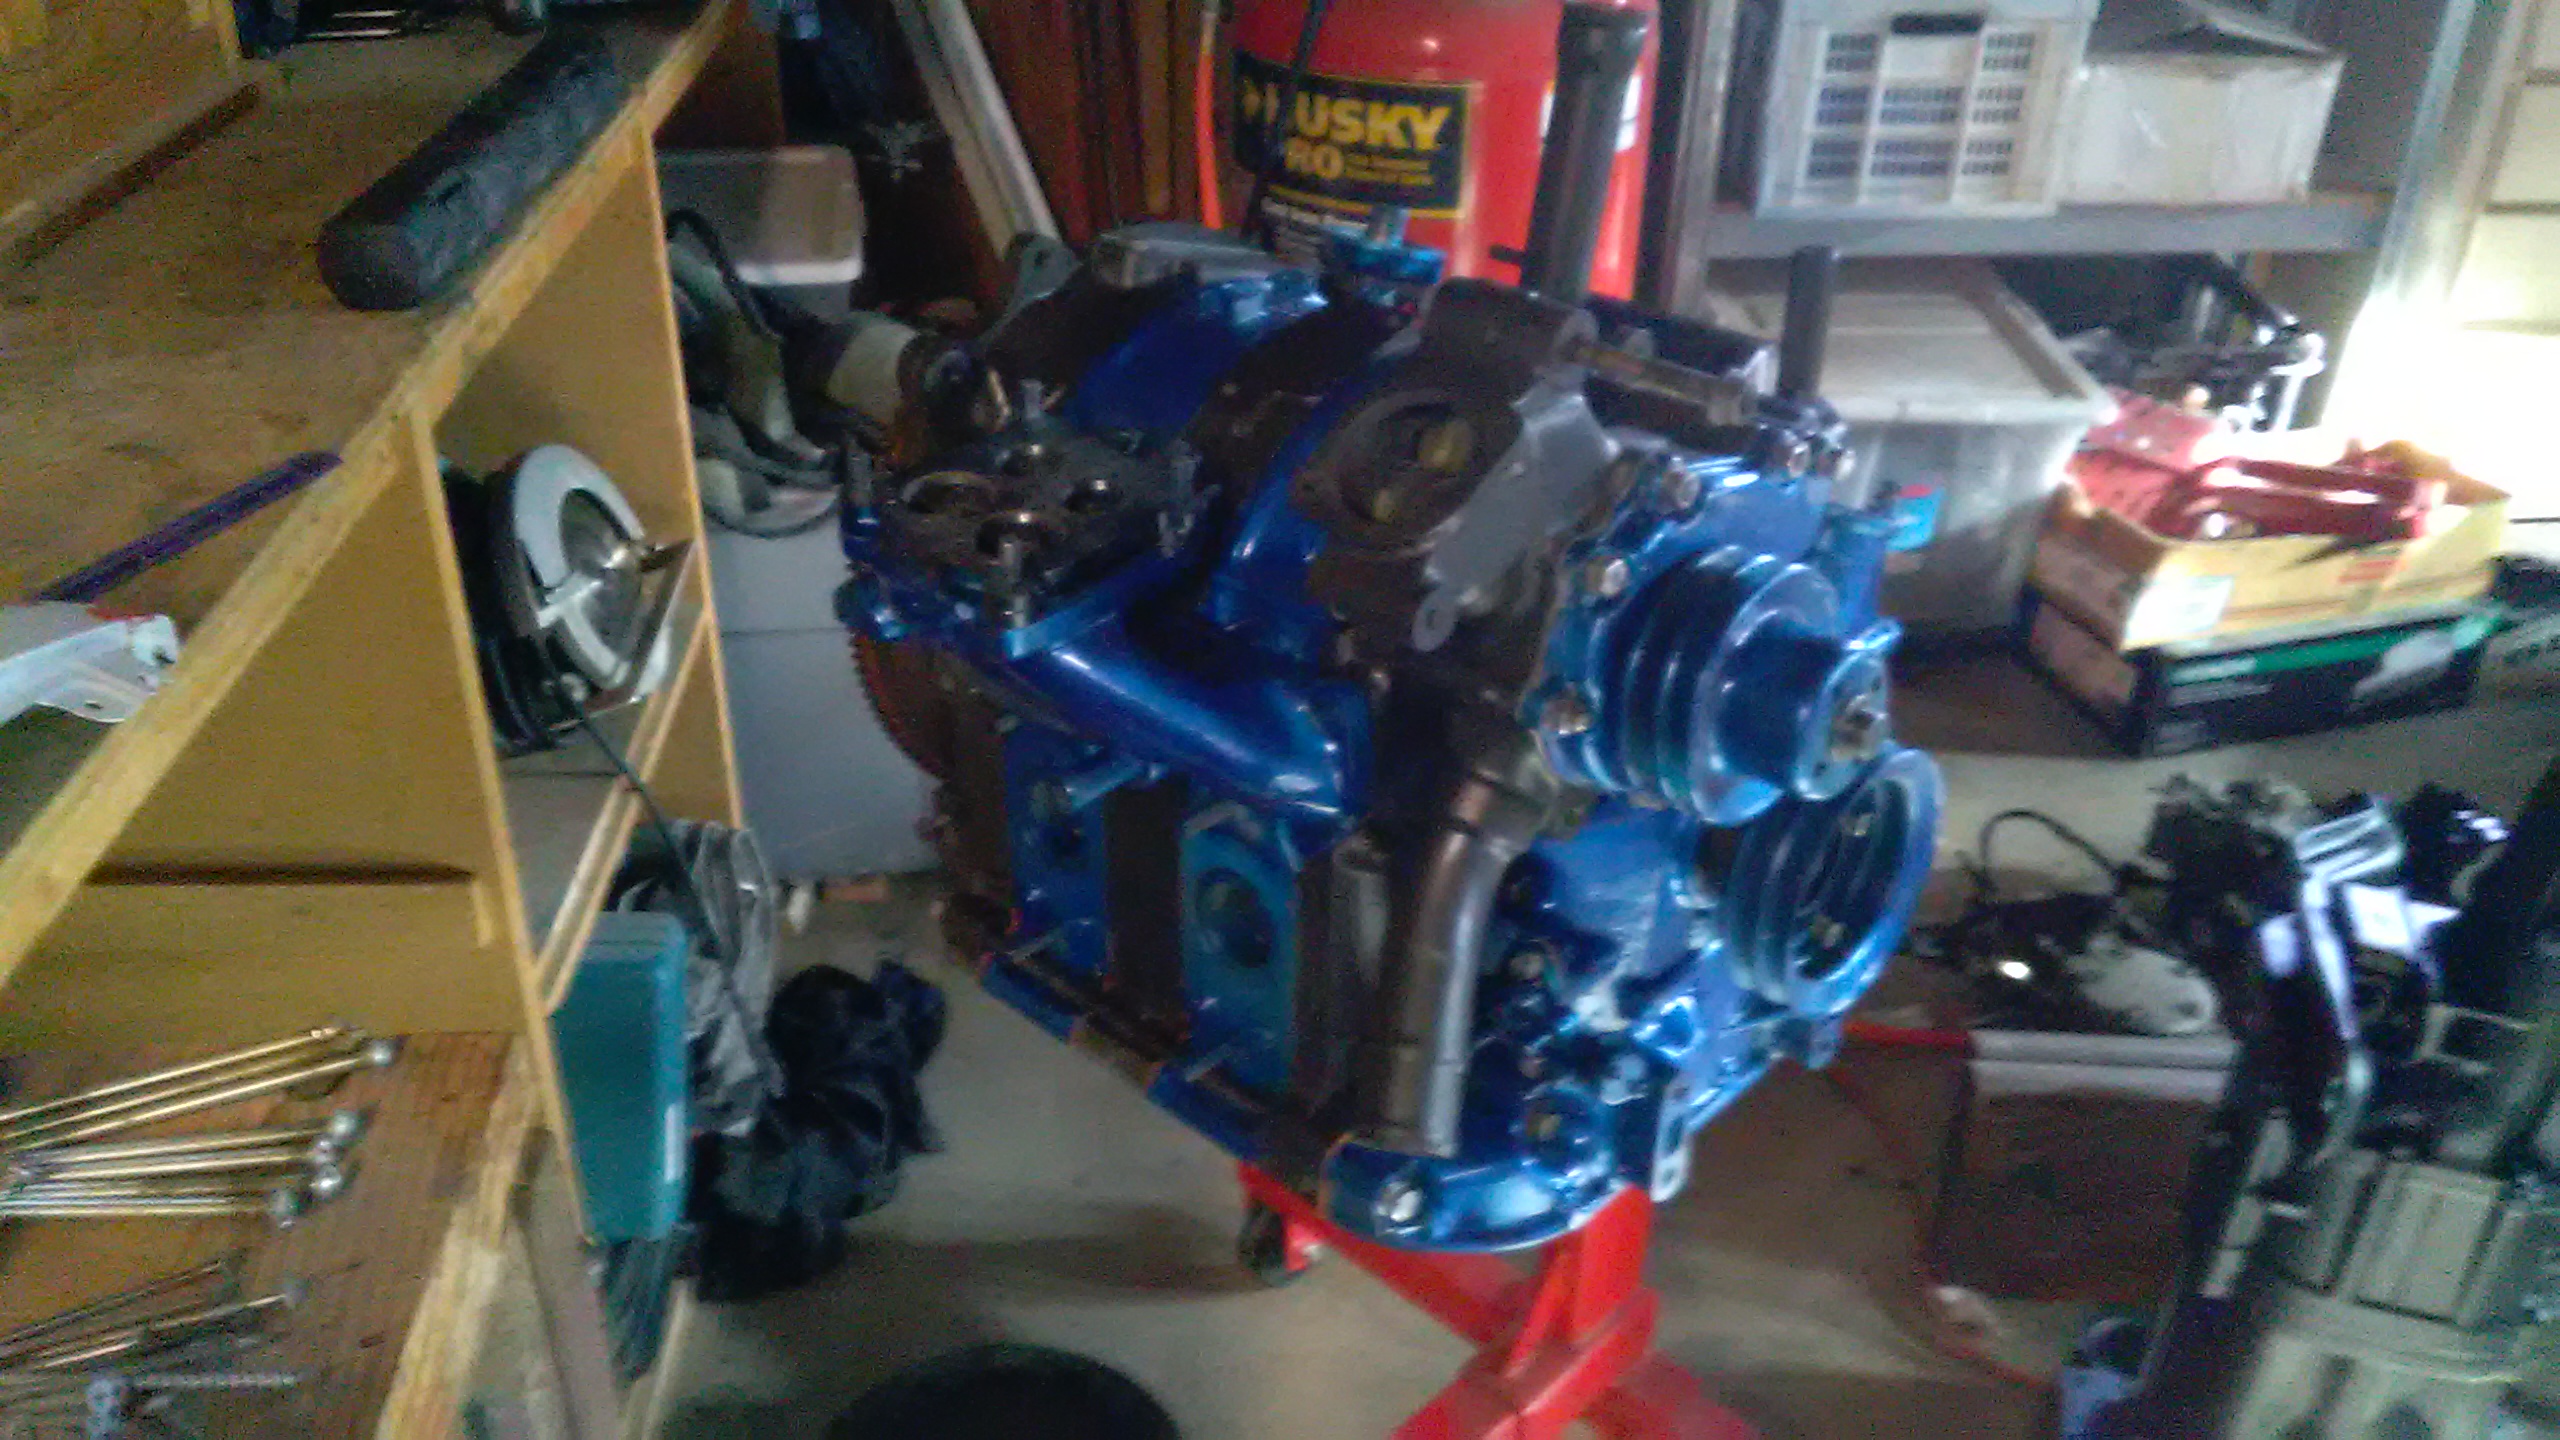
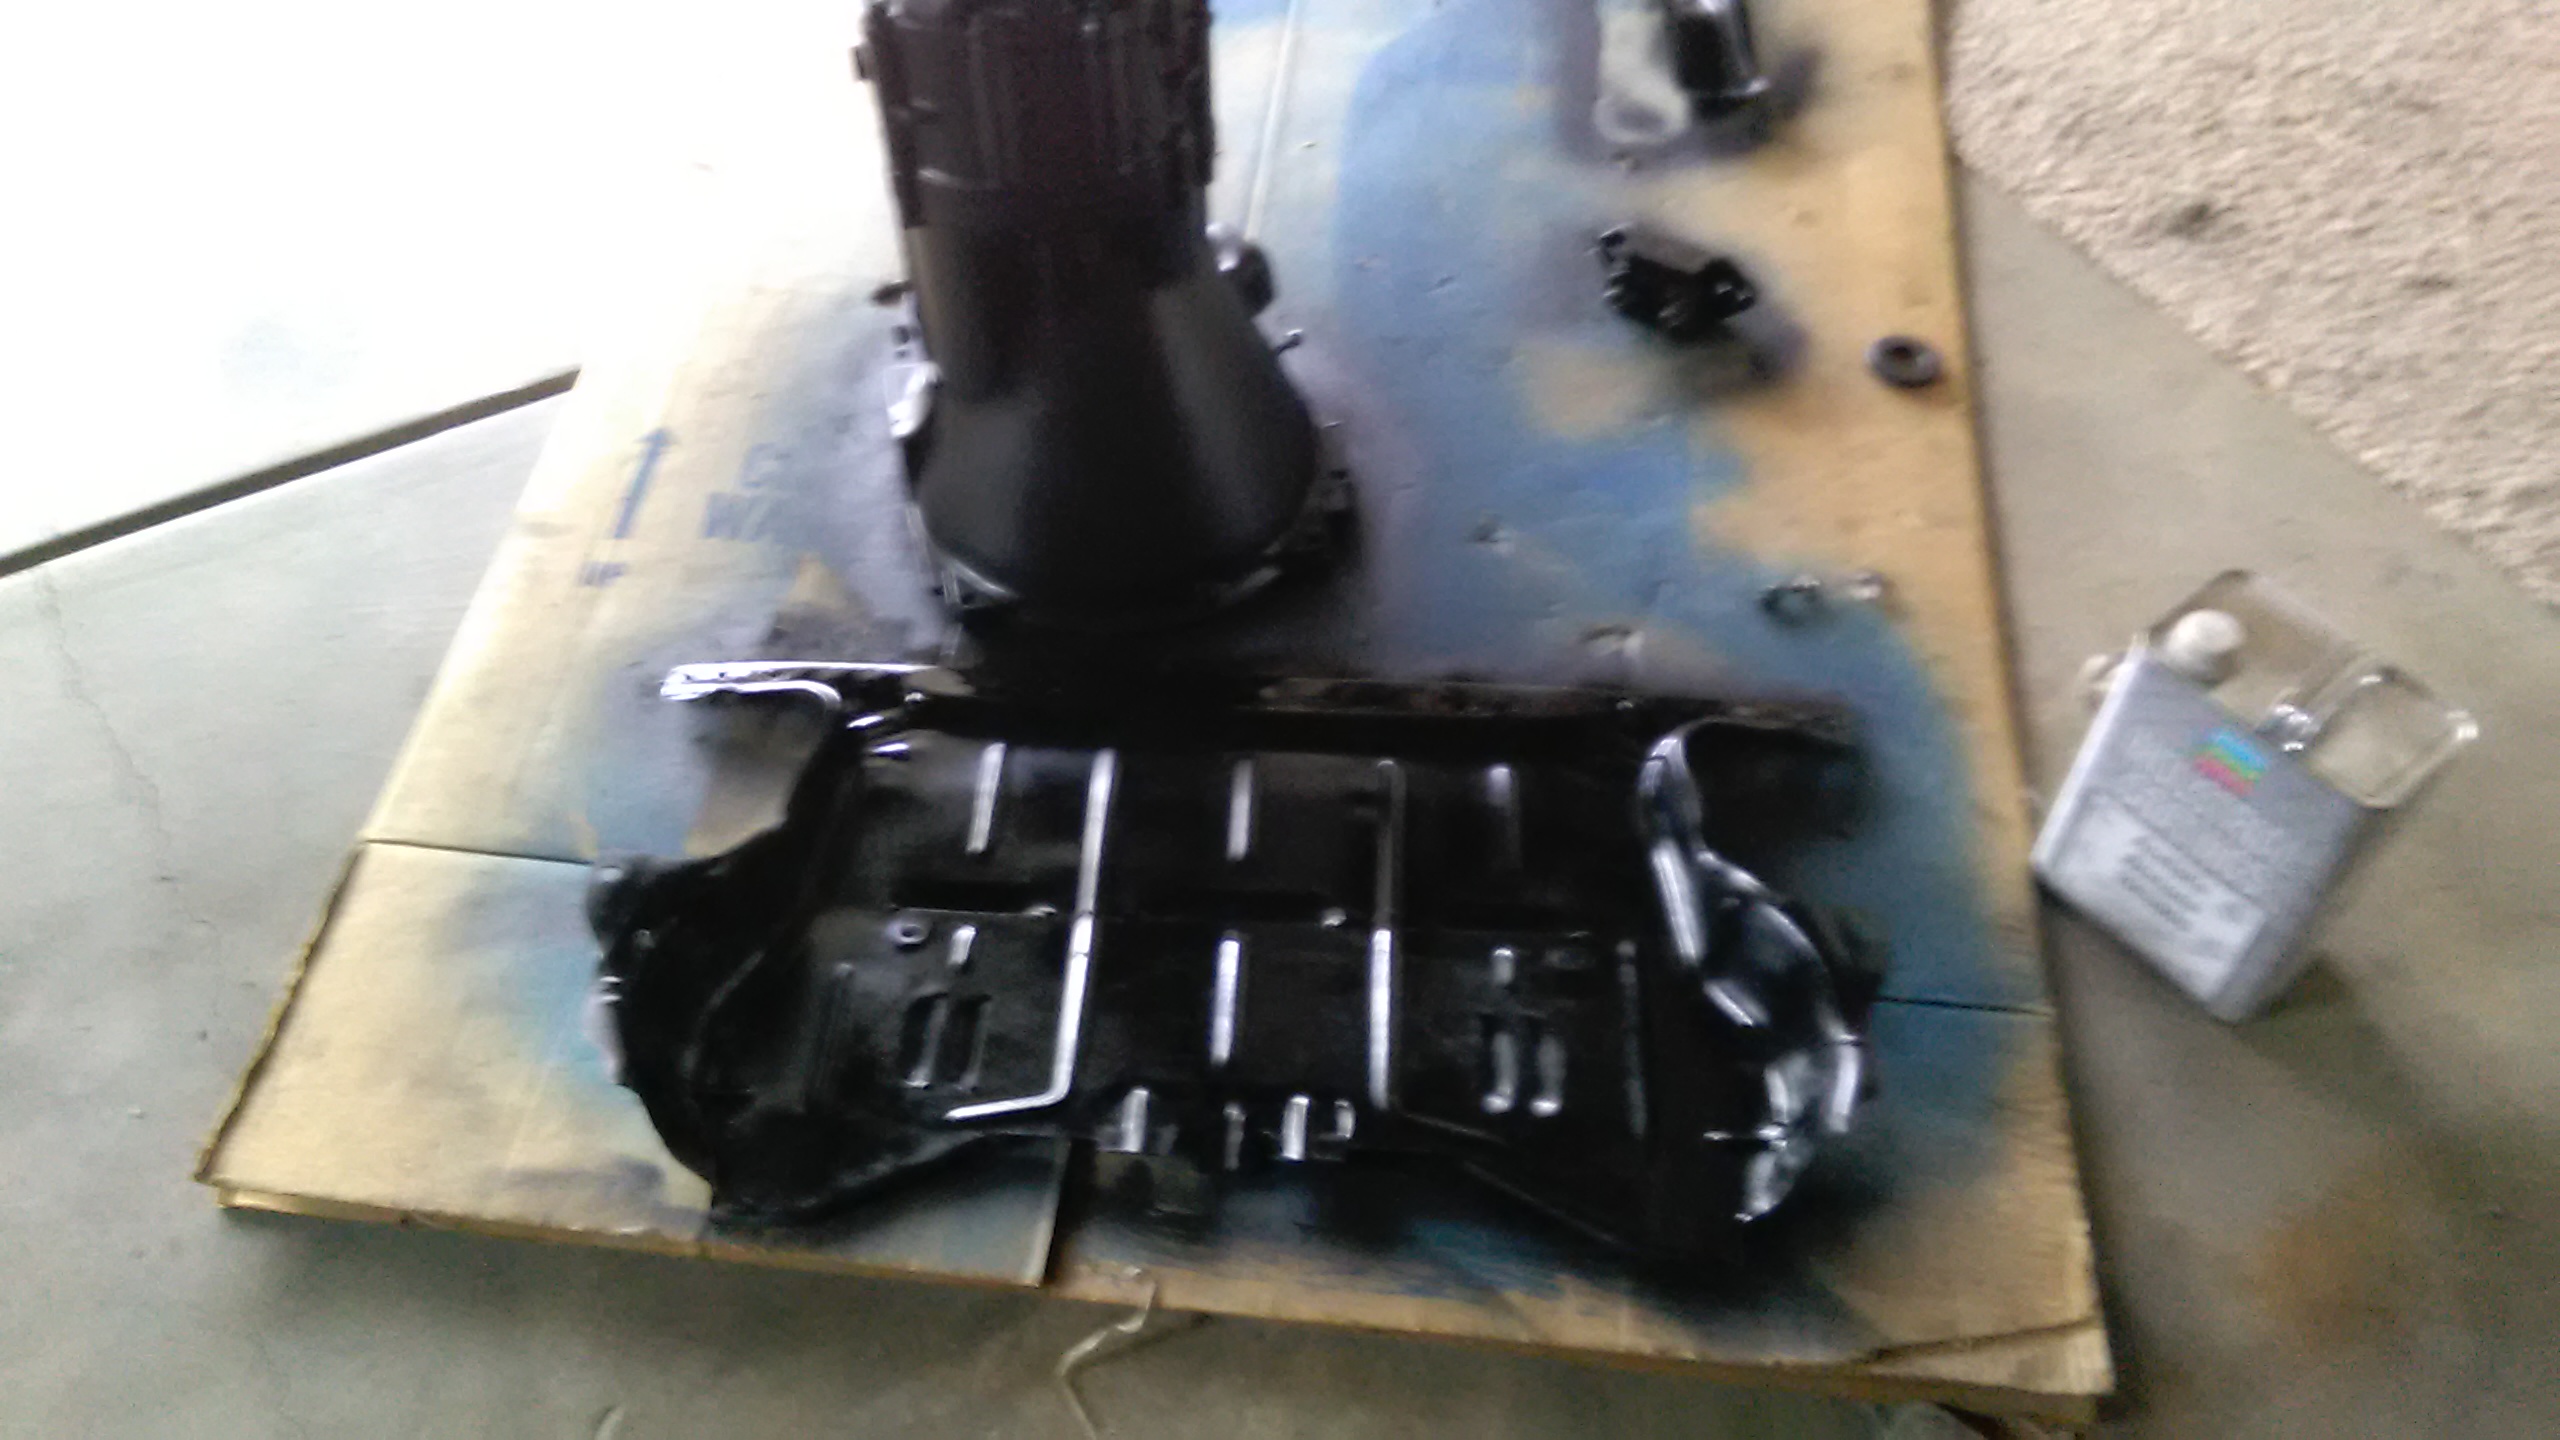
Made some more progress on the engine! Got the front end bolted together, using stainless hardware. I'll have to replace a few of the cover bolts as the hardware store only had the 65mm or so ones.
This is the engine so far:
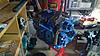
I also got the trans and belly pan painted a nice satin black!
Now here's a hopefully small problem I have. I bought the exedy 10025 cclutch kit for the 83-85 12a. When I go to put on the pressure plate, none of the alignment things seem to fit in the holes on the flywheel? This is the heavier about 40 lbs flywheel. I'm wondering I accidentally have a an SA flywheel?
Clutch fitment (Flywheel measures 230mm across the smooth area):
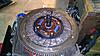
Here's a close up of the pressure-plate/flywheel interaction:
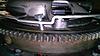
I'm thinking something is really wrong here, as I've tried moving the plate all around and it just doesn't line up well.
Oh for a little humor, today I spent $33 on the stainless bolts/hardware (damn Ace hardware!), and by comparison I got for the low price of $25, an entire Flathead Ford, engine trans, driveshaft, and carb!
This is the engine so far:
I also got the trans and belly pan painted a nice satin black!
Now here's a hopefully small problem I have. I bought the exedy 10025 cclutch kit for the 83-85 12a. When I go to put on the pressure plate, none of the alignment things seem to fit in the holes on the flywheel? This is the heavier about 40 lbs flywheel. I'm wondering I accidentally have a an SA flywheel?
Clutch fitment (Flywheel measures 230mm across the smooth area):
Here's a close up of the pressure-plate/flywheel interaction:
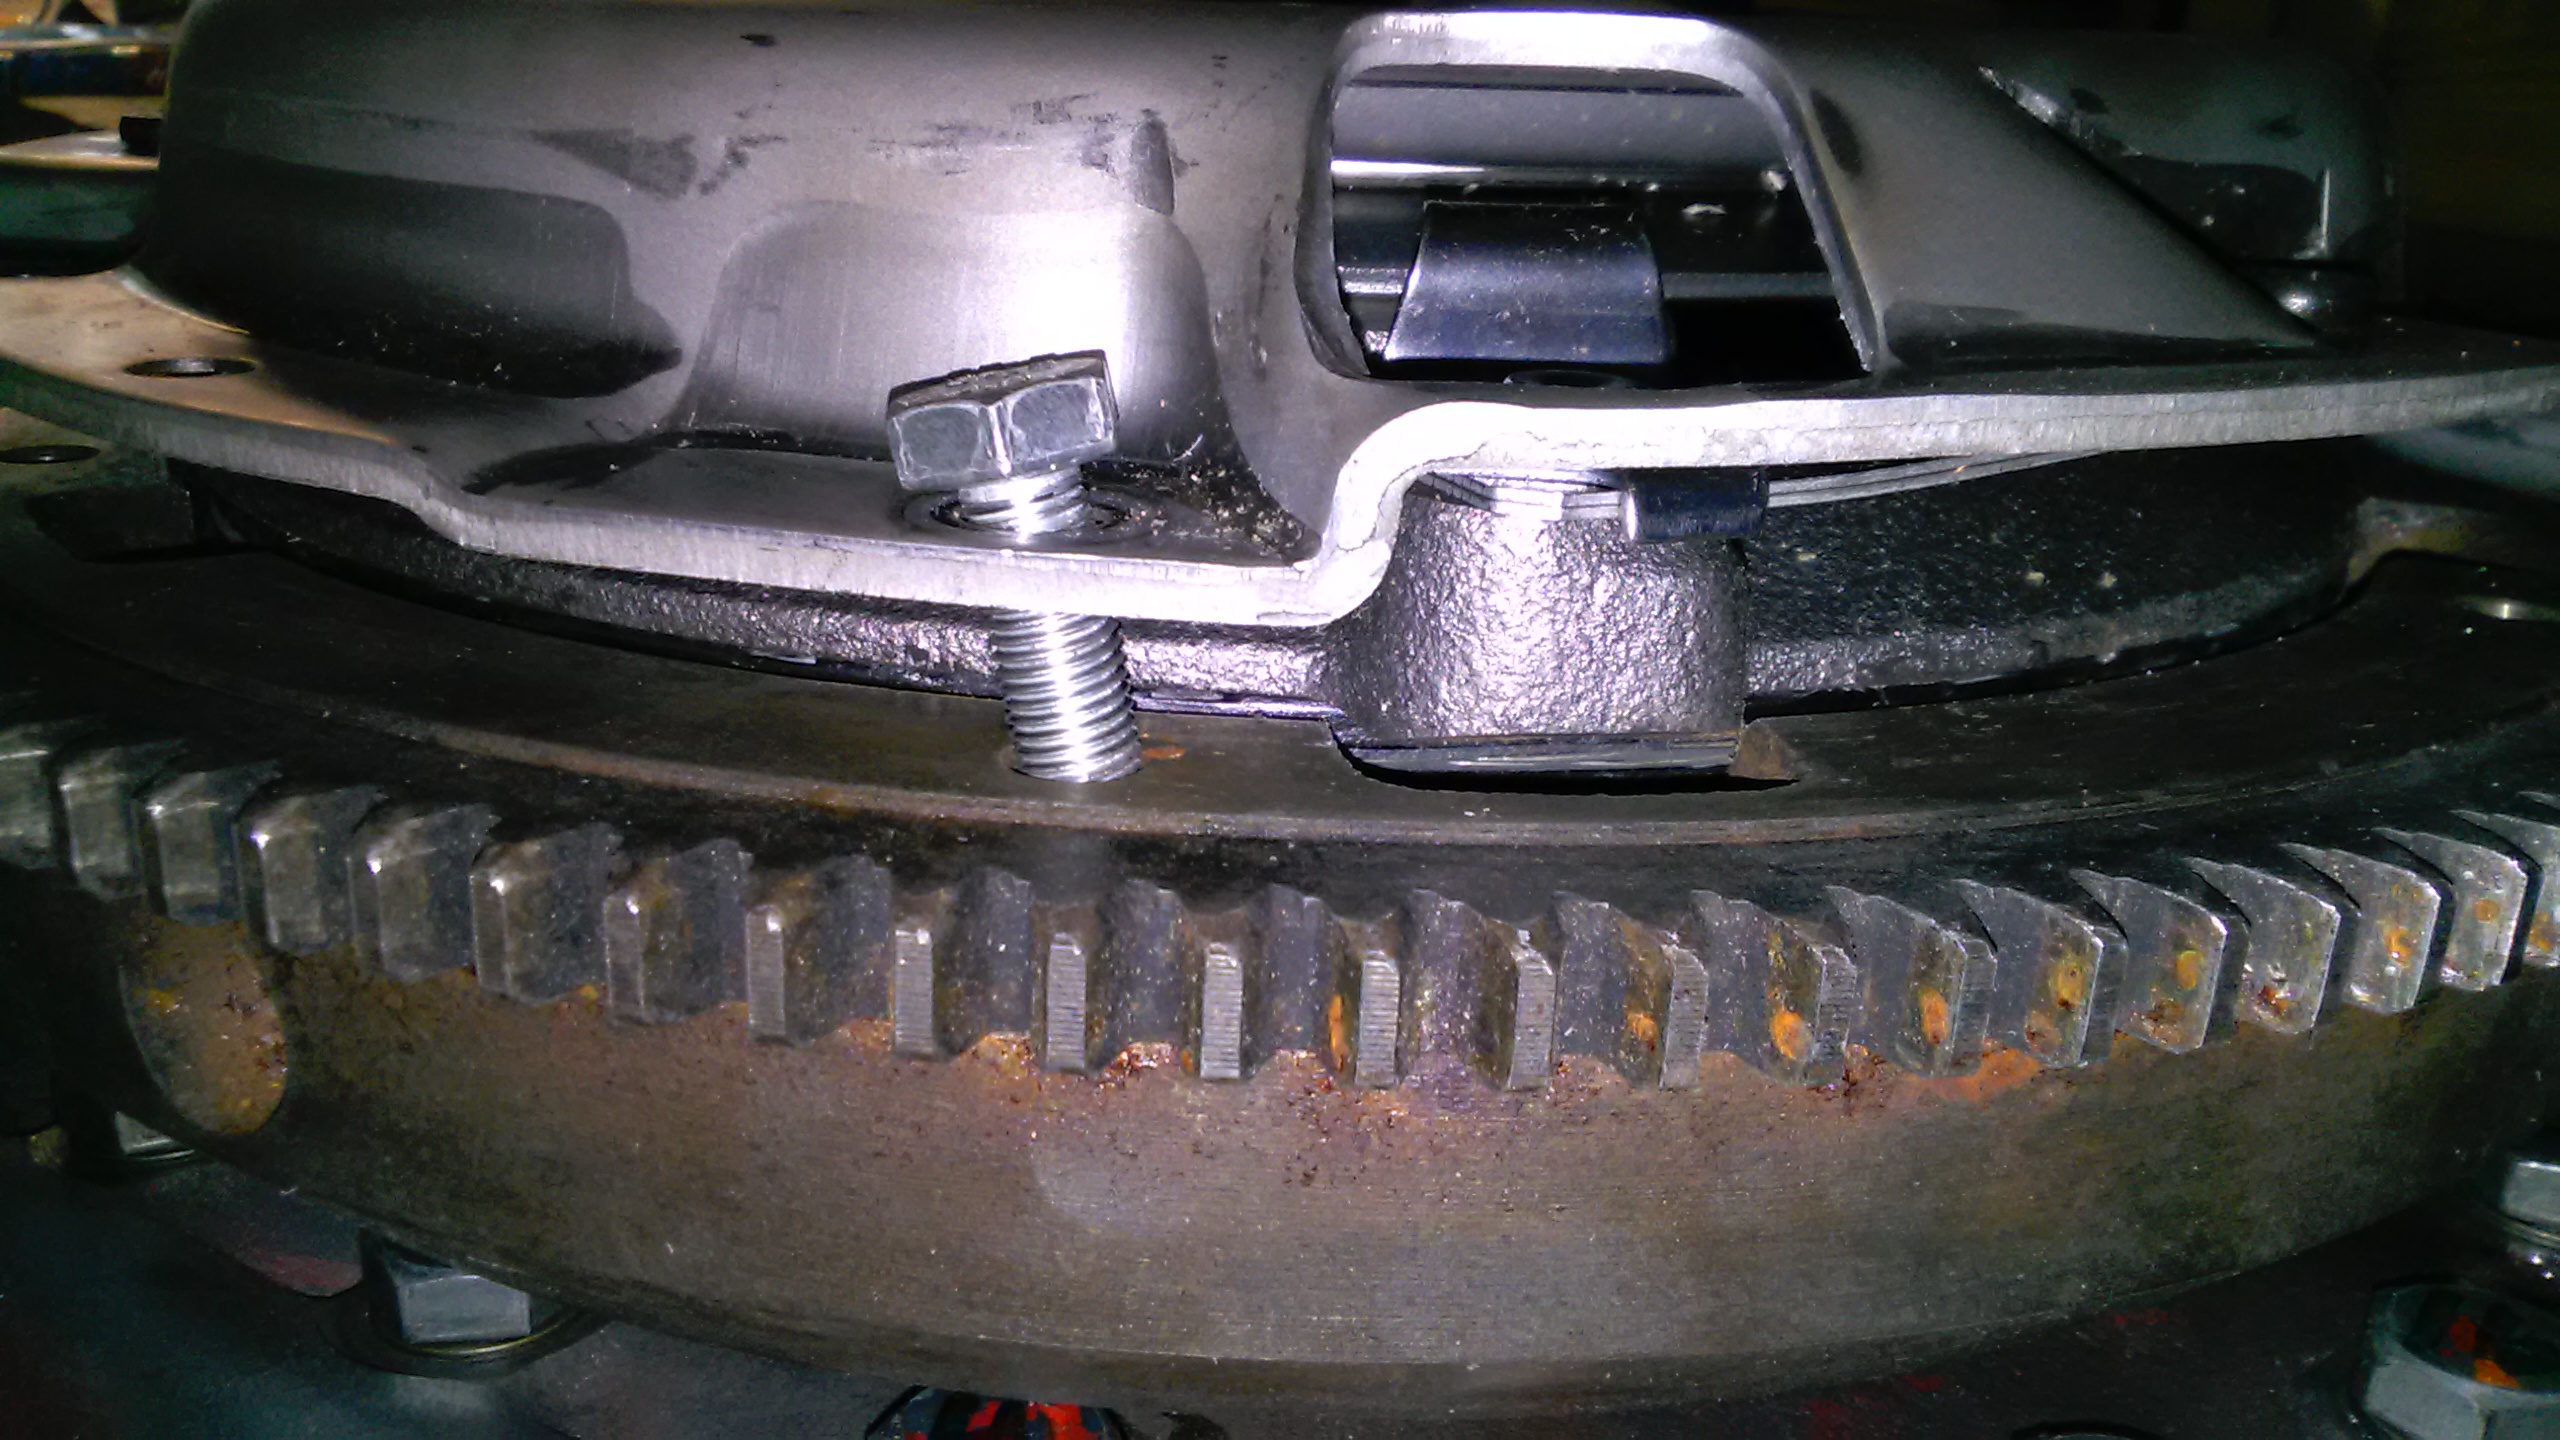
I'm thinking something is really wrong here, as I've tried moving the plate all around and it just doesn't line up well.
Oh for a little humor, today I spent $33 on the stainless bolts/hardware (damn Ace hardware!), and by comparison I got for the low price of $25, an entire Flathead Ford, engine trans, driveshaft, and carb!
Thread Starter
Full Member
Joined: May 2016
Posts: 226
Likes: 0
From: Denver
I'm an idiot. I've installed the SA flywheel...damn. I just browsed Mazdatrix's page, and the 83-85 12a wheel clearly has raised portions that mine doesn't. 
Now I need to find the right wheel and install it. can I remove the flywheel without disturbing the front stack? The engine is on a stand so I can rotate it any which way if it helps. As long as I don't PULL on the flywheel I should be alright yeah?
Now I need to find the right wheel and install it. can I remove the flywheel without disturbing the front stack? The engine is on a stand so I can rotate it any which way if it helps. As long as I don't PULL on the flywheel I should be alright yeah?
God I hope so. I just replaced my flywheel and I just threw the new one on there. I made sure there was some endshaft play, but I didn't measure....I know for shame.
Thread Starter
Full Member
Joined: May 2016
Posts: 226
Likes: 0
From: Denver
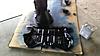
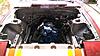
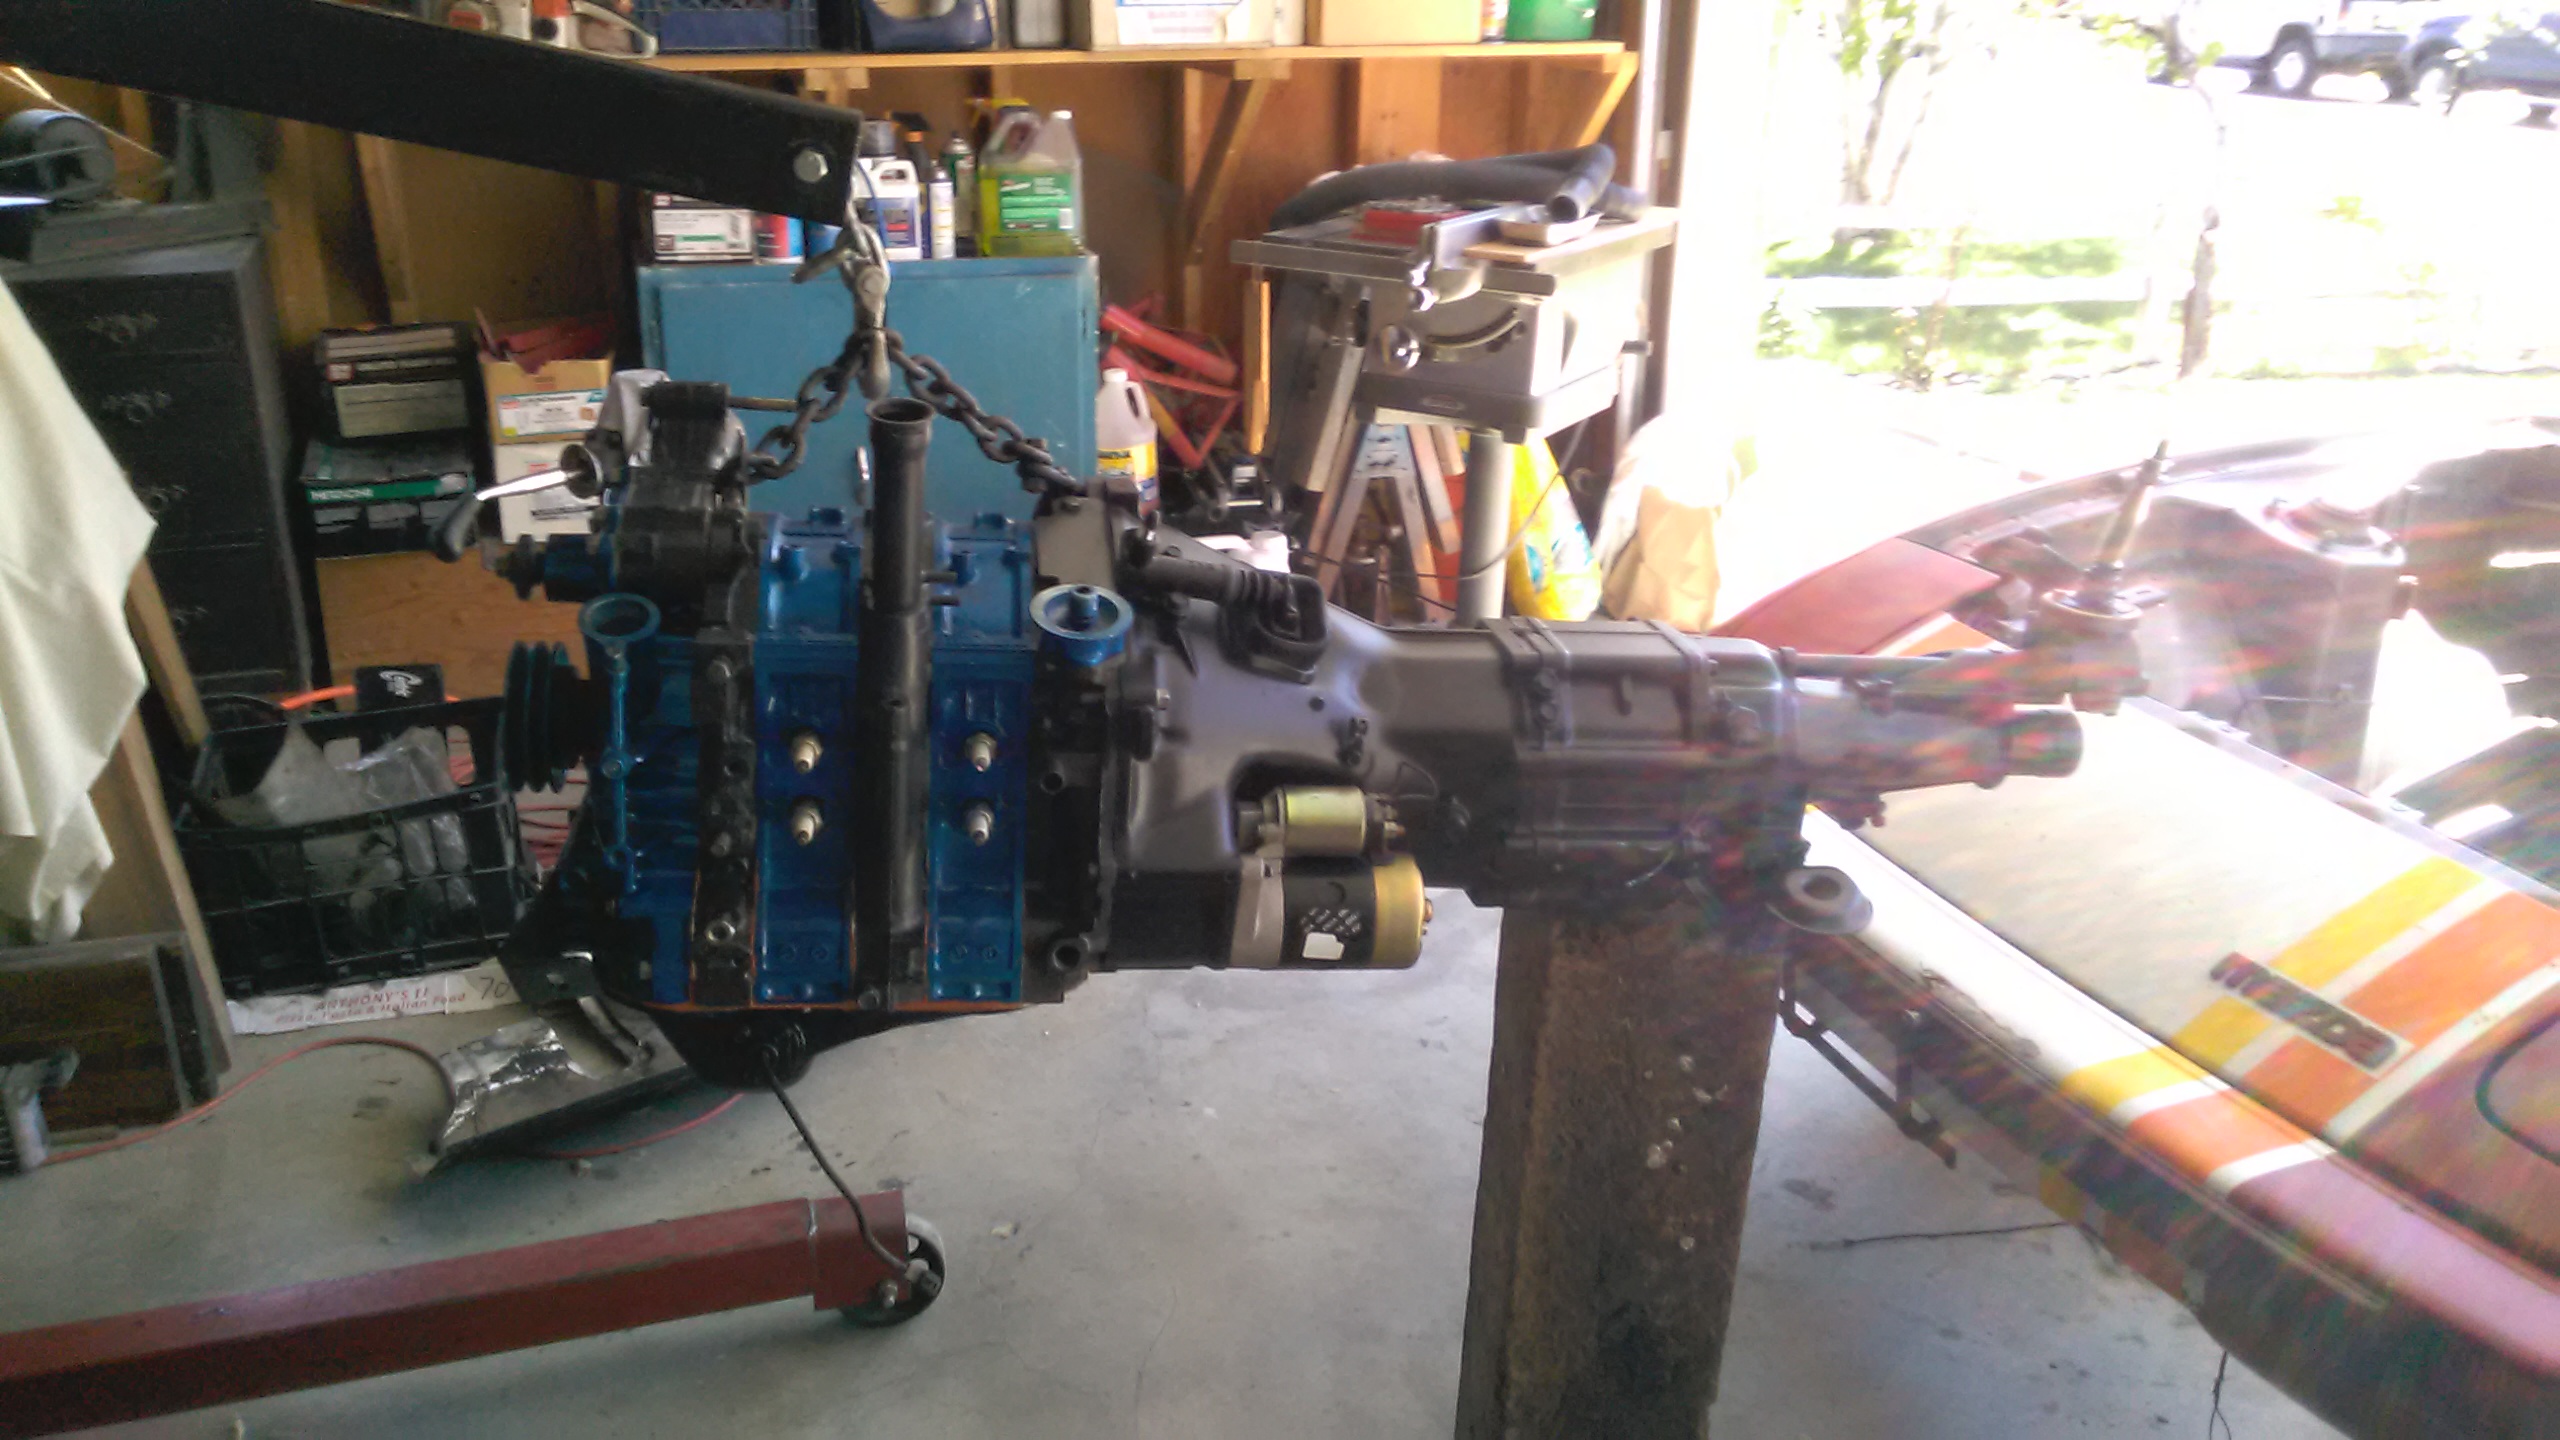
What's that? It looks like an engine and transmission bolted together! 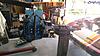
It was not exactly easy, especially when I got the jack under the transmission stuck under the car , but at the end of the day it looks like this:
Now all I need to do is un-bolt the driveshaft from the rear flange, and slip the yoke on then bolt it back together right?
Also need to make a final decision on blocking the ACV port and the 20mm freeze plugs that all the parts stores seem to have no ability/desire to get. Oh yeah some sort of exhaust would be good too.
It was not exactly easy, especially when I got the jack under the transmission stuck under the car
, but at the end of the day it looks like this: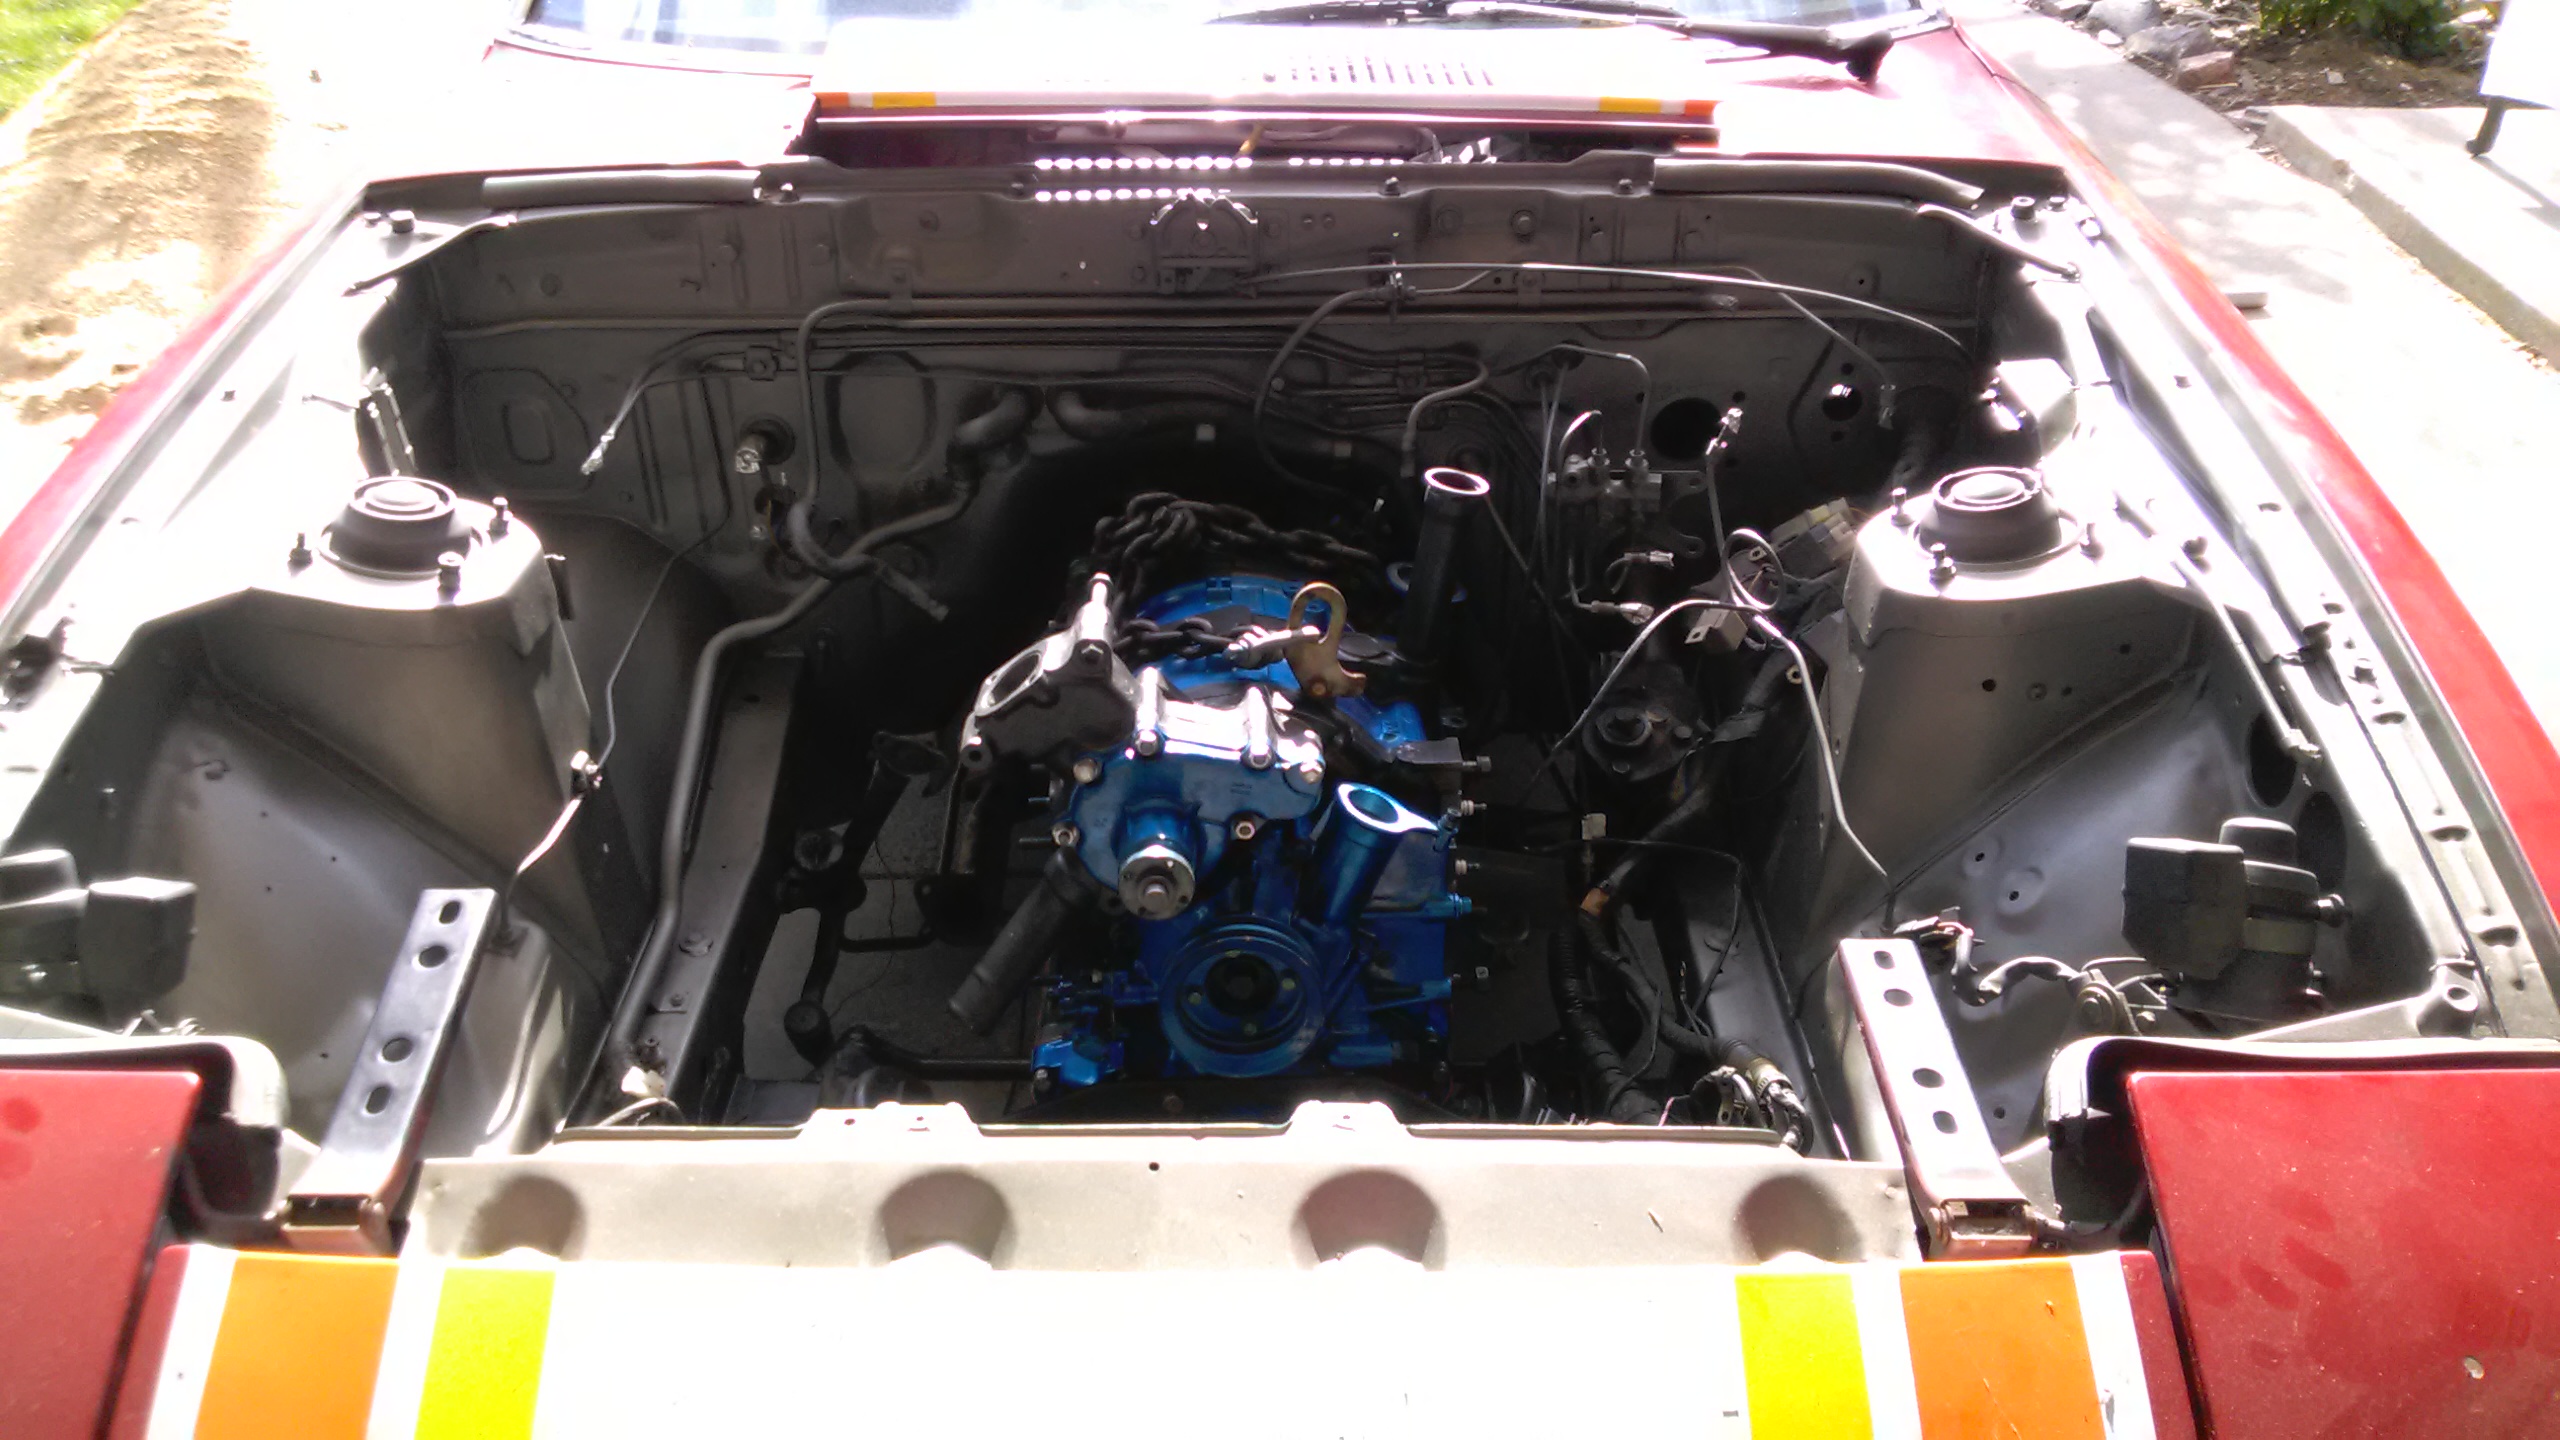
Now all I need to do is un-bolt the driveshaft from the rear flange, and slip the yoke on then bolt it back together right?
Also need to make a final decision on blocking the ACV port and the 20mm freeze plugs that all the parts stores seem to have no ability/desire to get. Oh yeah some sort of exhaust would be good too.
Thread Starter
Full Member
Joined: May 2016
Posts: 226
Likes: 0
From: Denver
Hey, it's been a while since I've done anything...sorry.
All I've been up to since getting the engine in is making OMP lines and vacuum lines. I'm going to remove the rats nest, but relocate the leading and trailing solenoids, so they're still functioning. Maybe put them on the firewall. I also found out I have no trailing advance, the diaphragm won't move even with 15 inches of Hg on it. The leading advances fine. How important is the trailing advance?
OK, to the point now, when I put in the motor, I only had 2 people. I didn't put the slip yoke into the trans. I'm trying to unbolt the rear flange from the pinion on the axle so I can slip the yoke into the output shaft. BUT the last bolt is STUCK, and I mean stuck. It's starting to round off, any tips/favorite tools? I tried welding a socket onto the bolt, but it broke off. then I tried the same with a wrench, and the wrench exploded...,much fun. Why did Mazda use bolts with such thin heads, arg...Almost impossible to get the socket flush.
I don't think trailing does much of anything except clean up the exhaust. Get it running then mess with it; that's what I'd do.
Cut off wheel. Just zip it off.
Oh, I remembered why I think that flywheels affect endshaft play... It does on the VW engine, but this is no VW.
Cut off wheel. Just zip it off.
Oh, I remembered why I think that flywheels affect endshaft play... It does on the VW engine, but this is no VW.
Thread Starter
Full Member
Joined: May 2016
Posts: 226
Likes: 0
From: Denver
Got it all sorted out, thanks Qingdao. Now the shaft has nice 12.9 cap heads and nylocks on the back. nay idea what torque spec they're supposed to be?
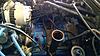
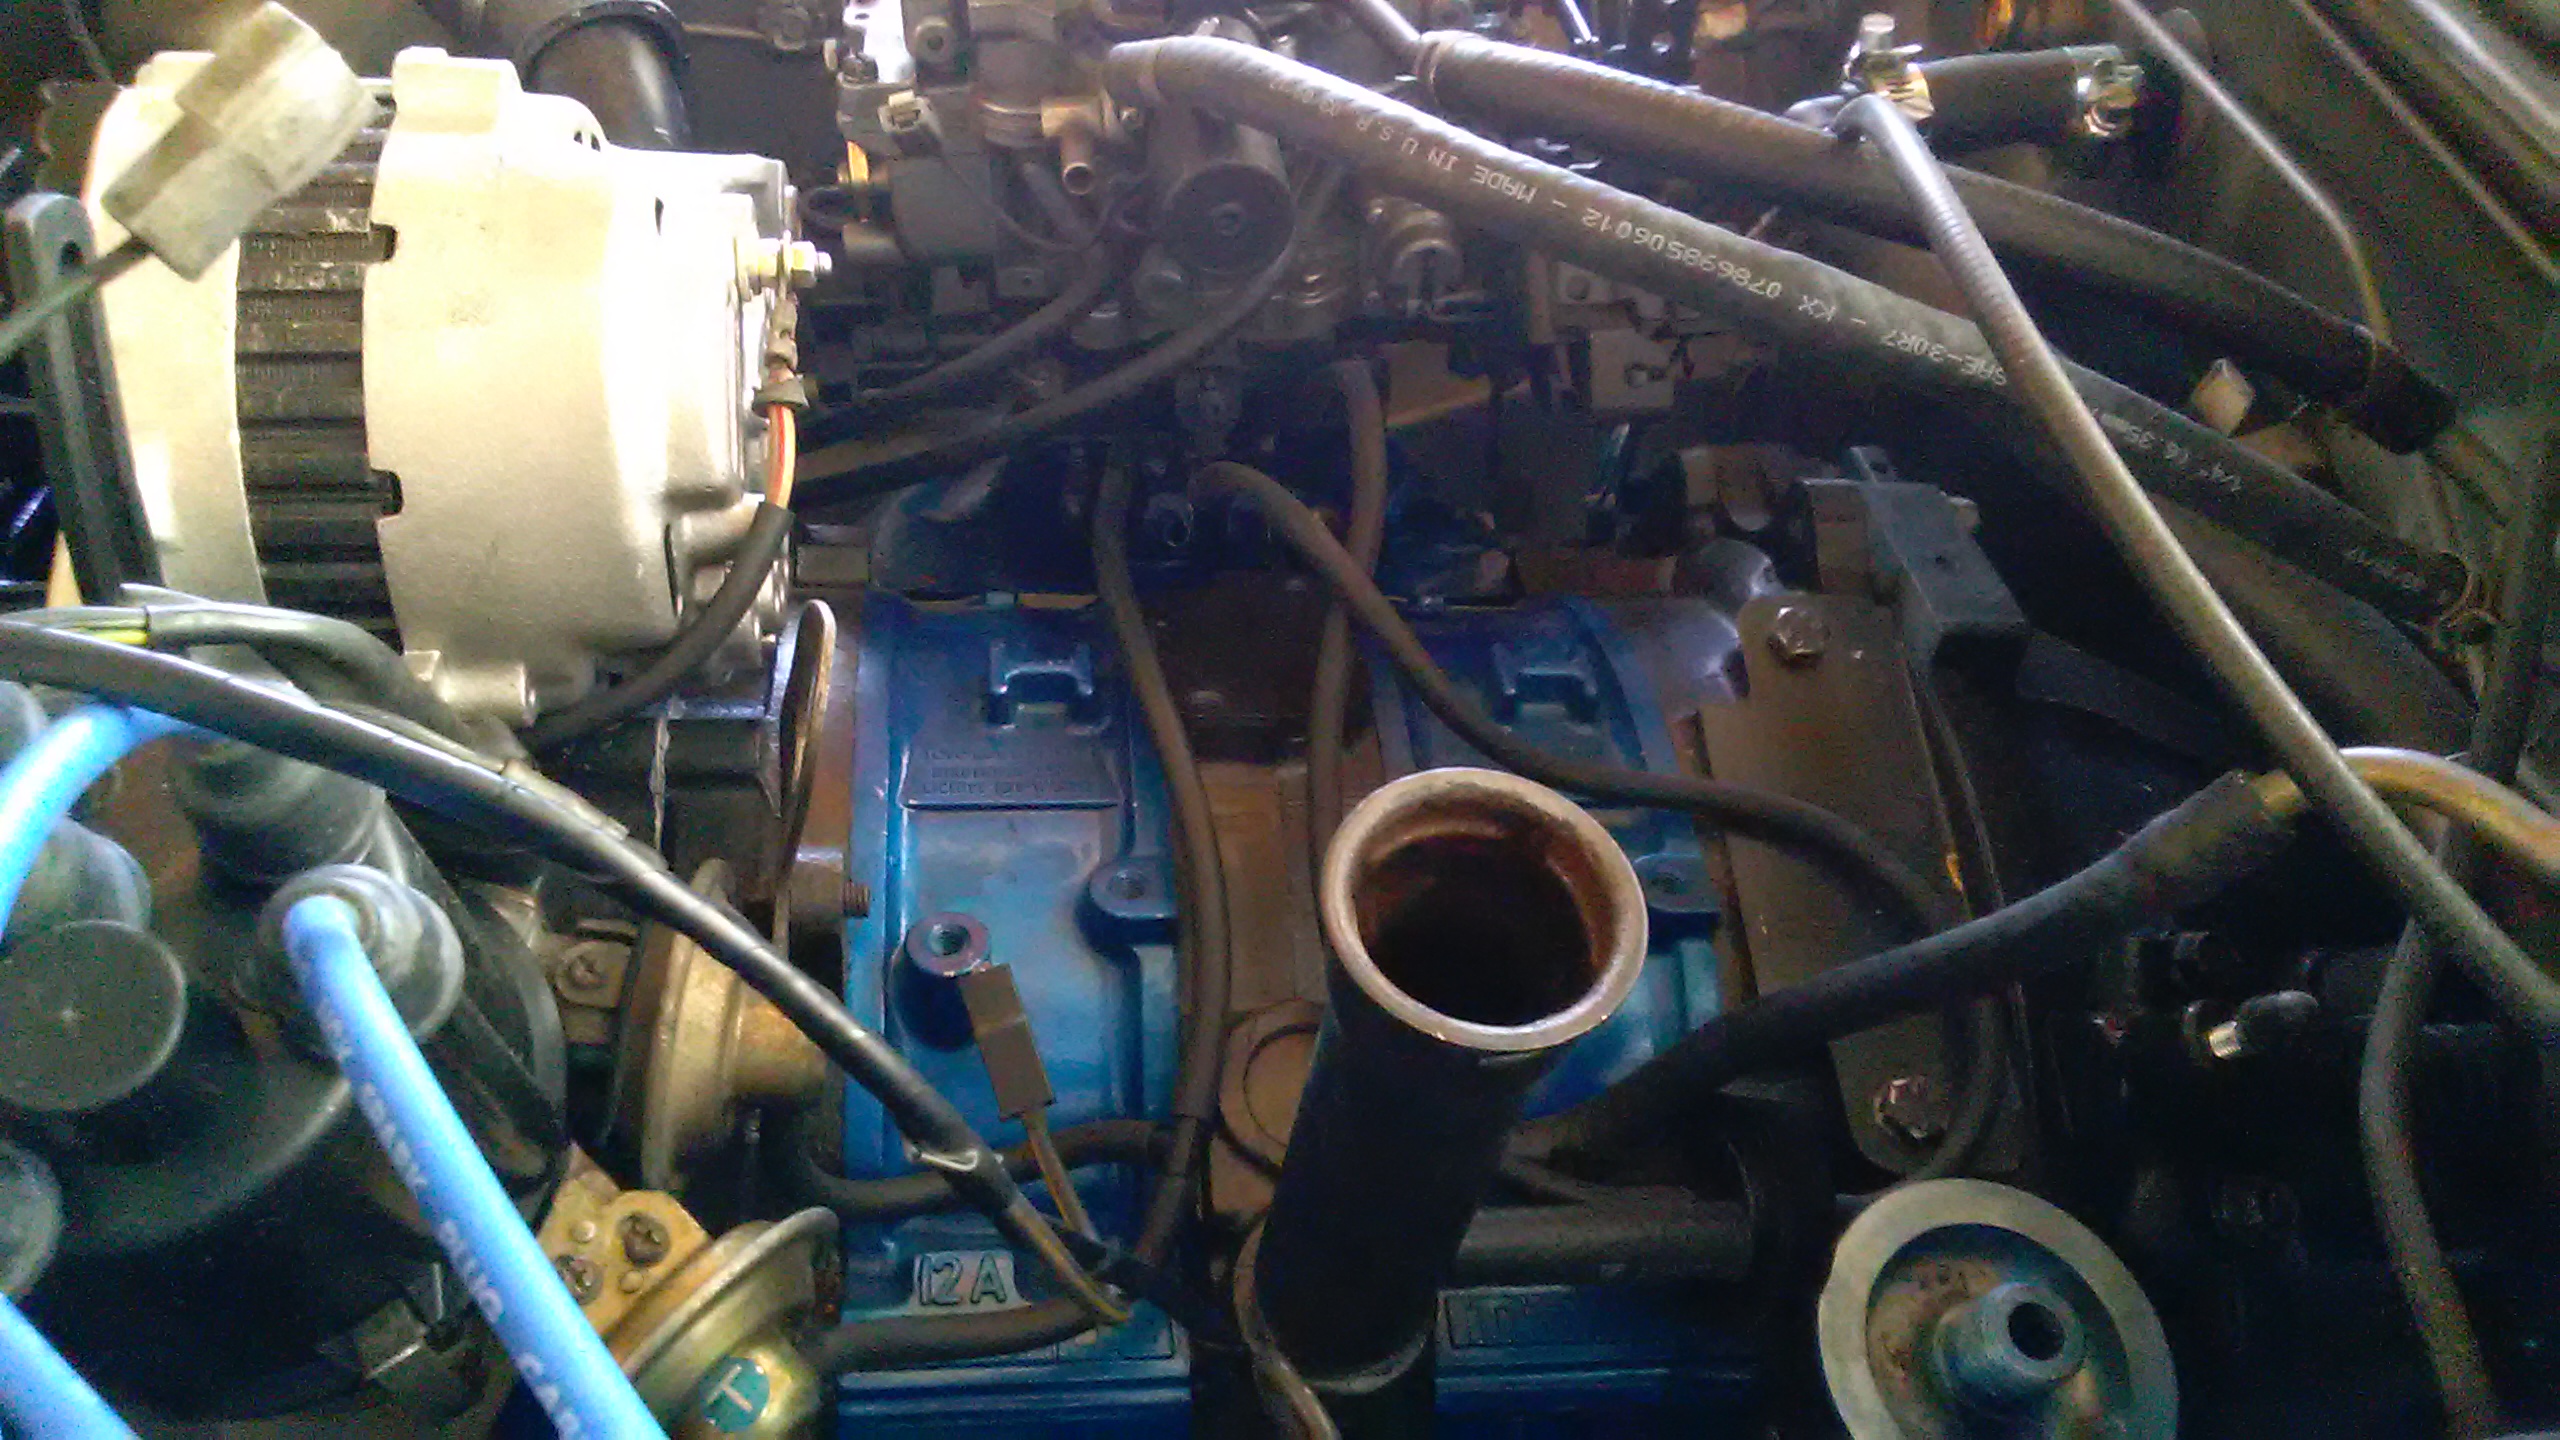
I'm reinstalling the bare minimum emissions stuff, and am confused a bit about the little pipe out of the mid-plate below the oil fill pipe. What is that thing? It was capped when I tore the engine down. Will have pics soon.
I'm reinstalling the bare minimum emissions stuff, and am confused a bit about the little pipe out of the mid-plate below the oil fill pipe. What is that thing? It was capped when I tore the engine down. Will have pics soon.
Thread Starter
Full Member
Joined: May 2016
Posts: 226
Likes: 0
From: Denver
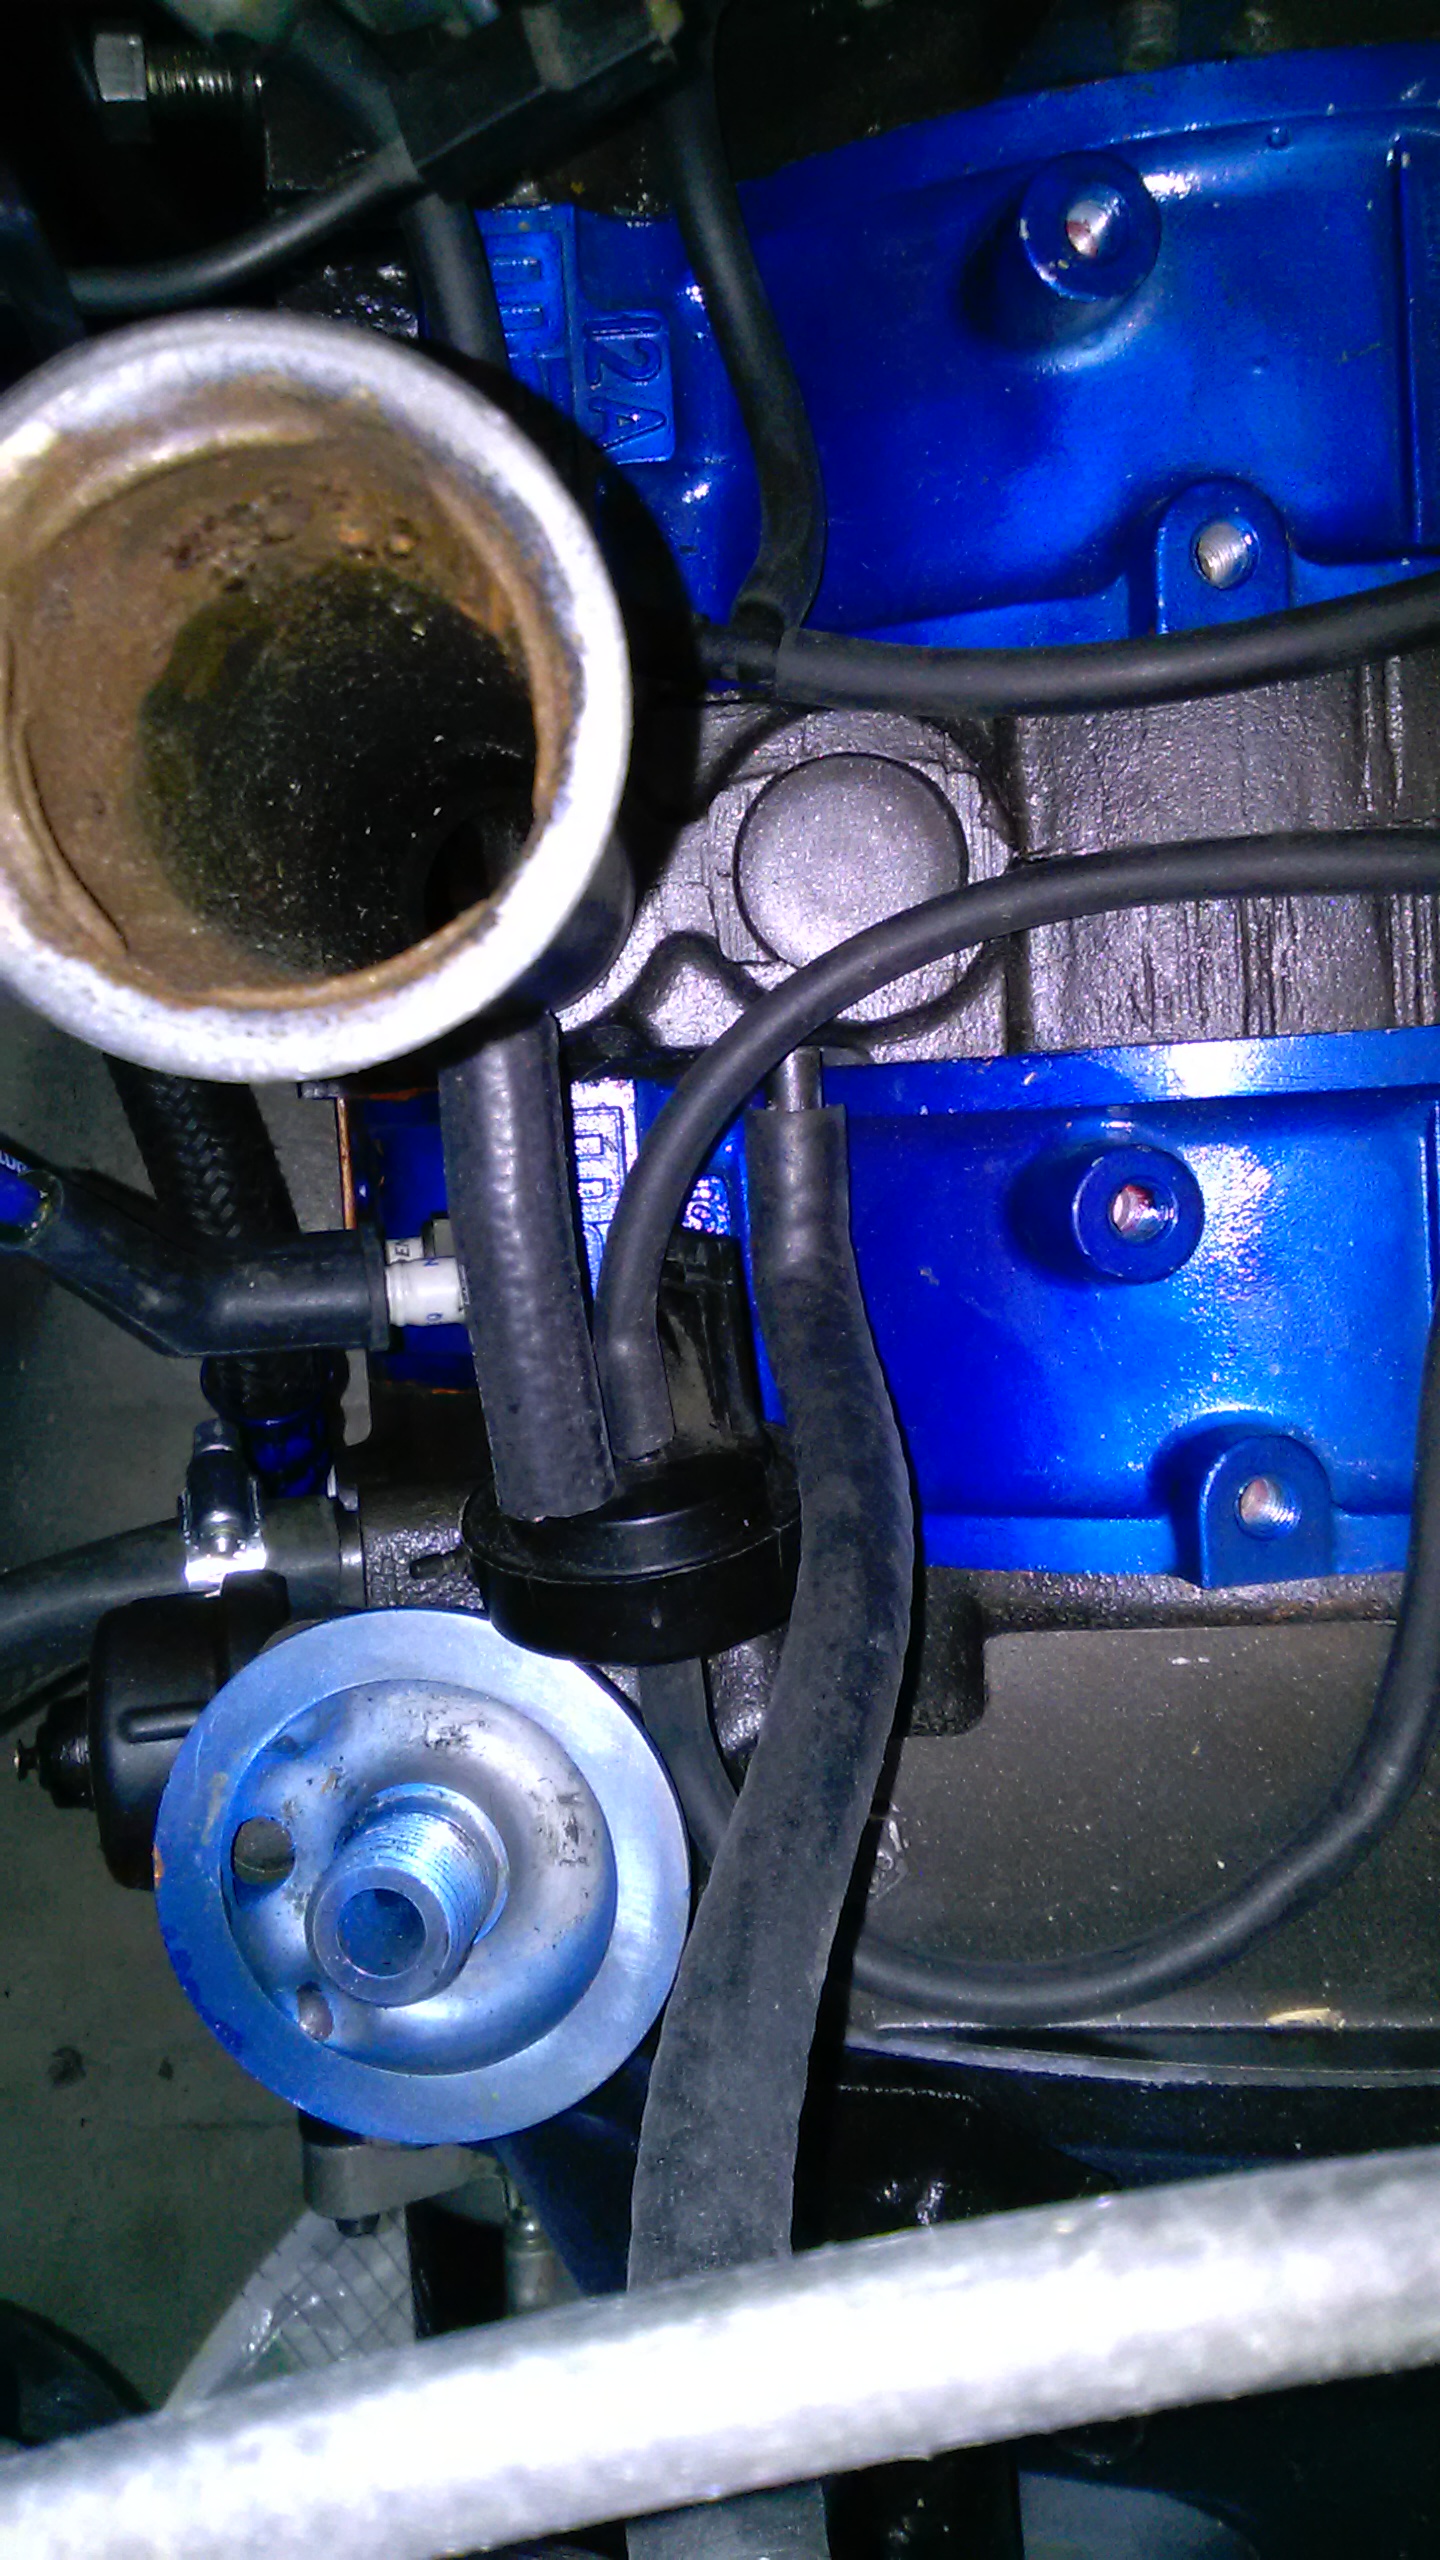
Here's what I've done with the timing and emissions stuff. I'm running off the second from far left vac port, which I think is ported vac. It's split to the trailing and leading diaphragms. the trailing is set at max static advance,a s its diaphragm appears to be frozen.
The purge valve is tied almost directly to the oil fill tube, and the return and activation lines are tied into manifold vacuum so it should be working as soon as the car's running. The top tube on the oil fill is connected back to the charcoal canister, as in factory, only without the rats nest solenoids cluttering up the place.

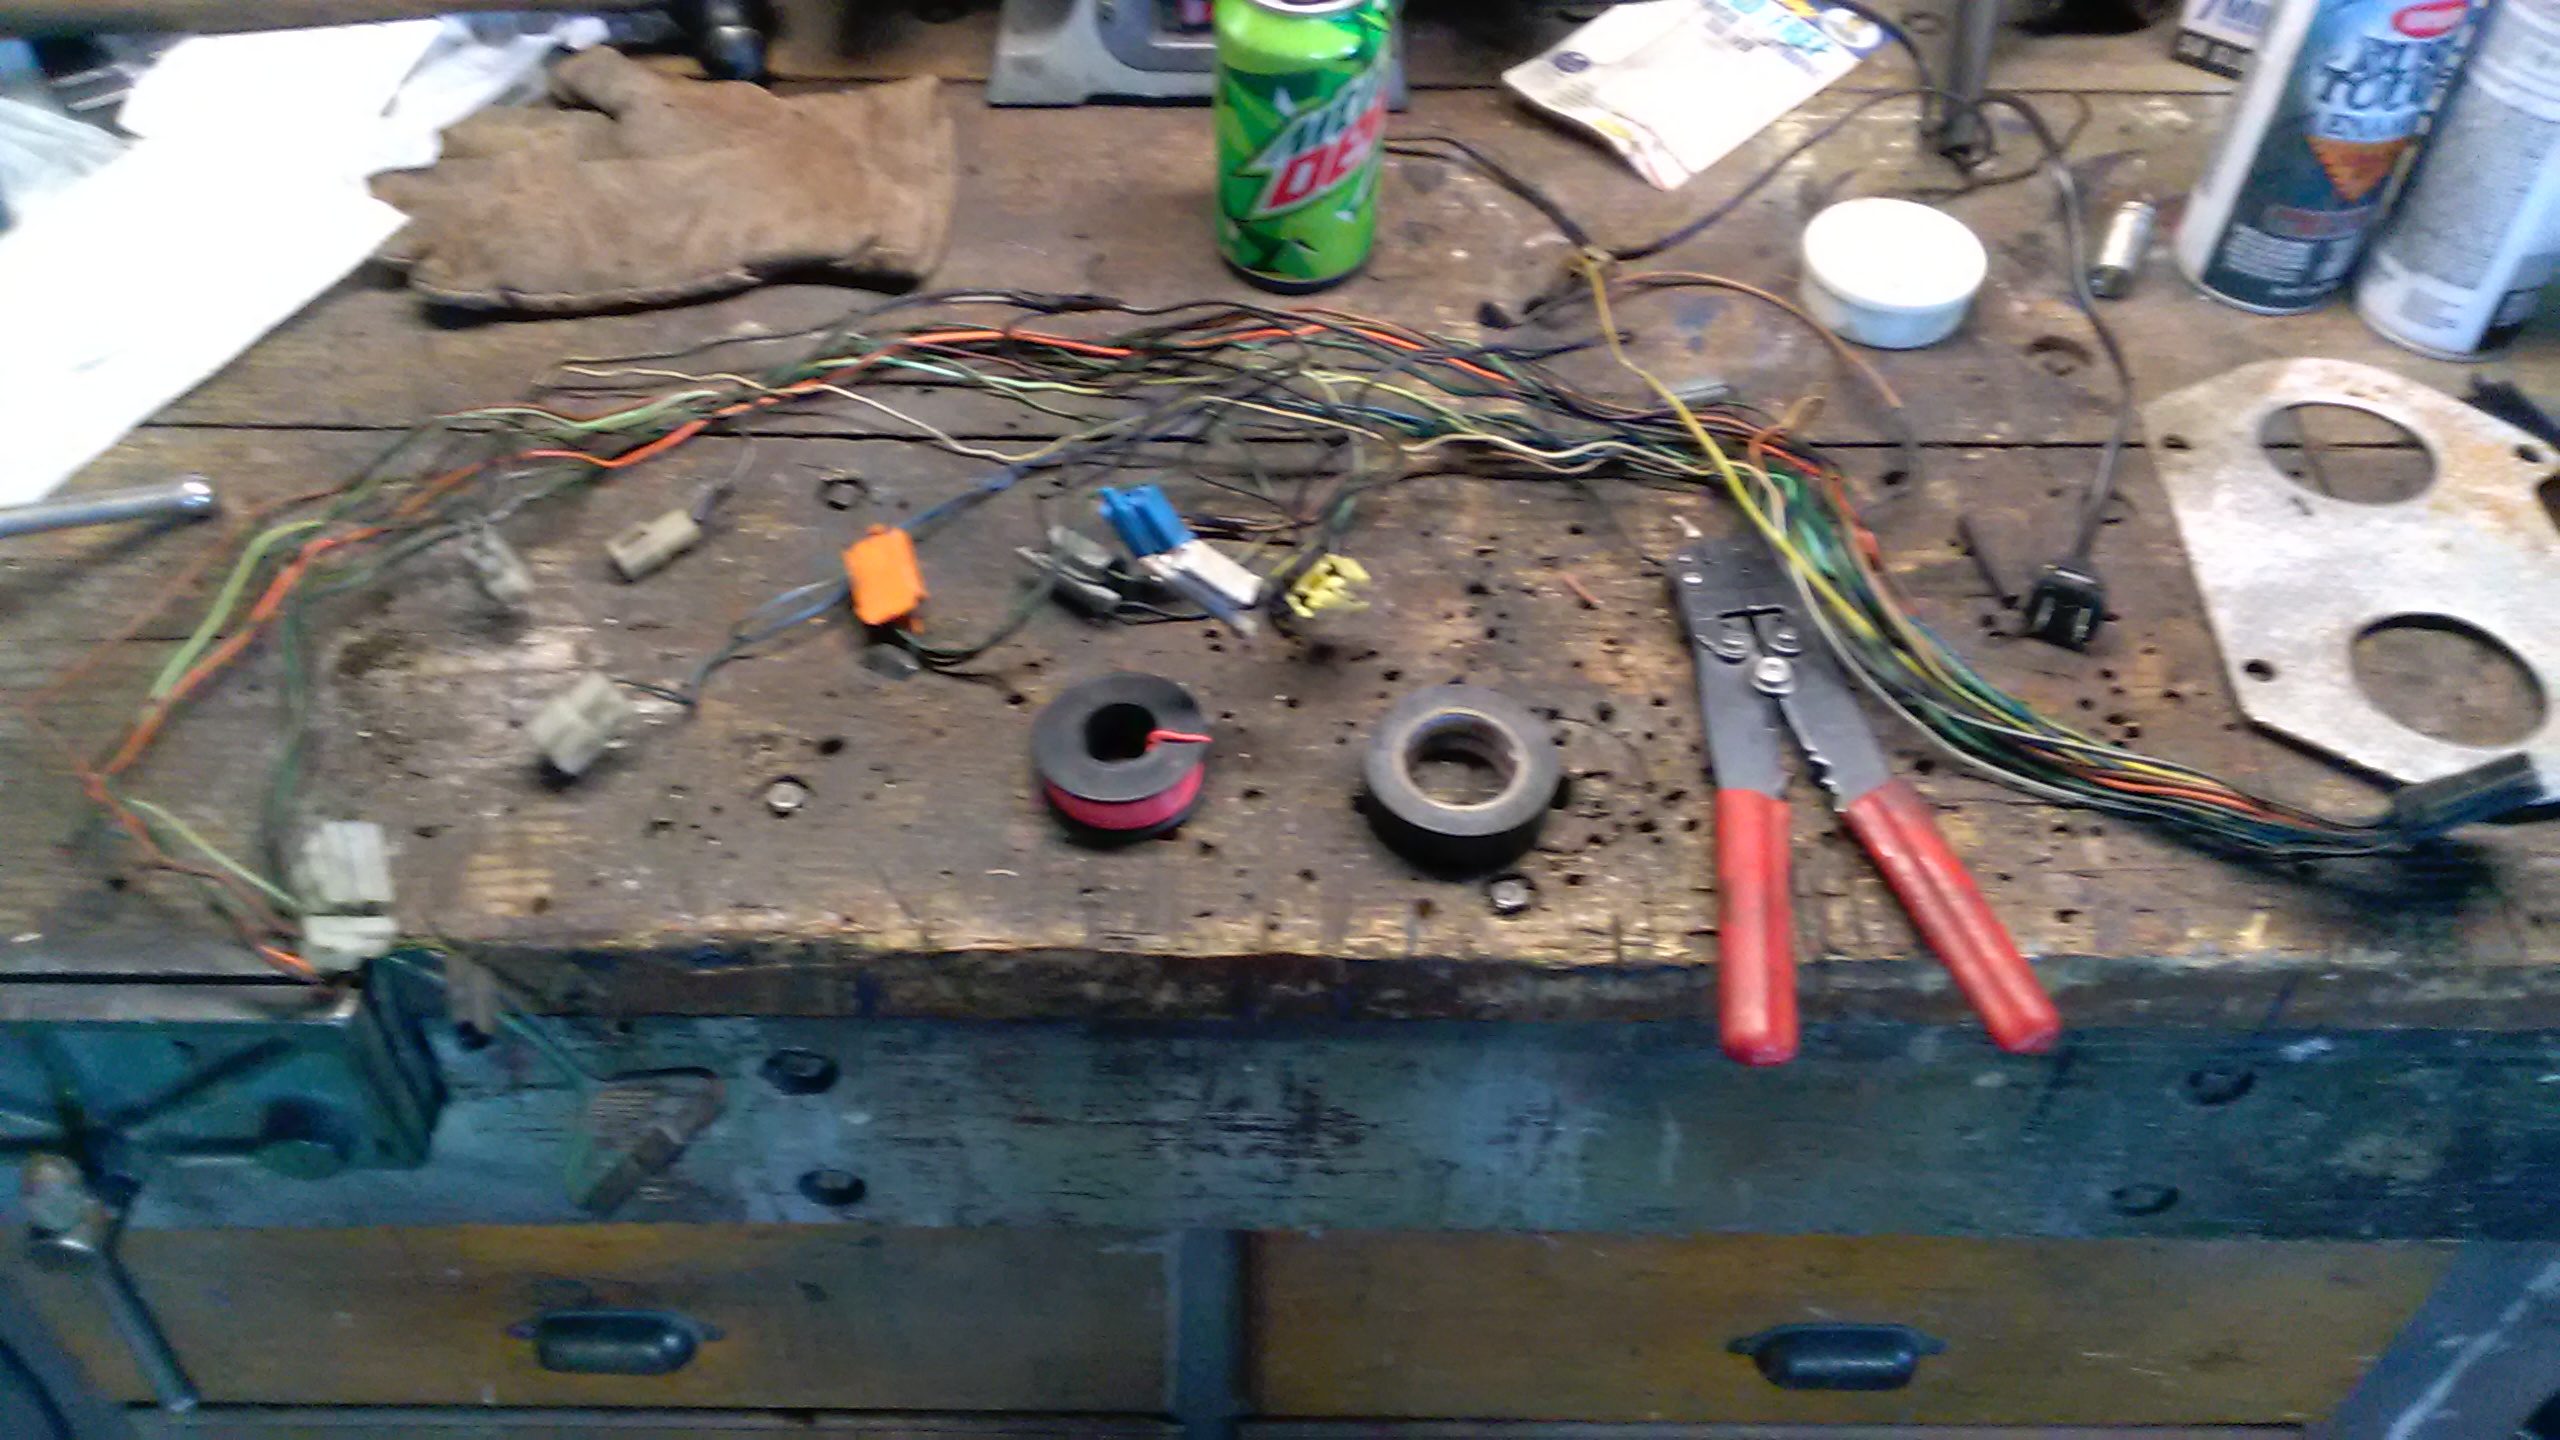
Now I decided to tear apart the emissions harness, as I want to clean it up, and remove/repair some cracked wires. Getting shocked by the car hurts.
I went into my 82 FSM/wiring section and looked at the diagram for the plug. It's similar, but the wires are not in the same places as the FSM! Here's what I've got on mine:
[BlWh][Brn][Or][GrRd][BlRd][LtGrYw][Blank][BluYw][BrnYw][Grn][WhBl]
[BlWh][BluBl][LtGrn][BlYw][Yw][GrnWh][BrnWh][GrnYw][BlkGrn][Blank][GrnBlk]
I want to pull out all the solenoid wires I'm not using, but it's not lining up with the FSM pictures of the plug. BTW this is the order of wires from the Backside of the plug with the little nubby thing facing up.
The purge valve is tied almost directly to the oil fill tube, and the return and activation lines are tied into manifold vacuum so it should be working as soon as the car's running. The top tube on the oil fill is connected back to the charcoal canister, as in factory, only without the rats nest solenoids cluttering up the place.
Now I decided to tear apart the emissions harness, as I want to clean it up, and remove/repair some cracked wires. Getting shocked by the car hurts
.
I went into my 82 FSM/wiring section and looked at the diagram for the plug. It's similar, but the wires are not in the same places as the FSM! Here's what I've got on mine:
[BlWh][Brn][Or][GrRd][BlRd][LtGrYw][Blank][BluYw][BrnYw][Grn][WhBl]
[BlWh][BluBl][LtGrn][BlYw][Yw][GrnWh][BrnWh][GrnYw][BlkGrn][Blank][GrnBlk]
I want to pull out all the solenoid wires I'm not using, but it's not lining up with the FSM pictures of the plug. BTW this is the order of wires from the Backside of the plug with the little nubby thing facing up.