
82 GSL Build


Thread Starter
Full Member
Joined: May 2016
Posts: 226
Likes: 0
From: Denver
I agree, that's why I'm hooking it back up so that vacuum will hopefully pull the moisture and vapors out of the air. Unless you think I've got it put together wrong?
I think I figured the wiring thing out. Just got confused.
Got tired of crappy white fan and ugly aluminum bits. I was going to do a red stripe around the edges of the fan, like aircraft, but forgot I had no red paint...

I think I figured the wiring thing out. Just got confused.
Got tired of crappy white fan and ugly aluminum bits. I was going to do a red stripe around the edges of the fan, like aircraft, but forgot I had no red paint...

I think an actual PCV valve would be a better choice. I tried a purge valve once and never really confirmed whether it worked as intended or not. No rust but it might have been more of a vacuum leak than I wanted. At least a PCV valve has a spring loaded checkball inside, not that is really does much either, but at least is is a bit of a restriction you can rely on, and tune for.
That black paint will flake off over time and look terrible.
That black paint will flake off over time and look terrible.
Thread Starter
Full Member
Joined: May 2016
Posts: 226
Likes: 0
From: Denver
Hmm, you're probably right  But I just couldn't have that ugly white fan in my black/blue/silver bay. Oh well when it starts to go, I'm going to put in an electric eventually anyway.
So a regular old PCV valve would be better than the purge? I'll have to see if I can find one with such a small inlet.
But I just couldn't have that ugly white fan in my black/blue/silver bay. Oh well when it starts to go, I'm going to put in an electric eventually anyway.So a regular old PCV valve would be better than the purge? I'll have to see if I can find one with such a small inlet.
Thread Starter
Full Member
Joined: May 2016
Posts: 226
Likes: 0
From: Denver
One major stumbling block I have is the exhaust. I know, there's as many opinions as there are mufflers. But to summarize, it looks like there's only 3-5 real headers out there, pace Setter, RB, OBX, and probably one or 2 others. From what I read PaceSetter, while mild steel, isn't a bad design. I don't think I can justify $300 on a header now.
What I'm thinking is a PS header, to a 2.5 in/out cat, to some sort of muffler. If I have the cat, do I need a resonator? Thinking magnaflow cat. Really don't want super loud car, but exhaust flow is critical on a rotary...
What I'm thinking is a PS header, to a 2.5 in/out cat, to some sort of muffler. If I have the cat, do I need a resonator? Thinking magnaflow cat. Really don't want super loud car, but exhaust flow is critical on a rotary...
Sorry its gonna be loud.... unless you fork out the dough for RB stuff.
At least that's been my experience.
I've always done the RB header, glass pack (it burns out in a month, but it works as a resonating chamber [at least I think it does]), then a muffler.
That setup I used on my first RX7 and it was loud at least for me. But it only cost a few hundred dollars.
I use basically the same thing on my turbo car and its a little quieter (cause of the turbo), but still a bit loud. But from what I understand its only loud when you are behind me. In the cabin of the car its not too bad.
Thread Starter
Full Member
Joined: May 2016
Posts: 226
Likes: 0
From: Denver
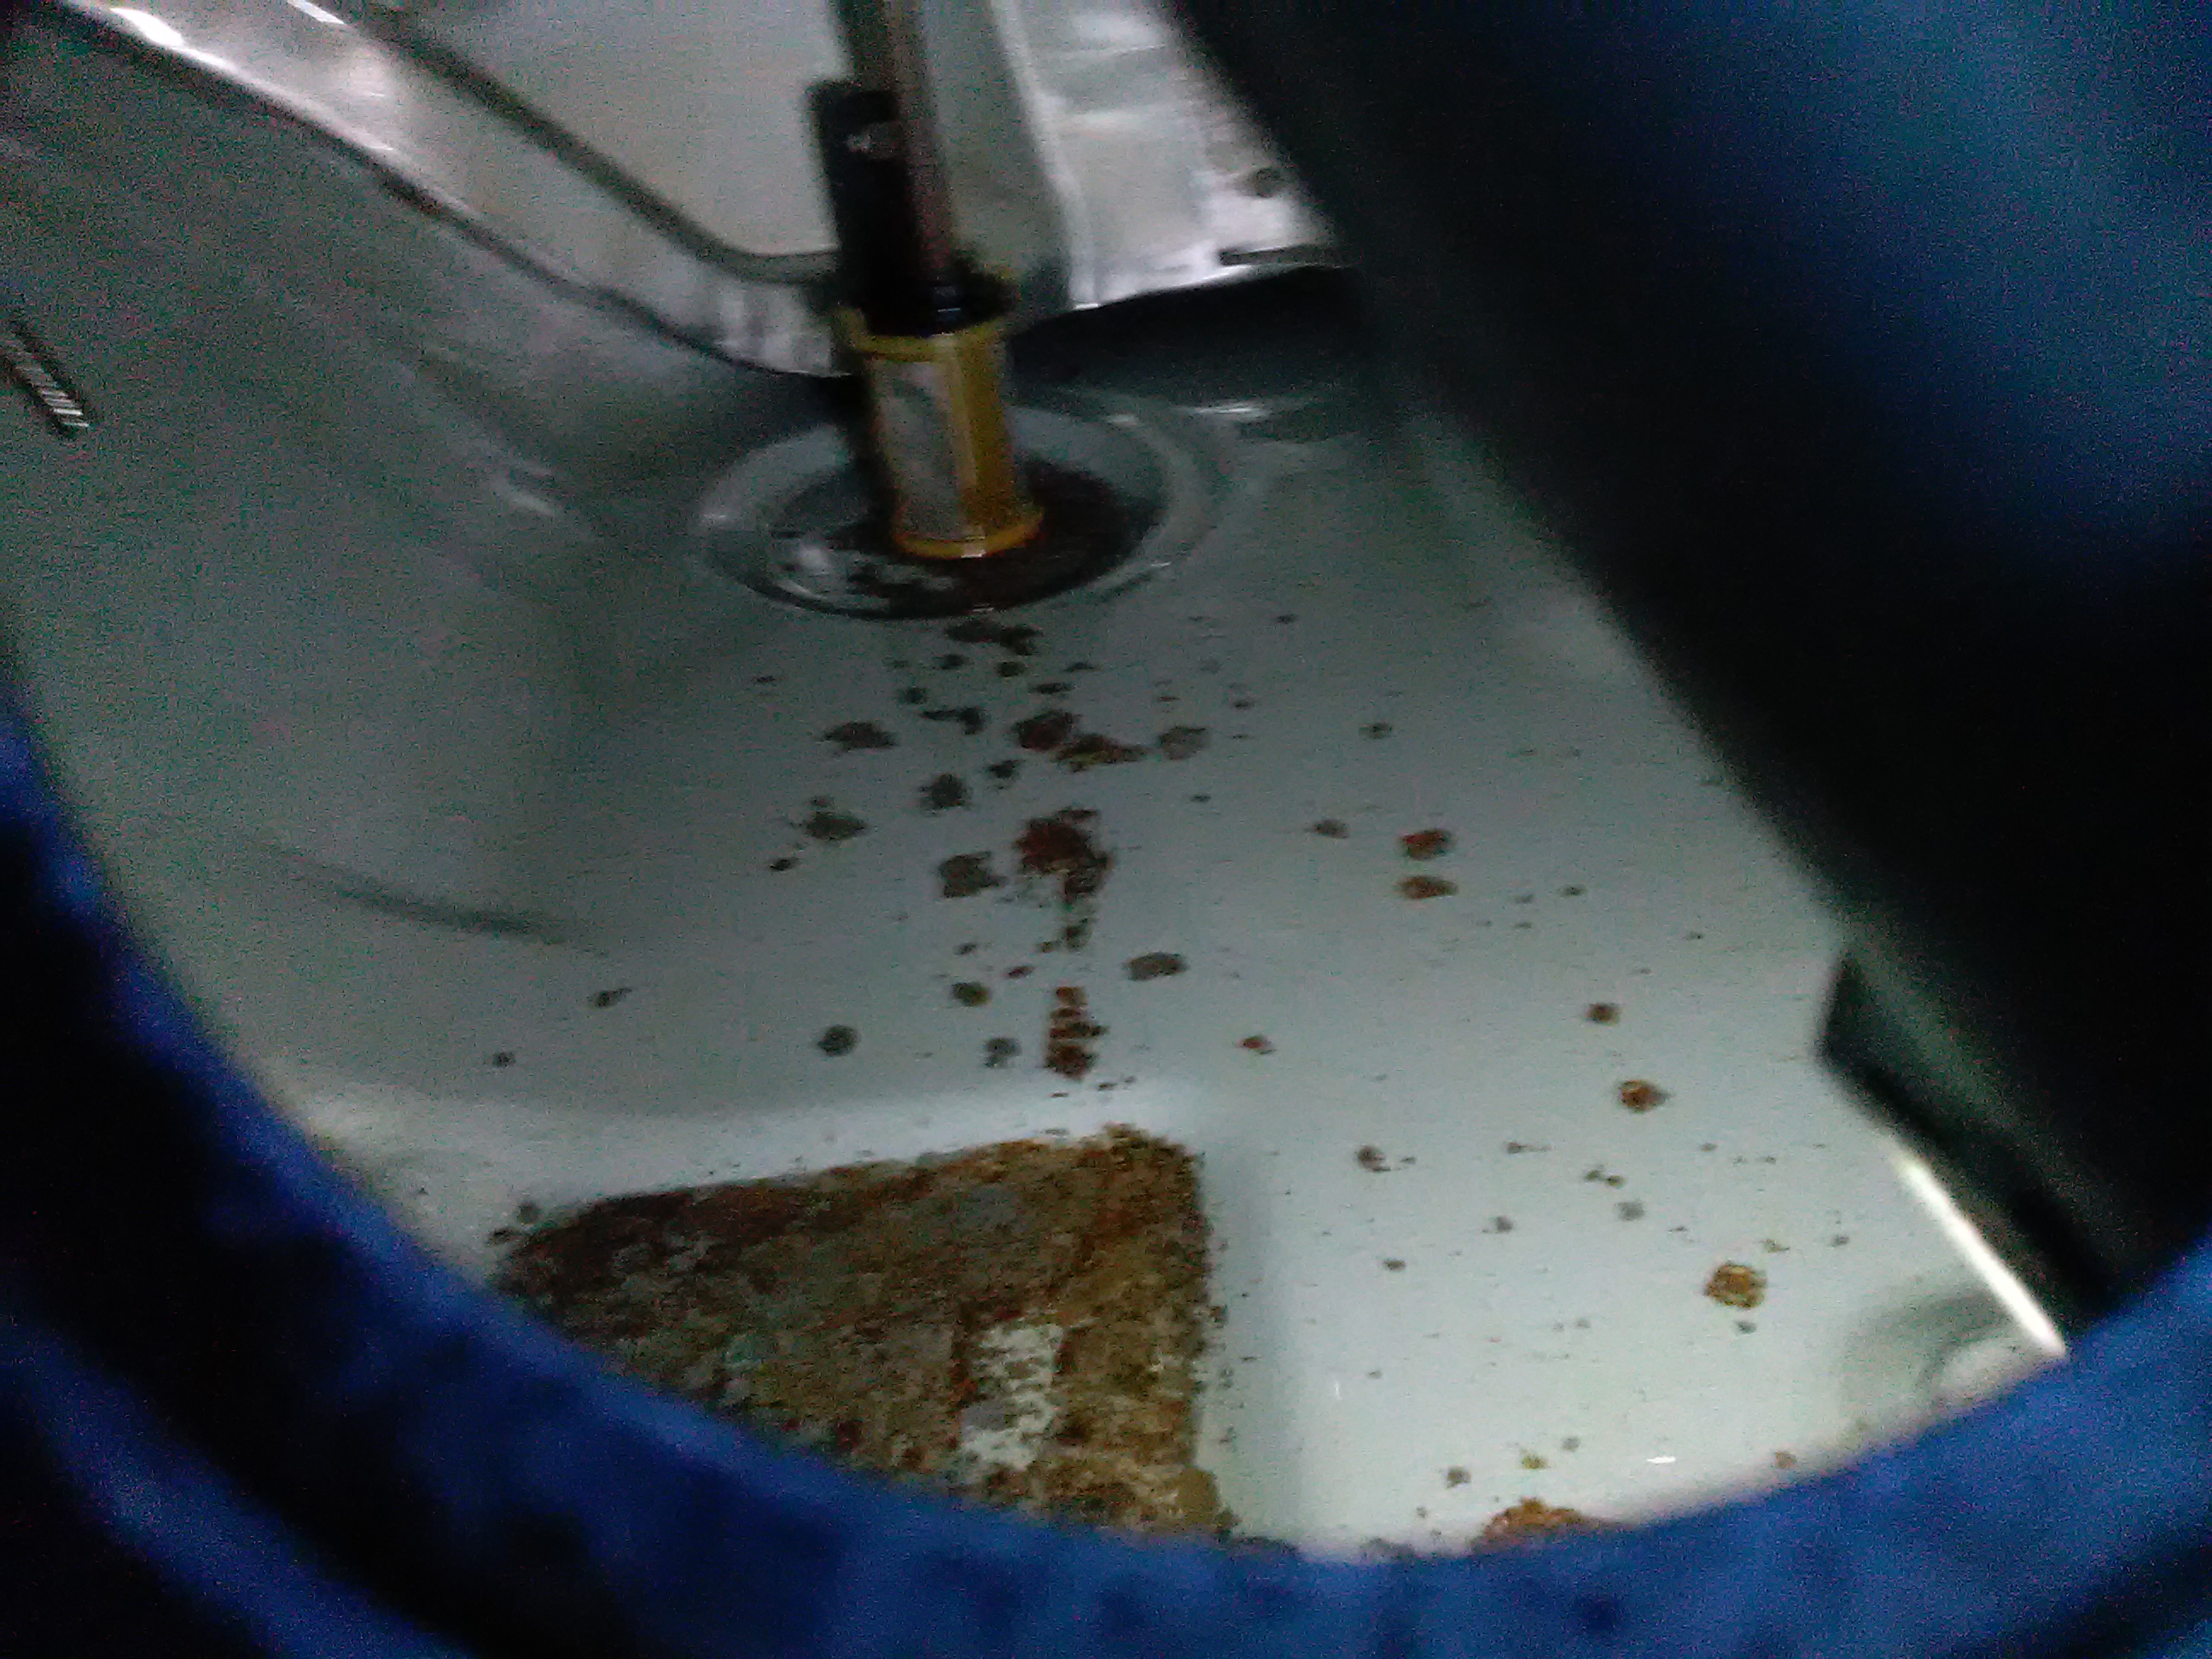
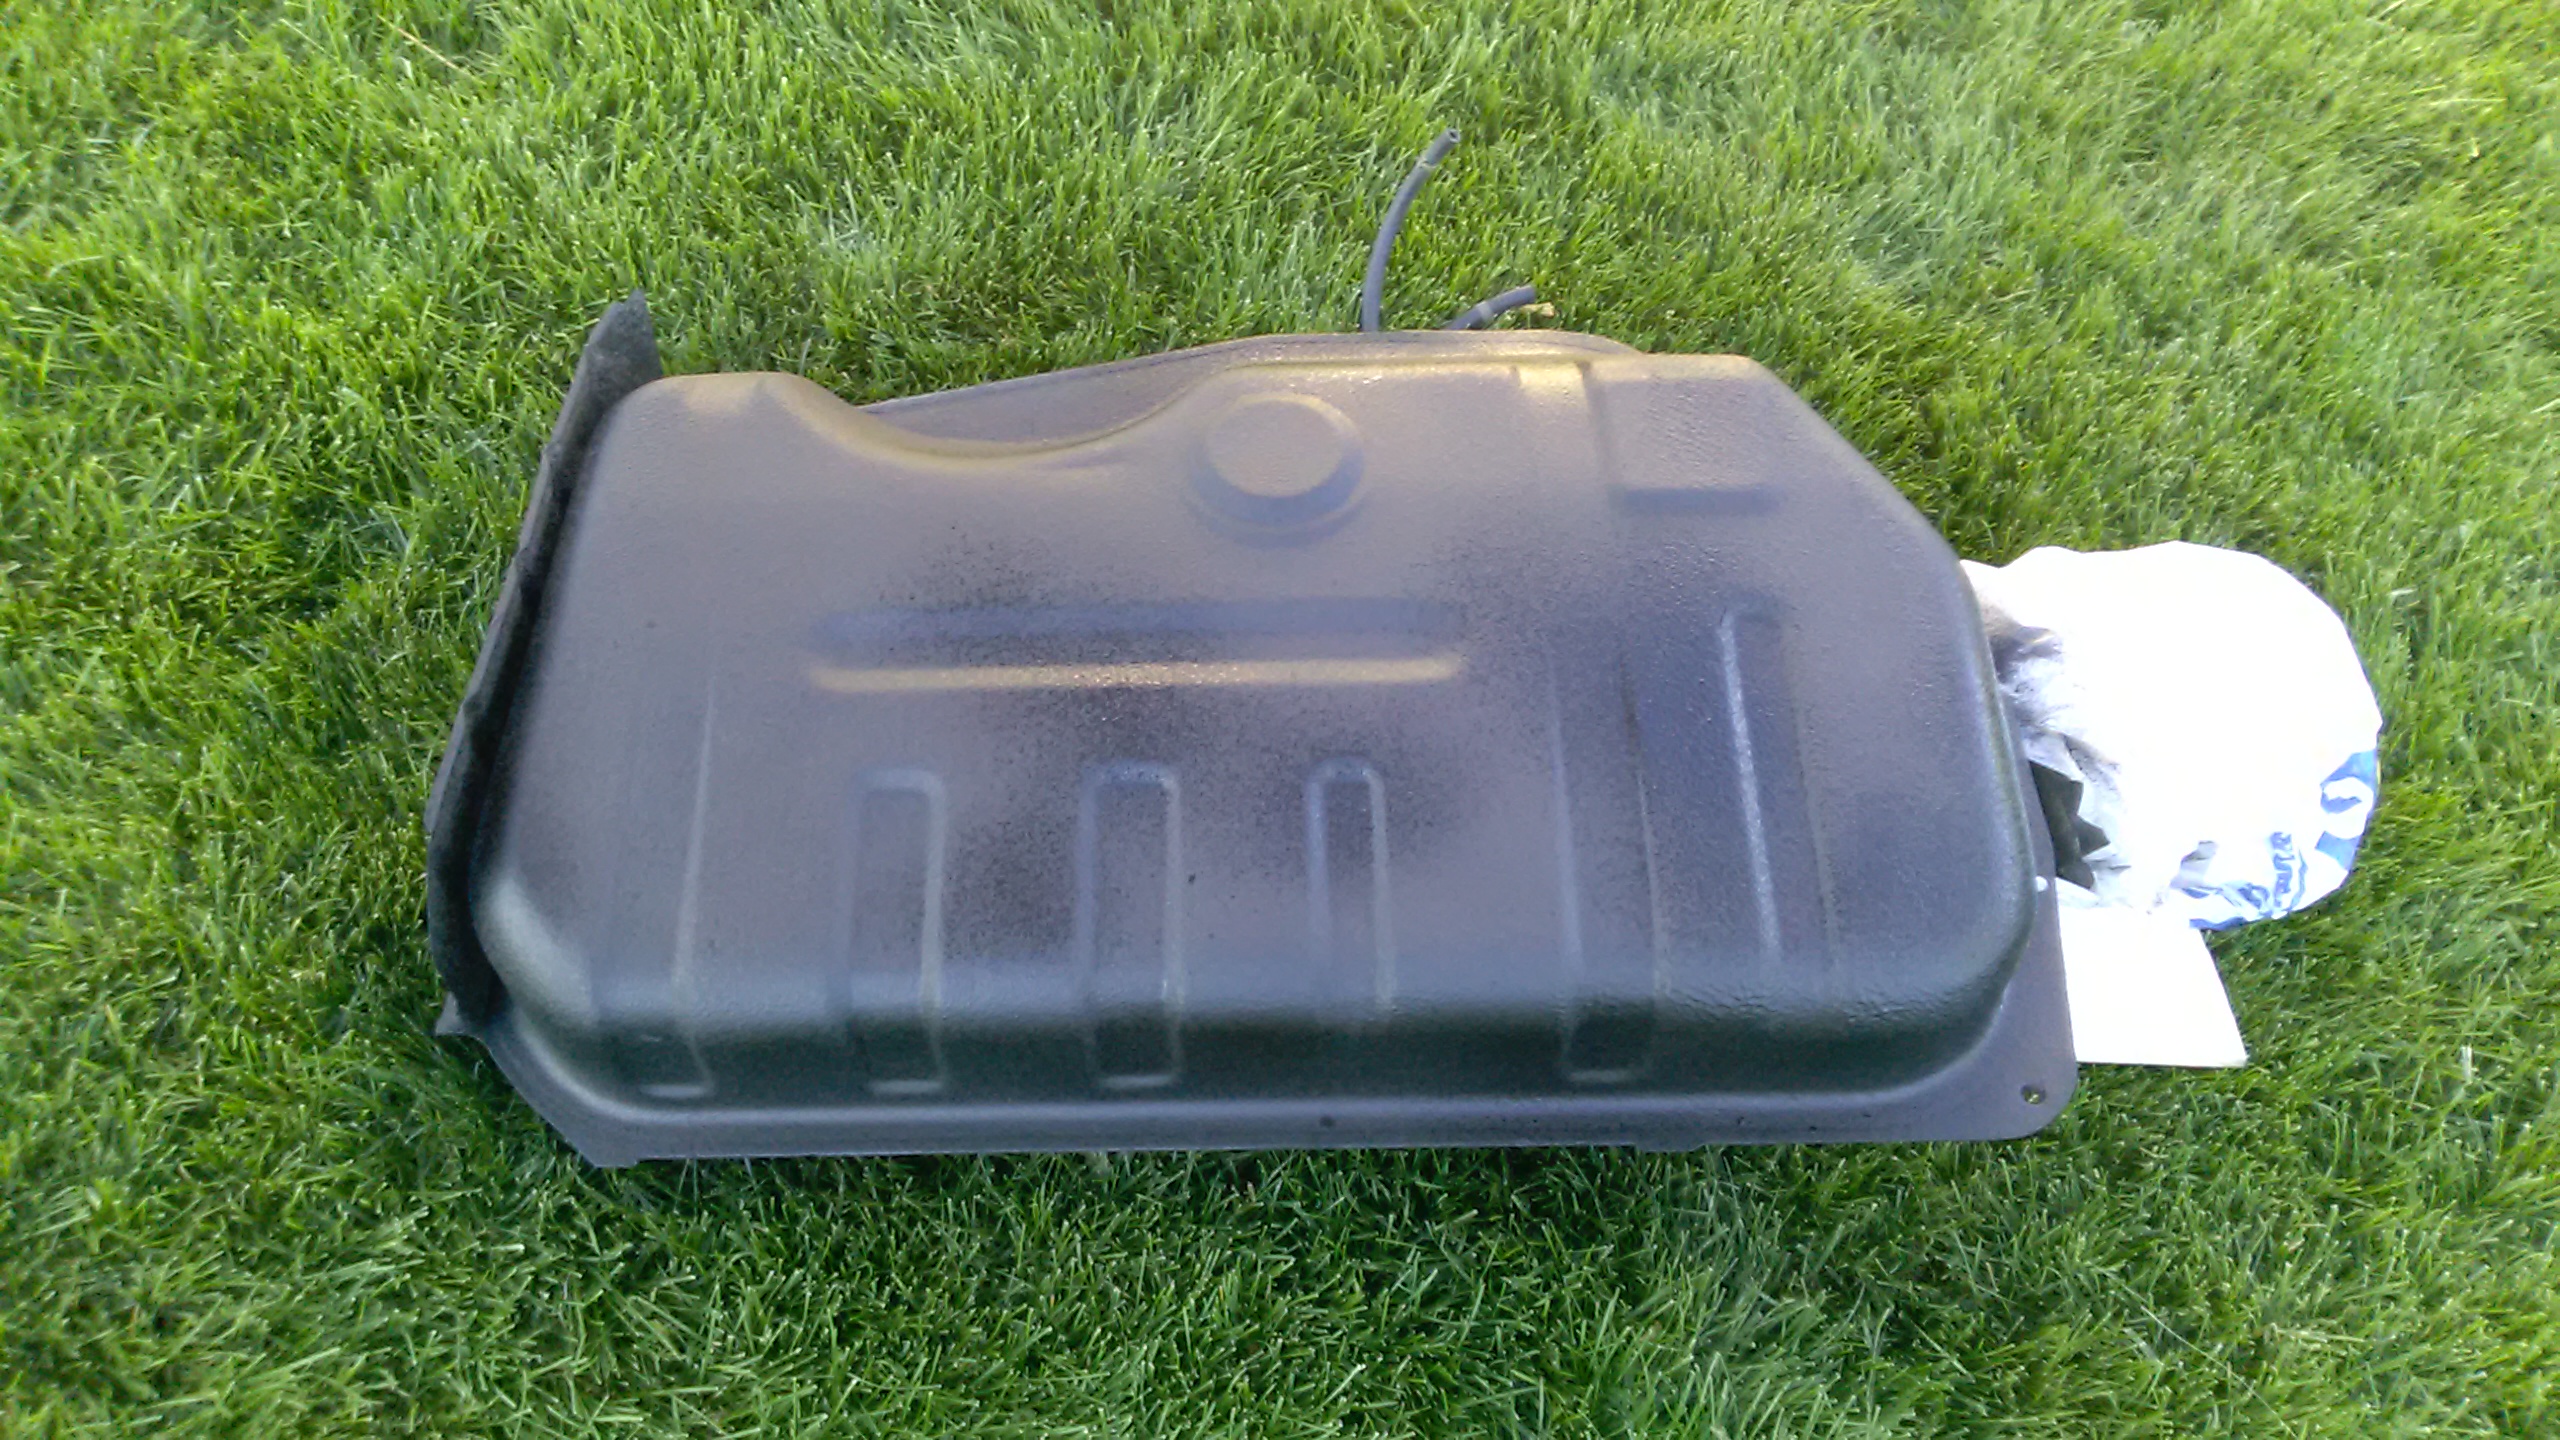
Hey I made some more progress! Got the fuel tank dropped, to replace lines and remove any sludge:
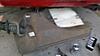
Some of the lines have 81 date stamps on them, making me think they're original to the tank! But lo and behold, when I looked inside the tank I find this:
It's almost spotless? WTF? Shouldn't there be more rust and sludge and whatever? Not that I'm complaining!
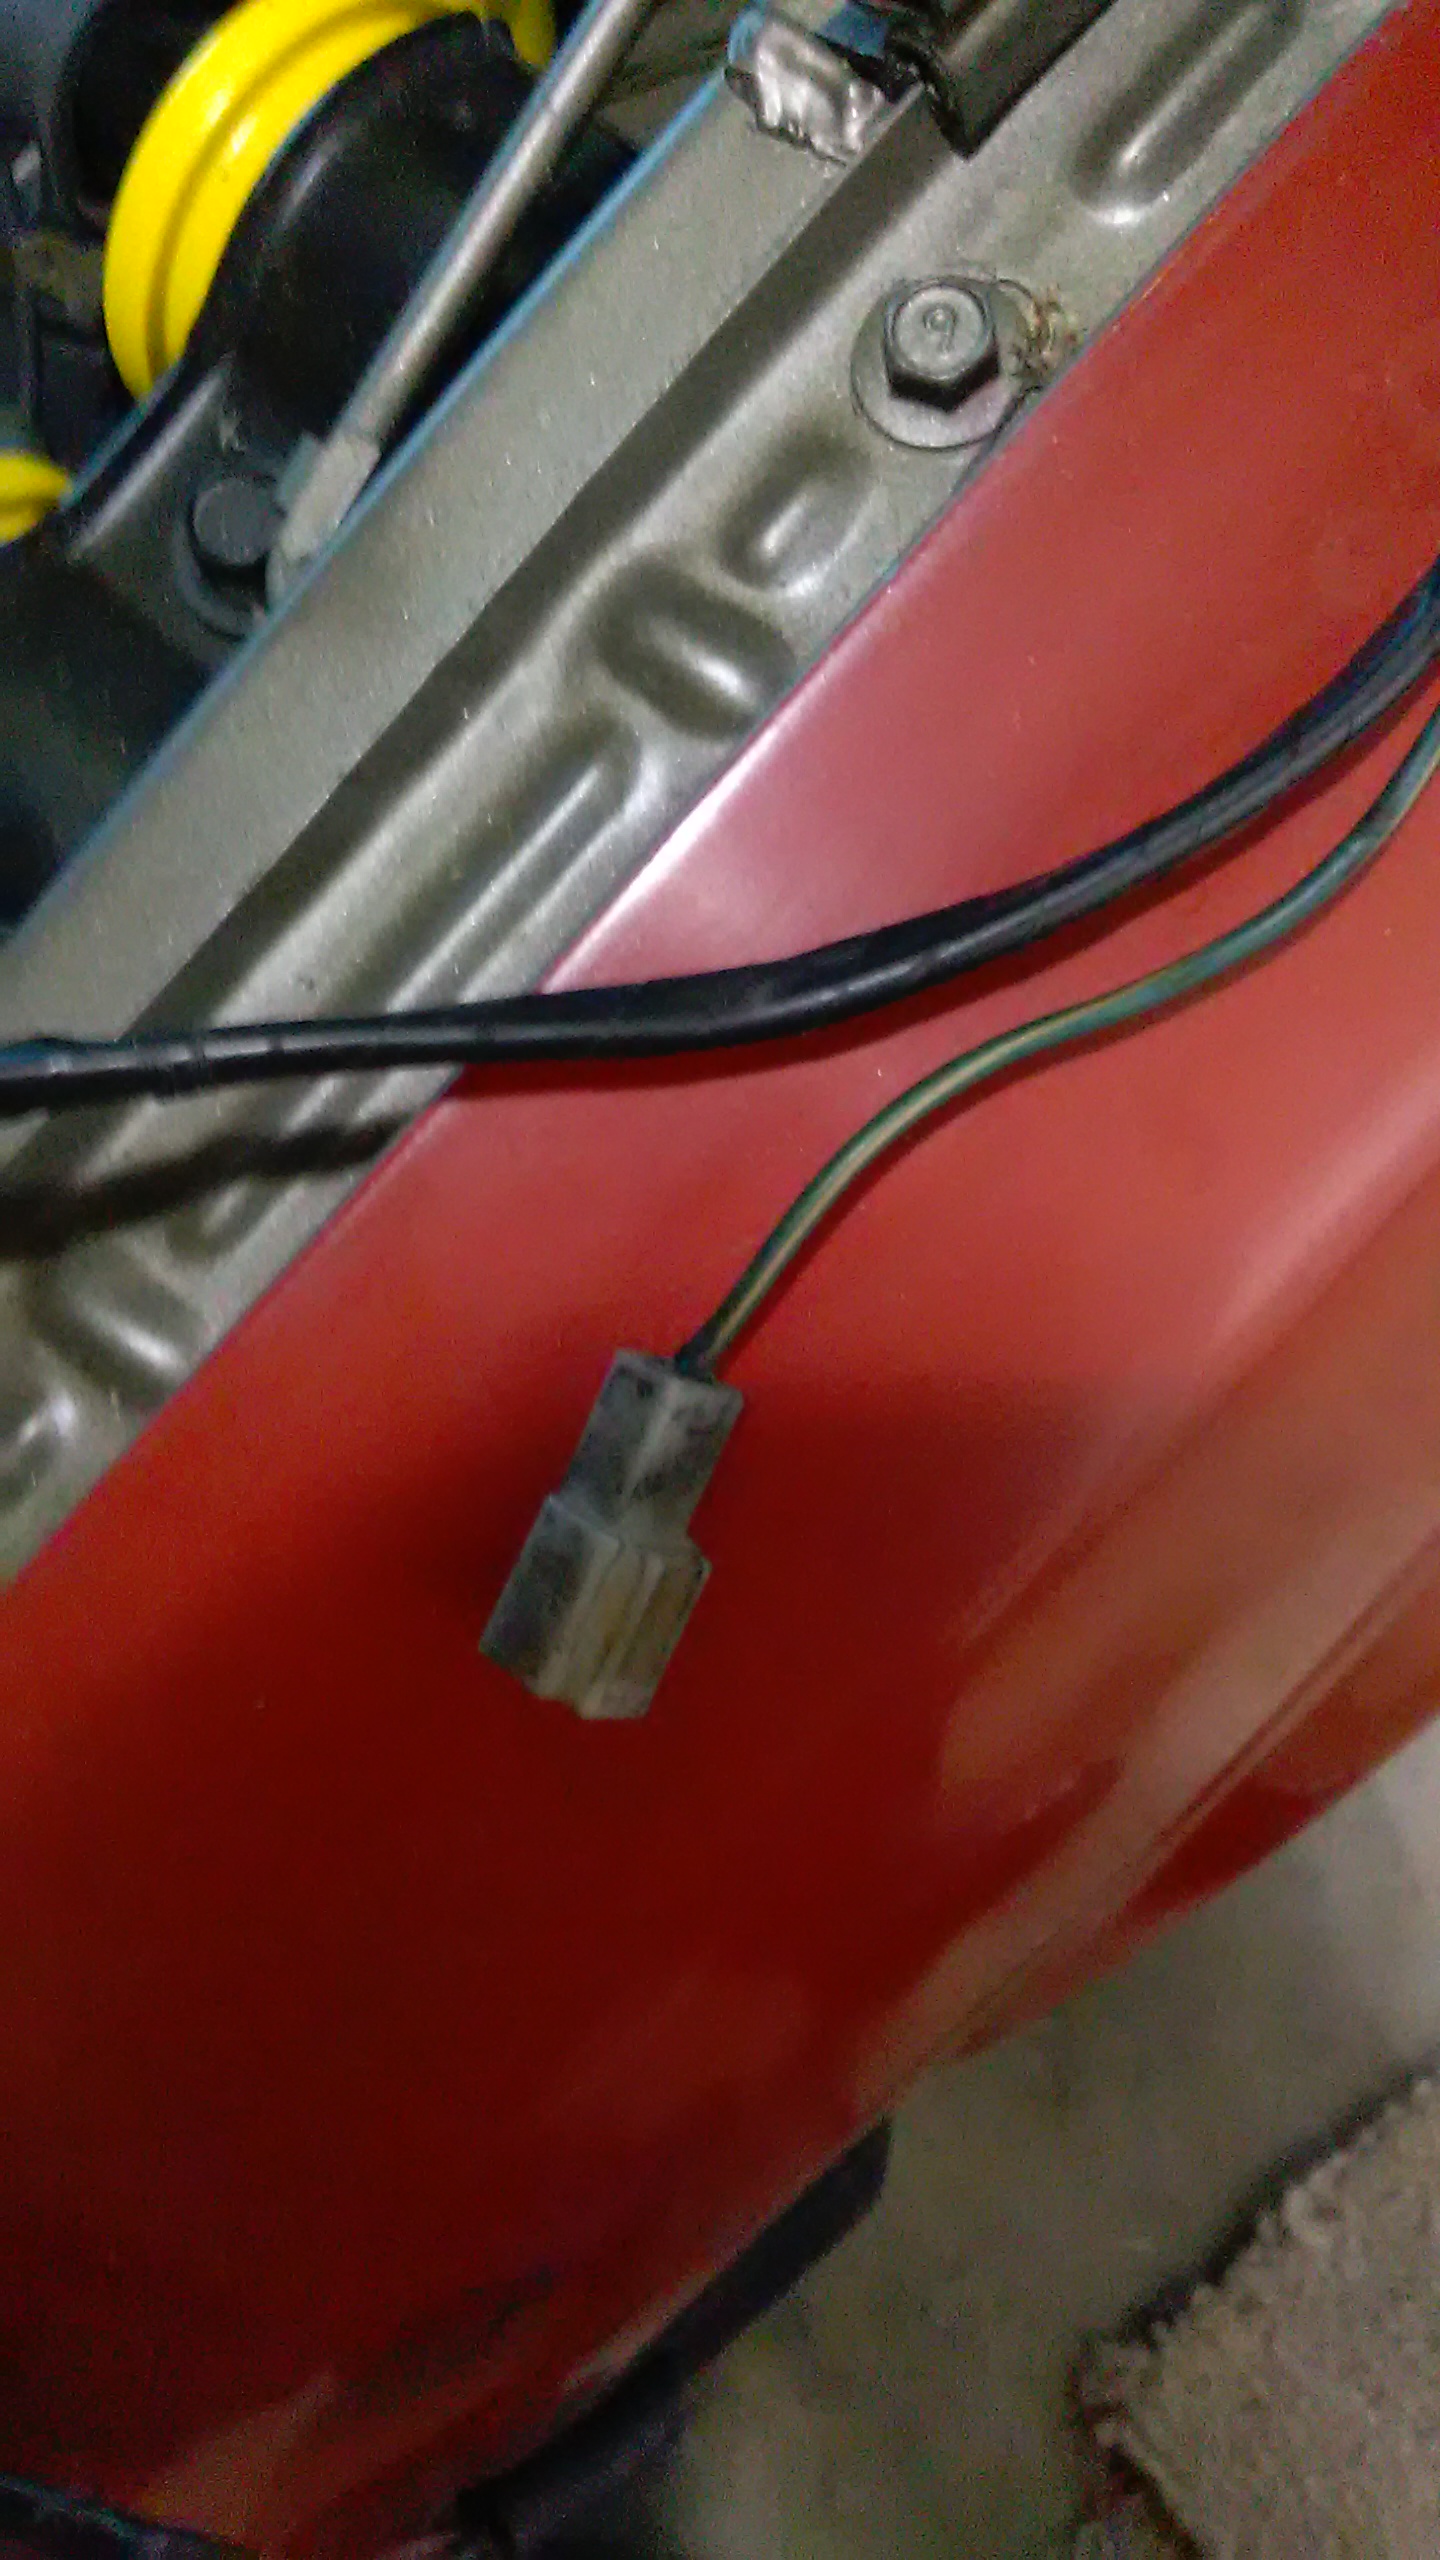
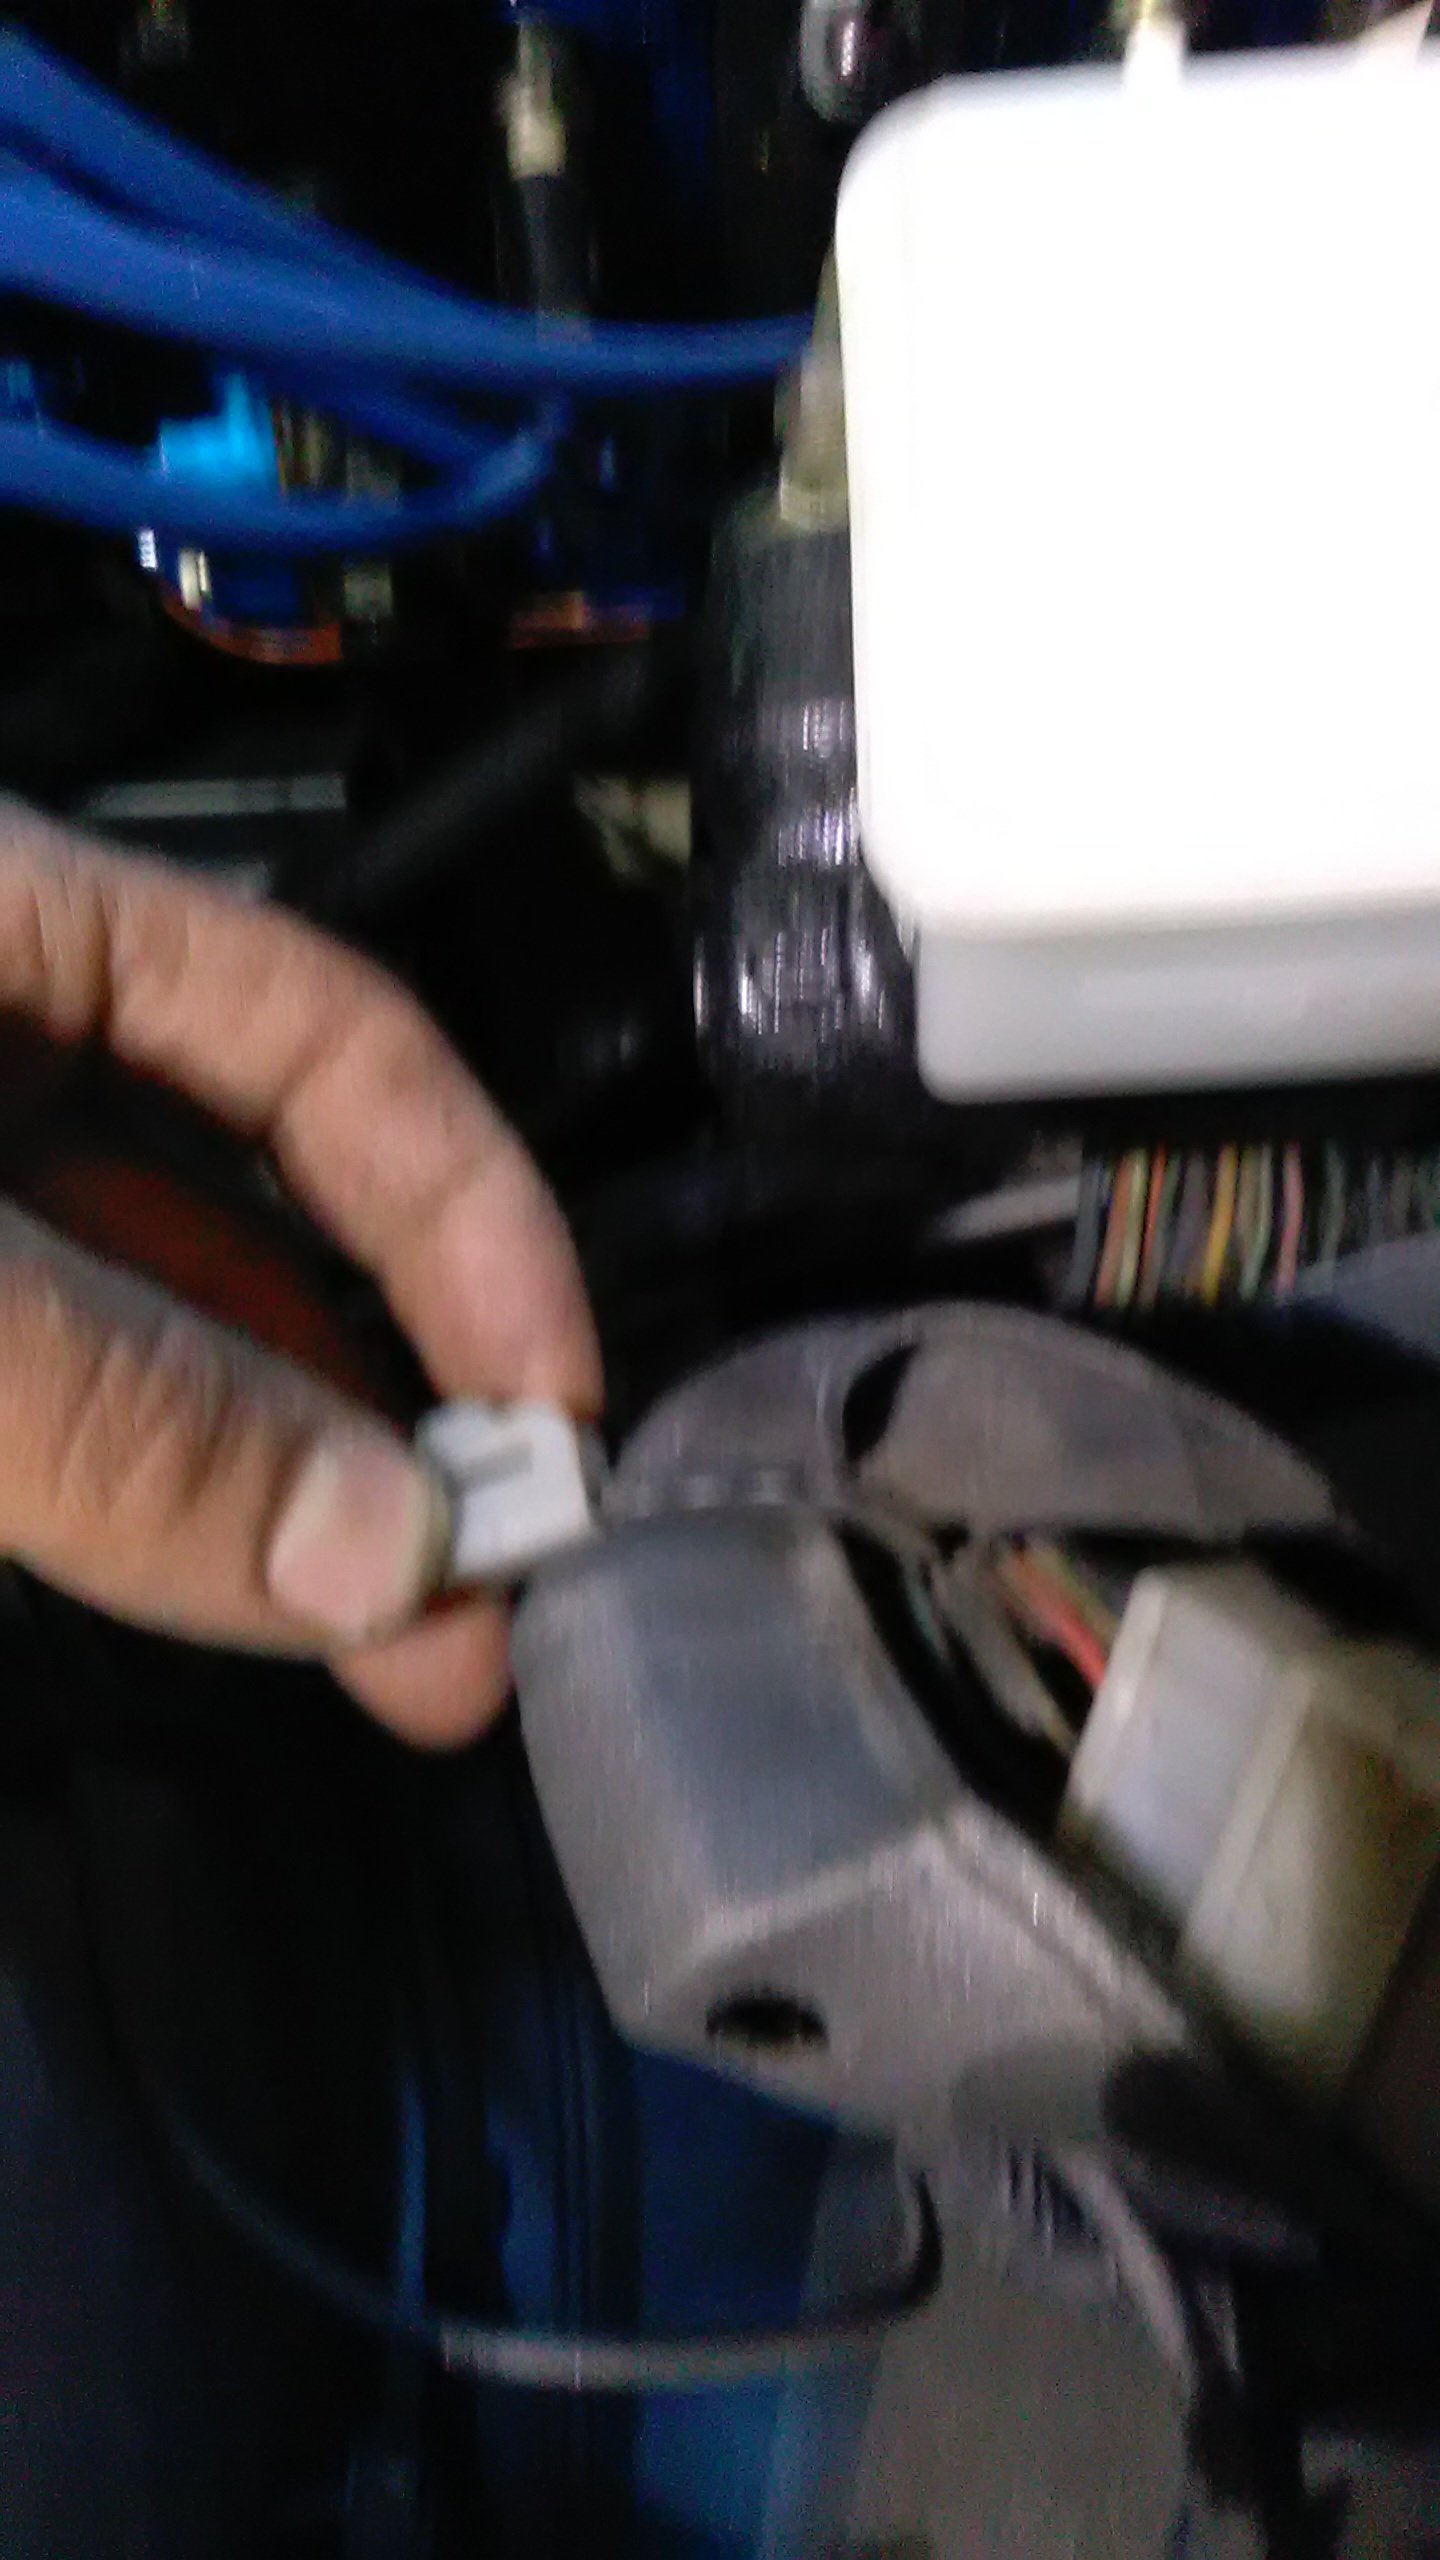
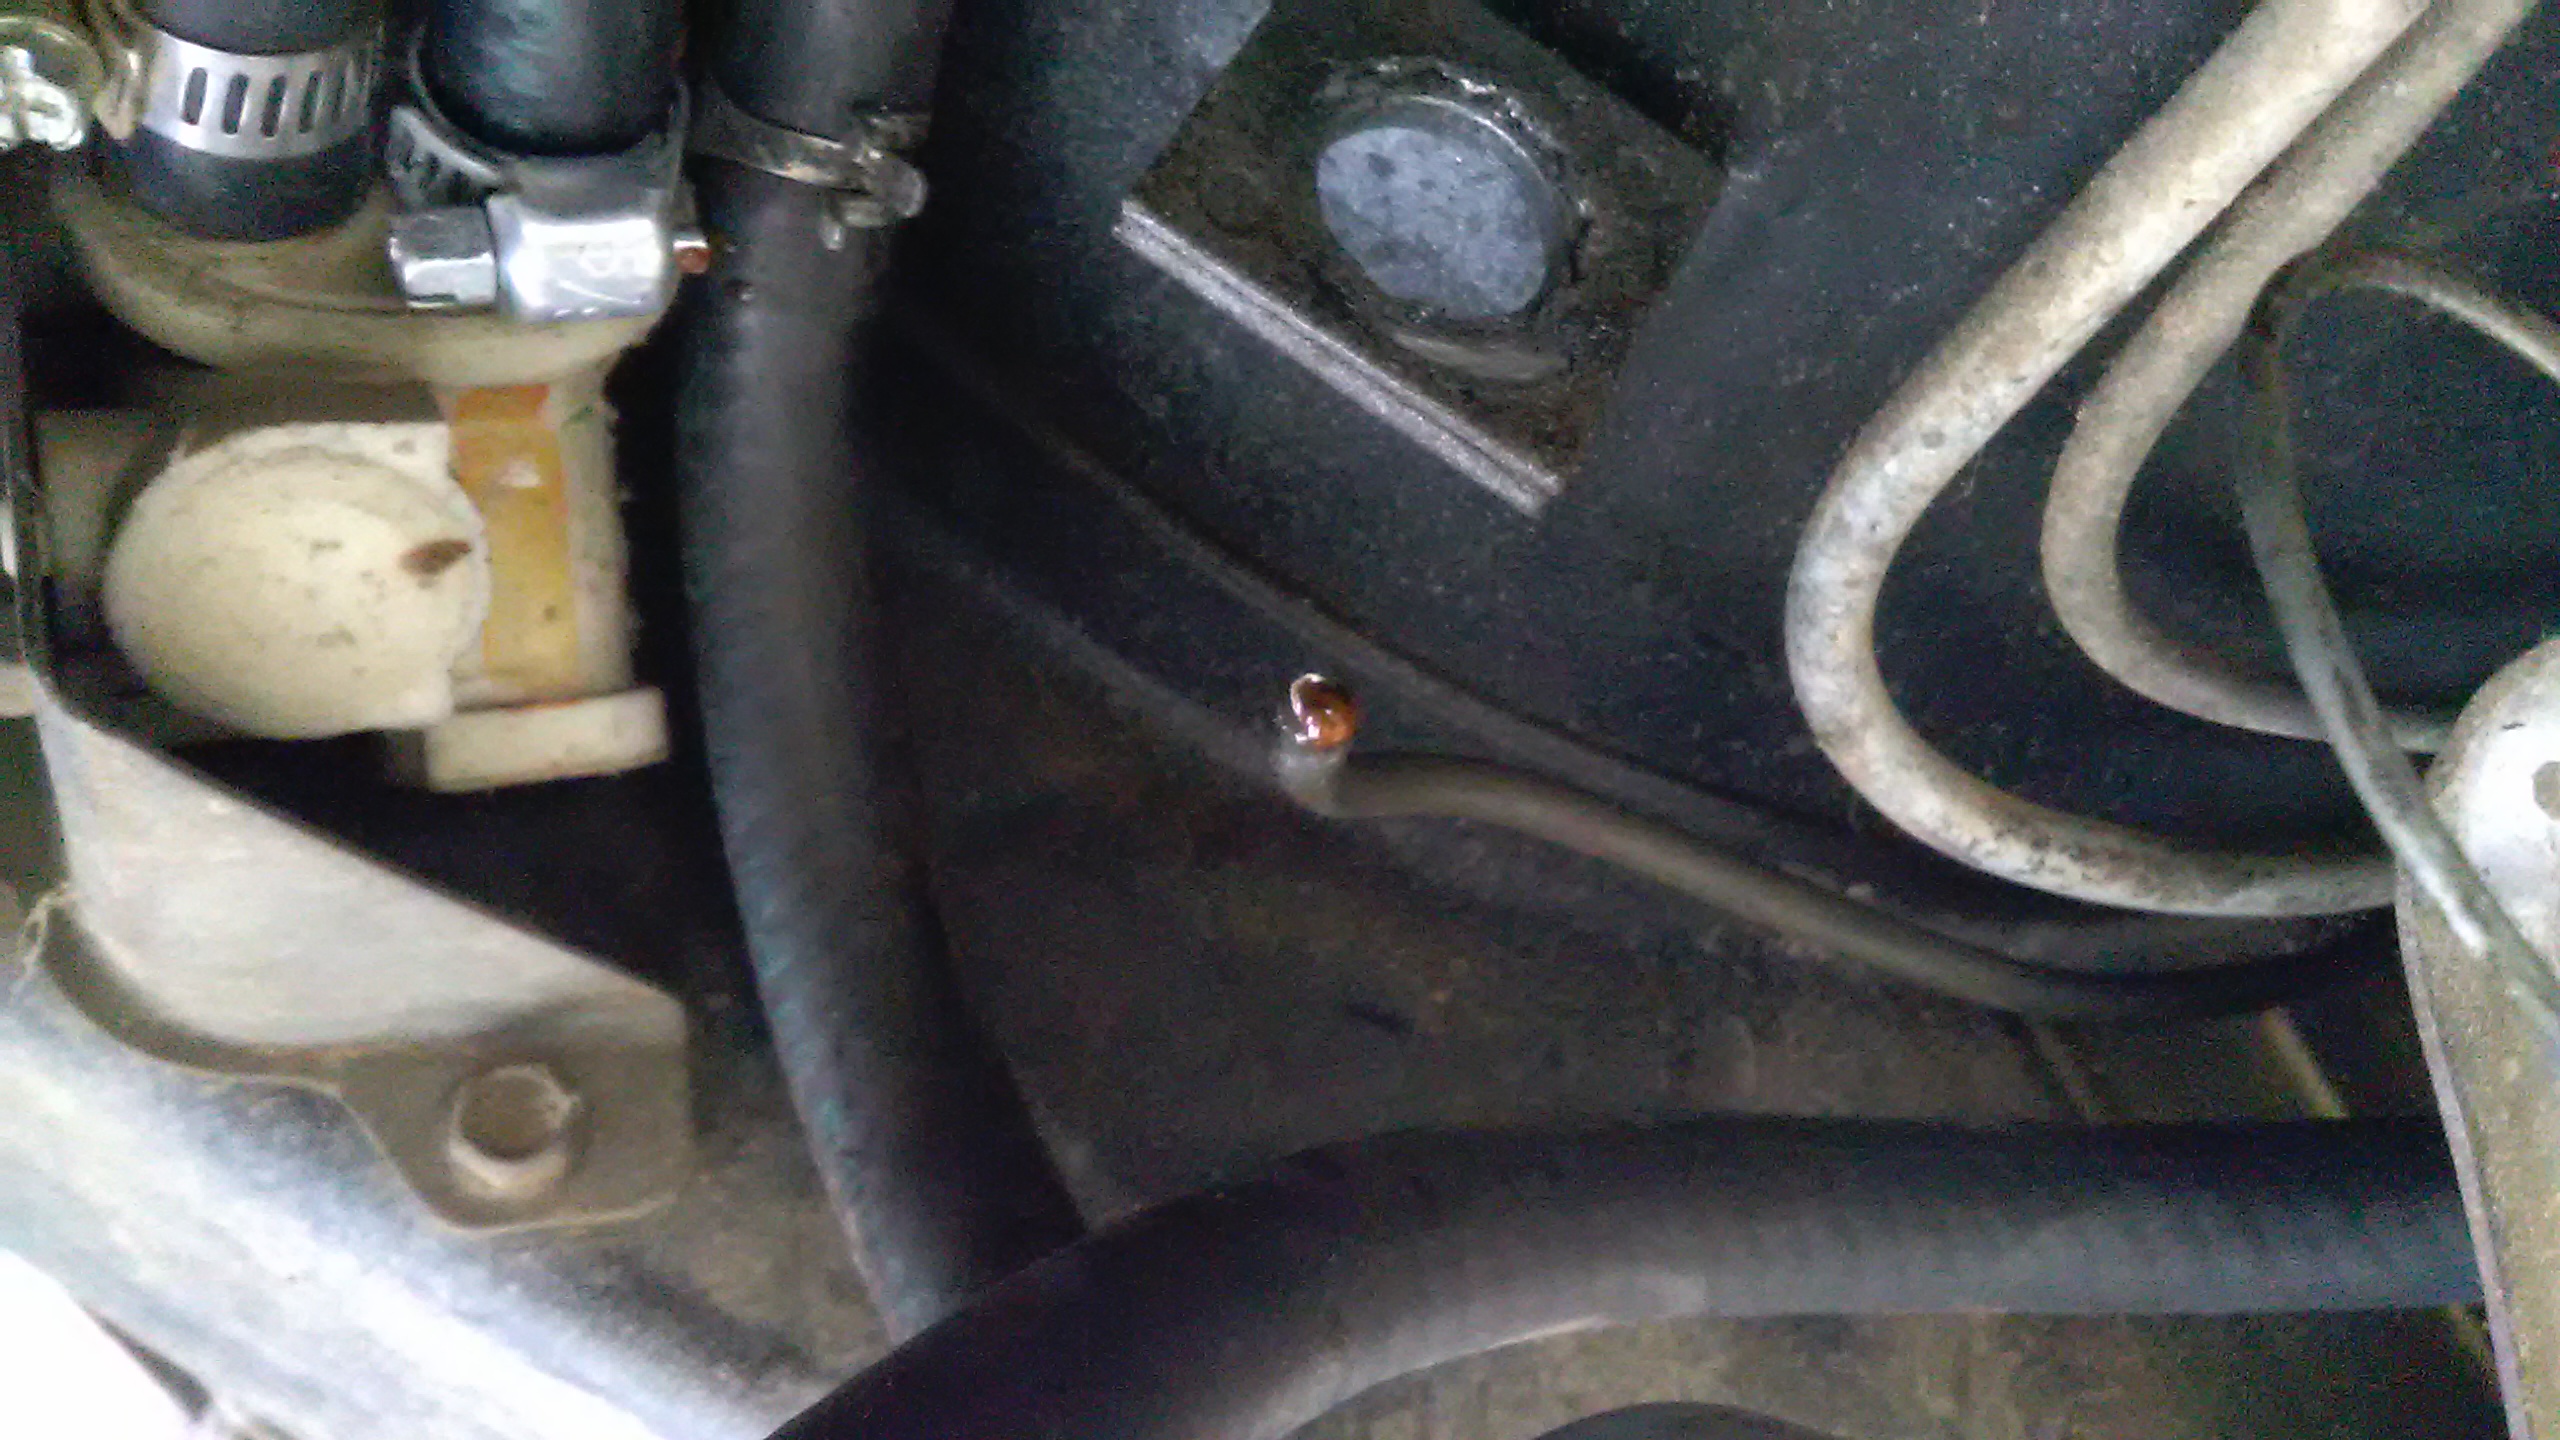
Anyway, went to put in the starter harness and I have no idea what this blue and white stripe connector is. I don't see it in the FSM.
Also of curiosity, is this wire, in the same harness as the transmission one. It's black with a white 'diamond' pattern on it.

Sorry for the blur, not sure what's up with my phone tonight.
I'm not afraid of loud (I used to run dual pipes on my old 390, with just flowmaster 40's). I just don't want to be illegal! I have to have a cat, so I'm hoping that quiets things down a bit. last dumb question I promise; Should I run 2.5 from the collector through to the end of the system? Or step it down as I go? Any gains going from 2.5 collector to 3 inch pipe, as an 'expansion chamber'? Or would I just be loosing gas velocity?
Some of the lines have 81 date stamps on them, making me think they're original to the tank! But lo and behold, when I looked inside the tank I find this:
It's almost spotless? WTF? Shouldn't there be more rust and sludge and whatever? Not that I'm complaining!
Anyway, went to put in the starter harness and I have no idea what this blue and white stripe connector is. I don't see it in the FSM.
Also of curiosity, is this wire, in the same harness as the transmission one. It's black with a white 'diamond' pattern on it.
Sorry for the blur, not sure what's up with my phone tonight.
I'm not afraid of loud (I used to run dual pipes on my old 390, with just flowmaster 40's). I just don't want to be illegal! I have to have a cat, so I'm hoping that quiets things down a bit. last dumb question I promise; Should I run 2.5 from the collector through to the end of the system? Or step it down as I go? Any gains going from 2.5 collector to 3 inch pipe, as an 'expansion chamber'? Or would I just be loosing gas velocity?
Collecting to 2.5" might not work very well. I did that once on a 12A and it seemed to have a small bog at really low RPM, around idle if you drag the RPM down that low as you let the clutch out. Never did solve it even though I tried several intake manifolds and carbs on it. The exhaust was a short collected 12A RB header which I chopped off the 2" part and replaced it with a slightly widened and flattened 2.5" pipe (matching height of 2" and width to an oval 3" to match the two header pipes, and looked like an RB FC header), with a full 2.5" system.
I think what was happening is an "air slug" problem that I never experienced on any 13Bs with the same size 2.5" collector. It occurred on a 12A due to it being a smaller engine and flowing less CFM at the same RPM as the 13B, regardless of RPM. Does that make sense?
The car only had a basic stock ignition system at that point as well. Then the guy swapped in a 13B and I changed his exhaust to a long primary. I think I upgraded his ignition too. We changed too many things at the same time thus didn't ever solve the bog, but I plan to recreate the conditions with the only change being a short collected 2" header this time.
To answer your question, you would lose a ton of velocity and create a huge air slug. You will be slower than you can imagine. Don't ever go 3" unless you are racing. And even then, stick with 2.5" or maybe 2.25". But it depends on a lot of factors.
Thread Starter
Full Member
Joined: May 2016
Posts: 226
Likes: 0
From: Denver
Ah thanks Jeff20B, that makes a lot of sense. I suppose it's only 140 cubes after all...Pipes too large will reduce gas velocity by expanding and cooling charge.
So now I'm curious, RB uses 2 2" pipes! Here's a quote from their site "This center section features two 2" OD tubes that each feed into a pair of 20" long Power Pulse Presilencers". Wouldn't that be far larger area than a single 2.5? What gives?
It looks like 2 inch from the collector back would make sense. So if I have a 2.5 inch collector, I'll just neck it down right afterwards to 2 inch, then the cat, then the muffler. Is good plan? As a note, I HAVE to run a cat for emissions in Denver. Not sure how efficient it has to be, but it has to be there for the visual. Should also make the motor quieter.
Oh a little more progress today, got the tank new lines and resprayed in nice new black bedliner.
Thread Starter
Full Member
Joined: May 2016
Posts: 226
Likes: 0
From: Denver
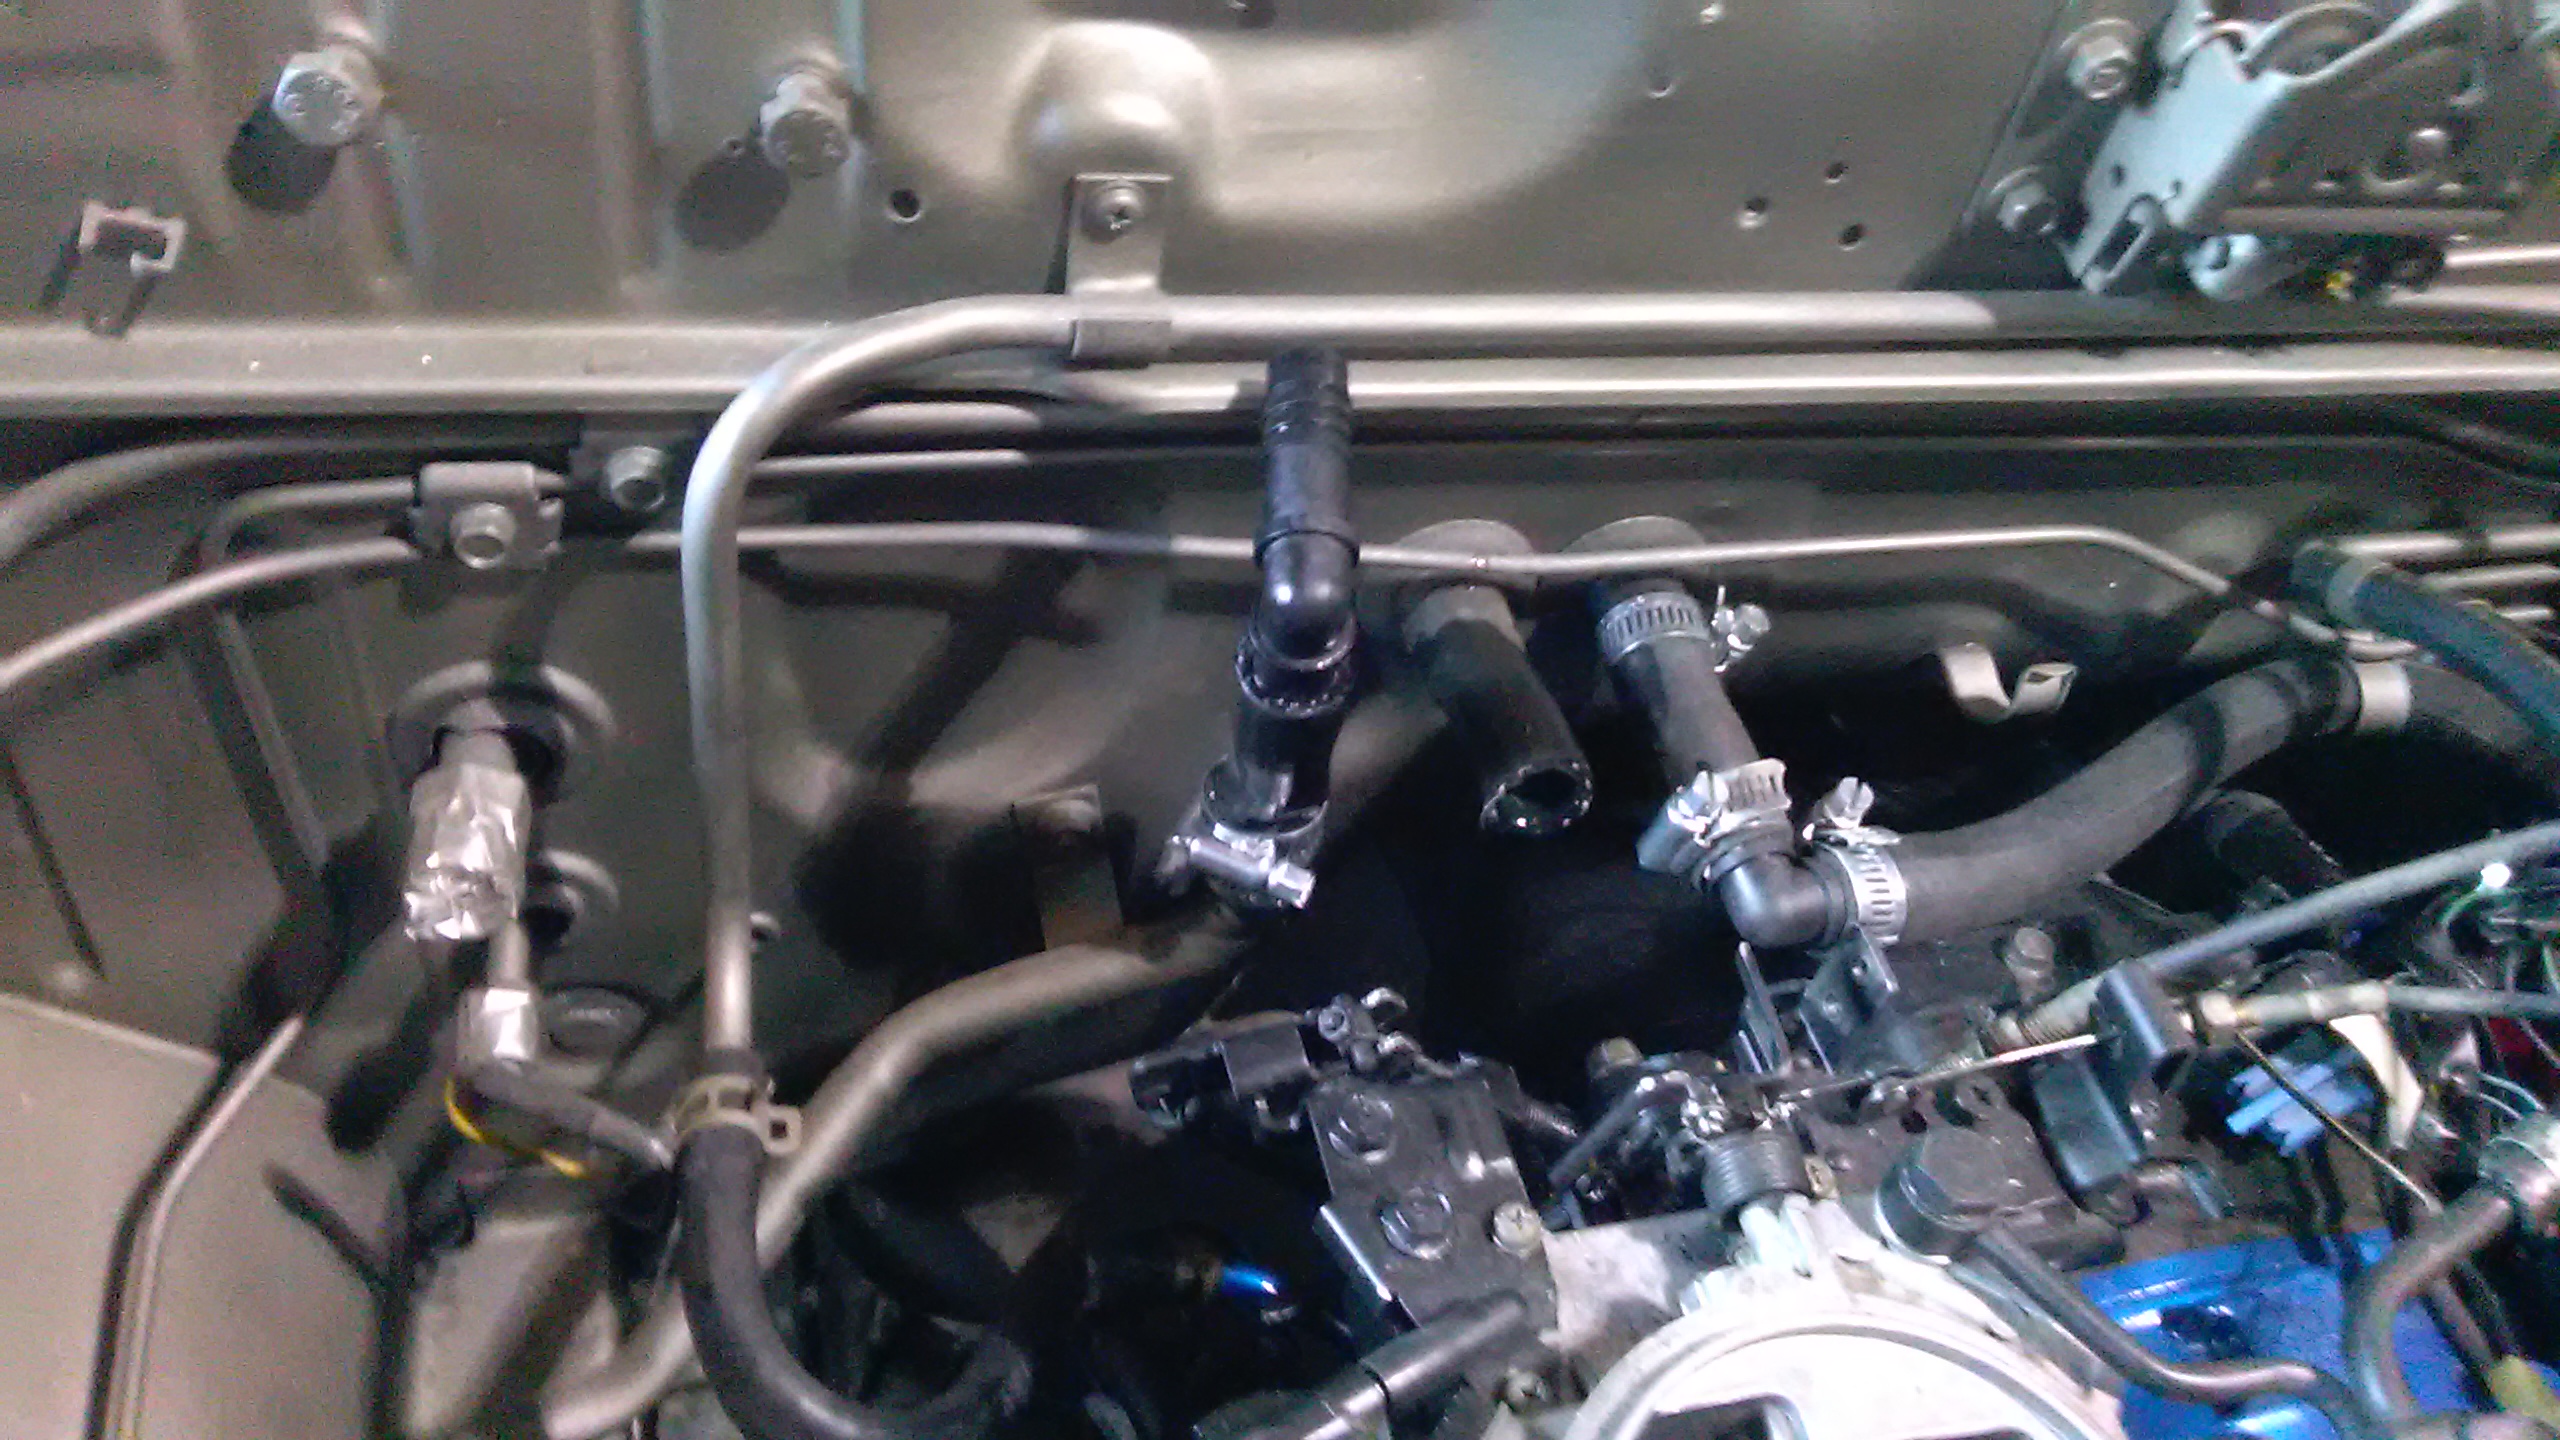
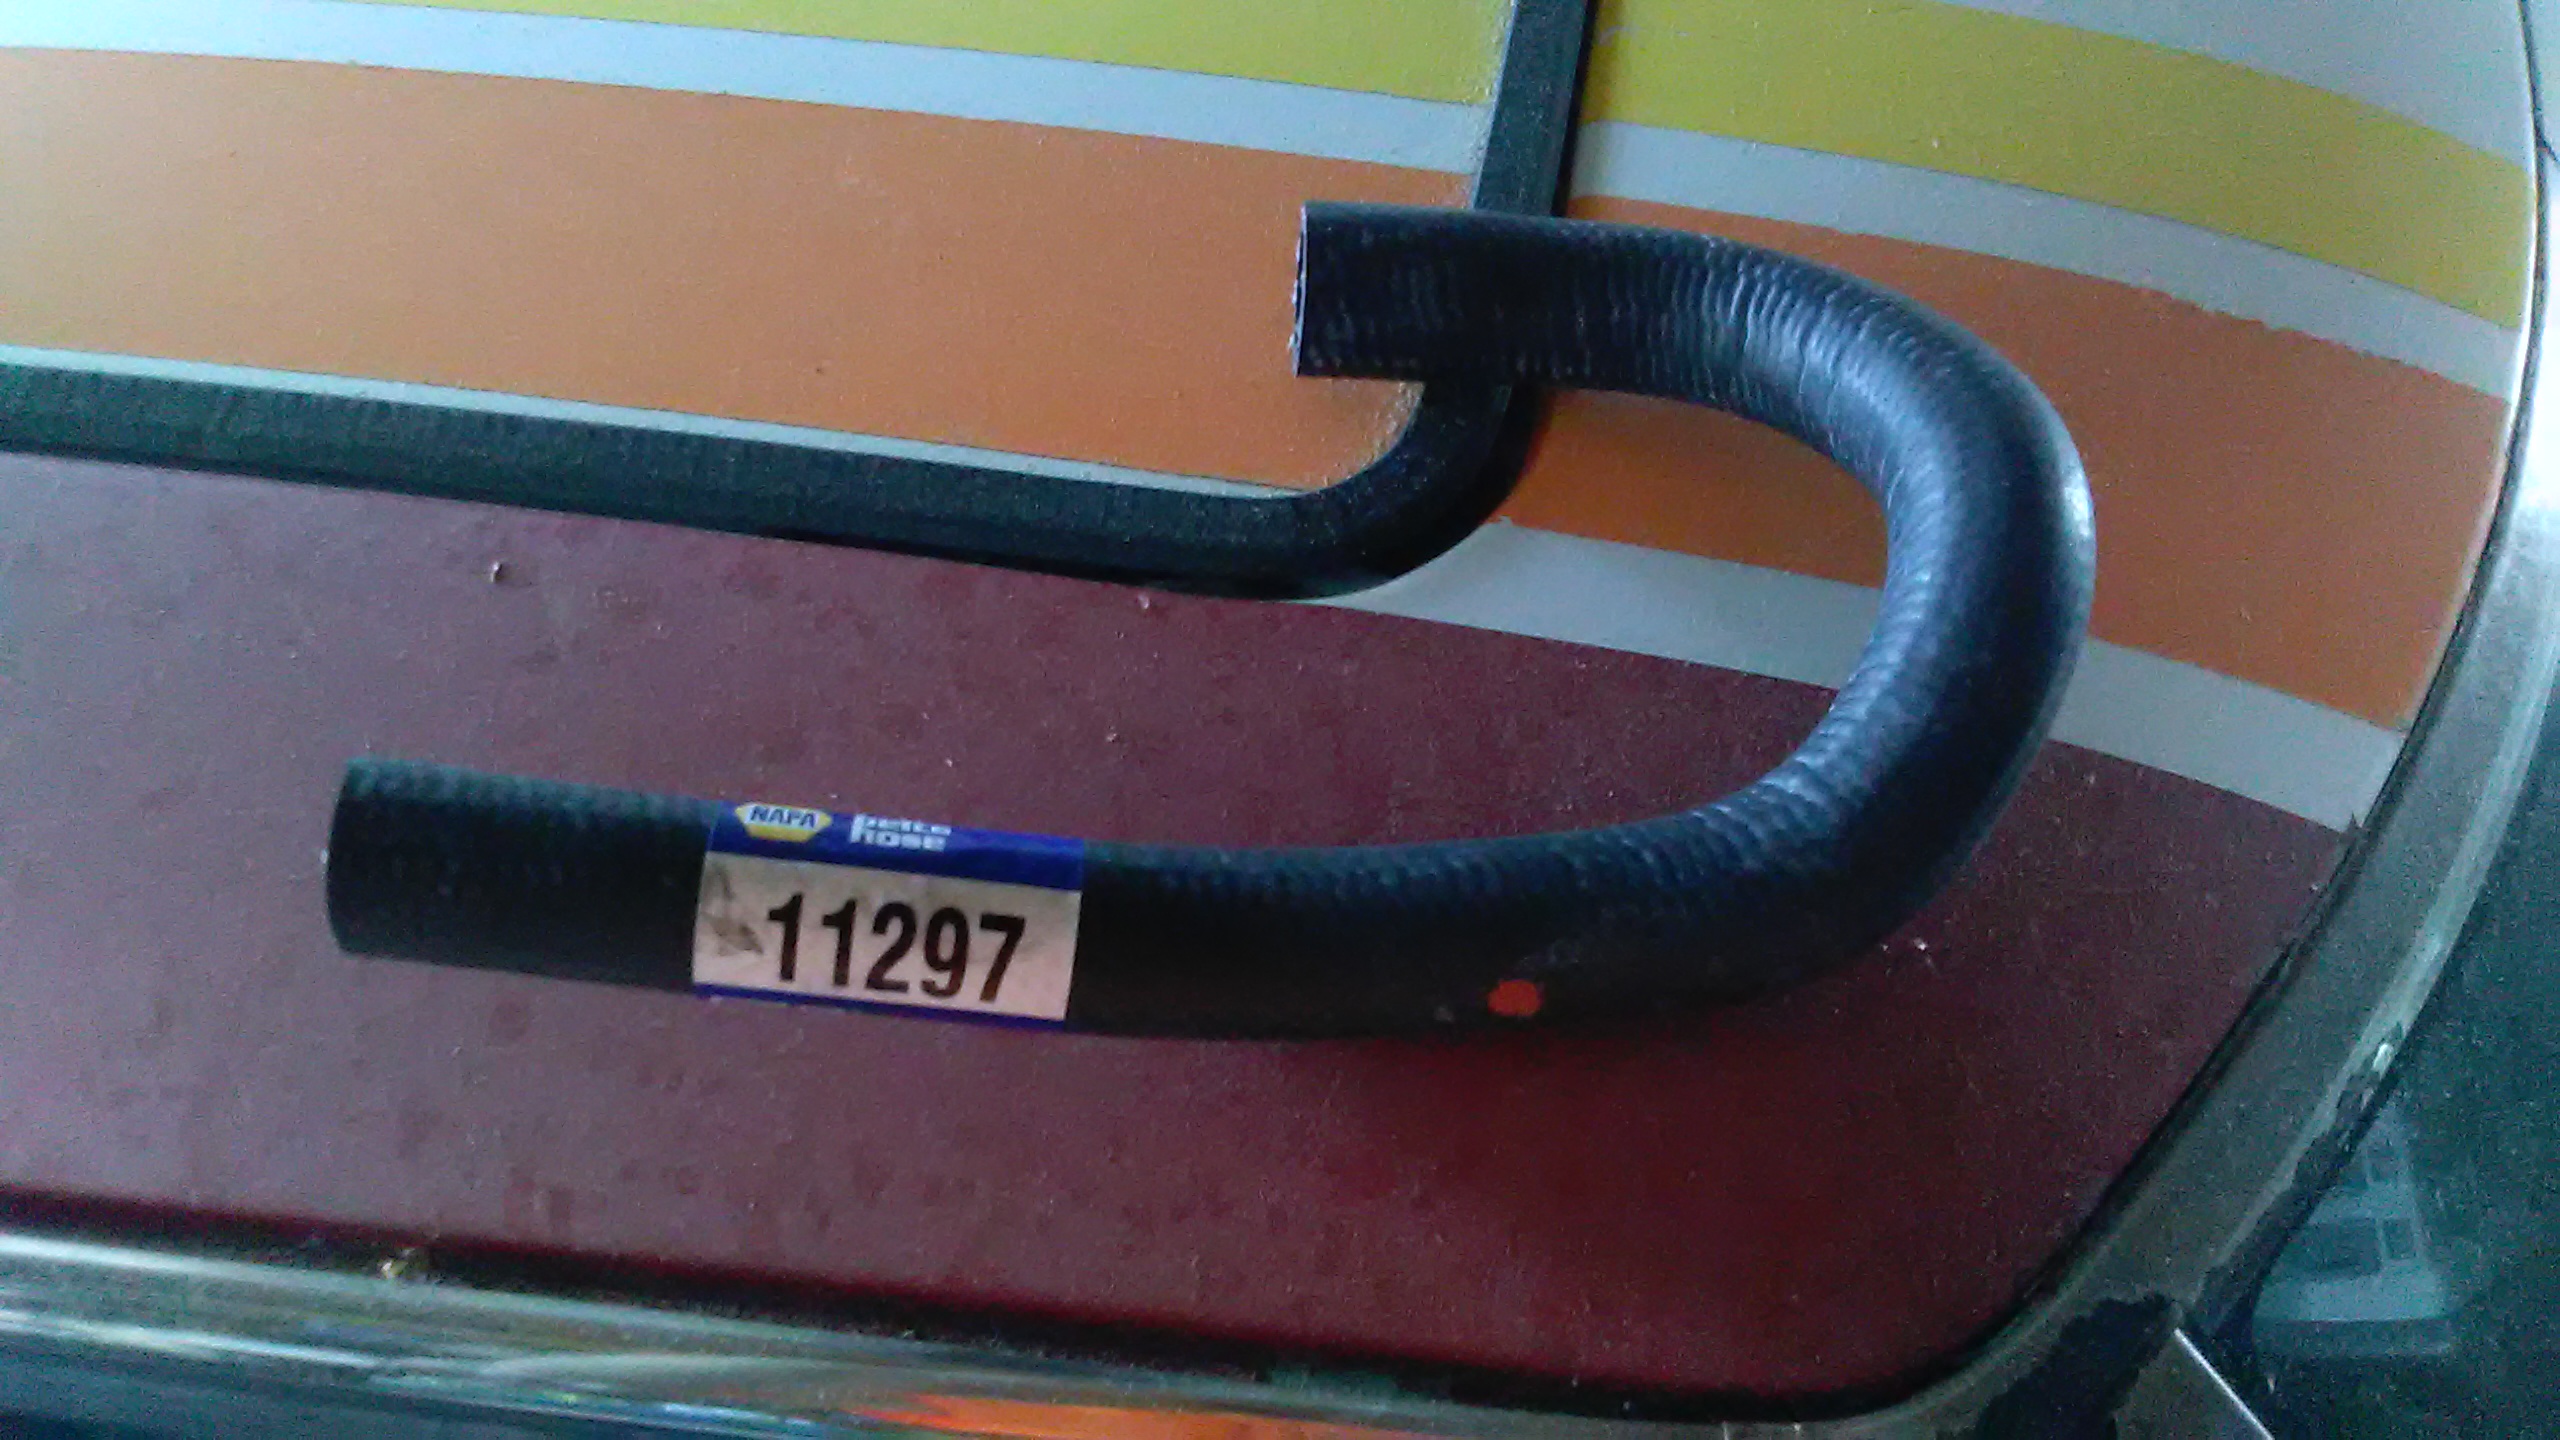
So first off, where do I get that funky water hose that connects from the hard line to the heater core through the firewall? All the auto-parts places say no, or have the wrong part!
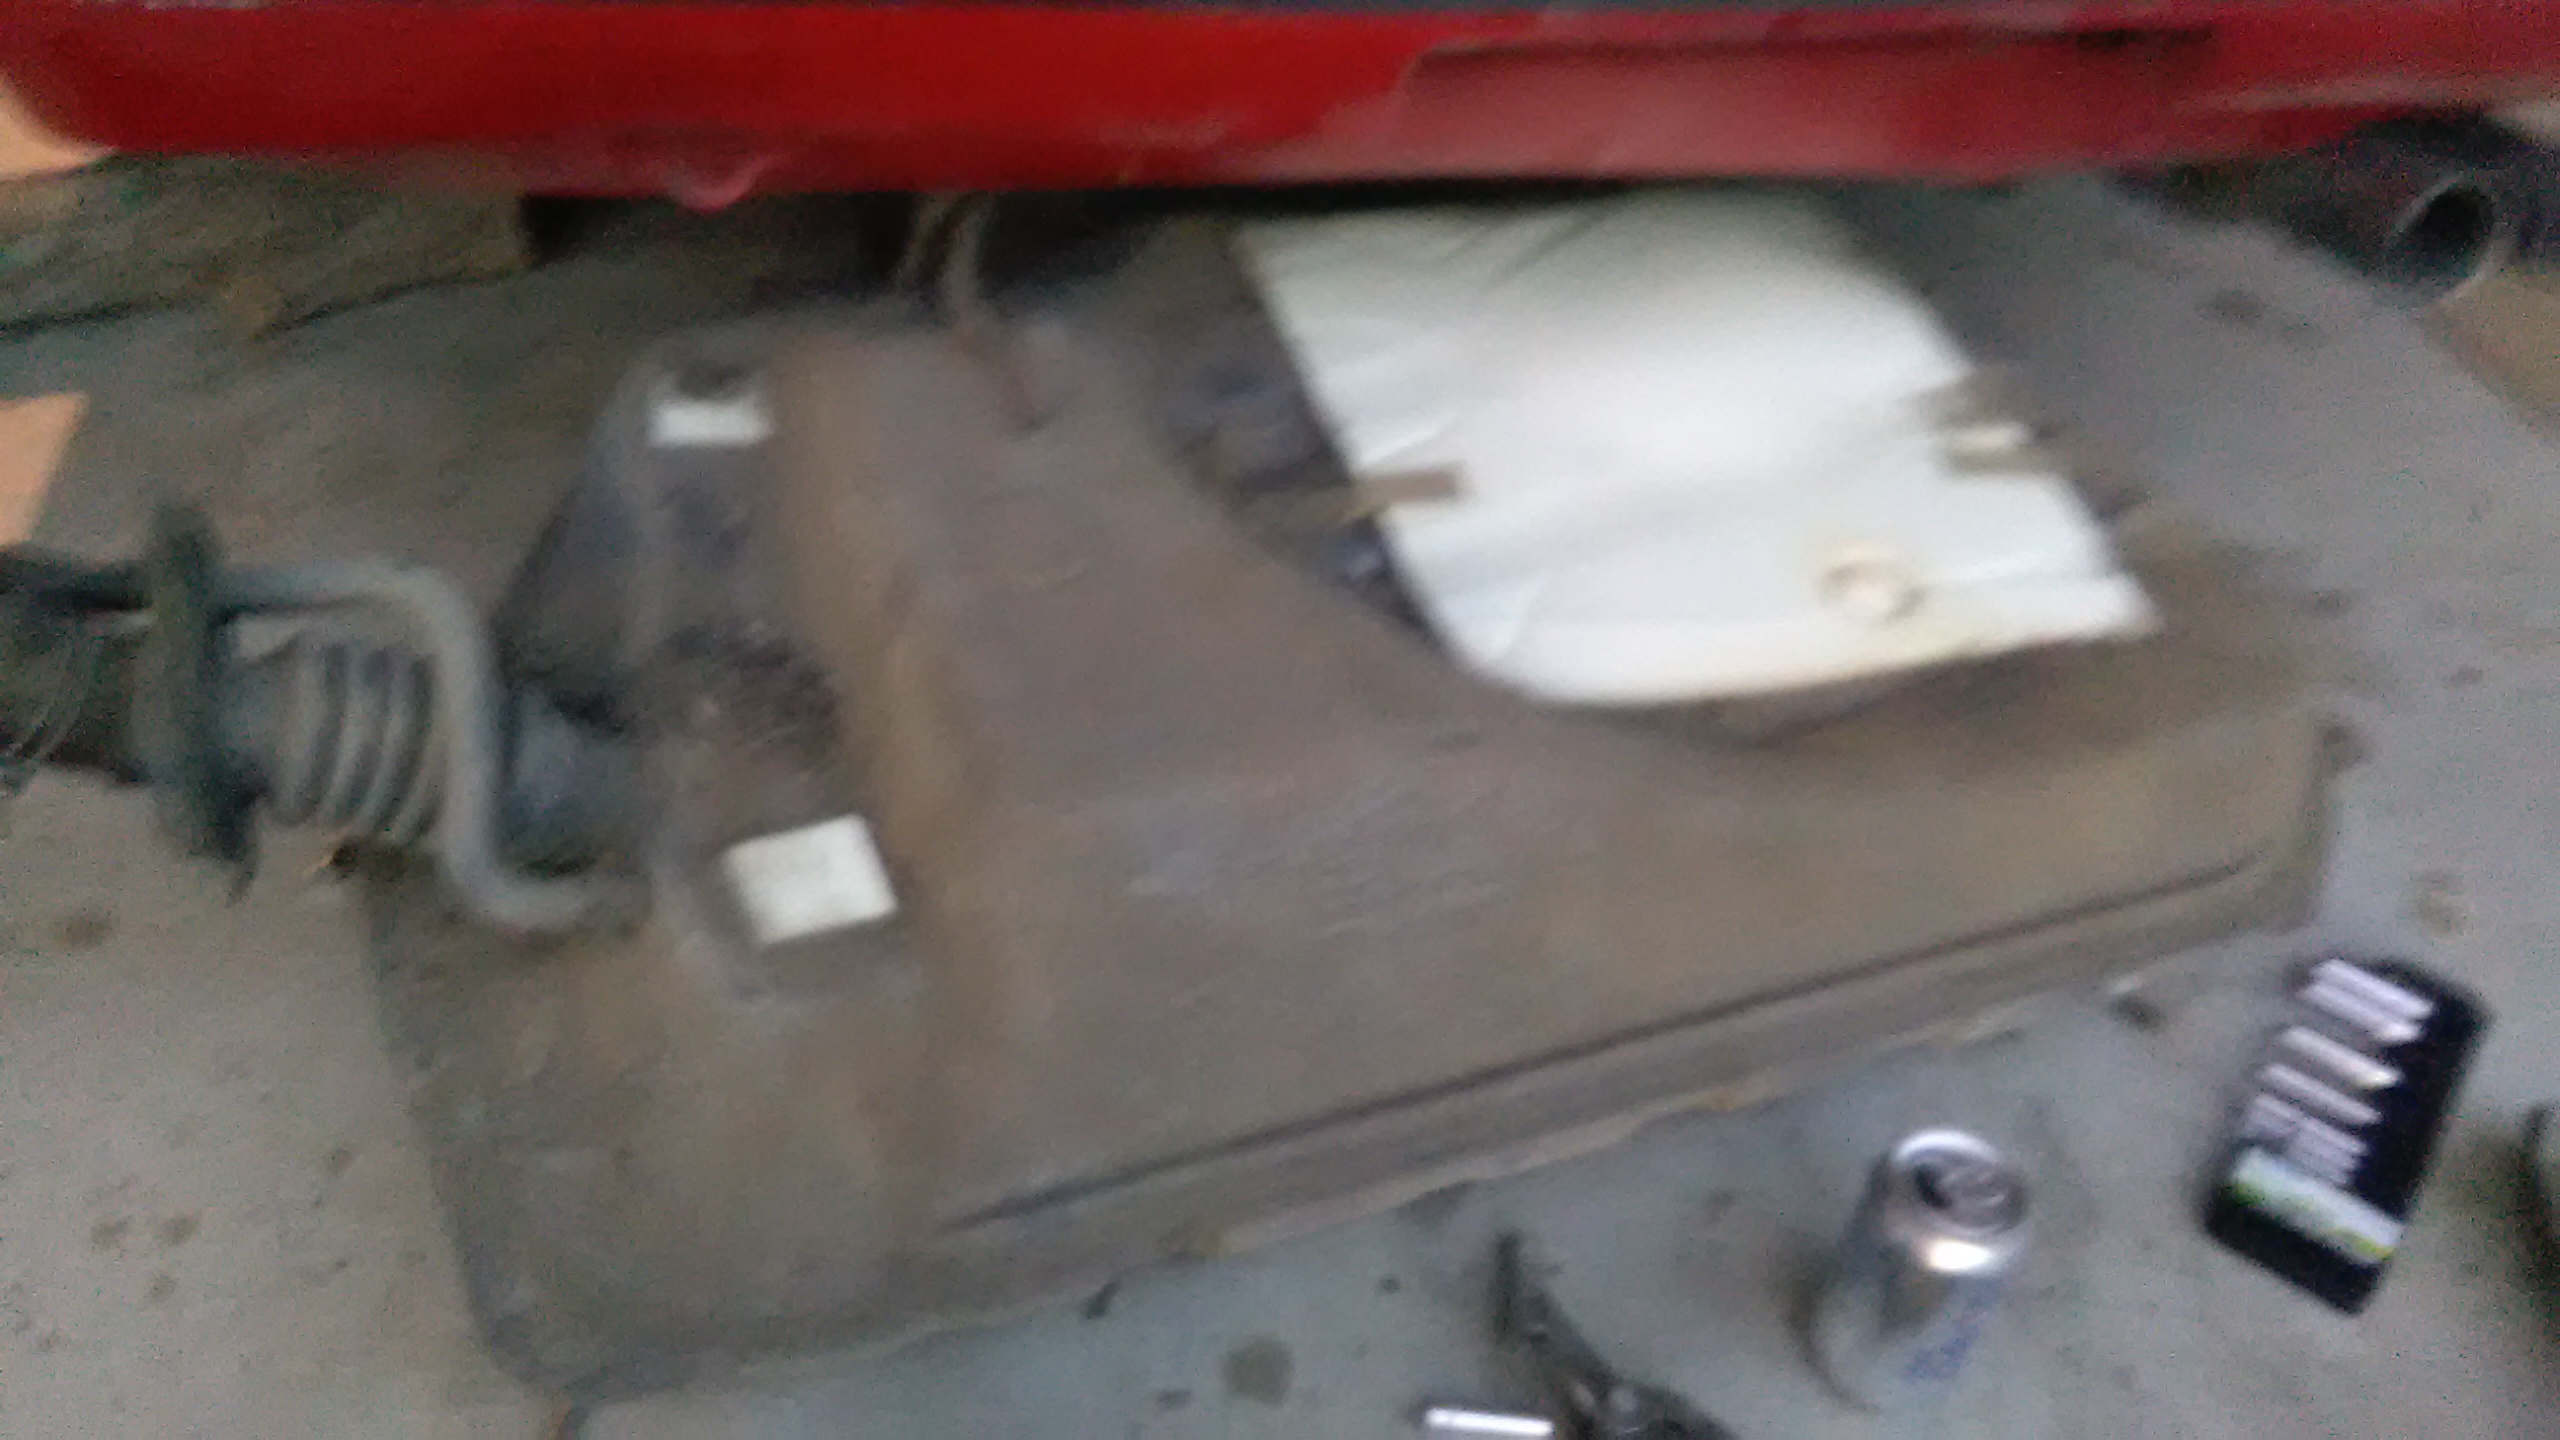
Oh and here's the tank, with it's new paint. having a bit of trouble getting it back in, but the jack is helping a lot. It's almost like the straps shrunk!

Also went ahead and put he smog pump back on, and the stock manifold for now. Will go with a header later.
Is there any real risk of damage running the smog pump directly to the inlet for air on the cat? I'm just hooking it up long enough to pass emissions, then cat is getting replaced by a universal. Smog pump goes away too.
These are the last 2 things before the first start, super excited to be actually starting the car soon.
Oh and here's the tank, with it's new paint. having a bit of trouble getting it back in, but the jack is helping a lot. It's almost like the straps shrunk!
Also went ahead and put he smog pump back on, and the stock manifold for now. Will go with a header later.
Is there any real risk of damage running the smog pump directly to the inlet for air on the cat? I'm just hooking it up long enough to pass emissions, then cat is getting replaced by a universal. Smog pump goes away too.
These are the last 2 things before the first start, super excited to be actually starting the car soon.

Senior Member


Joined: Jul 2007
Posts: 363
Likes: 7
From: Worcester, UK. Ex-NZ
Tank is looking sweet aye! 
Atkins have that little heater core hose. Which means Mazda probably would also 79-85 Rx7 Heater at Firewall to Pipe Hose (8871-61-212)
Atkins have that little heater core hose. Which means Mazda probably would also 79-85 Rx7 Heater at Firewall to Pipe Hose (8871-61-212)
Thread Starter
Full Member
Joined: May 2016
Posts: 226
Likes: 0
From: Denver
Ah! Totally forgot about Atkins, was hoping to find it locally. Well I did find a hose, and with a little modification I made it work:

In case anyone needs a part number so they can get it locally, here ya go:
 inda ugly. I might have to get some other sort of clamps or something.
Got the tank in, coolant system sealed up, and now the last thing on my list is the starter/OMP.
Looking a the wiring diagram, I think the Small Black with yellow stripe wire is for Automatics only, the Blue with White is for the hat start assist. I removed the hot start, hot start thermo sensor, and the electronic choke. So I don't think I need to hook it to anything. Same with the Black and White right? My starter still has the Fusible Link though. Will leave it for now.
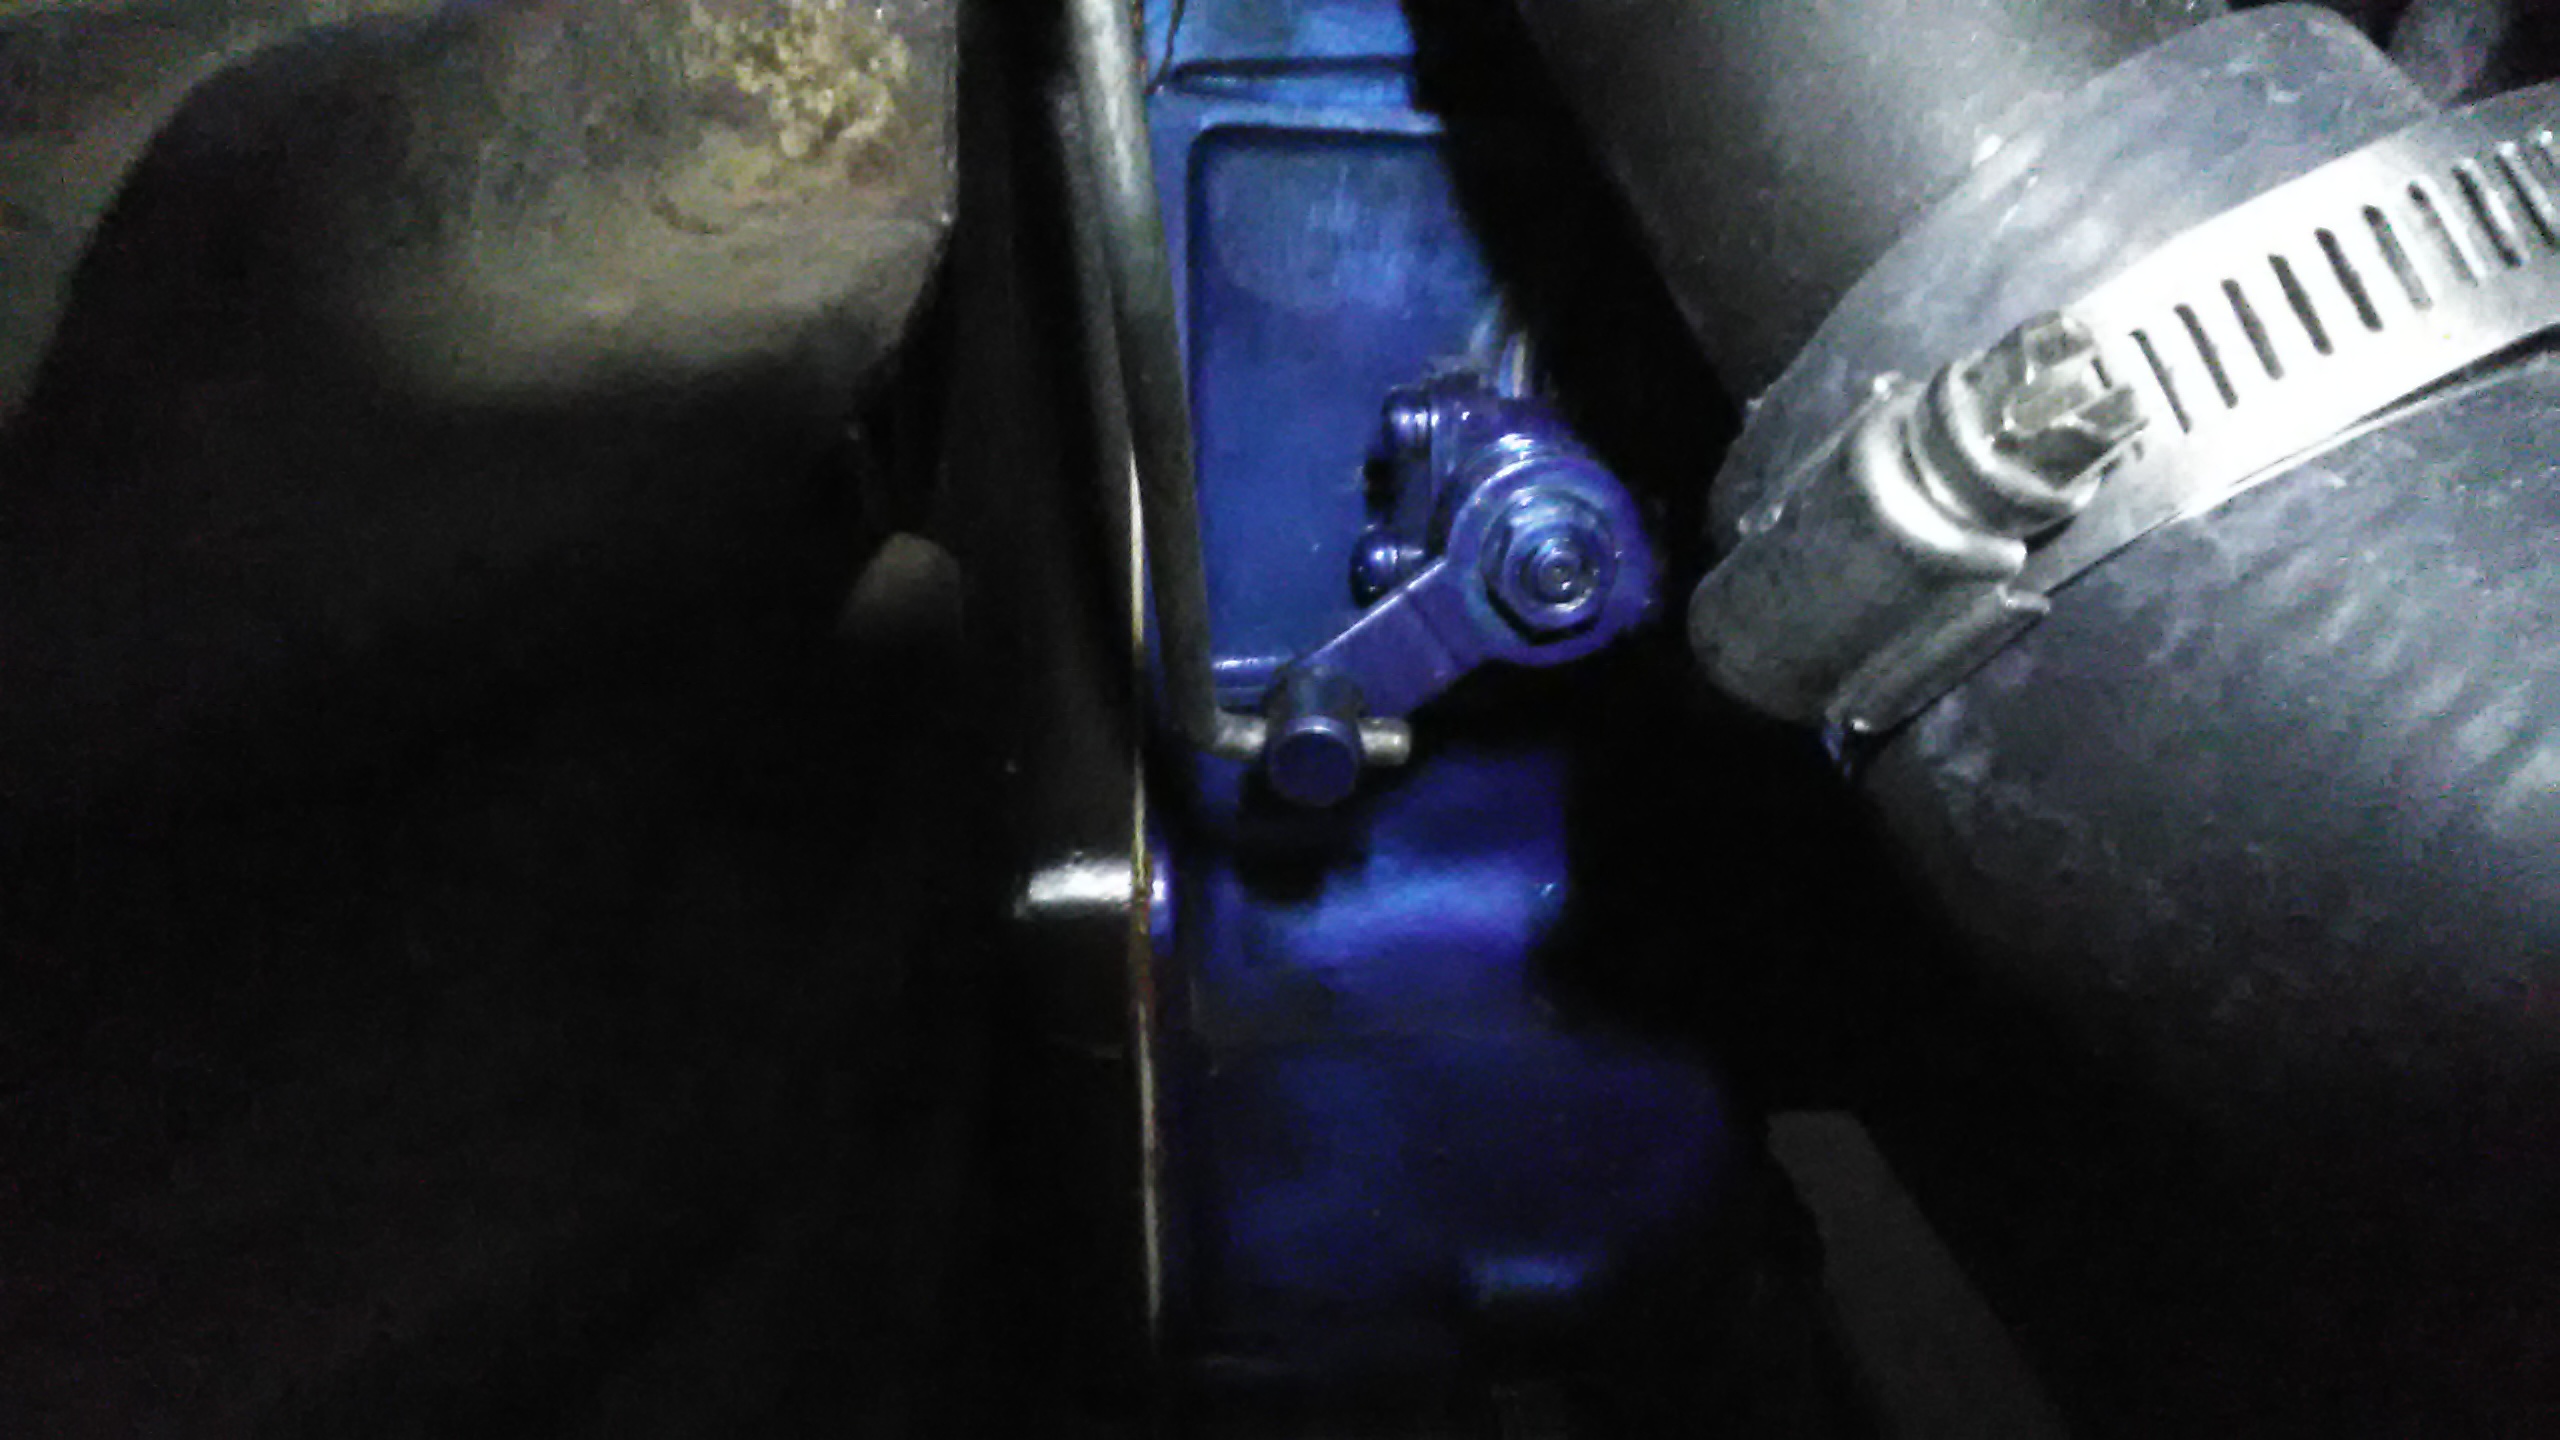
OK one last thing, and I feel kinda stupid, but my OMP rod is hitting the intake manifold.
Why? The manifold I have on the motor, isn't dimensionally any larger than before? the rod is straight too, so I know it's not bent out of shape. Last pic is shown to resolve if I've got the damn thing mounted right way up.

In case anyone needs a part number so they can get it locally, here ya go:
 inda ugly. I might have to get some other sort of clamps or something.
Got the tank in, coolant system sealed up, and now the last thing on my list is the starter/OMP.
Looking a the wiring diagram, I think the Small Black with yellow stripe wire is for Automatics only, the Blue with White is for the hat start assist. I removed the hot start, hot start thermo sensor, and the electronic choke. So I don't think I need to hook it to anything. Same with the Black and White right? My starter still has the Fusible Link though. Will leave it for now.
OK one last thing, and I feel kinda stupid, but my OMP rod is hitting the intake manifold.
Why? The manifold I have on the motor, isn't dimensionally any larger than before? the rod is straight too, so I know it's not bent out of shape.
Last pic is shown to resolve if I've got the damn thing mounted right way up.
Last edited by Repuguy; May 31, 2017 at 09:24 PM. Reason: Attachments didn't load
Thread Starter
Full Member
Joined: May 2016
Posts: 226
Likes: 0
From: Denver
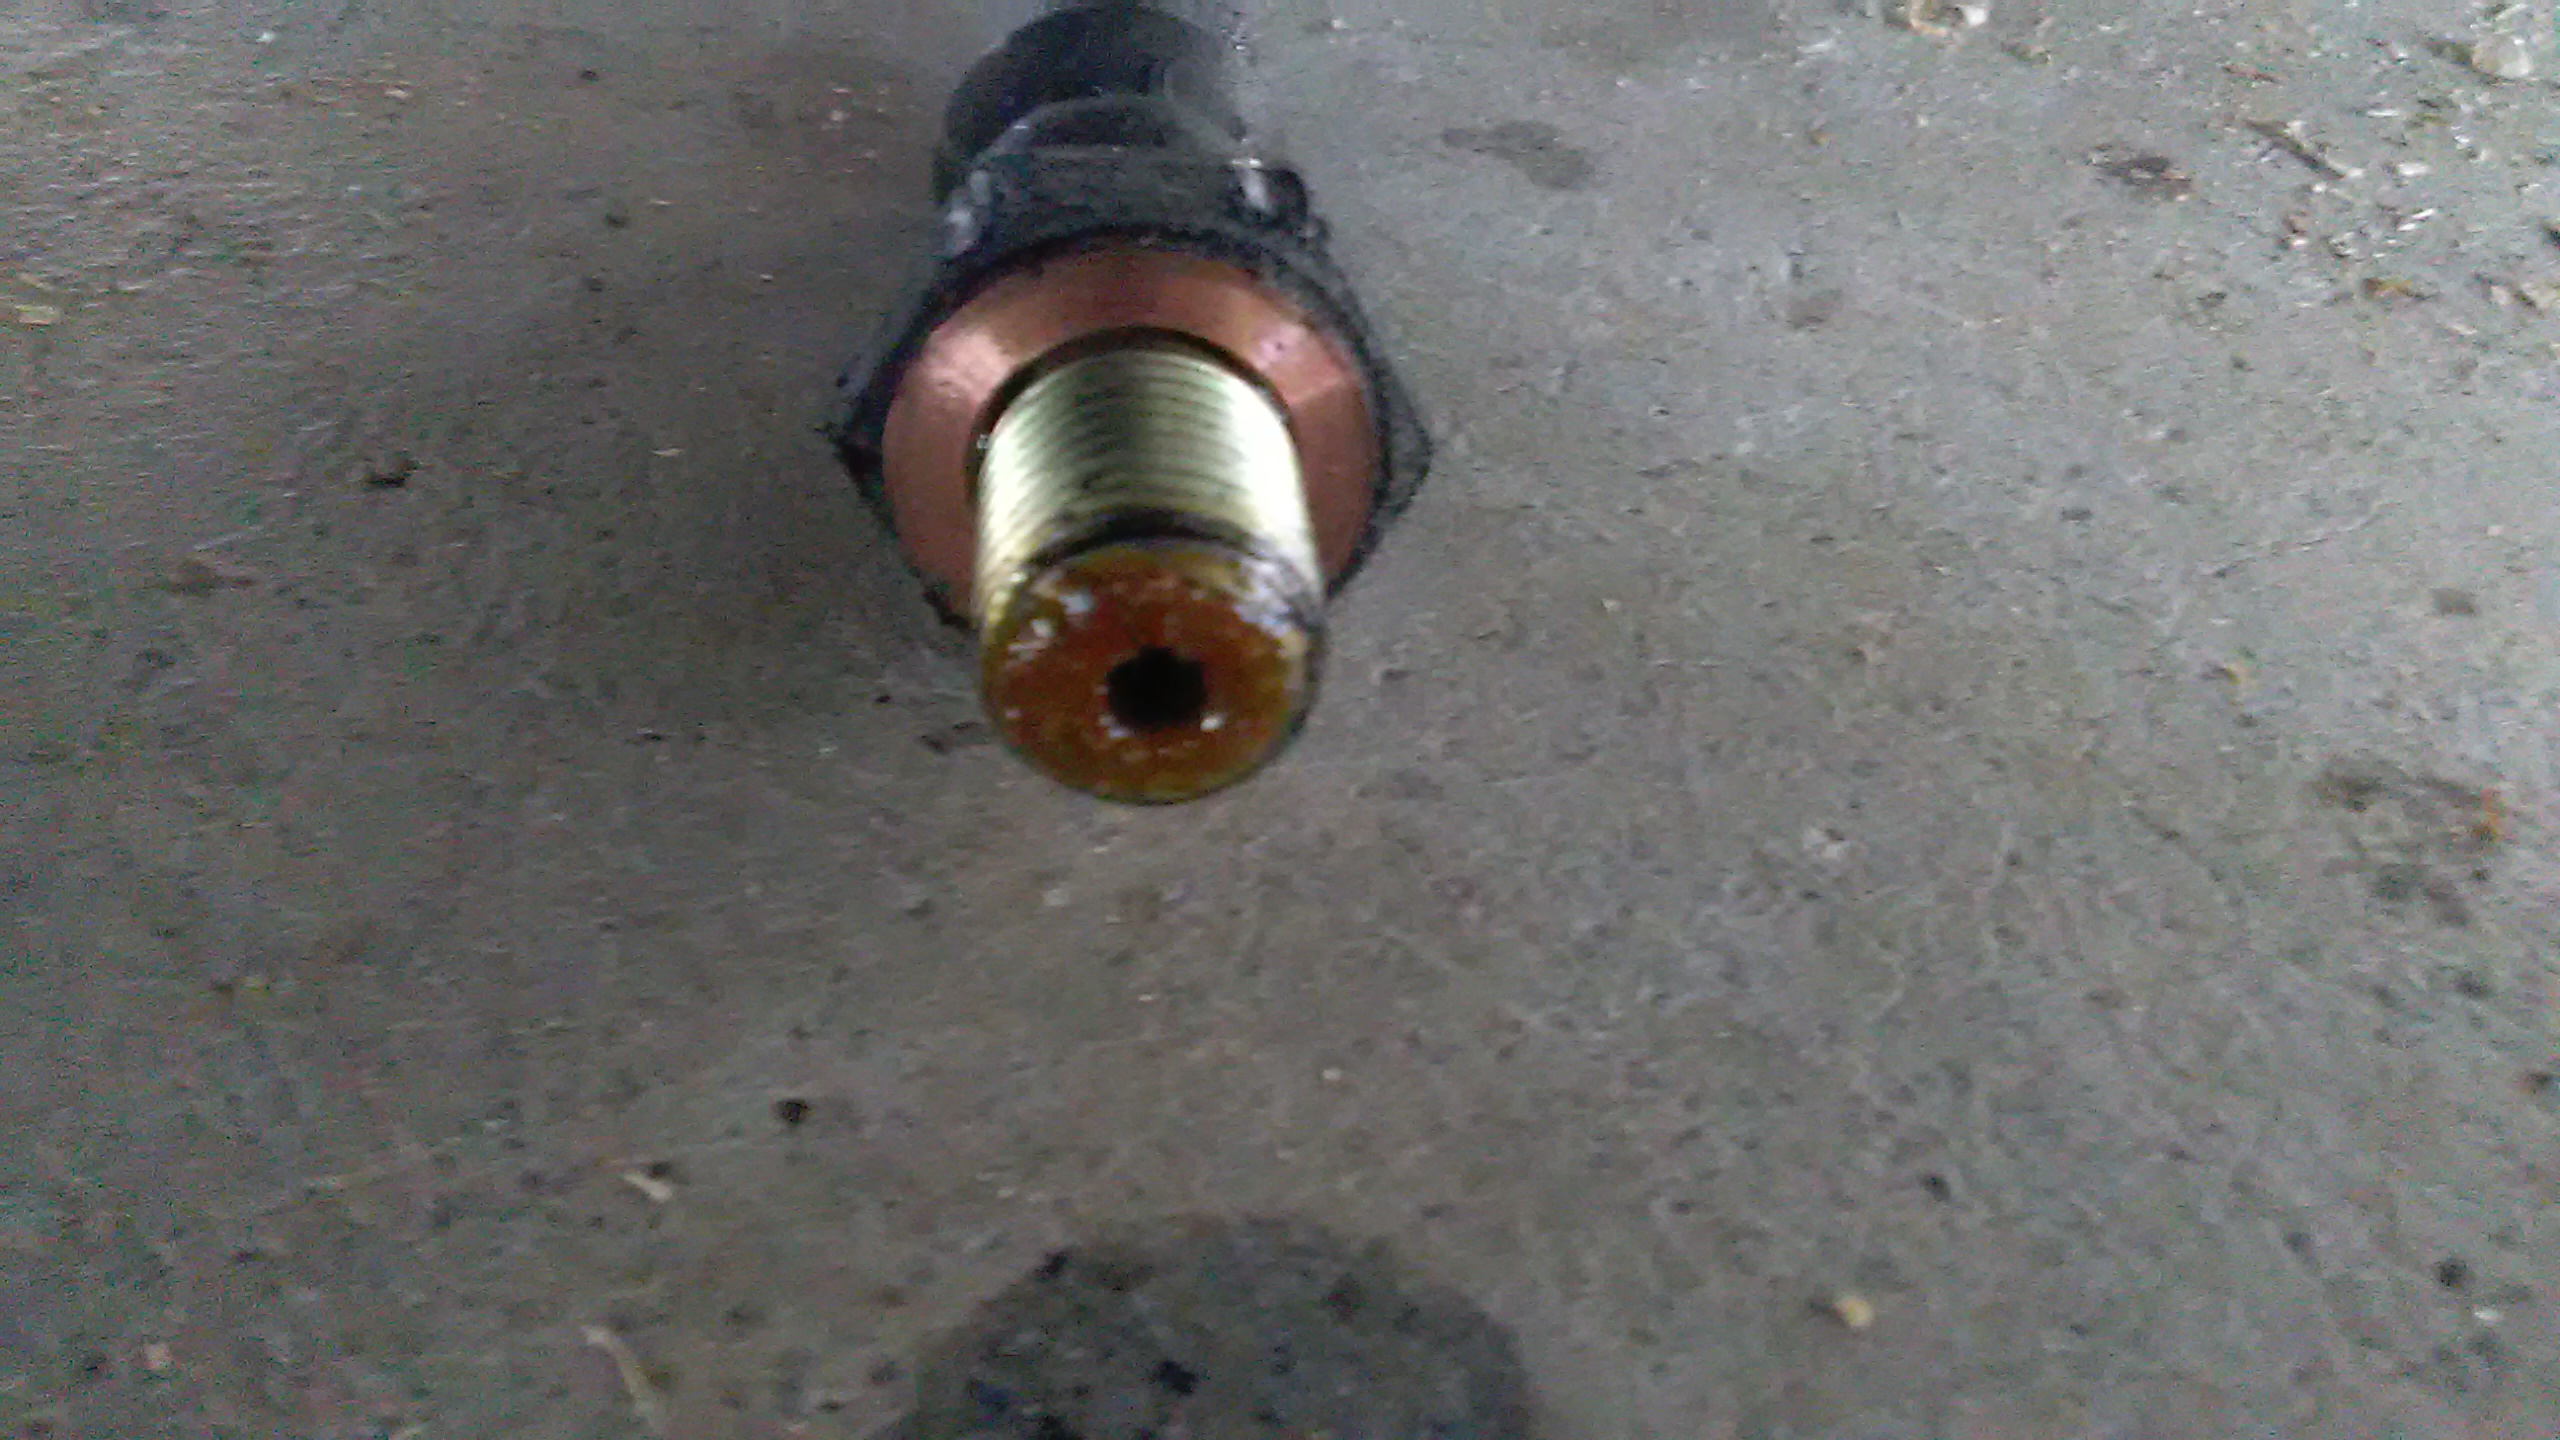
Hey guys, thought I'd update again. I found out my oil pump works great!
Attachment 599492
Any clues how to tighten that 26 mm fitting? Can't really seem to get a wrench in there.Attachment 599493
So I went to see if the motor would turn over, and it did! But I was getting no spark. I checked the coils, and I was getting voltage at the Black with White, and it's hooked to the + on the coils. These are non-stock Accel coils. I pushed the rubber plug boots back and made sure that the metal contacts were making good contact inside the ocil. go to start the car and something goes POP! I've got no fuel pump sound now, and it won't crank!
The fuel pump was working fine before I messed with the high-tension leads on the coils. It was also turning over just fine too! WTF?
If it helps the mystery, the tachometer jumps all around, in the accessory position on the key and the key-buzzer noise is very quiet. Like a loss of voltage maybe?
Can't see the pic, but I'm assuming its an oil cooler line. If its the one originating from the front cover you are gonna have to loosen the motor bracket and liff the engine a hair to get a wrench on it. The other oil cooler line that goes to the back iron is best gotten from the bottom of the car.
Sounds like you popped a fuse bubba.
Is that how the original coils were hooked up? with both wires on one termilal?
Sounds like you popped a fuse bubba.
Is that how the original coils were hooked up? with both wires on one termilal?
Thread Starter
Full Member
Joined: May 2016
Posts: 226
Likes: 0
From: Denver
Hmm sorry about the pic not showing up, but you of course are correct, it's the one at the front cover. I will try the engine lifting trick.
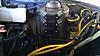
I found out what was causing the odd electrical issues, the housings didn't have any ground! So I made this:
It's stainless steel, and has its own lug on the battery. Electrical problem solved! Now the car turns over and tries to start. I messed around with the front pulley and only really got it to backfire. It's a 12a so I can put the pulley in any of 4 positions. Unfortunately that's as far as I got. I think one of the ignitors is bad! No spark on the trailing coil. But on the upside it's a good excuse to put in the DLIDFI system I've been working on. I knew those old 390 FE spark plug wires would come in handy one day.
That plate is made of aluminum and finned, designed to draw heat away from an old dimmer switch for lights. It's perfect for conducting heat from ignitors. Now I just need to find some thermal grease, none of the shops seem to know what I'm talking about though. Might try a computer parts store.
Also got some more work on the brakes done. Even managed to get the ridiculously over-tightened wheels off, lmao.
I found out what was causing the odd electrical issues, the housings didn't have any ground! So I made this:
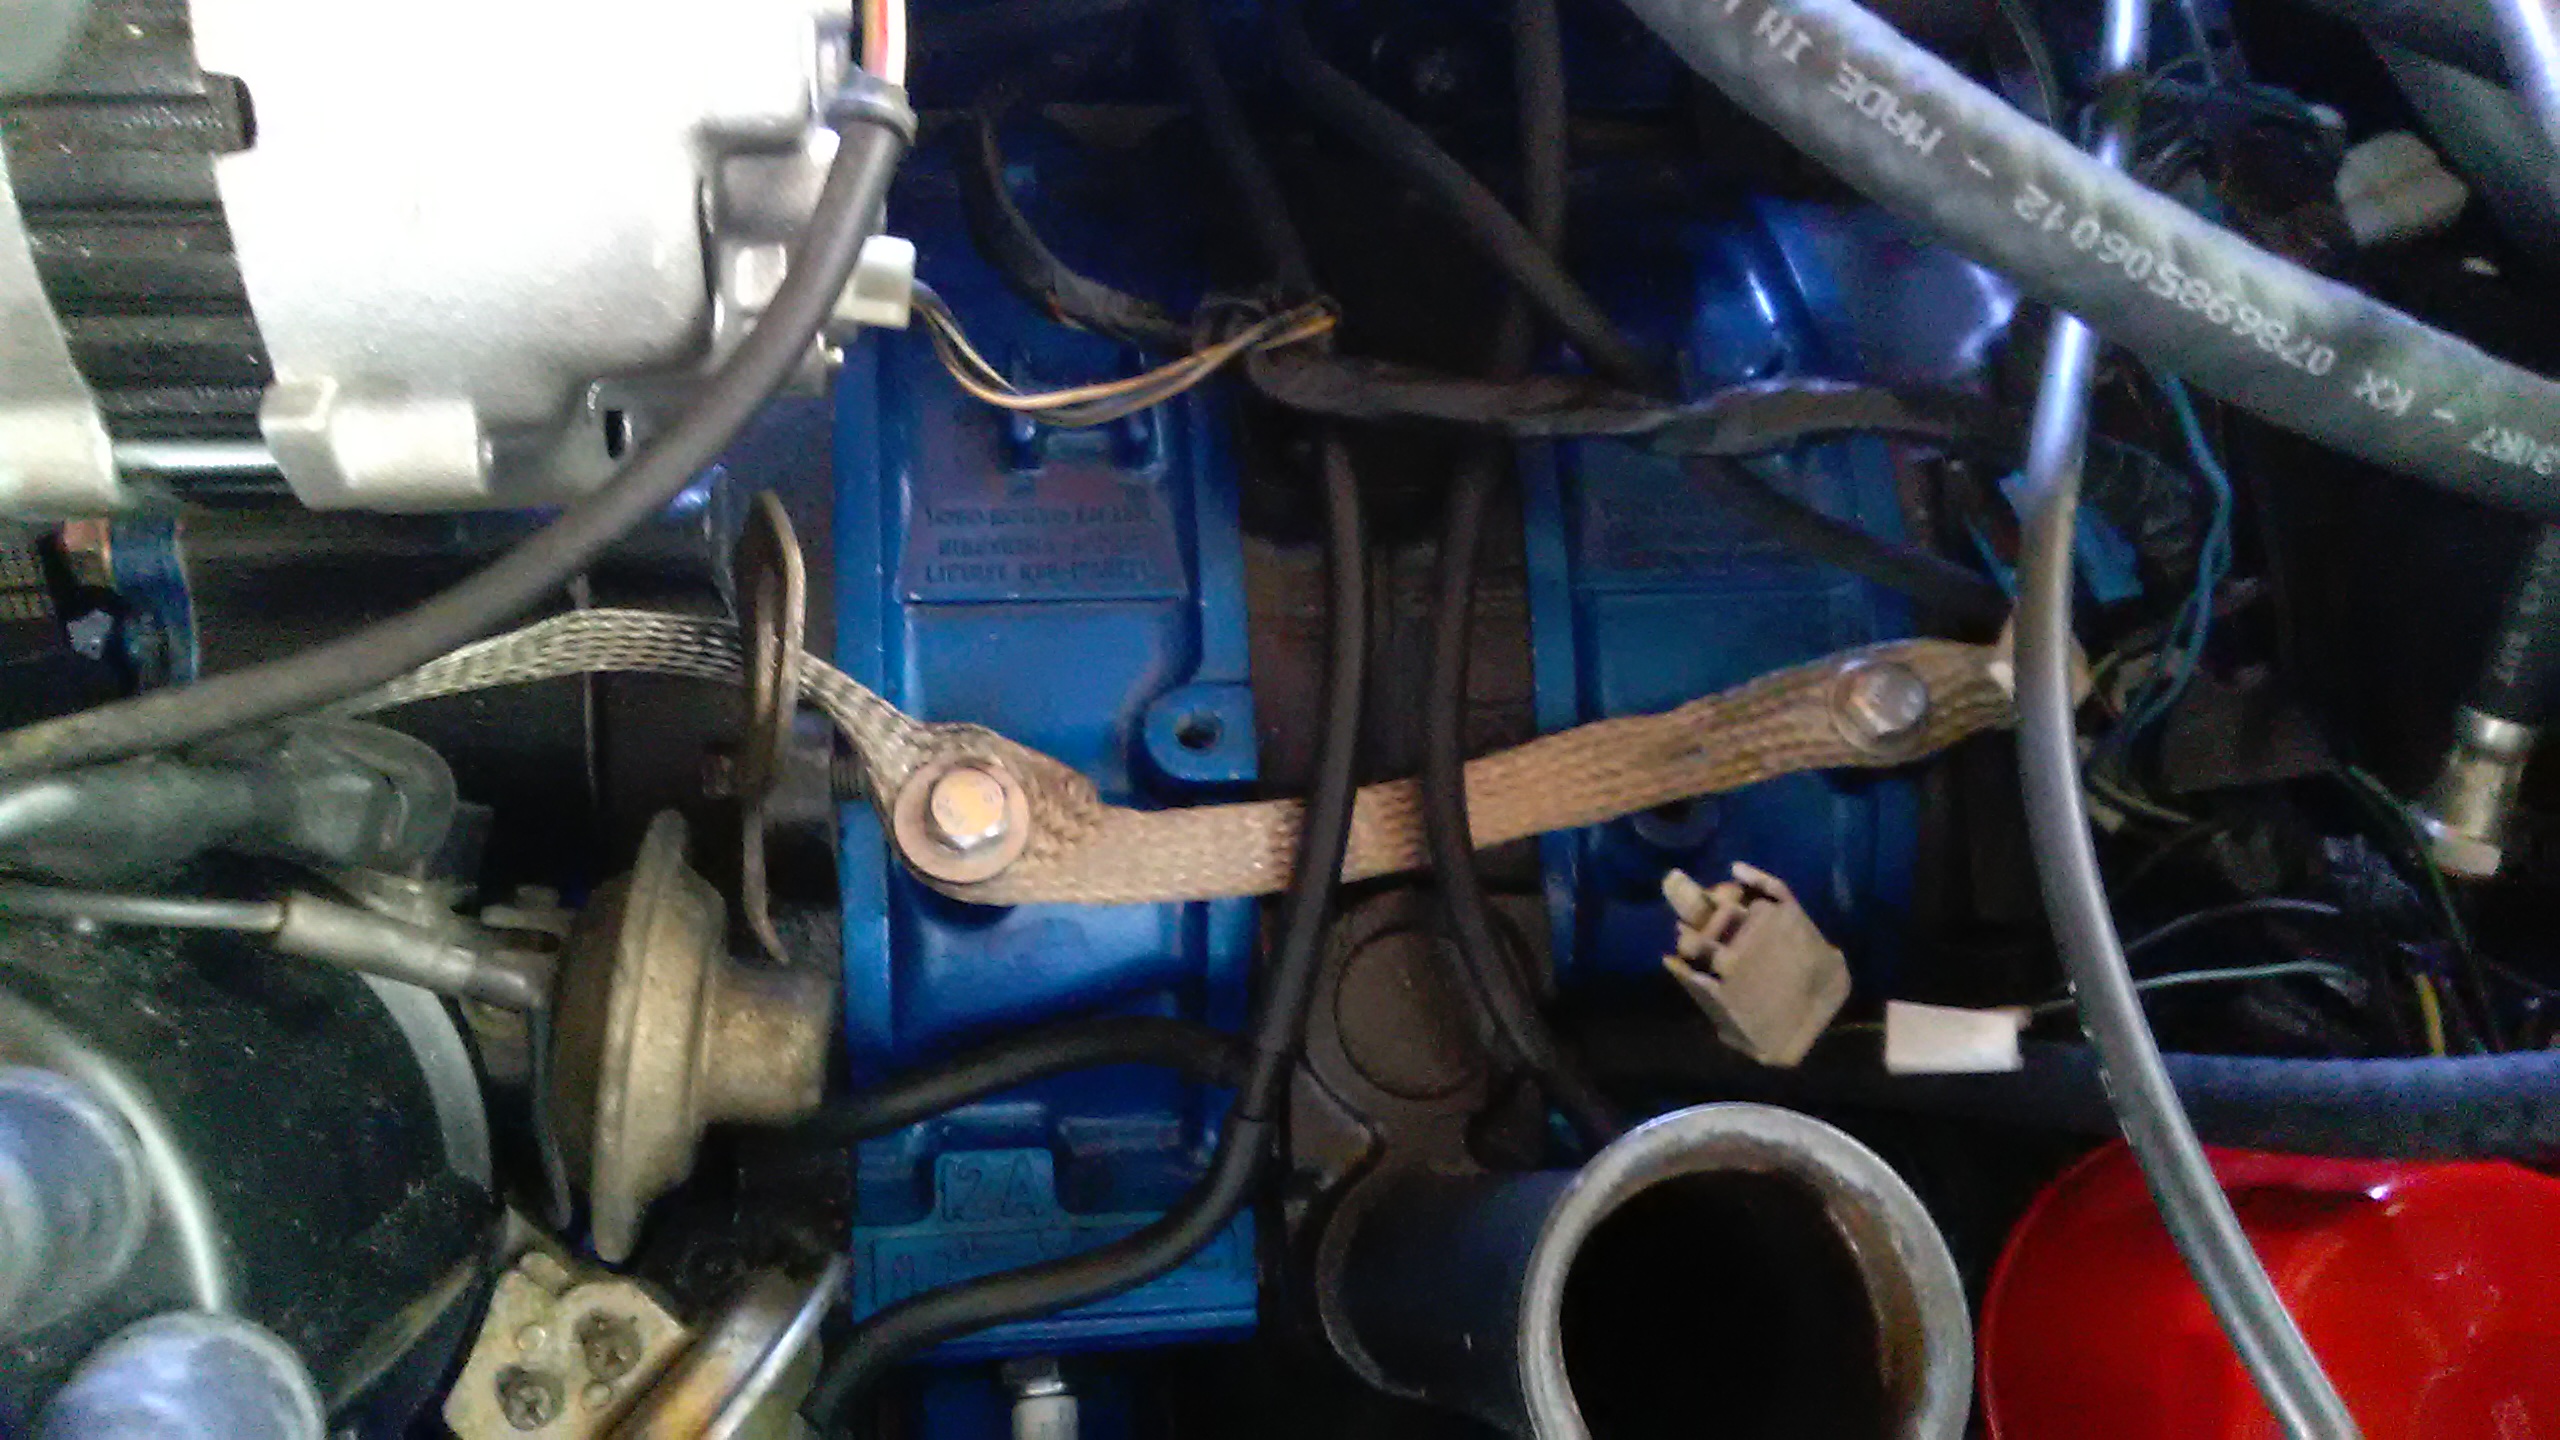
It's stainless steel, and has its own lug on the battery. Electrical problem solved! Now the car turns over and tries to start. I messed around with the front pulley and only really got it to backfire. It's a 12a so I can put the pulley in any of 4 positions. Unfortunately that's as far as I got. I think one of the ignitors is bad! No spark on the trailing coil. But on the upside it's a good excuse to put in the DLIDFI system I've been working on. I knew those old 390 FE spark plug wires would come in handy one day.

That plate is made of aluminum and finned, designed to draw heat away from an old dimmer switch for lights. It's perfect for conducting heat from ignitors. Now I just need to find some thermal grease, none of the shops seem to know what I'm talking about though. Might try a computer parts store.
Also got some more work on the brakes done. Even managed to get the ridiculously over-tightened wheels off, lmao.
Just loosen the four bolts that hold the engine to the bracket. The engine can slide up and down and you won't have to wrestle with the two motor mounts and lining that thing back up.
Are you going to use the GM ignitors?
Are you going to use the GM ignitors?
Thread Starter
Full Member
Joined: May 2016
Posts: 226
Likes: 0
From: Denver
Hmm, that's a good idea...didn't think of loosening the 4 on the front.
Yeah they're GM ignitors. Need some J109's? Turns out both are good, one was just not hookedup right...oops. Oh well, DLIDFI better anyway. 3rd ignitor is for the trailing.
I Know some guys use the black with white stripe as their switched hot, but I've got 2? Should I remove one from harness?
Yeah they're GM ignitors. Need some J109's?
Turns out both are good, one was just not hookedup right...oops. Oh well, DLIDFI better anyway. 3rd ignitor is for the trailing.I Know some guys use the black with white stripe as their switched hot, but I've got 2? Should I remove one from harness?
Oh, I see the pic now. That's pretty much where I put mine, but I hid them on the back side of the plate and bolted a spare duel coil holder on the front.
I used the J109 for the trailing setup. It works so I didn't mess with it.
Did you put some jelly on the back side of the ignitors? They get hot and that's how they sink heat. Solid grounding makes them run cooler too.
I used the J109 for the trailing setup. It works so I didn't mess with it.
Did you put some jelly on the back side of the ignitors? They get hot and that's how they sink heat. Solid grounding makes them run cooler too.
Thread Starter
Full Member
Joined: May 2016
Posts: 226
Likes: 0
From: Denver
Hmm, I kinda like the hidden idea, but oh well, I'm not moving mine now! Yeah I used the heat sink grease. But need more. I got screws as close as I could to the id of the ignitors, so grounds should be ok.
Regarding the trailings, I figured why not? I don't want to have to rely on 35 year old electronics if I can help it.
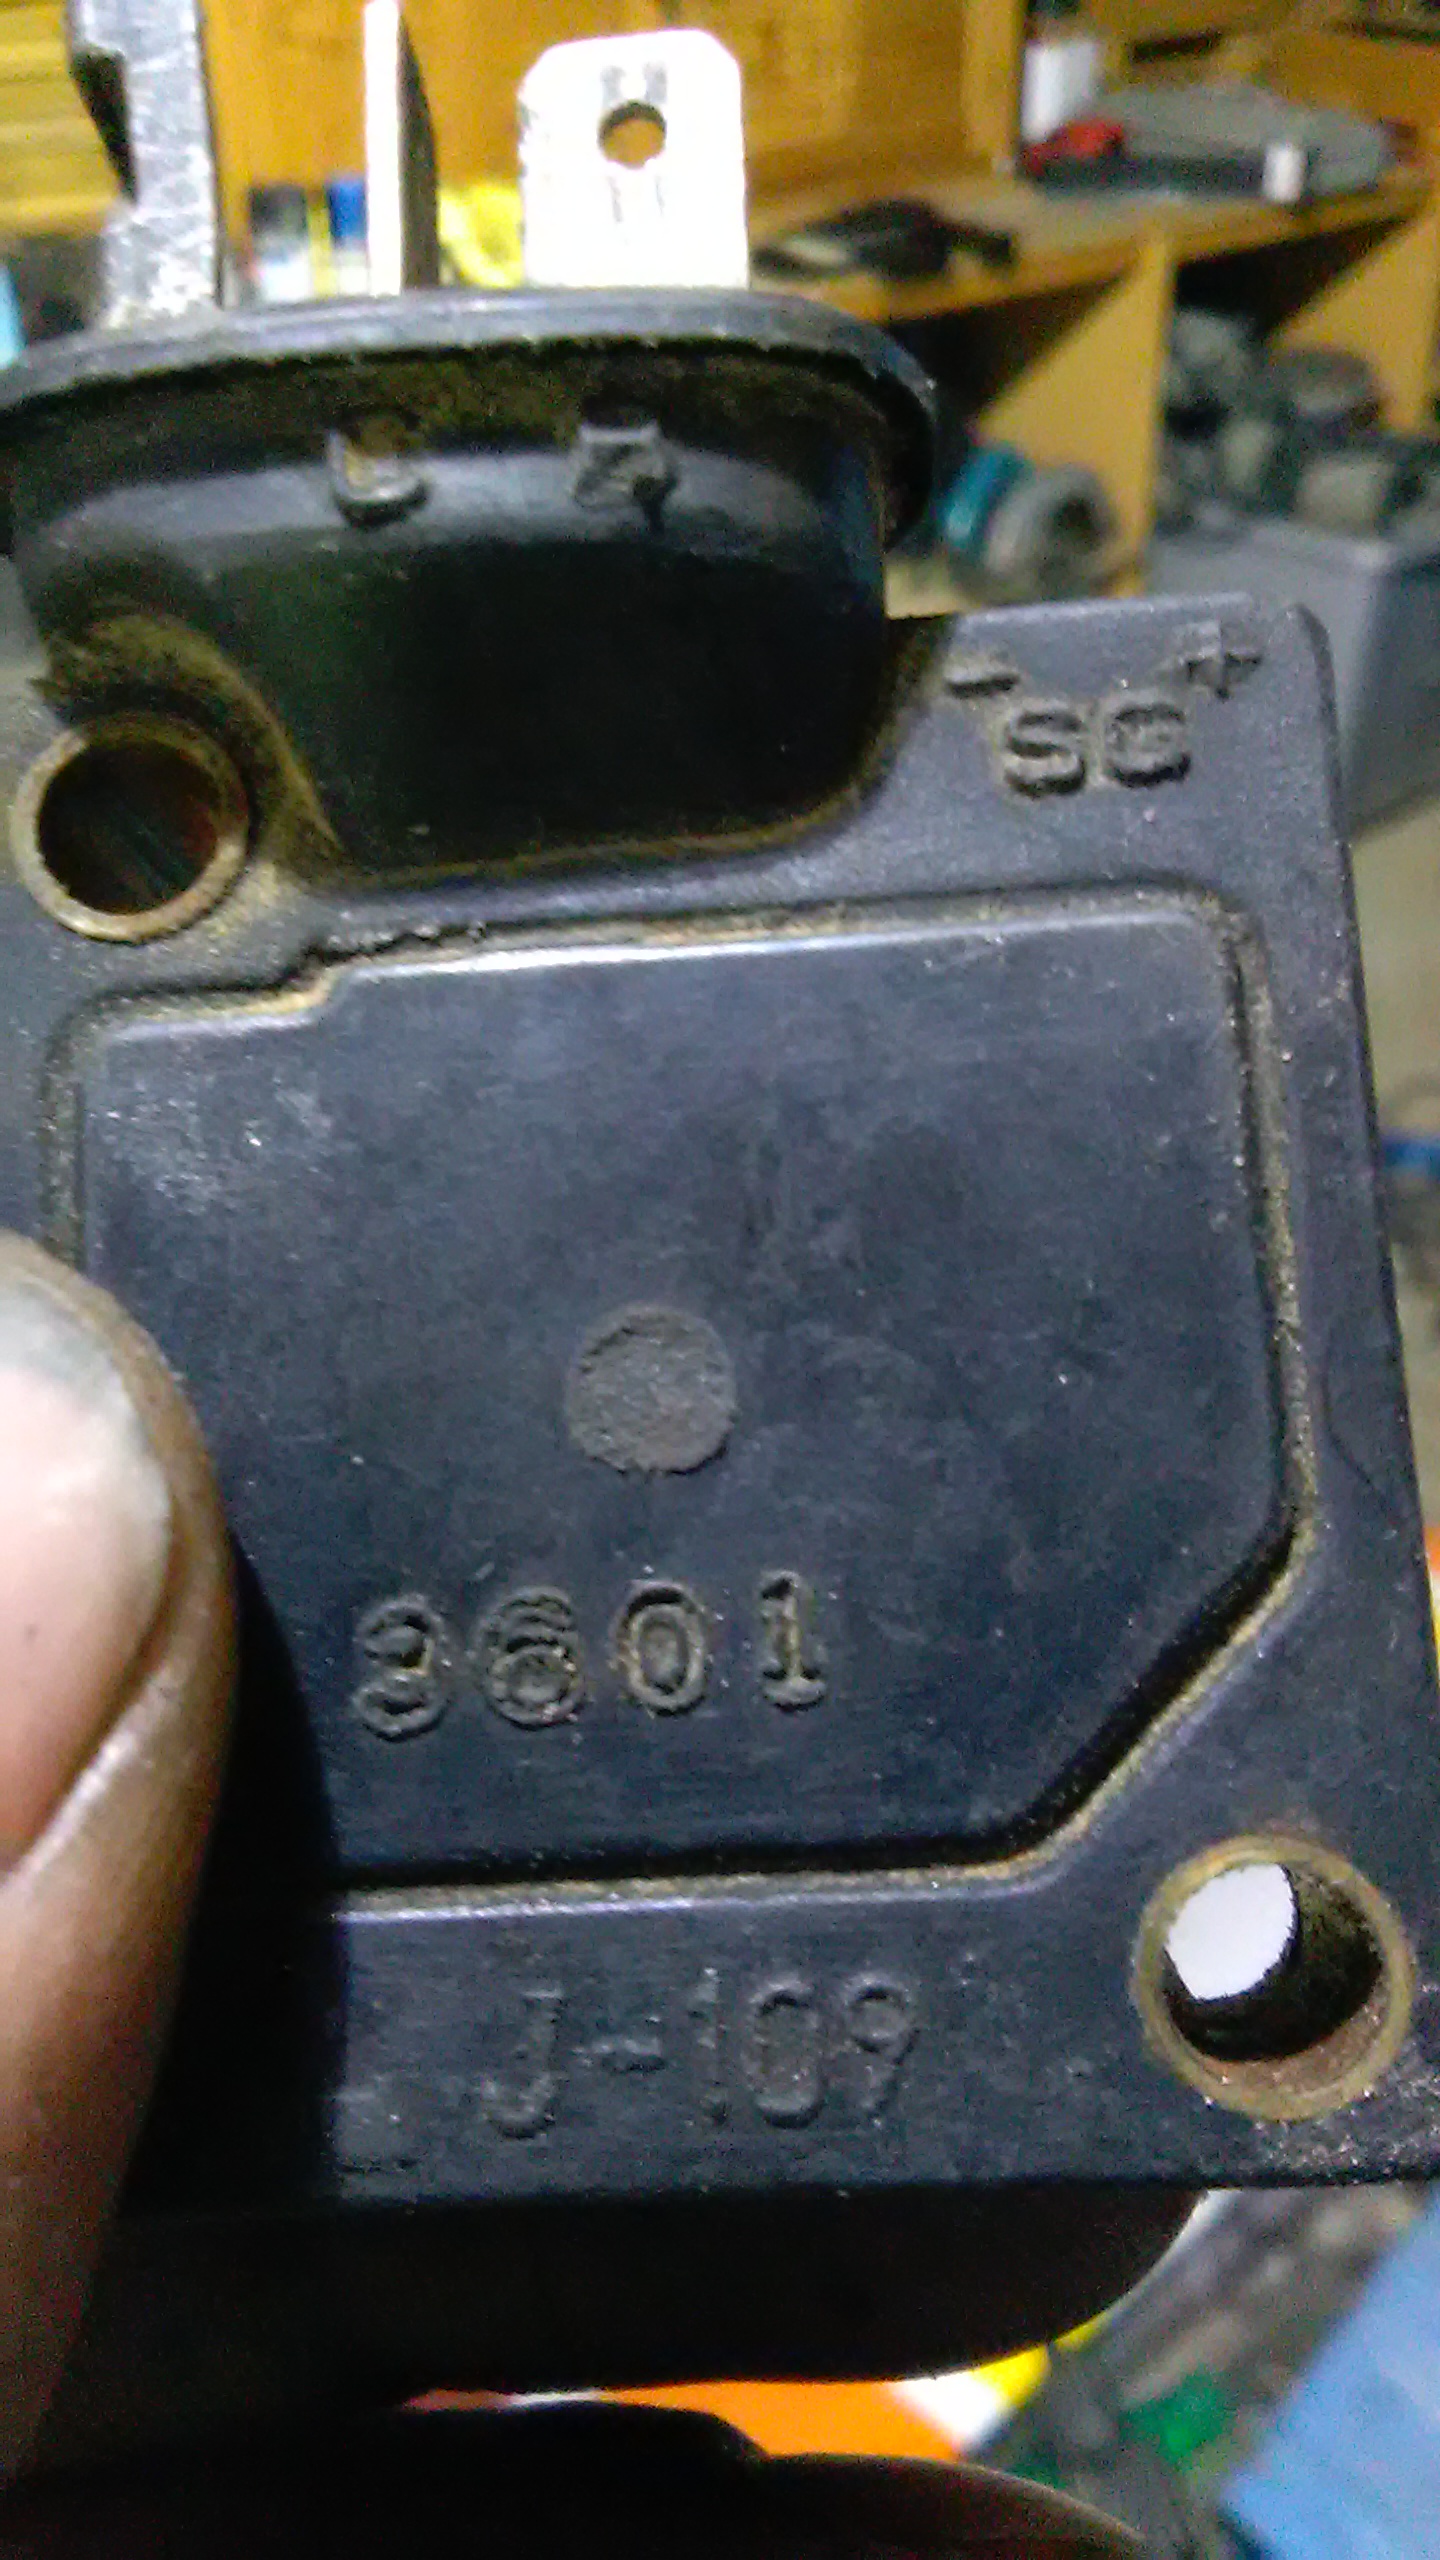
So I was on the very last brake line I need to replace when this happened:
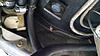
Yep, the male threaded part broke clean off. Pro tip, don't use air tools on brake lines.
Here's a look at the inside of the brake line, probably why they were so damn had to get off:
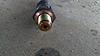
I guess I'll have to cut the line back, get a new fitting, a new female to female union, and then another male...ugh.
I found out that the switched hot (Black with White stripe)is spliced about 2 feet back. So this will be easy to use on the relay. Also I assume the yellow with Green stripe will need to be retained to get a tach reading? When I get this setup, I'll post some pics and an explanation so that others can use the info.
Regarding the trailings, I figured why not? I don't want to have to rely on 35 year old electronics if I can help it.
So I was on the very last brake line I need to replace when this happened:
Yep, the male threaded part broke clean off. Pro tip, don't use air tools on brake lines.
Here's a look at the inside of the brake line, probably why they were so damn had to get off:
I guess I'll have to cut the line back, get a new fitting, a new female to female union, and then another male...ugh.
I found out that the switched hot (Black with White stripe)is spliced about 2 feet back. So this will be easy to use on the relay. Also I assume the yellow with Green stripe will need to be retained to get a tach reading? When I get this setup, I'll post some pics and an explanation so that others can use the info.
Thread Starter
Full Member
Joined: May 2016
Posts: 226
Likes: 0
From: Denver
Over the last 2 days I've finished my DLIDFI system. I based it on this design here:https://www.rx7club.com/1st-gen-arch...iagram-487961/
All credit goes to vipernicus42 for the design.
So why do this? I dont want to rely on 30+ year old electronics iff I can help it, and I now have a very easily replaceable GM part and some crimps, and easily sourced coils.
Stuff I had to figure out that's not easy to figure out: The polarity
of the pickups matters! here's a guide right on the old J109's: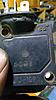
How to wire the GM ignitors: The W is the negative and teh G positive from the reluctor. the B is positive side of the coil, and C is the negative side of the coil. Most coils are labeled.
The relay is a 4-pin and set up like this: 30 is the fused feed from battery. 86 is the switched hot, in my case I used the big black wire with white stripe that normally runs to the coil hots in the stock system. 85 is simply a ground. and 86 is the feed to the coils. Tie all the coil hots together.
Lastly, not all the guides show it but having a 30 amp fuse, before the relay, is important!
That's it for stuff that I couldn't find in the other excellent writeups.
Basically you cut the little male spades in half, file em down smooth, and plug them into the old j109 ports in the pickups.

Then you twist the pairs together, to minimize cross-talk.
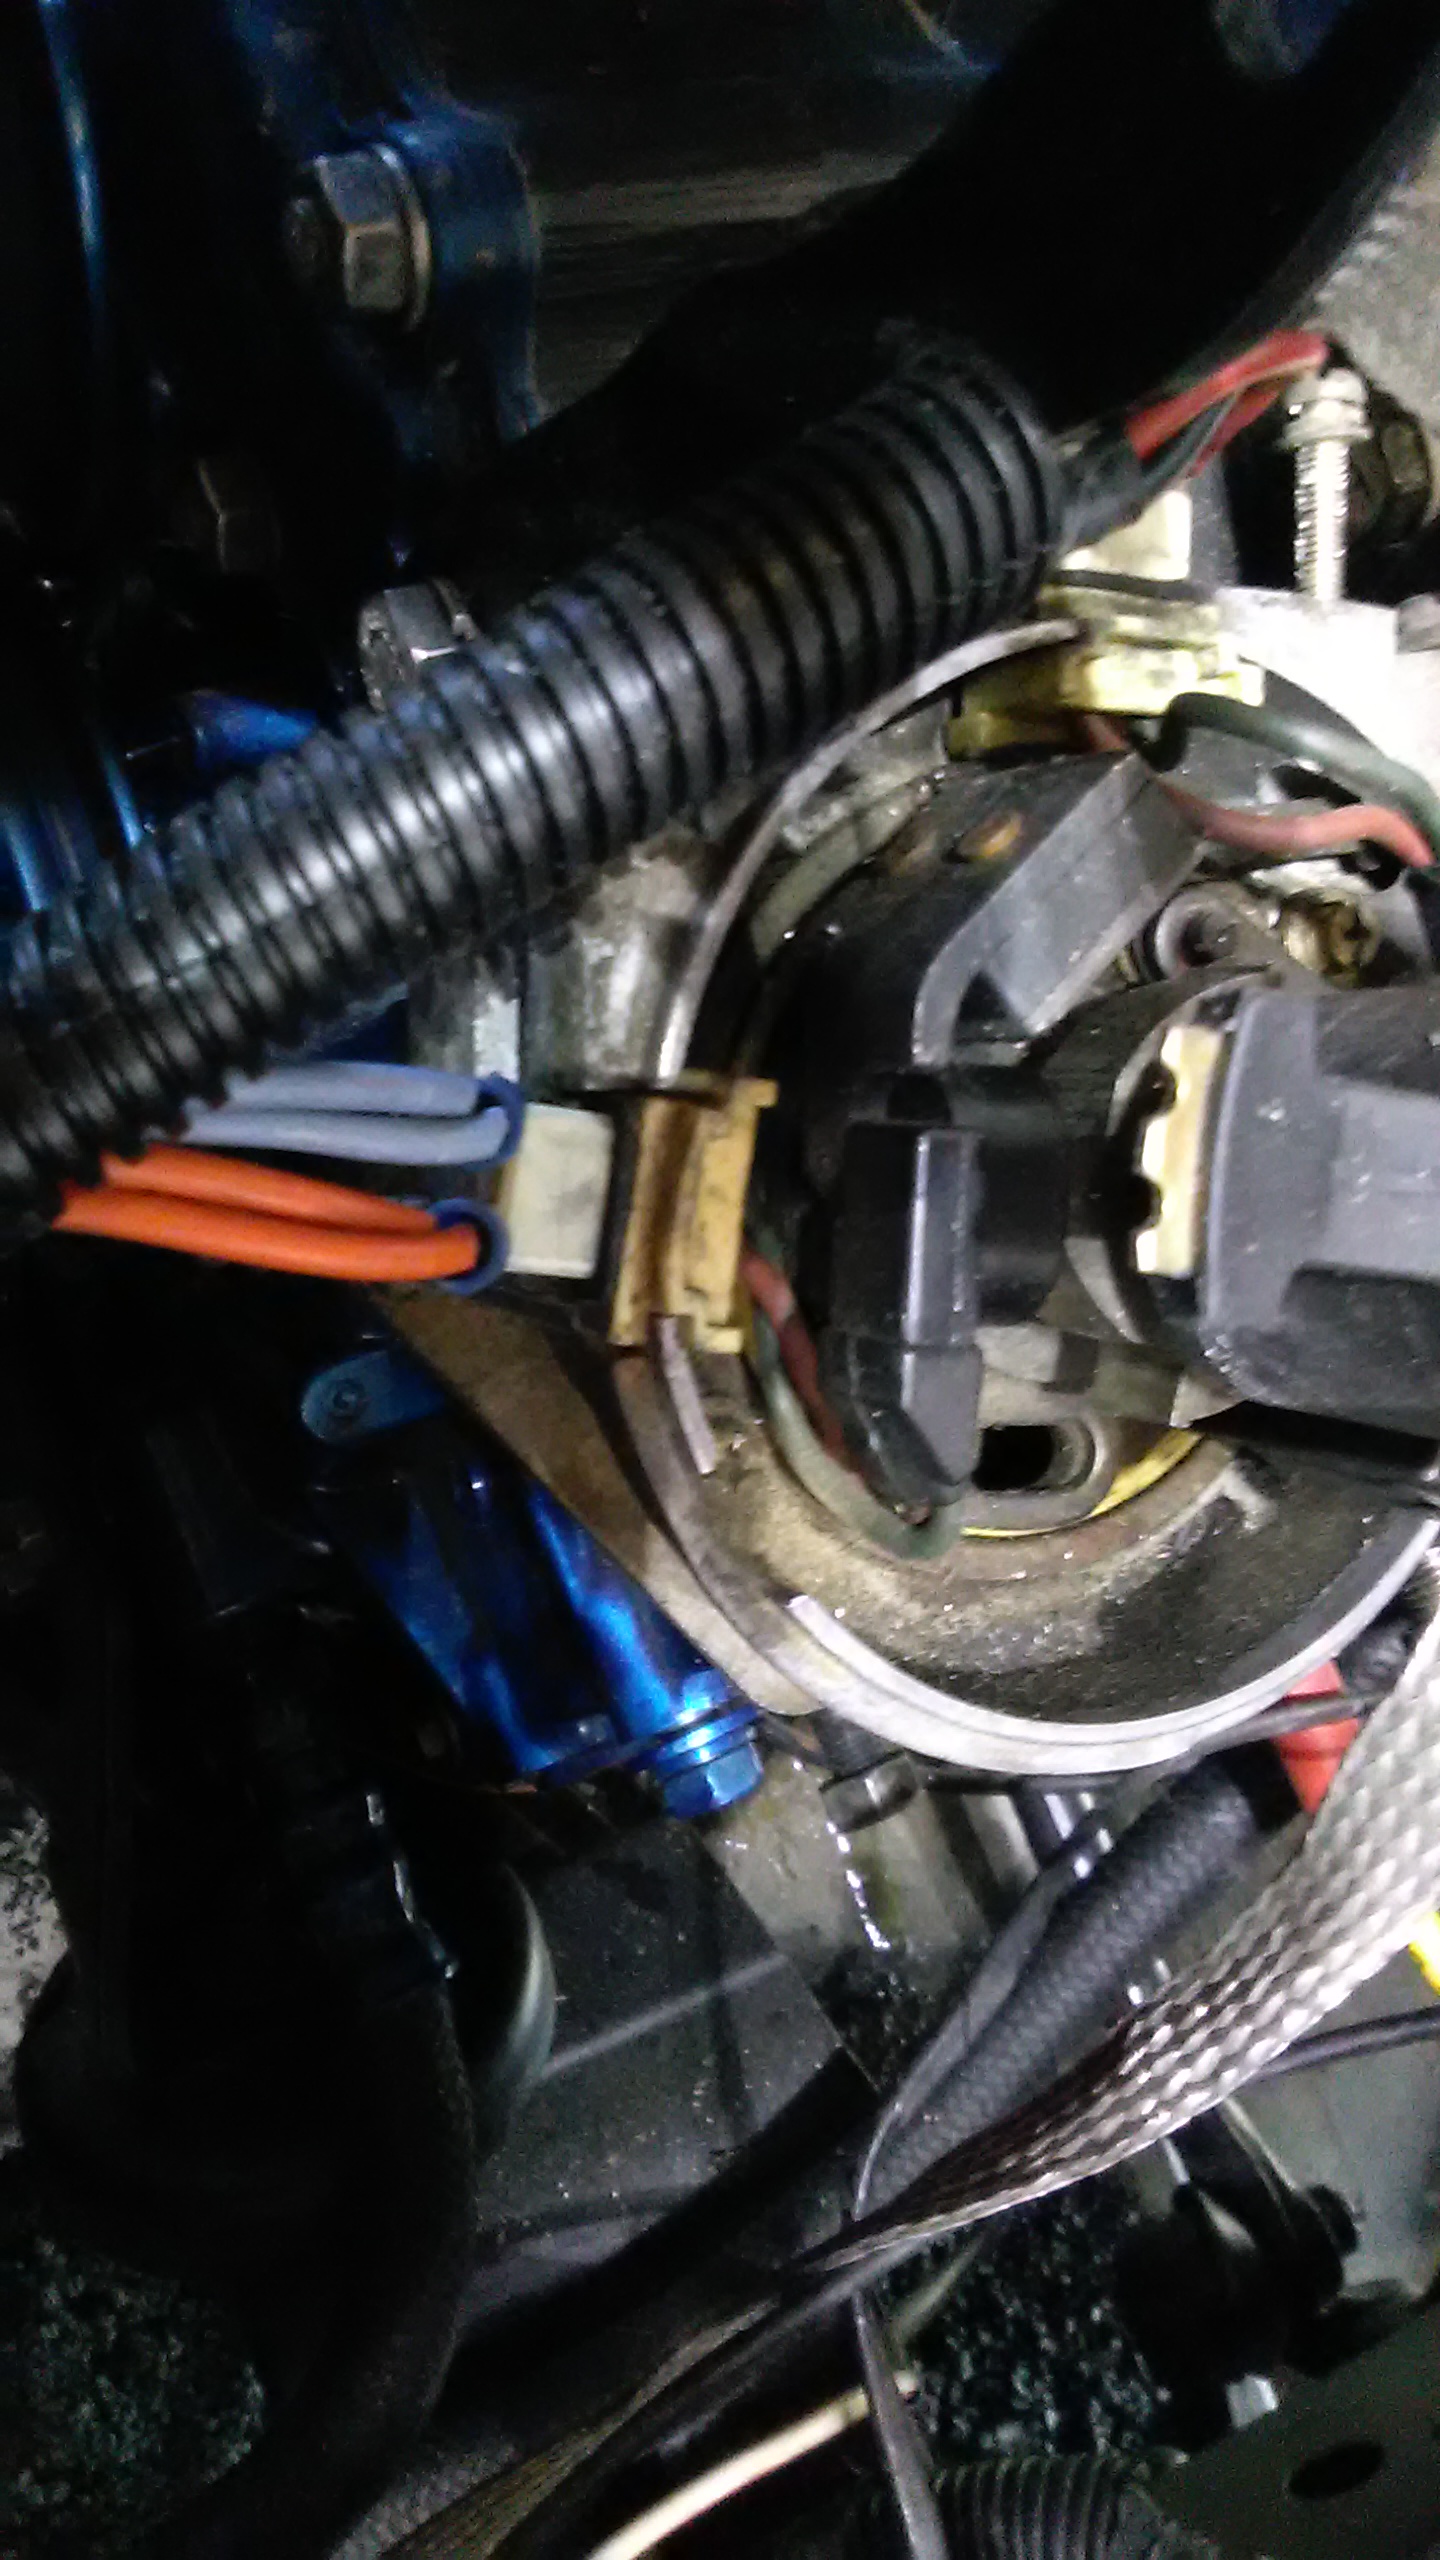
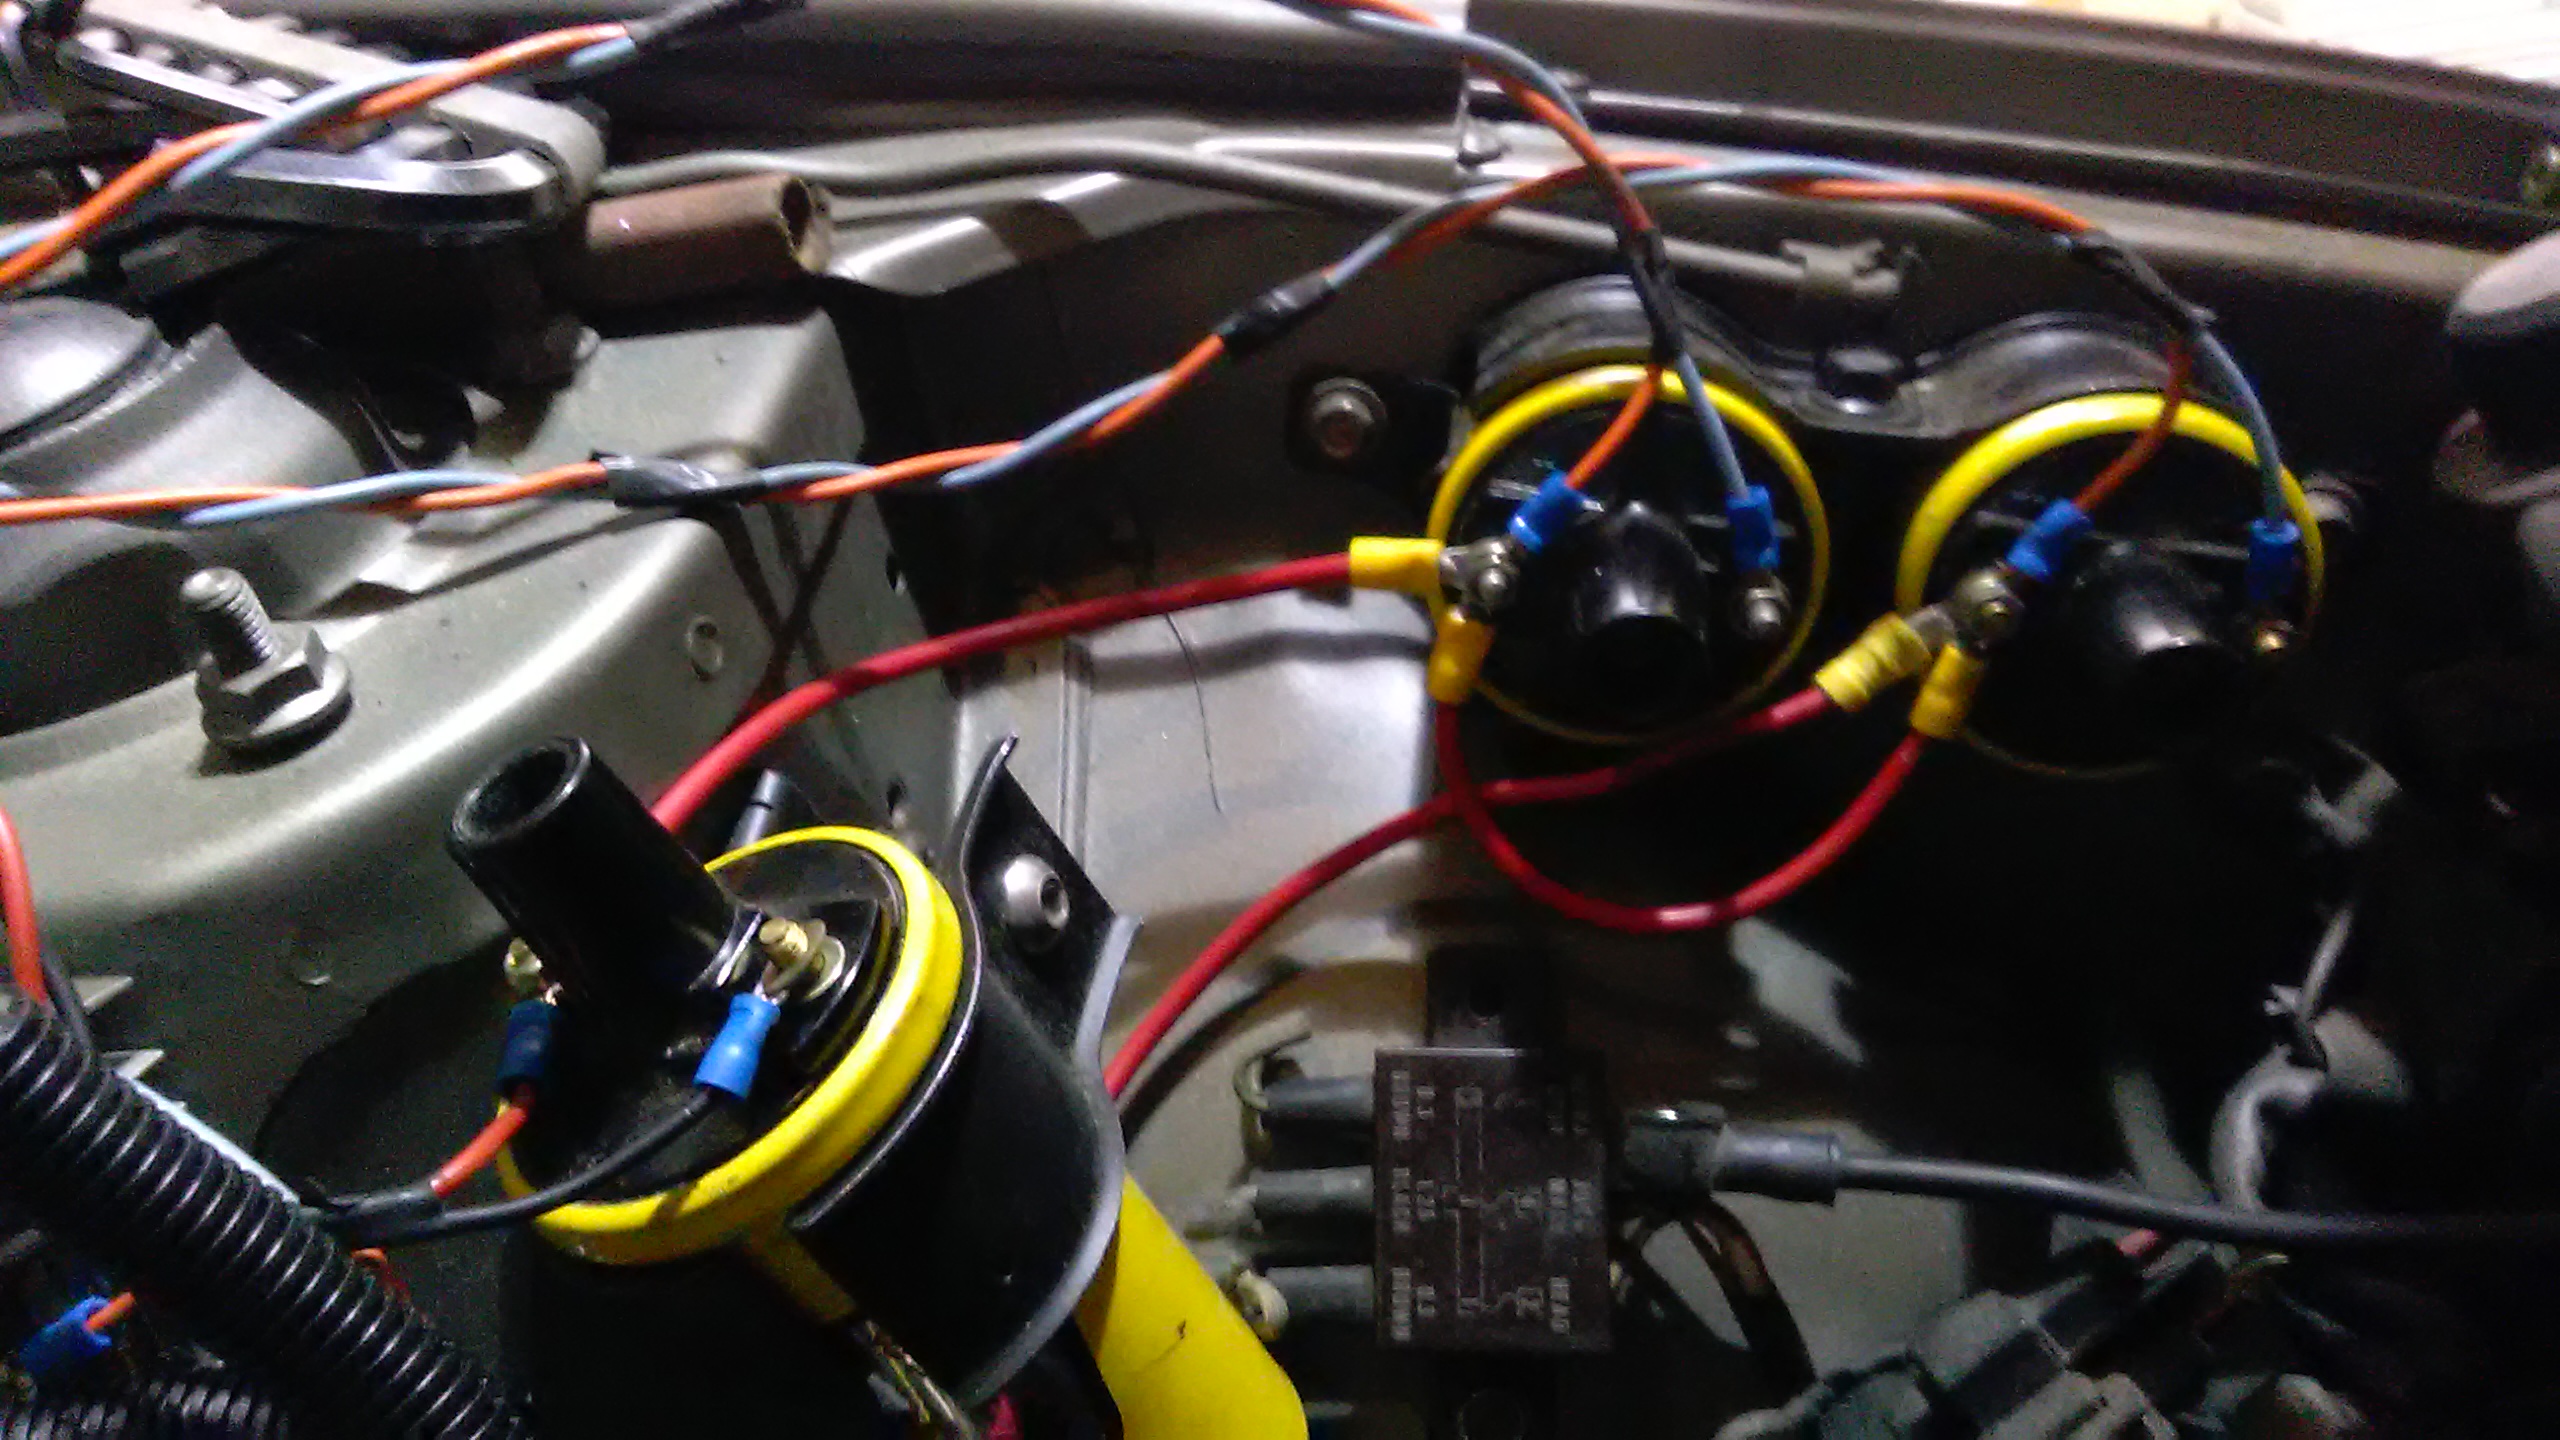
Here's a pic of the 3 modules mounted on an awesome finned aluminum plate I found. Heat sink is very important, and so is thermal grease.

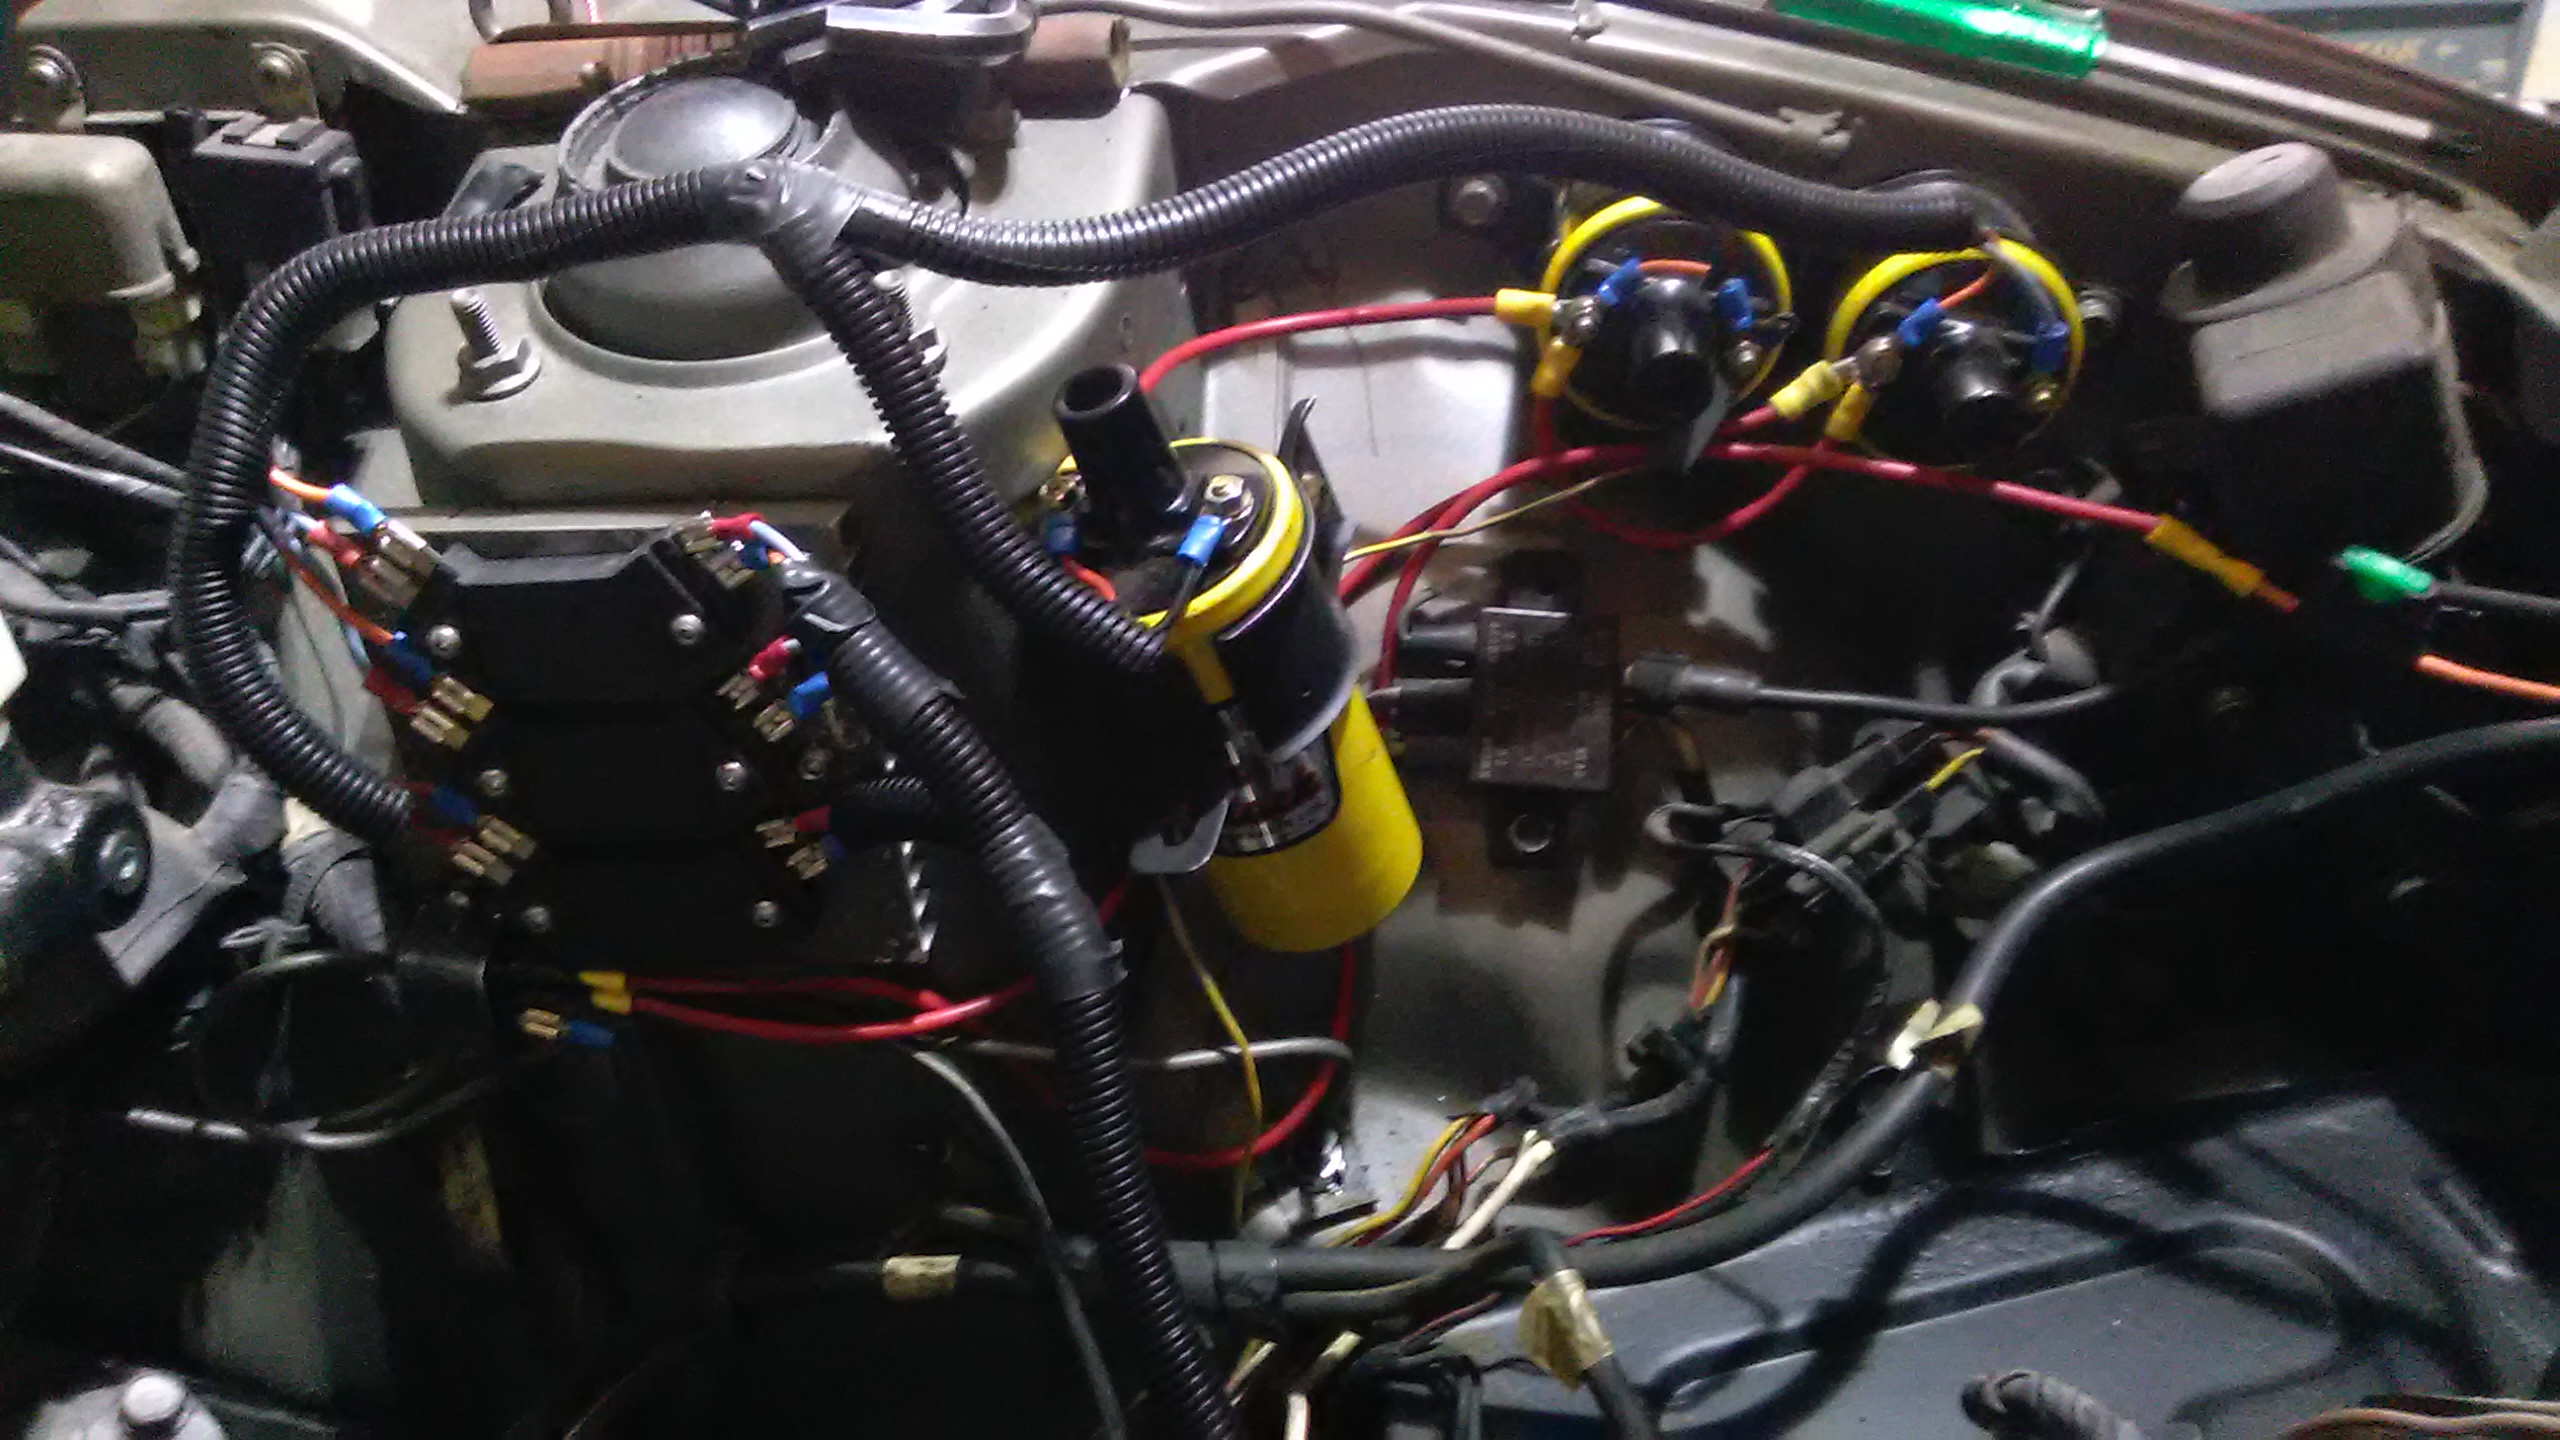
Showing progress, and arrangement of wiring:

Everything loomed and taped:

Hope that helps others, who are doing the same conversion.
OK now that that's over, I could use some ideas. the car cranks, turns over fast, and sounds like its firing! i see smoke and smell a terrible burning smell. But it won't catch. Lots of crap, like fur and twigs keep coming out of the muffler!?! It sat in a field for probably years. Would a clogged muffler full of dead animals or whatever cause the car to not start? I am pretty sure I have the timing pulley set right (It's a early 12a with the 4 available positions).
All credit goes to vipernicus42 for the design.
So why do this? I dont want to rely on 30+ year old electronics iff I can help it, and I now have a very easily replaceable GM part and some crimps, and easily sourced coils.
Stuff I had to figure out that's not easy to figure out: The polarity
of the pickups matters! here's a guide right on the old J109's:
How to wire the GM ignitors: The W is the negative and teh G positive from the reluctor. the B is positive side of the coil, and C is the negative side of the coil. Most coils are labeled.
The relay is a 4-pin and set up like this: 30 is the fused feed from battery. 86 is the switched hot, in my case I used the big black wire with white stripe that normally runs to the coil hots in the stock system. 85 is simply a ground. and 86 is the feed to the coils. Tie all the coil hots together.
Lastly, not all the guides show it but having a 30 amp fuse, before the relay, is important!
That's it for stuff that I couldn't find in the other excellent writeups.
Basically you cut the little male spades in half, file em down smooth, and plug them into the old j109 ports in the pickups.
Then you twist the pairs together, to minimize cross-talk.
Here's a pic of the 3 modules mounted on an awesome finned aluminum plate I found. Heat sink is very important, and so is thermal grease.
Showing progress, and arrangement of wiring:
Everything loomed and taped:
Hope that helps others, who are doing the same conversion.
OK now that that's over, I could use some ideas. the car cranks, turns over fast, and sounds like its firing! i see smoke and smell a terrible burning smell. But it won't catch. Lots of crap, like fur and twigs keep coming out of the muffler!?! It sat in a field for probably years. Would a clogged muffler full of dead animals or whatever cause the car to not start? I am pretty sure I have the timing pulley set right (It's a early 12a with the 4 available positions).
Thread Starter
Full Member
Joined: May 2016
Posts: 226
Likes: 0
From: Denver
I removed the dead-Rodent infested muffler today, damn that thing is heavy, probably 50-65 pounds!
Still no start! I checked spark at the plugs with timing light, I'm getting fuel, so it's got to be timing right?
Still no start! I checked spark at the plugs with timing light, I'm getting fuel, so it's got to be timing right?