When you click on links to various merchants on this site and make a purchase, this can result in this site earning a commission. Affiliate programs and affiliations include, but are not limited to, the eBay Partner Network.
Yeah, seals are pricy, but very much so worth it unless you are an experienced rotary engine builder.
I'm an artist.
Pound them out from the top. The top is thicker and it has a larger outer diameter than the bottoms. The top of the venturi actually holds the whole thing in place.
Here's a tip. Freeze the venturi before reinstalling.... thermal expansion.
I bumped one by accident while fiddling with the venturi booster, adn the tube simply slid back wards. I carefully pushed the other one back with my finger too. I think I'll have to put some light duty locktite on them when I reinstall them. Guess I got lucky.
I got the boosters out by very carefully tapping on the little flat spot between the venturi surface and the part the emulsion tube thing threads into. Nope, no damage to the boosters. the venturies themselves were hammered out by wedging my plastic screwdriver handle into them and hitting the bladed part of the driver (My poor screwdriver!).
Thanks for the info. I literally just figured it out after posting.
Regarding profiling/enlarging the venturies, the only area you're really cutting into is the area above the tiny hole right? You're going for a sharper entry into the venturi section?
My secondaries seem to lack that hole, but there's a little dent, like Mazda started drilling one but quit.
I will try the socket and screwdriver trick next time. Thanks.
I've got what I'm pretty sure are some new seals. I will mic them and see what they spec at. They came with the rest of the engine, in boxes. FOr the same $200 Atkins wants for seals, I can get an entire (cheap) rebuild kit for a SBC, ...no wonder so many people put chevies in these cars.
I drew up a little diagram to explain what I understand I'm trying to do from what I've been reading in Jeff20b's treads about the Nikki.
The 'venturi' on the left is the stock, the right is the modded/hogged. the blue area is where I think I'm supposed to be removing material, the red is the narrow section, and the black is the body. It's MS paint and I'm no artist, but I think it should be understandable.
It's really cold out in the garage, so modding venturis will have to wait until the weekend I think.
You can drill all the way through the secondaries at the little dimple to act as your landmark, but you don't need to go large on them. Just a tiny "pinhole" of about 1mm is all you need so you have a visual reference as you work.
The narrowest point must be at the landmark hole. Straight approach angle (but ever so slightly curved like the way I cut them but hand, is perhaps better than a 100% straight lathe cut). Pretty easy.
Thanks Jeff, that makes sense. I'll have to get a tiny bit from Depot or somewhere to do that, as I have none.
I went ahead and did the primaries, cut them so they're 24mm at the narrowest spot. I checked with an inside micrometer that the landmark was the narrowest, thankfully it was. I had to remove some material from below the landmark/hole, so that the mark would be the narrowest sport, after enlarging the opening. They're still a little rough, will need to be polished.
Regarding the secondaries, do they need to be ported too? Or will 28mm suffice with my ported irons?
I think the odd manifold I have, with no emissions stuff, is possibly pre-RX7? I'm still thinking of blocking off the ACV, and water to the manifold. Woould I see a HP gain if doing this mod?
The coolant passage for the intake is to cut down on icing that happens when you drive. If the car was mostly factory I'd keep it. There is no reason to remove it unless it gets in the way of the turbo.
You did a pretty good job on your venturis, but of course I've seen better. I think you know what I'm talking about (I cut them myself, duh lol).
As for the landmark hole on the secondaries, should you choose to hog them them too, a simple common .0465" drill bit will work (1.18mm).
I recently began cutting my secondaries once it was determined that I no longer was getting the "transcendent experience" I used to get whenever I'd open them. In other words, they didn't feel nearly as powerful to me as they used to.
Was I just getting used to the power? Nope. The actual reason was because my primaries were now so large and making so much power on their own that the stock 28mm secondaries simply weren't enough of a step up in size anymore. So I went out to 30.5mm and it brought the magic back. But keep in mind my primaries are 26.5mm so you gotta take a practically "transcendent" level of extreme care to cut them without destroying them. None of the big carb names ever went out this far, and if they did (which I doubt), they never talked about it. Probably because they just couldn't make them work. But not only did mine work, they also handled boost fine as well.
Here is a simple thing I whipped up in MS paint just now. I think this illustrates what I'm talking about. By the way, it is accurate where 1mm = 10 pixels.
Anyway, I've spent the whole day bypassing my Civic's FITV valve so no RX work today. But I do have a question for you guys, I've got the Large Street Port set of templates from Pineapple, and after contacting them I'm still a bit confused. The template and its' holder are essentially square, the rotor housing is a curve. Do I just mush the template against the surface? Get a really long scribe and poke it through the template to the surface?
I just know that if I bend it inwards, it will change the timing of the events, not sure if that's what is intended.
Here's some pics to show what I'm talking about. This is the good housing, with only a tiny bit of chrome flaking.
Oh and lastly, thanks for the compliments on the Venturis! They're going to be polished once I get some additional dremel sanding drums that are smoother. What size should I bore the secondaries out to now that I've ported the primaries?
That template is too big. I would not use it. Do not go any lower than stock. You need to only port up until almost to the sleeve. You need to leave a small anti-reversion lip all around the sleeve. That is a secret which takes some people 10 to 20 years to figure out. Oh and finish them up with a nice 2mm bevel so the apex seals don't catch and break at high RPM.
The secondaries can be left at 28mm but with an improved angle in/out. Think you can handle that?
I thought the template was too large! Looked like the amount of overlap would be insane.
Today was 'prep the rx7 for engine removal day'. It's too damn cold out to be out for long after work. So nothing done on venturis or anything else other than getting everything off the motor, and all fluids out of it so I can borrow a neighbor's hoist tomorrow. Hopefully one of the housings will be in better shape then the one on my bench.
I made another awesome ms paint drawing,to see if I'm understanding you right Jeff.
Lots of progress was mad this weekend. I ground the secondaries to a single angle (still awaiting final polish), and I got the old engine out of the car! It was like opening a Christmas present and getting socks...
Upon inspection, it's shot. The rear rotor had some sort of explosion of apex and corner seals that destroyed the housing and the rotor. The irons look great oddly enough. The front and rear main bearings are likely shot. The front housing is shot too, tons of chatter marks and chrome missing everywhere. But the rotor looks nice!
Regarding socks...at least I got the flywheel nut off which I need for my new engine. Oh and maybe the oil pump and chain mechanism.
So now I need to start ordering parts to put this thing back together. I already have a rebuild kit for all the soft seals, I need the Rotor/Housing related stuff. Any suggestions for a mild street motor (Is what I'm building mild I don't really have a good frame of reference)?
I included a few pics to show the carnage. You can even see the remants of the mouse nest that bastard built in the motor. Oh and the reason it wouldn't start is now very very obvious...
More Progress! I went ahead and ported the rotor housings. They look pretty good. Made sure to leave a lip in the top of the port to prevent some reversion. Not perfectly equal in size though, so will likely require some finishing touches.
I have another question though, since my motor came in little pieces (the spare one that isn't trashed), I have a 27 pound flywheel, with a large '2' marked on it. Is this a 83-85 12a flywheel? The one in the car is marked 21 and weighs roughly 23 pounds. The rotors I have are marked F/N, R/N which says they're 83-85 rotors right? So I should use the 83+ flywheel and get an 83+ front counter weight? I know the weights look different but I can't seem to get a clear answer from searching. Mine has no casting mark at all on it.
I included some pics of the porting for you all to laugh at.
I've been busy, with work, and 7-stuff. I sent my housings off to Freelance Motorsport to have them refinished. I polished the front cover, the housings, and removed all old paint and grease from the irons.
The porting has been evened up and more carefully beveled, so both ports are near identical now.
The frozen venturies went in much easier btw, thanks!
I've been reading into the mix-match of parts to get a lighter rotating assembly. I have an 81/82 front counterweight I think (Pic attached), and both an 81/82 Flywheel and the heavier 83-85 wheel too. Unfortunately I do NOT have the 83+ front counterweight. Only the 81/82. Will I be able to run the lighter rotors,with the lighter 82 counterweight and Flywheel? Is the imbalance only a problem over 7k?
That's exactly what I was thinking. But most threads are so disjointed it isn't obvious. Guess I'm on the hunt now for an 83+ front counterweight.
Oh something I wanted to ask you Jeff20B, I've read your thread on 'Hogged out vs Boost prepping' and the thread 'nikki Carb Modding'. Both were really intersting and taught me a lot about the carb. But everyone seems to go to mechanical secondaries and then describes what jets/setting to use. I kinda want to keep the vacuum secondaries (to preserve fuel economy), and am unsure of what jets to go with my large street port? It's got stock bleeds and fuel jets for an 82 as of now.
Sorry for all the dumb questions, I just want to save myself hours f tuning/cost now.
If you keep stock vacuum secondaries, you should keep stock 160 secondary fuel jets. Why? Because you have to keep all the stock air bleeds to keep the vacuum secs happy.
Now having said all that, I'll say this about going mechanical secs: You can use 140 secondary jets if you follow my air bleed instructions.
Did you see what I just did there? I said you can drop your sec jet size from a stock 160 down to a smaller size of 140 (or 145 if boosted). Thus improving fuel economy. Did I just blow your mind or what?
I think you kinda did, but I understand why I think.
Let me see if I've got this right overall:
Move the accelerator pump arm 1.25 inches with a new hole.(Measured from where exactly?)
Stack additional AC/pump gaskets to lengthen the ac/pump diaphragm travel.
Change jets/bleeds to:
modded secondary:
80 main air bleed
solder filled long slow bleed
solder filled primary short 170 slow bleed drilled to 37
Change Jets/Bleeds on Primaries (?)
Tie linkage together. (Need to study this more).
In the mean time I've gotten my water pump and housing all polished up, ready for paint. Also fabricated the bracket and got coils mounted for DLIDFIS. I really need to add some pics...
It would be better to order a set of air bleeds to swap into the primary holes, thus leaving your stock nickel plated 60 secondary air bleeds alone. Doing it the solder filled way and drilling such a tiny hole is much more difficult so I don't do it anymore.
Thanks for the link, that makes things easier. So the only bleed/jet I'm changing is the main air bleed on the secondaries? This seems too easy. I'm not touching anything on the primary side? Sorry for the ? I'm feeling dumb now, should probably re-read the boost-prep tutorial.
An update of things I've been doing while waiting for my housings, just to prove I'm not lazy
The battery tray is the only piece of significant rust on the car, so I pulled it and got to work:
RUST!
Here's the tray before I welded the piece in:
First fabrication job evar
My welder would NOT lay an even bead and I have no clue why. Dang flux core wire was working fine a few weeks ago though, so I'm a but stymied. It may just be technique? Or crappy cheap wire...
Anyway, while I've got teh motor out I decided to go DLIDFIS. So I fabbed up some brackets and got some coils and a relay. It's all put together with Stainless hardware, learned my lesson with Nickle-plated stuff a long time ago.
The Leading Ignitors
I still need to mount a trailing ignitor somewhere, thinking of putting it just in front of the shock tower, where the weird fuse-block thing was. The third coil is held simply by cutting a spare coil holder in half and bolting it to the shock tower.
The mostly complete system
Monday, the Brake master and clutch master/slave are coming off, and hopefully the new ones and clutch get here by the end of the week.
My housings arrived! If you guys remember, I sent them off to Freelance Motorsport for resurfacing/finishing, whatever it is. So the're a lot shinier now, but still have obvious spots where material is missing. I knew it would still be missing, I was hoping for a less dramatic depression in the finish though.
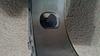
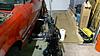
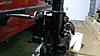
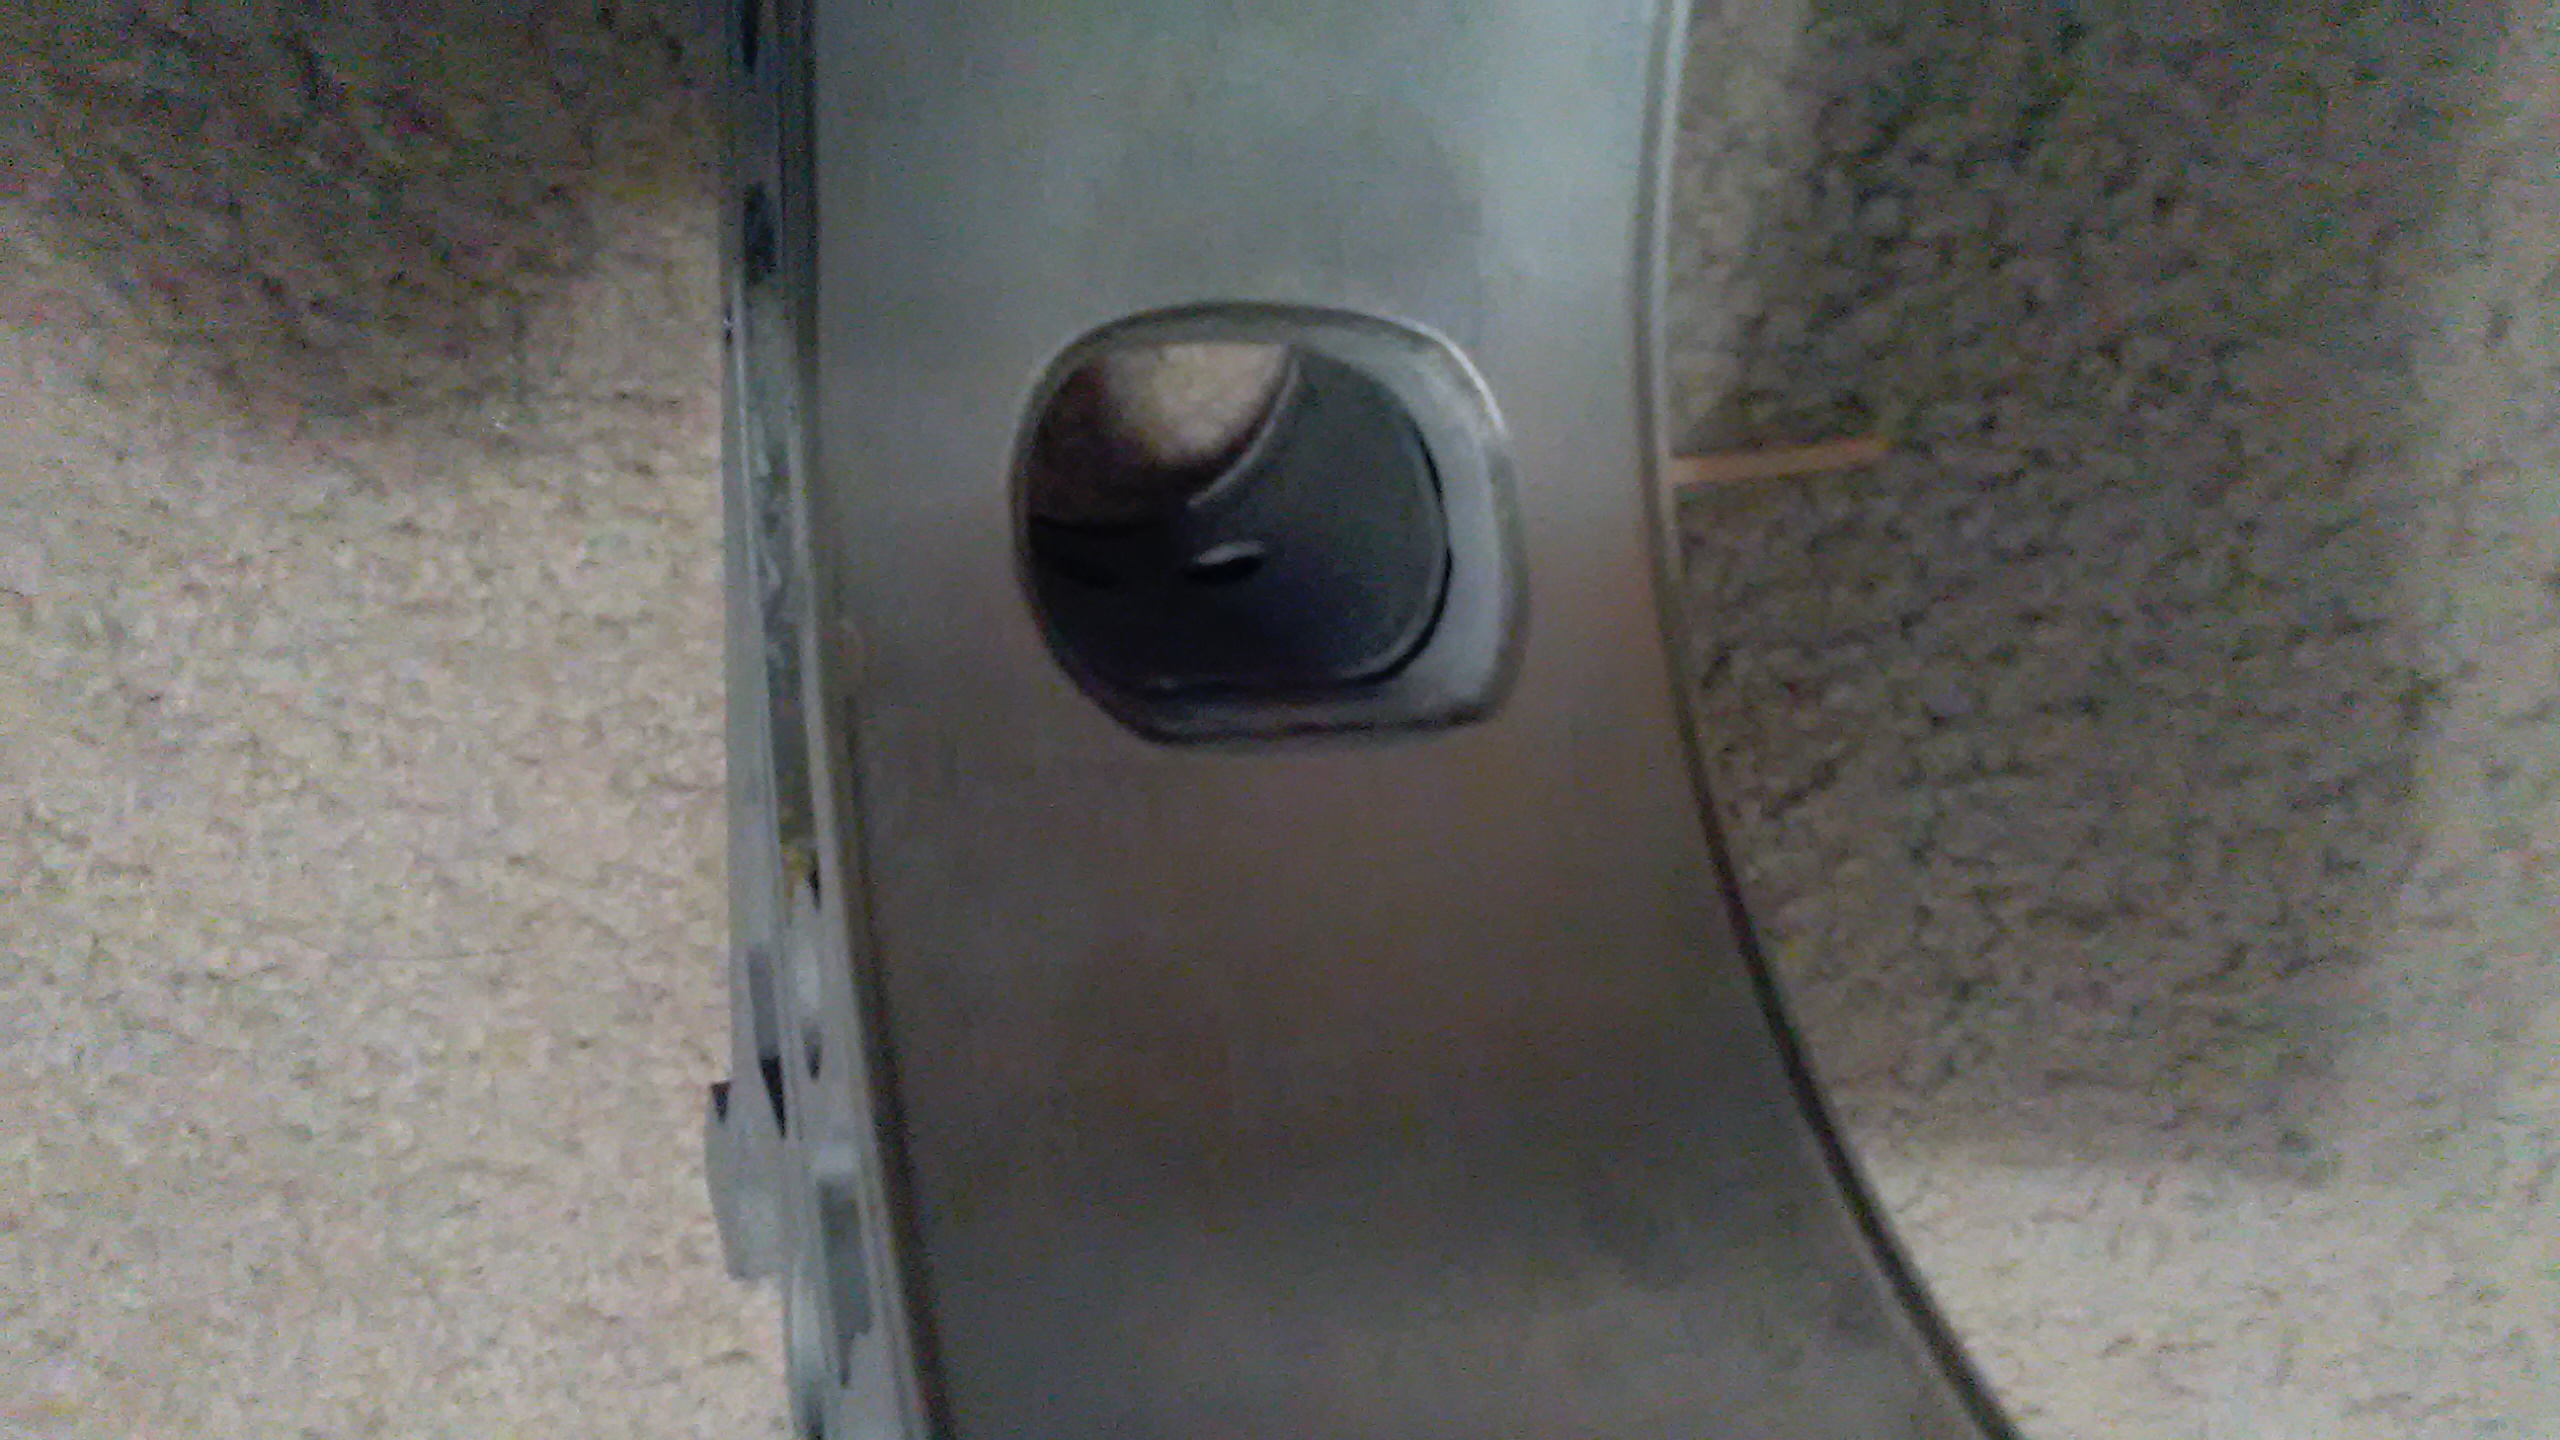
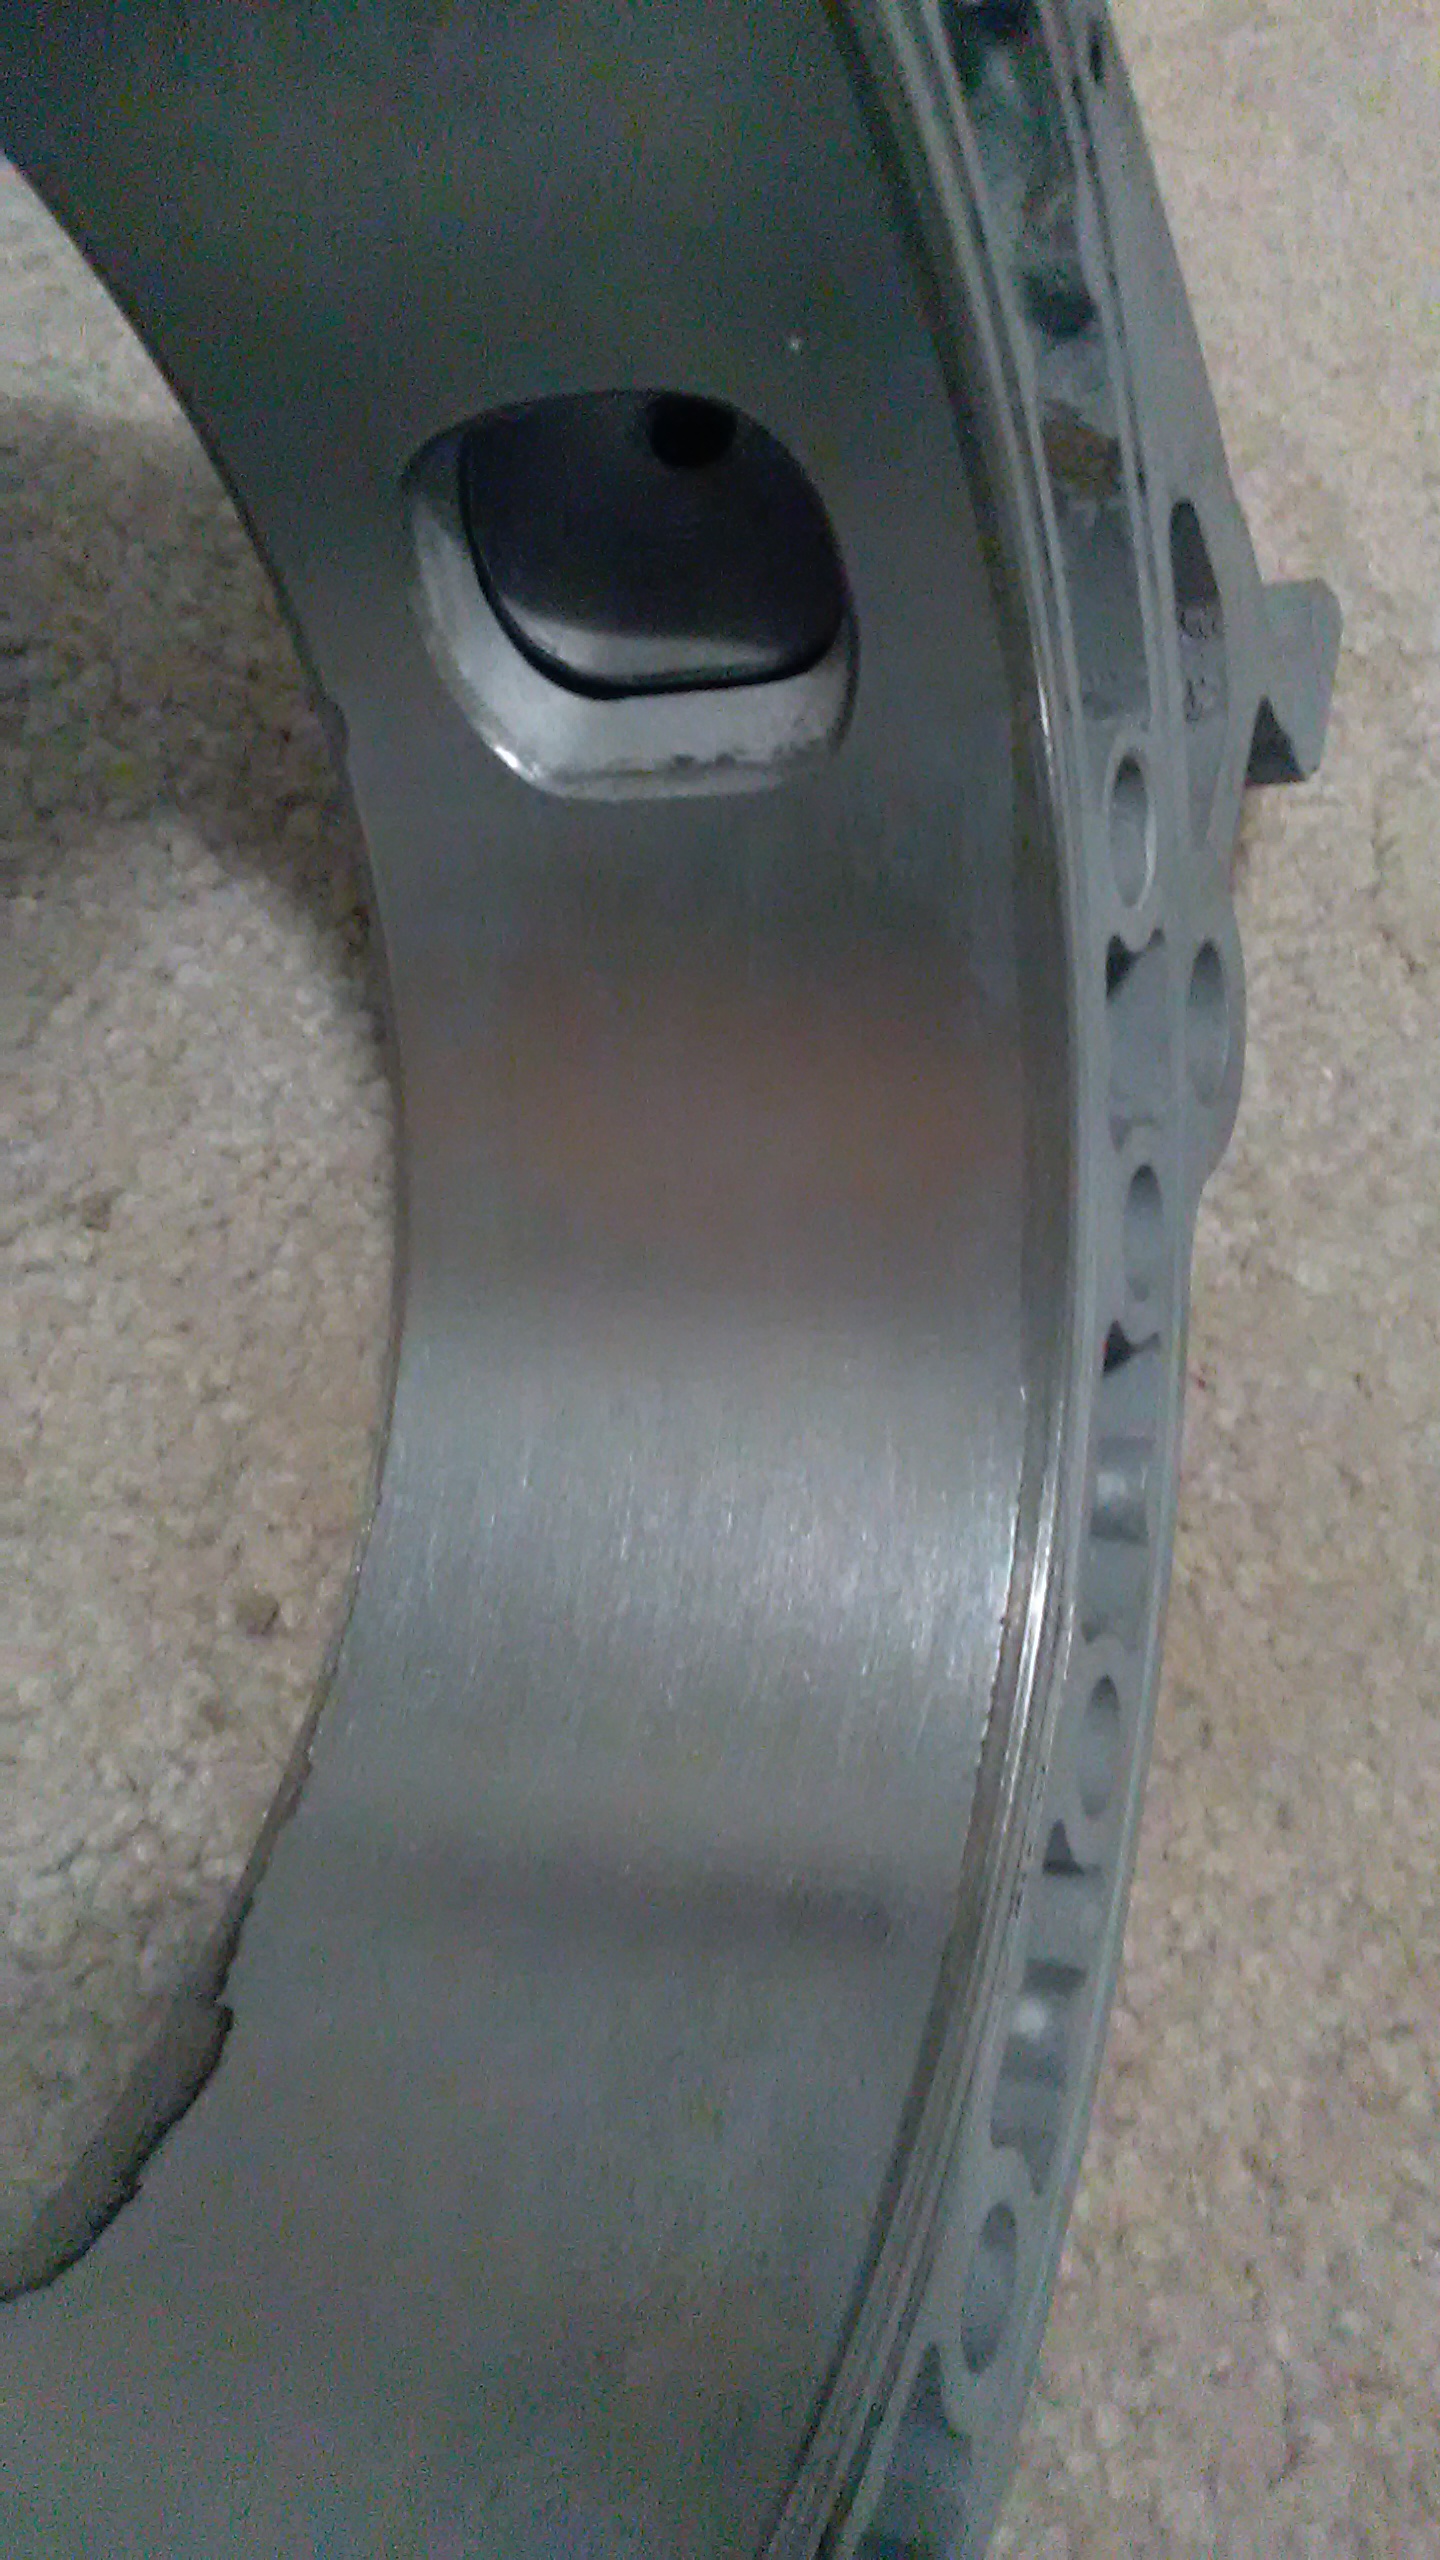
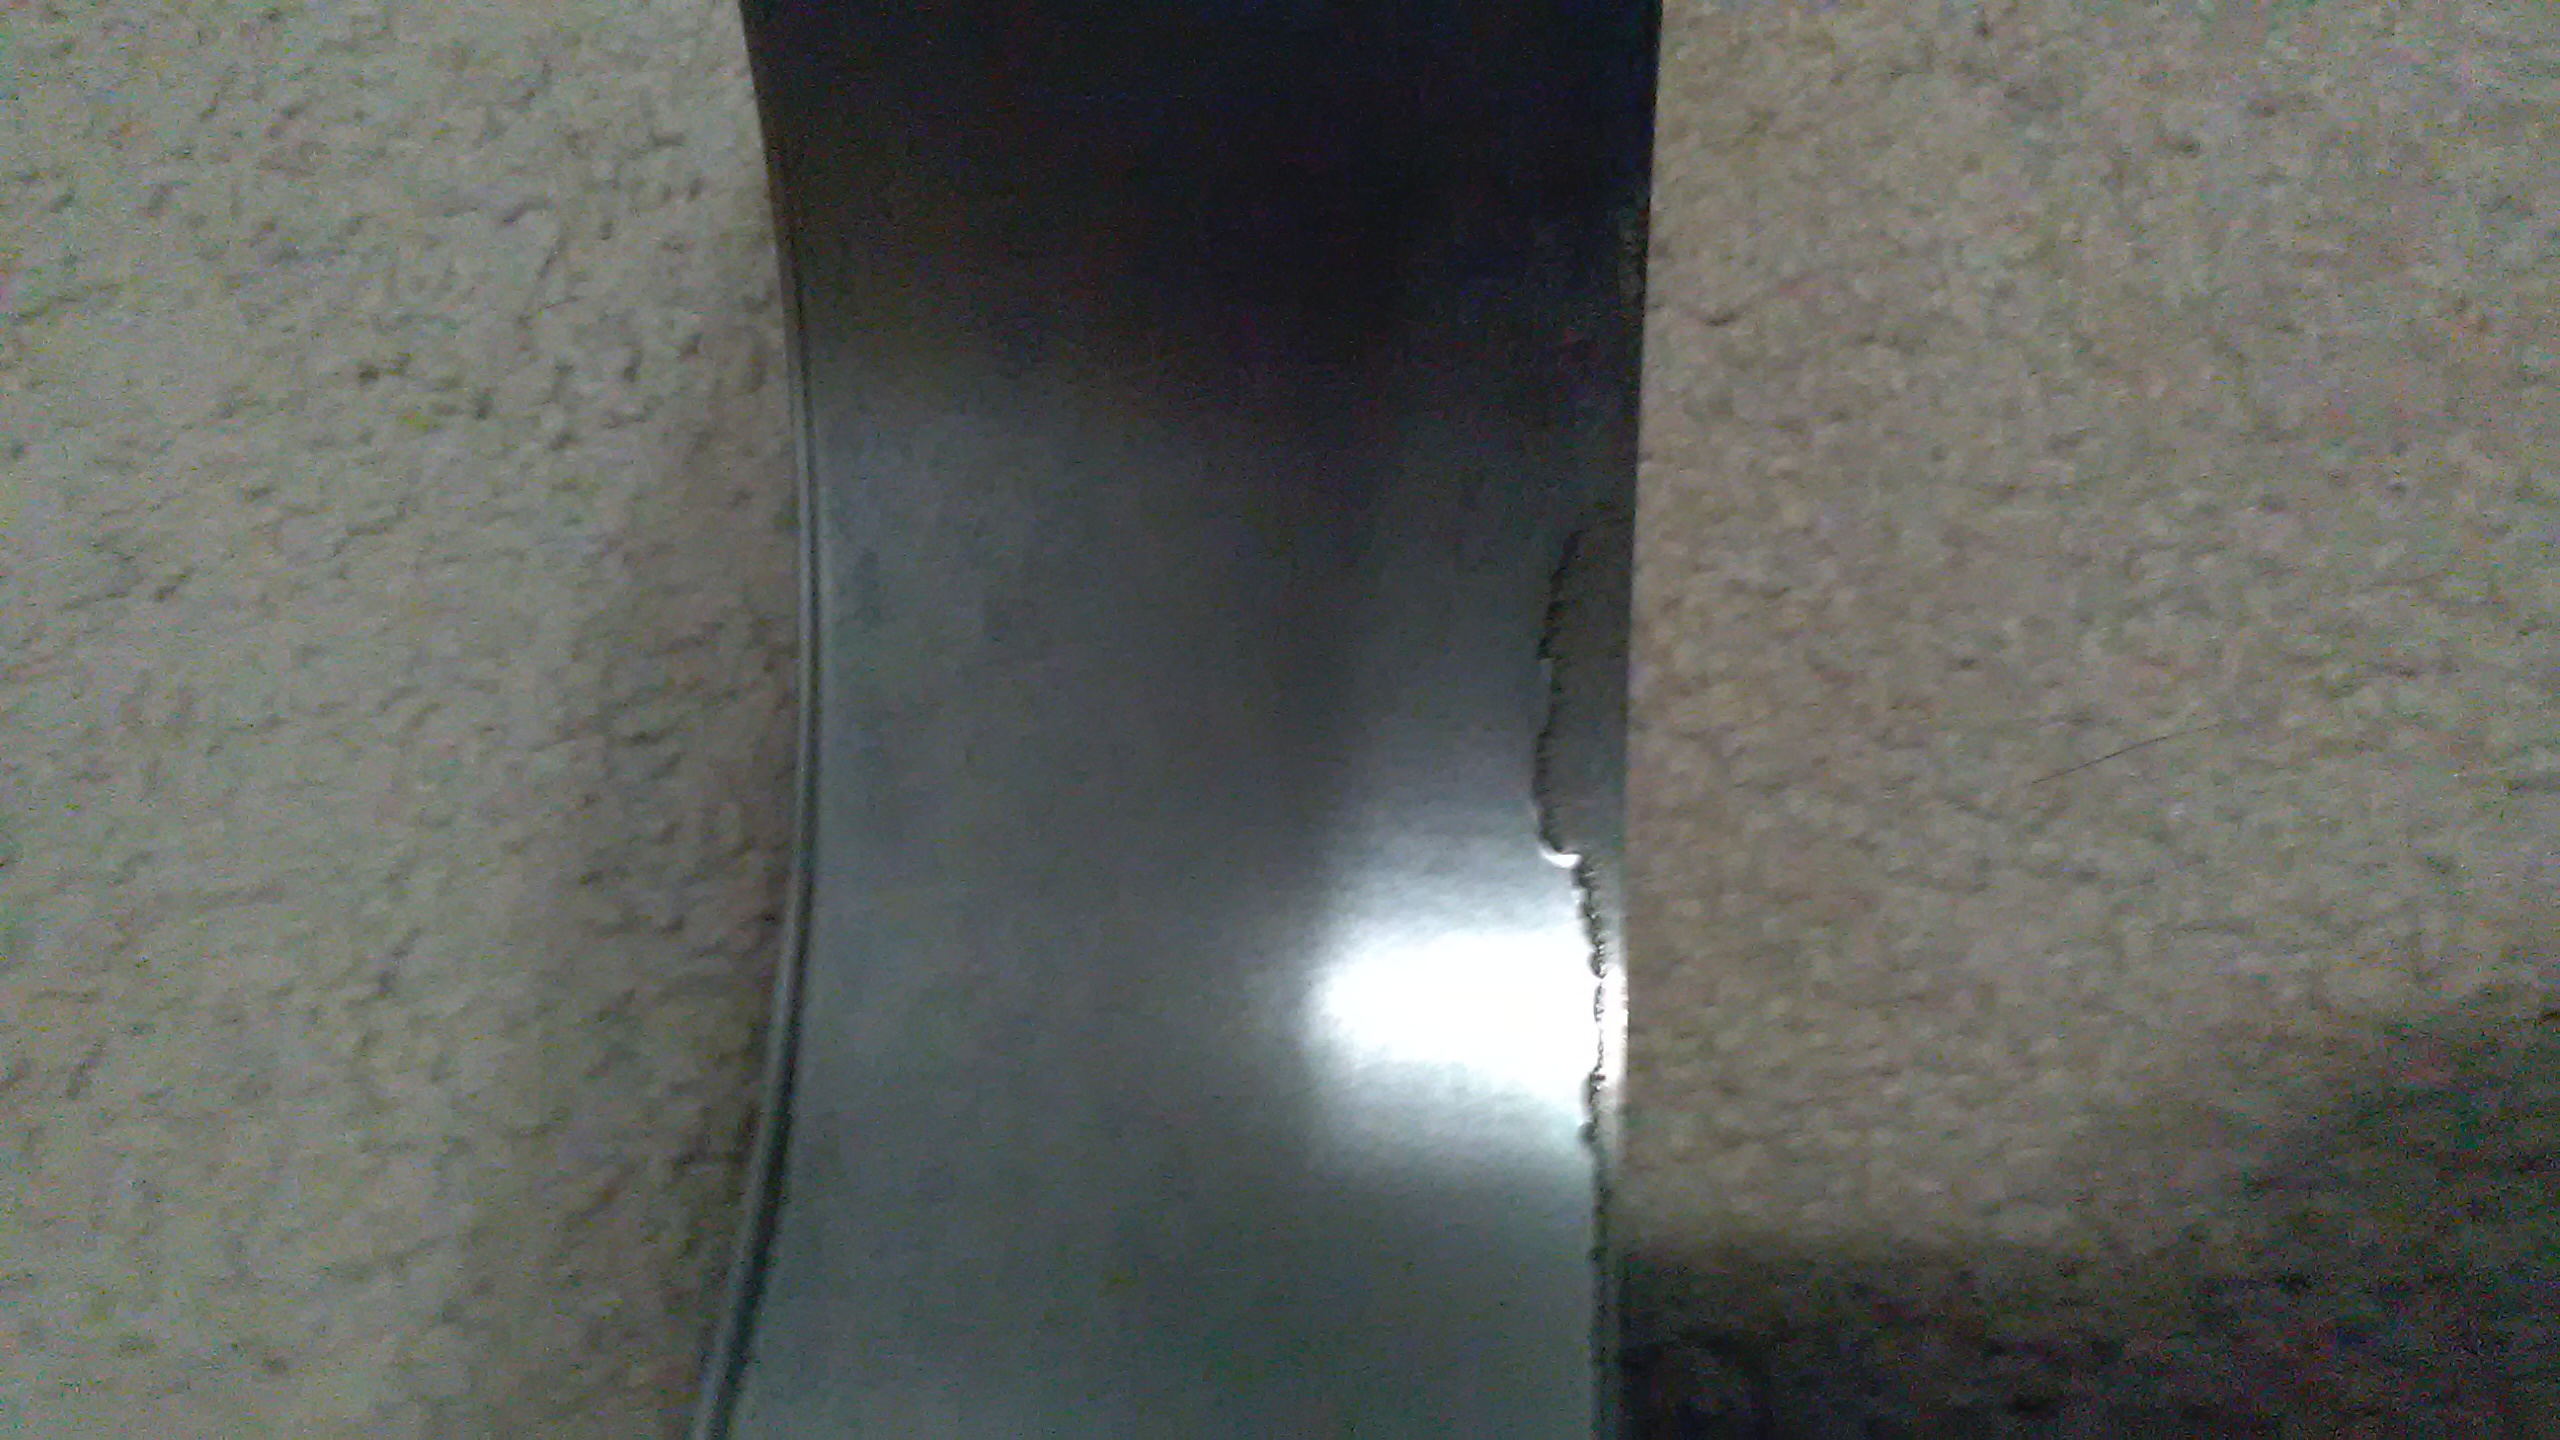
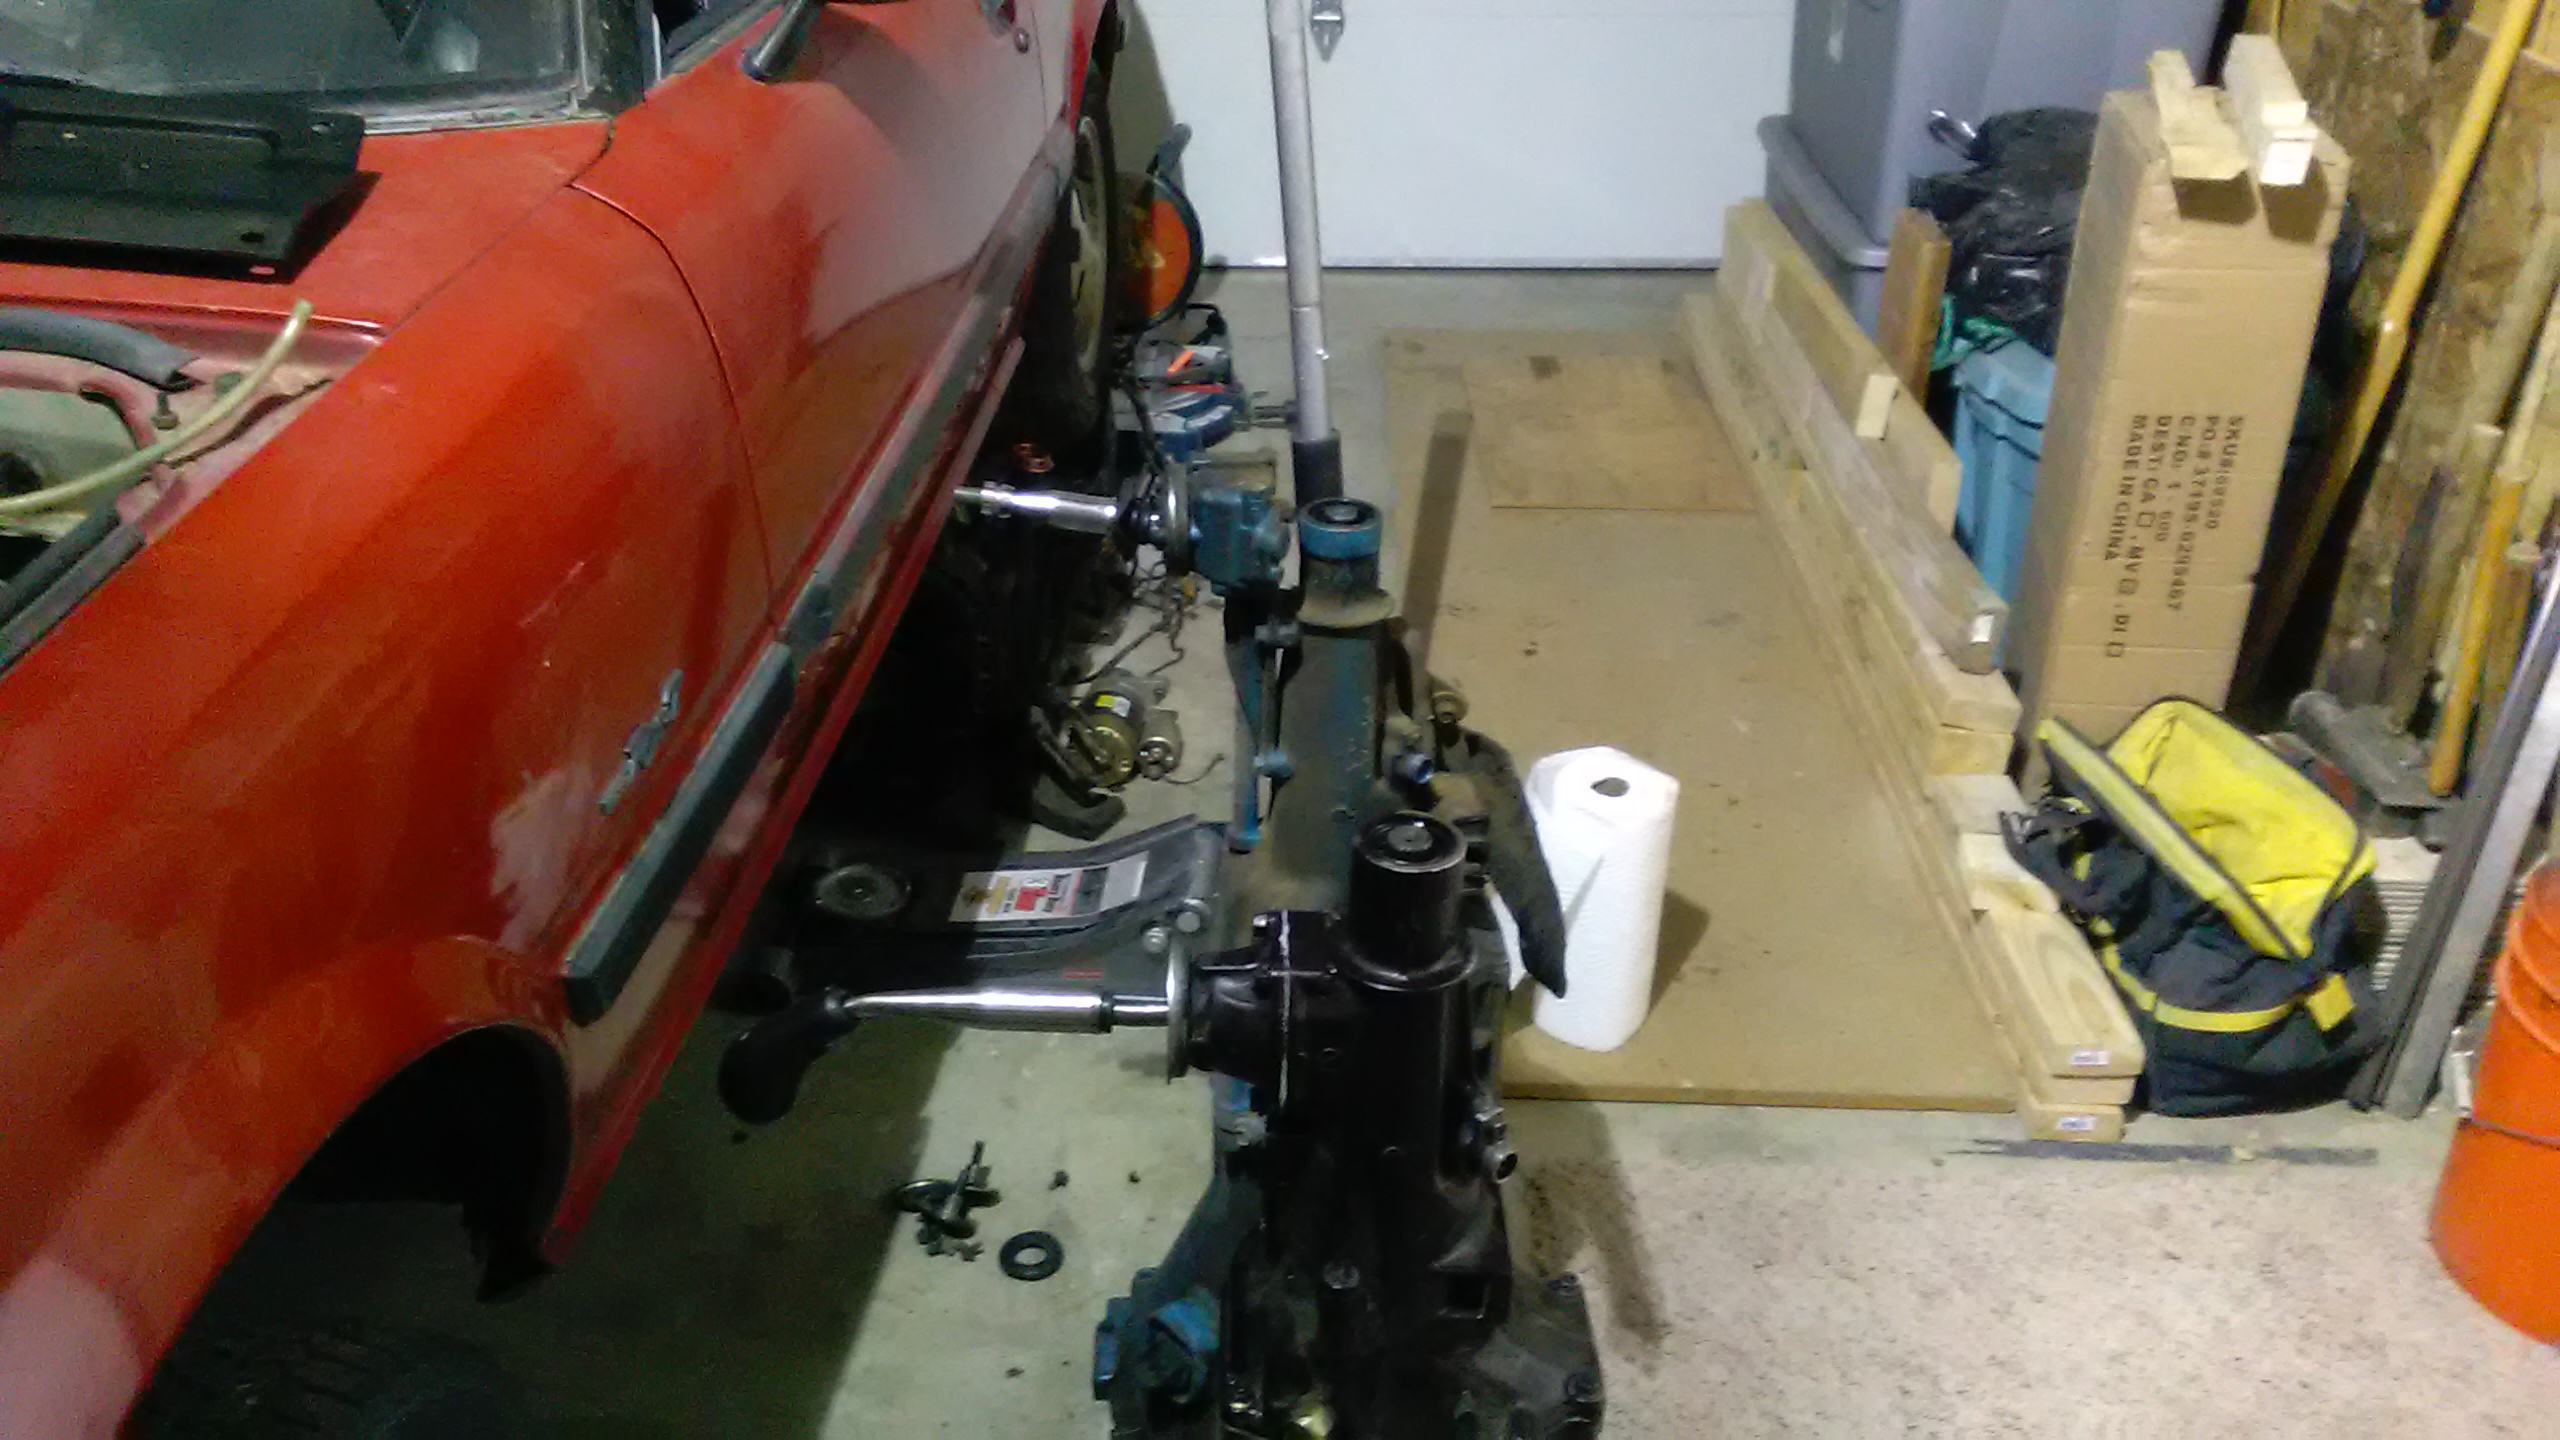
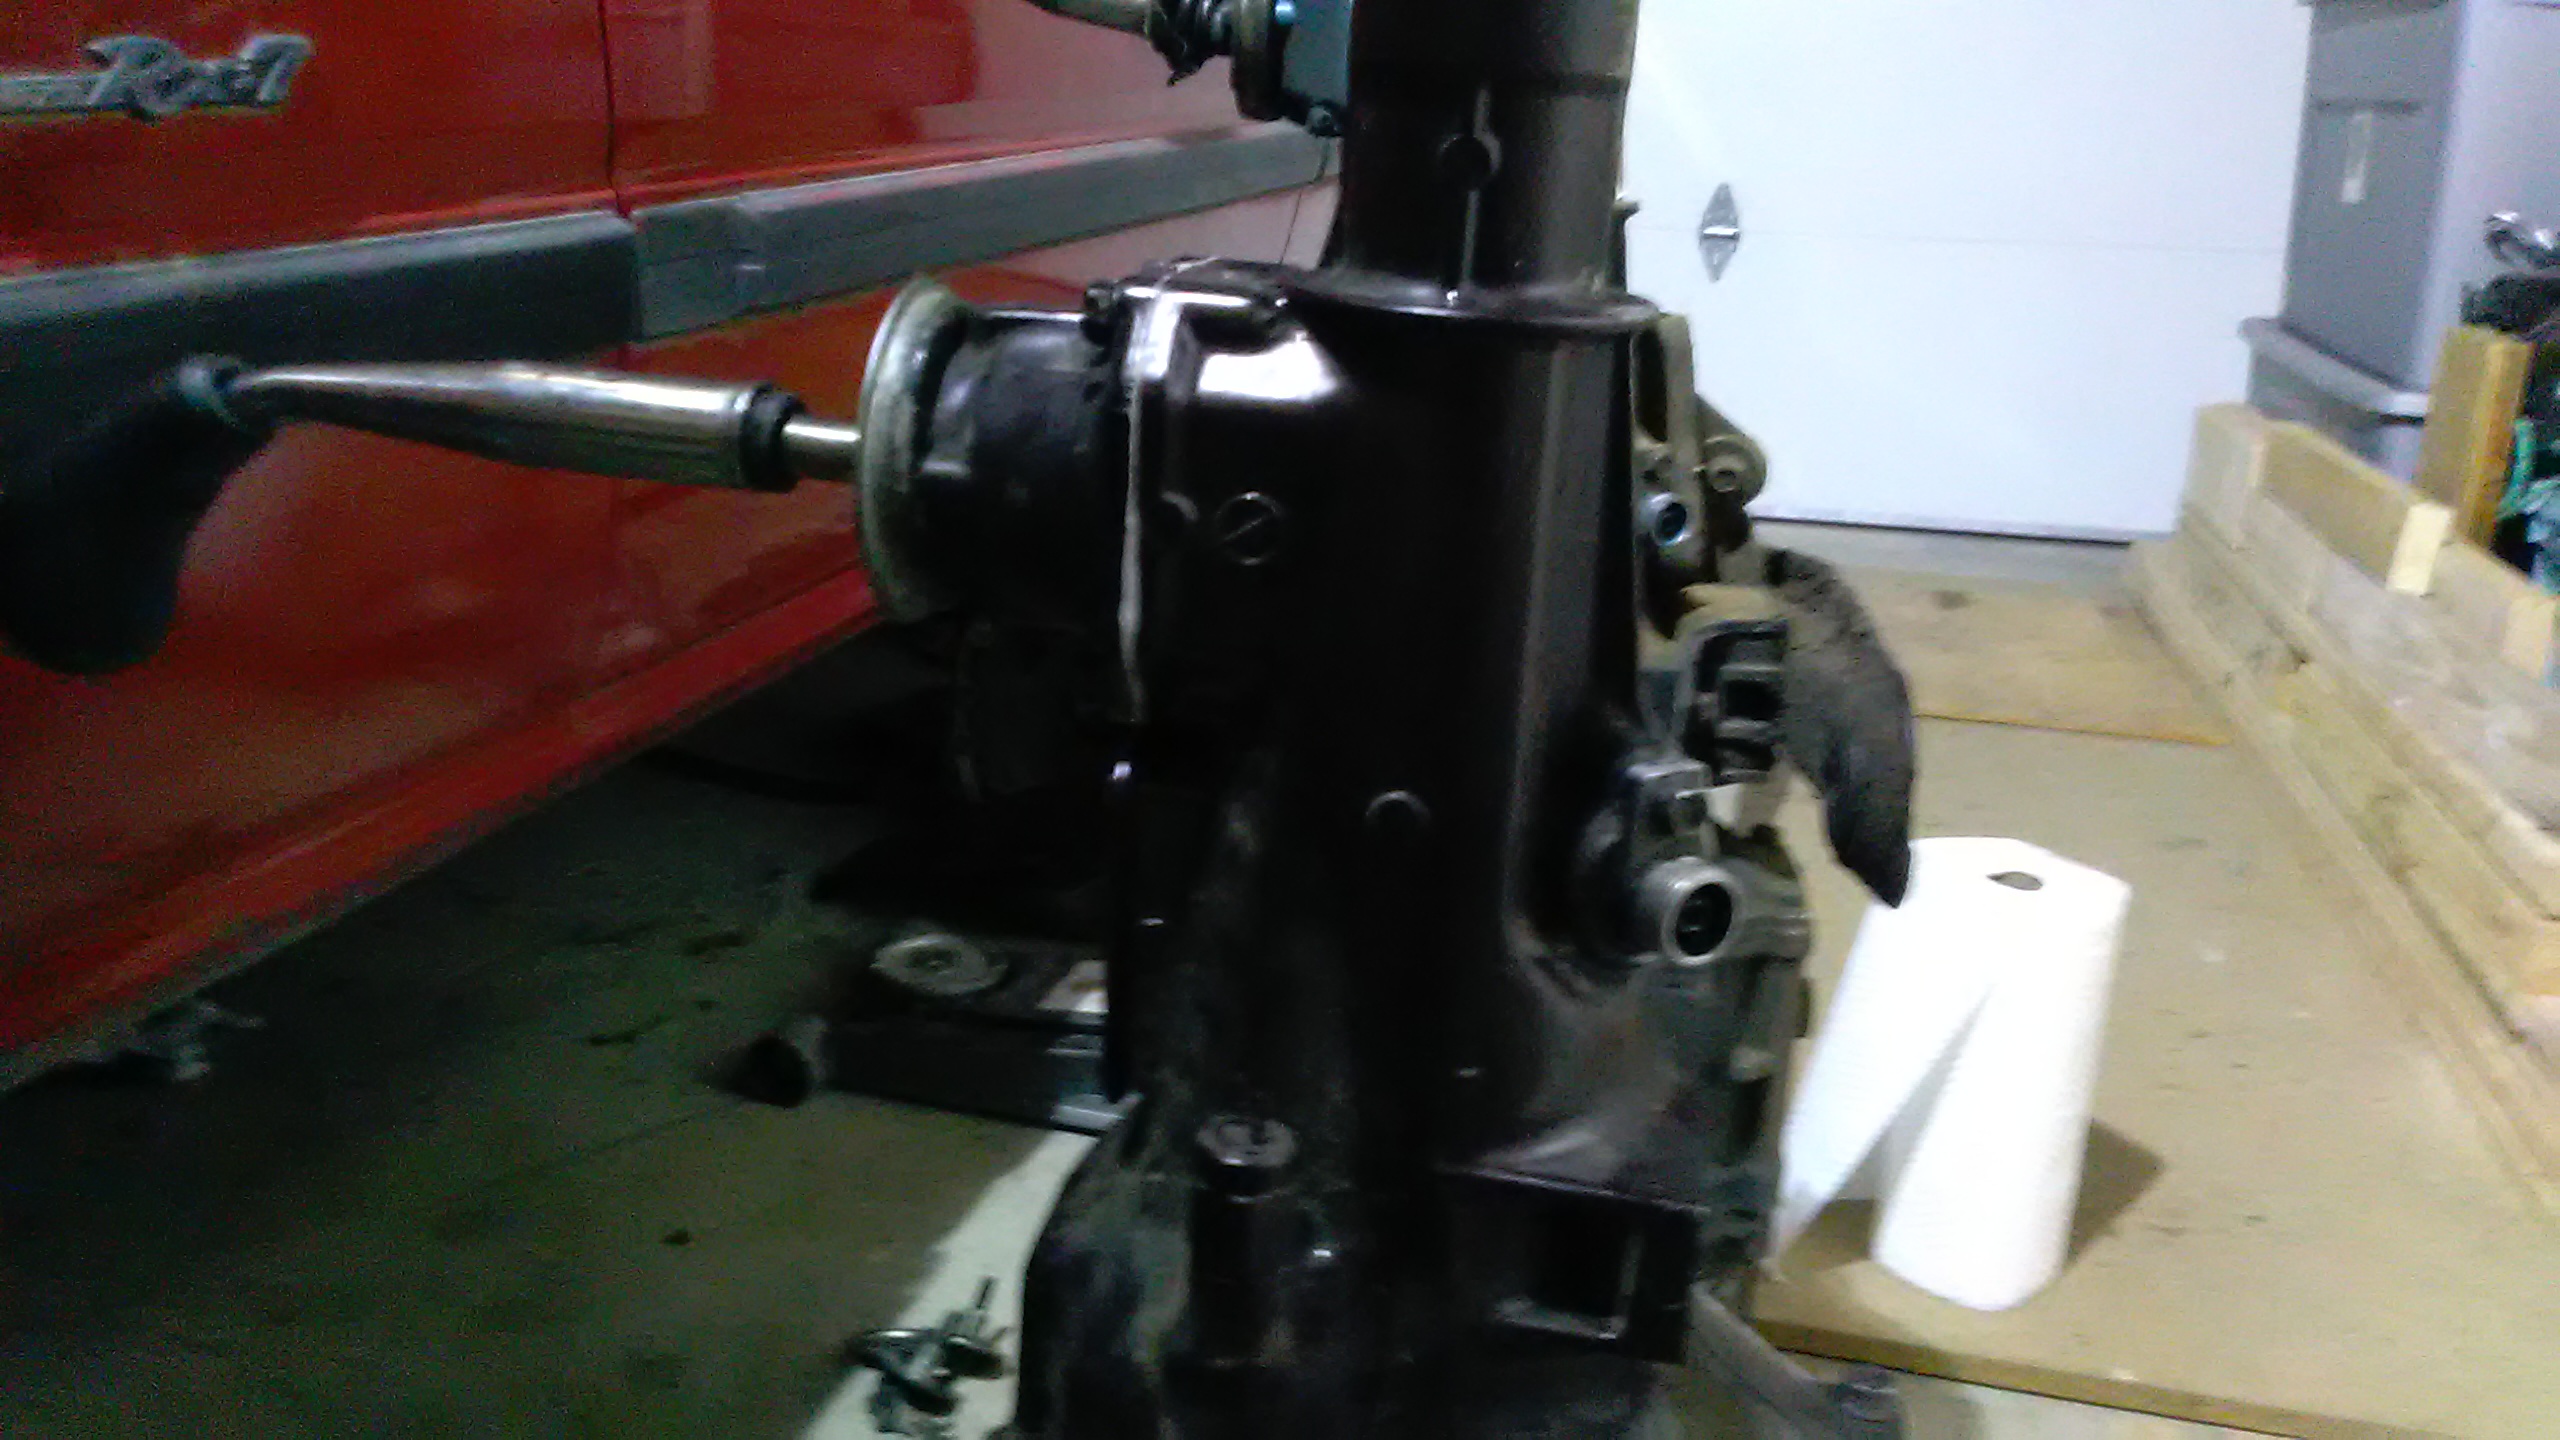
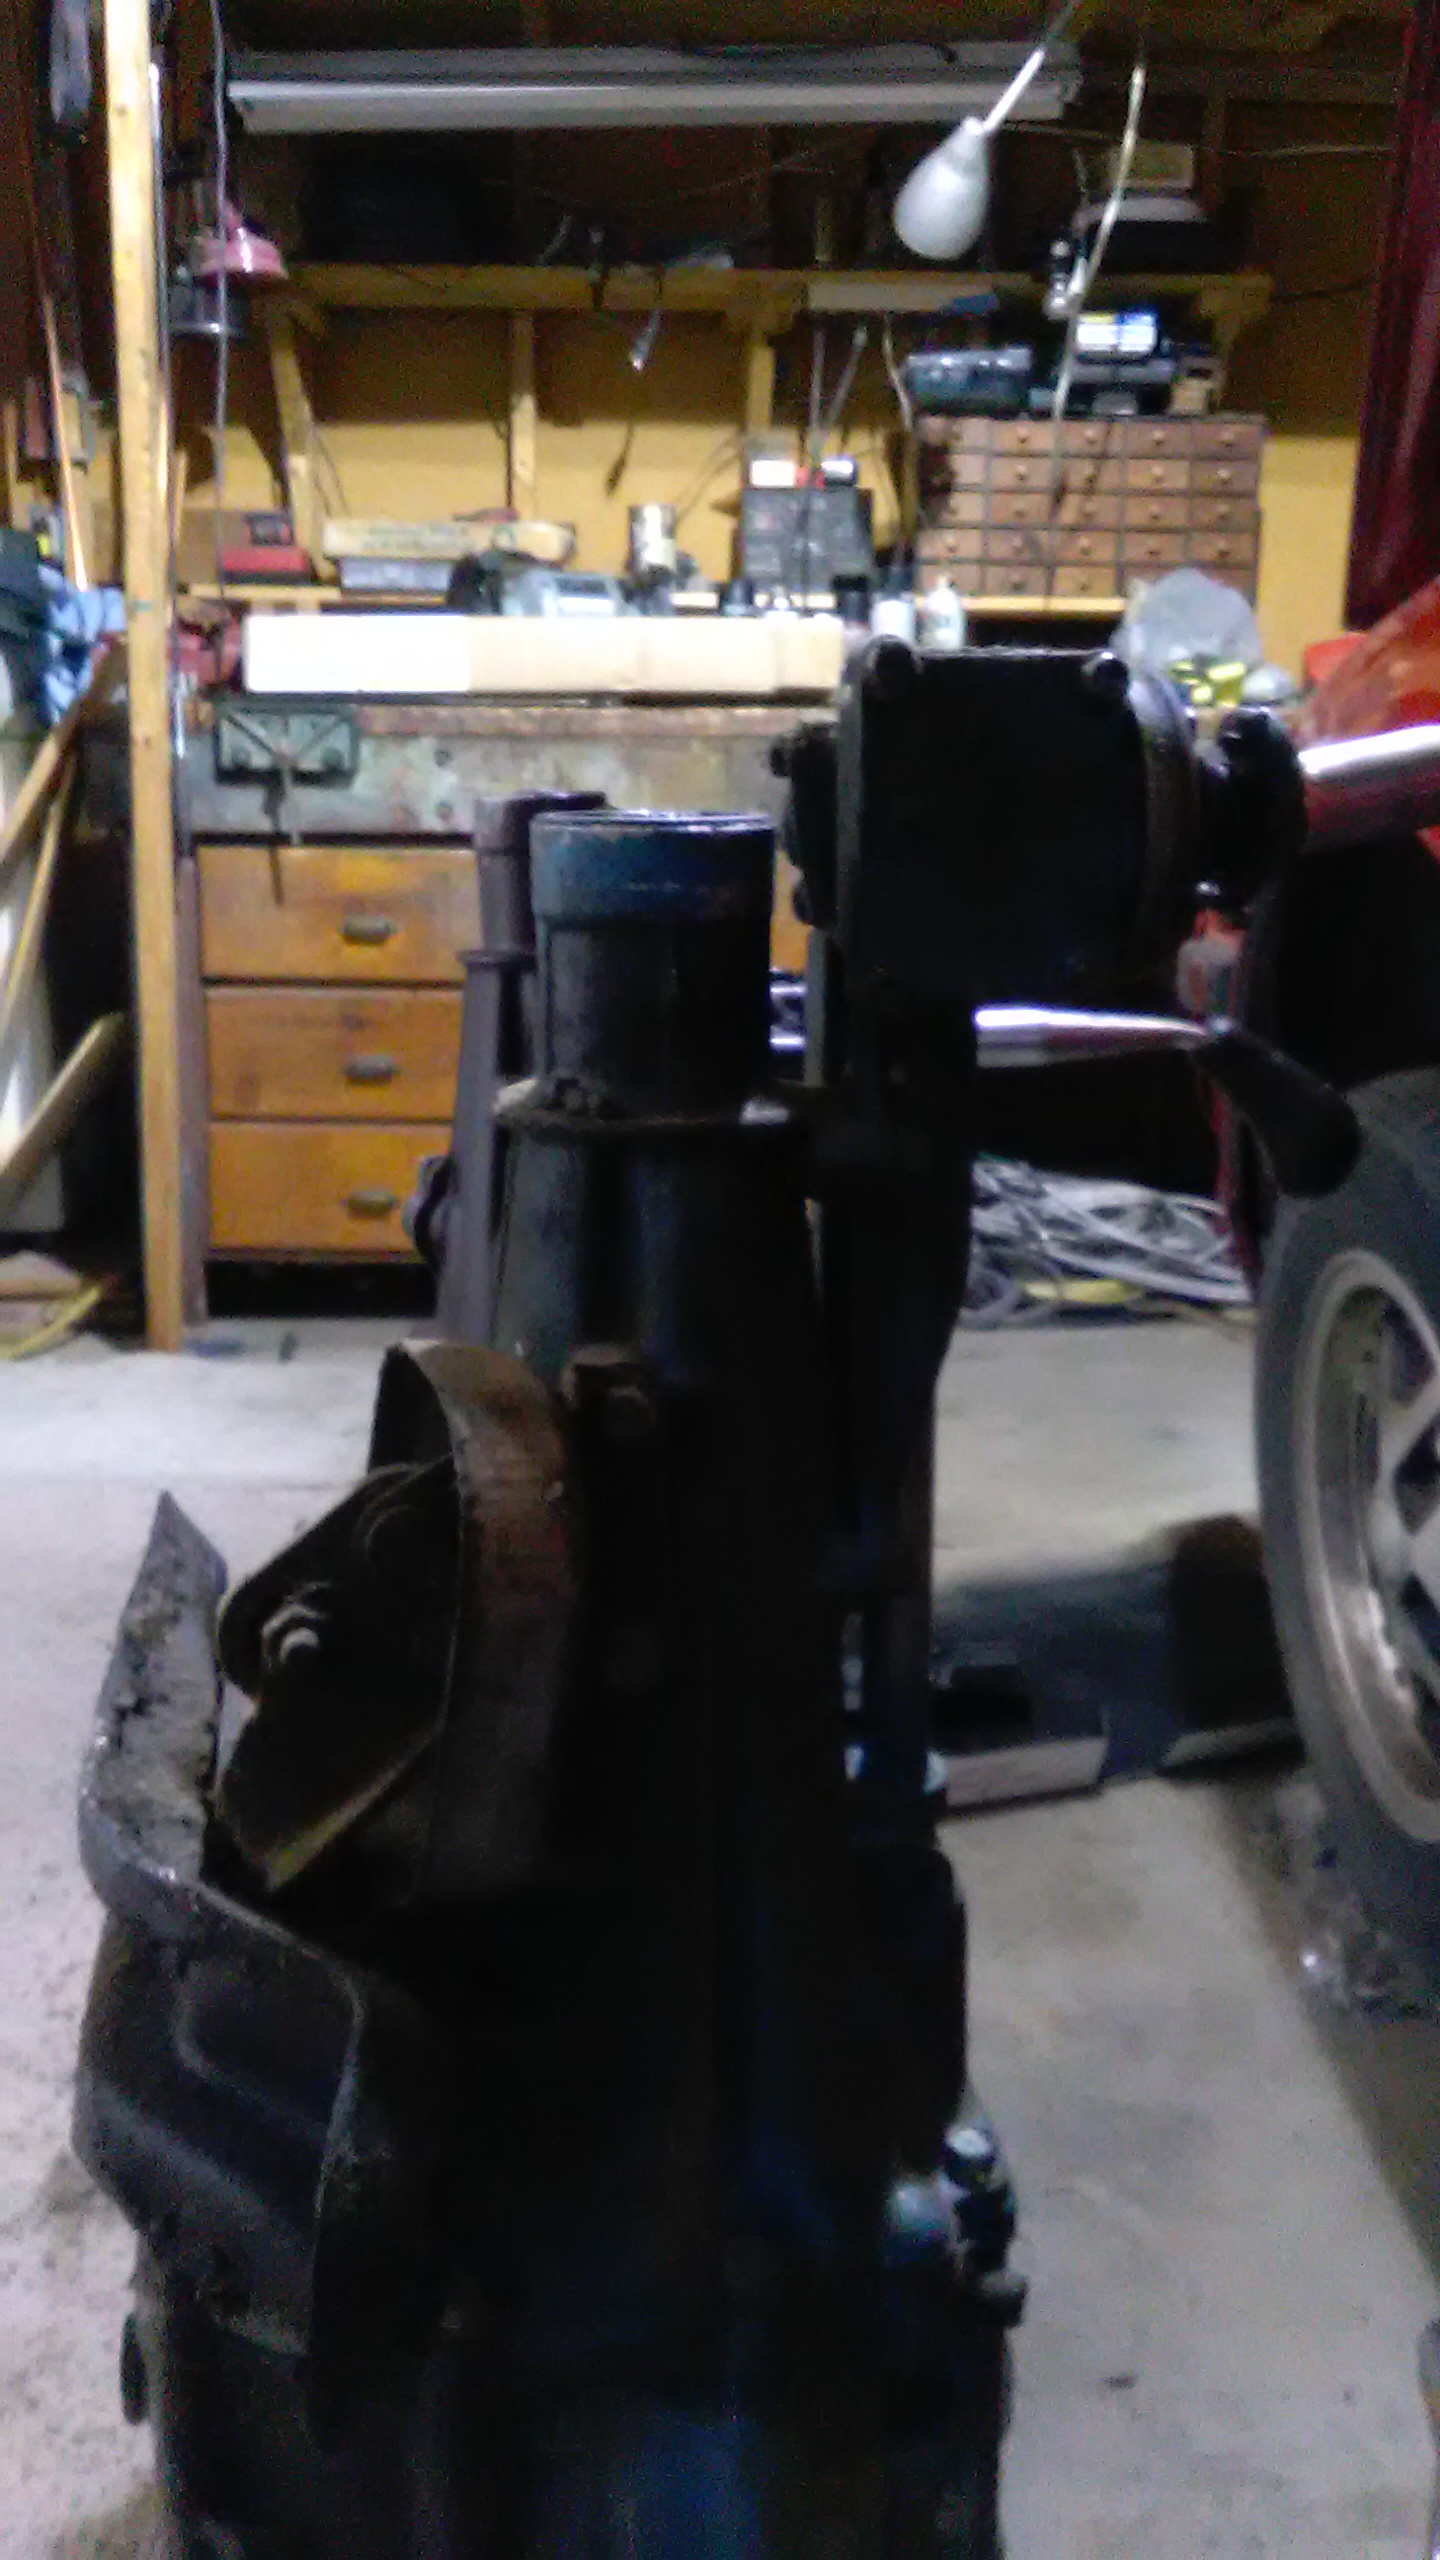
I managed to make some more progress on the car, my goal is to do ONE thing every day on it. This weekend I removed most of the wiring harness and all the extraneous junk from the bay in preparation for rust removal and paint. Only painting the bay now, will paint the rest of the car later. Today I dropped the transmission. I have 2 transmissions, both smooth cases, but as the pics will show, they're not the same. One has the shifter locate at about 32 inches from the bell housing, the other, 28 inches. The 32 inch one was what was in the car. I will note that the blue 32 inch one, the output shaft is not centered in the hole, it's off by about 3-4mm to one side. Is that bad? The purple short trans has its shaft centered. it also looks super clean inside and all the gear teeth look good, so it's the one I want to use.
First, here's the 2 trans', side by side:
Here's a close up of the purple one:
This is a closeup of the Blue trans' shifter location/tailhousing. What is the broken looking thing bolted to its side? It wasn't connected to anything on the car.
So what do I have on my hands here? can I simply swap the tailhousing from the blue one onto the main case of the purple one?


 ...no wonder so many people put chevies in these cars.
 I think you know what I'm talking about (I cut them myself, duh lol).