
ZoomZoom's CYM- Imported from Canada; a Journey Begins... Again.


I've heard people use FIPG for oil pan, but do you need that for the diff cover? I sealed my diff cover with Permatex The Right Stuff and it's been holding up well for the past few years.
I was given instructions on how to apply this Mercedes stuff and it goes something like this...
Make sure the diff cover and the housing are at the same ambient temp. Clean both surfaces and apply the product in a bead on the housing face. Wait 15 mins and then apply the cover and snug to in a star pattern and then tighten to spec in star pattern.
Wait 2 hours before adding fluid.
There were some other details about variations in wait time depending on actual ambient temps. I will say this. The Germans are precise with these directions...
It may even be the directions themselves that are the most valuable regardless of the product being used; but that's just a guess.
Cat backs also run really close to the diff, so heat wrapping that area would probably also help out diff life on the track.
The real test is to seal it with "X" and hit the track for some hot lap sessions like Fritz. If it still doesn't leak then success.
I was given instructions on how to apply this Mercedes stuff and it goes something like this...
Make sure the diff cover and the housing are at the same ambient temp. Clean both surfaces and apply the product in a bead on the housing face. Wait 15 mins and then apply the cover and snug to in a star pattern and then tighten to spec in star pattern.
Wait 2 hours before adding fluid.
There were some other details about variations in wait time depending on actual ambient temps. I will say this. The Germans are precise with these directions...
It may even be the directions themselves that are the most valuable regardless of the product being used; but that's just a guess.
my thought is that if the pan isn't installed within 20 minutes of the keg being squeezed together, the lip of the pan will never seal perfectly where the housings/irons meet, that "T" area. the type of sealant or application of that sealant won't matter.
I have never seen oil pan re-seal jobs perfectly seal, and this is my guess as to why. I wonder if others have had luck doing this.
i think the main issue is that rotaries have sealant in between the housing/irons, which squeezes out during assembly.
my thought is that if the pan isn't installed within 20 minutes of the keg being squeezed together, the lip of the pan will never seal perfectly where the housings/irons meet, that "T" area. the type of sealant or application of that sealant won't matter.
I have never seen oil pan re-seal jobs perfectly seal, and this is my guess as to why. I wonder if others have had luck doing this.
I'm strictly speaking about the Diff cover. The aluminum Greddy cover in particular. Mating it to the iron pumpkin ends up in extreme cases (like when tracking the car) that it leaks fluid at the mating surface. Fritz has mentioned it previously that nothing he does seems to keep it from leaking. So that is why I am looking for a solution. Maybe if this ends up being the cure it will benefit those in the future who end up with the same problem. I don't plan on making this a track car but it may see the track from time to time.
And BTW, your car is way over built if you are not going to track it

That being said I have been looking at upgrading the Torsen diff to something like the 1.5 way OS GIKEN. I'm just letting my wallet cool off for the rest of the month. I've spent all my disposable income for April already.
I also just picked up some never used CW Carbon Fiber Brake Ducts from Fritz. Those should be on thier way to me very soon.

Fritzs leaked from the drain plug.
The cover isn't probably going to do much except keep the fluid from heating up as quickly so if you're not doing extended sessions it's just extra weight.
The cover isn't probably going to do much except keep the fluid from heating up as quickly so if you're not doing extended sessions it's just extra weight.
Everytime I've ever changed the diff fluid it's always burned up in other FD's; even when it's basically newish fluid. But I was doing some drag racing in the last car. And LS3 had 440 ft lbs torque. Seems the extra fluid may help and the cover is aluminum so any extra fluid weight is probably a wash but I will reserve judgement to the more track experienced guys like Peter and Fritz.
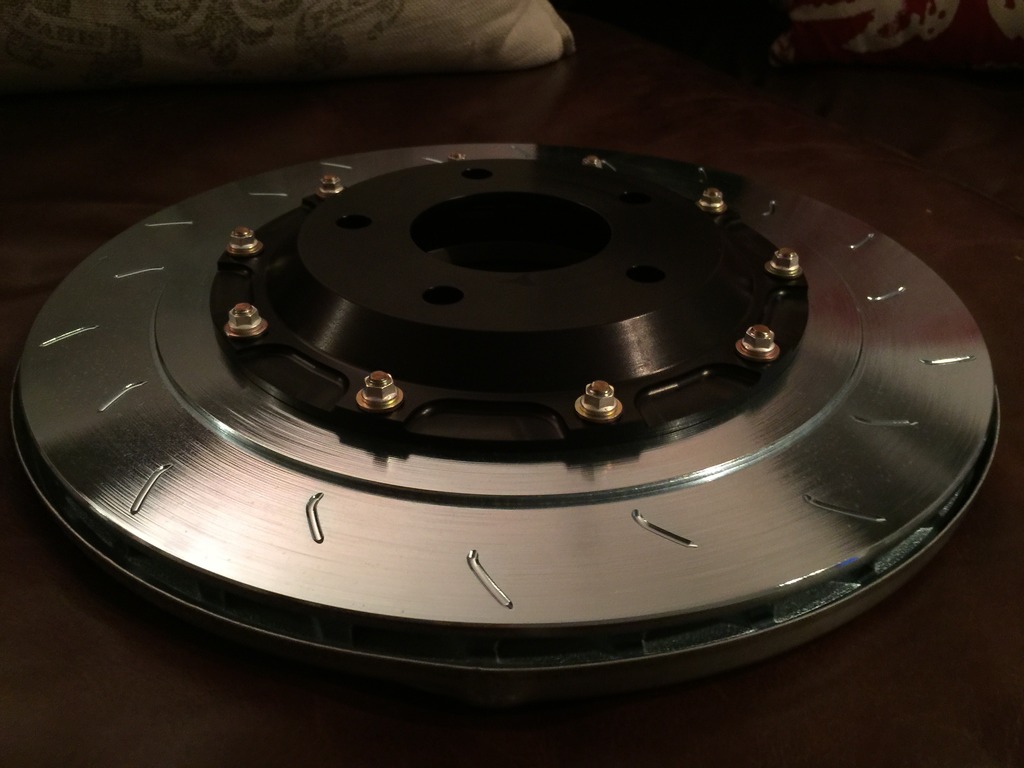
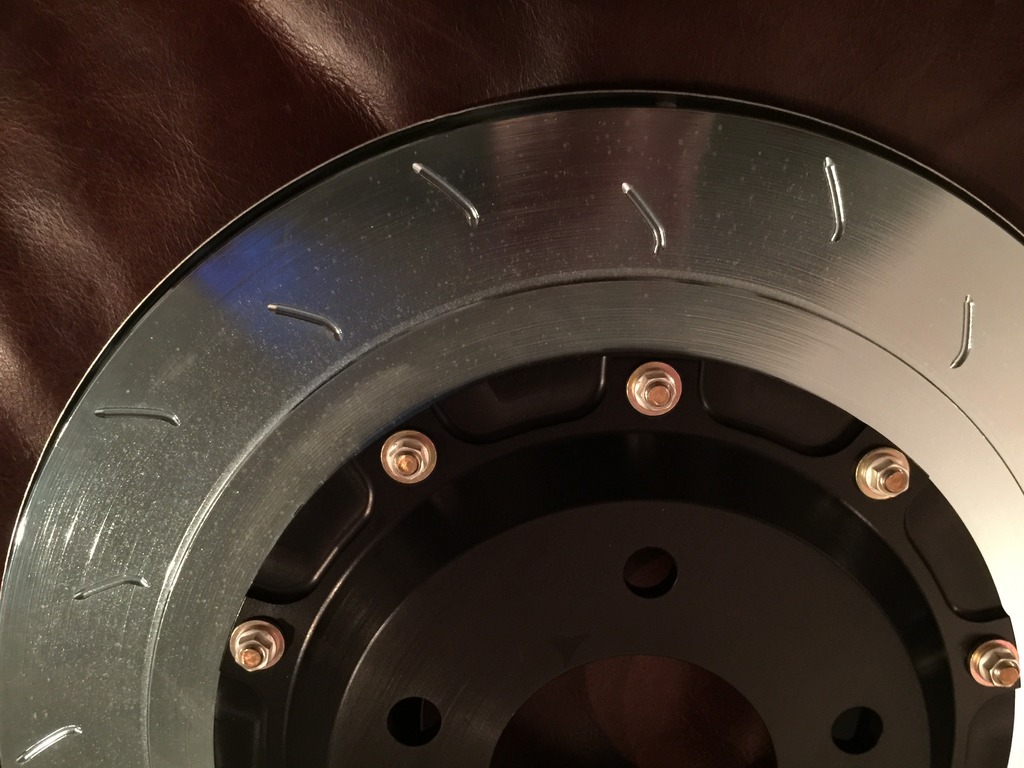
Why would anyone pay to Zinc coat thier rotors?
Oh cause it looks so good and won't rust. The pad will wear thru the mating surface and it may get some surface rust until you apply the brakes.
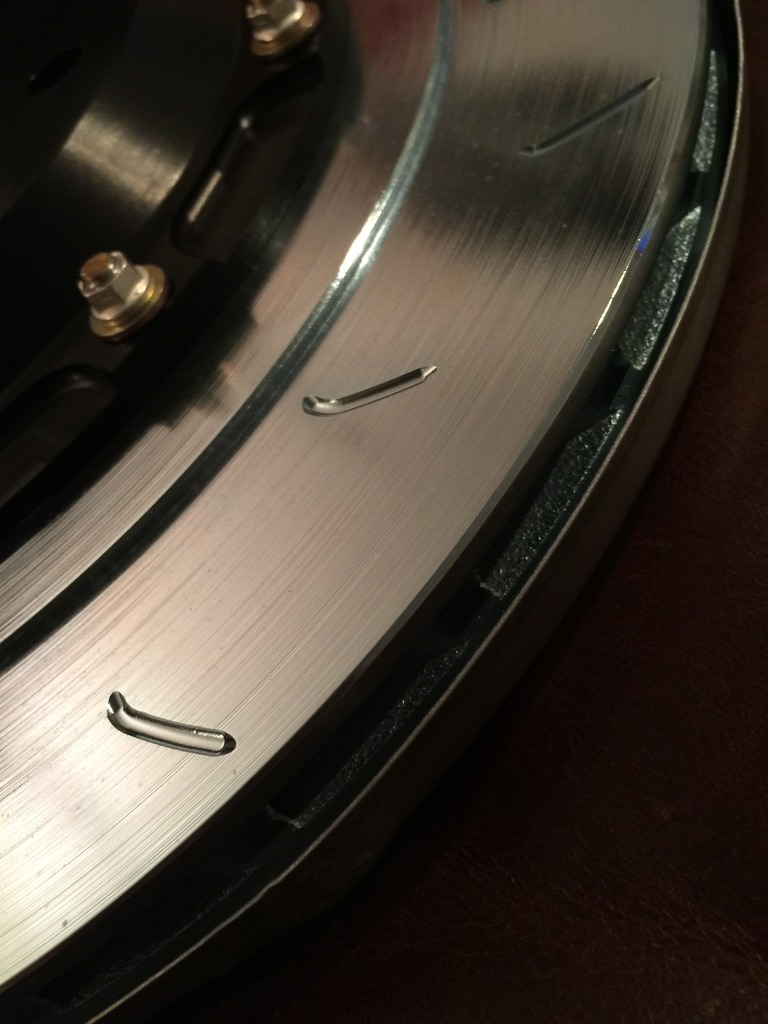
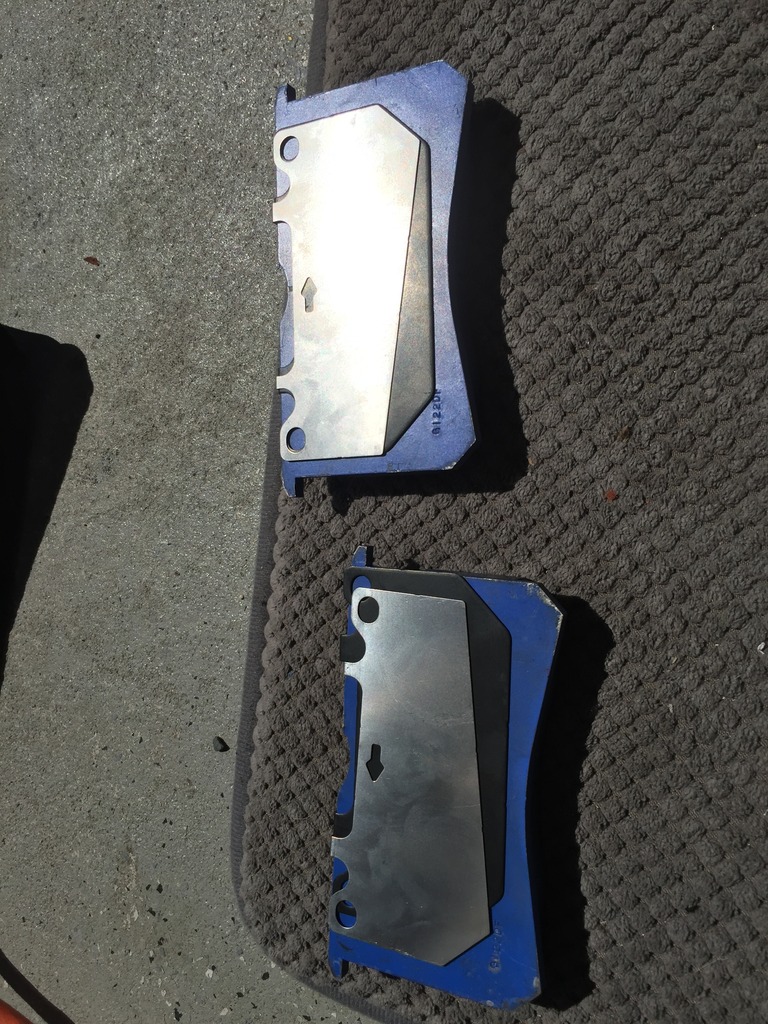
But what I really wanted to show you. 99 spec rear brake backing plates. #OVERNIGHTPARTSFROMJAPAN
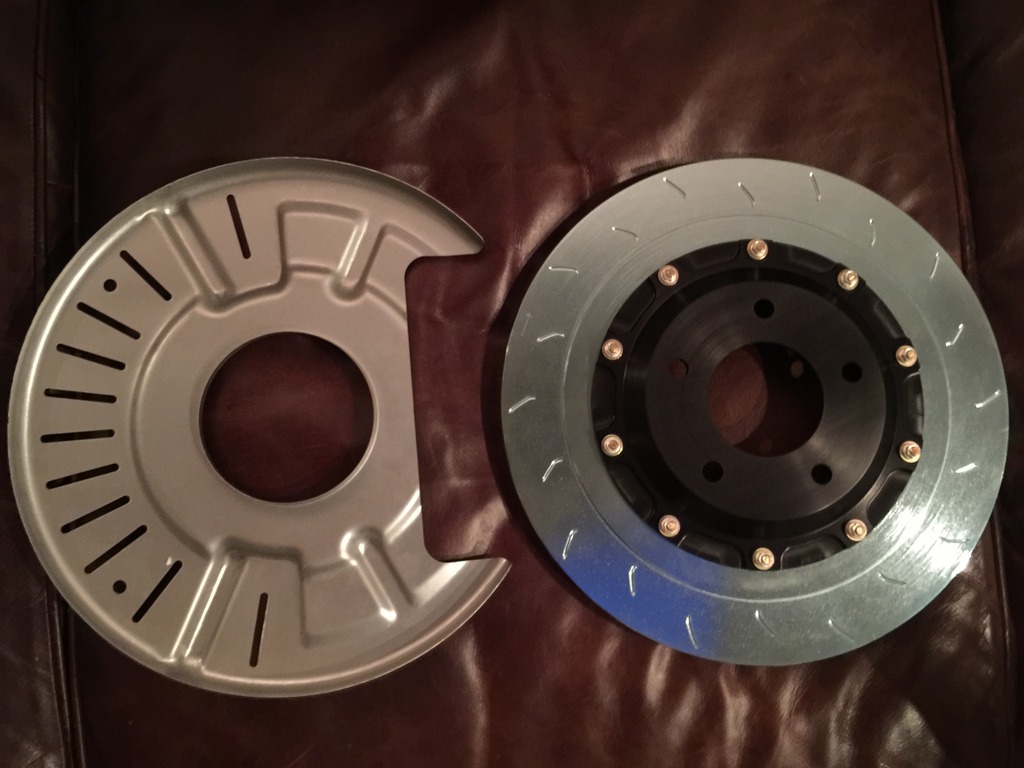
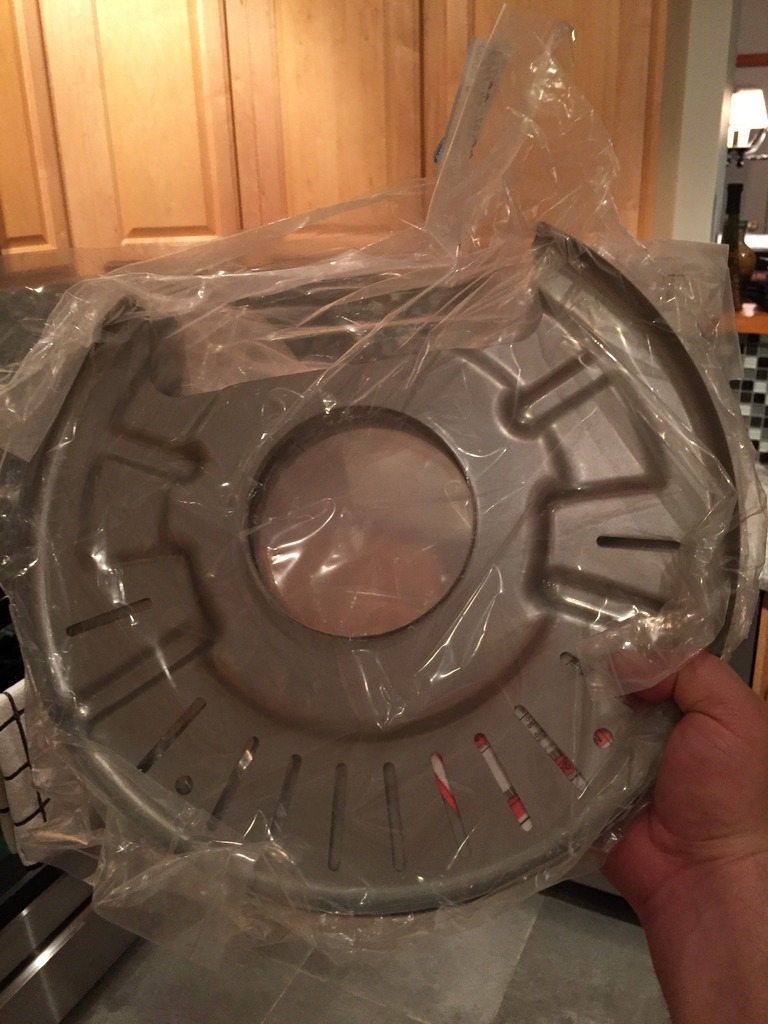
99 Spec rear vented dust shields fit the SakeBomb rear BBK
New rear hubs arrived. Have the stupid stock studs that need to be removed
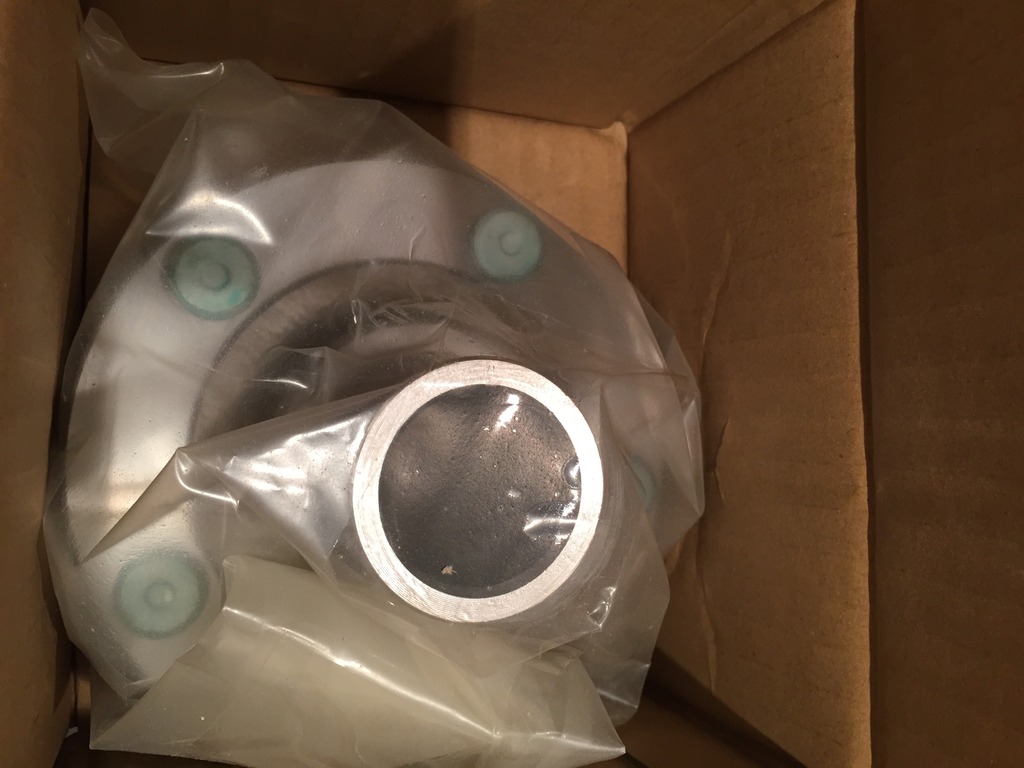
And for you part number ****** (NARFLE)
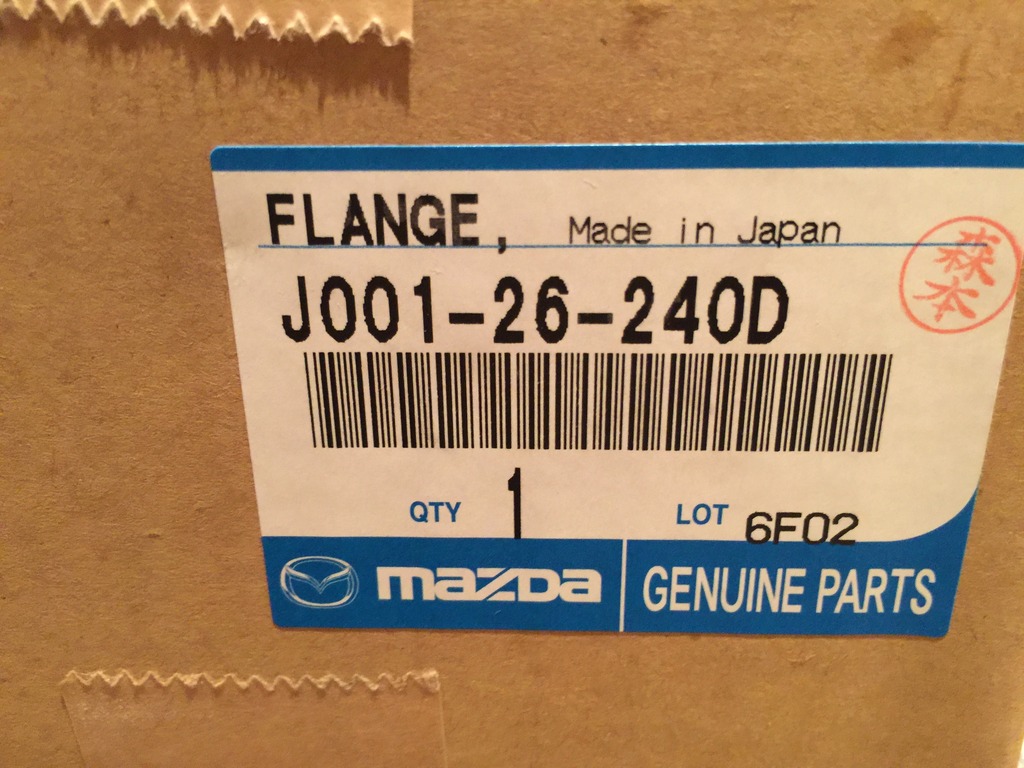
The fronts are Centric from J-Auto. They come with the bearings and you can get them shipped within ARP studs. Rears will need a new bearing pressed on. I got the bearings from J-Auto. High quality KOYO bearings.
I also got the hardware for the headlight brackets. SakeBomb headlights arrive Saturday.
I also picked up a new Center Console arm rest but haven't unpacked it.
Brake shims from Mazda arrived. Only waiting on Carbon Fiber Brake Ducts to show up and I will finish the brakes. I'm making this drag out a lot longer than I needed to. But I like doing it once.
Oh cause it looks so good and won't rust. The pad will wear thru the mating surface and it may get some surface rust until you apply the brakes.

But what I really wanted to show you. 99 spec rear brake backing plates. #OVERNIGHTPARTSFROMJAPAN


99 Spec rear vented dust shields fit the SakeBomb rear BBK


New rear hubs arrived. Have the stupid stock studs that need to be removed

And for you part number ****** (NARFLE)

The fronts are Centric from J-Auto. They come with the bearings and you can get them shipped within ARP studs. Rears will need a new bearing pressed on. I got the bearings from J-Auto. High quality KOYO bearings.
I also got the hardware for the headlight brackets. SakeBomb headlights arrive Saturday.
I also picked up a new Center Console arm rest but haven't unpacked it.
Brake shims from Mazda arrived. Only waiting on Carbon Fiber Brake Ducts to show up and I will finish the brakes. I'm making this drag out a lot longer than I needed to. But I like doing it once.


Joined: Mar 2001
Posts: 30,818
Likes: 656
From: FL-->NJ/NYC again!
Stop baggin' on the stock wheel studs, they're sufficient..... for us peasants at least 
So many new parts. I guarantee you had no idea that you'd go this far down the rabbit hole when we were discussing your potential purchase of this Canucky Yellow Mica mobile
So many new parts. I guarantee you had no idea that you'd go this far down the rabbit hole when we were discussing your potential purchase of this Canucky Yellow Mica mobile
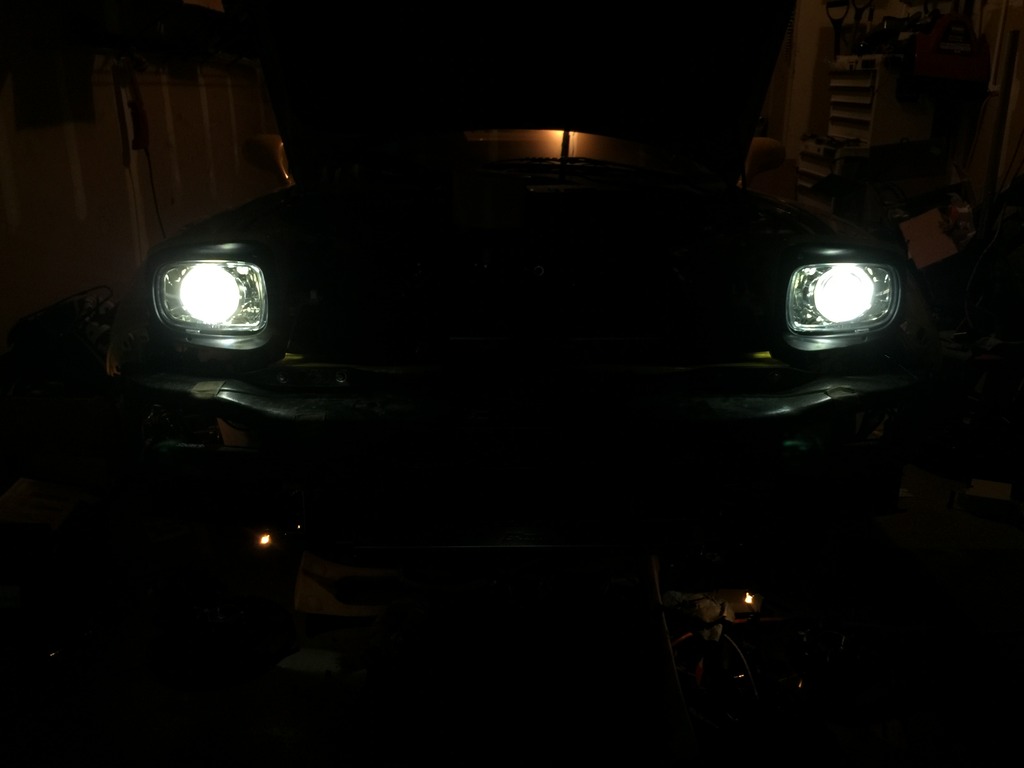
Installed the SakeBomb headlight kit today. Be prepared to Itch when cutting the stock headlight buckets. They are fiberglass and it will go everywhere. I bought the best double sided tape they had at Lowes. Scotch extreme outdoor use. It doesn't stick all that great to be honest. I may end up having to zip tie the ballasts. Yes I cleaned the surface first
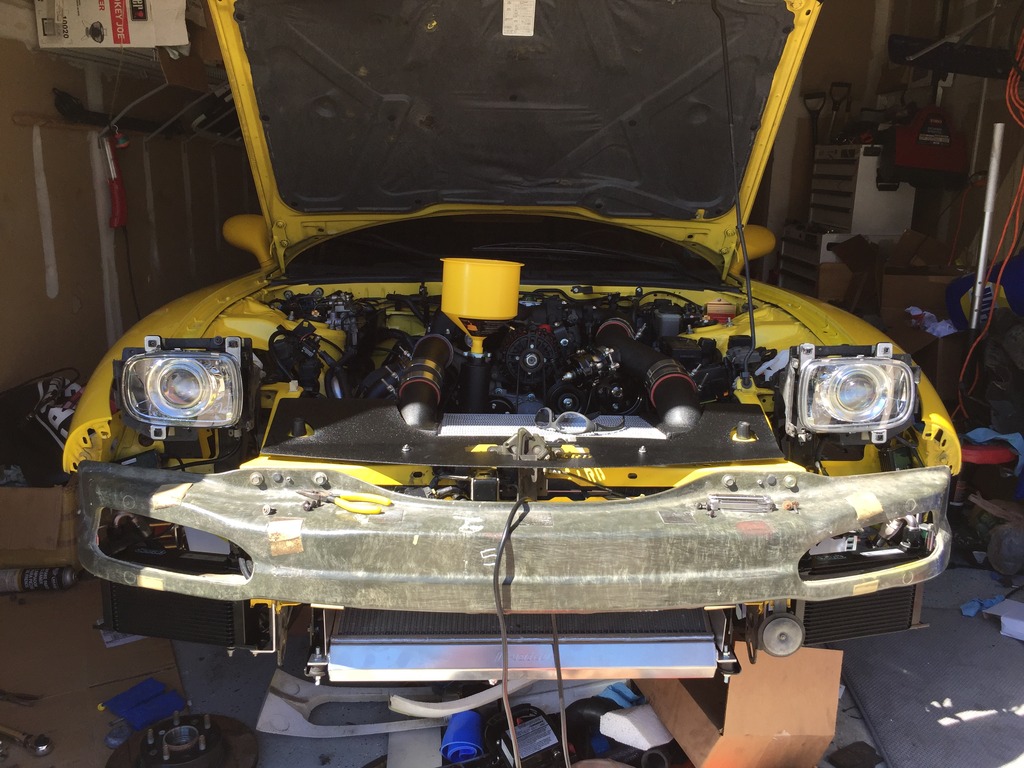


I was considering taking the day off tomorrow to finish up and bleed the brakes and start driving it. It needs the ride height set. I measured the rear and it's at 26.5". I was at 24.5" prior to putting on the Ohlins. I will probably set it to around 25" all around. It's all fine detail stuff now. Putting fender liners back in and fitting the under panel back on.
I expect to have to do some cutting on that for it to fit with the new configurations.
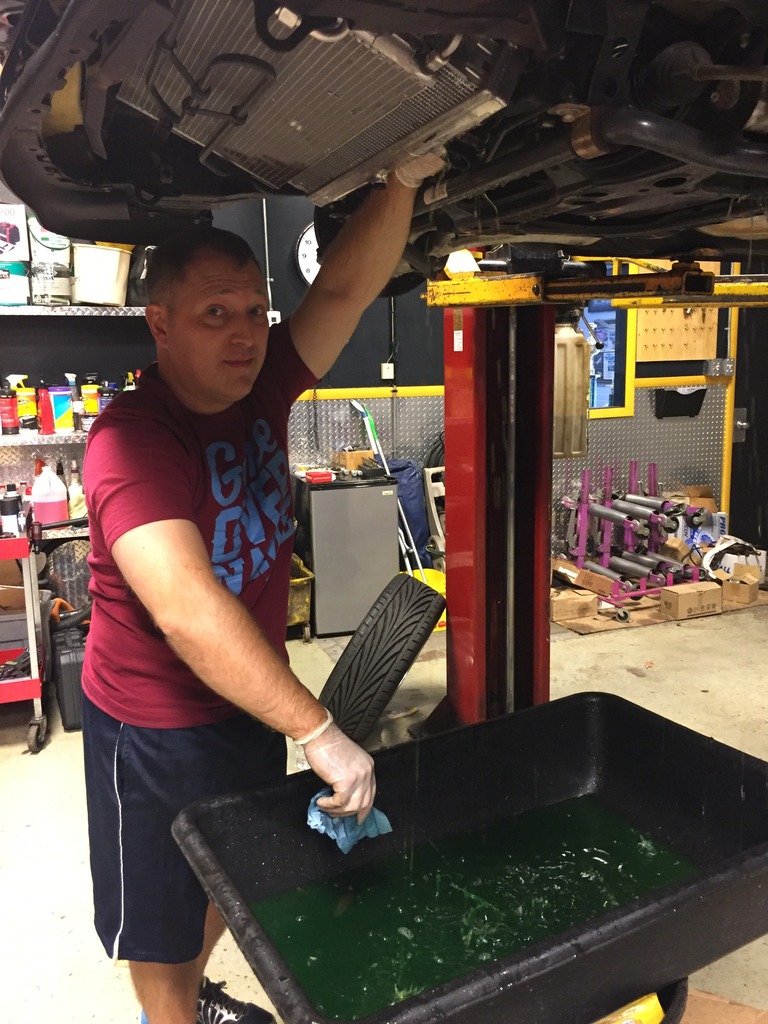
Spent yesterday with 1cleancym, Fourtyounce and GoodfellaFD3S. There was some car maintinence being done up in north jersey. I came by to show my support and swap some parts.
Here is GoodfellaFD3S taking a Prestone bath.
I expect to have to do some cutting on that for it to fit with the new configurations.
Spent yesterday with 1cleancym, Fourtyounce and GoodfellaFD3S. There was some car maintinence being done up in north jersey. I came by to show my support and swap some parts.
Here is GoodfellaFD3S taking a Prestone bath.


Keep up the good work
Lane
Thanks Lane. I didn't take many photos of the headlight install. Was just trying to get it done
Meanwhile car is coming along

Stock brake hardware to keep the AP kit quiet.
Meanwhile car is coming along

Stock brake hardware to keep the AP kit quiet.


I have a pile of parts accumulating everyday. I can barely stay ahead of it.
Just received new inner and outter Tie rods and steering rack bushings. New bellows for the rack.
I am working on making another Intake that is a little more JDM looking. Show you that when the time comes. I bought an old R1 strut bar that needs refinishing. I may do something wild with it. I'm still thinking on that. I've yet to install the AEM water meth kit. It's sitting here waiting.
I was planning to take the car to a shop and use the lift to do the axle shafts, hubs and diff bushings and throw on the rear brakes but he is backed up with work and I may not be able to get the car on the lift.
I want to rethink the catch can I was planning to use. Maybe pick up a Radium unit.
I'm still running the stock Diff although I got the Greddy Cover for it. I am thinking of going with the OS GIKEN 1.5 Way clutch Diff. I am skipping a few things at the moment just to get the car on the road.
My Carbon Fiber Brake Ducts arrive today so I get to pull the front brakes back off and install those this afternoon. I will post pics of them when i get home.
I have some fresh R1 seats I will install once the car is out of the garage.
There are a lot of little things. But it's getting closer to the projects I enjoy the most. Ones that don't require the car being on jack stands for days, weeks, months....
Now that the weather is so nice I just want it back on the road. I will address all the other things as I can get to them. I just won't be boosting the car until I get the water meth kit installed and datalog the tune.