When you click on links to various merchants on this site and make a purchase, this can result in this site earning a commission. Affiliate programs and affiliations include, but are not limited to, the eBay Partner Network.
Someday I would love to do a full to the limit of the rules competition spec FD SCCA ASP build, but for now here is my budget basic ASP build that couldn't escape the garage without a little of sparkle sprinkled on.
A Street Prepared class
Street registered cars on DOT tires retaining complete stock engine block, turbos, transmission & rear end, full interior.
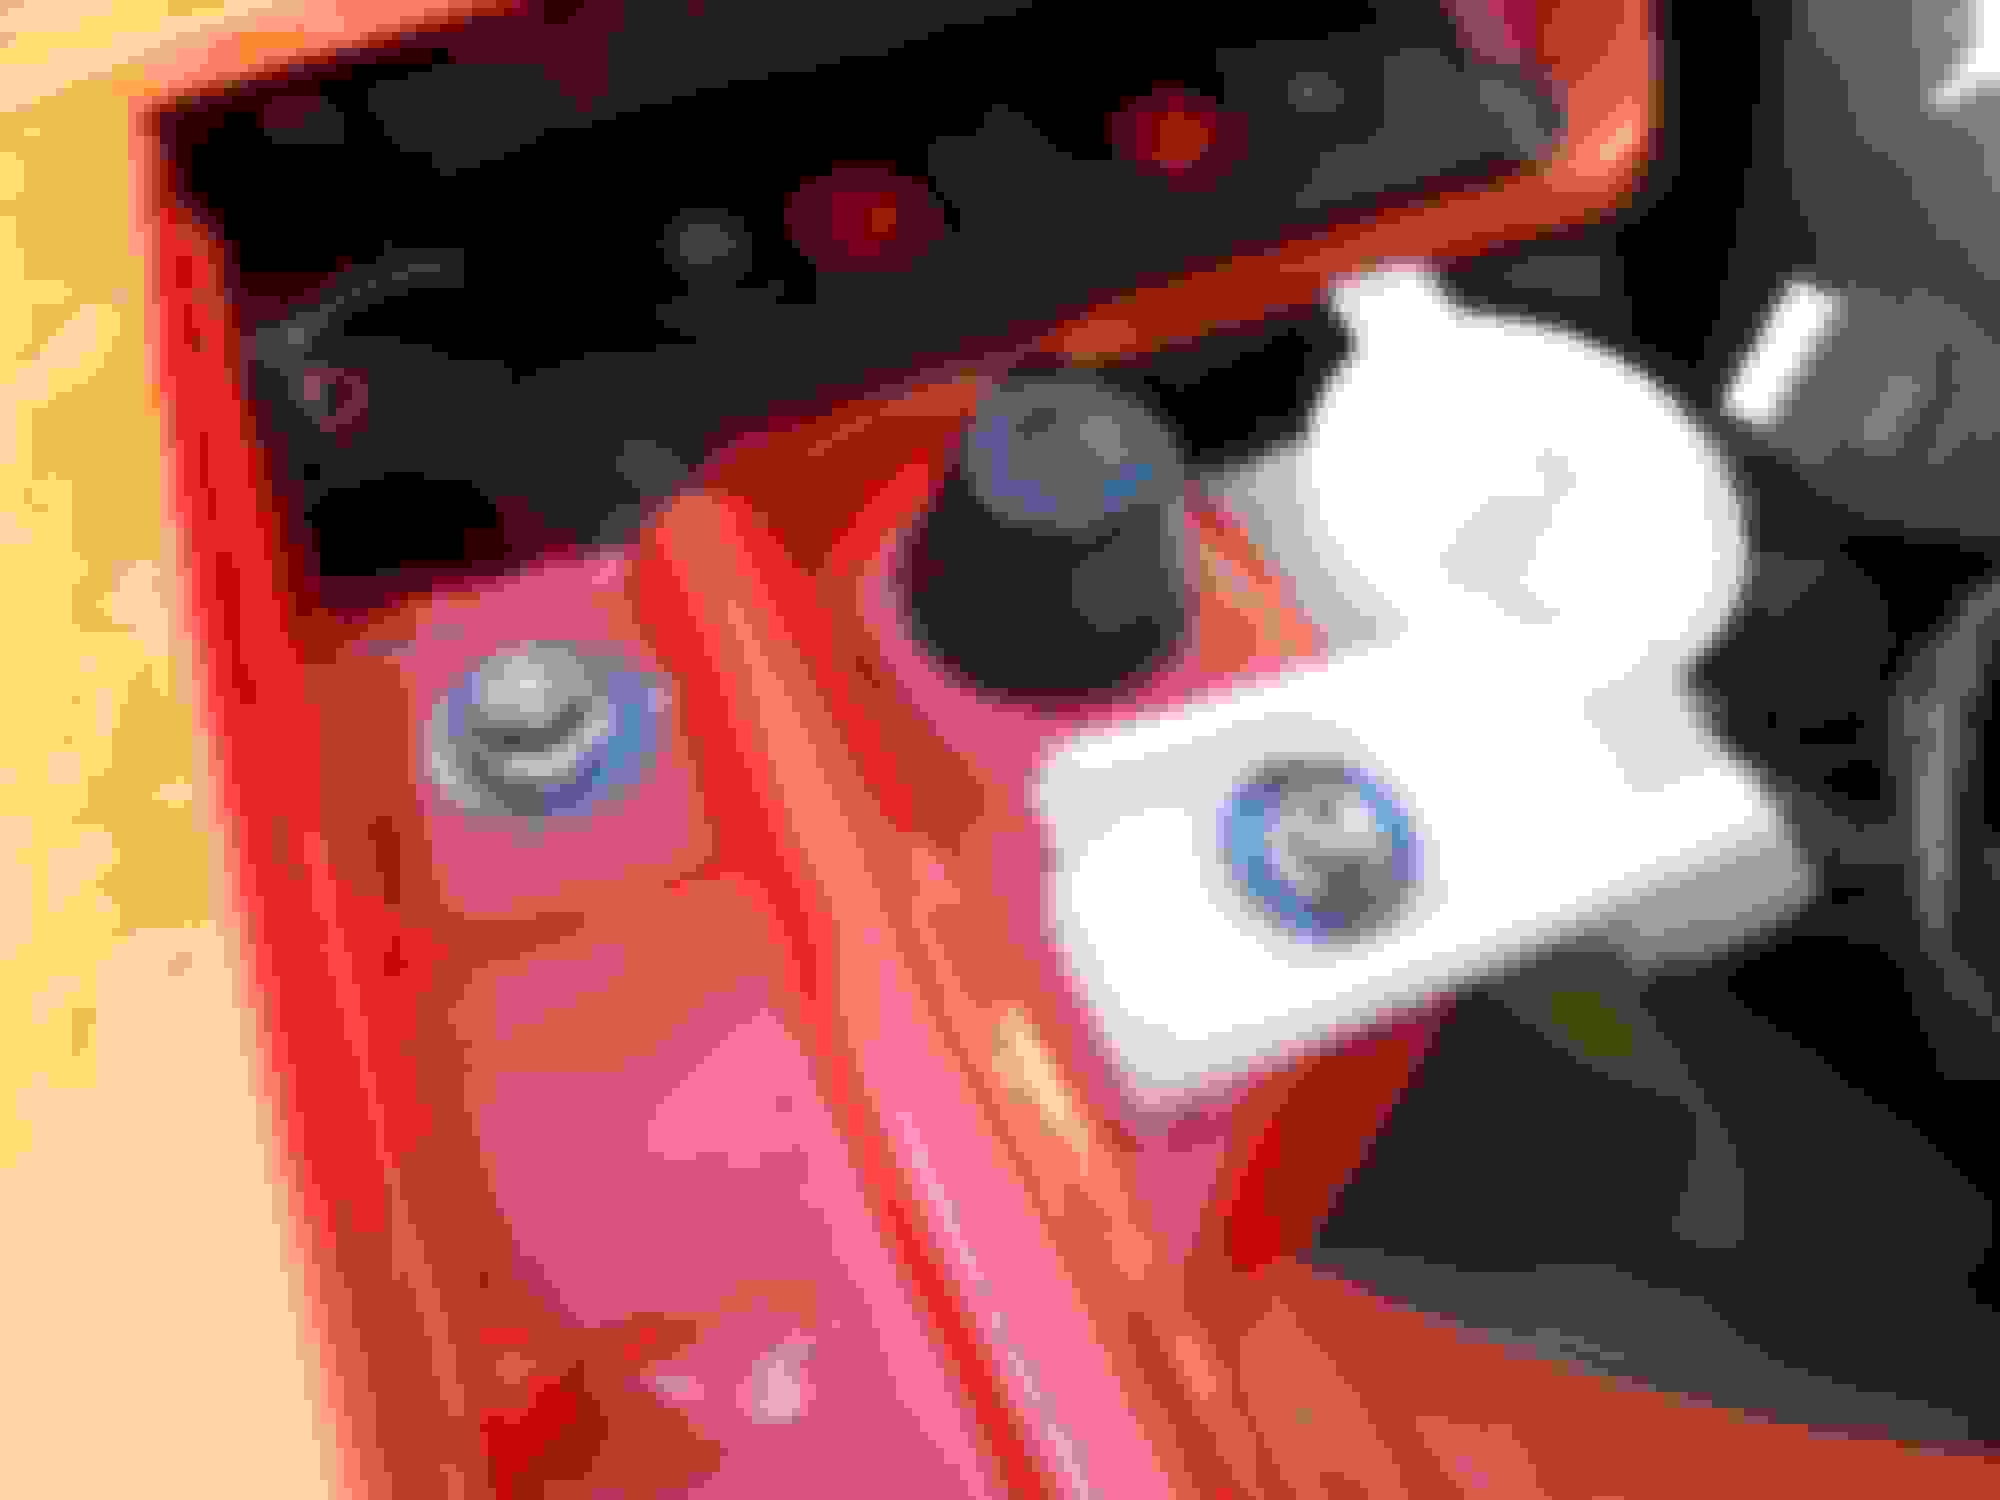
I was inspired to paint my engine bay bits satin Black from other forum member's builds. China catch can that is surprisingly nice. Seems hard anodized, light baffling on the two inlets, bottom screws off to empty. Night before my first start/roadtrip/race I made that mount for it with wingnut so I can easily drain it. I used China Ti hardware for the stressed connections like on the intake here. Aluminum hardware on non stressed parts. Some industrial Ti washers I cleaned up and burnt on my stove.
In the Street Prepared class hardware is free on components that are free like the intake manifold, shocks, exhaust, accessory pullies, but the body hardware that I replaced not so much. Rules state can any hardware as long as it is not "materially lighter". Well, I did the body hardware as a cosmetic mod and would have to go with something stock weight or heavier like SS if I wanted to compete on the Nationals level. This build is for fun- if/when I do a competitive build I will make sure I fix the "protest bait" like this. Have a sock on the power steering reservoir. This has always sloshed out on my FD. I just ordered some (China) Ohlins "branded" socks for motorcycle reservoirs.
Drivetrain mods-
Lightly ported intake/turbo manifolds. Cleaned up outer radius, matched downstream ends to gasket and located with brass tube on the studs to take out the slop on fit-up.
Ported throttle body with half shafted primary with button head screws and flat head screws on 2ndary shaft.
Turbo inlet hard pipes to M2 CF intake box
Old 18 row ASP large intercooler/duct (didn't know they later improved it with more rows when I bought it).
Knight Sports dual 60mm to 80mm downpipe
Custom 4" stainless exhaust to Apex'i Ti muffler
Boost creep (not allowed to port wastegate in class) 16psi falling to 14psi at redline
Knight Sports custom ROM tuned JDM ECU
Banzai lightweight accessory pulleys
Full emissions delete with FFE block off plates
Both oil fill nipples to China catch can
Simplified sequential using China vacuum manifold
Denso Supra pump (Holley Hydramat ordered)
Exedy sprung copper puck twin plate clutch
Poly differential mounts
OS Giken Super Lock LSD
AC deleted
4Lb battery relocated to "frame rail" under PS pump
Winchester Metals oil pan
Point of interest-
My complete stock engine that I pulled weighed 407lbs, the simplified sequential with emissions and AC strip that I put back in weighed 360lbs
Wheels I had rashed my flat Black powdercoated 18x11 +45 Forgestar F14 in 2013 and put Duplicolor truck bed liner on them. Problem is it bubbled from brake heat when I raced. I sanded and re bed linered the wheels 3 times- they were gaining weight from their usual almost 23lbs selves. I stripped the bed liner by soaking them in diesel fumes and painted them "Grimmspeed Gold" with a coat of Spraymax 2 part "Glamour High Gloss"
1Lb ball of bedliner recovered from stripping wheels. Much of it was dissolved into the diesel.
Footwork-
18x11 +45 Forgestar F14
285/30-18 Hankook Z214 Ventus TDs (usually run 295/30-18, but 285 were old and on deep discount)
Ohlins Road and Track
Tripoint front Speedway style bar with weakest tube (softer than stock R1 I was told) cut down an inch for full steering lock with big wheels
Willwood front 14" 6 piston kit
Street Prepared rules say "any mechanical shift linkage" and since the Ikeya Formula Sequenshifter replaces the stock shift assembly exactly as a short shift kit does I was on the search for one of the rare Sequenshifters. I was on the waiting list for a production run of a new one for 3 years or so (they wait till they get 50 orders) while I shopped for a used unit and finally found one.
Interior-
Bride Japan edition Vios III on Bride Lowmax rails
Takata (Schroth) street legal 4 point harnesses
Rotary Extreme harness bar with FIA mounting hardware
Works Bell hub and Rapfix Hybrid tilt hub
D cut RE Amemiya Nardi wheel pictured sadly switched to round (Greddy Boost Brigade) to suit driving style my RX-8 has since cursed me with (and OS Giken diff seduces me with)
Some Aluminum bits to replace plastic stock pieces
Ikeya Formula Sequenshifter
Haven't gotten rid of that crappy Autometer boost gauge yet....
Exterior/Dress-up
Bakemono Imports carbon fiber rear spoiler- no wings in Street Prepared, but spoilers allowed. This is a "copy" of the Top Fuel spoiler (quotes because it is better quality than original).
Custom rally mud flaps I made from Kydex (the themal molding plastic for sheaths/holsters). Trying to keep the gravel off the paint...
Carbon fiber '99 spec lip. Not legal for Street Prepared. I bought it as it is advertised on Ebay as 1993 R1 carbon fiber lip (which would be legal) and I didn't look carefully enough.
Modified Depot front combination lights
Ti rear tow hook on the way so I can throw sparks without wearing through the muffler
Depot lights are a bit of the extra sparkle I sprinkled on-
Morimoto micro LED projectors replace the (inner) marker light bulb
Profile Flash Back mini LED projectors/turn signals replace the outer turn signal bulbs
The projectors are tiny, but actually work fairly well and are low enough they don't glare to other drivers. Having the projector in the turn signal area really helps throw light onto the sides of the road.
I just got some LED headlight bulbs so my headlights don't look so yellow in contrast the the combo light LEDs.
Last edited by BLUE TII; Oct 30, 2018 at 02:42 AM.
The week before the first road trip/race my FD was still just the shell/interior/suspension on 4 jack stands.
I worked on the fabrication stuff during the day and late at night in zombie mode did the easy stuff like putting in all the stock stuff (it just bolts in like it should, no thinking).
Besides the mount for the catch can I had to make a mount for the coolant air separator tank and a mount for the battery the day before I left. Battery holder fabbed up and sitting on crossmember. This took some thinking. I just had two M6 bolt holes on the "frame rail" where I wanted to mount it. There are several more large holes in the rail in that area. I got the idea to use a well-nut in the holes. Since it was 20mm hole there weren't any well-nuts big enough. A bit more thought and I realized expanding boat bung-plugs were exactly the same thing as a well-nut and available in 20mm. Mounted Pretty lightweight design, but plenty strong to hold the 4Lb battery very securely
The bare metal/rust on the rail is from when I was aut-xing in Stock class with a regular flooded lead-acid battery. Sticky tires sloshed the acid out and under the stock battery box and onto the sway bar. I rinsed it off as soon as I noticed and switched to the sealed battery, but the damage was done
Oh yeah, took a moment to make a ghetto Lisle Funnel because f*ck $40 for that piece of plastic
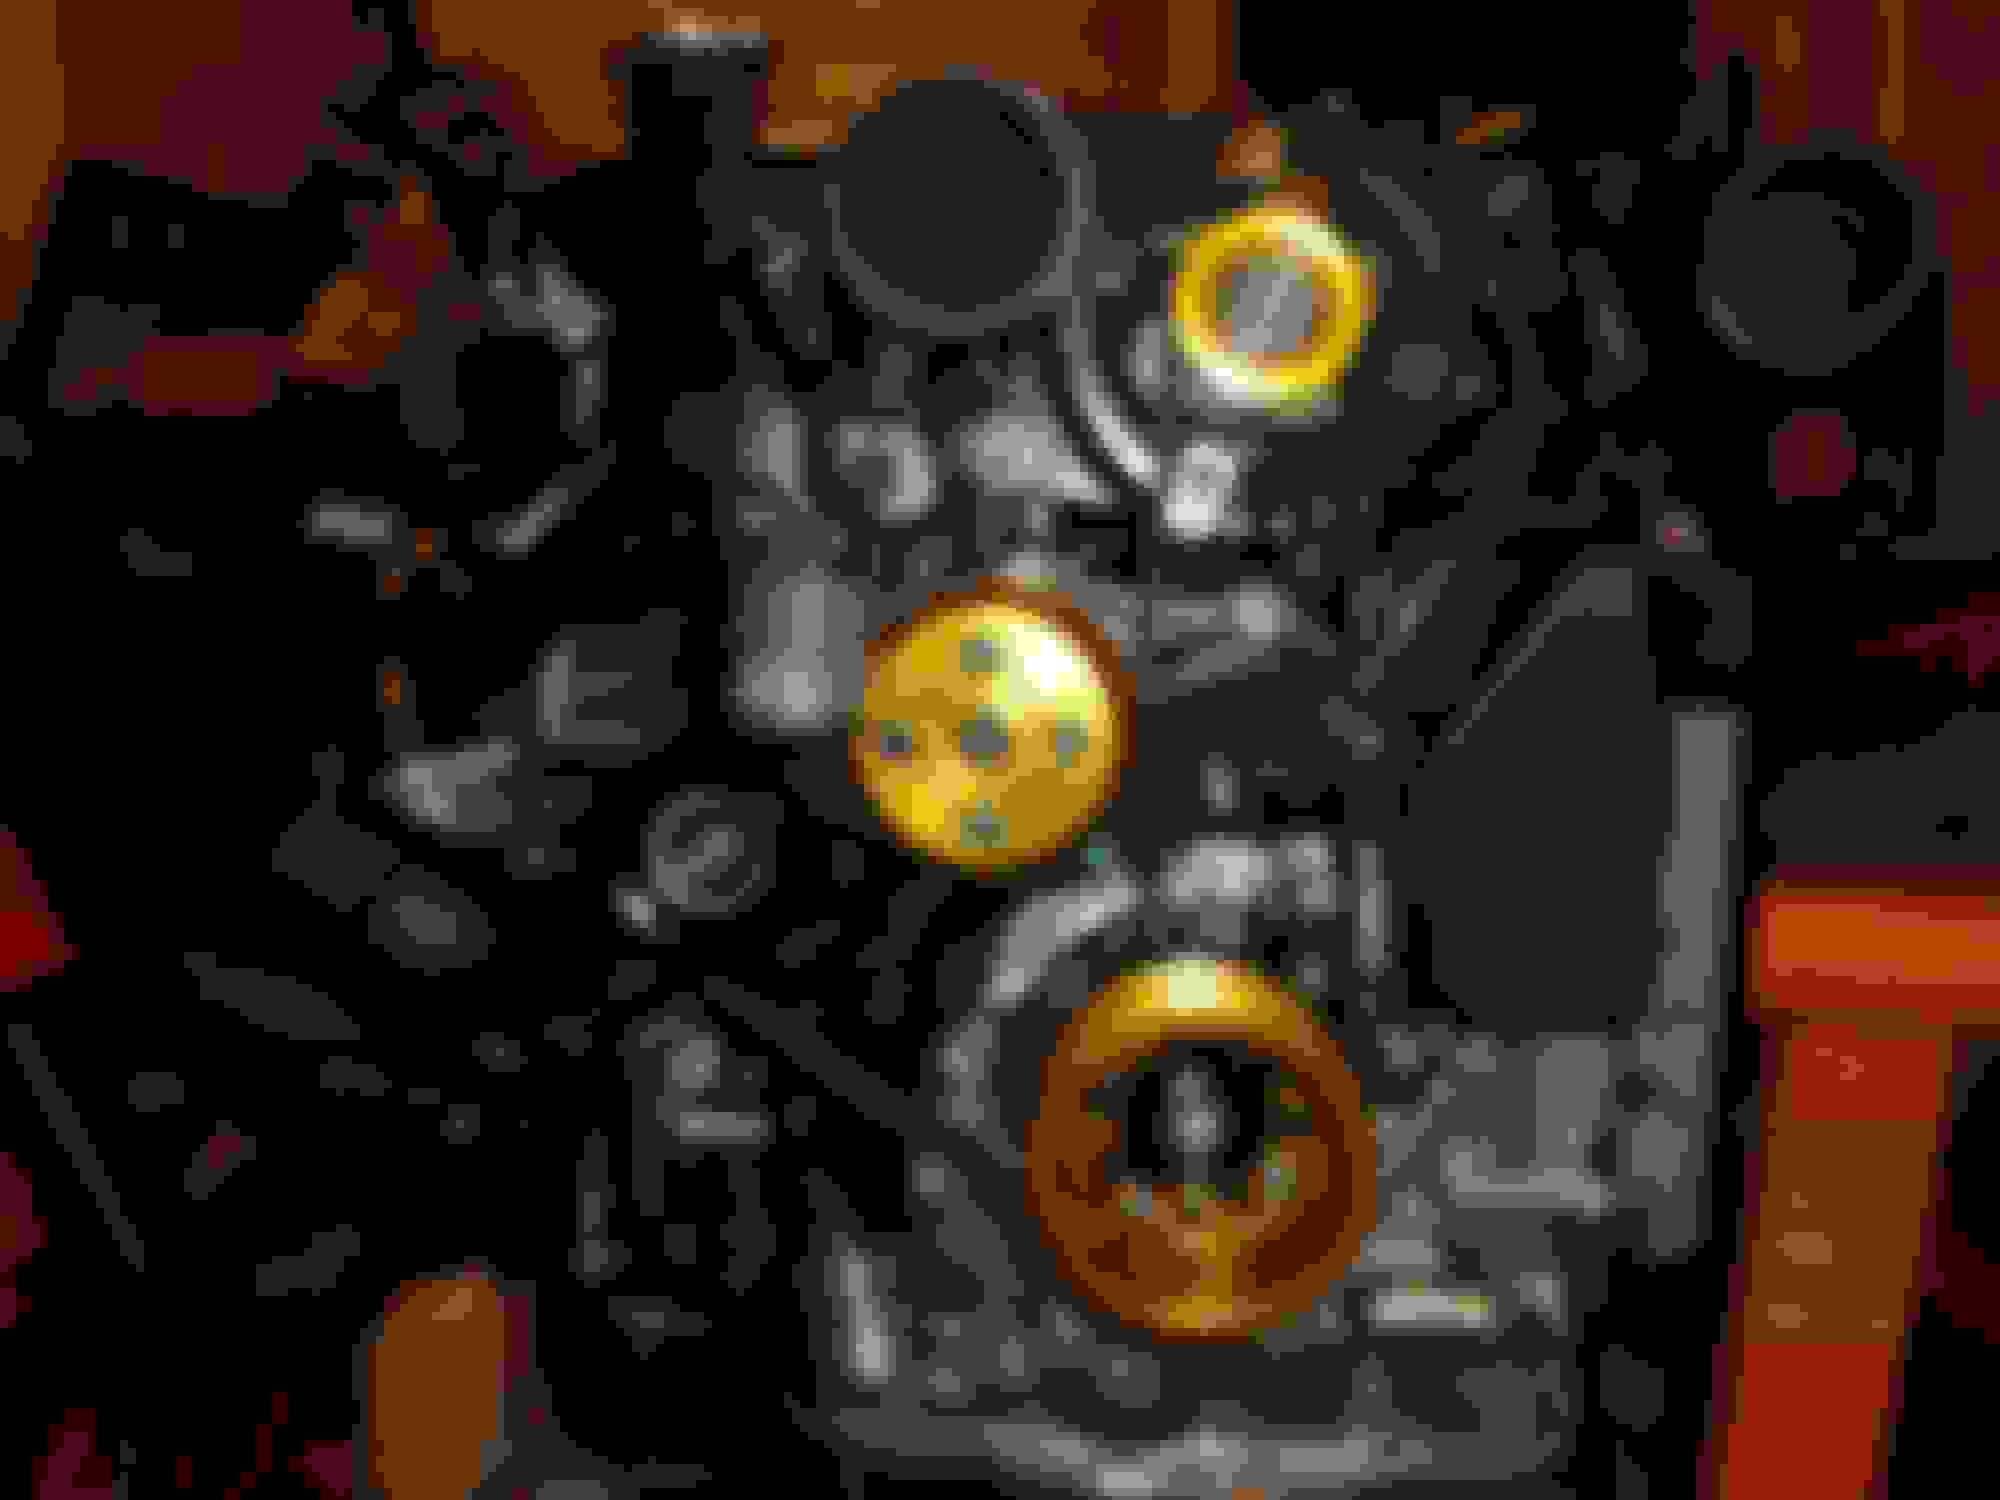
Some pics of the engine before I put it in the car- For the simplified sequential I did something new and used a China vacuum manifold off the big 3/8" nipple on the intake manifold and a big check valve for all vacuum sources. I got lucky and the piece fit exactly on the stock coil bracket where the "rats nest" bracket would normally bolt. Front of the engine has China Ti fastners. I had to torch my own on the big pulley nuts. Sadly, the 1Lb lighter Advance alternator didn't work. Tested good at O'rielly's three times (thanks) and then ran the battery dead the first time I started the car. That was the day I left on the trip/race. Had to clean up the stock alternator and put that back on.
The engine bay looked so good before I put in the IC/airbox in front of the engine. Made me want to run it NA just to show off the front of the engine.
Another fail (on my part this time) was I did the emissions delete resistors wrong.
I replaced the stock emissions devices with 1/4 Watt resistors that matched their impedance.
Put in my stock stock ECU for first start just in case and sure enough- turned the key on and checked for engine codes and pretty soon a wisp of smoke comes out of the ECU. Fried the ECU power supply. Duh, 1/4 Watt here and 1/4 Watt there for all 13 components I replaced and the current draw was too much for the stock ECU power supply.
I READ how to do the mod and learned you just put 330 Ohm resistors in the four solenoid connectors you aren't using. Took the UIM off and changed those out, put in my JDM ROM tuned ECU, crossed my fingers and turned the key- Phew codes but more importantly no smoke this time.
And it started and ran.
Did I mention this was the day I left for the trip/race?
And it was in limp mode. READ some more and learned how to pull codes. My OMP connector wasn't latched down all the way. Latched and no no codes- still in limp mode. Read some more and learn that critical system "hard codes" don't reset out of limp mode.
Reset ECU and phew all is good.
Or is it?
Sequential turbos aren't working. I am stuck on primary turbo operation.
No time to try to diagnose that I think. So, I strategically bodge a few vacuum lines up so it is stuck on primary turbo, but with both exhaust runners open (I tried a quick parallel set-up,but couldn't get the 2ndary turbo going).
Fine, it runs OK and its safe (did I mention this was on my brand new crate engine from Mazda?)
Well, I made it up to the race and had fun driving my basically NA FD that had a kick of boost if I was in the wrong gear and below 4,500rpm.
Got home, retraced sequential system on paper and then checked it against what I had- all was fine...
Finally thought to check the China metal big check valve I used between the 3/8" vacuum port on the manifold and the vacuum manifold and it was bad. It couldn't handle the boost and pushed the sealing disk into the hose the first time I boosted.
Replaced that with the stock PCV check valve and boom- full sequential operation finally.
So, as I mentioned the turbos must be stock and not allowed to port the wastegate in Street Prepared.
I wrote the rules board for clarification on what constitutes the turbos and was pleased to hear it was just the center rotating assembly, compressor housing and exhaust housing. Extension housings such as the bit between the two stock twins are not considered part of the turbos themselves.
This allowed me to port the center exhaust outlet housing to allow the wastegate to open wider to try to get a little more flow through it.
I did that and found I had to notch the downpipe flange so it didn't interfere with the wastegate arm (couldn't trim that, it is part of the turbo...)
Then found the stock wastegate actuator doesn't have much more throw than the stock wastegate arm travel- doh.
Had to get an aftermarket wastegate actuator for more travel. Watched videos on Youtube until I saw one that looked like it had lots of travel and took the chance on that one.
Success!
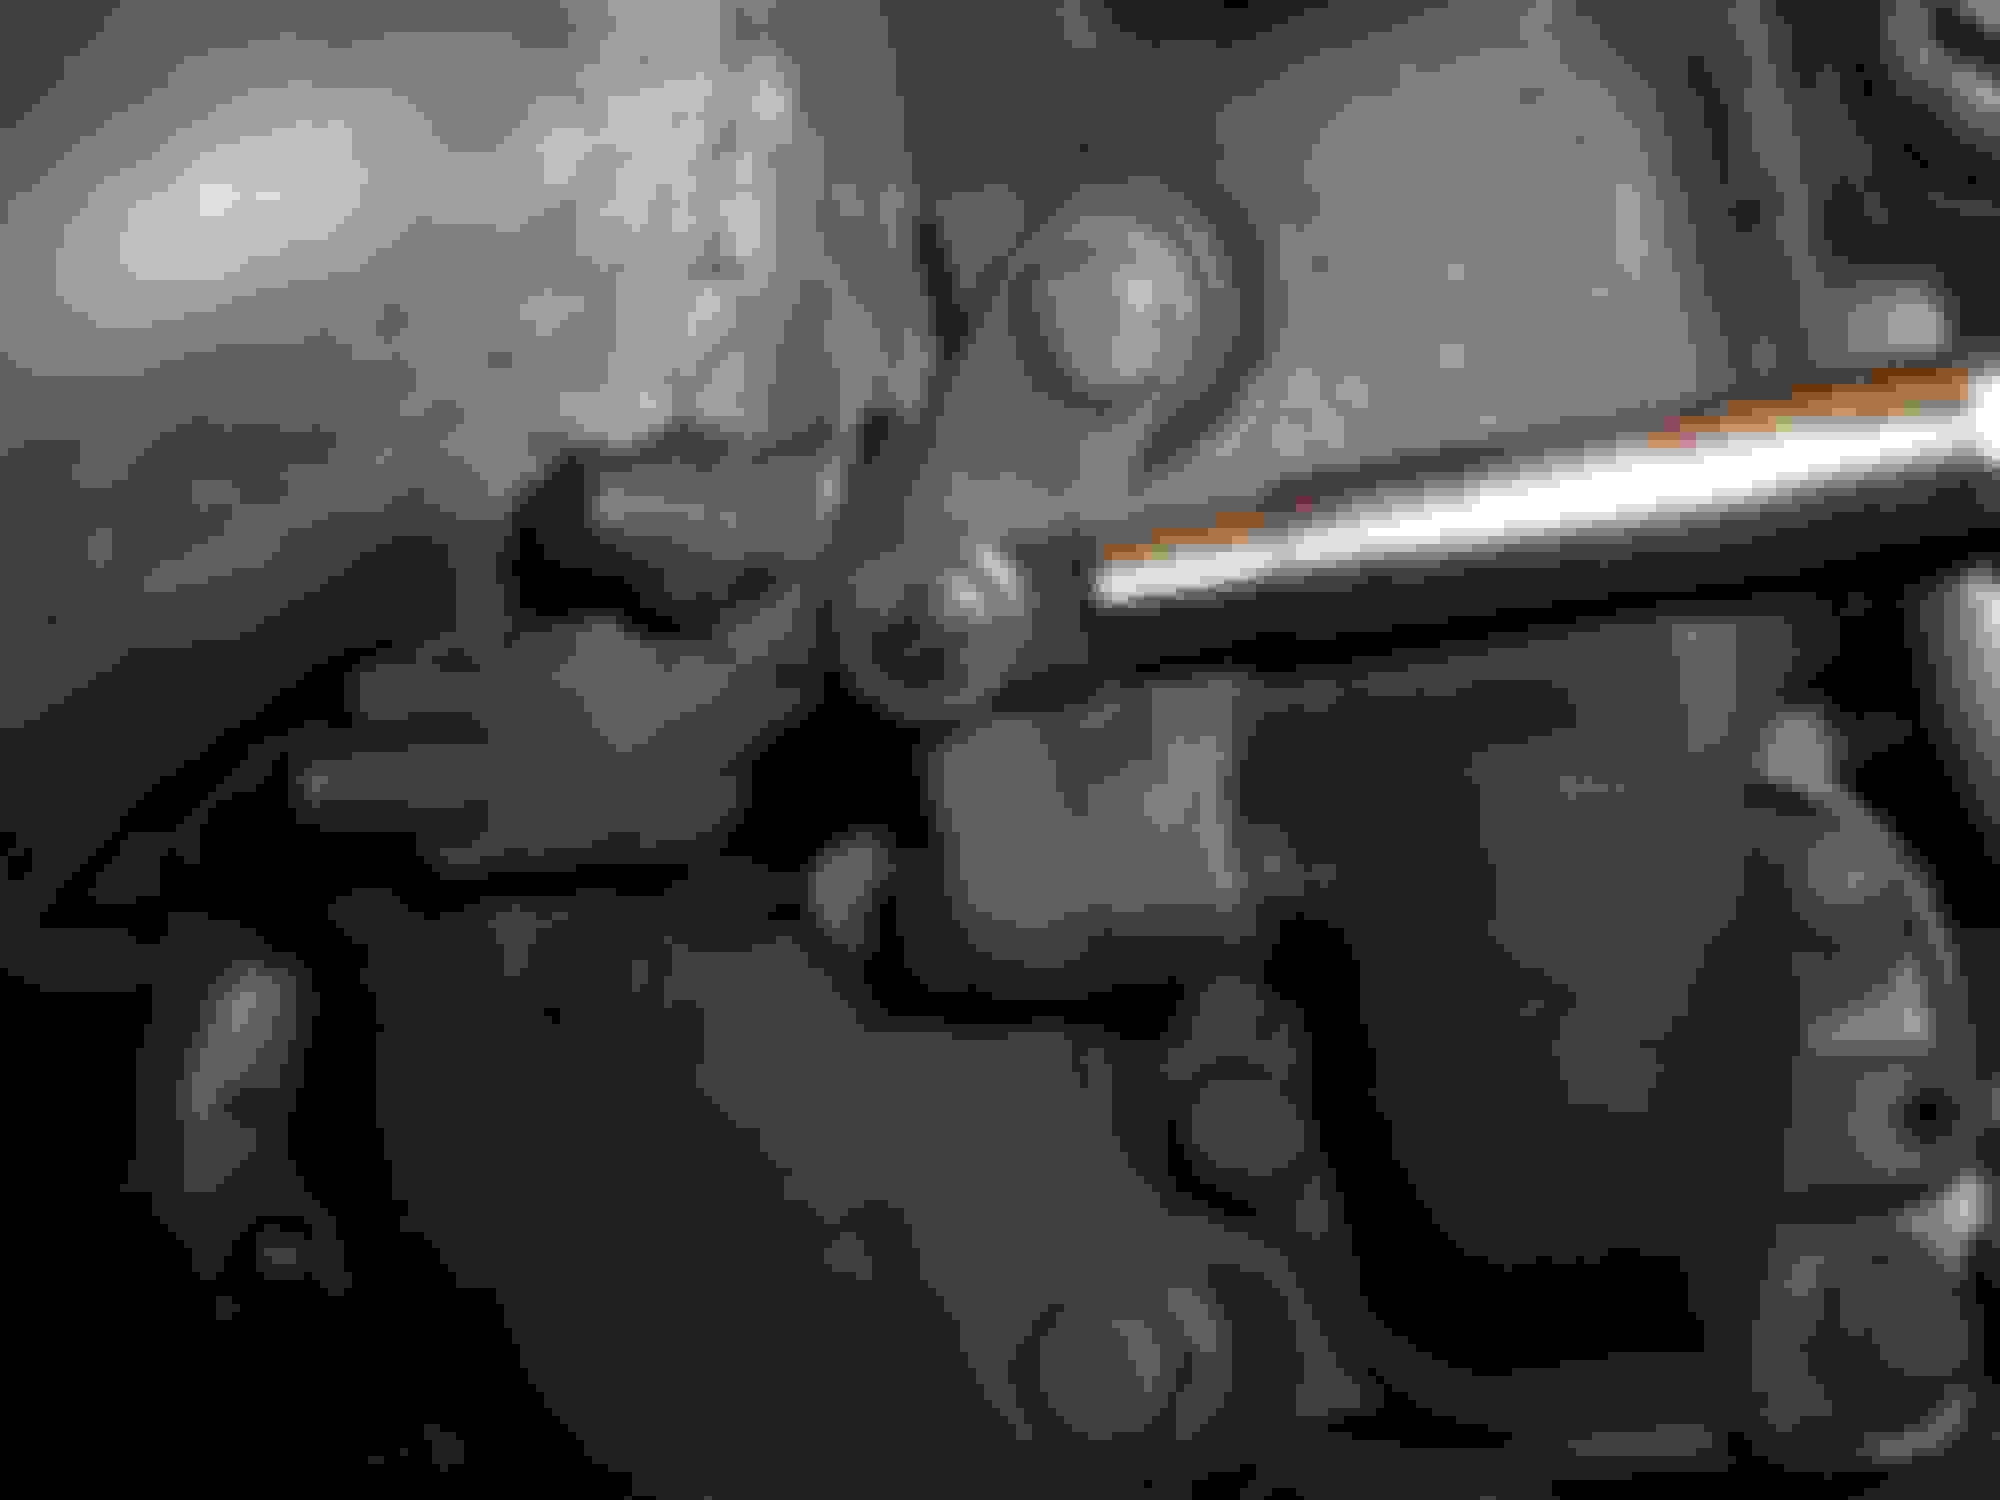
Might as well clean up the casting as I work it for more wastegate travel right? Here you can see the extended travel and the notched downpipe flange. Whoops, had to notch two downpipes as I ended up using the Knight Sports dual 60mm downpipe as I calculated it had 20% more cross sectional area than the 3" downpipe. The wastegate actuator is the Kinugawa one. Rolling diaphragm style. I am leery of cheap piston style actuators due to tolerances and themal expansion possibly causing sticking. Though I deleted all the emissions I kept the thermal wax on the throttle body, so I still have the coolant lines to throttle body. Reason is I wanted car to start and run easily when cold so I can start it and get the loud son-b1tch rotary out of my neighborhood quickly before I **** all the neighbors off.
Brand new transmission from Mazda wasn't going to make it in time for the first trip/race so I put in the other spare mystery transmission I had in storage. It was stuck in reverse with selector stuck in 1st- so I had to take off the extension housing and sort that out. Shifts well, so I got lucky. Makes noise in neutral with clutch out- so the input shaft bearings must be bad? When new trans arrived.
Reason I got new transmission is-
I took transmission that was in the FD that made noise to shop and both top shafts were bad from running with bad bearings (like I am doing with the spare currently in the car...). It was $500 for both shafts from Mazda, $400 for the bearing/synchro/rebuild kit and was quoted $1,000 in labor. $1,900 for rebuilt transmission.
$2,300 new from Mazda. 7 of them in Japan ready for the slow boat over. I didn't count on how slow that boat was though...
I love your build
I'm running my FD in ASP in eastern Canada and having a fun time with it
One thing that holds us back is gearing, and unfortunately we can't switch out the diff for a 4.77 unit like they do in SSM/XP classes. What we could do is run P295/35ZR15 Hoosiers instead of the regular sizes (I run 285/30/18s) in the back. That would give you a 23" diameter, which should help with acceleration and turbo spool.
+1 Love the build. All business. I like your boost control setup and mud flaps. Did you ever install that diff brace? Thanks for the great pics of the top fuel style wing, there aren't many good photos of it out there. I'm sans spoiler, but that's one of my favorites.
I'm currently in the process of building my FD to be nationally competitive in ASP.
How's your boost control and transition with the Hallman valves?
I found my car boost creeps uncontrollably with similar mods as your car (M2 stage 3 ECU, M2 intake, M2 Medium intercooler, and 3” turbo back exhaust with a straight through muffler). I had to use a 2" restrictor plate in my exhaust and bypass the factory wastegate and turbo precontrol solenoids to keep the boost close to 10psi in the lower gears (1st - 3rd).
Did you notice less boost creep with the extended throw of the aftermarket wastegate actuator?
Well, Aluminum is just over half the weight of Titanium. Plus it costs less and still looks great anodized.
Nylon is less than half the weight of Aluminum, but not so great with heat, doesn't look that great, not available in great styles (hard to find flange head metric bolts) and nobody is currently doing any processing to make Nylon look cooler.(that I know of.) I did buy some Black Nylon screws for the M2 CF airbox, but it would be cool if somebody sold some vacuum plated nylon Metric fasteners that had some kind of style.
Where did you order the hardware from?
China!
Came China Post to USPS to my mailbox
Ebay vendors
One thing that holds us back is gearing, and unfortunately we can't switch out the diff for a 4.77 unit like they do in SSM/XP classes. What we could do is run P295/35ZR15 Hoosiers instead of the regular sizes (I run 285/30/18s) in the back. That would give you a 23" diameter, which should help with acceleration and turbo spool.
Yeah, I was tempted to do 4.77 gearing when my diff was out for the Super Lock, but I was good.
Really would be easy to cheat with the FD in so many ways... For instance speed per gear with 4.77 gears and my 9,000rpm redline on the ROM tune ECU would be exactly the same as stock 4.10 and 8,000rpm redline and the rotary sounds so slow revving no one would know. You could just mis-adjust your speedo and tach gauge cluster using the potentiometers and no one would be the wiser.
At least in ASP FDs just have to compete against Evos and base C5 Corvettes. In SSM you would have to compete with FDs and they are nuts fast.
I won't do the 15s since there are only Hoosiers available in any real widths and I don't change wheels/tires any more. I realize Hoosiers are basically the only tires that matter for a real competitive Street Prepared build. I am hoping soon the SCCA will wake up and make all "Street" classes (Street Prepared, Street Mod) run on 200 treadwear tires.
+1 Love the build. All business. I like your boost control setup and mud flaps. Did you ever install that diff brace? Thanks for the great pics of the top fuel style wing, there aren't many good photos of it out there. I'm sans spoiler, but that's one of my favorites.
Thanks!
Its not the ASP build I wanted to do exactly, but the ASP build I could do now and I want to get back to racing the FD!
I never installed the diff brace because sadly I realized its not ASP legal as it ties drivetrain components to the chassis where they were not connected by the factory. They recently allowed for beefing up drivetrain, but are clear on the aforementioned rule.
I could cut off the ears that go to the chassis, but I just put it on the shelf next to my two EFR 7163 turbos (The future SSM horde LOL).
I am allowed to install a drivetrain torque arm that is two points. I think I will do something like the old Banzai brace that fits from transmission to body under the stock Aluminum tunnel crossmember. I purposely put in brand new OEM engine mounts instead of my aftermarket engine mounts to do this (torque brace not allowed if using aftermarket motor mounts).
I just got some 3M CF wrap I am going to try to put on the stock R1 front lip and then spray the same high gloss clear over the wrap like I used on my wheels to get me closer to legal.
Yeah, got to measure up the Top Fuel rep spoiler to see how tall it is. I get 10" off the deck lid, if I have some room I want to put in some Ti rivnuts around the top perimeter and screw a piece of Lexan as a wicker to get up to full legal height.
I'm also trying to figure out what "cosmetic trim pieces" are.
We can remove our rear bumper garnish to put on a tow bar for a trailer in ASP and we don't have to race with the tow bar. We are allowed to add "cosmetic trim pieces".
I think a CF RE Amemiya street diffuser could be a "cosmetic trim piece". I don't think it will help aerodynamically (the shape doesn't look like it could be a functional diffuser) and it would be replacing a stock bumper trim piece- so I think that makes it a "cosmetic trim piece"?
I really like this car. PLEASE post some videos of the shifter being used in anger!
Maybe I will just before I pull the spare transmission that is in the car for the new one.
The thing is, its just the stock transmission- so you can only shift it as fast as you can powershift 1-2 or 3-4 with a regular shift lever. If you reef on it like you might with a dog engaged or face plated transmission you could break your shift forks, synchos or bounce your sliders back into the previous gear just like... a regular stock transmission.
The shifter is mainly just a flex for me because "I could".
It will prevent what killed my original transmission which was a 2nd to 3rd mis-shift landing me in 5th and shooting my 5th/reverse internal bits through the transmission extension housing. Since FDs don't have a transmission mount and uses the Power Plant Frame the shifter moves around a LOT between power on and power off which is exactly what you do when trying to shift- so 3rd gear is a moving target.
Shifter does work great so far though. I think for SSM I would like to just try the Liberty Faceplate service and keep the Ikeya drum shifter for a budget race transmission.
I'm currently in the process of building my FD to be nationally competitive in ASP.
No Problem.
Oh, I have all sorts of expensive ideas for a nationally competitive ASP build I can share with you.
I will outline my dream build later in this thread so you can try the ideas out for me if you like.
How's your boost control and transition with the Hallman valves?
Boost control was awesome when I had just regular 3" downpipe to stock cat and cat back and smaller stock mount IC on stock ECU at 10psi with the dual Hallman Pro RX MBCs.
Super solid 10psi at all elevations and temps with a lightning quick transistion that you couldn't even feel.
The previous owner did that mod to the FD when I bought it to race in Super Stock (then later A Stock when they dropped the FD down).
I had to go back to stock boost control (and stock downpipe) for SS class and I hated how crappy stock transition was, I hated changing tires at the track and fitting them in the FD. I went into ASP the next year and put the MBCs back on.
Boost control was awesome when I had the ROM tuned ECU, Knight Sports metal intake filters, smaller stock mount IC, 3" downpipe, 3" cat-ed SMB midpipe to cat back. It crept to 14psi, so I just set primary and secondary to 14psi.
Boost control is just OK now with ROM tuned ECU, ASP large IC, M2 intake, dual 60mm downpipe to 4" exhaust and ported intake manifolds/throttle body/intake pipes.
Issue is the 2ndary turbo immediately creeps to 16psi and falls to 14psi by 6,500rpm or so.
That is not that bad, but the poor primary turbo is maxed out so I can get it to boost 15psi if the ambient air is cool, its the first or 2nd pull- but most the time primary is boosting more like 13psi. So, the transition from primary to both turbos is a bit abrupt. Its like VTEC hitting. Primary turbo comes in hard, starts to tapper off and then bam max torque when the 2ndary comes on. I can lower the pre-spool, but then the torque drops on the primary turbo, the torque drops a bit bringing the 2ndary turbo online and then BAM the full 16psi boost creep hits even harder then with the pre-spool jacked up a bit more.
I found my car boost creeps uncontrollably with similar mods as your car (M2 stage 3 ECU, M2 intake, M2 Medium intercooler, and 3� turbo back exhaust with a straight through muffler). I had to use a 2" restrictor plate in my exhaust and bypass the factory wastegate and turbo precontrol solenoids to keep the boost close to 10psi in the lower gears (1st - 3rd).
The dual MBC mod might help if you are still going off an ECU mapped duty cycle for your wastegate and pre-spool actuators on your M2 stage 3 ECU. I don't know the boost control strategy on that ECU.
You can go through your intake manifold, throttle body and intake tubes and port and match them. That way the motor will flow more so you will boost creep and then boost will drop off in the high rpm like mine- but that isn't the solution you probably want.
You can do the mod I did to the center section between the two turbos so the wastegate opens more as well for less boost creep.
Did you notice less boost creep with the extended throw of the aftermarket wastegate actuator?
I didn't have any comparison because I changed everything between stock and doing the wastegate throw mod. I can't see how it can hurt though.
I'm currently in the process of building my FD to be nationally competitive in ASP.
BLUE TII
No Problem.
Oh, I have all sorts of expensive ideas for a nationally competitive ASP build I can share with you.
I will outline my dream build later in this thread so you can try the ideas out for me if you like.
Okay, for nationally competitive FD in ASP I have some ideas.
Intake manifold.
I weighed the intake manifold, throttle body and Greddy elbow with Alum/Ti hardware and Alum block off plates. It was 20Lbs and flows meh and has decent throttle response.
One could use a Holley/4150 intake manifold like the Projay one and lose some weight and reduce the runner length, gain flow and allow the use of 4150 throttle body with ITBs for really good throttle response. Then you can top it off with the Airaid carbon fiber boost hat for minimal weight.
One would need to run many/big injectors and a plug and play stand alone so you can run E85. I have seen a dyno of stock twins at 419rwhp on gas, so 450rwhp or so should be possible on E85.
Speaking of the stock twin turbos; there are two ways you could go with them, simple or complex.
Simple-
Divorce the two turbos from the center exhaust section and run them 100% parallel each with their own 3" to 4" downpipe.
Custom exhaust manifold(s) allowing the rear turbo to be rotated and up above/behind the front turbo around air pump area.
Put a pipe on the prespool door area of the exhaust manifold side of the turbo back to the downpipe and you have another wastegate (one on each turbo) to bypass more exhaust/gain more exhaust flow.
It should spool pretty good if you use huge downpipes and velocity stacks on the turbo inlet.
If you need more spool, you are allowed to remove or modify your emissions equipment. Since we have air ports already in the exhaust port/sleeve area of the motor and a nice cooler spot on the intermediate housing that is the inlet for air you can easily set-up real race car air/fuel injection anti-lag. Just tap into the intake manifold (below the 2ndary injectors to get some fuel with your air) to a free flowing solenoid valve to a check valve to the air injection port or just buy the premade rally versions and install ($$$). You are modifying the existing airpump exhaust air injection system.
Complex-
We have two turbos and boost control is free.
You can follow the lead of OEM manufacturers and make your twin turbo system switch from serial compounded (primary turbo compressor feeding 2ndary turbo) to parallel turbo when the ~250rwhp flow of the primary turbo is reached.
You would run each exhaust completely separate as above.
Put a 3 throttle plates inbetween the primary and 2ndary turbo (you can use the stock charge control valve butterflys). In compounded mode the intake goes into the primary turbo, into the 2ndary turbo and on to the intercooler. You should be able to push over 30psi boost at low rpm this way without choking out the motor on the exhaust side.
Dyno it in serial compounded mode and figure out the rpm the turbos max out (it will be max around 250rwhp as they can only flow as much as one turbo in this configuration).
At that RPM have the compressors switch into pure parallel mode where each takes in air and sends it on to the IC. Since each turbo was already maxed out on rpm in serial compounded mode the transition into parallel should be seamless.
The powerband should be like my EFR 7670 on my FC was- huge swell of torque over 400ftlbs (@ 30psi boost) up to 3,500rpm or so and then a quick deflation of torque to redline as HP raises to 450rwhp.
Last edited by BLUE TII; Oct 31, 2018 at 02:39 AM.
No Problem.
Oh, I have all sorts of expensive ideas for a nationally competitive ASP build I can share with you.
I will outline my dream build later in this thread so you can try the ideas out for me if you like.
Nice, that would be great.
Boost control was awesome when I had just regular 3" downpipe to stock cat and cat back and smaller stock mount IC on stock ECU at 10psi with the dual Hallman Pro RX MBCs.
Super solid 10psi at all elevations and temps with a lightning quick transistion that you couldn't even feel.
The previous owner did that mod to the FD when I bought it to race in Super Stock (then later A Stock when they dropped the FD down).
I had to go back to stock boost control (and stock downpipe) for SS class and I hated how crappy stock transition was, I hated changing tires at the track and fitting them in the FD. I went into ASP the next year and put the MBCs back on.
Boost control was awesome when I had the ROM tuned ECU, Knight Sports metal intake filters, smaller stock mount IC, 3" downpipe, 3" cat-ed SMB midpipe to cat back. It crept to 14psi, so I just set primary and secondary to 14psi.
Boost control is just OK now with ROM tuned ECU, ASP large IC, M2 intake, dual 60mm downpipe to 4" exhaust and ported intake manifolds/throttle body/intake pipes.
Issue is the 2ndary turbo immediately creeps to 16psi and falls to 14psi by 6,500rpm or so.
That is not that bad, but the poor primary turbo is maxed out so I can get it to boost 15psi if the ambient air is cool, its the first or 2nd pull- but most the time primary is boosting more like 13psi. So, the transition from primary to both turbos is a bit abrupt. Its like VTEC hitting. Primary turbo comes in hard, starts to tapper off and then bam max torque when the 2ndary comes on. I can lower the pre-spool, but then the torque drops on the primary turbo, the torque drops a bit bringing the 2ndary turbo online and then BAM the full 16psi boost creep hits even harder then with the pre-spool jacked up a bit more.
That sounds like a handful to drive with the sudden jump in torque.
The dual MBC mod might help if you are still going off an ECU mapped duty cycle for your wastegate and pre-spool actuators on your M2 stage 3 ECU. I don't know the boost control strategy on that ECU.
I haven't experimented much with the M2 Stage 3 ECU boost control. I briefly tested it when I still had the stock intake and intercooler with a 3" turbo back exhaust, but was never comfortable with running 14psi+ and mild boost creep while breaking in the new Mazda crate motor so I bypass the solenoids. Once I upgraded the intake and intercooler the boost creep became uncontrollable without the 2" restrictor plate in the exhaust. I do plan to switch to a stand alone ECU and run E85 after I finish developing the handling of the car.
You can go through your intake manifold, throttle body and intake tubes and port and match them. That way the motor will flow more so you will boost creep and then boost will drop off in the high rpm like mine- but that isn't the solution you probably want.
I already have match ported intake manifolds and a RC Engineering bored out throttle body. I can try match porting the turbo intake pipes and swapping out the rubber intake hoses to aluminum to see if that helps.
You can do the mod I did to the center section between the two turbos so the wastegate opens more as well for less boost creep.
I didn't have any comparison because I changed everything between stock and doing the wastegate throw mod. I can't see how it can hurt though.
I'll most likely end up doing this mod if I'm unable to keep the boost creep under reasonable control without the restrictor plate.
Okay, for nationally competitive FD in ASP I have some ideas.
Intake manifold.
I weighed the intake manifold, throttle body and Greddy elbow with Alum/Ti hardware and Alum block off plates. It was 20Lbs and flows meh and has decent throttle response.
One could use a Holley/4150 intake manifold like the Projay one and lose some weight and reduce the runner length, gain flow and allow the use of 4150 throttle body with ITBs for really good throttle response. Then you can top it off with the Airaid carbon fiber boost hat for minimal weight.
One would need to run many/big injectors and a plug and play stand alone so you can run E85. I have seen a dyno of stock twins at 419rwhp on gas, so 450rwhp or so should be possible on E85.
Speaking of the stock twin turbos; there are two ways you could go with them, simple or complex.
Simple-
Divorce the two turbos from the center exhaust section and run them 100% parallel each with their own 3" to 4" downpipe.
Custom exhaust manifold(s) allowing the rear turbo to be rotated and up above/behind the front turbo around air pump area.
Put a pipe on the prespool door area of the exhaust manifold side of the turbo back to the downpipe and you have another wastegate (one on each turbo) to bypass more exhaust/gain more exhaust flow.
It should spool pretty good if you use huge downpipes and velocity stacks on the turbo inlet.
If you need more spool, you are allowed to remove or modify your emissions equipment. Since we have air ports already in the exhaust port/sleeve area of the motor and a nice cooler spot on the intermediate housing that is the inlet for air you can easily set-up real race car air/fuel injection anti-lag. Just tap into the intake manifold (below the 2ndary injectors to get some fuel with your air) to a free flowing solenoid valve to a check valve to the air injection port or just buy the premade rally versions and install ($$$). You are modifying the existing airpump exhaust air injection system.
Complex-
We have two turbos and boost control is free.
You can follow the lead of OEM manufacturers and make your twin turbo system switch from serial compounded (primary turbo compressor feeding 2ndary turbo) to parallel turbo when the ~250rwhp flow of the primary turbo is reached.
You would run each exhaust completely separate as above.
Put a 3 throttle plates inbetween the primary and 2ndary turbo (you can use the stock charge control valve butterflys). In compounded mode the intake goes into the primary turbo, into the 2ndary turbo and on to the intercooler. You should be able to push over 30psi boost at low rpm this way without choking out the motor on the exhaust side.
Dyno it in serial compounded mode and figure out the rpm the turbos max out (it will be max around 250rwhp as they can only flow as much as one turbo in this configuration).
At that RPM have the compressors switch into pure parallel mode where each takes in air and sends it on to the IC. Since each turbo was already maxed out on rpm in serial compounded mode the transition into parallel should be seamless.
The powerband should be like my EFR 7670 on my FC was- huge swell of torque over 400ftlbs (@ 30psi boost) up to 3,500rpm or so and then a quick deflation of torque to redline as HP raises to 450rwhp.
Wow, these all sound like great ideas for squeezing the most out of the factory twin turbos. It would be crazy to have 400ftlbs on tap on the low end of the rpm range like a V8. Traction would become a real issue with that kind of torque on tap. I would be very interested in seeing this successfully implemented in an autox car.


 Maybe I will just before I pull the spare transmission that is in the car for the new one.

