When you click on links to various merchants on this site and make a purchase, this can result in this site earning a commission. Affiliate programs and affiliations include, but are not limited to, the eBay Partner Network.
Ooo I like that turbo kit. Eyeball it every once in a while. Shame about parts discontinuing, but it's an aging platform with fewer buyers every year I'm afraid.
Got off the phone today with the guys I got my turbo kit from. I specifically got the HKS GT3-4R FD3S turbo kit because I knew sooner or later it would get discontinued, I just didn't think it would happen so soon!!!! Apparently HKS is discontinuing some parts and pulling back some turbo kits that were on their way to the states. I was also informed that I am the only guy state side that has this kit. Maybe people bought parts separately to make a kit, but as far as the actually part number being the complete kit I was told I'm the only one who has it state side. I hope I'm not the only one, but if I am..... SWEET !!!!!!
01 - More Oil Injectors
02 - Electrical Panel Teardown
03 - Stuff Painted
04 - Electrical Panel Wrapped
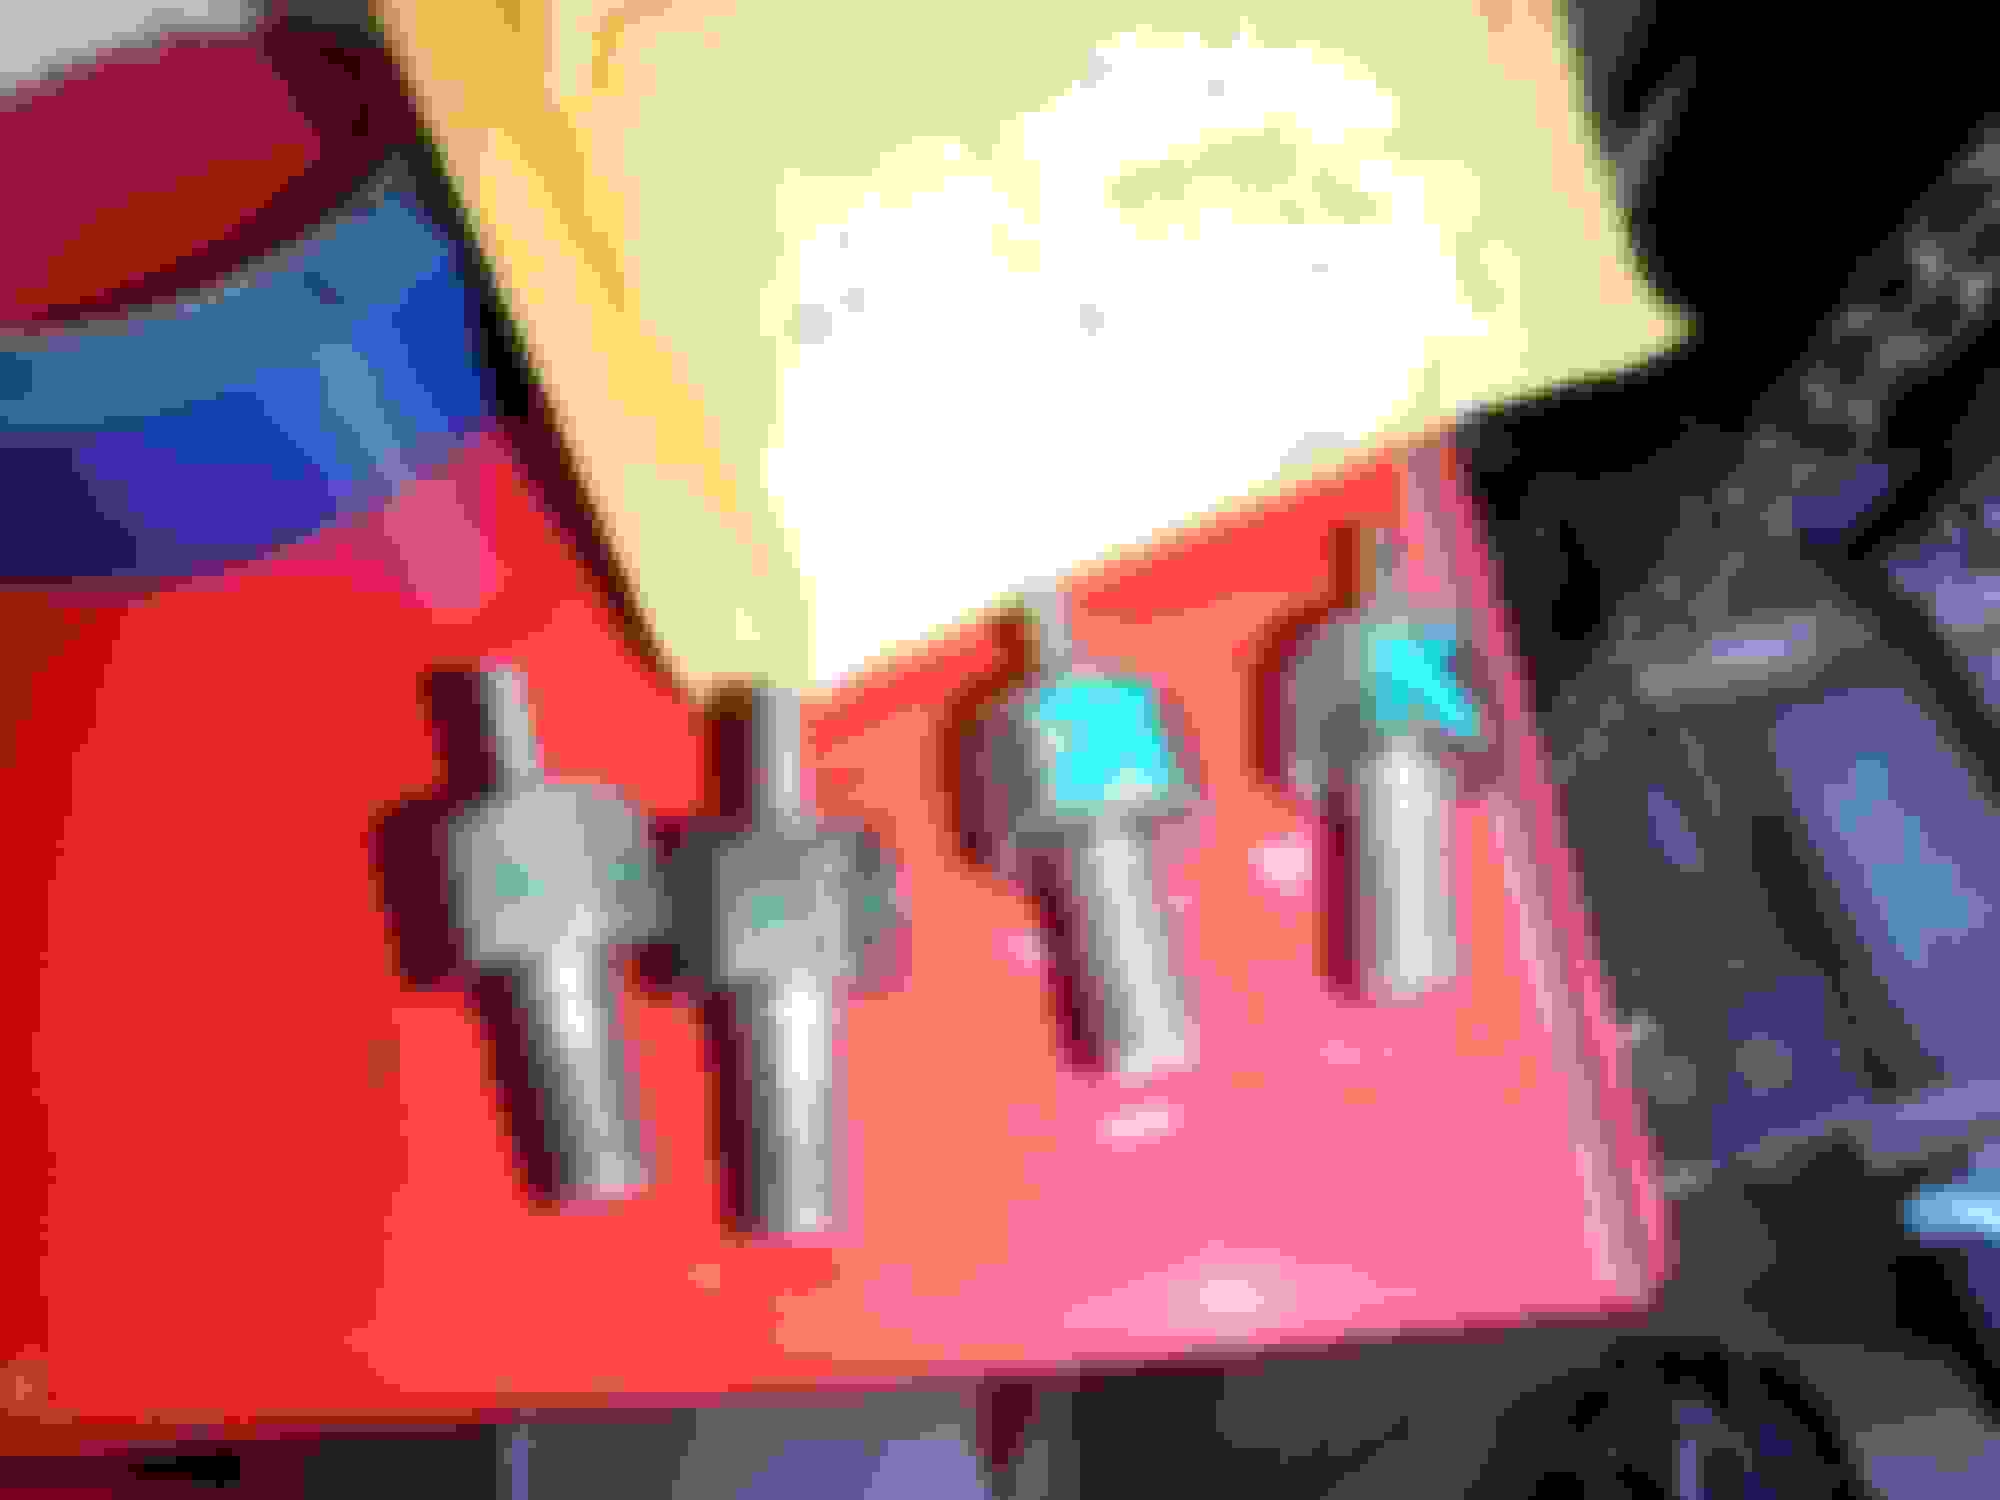
01 - More Oil Injectors
I got some more old-style oil injectors from Mo at Palm Tree Rotary. I soaked them in ATF for 3 days and checked them for equal resistance when blowing through them and verifying the check valves work. I got 2 good pairs out of a handful. The 2 that performed the best I put paint dots on them and put them on my engine, I have a second set that are Ok and I put an X on them. All the other oil injectors will need more cleaning since they are questionable. The amount of grime that cam out of the injectors proves the ATF works. I put the fluid back in the container and labeled it to make sure I don�t use for a transmission flush in the future. Lol.
02 - Electrical Panel Teardown
I need to re-do the back electrical panel in my car to fix some ground loop issues so this is the perfect time to wrap all the LRB panels in flat black vinyl. I did consider painting them, but I wanted something more scuff resistant and less smelly. I took off all the electrical components while trying to leave most of the fuse boxes connected. I cut the battery voltage gauge bracket to have a cleaner look and prepped it for paint. I found my older all-star trucking vsr that I switched out for the redarc vsr. The readrc is more robust and has some additional safety features and that�s why I went with it. I also used some alcohol to get my greasy fingerprints off the back panel and battery covers.
03 - Stuff Painted
I needed to paint some stuff that could not be wrapped which was the battery gauge pod, the rear bracket speakers, and the inside of the rear B-pillars where the holes are for the seat belt stuff. I masked off the cage and area the best I could and painted those high visibility areas black to hide the red behind the holes. If I see red during the re-assembly, I�ll just hand paint with a paint brush to hide what I missed.
04 - Electrical Panel Wrapped
The vinyl wrap I�m using is made by a company called oracal and it�s sold at Michaels. I used some plastic squeegees to try and get the air bubbles out while applying the wrap, I poked holes in the bigger bubbles to get the air out. I wrapped the small edges first and then sections of the panel since the wrap it only 1 foot wide. I am definitely not good at this, got a ton of bubbles, but at least it�ll be hard to see in the back. When everything was covered I threw the electrical connections on the panel to get a quick visual of how it would look. I love the contrast and I hope the interior will look cleaner when I�m done.
Another small update, just trying to chip away at the electrical re-wire of the dual battery system. I was able to finish wrapping the rear LRB interior delete panels, lots of little bubbles but looks good enough to be a halo movie car..lol New with the panels wrapped and the seatbelt panels installed, I can put the electronics back onto the rear panel and start working on the ground loop issue with the dual battery set-up.
01 - RX7 Sign
02 - RX7 Sign Compare
03 - Panels Wrapped
04 � Seatbelt Covers Made
05 � Seatbelt Covers Installed
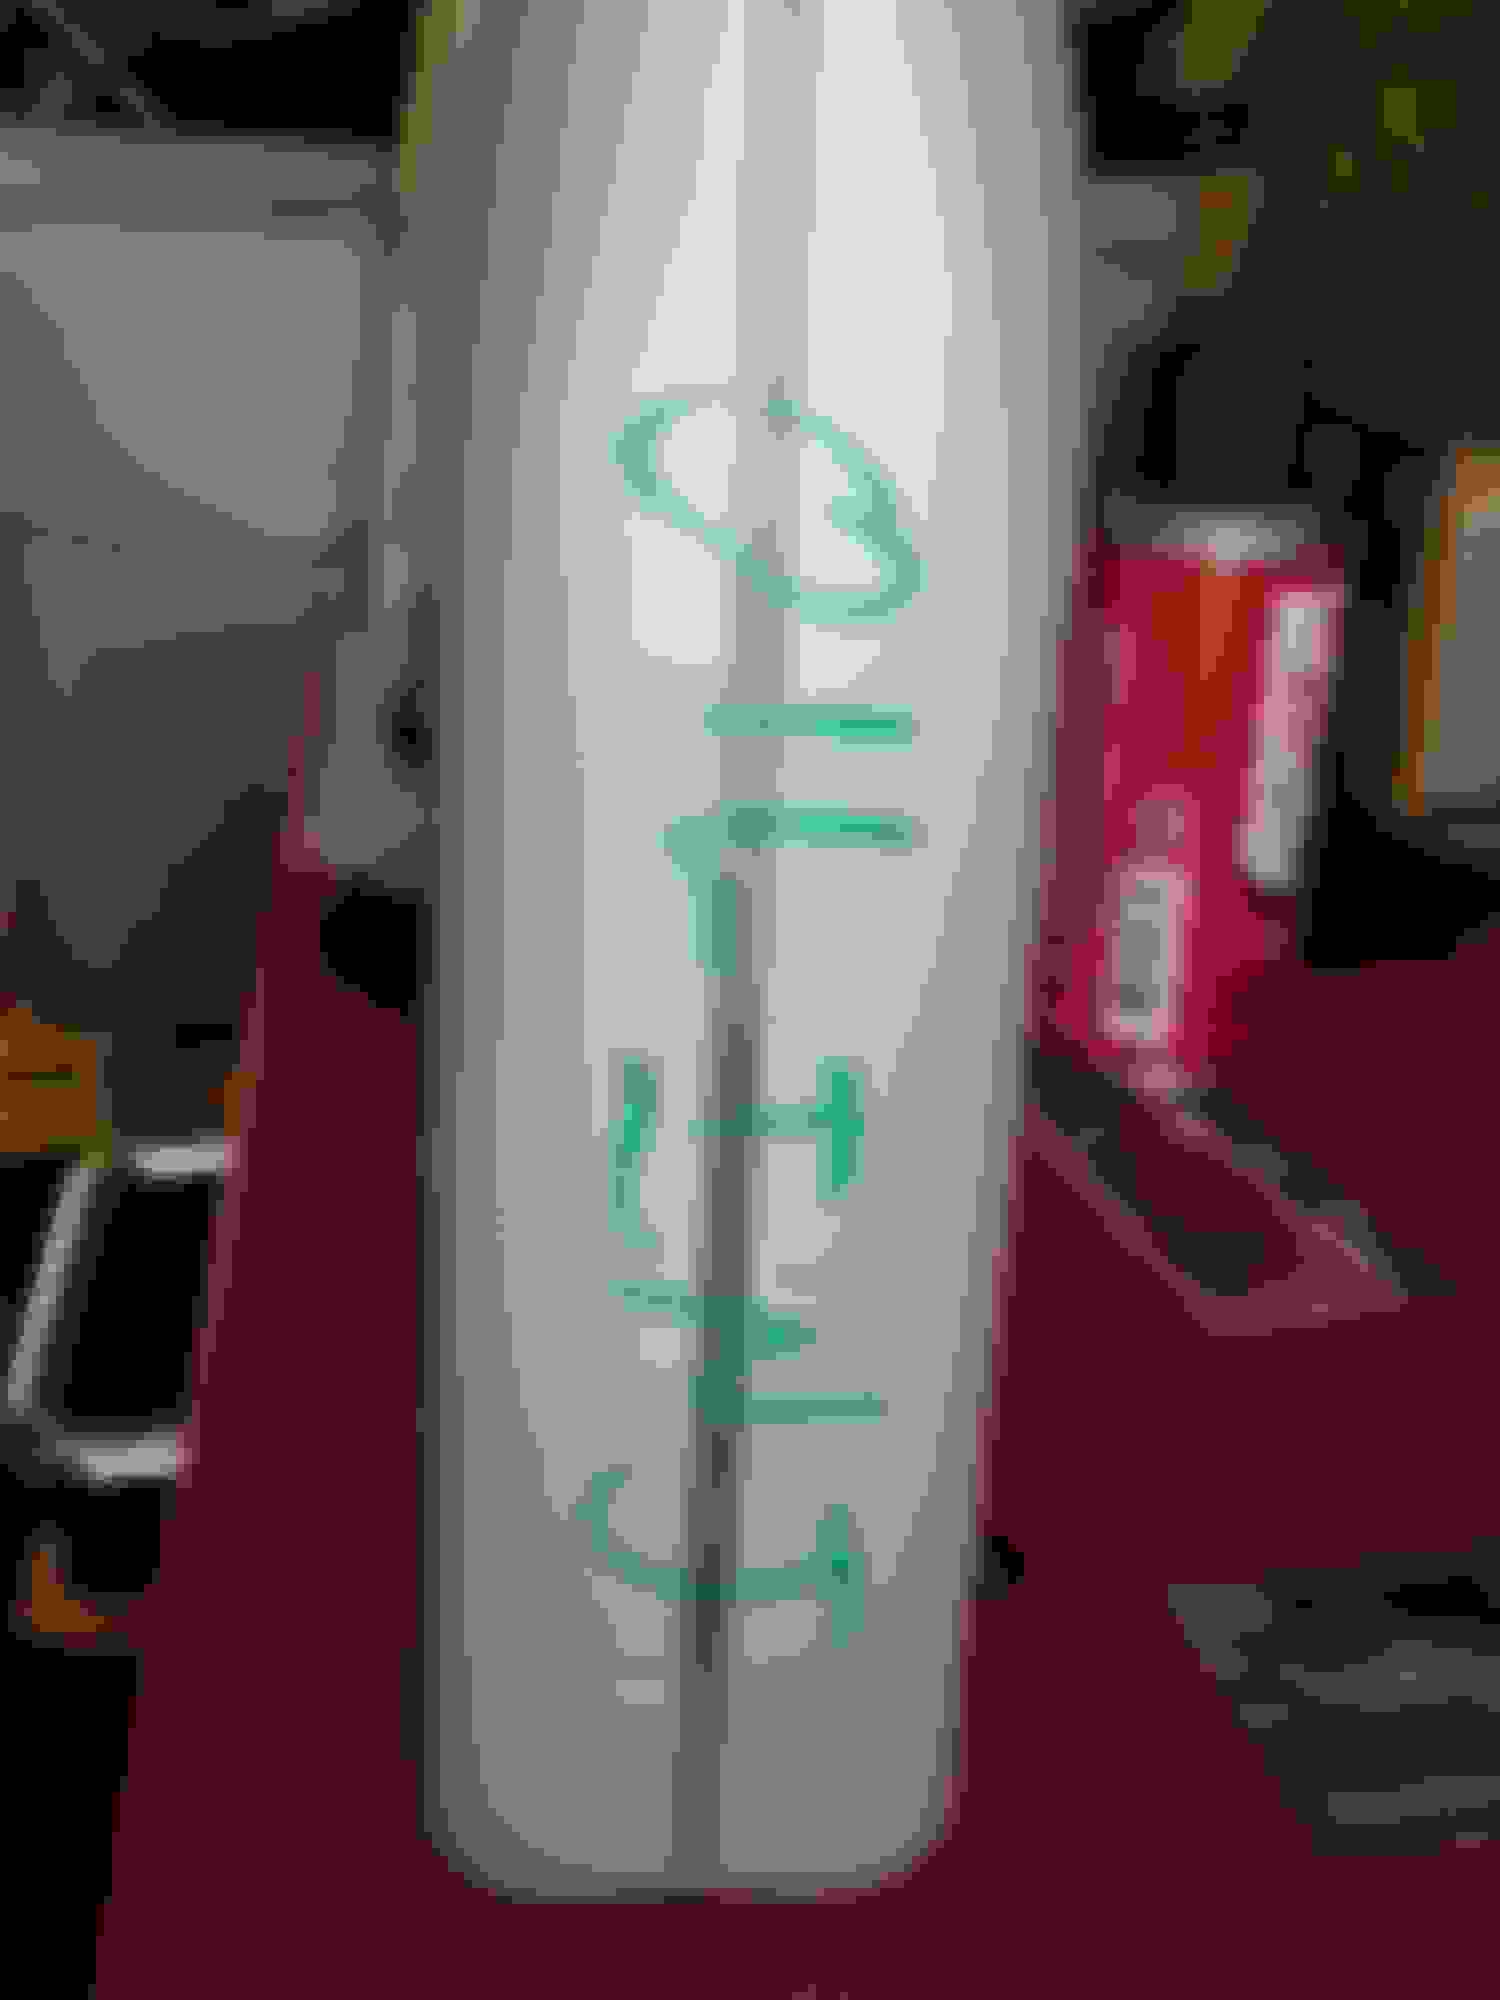
01 - RX7 Sign
The back trunk divider panel has an RX7 sign on it that has been riveted in, I think it�s a nice touch. I wanted to make it stand out more once I covered everything in black. I couldn�t decide on what color to make it so I just copied the pink camo carpet RX7 badge. The RX7 frame / background is gold and the RX-7 lettering is silver. I decided to use silver glitter to match my engine. First, I wrapped the back divider panel in black. Then I wrapped the RX7 frame in gold, next I tapped the silver glitter behind it, and then I riveted it into place. On the first rivet I installed, the rivet tool skipped forward when it popped and ripped the tip of the wrap on the bottom of the X. I thought it wouldn�t bug me, but it did, so I drilled out the rivets and re-wrapped the gold frame again and put it all back together. This time when I used the rivet tool, I lifted the panel and when the rivet post popped the panel dropped preventing the rivet tool from accidentally hitting the vinyl wrap again.
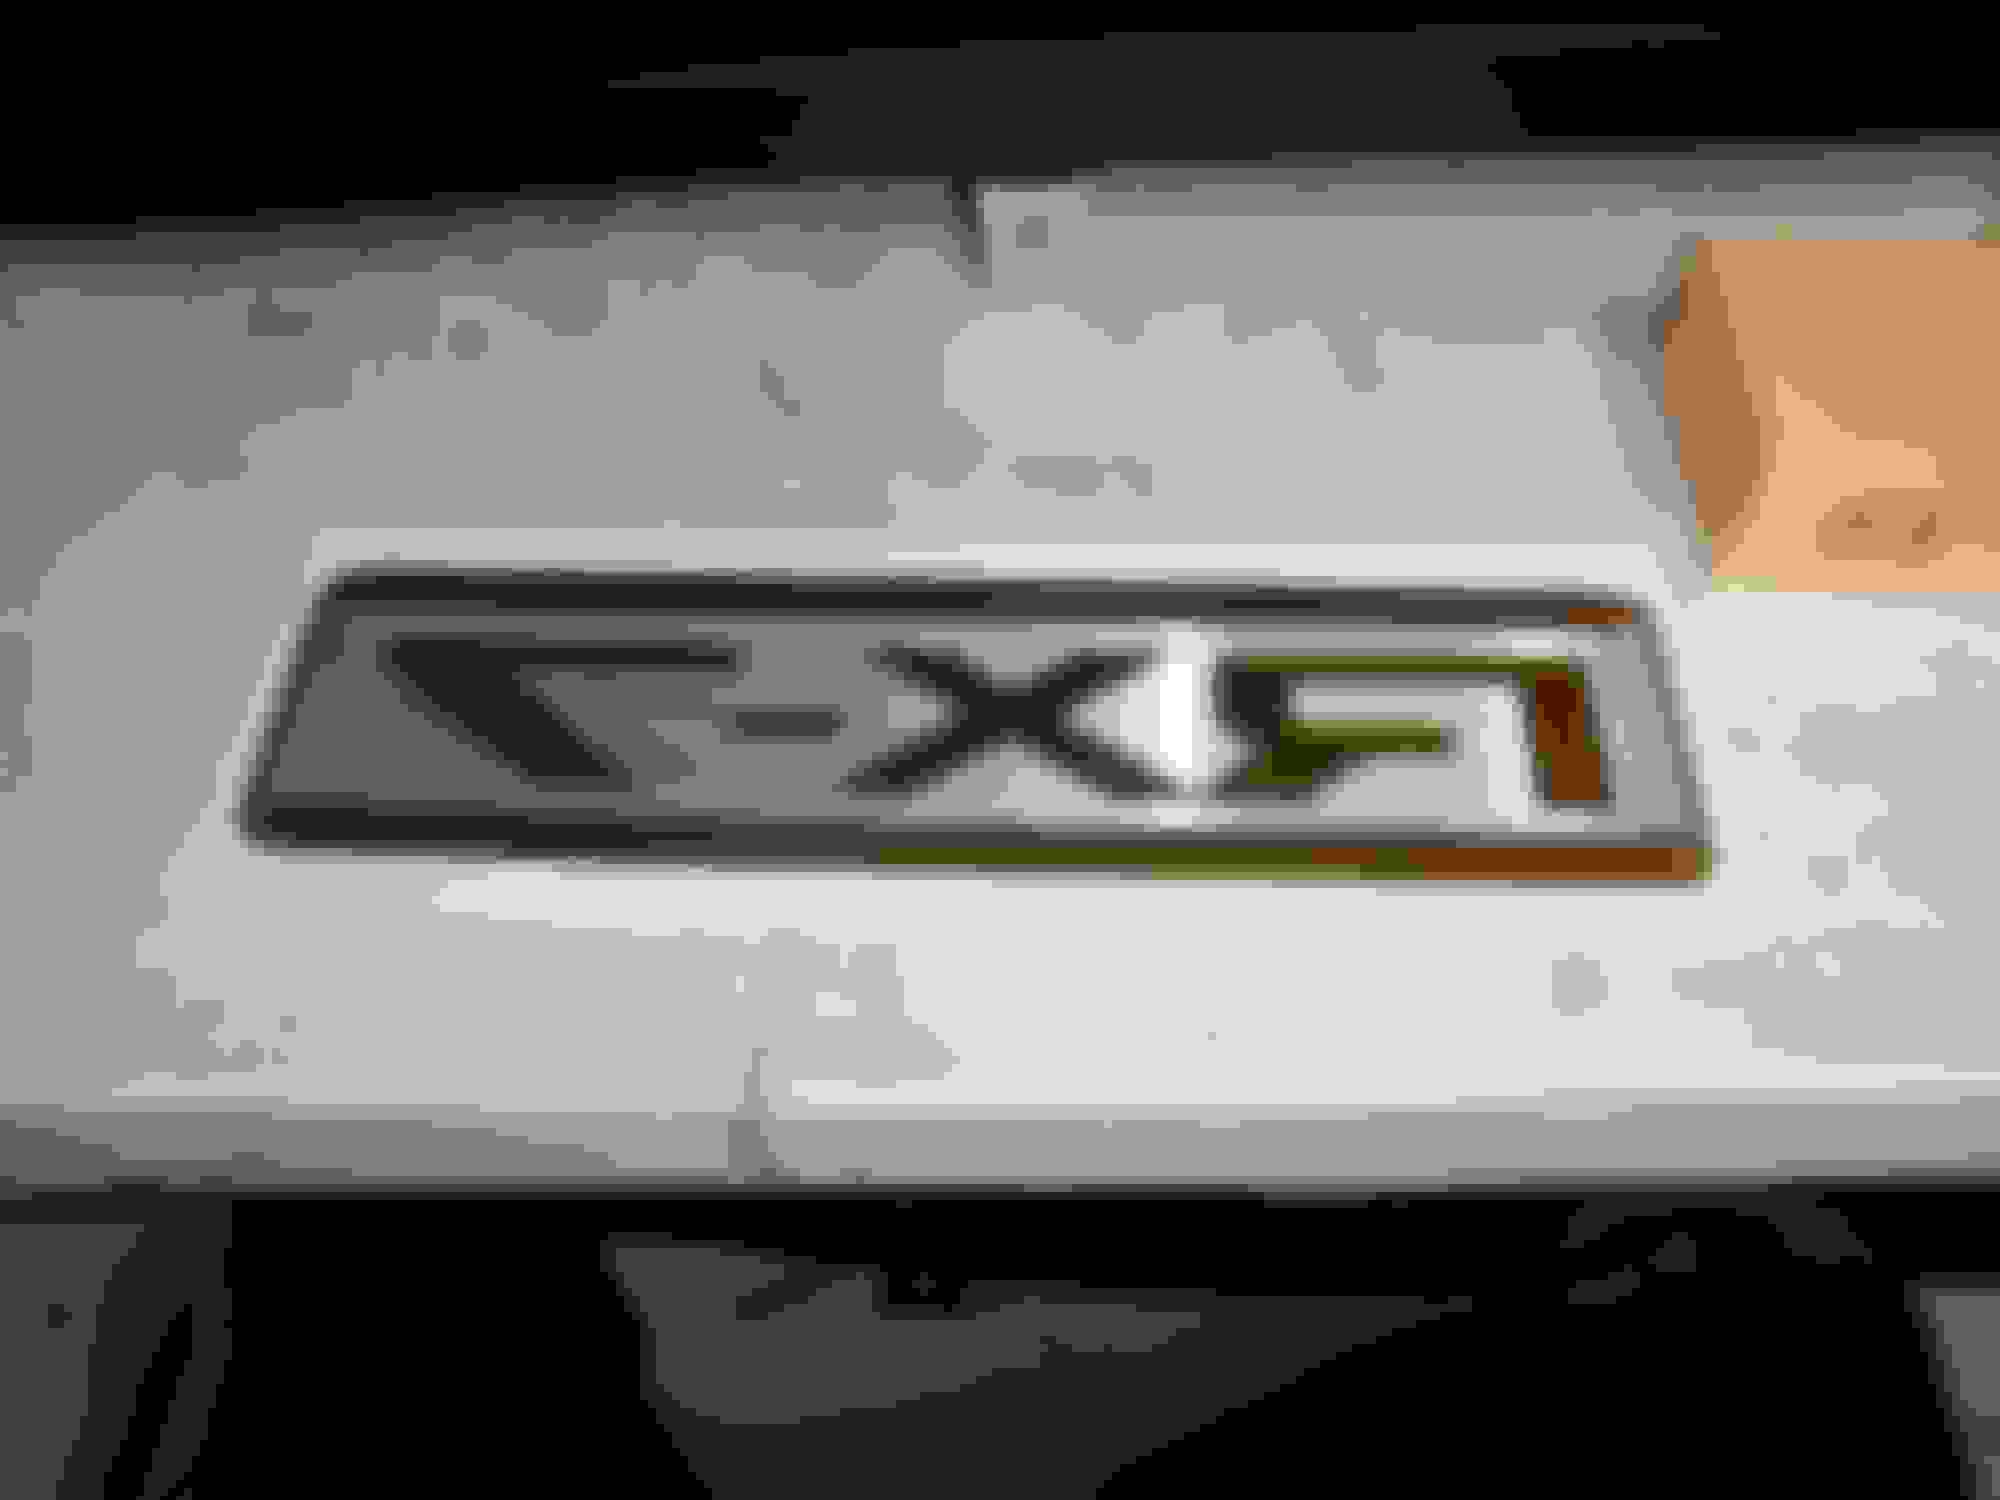
02 - RX7 Sign Compare
As noted before, I nicked the wrap with the tool but the pics are in this section. Here you can see the RX7 sign on the divider panel and on the carpet. The carpets are really dirty, hopefully I can clean them without damaging them.
03 - Panels Wrapped
I think I used 7 rolls of vinyl wrap; each roll is 12 inches by 5 feet. They were on sale for 6.99 each lol. The main reason I wrapped it instead of painting was to have something a little durable and easy to clean. It was a pain in the butt, tons of small bubbles, but looks good in pictures. After doing this I realized I should have tried to plasti-dip it all. Oh well, next time.
04 � Seatbelt Covers Made
In my quest to make the back panels less noticeable, I decided to make some seatbelt locking mechanism covers. The body is flush with the panel until halfway up and that why I had to make the cover so long. I need the cavity form the rivnuts to fit. The rivnuts had to be wide to safely clear the seatbelt strap and I made the cover to line up with the belt angle as well. To do this I laid a strip of tape, then I cut a construction paper template out, folded it in half to find the center, then lined up the centers on the tape. I already had holes on the panels so I just drew the dots on the paper where the screws would go. I cut out a half circle for the seatbelt bolt and made some tabs at the bottom to hold them in place. I wrapped them up in vinyl complete with more air bubbles and bolted them in. With the covers installed it looks ok, I thought they would stand out more because they are so big, but they kinda disappear once installed.
05 � Seatbelt Covers Installed
It was time to put the seatbelt panels in and see if I painted enough black behind the panel hole. A quick fit check showed I didn't show I rolled up a paper towel, sprayed it with the flat black paint, and swabbed away until I could see no more red. I got both panels into the car and zip tied the extended support to the roll cage to prevent the seatbelt from hitting the door ajar sensor. I really like the way they came out and I can't wait to get the rest of the rear panels in.
I finally finished the schematic diagram for all the components I added to my car. I believe I had some serious ground loops which gave the gauges a weird heartbeat when the AFR gauge timed in. This is also what probably caused my IGN-1A coils to blow as well as Xaviers / FC-Tweak FD-IGN-10XB to act weird. This includes the dual battery set up with the main and auxiliary house batteries, the gauges, and the new ground based PWM fan controller.
Future lighting and active aero will be on a separate power schematic.
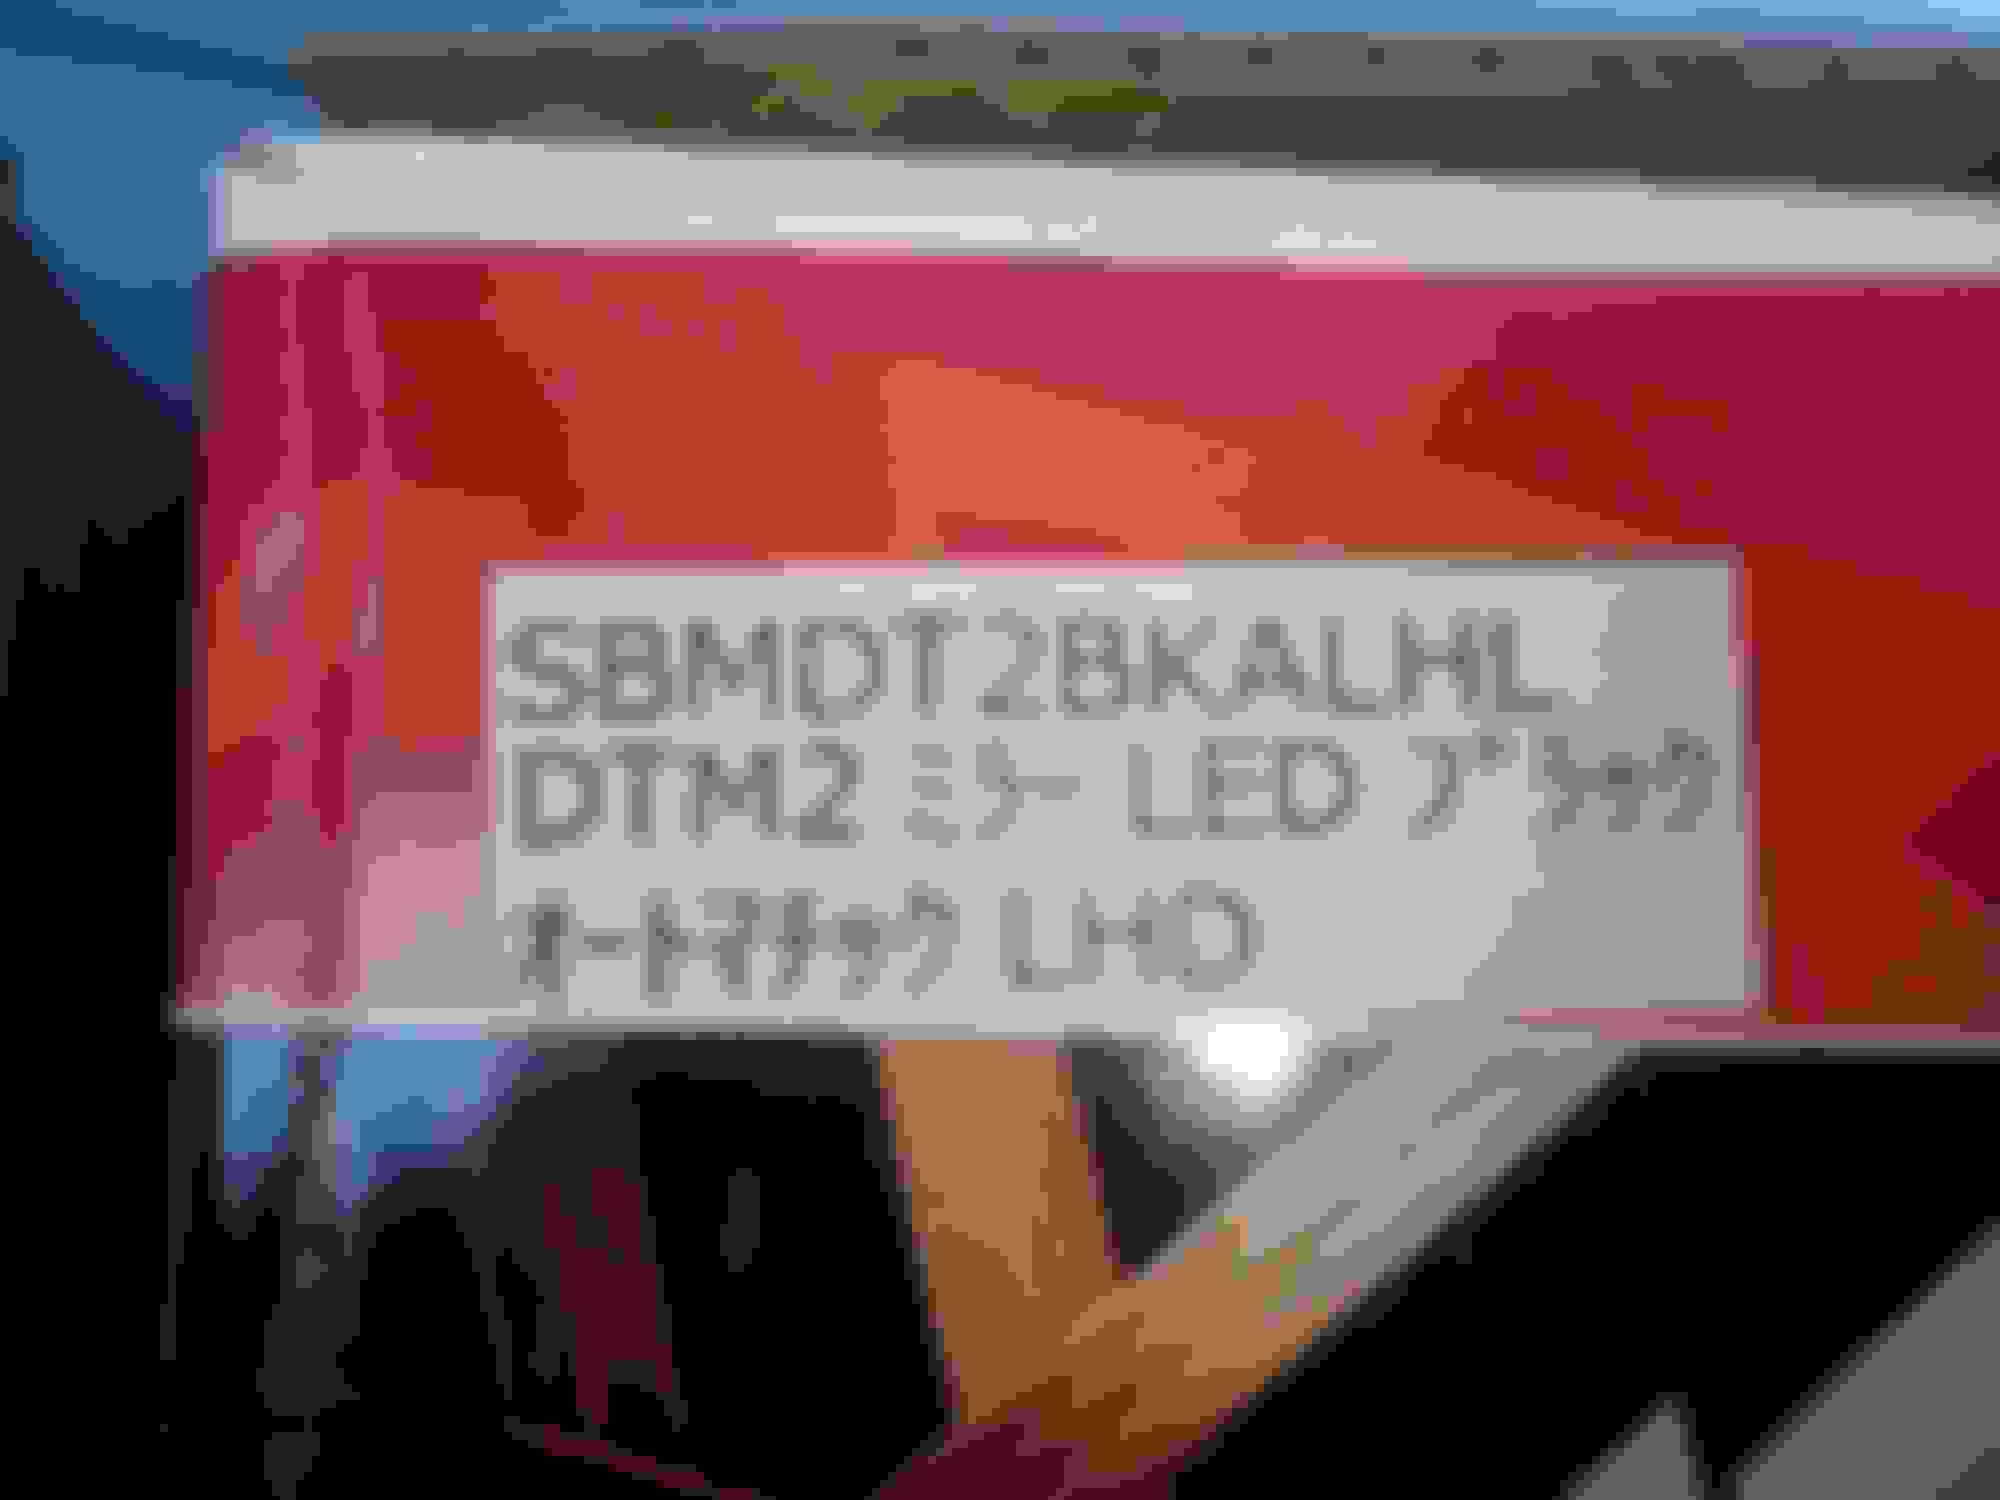
While I was cleaning out my storage I found my aftermarket FD mirrors. No they are not for sale and yes I will eventually use them...lol.
Blue came over to visit again.
I also threw away some really crappy ebay splice connections. They kept pulling out during a tug test. After 3 out of 4 fails I threw the whole thing away, even the new unopened box as well.
My first RX-7 back in 1999 had a Greddy T-78 on it and it was awesome, top end was nuts at the time and there many factory fast cars back then except the Viper that could keep up. I went to Sevenstock 4 with that car and found some old pics of it as well. I could be off a year or 2 but I had the car before the 1st Fast-N-Furious came out.. lol. Well every since then, a single turbo FD has been a dream to have. I have always like HKS and I wanted the T51R-Kai but it was too expensive, and used kits today are the price of a cheap new car, so no, I don't love it that much. HKS came out with a new kit for the FD's and this time I had t get it before it to got discontinued. I was told by the dealer I went through that I'm the only guy in the states with this kit for the FD, I hope that's not the case but cool if it is. This update will be a bunch of pictures since that's what's kind of hard to find on this kit, all the performance and specification information can be found on the net. There are a bunch of cool vids on how these HKS GT3 turbos sound as well. Anyways lets get to some pics and storytelling.
01 Turbo Weight
02 Twin Vs Single
03 Turbo Compressor
04 Turbo Turbine
05 Turbo Anti Surge
06 Random Parts
07 Turbo Manifold
08 Turbo Wastegate
09 Wastegate Pipe
10 Downpipe
11 Turbo Kit Together
12 Apexi Vs HKS
13 Racing BOV
14 Circle Earth
15 Intakes
16 Easter Egg - FB Only
01 Turbo Weight
I wanted to weigh the stock turbos and the HKS equivalent turbo parts to see the difference. The stock turbos with heat shield and the 2 oil drain pipes came in at 31.4 lbs. The HKS Manifold was 13.2 lbs, the HKS Wastgate was 4.2 lbs, and the HKS turbo was 18.0 lbs. The total comparative HKS turbo parts came in at 35.4 lbs which is 4 lbs heavier then the stock twins.
02 Twin Vs Single
Side by side I have alot of respect for the Mazda engineers who were able to create such a compact twin turbo design. With just the BNR Stage 1 drop ins people are getting 400WHP out of them. Going single has nothing to do with power, it's more for the love of HKS and seeing a beautiful single turbo, oh yeah and the simplified set-up of it all too.
03 Turbo Compressor
The turbo compressor wheel blades show signs of cnc machine work. Up close it almost looks like fingerprints. It's really a beautiful turbo and I can't wait to paint the compressor outlet side the sparkly silver color, I think that would look dope with the gold. The inlet is machined for a wheel rotation sensor if you want to add one. The inlet is 4 inches and the outlet is 2.5 inches.
04 Turbo Turbine
The turbine side is also pretty cool. It has a V-Band connection with a small pin to align the downpipe. The outlet is 2.75 inches and half way up the turbine outlet it has a very slight flare. It looks like they tightened up the exhaust inlet to the turbine for better focused flow. Nice to see they use a Mitsubishi metal gasket for the manifold flange. The manifold and the exhaust turbine side both have a cut out in the center bridge, I'm sure the gasket will fail there. I'm not too worried since whatever gasket piece breaks away will be small and fly out into the exhaust.
05 Turbo Anti Surge
The turbo inlet has an adjustable anti-surge feature. It ships closed and you can pull it out if you want to have the anti-surge protection, I pulled it out hoping it will sound more like the HKS T51R-Kai. There are 2 Allen head screws you take out, then you pull the gold insert out and rotate it to the threaded holes in the new position. I wanted to take it out because I like to see how things work. The gap is supposedly 3mm in anti-surge configuration.
06 Random Parts
The turbo kits comes with really nice hardware and everything needed for the conversion. I just had to buy an Intake and the turbine side heat shield which bolts to a flange on the downpipe. I just bought the HKS turbine heat shield today so well see it when it gets in - whenever that may be.
07 Turbo Manifold
Supposedly HKS redesigned their FD exhaust manifold and I'm thinking maybe it has to do with the wastegate flow section. It's high quality and feels like a tank. The notch on the bridge between the ports seems bigger from what I remembered when seeing these 20 years ago.
08 Turbo Wastegate
I was super duper curious about the wastegate that was going to come with this kit. Per the instructions is has shipped with the lower rate yellow spring of 0.8 to 1.1 kgf/cm 2 (squared). The boost setting are to be set from 78.5 - 107.9 kPa. This is cool since I only plan to run 12psi and using the Apexi AVC-R I can do this easily. 12 psi = 82.7371 kPa so I'll probably just set it to 83 kPa. I was hoping I was going to get the wastegate with the purple top but getting the new racing one is cool too. I remember the old wastegate body was cast iron with cooling fins. The new body is cast aluminum, maybe since its smaller it can control the boost easier and also the heat can dissipate faster since the body is routed to the downpipe for additional thermal off load. If you are wondering about the higher rated purple spring, it is rated for 1.1 to 1.4 kgf/cm 2 (squared). The boost setting are to be set from 107.9 - 137.3 kPa.
09 Wastegate Pipe
The wastegate pipe is nice quality and comes with a flex pipe to absorb any deviation from assembling the turbo kit. It looks like the flanges warped a little from the heat when they were welded together. I will just have to check the bolts after a couple heat cycles to make sure they stay snug. Who knows, maybe the heat cycles and constant tension will help flatten them again.
10 Downpipe
The down pipe is also nice quality. You can see the hole on the downpipe flange where the turbo exhaust pin will line up. This downpipe also has the ears welded behind the flange for the HKS turbine heat shield for which I just ordered. The turbine outlet and downpipe are both 2.75 inch. I just ordered some new AFR bungs, for the EGT probe I just weld an additional support to the down pipe and drill and tap it.
11 Turbo Kit Together
I wanted to bolt the HKS turbo kit together to get a quick idea of what it looks like, it looks freaking sweet. That turbo is just sooo sexy !!!!!! I am surprised the the white box has been able to hold 70 lbs sitting on top of it without caving in.
Bonus Round.
12 Apexi Vs HKS
C.Wan has 2 Apexi turbos, one for 380 / 420 whp and a larger one for 450 / 600 whp. Currently the smaller turbo is on his car for better boost response. I felt this is a perfect comparison to my turbo since I have the GT3-4R. C.Wan's larger turbo would be comparable to the HKS GT3-5R. The Apexi compressor has 6 blades while the HKS compressor has 7 blades. The both have a 4 inch inlet. The Apexi has a 2 inch outlet vs the HKS 2.5 inch outlet. The Apexi turbine has 11 blades and the HKS turbine has 12 blades. The Apexi exhaust inlet is larger and undivided vs the HKS exhaust inlet being smaller, with a divider and more directed. These 2 turbos are designed by more than 20 years apart and it's interesting to see the changes. C.Wan and I will have nearly identical set-ups when done and it will be interesting to see the dyno results. Before anyone compares these to the new BW turbos, specifically the 8374 that is obviously faster spooling, that is not what C.Wan and I are after. C.Wan wants a period correct refresh to preserve the history of the car with updates only being safety, and drivability off the track. C.Wans car will remain a track first set-up. I am after the late 1990's early 2000's of the good ole JDM import scene days. Yes a Tesla Plaid / Lucid Sapphire are damn fast but I'll droll over the slower Viper any day of my life. It is your memories of good ole times, I'm just trying to bring a little bit of that back into my life. Even if it's not a 600+ whp monster to some, it will always be a little monster to me - jajajajajaja.
13 Racing BOV
Since I am going single turbo I decided to get the HKS Racing BOV as well. I do not want to reuse and preserve my IC / BOV set-up from the twins so I needed to get all new pieces. The racing BOV really does have larger valves and it showed be able to release the charge air quickly. I wonder if it will sound like a sneeze or when a whale breaches for some fresh air. The inlet is 1.75 inch and the outlet is 1.37 inch and comes with a fitting for recirculation if needed. The thing I love most is this BOV uses a v-band clamp instead of the pain in the @$$ c-clip on the SSQV line.
Rotary Amuse told me how he saw a small whp gain installing the HKS circle earth ground kit. I would like to install this kit because it was recommend, it's HKS, and my batteries are in the back. I need to figure out how I will exactly execute this but it would be when I'm done with C.Wans car. Right now I am just fixing current issues that will not need to be redone when I install the new engine / single turbo set-up. This kit is the universal kit with HKS purple ground cables, tons of hardware and all of its beautiful GOLD!!!!.
15 Intakes
I needed an intake kit for this kit so I started looking for an HKS air filter with a 4 inch connection. I came across some replicas and decided to get them since they were only $40 a piece. The replica HKS Style filters are really nice quality with just enough difference to avoid a law suit. The replica's are a little taller, the back plate is copper color, and the screw on button is a rubber coated HKS symbol. The real one was 4x as much, box has a label with barcode, the filter is shorter, the back plate says HKS and the filter size, and the screw on button has the authentic holographic HKS symbol. Seriously for $40 the replica HKS intakes are really good quality.
16 Easter Egg - FB Only
If you guys haven't noticed by now there are a few boxes labels 2008 MB Sprinter. That will be reveled early to mid October on FB only. To all my co-workers - ssshhhhhhhh please.
Enjoy the pics.
01 Turbo Weight
Last edited by rotaryextreme; 08-19-23 at 05:55 PM.


 08-01-23, 08:30 PM