When you click on links to various merchants on this site and make a purchase, this can result in this site earning a commission. Affiliate programs and affiliations include, but are not limited to, the eBay Partner Network.
How is it sucking in gas? I can't quite get my head around it.
I think its blow by when the ID2000 kick in and it saturates the oil. My cars engine was used and has a bunch of issues but still runs .. lol
edit - my rotors test in the low 80's range for all faces, so maybe un burnt fuel is getting past the side seals, and yes ive gone through 2 tanks idling in the driveway learning how to use the PFC, FC tweak, and other electromechanical trouble shooting things...lol
My oil catch can goes to the center iron and the oil fill neck and I'm using larger lines so the pri turbo can easily suck whatever is in the catch can. After 15 minutes of sitting, that is when I saw the oil and gas separated - crazy!
I also wonder if this happens when I free rev it to 5k in the driveway and hear the 2nd turbo spool up, the intake and exhaust tone changes and the pri injector is at like 50%. Maybe it has something to do with the upgraded solenoids I have.
I'm just happy it was from the catch can and not something serious.
It may be time to change my oil too.. lol
Last edited by rotaryextreme; 06-20-23 at 01:19 PM.
I talked to another engine builder (MO at Palm Tree Rotary), and he confirmed that the newer oil injectors (check valves) with the smaller orifice fail at a higher rate. He said some have even been DOA.
He also mentioned the newer jets and spacers are fine to use with the older style larger orifice oil injectors from the early models..
If the spacer is a rubber seal then maybe some of the clogged brass jets are from over tightened oil injectors smashing the seal causing it to fail prematurely?
How much pressure is being applied to the rubber spacer when the crush washers and the oil metering line is in place? Time to take some measurements.
So yeah, Denso Omp, older injectors and inspect the rubber spacers if you have them on your engine. I will inspect mine when I swap to the older style oil injectors to be safe.
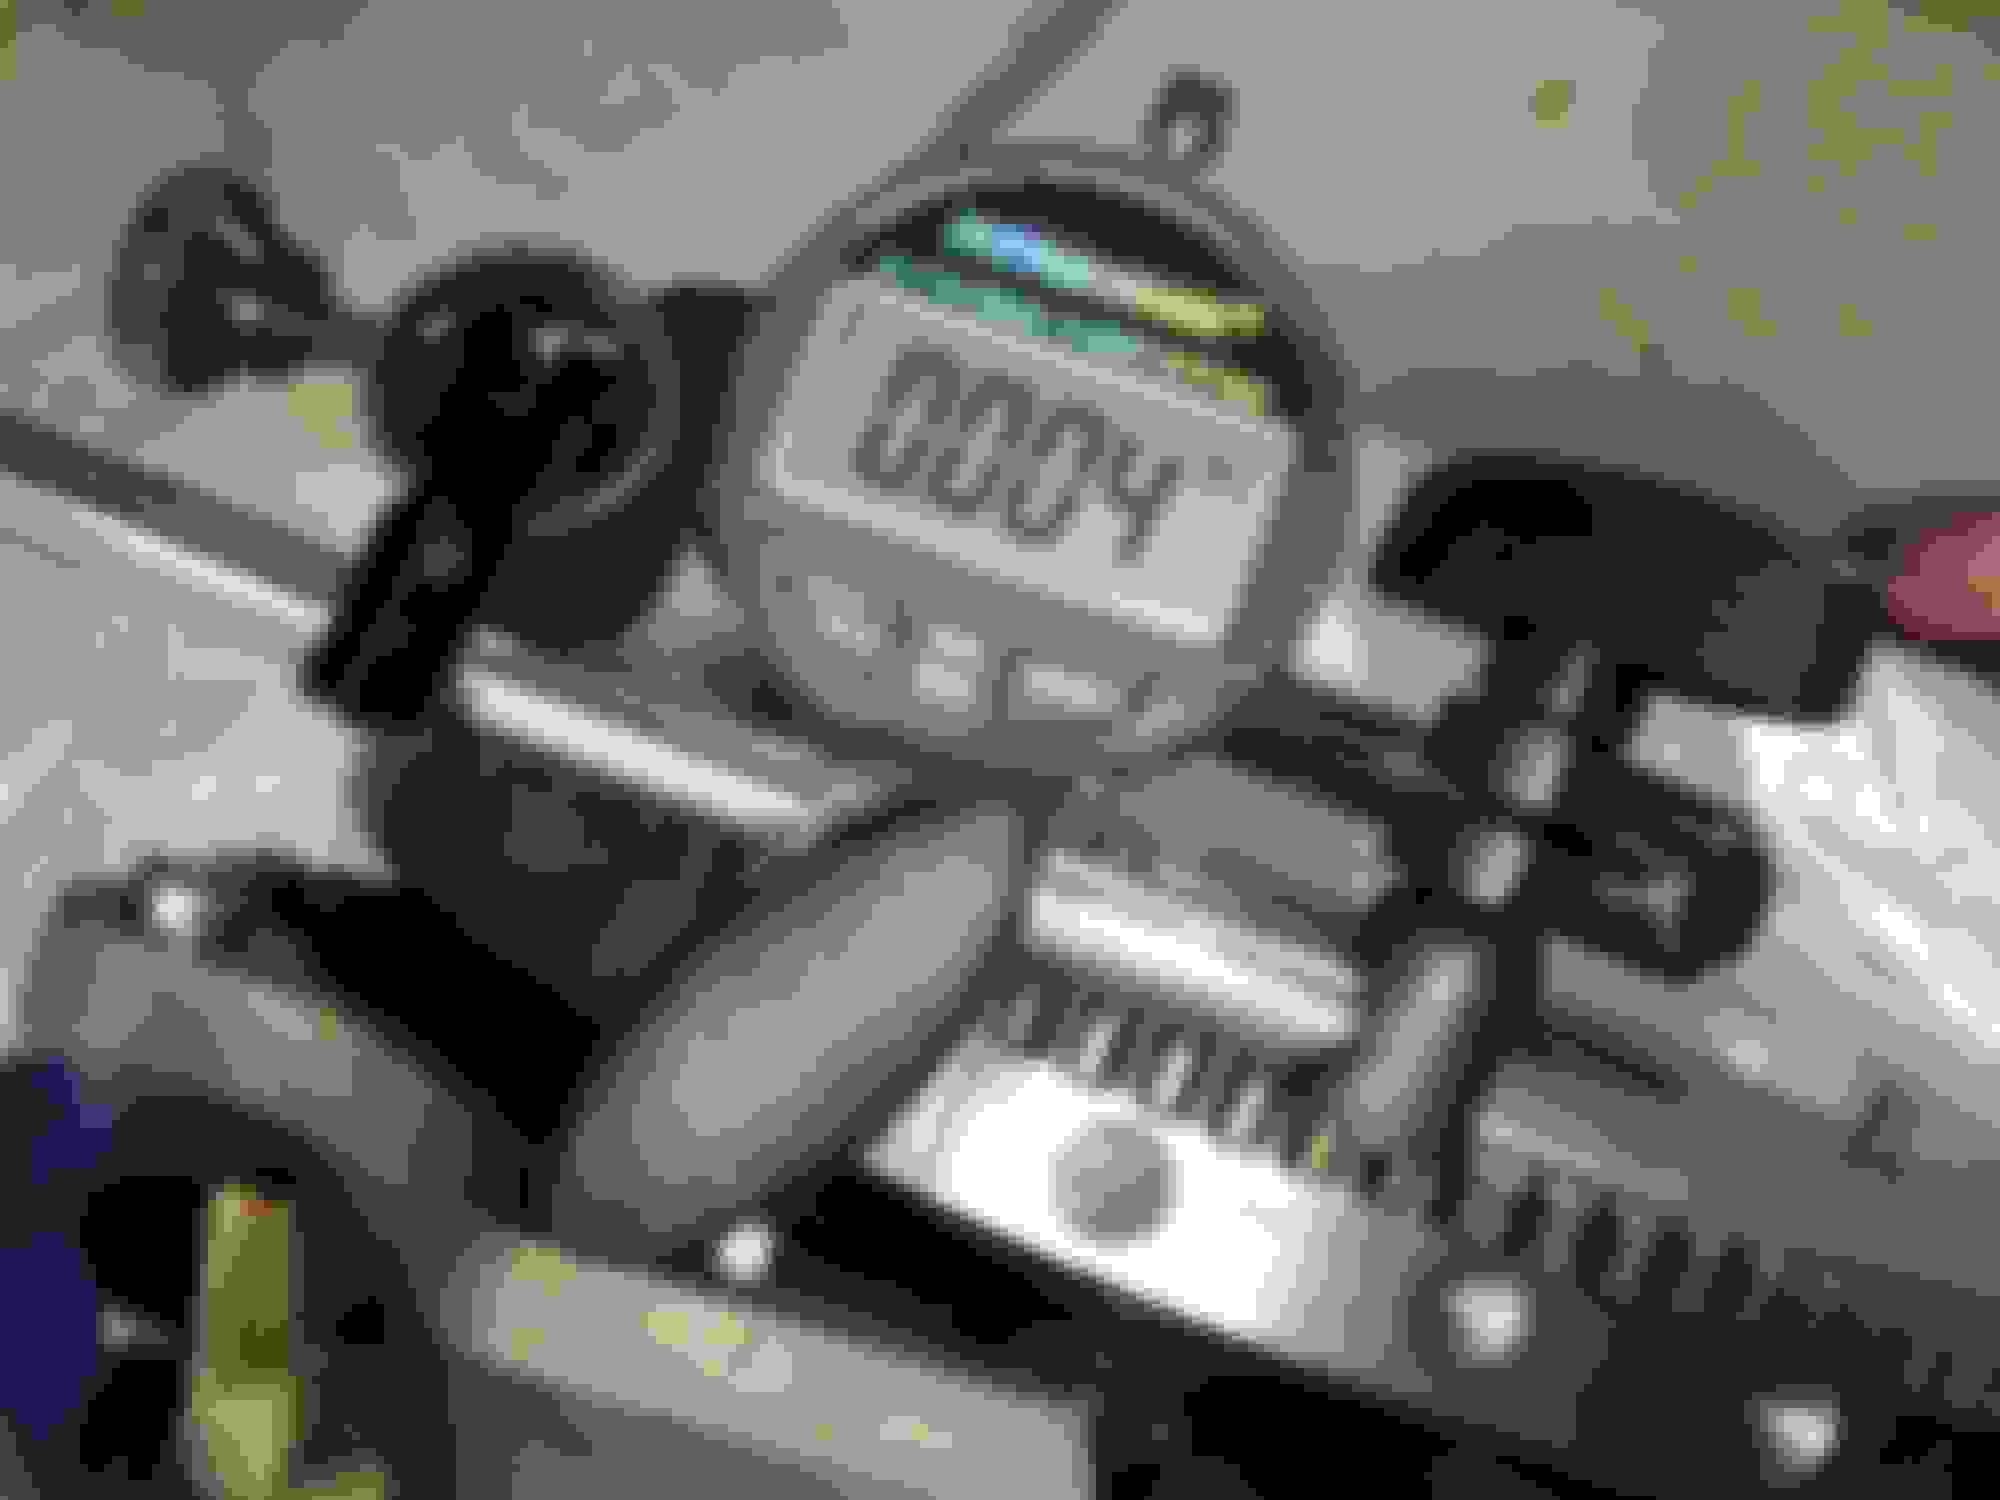
I bought some HF height gauges and I got an analog and a digital gauge to check eccentric shaft end play on my new engine. The digital gauge rounds down/up in .0005 inch increments. I read a difference of .004 on the digital gauge and a .0036 on the analog gauge. Maximum spec is stated as .0035 before you need to change spacers. I wonder if Mazda has new end play specs for these new engines. I'm going to take it as is and hope for the best.
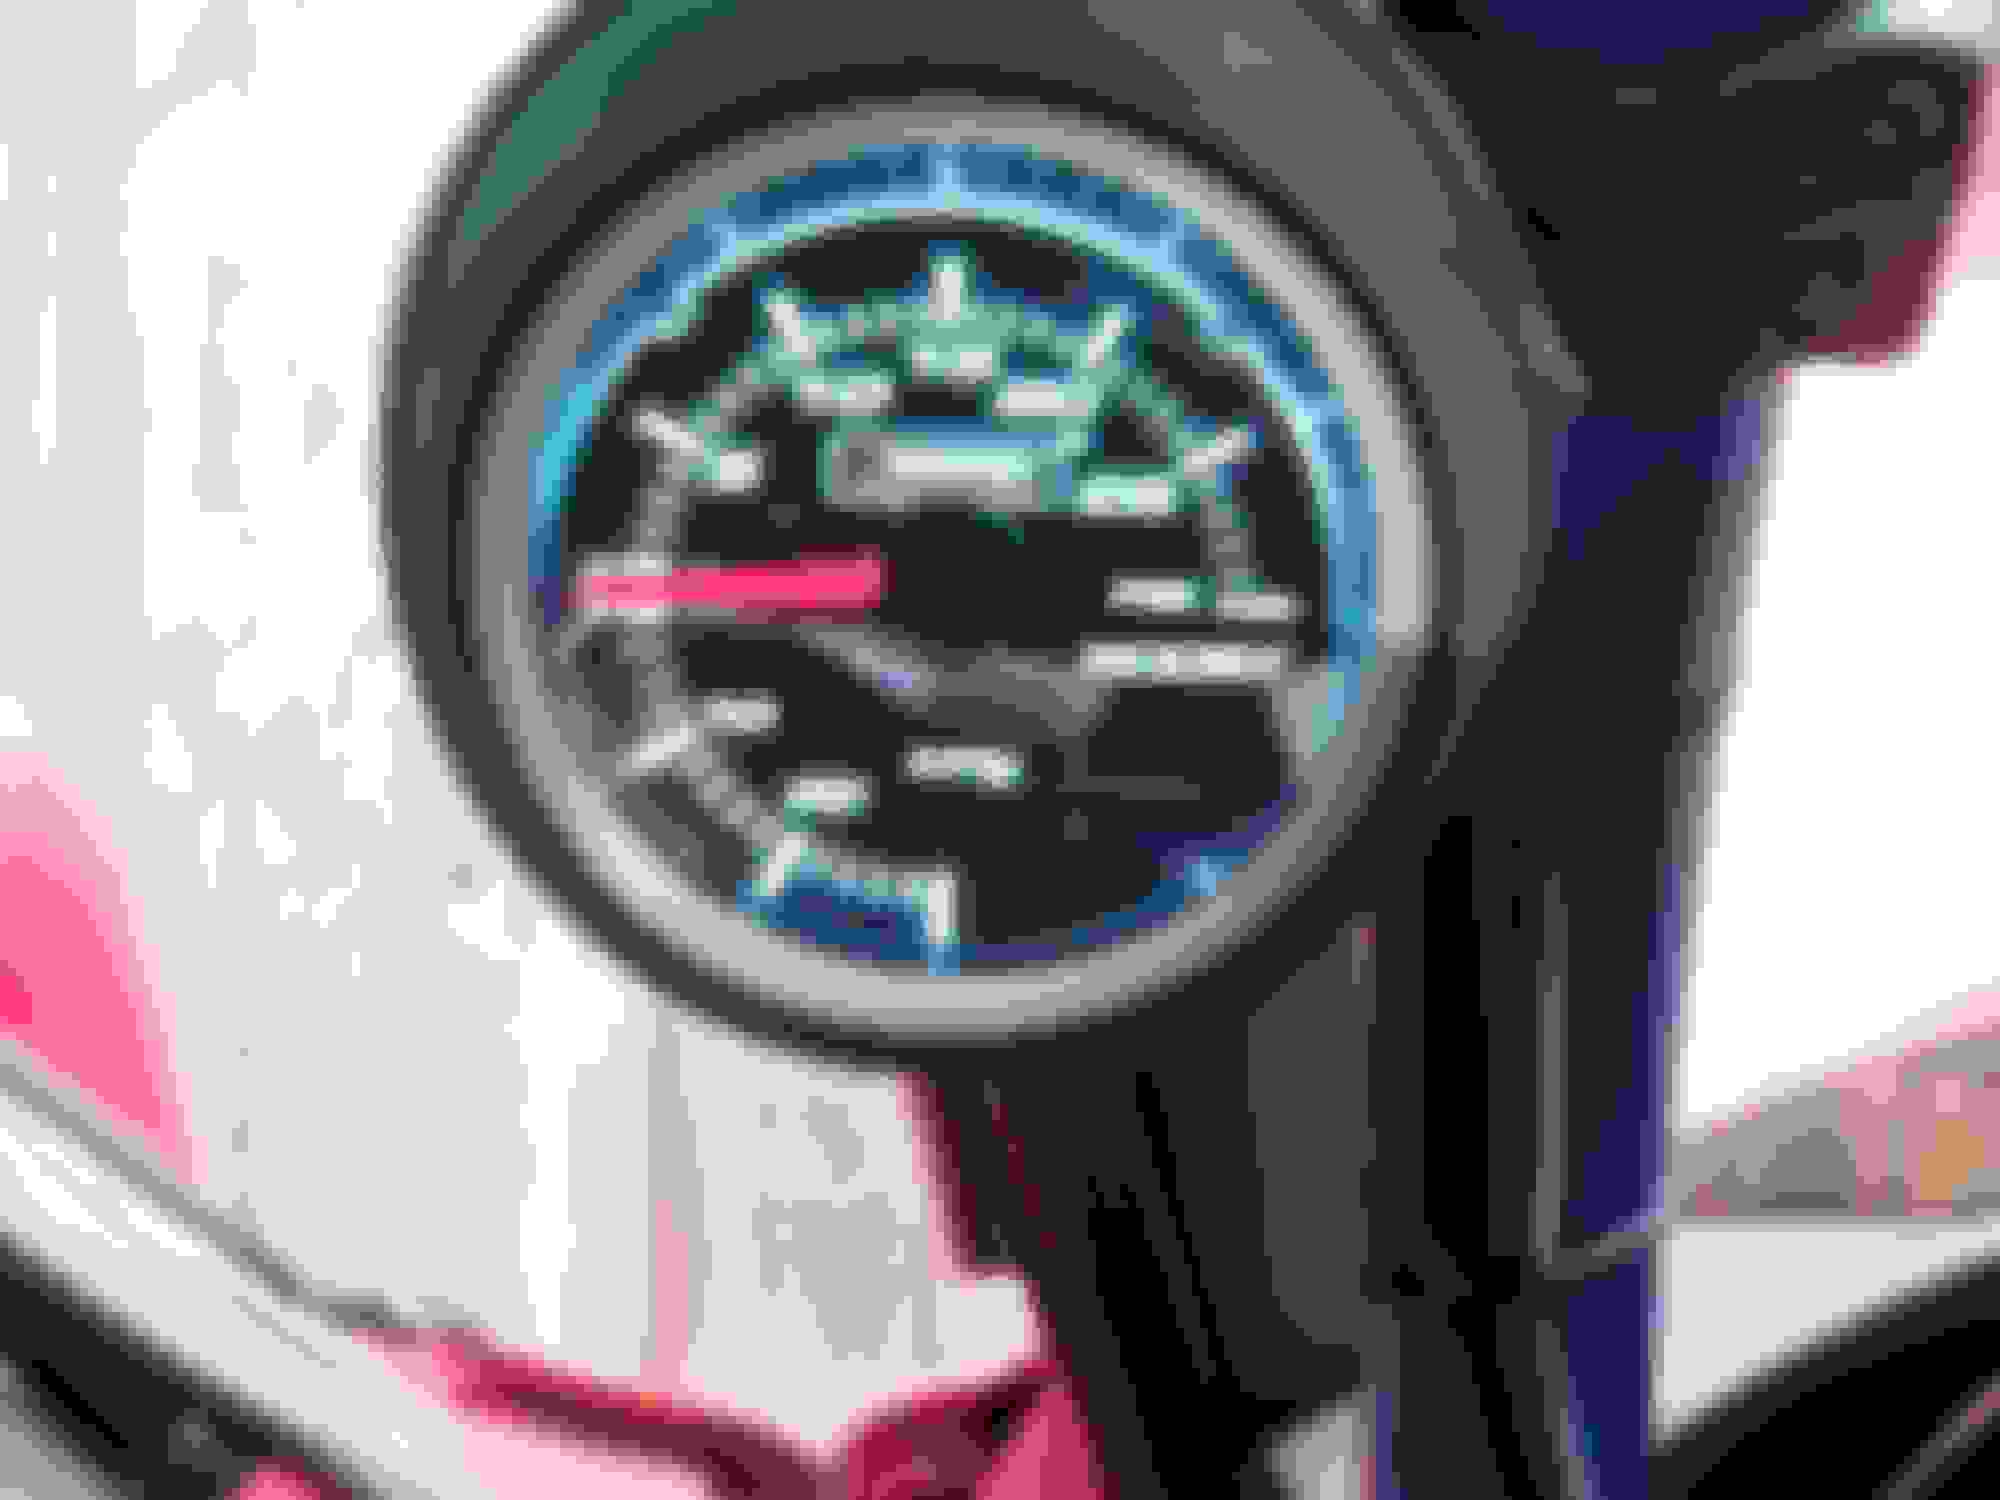
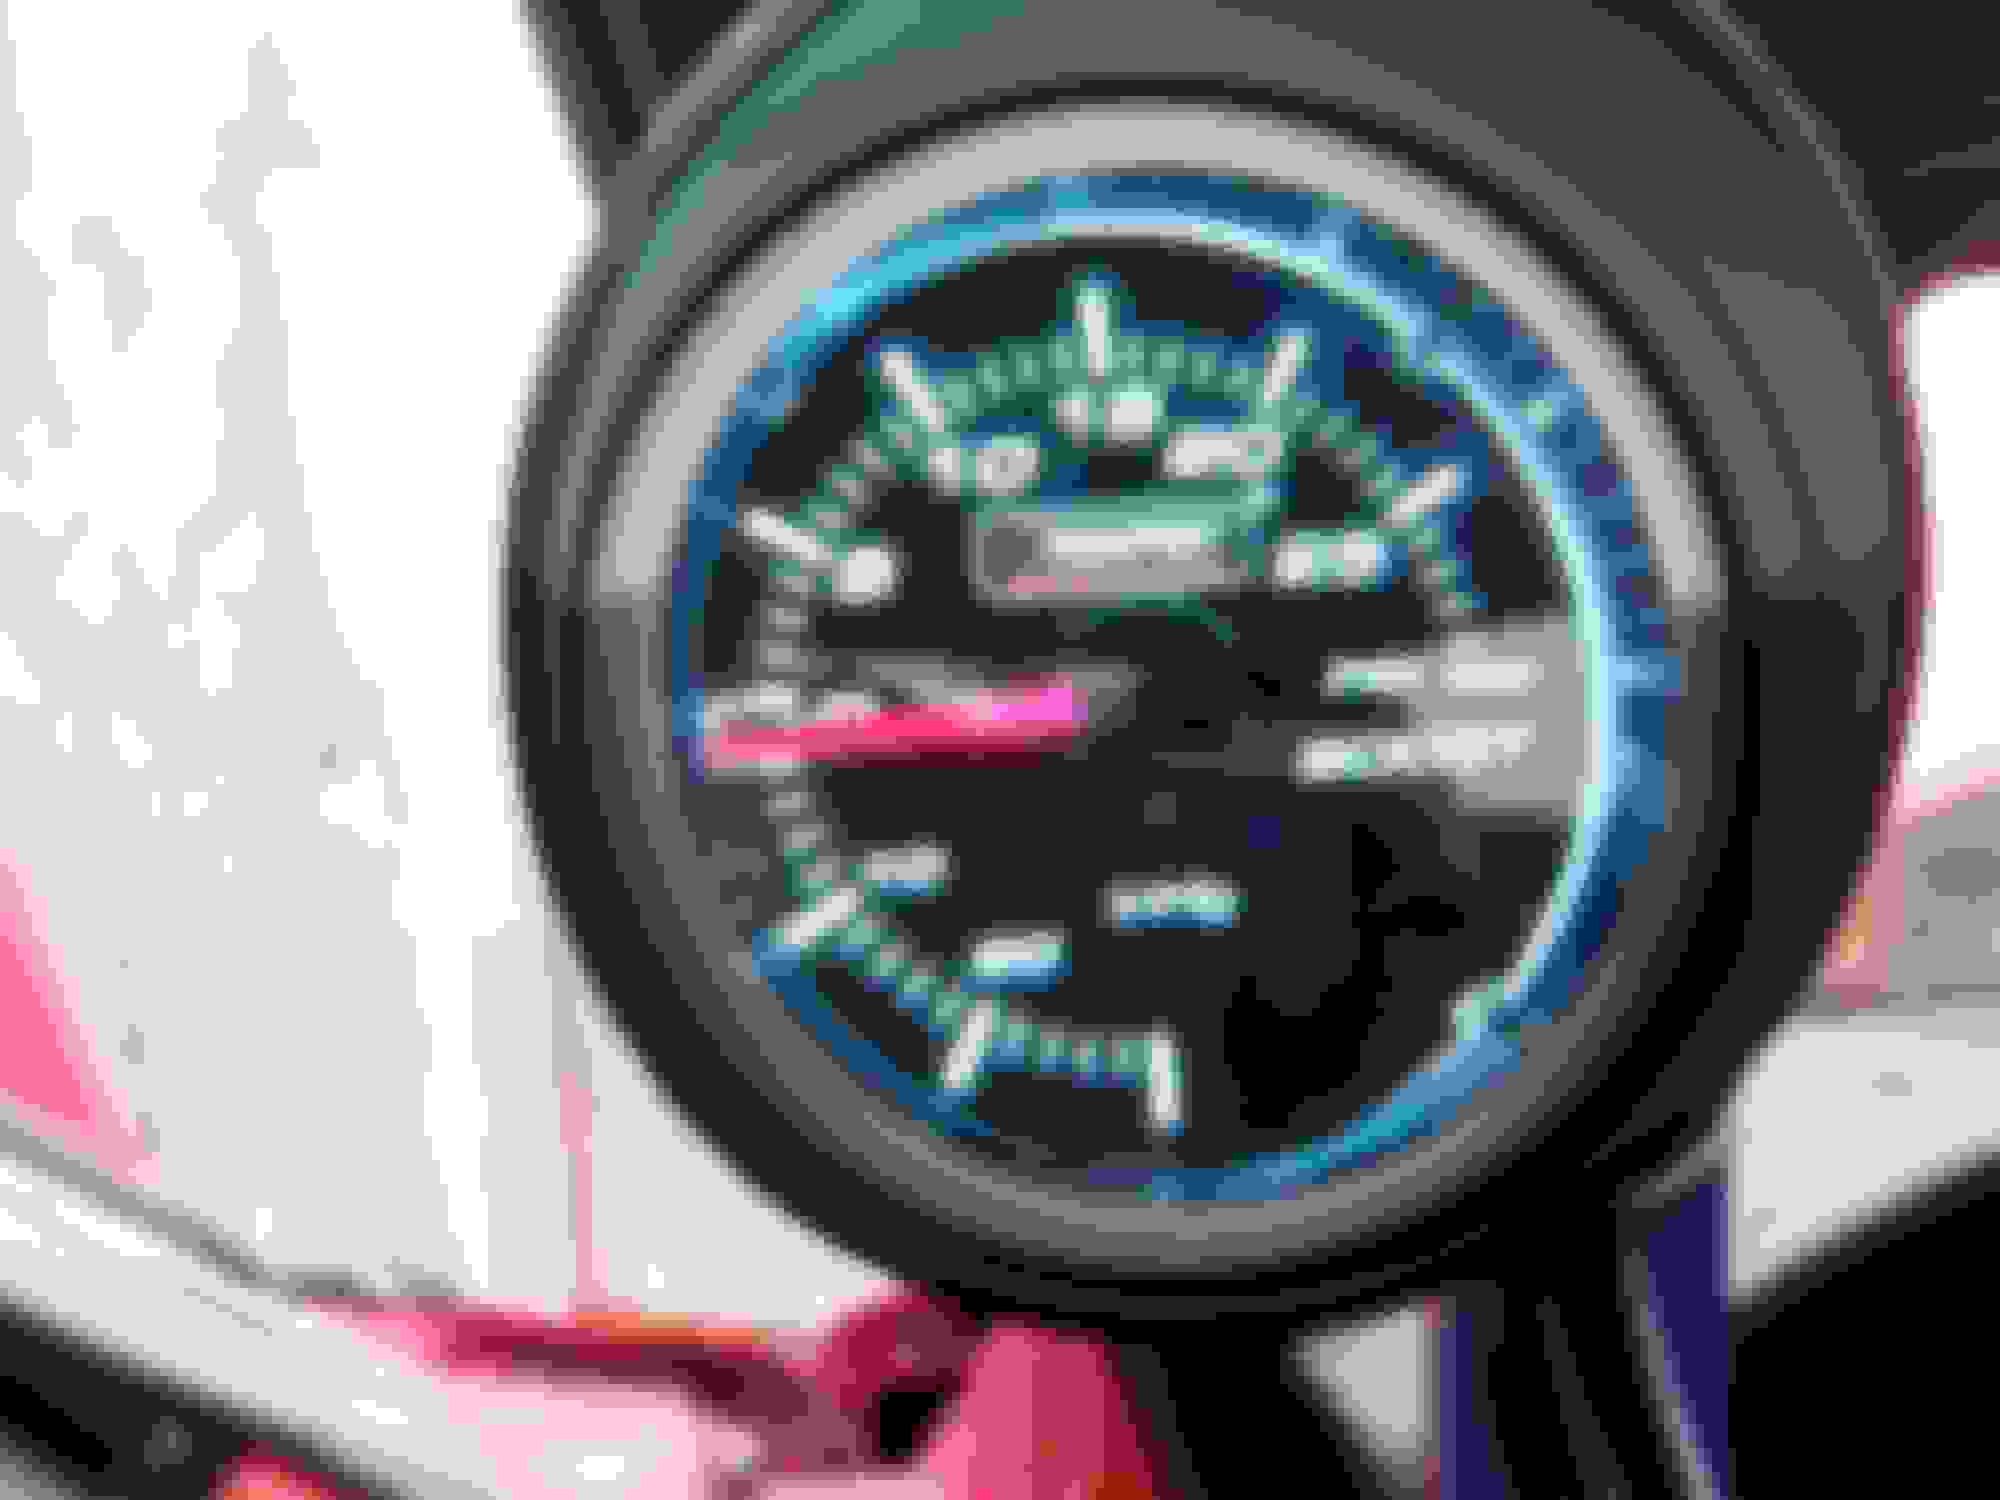
I was finally able to address 2 very annoying things with my electrical handy work. As always, it’s something super easy being the fix, just takes time to find what’s causing the issue. The heartbeat on my gauges is now fixed, the AFR signal going to the datalogit is now a nice robust connection, and of course it wouldn’t be complete without finding some new crap on the car.
1. AFR Heartbeat
2. AFR Log Signal
3. Hidden Body Work
1. AFR Heartbeat
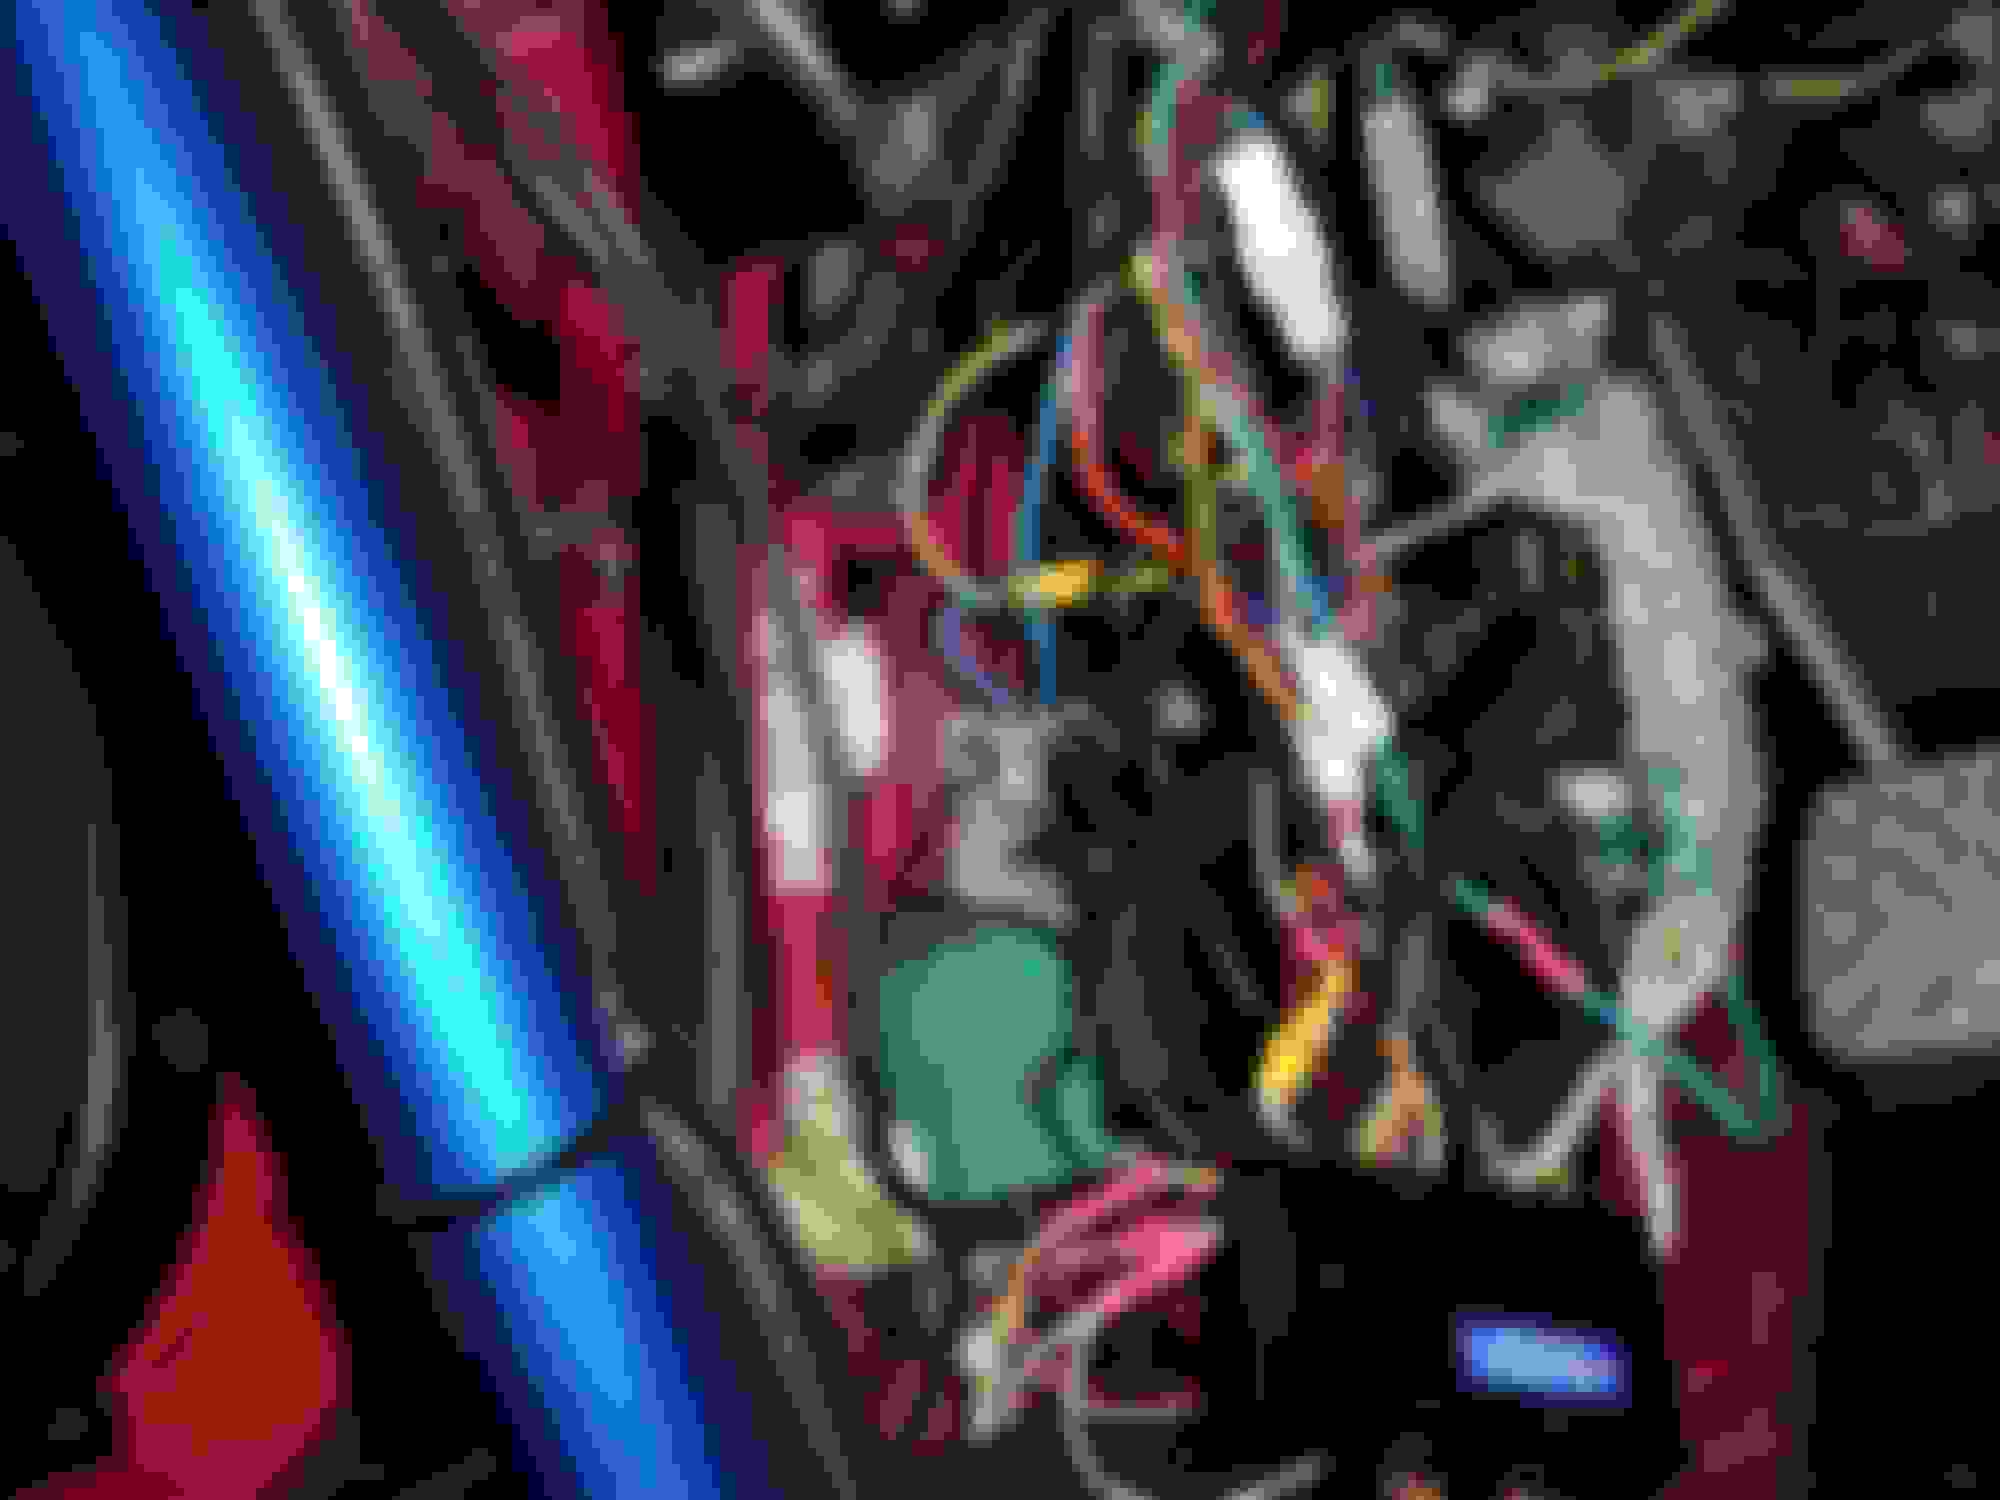
I wanted to try another shot at fixing the infamous heartbeat bouncing needle on all my gauges when the AFR times in. I forgot how much stuff needed to be removed to get to the wiring, the scuff plate, kick panel, side vent, foot rest, under dash panel, and the crotch vent all needed to be removed in order for me to trace my wiring. My wiring looks like a pile of spaghetti noodles behind the kick panel, I just cut all the zip-ties and pulled everything out. Before I ran a separate ground and power wire from the rear battery and it cut the bouncing by half. I think I had some other gauges spliced into that ground wire as well. I was talking to my Dad about this issue and he said one word - grounds. All I did was cut the ground in the AFR power harness out of the common ground extension and ran it separately to the chassis and it worked - jeez. So yeah, the Prosport AFR gauge MUST have its ground wire completely separate from all other grounds and go direct to the chassis. I also noticed that when I attached the AFR ground to the gauge common ground it would pull the needle down a tad on the boost gauge even while waiting for the AFR to time in. After everything was rerouted, I zip-tied the spaghetti noodle mess back in place and verified the heartbeat was gone, so happy that's done. On to the next issue.
2. AFR Log Signal
The AFR signal wire going to the datalogit needed to be addressed. My datalogit is in the glove box and the wires kept breaking from movement every time I wanted to connector to it for tuning. First the wires broke under the screws, then I tined the wires to the insulation which lasted only a little bit longer. My fix to this situation was to install a connector in between the AFR analog signal and the FC Datalogit.
On the datalogit side of the connector leads I crimped these cool pins where the wire lead goes in the inside and the tool crimps the pin onto the wire. It’s perfect, strong, and can be inserted and screwed down on without worrying about any wires fraying or breaking from movement. On the AFR side I crimped the connector leads with splices that were insulated with shrink tubing. It worked out really well and then I put another bigger shrink tubing over that to hold the splices together. Now I have a way to demate the datalogit anytime I need to remove it for whatever. Yes I could have bypassed the connector but I wanted to reduce the cycles of using the screws to hold down the wires on the datalogit.
3. Hidden Body Work
When I got the car, it had a blown motor and a dent in the quarter panel behind the driver’s door. Later when I painted the engine bay and started to reassembly everything, I discovered the left front corner was damaged, I’ll repair this the next time my engine is out. This weekend while working on the car I noticed some scratches UNDER the paint near the top roof line between the hatch and door. Ugghh, bondo scratches, both sides too. The left rear quarter panel repair work I had done is nowhere near where a new crack appeared in the primer. Maybe it was previous damage and it’s just now showing its ugly face. The top right roof side now has a small crack in the paint and shows a small amount of rust bleeding. WTH happened to this car. Anyways it’s got a clean title and I feel less bad about cutting up the rear quarter panels in the future for the wide body kit. Honestly, I’m glad the car is not perfect because I would be paranoid about spider webs scratching the paint, interior scuffs, door dings, and millage accrued. I also put the silencers in to keep the neighbors happy.. LOL
Enjoy the pics.1.. AFR Heartbeat
Last edited by rotaryextreme; 07-13-23 at 08:06 AM.
Long story short, ground loops are bad. I added a second battery to my car to provide power to some things I will be adding later that I do not want on the main battery to prevent voltage drops and over stressing the alternator. In my last post (Update 117), I finally fixed the heartbeat on my gauges which had a ground loop on the Prosport AFR gauge. The loop was created by the ground in the O2 sensor, the ground for the AFR gauge, and the ground for the AFR junction box. I had the ground for the junction box on the same wire as the AFR gauge, which shares the ground for all the other gauges, and that was the loop.
I believe my dual battery kit has some ground loops and I want to address all this before I add the ground based PWM controller for the dual oil cooler fan kit. I�m sure the dual battery kit and the ground loops is what killed my Ign-1A smart coils and caused Xaviers upgraded ignitor to act funny on my car. In the future I will also be pulling out the Greddy Profec B boost controller and replacing it with the Apexi Super AFC which is supposed to be the best boost controller out there. On the Apexi boost controller subject, since I will be working with ECU wires, I will also check the wires that are supposed to be de-pinned as well. Here are the links for the ECU pin checks. Look for Dale Clark's PFC FAQ's.
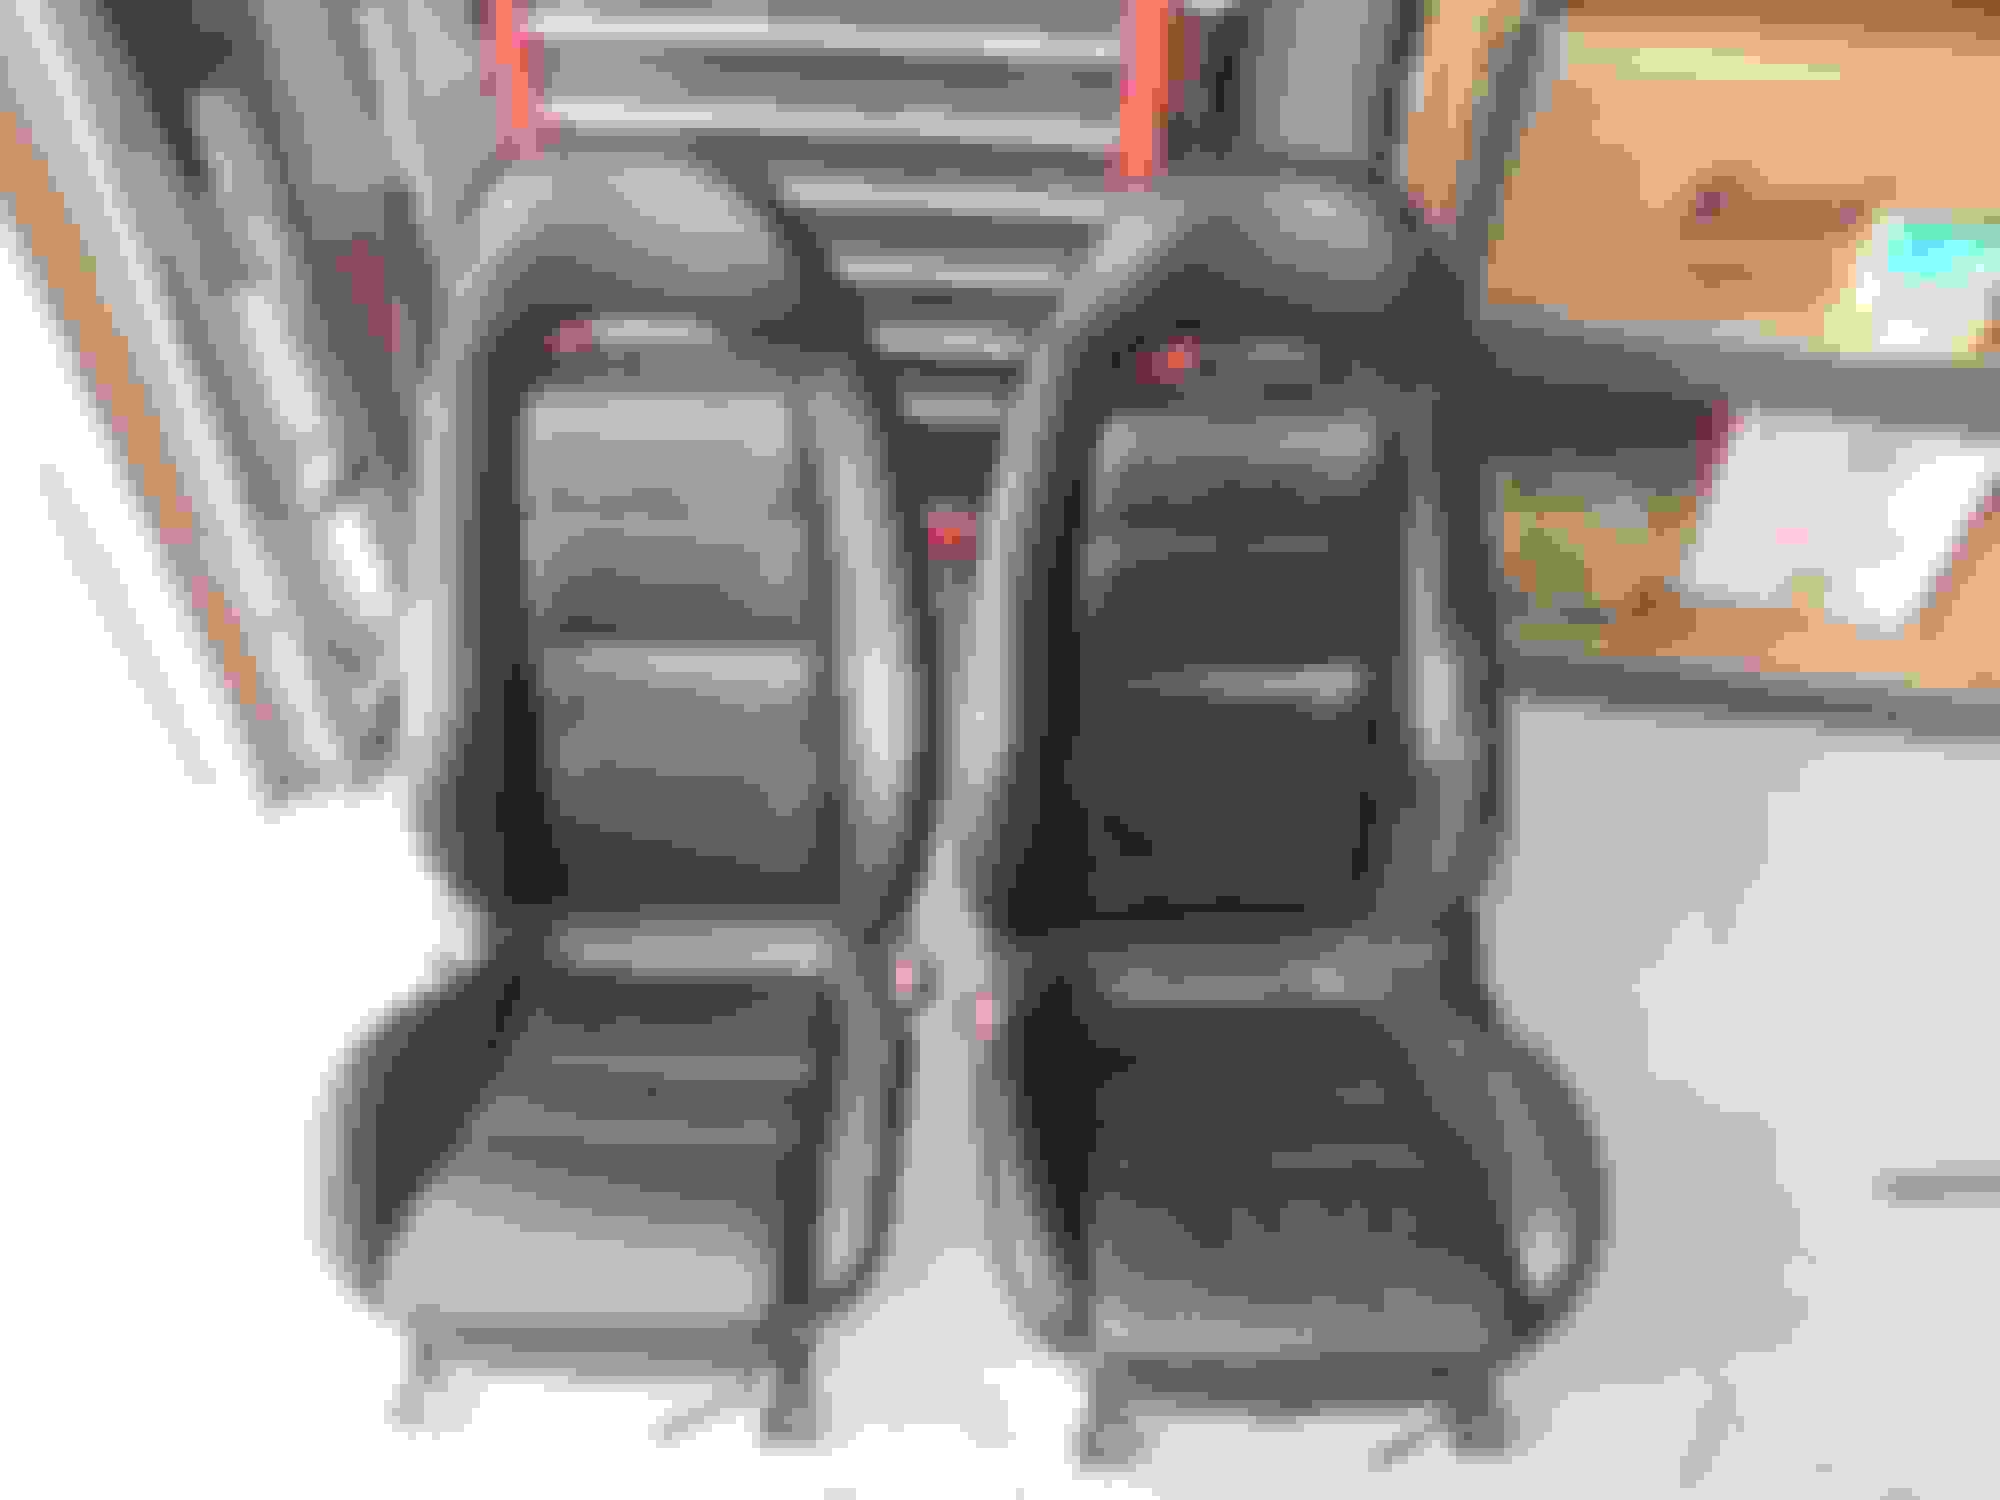
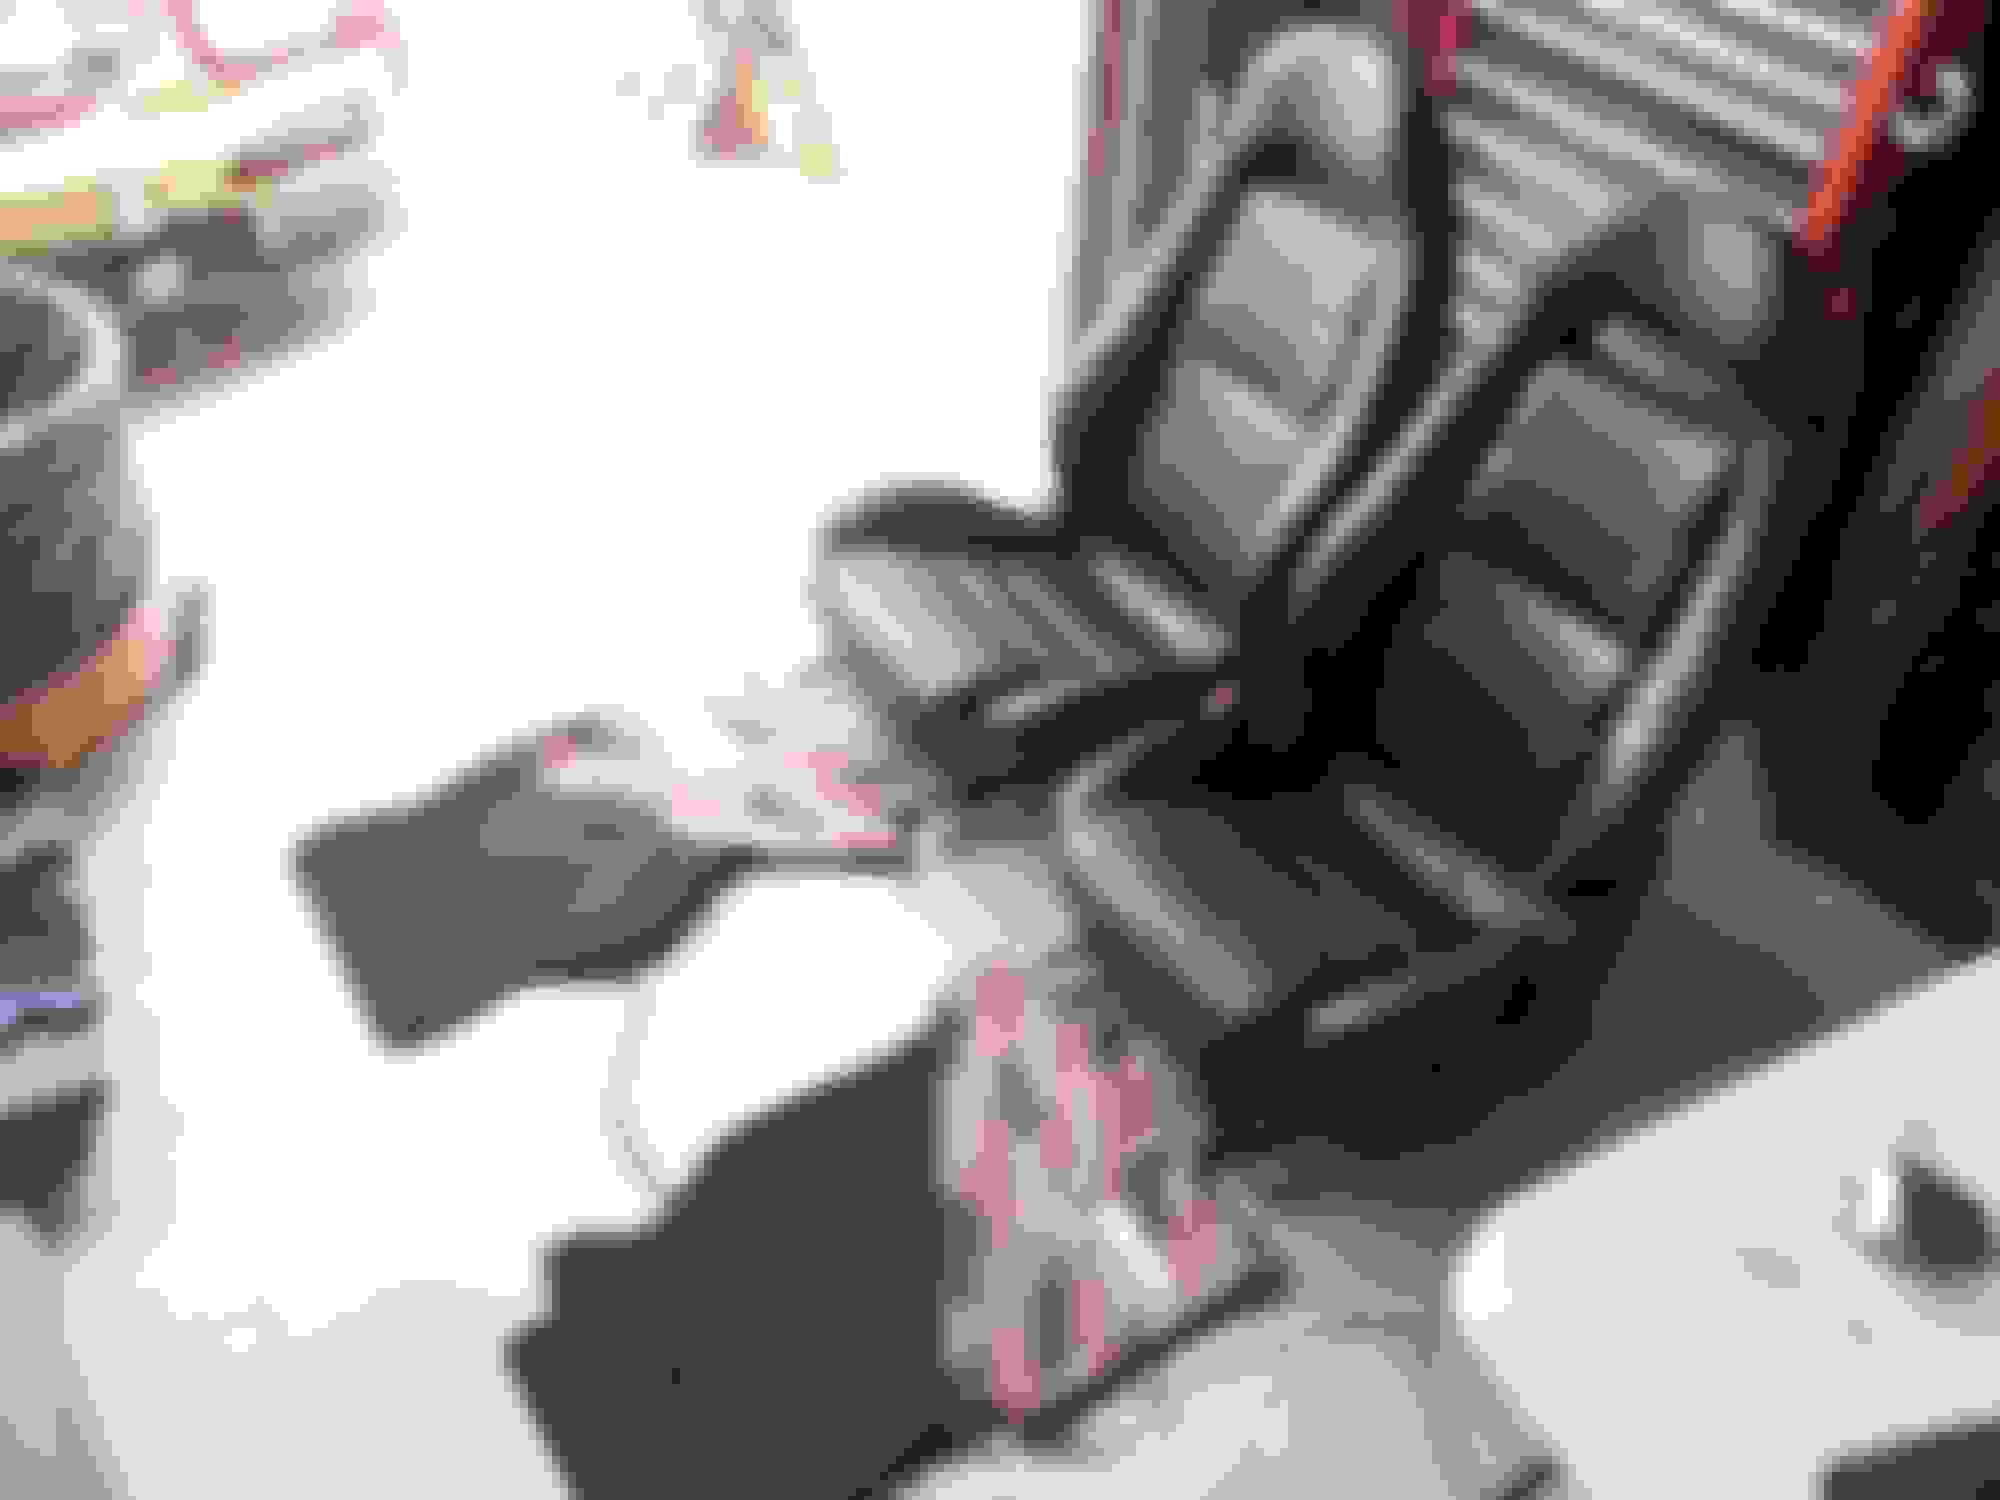
Thinking back to when I installed the roll cage, rear LRB panels, and batteries with the seats still in the car made me cringe to have to deal with it again. This time I just removed the seats to make life easier to get everything else out of the car. I found some interesting stuff under the seats like cut off metal tabs from the dash radio install, money, 1 diamond earing (probably fake), cut zip ties, and panel retention tabs. I have the pink camo JDM RX7 floormats and they do fit, even with the roll cage. The only mod I had to do was to cut the corner where the gas pedal was hitting it. I put black RTV on the cut corner to prevent it from fraying.
02 � LRB Rear Panels Out
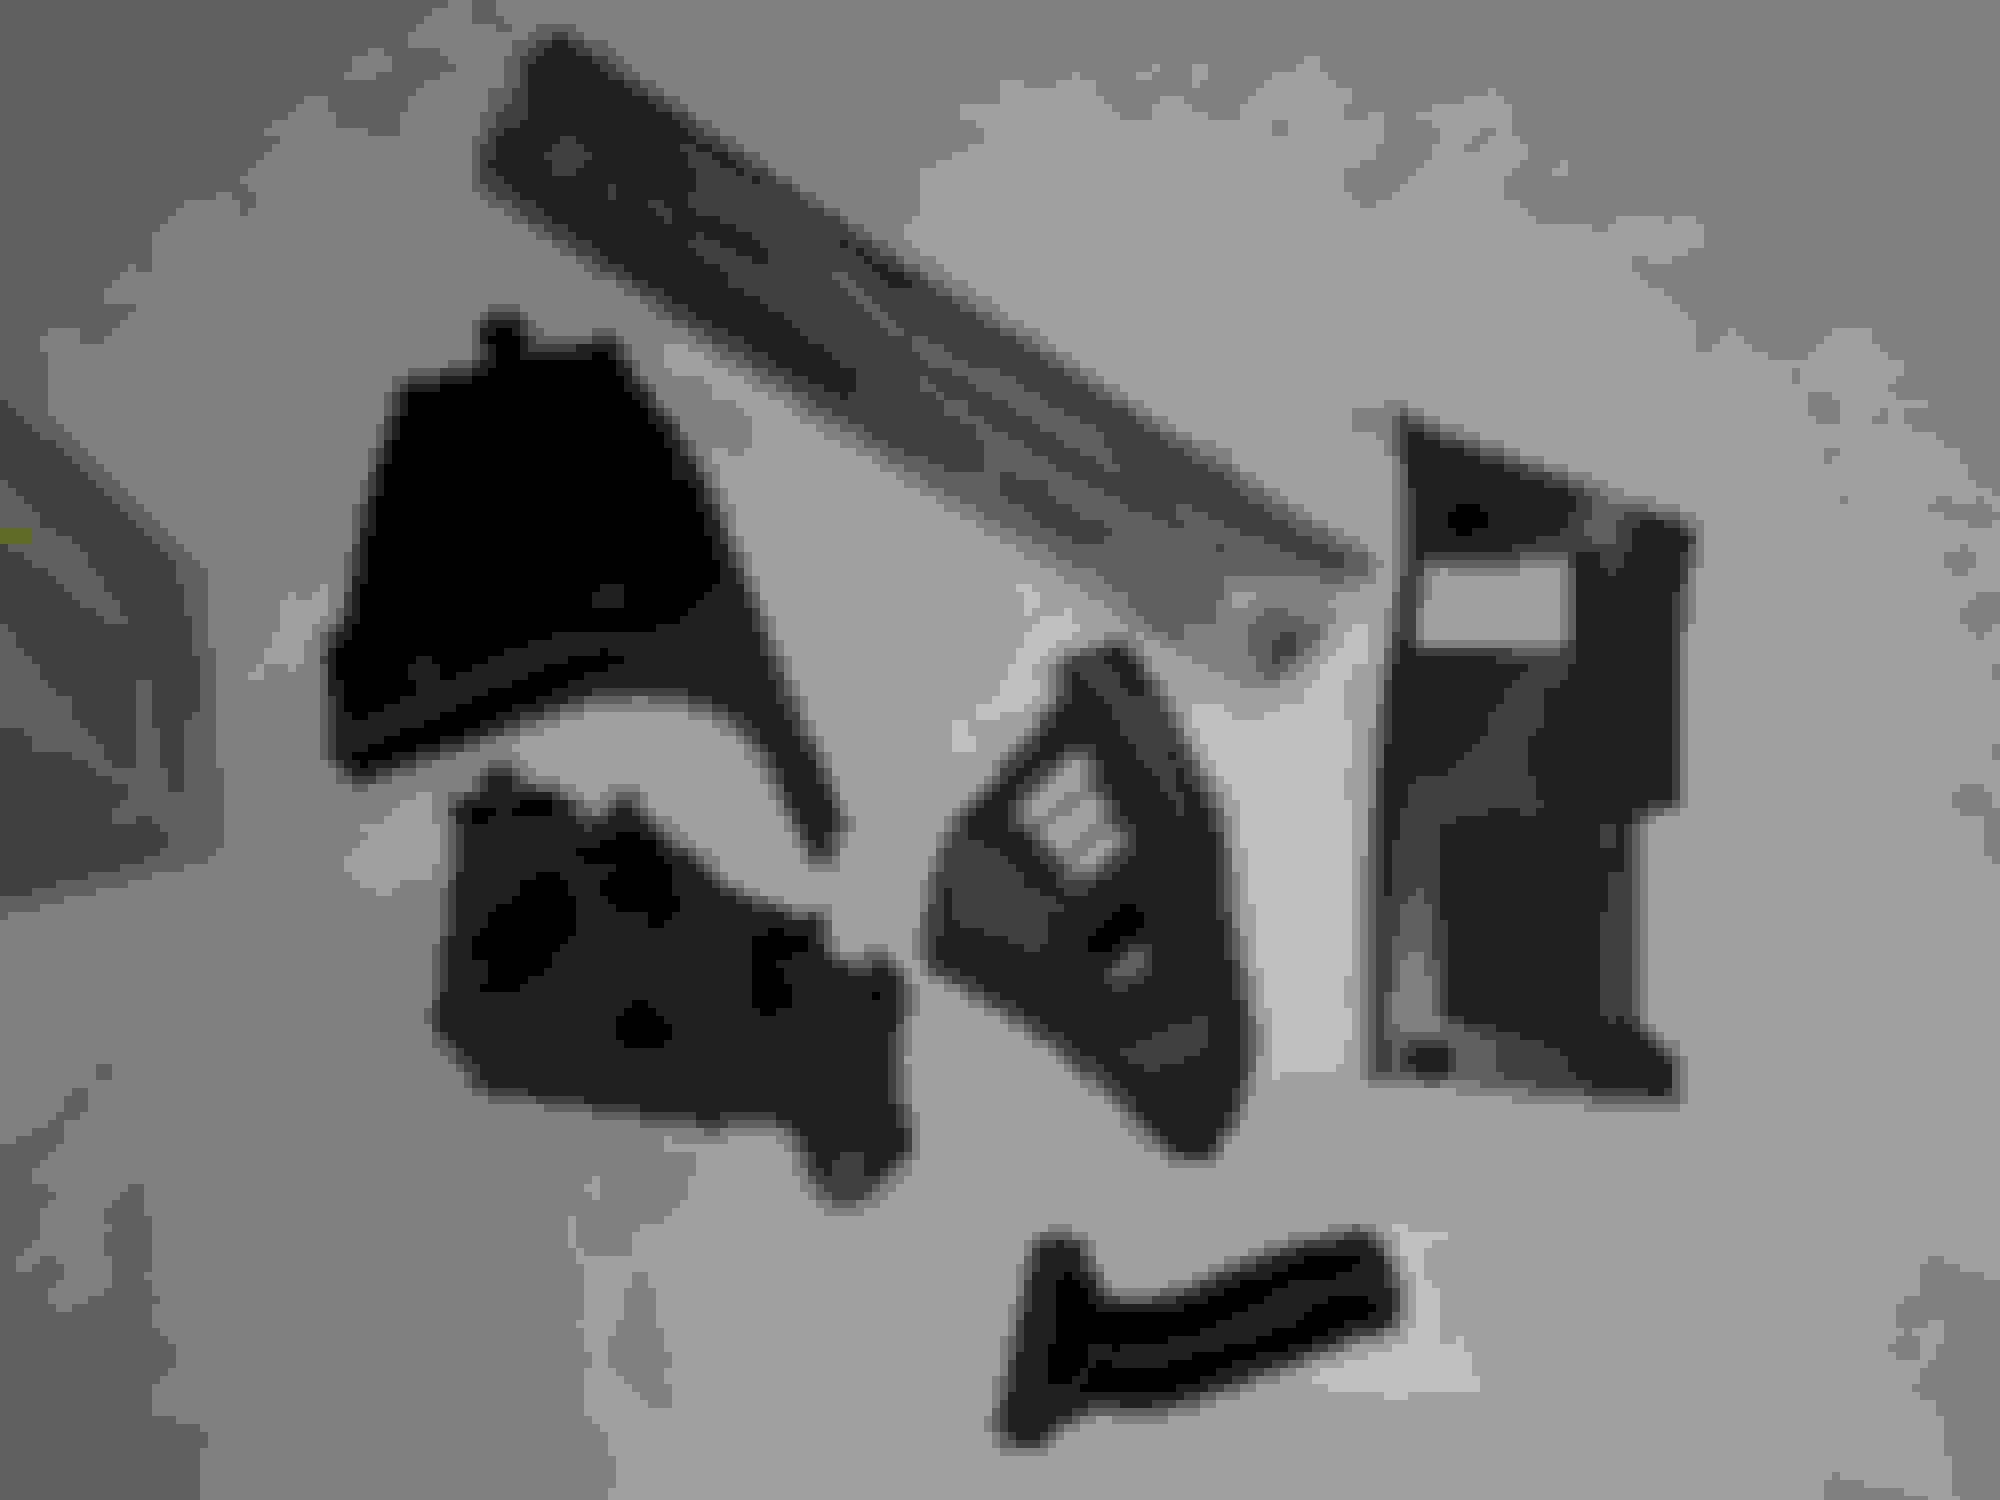
I wanted to pull the LRB panels out for 2 reasons, the 1st is to get access to redo the dual battery kit and the 2nd is to wrap the panels in a flat black vinyl tape. Thankfully I was able to remove all the electrical connections without making any sparks. I was also happy to get the panels out without having to remove rear trunk panels.
03 � Oil Fans Kit Removed
Out with the old, in with the new. I do not know 100% why one of the oil cooler fans failed but I heard someone else had an issue with the 2nd fan turning on with this controller. I read that because it is not a PWM controller, when the 2nd fan turns on it has potential to draw a big current spike and damage can occur in the controller itself. Both fuses were fine on the controller, but I did notice the 2nd fan was stuck and when turned by hand it freed up. It was like something had to be broken loose in the fan motor. I tested it on the battery, and it worked but it had a different sound to it. I looked at the wires where it goes into the backside of the motor and there was a gap where water could have gotten in. I also took the fan blade off to see if water could get in through the shaft side, thankfully it has a closed bearing on that side. I thew away the suspect fan but decided to keep the controller since I still need to verify it is bad. I did get 2 new fans and I will put additional RTV to seal where the wires go into the fan.
04 � Beefed Up Data-Logit Pins
Well, I thought I had the data logit connection taken car of. While I was removing a bunch of stuff, I noticed one of the leads (AN1) was bent upward a tad. I also realized initially I may have over crimped it. Anyways � I know this is a critical tool used for monitoring and tuning, so I re-crimped the ferrules, screwed them into position, and applied so mil-spec RTV to secure it in place. Dowsil 3145 RTV MIL-A-46146 is the stuff used. This stuff is used at work and is amazing. It will also protect electrical connections since it is non-conductive.
05 � HKS Turbo Kit
The HKS turbo kit has arrived state side and I can�t wait to get it in my hands. Maybe I�ll wrap it up for Christmas and un-box it then. LOL. Cali makes it difficult to be a car guy. So many rules and warnings. If you have to get stuck with a car from the factory and you can not touch it, I think the 2020 FK8 Civic Type -R or the 2005 Mitsubishi Lancer EVO 8 with the 5spd trans would be the ones to have.
Just got off the phone with the guys I got my turbo through, HKS is discontinuing some parts and pulling back items for sale from the states. I can not verify personally but I was told I am the only guy state side that has the HKS GT3-4R FD3S kit.
This exactly why I bought it because I knew this was going to happen - just not so damn friggin soon !!!!!!!!
That's a bummer, i would think that is a kit they would want to keep here but it must not be hitting sales numbers. Any mentions of other parts that will stop being sold here? Ive bought quite a bit the RHDJapan but would rather purchase local if i can.
@boostin13b I do not know what parts are being discontinued, but I'm sure the lack of sales in the states is due to CARB and customs. They will not ship certain items straight to cali and this probably impacts it enough they are tired of dealing with it. I heard to get items like this you will need a direct contact in Japan and the product completely paid for and a way to get it here. I went through KJ at myjapandirect in LA. Rotary Extreme was known for buying aero kits and remaking them for sale back in 2000 to 2006, so when I went to order all my JDM aero parts I went through KJ since he can go direct to these guys. I was specifically asked by him if I was going to copy it prior to the order, I told him no. Since taking ownership I no longer sell replica parts, as everyone can see I don't really sell anything anymore.. lol. Anyways the turbo kits are still available, it will just be harder to get.
Last edited by rotaryextreme; 08-01-23 at 01:17 PM.


 06-19-23, 09:02 PM