View Poll Results: is this build helpful to you
Your build is crazy cool - can't wait for you to finish it!


11
68.75%
Yes, this thread is very helpful.


6
37.50%
Somewhat helpful.


1
6.25%
No because I already know everything - and more.


1
6.25%
Multiple Choice Poll. Voters: 16. You may not vote on this poll
Rotary Extreme Bousou7 For Music Video
#776
Eats, Sleeps, Dreams Rotary

Thread Starter
iTrader: (2)
Whats up bro, can you please clarify.
The shocks are over 12+yrs old and sat for 8yrs with the car level on the ground. When I was putting the car together everything was clean. Only when I started driving it I heard the back shocks making weird squishy noises over bumps.
I'm surprised at the axles and the rear shield being wet, so I am just wondering is it possible that the air flow under the car somehow pulled the shock oil downward causing a fine mist to coat the axles and shields while driving. Then once I parked it, that's when it would drip off the axles and onto the ground.
Both rear shocks are shot.
However, now that I think about it I did have the front jacked up under the subframe while making VM kits for a few years but the shocks were still dry at that point, but I do not see how that would blow the seal - other then sitting and age.
I'm just baffled at why the axles and shield are completely wet.
Axle boots, diff seals, brake lines, transmission rear seal all good. Not even the engine leaking coolant made it past the subframe.
So do the rear panels make that much of a difference with airflow in the area.
Or when you watch a plane landing through clouds and you see the wing tips create a vortex, is it possible the axles are creating a vortex as they spin and it causes them to be coated by a fine mist of shock oil.
Anyone else notice this with leaking shocks.
Last edited by rotaryextreme; 10-19-22 at 11:49 AM.
#779
Eats, Sleeps, Dreams Rotary

Thread Starter
iTrader: (2)
Update 110
Sevenstock 24 here I come. Happy 30 yr Anniversary to the FD, 1992-2002.
I also wanted to update the things I was able to do and add some additional future plans.
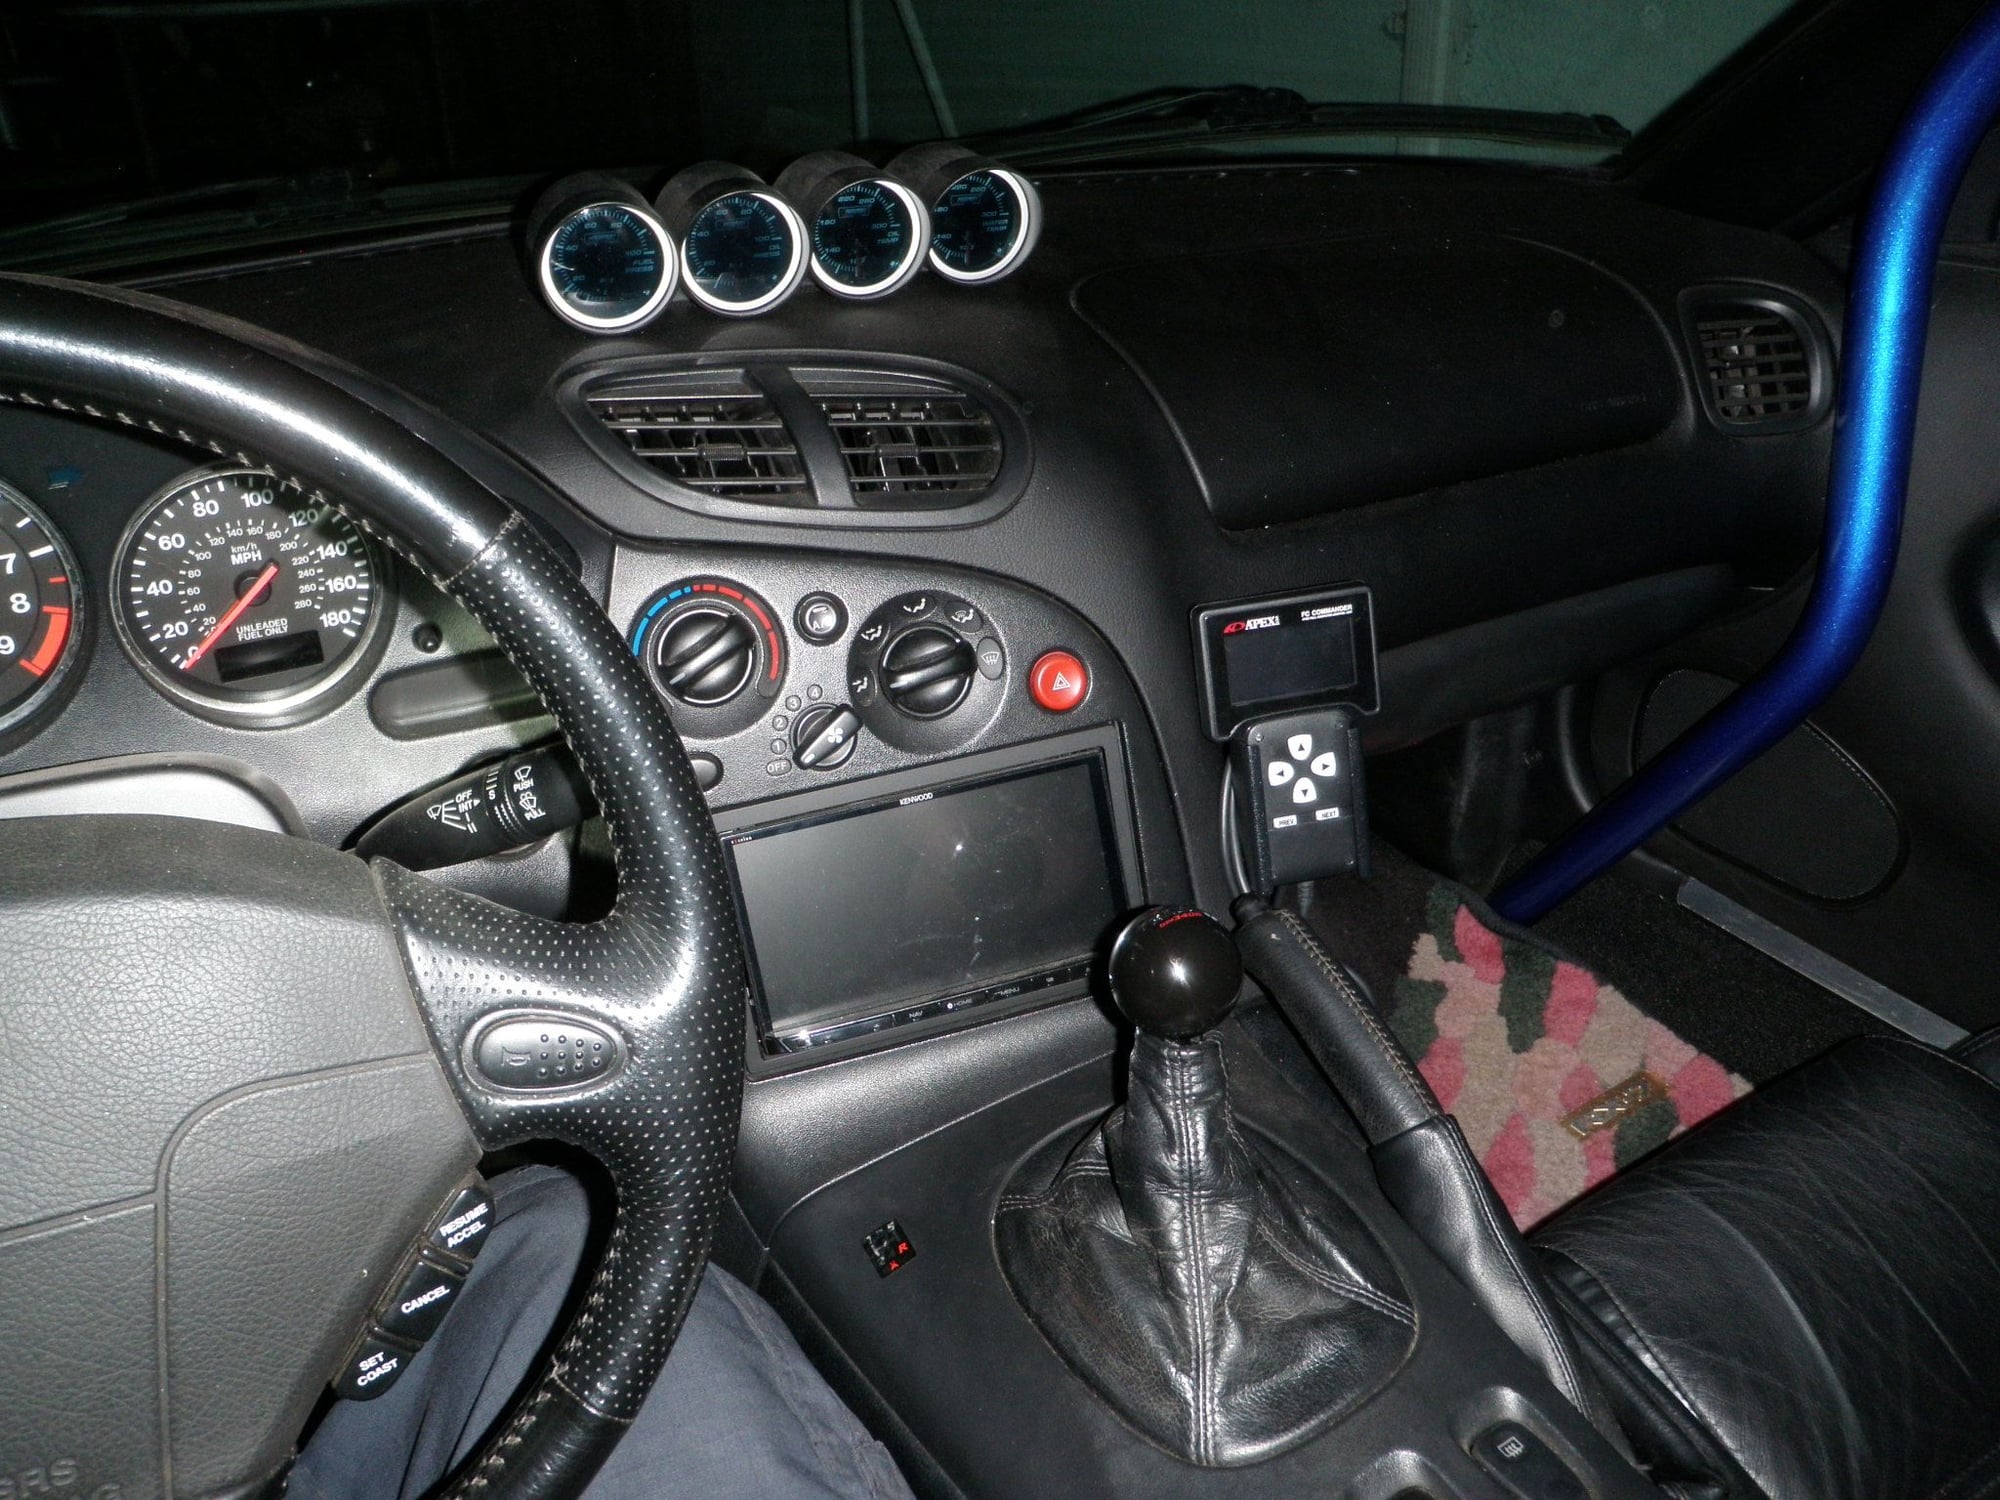
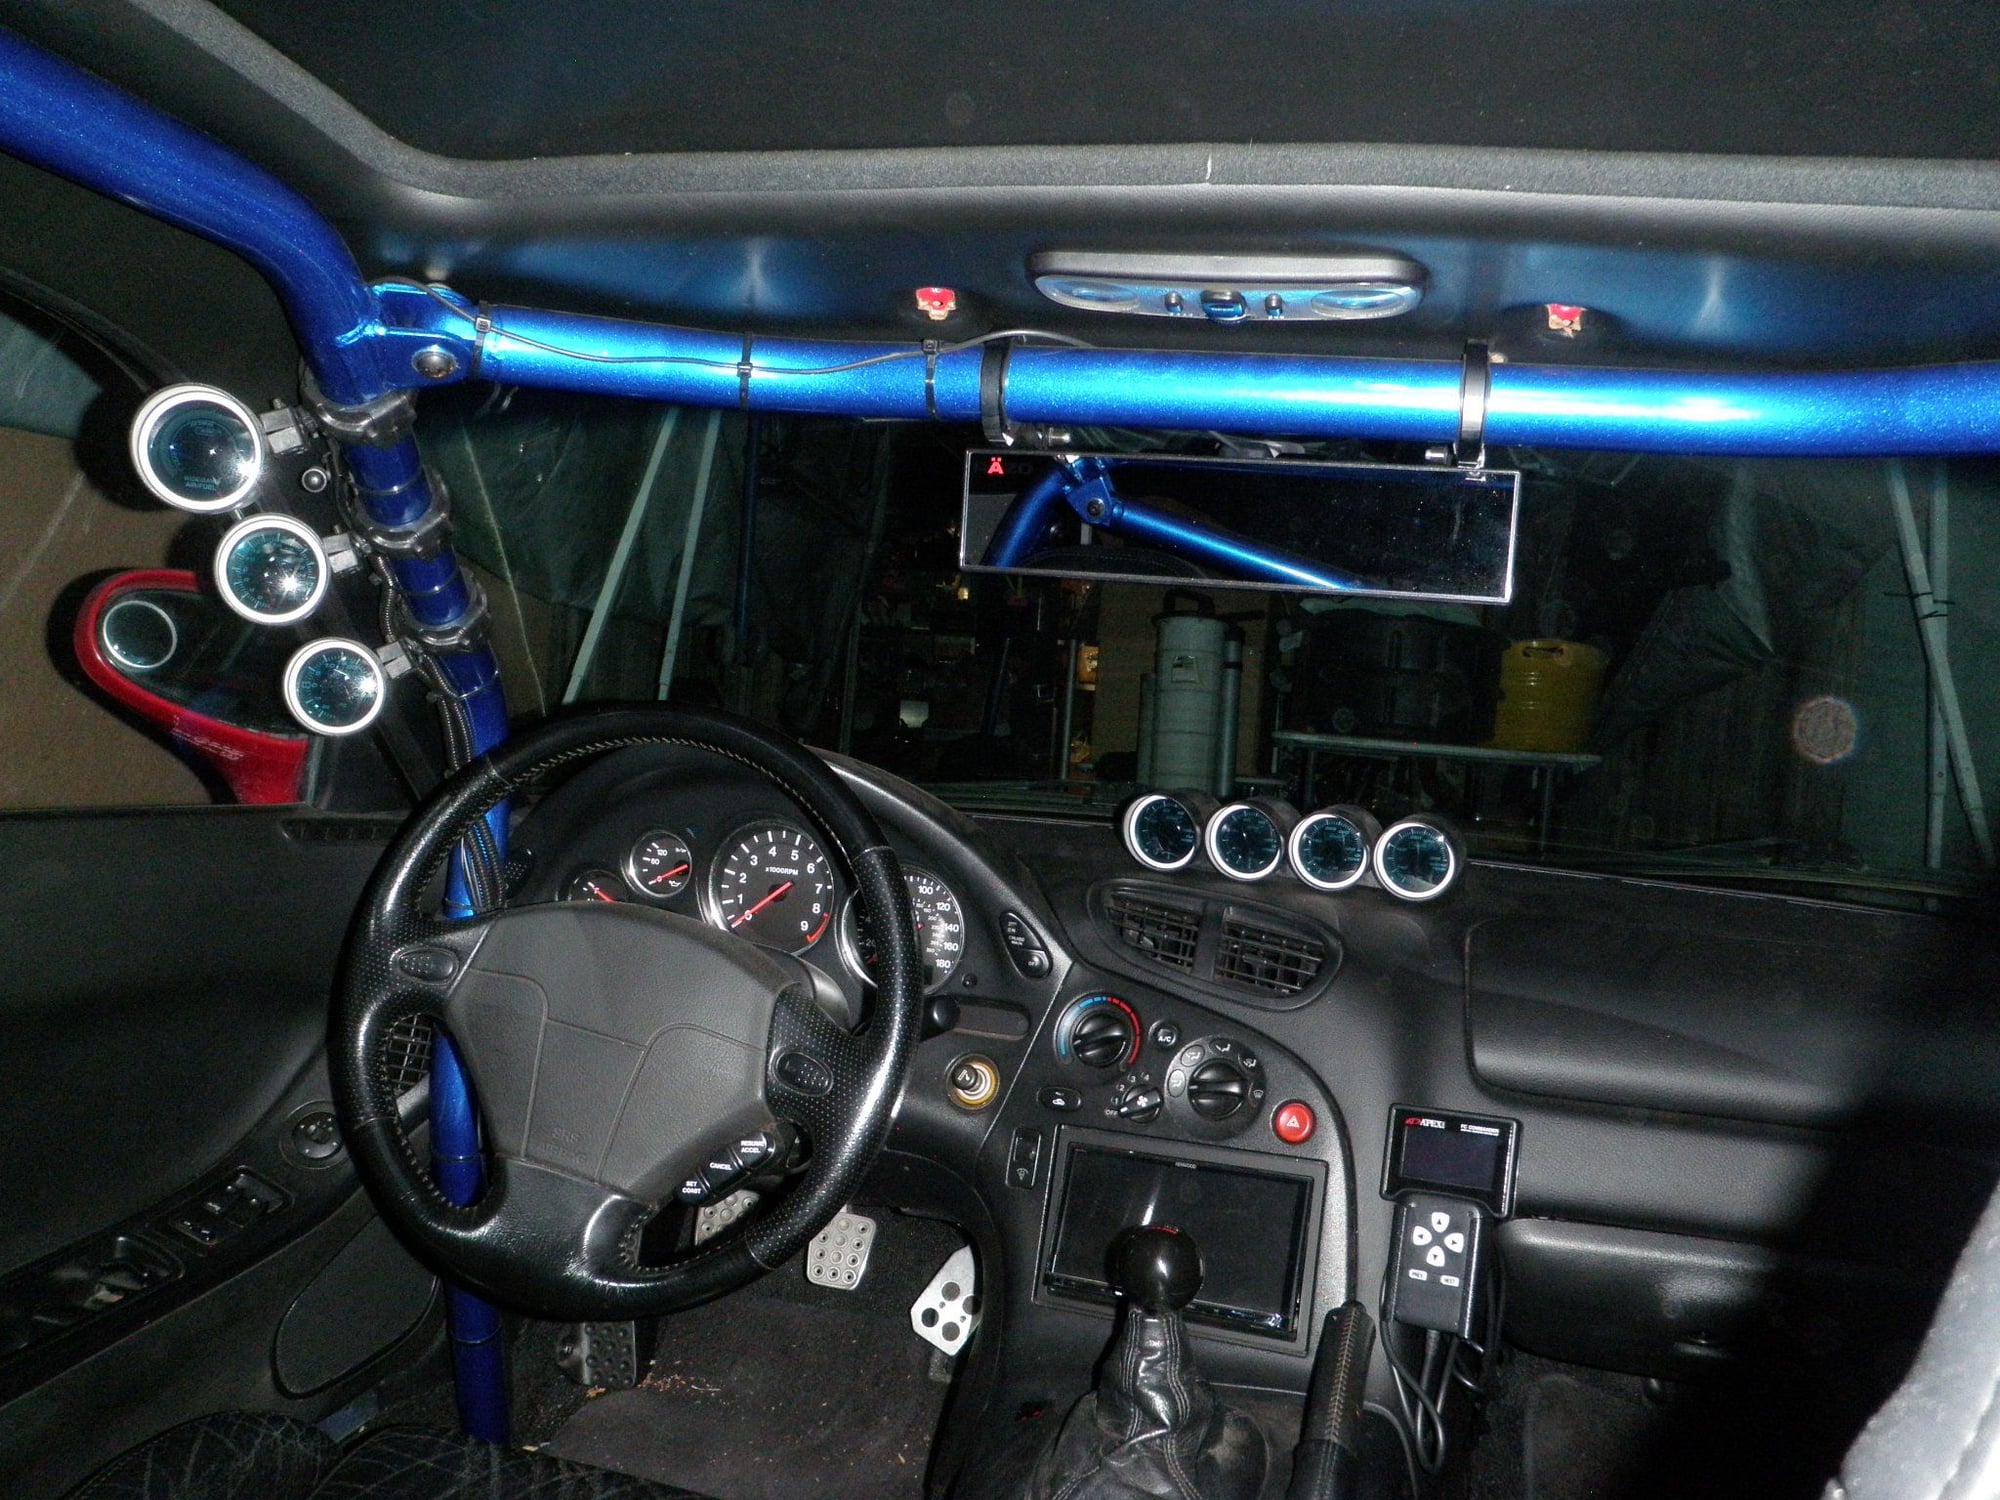
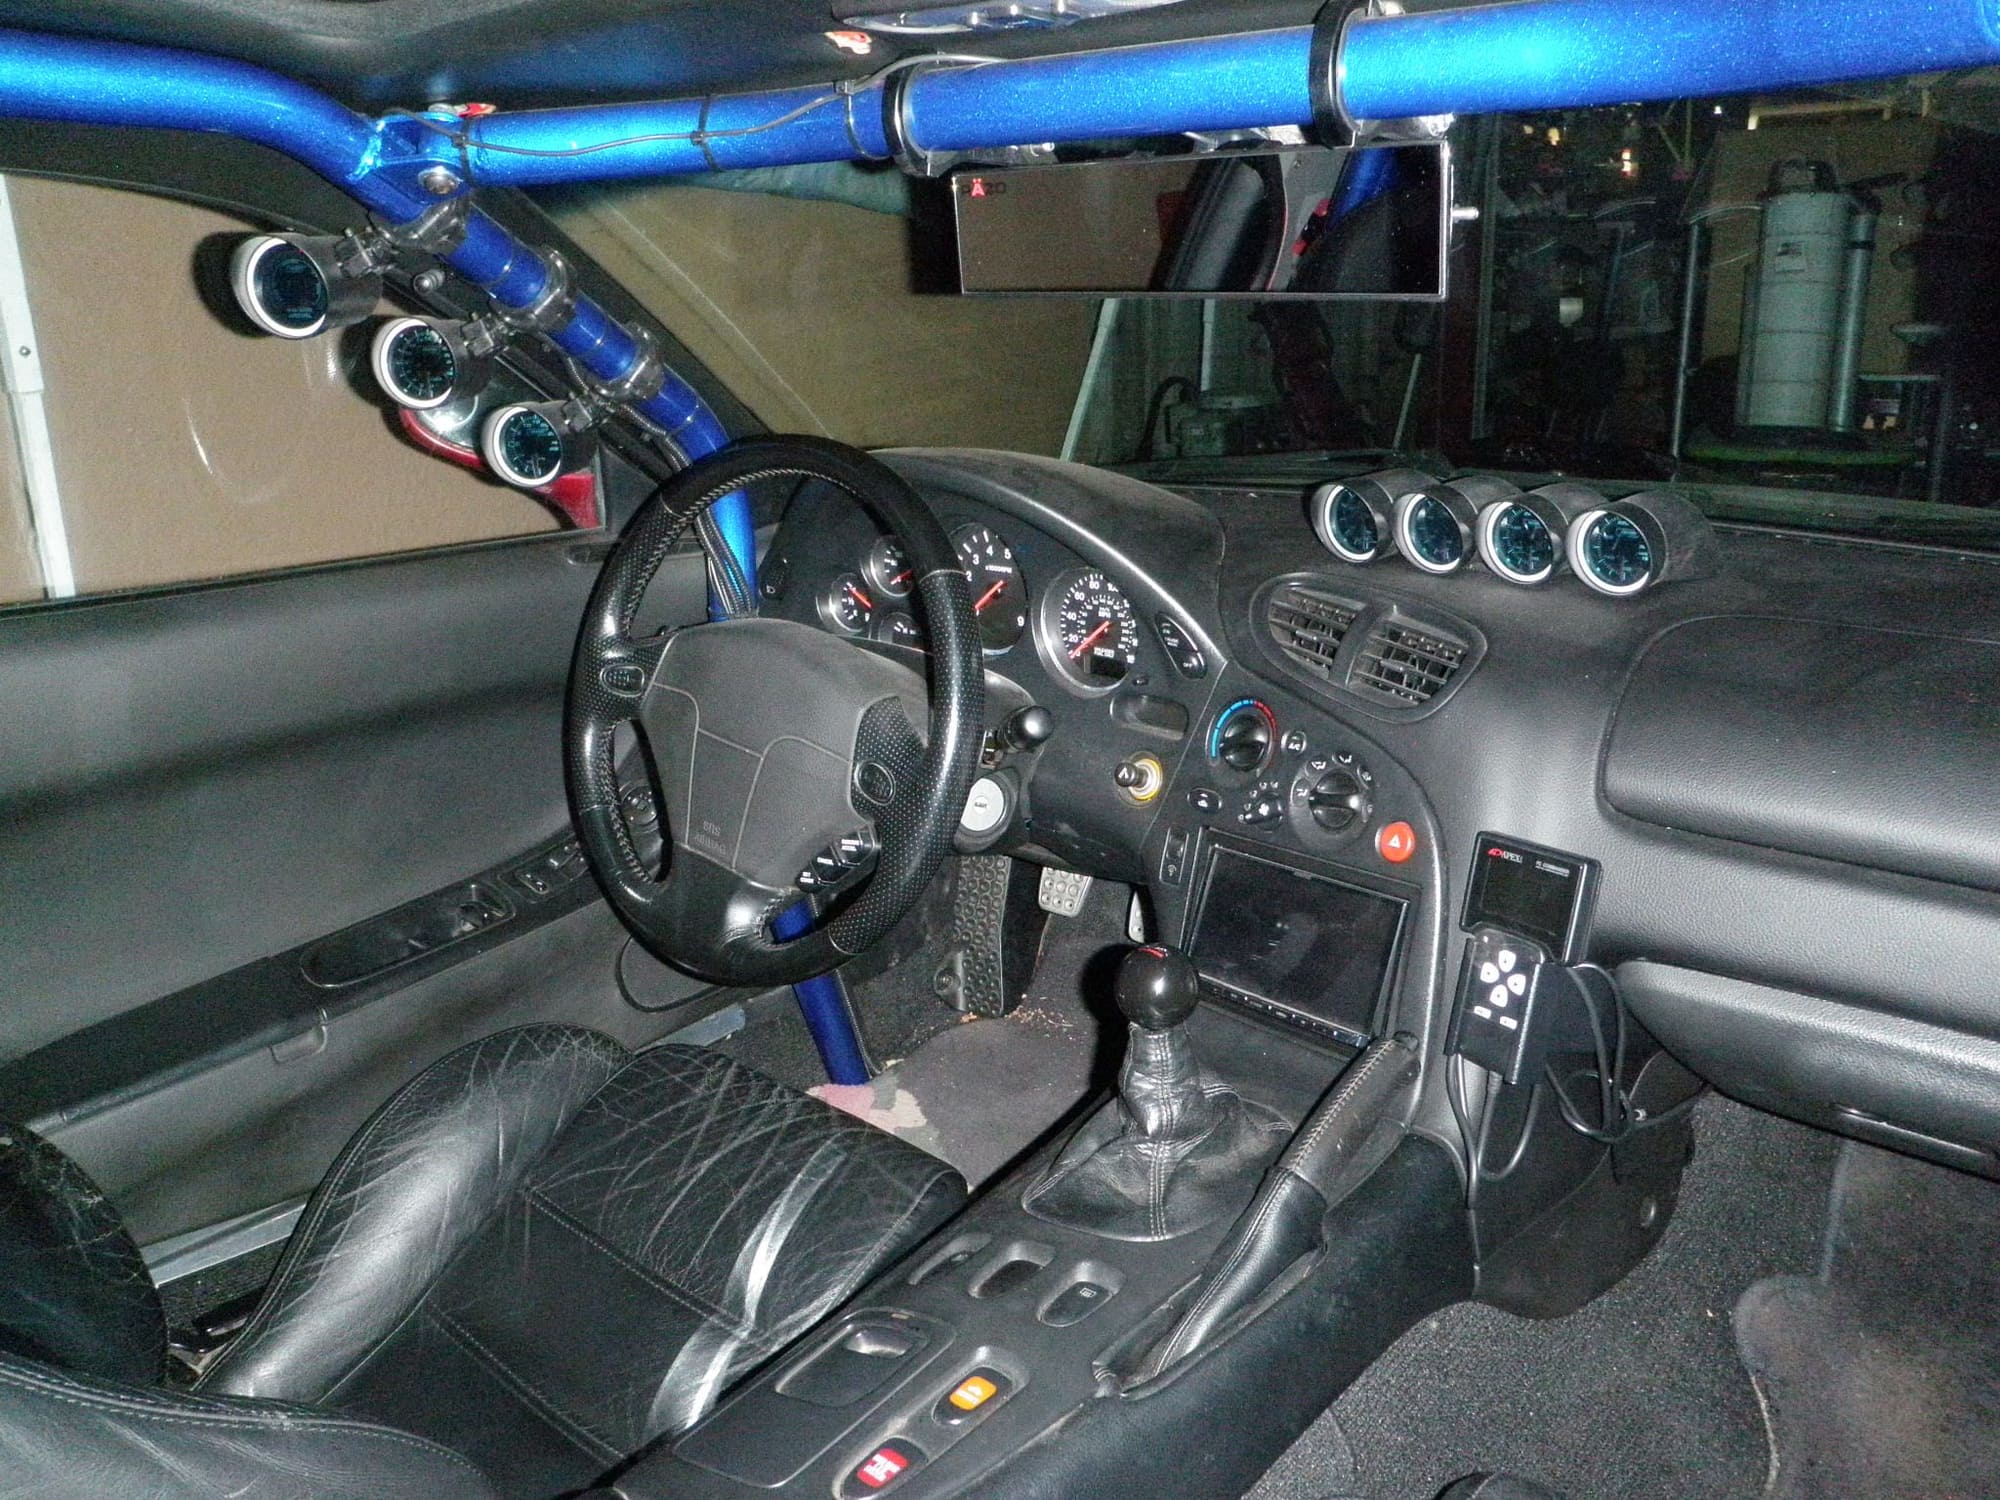
I spent a lot of time prepping the car for the show. It’s just a few additions but they were important to me and my experience at the show. It’s all in the details.
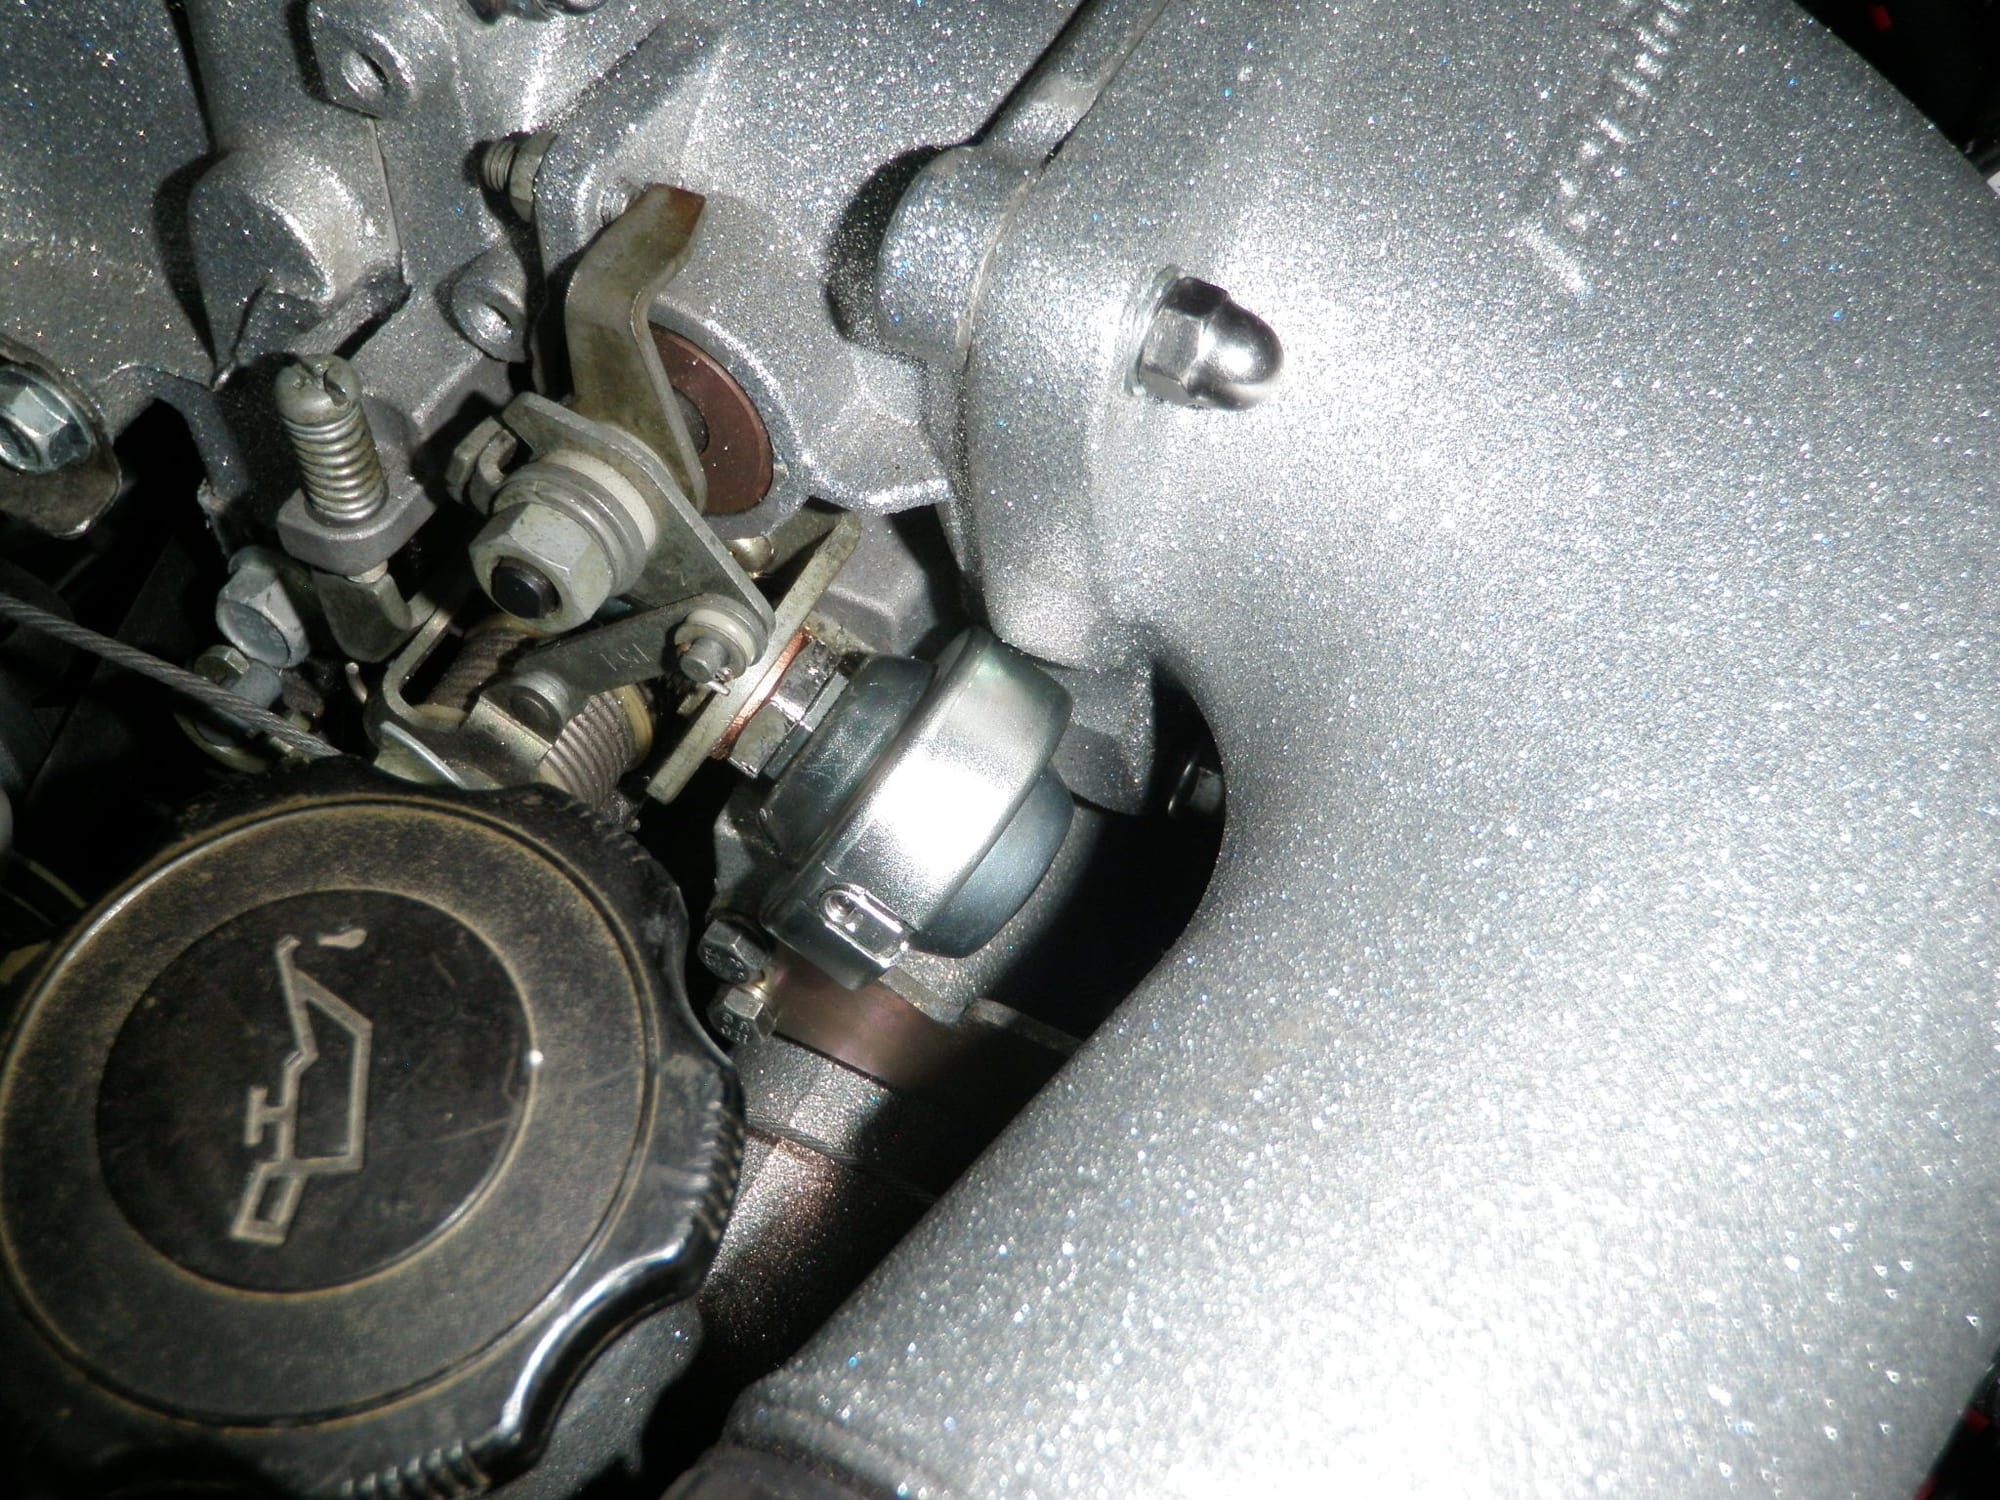
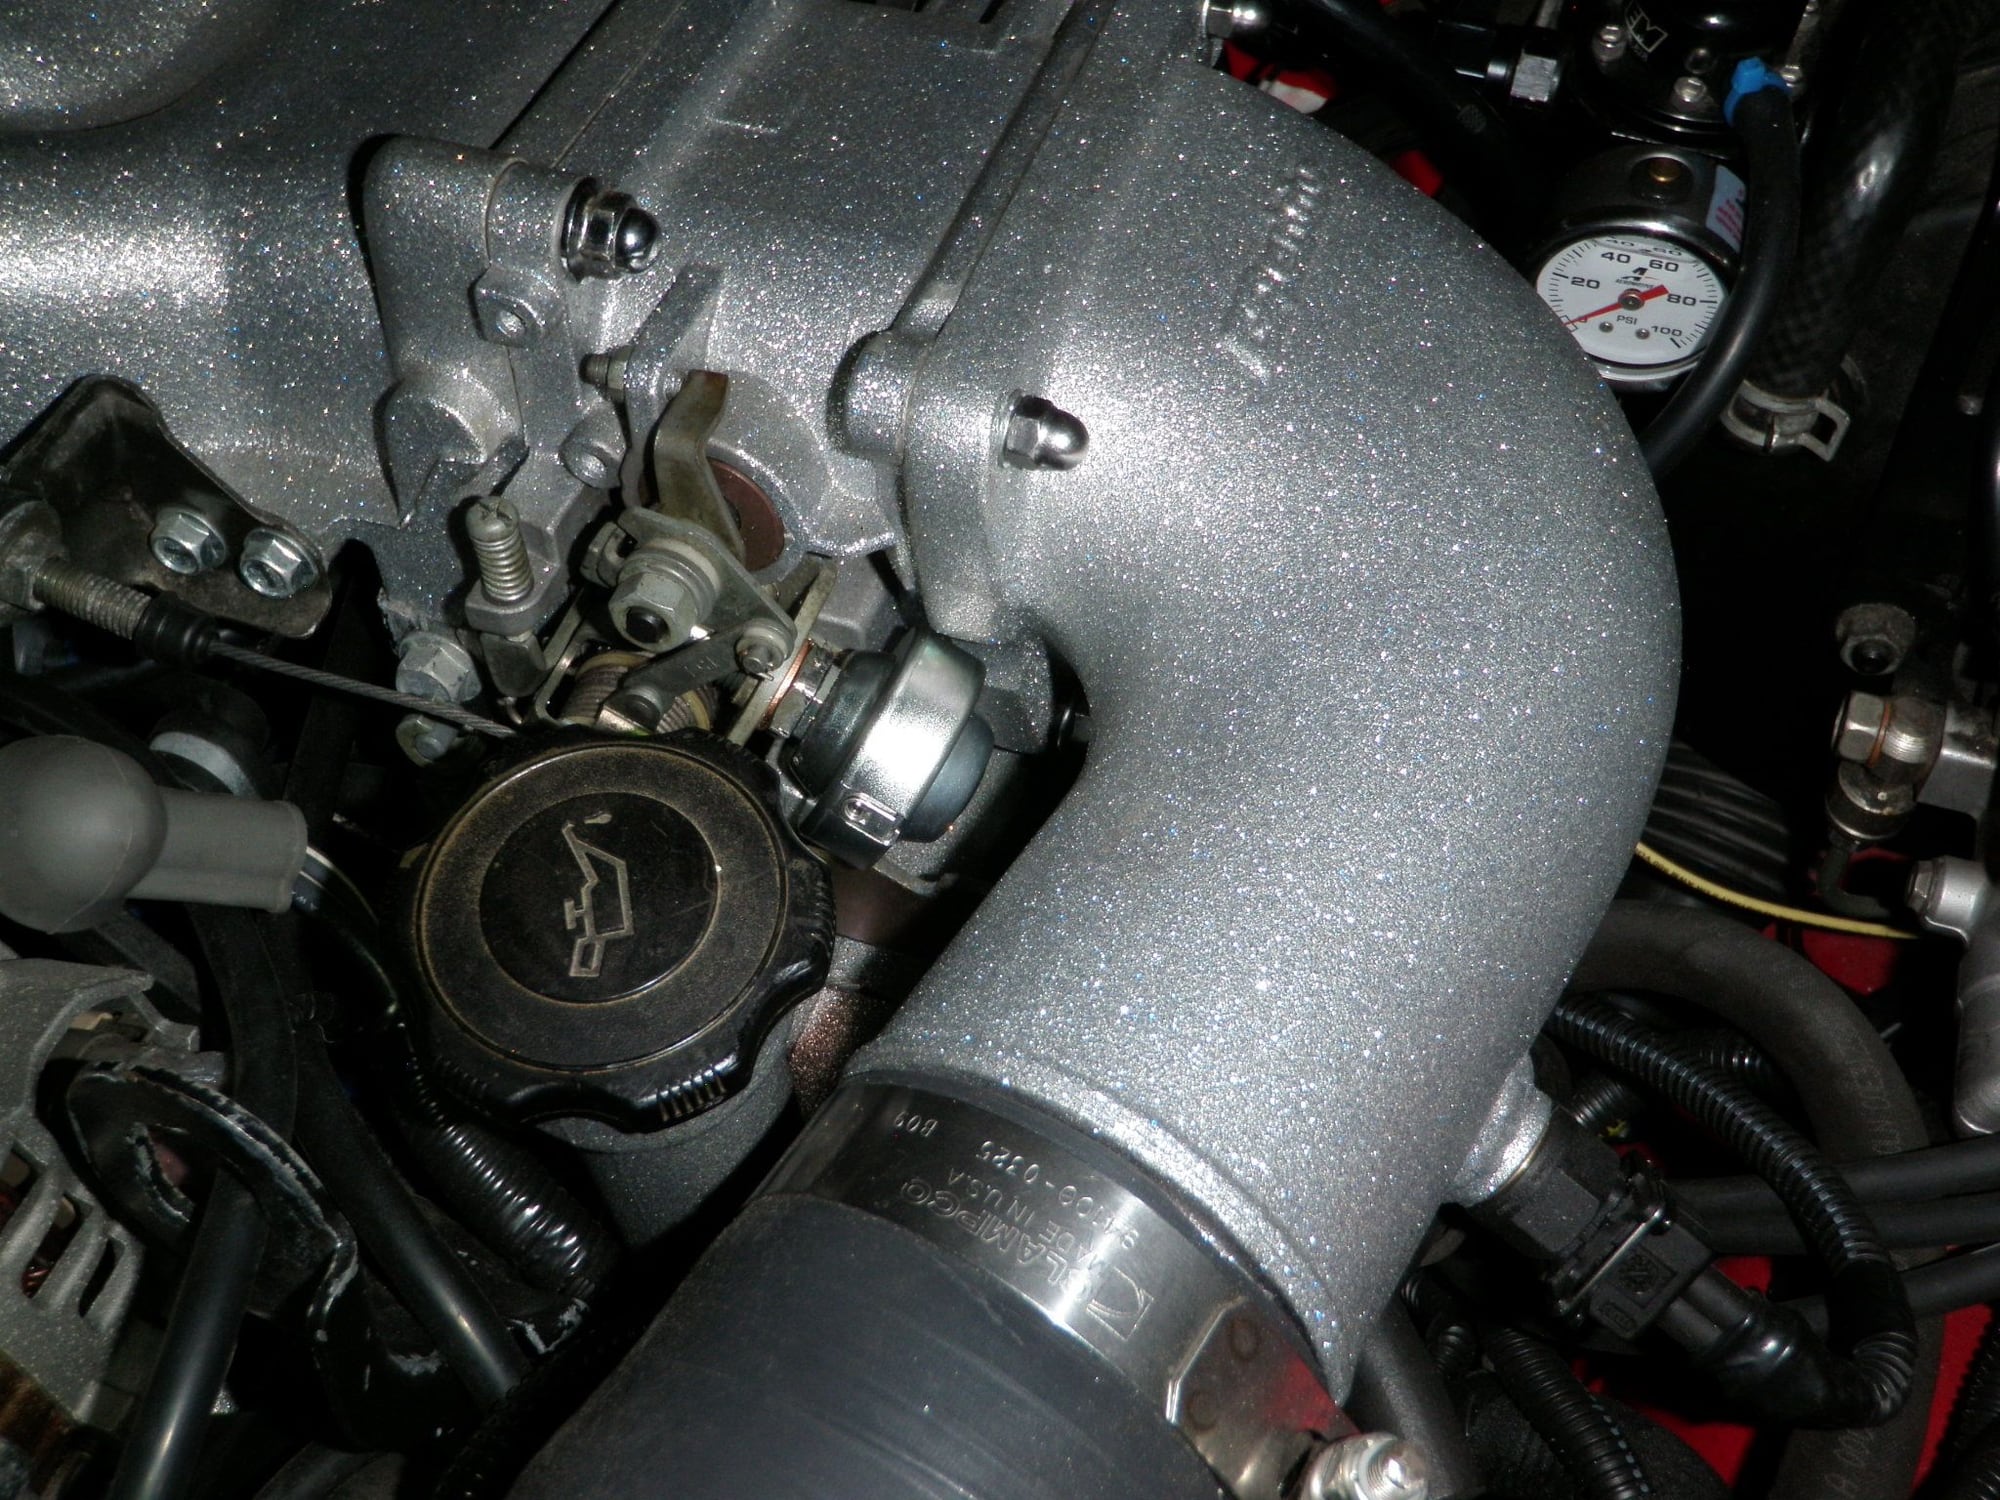
1. Dashpot - COMPLETED
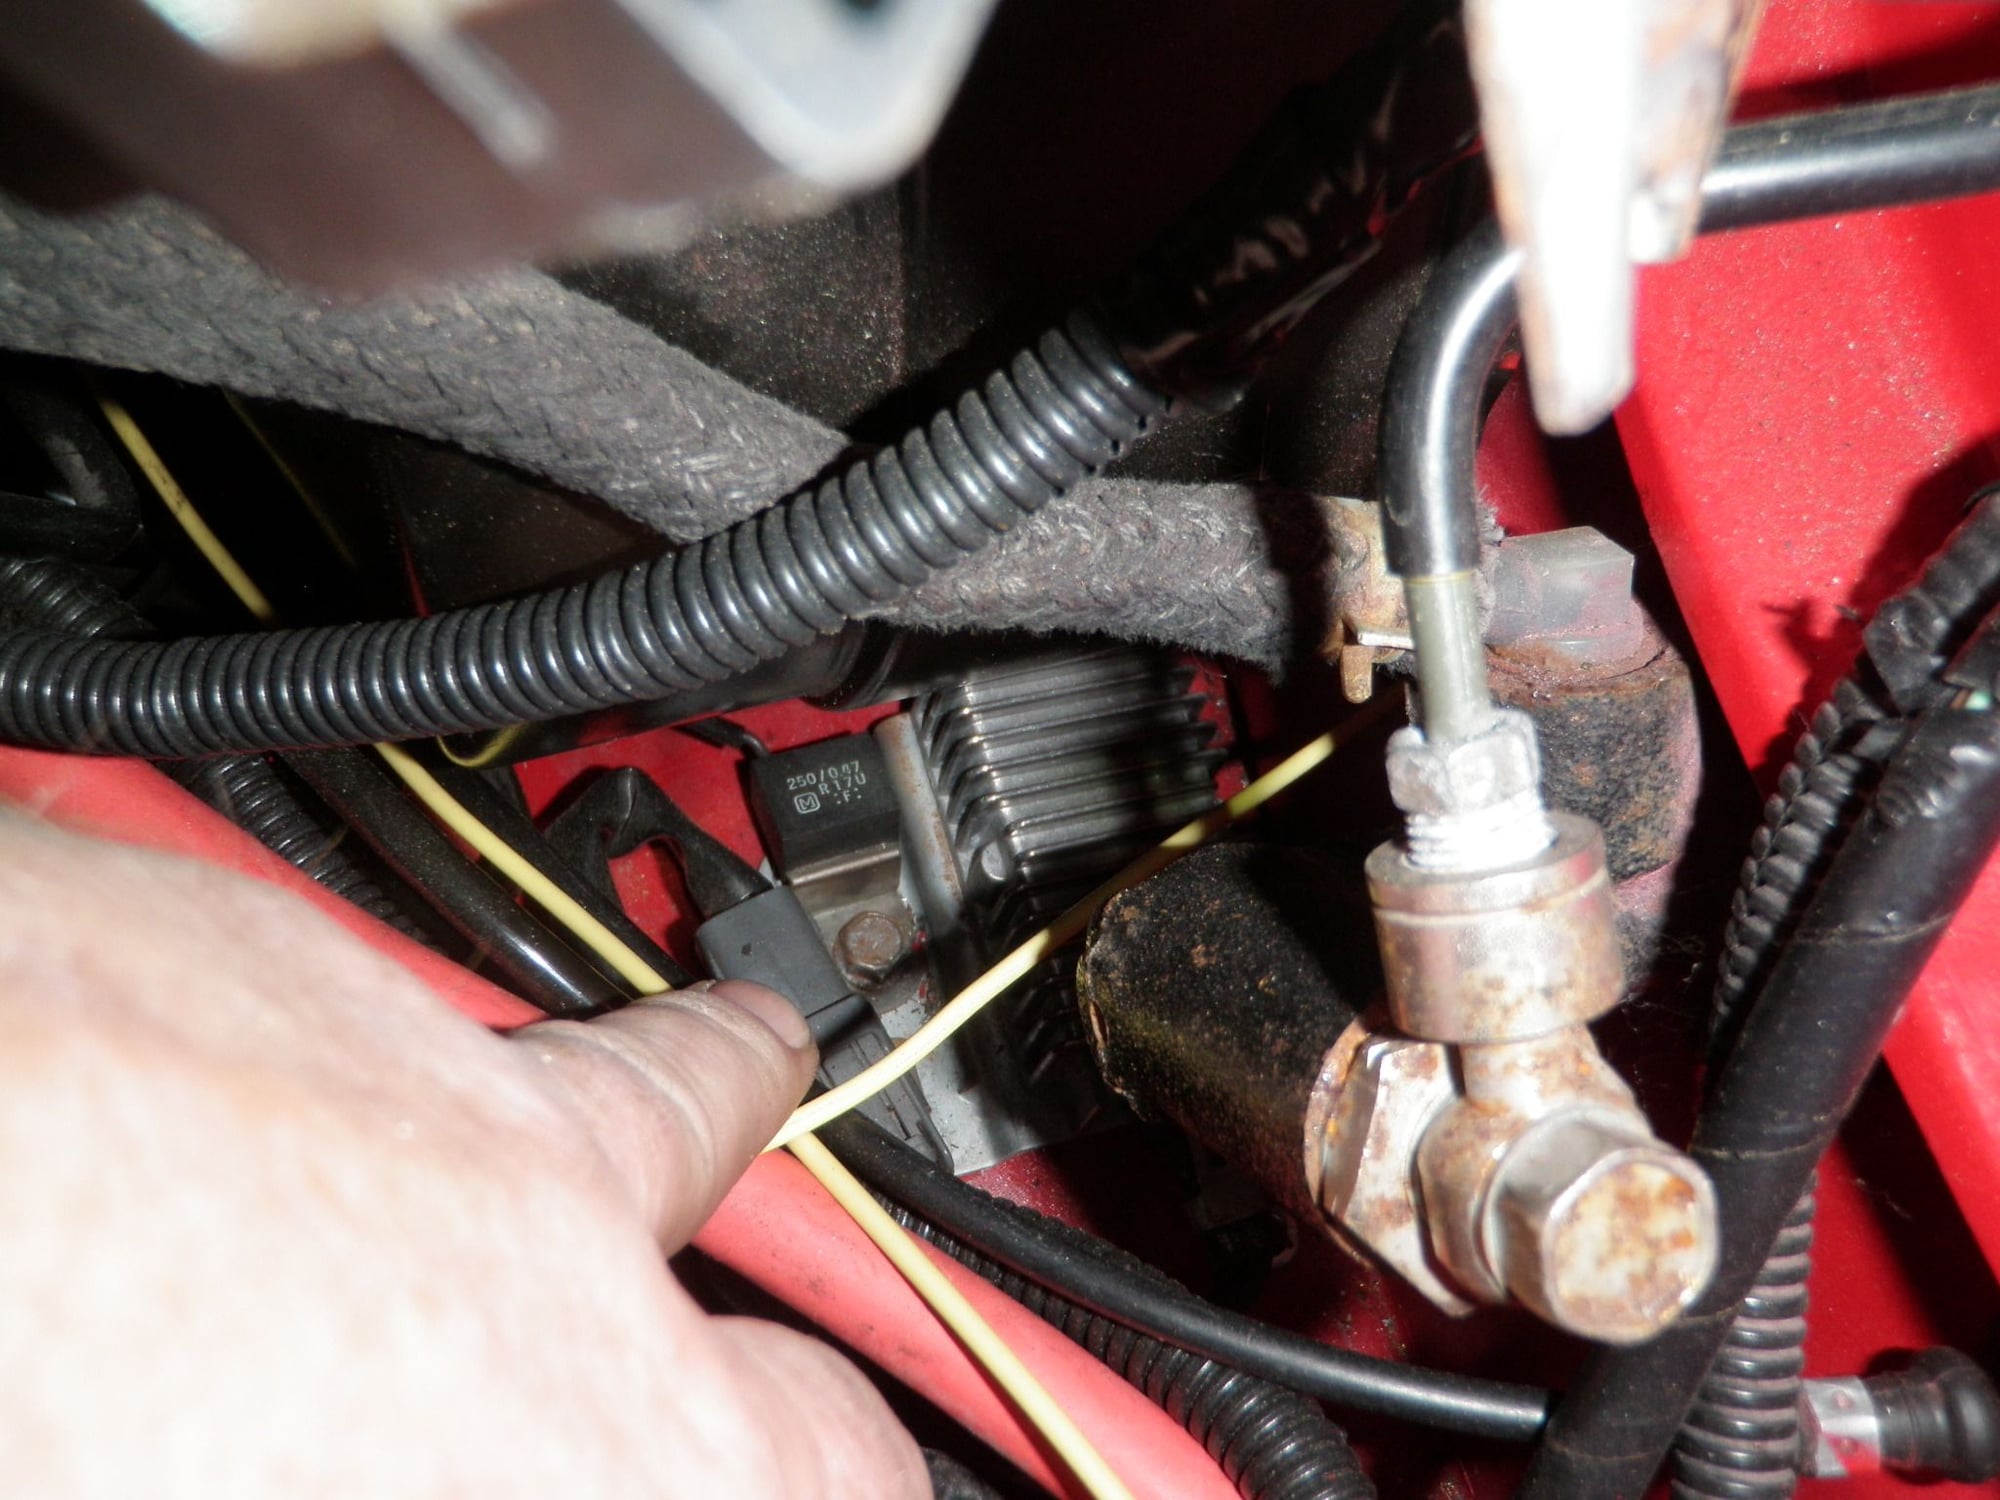
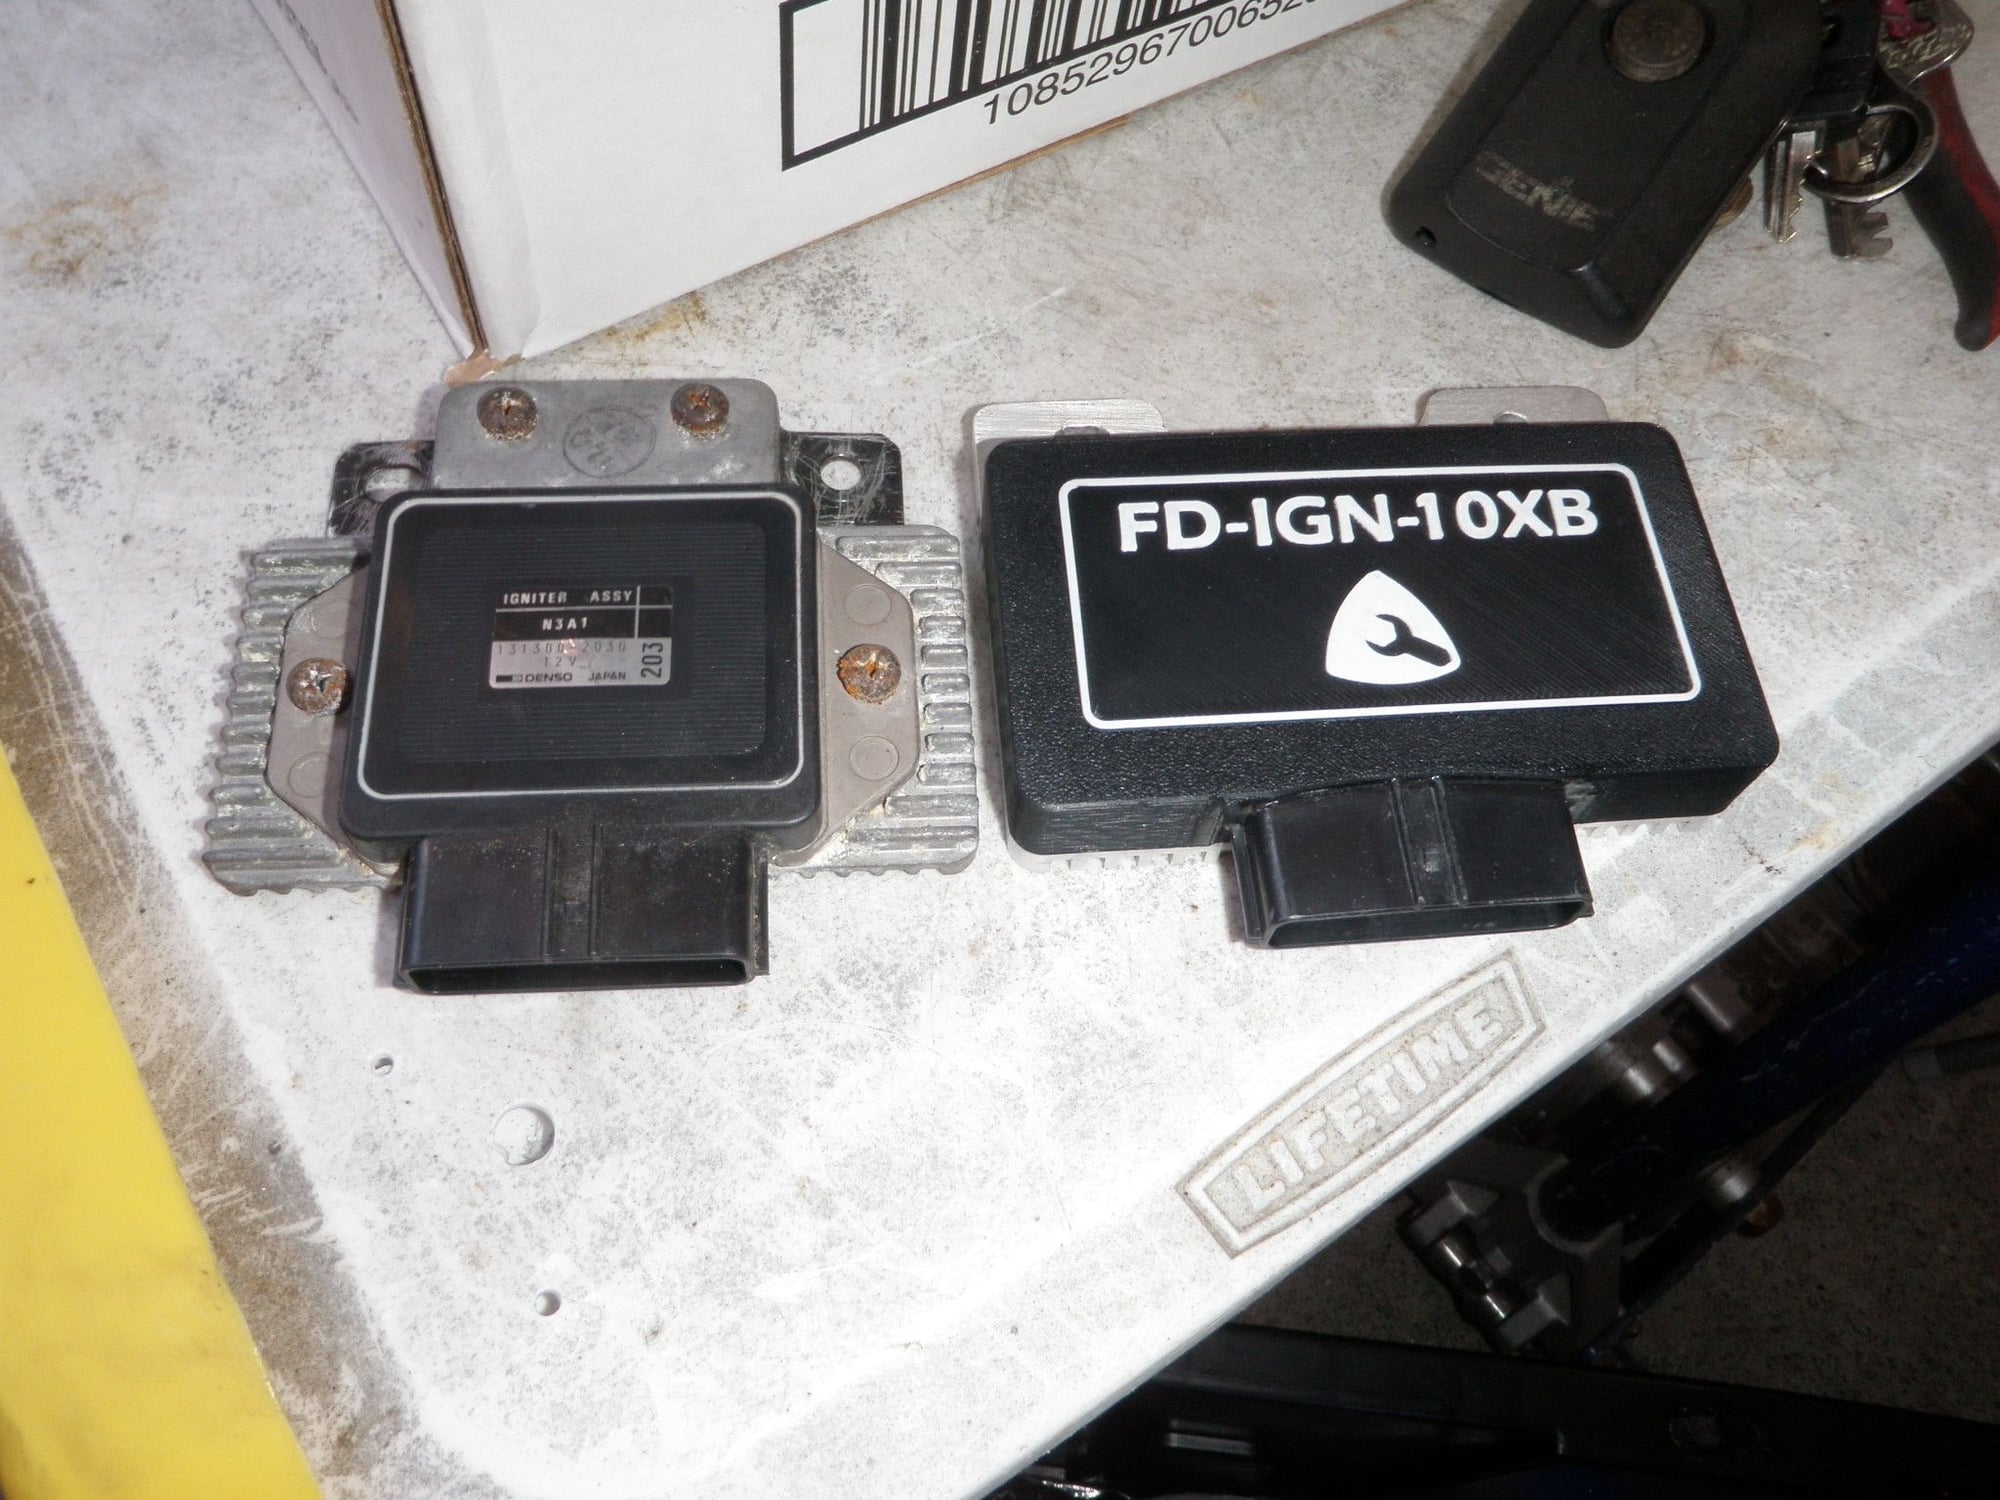
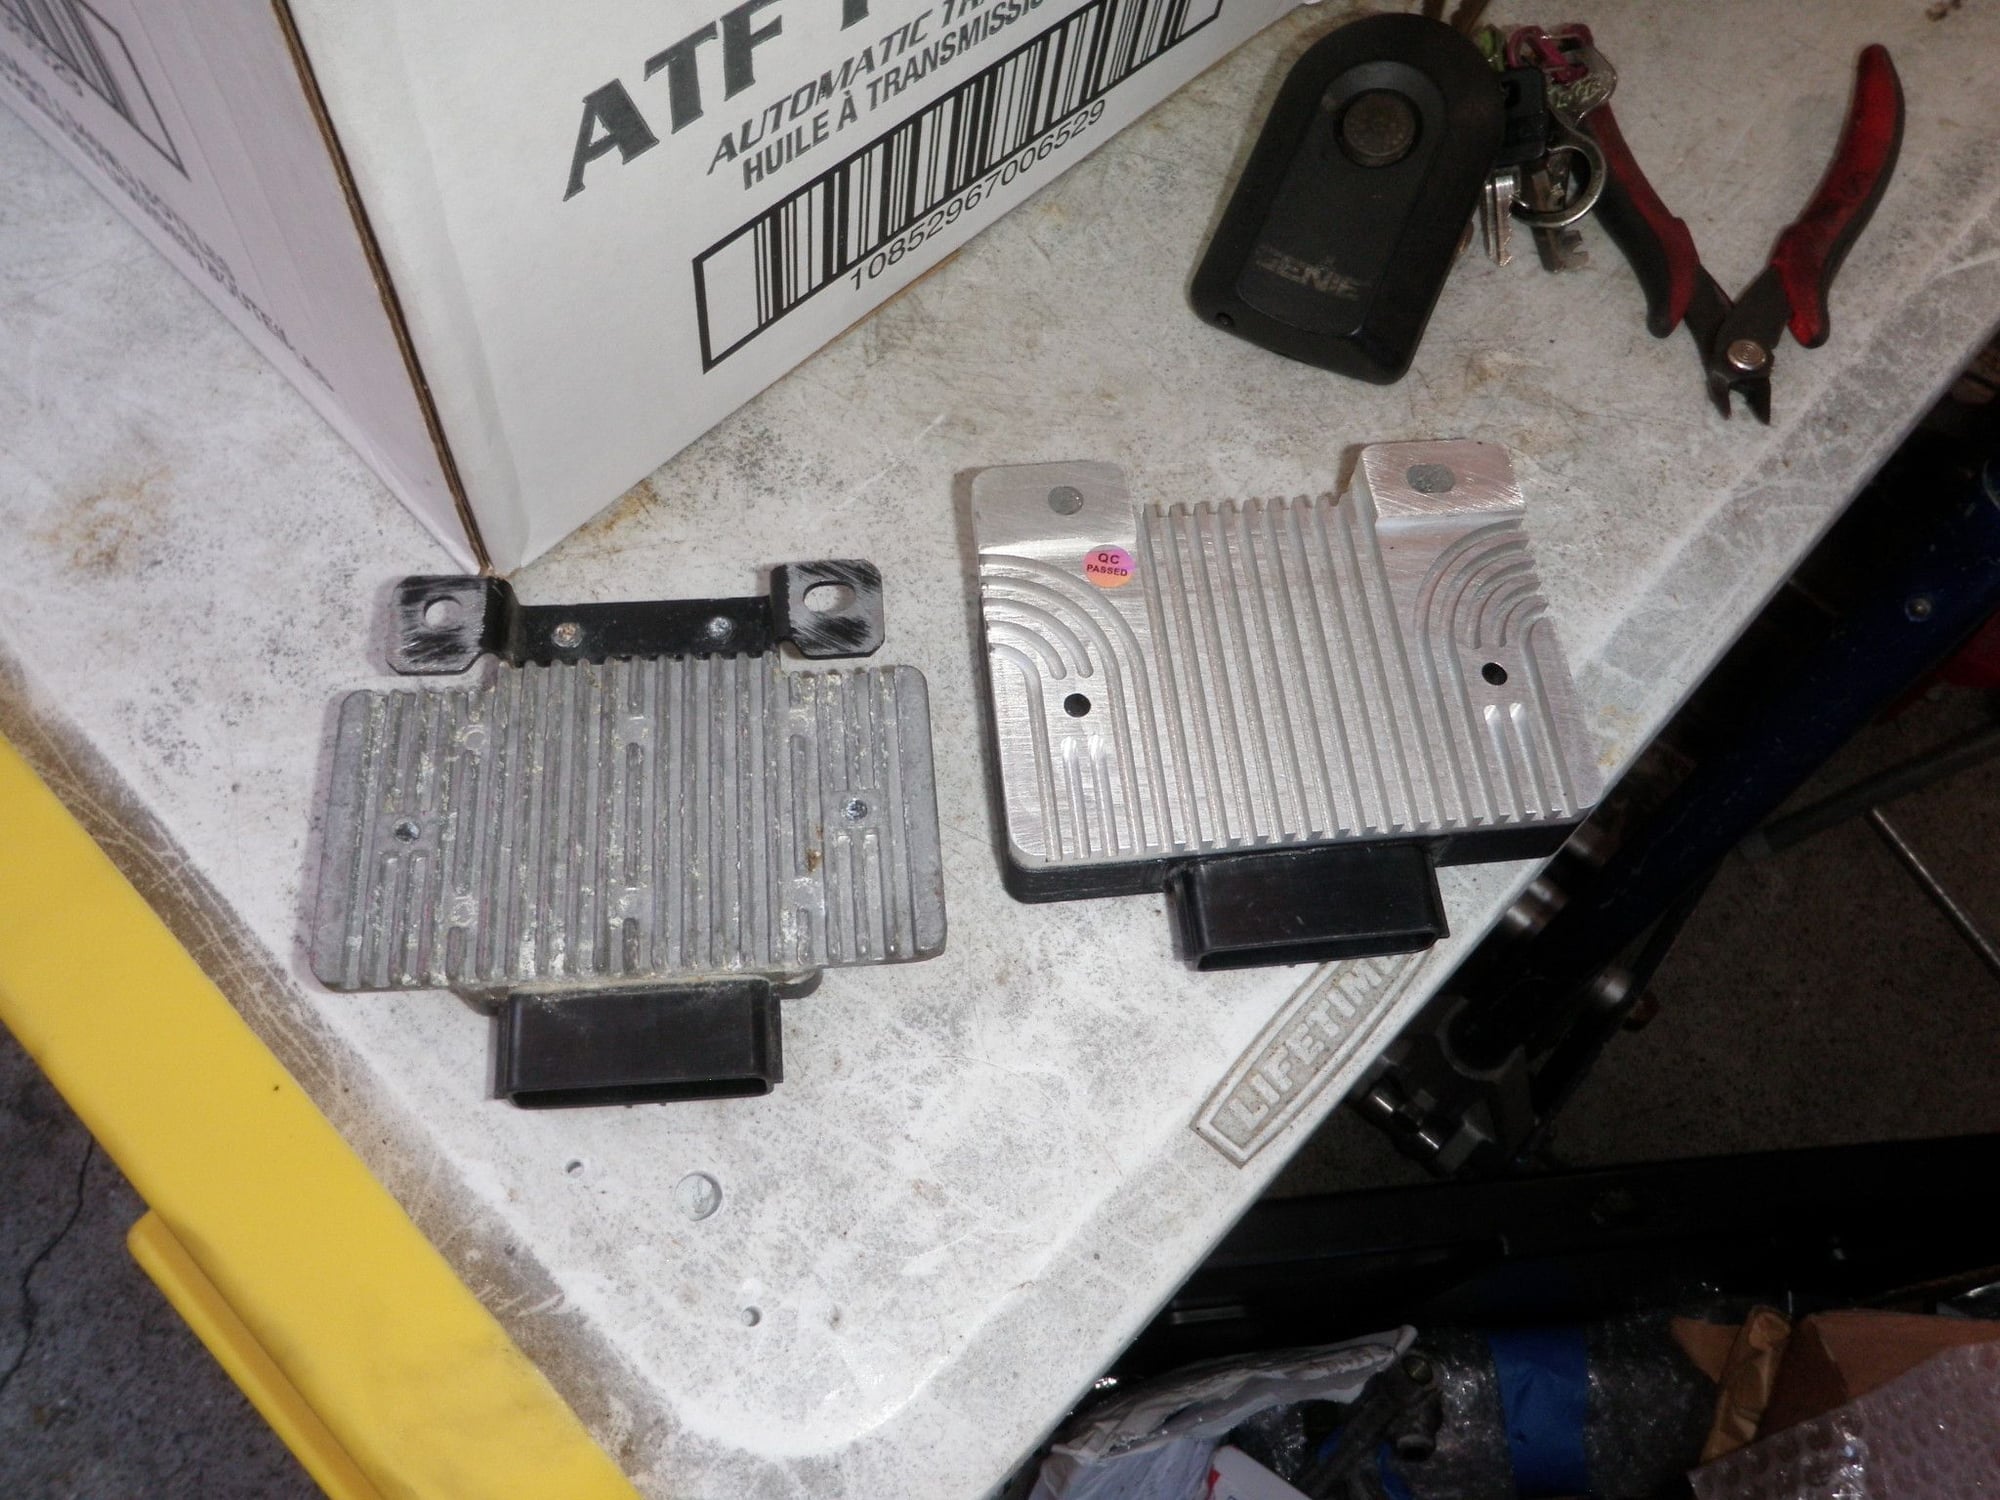
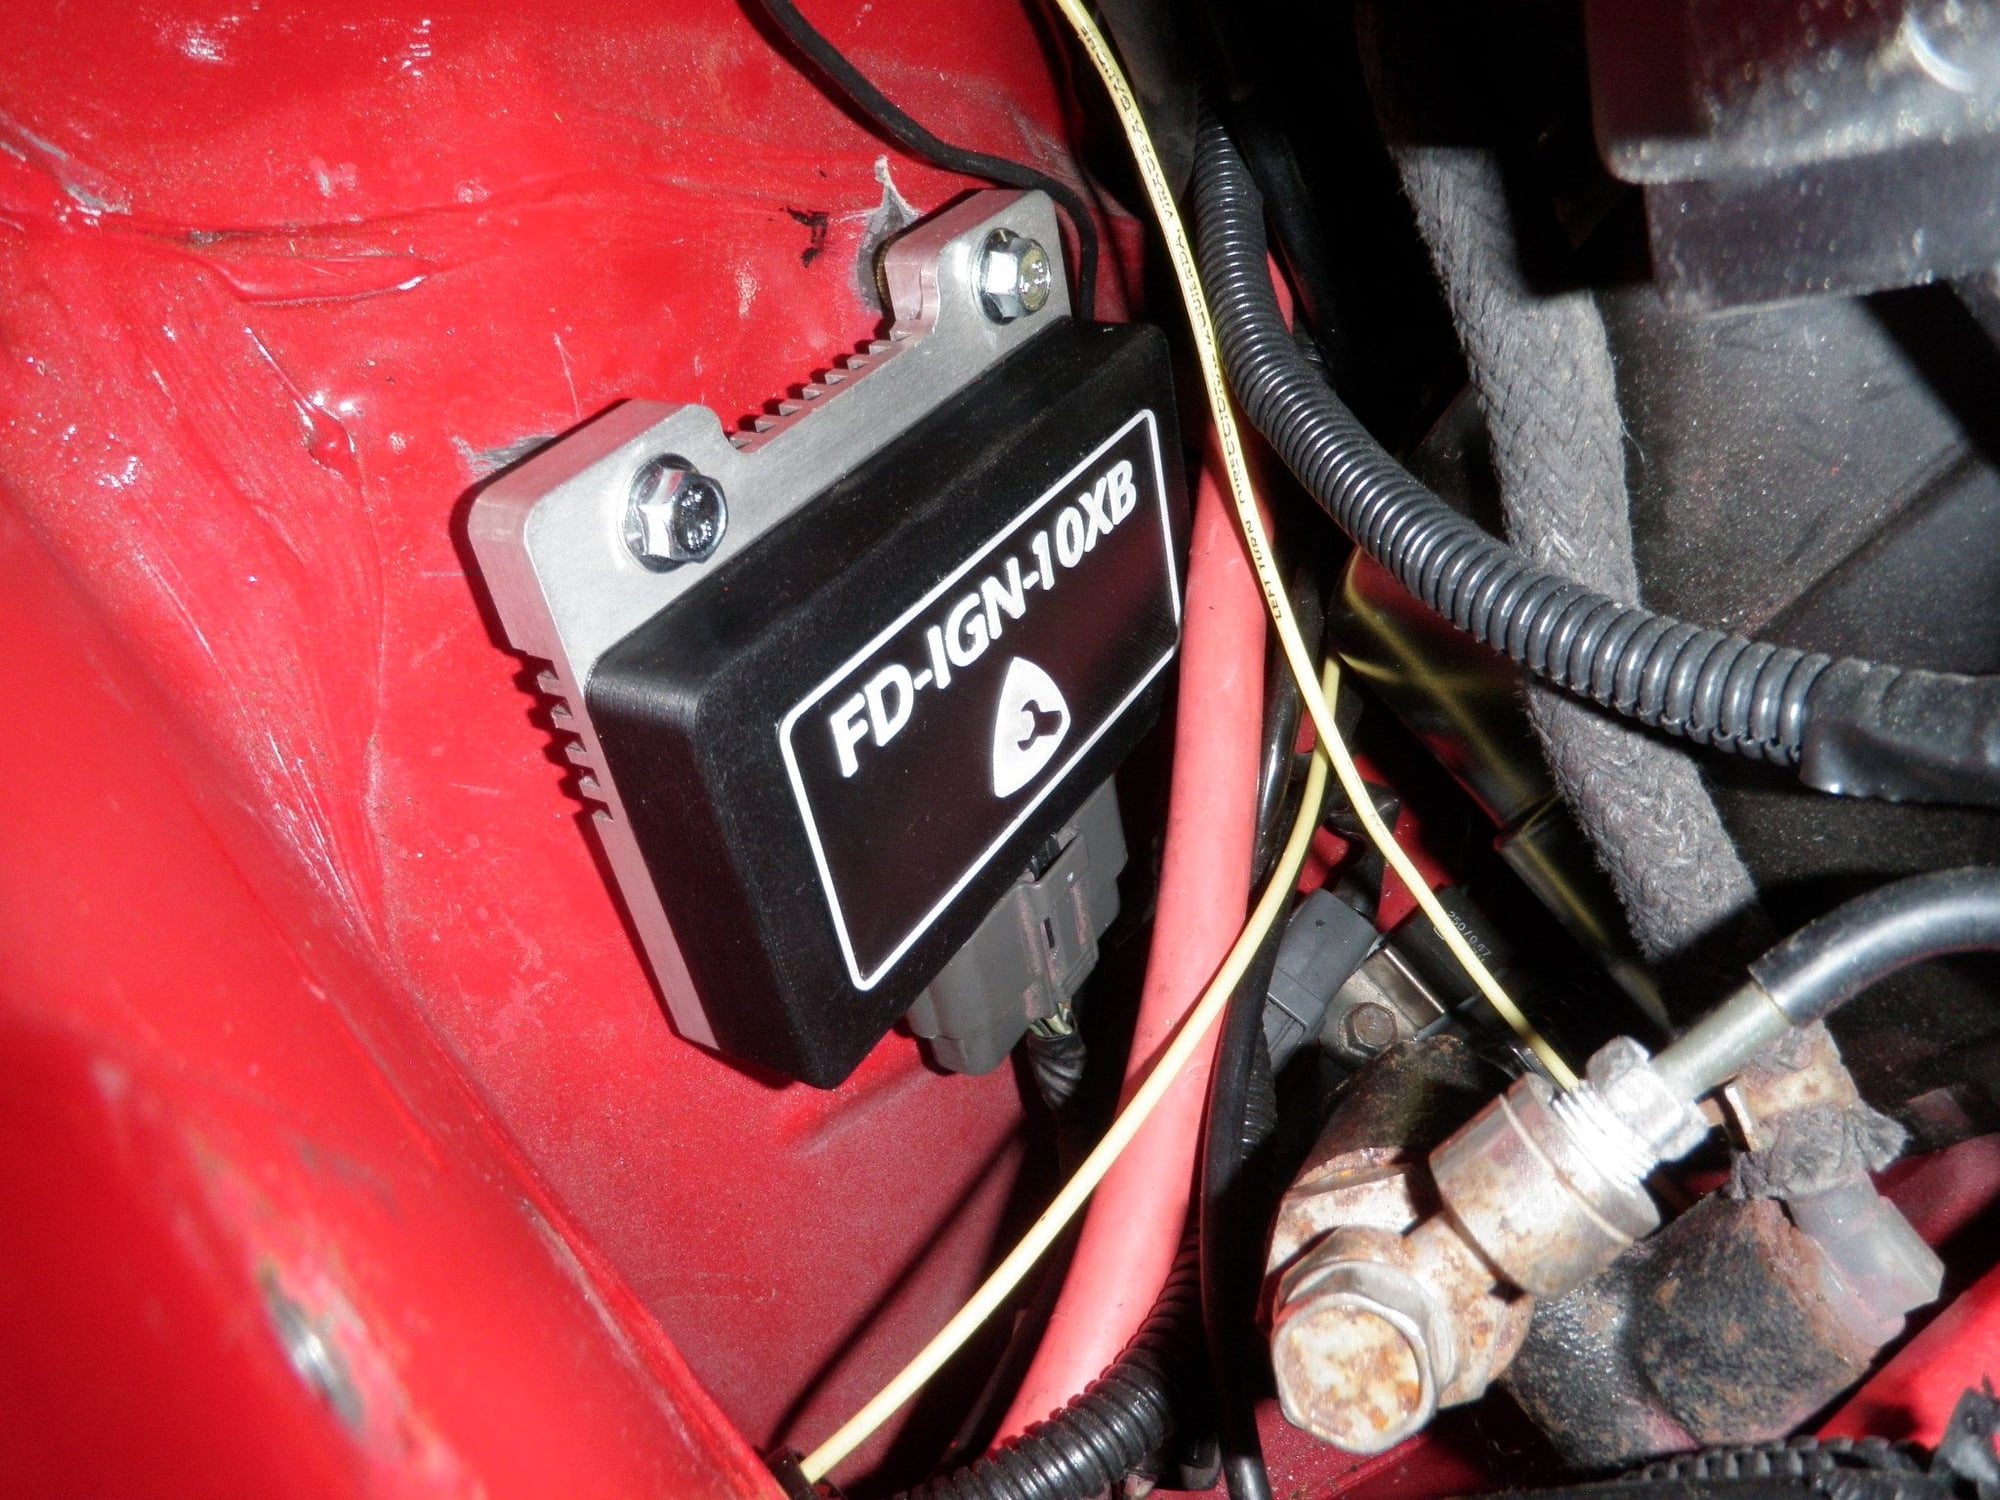
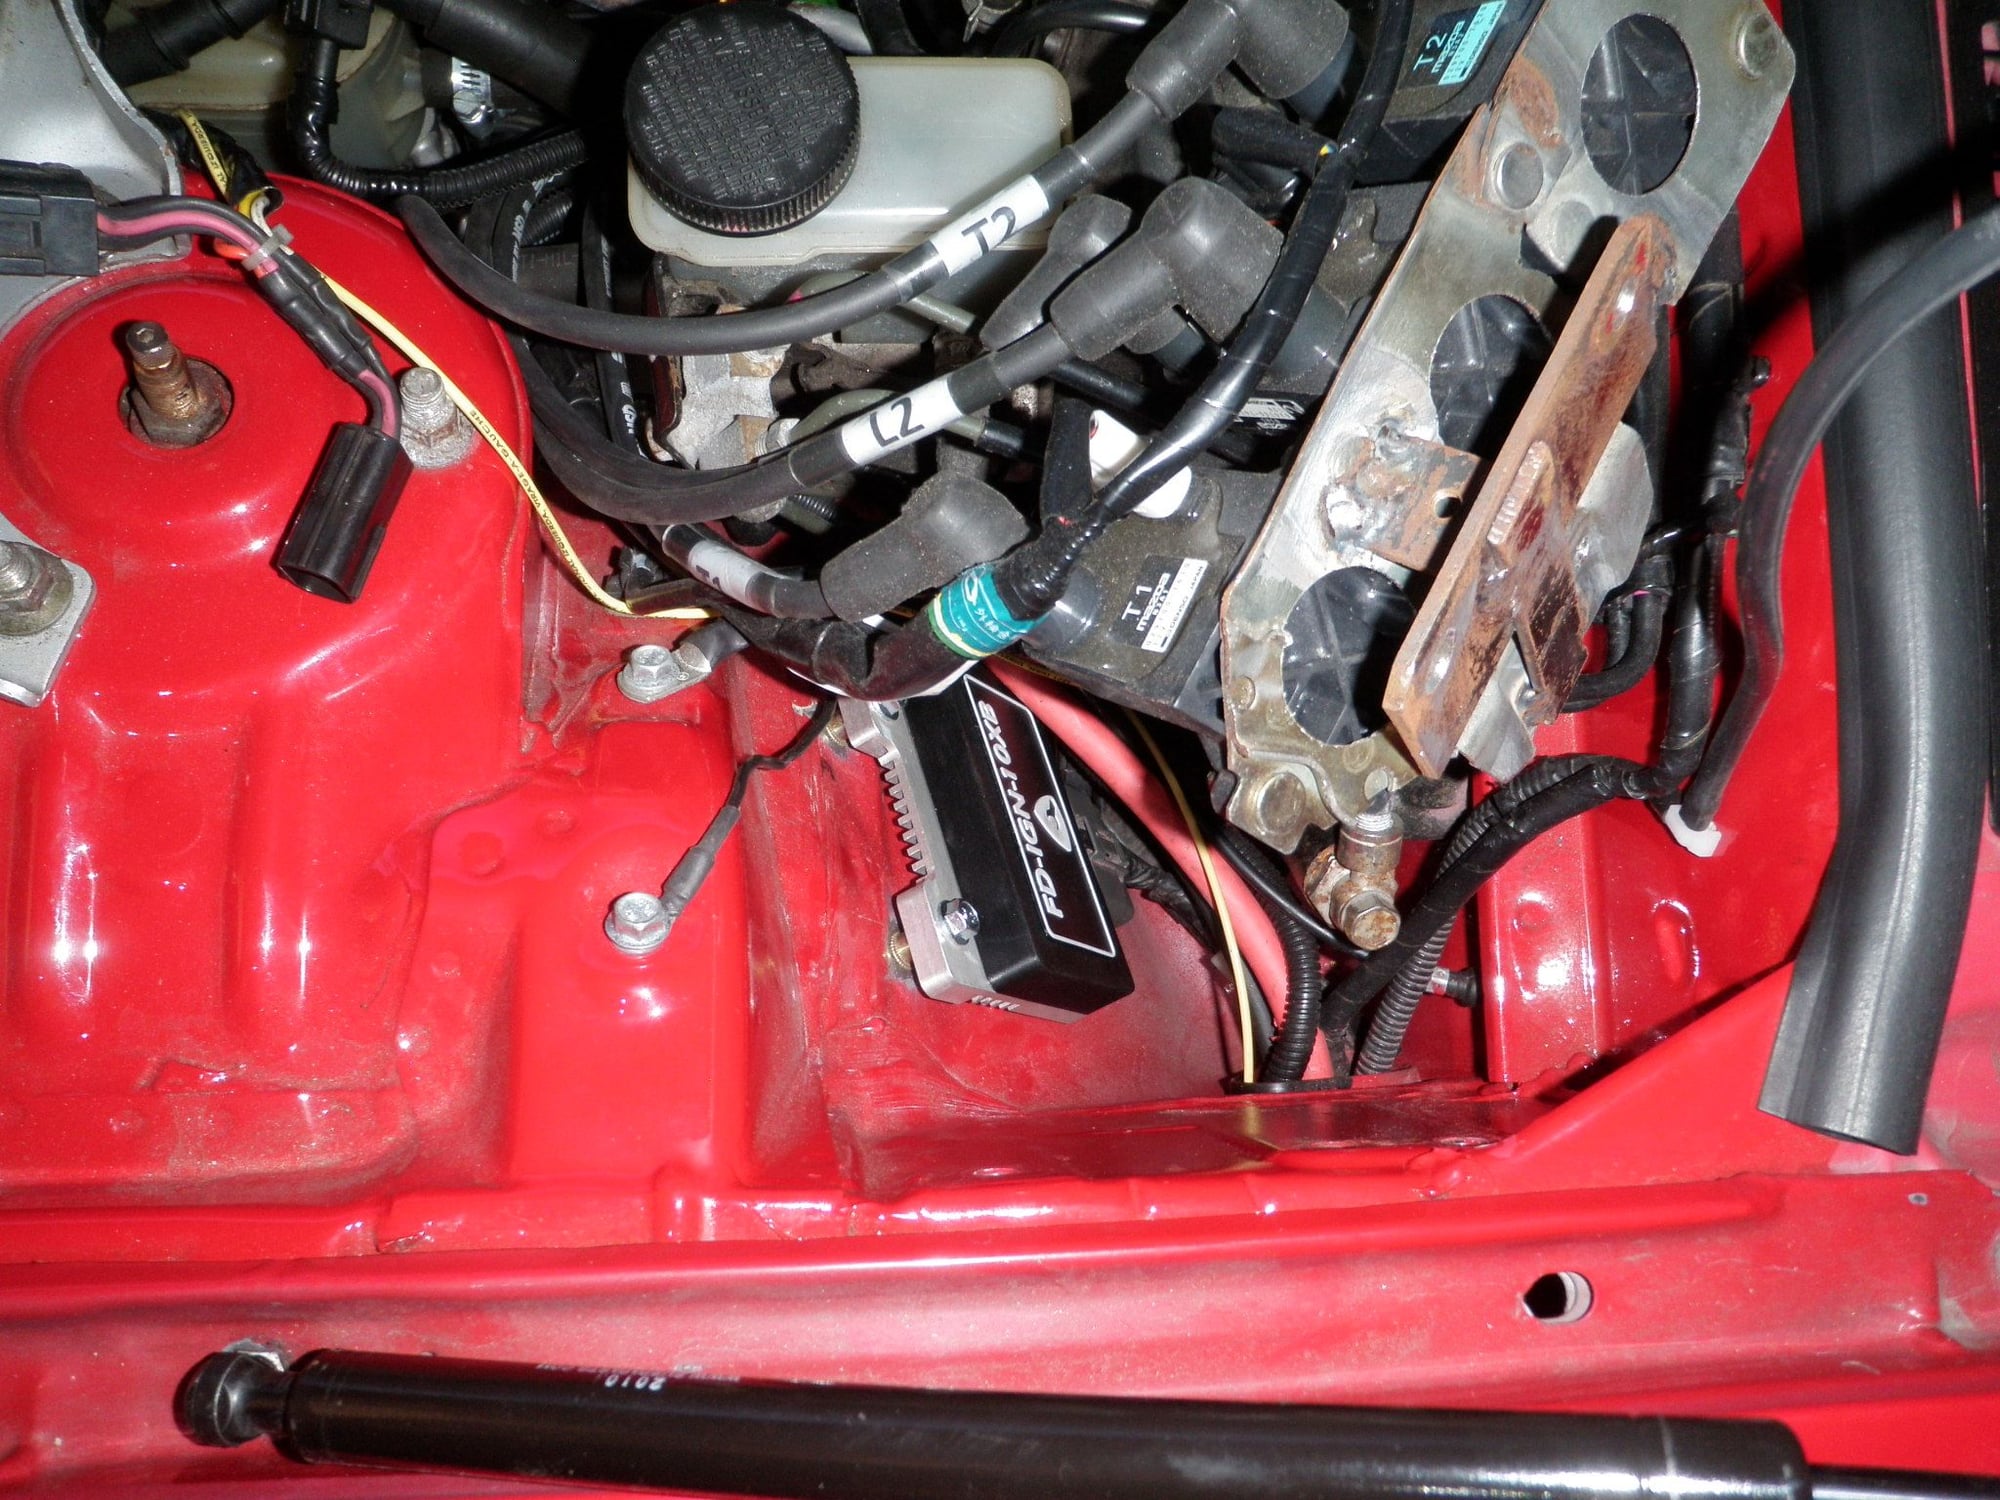
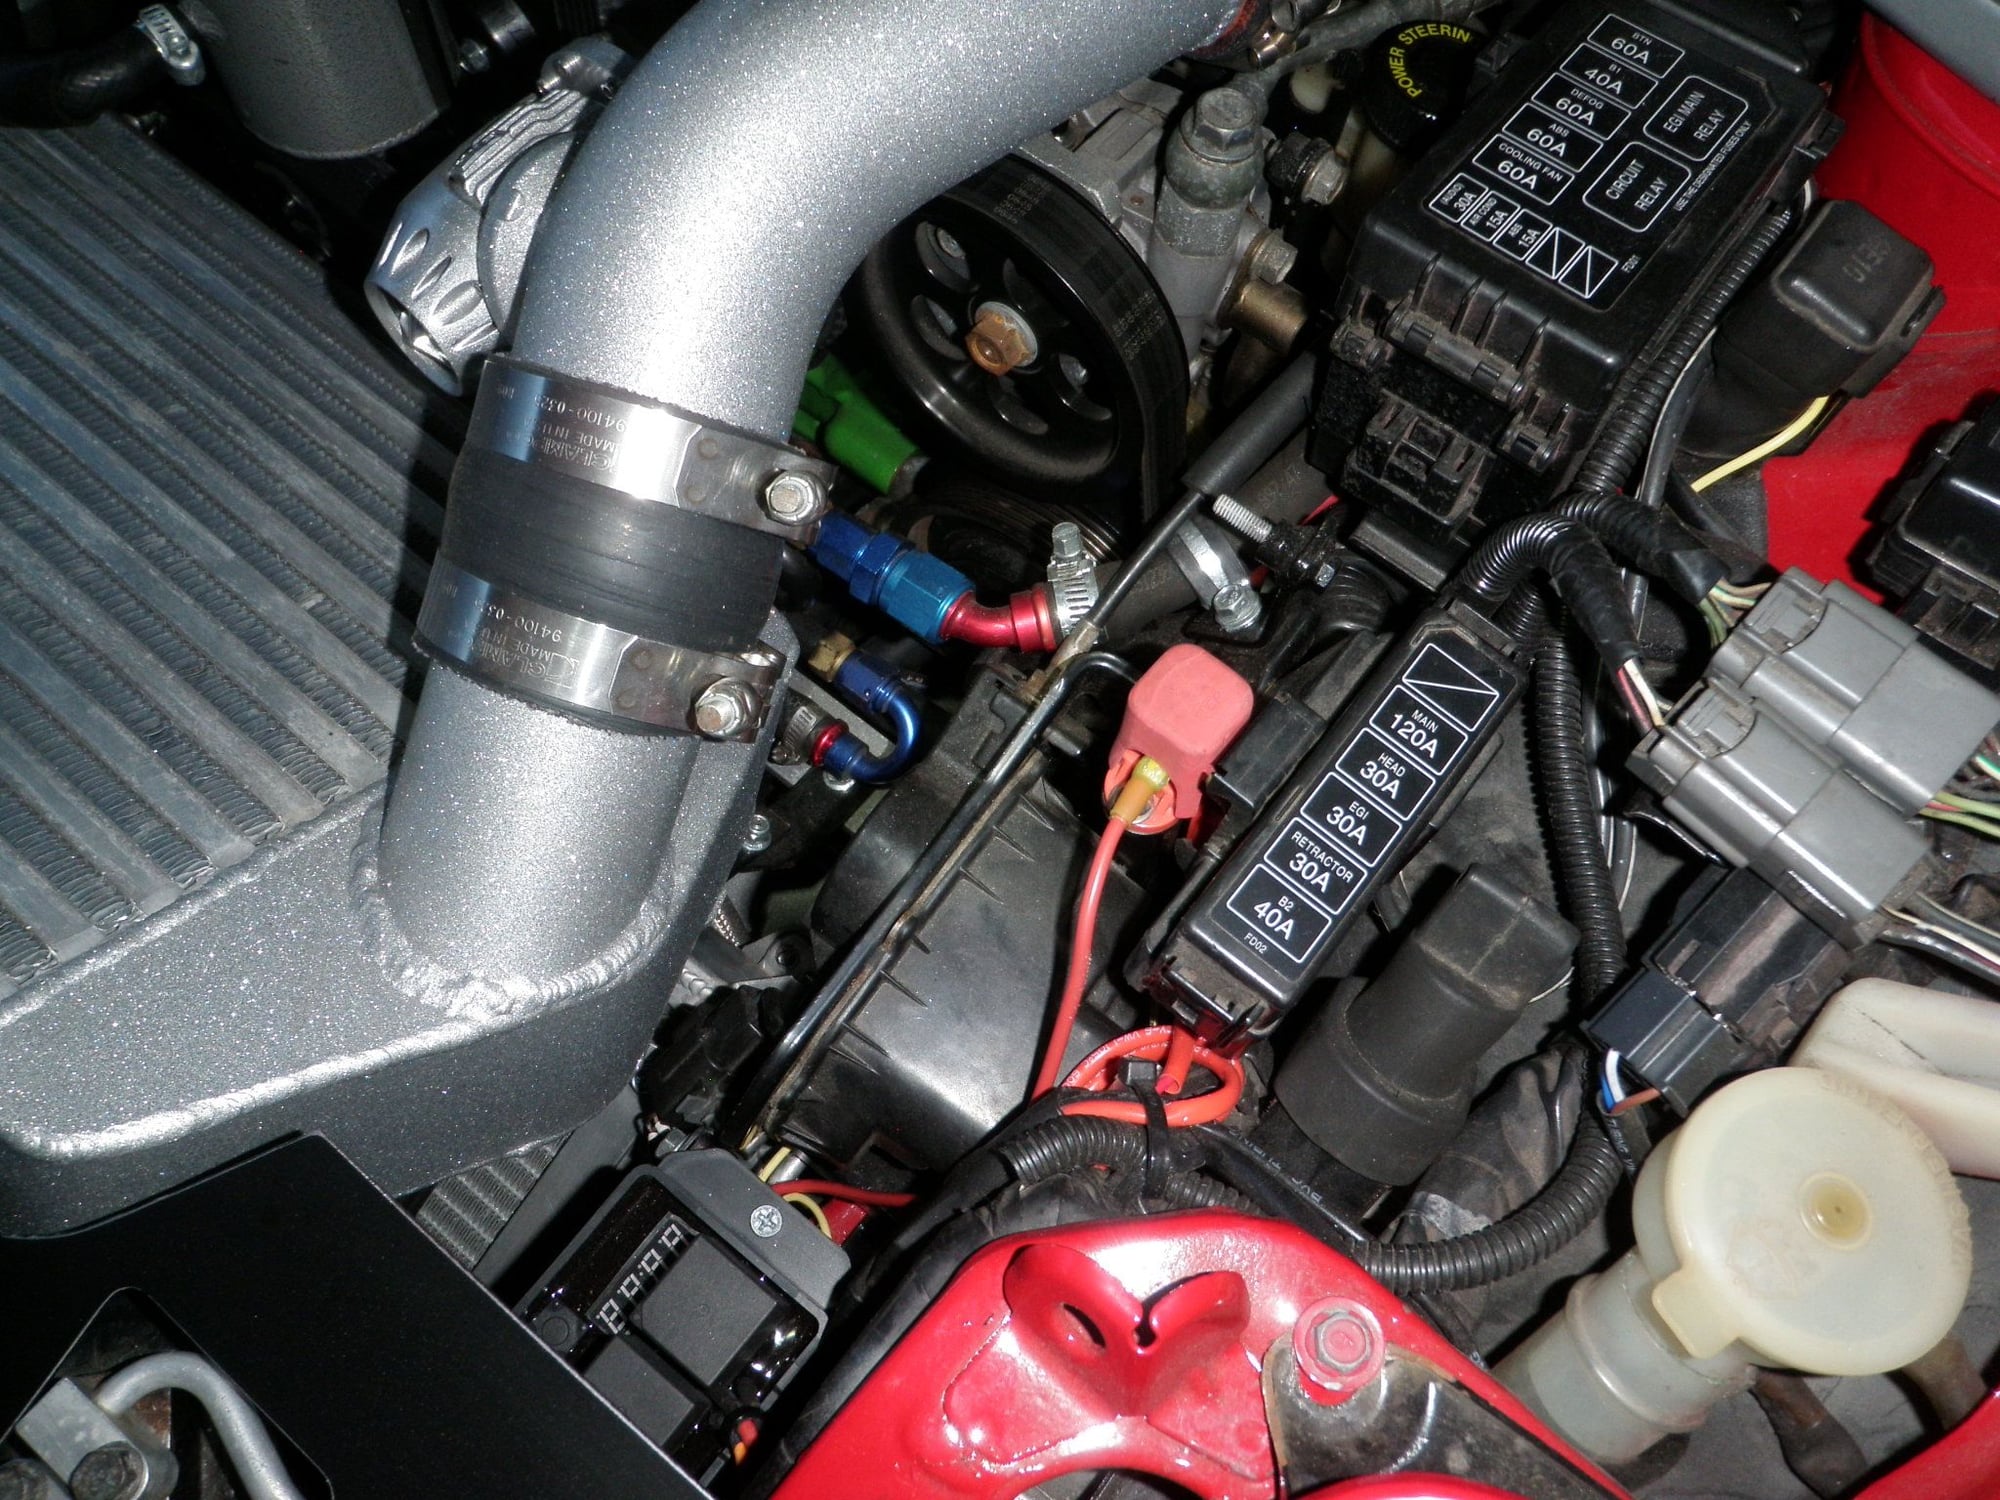
2. Install FC Tweak Igniter - COMPLETED
3. Armrest - COMPLETED
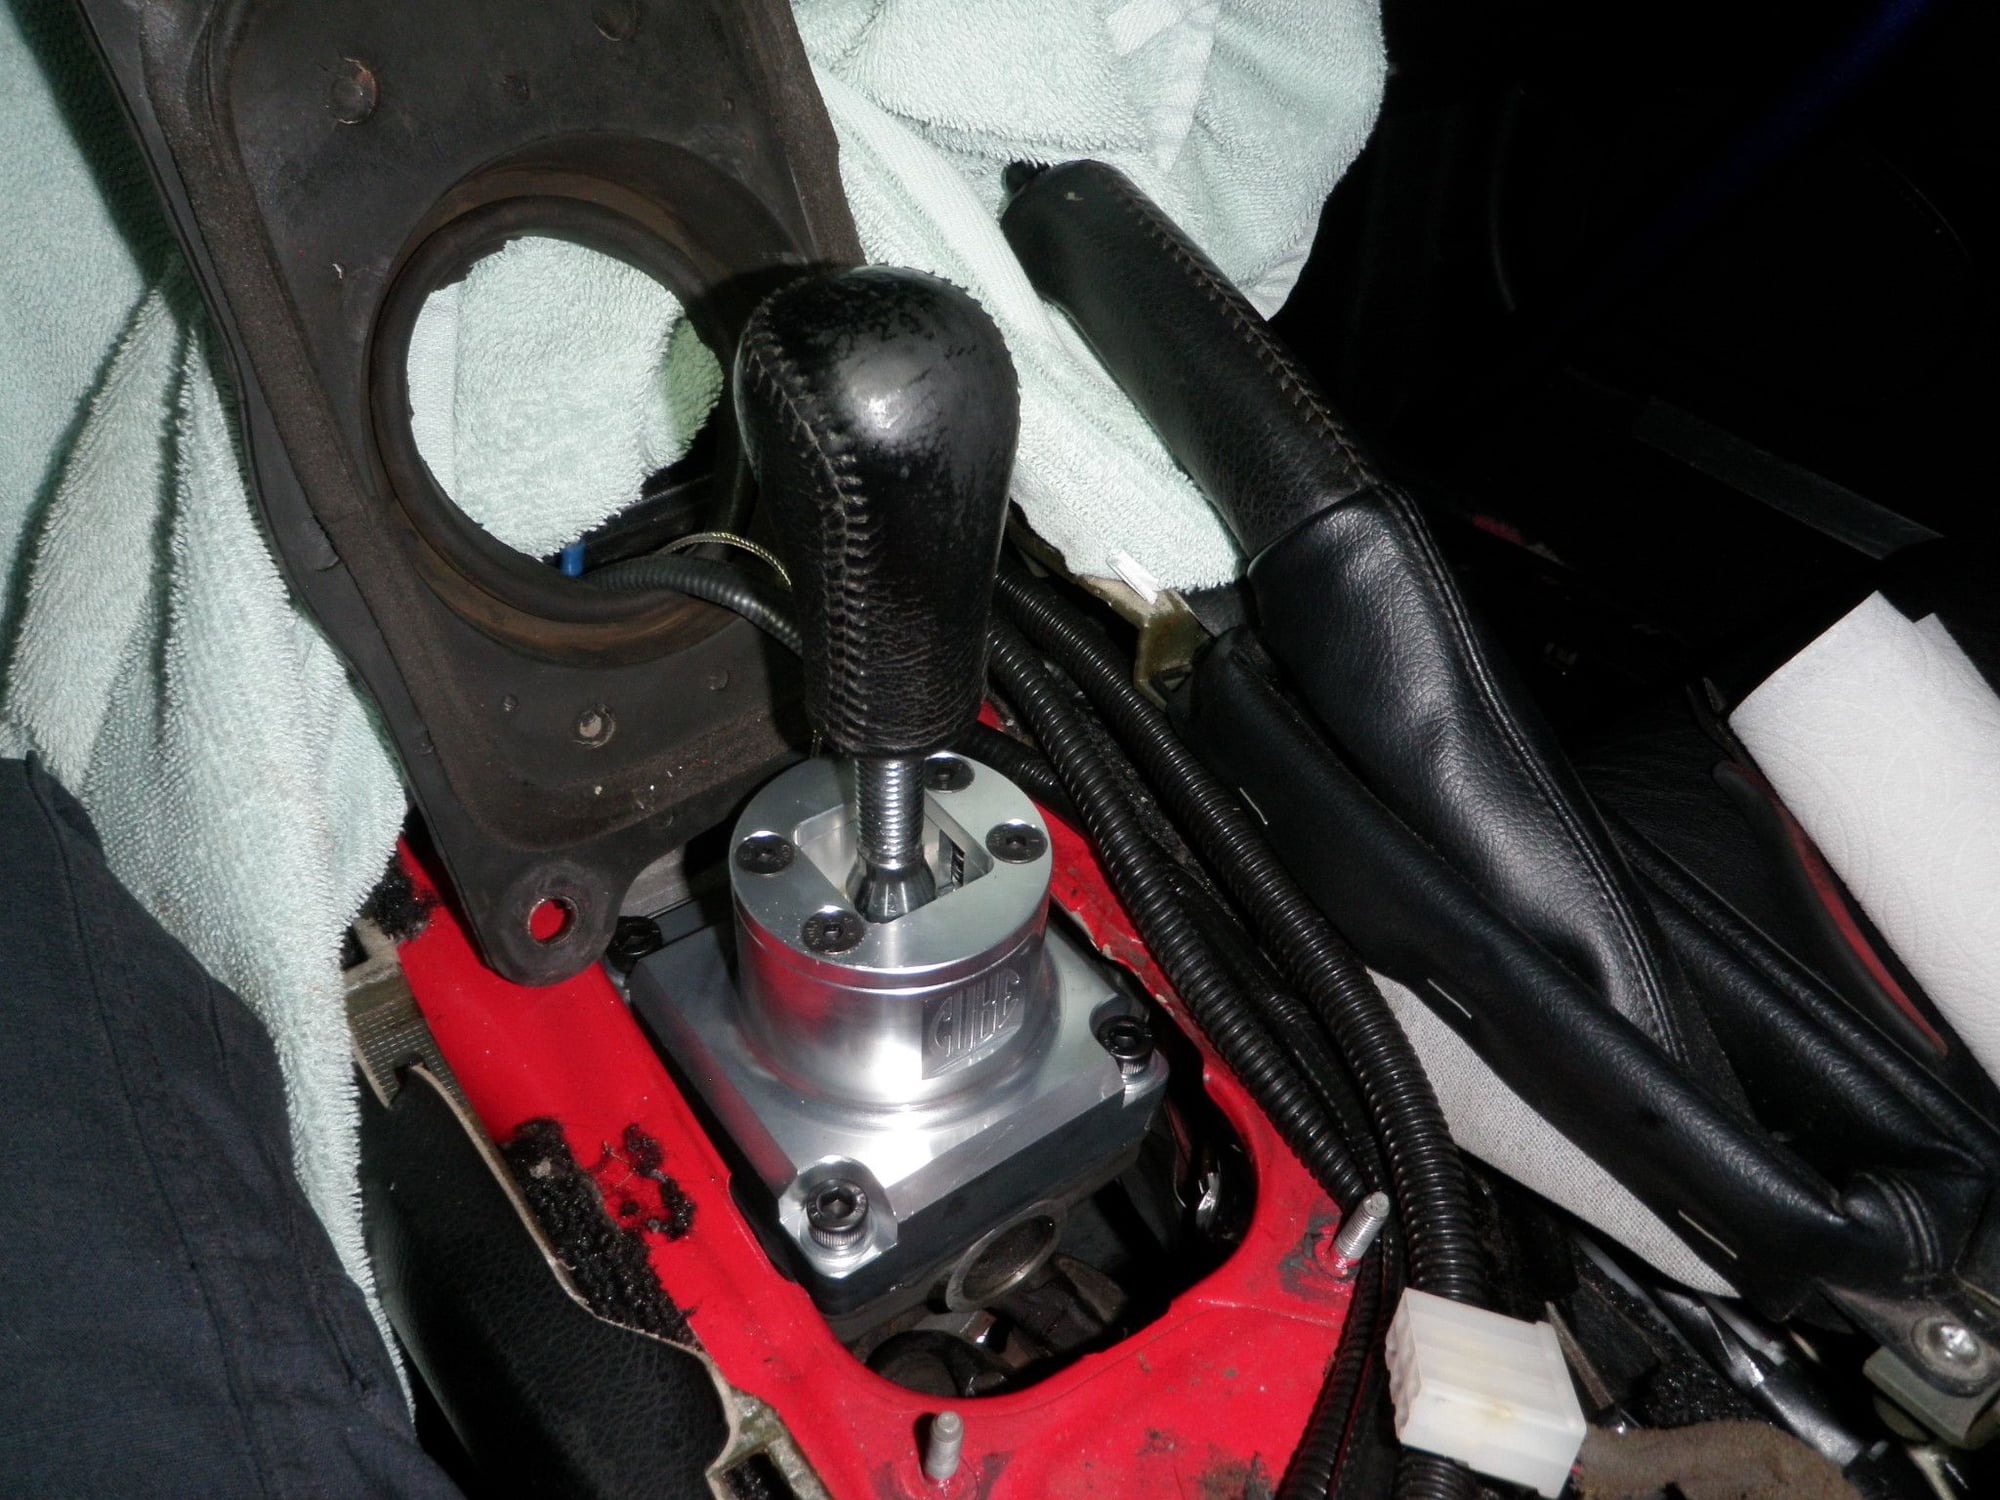
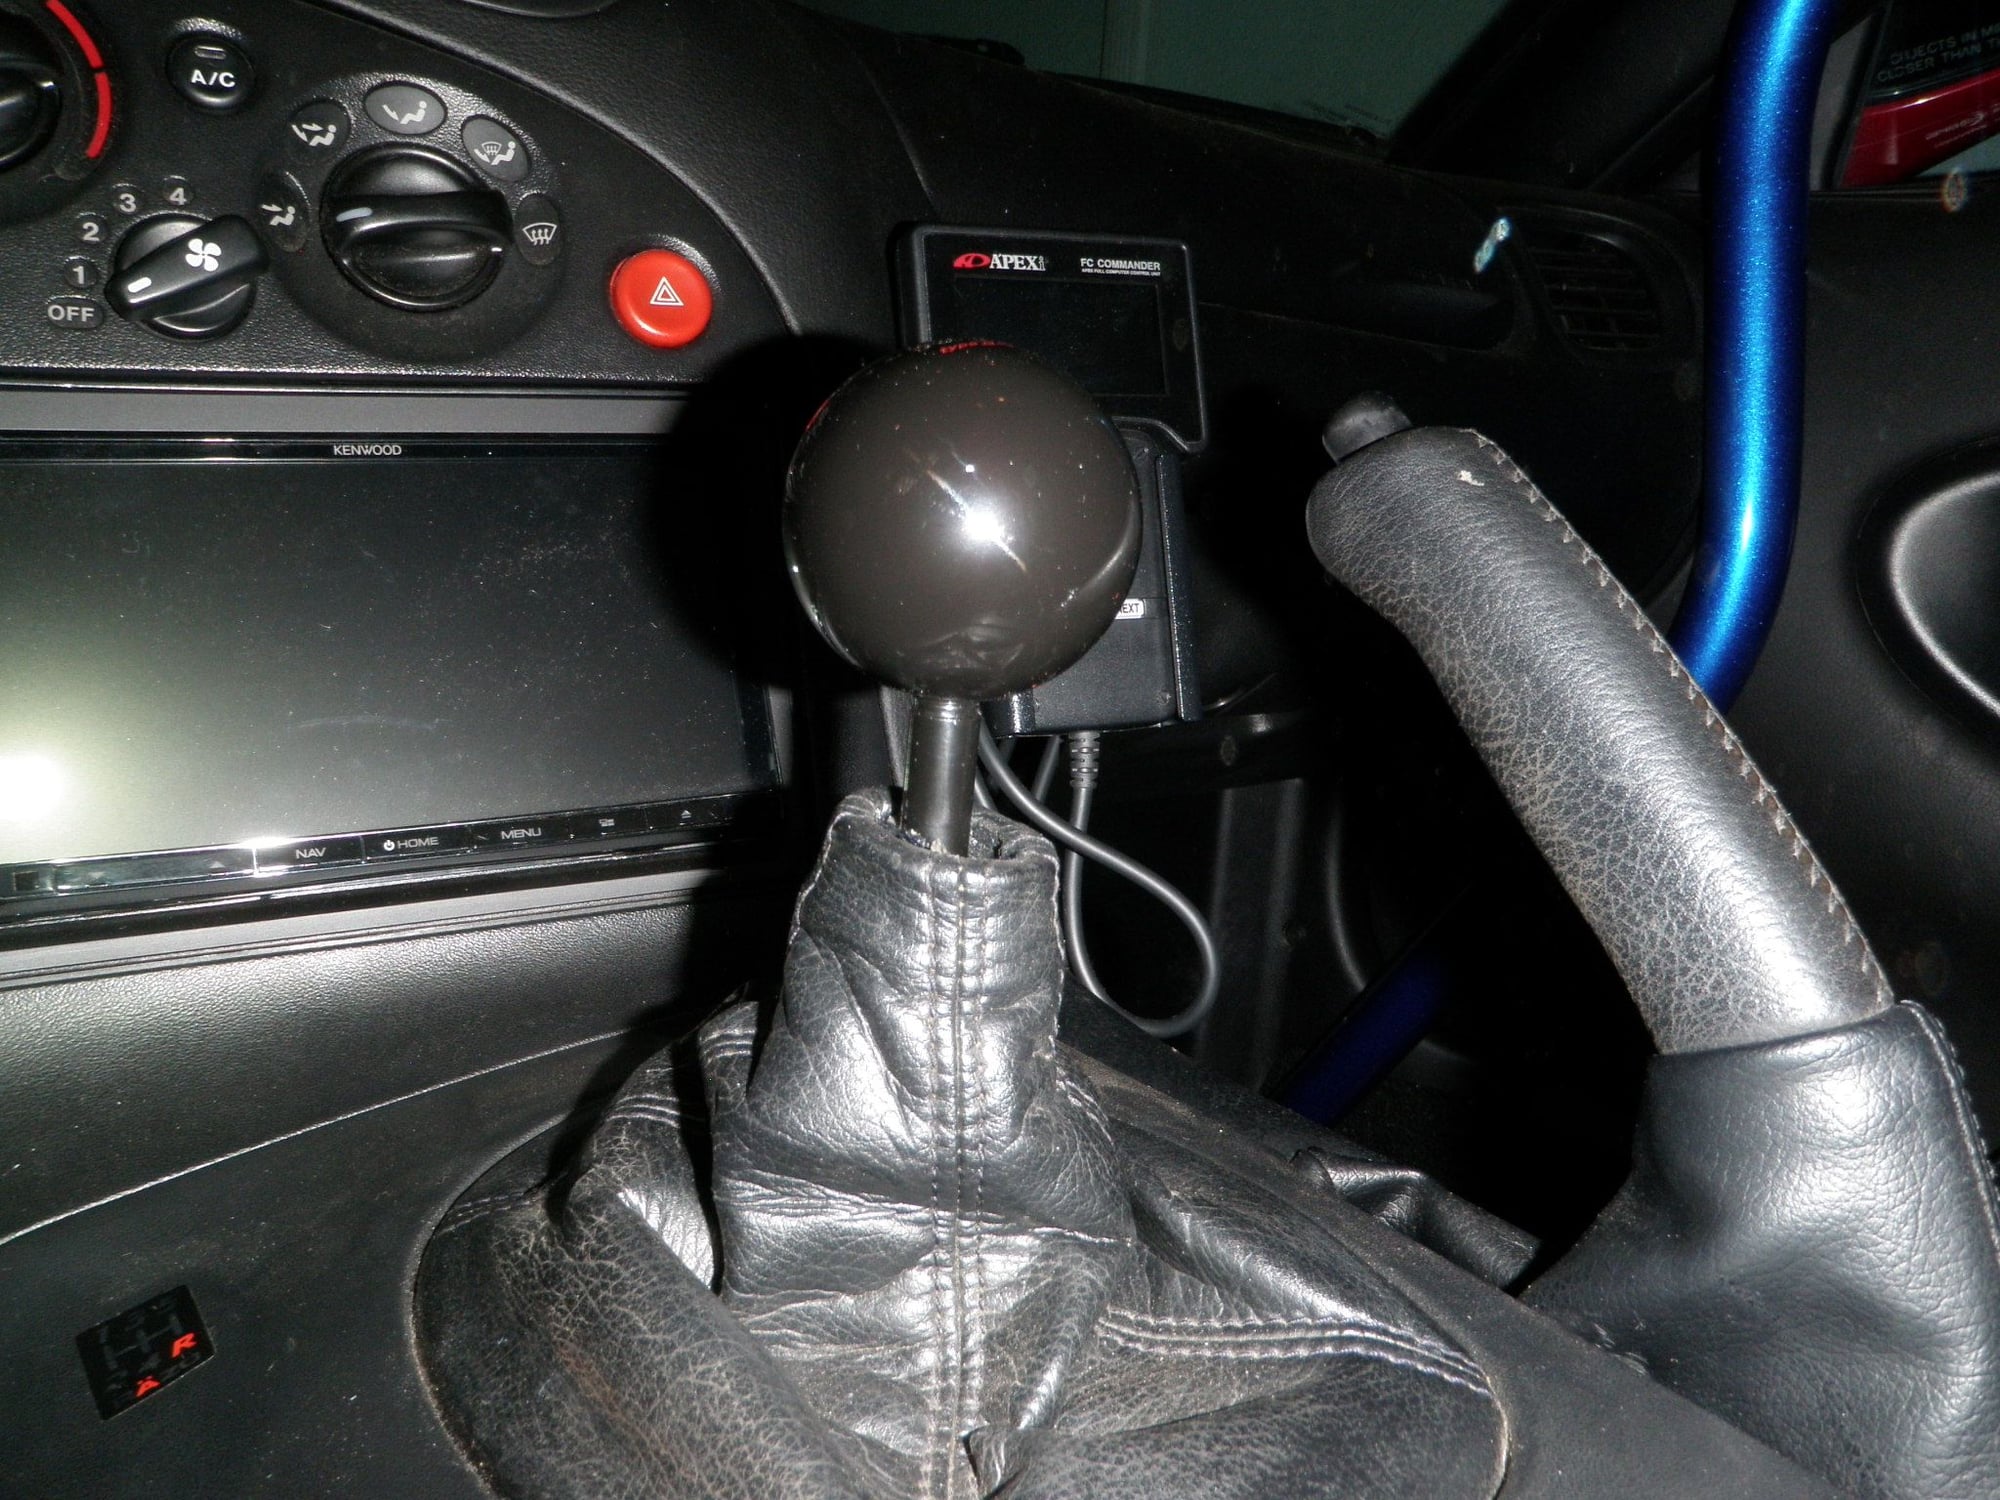
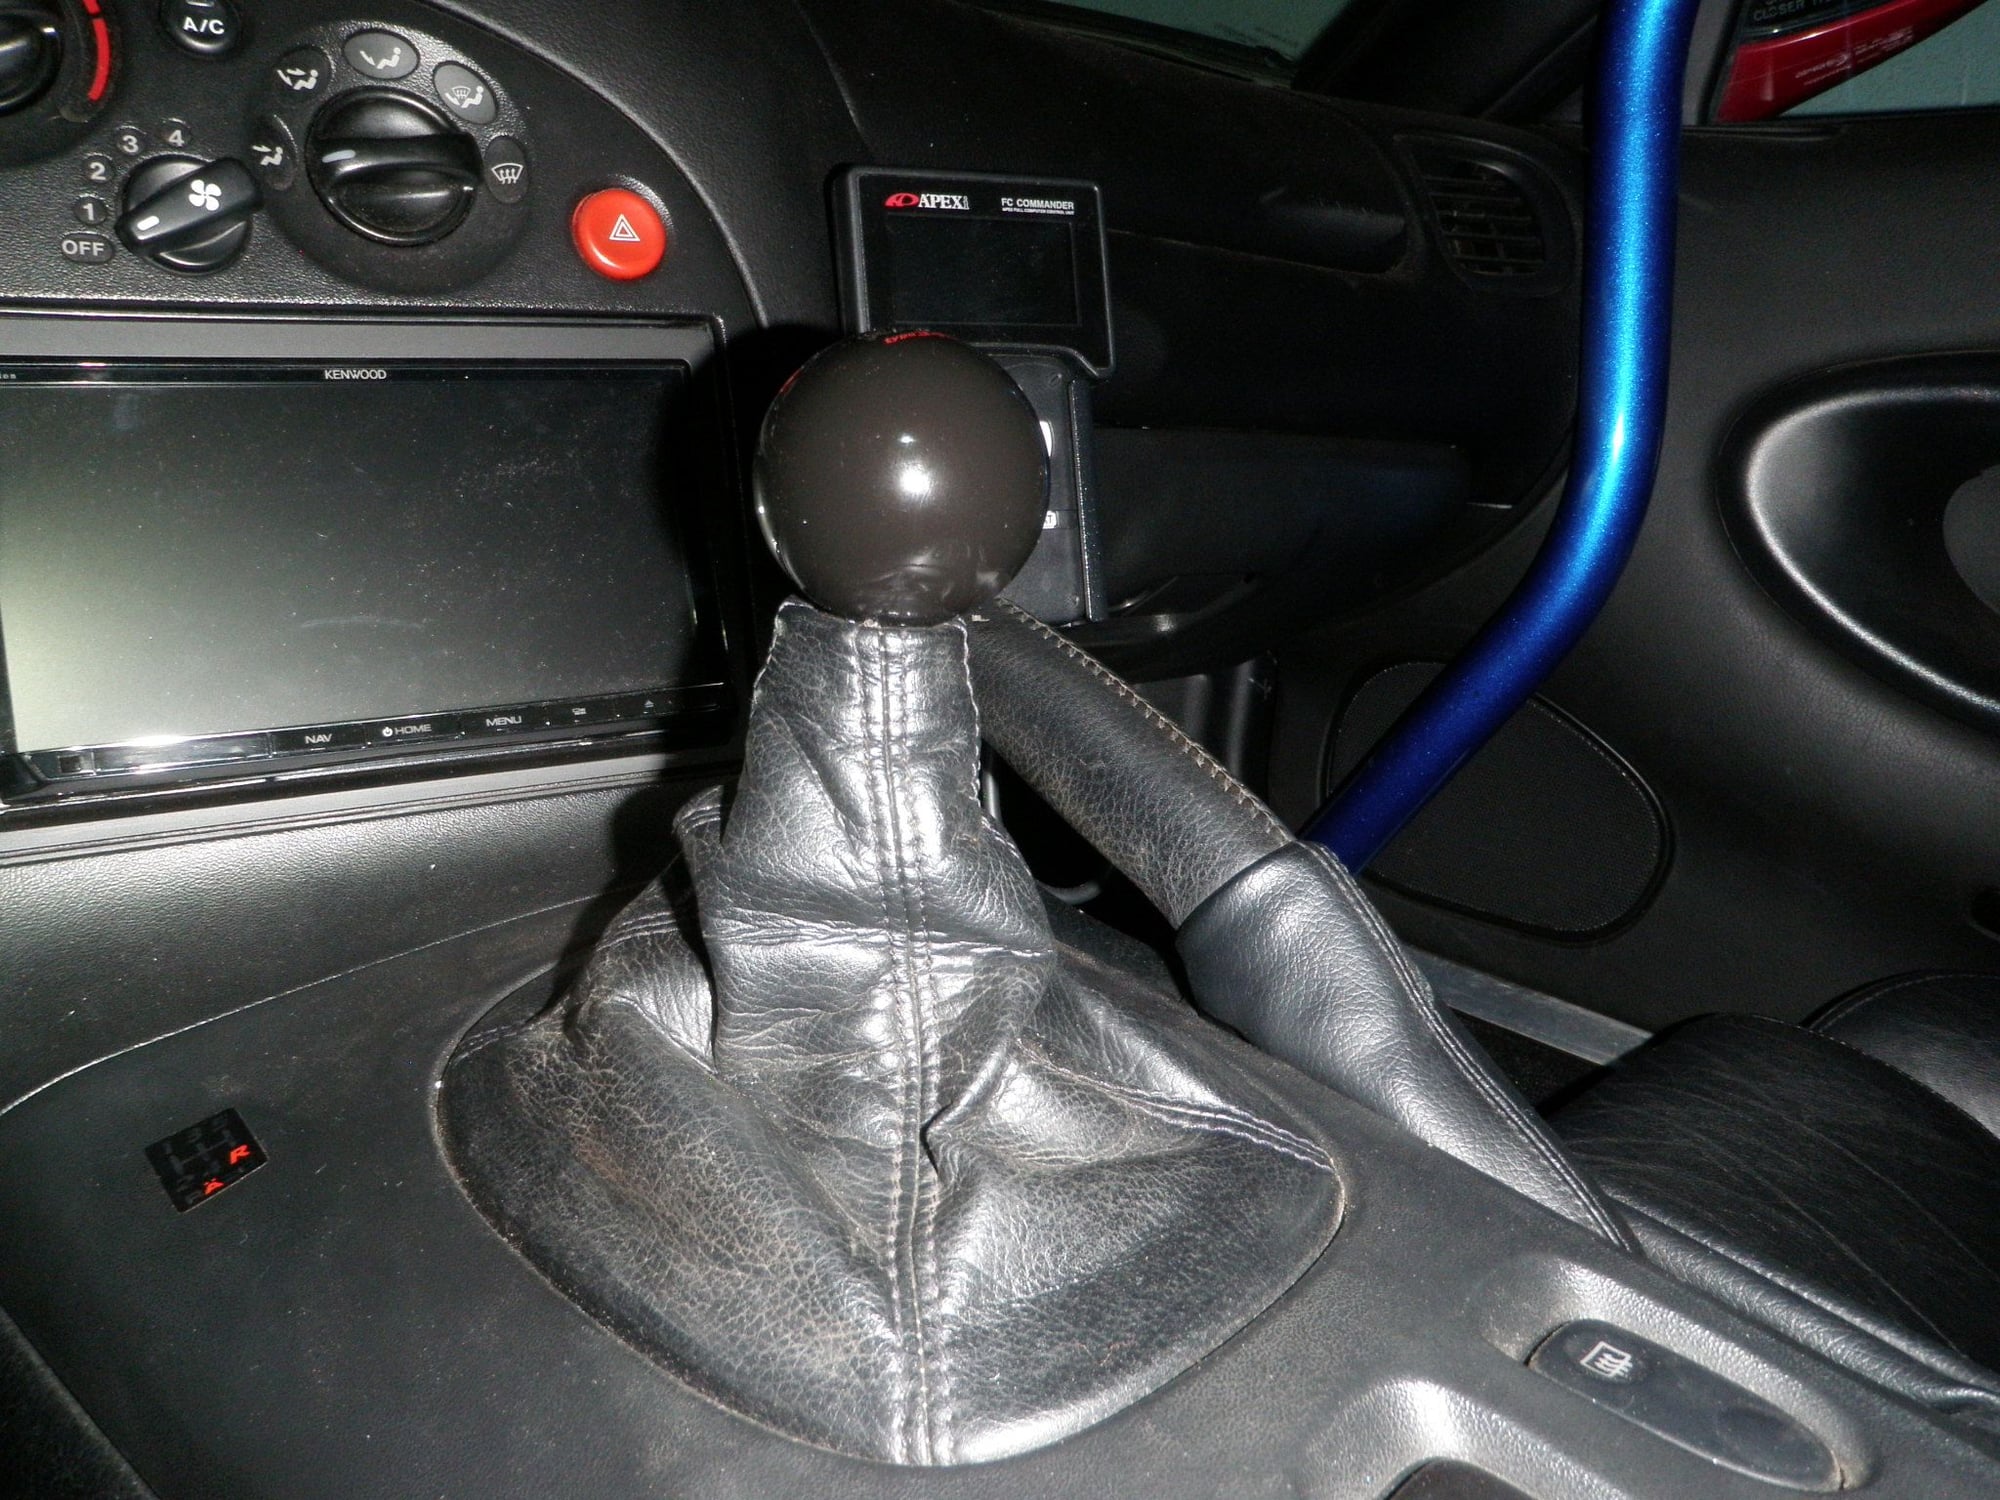
4. New Shifter- COMPLETED
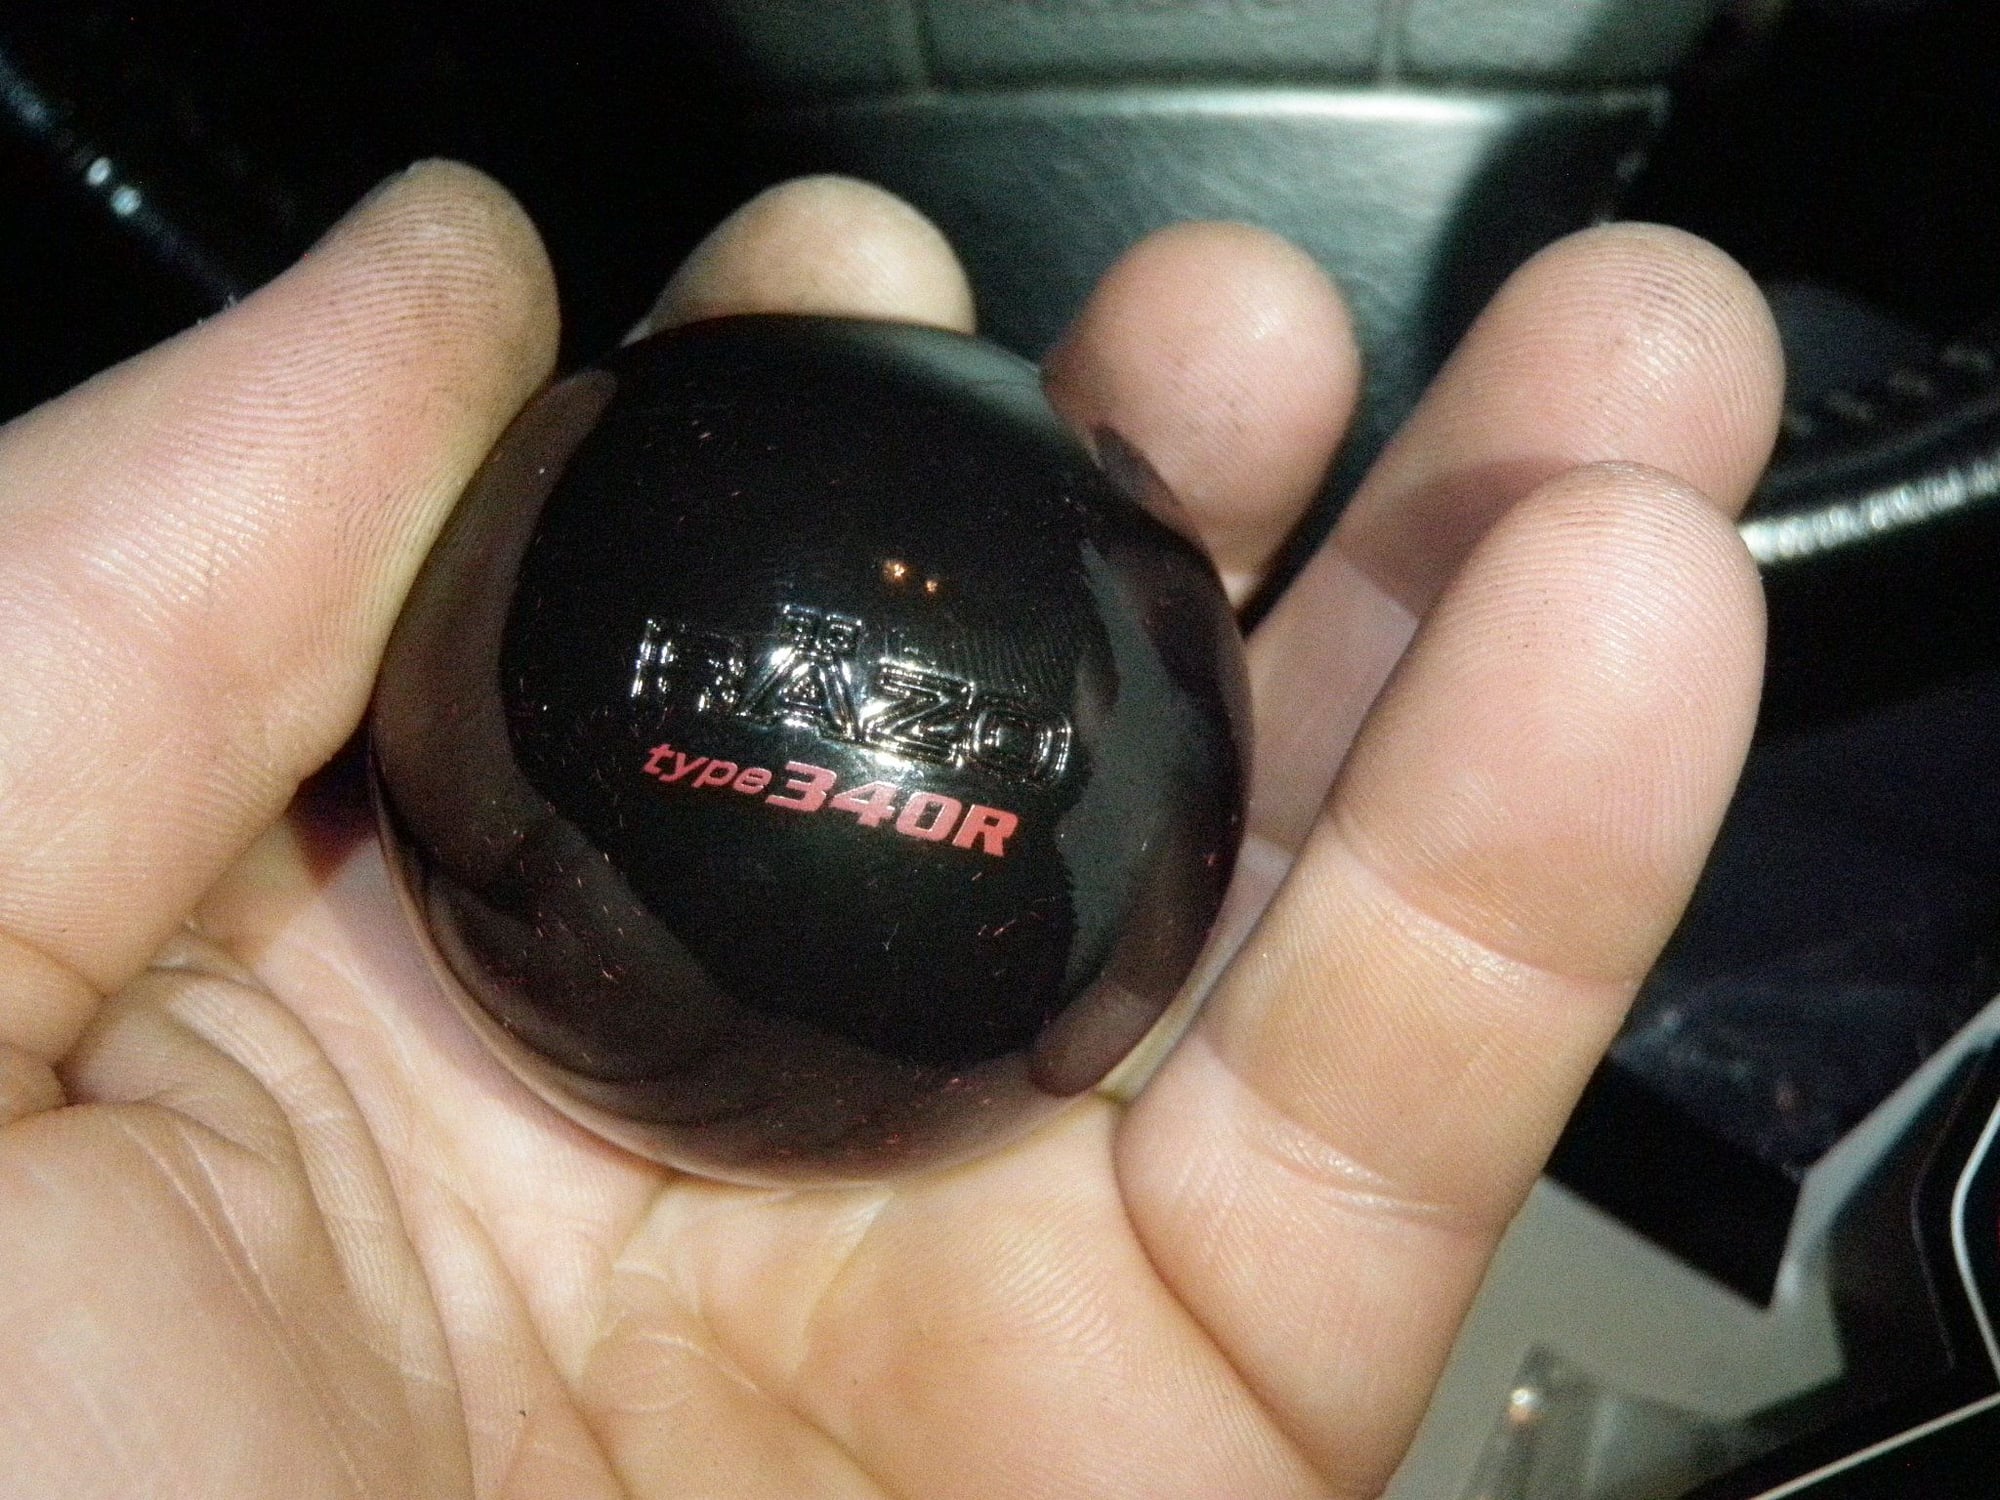
5. RAZO Style- COMPLETED
6. Vinyl Stickers
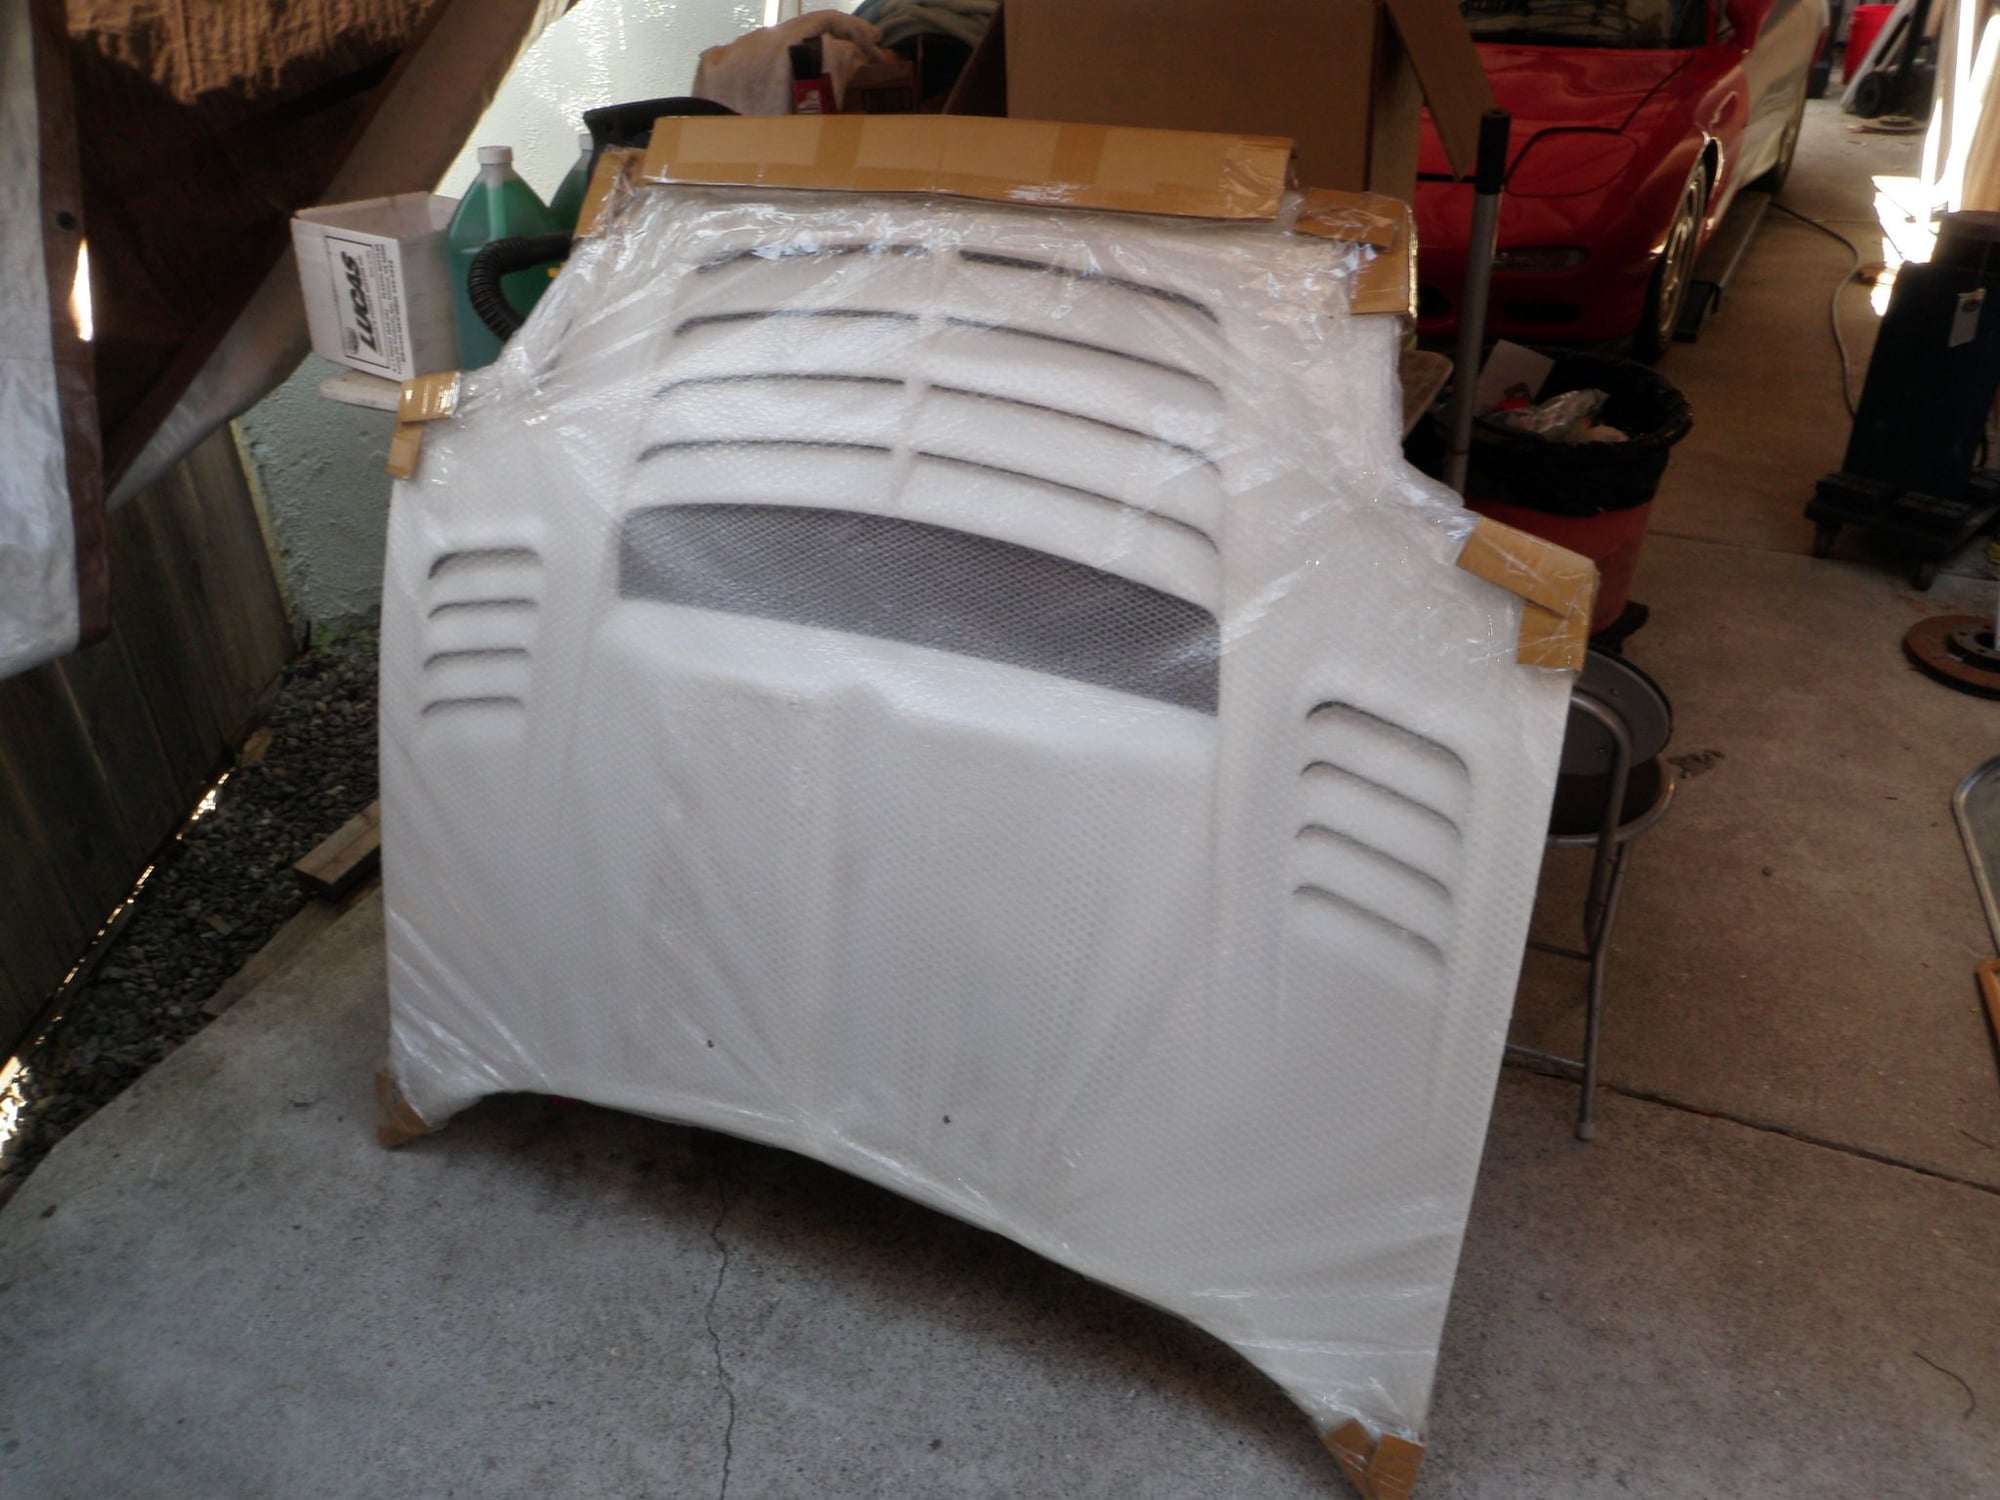
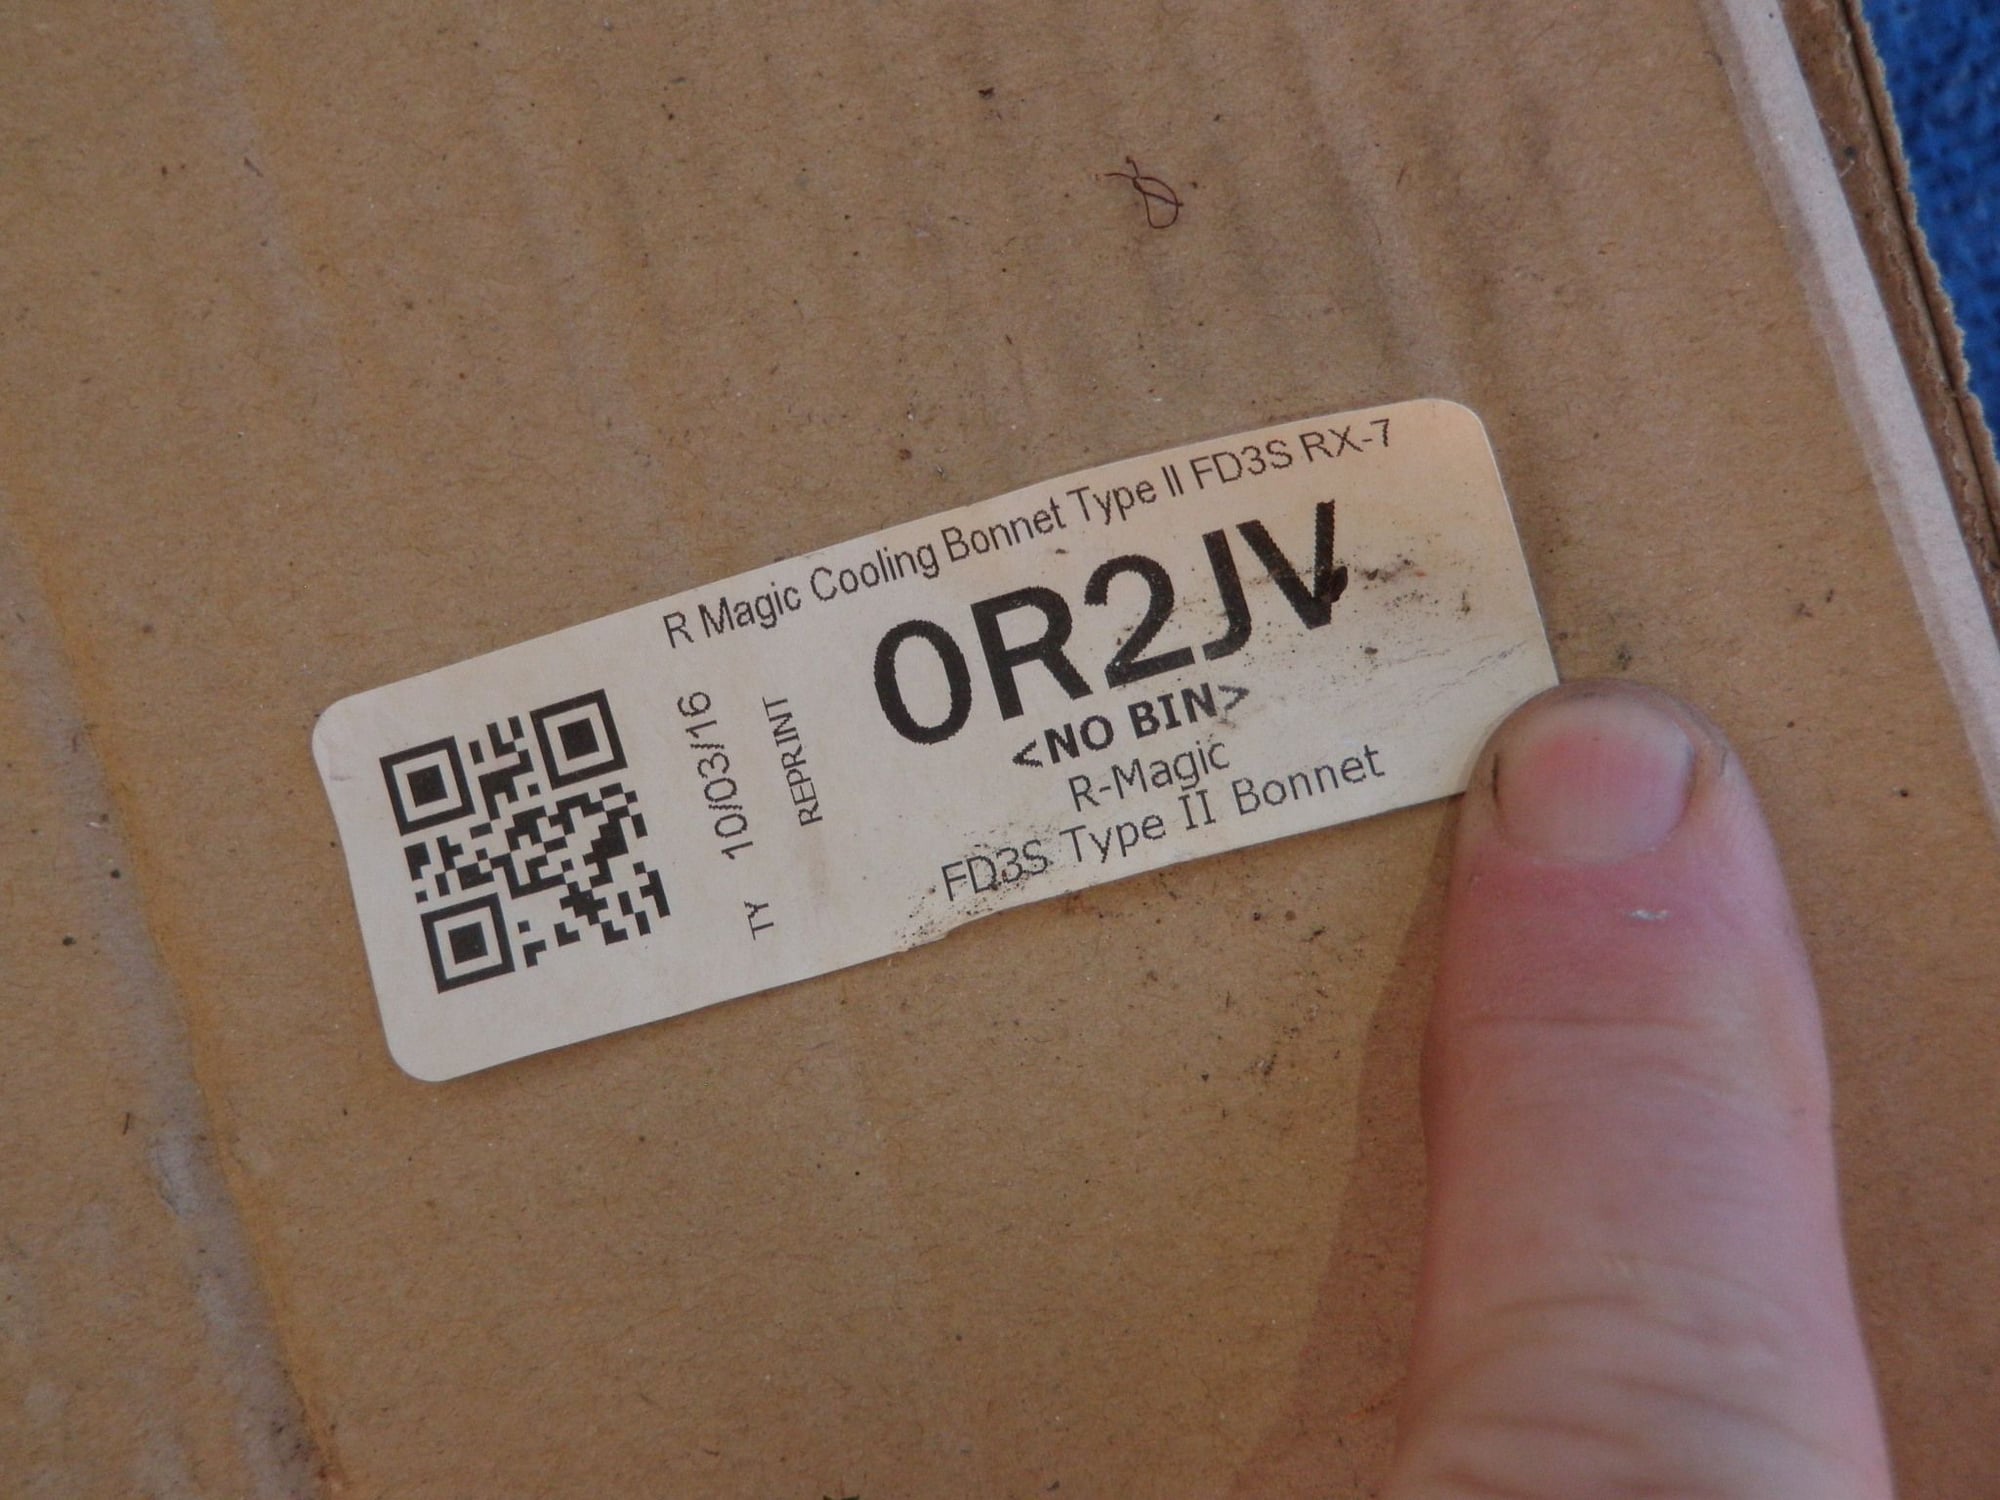
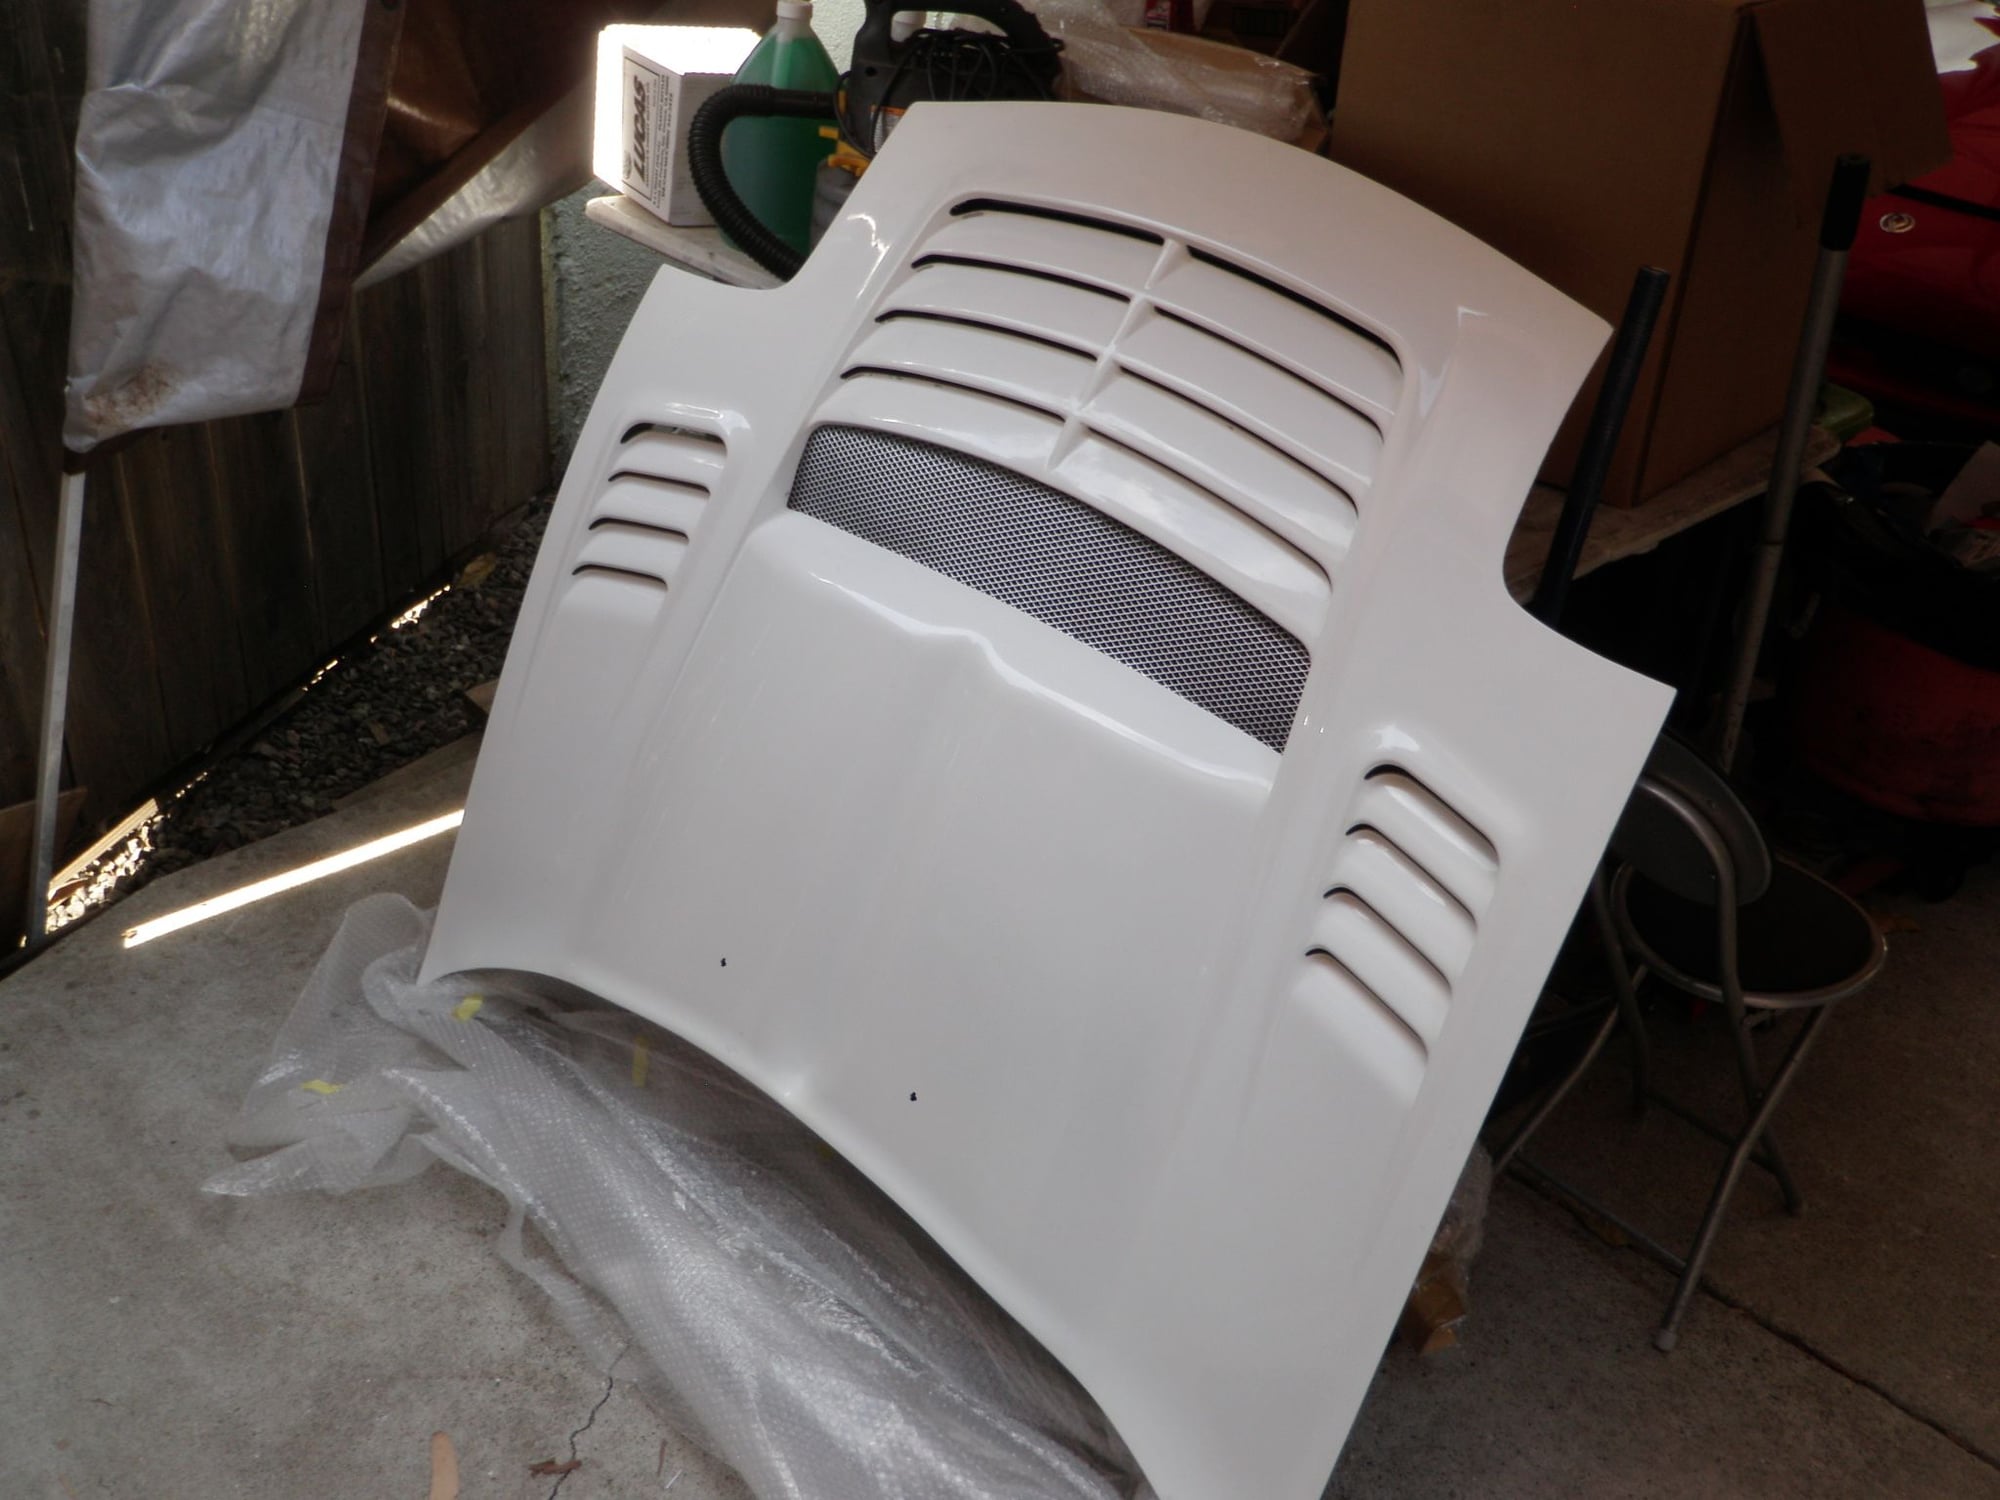
7. R-Magic Hood Type 2
8. SS24 30yr FD RX7 Anny
1. Dashpot – COMPLETED
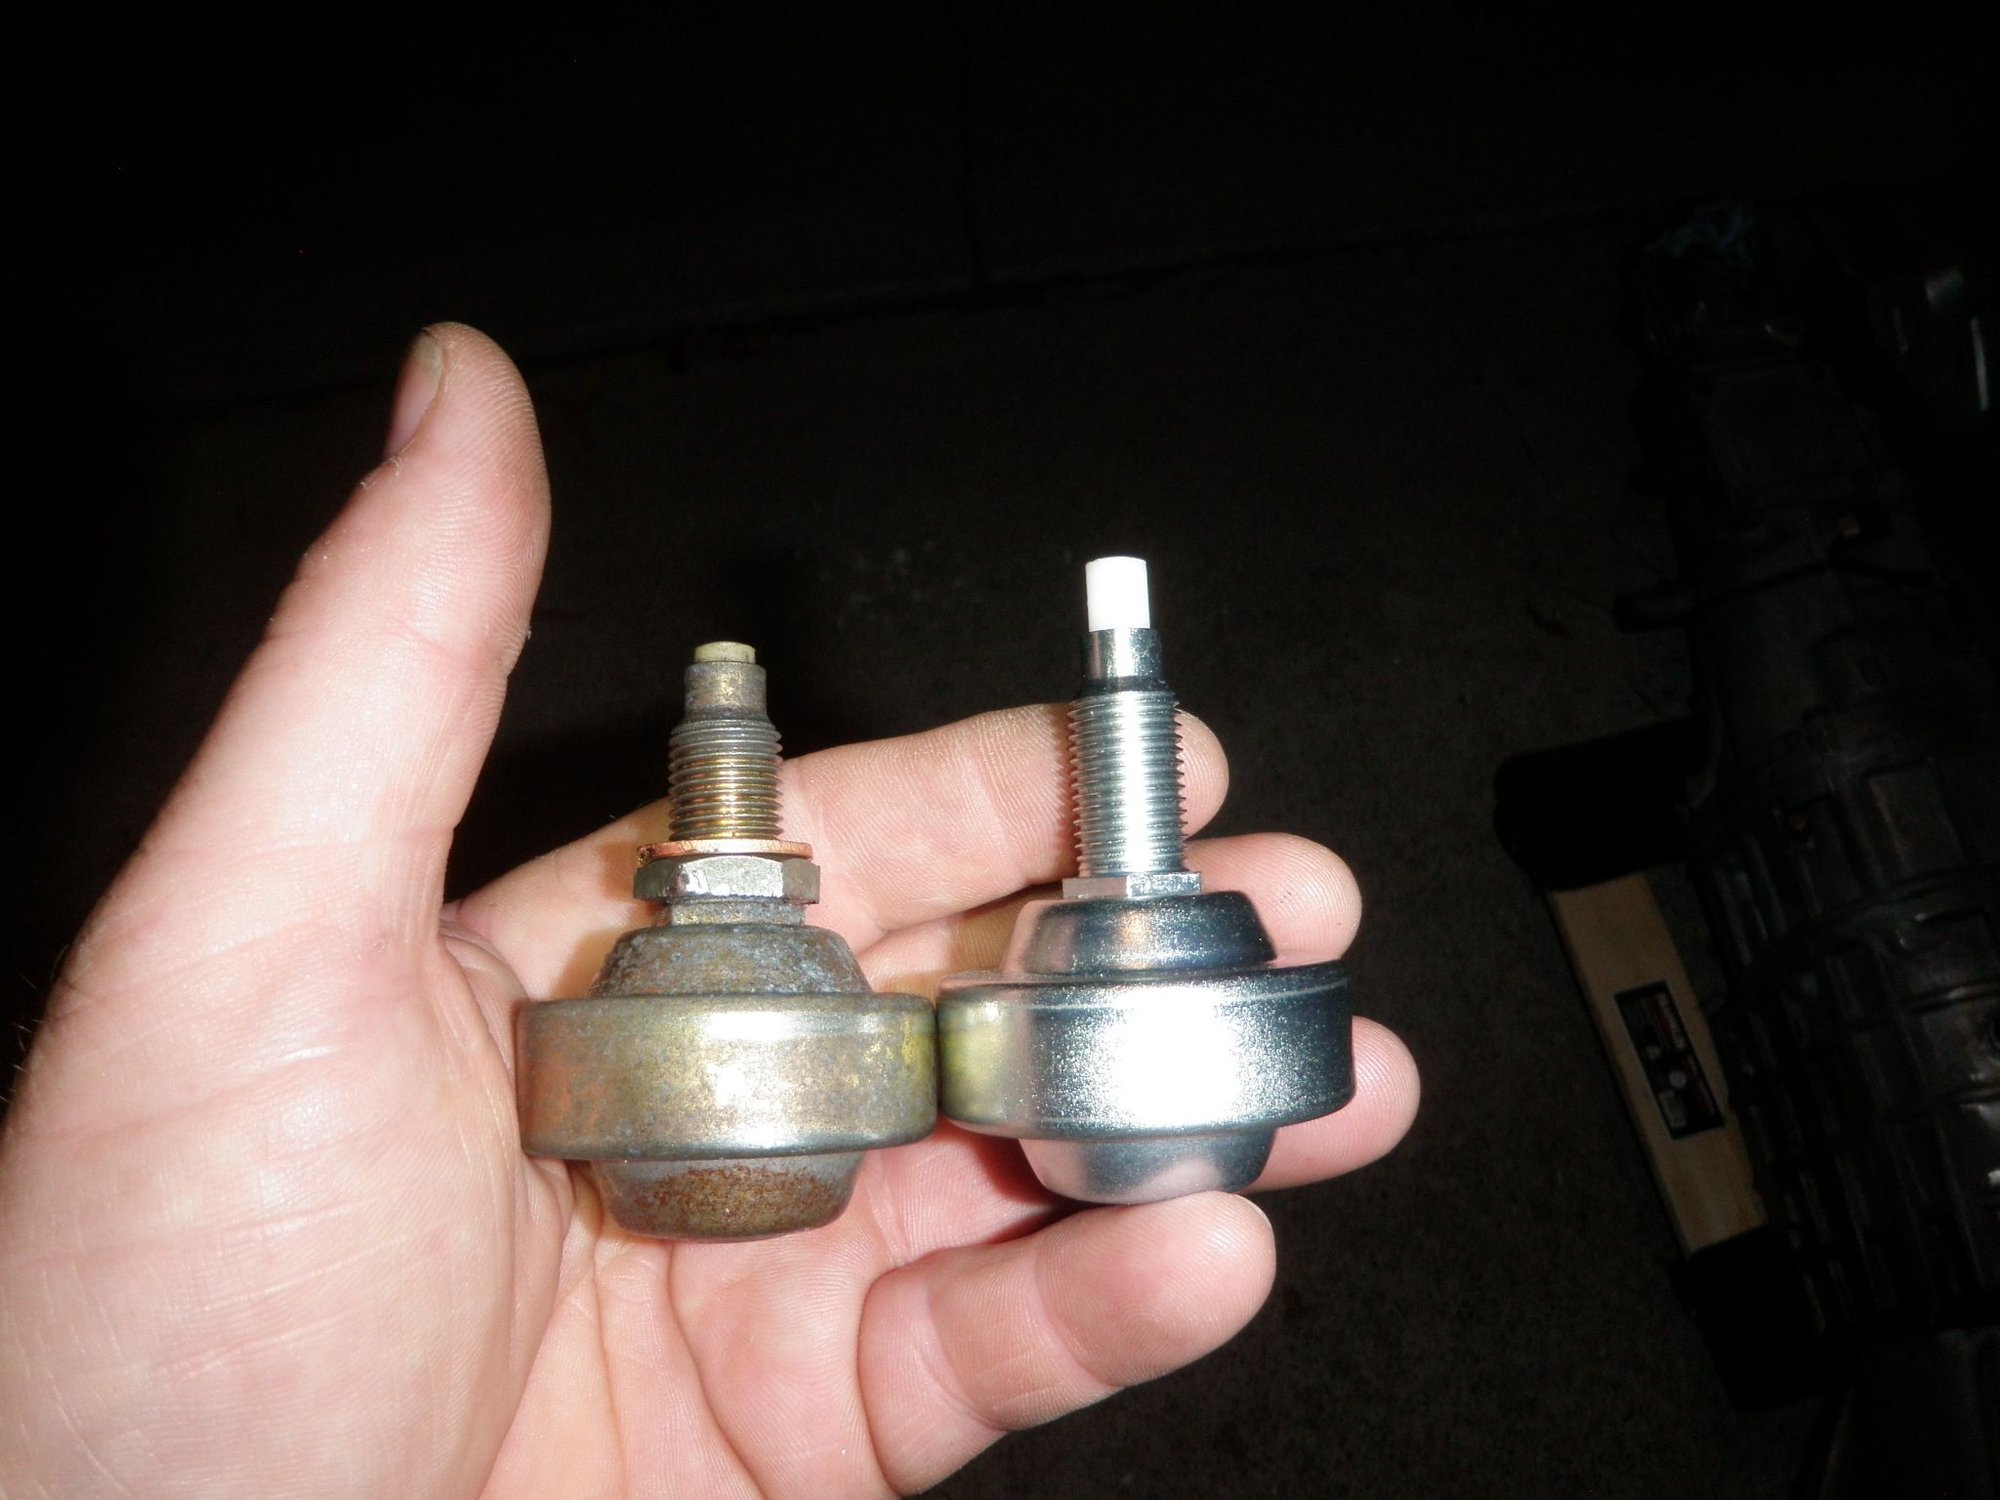
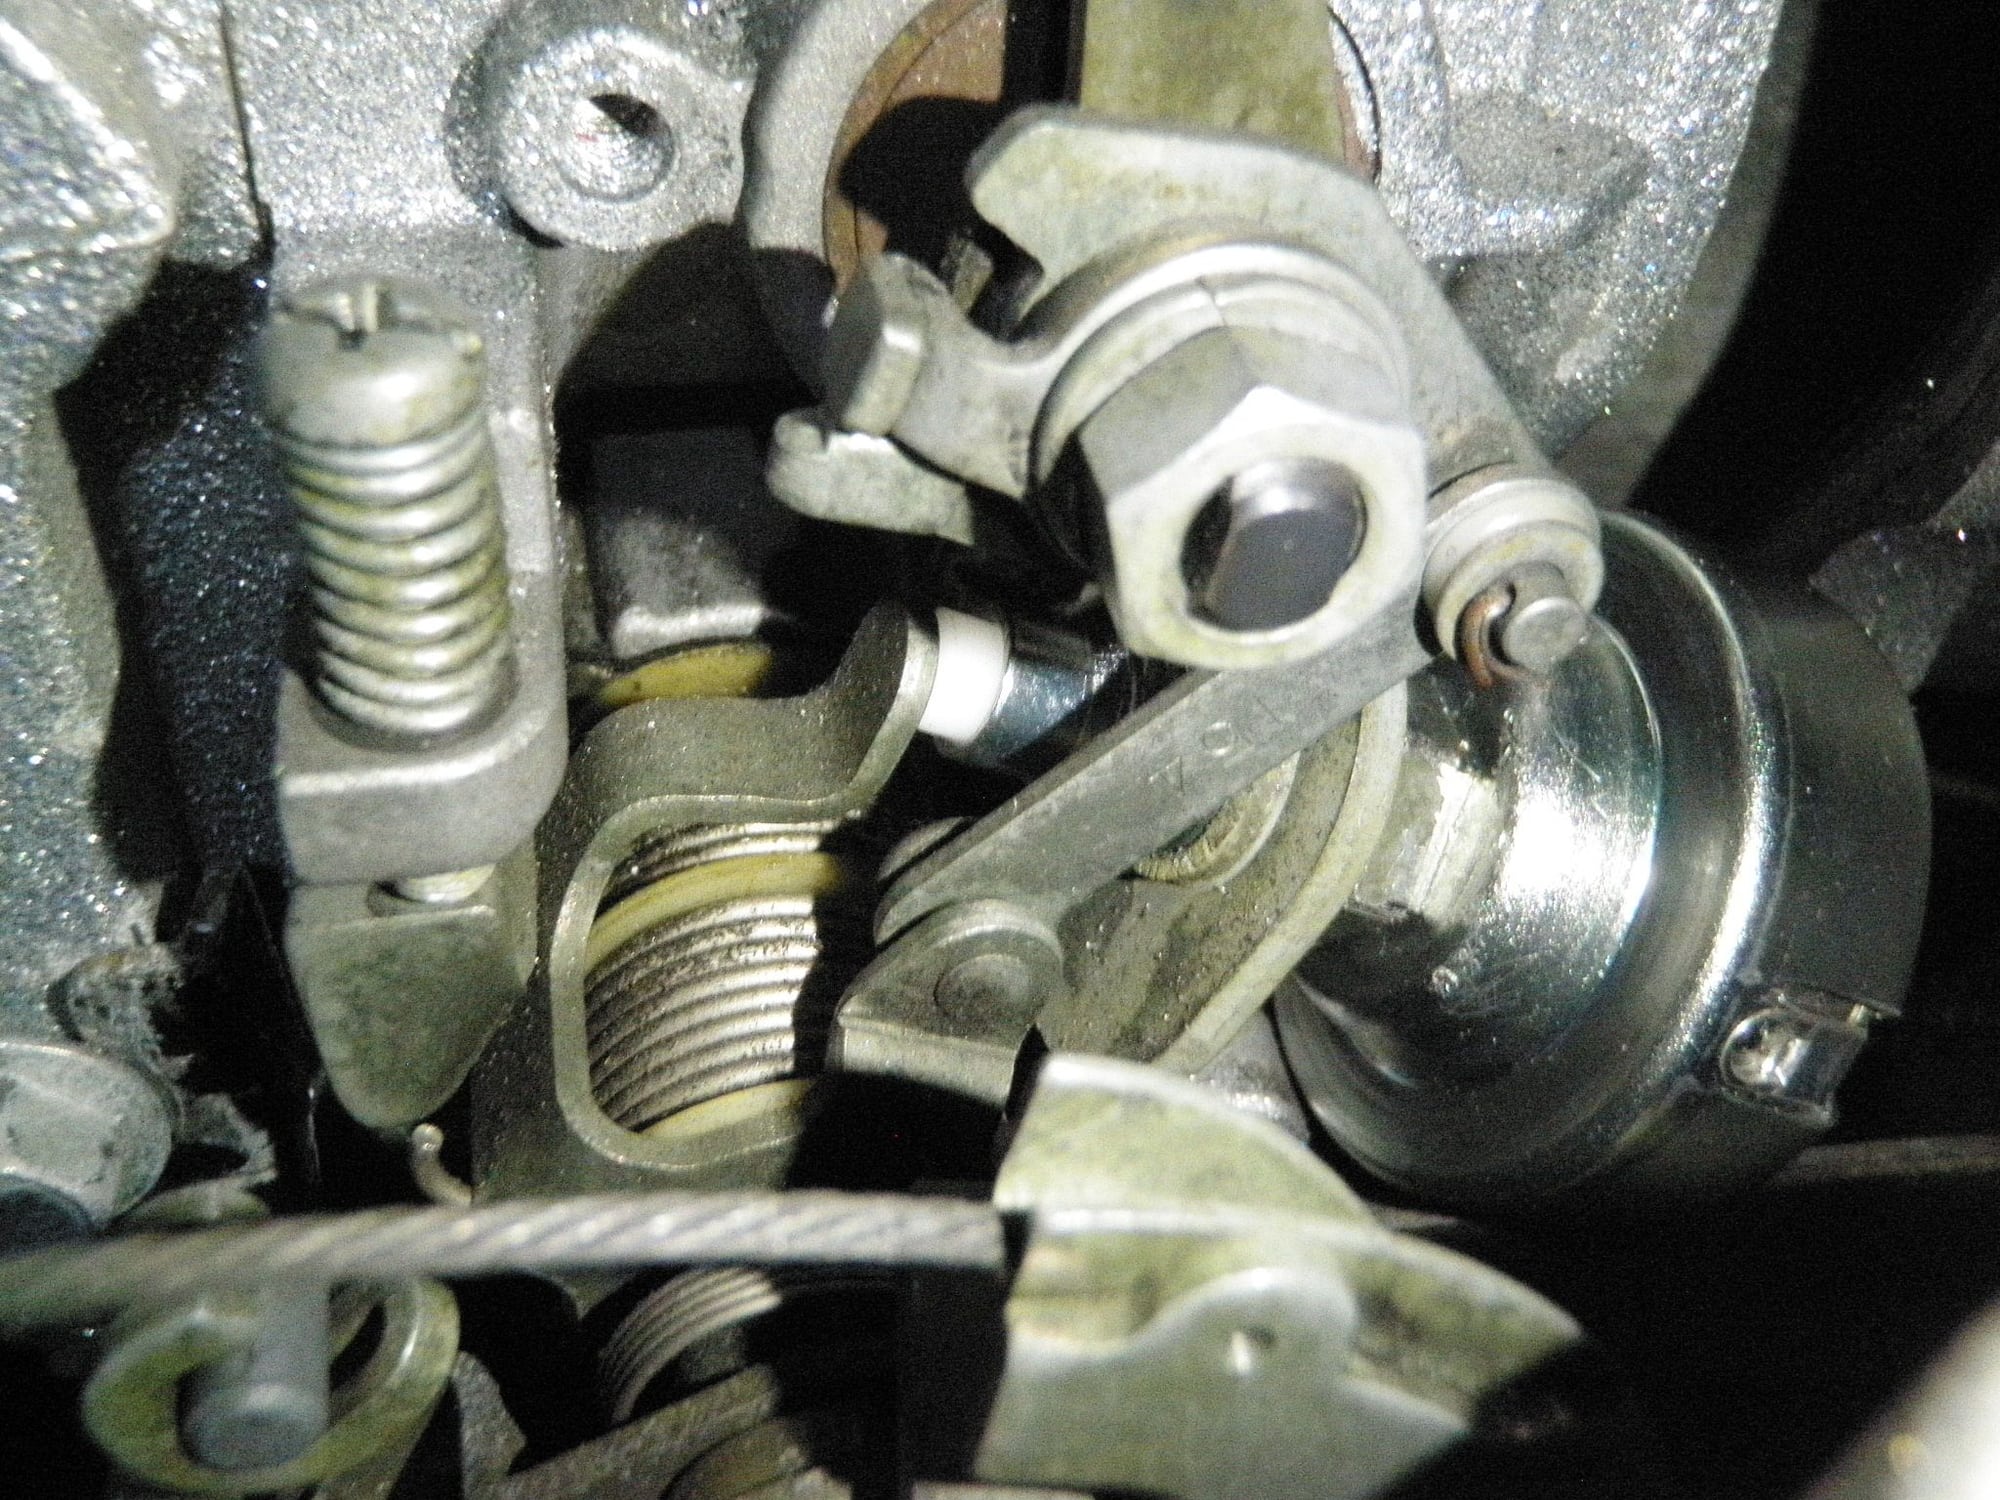
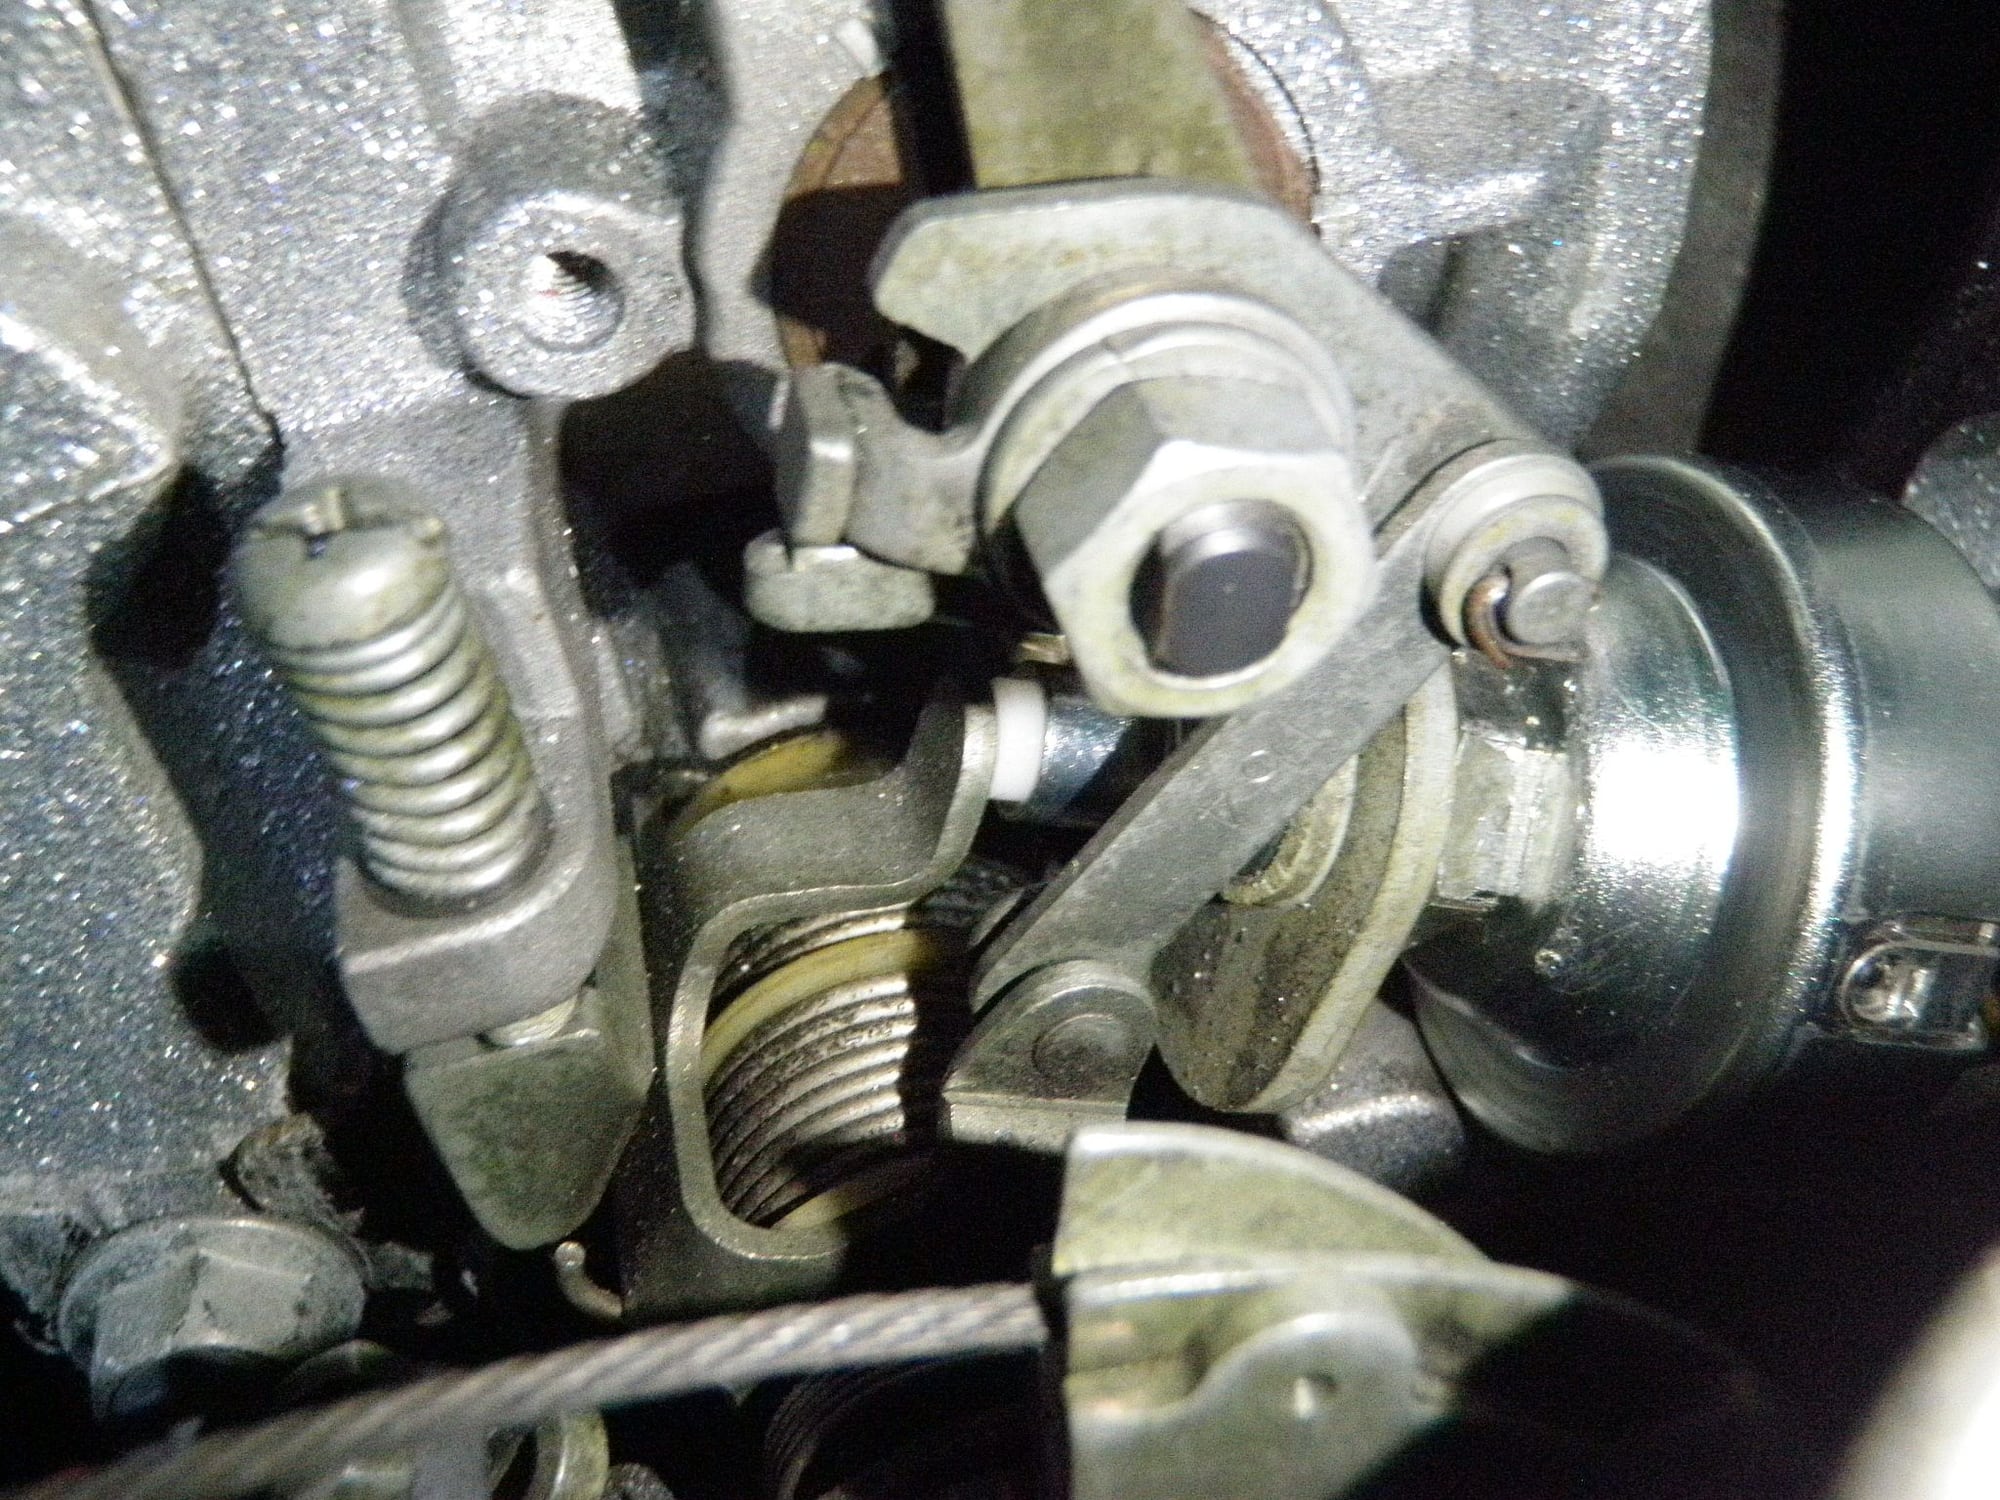
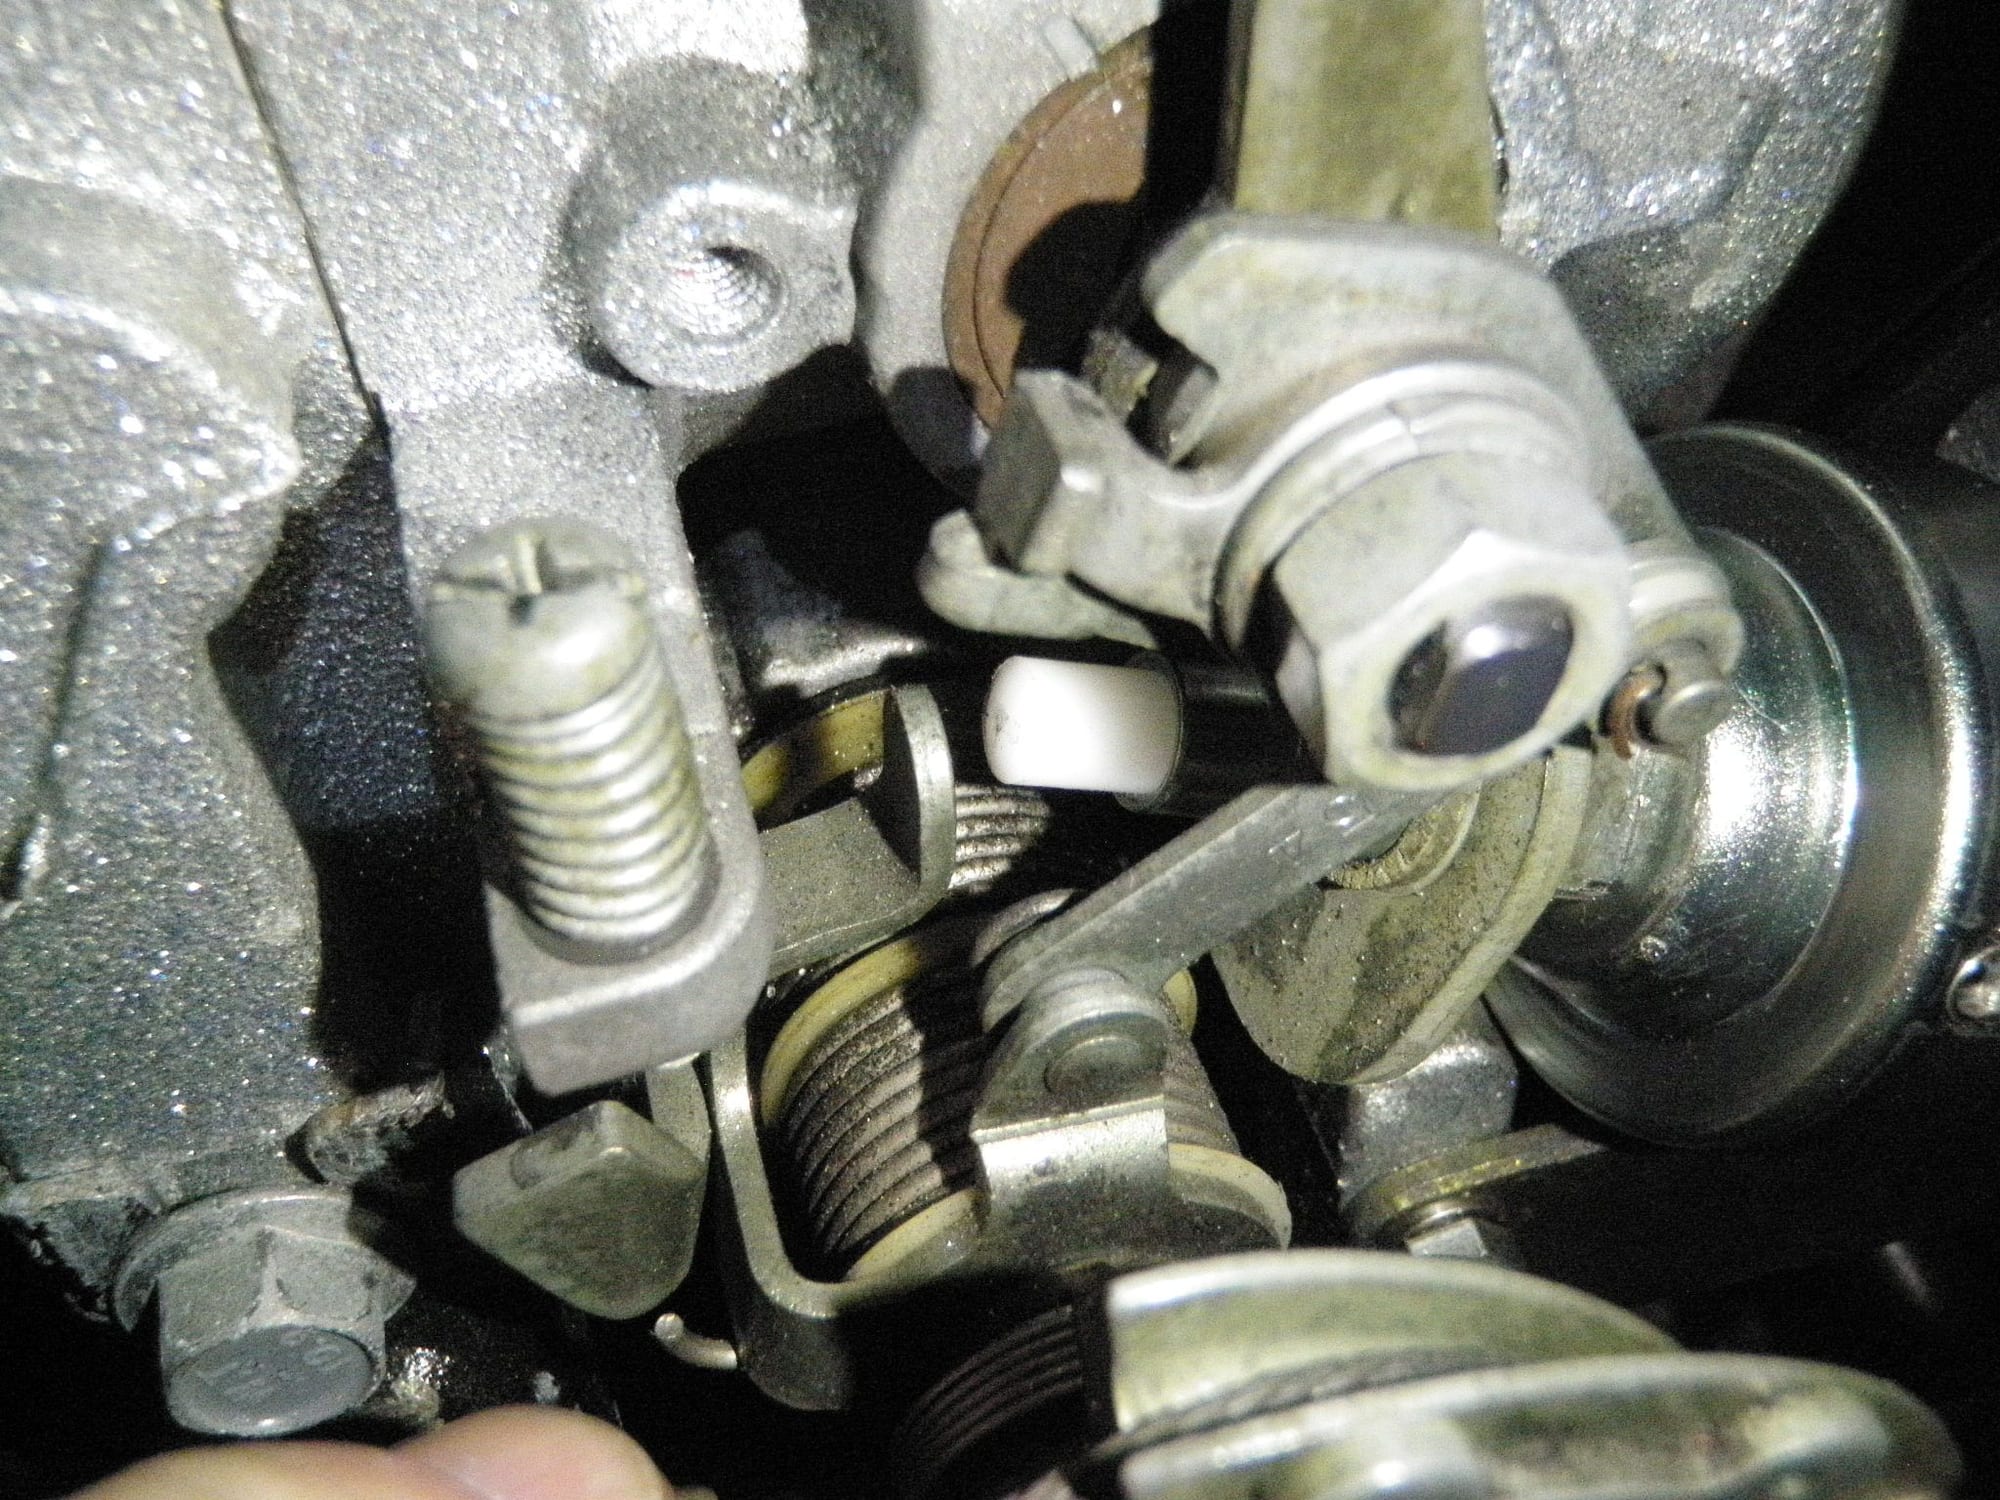
My dashpot was shot, it only had a small portion of the post sticking out to slow the throttle body plate from slamming shut. I installed the new dashpot and now when I let off the throttle there is a nice deceleration and no more stumble or hesitation returning to idle.
2. Install FC Tweak Igniter – COMPLETED
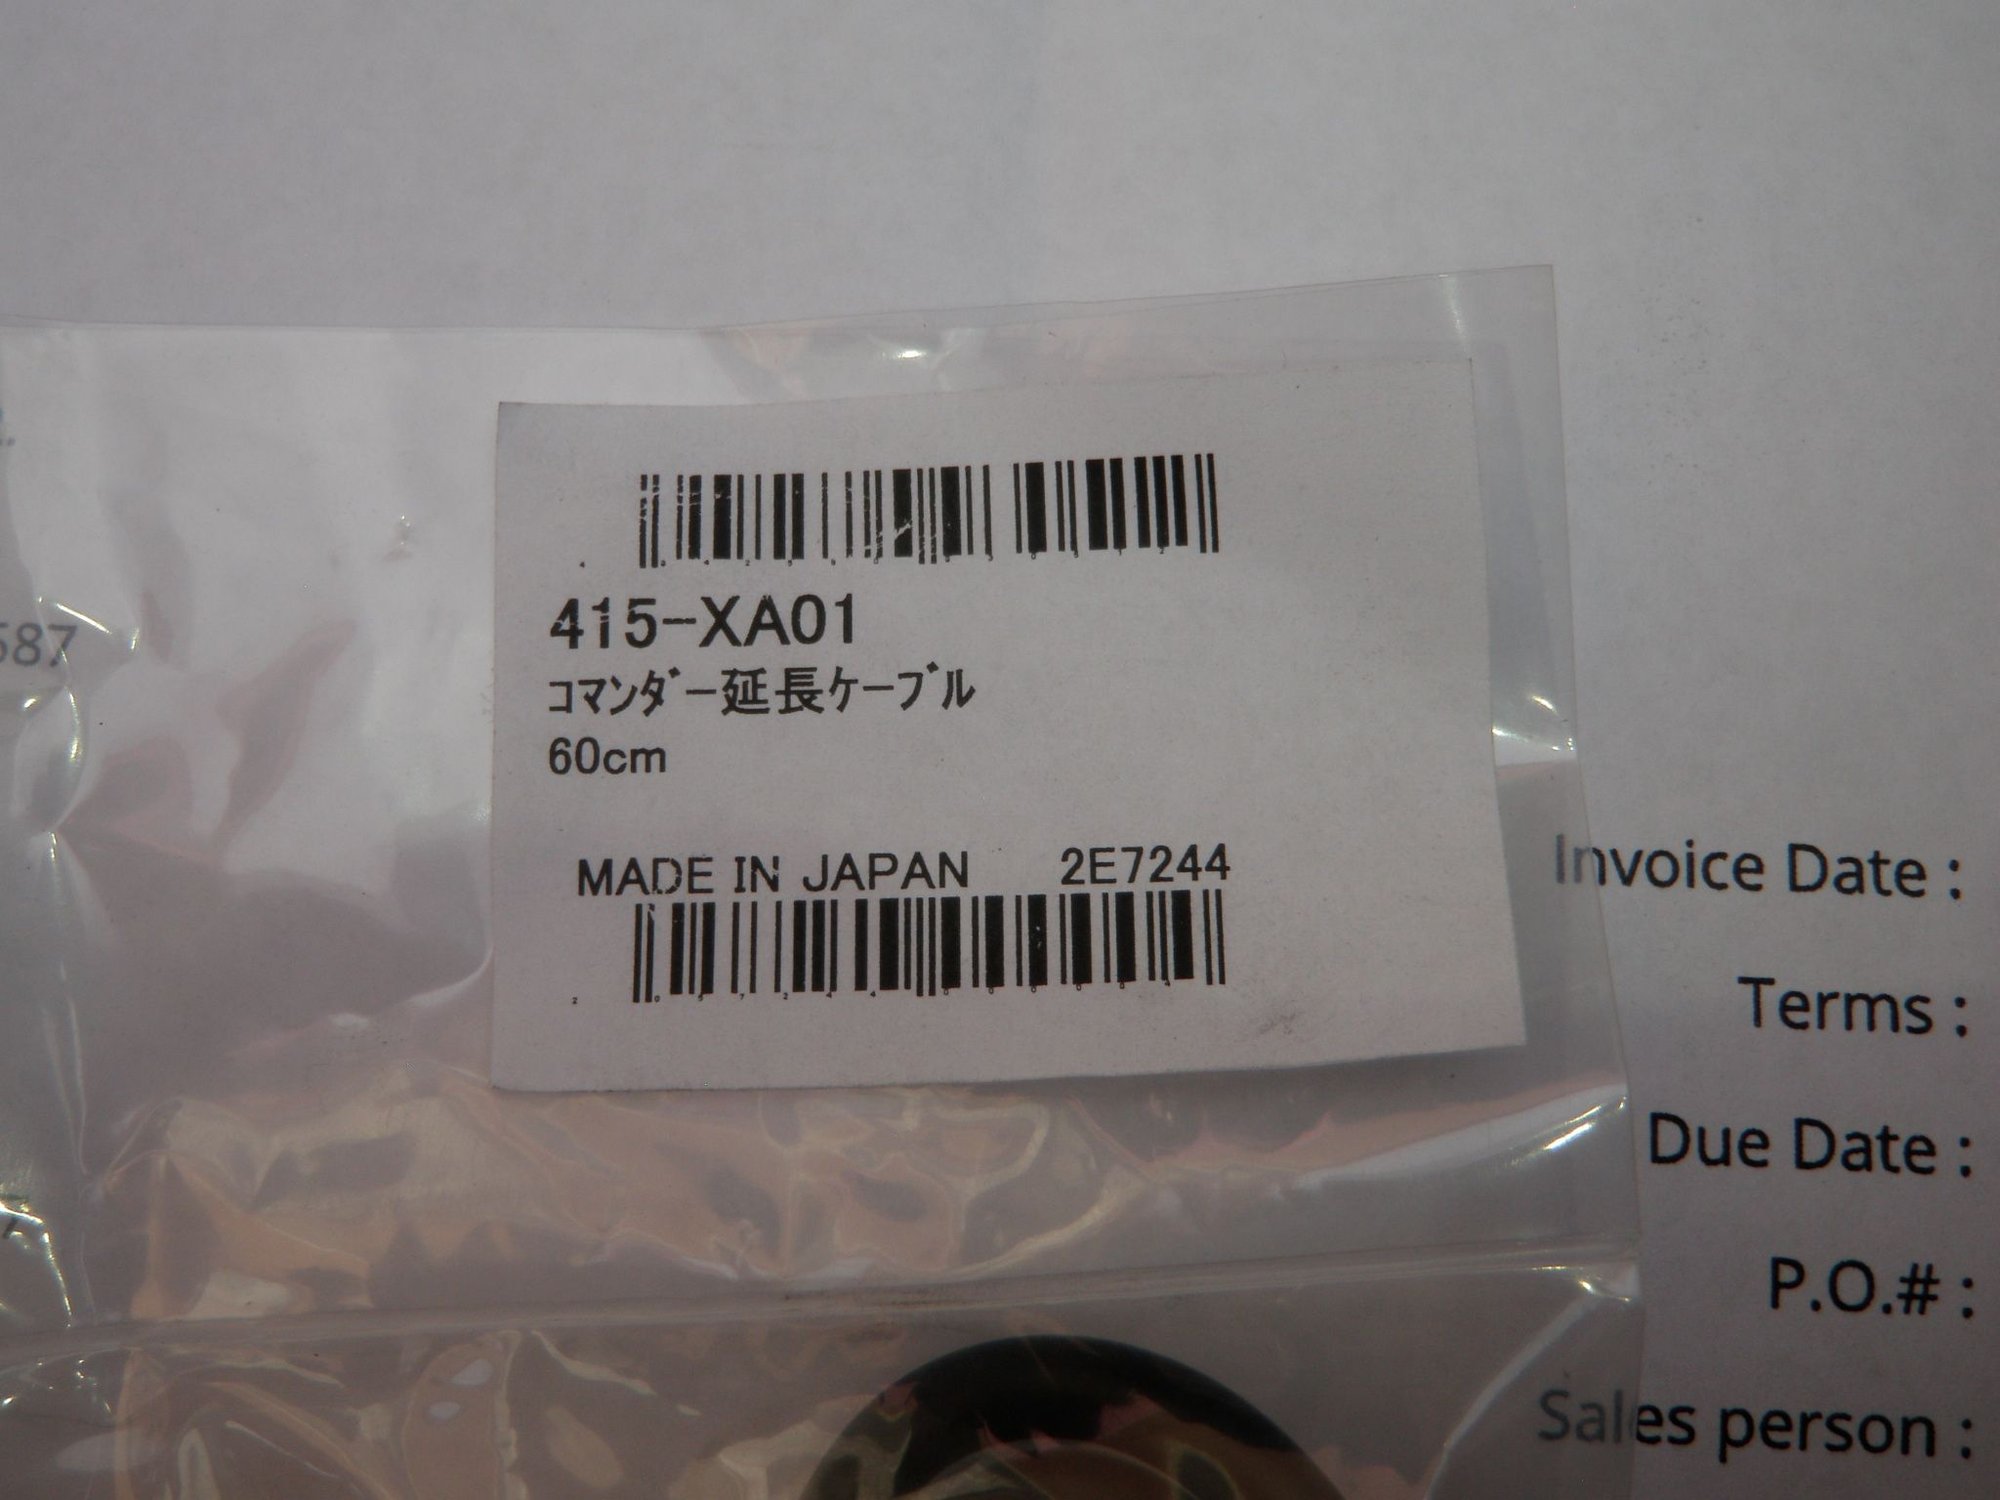
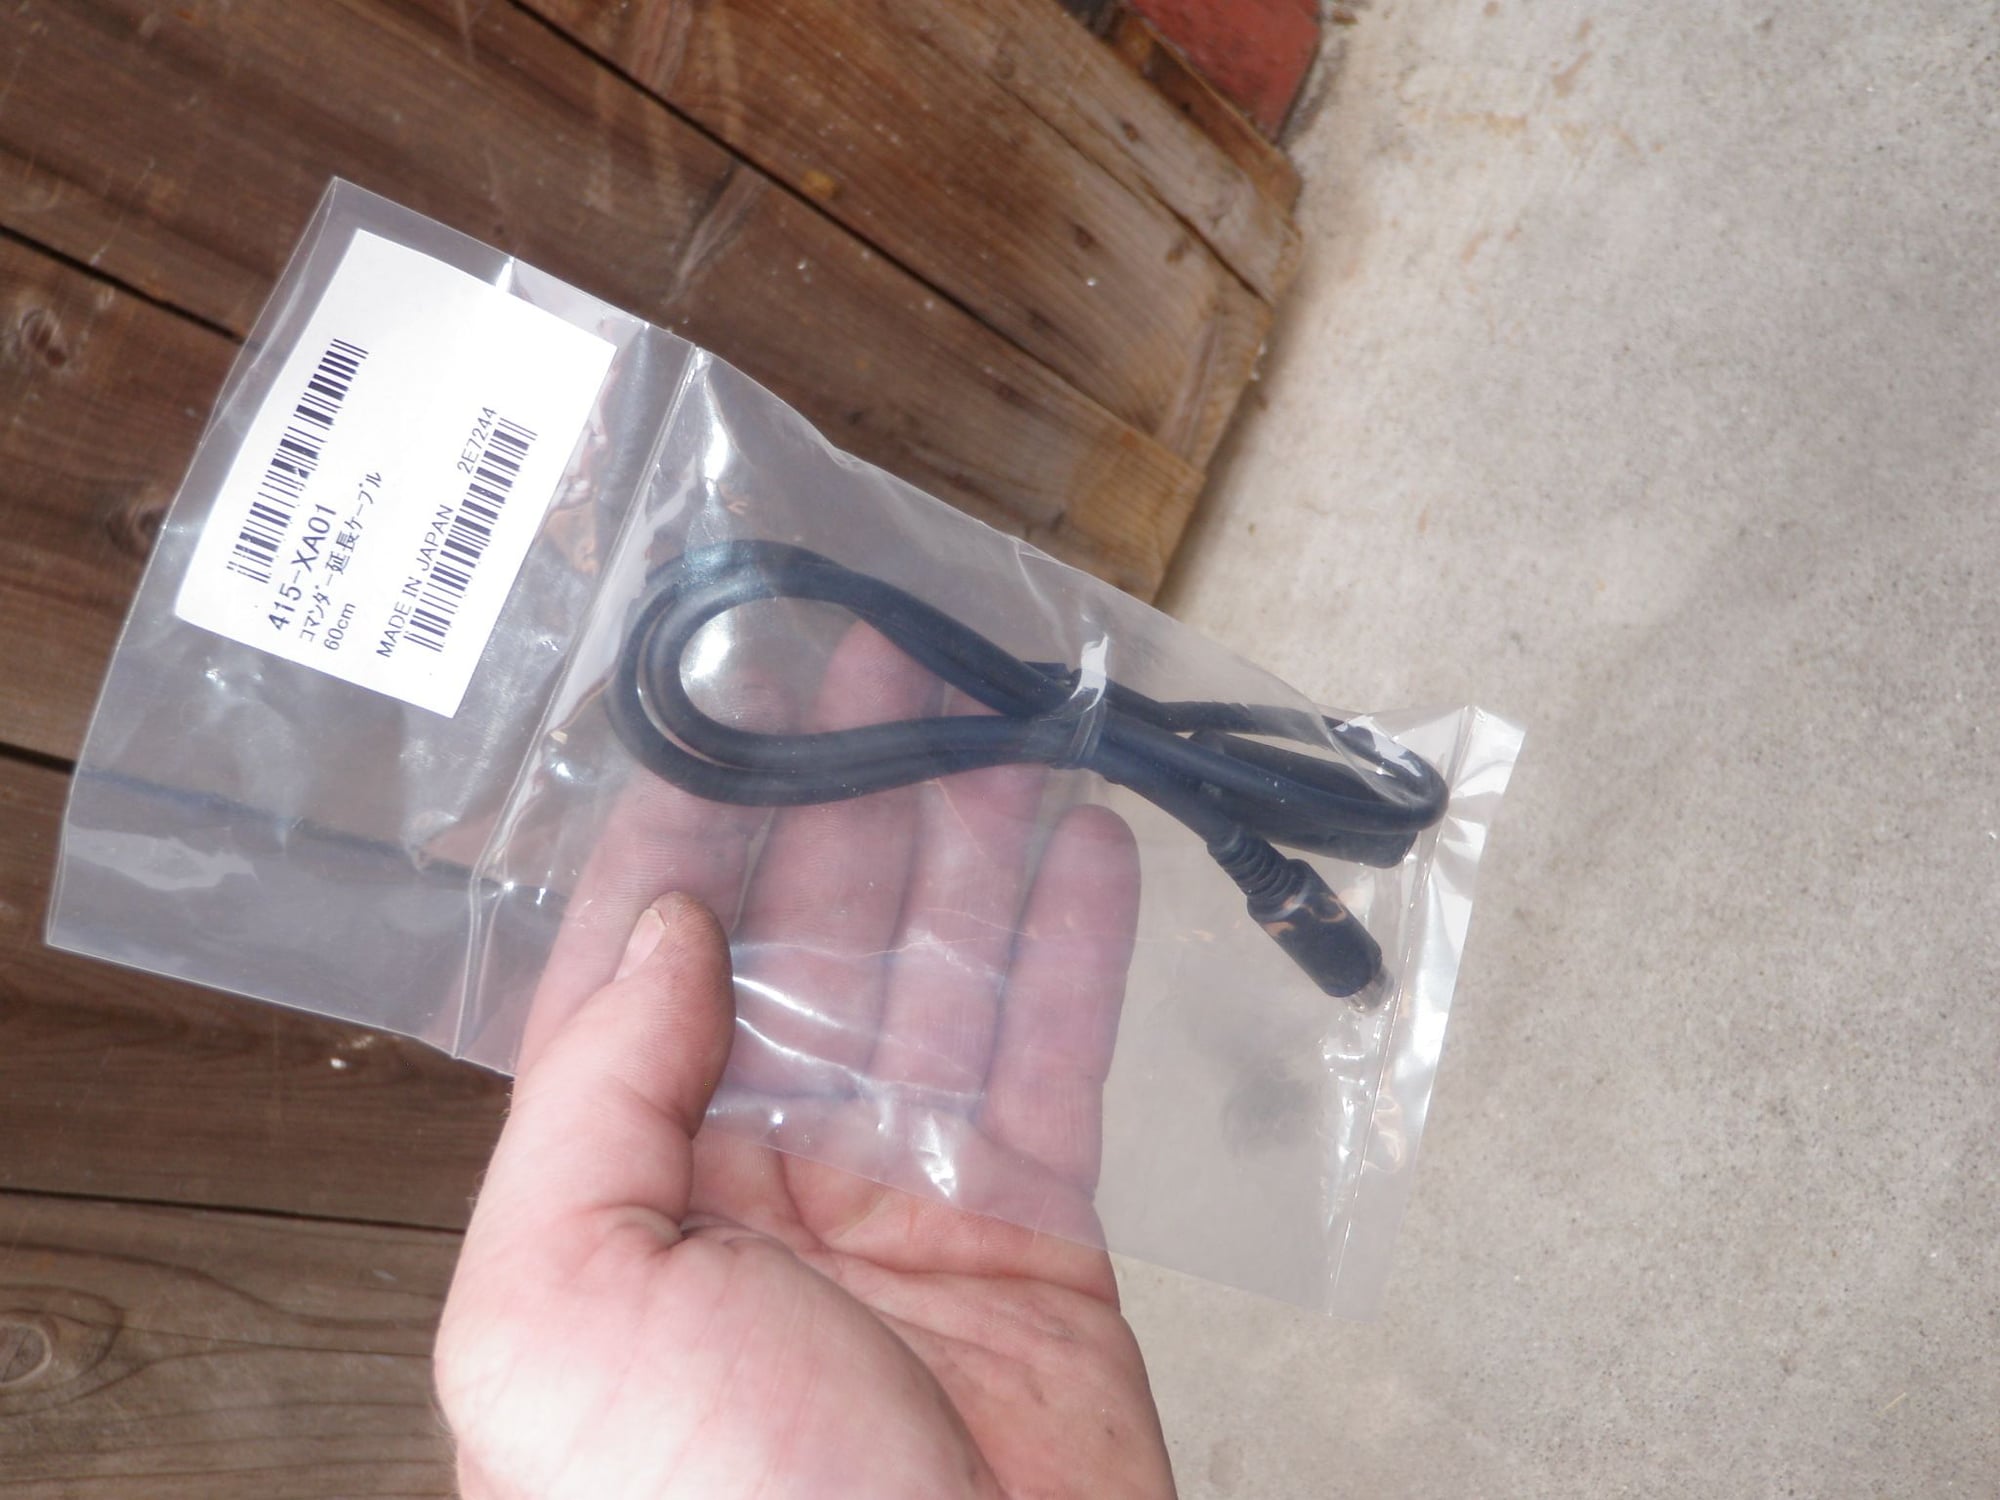
I installed the FC Tweak Igniter and next was to update the setting provided by Xavier. I was also tired of removing the kick panel every time I wanted to use my FC datalogit for another car so I bought the extension cable to route into the glove box. I went through 2 ebay cables, pulled the pin out that your supposed to and both cables did not work. Thankfully Apexi has 2 sizes for the FC PFC extension cable, so I got one the shorter, installed it and everything connected. I updated FC Tweak with the latest updates, made the changes in my car configuration setting and let FC Tweak do the rest. The car fired up easier and was running a little richer. As many others have mentioned I noticed smoother acceleration throughout the power band. When I rev my car slowly, around 4.5 to 5.5k I get this 2-step sound. When I rev it quickly its smooth. I noticed that with the HKS Twin Power the 2-step sound was a little louder than the FC Tweak Igniter, but the with the FC Tweak Igniter the 2-step sounded more controlled. It might have something to do with my injector transition while free revving, not to sure really but the car runs good. So good that I took it out and turned the boost up to about 12psi. JC, its so damn fast. I am hopefully going to get some dyno numbers at Garage Life while I'm in town. Main mods are 12psi – ish, street ported exhaust, stock intake ports, RP Cat, RP fuel pump, BNR stage 1 drop in CHRA’s, 550/ID2000 injectors, VM kit, and DK base map with FC tweaked.
3. Armrest – COMPLETED
Installed it, hated it. Opens the wrong way since its for JDM and it is too far on the inside towards you to even be used. I’ll stick with the stock ashtray and my pop-in Coca-Cola holder.
4. New Shifter- COMPLETED
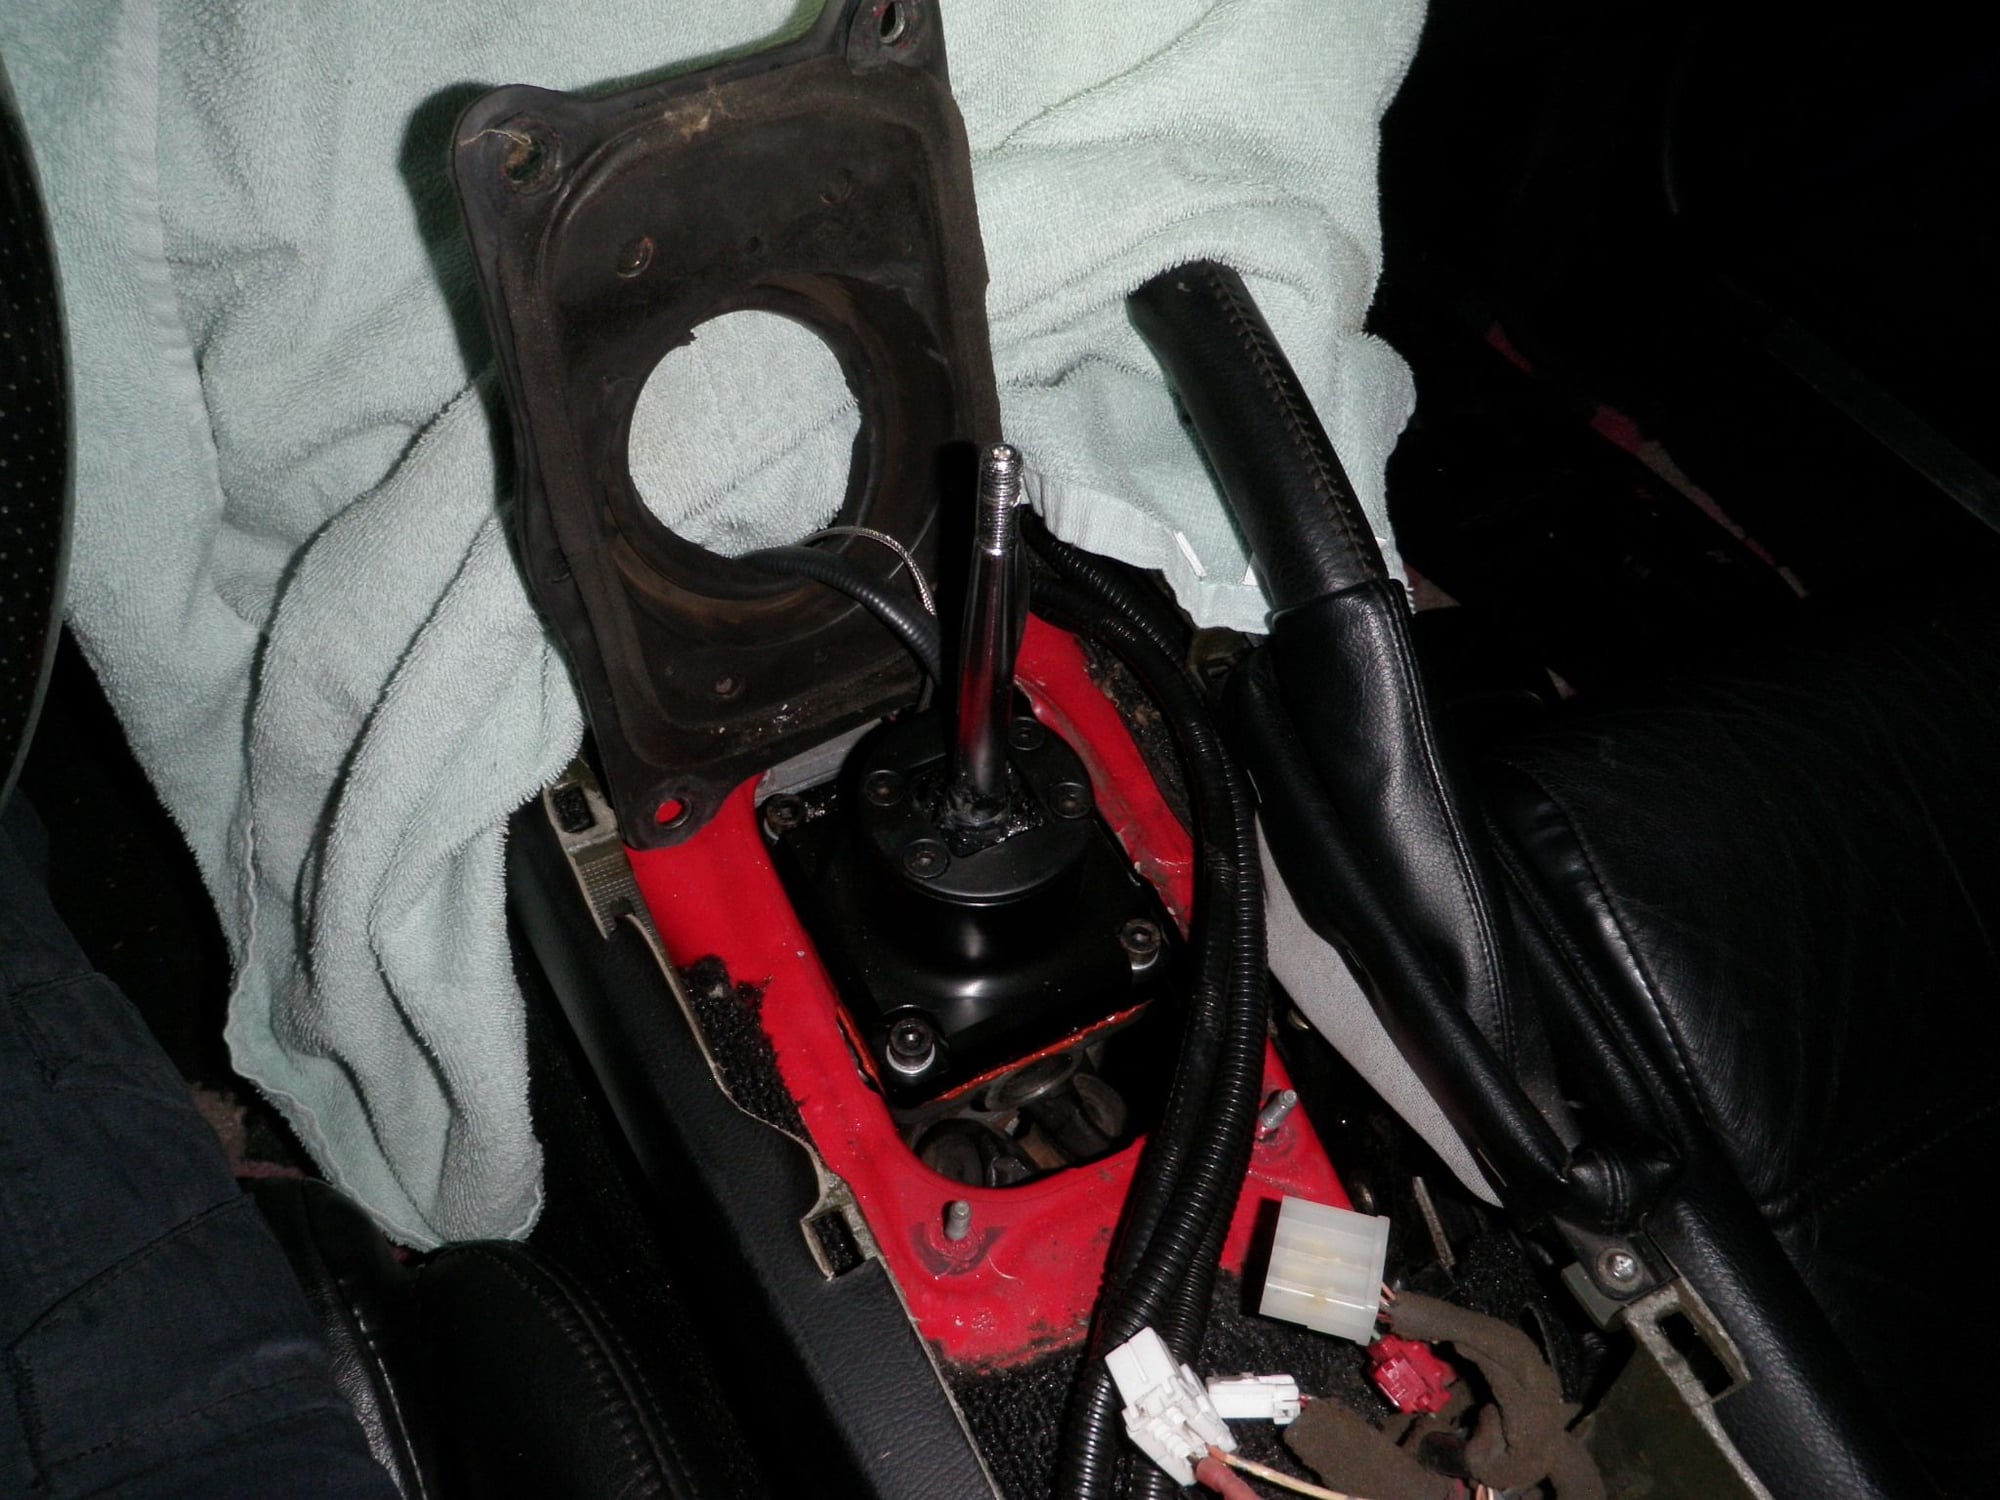
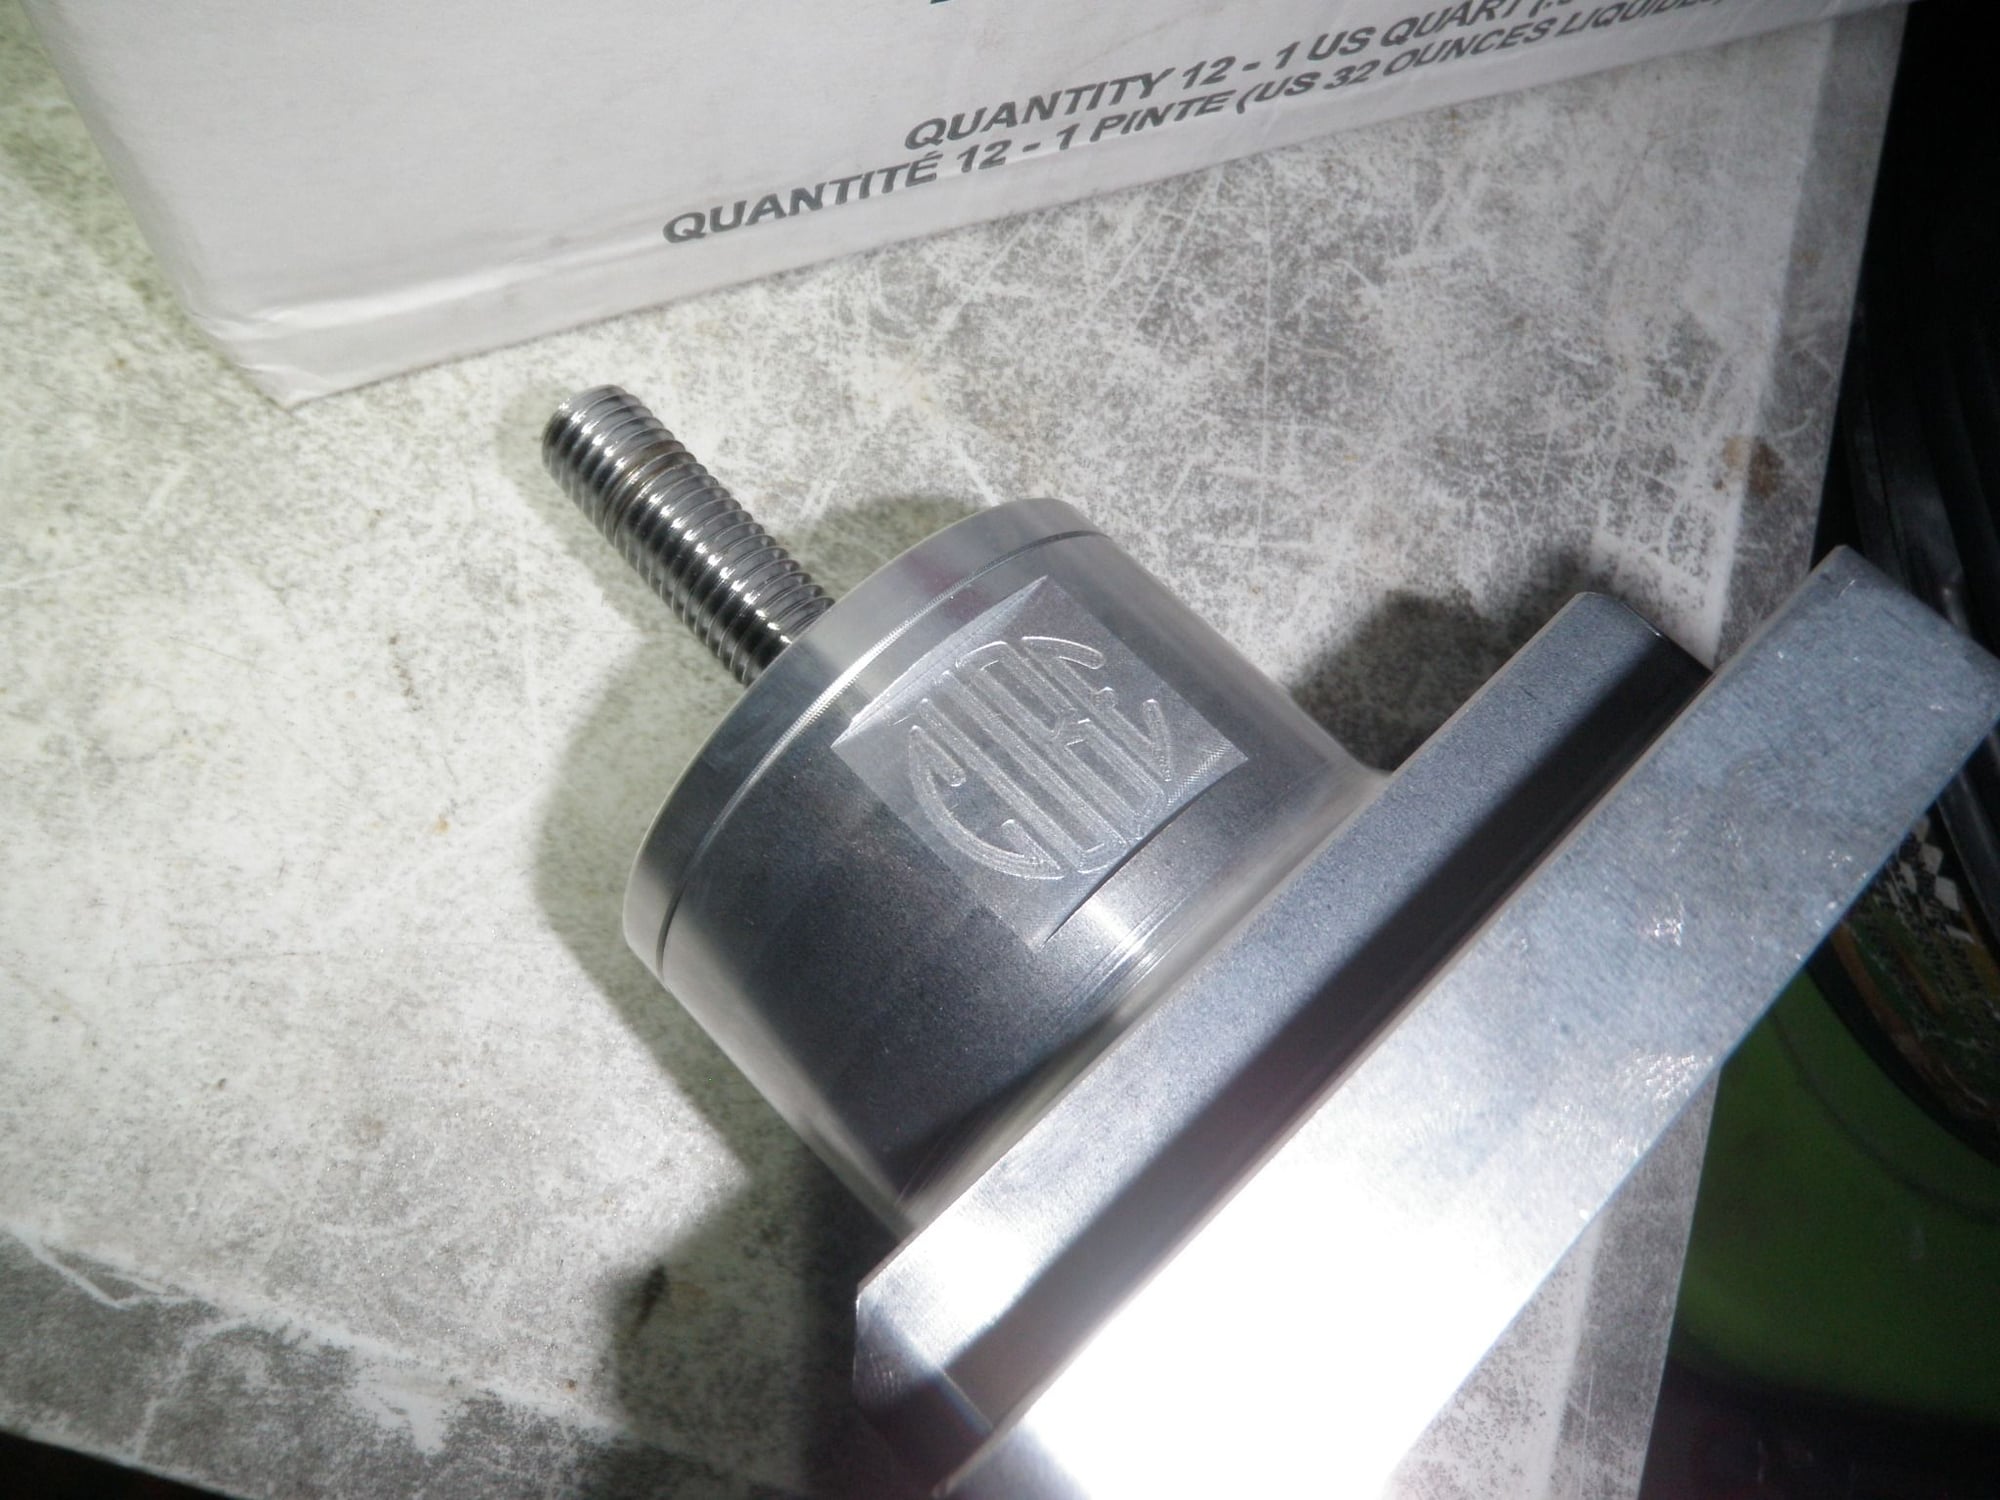
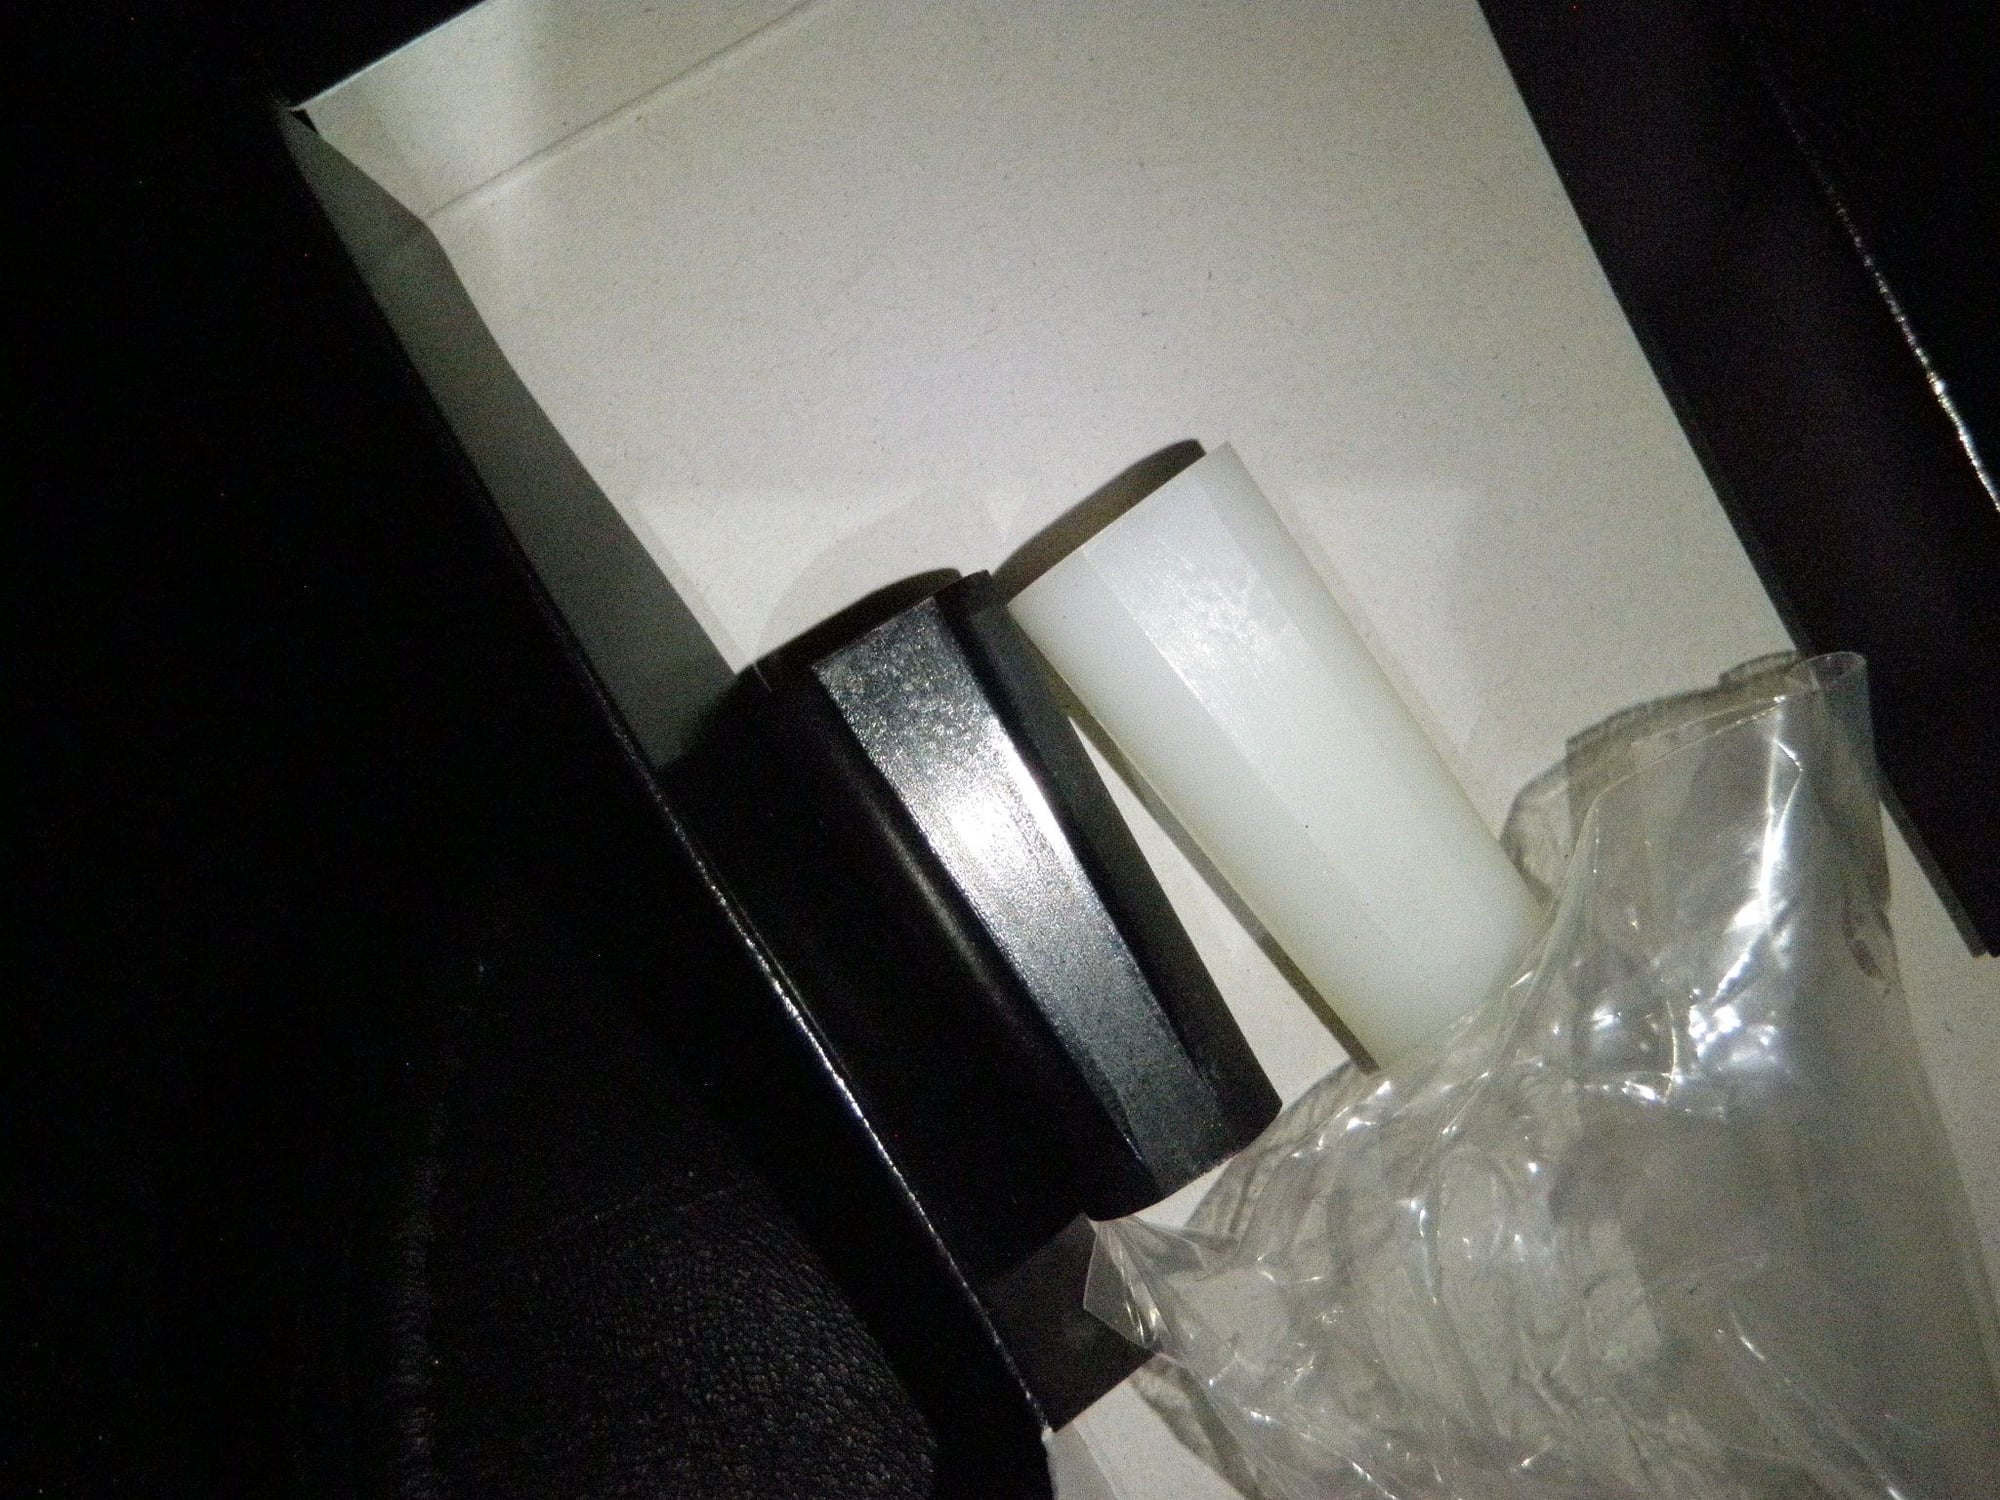
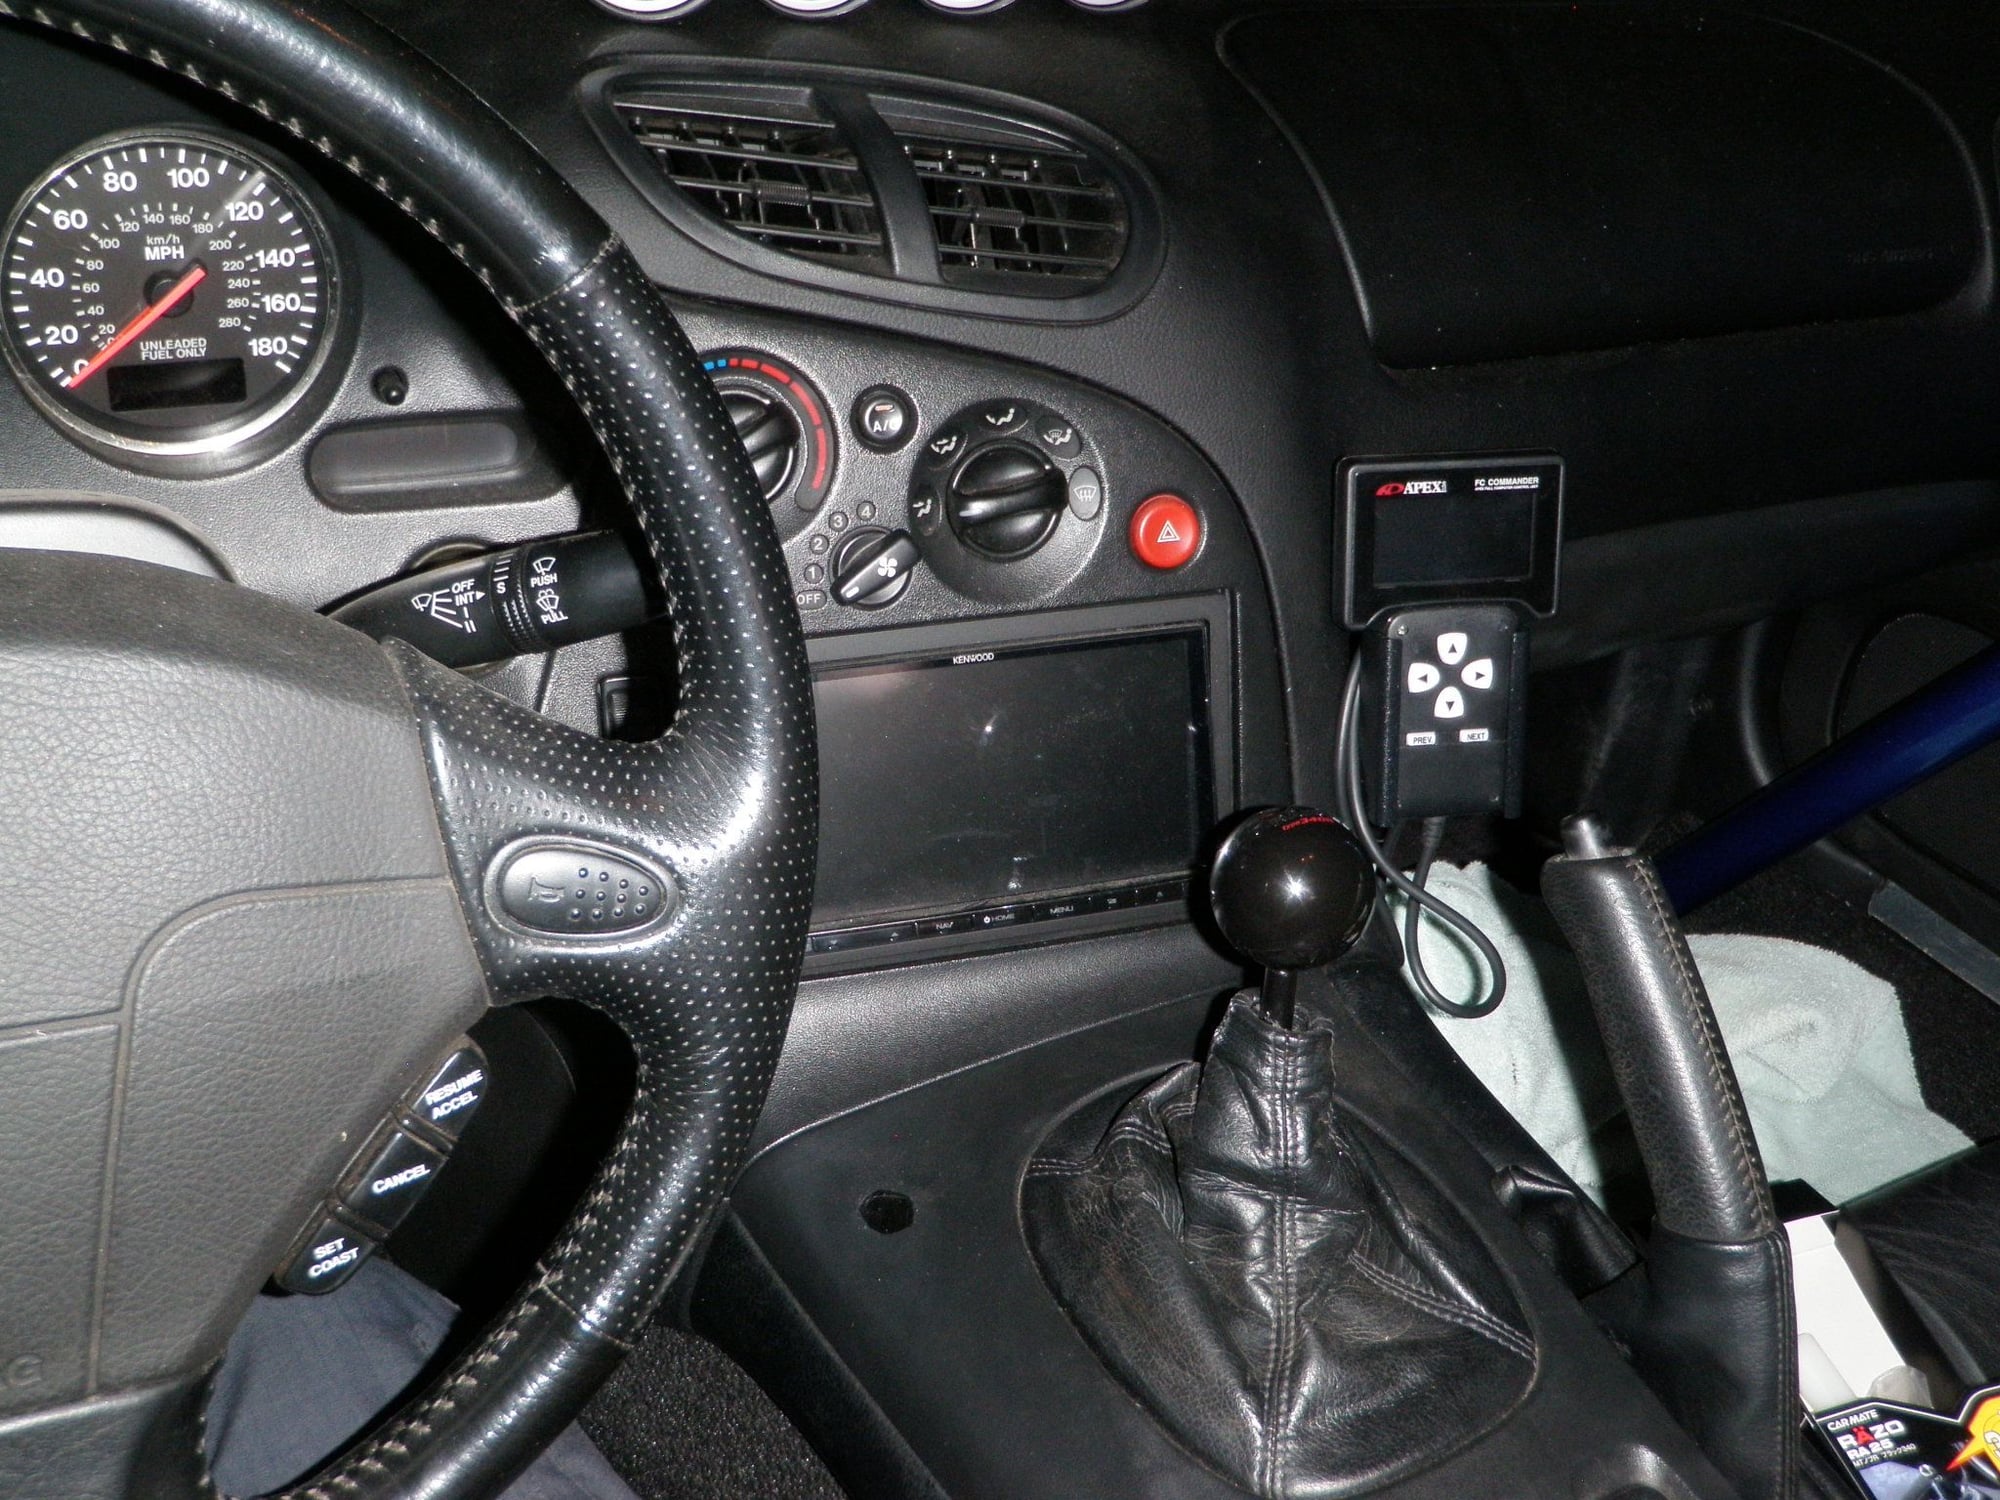
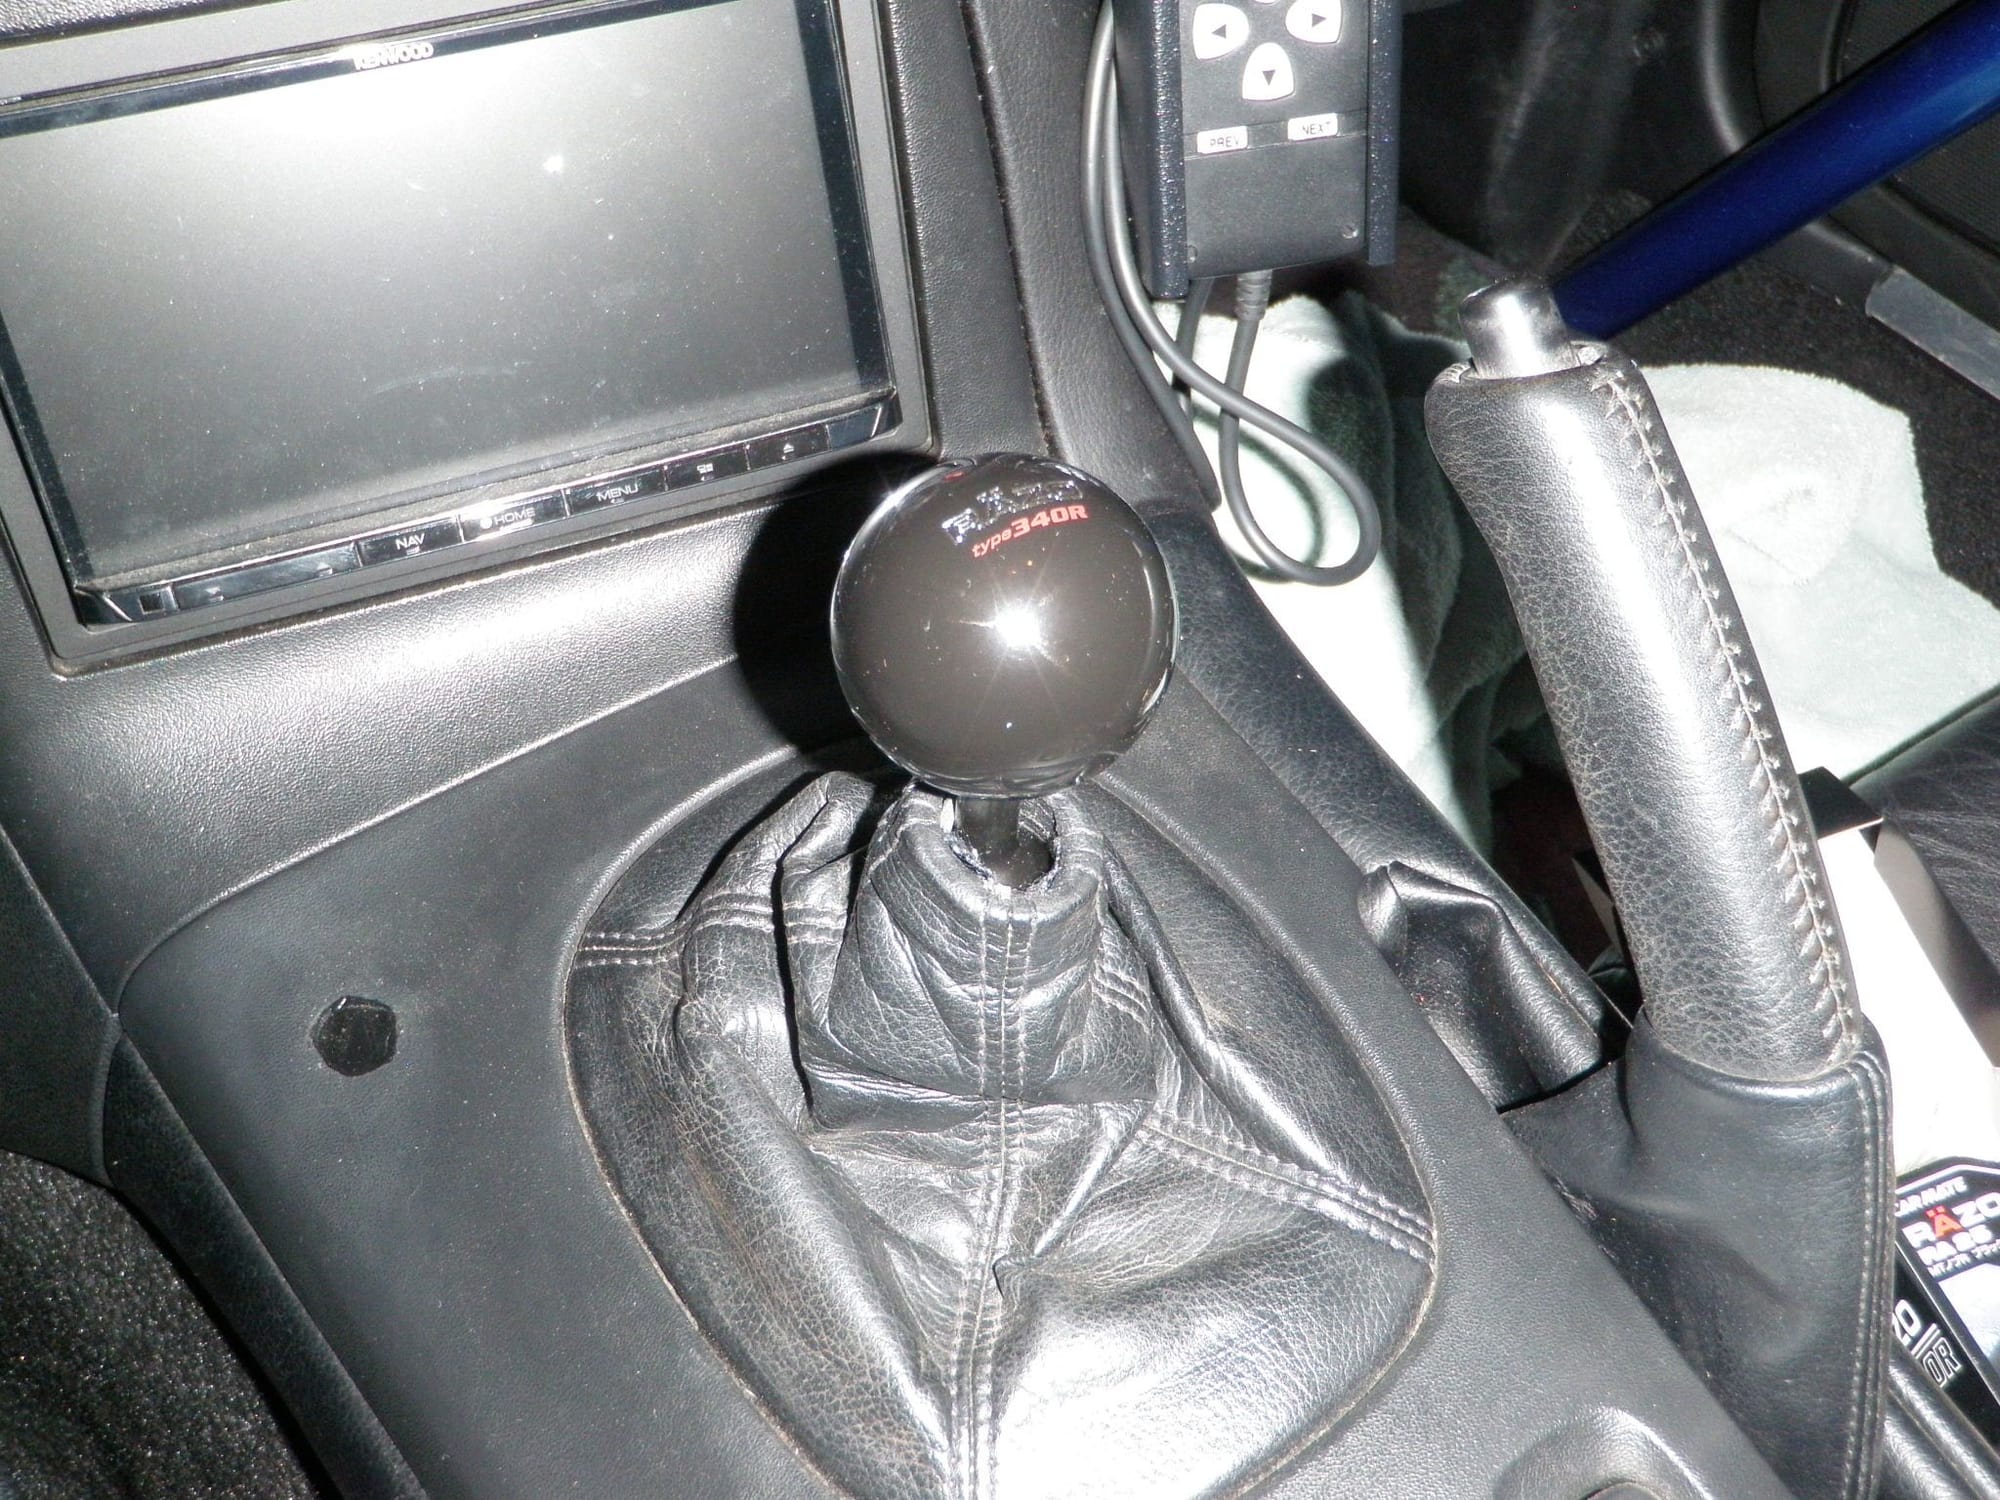
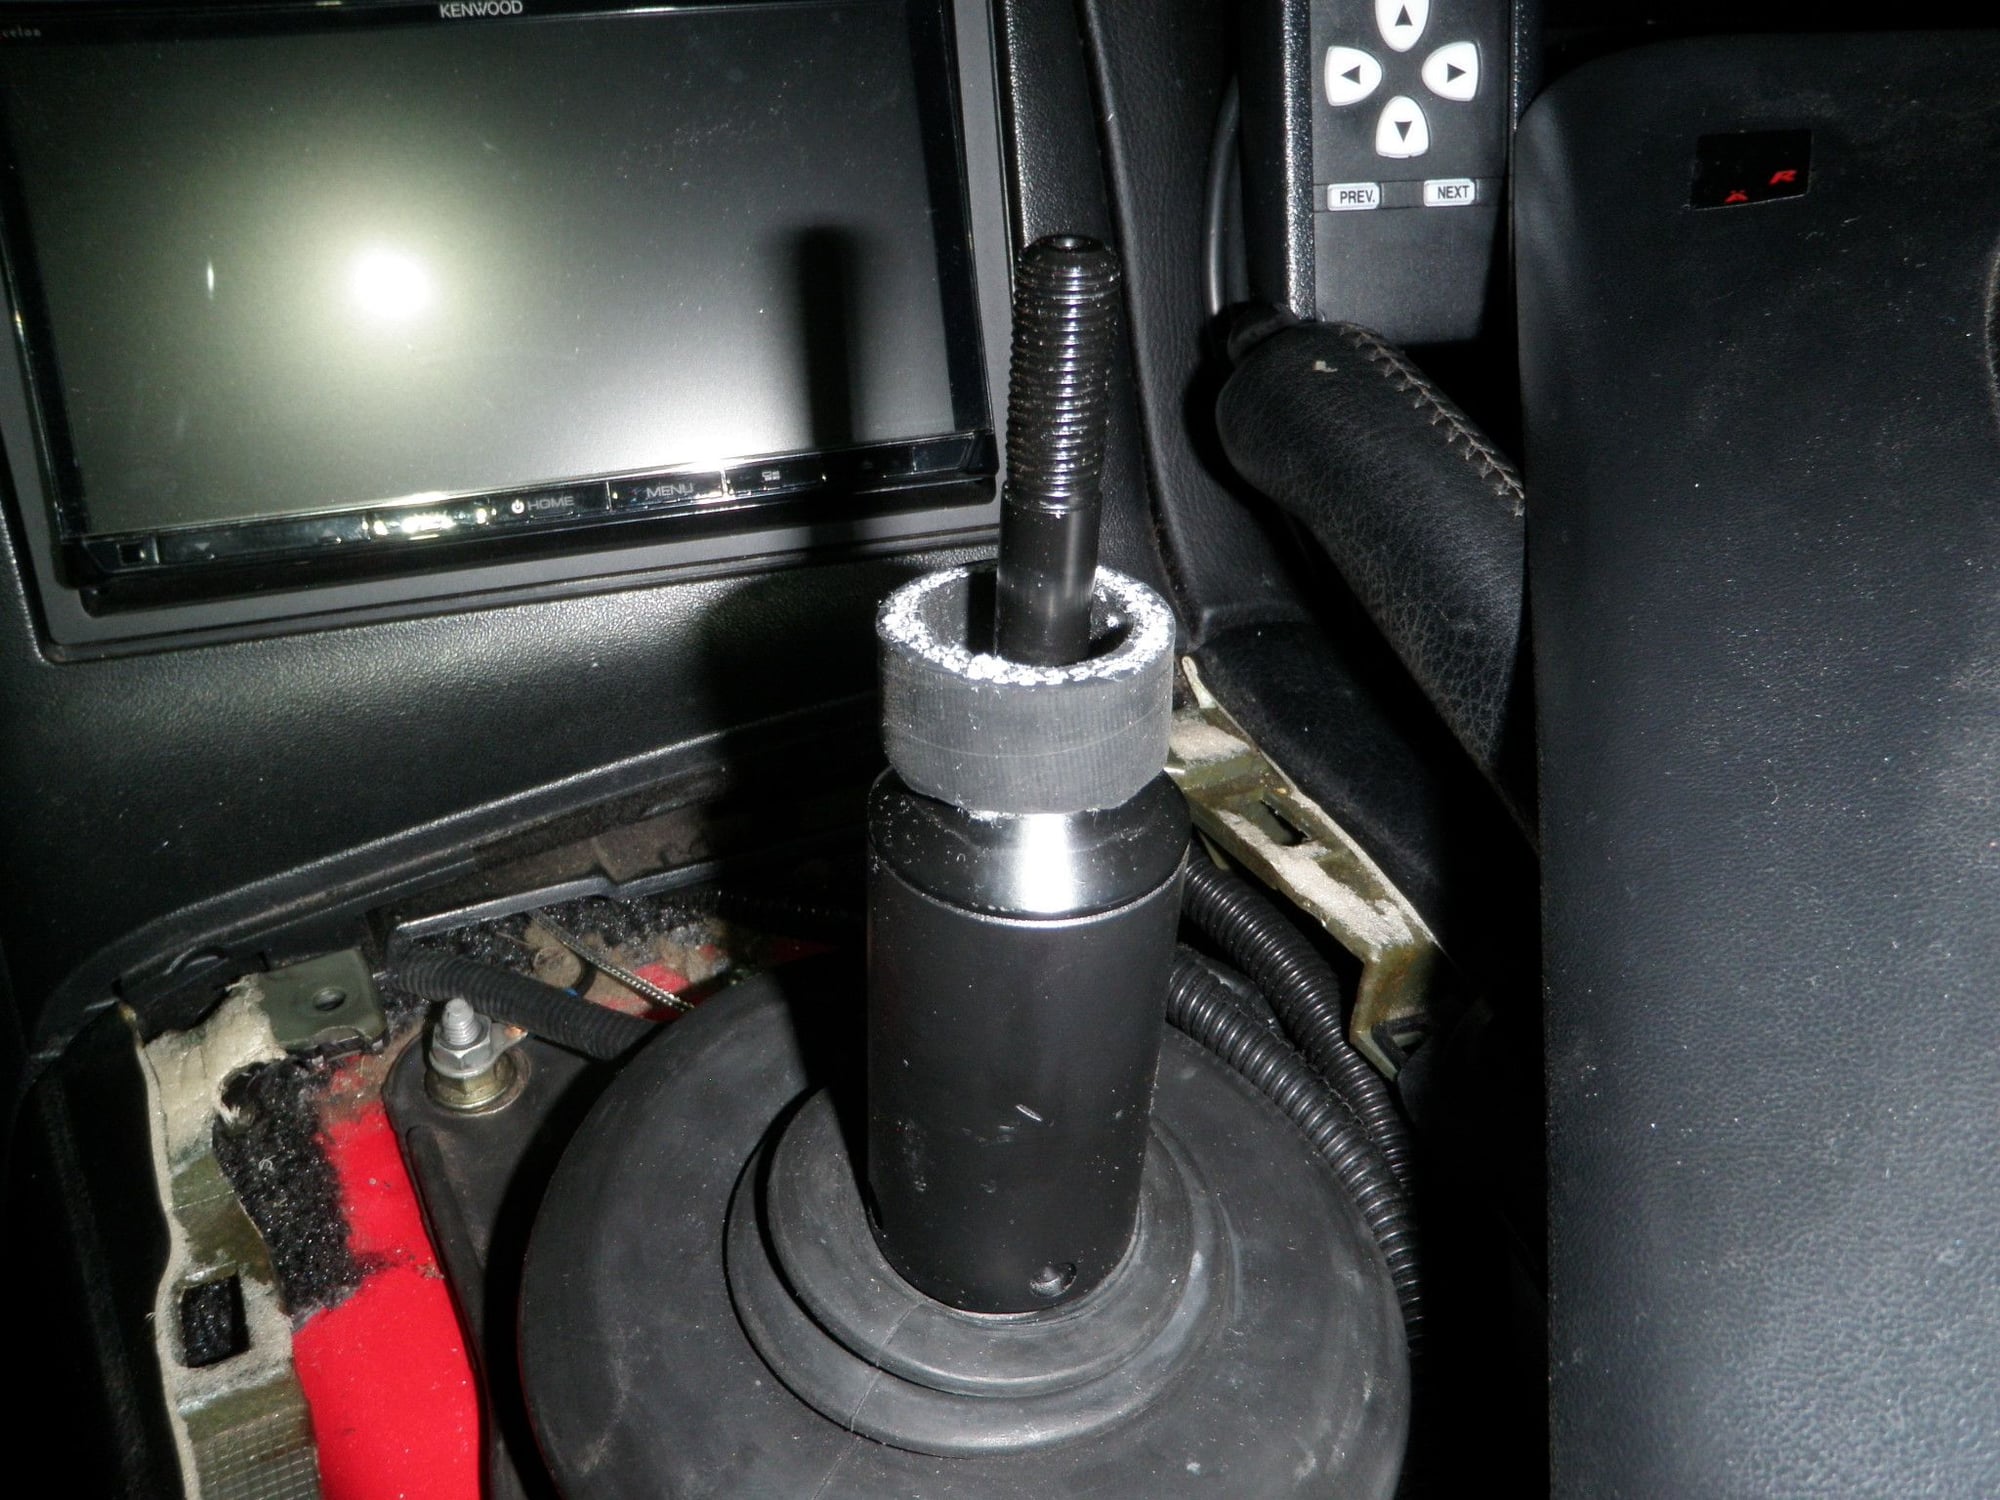
OMG – The CUBE redesigned shifter completely transformed my car into an enjoyable experience again. The original B&M replica was so damn notchy and difficult to get into gear. The shift pattern was so close and short it was a fight to find first and reverse. I was looking for a replacement and came across the CUBE speed shifter which was redesigned based on feedback. The kit comes with everything you need and also a second factory style shaft that can be adjusted to your height preference via a jam nut.
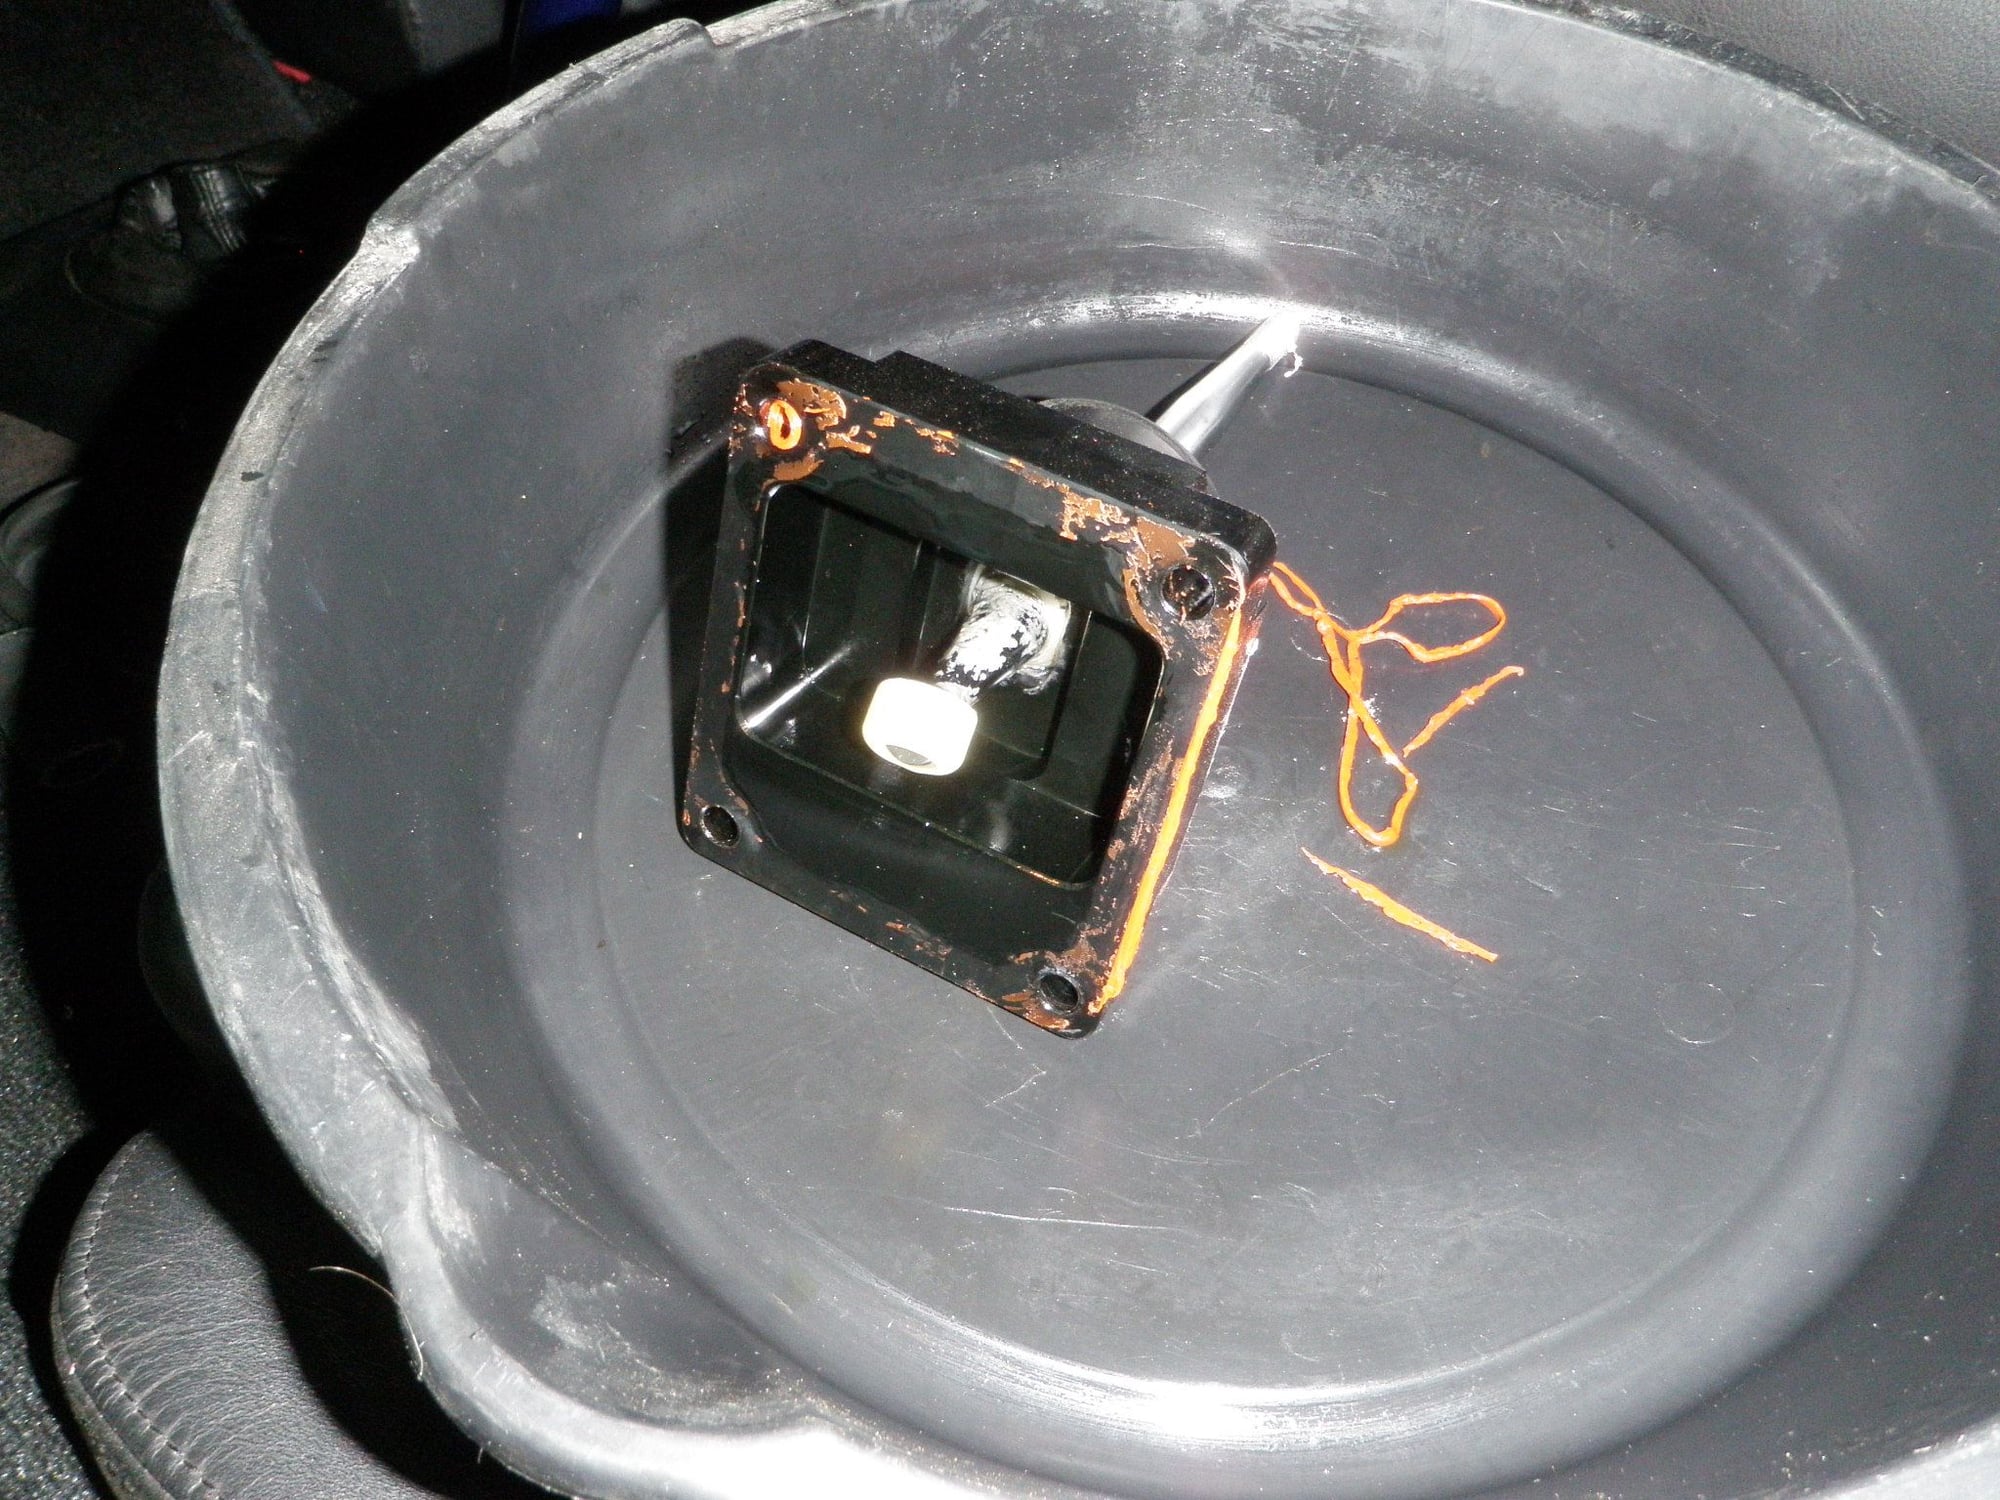
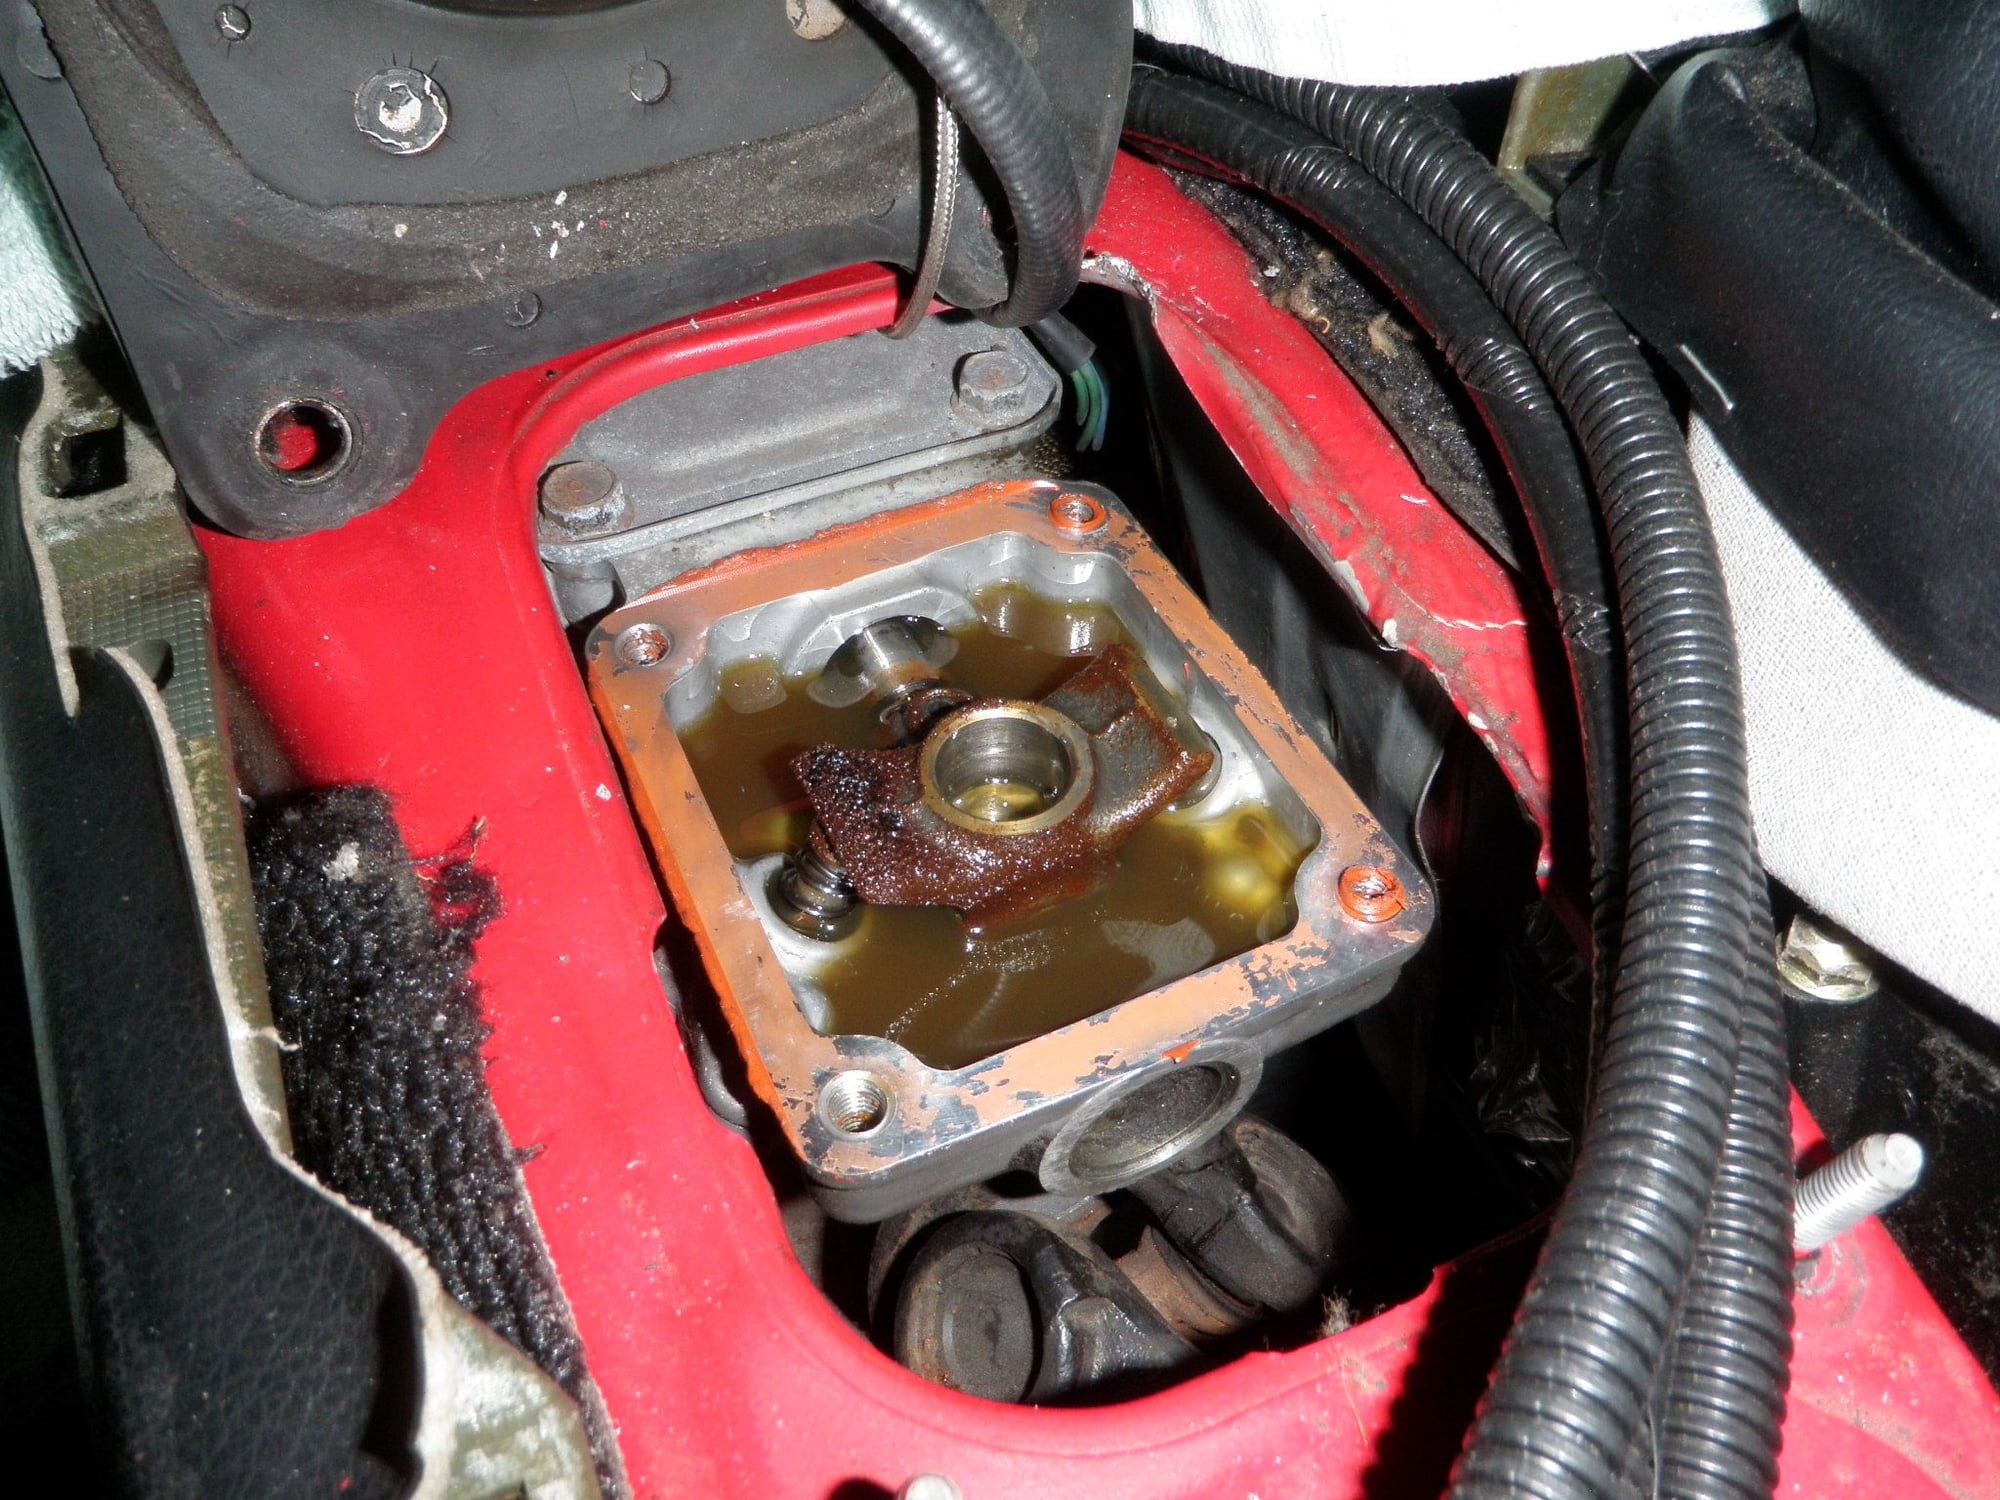
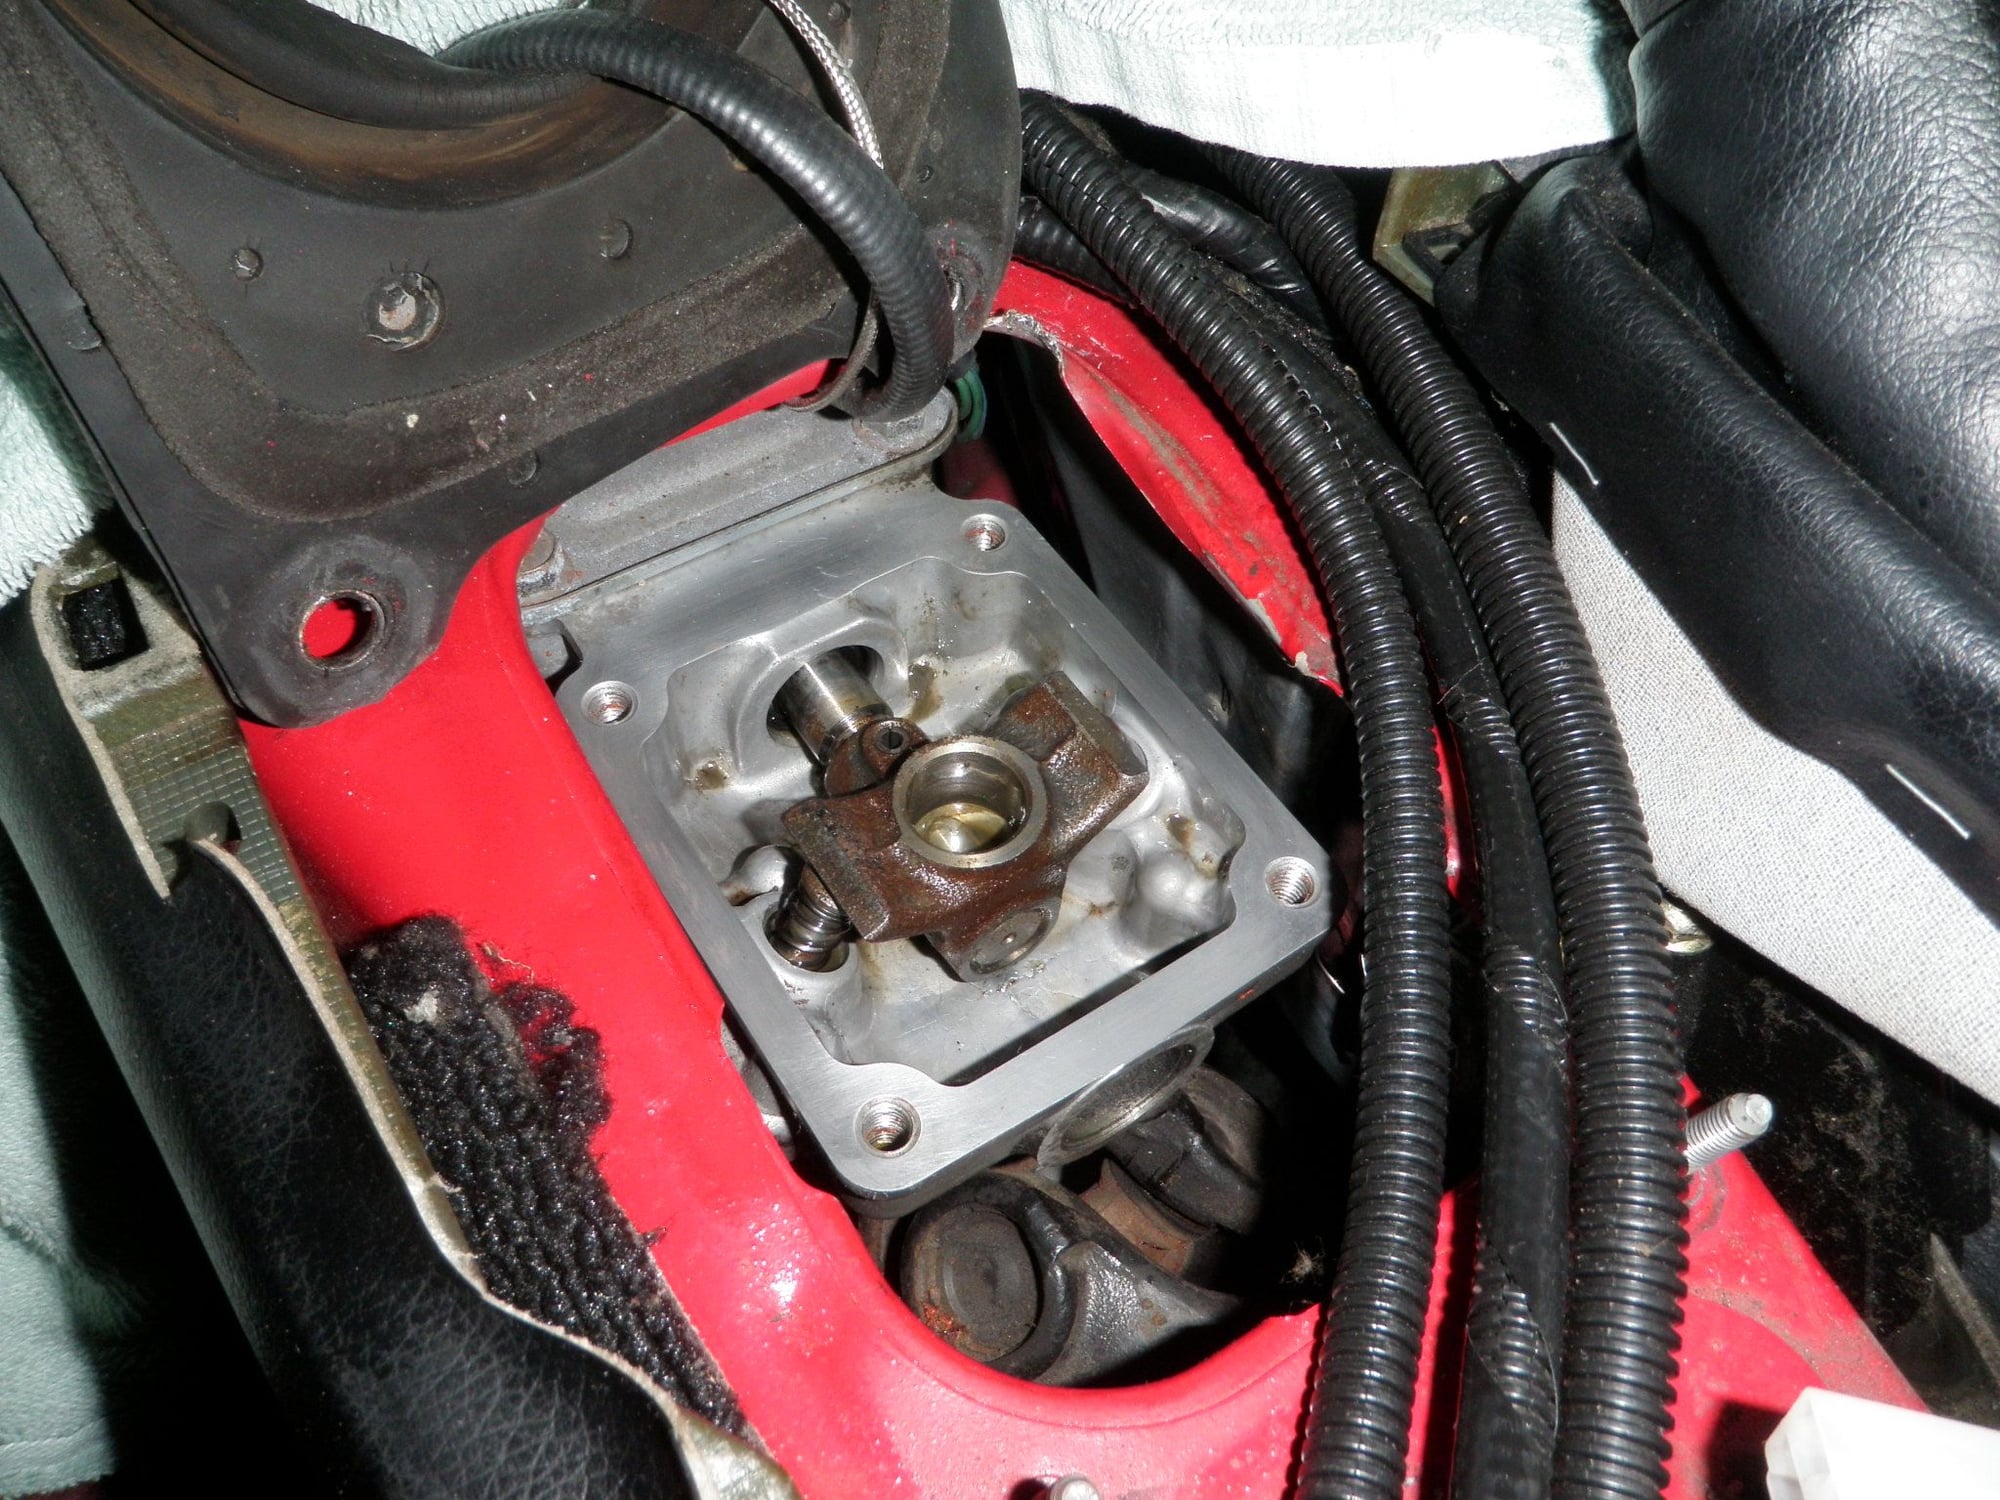
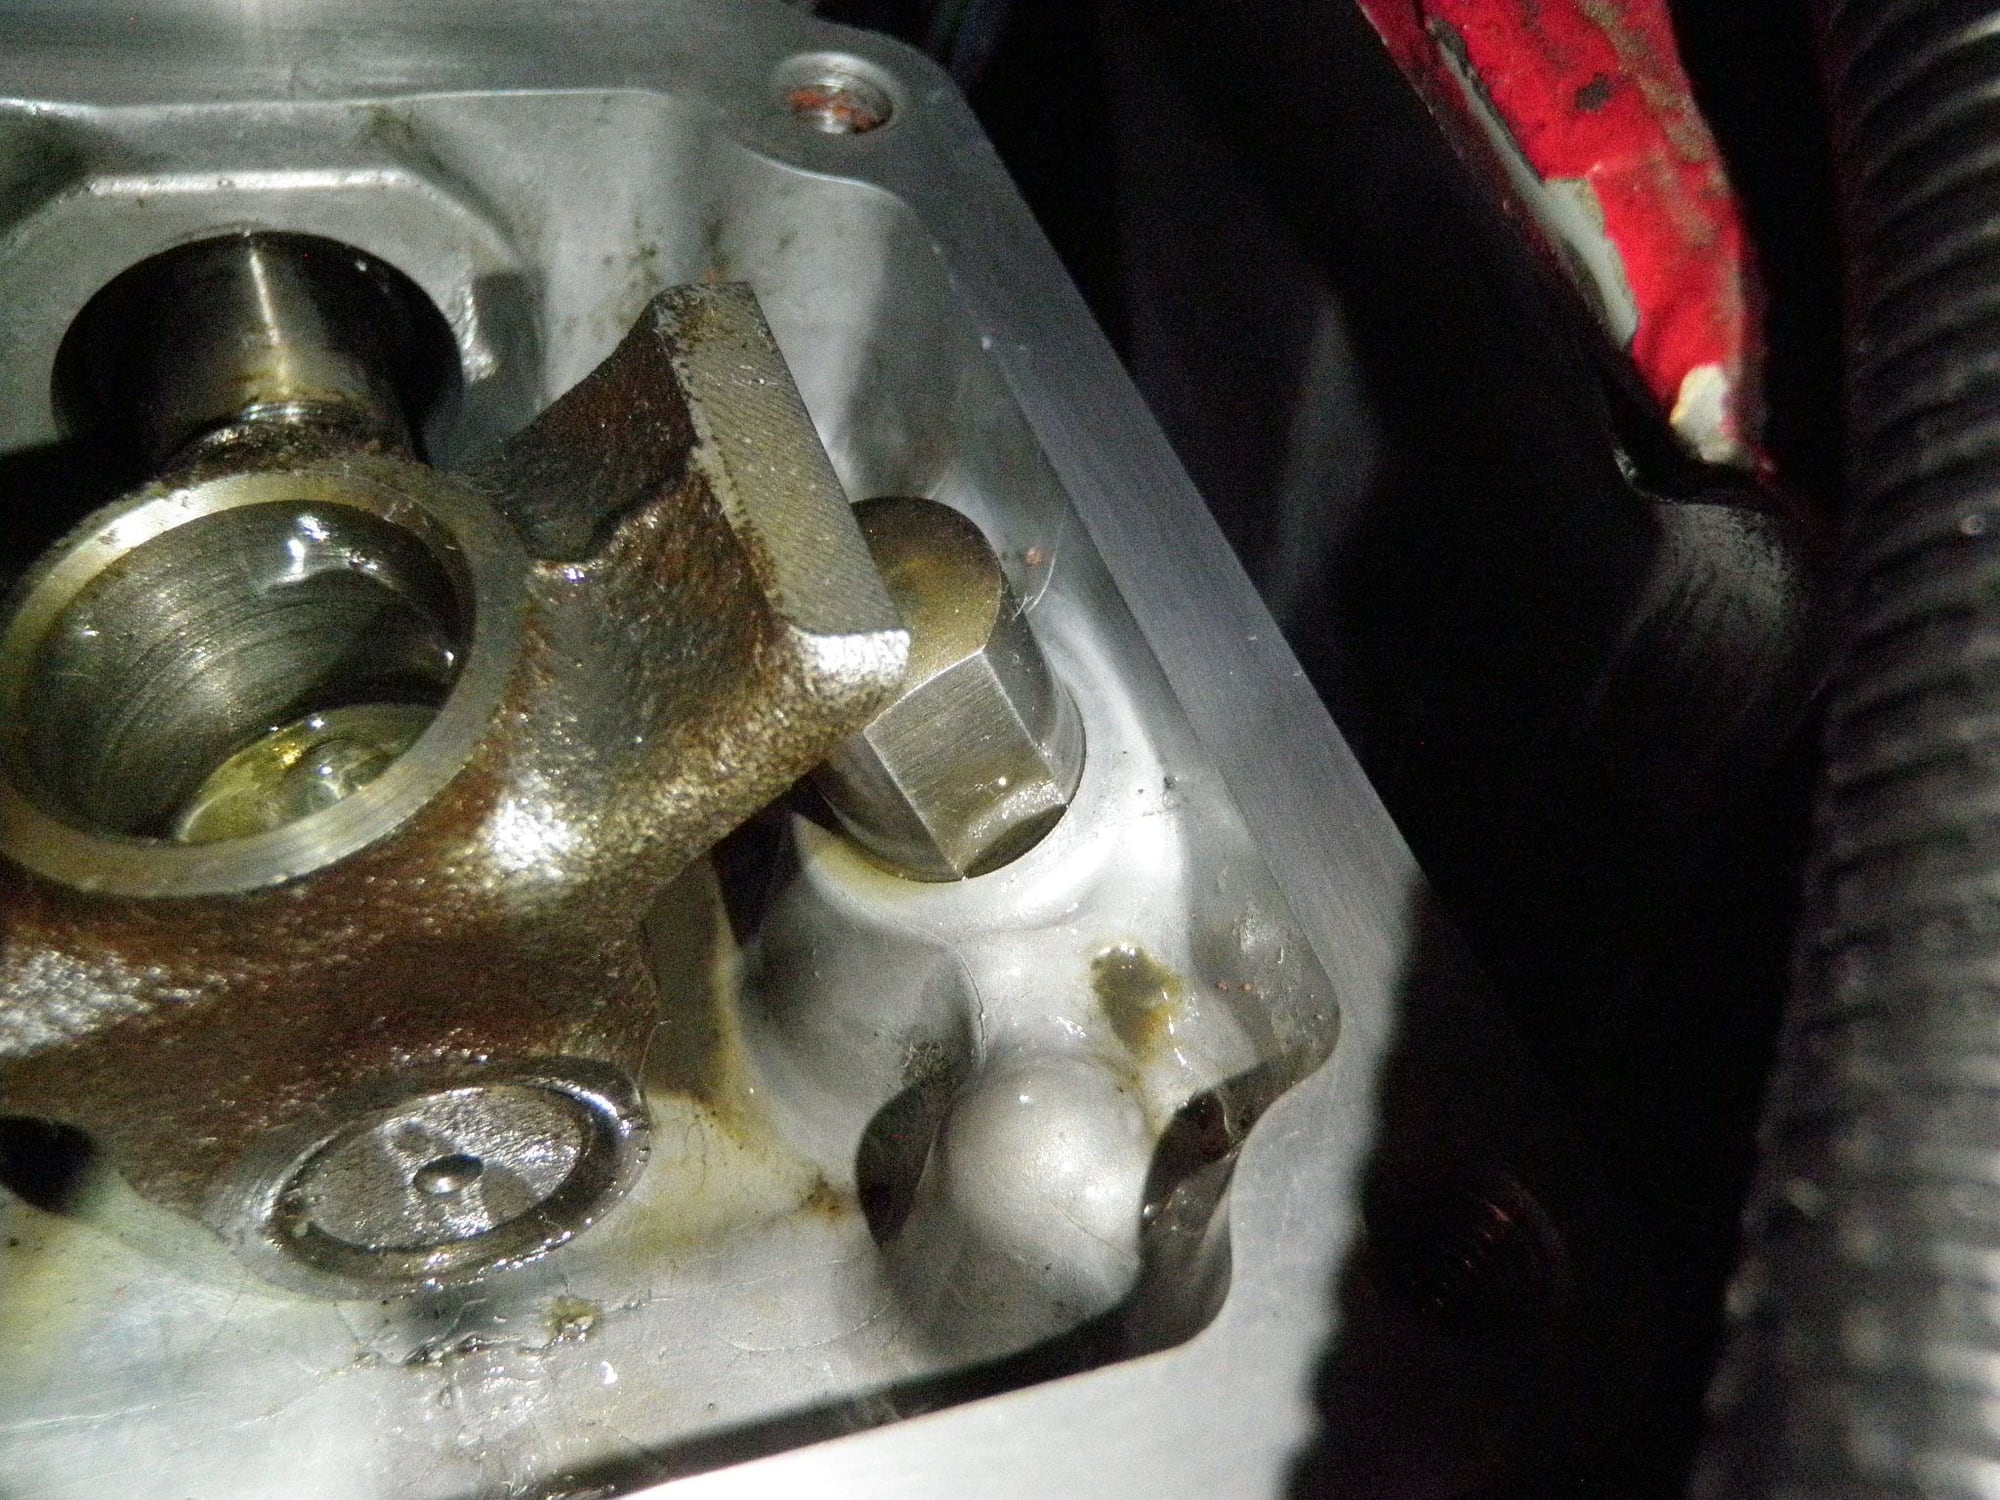
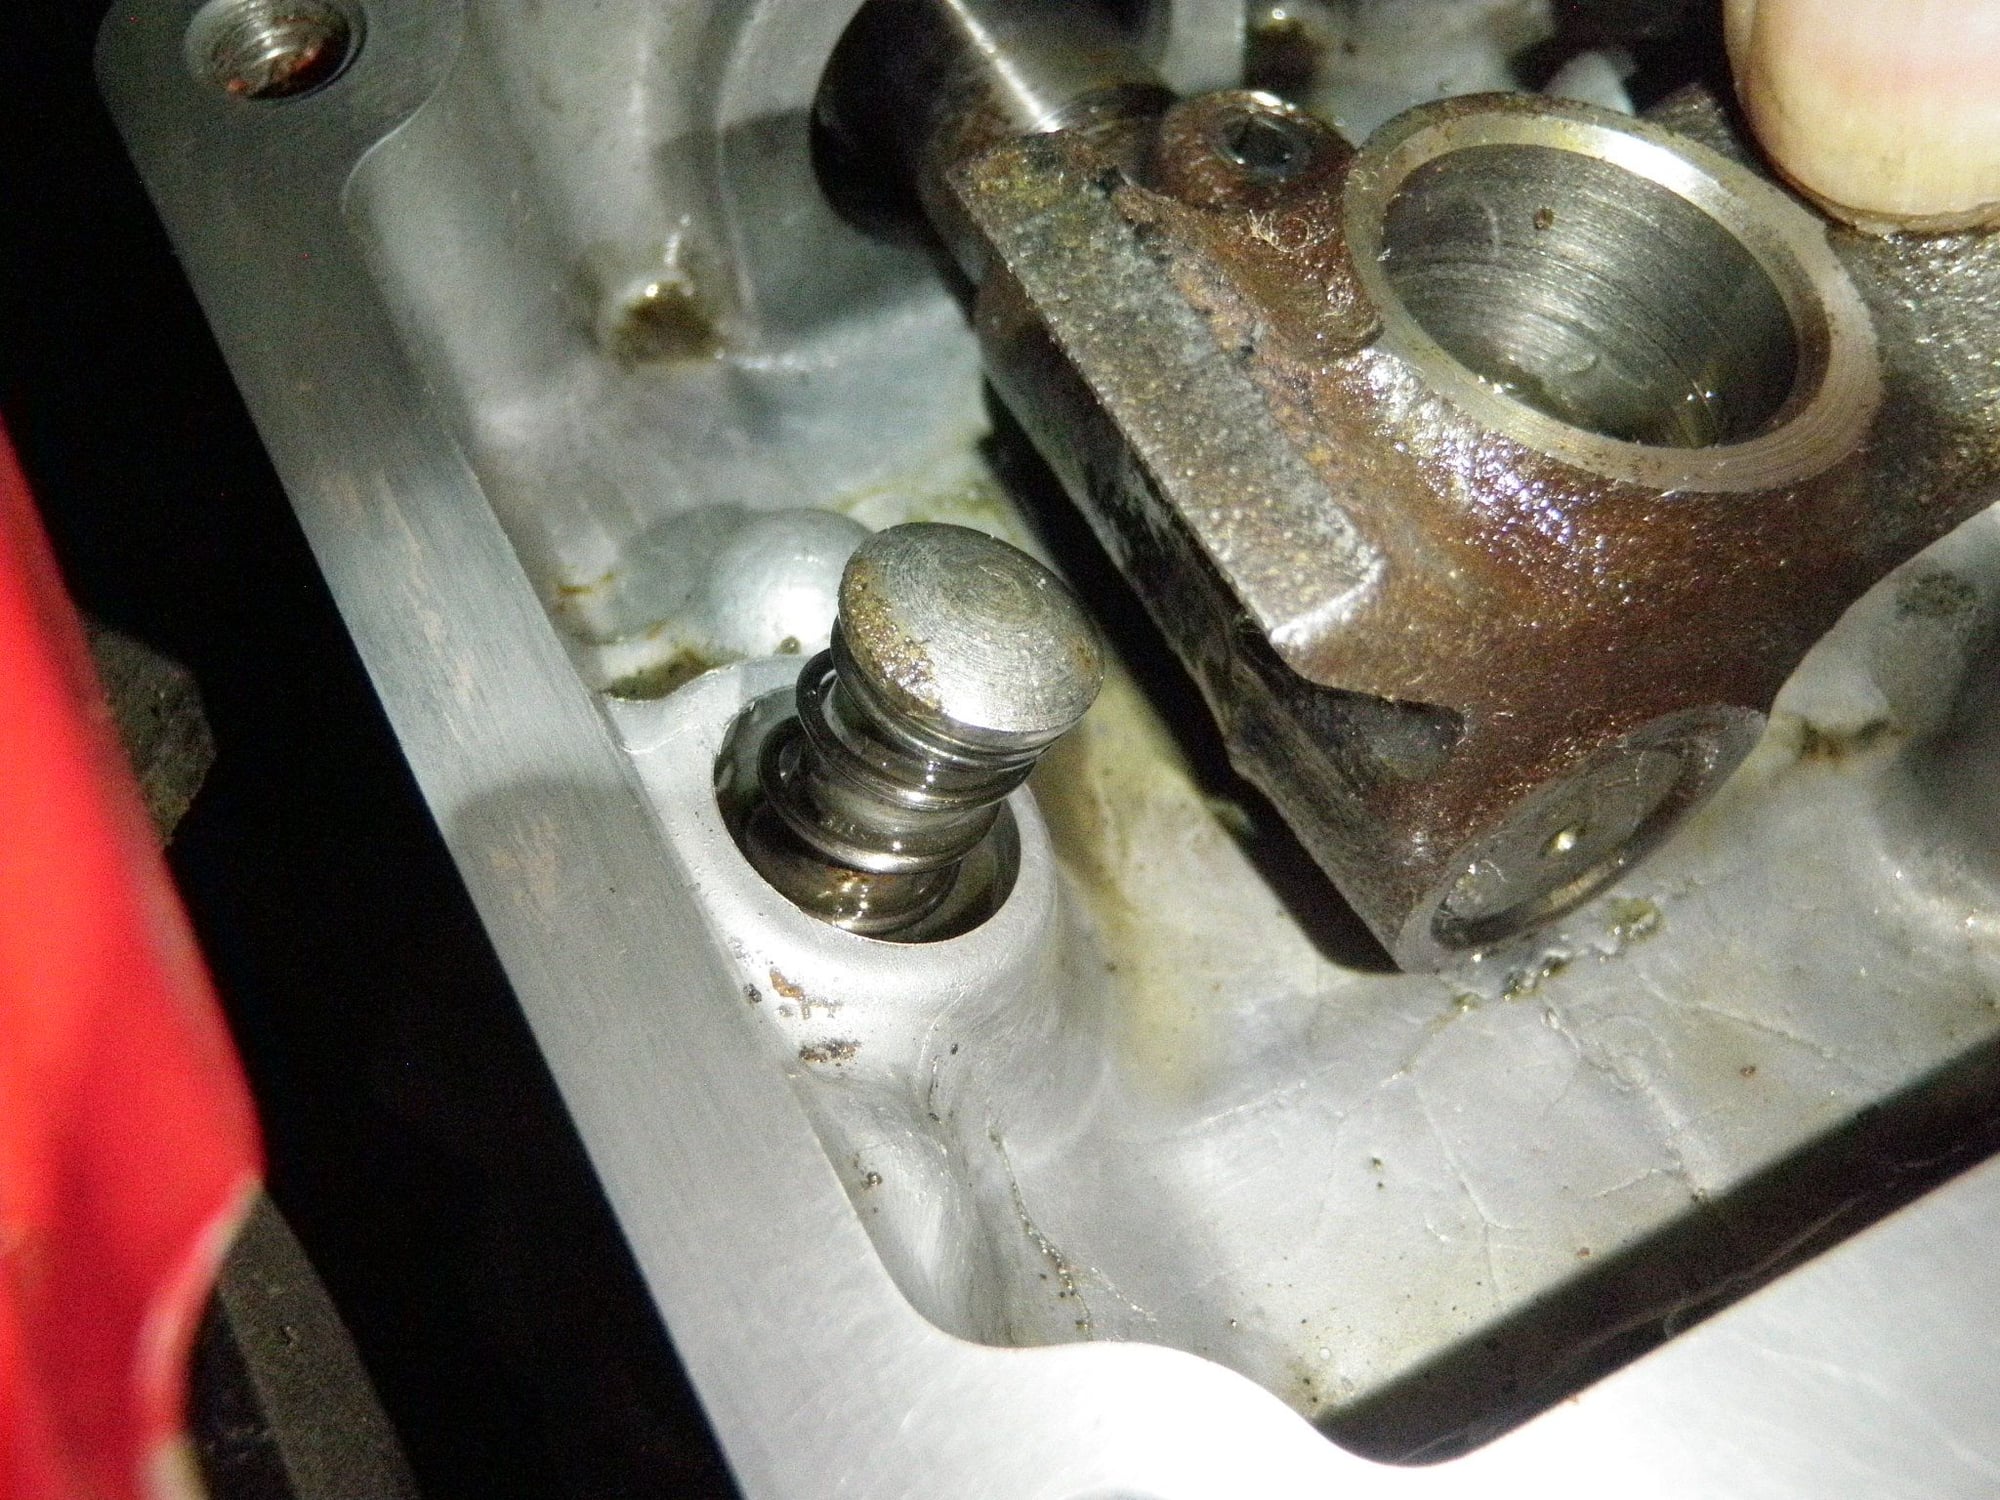
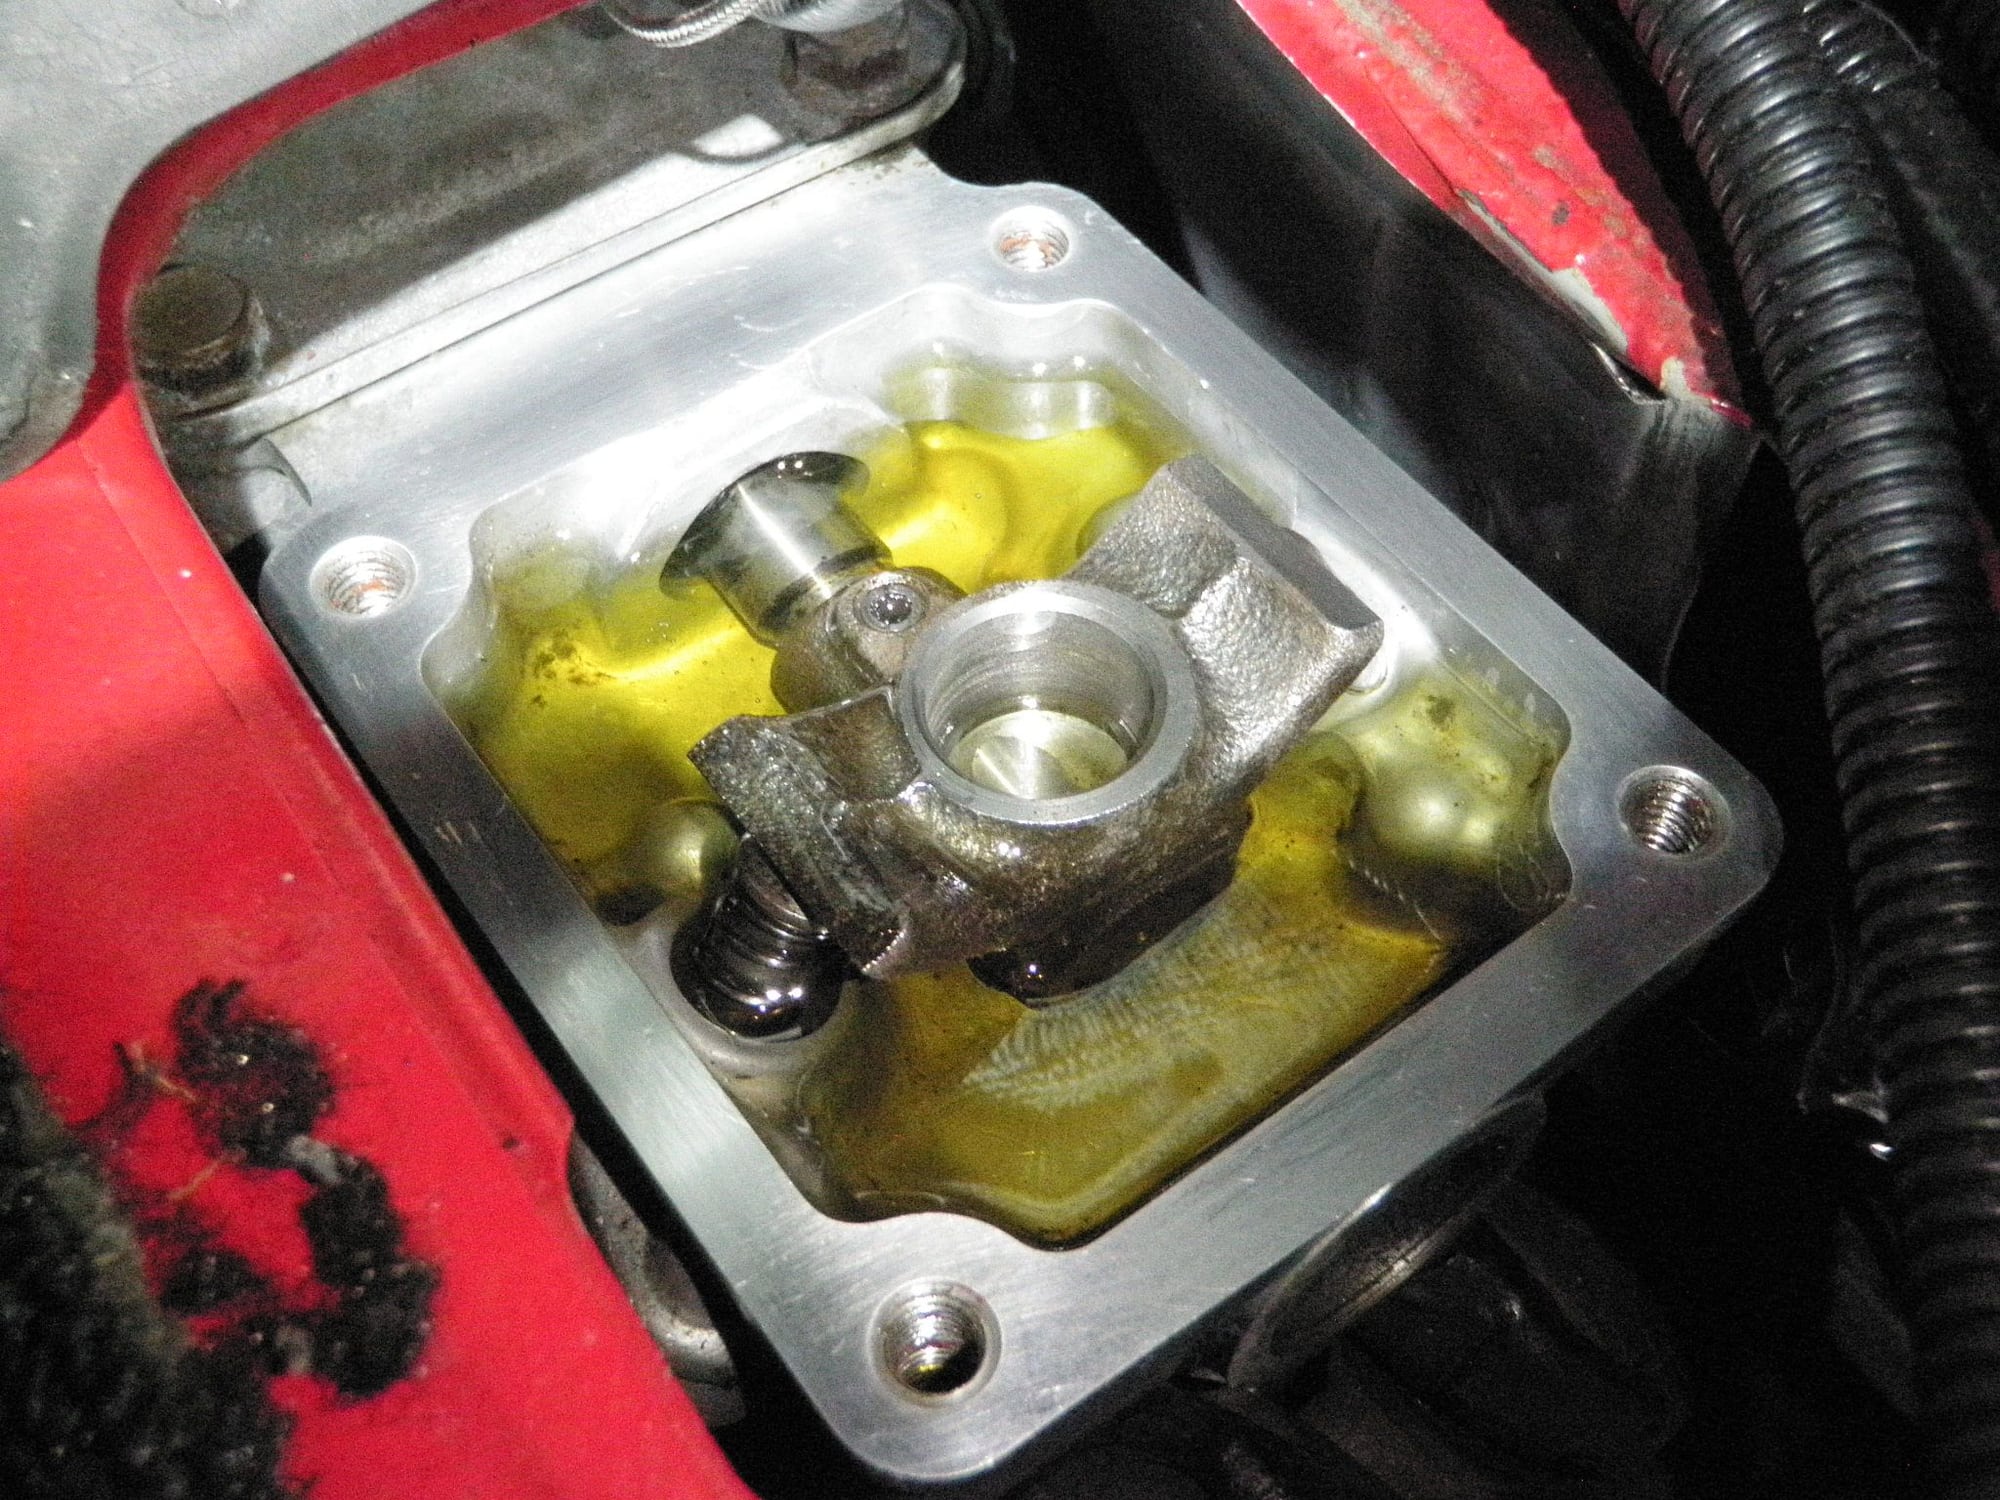
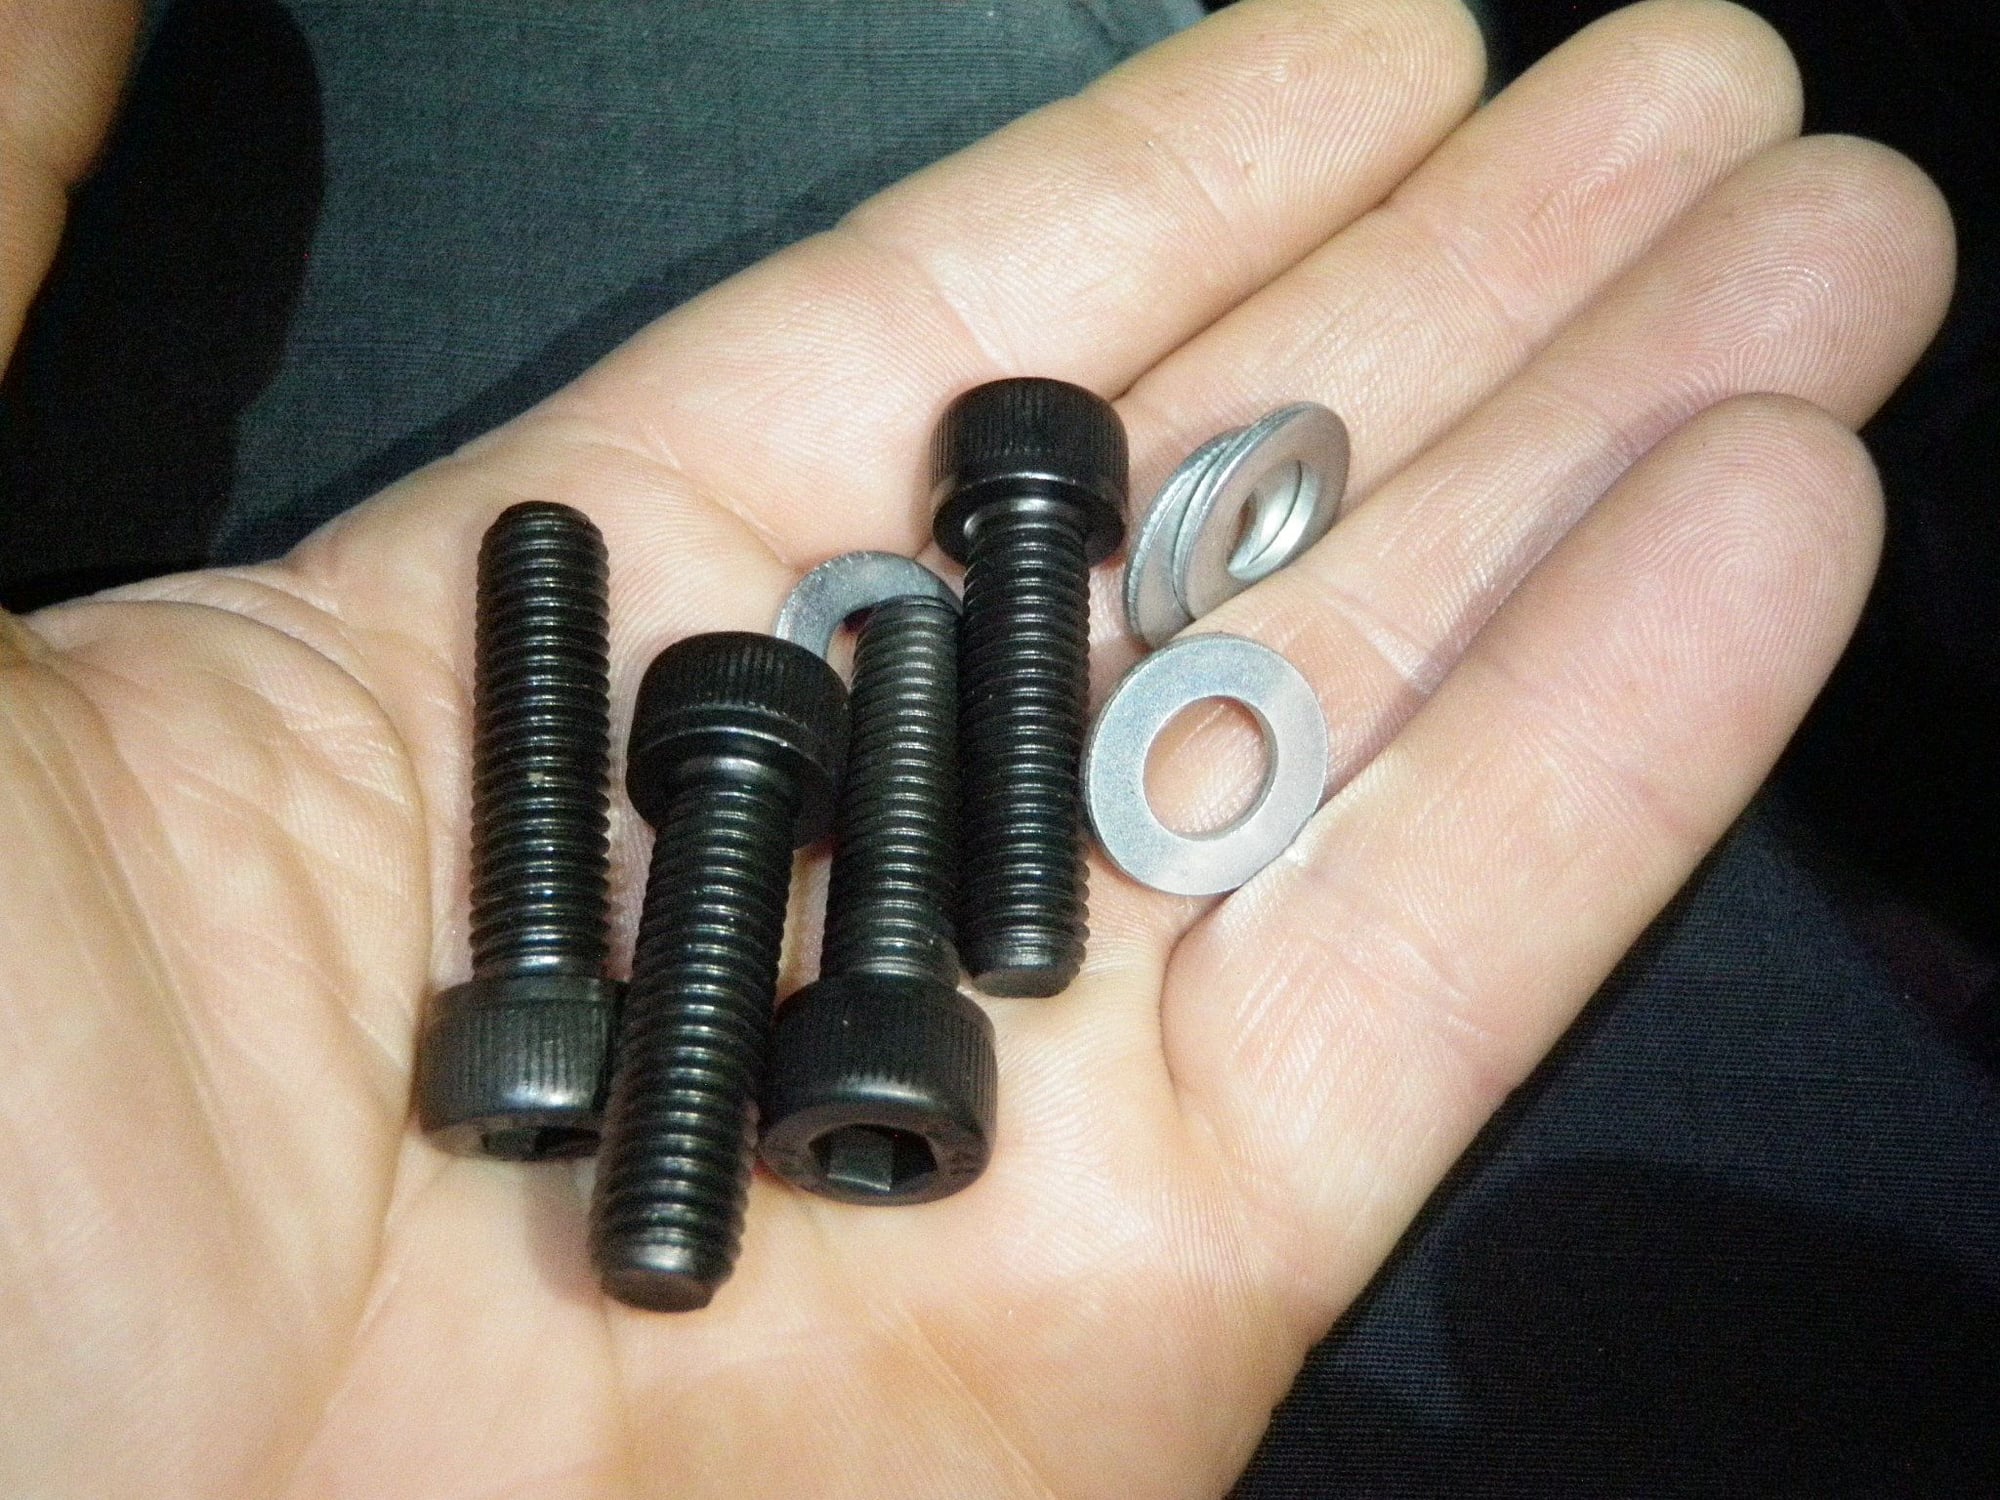
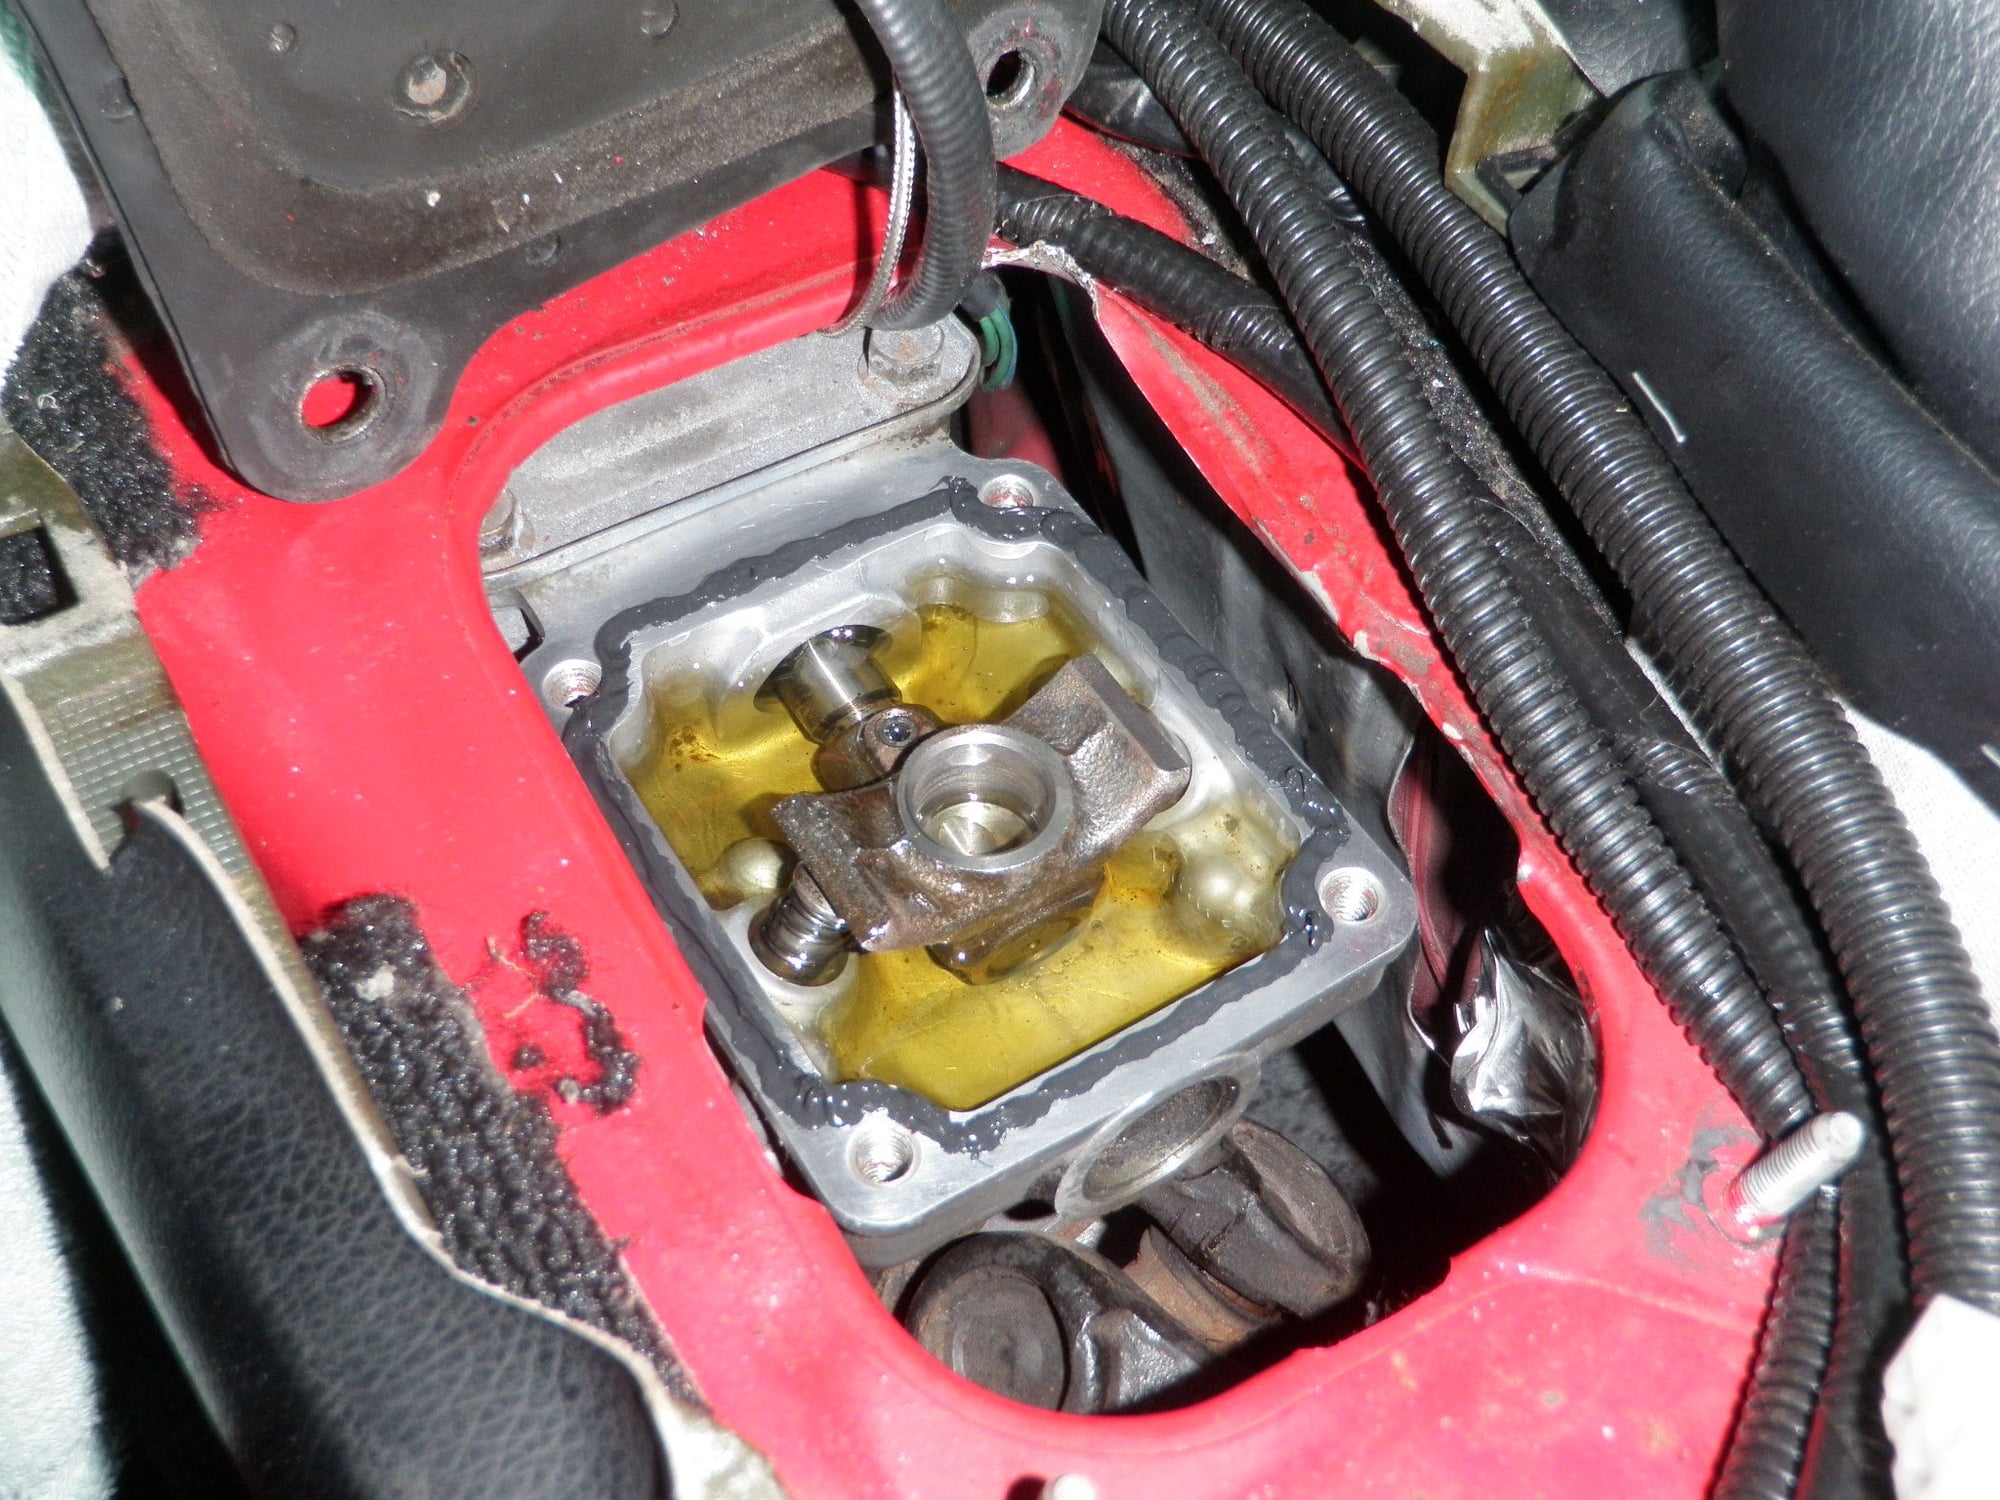
I took the old shifter off and noticed some rust build up on the slider, maybe some water got it when I was washing the transmission. I thought I cleaned it all up before when I installed the B&M shifter – buuutttt… Anyways I used some WD40 rust penetrator and a wire brush and scrubbed as much off as I could and sucked all the old fluid out. There are some pins that push the slider to neutral, after cleaning and lubricating those the slider goes into gear easier and springs back to neutral easier as well. I cleaned everything up, added gear lube, applied some RTV, and installed the new shifter. Immediately you can feel the difference. The throws were longer than the B&M, but the 2 to 3 gear shift was amazing. It’s so smooth but still feels solid with minimal play in gear. The gears are also easier to find as well. The shifter at its lowest point is about stock height.
5. RAZO Style- COMPLETED
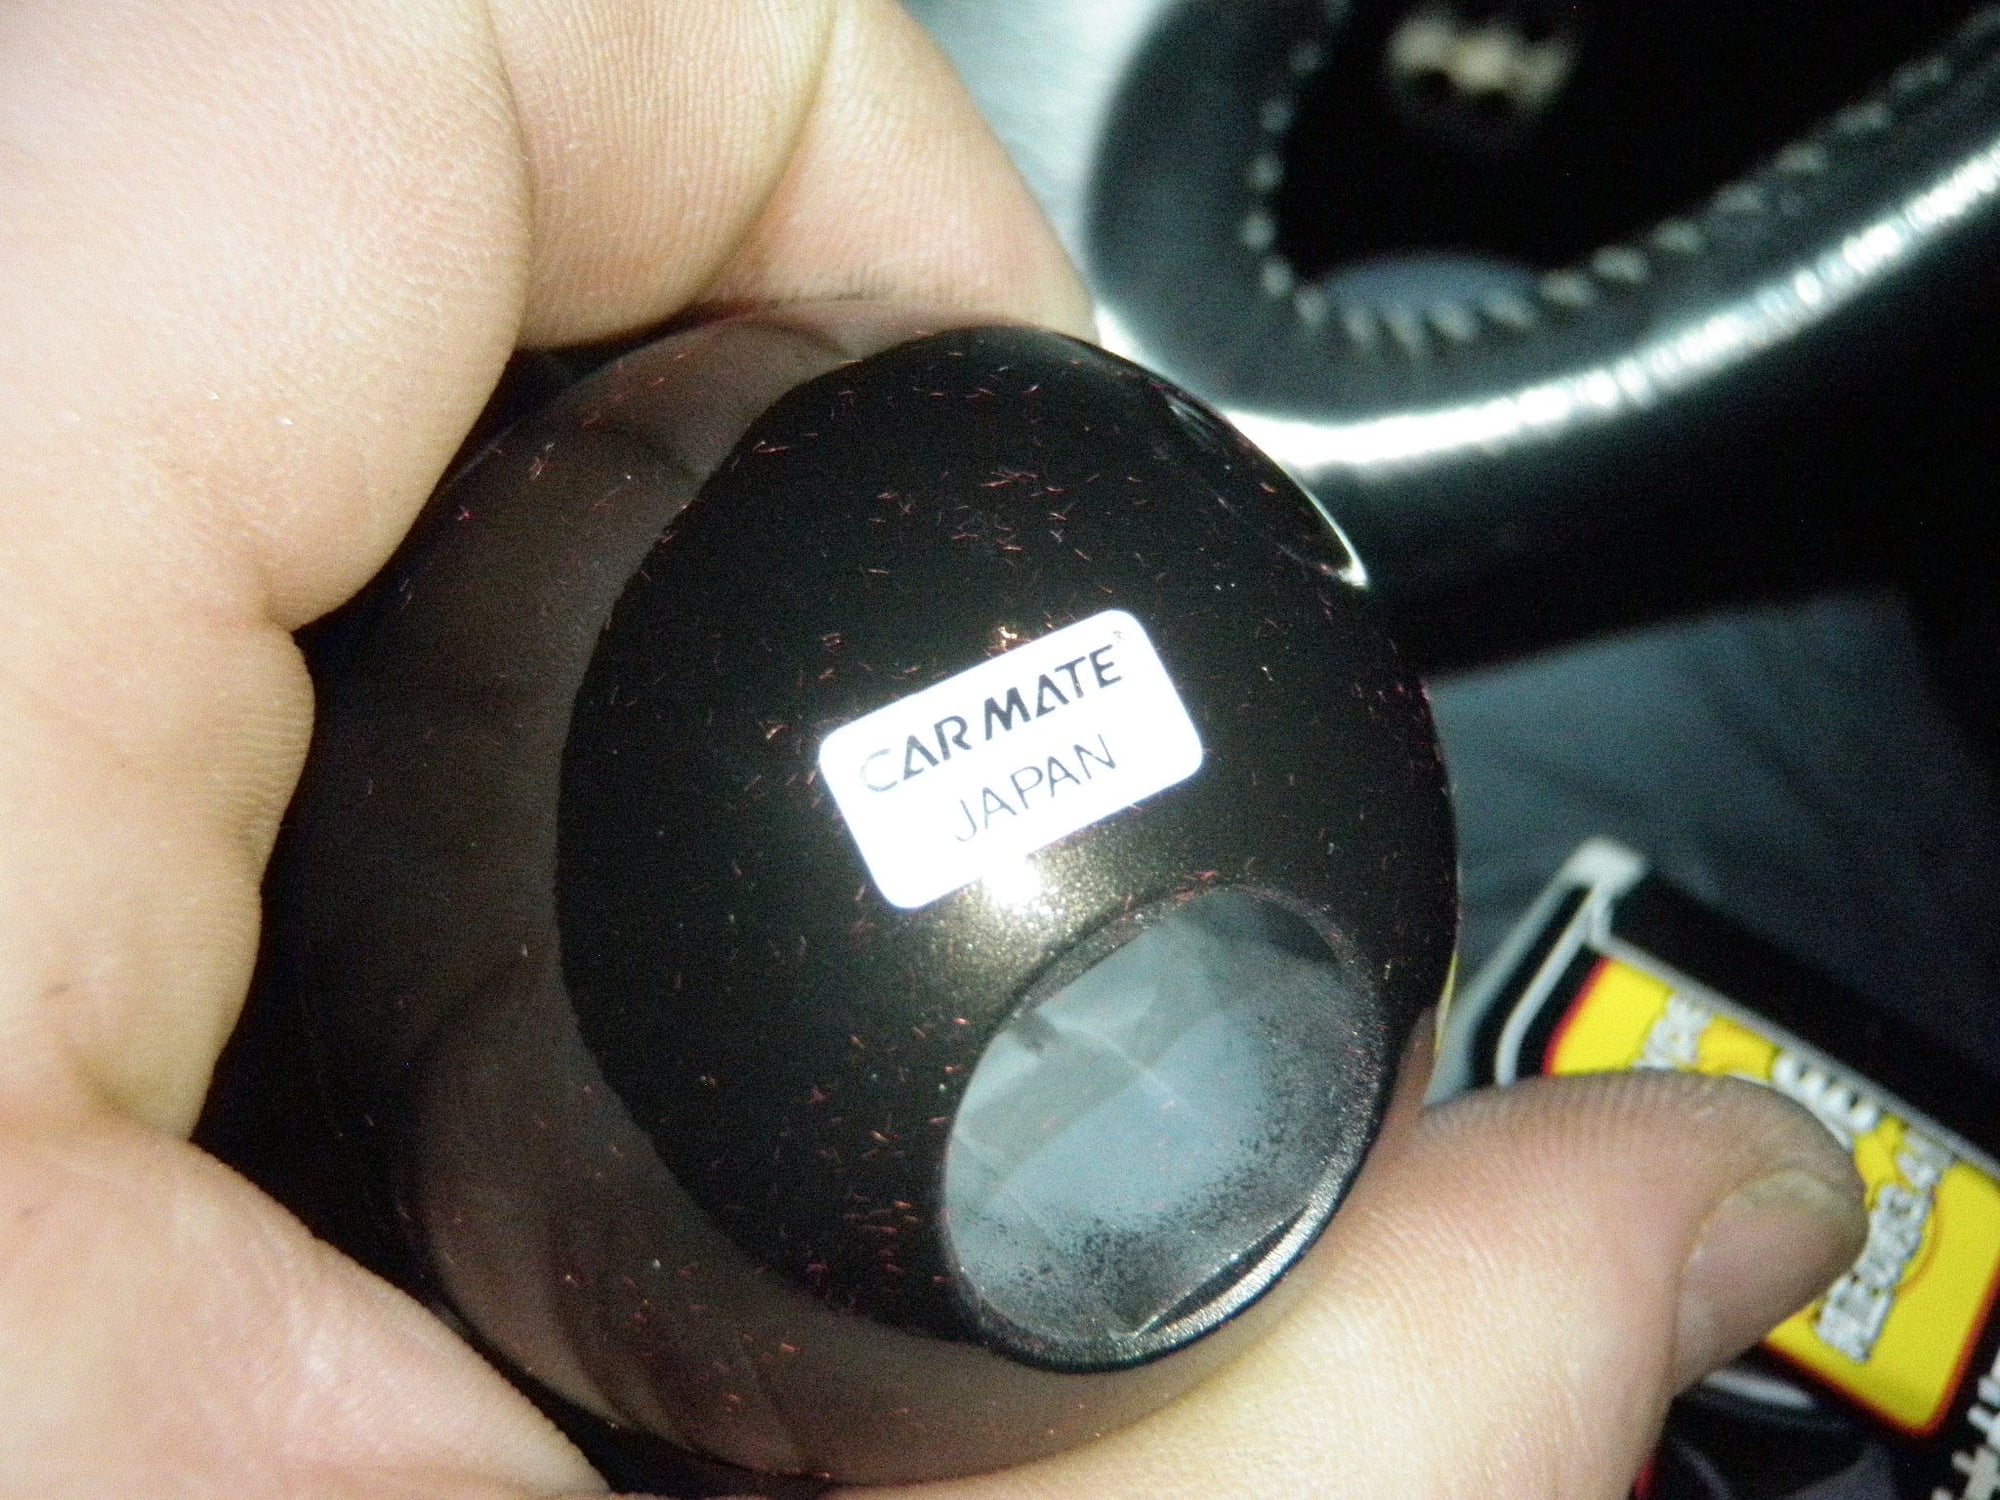
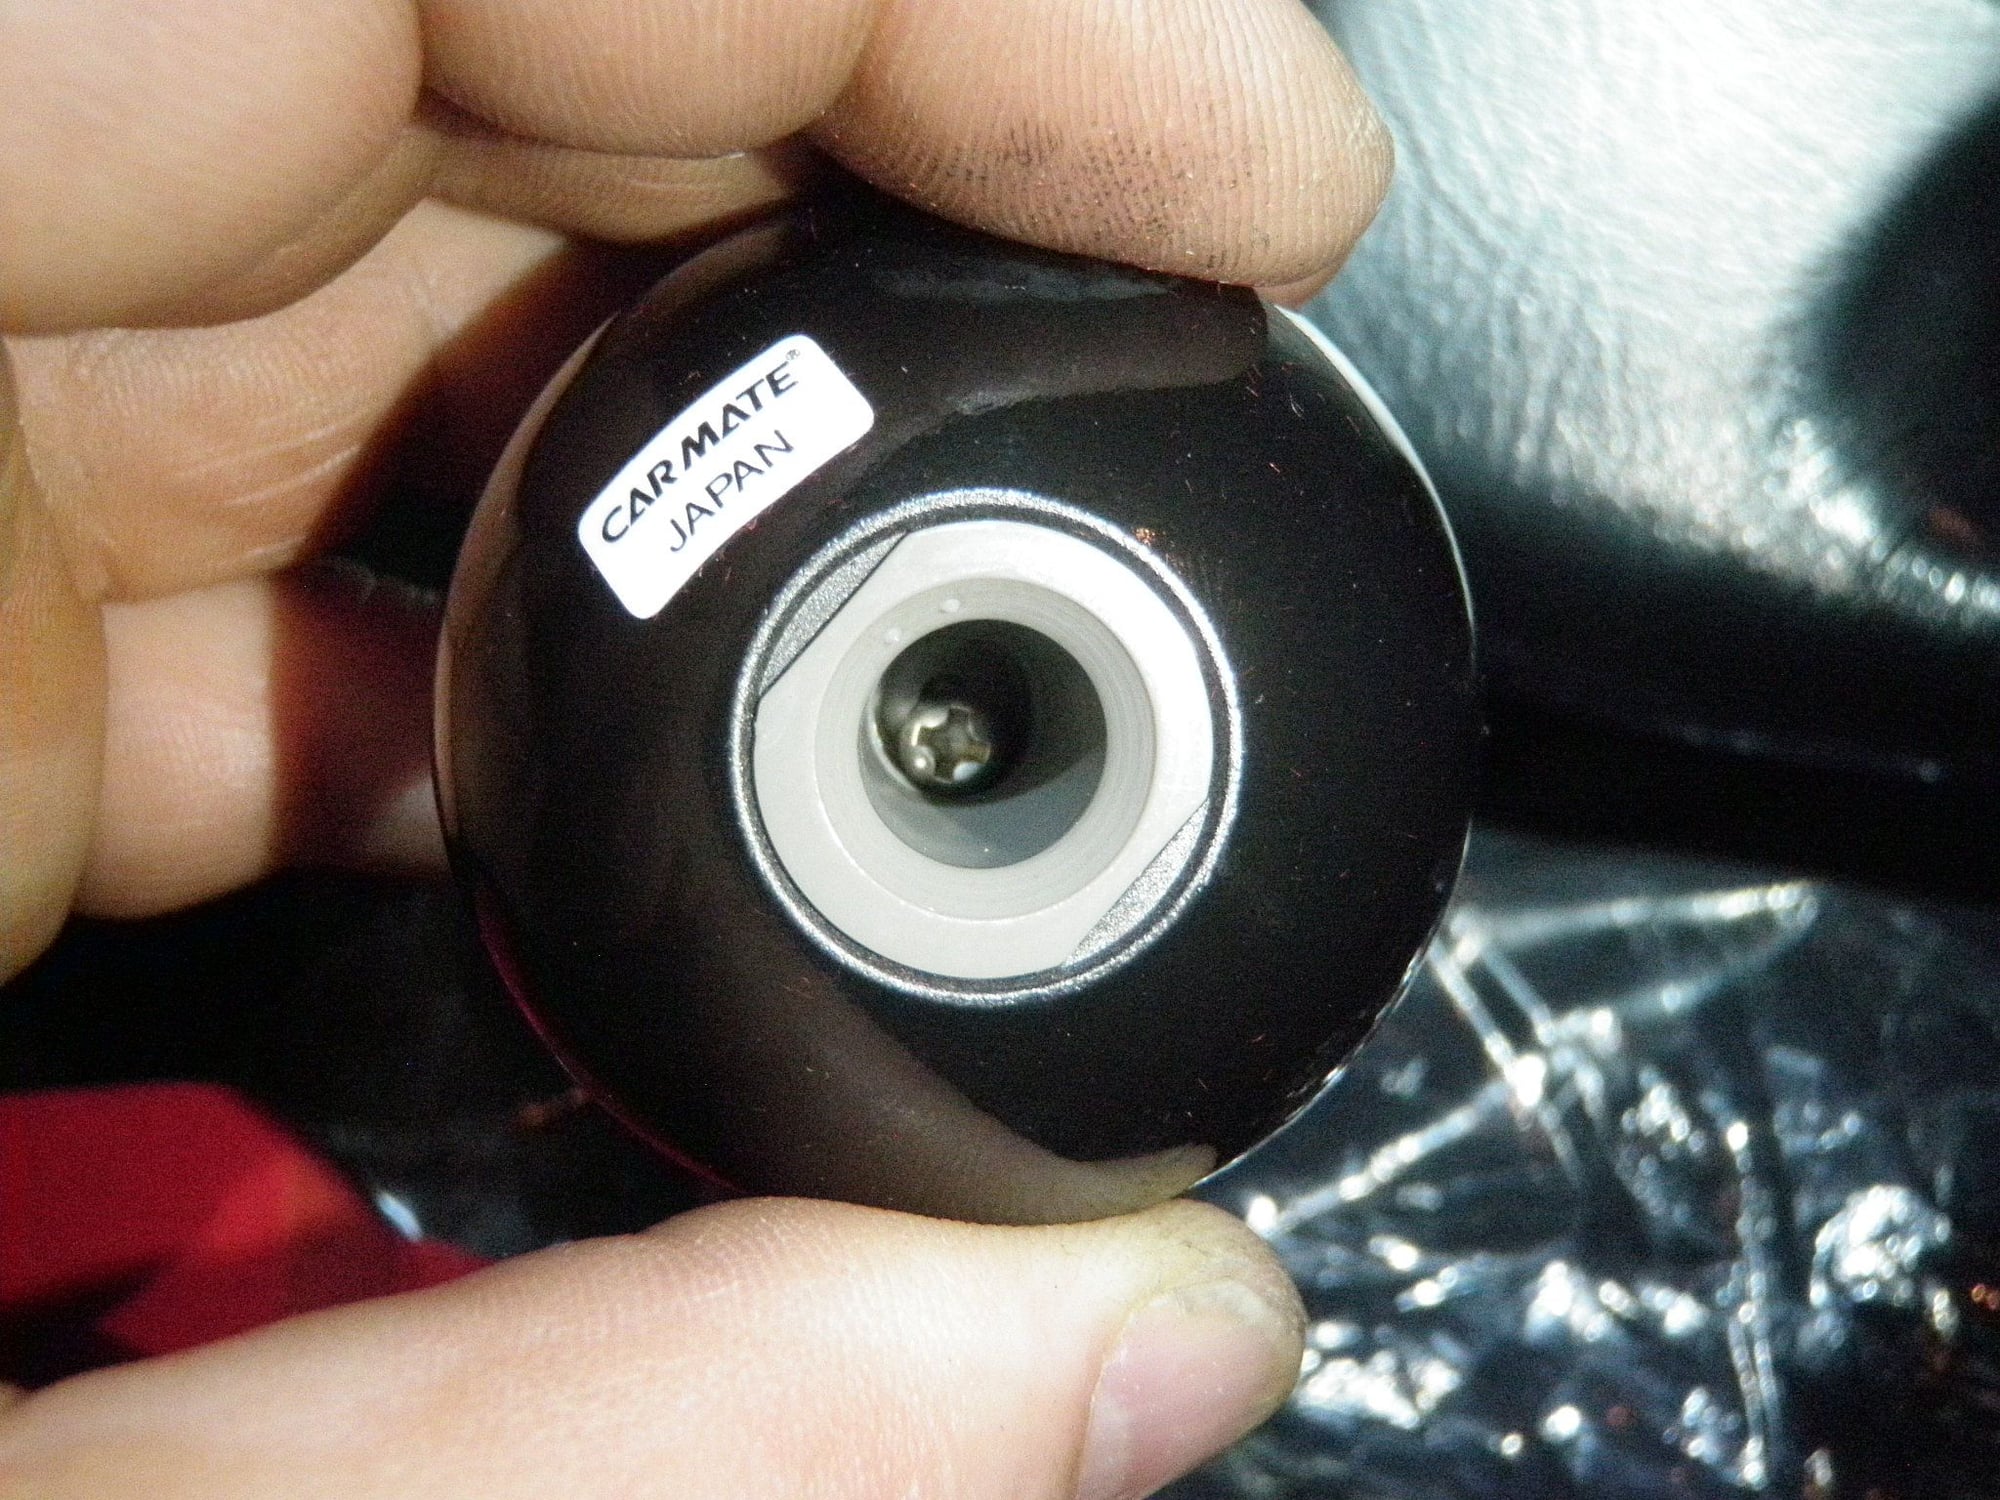
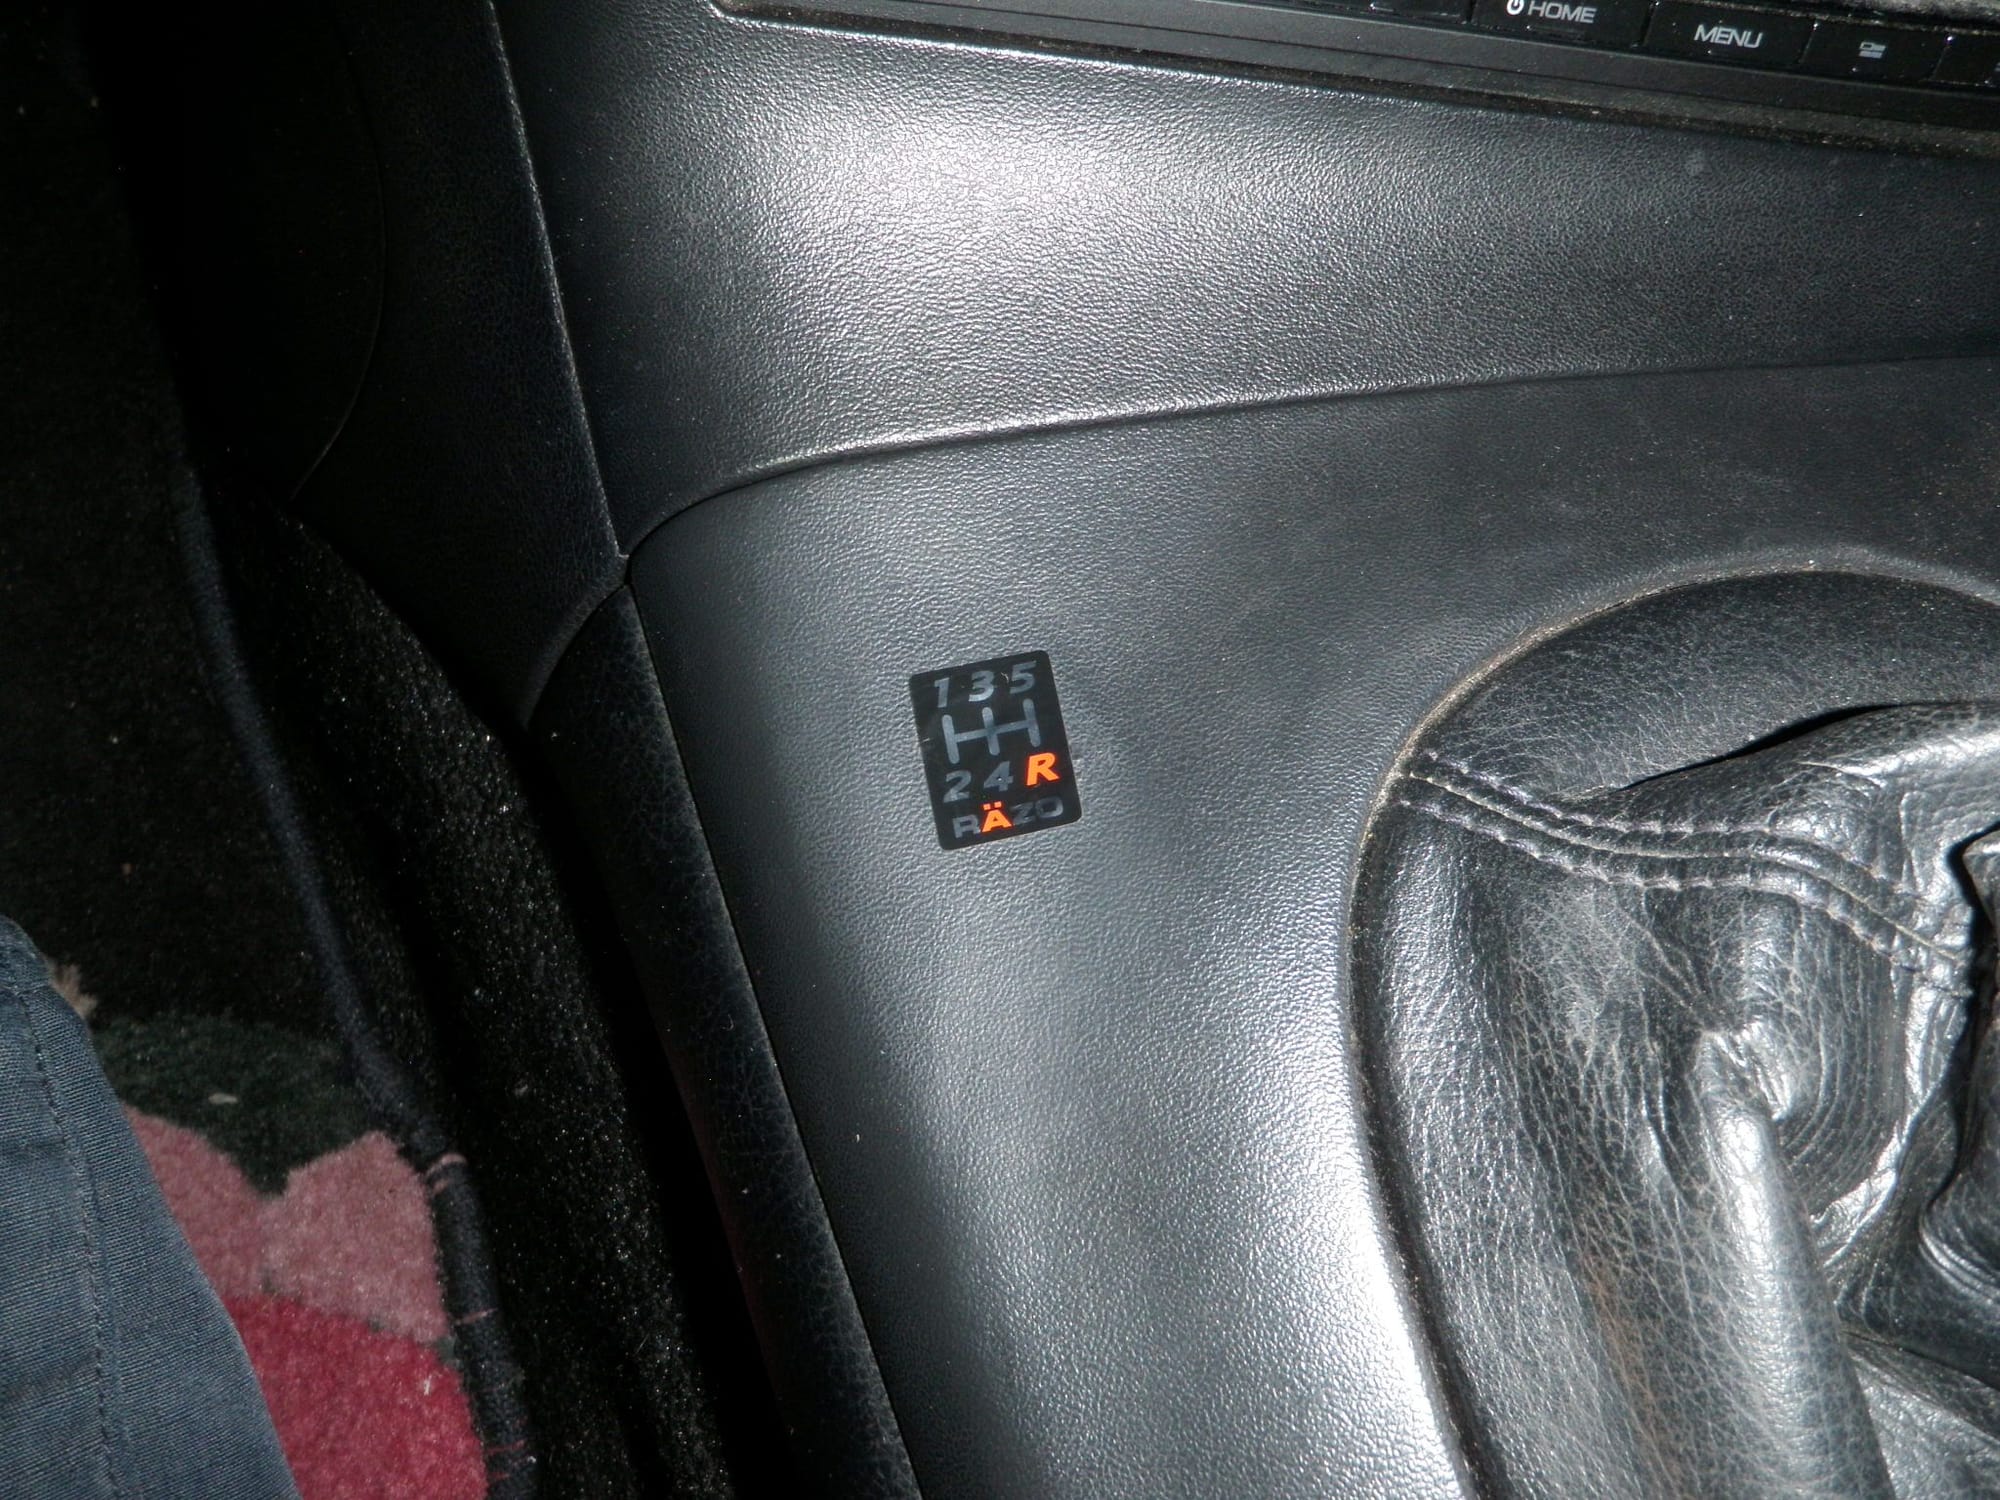
I always liked RAZO and after seeing the shift **** Calvin Wan’s FD I knew I had to get one. I choose the black RAZO aluminum type 340R shift ****. Its about as heavy as the stock shift **** which is amazing since its half the size. I like the black color with the copper shavings in the paint. Since the RAZO shift **** is short I had to add 1/2 inch silicon hose to hold the boot collar up higher. With the heavy RAZO shift **** and the CUBE shifter, my car feeling enjoyable to drive again. I also covered that hole on my center panel with the RAZO 5spd shift pattern sticker.
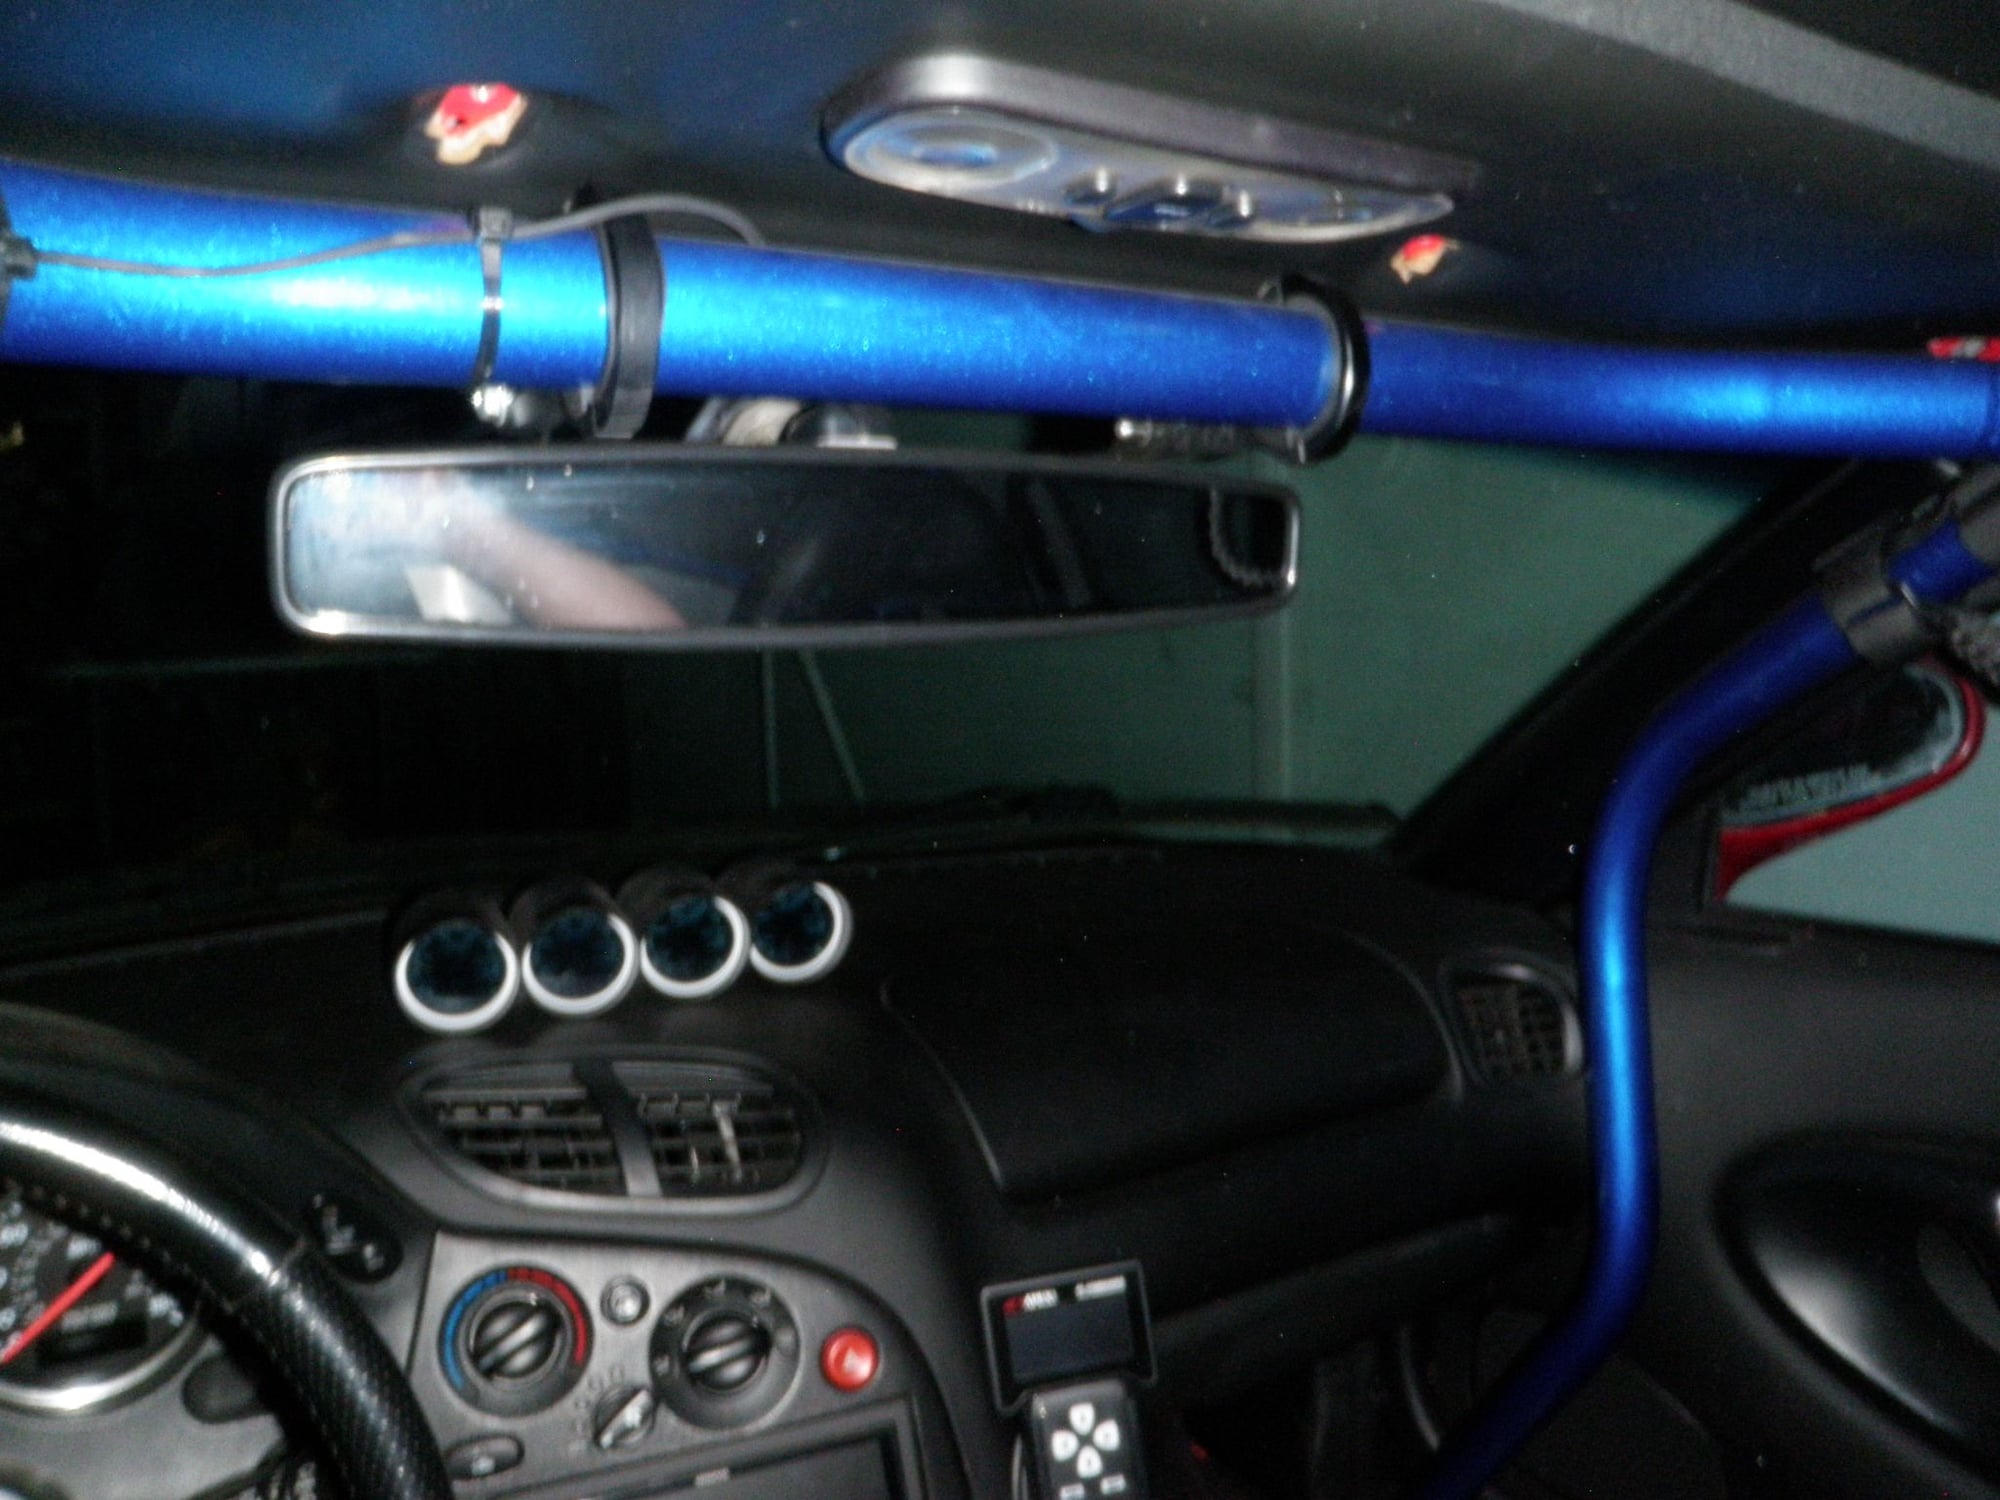
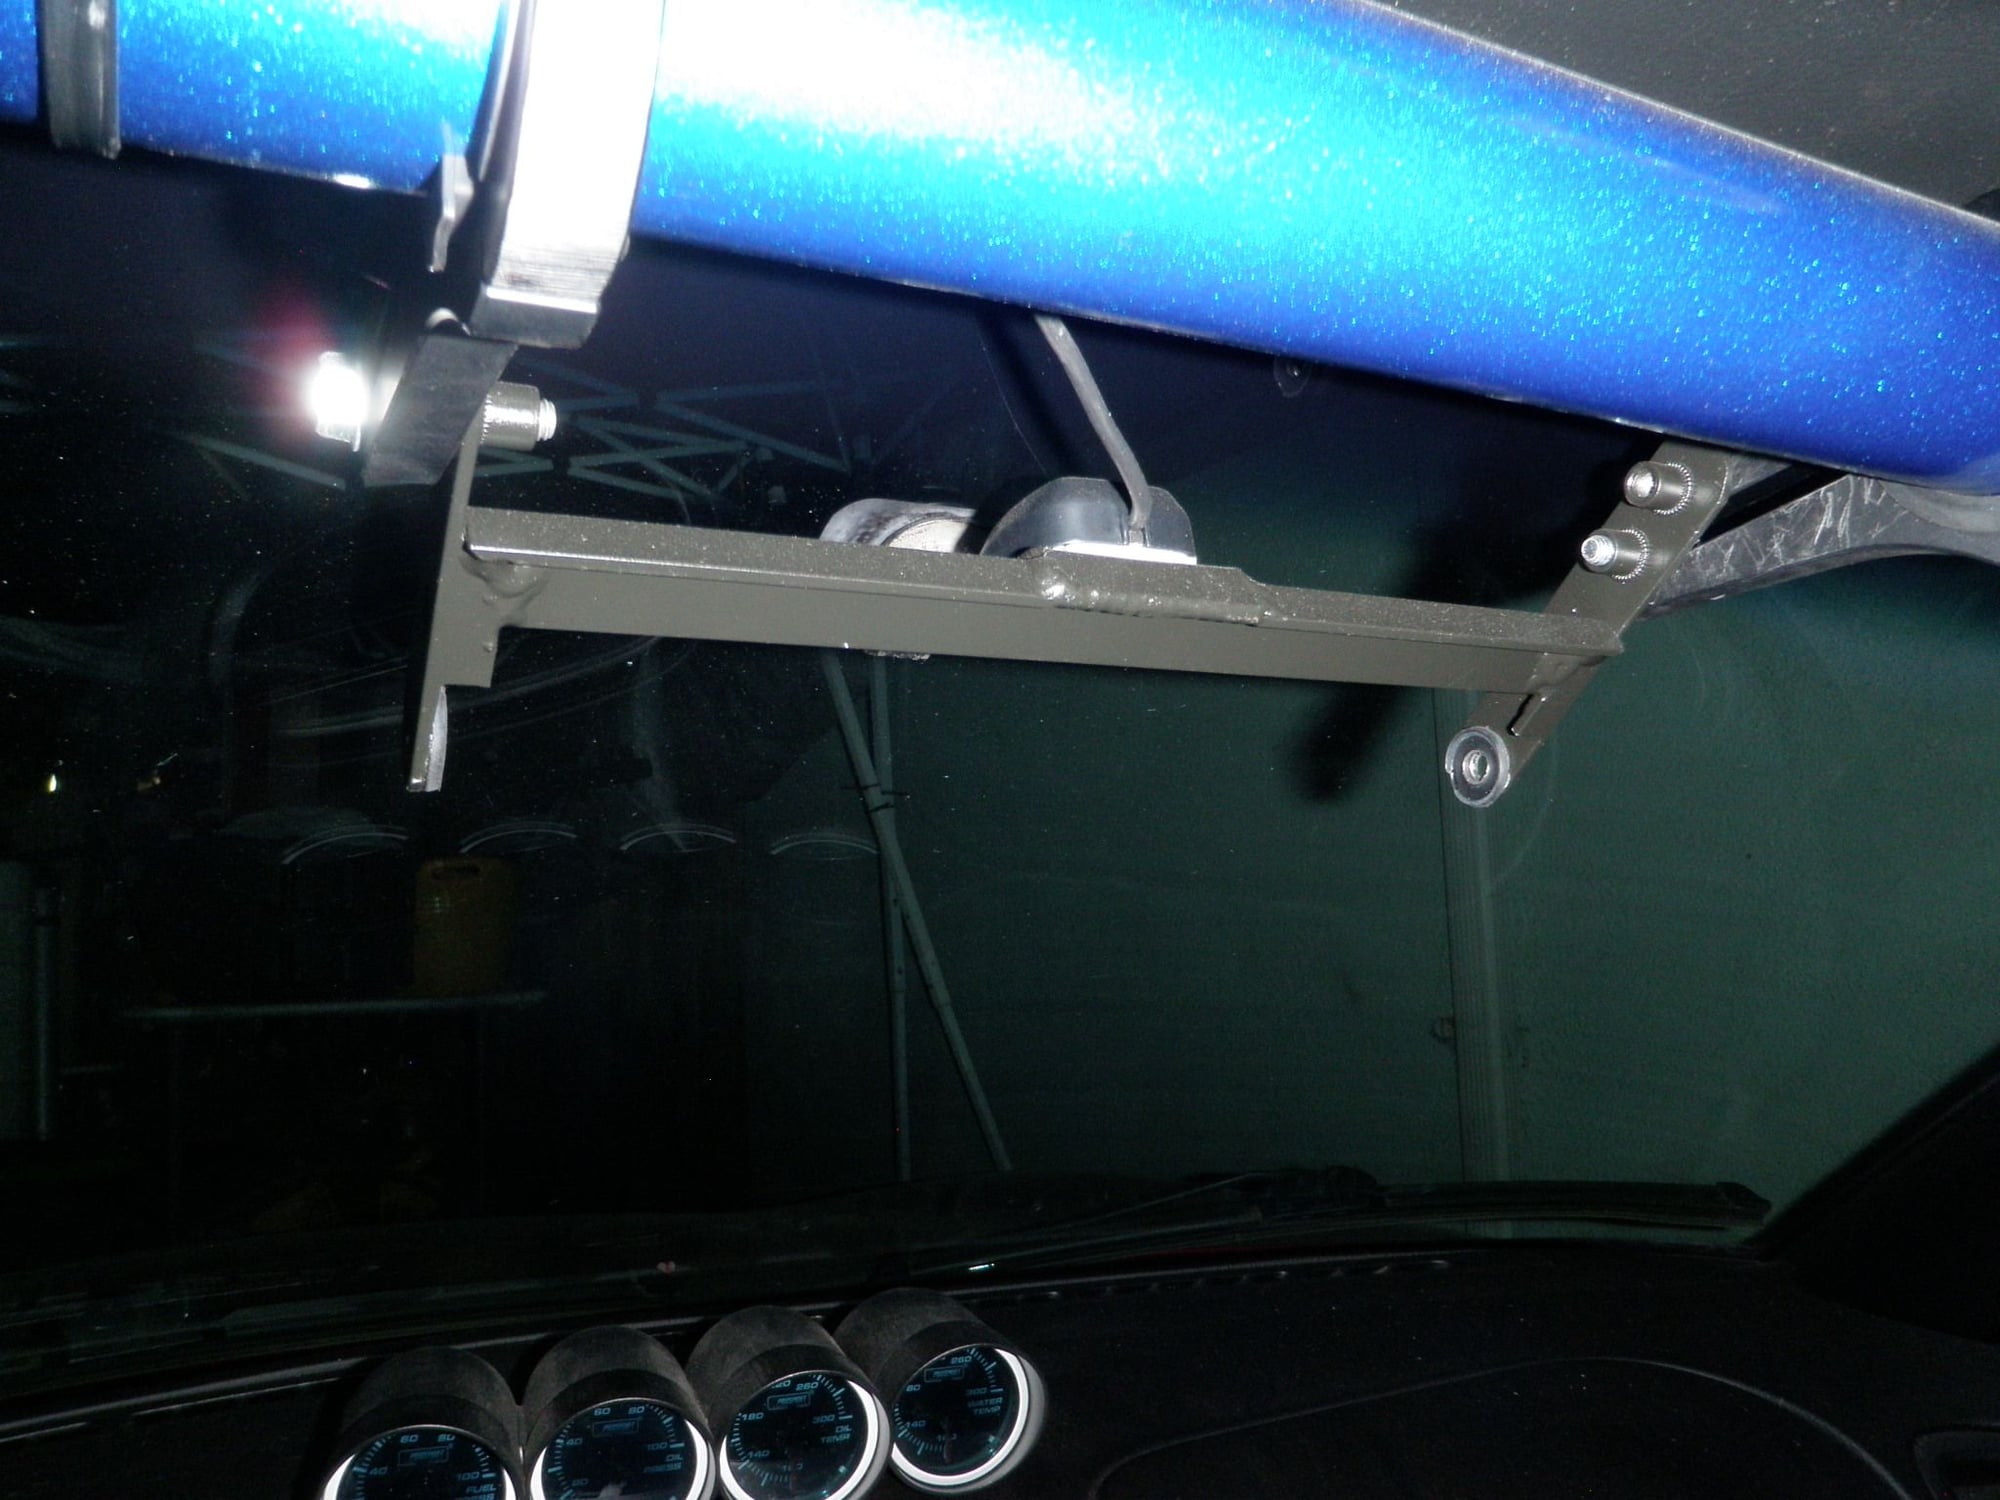
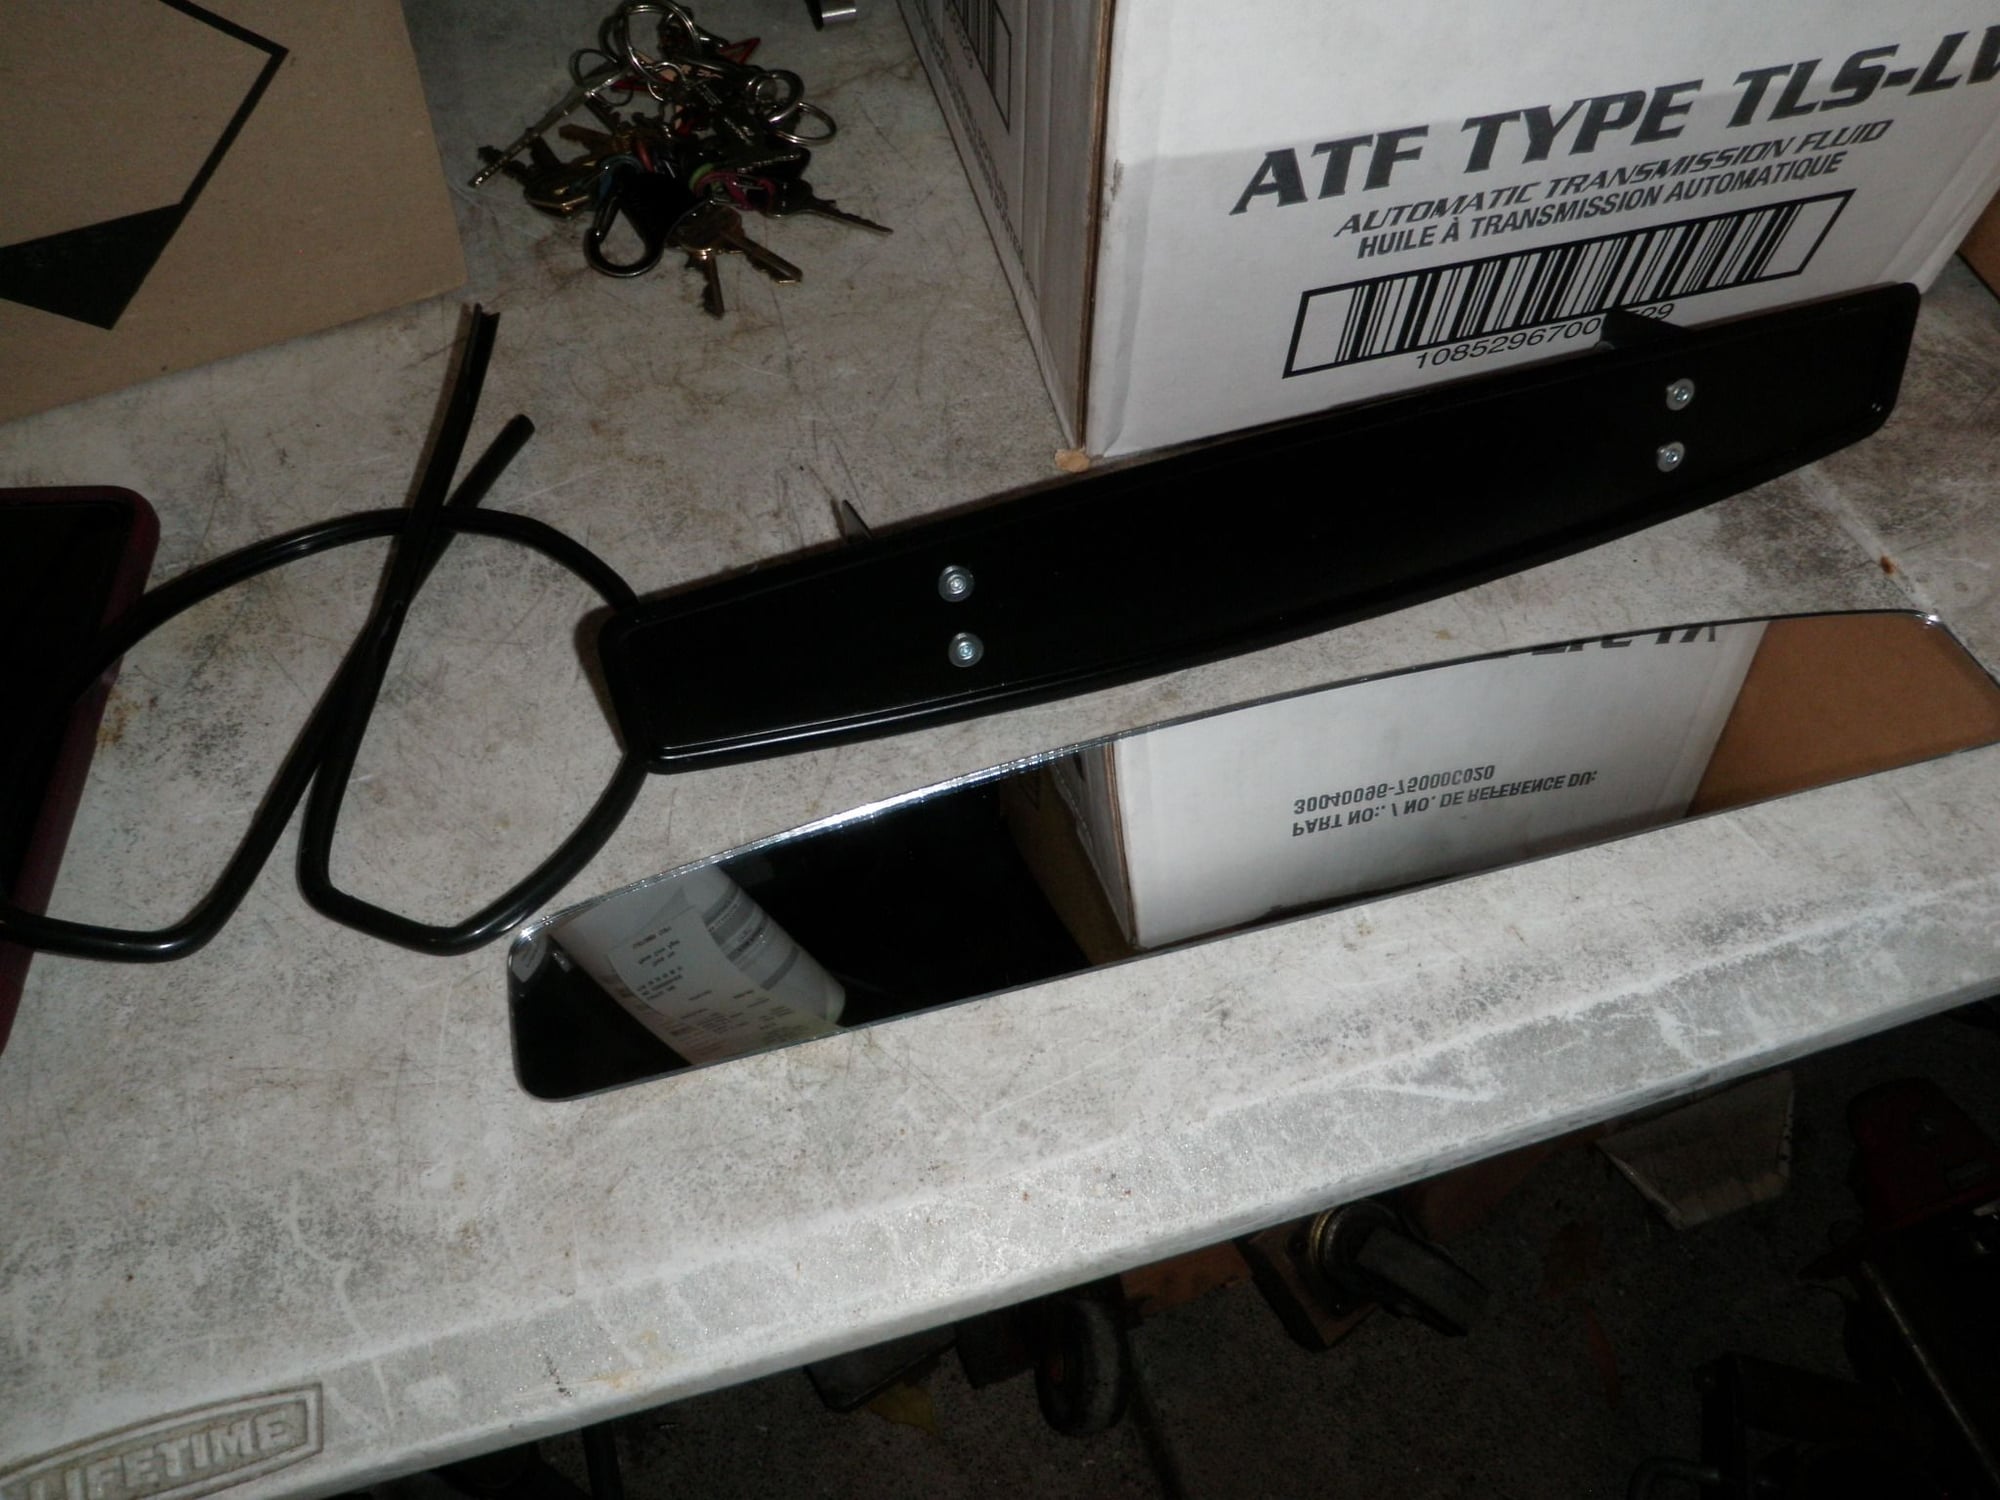
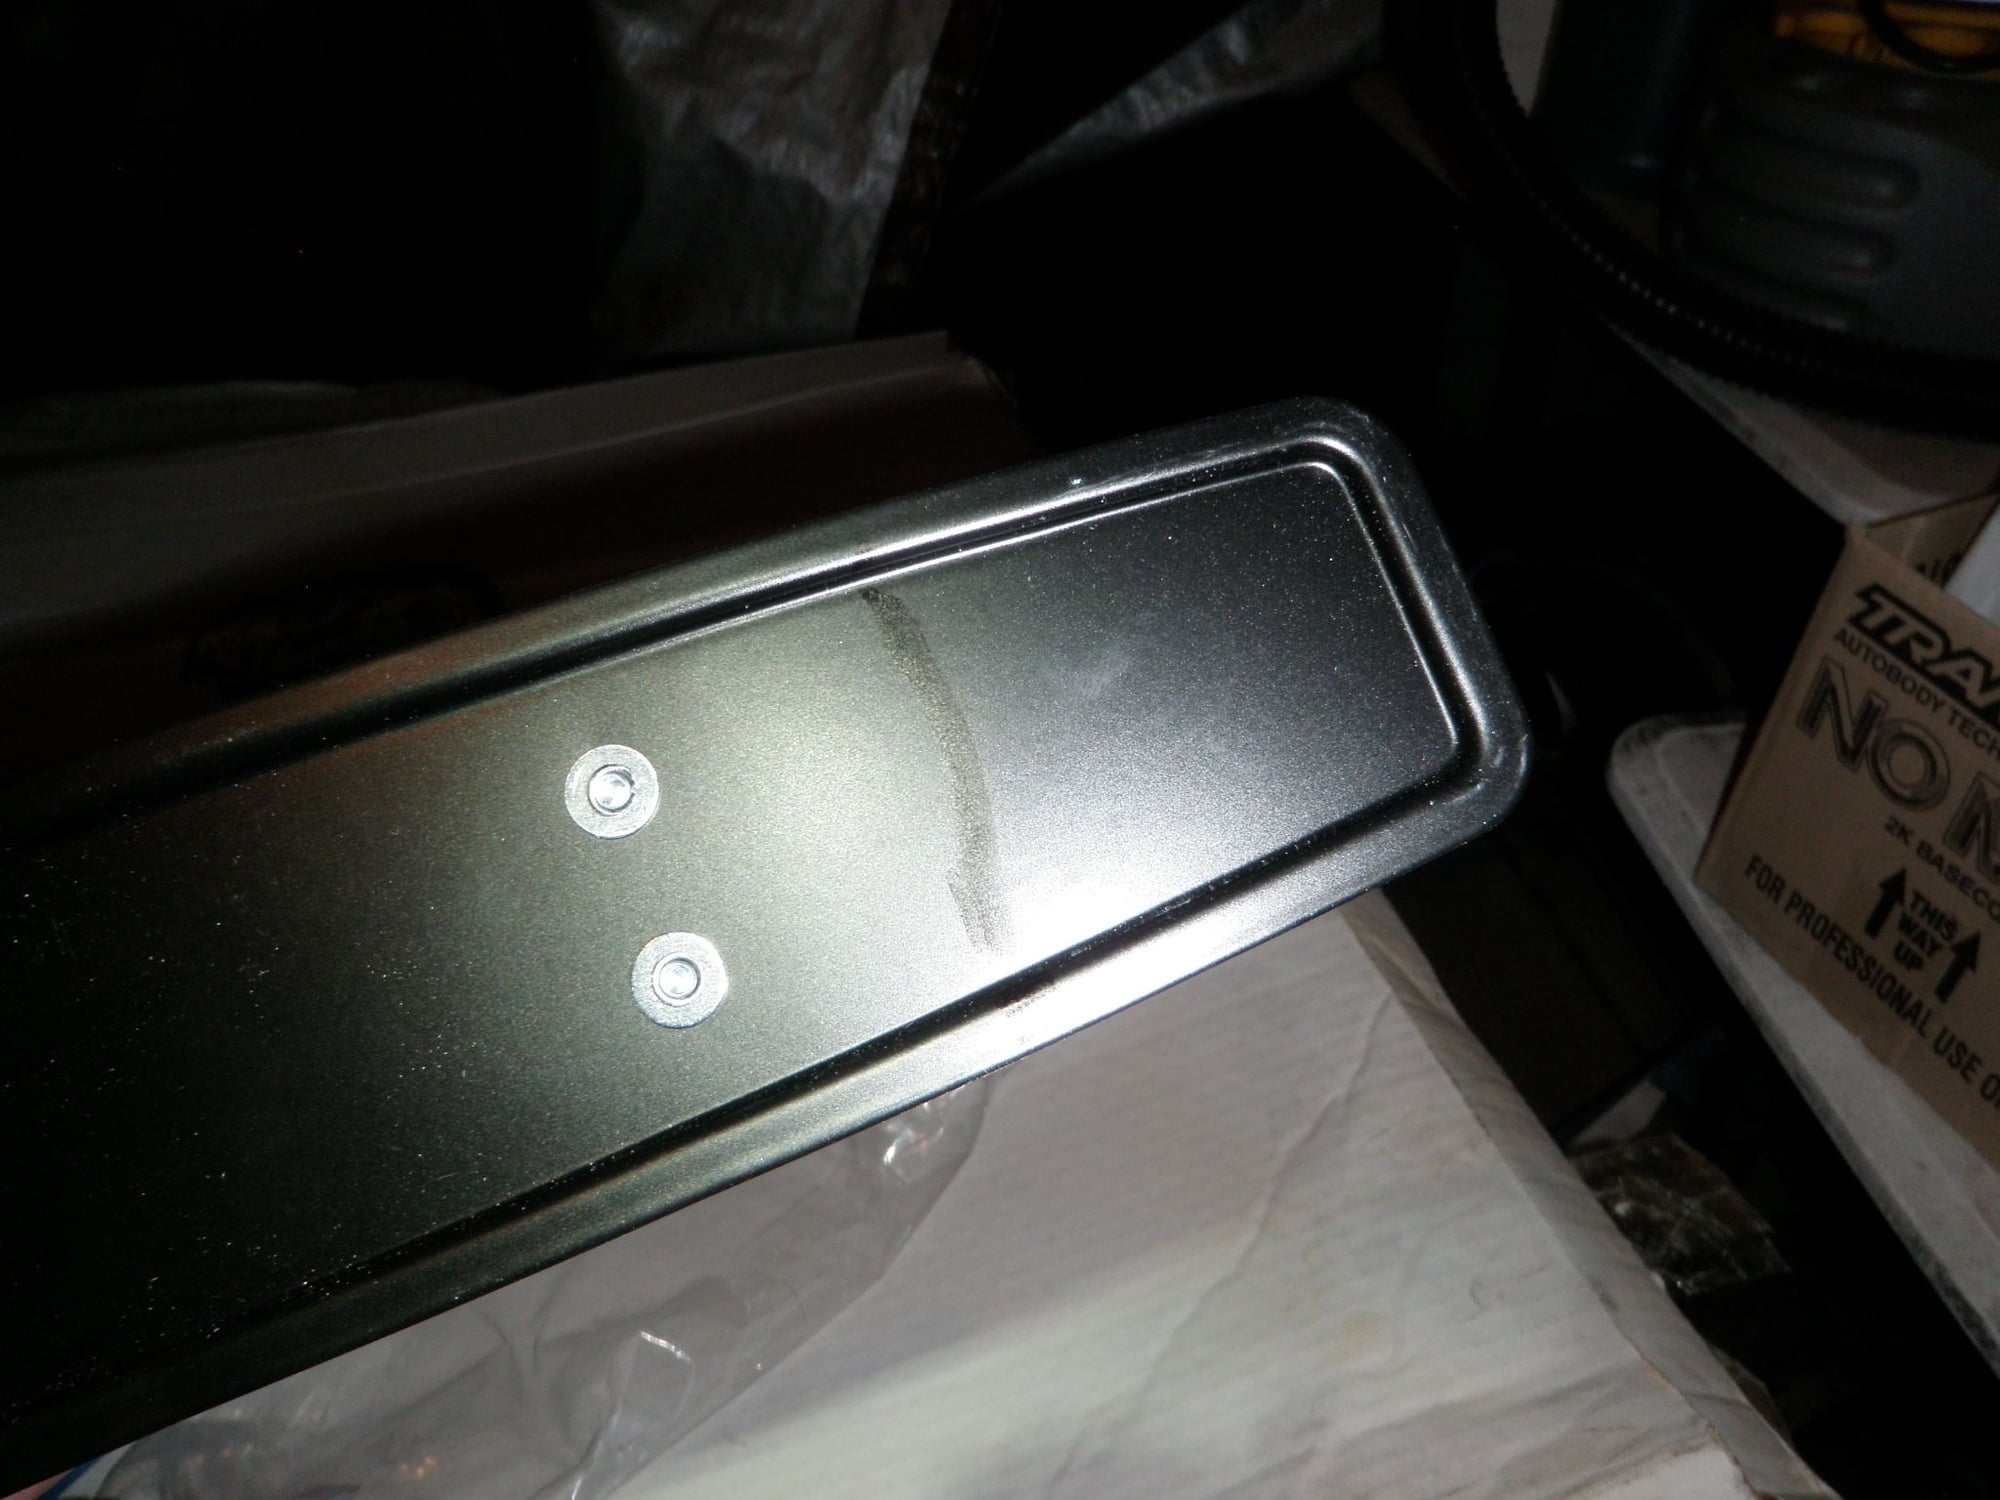
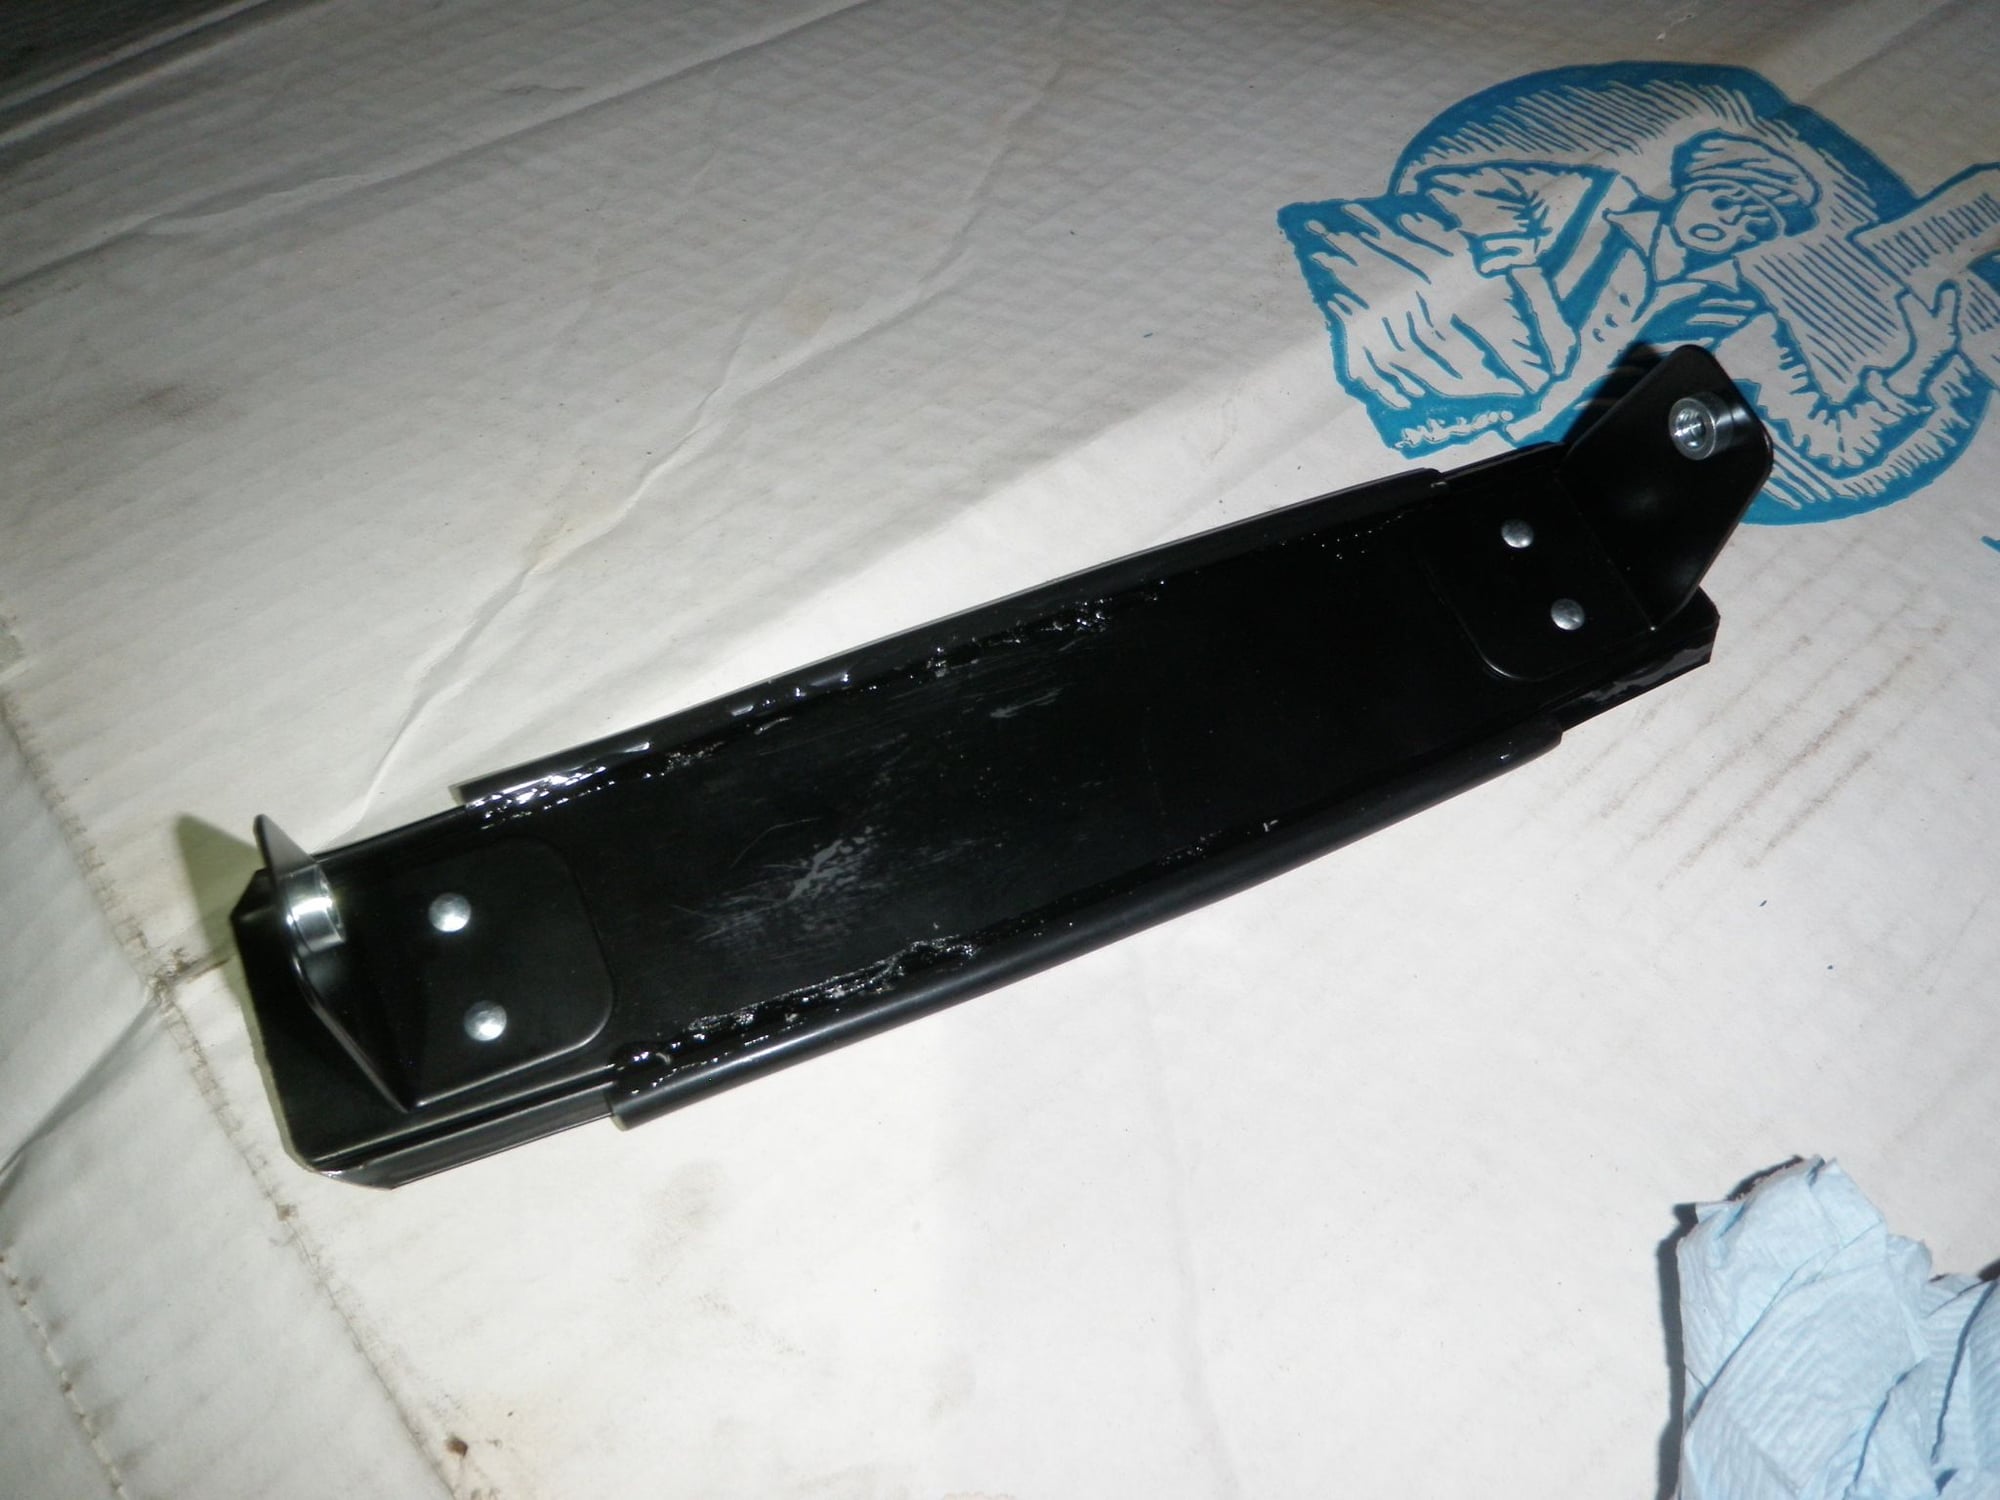
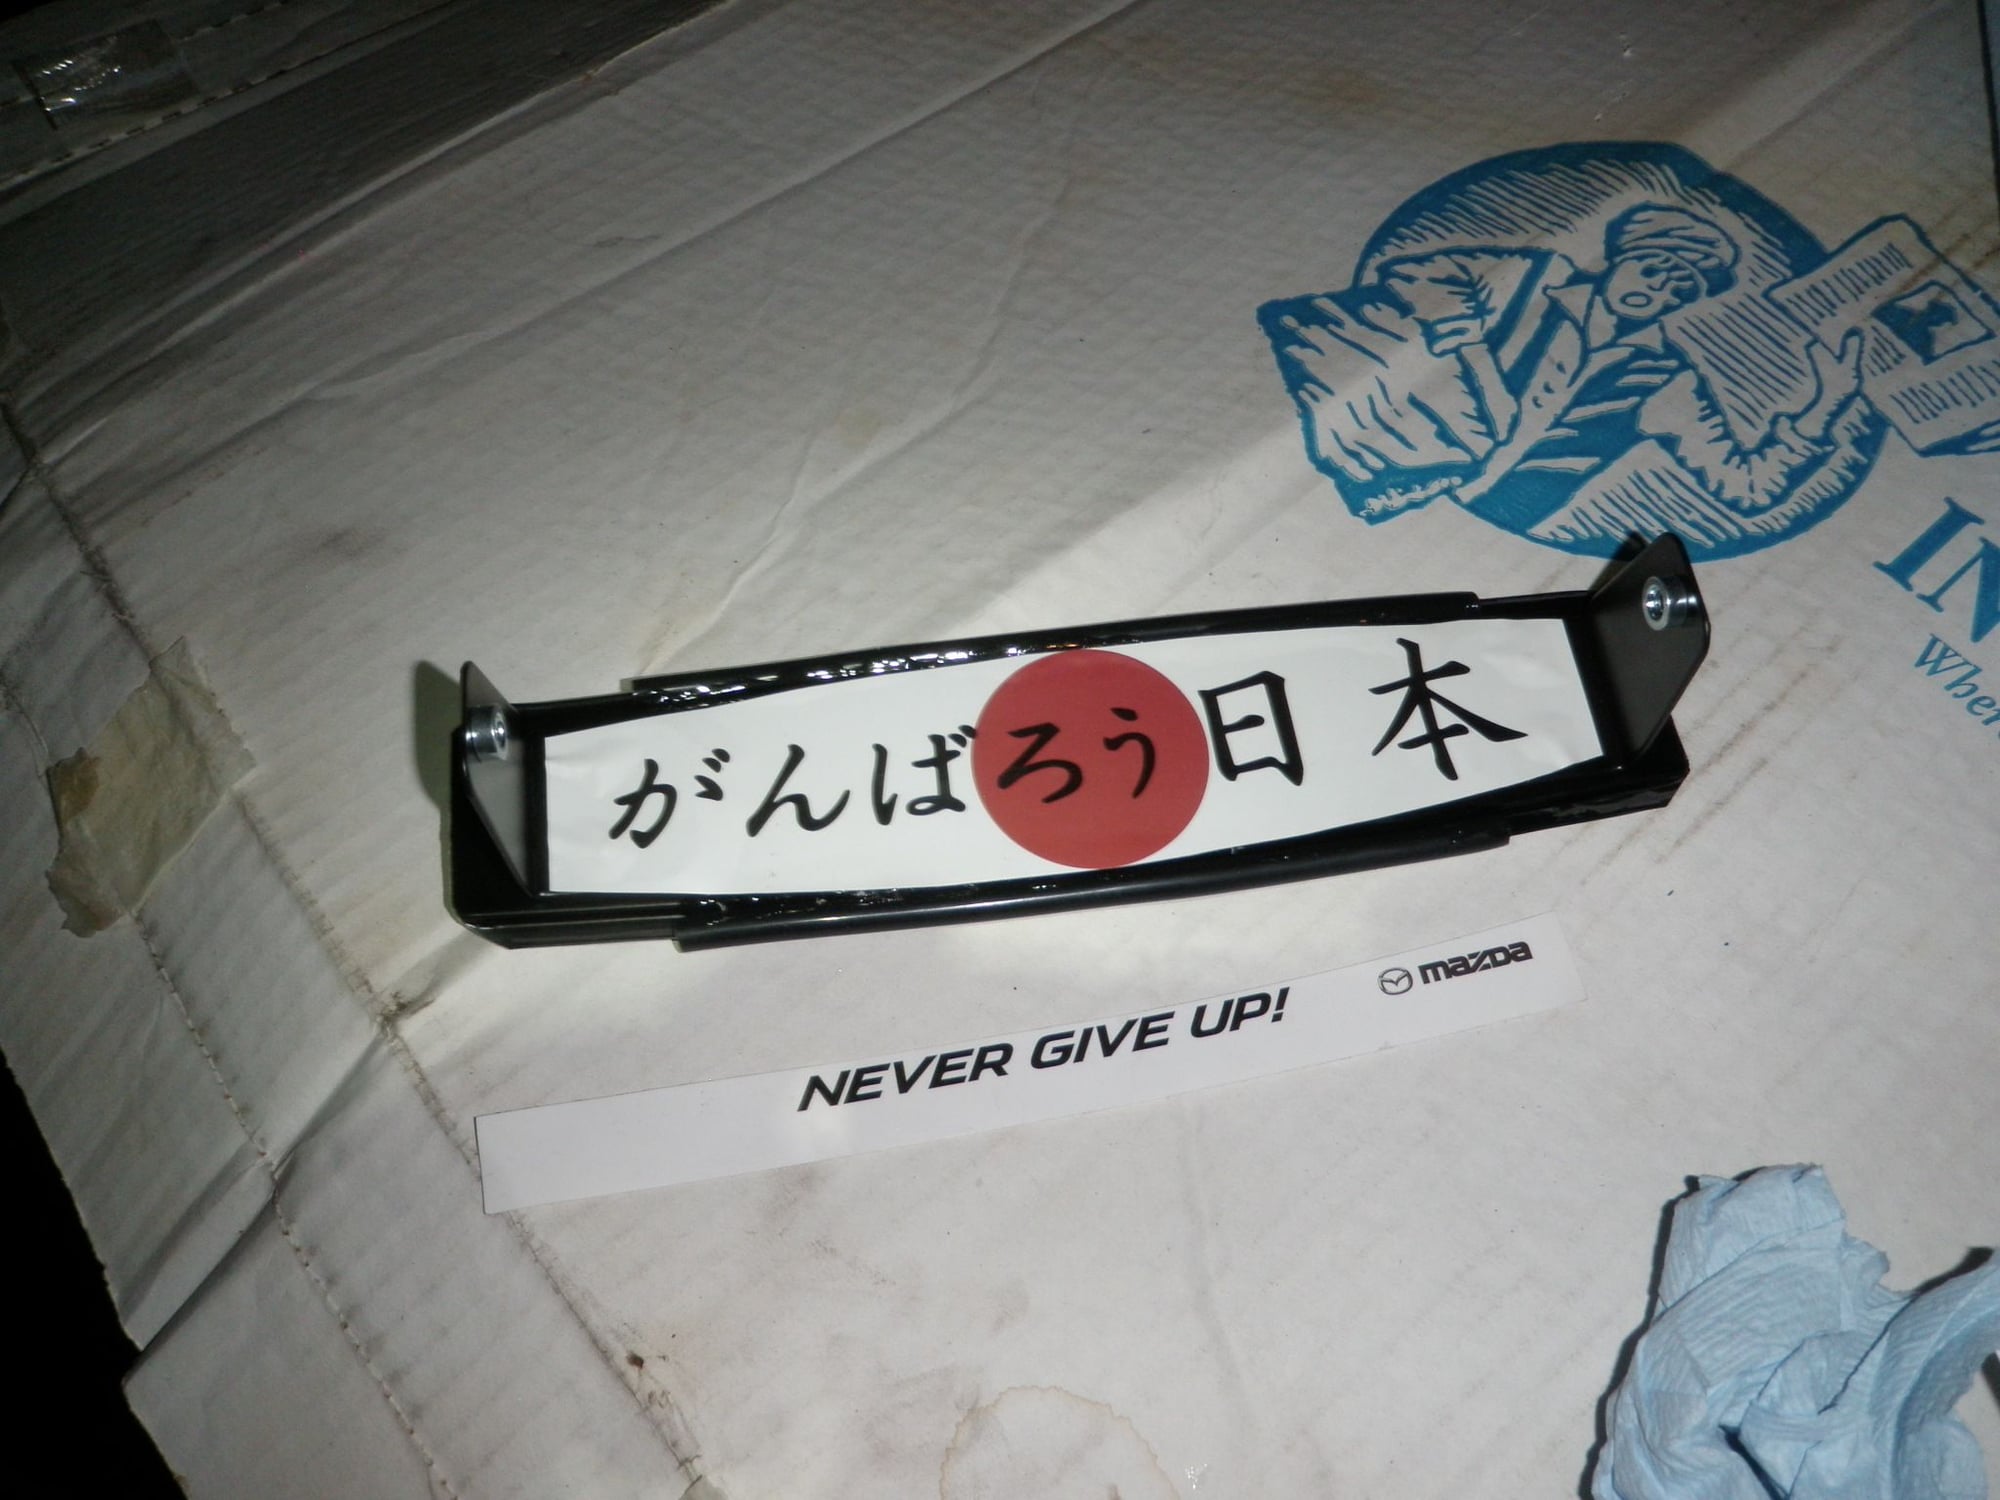
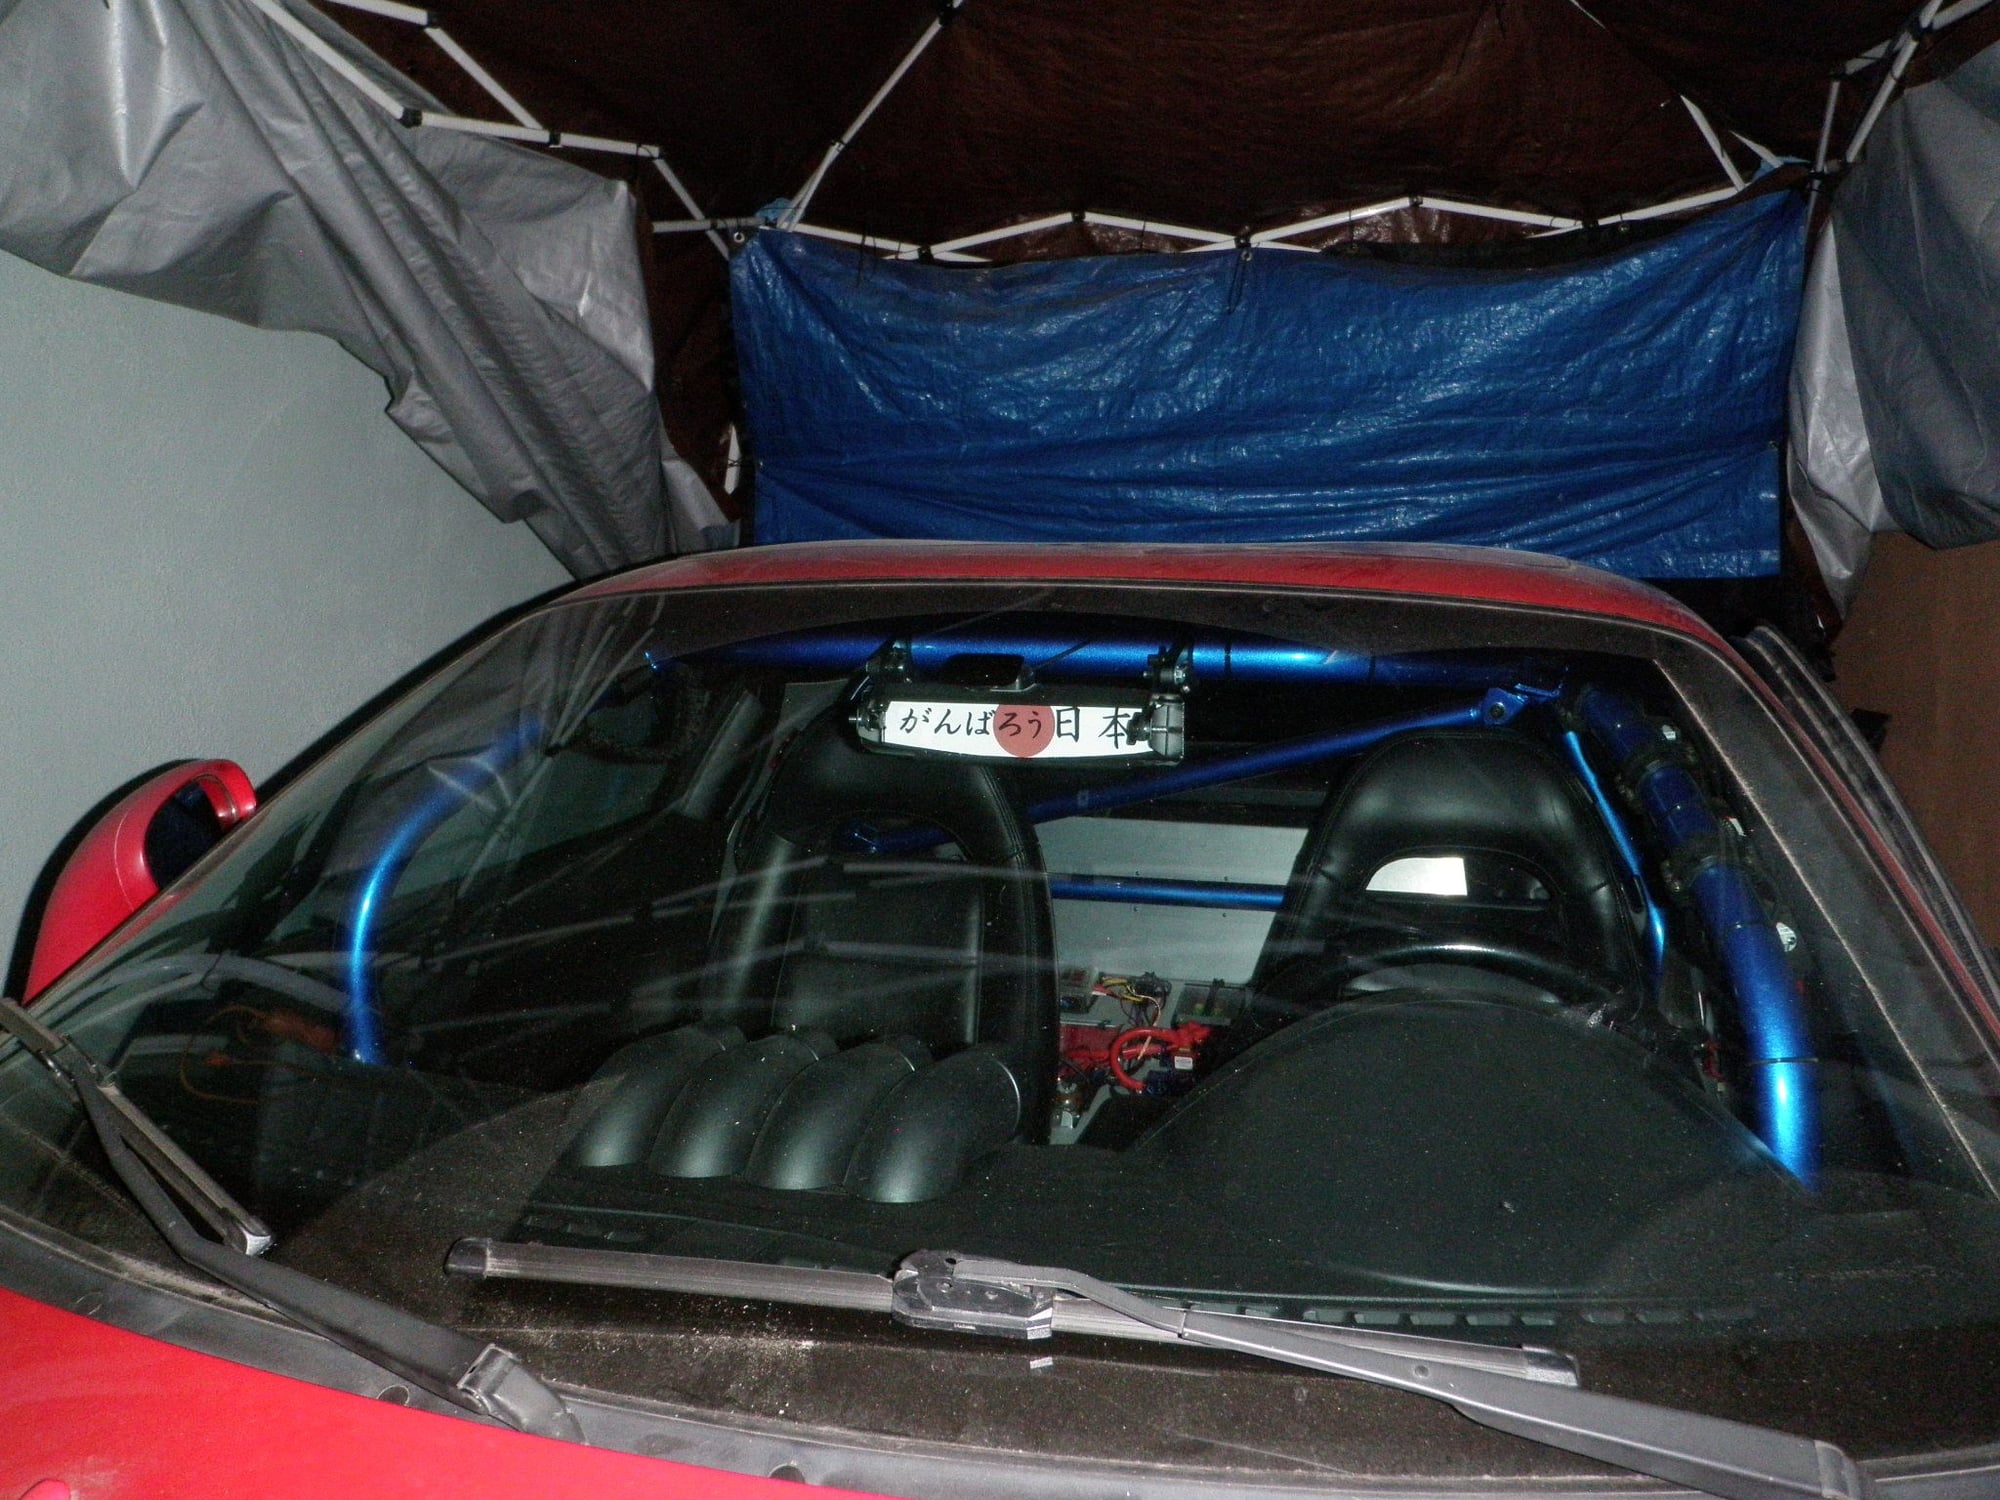
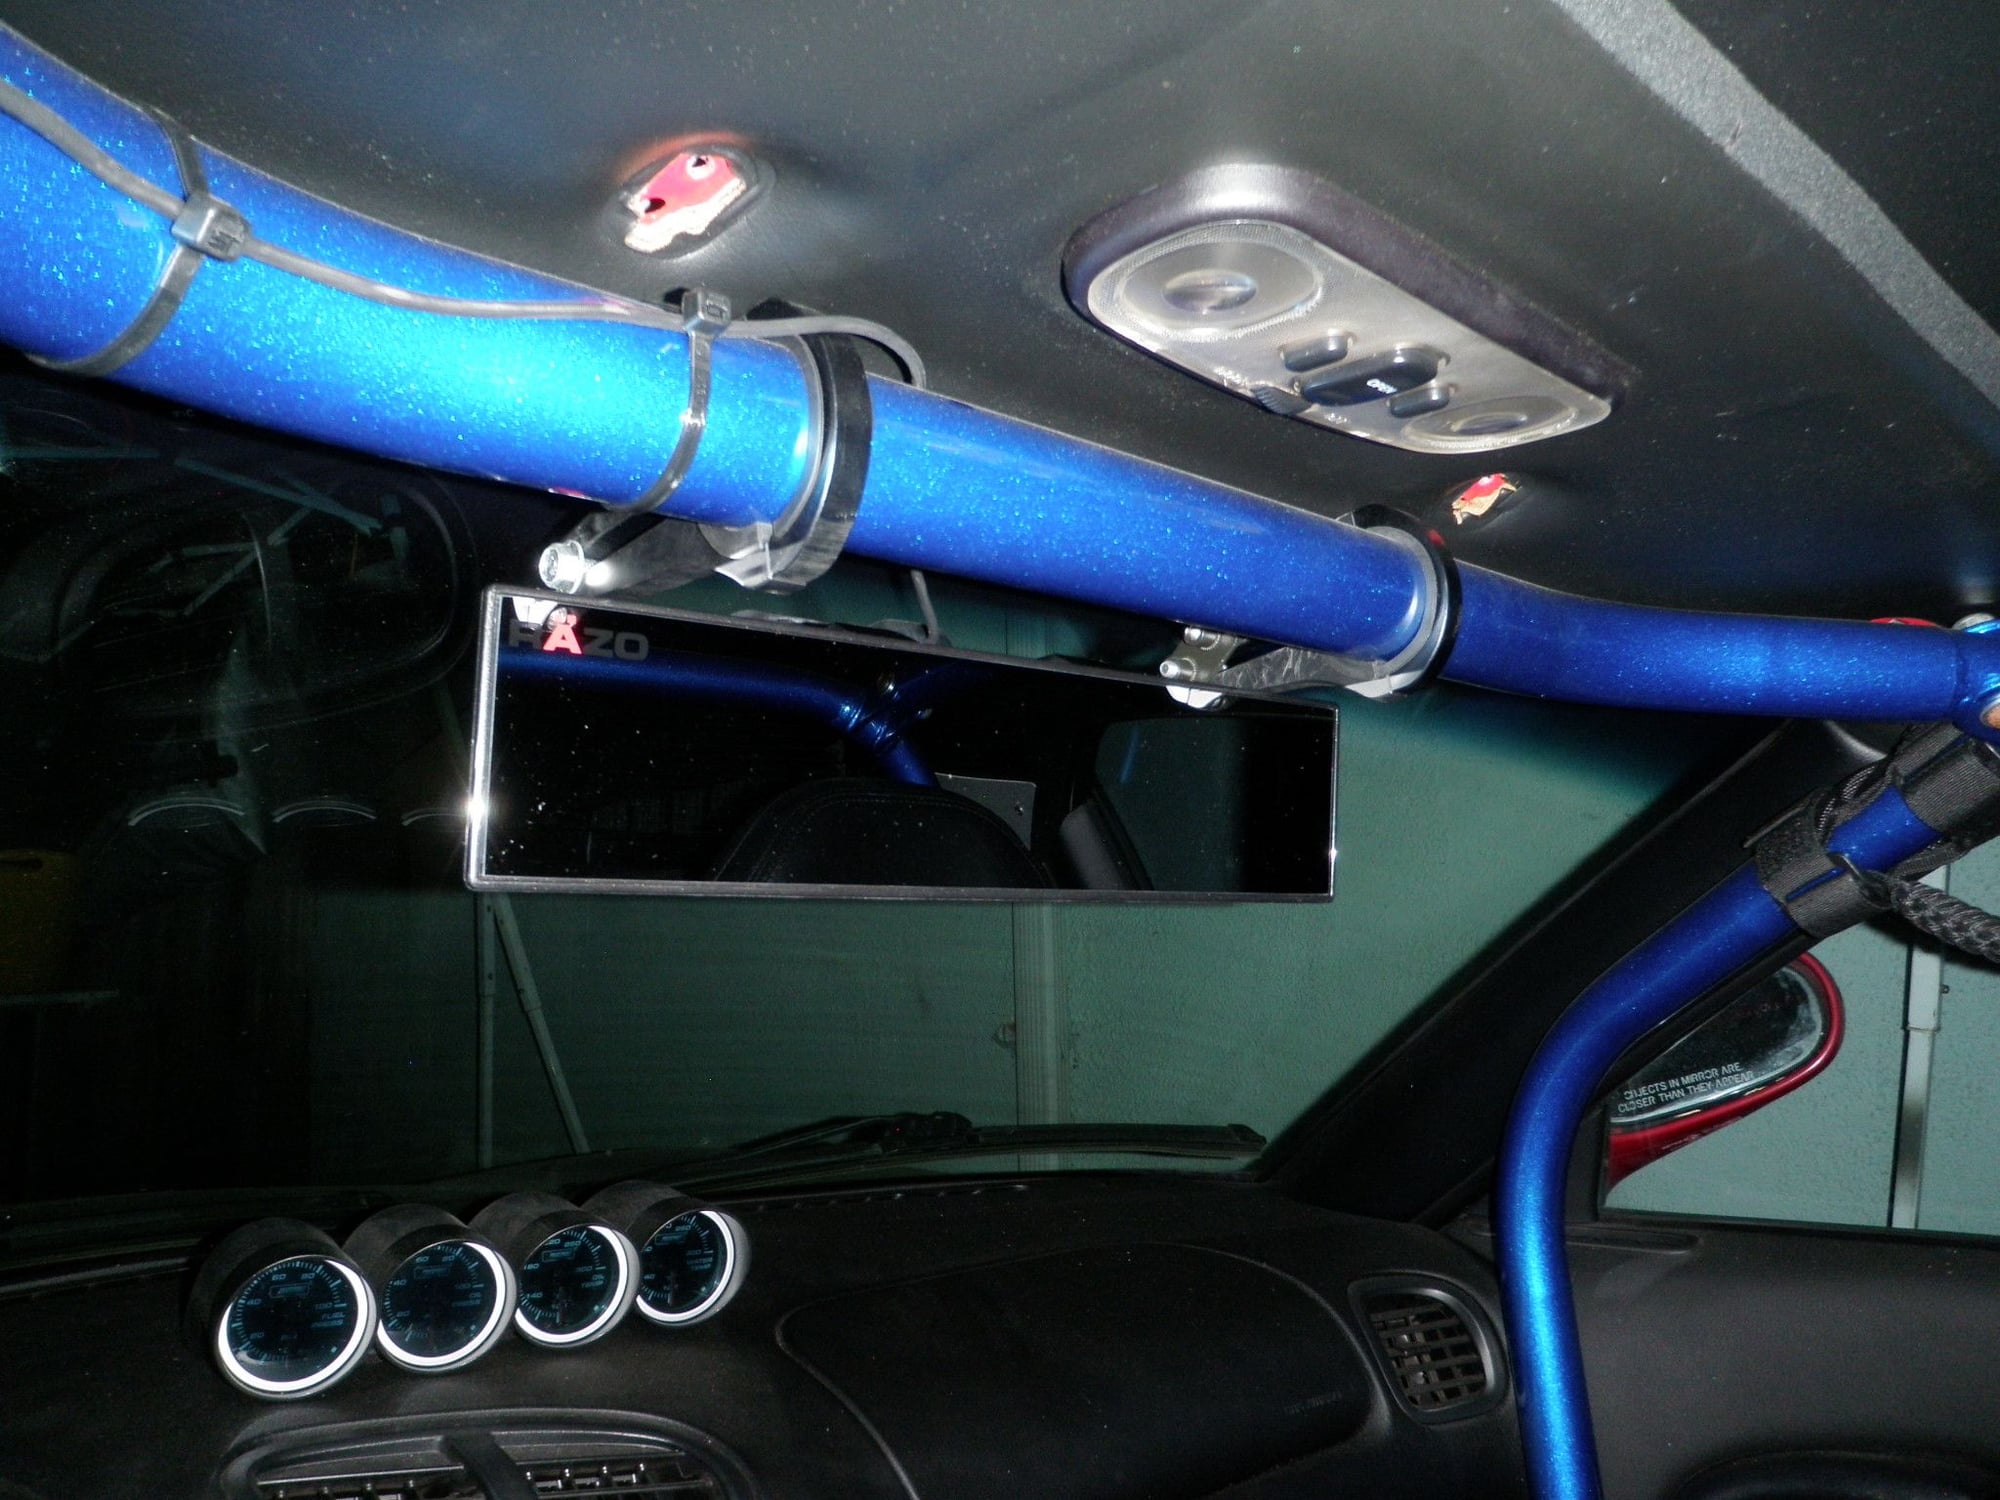
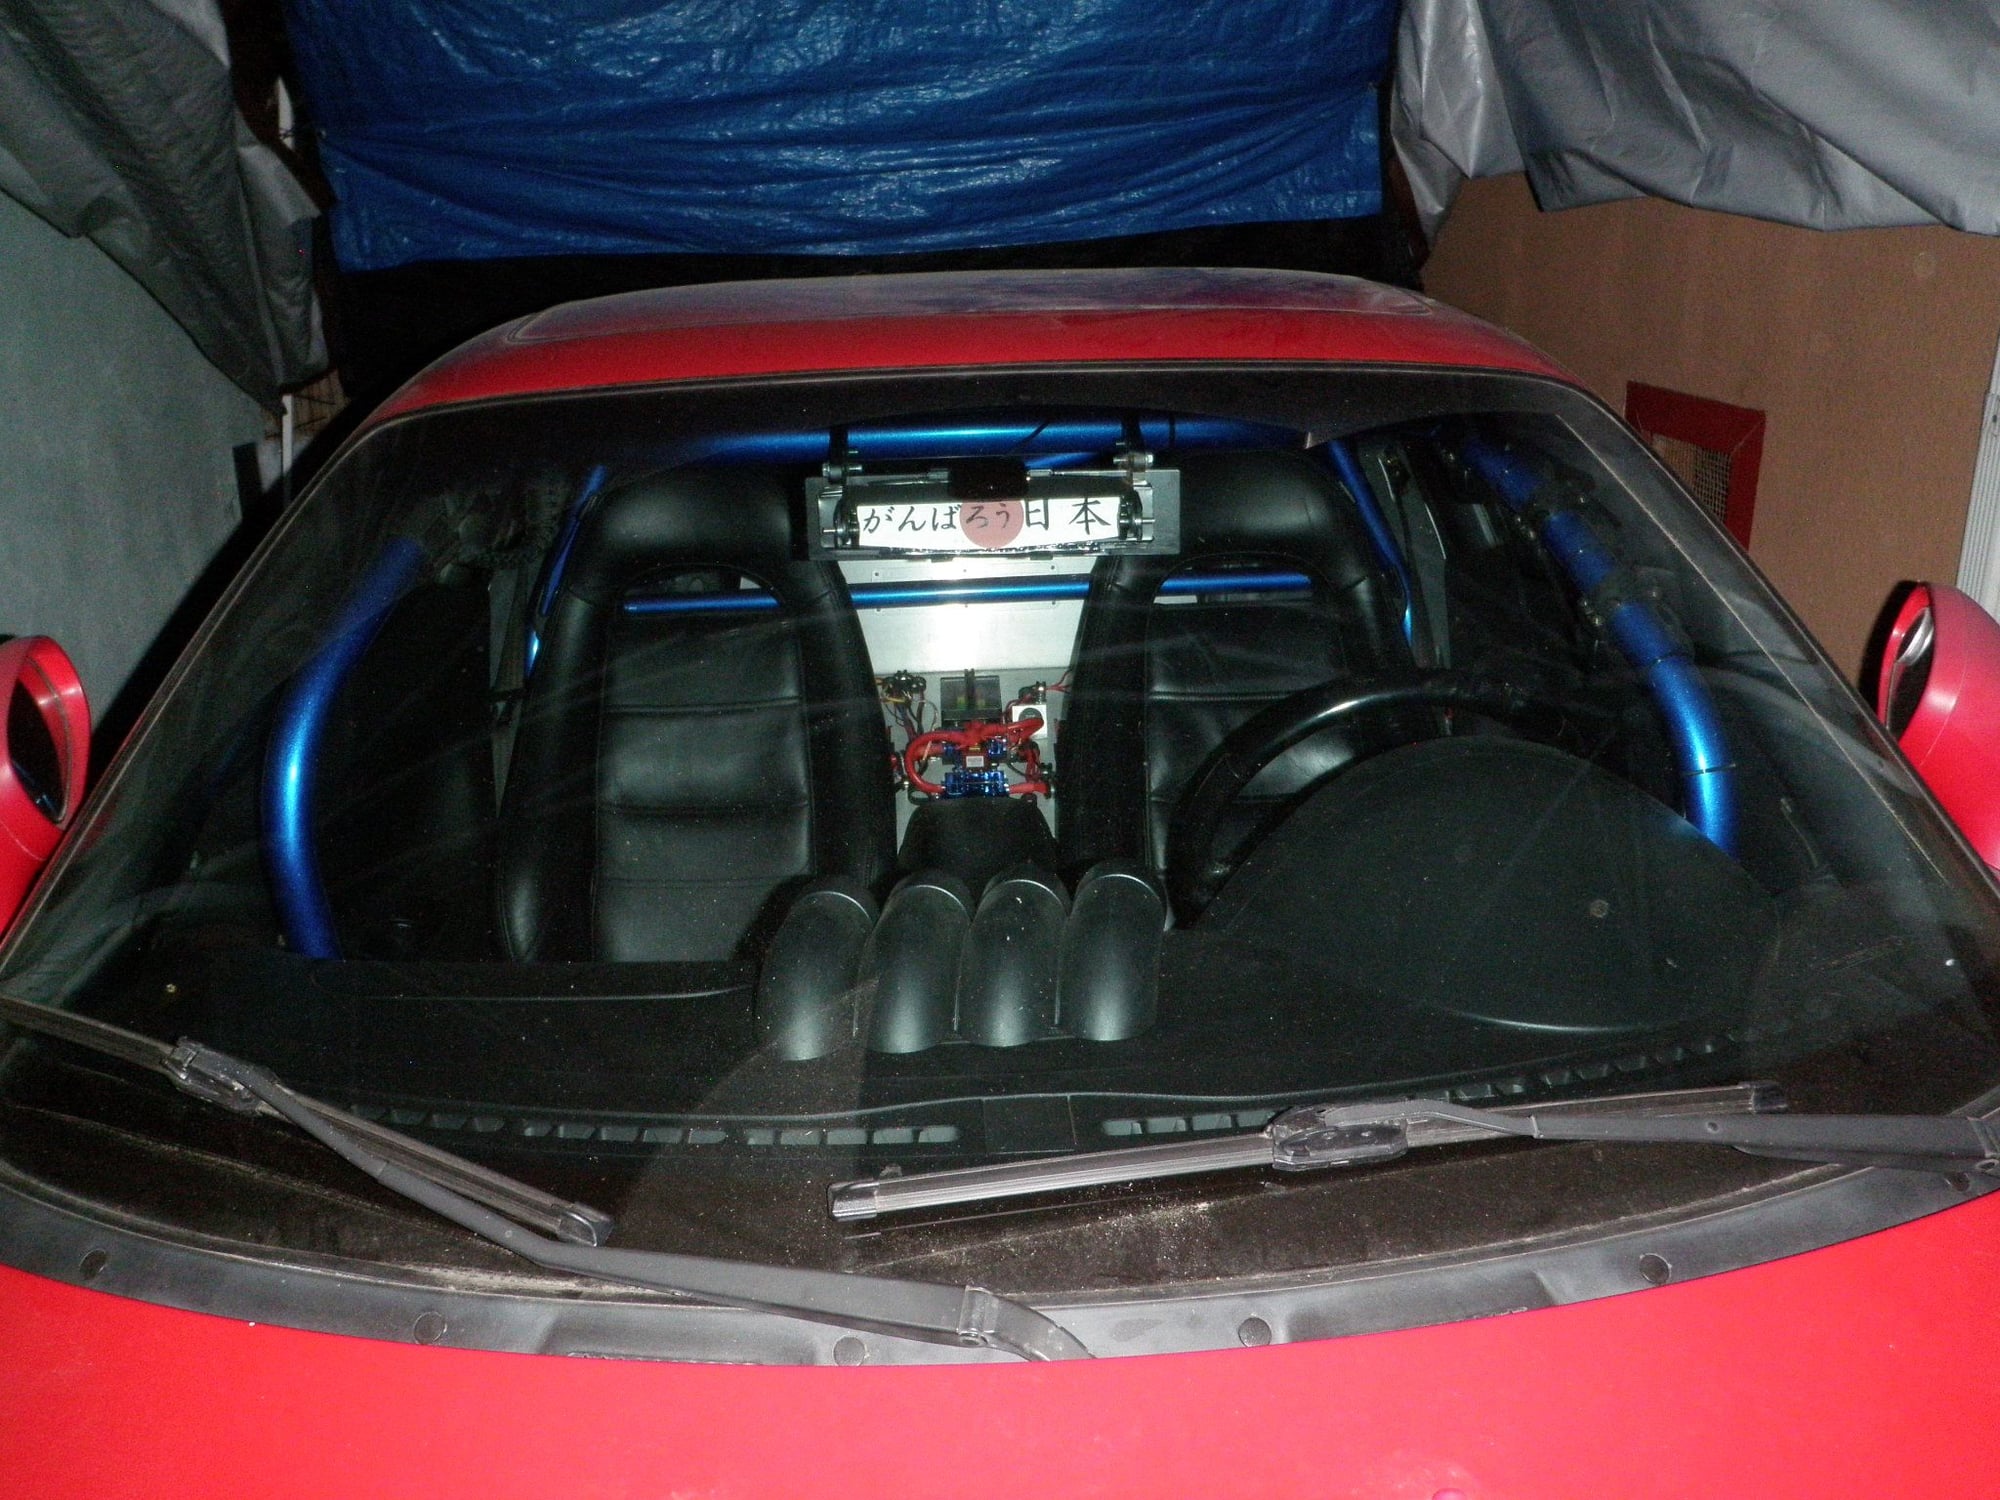
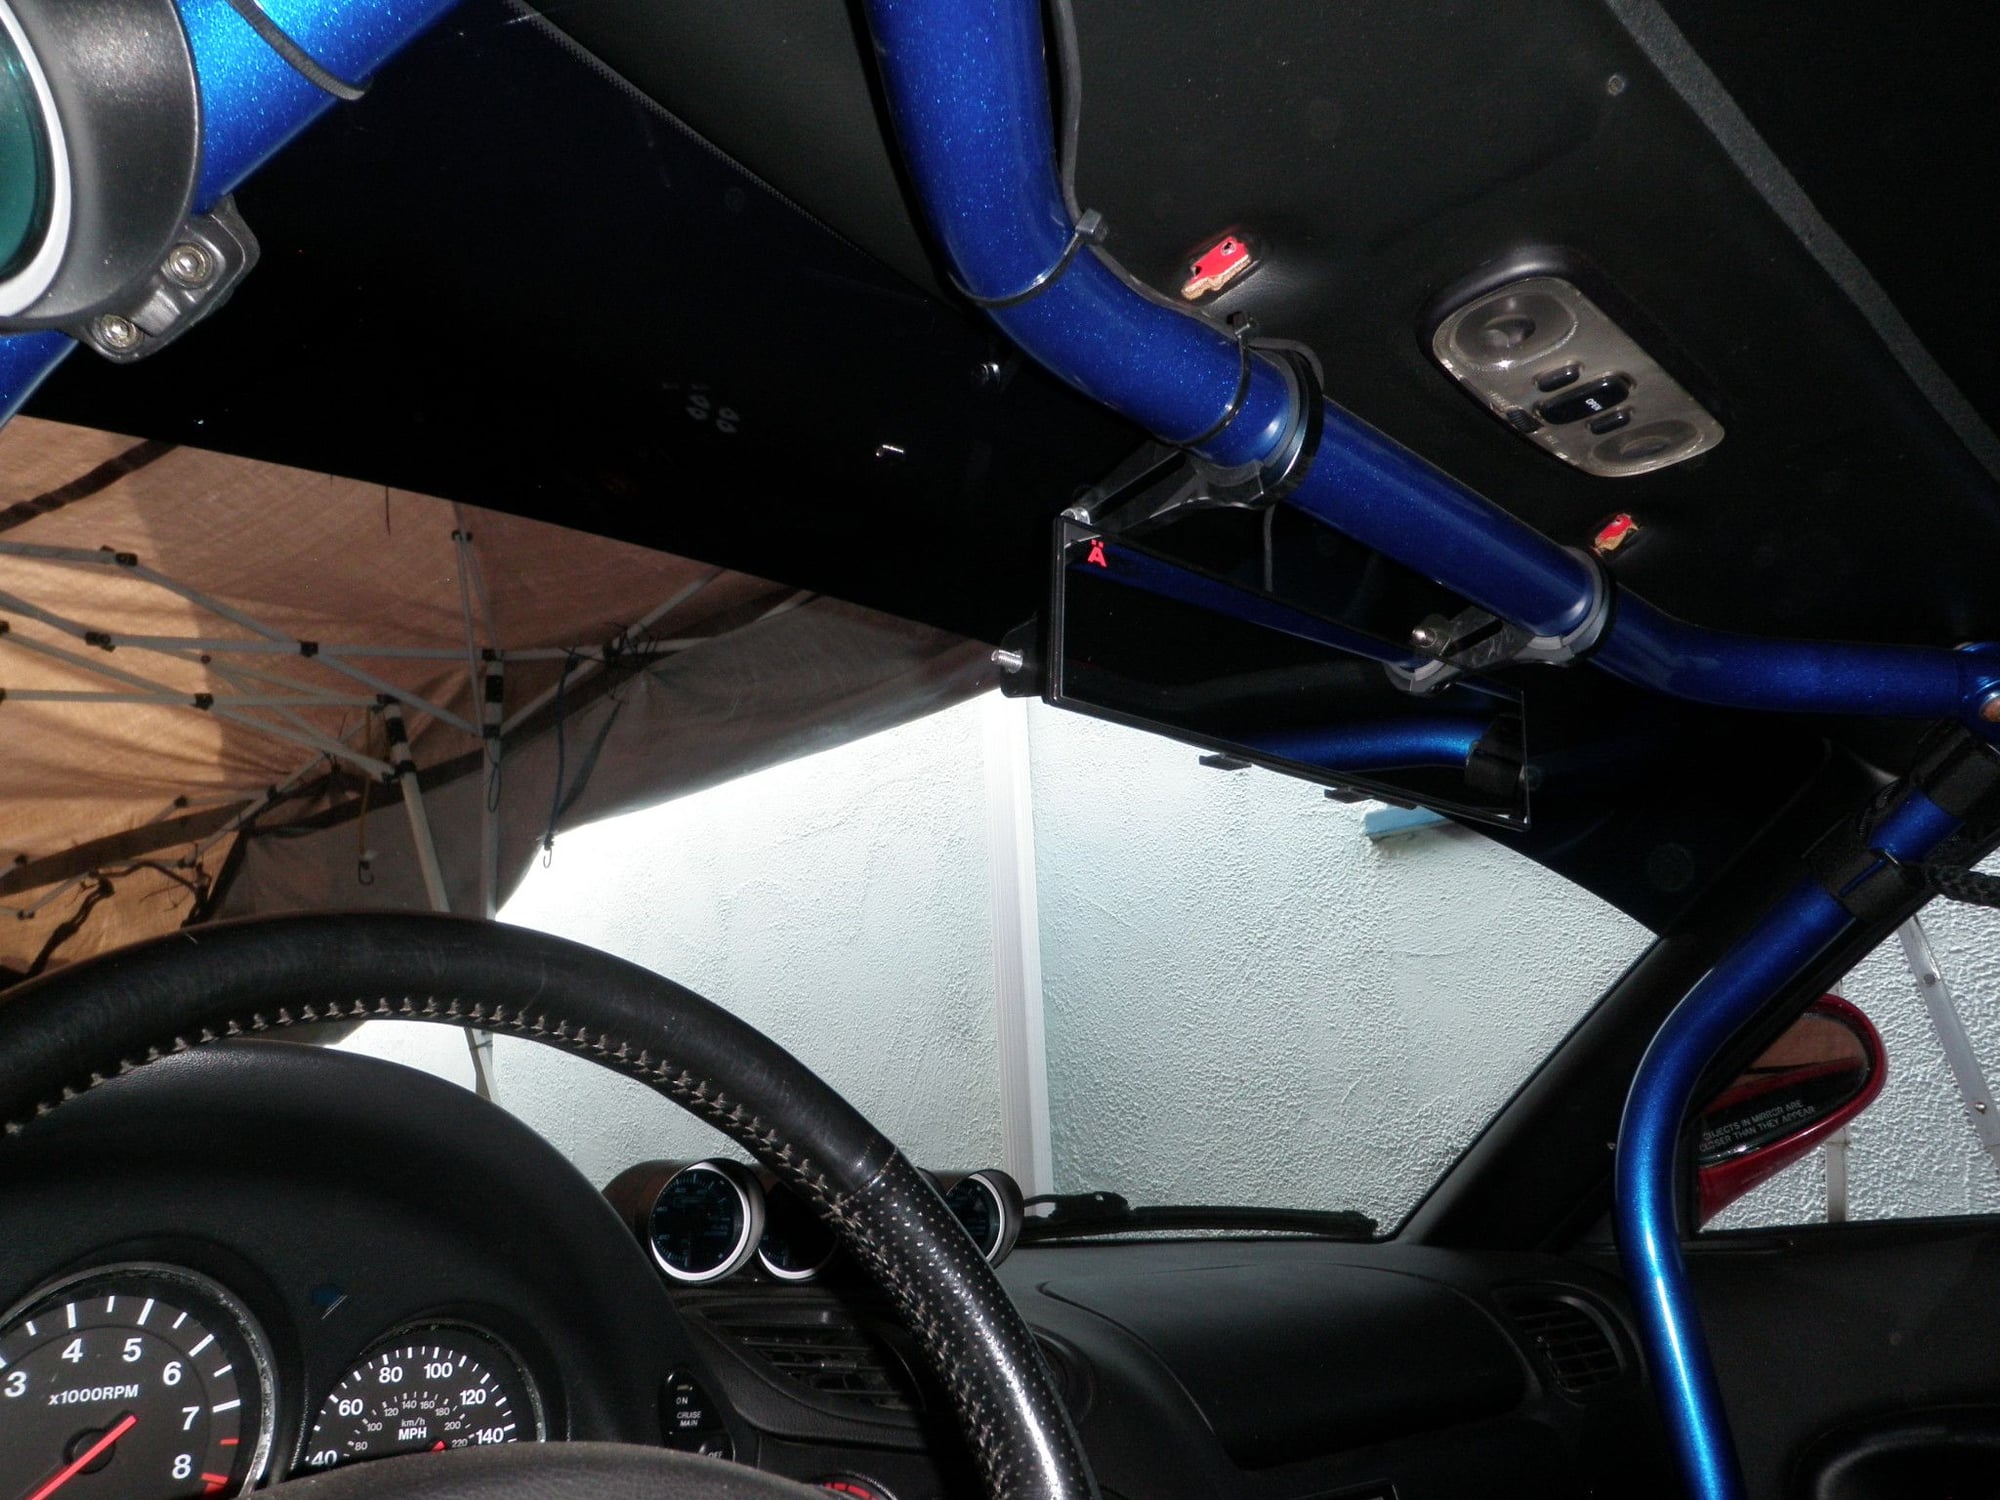
Next was the new RAZO mirror. I loved the brackets and the placement, but the ATV mirror itself was driving me nuts. The wide angle and the mirror were both too wide and was annoying as hell for daily driving. For the track I think it’s perfect, but for everyday it’s just too much and I got tired of looking at my forehead while driving. I felt like I had left my body and I was looking down on myself… lol. I removed the mirror from the frame and cut the frame smaller than the width of the RAZO mirror. I glued so rubber trim onto the frame so the RAZO spring clamps could have a better bite. This RAZO mirror is straight and not curved so I had to angle it on the bracket. I can see out the back window and no more looking down on myself. I put a Japanese Mazda sticker on the back of the mirror bracket and looking through the front window into the car you can see it, it gives it a nice little touch.
6. Vinyl Stickers
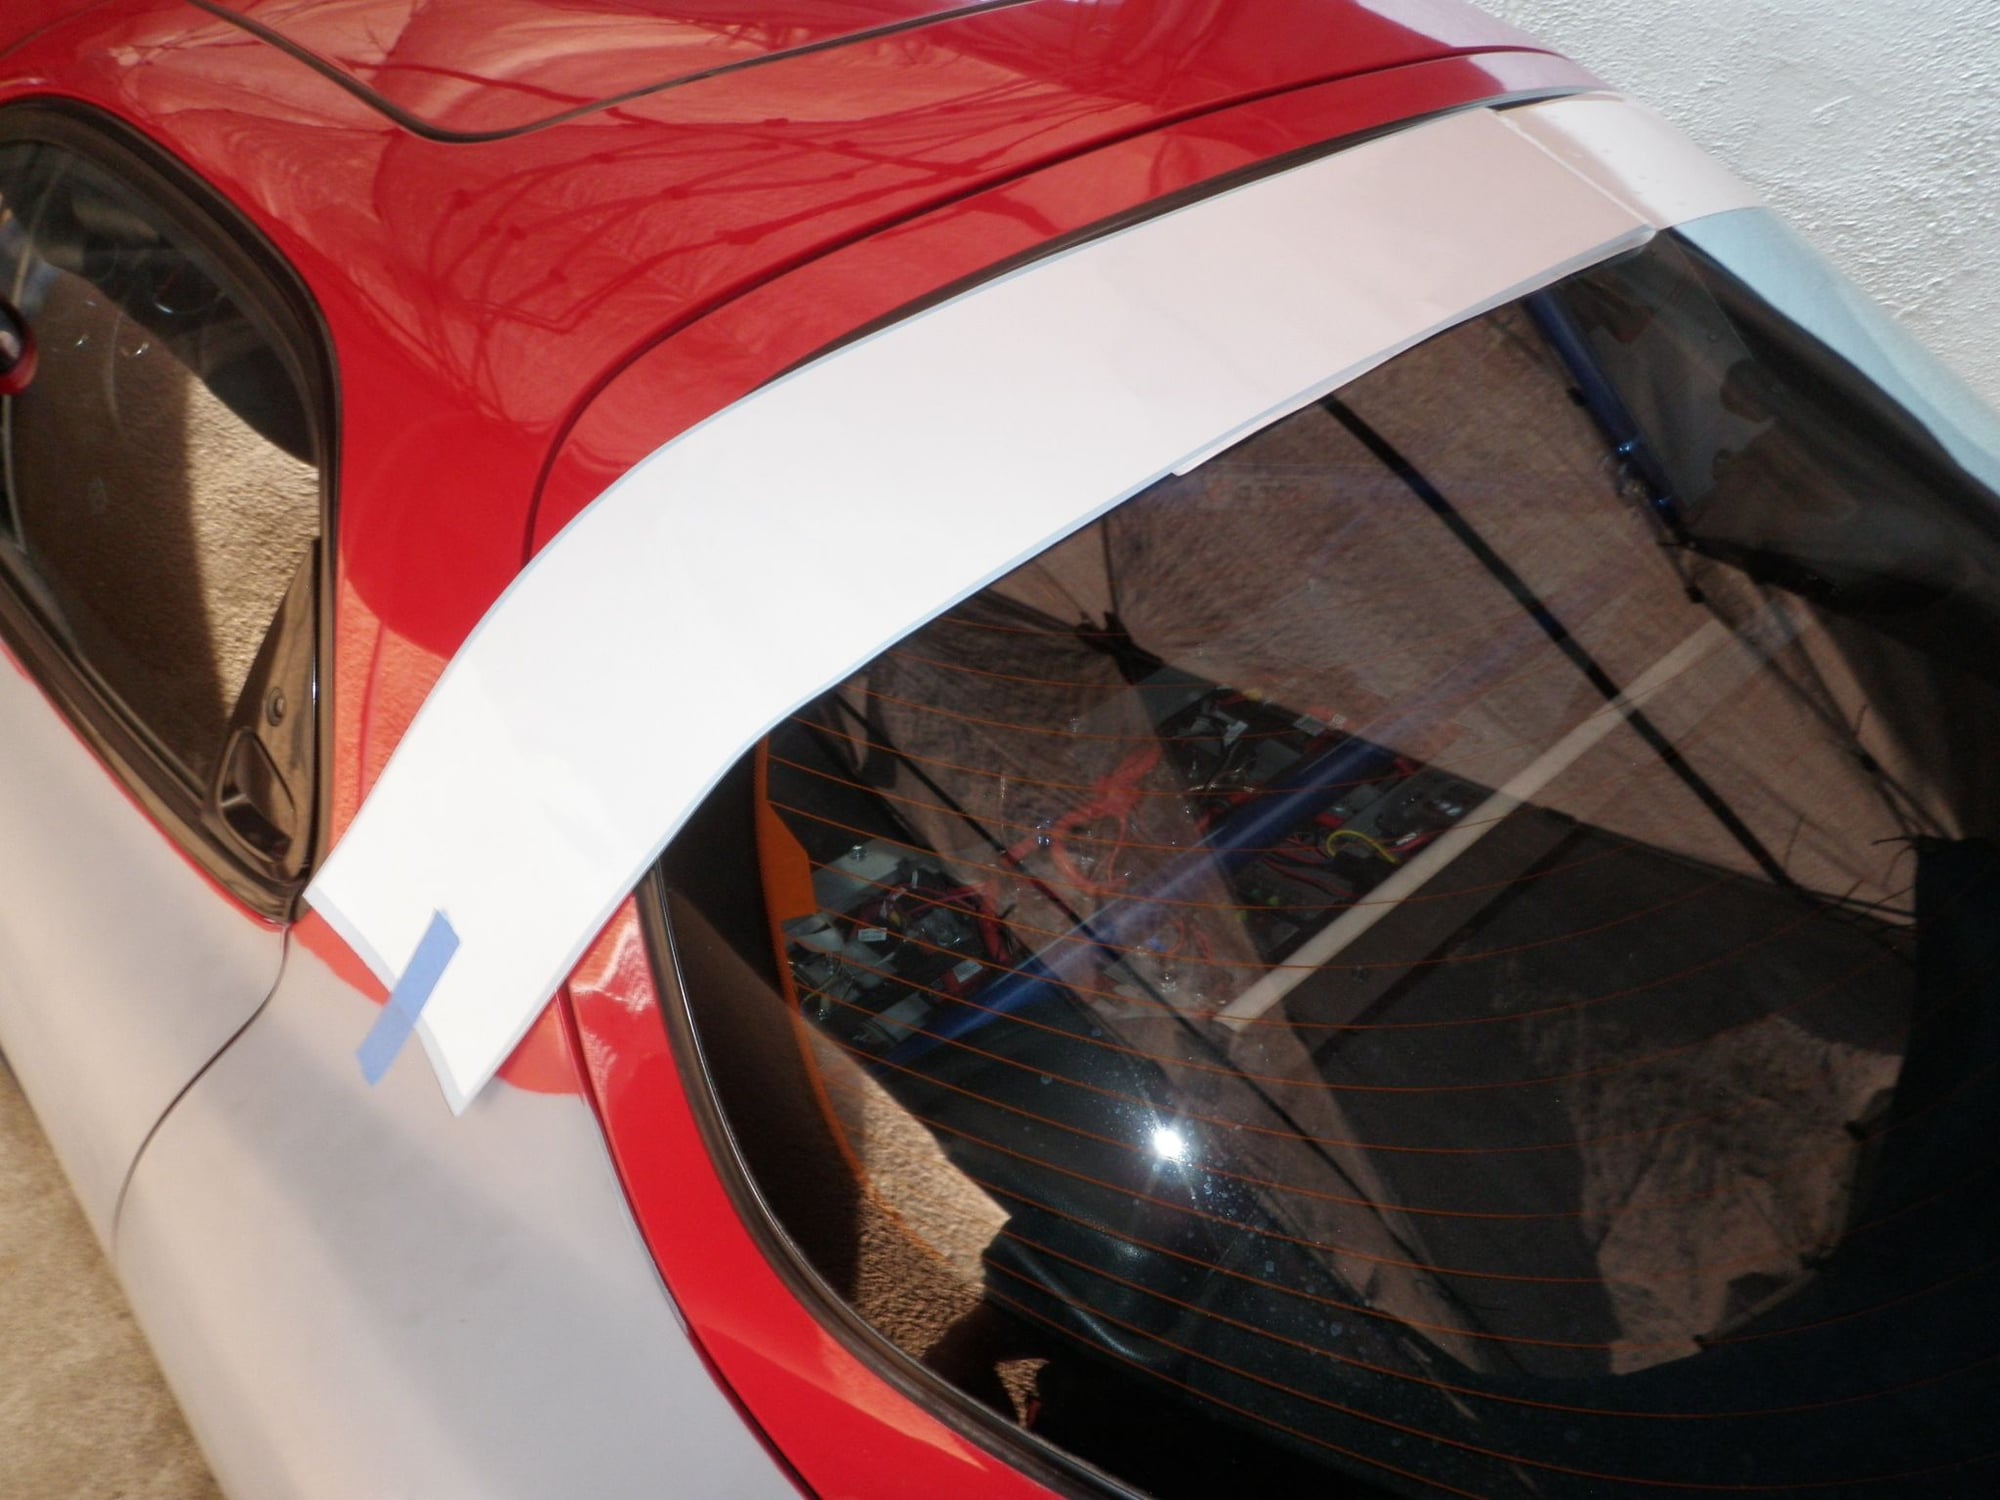
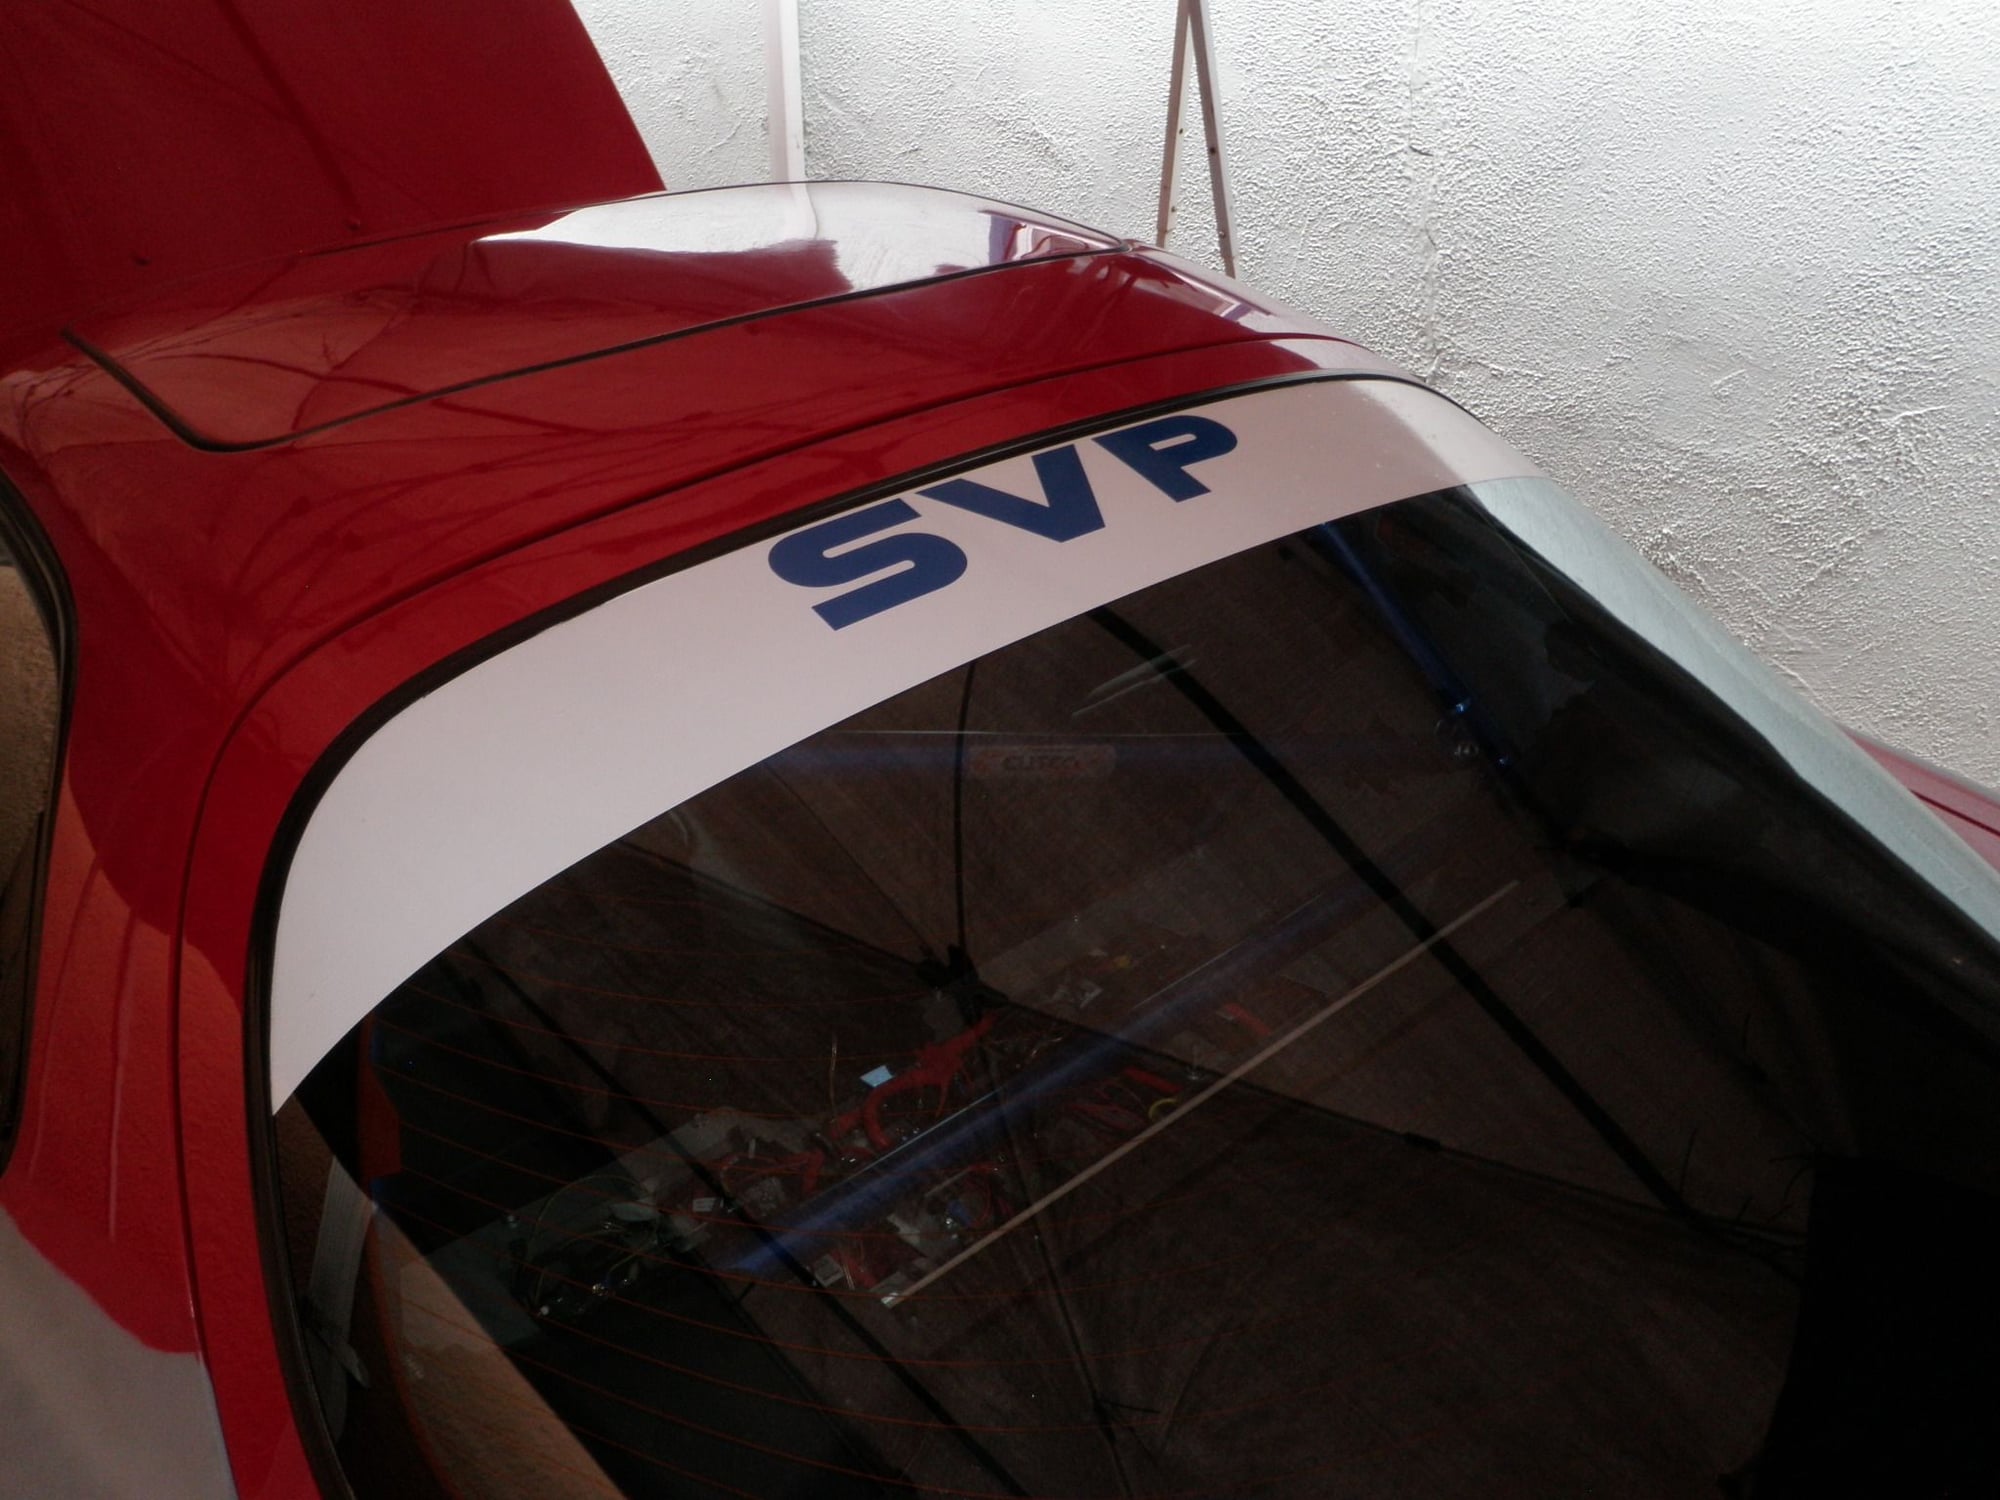
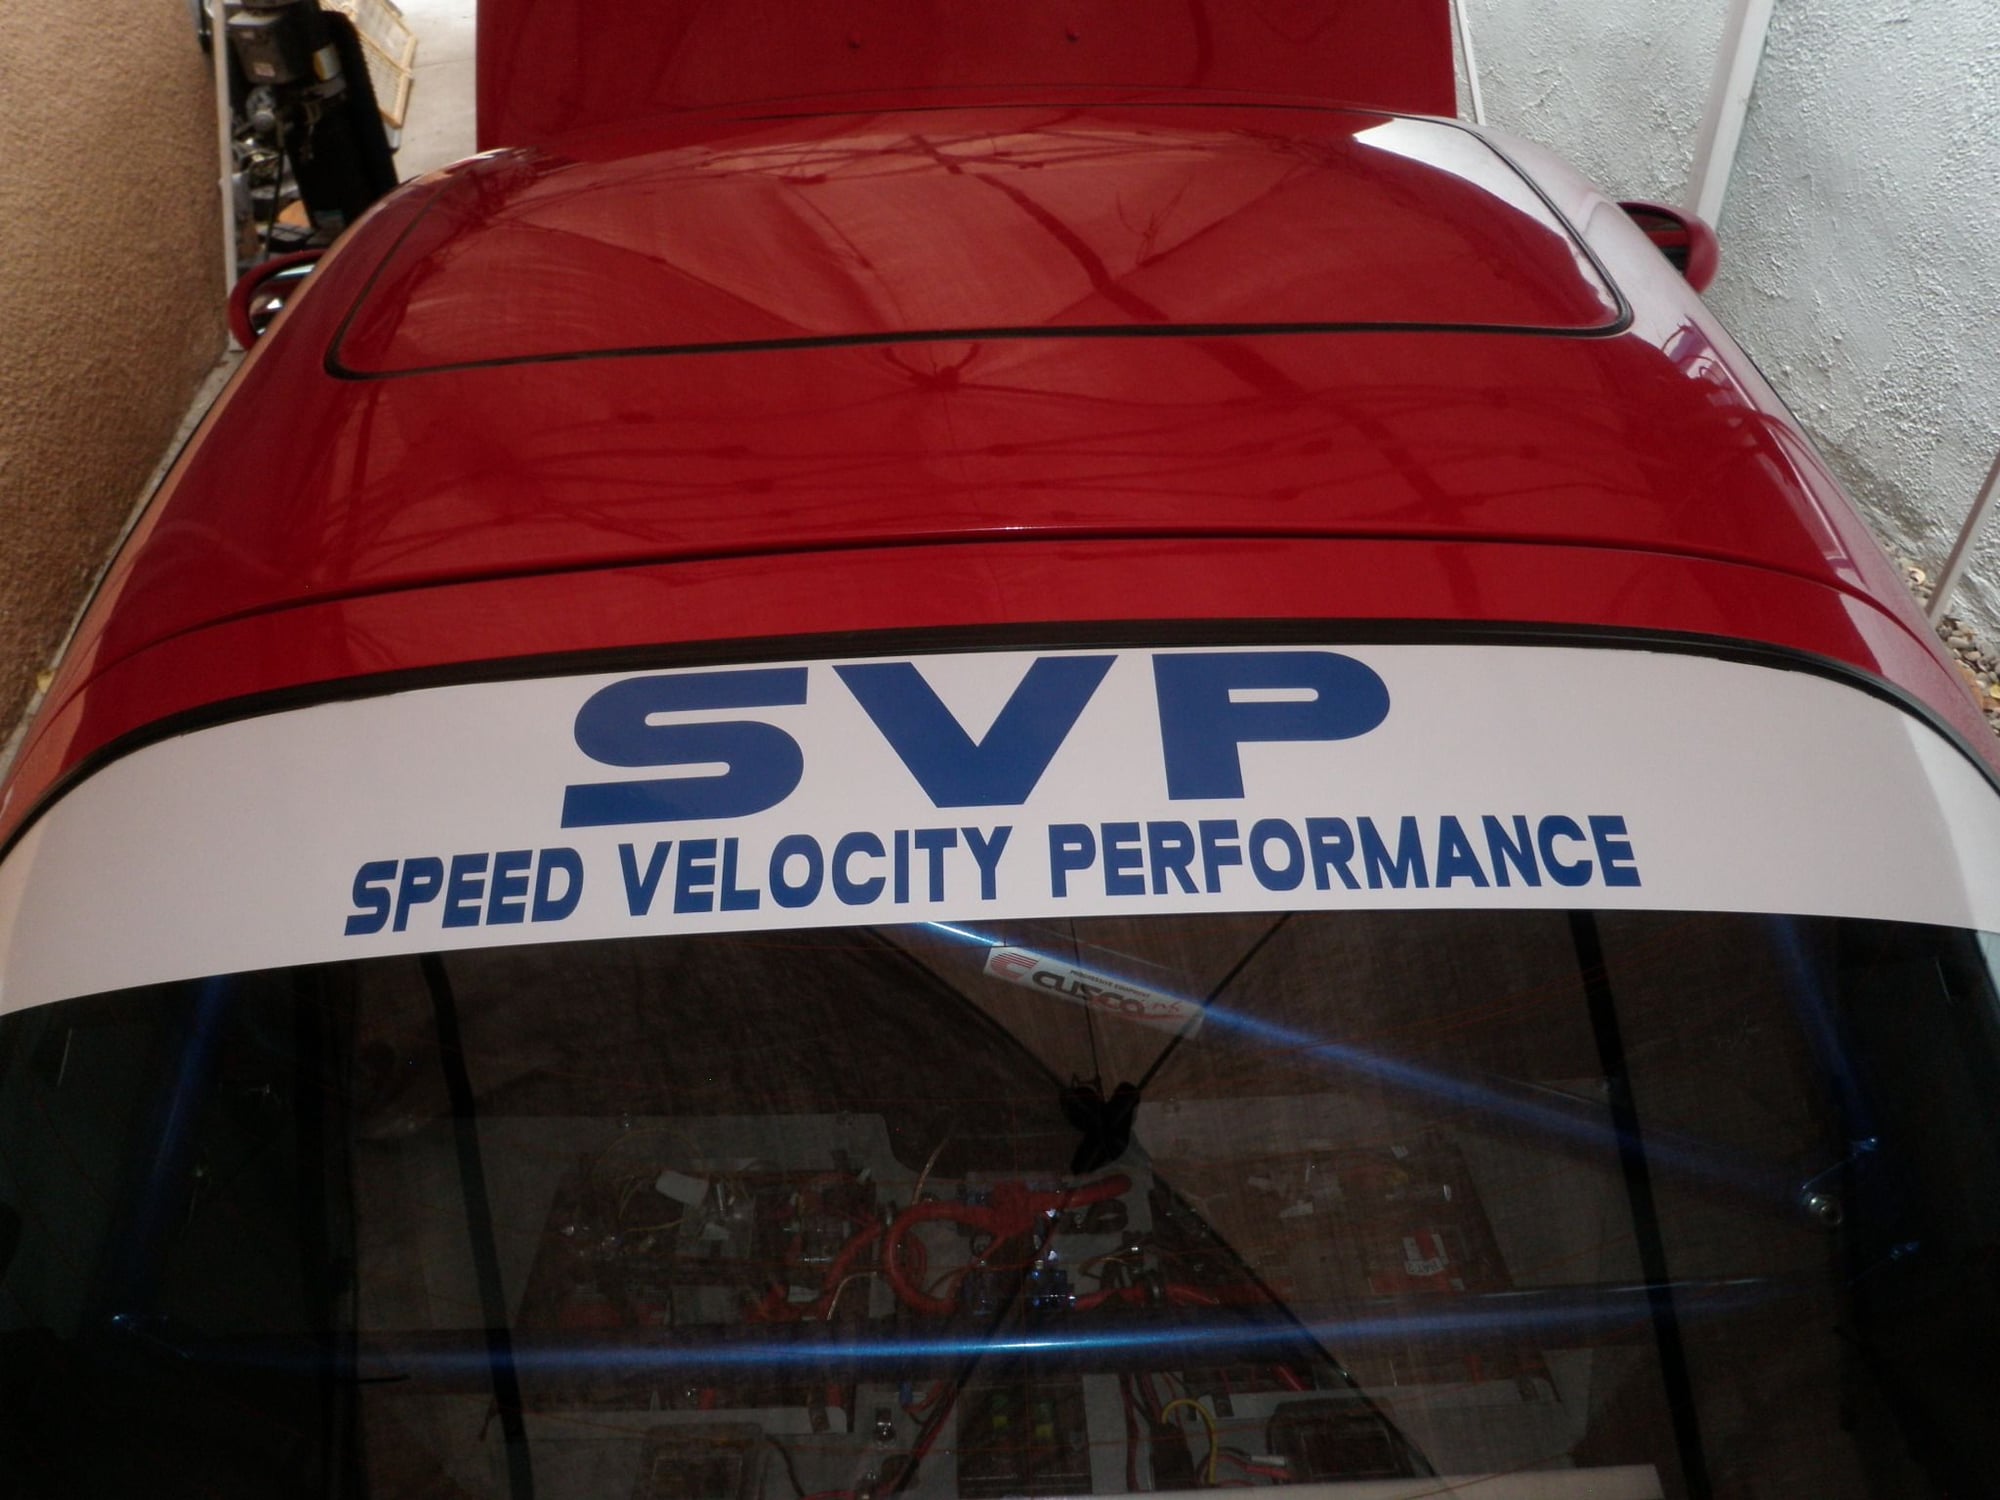
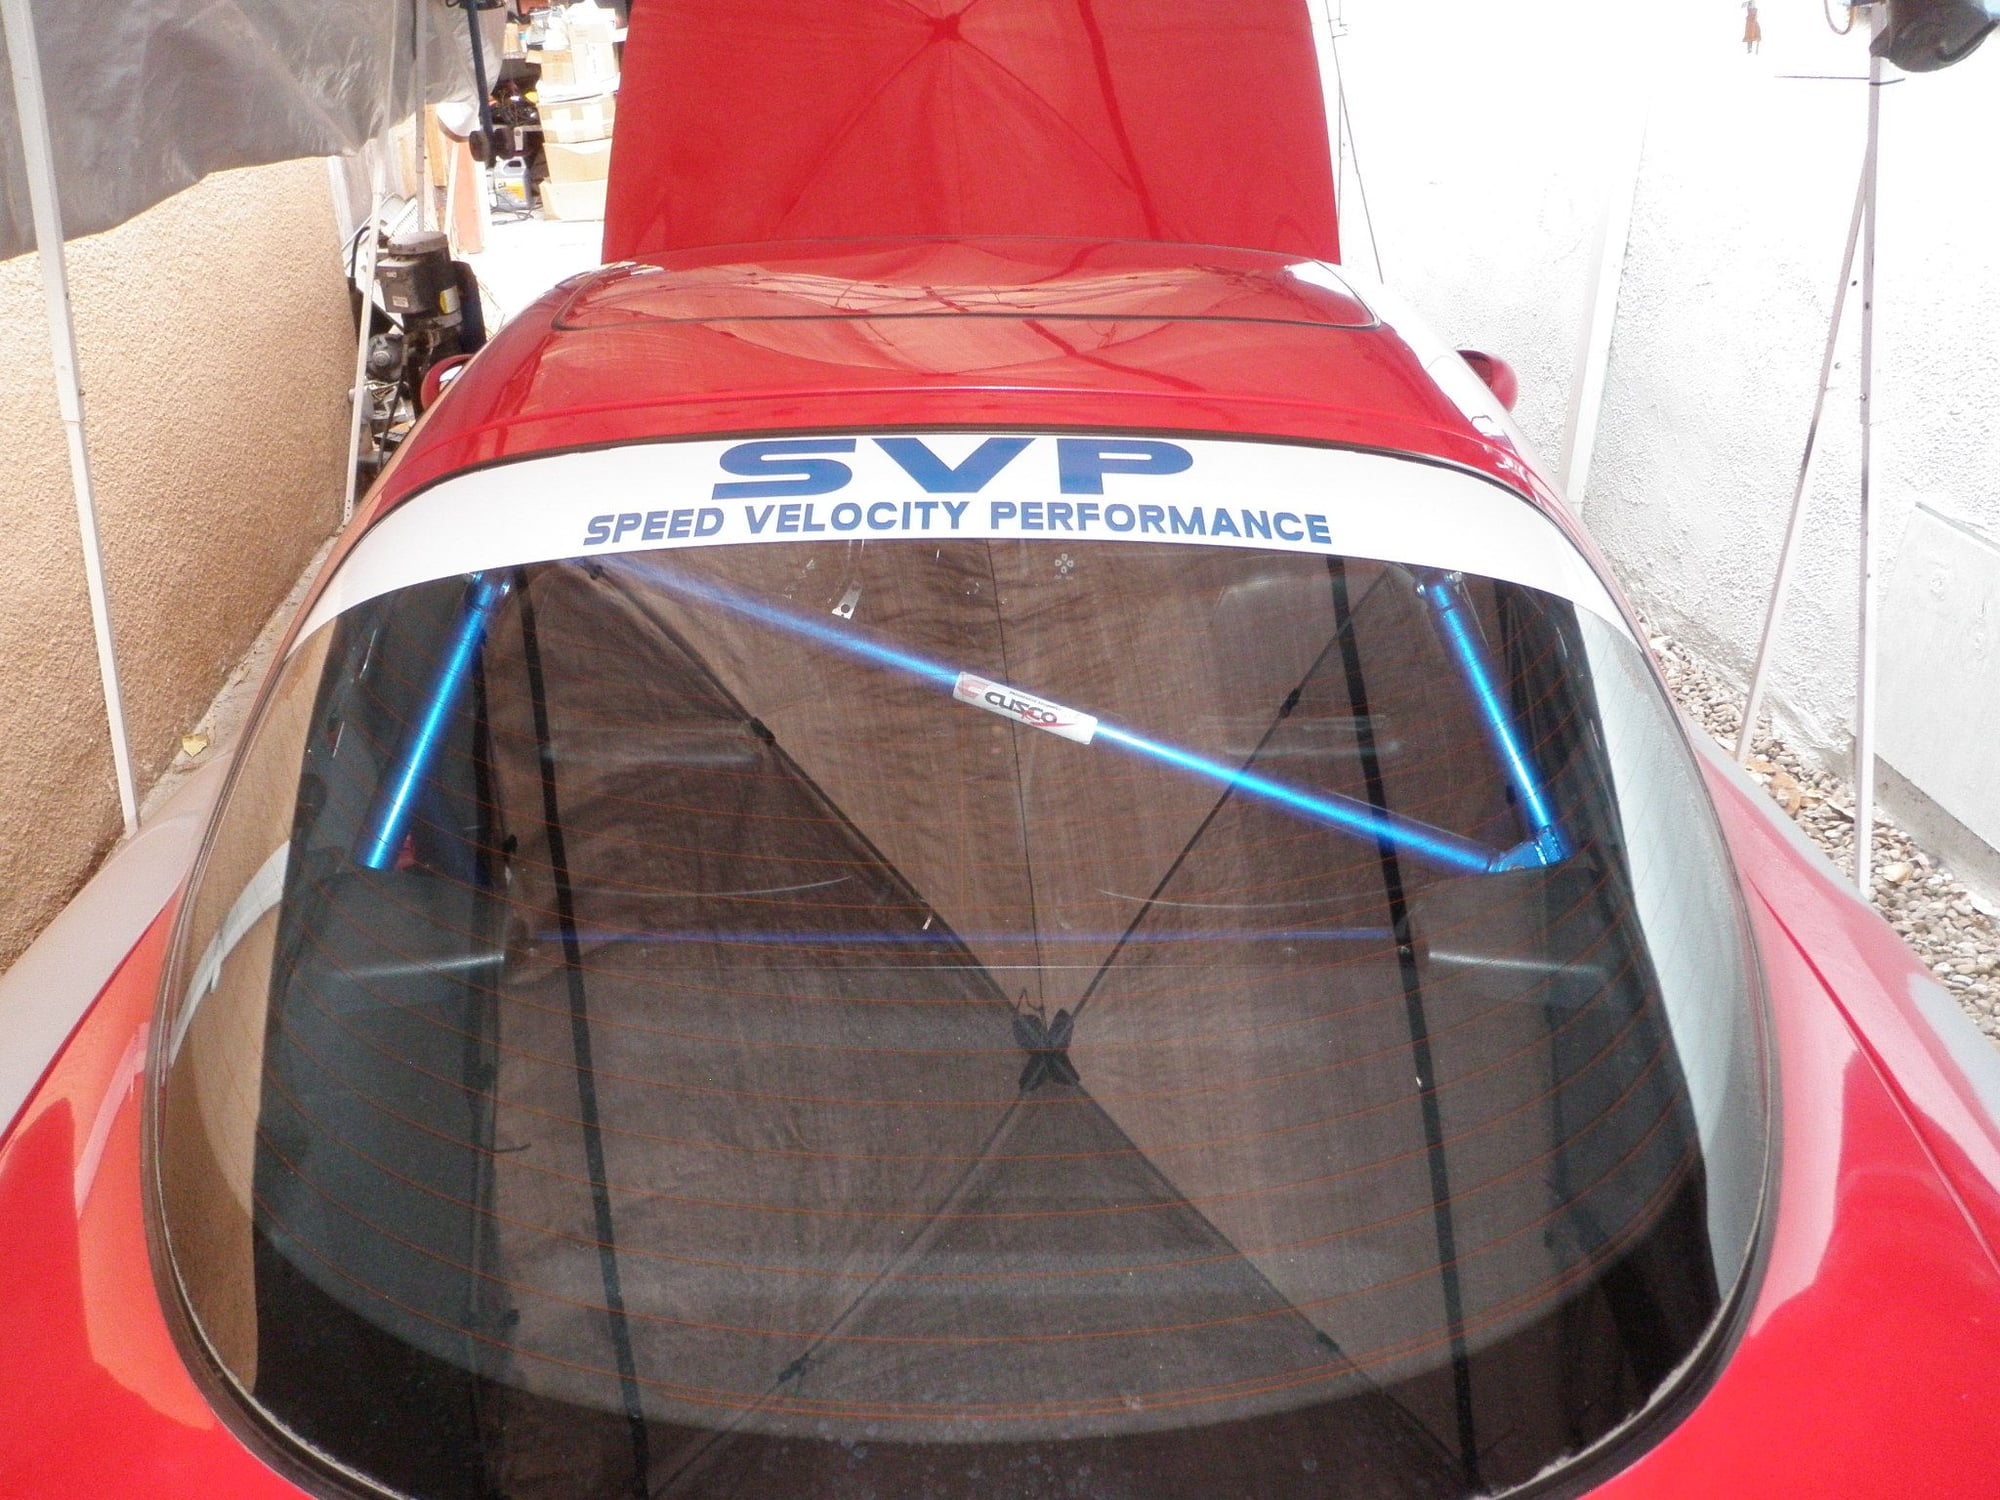
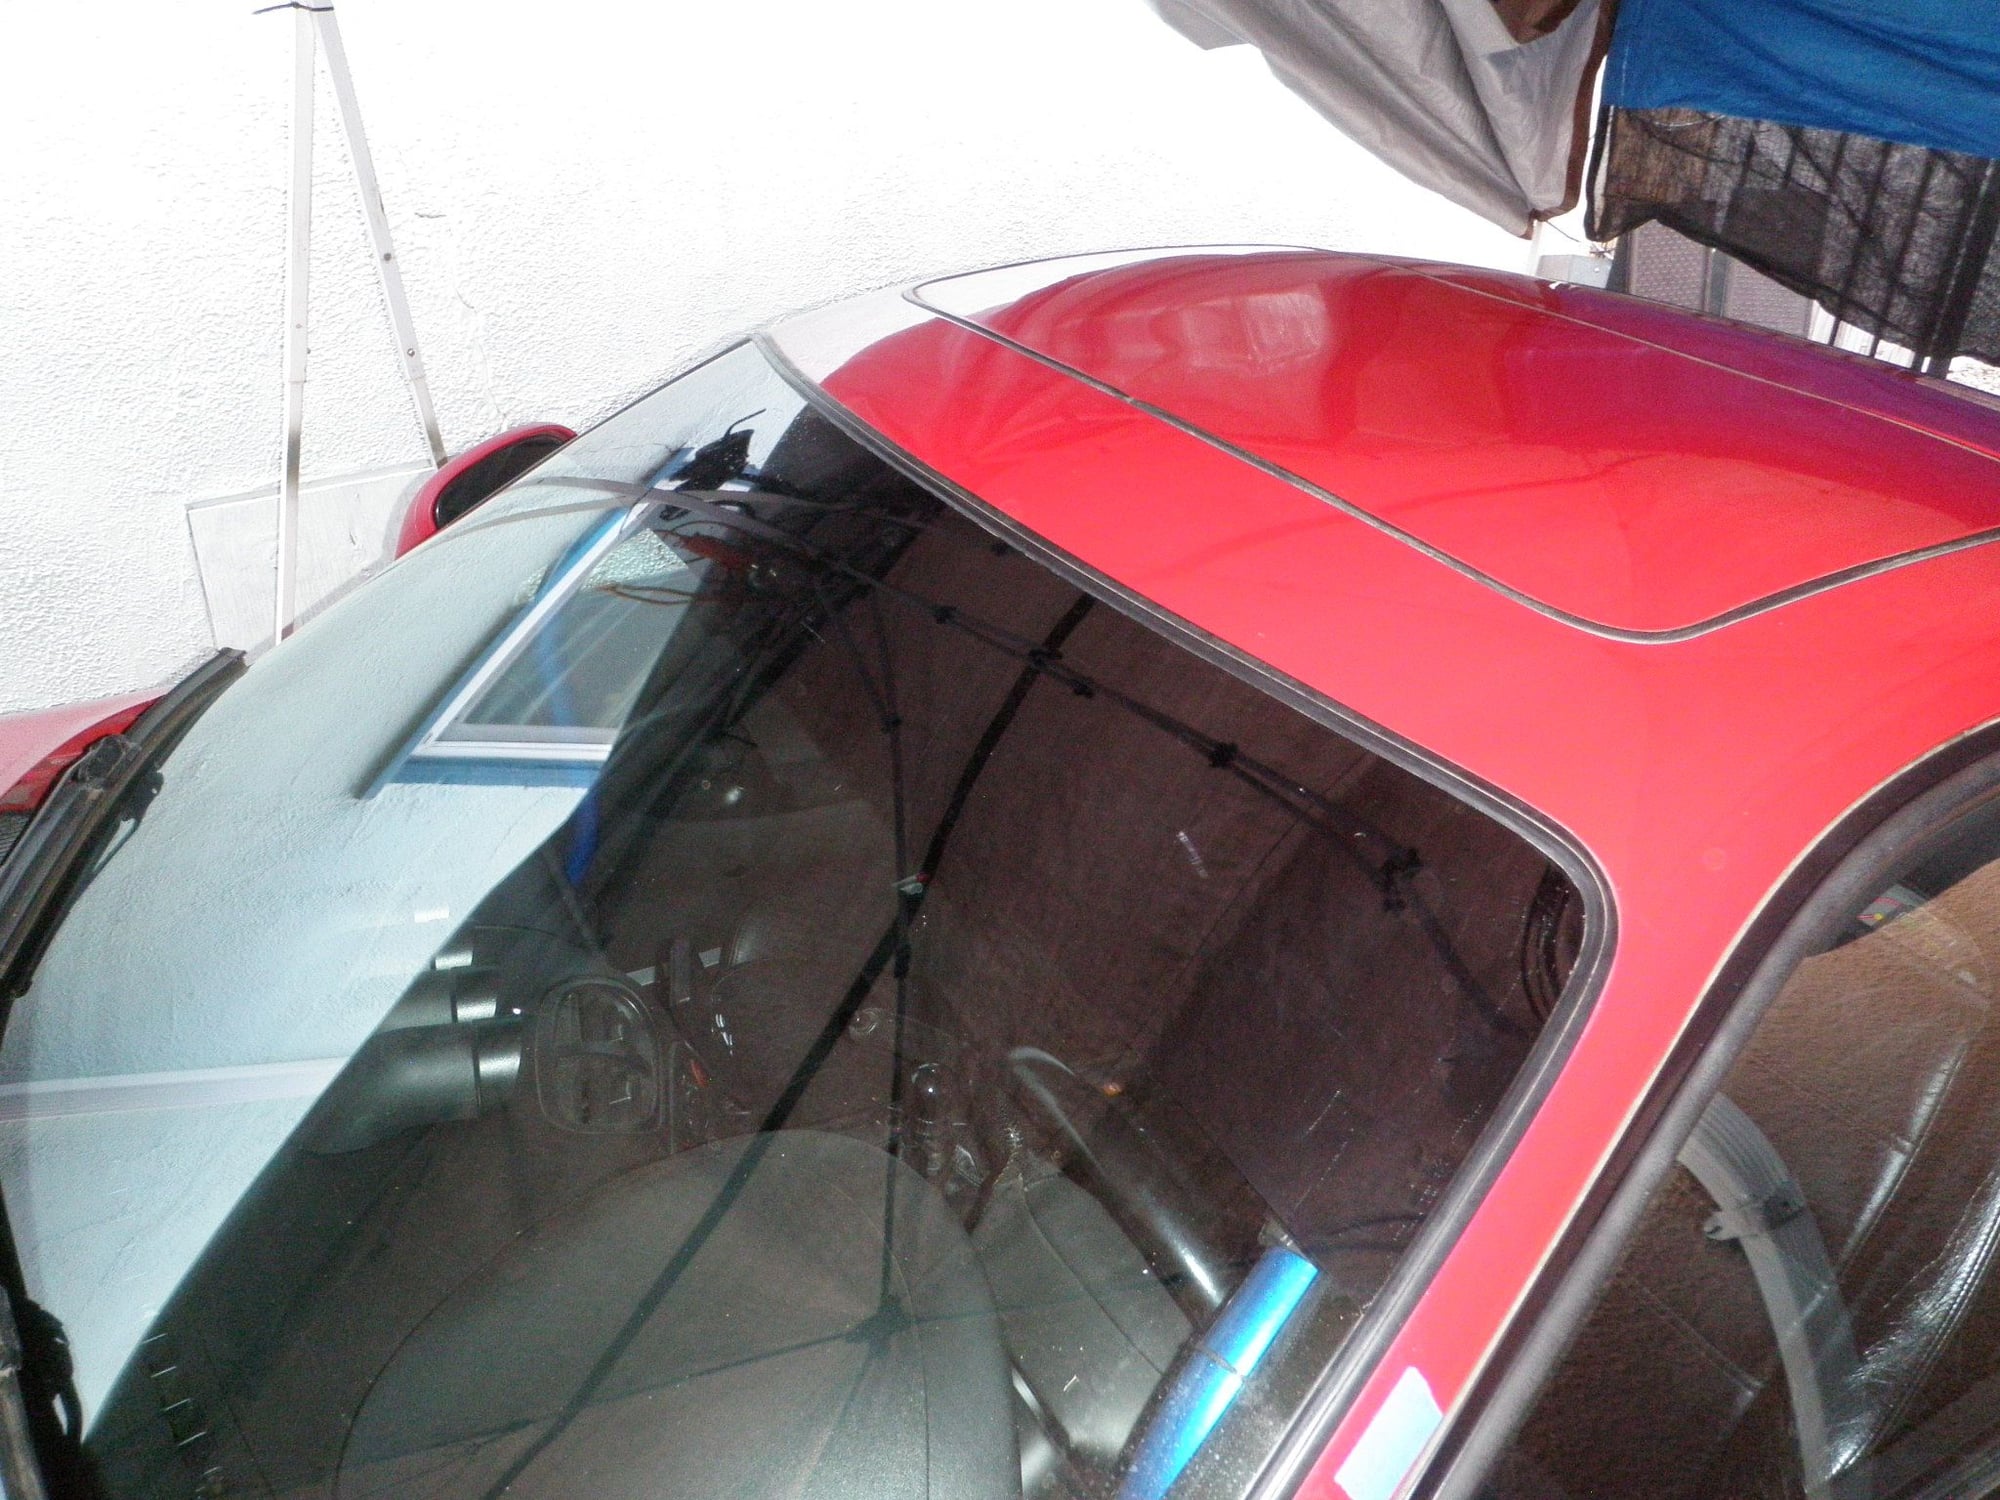
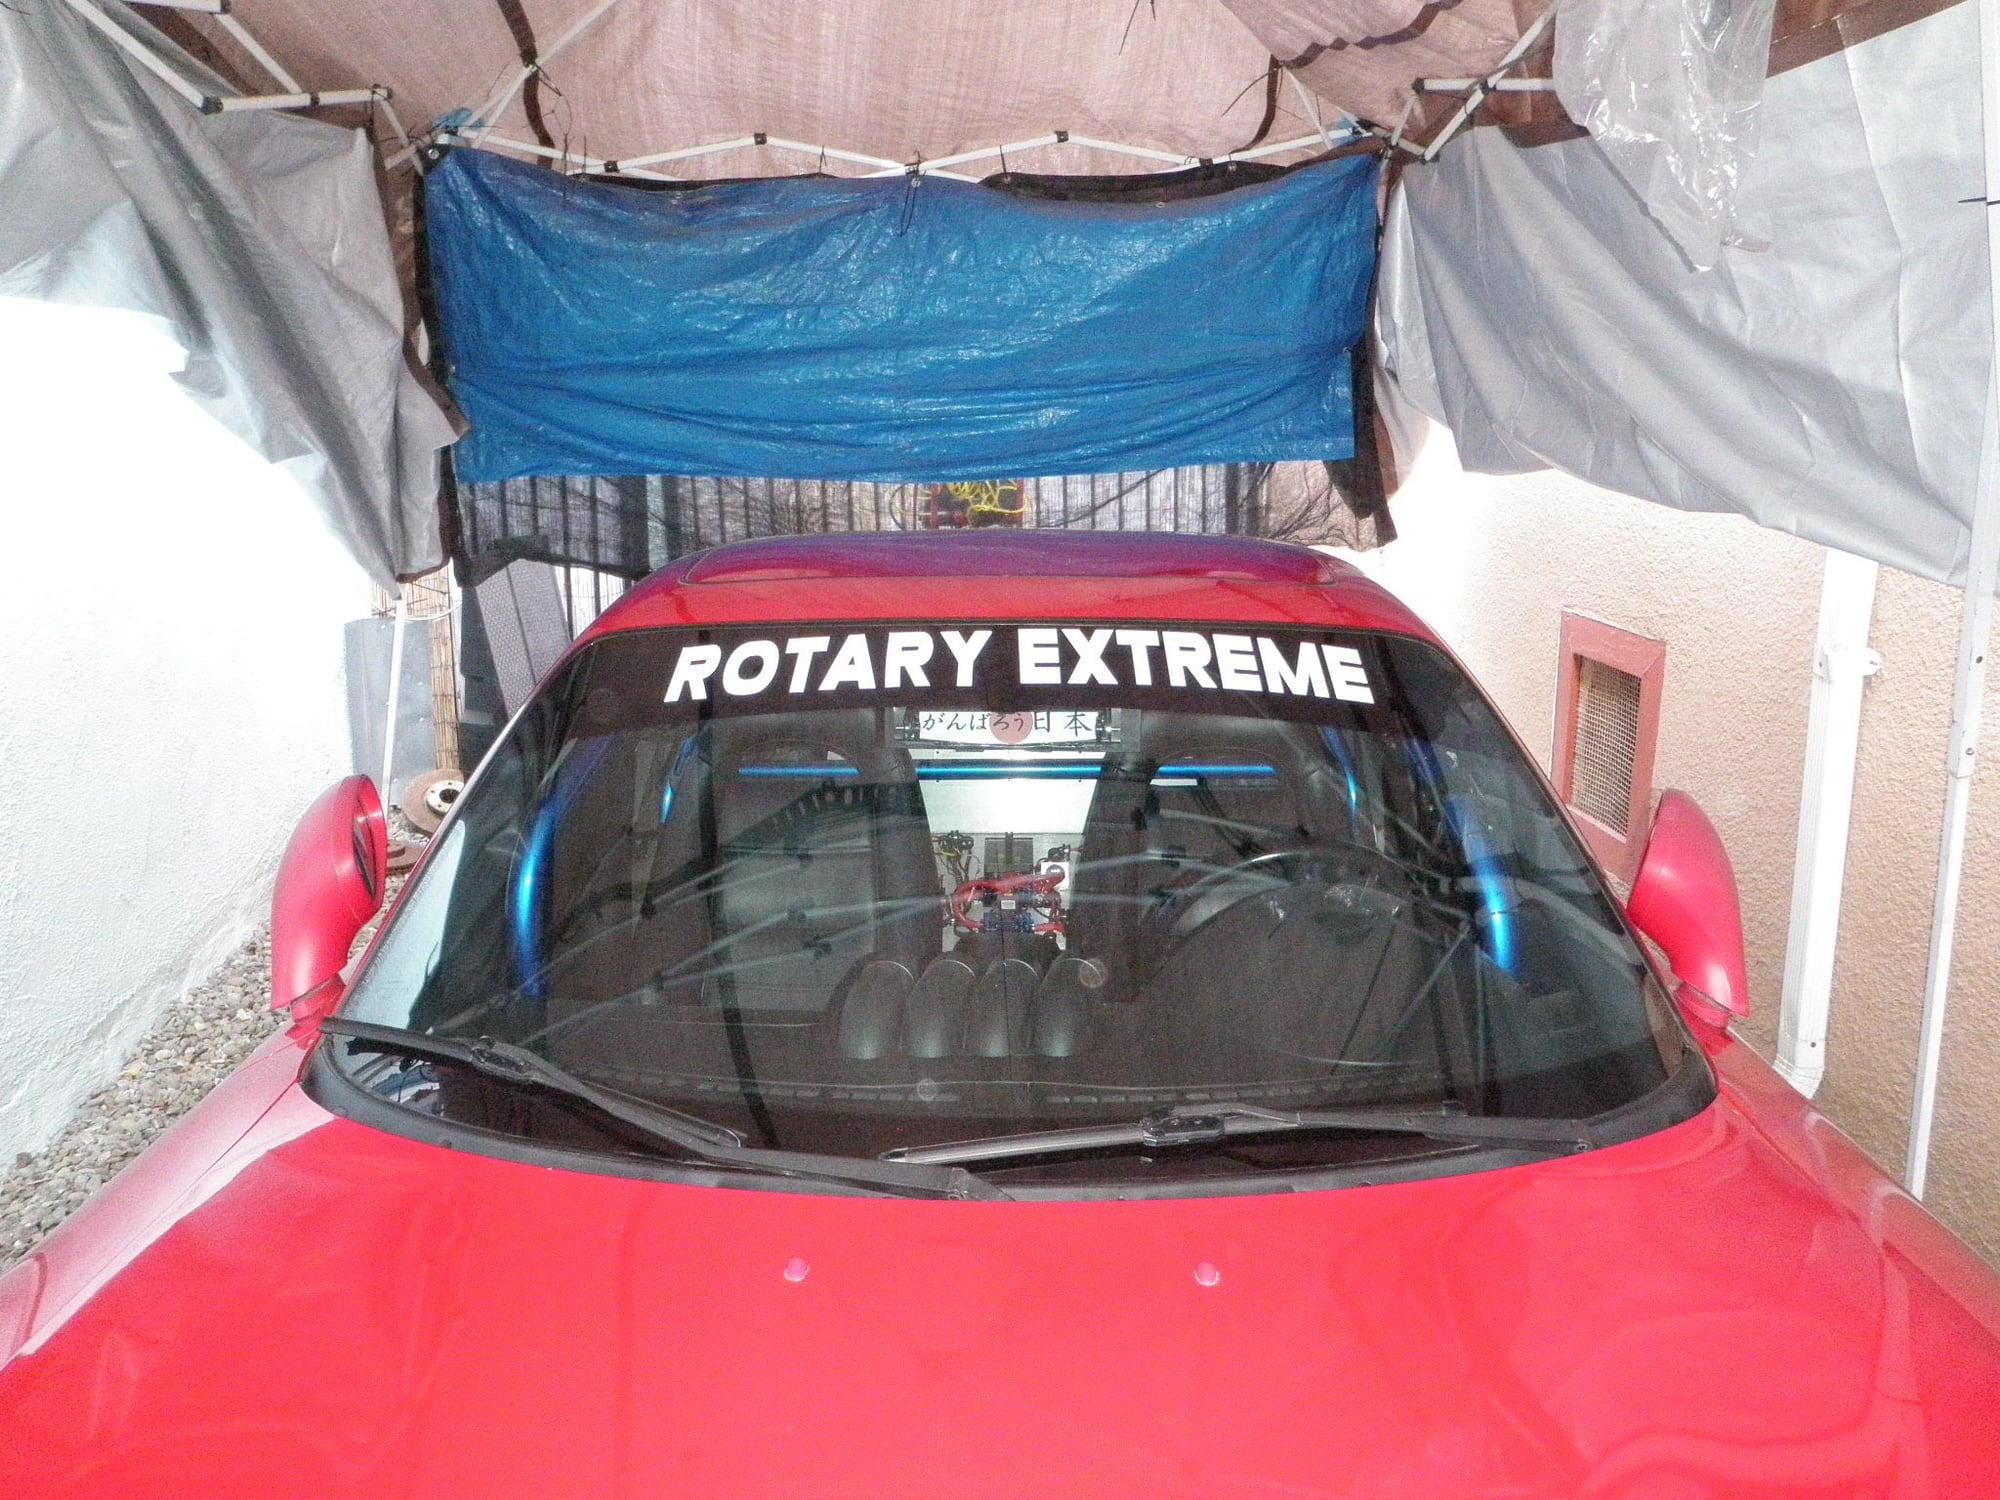
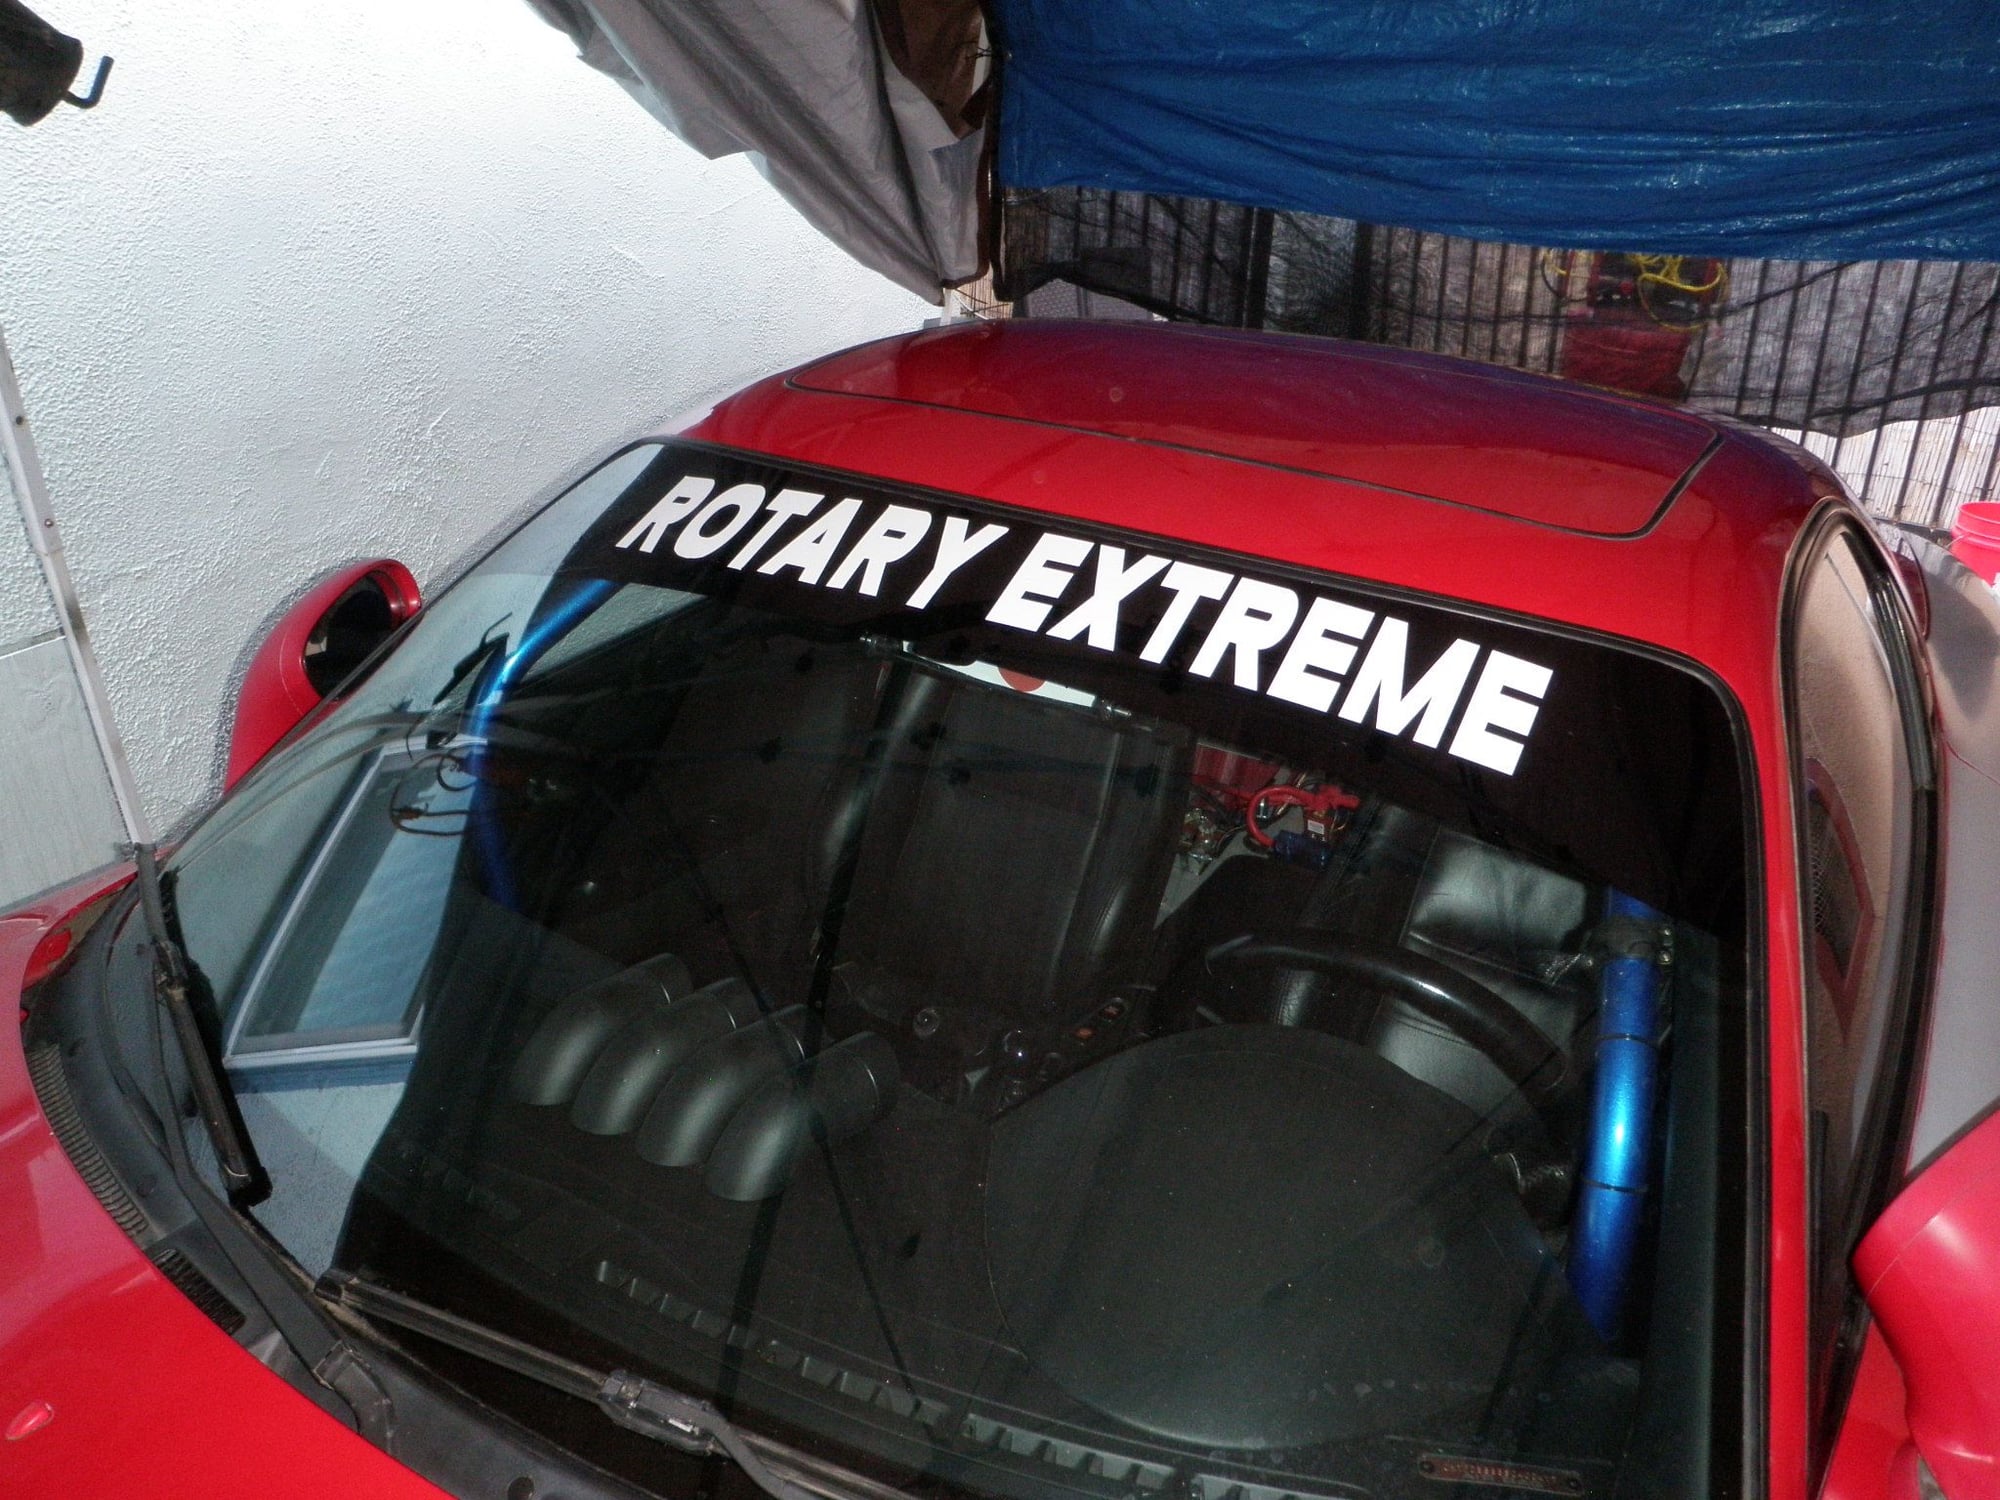
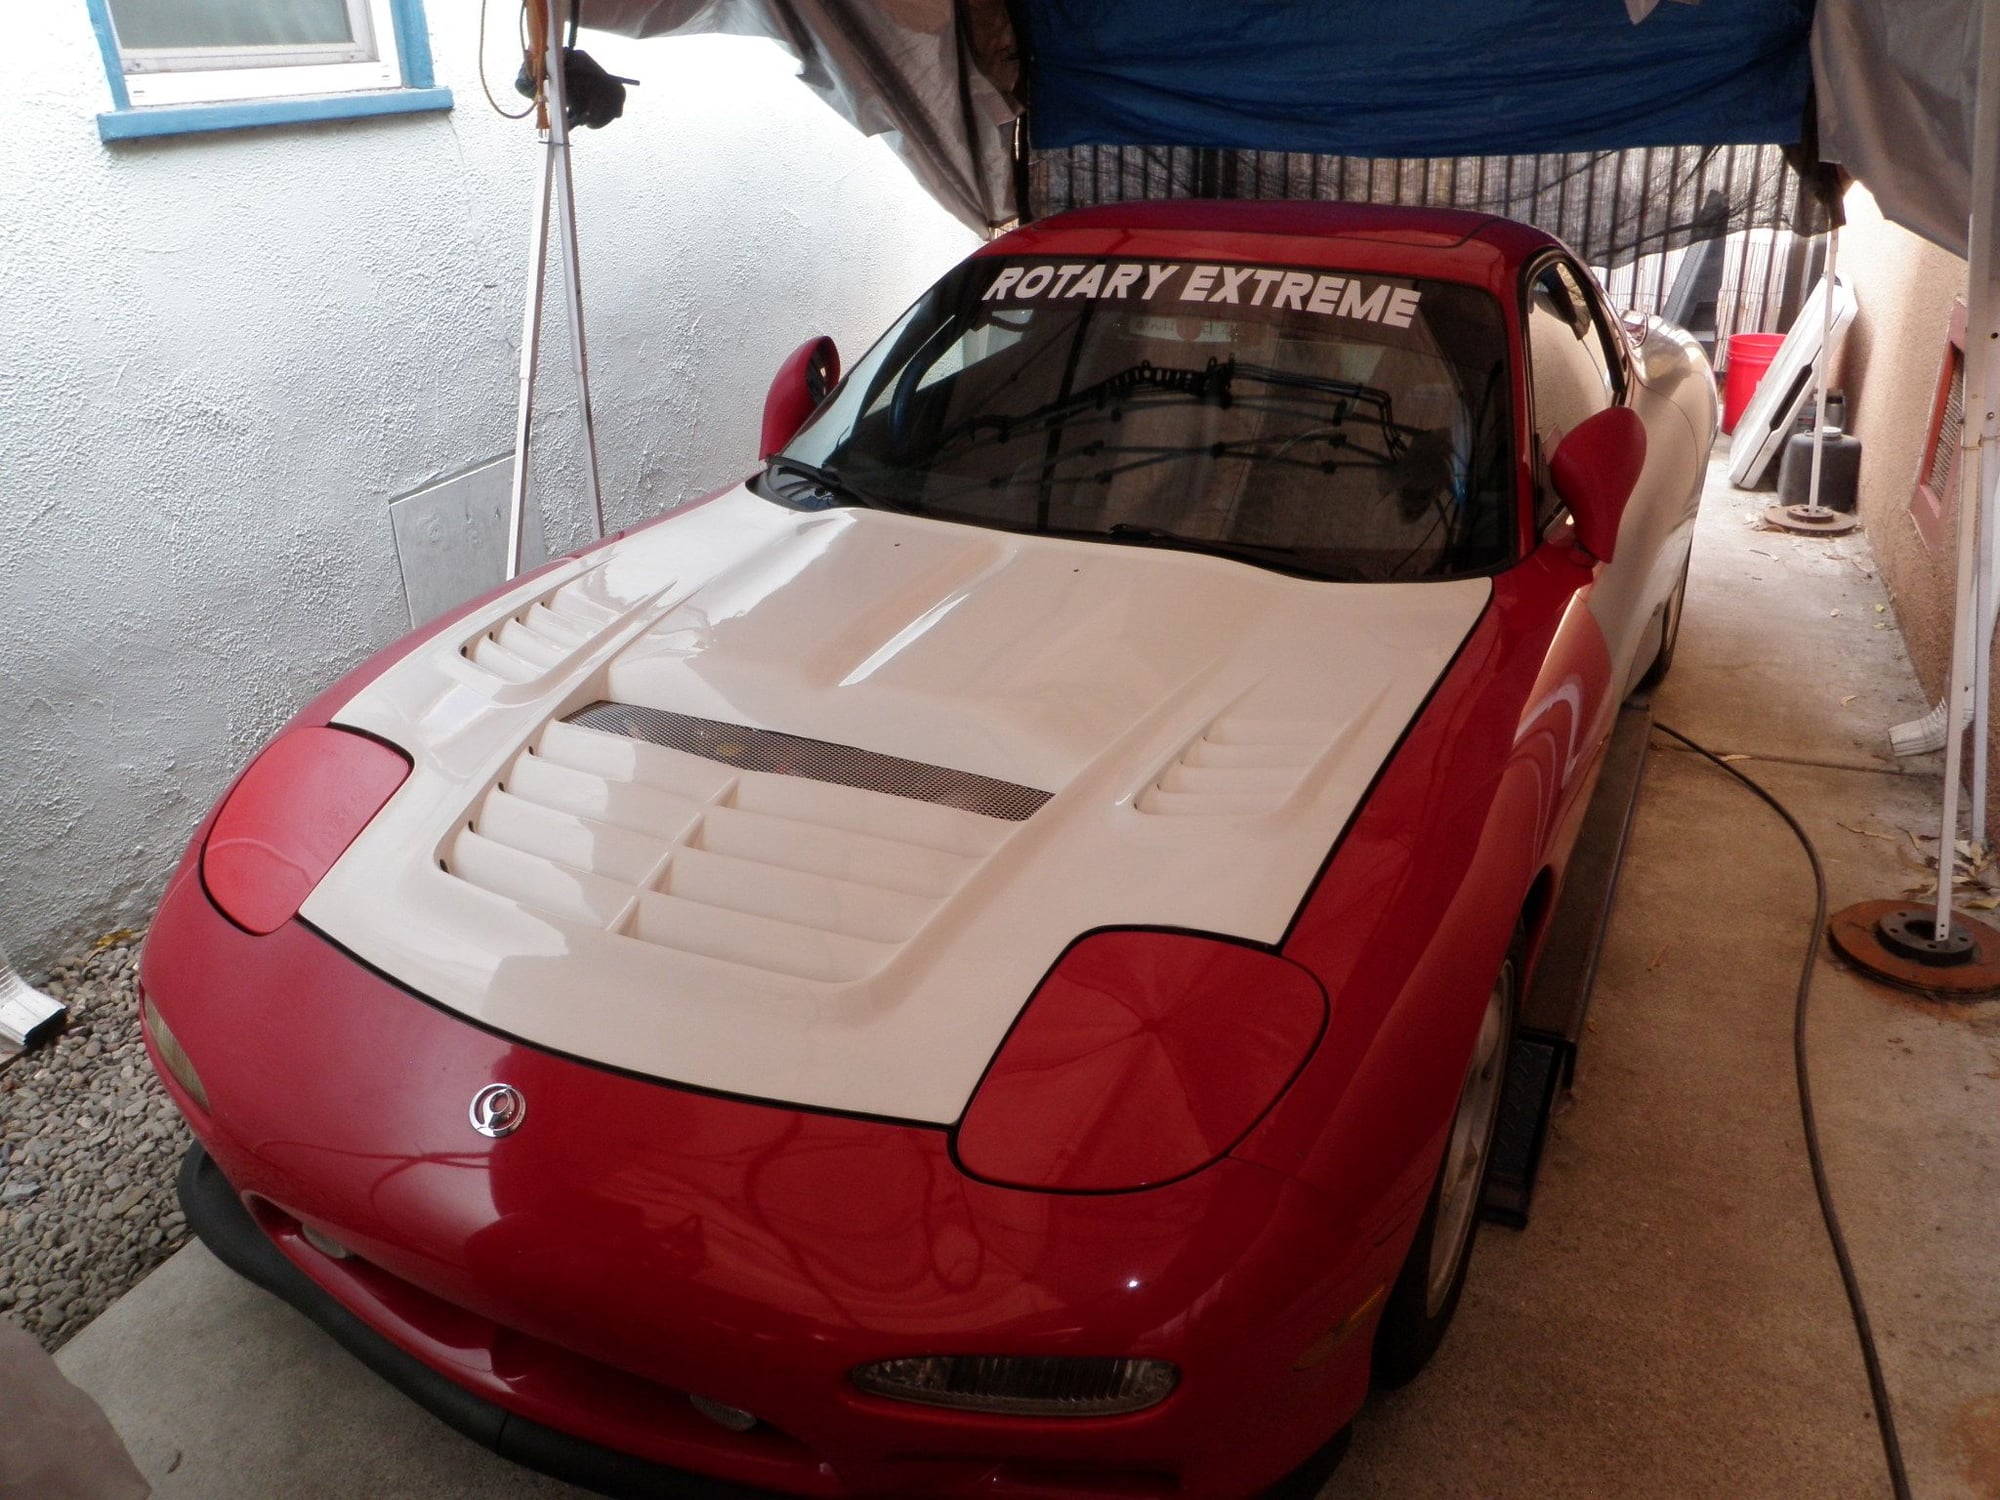
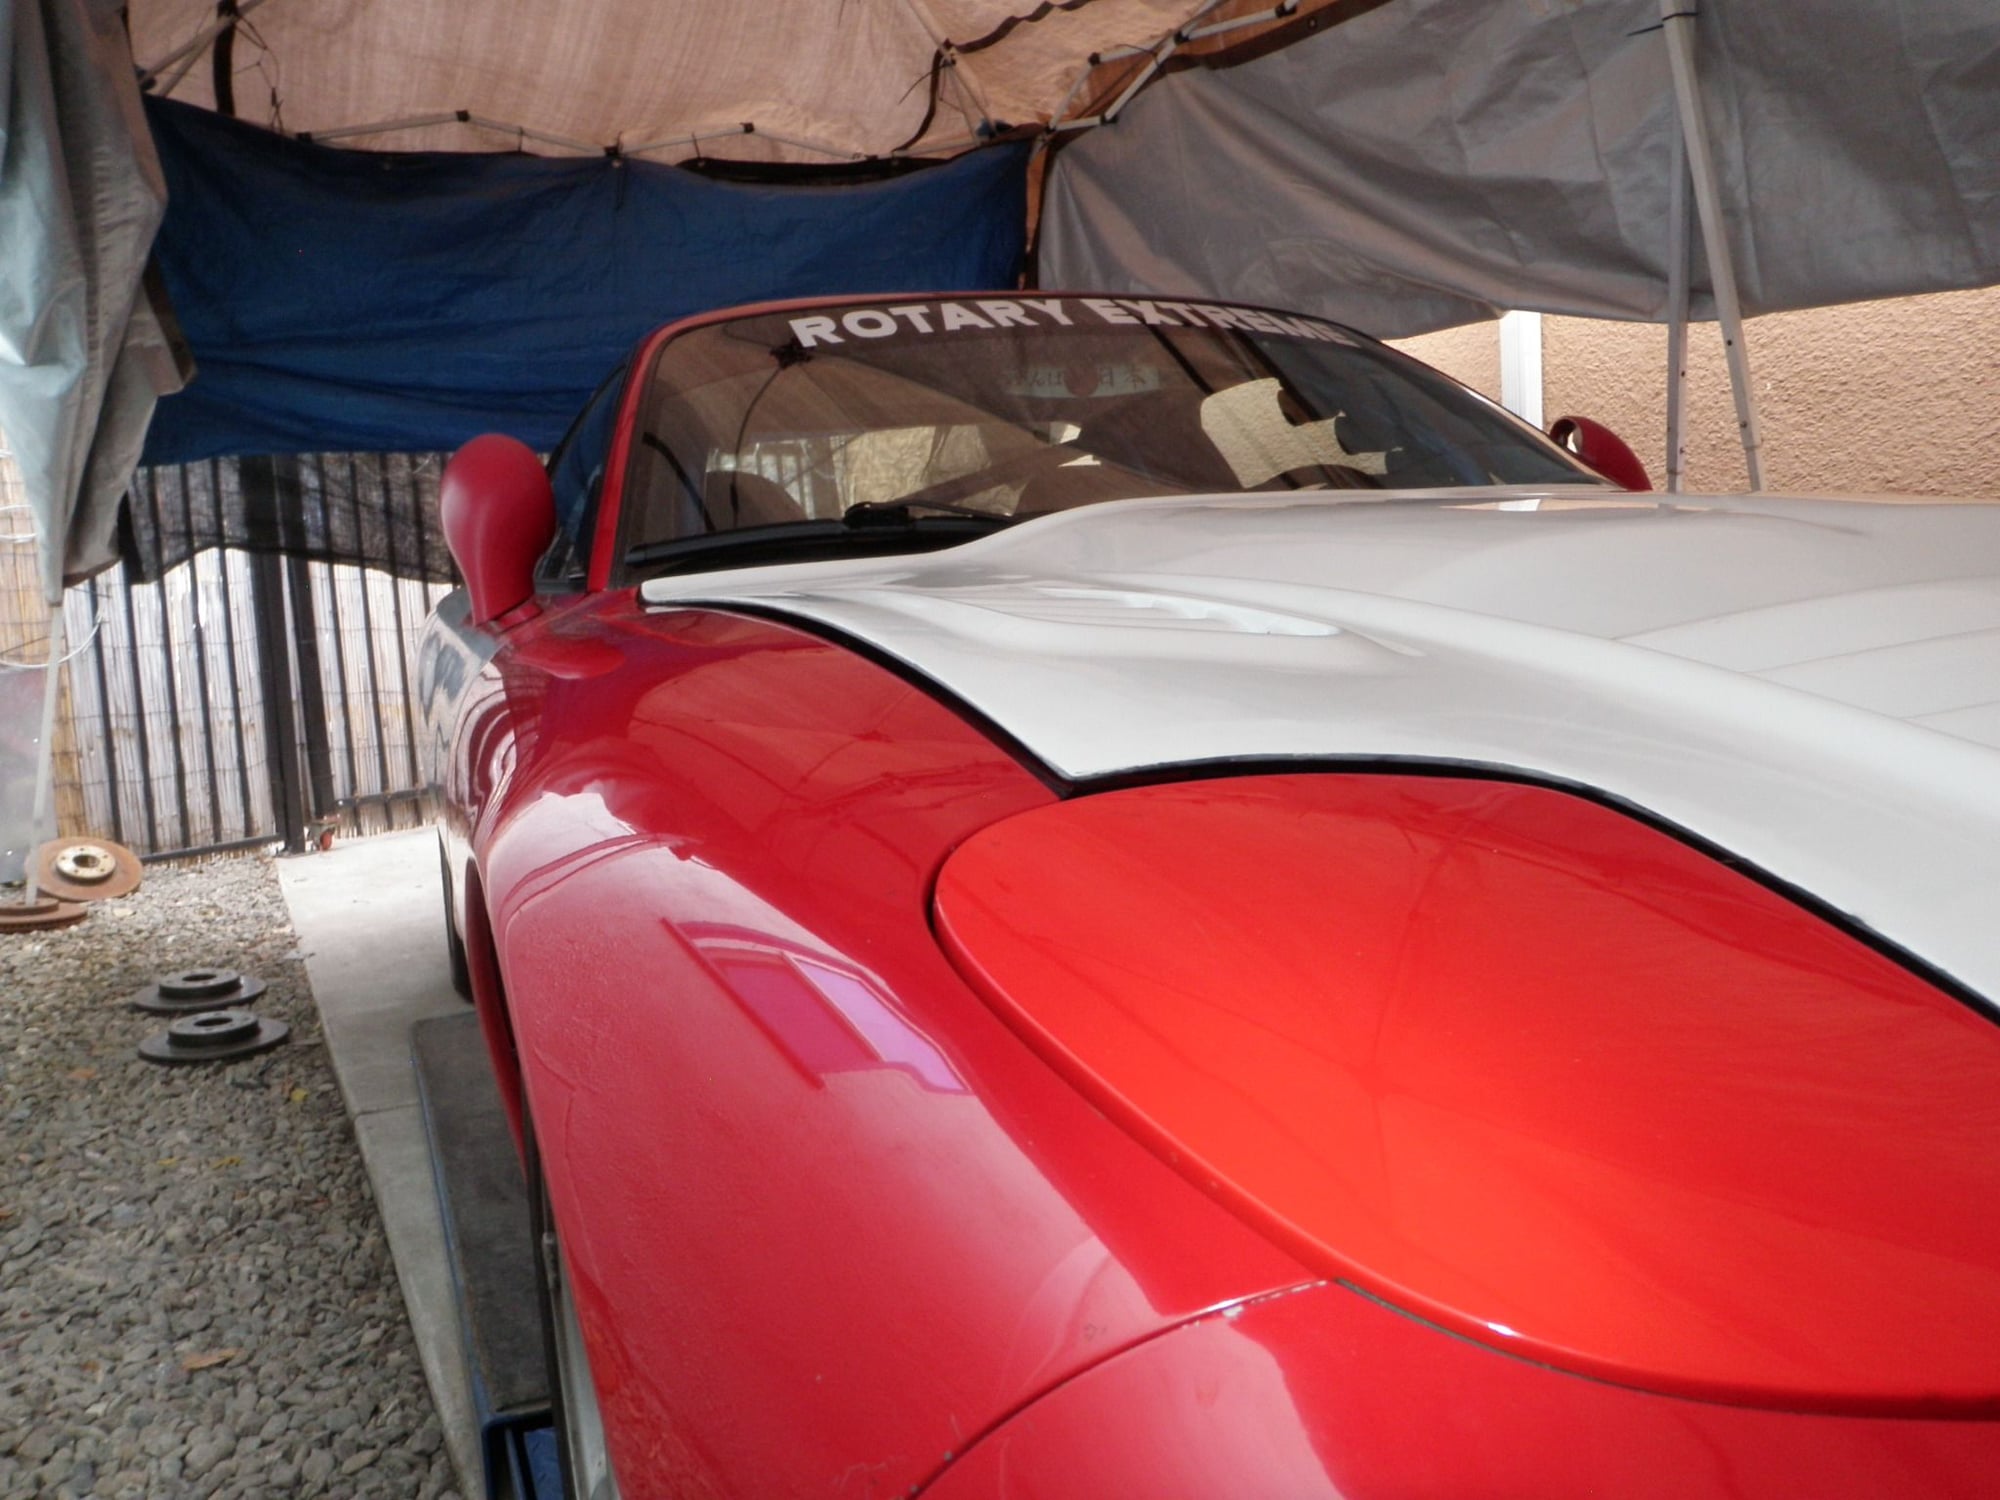
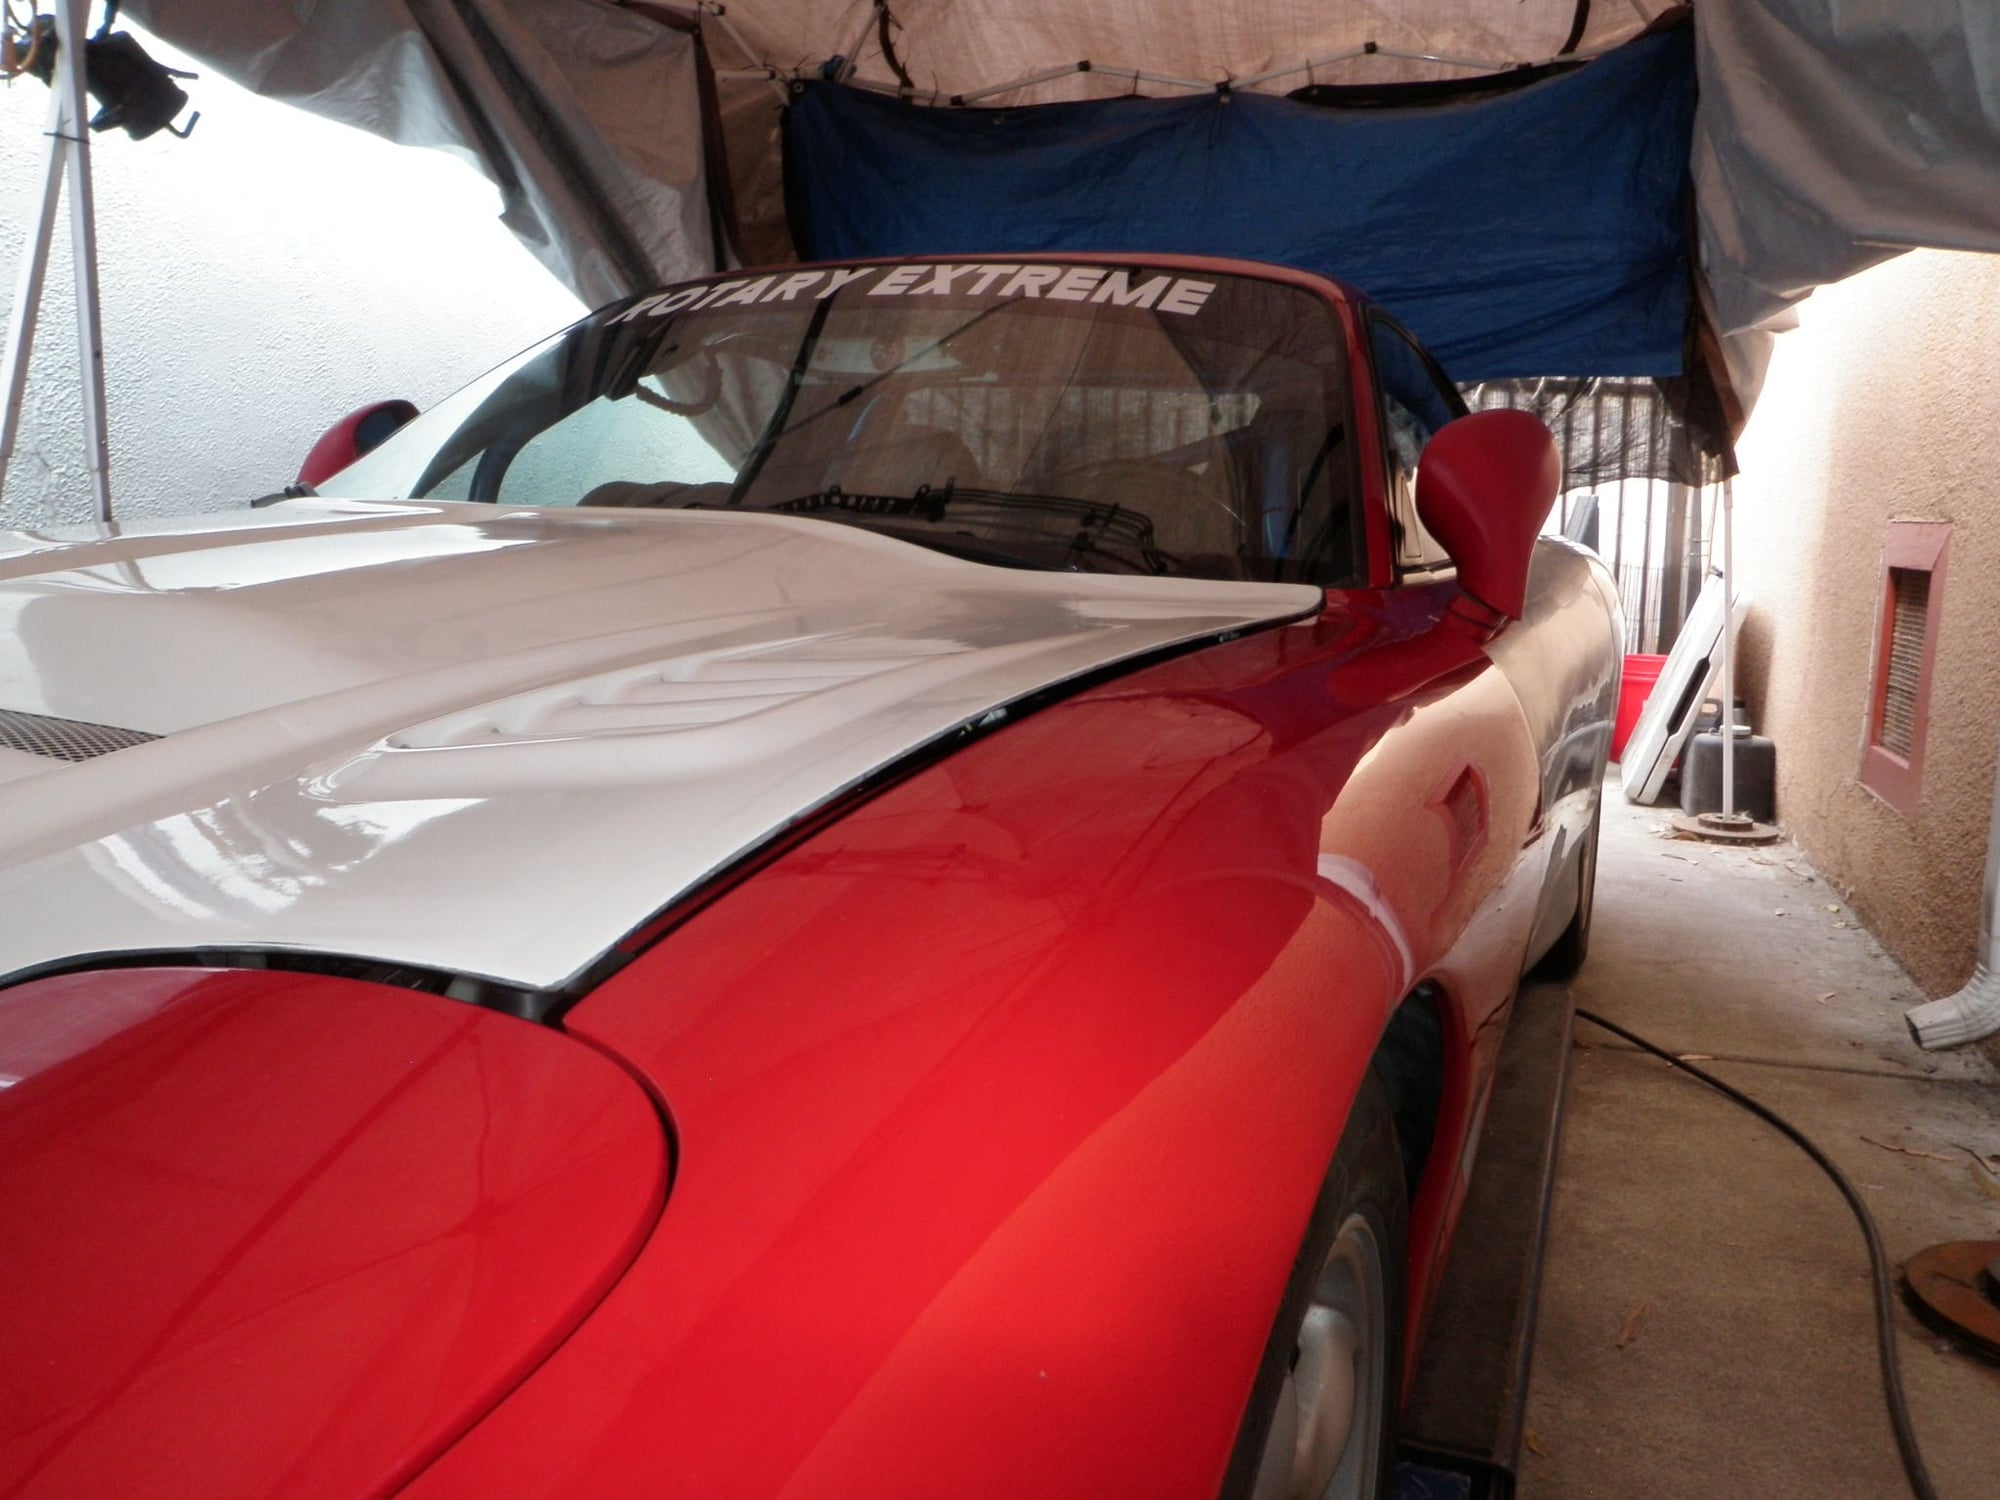
I had to take off my sun visors due to the bolt in roll cage and lost the ability to block the sun. I ended up using a tinted film on the front window to shade the sun and then I put Rotary Extreme on top of that to represent. The window curved so much that Rotary was at a different angle than Extreme, I had to pull each letter off and try to place them back down in the correct position. This was a major pain in the butt, but I got it done – sorta.
On the back window I wanted to support a street racing crew that I was a part of during my street racing days BEFORE THE FAST AND THE FURIOUS !!!!!!!! I had an FD RX7 and I was in SS4 I think, whatever show it was before FF hit the theaters. The crew is called SVP and it stands for Speed Velocity Performance. Thank you to everyone with SVP for the amazing times and memories in street racing and bay area car culture.
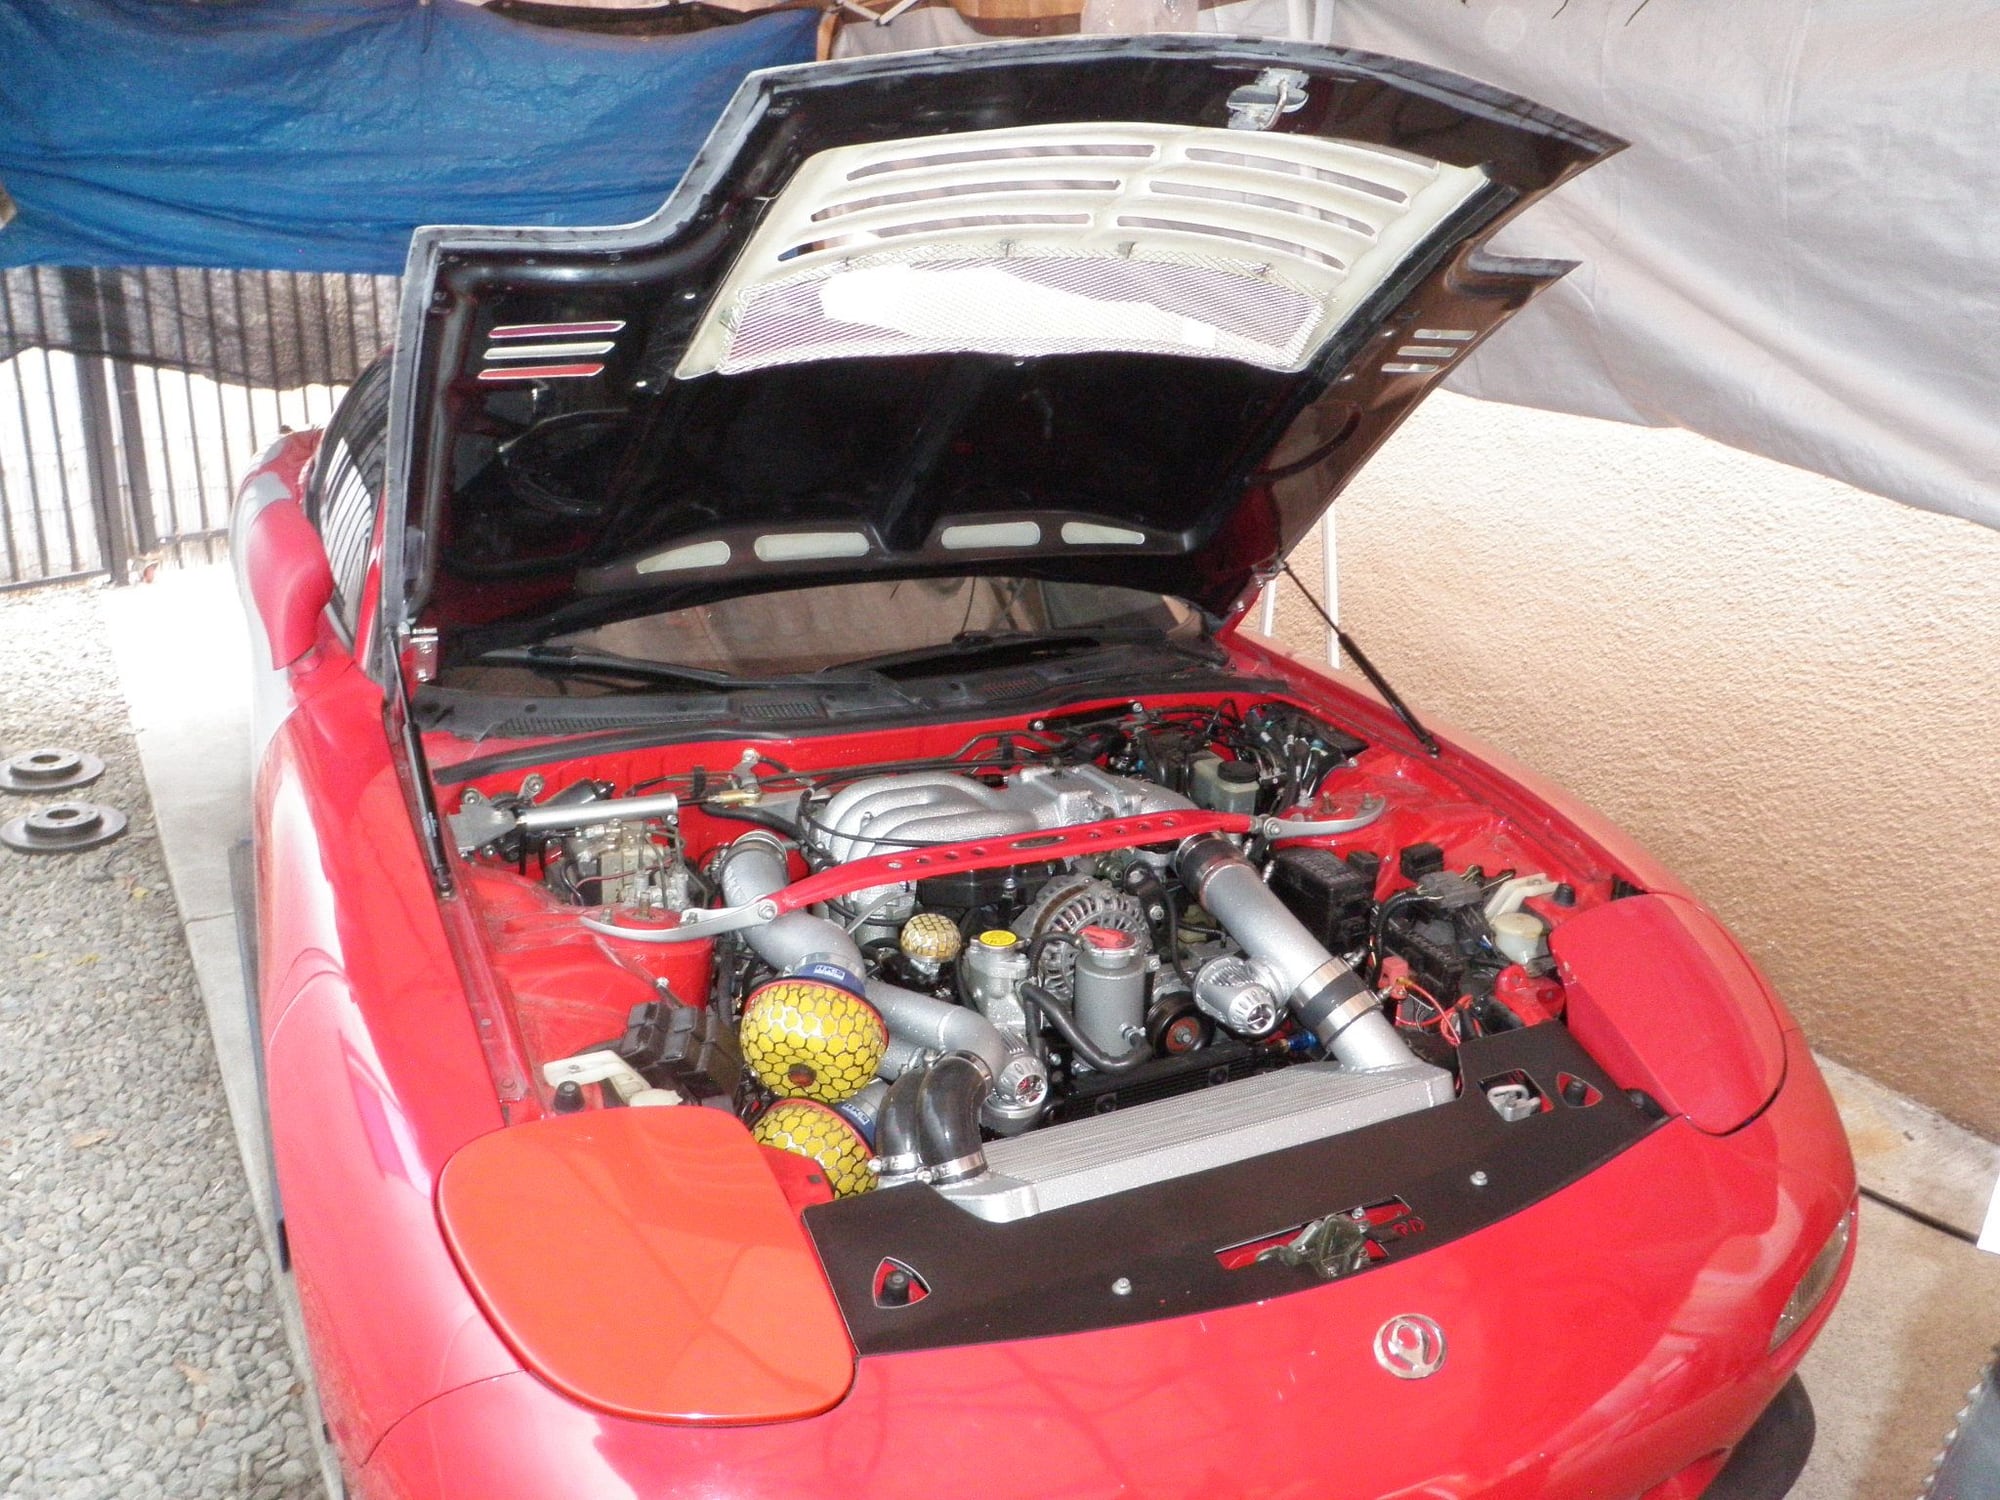
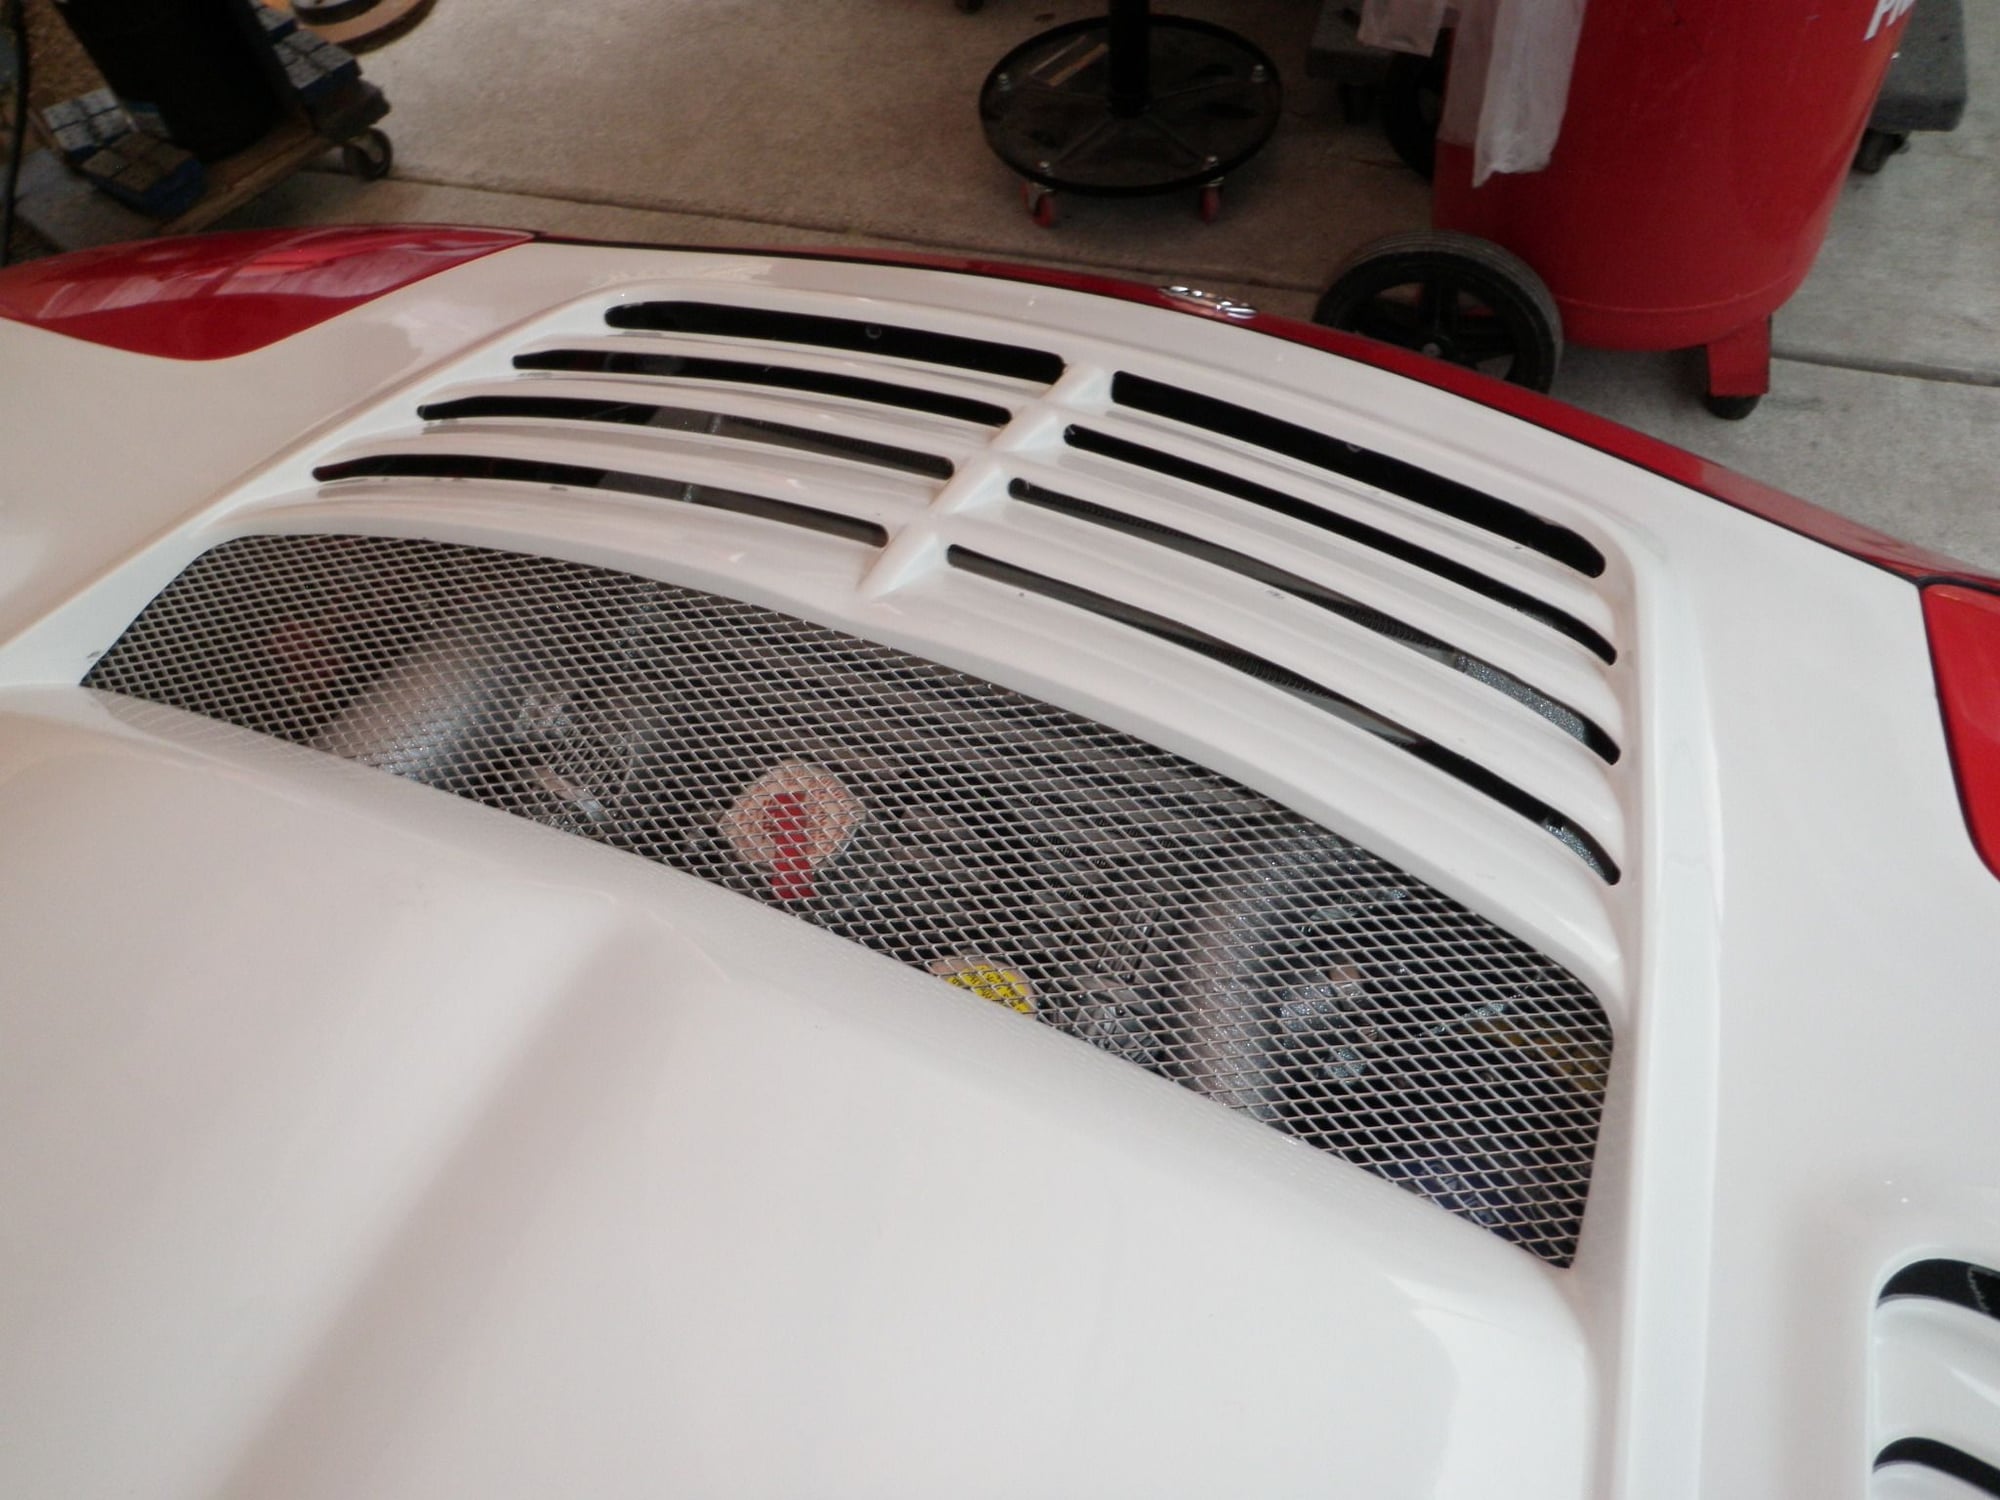
7. R-Magic Hood Type 2
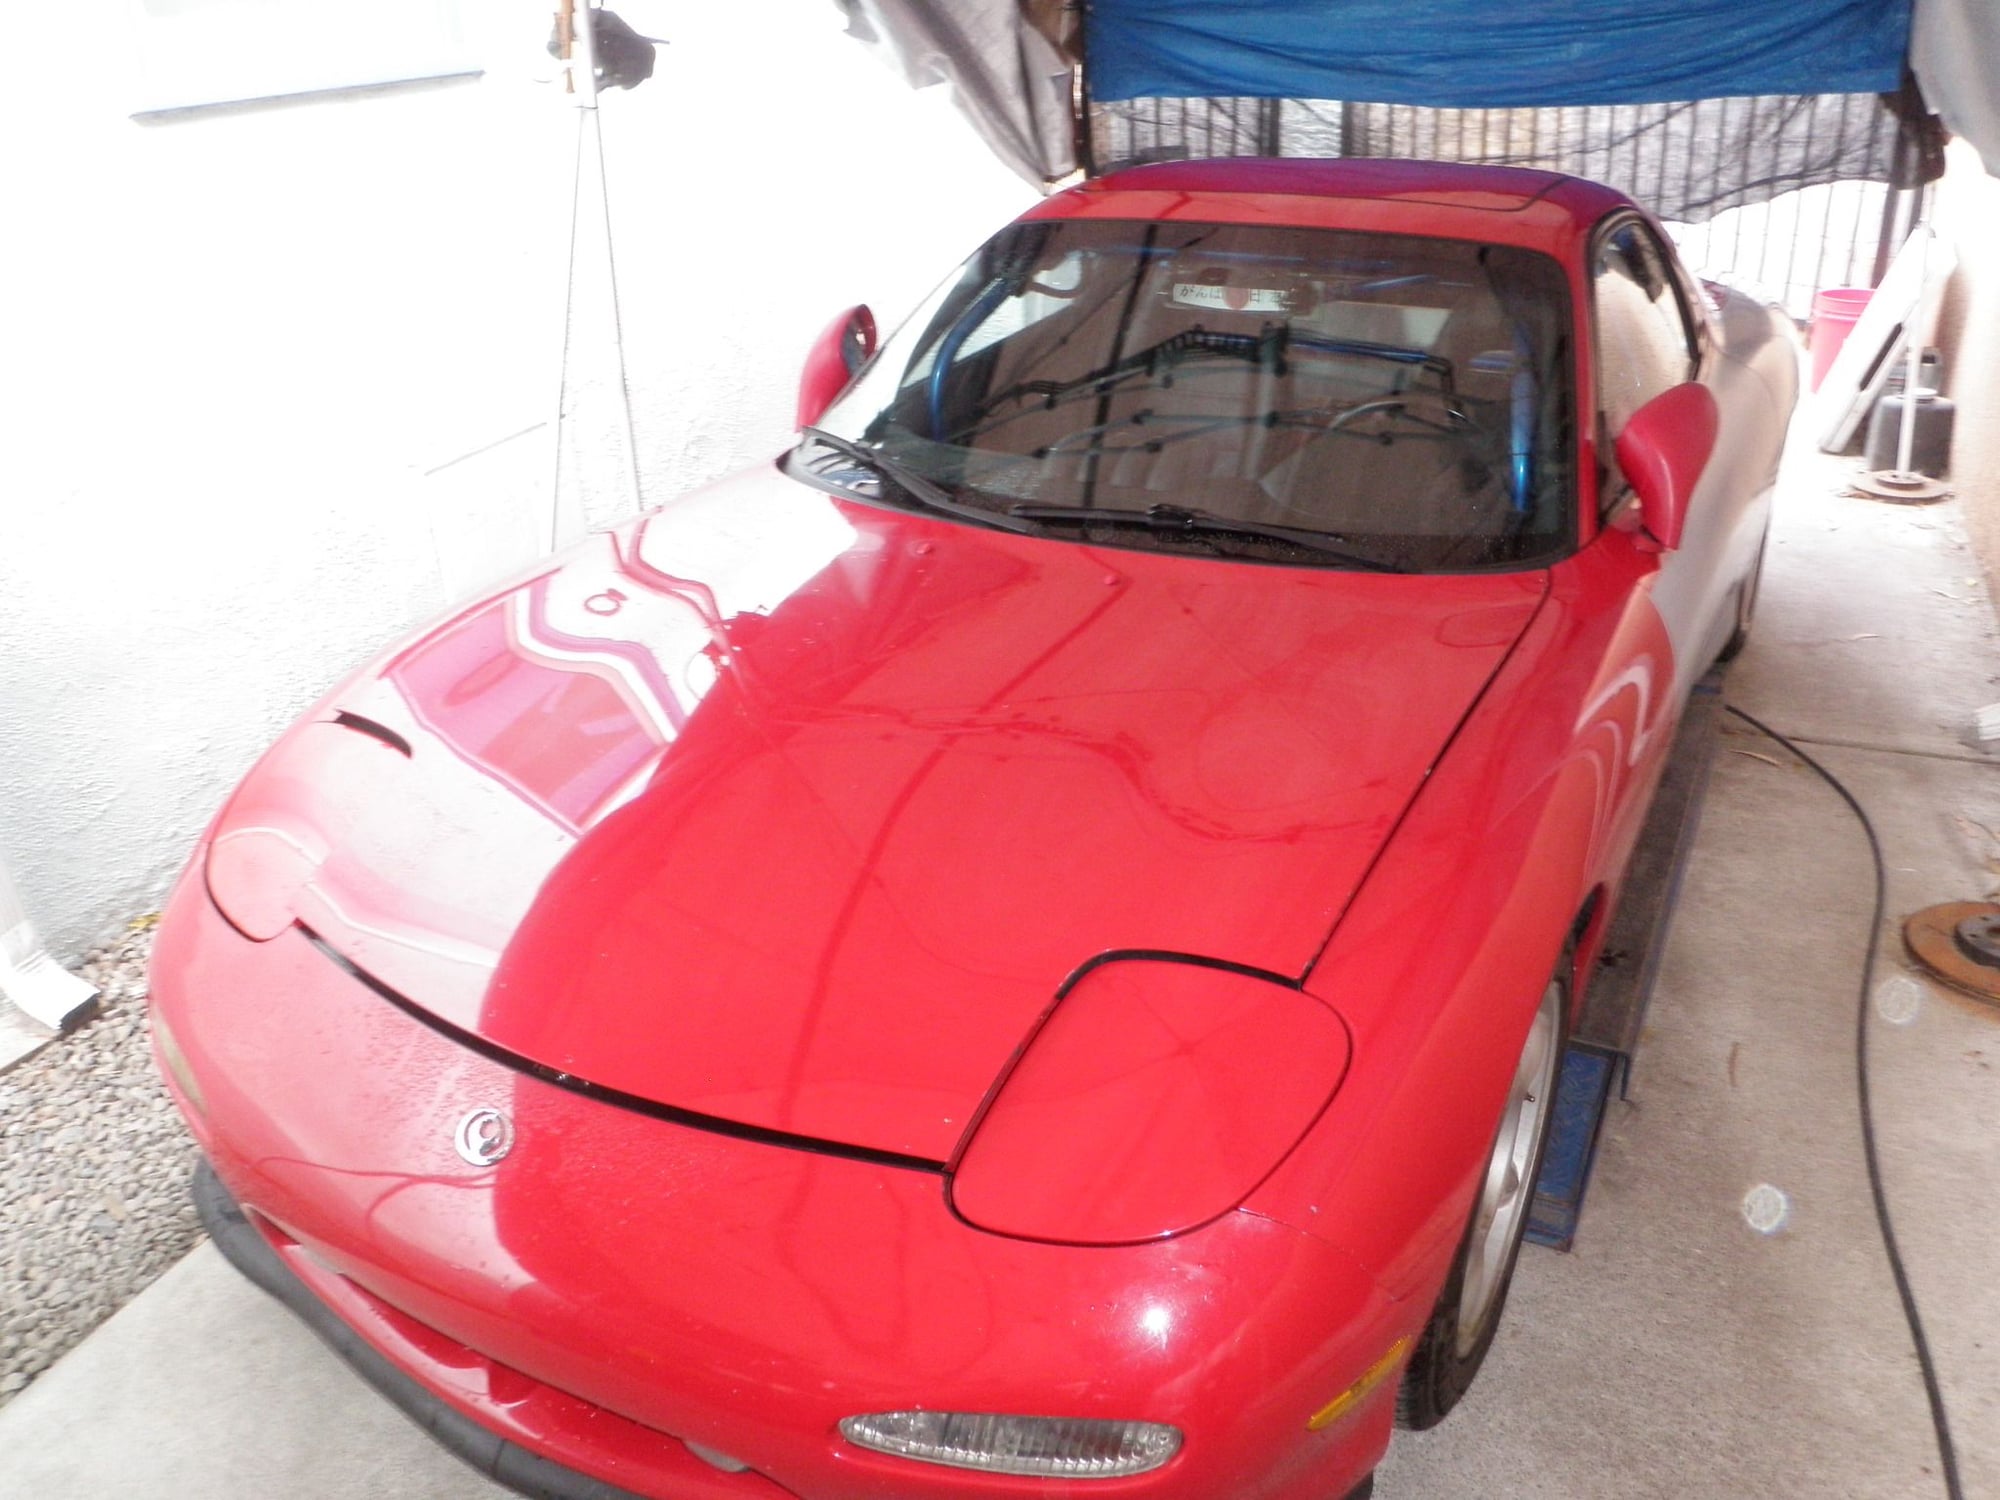
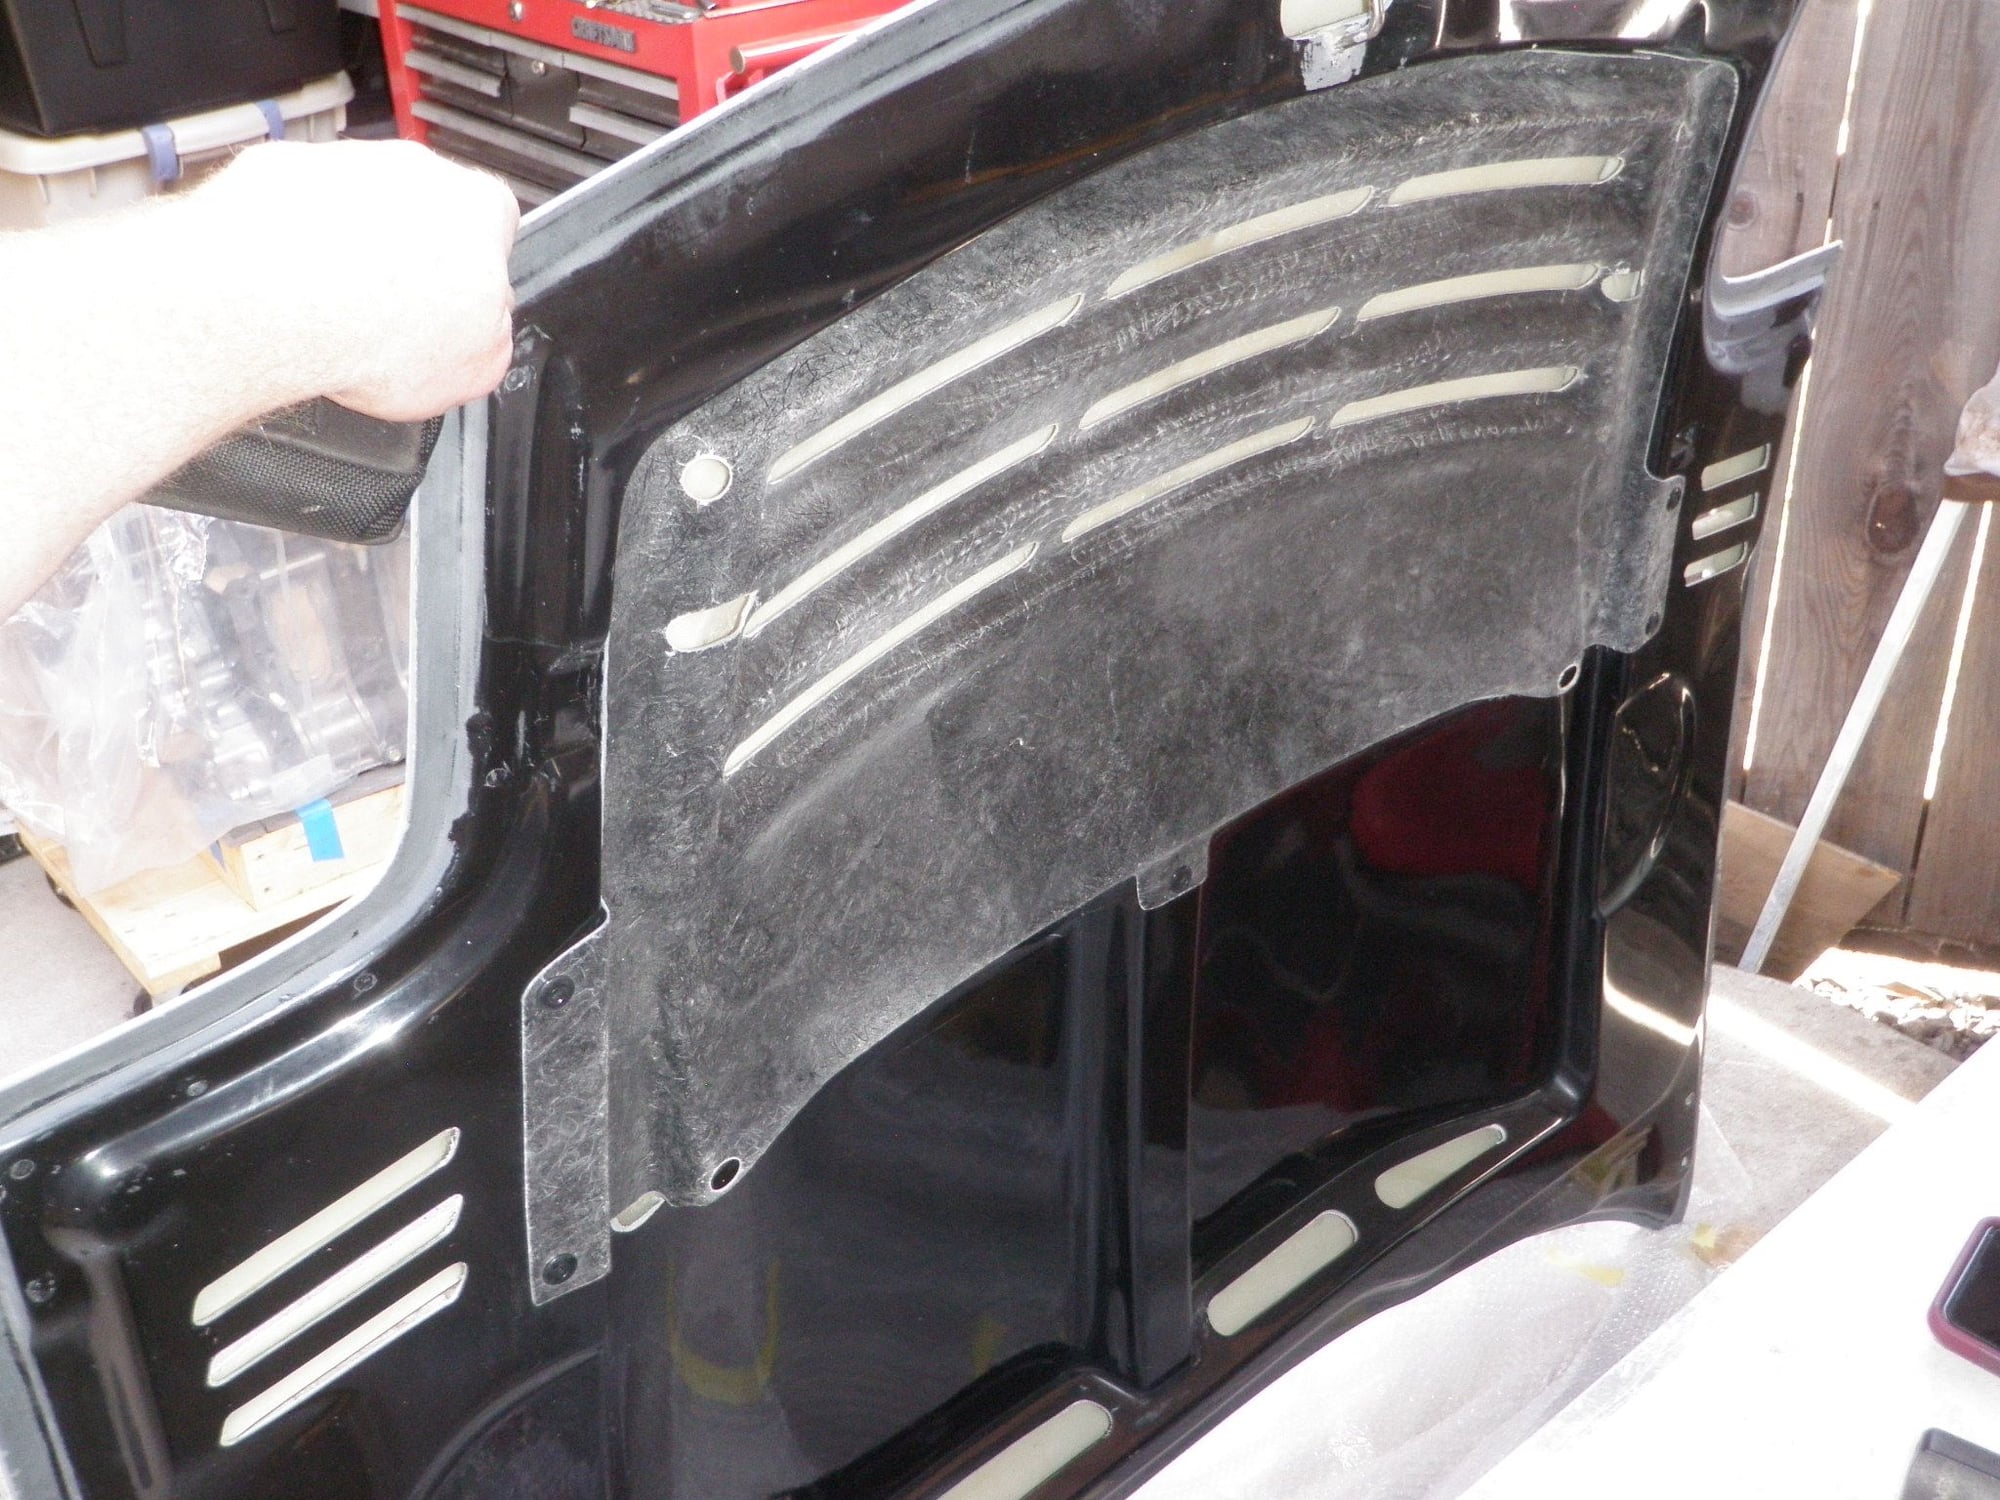
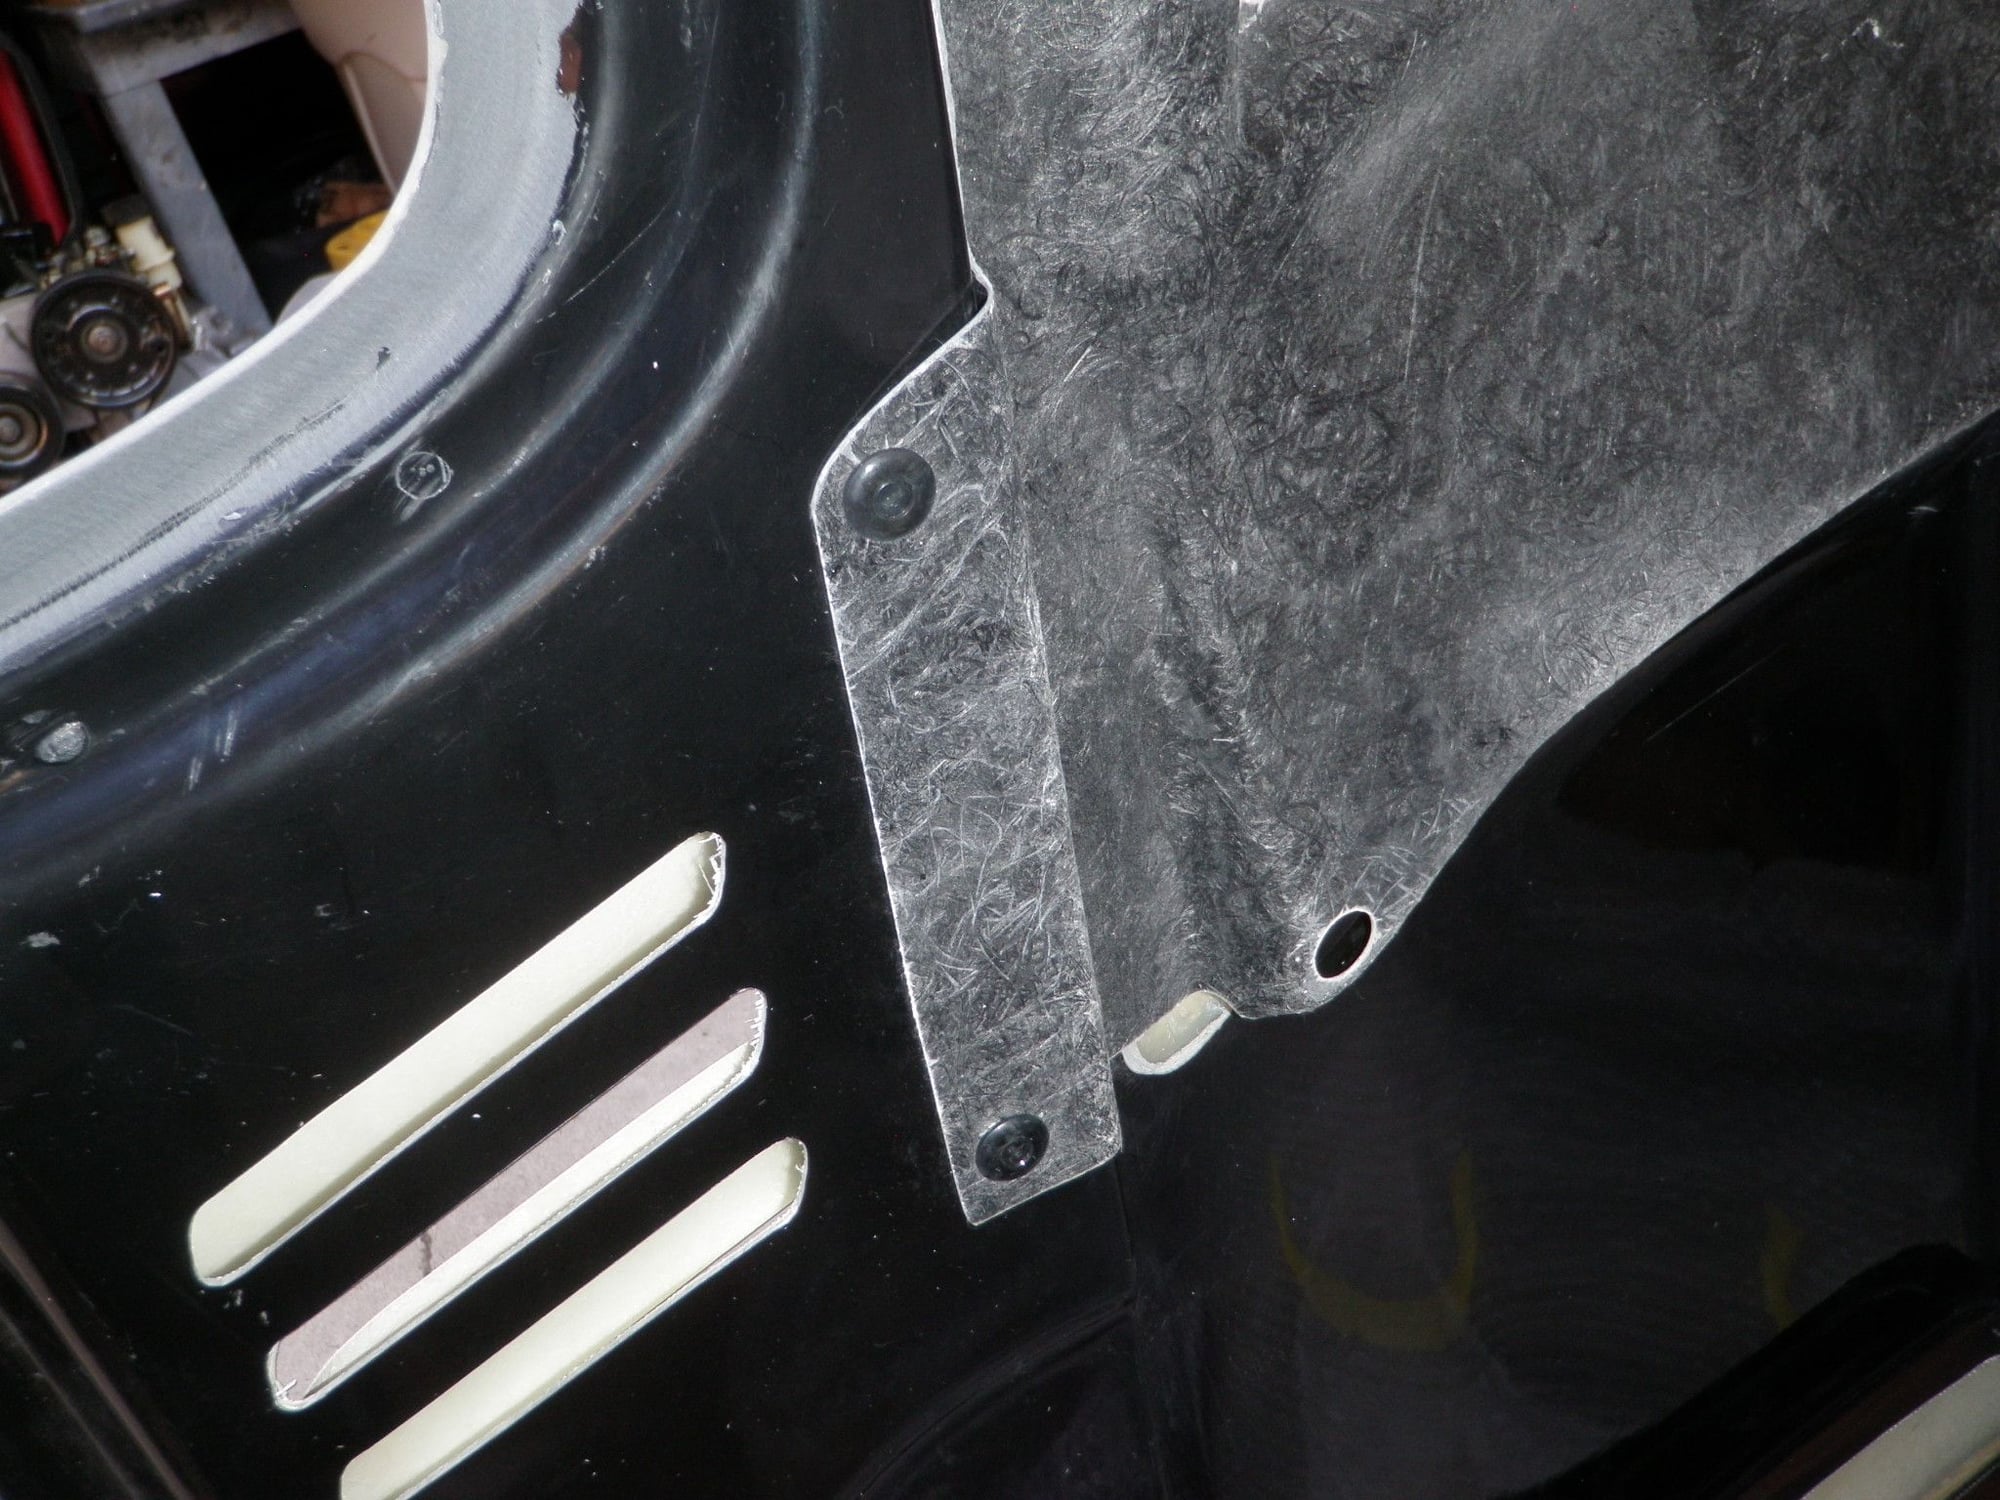
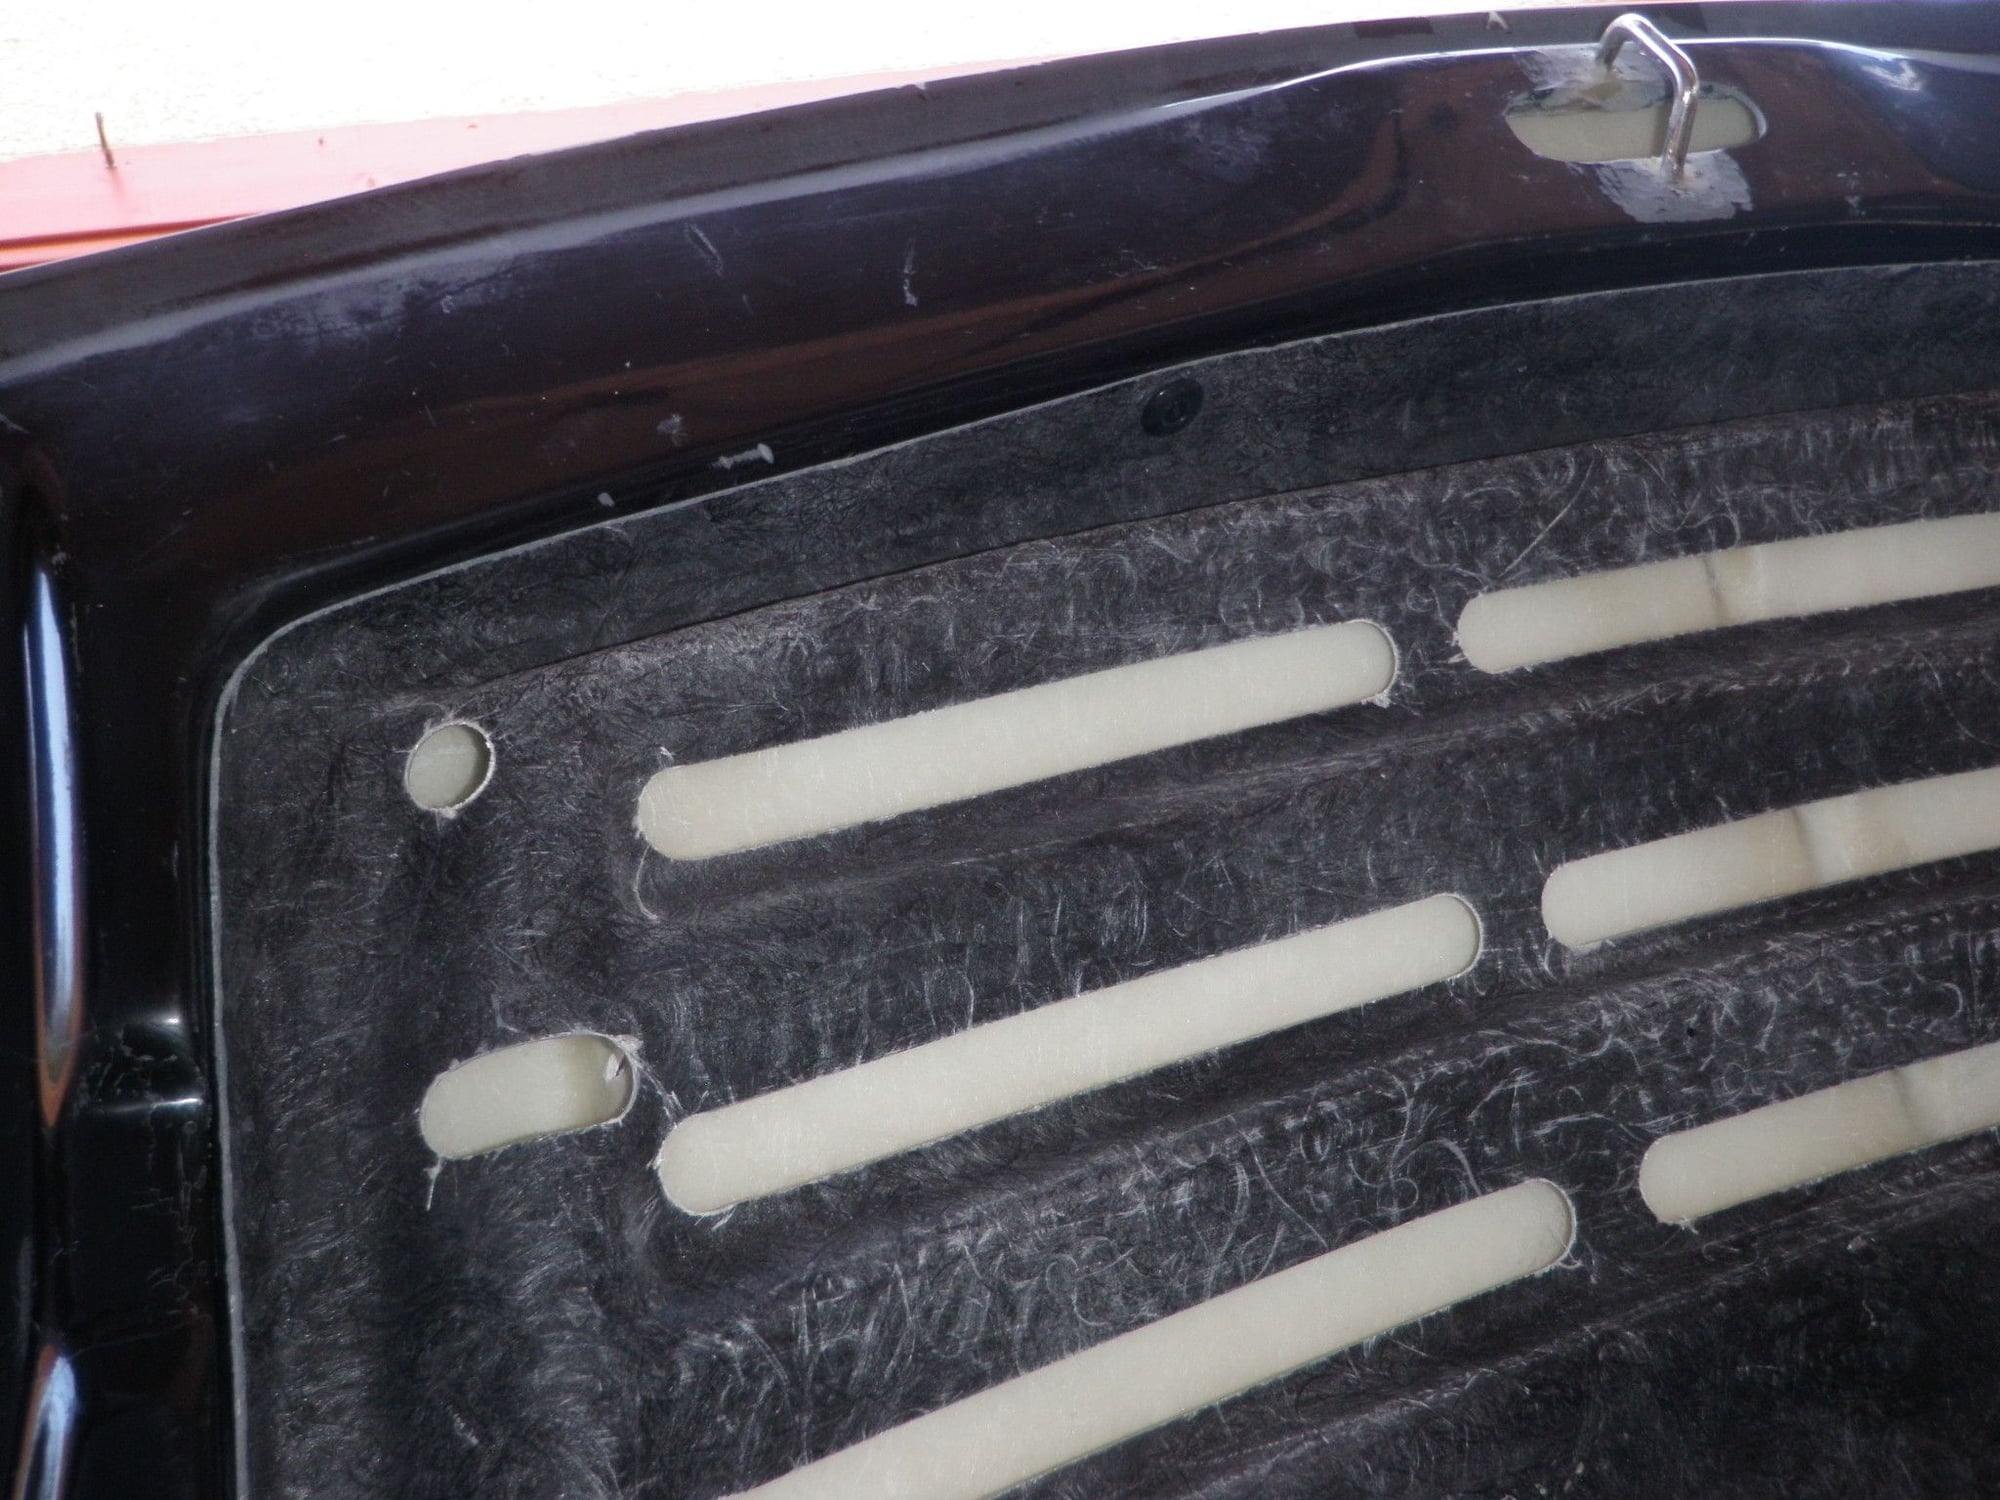
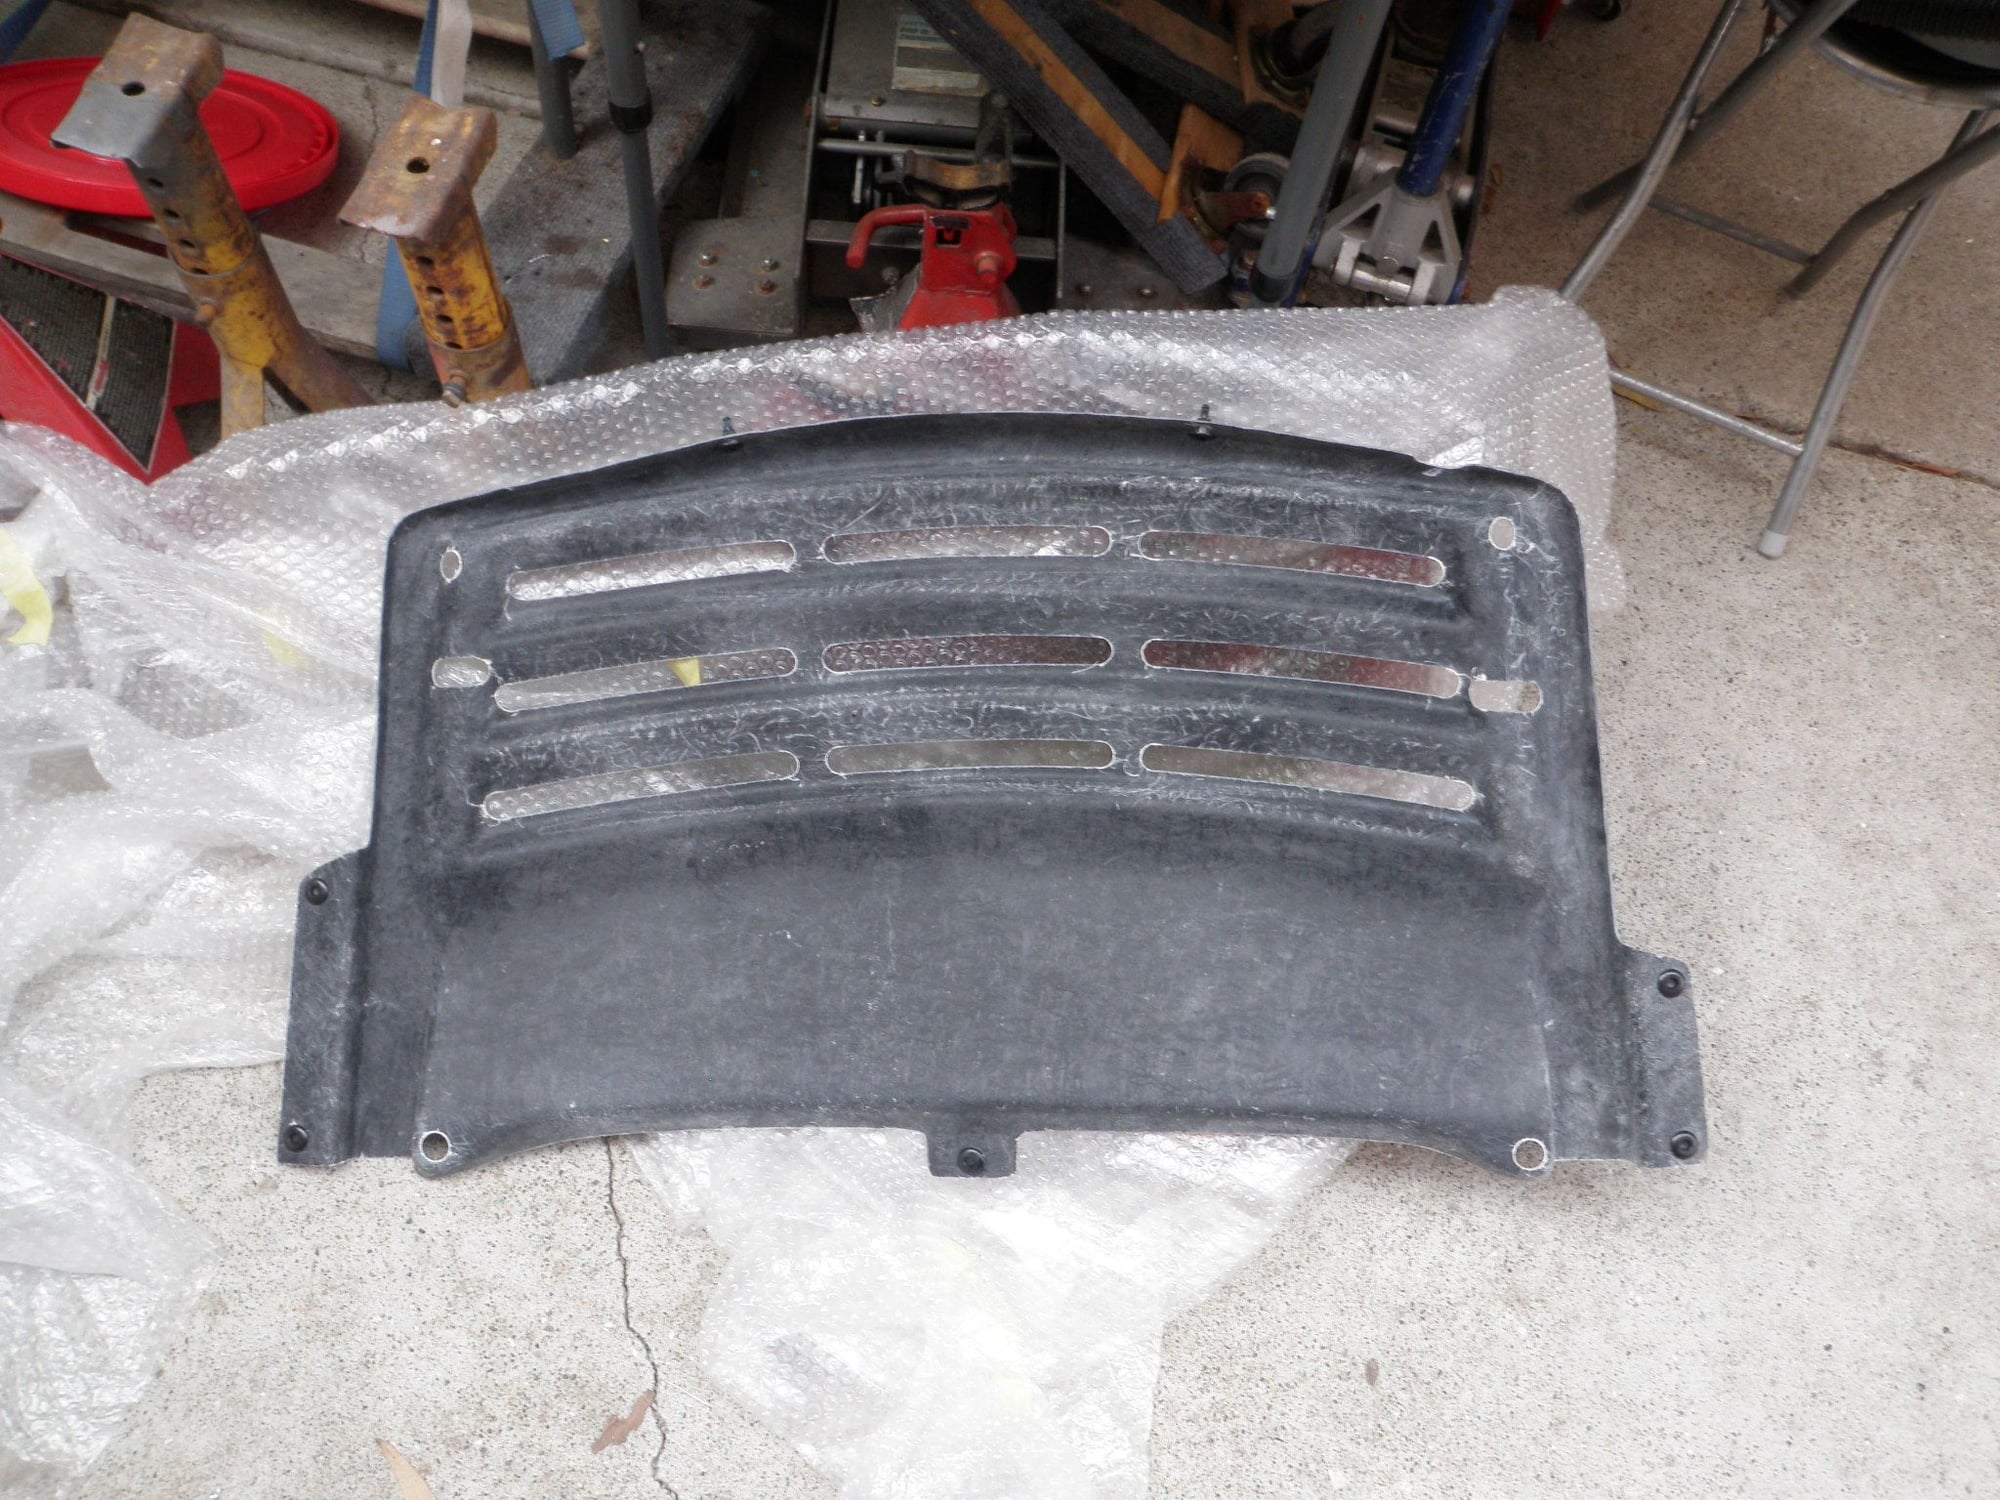
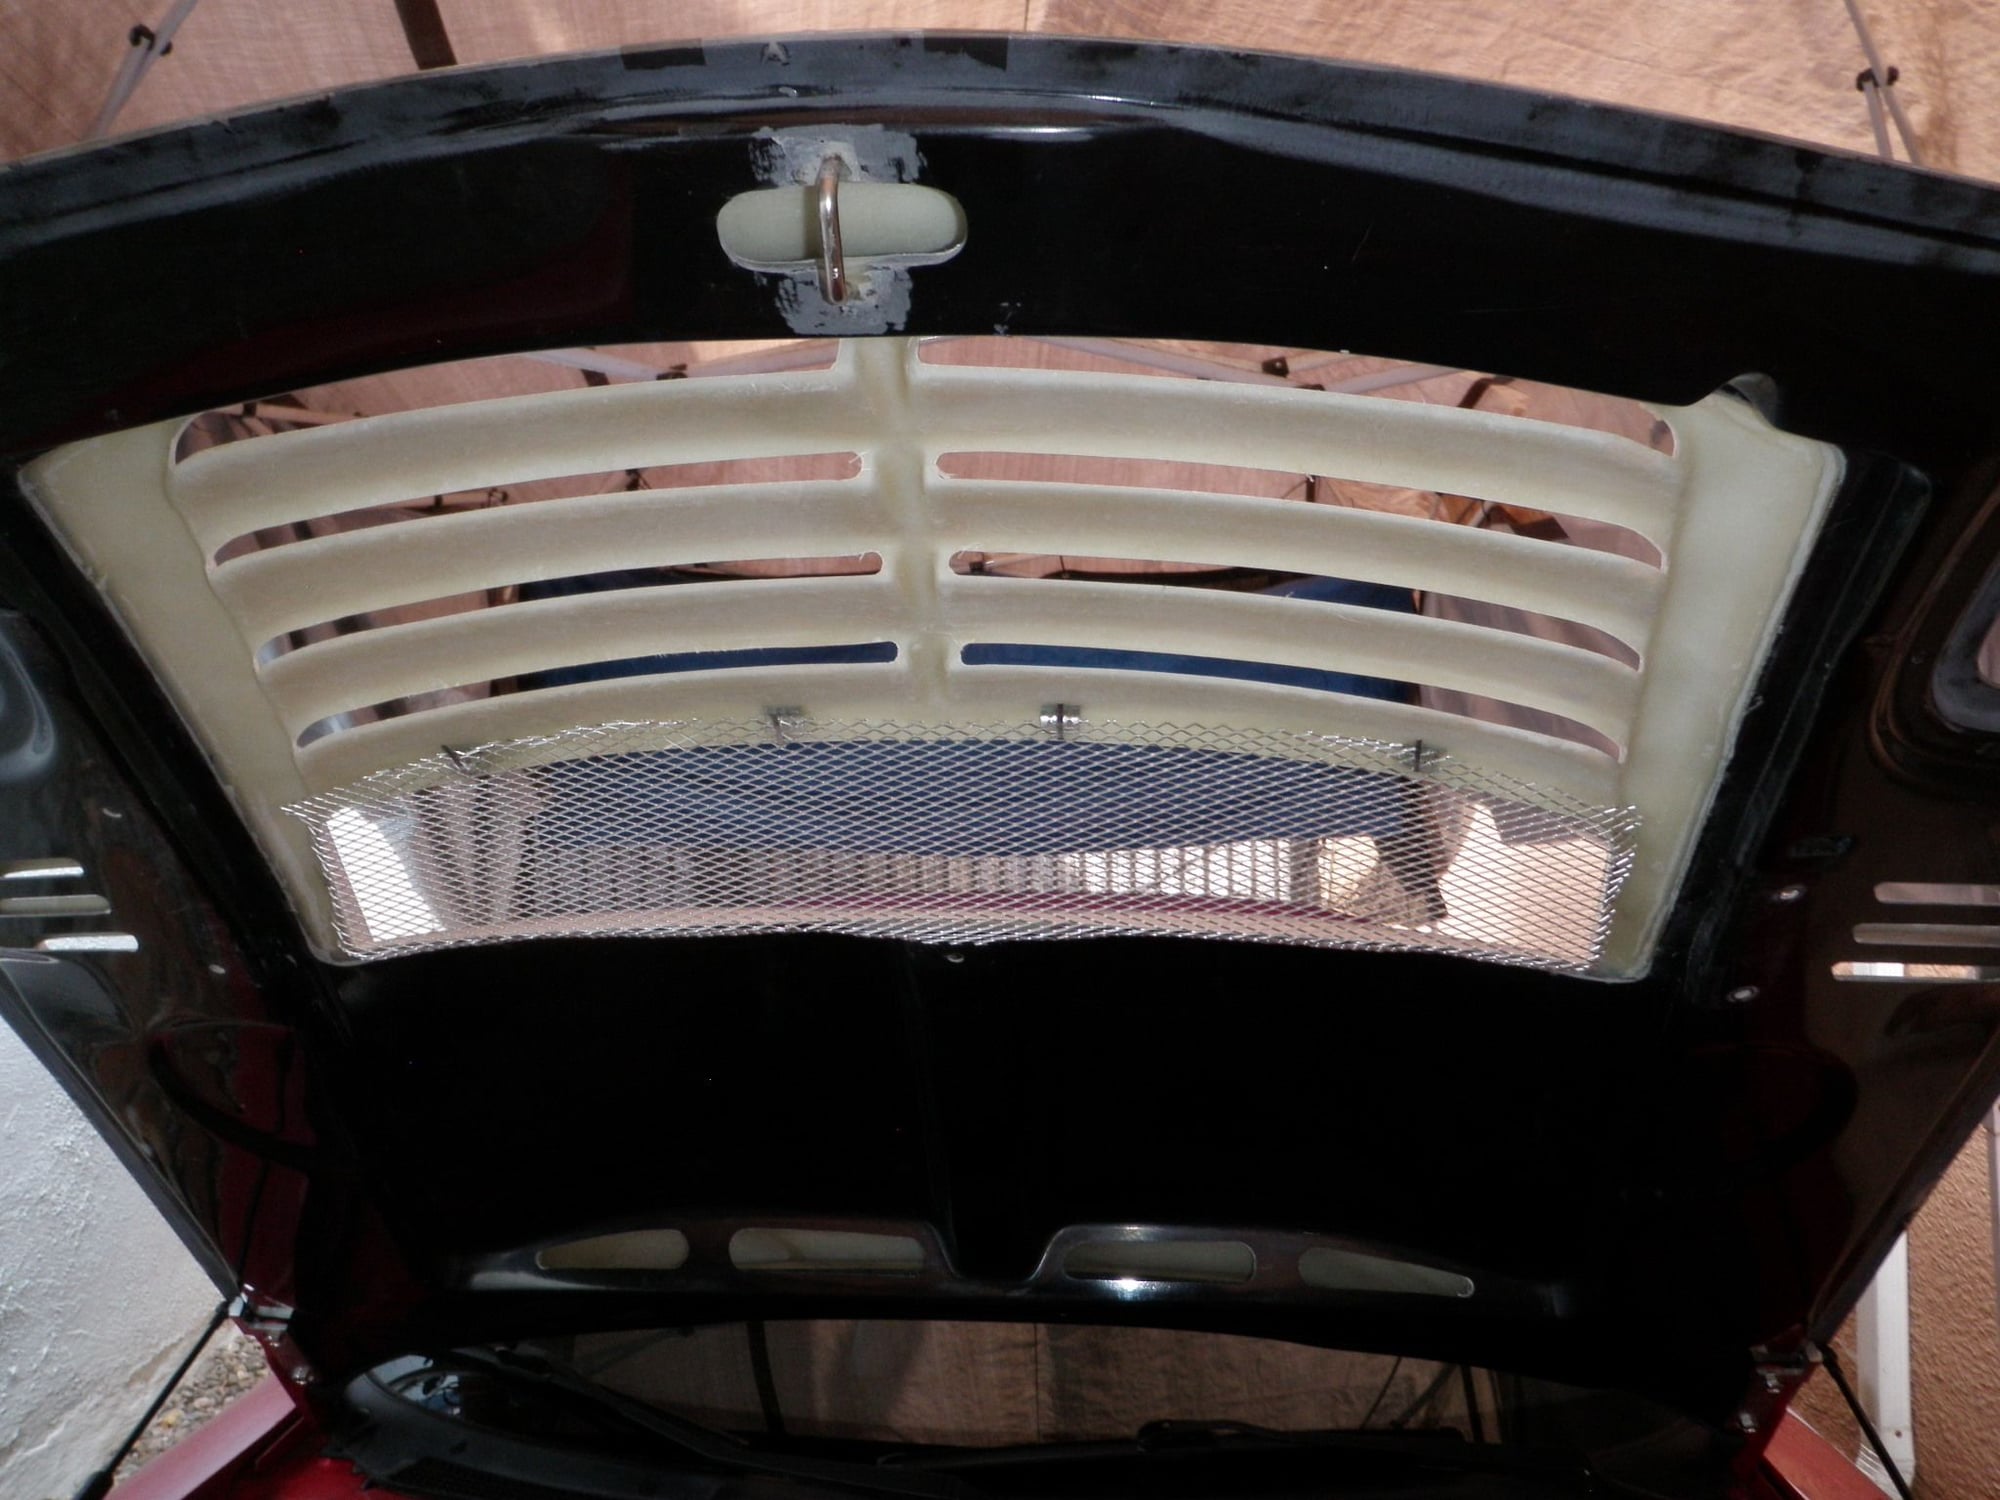
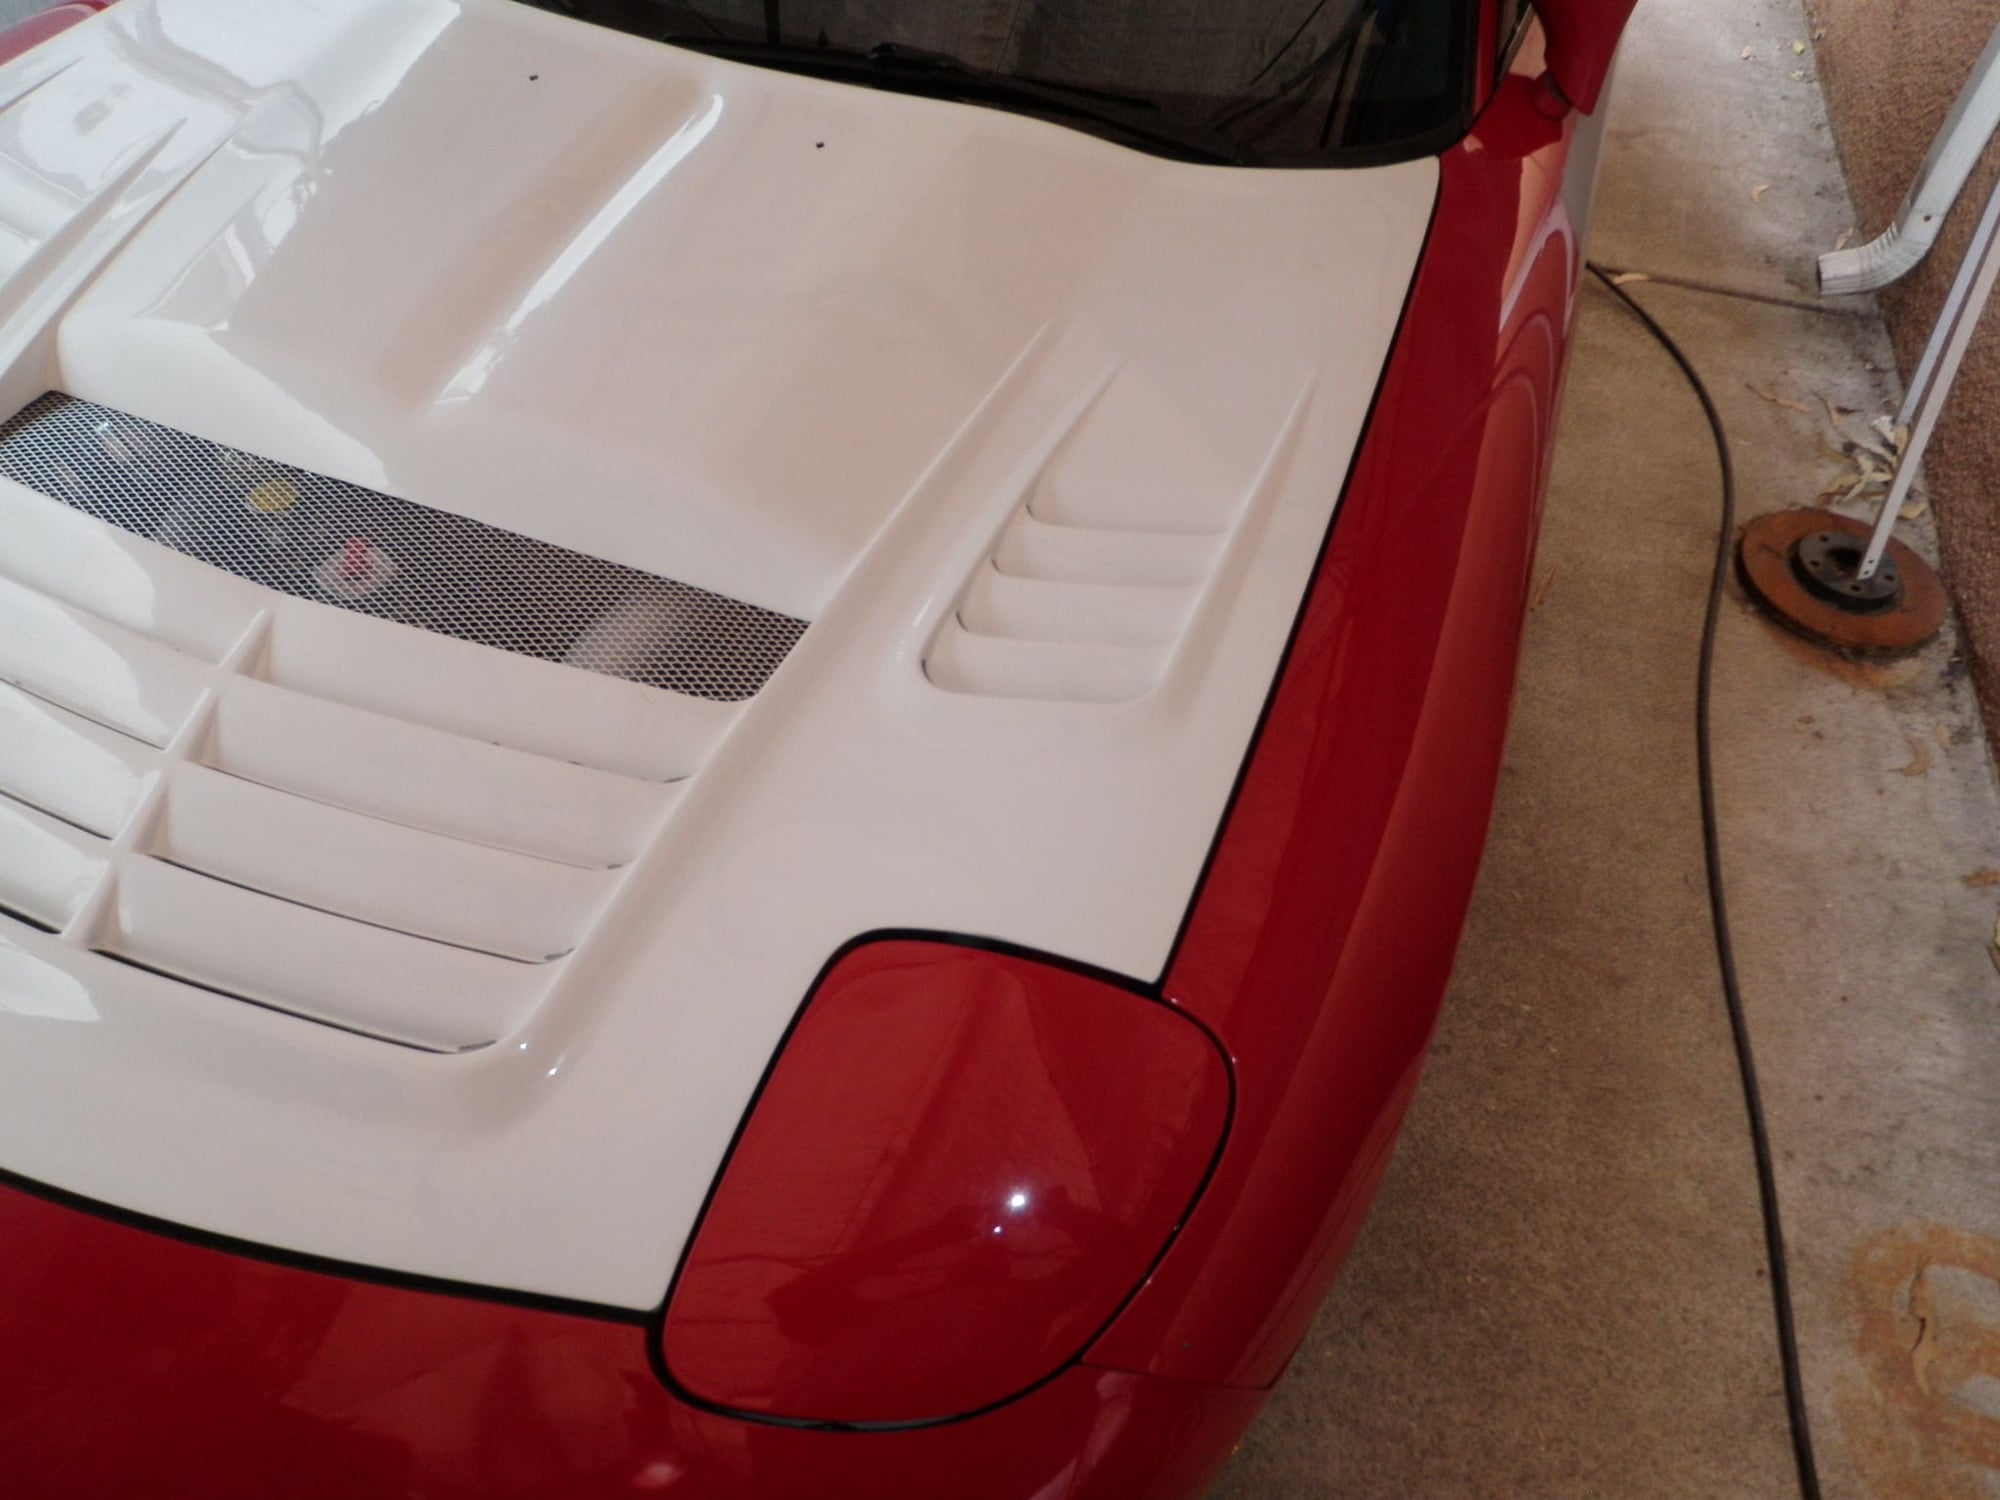
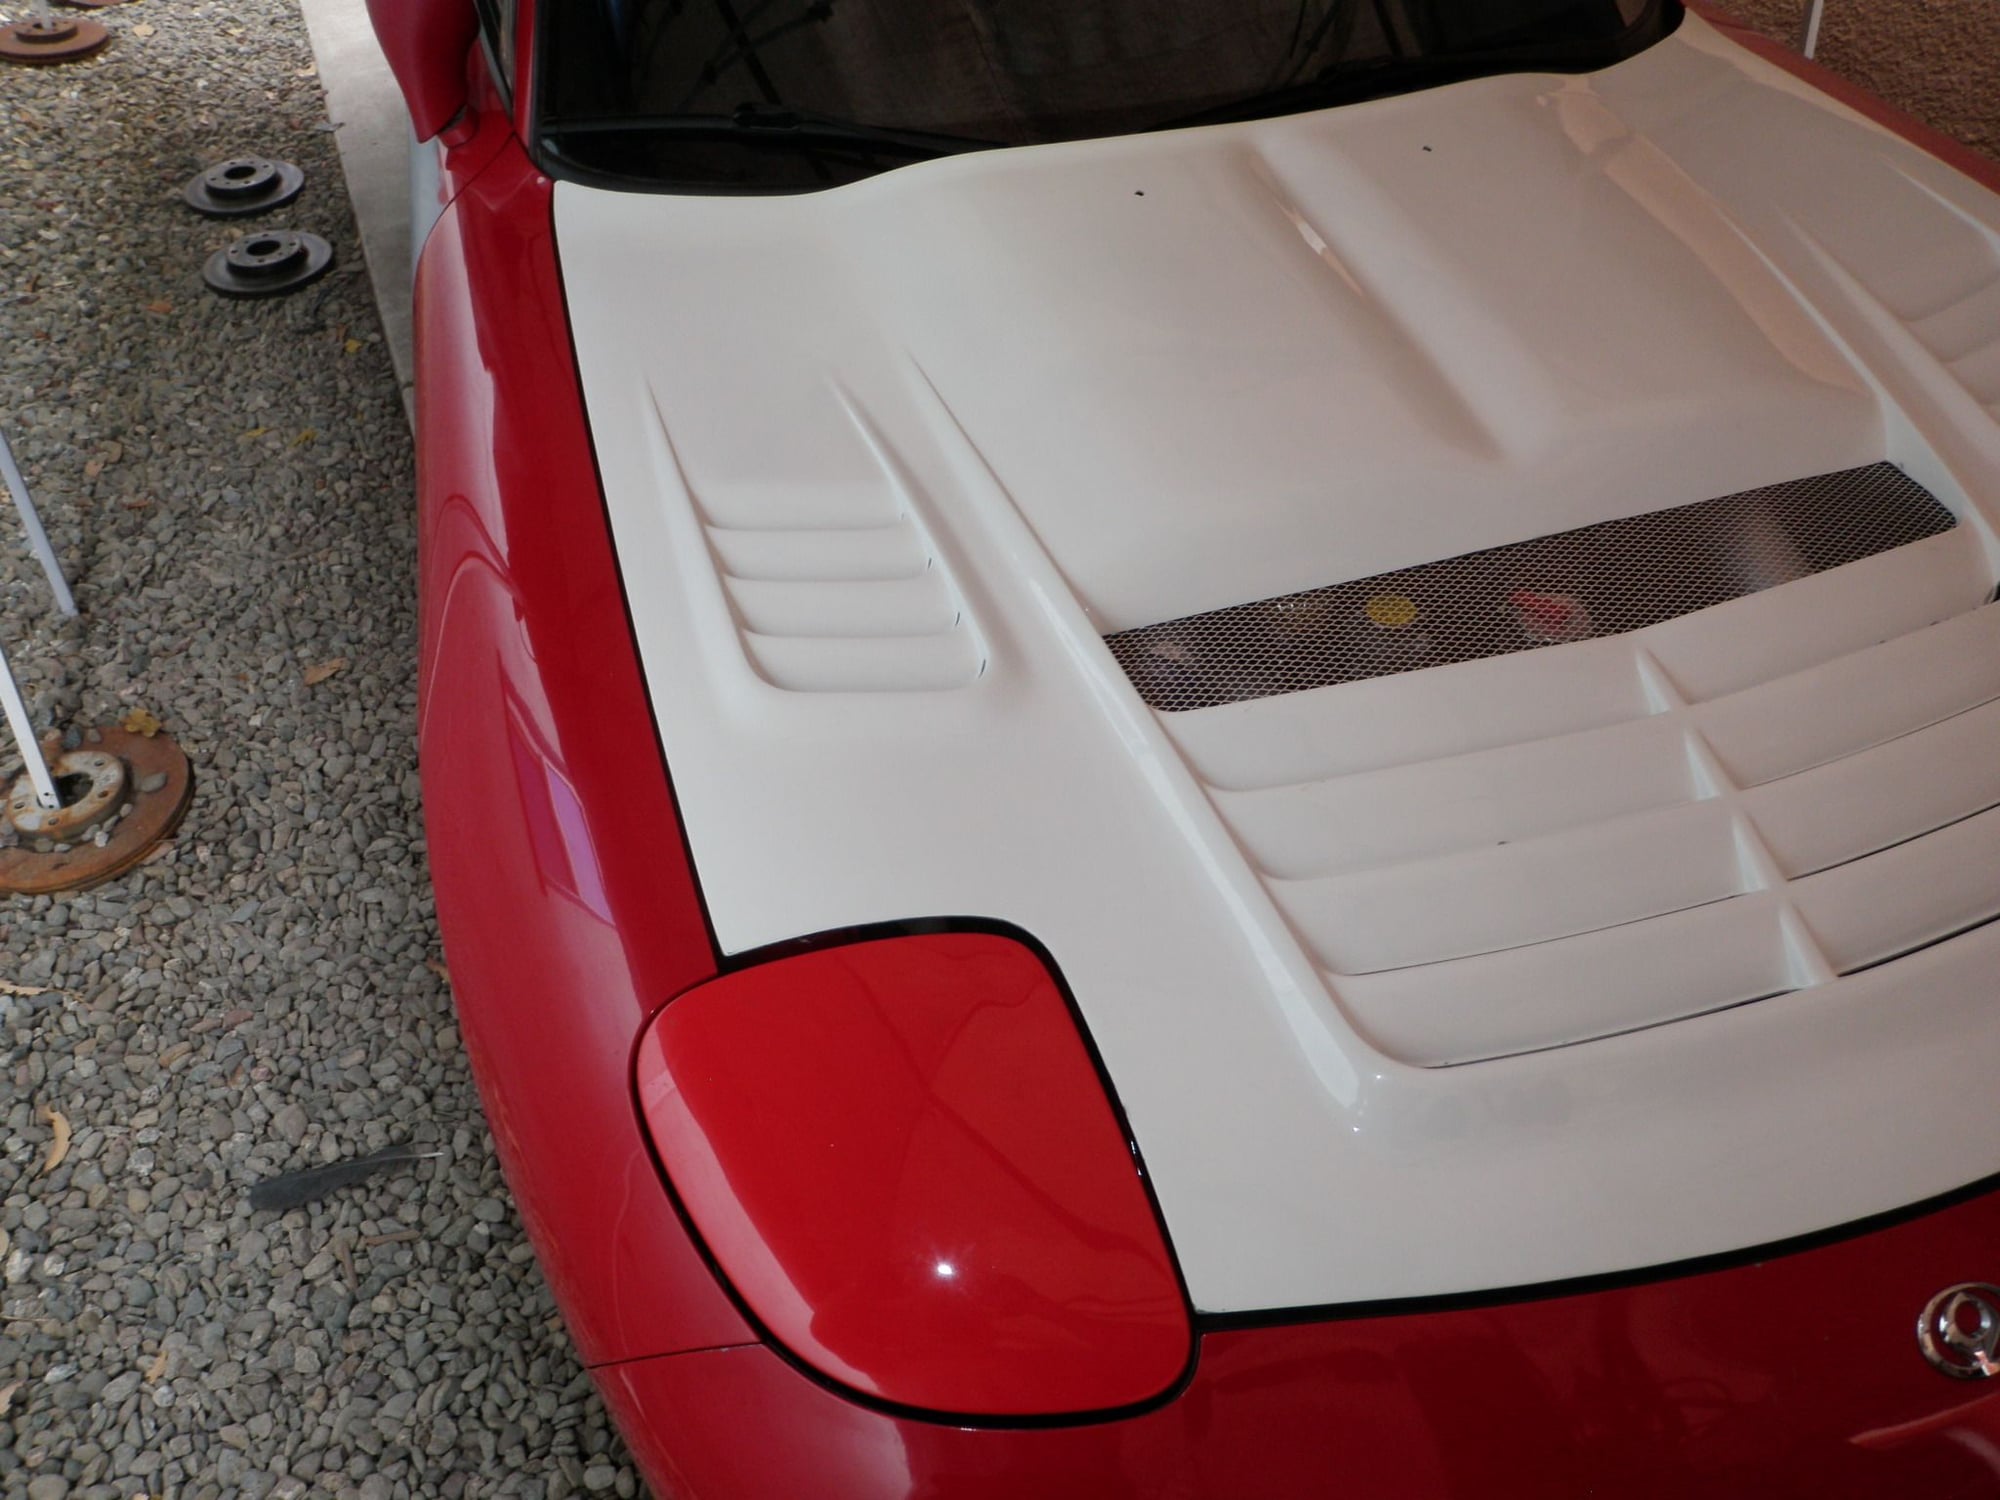
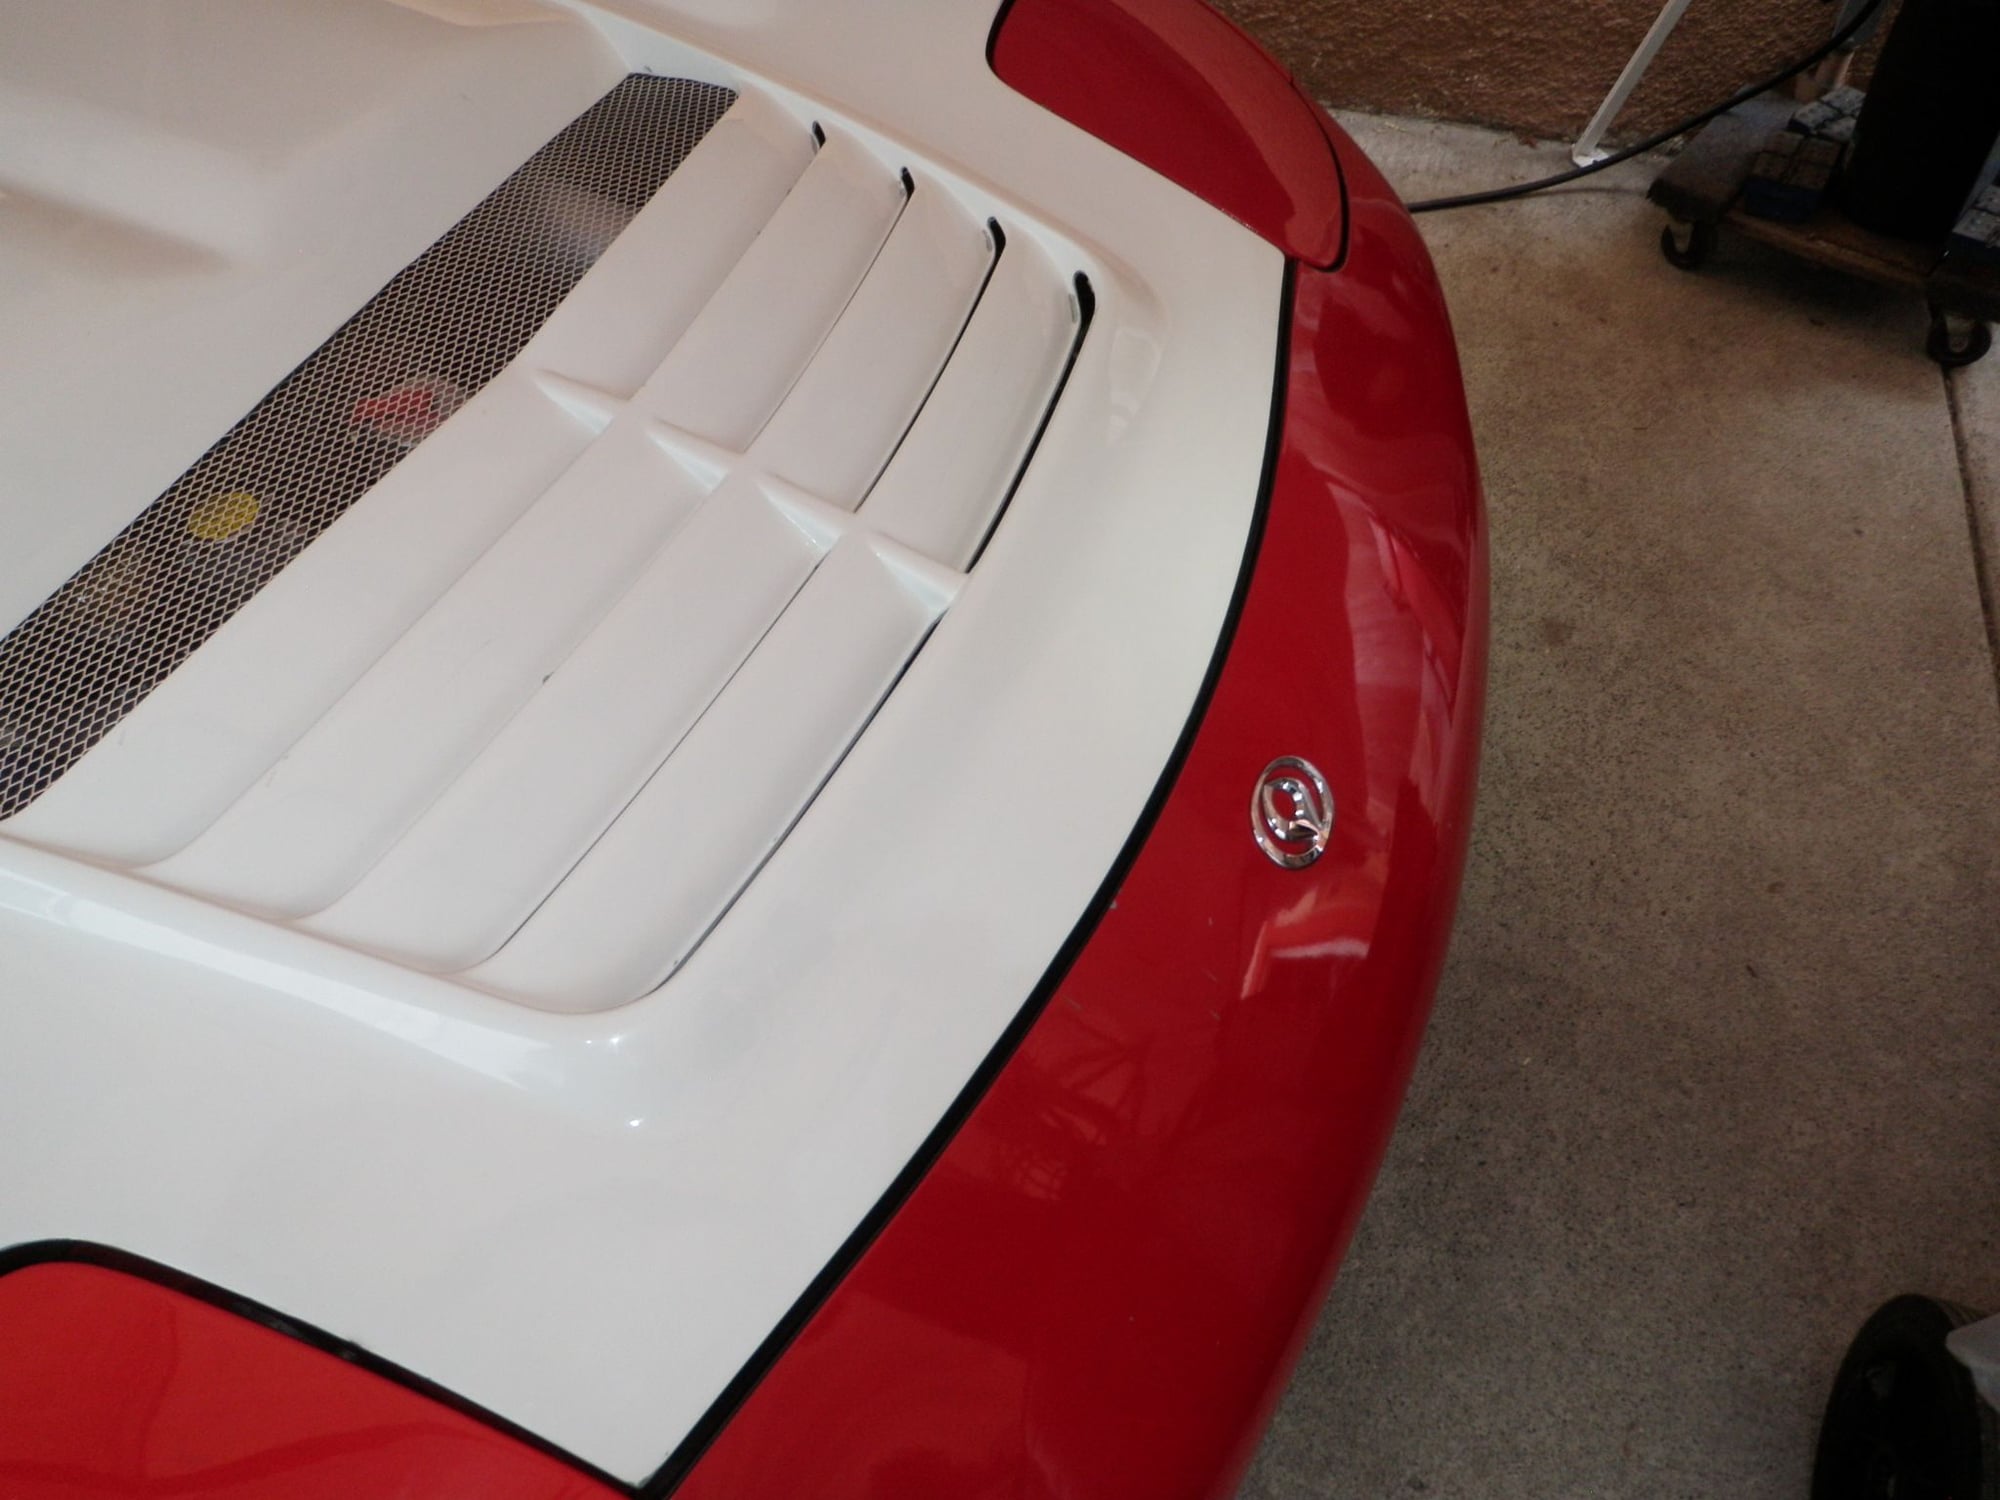
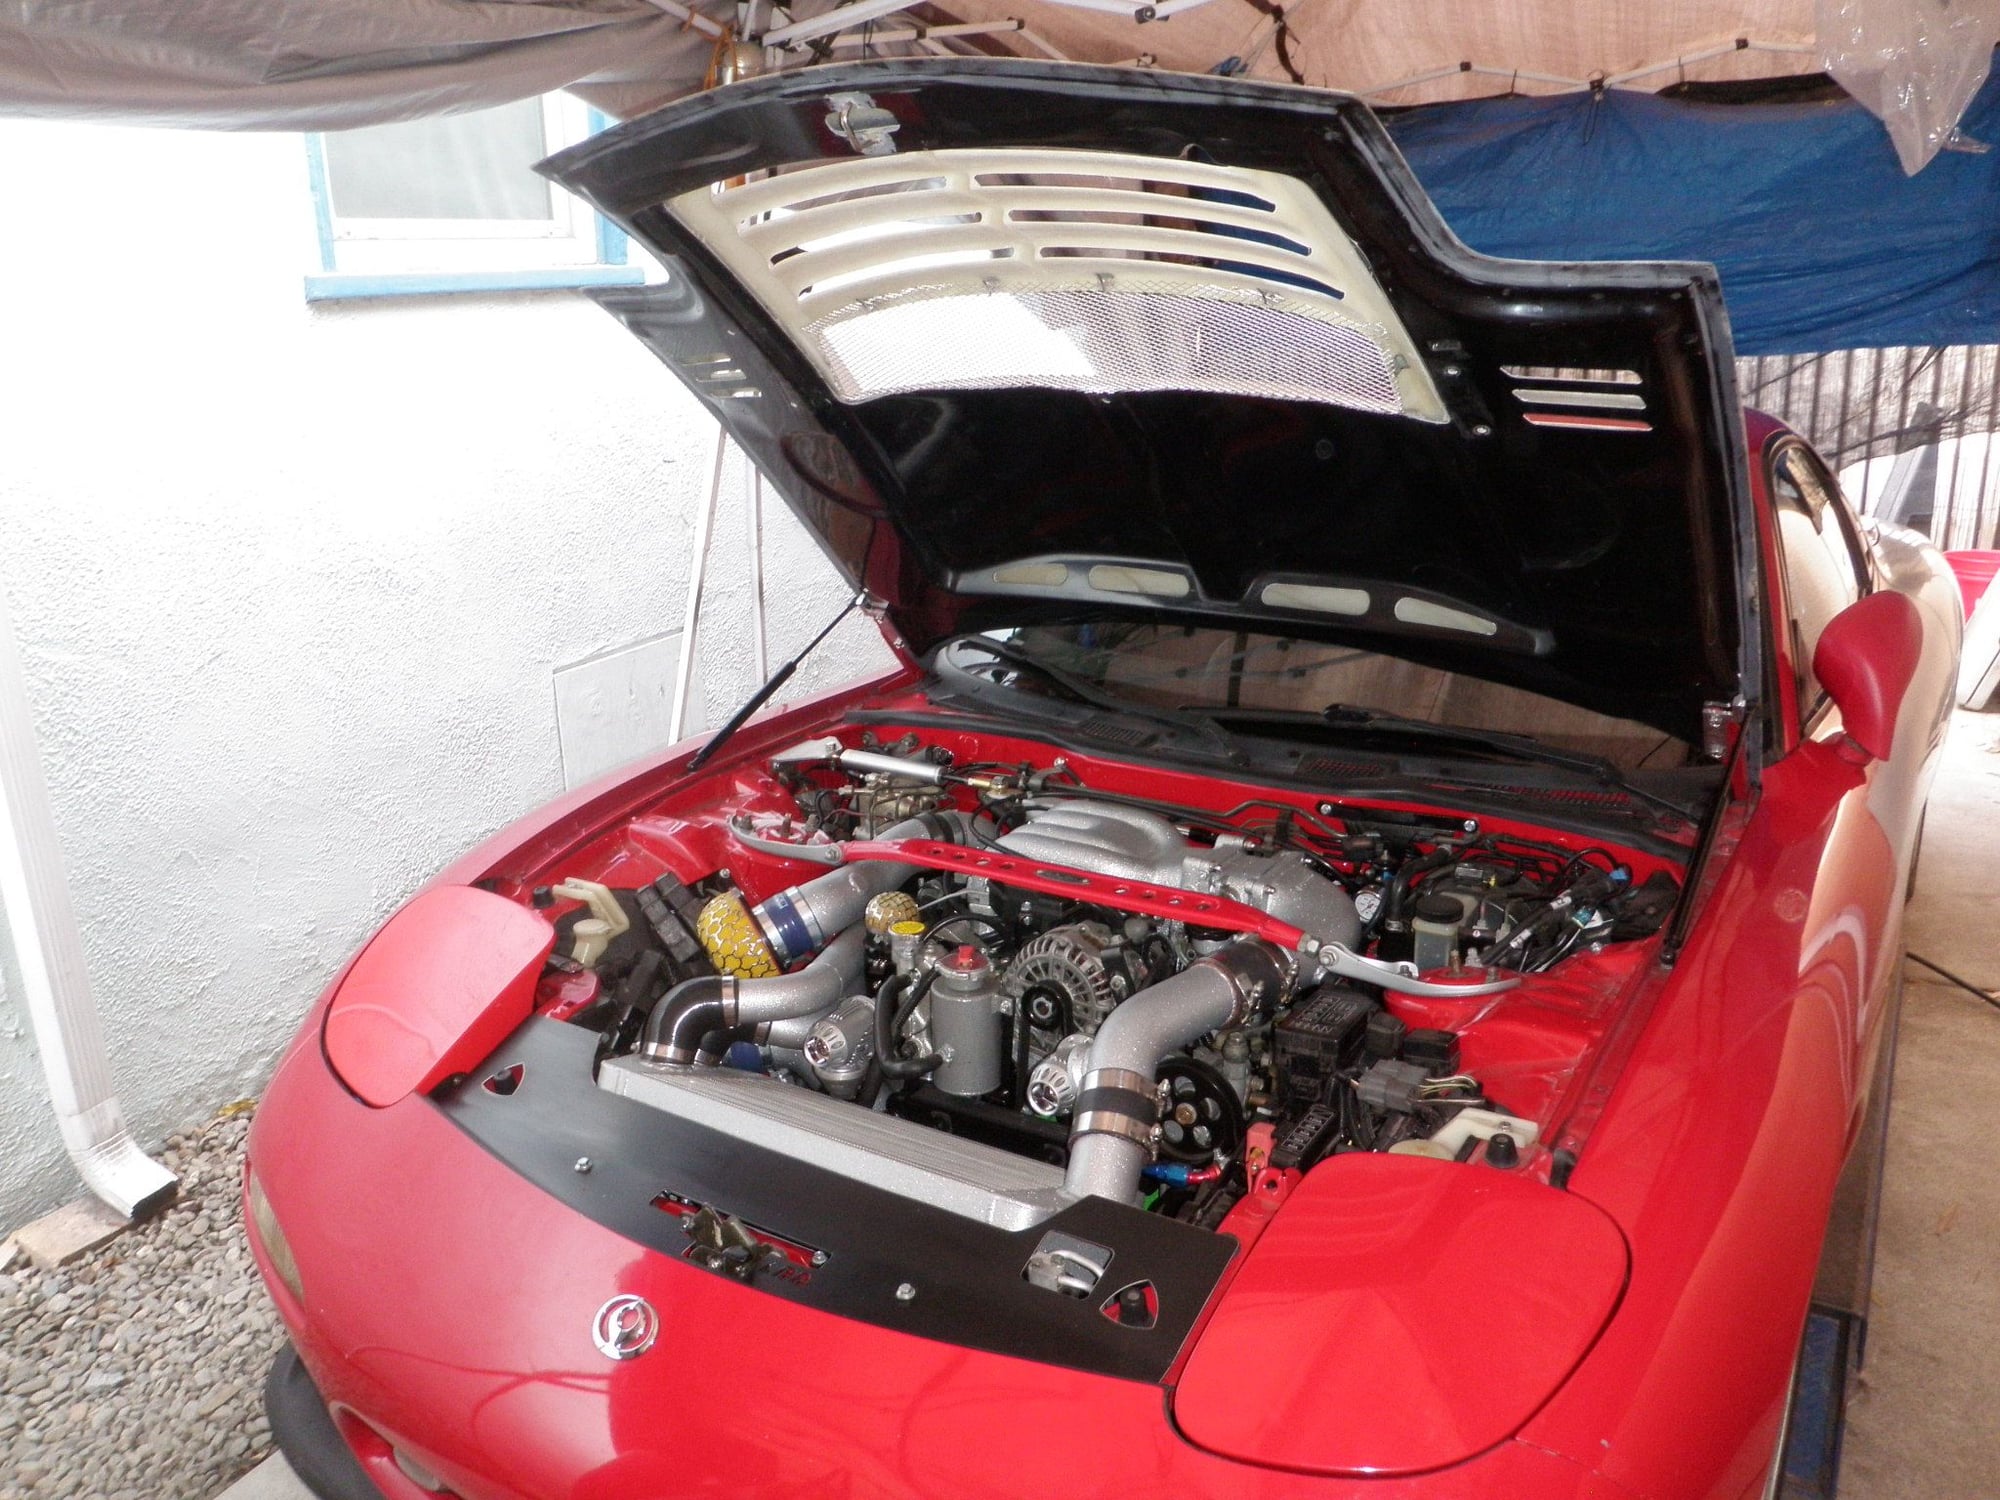
A little over 5 years ago I picked up all my body kit pieces, the used engine, and various performance parts. There is no pint in installing the body kit at this time, but I wanted to see if I could install the R-Magic Type 2 hood. The hood is high quality and come with a removable center rain guard. The hood itself is about as heavy if not more then the stock hood. I have the fiberglass version and it has a nice gel coat on the top. There are a few spots in the corner on the front center fins that is missing some gel, and both corners were chipped near the window.
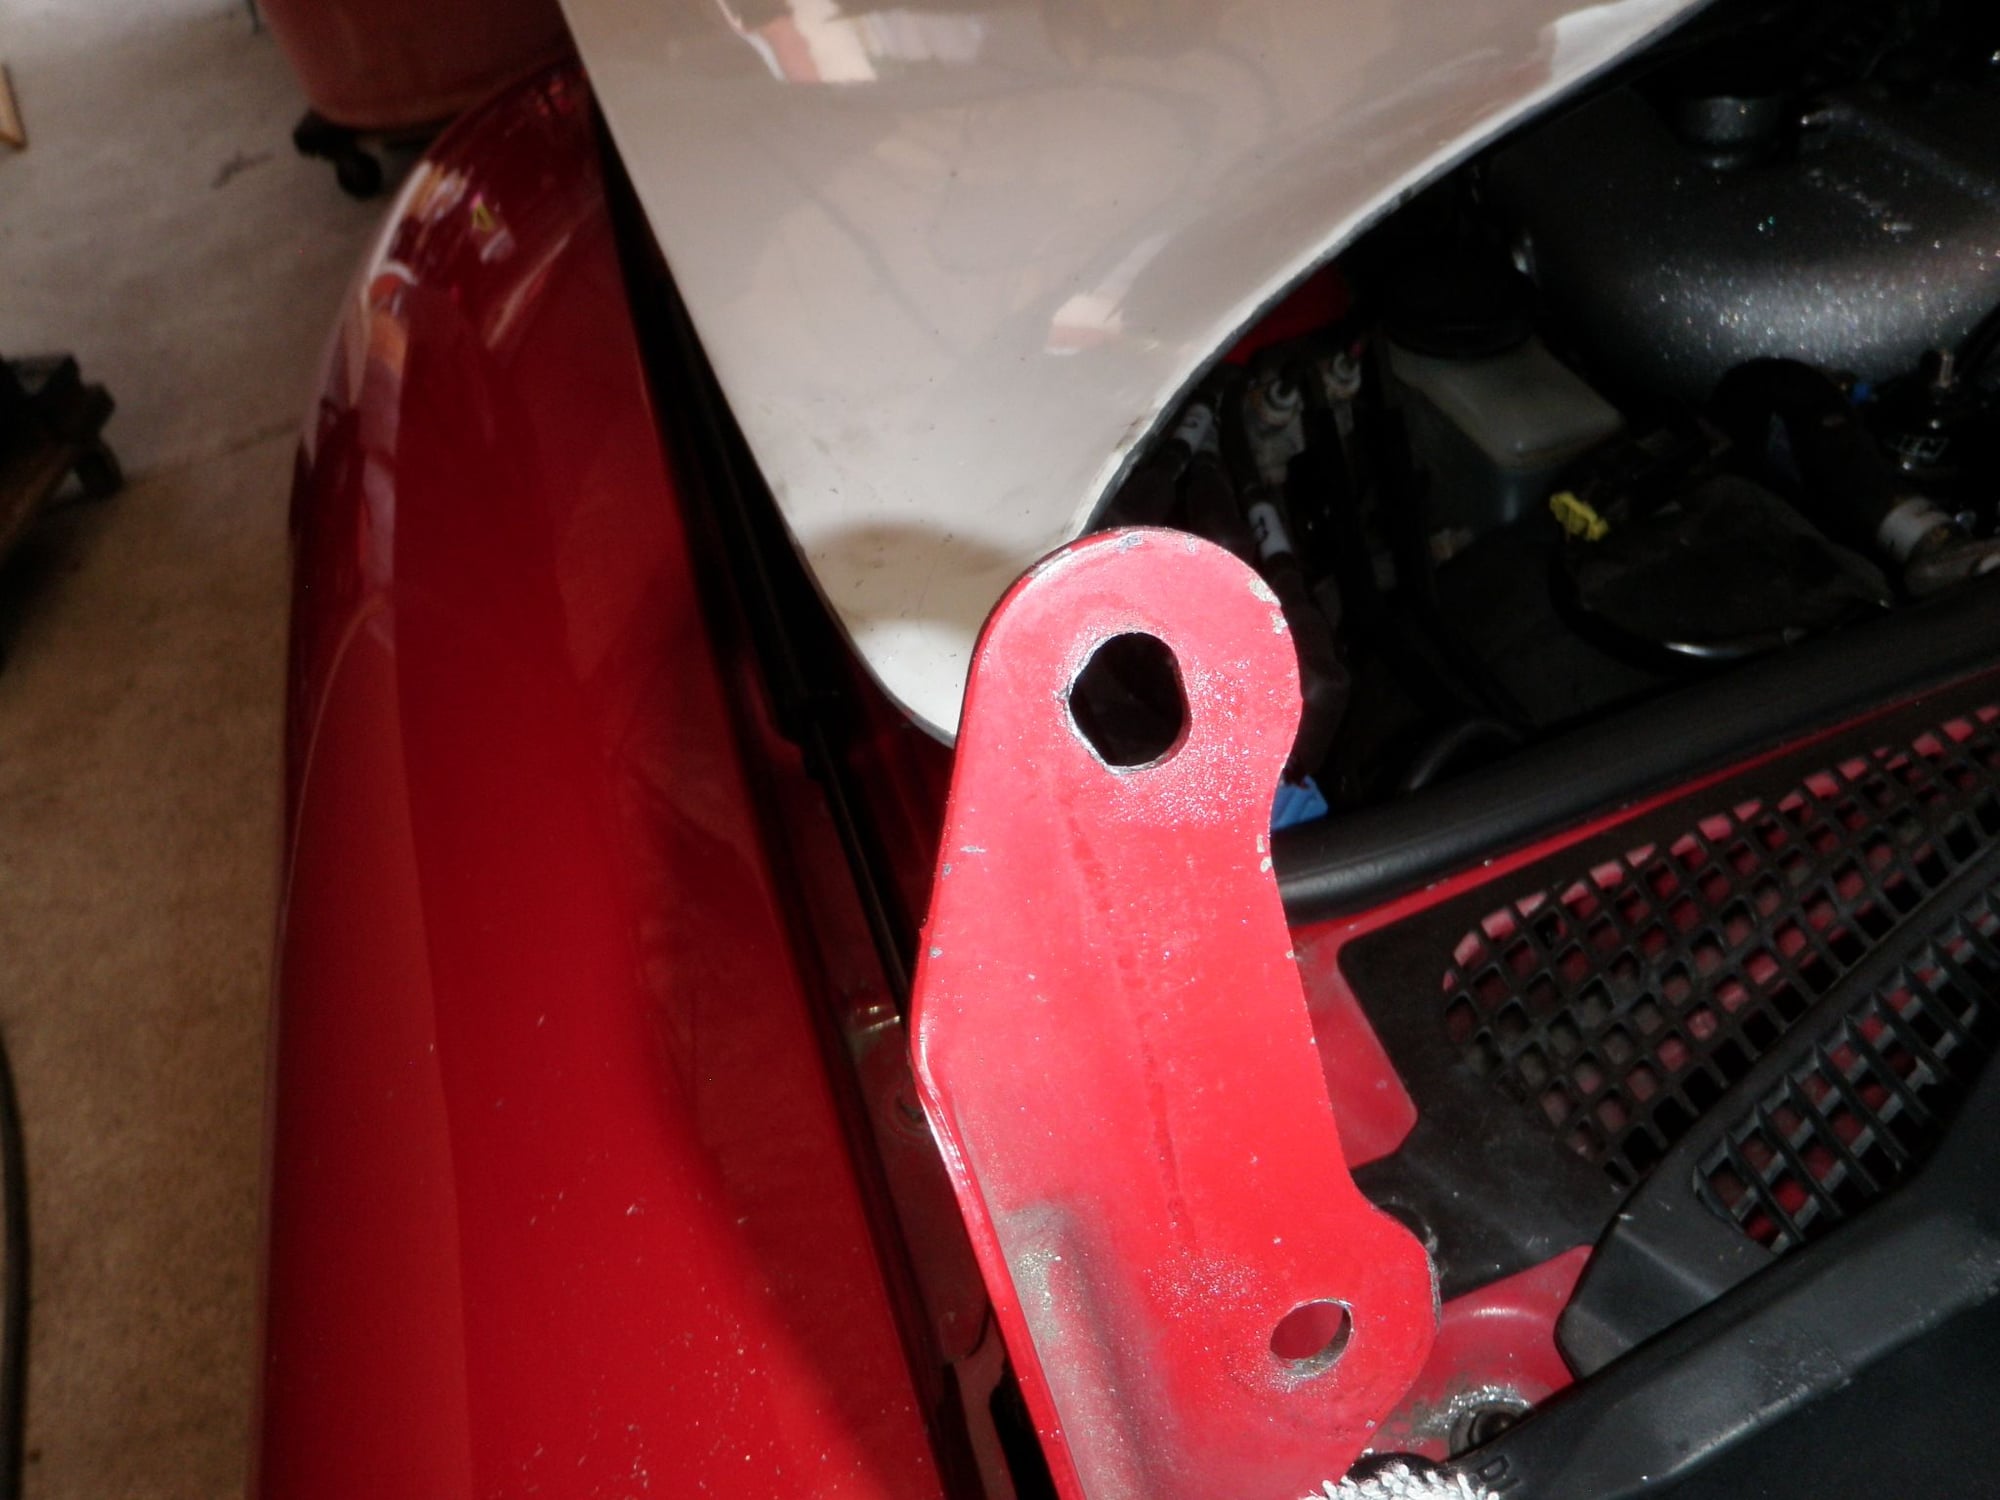
I wanted to use my hood damper kit and knowing there might be fitment issues I went to see if the holes lined up on the nuts in the hood. Good thing I checked because one side was further out then the other side. I had to drill out the bolt holes to a larger size in my hood damper brackets and files down the inside 90 degree corner where the ball stud screws in. I lined up the hood bolt holes, and the driver side bracket had to be massaged. There is no way I can say the hood damper brackets will fit aftermarket hoods when the aftermarket hoods holes are off, different between the left and right side, and the fact that you may need to modify the hole in your bracket on your car. I can say my hood brackets will fit the stock hood and with minor modification aftermarket hoods as well. Another thing is the stock hood has the threaded bolts in the hood and nuts secure it to the stock bracket. This is not always the case for aftermarket hoods as they may have bolts or nuts in the hood.
As far as fitment goes, its uniform all the way around. All the gaps are even but the sides of the hood ride higher than the fenders on both sides. I also had to push the front down a little bit to get the hood to latch, I might raise the hood latch to relieve some of this pressure but then I’ll have to readjust it for the stock hood. The R-Magic Type 2 hood looks menacing and is the top quality you would expect from a JDM authentic hood.
8. SS24 30yr FD RX7 Anny
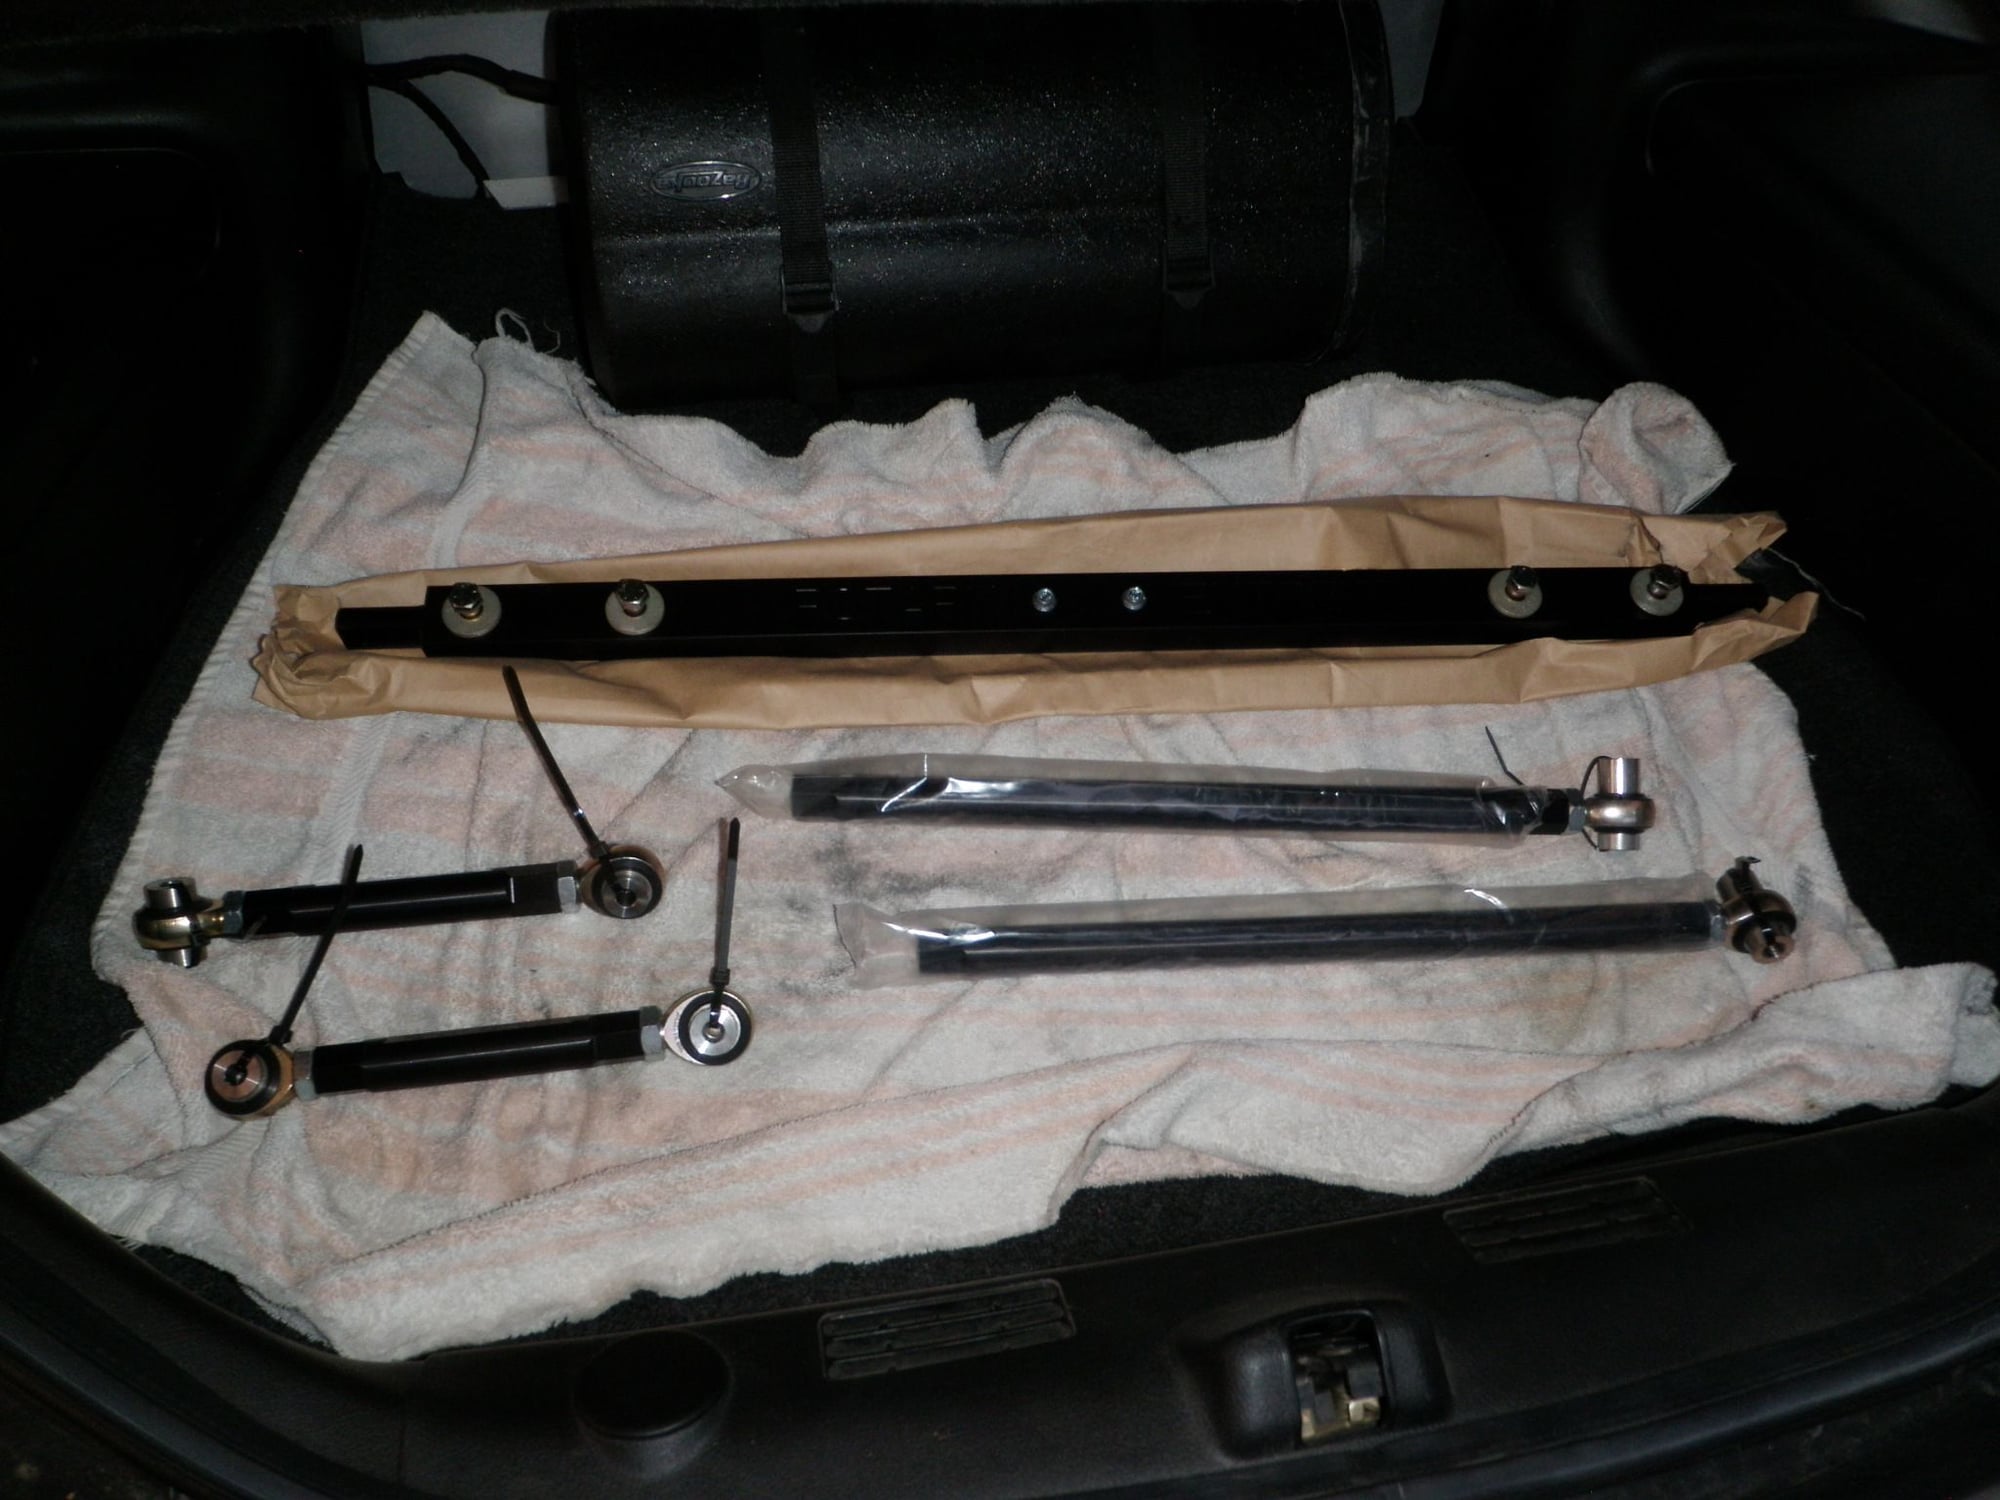
To celebrate the 30yr Anniversary I just had to make it to Sevenstock. I will be donating some things for the raffle. Pricing was the same since 2008, unfortunately, prices must go up due to current events and cost of materials. Again, I am not selling these, these items are being given to Sevenstock for the raffle. Yes, They are all brand new.. lol.
1. Rotary Extreme Toe and Trailing Arms – Value $475 (current market value)
2. Rotary Extreme Harness Bar - Value $300 (current market value)
3. FD3S JDM Arm rest - Value $160 (135-190 current market value)
Things still to do.
1. Install new engine
2. Fix Leaking AST or Delete or Modify
3. OMP Works
4. Fuel Temp Sensor
5. Frame work
6. Re-align wiper motor arm linkage
7. Harness Rework
8. Missing Motor Mount Hardware And Oil Pan Brace
9. Oil Thermo Pellet
10. KOYO N-Flow
11. Throw-out And Pilot Bearing With Seal
12. Brake Booster Hose Mod
13. Rear LRB Panels = Black
1. Install New Engine
Too bad the used engine I bought has a coolant o-ring failure. It has been good to me as a test mule. Survived overheating - kinda - and lasted through learning how to use FC Edit and FC Tweak.
2. Fix Leaking AST or Delete or Modify
Apparently the Pettit AST has a known issue of leaking at the neck where its welded to the top of the tank. It's welded on the inside for a cleaner look I guess. I'm going to strip the powder coating in that section and weld a bead around the outside and hope it will stop the leaking. If not then I guess I'll get Pettit's new AST design which is welded on the outside now. Or I could delete it all together, I'm still on the fence over this. I also bought a tank like the concept of the Apexi GT Reservoir which will be cool also.
3. OMP works
I want to have the OMP and premix mainly to be fully covered on accel and decel. Deceleration coasting down a big pass for miles if I should happen to be in decel fuel cut for some weird *** reason. I was able to source everything to reinstall the OMP system onto my car. I got a good used tested OMP, brand new oil lines, all OEM crush washers, RA OMP adapter and a reservoir I will need to modify to use for the 2-cycle oil. I may need to change the AST design to fit everything in front of the engine since I do not want to do an AST delete yet.
4. Fuel Temp Sensor
I bought a secondary fuel rail so I can modify it to fit in between the FPR and the CJ motorsport secondary rail I have. It will hold the fuel temp sensor and the fuel pressure gauge sender. The fuel temp sensor is not a make it or break it item on a modified car but neither is the ISC if you keep your base idle high enough. Speaking with Xavier and understand how the fuel temp sensor can adjust the fuel by as much as 4% based on weather and fuel temp.
I feel I would like to plumb it back in. I will probably cut both ends off before the injectors leaving the straight center section to work with. I will weld a bung and then tap that for the FP gauge. I will also make a bracket to hold the assembly against the firewall. I got a new fuel temp sensor since I am redoing my fuel lines - again.
5. Frame Work
While the engine is out I would like to try and straighten the left front corner that is pushed back. I can tell by how things bolted back up. I will also repaint the top part of the firewall where the weather stripping is for the back of the hood to fix the nasty scratch I caused while putting the engine back in.
6. Re-align wiper motor arm linkage
I do not know exactly how the wipers are supposed to work but mine stops at a certain point and then when they move again they drop down about an inch before going back up. I guess the alignment is off a tad.
7. Harness Rework
I need to redo the modified solenoid harness to make it shorter since there is a big loop on top of the engine. I will also redo the engine harness and completely pull back all the unused connectors and wires back into the cabin.
8. Missing Motor Mount Hardware And Oil Pan Brace
It's interesting when you start rebuild other RX7's and you realize what you never had in the first place. I was apparently missing the rubber braces, the steel rubber brace retainers, and the turbo side heat shield. That you Fritz for those parts!. I will also swap the oil pan brace from my oil engine to the new one which means I will have to carefully pull the new pan off and redo everything again, but it's the best way to do it.
9. Oil Thermo Pellet
I have all the time in the world to let the car warm up and with a brand new engine I would rather play it safe.
10. KOYO N-Flow
The piping is already converted back to single pass so I figured why not just add the extra walls in the end tanks and convert it to an N-Flow.
11. Throw-out and Pilot Bearing with Seal
Now that I have a new engine, I need a new pilot bearing and seal, I got an OEM throw out bearing while I was at it. I have a brand new 6-Puck sprung clutch so I will stick with that. I still need to see if I have a stock pressure plate or a modified one when I take tranny off, but I do like the way the engagement feels as is.
12. Brake Booster Hose Mod
I will also do this mod when you shorten the brake booster hose to go near the throttle body. The more I think about it the more I like it since it is taking air from a shared source instead of just the rear rotor intake runner.
13. Rear LRB Panels = Black
The rear LRB panels are aluminum and stand out a little more than I would like to. I will for sure paint the upper side panels, lower corner panels and the back panel. Might be easier to just cover them with a vinyl sticker so I do not have to take them out for paint.
Well, that's about it for now. I think that's everything I wanted to do prior to getting started on the body kit. Thank you all for reading my post. Enjoy the pics.
The following users liked this post:
ZumSpeedRX-7 (11-02-22)
The following users liked this post:
estevan62274 (11-02-22)
#792
Eats, Sleeps, Dreams Rotary

Thread Starter
iTrader: (2)
Thanks!!
Yes I do, I have just been so busy with personal things I haven't been pushing any GB's.
Benefits of having a career job and a business run like a hobby - you never go out of business if you don't sell anything... LOL
#794
Eats, Sleeps, Dreams Rotary

Thread Starter
iTrader: (2)
I am not allowed to discuss business pricing or sales under this screen name "rotaryextreme", it's my personal name.
I can answer basic questions on stuff I make, but no pitching sales.
Rotary Extreme Sales 1 is the screen name for business deals...
"FB would be better" if you can find me on there
Ben
I can answer basic questions on stuff I make, but no pitching sales.
Rotary Extreme Sales 1 is the screen name for business deals...
"FB would be better" if you can find me on there

Ben
The following users liked this post:
ZE Power MX6 (11-02-22)
The following users liked this post:
rotaryextreme (11-06-22)
The following users liked this post:
EREBUS (11-06-22)
#797
Oh hell yeah!!
The following users liked this post:
rotaryextreme (11-06-22)
The following 2 users liked this post by rotaryextreme:
Jatt (12-09-22),
ZumSpeedRX-7 (11-14-22)
#800
Eats, Sleeps, Dreams Rotary

Thread Starter
iTrader: (2)
Instead of uploading 170 SS24 photos here, I'll just share the 4 part upload on my FB.
FB blah blah .com /RotaryExtreme
look for the recent part 1 - part 4 SS24 post.
GN everyone
FB blah blah .com /RotaryExtreme
look for the recent part 1 - part 4 SS24 post.
GN everyone


