When you click on links to various merchants on this site and make a purchase, this can result in this site earning a commission. Affiliate programs and affiliations include, but are not limited to, the eBay Partner Network.
Once again, this forum has been the primary source of inspiration and knowledge for the past decade of rotary adventures. I very much appreciate all of the members who have helped along the way.
The 3 rotor sold in October of 2015. It was such a tremendous car, a nice journey from 2006 to 2016.
Why put so much time into a car, only to sell it months later? Because that's the only way to move forward. It would have been unscrupulous to further modify the first car, as the overall design is a balancing act that maintains a specific character to the spirit of that particular RX-7. To push the boundaries requires a new beginning.
Its taken the universe approximately 14.7 billion years to reach this moment. Its finally here. And although this upcoming process may seem arduous and senseless at times, consciousness has a constructive vision which demands physical composition.
They went to the moon, they landed on the moon, they returned from the moon. Anything is possible.
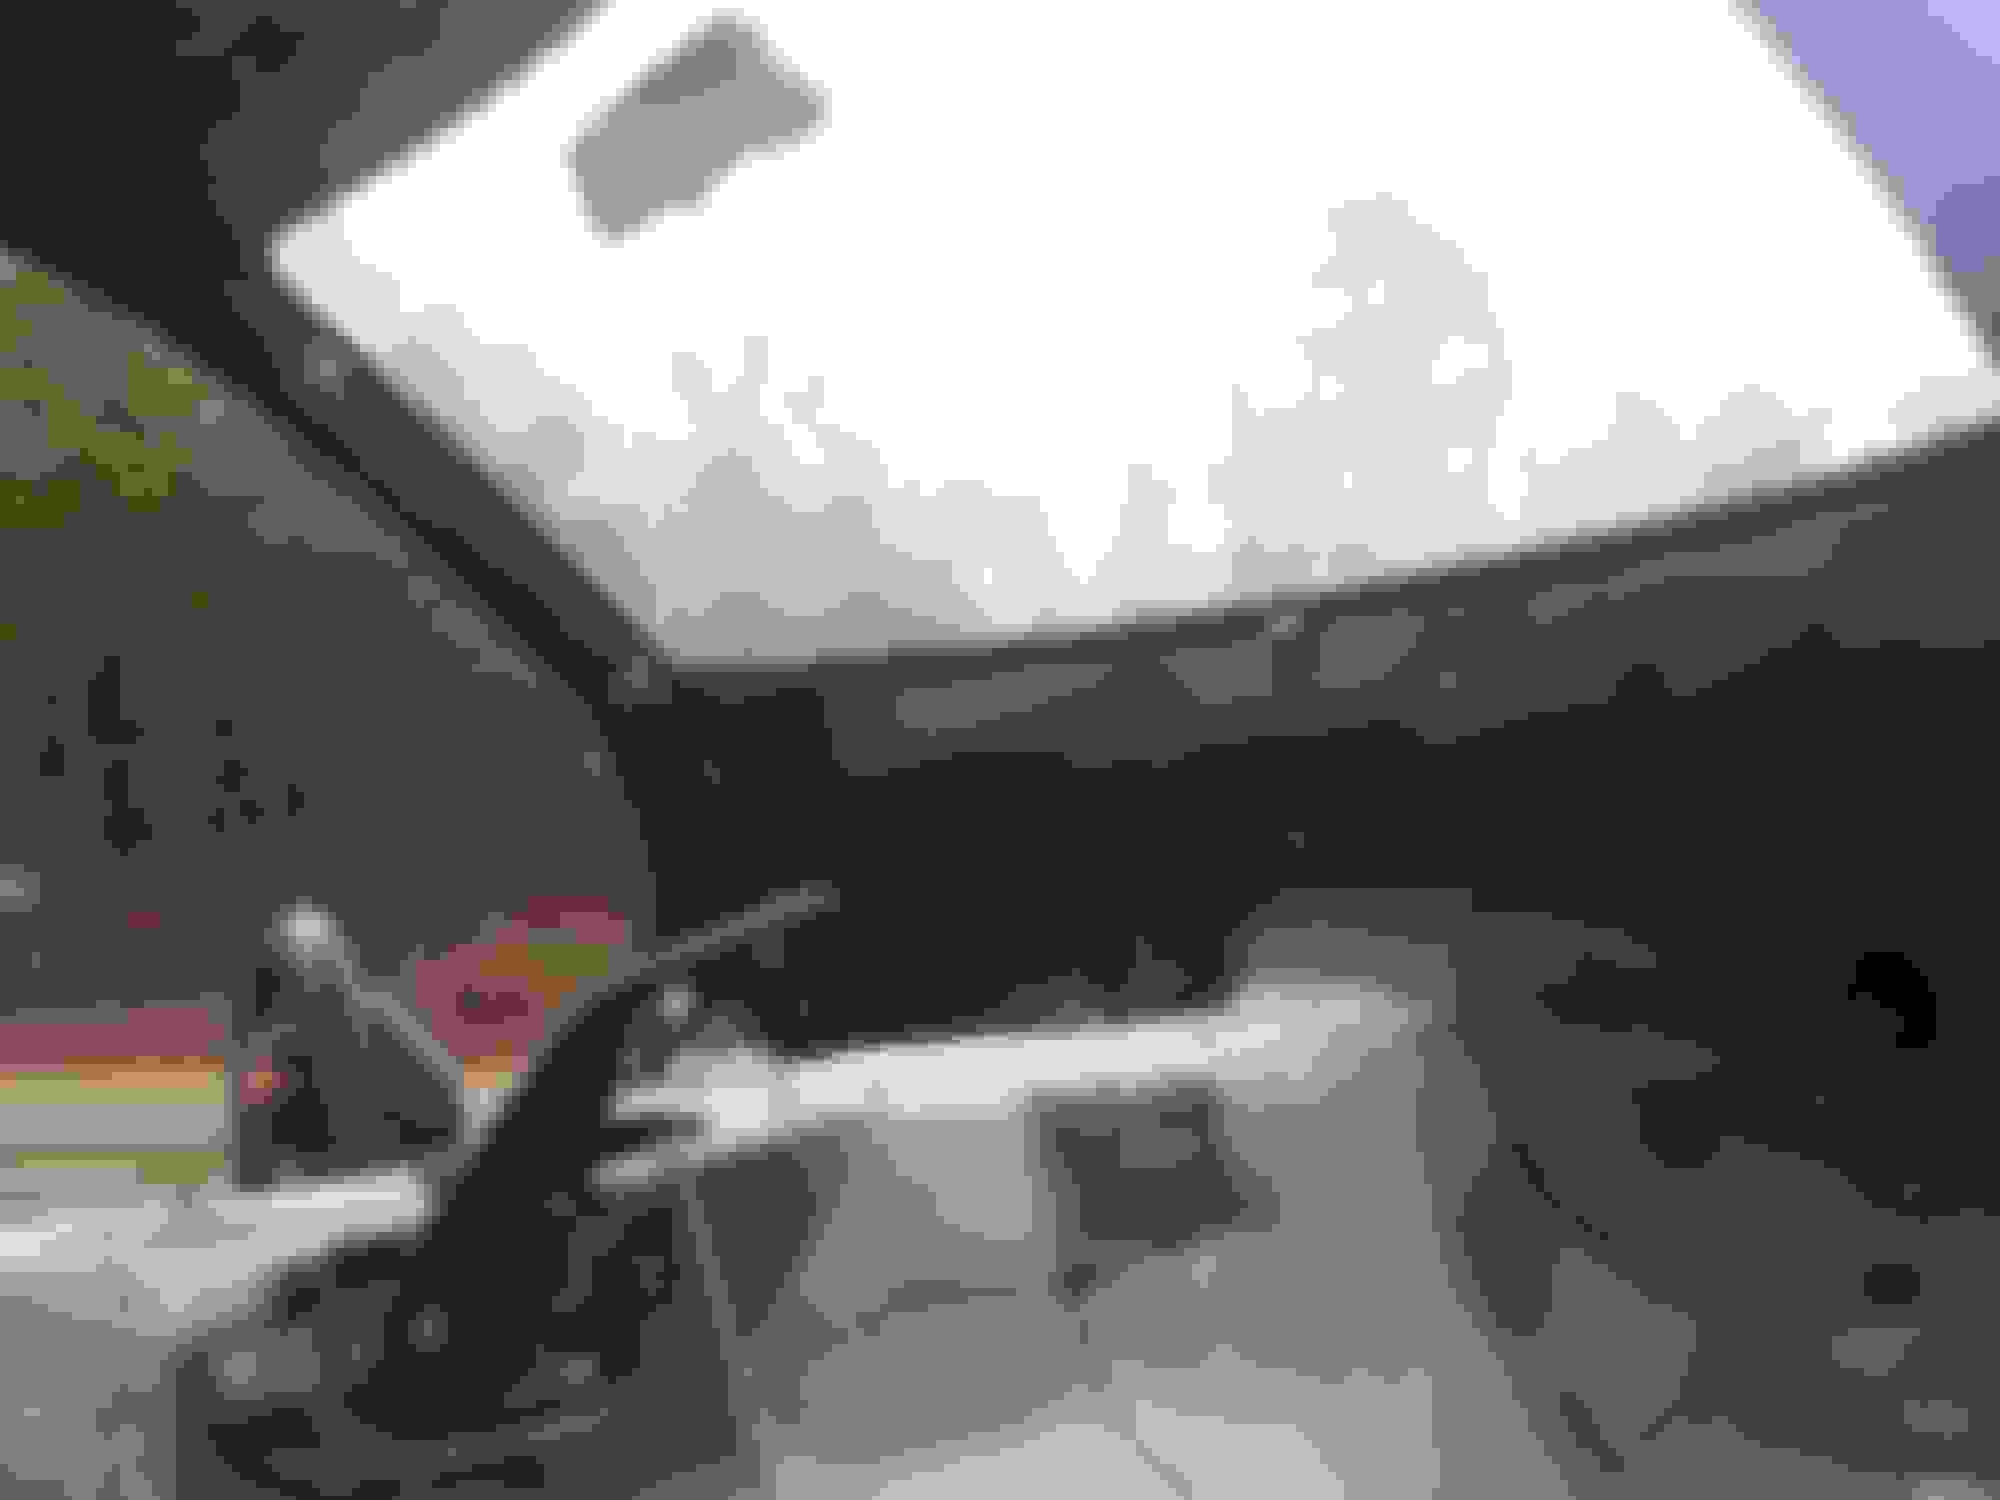
So lets begin by stripping down the chassis to see what we've got to work with:
After removing the fenders, it became apparent that the front passenger apron had been damaged. In order to ensure that the rest of the car was structurally sound, the car was taken to Trussville Collision center in Birmingham. These guys have always done awesome work to last FD over the years!
Last edited by Monsterbox; Feb 2, 2016 at 04:20 PM.
Reason: Include bodyshop
Thankfully, the frame damage is only to the front apron. Zero damage to the suspension geometry, to the main frame rails, or any of the important structural points. The frame shop realigned the apron for proper fender fitment with laser accuracy.
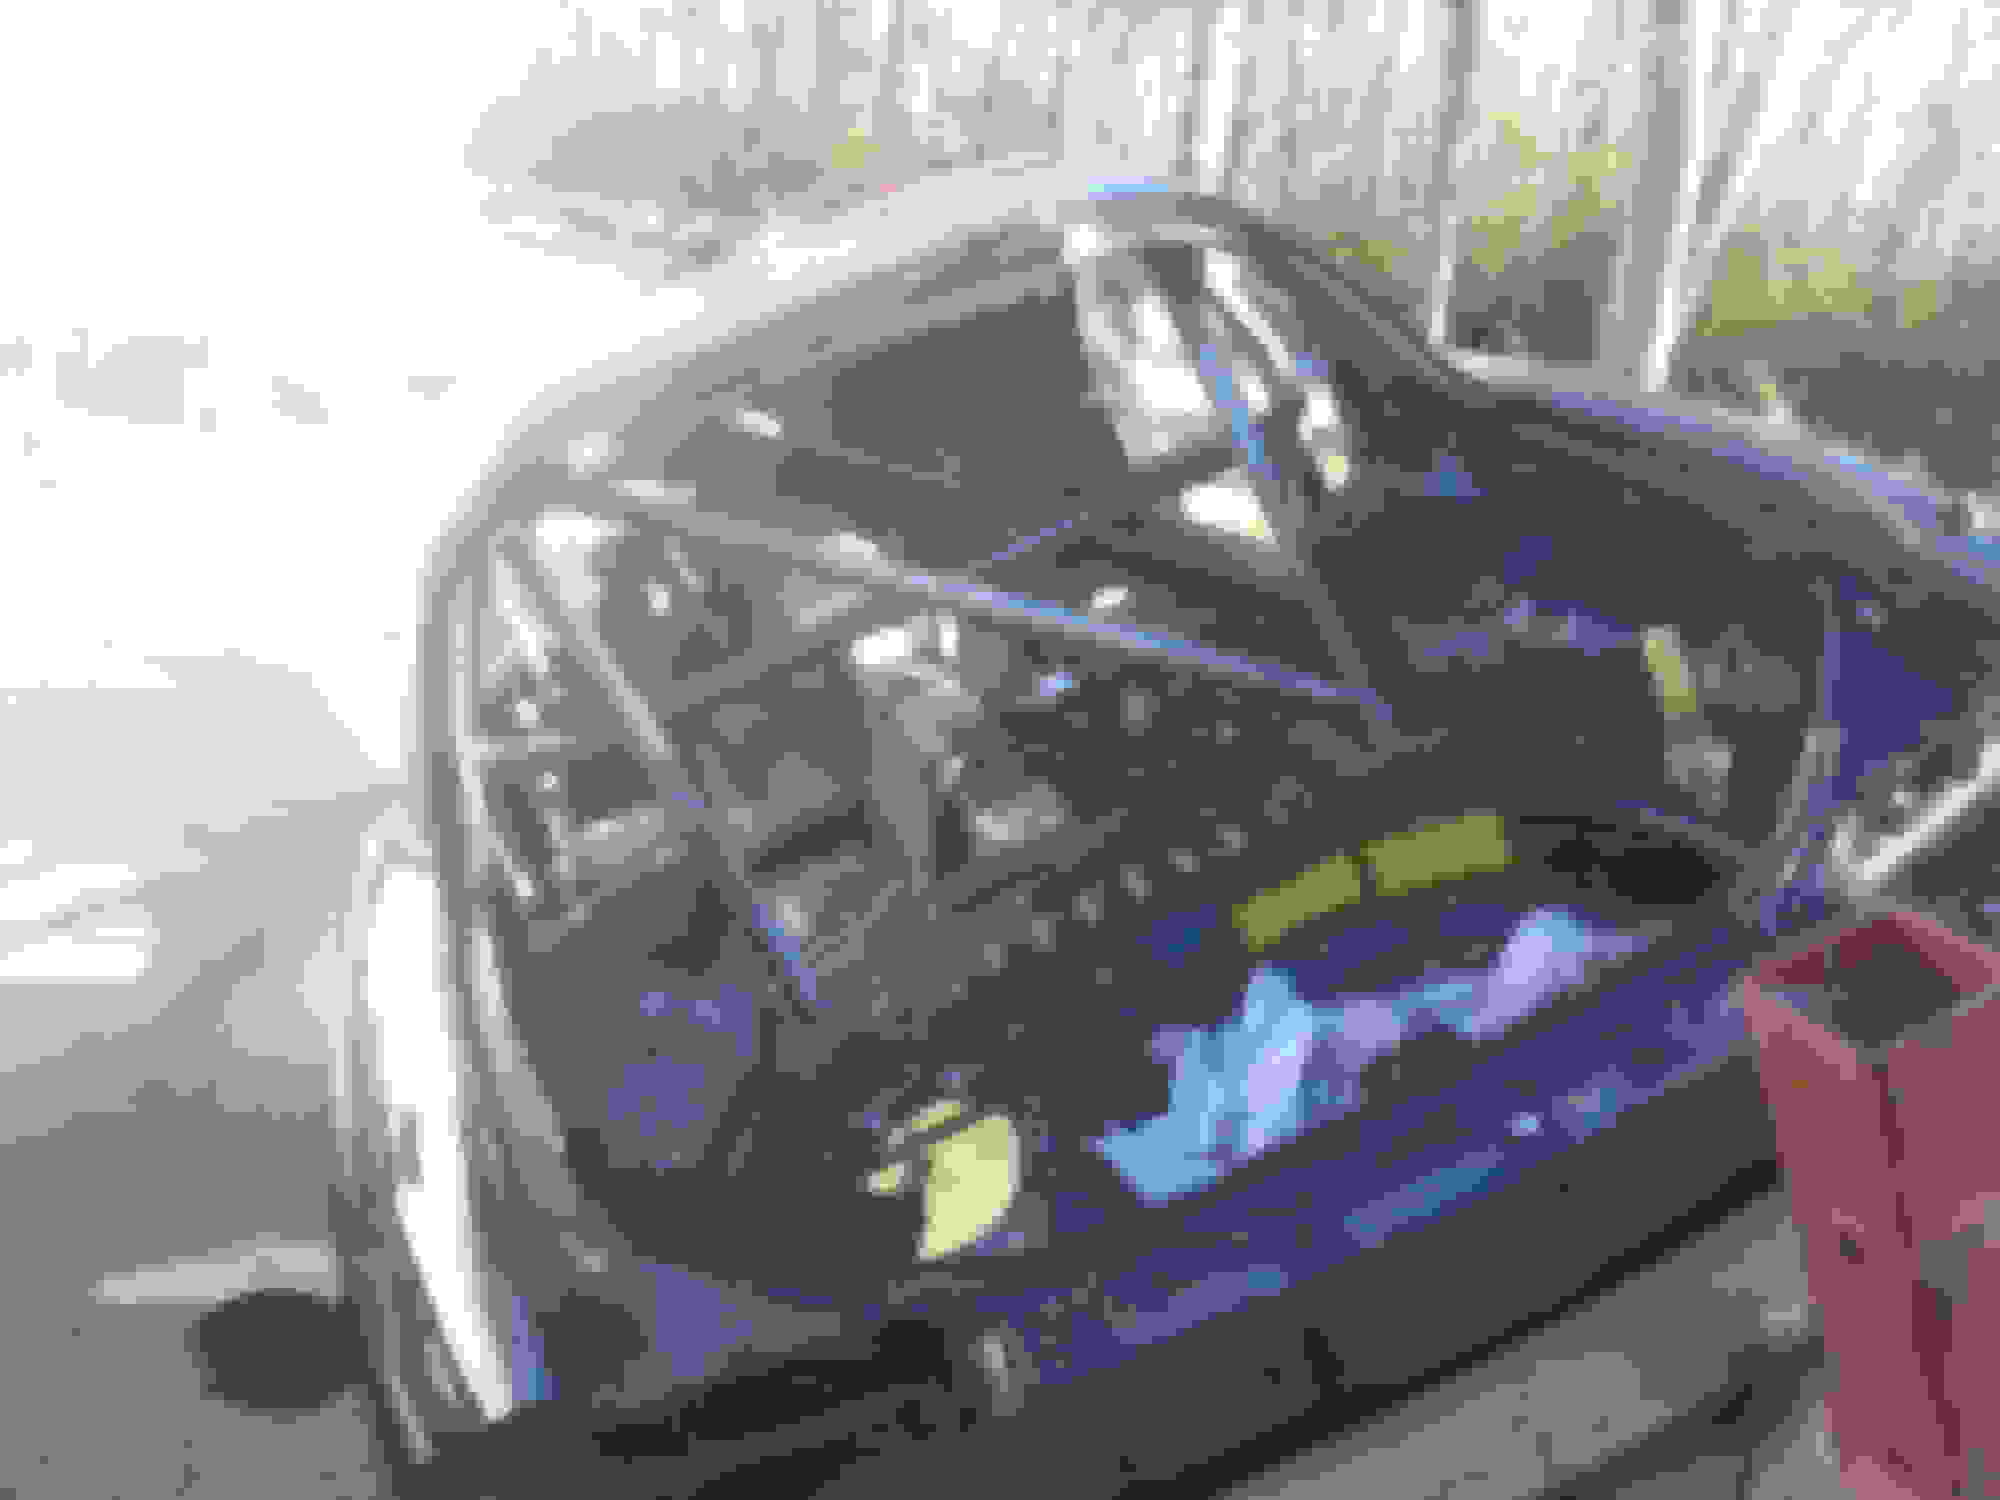
Now lets take her down and see what we've got under all that interior!
As the car was stripped, it became apparent that the interior panels had many broken clips and gouges. Many pieces missing, such as the pedal assembly, the steering column surround, door handle, glove box, vents for dash, the list goes on.
Rather than spend time salvaging what remains, or trying to restore the Mazda vision of this car. The 2016 vision demands the upmost special attention to detail.
The universe is a fractal by nature. Like the universe, each piece of this car, must represent the entirety of the whole car. Therefore, each piece that is damaged was sold or scrapped.
The decision is to keep the main structural pieces of the car. The doors, the hatch, the glass. The bumpers will be replaced, the hood, the fenders, the seats. The dash will be refinished.
The wiring will be entirely created from start to finish. Every wire to every light, to every switch, will be created.
Many will see a car as pictured, and assume its a roller that will sit for scrap. This is a diamond in the rough. The perfect donor for a transformation into a supercar.
Lets continue.
Last edited by Monsterbox; Feb 2, 2016 at 04:22 PM.
Reason: Grammar
Lets start with a 6 point roll cage, strip the entire suspension off of the car, and mount it onto a rotisserie. Anything less would be compromising the vision.
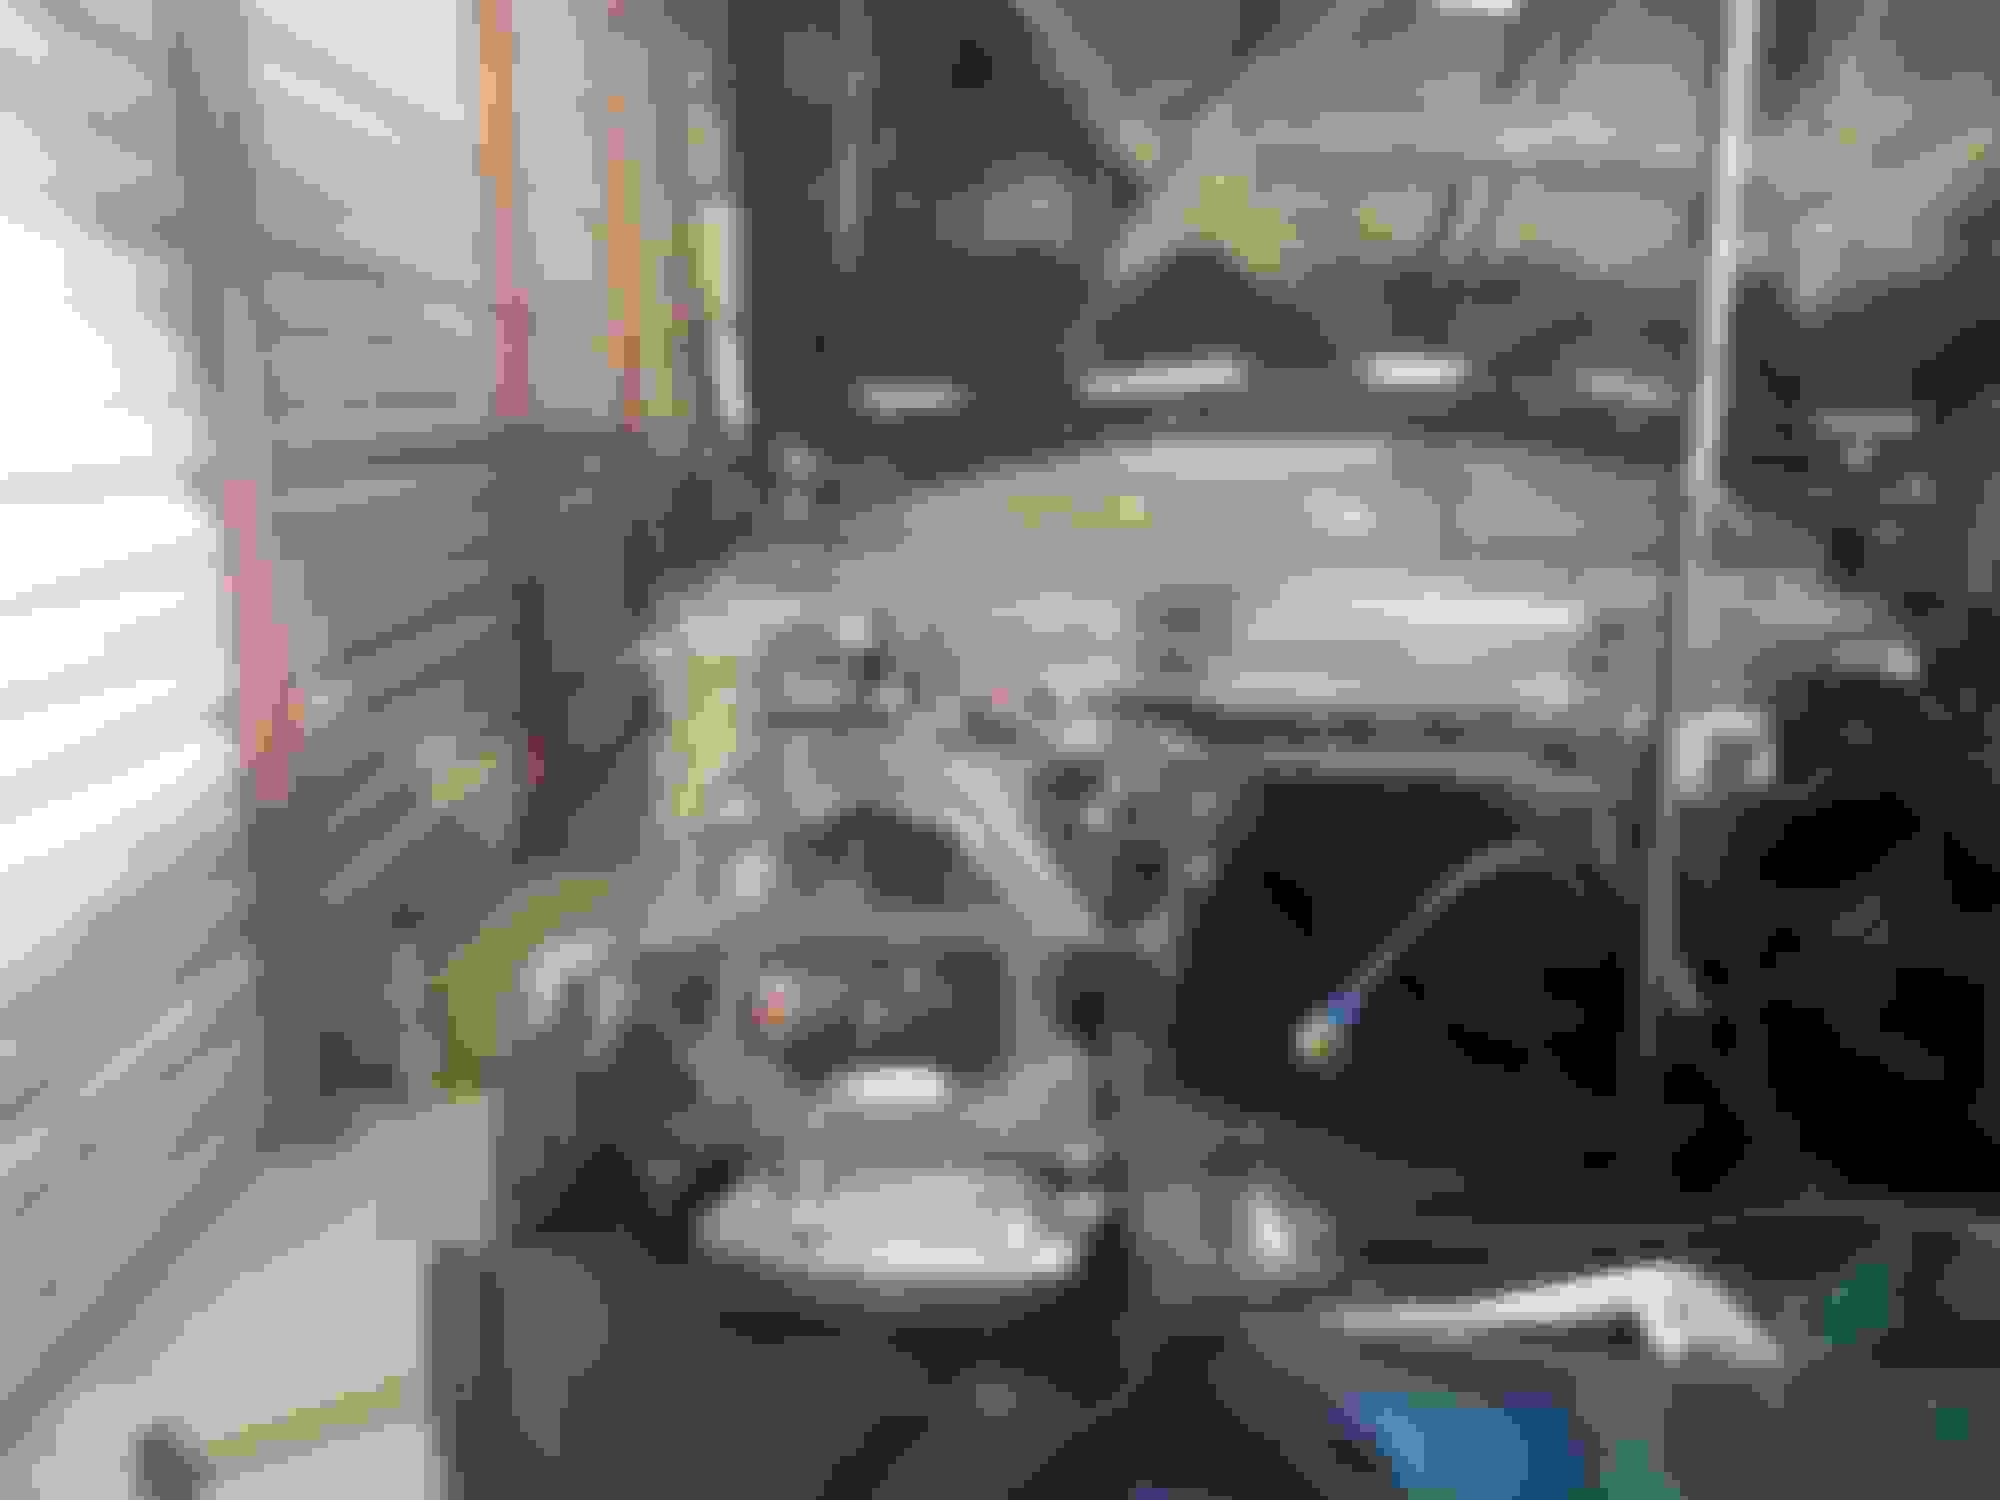
With the car up in the air, we rotated the chassis upside down. If you haven't tried this, you're missing out! Seeing an RX7 downside up, is an amusement. Tons of dirt, let me reiterate, tons of crust earth matter completely caked like mud to the entire underside of the car. A video of this will be posted on youtube soon to come.
Underside is:
-pressure washed
-lightly sanded with low grit sand paper
-undercoated
-base coated
-clear coated
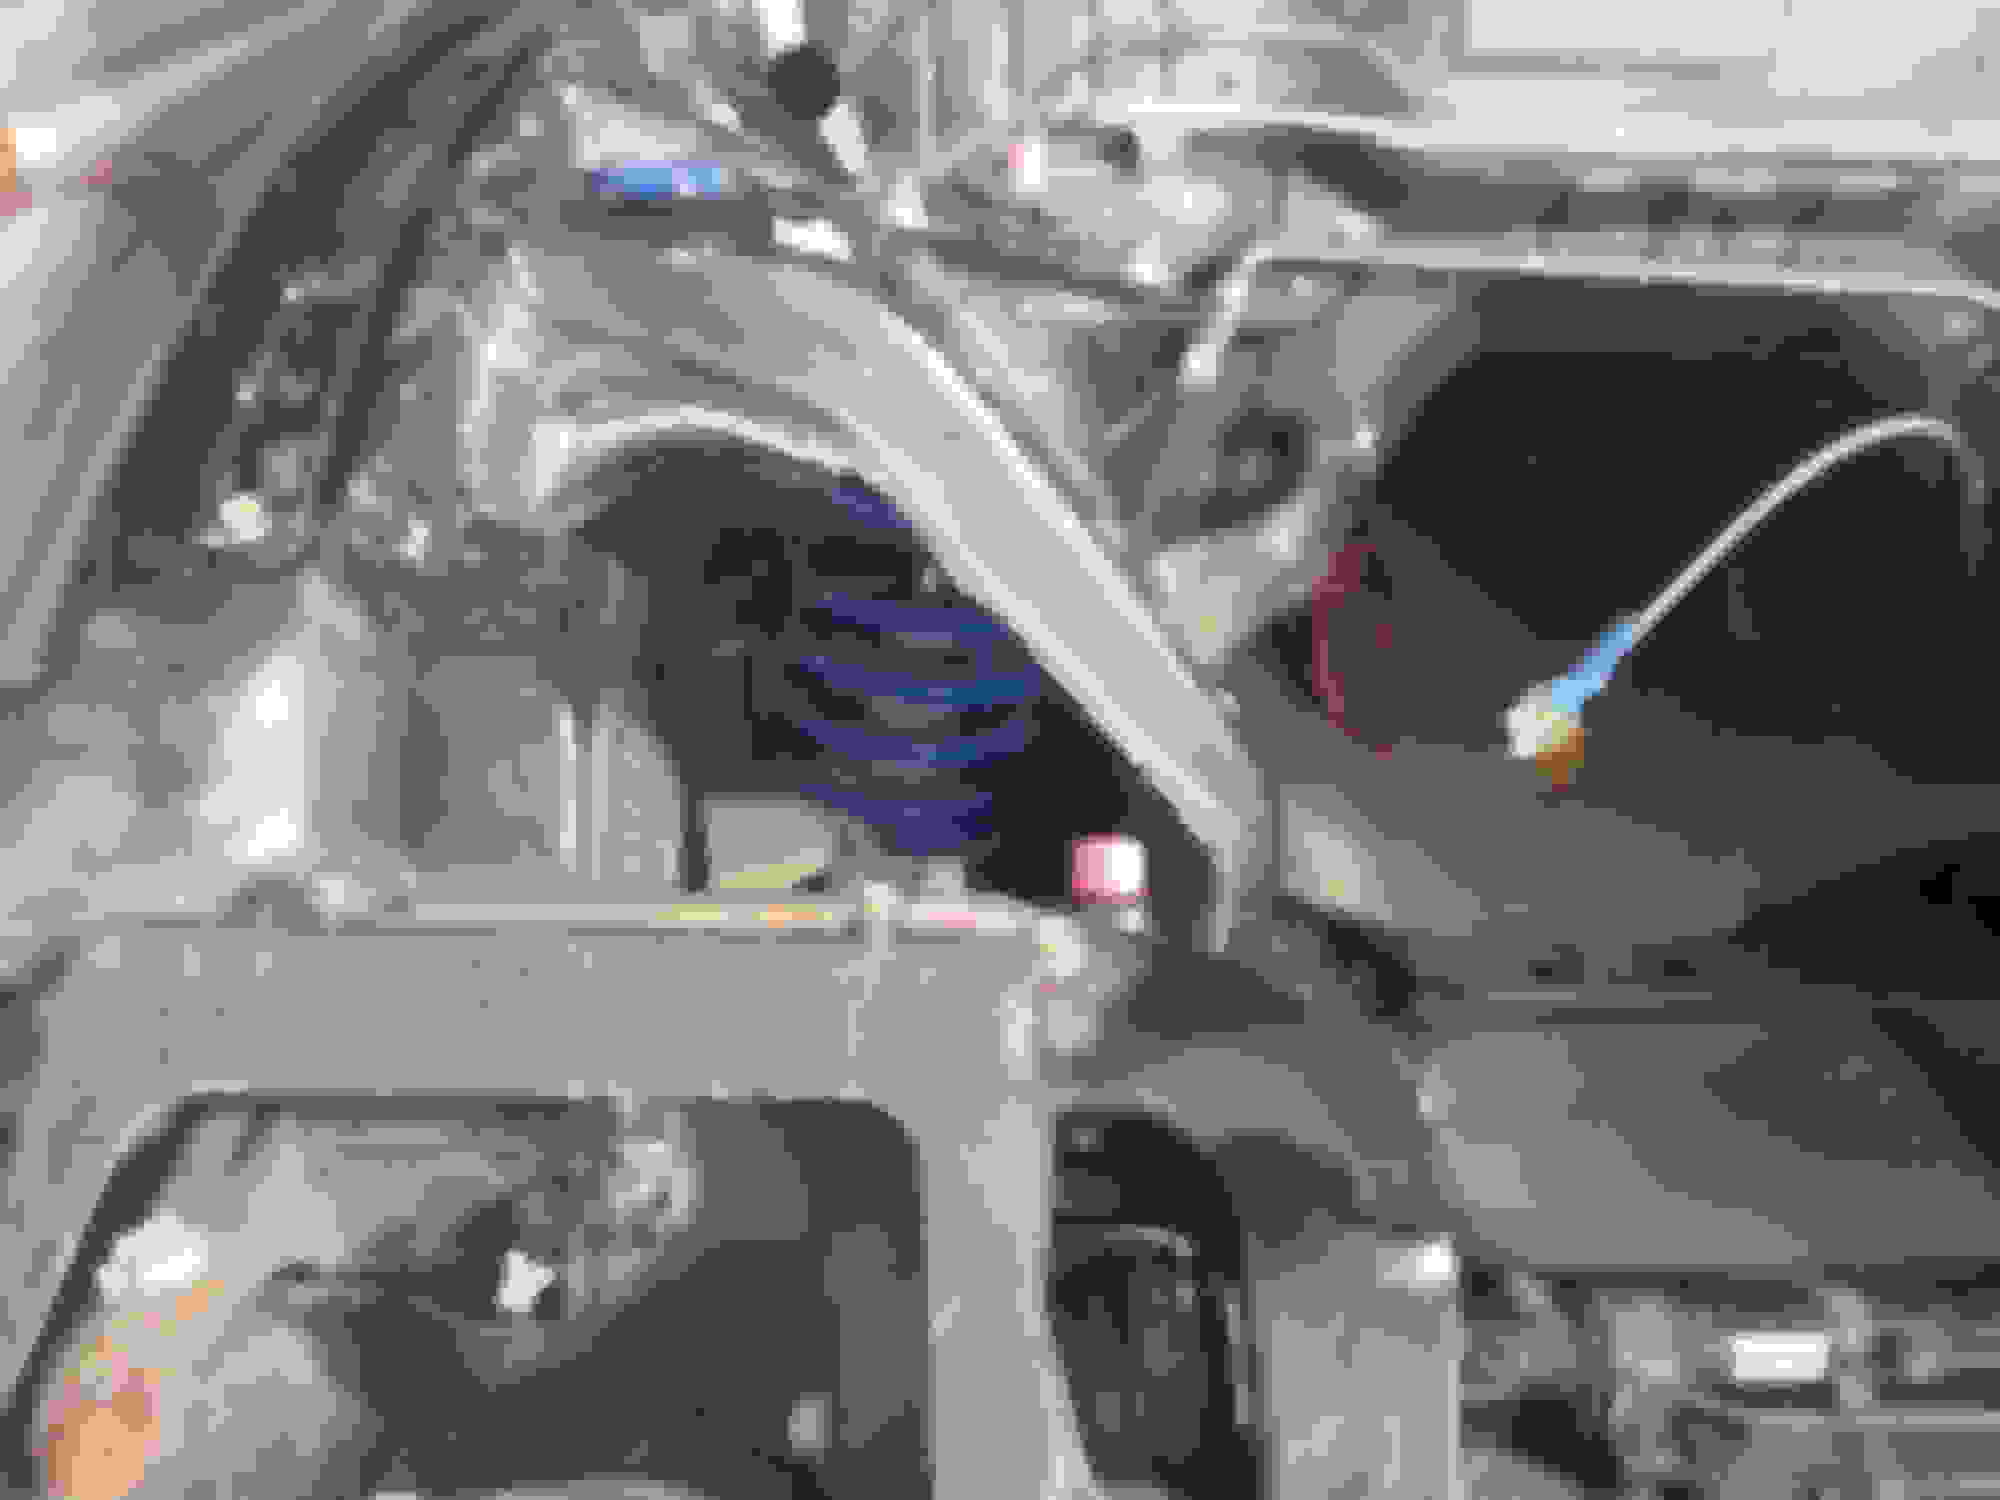
With this wonderful opportunity of having the entire undercarriage removed, the sub frames and suspension components can be pressure washed, sanded, primered, painted, and clear coated as well. Lets not forget that differential. One good bit of luck is that every single bushing is in great shape, not a single dust cap broken, not a single creak! Much unlike the last FD!
While that's out, a Carbonetic 1.5 way is fitted.
Now lets strip clean the interior, sand the interior, and prime the interior.
Stay tuned as we paint the roll cage!
Last edited by Monsterbox; Feb 2, 2016 at 12:19 PM.
The roll cage has been sanded, primered, scuffed, basecoated, and clear coated!
After curing for 3 days, we can now tape of the roll cage, and prep the primer in the interior. Taping off the cage requires a bit of patience, lets leave it at that.
Lets take a break and give some attention to the brake calipers / ppf
^red doesn't come across correctly on the expired Samsung S3, but rest assured its not pink. And its not splotchy.
Oh, almost forgot, 4 rotor = 4 transmission.
Lets hang up the headlight actuator motors, the steering column, the windshield cowel, and all the other odds and ends and hit them with 2k primer as well!
While that's going on, might as well disassemble the rack and pull out the quill for welding. For those who haven't seen it before, this is where you weld the quill.
In effort to maintain the focus on construction, I'm trying to focus on only posting pictures of actual tasks performed. But the excitement couldn't be contained, so here's a little bit of the artillery for this battleship.
Lets get back to task:
Painting the interior.
^front wheel well clear coating is the new favorite task
annndddd....the first part of the vision has come to life.
After many hours of sanding, washing, changing mask filters, vacuuming dust, cleaning guns, welding up holes, deleting wipers, deleting the antenna, removing and redoing seam sealer etc etc....
The engine bay is now ready!
Time for a break; but not too long as next up is:
Fender flares, resinstalling suspension, coilovers, the new calipers, rotors. Time is ticking as we rush to get the chassis ready for the monster.
So after actually looking at this thread on a computer, all jokes aside, those are awful pics (I would look into getting a better phone/camera/photographer/ect .
Also, is there a reason you opted to paint everything and not powdercoat?
What is your opinion on using the lizard skin sound deadening and ceramic coating for the interior of car? I picked up a skit on ebay for $378. Comes with 2 gal of deadening and 2 gal of ceramic coating.
Looking forward to seeing how you will brace the 4-rotor in the bay.
subbed. great story so far. and you are well ahead of where you lead on in old thread.! you certainly are marching on to maintain your time frame! hopefully Warren and the boys ain't held up on getting Mikes care ready that it effects your time line. keep it up mate looks great
So after actually looking at this thread on a computer, all jokes aside, those are awful pics (I would look into getting a better phone/camera/photographer/ect .
Also, is there a reason you opted to paint everything and not powdercoat?
What is your opinion on using the lizard skin sound deadening and ceramic coating for the interior of car? I picked up a skit on ebay for $378. Comes with 2 gal of deadening and 2 gal of ceramic coating.
Looking forward to seeing how you will brace the 4-rotor in the bay.
-Nick
Powdercoating would have been considerably more expensive and time consuming as I do no have the equipment, and the parts would have to be sent off. For these particular parts, they are of least priority, and with my friends paint skills and real automotive paint products, gun, etc I don't see how its any less quality. For the intake manifold, intercooler piping, all the hot stuff powdercoating will def be on the list
I dont have experience with either of those, but I have heard of the name lizard skin.
I feel like a kid who took apart his bike for fun but never actually intended on putting it back together lol
I've always had a small anxiety to taking apart a car this far. This is the first time taking a car apart so far that it looses identity. But after getting down to nothing, its actually unexpectedly calming! Its surreal for sure!
Looking good so far! Can't wait to see a turbo 4 rotor in that FD bay.
Taking a car down that far for the first time is kind of scary. For me, it had me second guessing why I was doing it at all but man there is nothing like the feeling when it all goes back together and the hard work you put in shows. It will truly be your car forever, even if someone else owns it at some point in time. Unfortunately, this only adds to the addiction.


 clear coating is the new favorite task


 .
. 
