When you click on links to various merchants on this site and make a purchase, this can result in this site earning a commission. Affiliate programs and affiliations include, but are not limited to, the eBay Partner Network.
Looks similar to Akomix’s CYM. But he’s changing it up. Doesn’t want commoners to look like him. Cant wait to see how his new body will look like once it’s out all together.
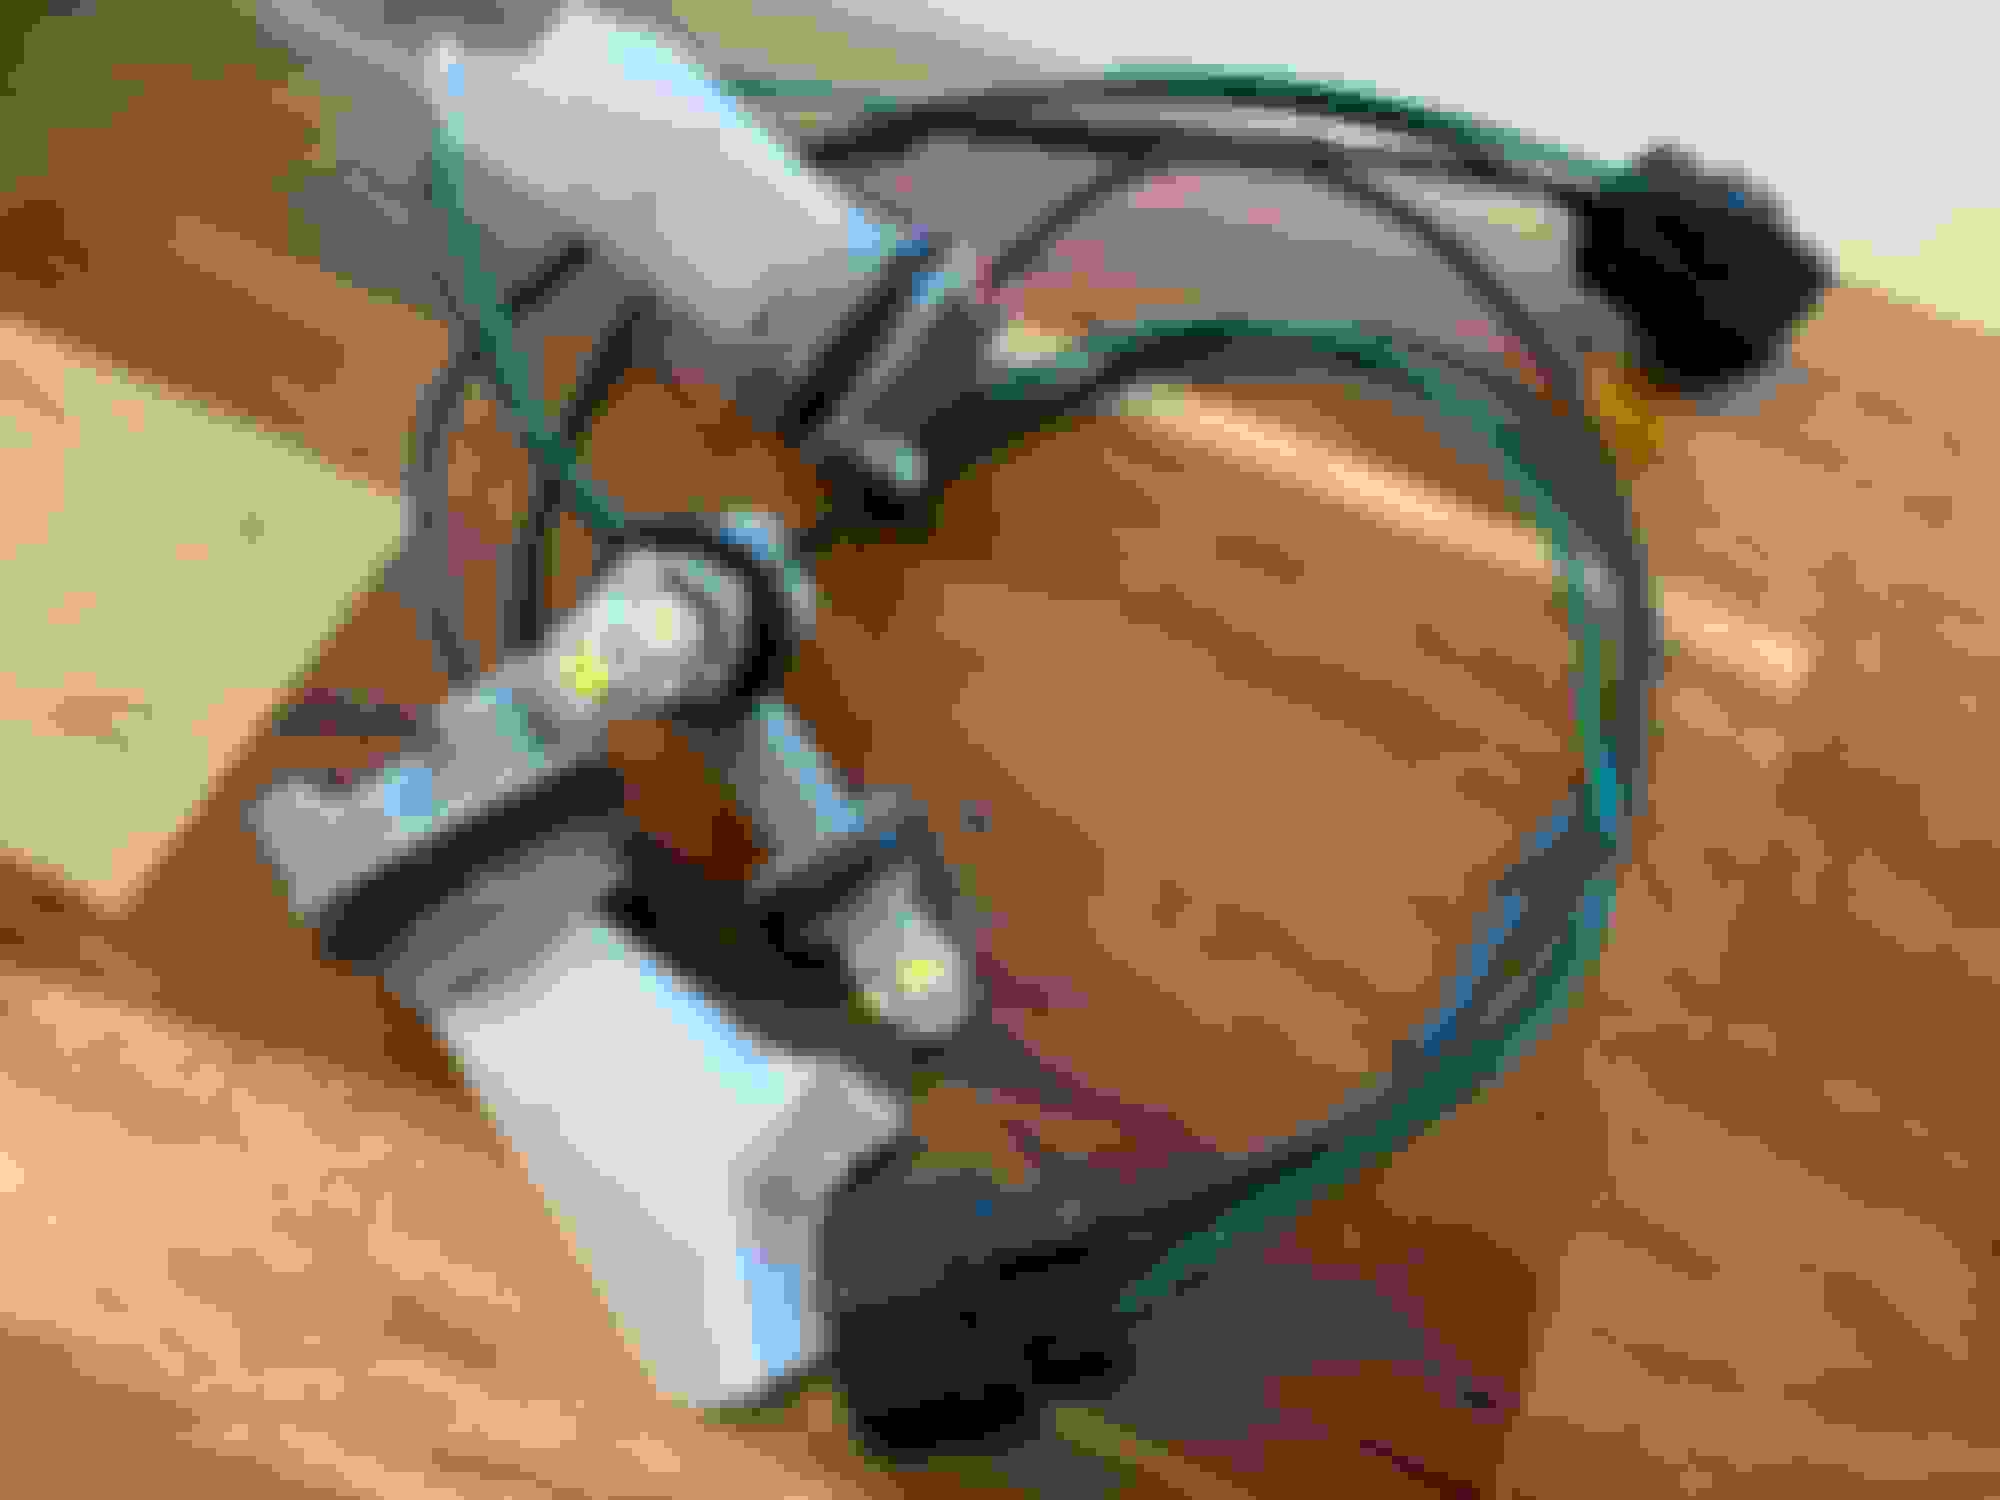
I picked off some combo light harnesses from an eBay seller since the 2 other sets I have are either rusting out around the bulb connector or ripped apart at the clip. I also had CARSTAR mount my MS wing. The company has previously painted the front bumper and wing in 2020. They burred the holes and sealed them to prevent rust.
I plan to pick up some center caps for the wheels and hatch struts in the near future.
Last edited by Rocketeerbandit; Feb 9, 2021 at 12:58 PM.
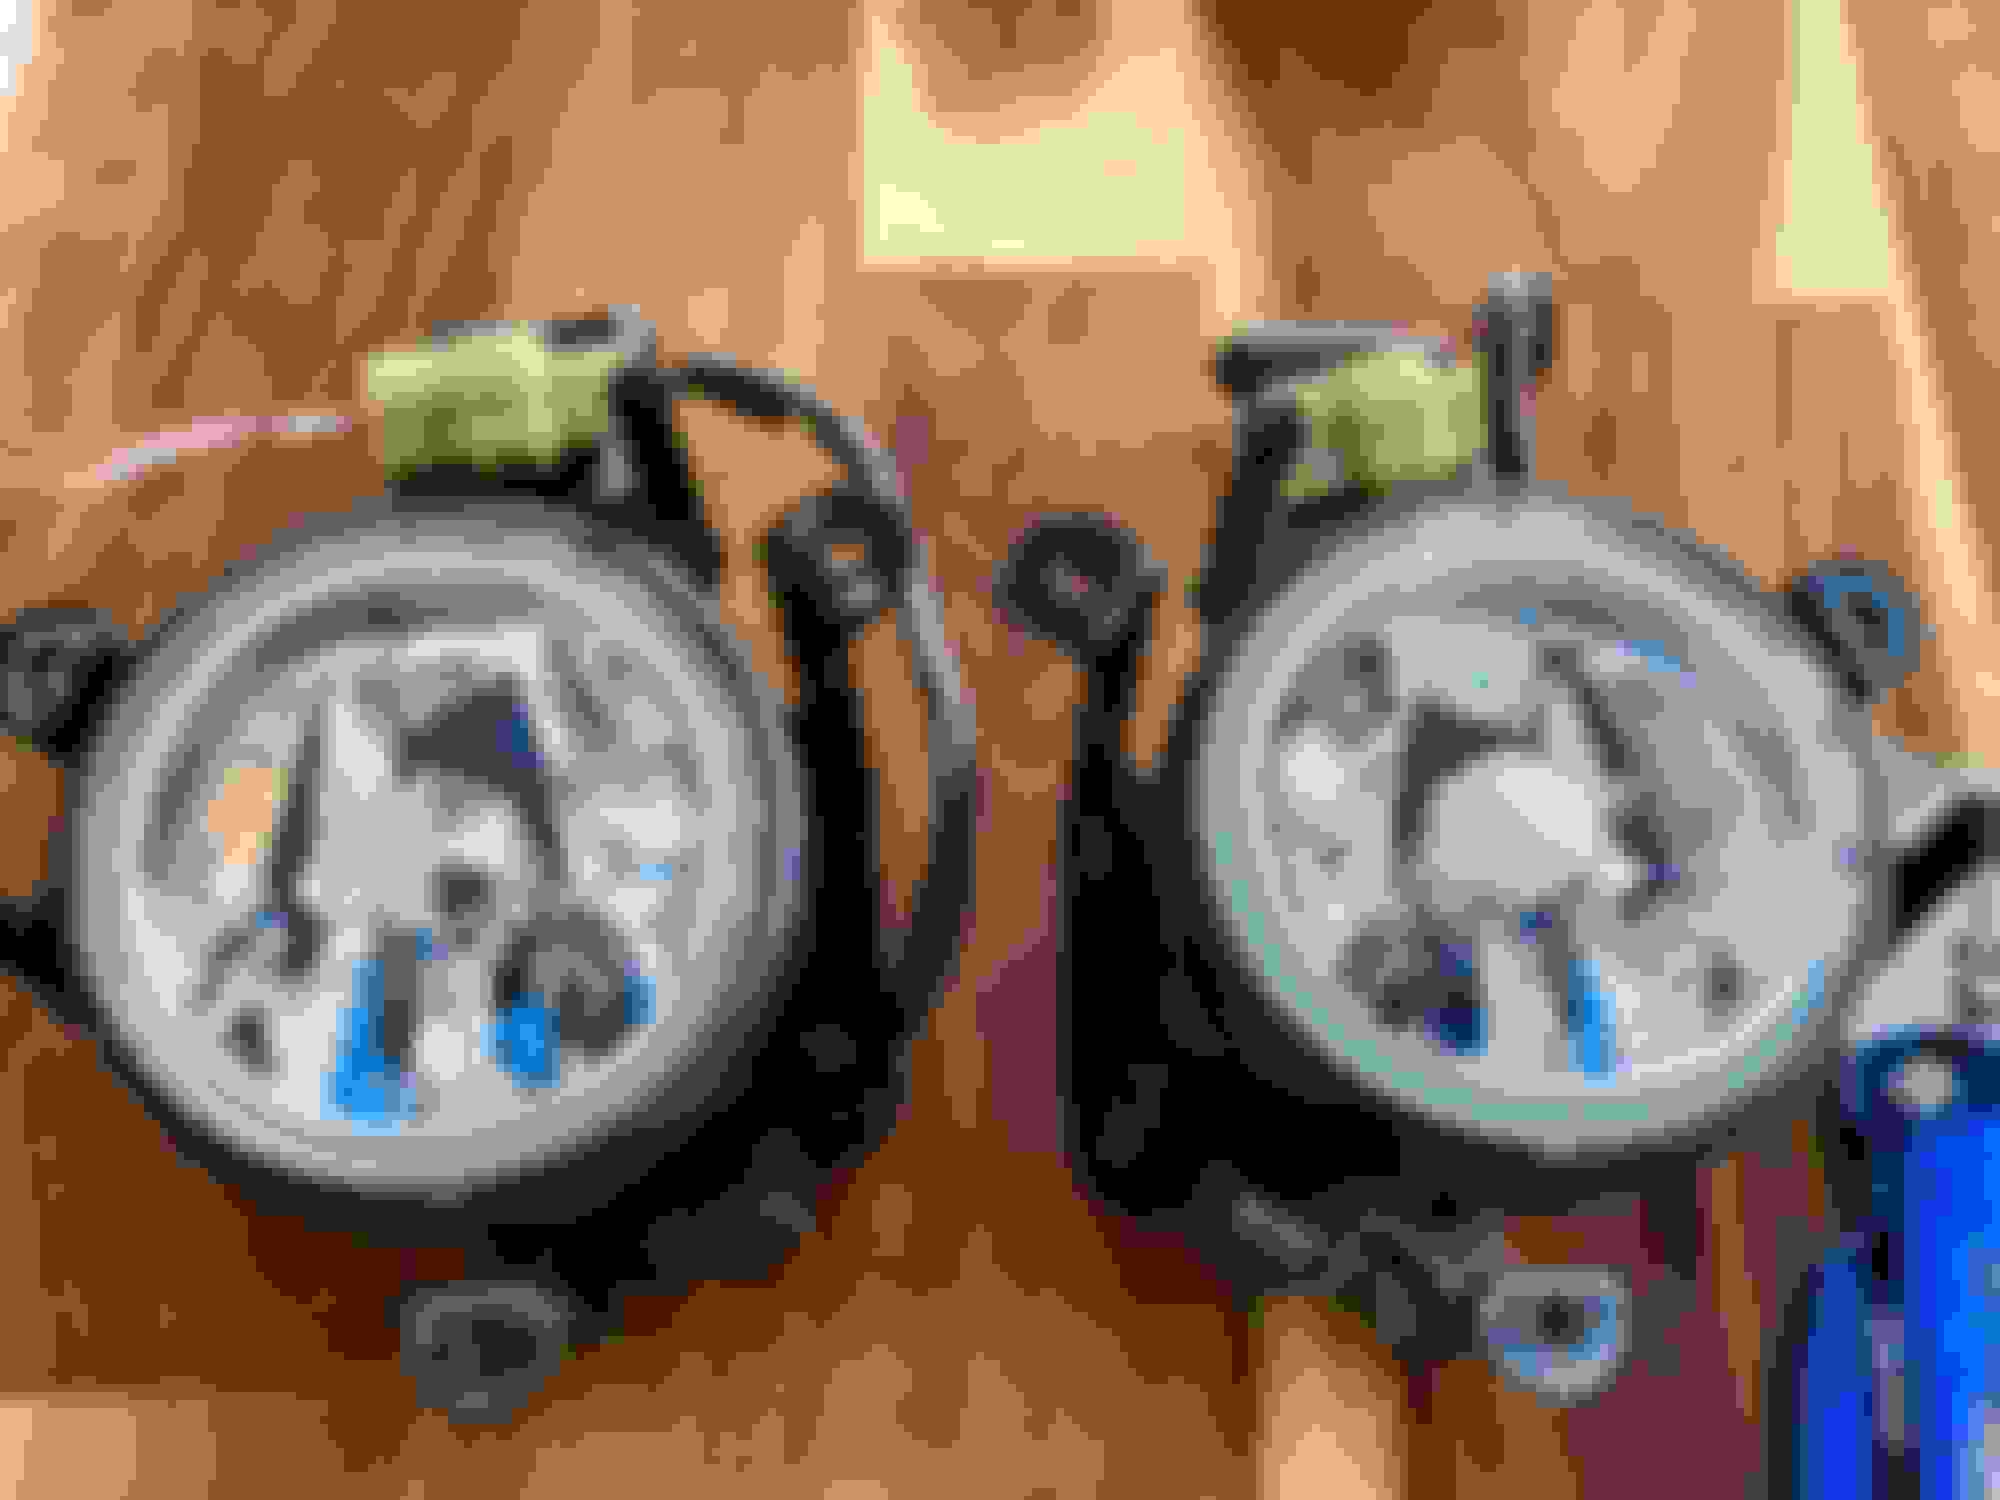
The Fog lights from Japan came in rather quickly. They�re replacements for the aftermarket units currently mounted on the vehicle. Same model number and the same brand. Just not oem but fits like oem as they are nla made by raybrig. This raybrig aftermarket set is more of a crystal fog light that looks and projects cleaner then oem raybrig. I was able to track down a used set that came off of an Atari wagon. As described in the details on the auction page.
I ordered a few pieces of hardware from Mazda like new headlight rods and adjustment clips to install the bi-led headlights, clips and plastic screws for the 99 spec bumper, and I�ll be receiving new differential replacement hardware next week.
Today, I had acquired all the necessary hardware to start the Z Precision Bi-Led Headlights. I have low and high Led beams. Anyways, I removed both black shrouds that has 4 screws. Two on each side. We all know that for the sake of removing the bumper. Then removing the headlight covers is just as easy with two screws in the front and two in the back with the effort of popping the headlights up and down.
The Headlight is removed by 3 black clips that hug a ball headed screw. Two on top and one on the bottom. The difficult part of using a pair of needle nose pliers to pinch the plastic clip is making them explode. Five out the Six broke apart. Luckily, I ordered 6 new oem clips. Once those clips are removed, all you need to do is wiggle the headlight off the ball head screws and disconnect the H4 bulb harness from the headlights. You also need to unhinge the spring that creates tension from the bucket to the headlight.
I used a allen wrench bolt and nut to secure the morimotos instead of what I've seen others utilizing, like a zip tie or 3m tape. I like things secured and tightened down. I then popped off both headlight rods which of course, one bushing exploded and the other came off rather cleanly. But of course, no grease is present. The new bushings on the rods are packed with lubricant to pop on the ball screws for the headlight buckets. After that was done, I popped on the new oem headlight clips that secure the headlight to the bucket. I removed the bracket that is shaped like a squiggly z from the oem headlight and reinstalled it on the aftermarket headlight because the bracket is soft and can be moved with little force or effort. This bracket on the inside of the bottom of the headlight is where the tension spring connects too.
I proceeded to clip and pop on the Z Precision Headlight onto the new clips and boy was it satisfying using new oem hardware. Don't forget to RE-hinged the tension spring to the new headlight or your headlights will vibrate. I then cliped the H4 Harness clip to the new H4 adaptor female and the pinned projector wire from the headlight to the morimotos. Its all about plug and play for me. I like things easy because I am not a great installer or mechanic.
Last edited by Rocketeerbandit; Feb 21, 2021 at 08:14 PM.
Love this FD, looks awesome! I think white is possibly my favourite colour for an FD....Or CYM, I go back and forth .
I like the crystal Raybrig's, mines got the oem Raybrig's and they look pretty dated with all the light guide lines on them. These look much more modern.
Love this FD, looks awesome! I think white is possibly my favourite colour for an FD....Or CYM, I go back and forth .
I like the crystal Raybrig's, mines got the oem Raybrig's and they look pretty dated with all the light guide lines on them. These look much more modern.
Hey, my defect is like Montego Blue over all colors!
Your absolutely correct about the oem 99 spec fog lights looking dated with the guide lines. Here�s a picture of them side by side.
Code Red Performance made a 3d printed privacy cover plate for if you removed your bose system and now created a perfect hatch ventilation system. Fits perfectly.
But, my car didn't come with a cover so I took it from the wrecked Montego Blue and carried the problem over. I'm too cheap to buy a new or used privacy cover or I'm just holding out to install a bose hose trunk system. Its the later. I plan to install a bose hose system for my trunk. Any donations? Ill pay for shipping. Your part will be in my car.
It wasn’t as plug and play as I thought. I needed to dremel small sections that bolts had made an impassable contact on the undertray as well as the radiator drain plug would have rubbed on the undertray. I didn’t want any friction shaving down the aluminum drain plug. It’s also worth mentioning that the back center mounting holes didn’t align with any subframe mounting points except the two furthest on each side. Directly below the control arm u-joint bucket.
I wanted to consider riveting the aluminum powder coated mesh that I have lying around from Shine Auto to the undertray. But it might be overkill and just extra credit points.
I didn’t enjoy installing this upgrade. To the point I didn’t take pictures to share. The drivers side foot well was claustrophobic because I am a 6’ 205 lb broad shoulder guy. And the fire clip was as stubborn as I am. I just cut the throttle cable to make my life easier. This job was a pita.
Over the course of the last few days, I�ve been coming back to complete the 99 brake ducts. I made necessary cuts and drilled holes to have it mount as close to oem as I could. I have two other aftermarket parts that are in the way. The 19 row setrab oil cooler and 99 mounts from Sakebomb, and the LRB v mount undertray.
Booo. I believe I caught the nail when I was out enjoying a Saturday with my wife going to the Daniel Boone house, visiting Labadie for lunch, and walking around Washington. Took some twisted throughout the day and am pleased to have not run flat during the drive out. Should I patch it? Or get 285/30 to compliment my 255/35 up front?
Last edited by Rocketeerbandit; Mar 31, 2021 at 02:58 PM.
That sucks! I would say patch it for now. I had to patch one of my rear couple years ago, stupid roofing company left nails on my driveway It has been holding air fine after the patch, and I only do a yearly check/fill during Spring.
That sucks! I would say patch it for now. I had to patch one of my rear couple years ago, stupid roofing company left nails on my driveway It has been holding air fine after the patch, and I only do a yearly check/fill during Spring.
Did they not go around the property with a rolling magnetic caddy? There�s nails everywhere when a reroof is performed.
Yup, mine look similar to that. I don’t remember if they walk around the driveway with a caddy or not, maybe they did and I just got lucky with the one they missed.
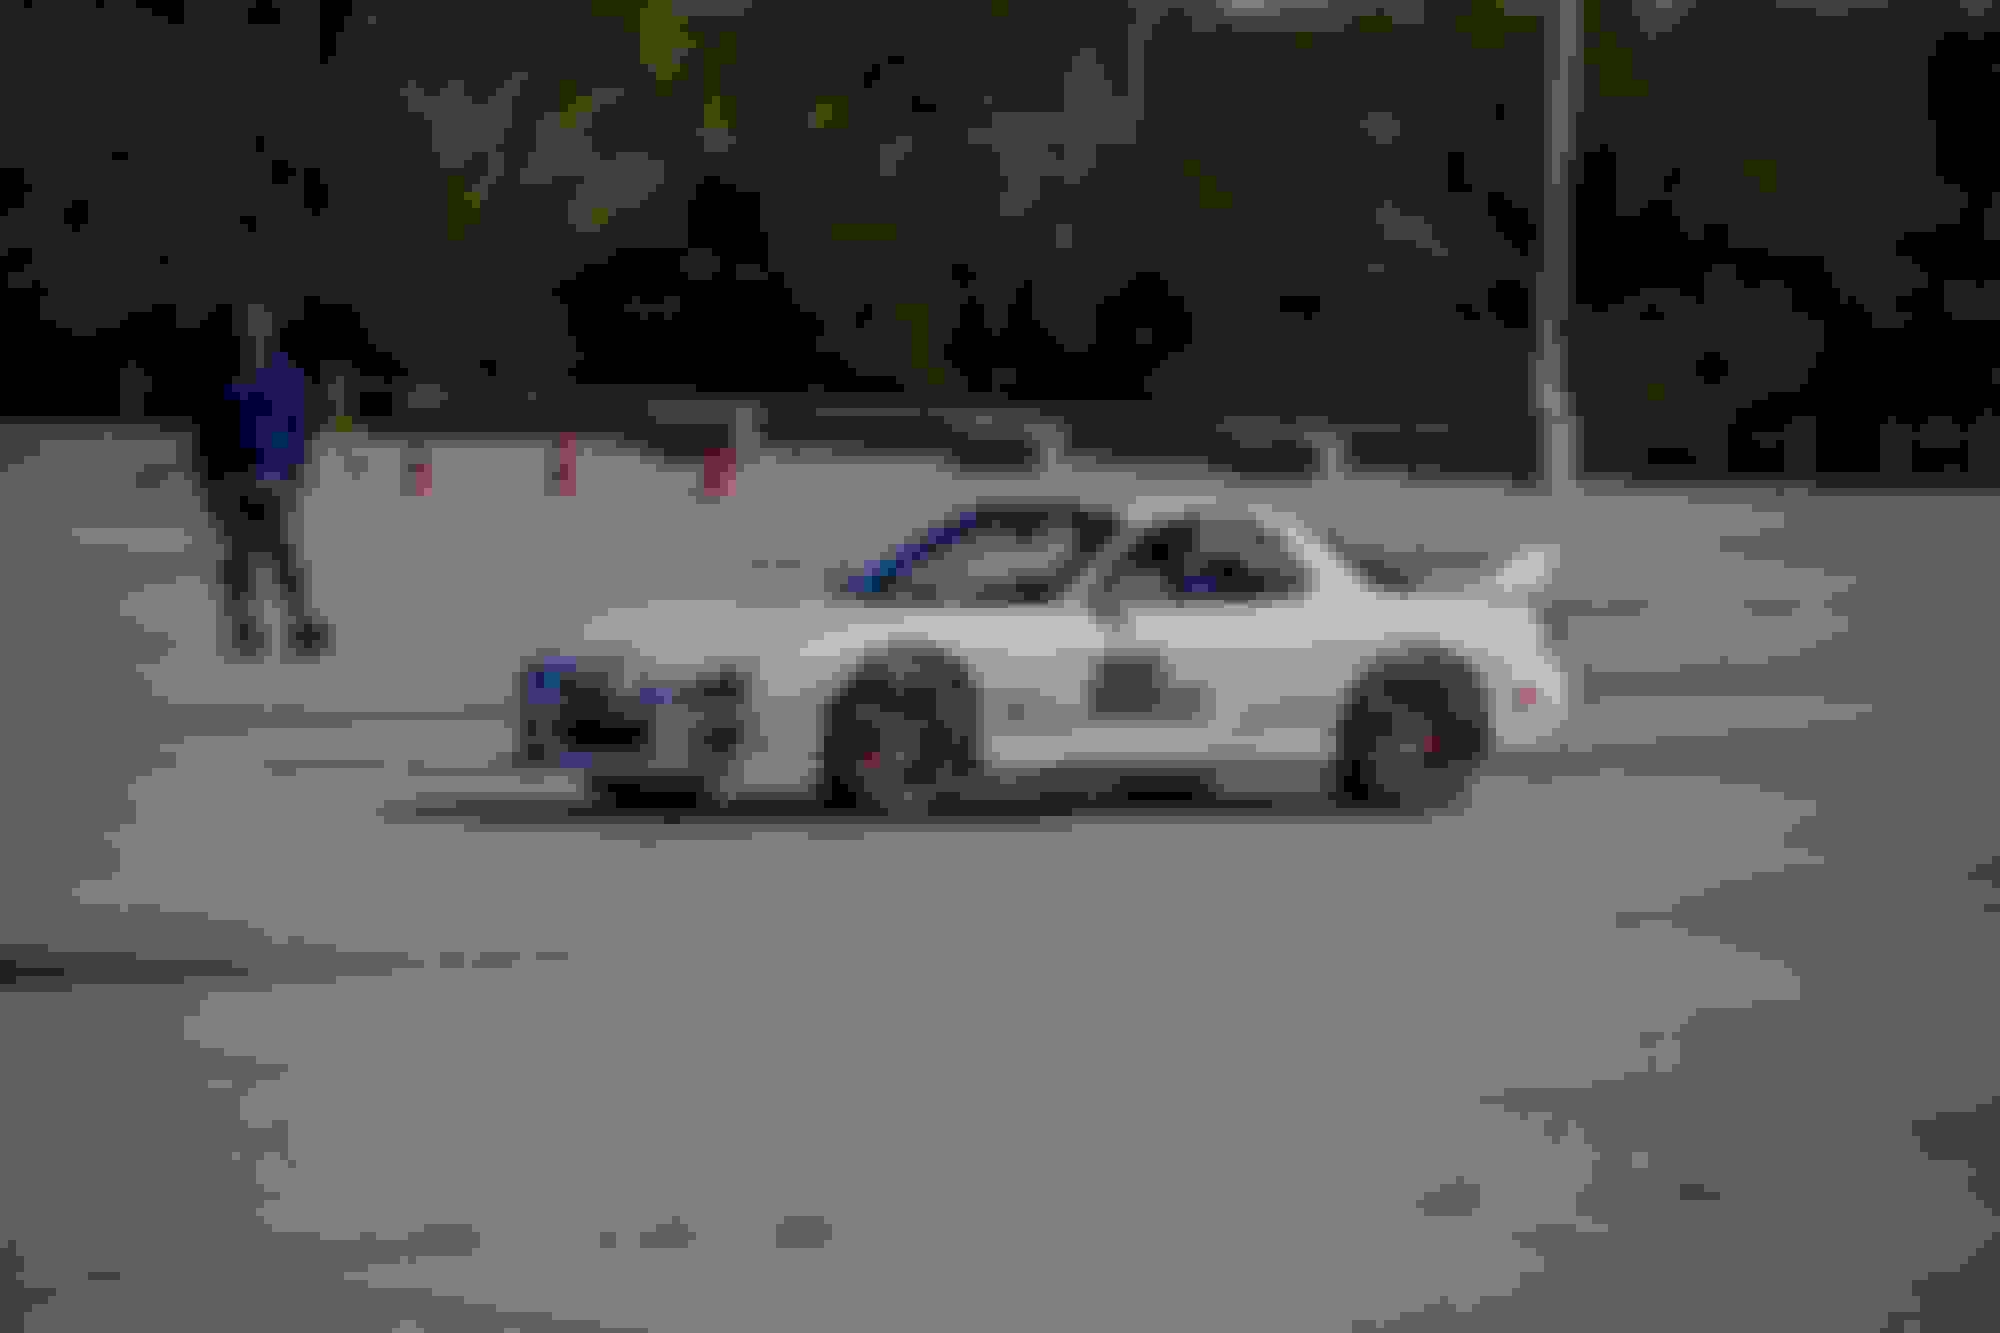
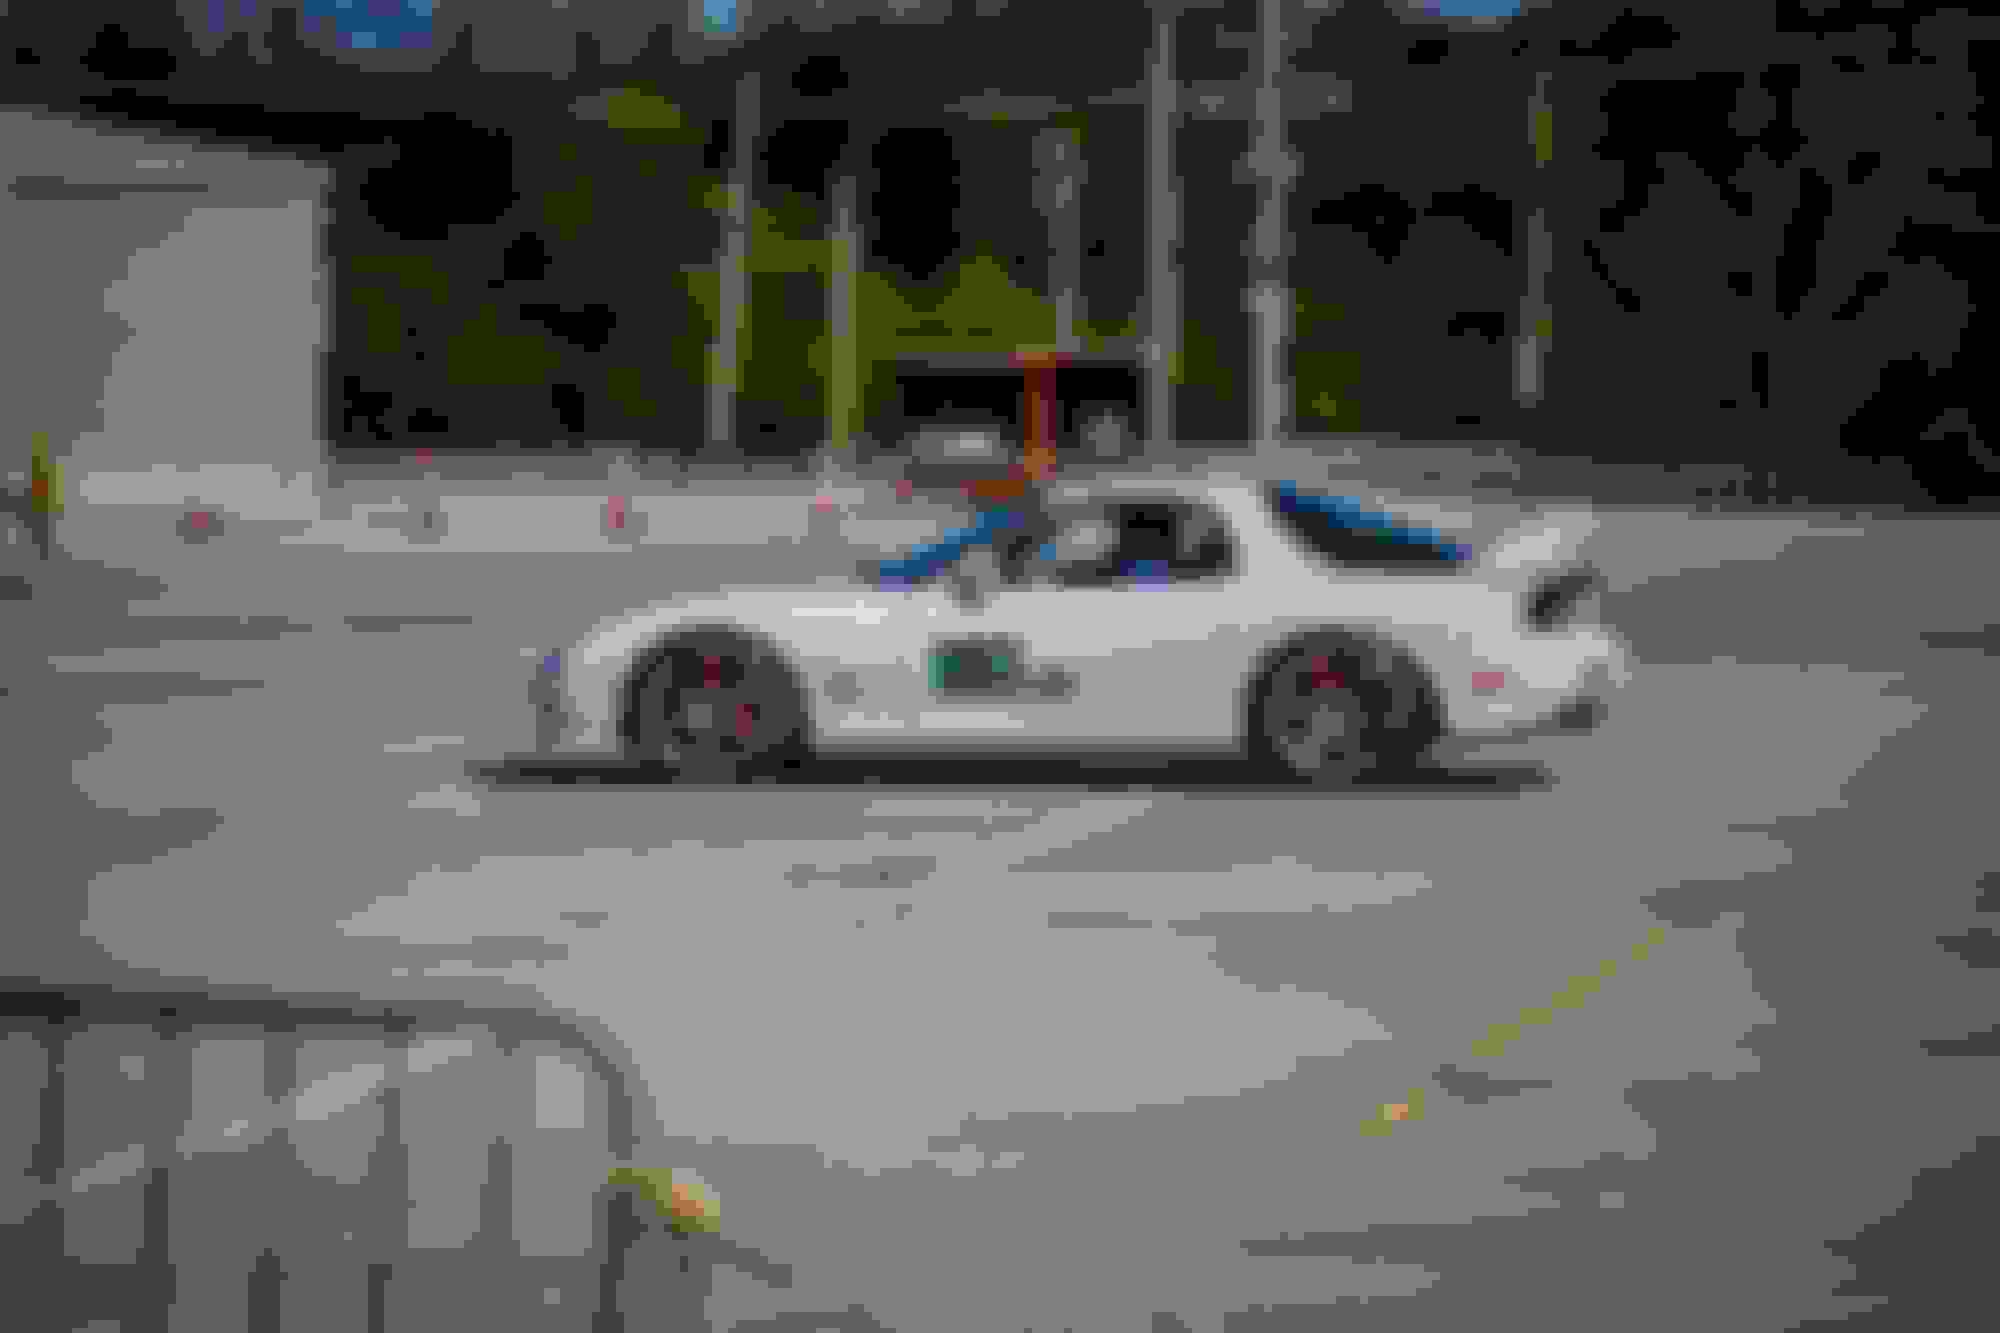
Got my butt spanked at the autocross event in Pax time and raw time. There were many times my rear wanted to break loose. I had use so much throttle control. I either need to dial the rear ohlins to a more softer setting, disconnect the rear sway bar, get wider rear tires to 285/30, get taller tires and go to 17s like GRM magazine suggests, or need a higher traction wheel then the zIII. I dont know where I should start.
Last edited by Rocketeerbandit; Apr 13, 2021 at 11:23 AM.
Already have boost by gear setup?
Ive found that the efr setup makes the throttle very sensitive, but I prefer being able to wag the rear end out if needed.
ssm is definitely a fast pax, but also keep in mind some of these autox courses have a big benefit for cars with rear stability braking or low-end torque ==> maybe don�t change too much without another datapoint / more drive time on the current build.
I�m usually just running for fun, and the local guys do a lot of national events competitively, so take the above w a grain of salt.
I run for fun but I also compare myself with others time. I have ordered the racing beat sway bar and the sway bar reinforced mounts. I was told that I have a one shot sway bar bushing.
I also am replacing the front and rear endlinks to both sway bars from j auto. In addition, the oem rear toe links are also being replaced.
My ohlins are dialed in front at 22 and in the rear 21. Air pressures up front are 31-32 and the rears are 28-29.


 .
.


 It has been holding air fine after the patch, and I only do a yearly check/fill during Spring.