
93' Efini Build

93' Efini Build
This build is already on a few other sites but I figured I would throw it up here for some reading material if anyone gets bored or is trying to procrastinate from homework/studying. Updates are sort of slow because of school + waiting for parts but enough with the excuses.
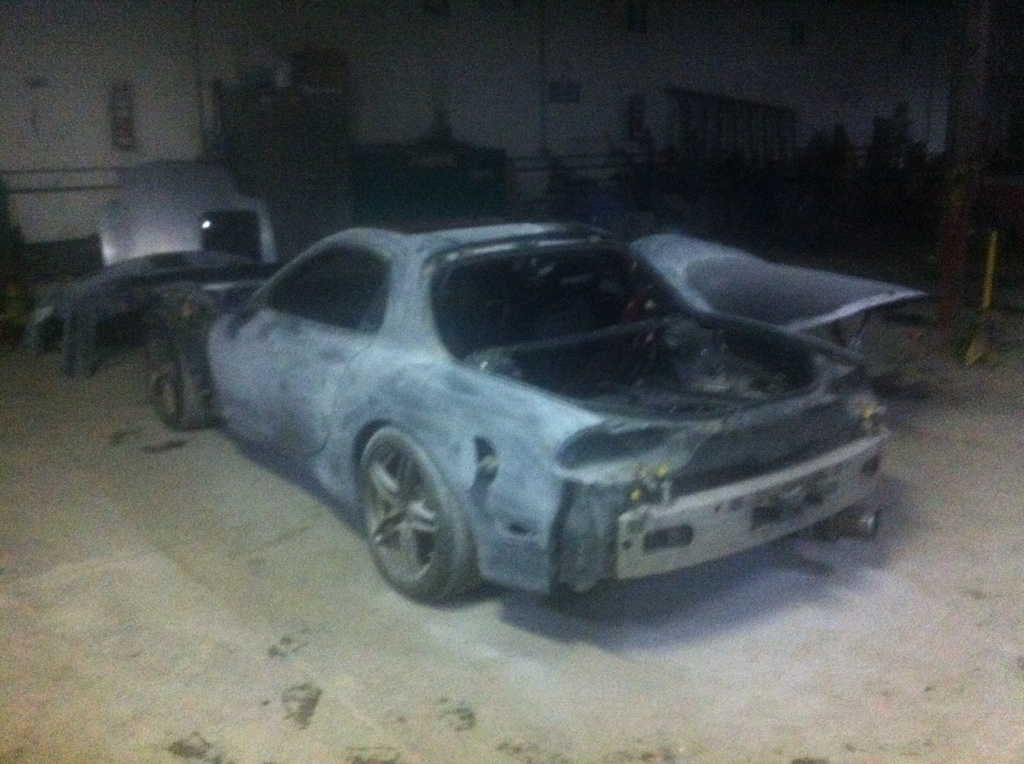
Last summer my car fell victim to some natural weathering when I decided to leave my car outside while I was away for work and a hailstorm decided to hit. So instead of just repairing the damage, I decided that I would also need to crack 500whp, and like that.. this build came to life.
You'll have to excuse the quality of the pictures. When I started doing this, I took the pictures with my iphone because it was easier for me, but I'm making a better effort to take quality pictures. Bear with me
Here's what i imagine the storm looked like:
3c7679c0.jpg?t=1319422278
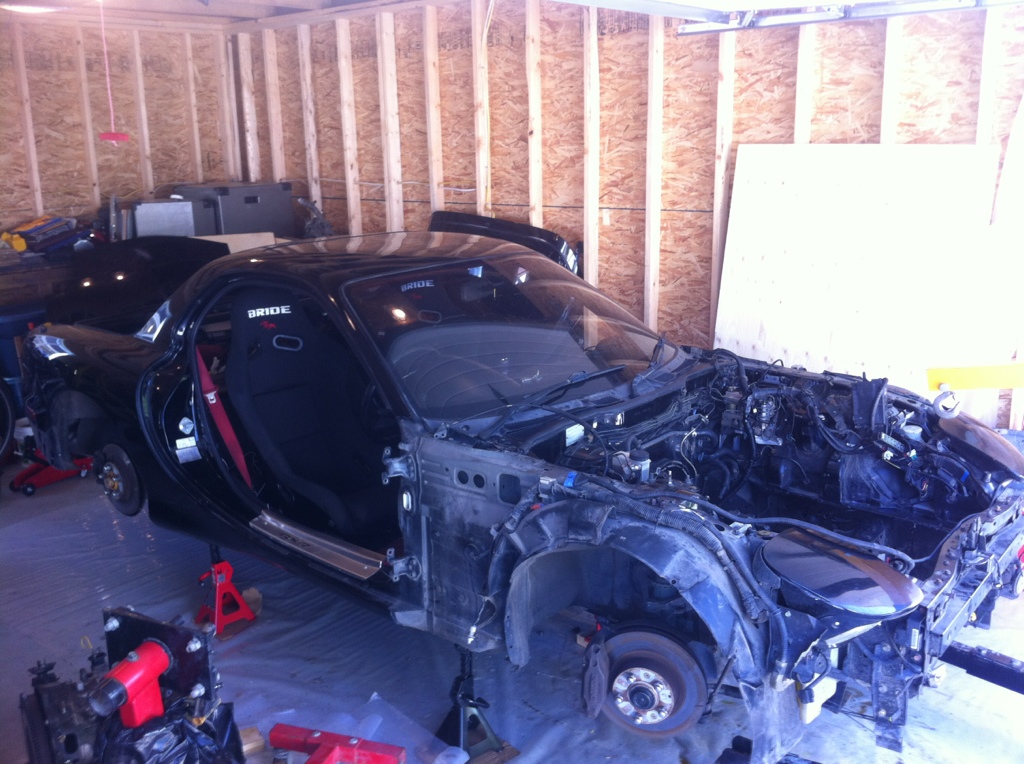
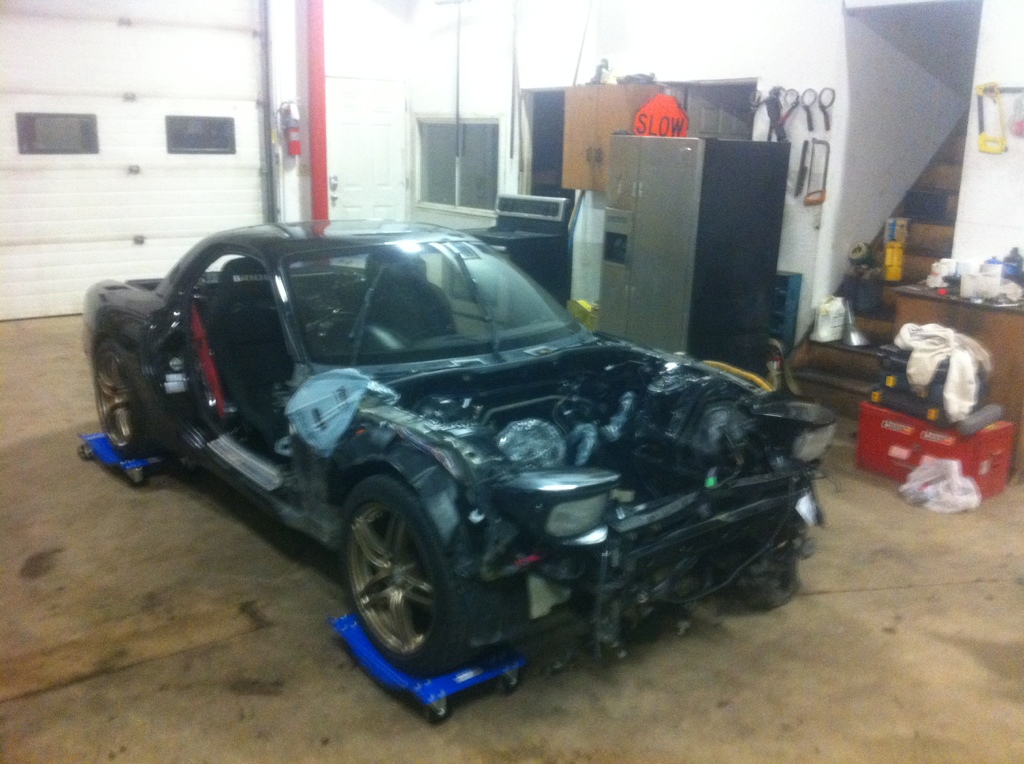
Starting to pull the car all apart:
(heres the pic quality thing I'm talking about)
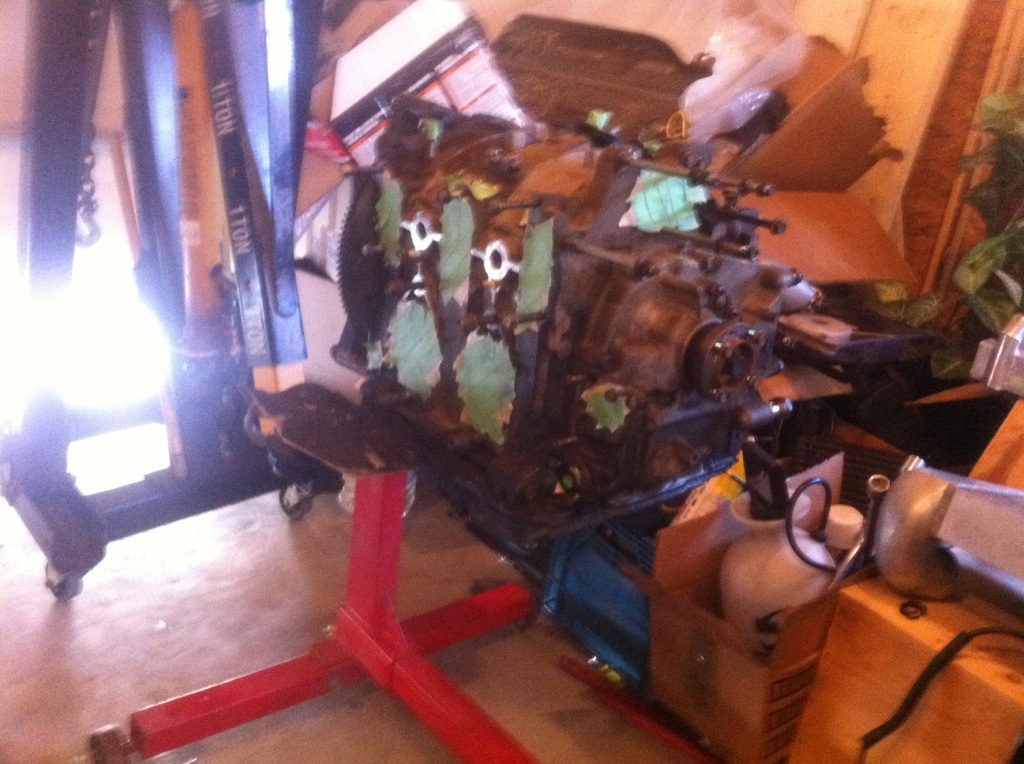
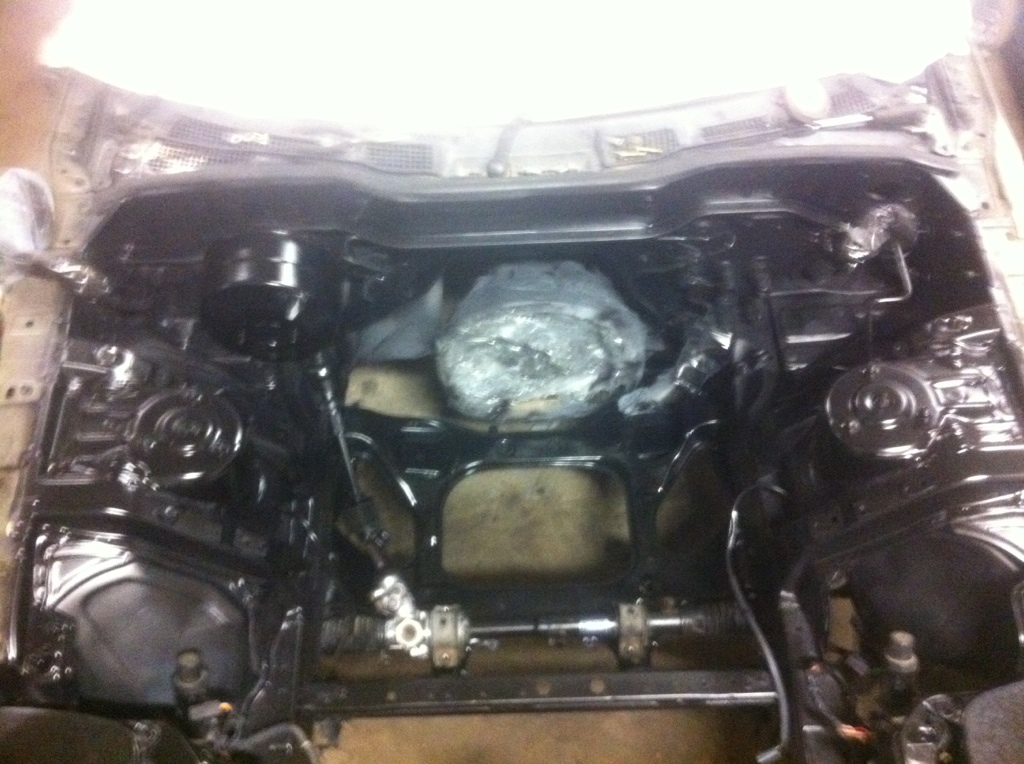
engine being pulled:
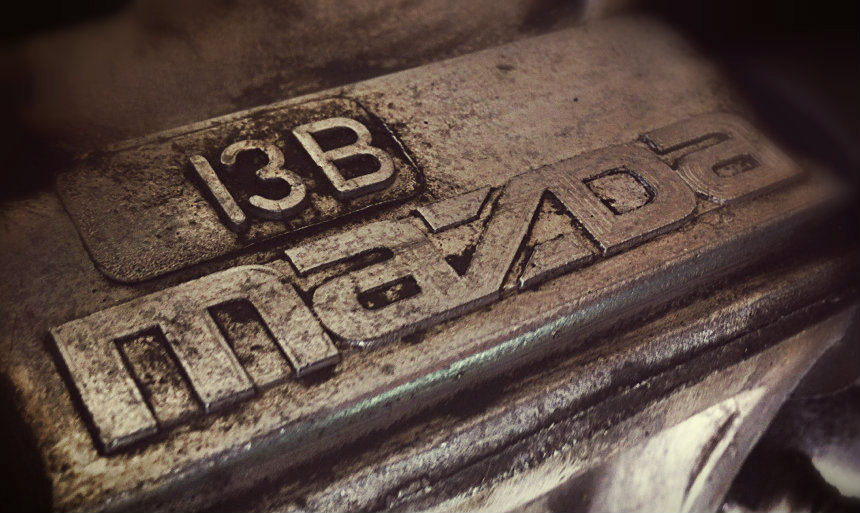
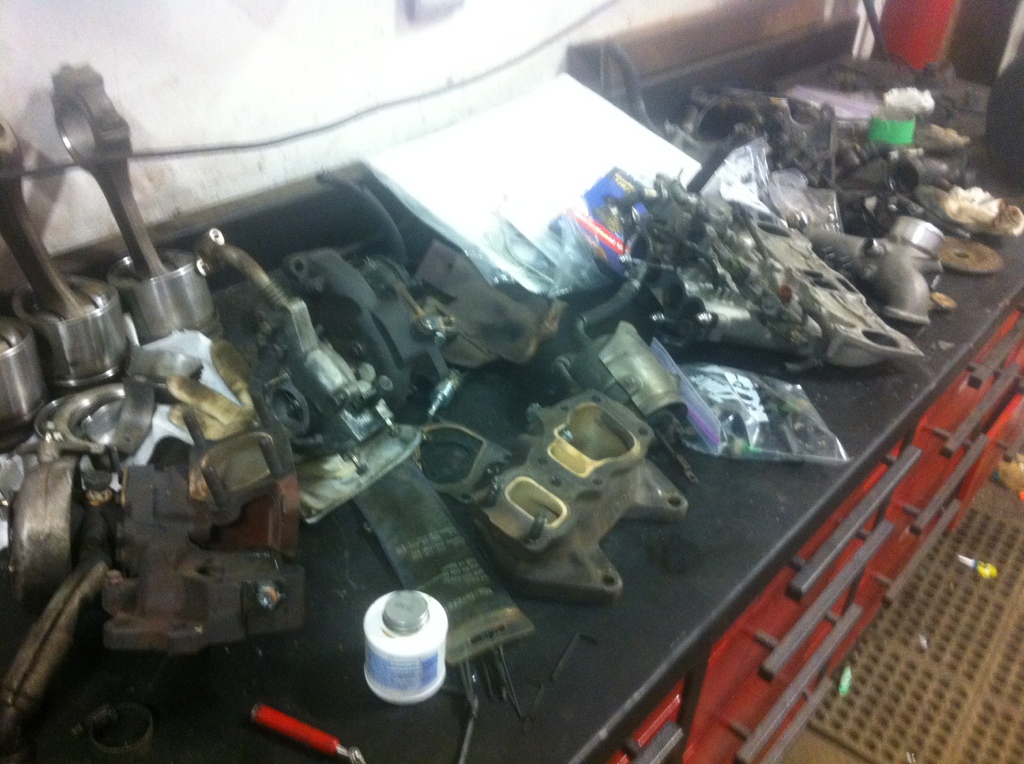
and torn down (it just turned over 100 000 kms (60k miles) before the pull)
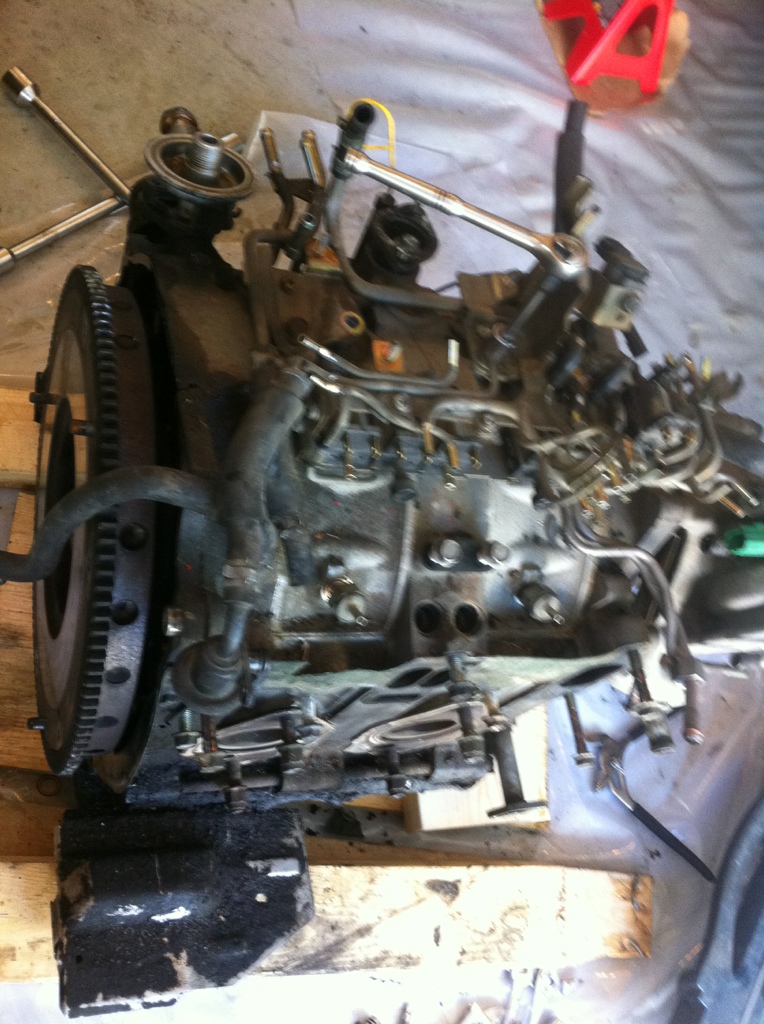
and again. Note the gunk on the oil pan and the crappy paper gasket.
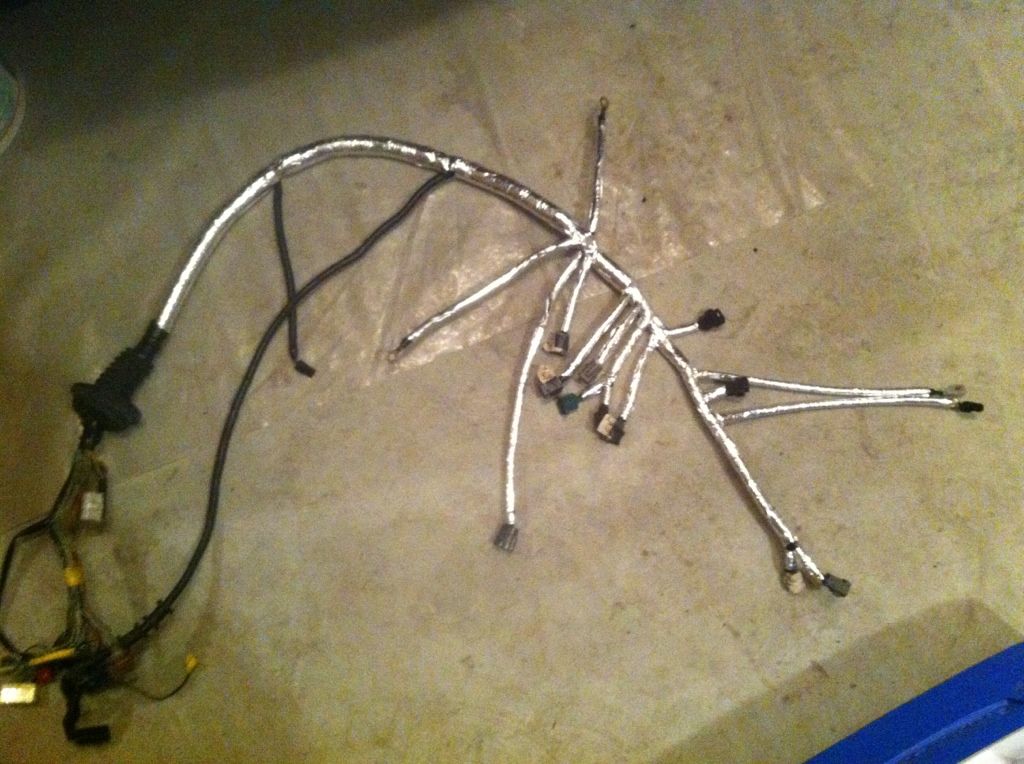
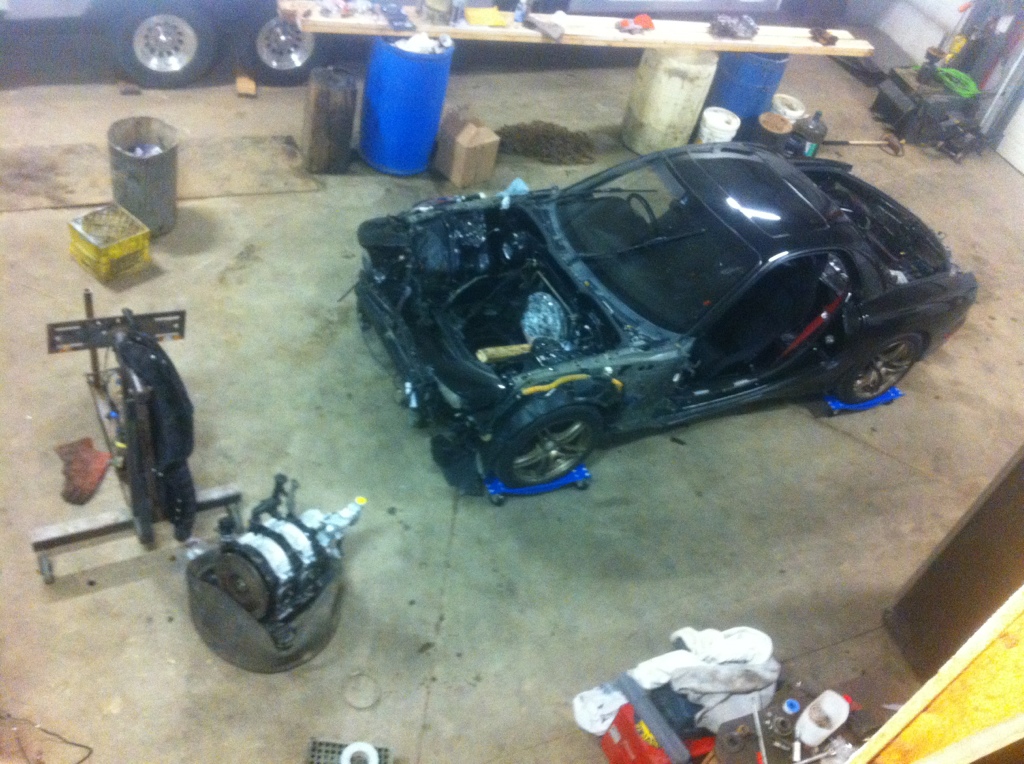
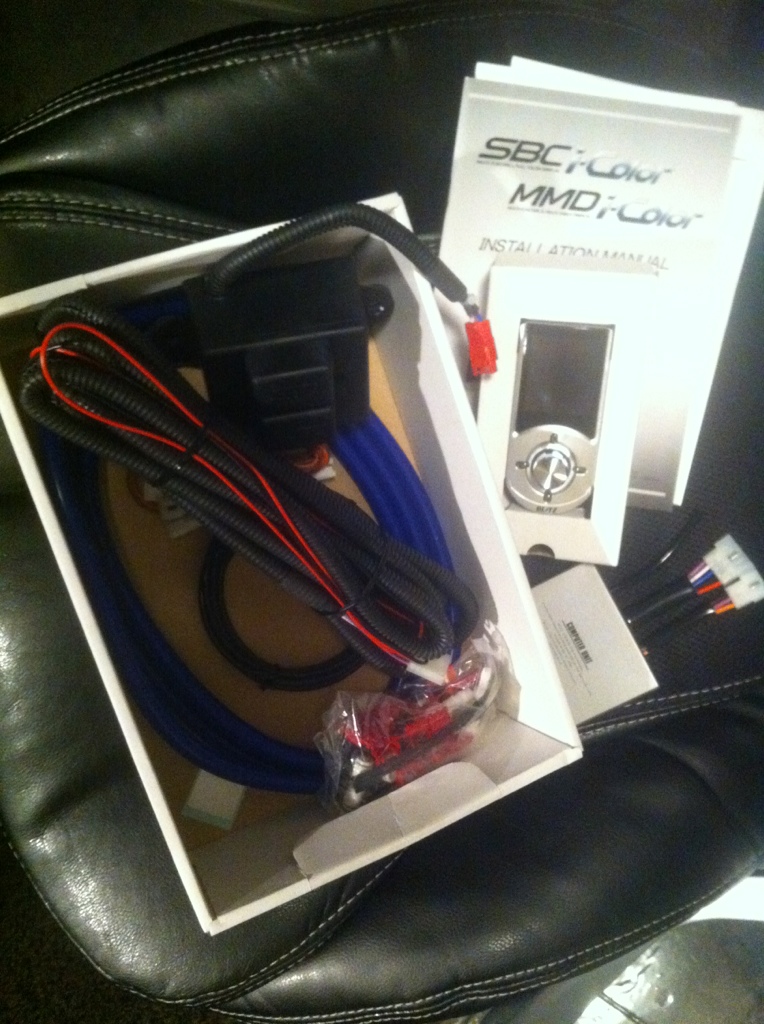
started doing the harness (what a nasty job it is)
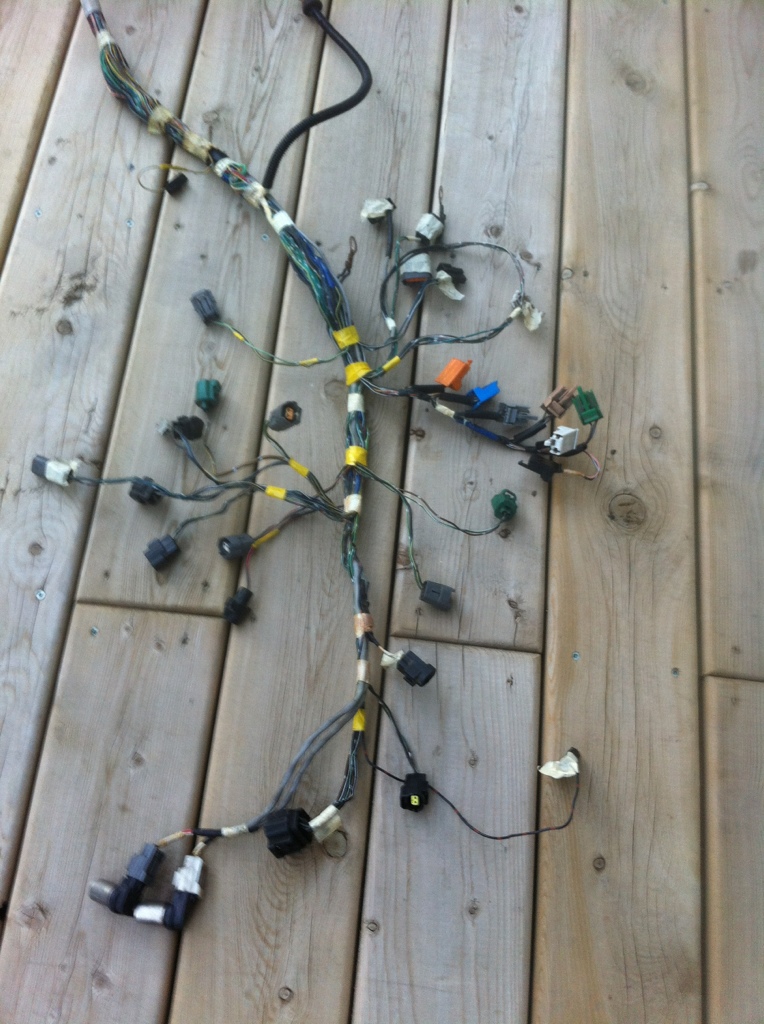
deleted pretty much everything but the bare essentials needed to run the car. (simplicity is best, right?)

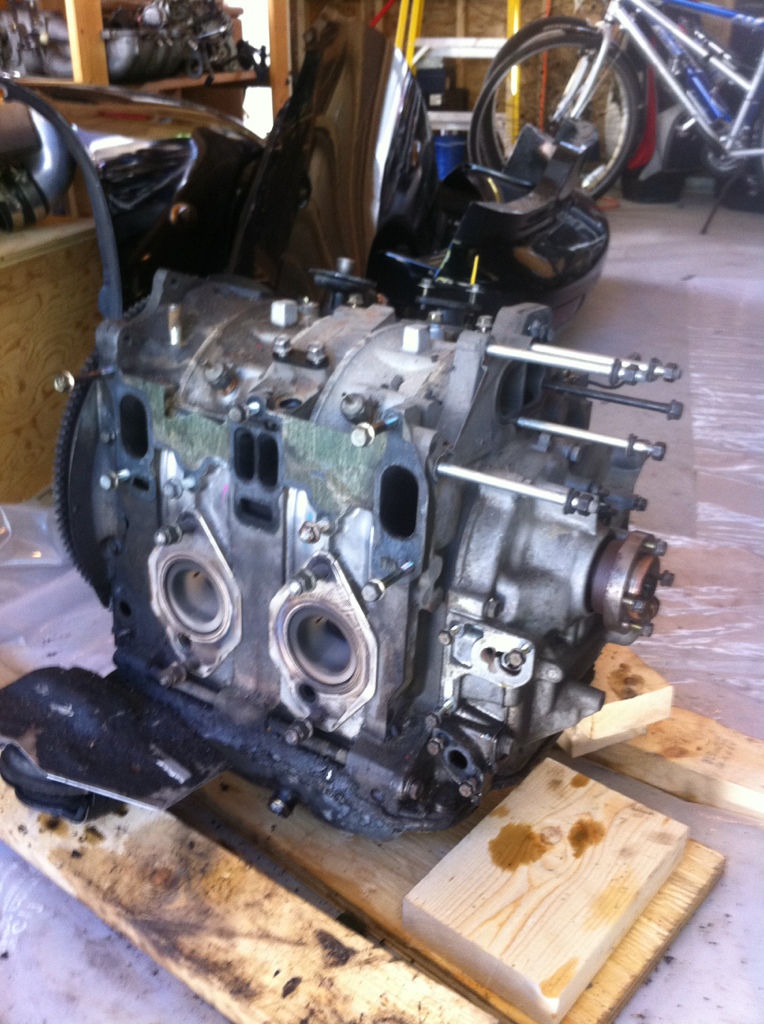
another high quality engine pic
to be continued!
Last summer my car fell victim to some natural weathering when I decided to leave my car outside while I was away for work and a hailstorm decided to hit. So instead of just repairing the damage, I decided that I would also need to crack 500whp, and like that.. this build came to life.
You'll have to excuse the quality of the pictures. When I started doing this, I took the pictures with my iphone because it was easier for me, but I'm making a better effort to take quality pictures. Bear with me
Here's what i imagine the storm looked like:
3c7679c0.jpg?t=1319422278
Starting to pull the car all apart:
(heres the pic quality thing I'm talking about)
engine being pulled:
and torn down (it just turned over 100 000 kms (60k miles) before the pull)
and again. Note the gunk on the oil pan and the crappy paper gasket.
started doing the harness (what a nasty job it is)
deleted pretty much everything but the bare essentials needed to run the car. (simplicity is best, right?)
another high quality engine pic
to be continued!
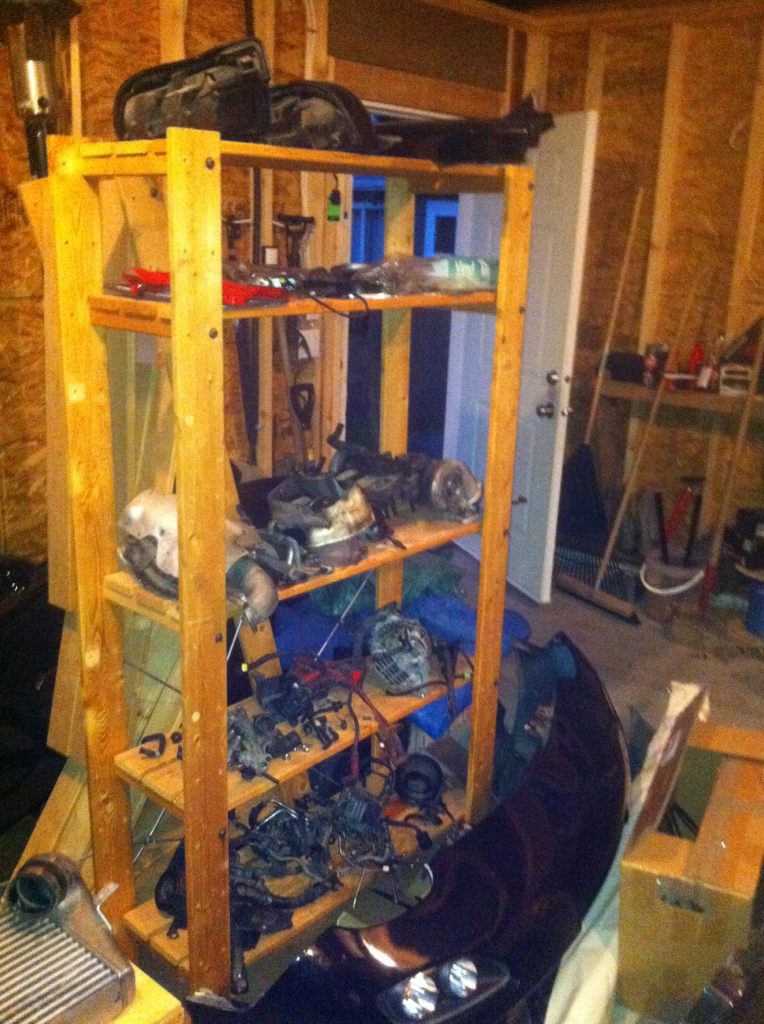
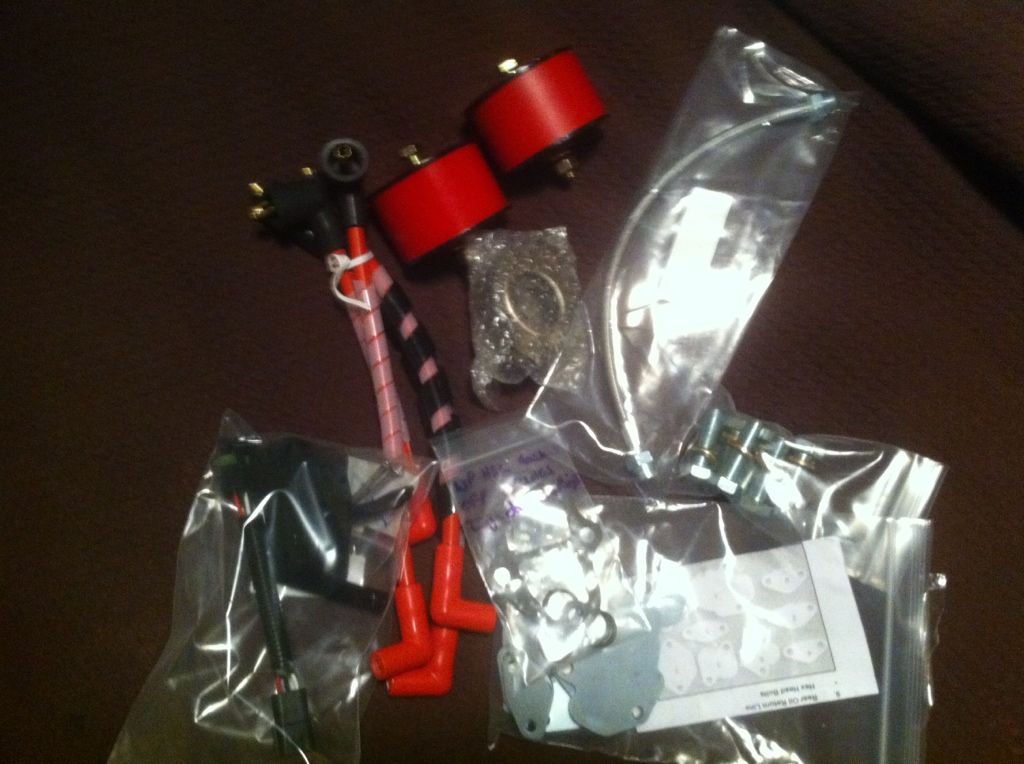
shelf of old parts (if theres anything you think you need, feel free to ask because i have a lot of stuff is just sitting there. All i would ask is shipping + 10 bucks!)
what i THOUGHT was the finished harness. I wrapped it in protective heat wrap. I hate the look but hopefully it keeps the wires in good condition until I swap ECUs down the road. (Not finished because some pig tails (injectors, fast reacting IAT sensor) need to be spliced in)
started wrapping manifold in heat wrap. I really need to finish this.. it sure is tedious..

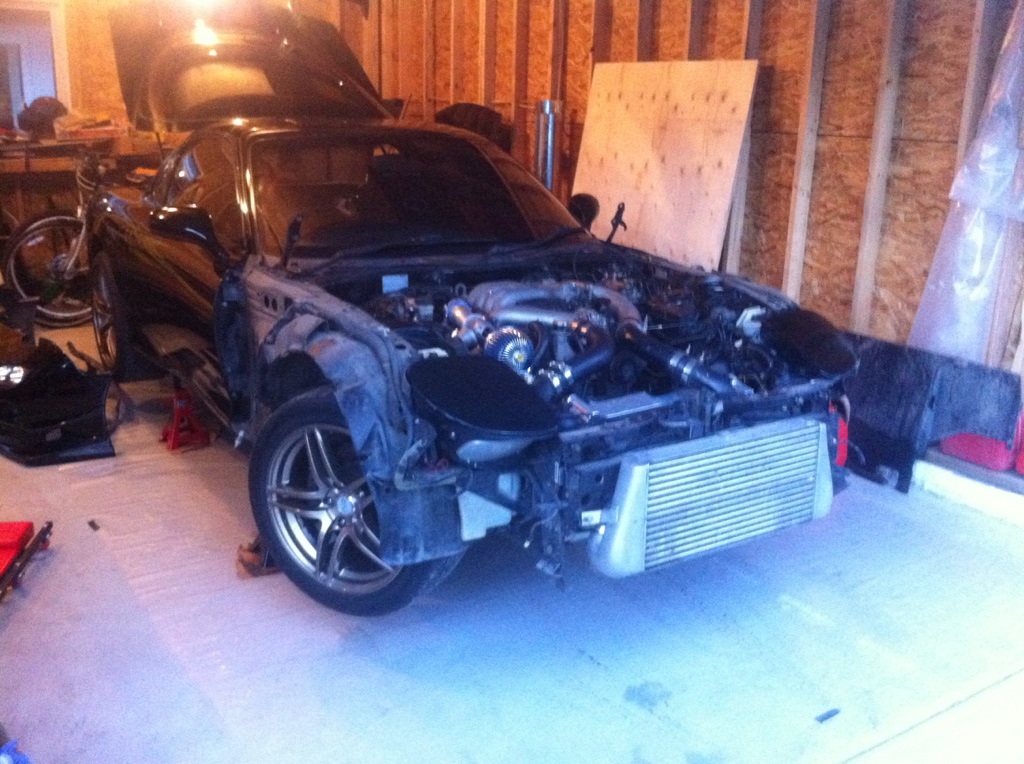
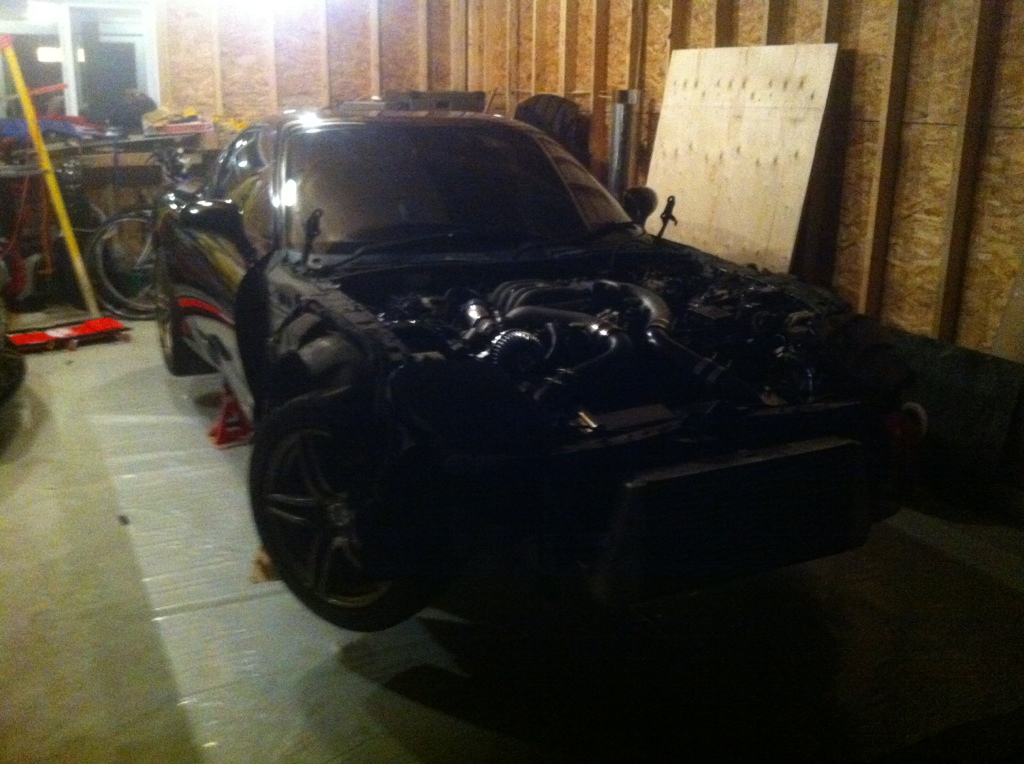
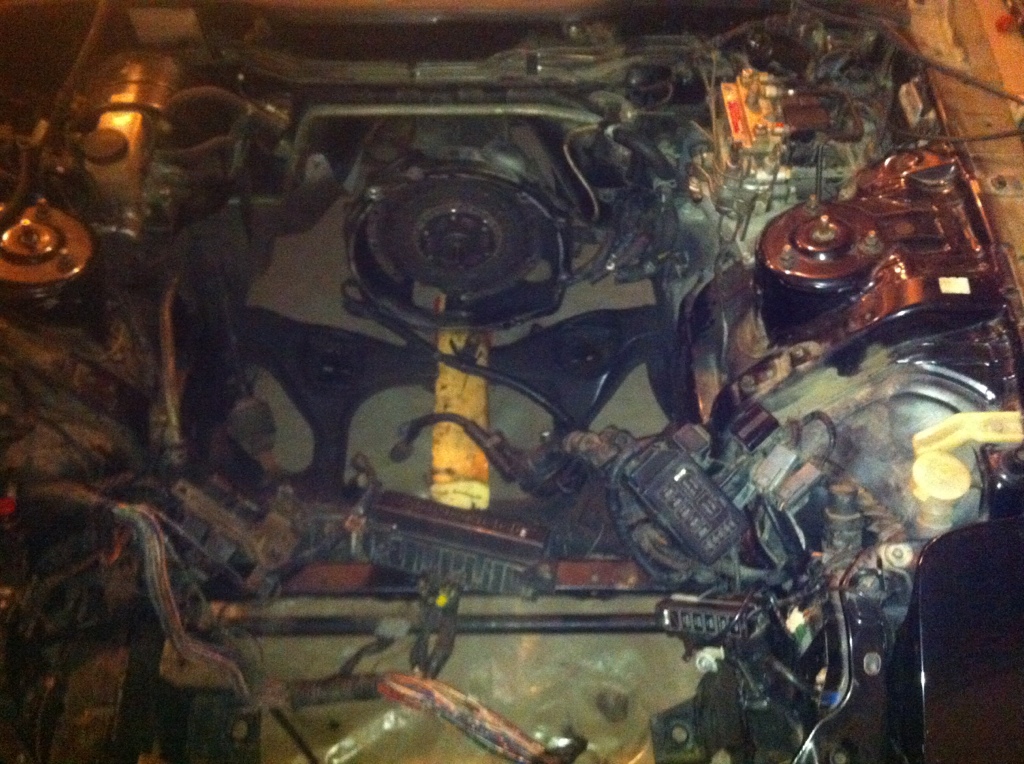
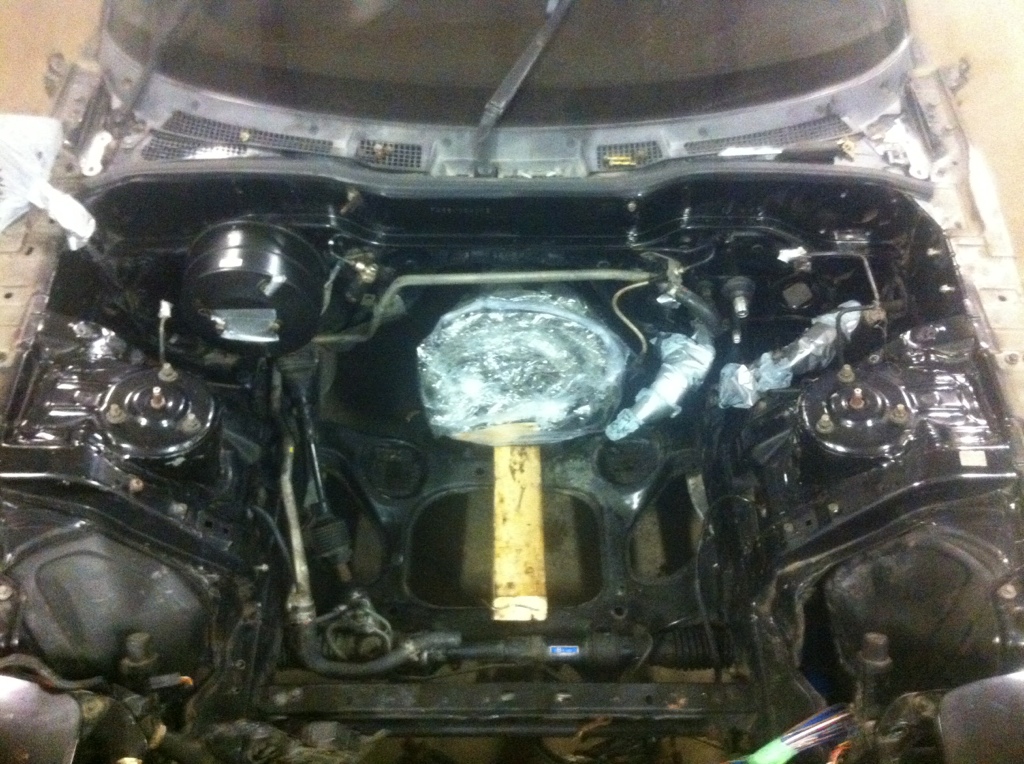
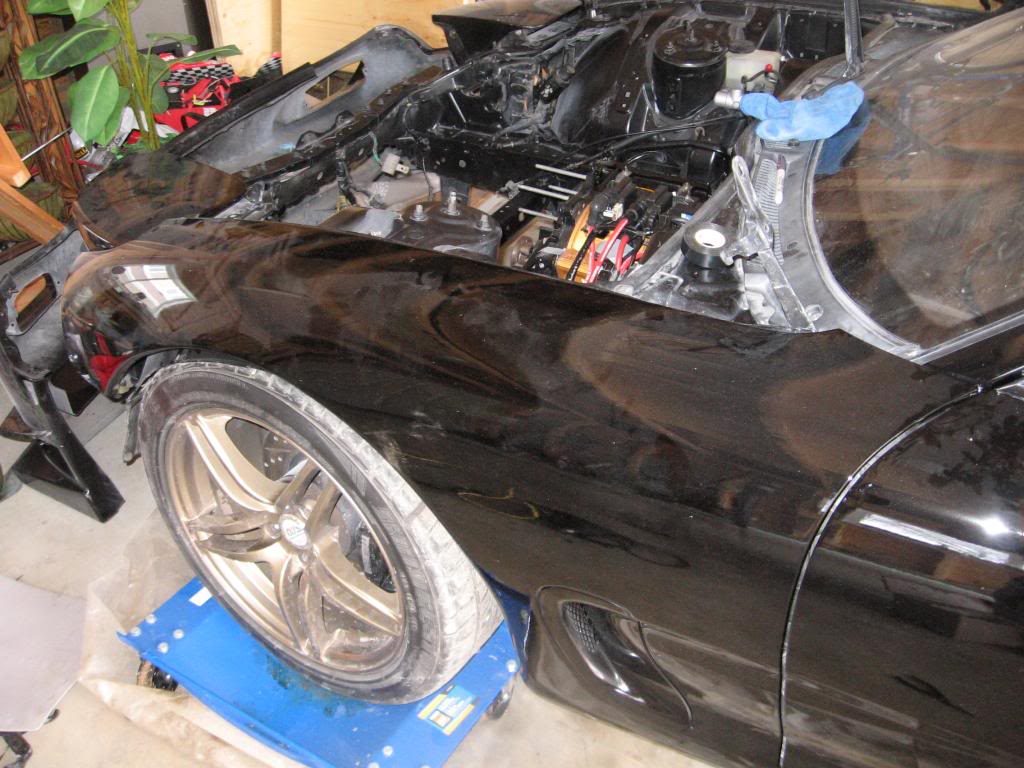
crappy shot of a very messy engine bay:
an awesome picture!
engine wrapped up and ready to go to banzai-racing for some love:

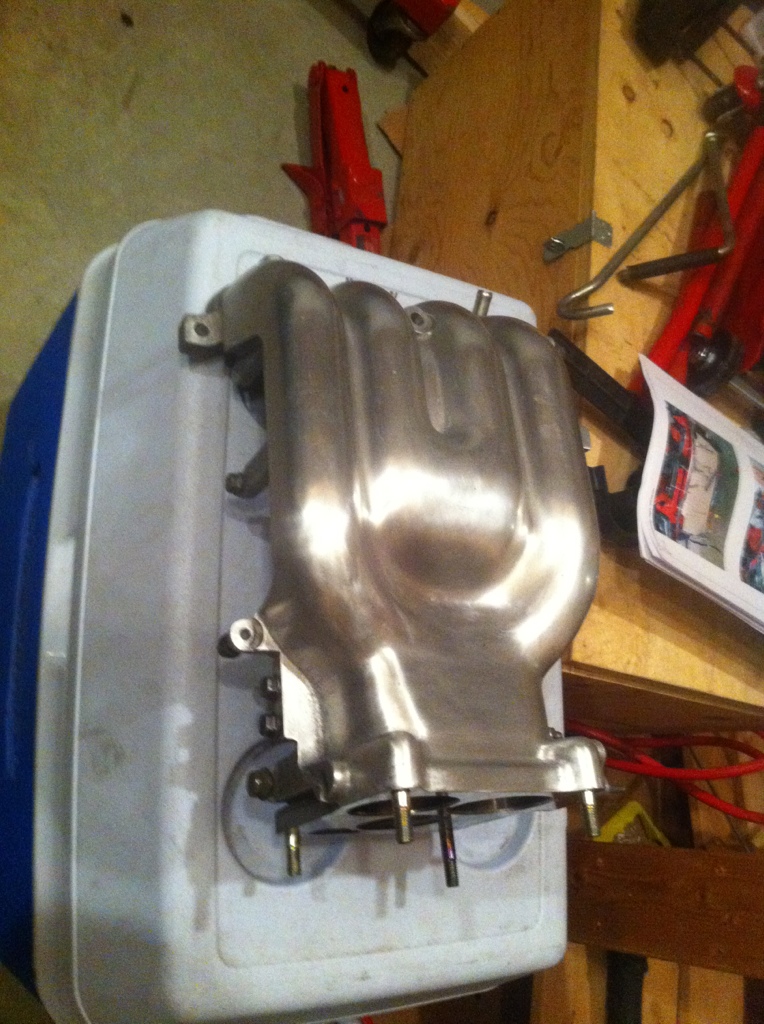
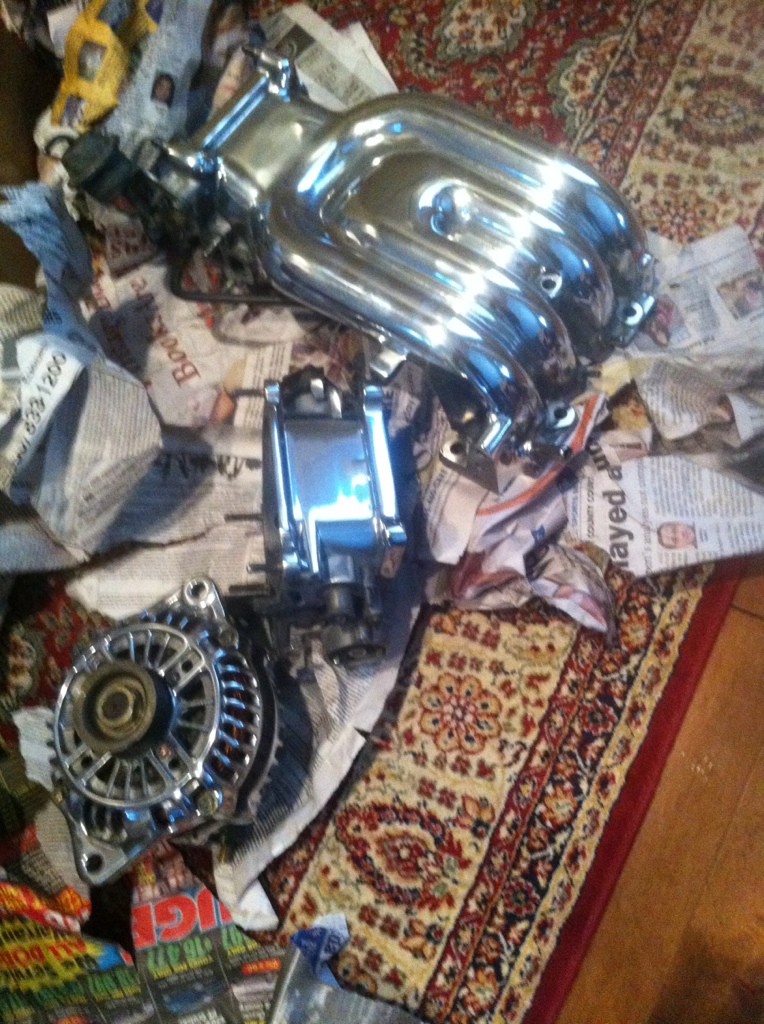
my pathetic attempt at hand polishing the UIM. It is now for sale:
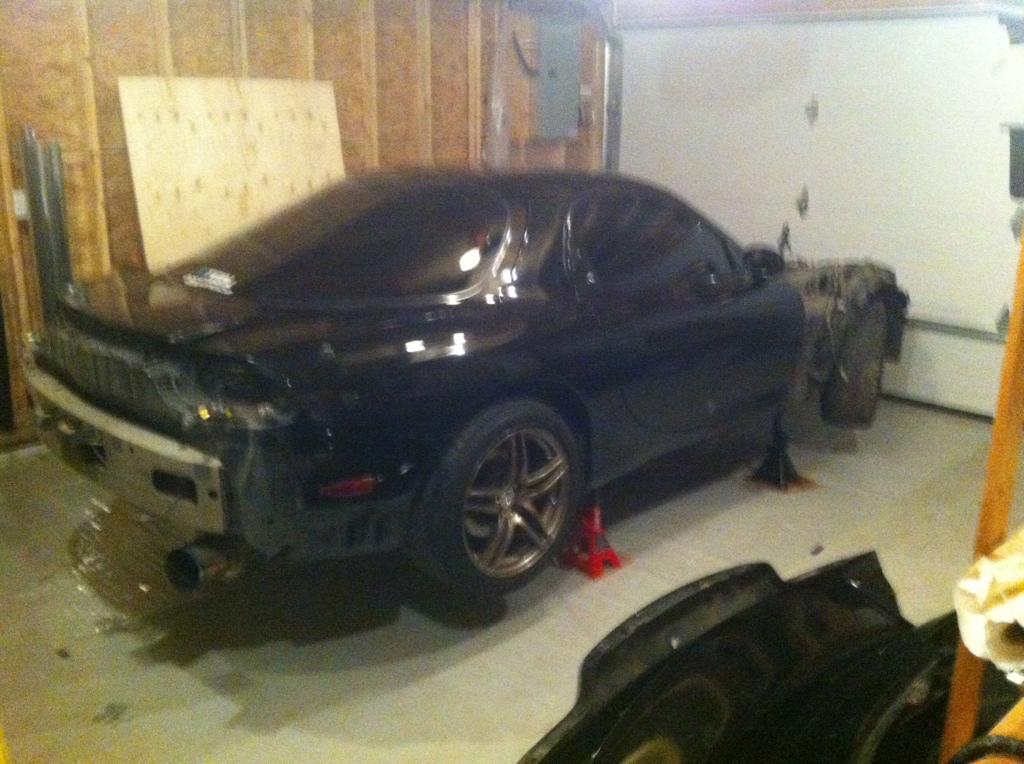
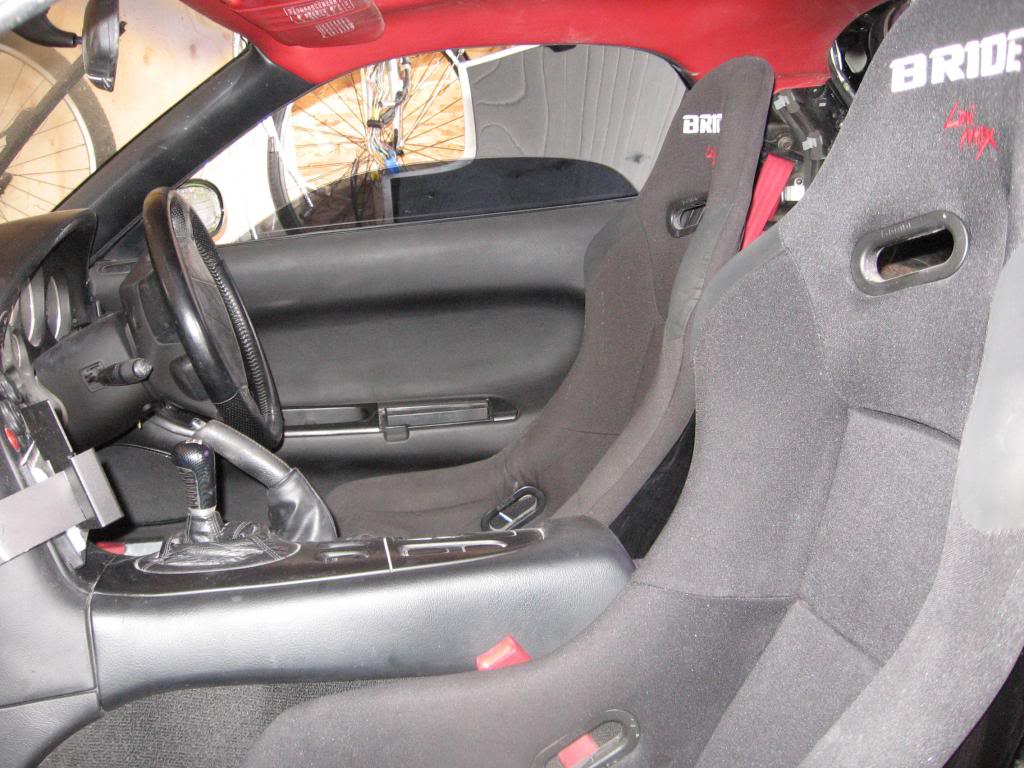
cleaned the car inside and out. Here's an example:
BEFORE
AFTER
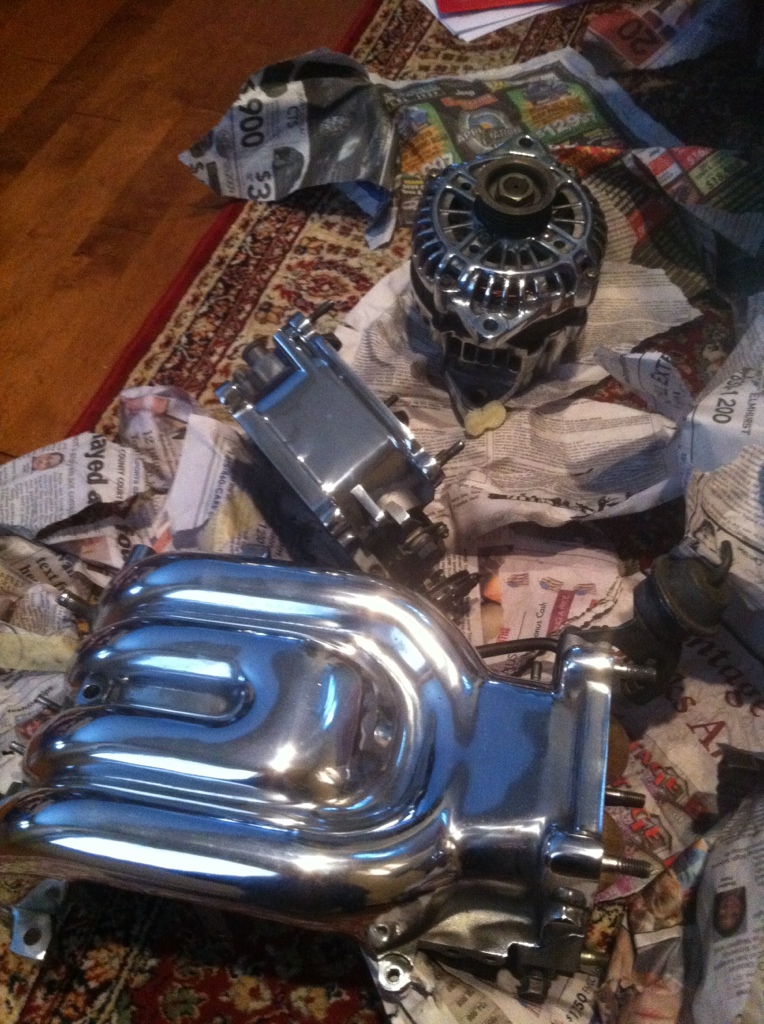
got these PROPERLY polished parts
what i THOUGHT was the finished harness. I wrapped it in protective heat wrap. I hate the look but hopefully it keeps the wires in good condition until I swap ECUs down the road. (Not finished because some pig tails (injectors, fast reacting IAT sensor) need to be spliced in)
started wrapping manifold in heat wrap. I really need to finish this.. it sure is tedious..
crappy shot of a very messy engine bay:
an awesome picture!
engine wrapped up and ready to go to banzai-racing for some love:
my pathetic attempt at hand polishing the UIM. It is now for sale:
cleaned the car inside and out. Here's an example:
BEFORE
AFTER
got these PROPERLY polished parts
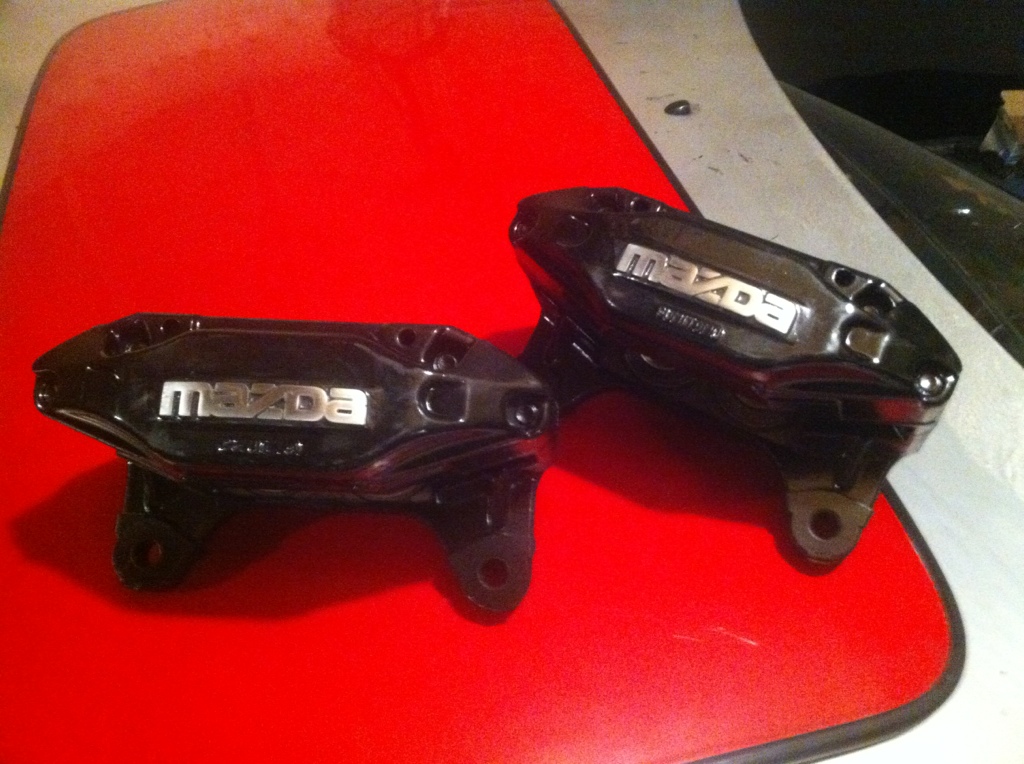
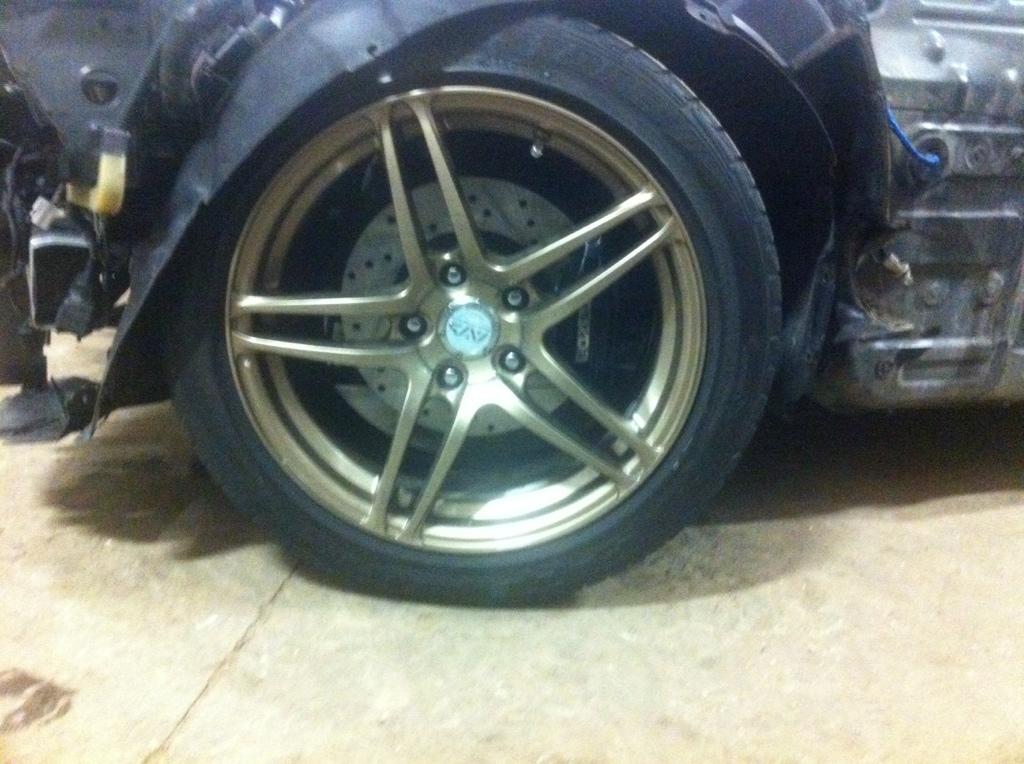
I am an idiot and took off one of those bolts on the front calipers that you're not supposed to. So i ordered another set from a member on here and painted them up.
(The sun roof was also bought to replace the other one because it was quite dimpled)
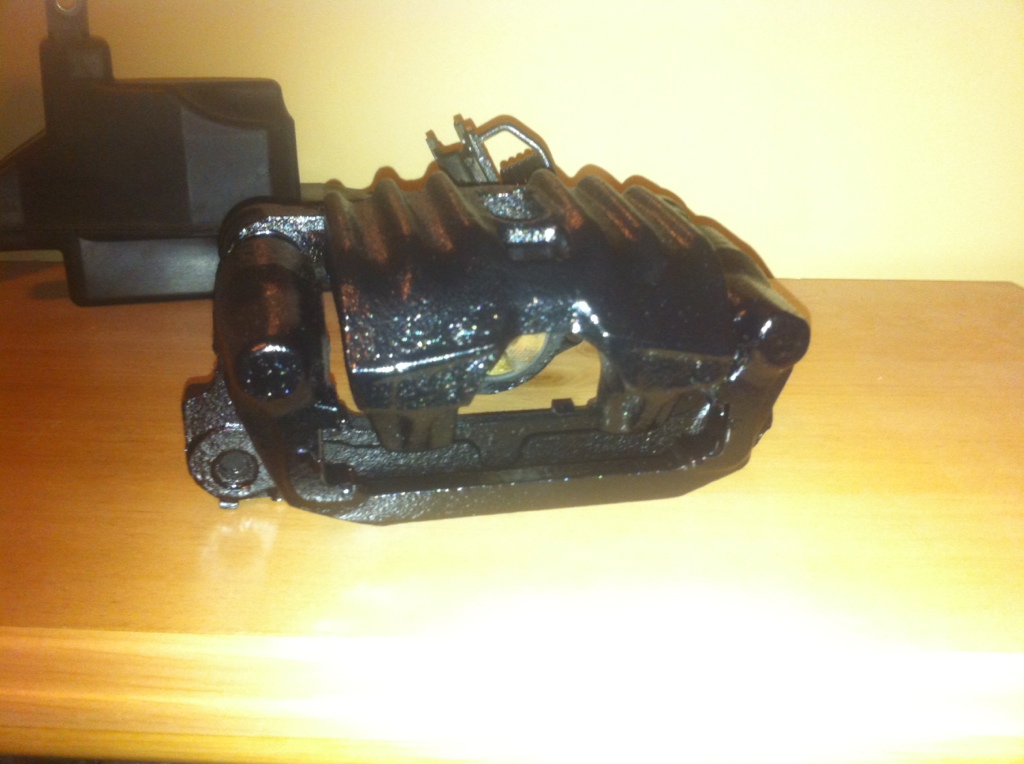
rear caliper:
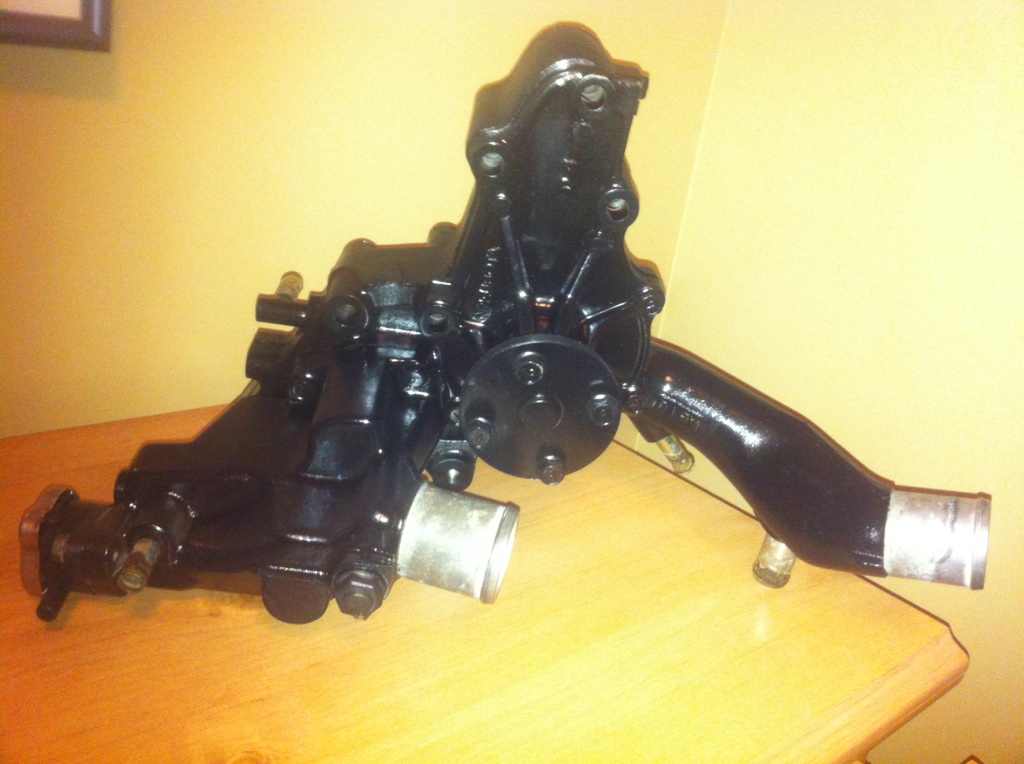
water pump assembly painted:
got the pallet back from banzai:
as well as some other goodies:
theres also the trans and diff brace but i don't think i ever took a picture of them OR the install. Fitment was A+++++++++++.
(The sun roof was also bought to replace the other one because it was quite dimpled)
rear caliper:
water pump assembly painted:
got the pallet back from banzai:
as well as some other goodies:
theres also the trans and diff brace but i don't think i ever took a picture of them OR the install. Fitment was A+++++++++++.
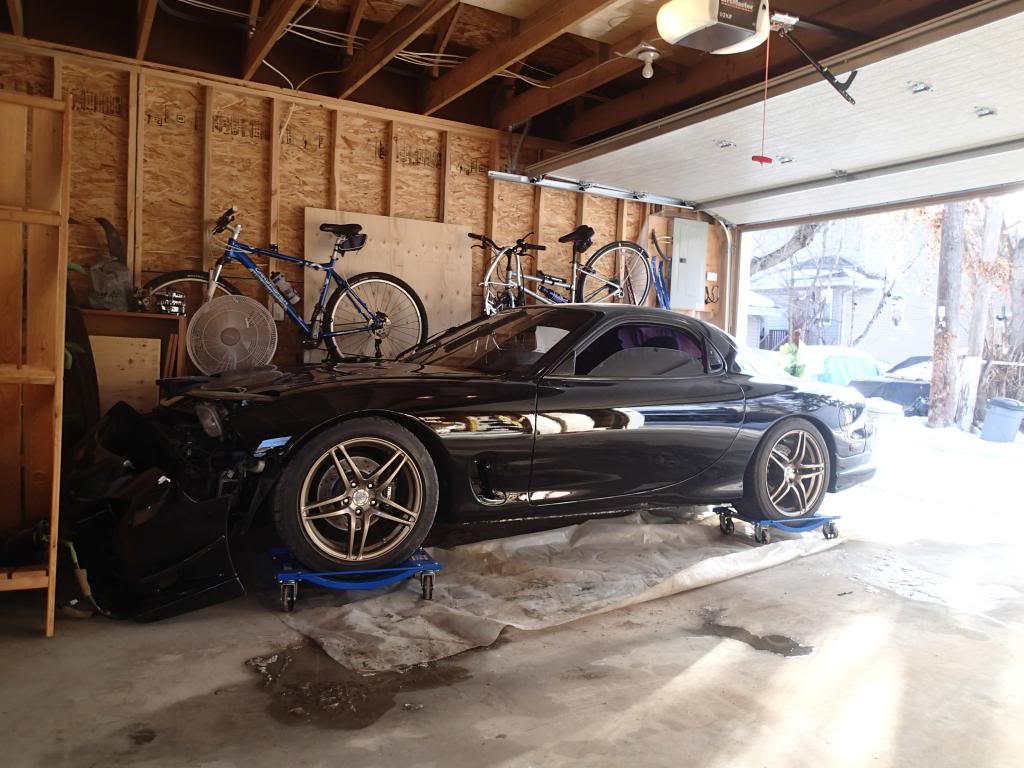
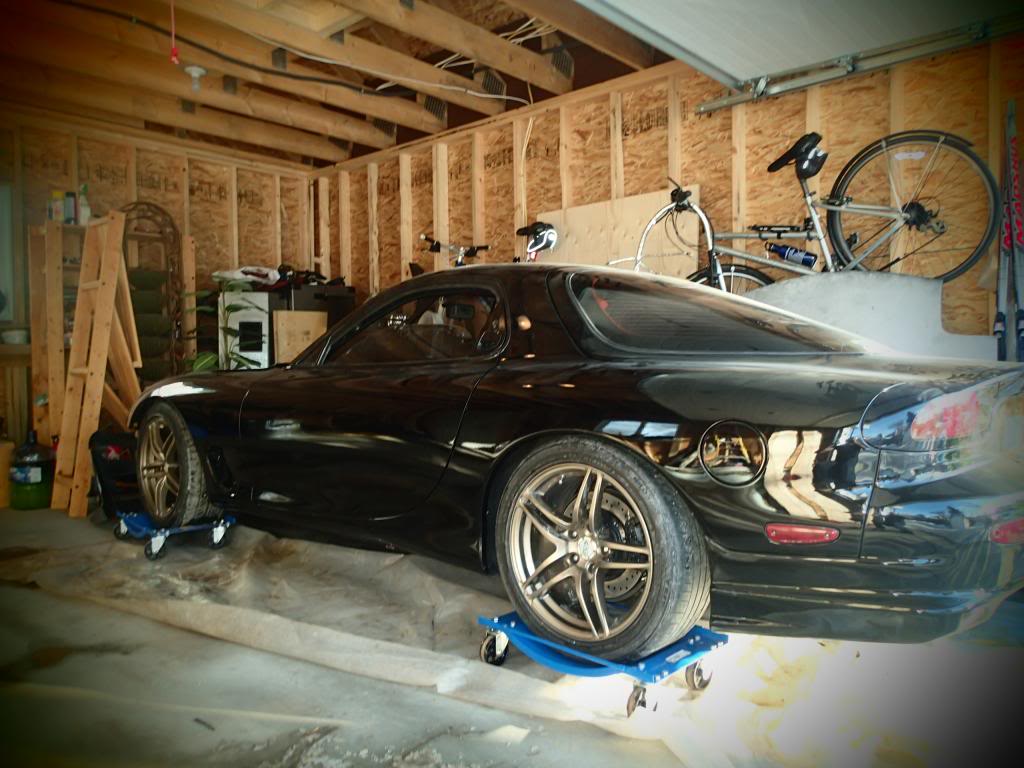
towed the car out to a friends shop to do some things. much better working there. (it's heated, and there is room. And awesome tools.)
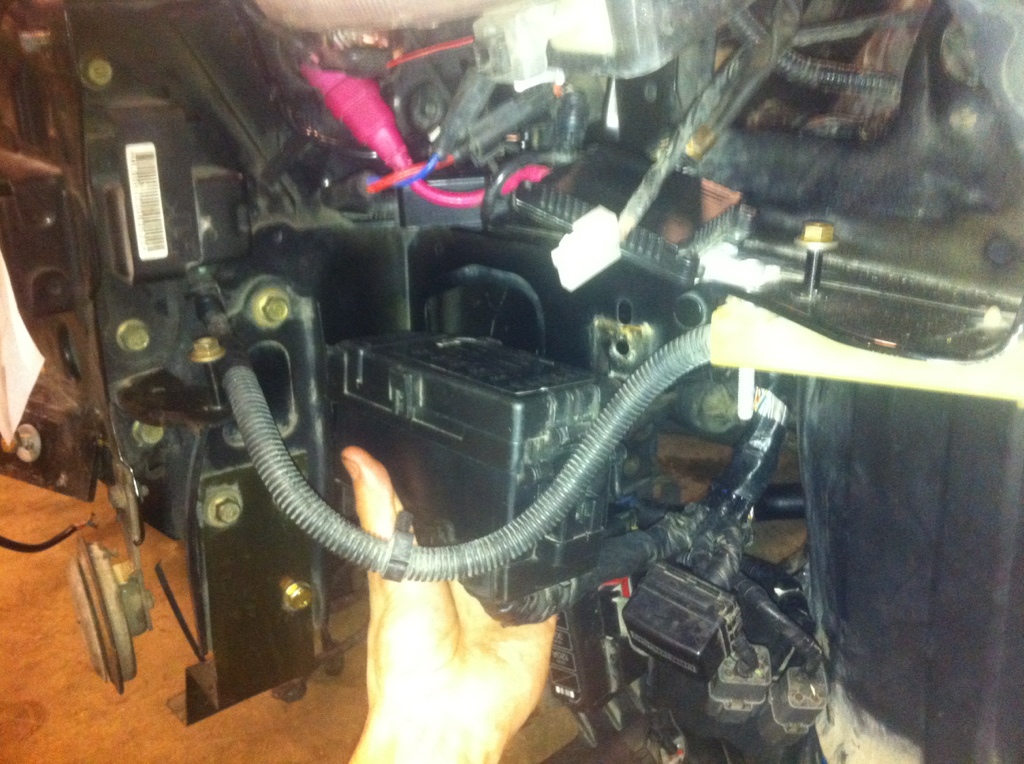
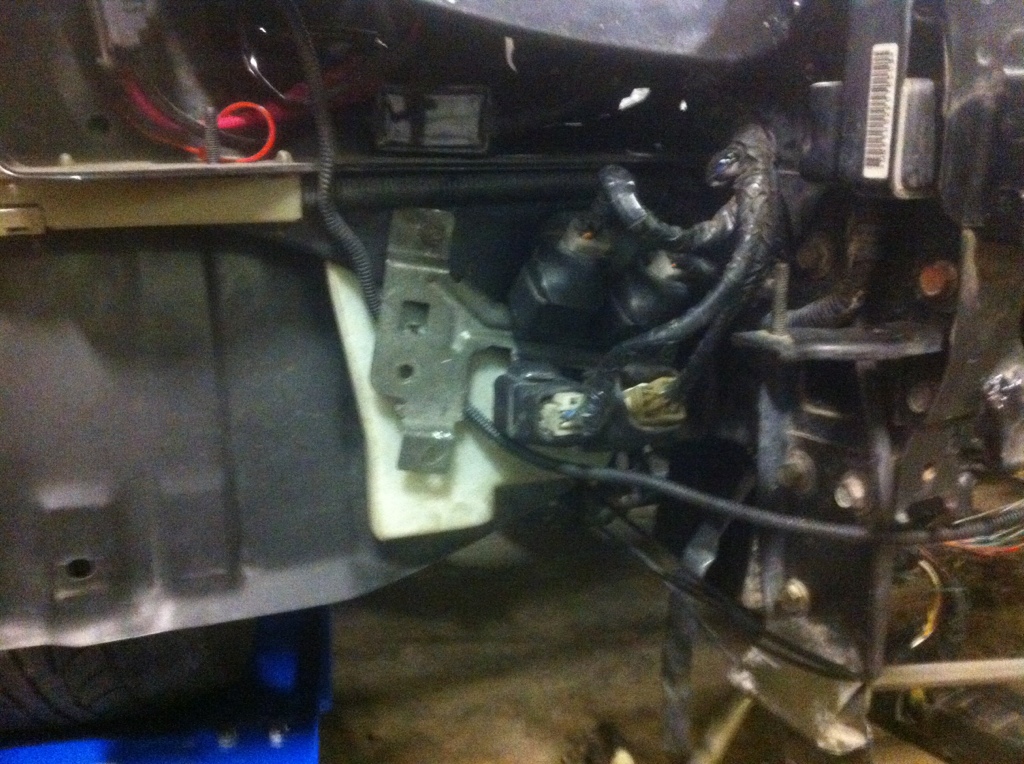
fuse box location (it's all mounted there now)
no more antenna:
so blurry!
a very diverse work bench
a shot from upstairs: (the other REW block sitting there is my friends.. his username here is diesel dakota. Pretty sweet build thread for him too!
yay for new parts:
fuse box location (it's all mounted there now)
no more antenna:
so blurry!
a very diverse work bench
a shot from upstairs: (the other REW block sitting there is my friends.. his username here is diesel dakota. Pretty sweet build thread for him too!
yay for new parts:
Alex rodriguez ABS delete kit. I hope i didn't f something up but the two fittings that connect to the master cylinder leak under pressure.. one might be fixed actually.. but i'll deal with that later.

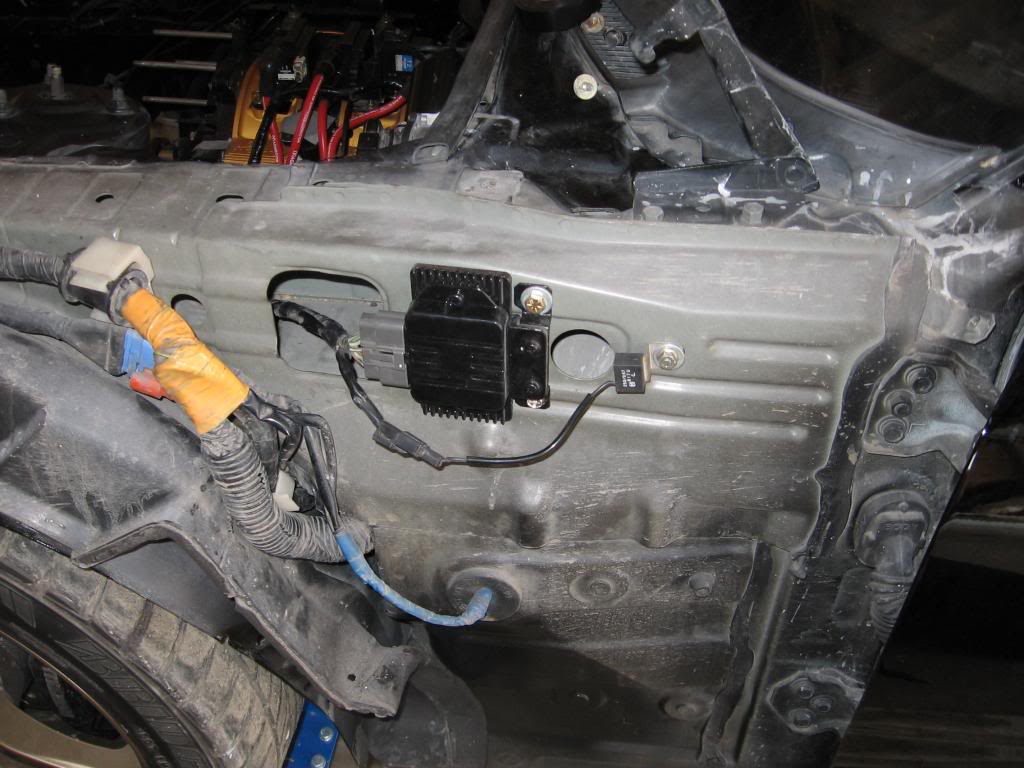
relay mounting spot: (connections are sealed up better now so water doesn't get in)
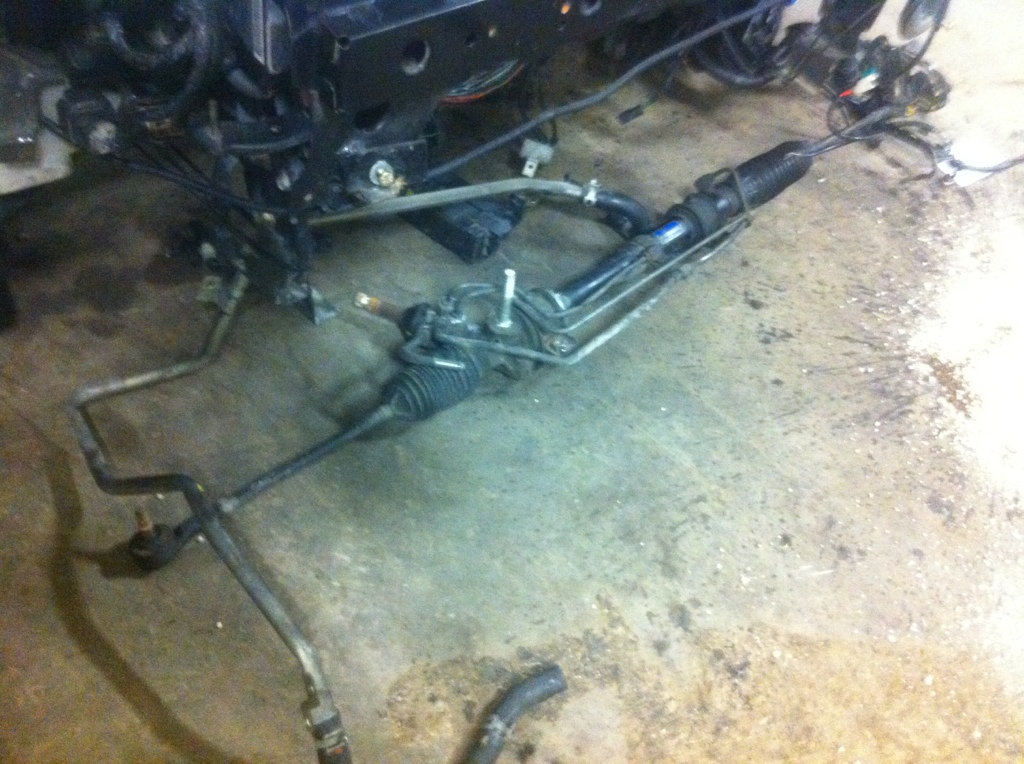
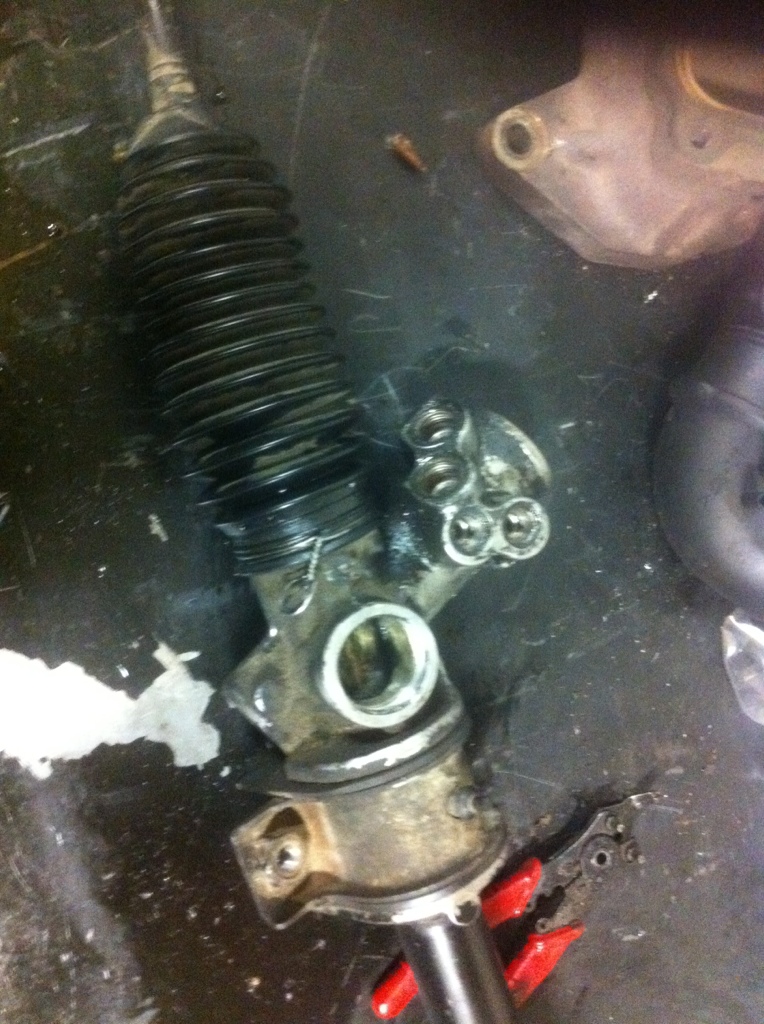
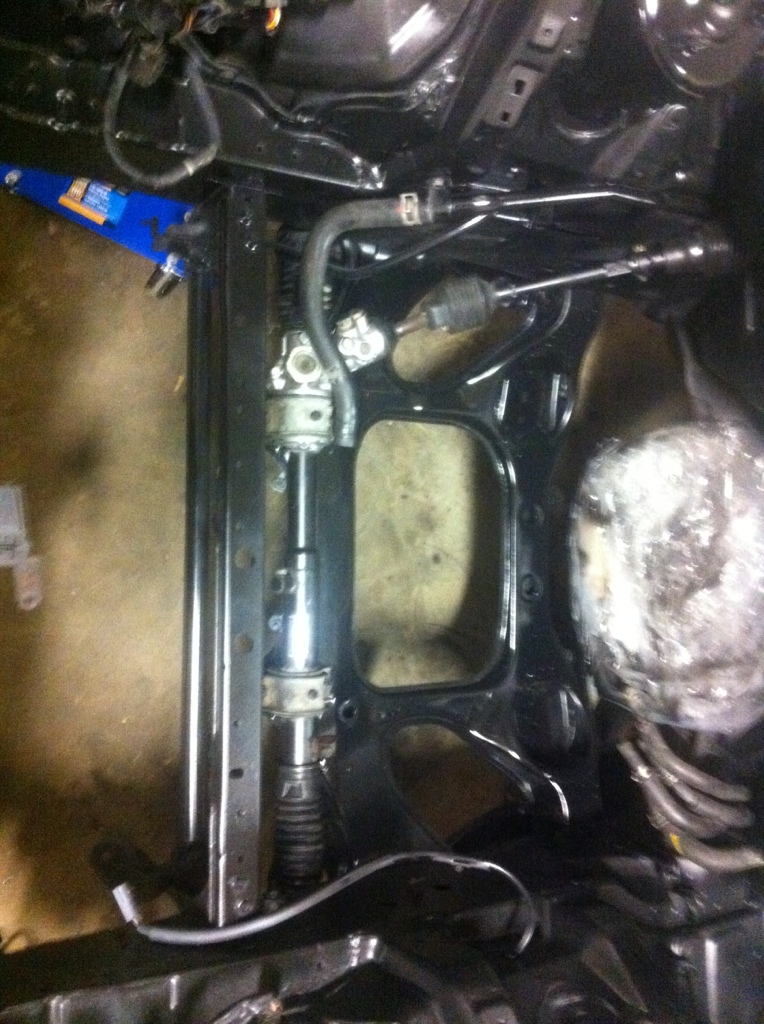
steering rack dropped:
crappy picture, but its a lot cleaner with the fuse boxes and relays out of the picture!
heres my face:

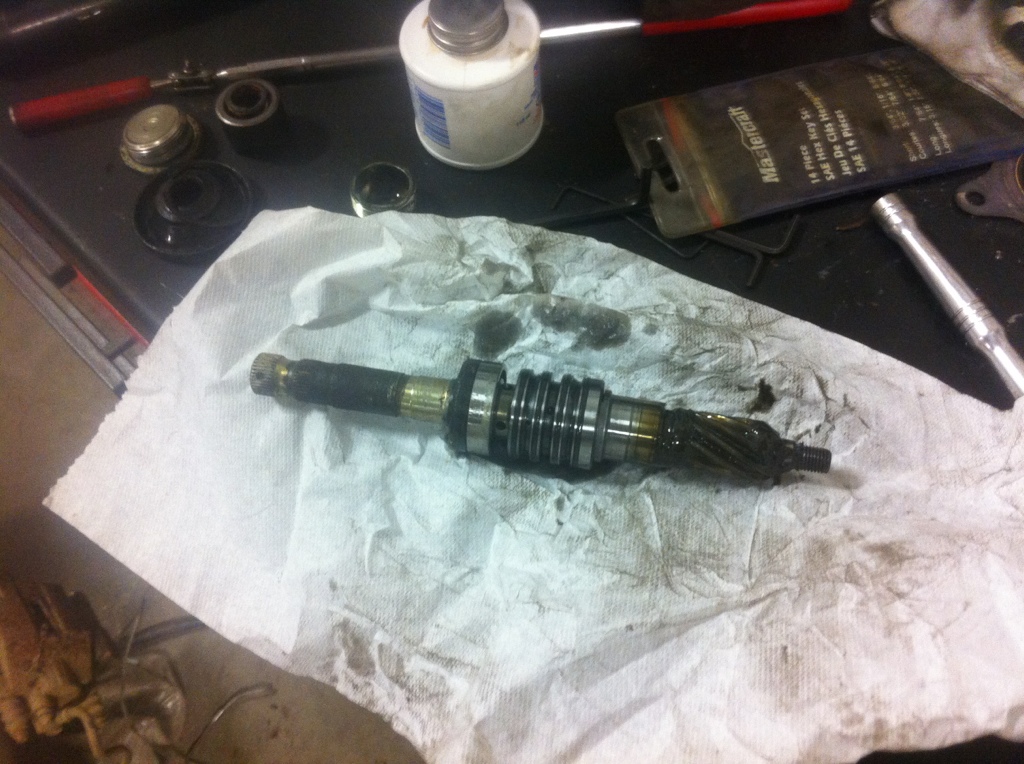
de-powered the steering rack:
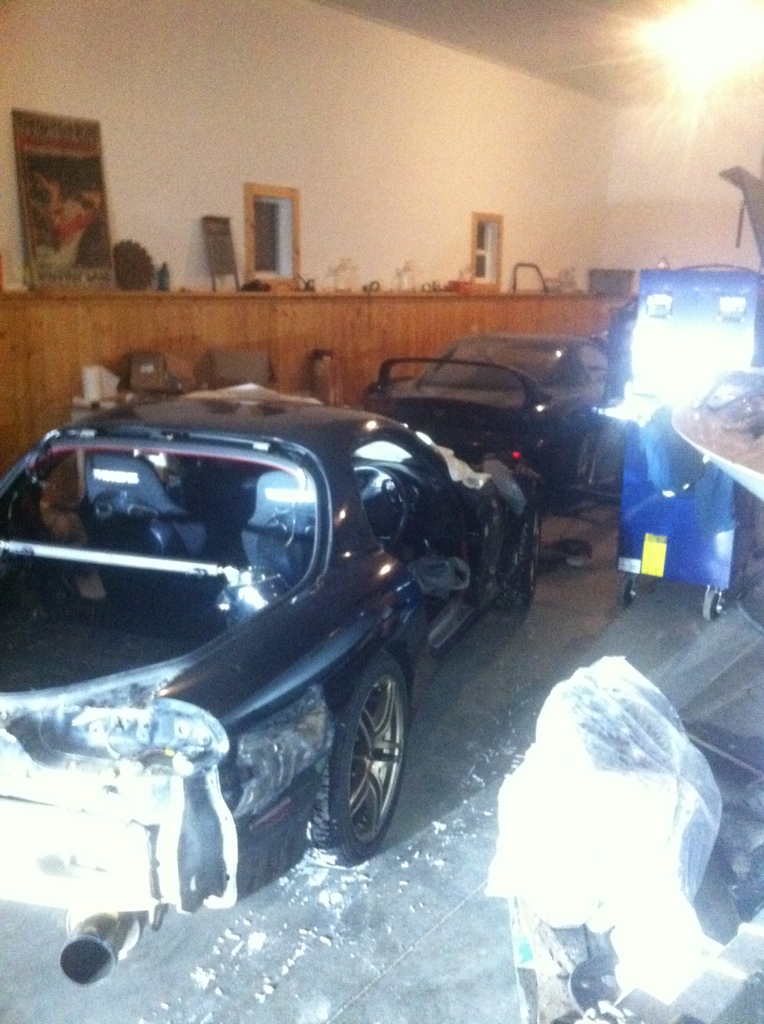
and into the barn with diesel dakota's FD for a little bit:
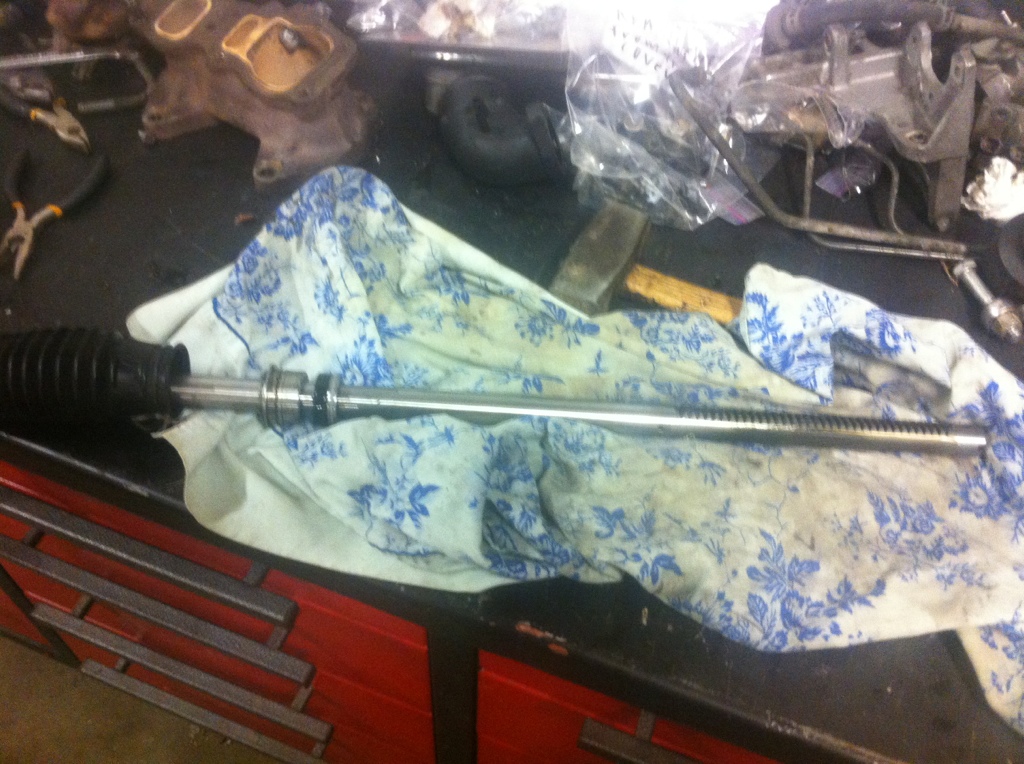
painted the bay satin black then re-installed the steering rack (manual steering is awesome)
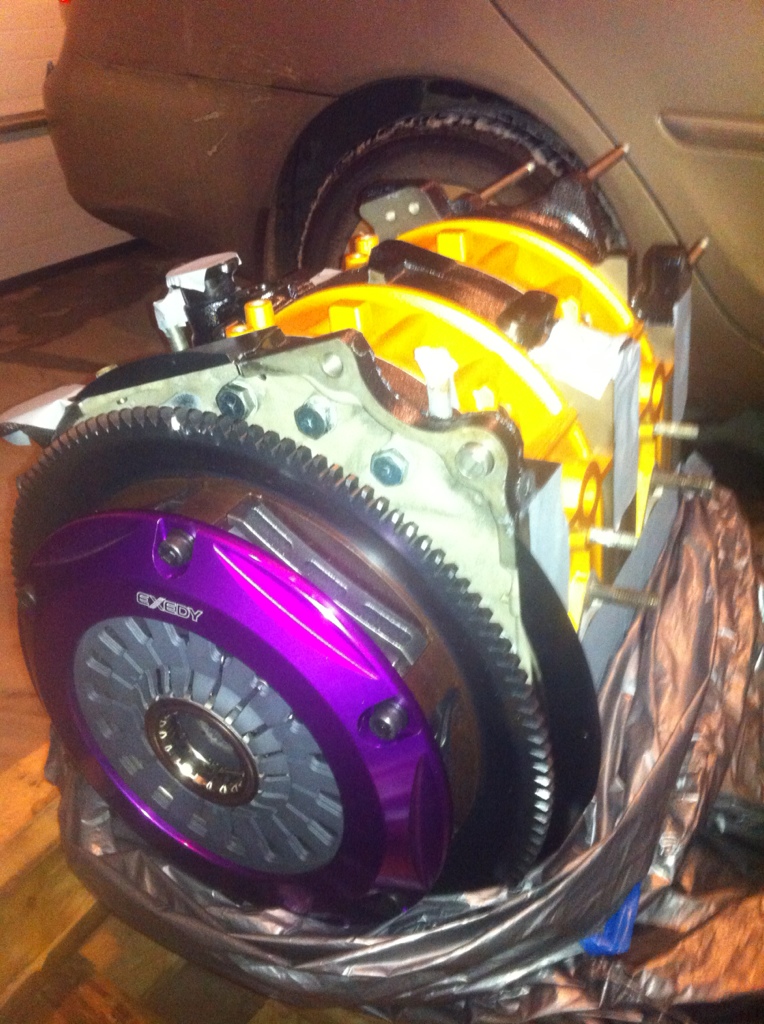
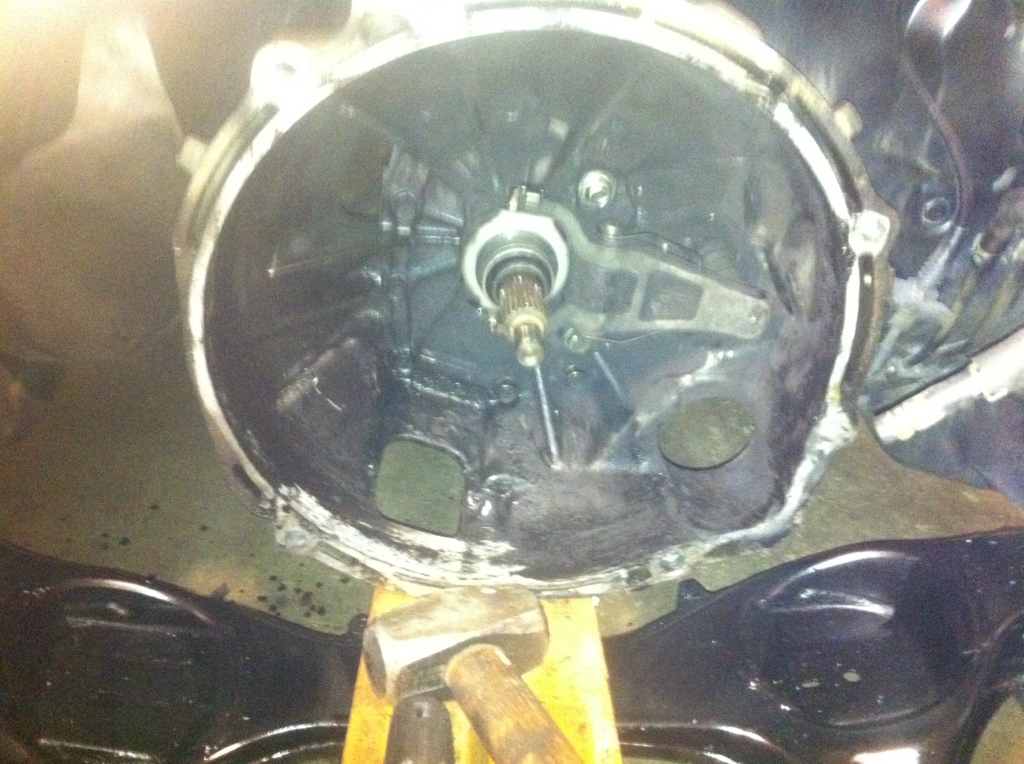
clutch release fork took me a while to figure out but finally got it, and new throwout bearing is in:
more to come!
relay mounting spot: (connections are sealed up better now so water doesn't get in)
steering rack dropped:
crappy picture, but its a lot cleaner with the fuse boxes and relays out of the picture!
heres my face:
de-powered the steering rack:
and into the barn with diesel dakota's FD for a little bit:
painted the bay satin black then re-installed the steering rack (manual steering is awesome)
clutch release fork took me a while to figure out but finally got it, and new throwout bearing is in:
more to come!
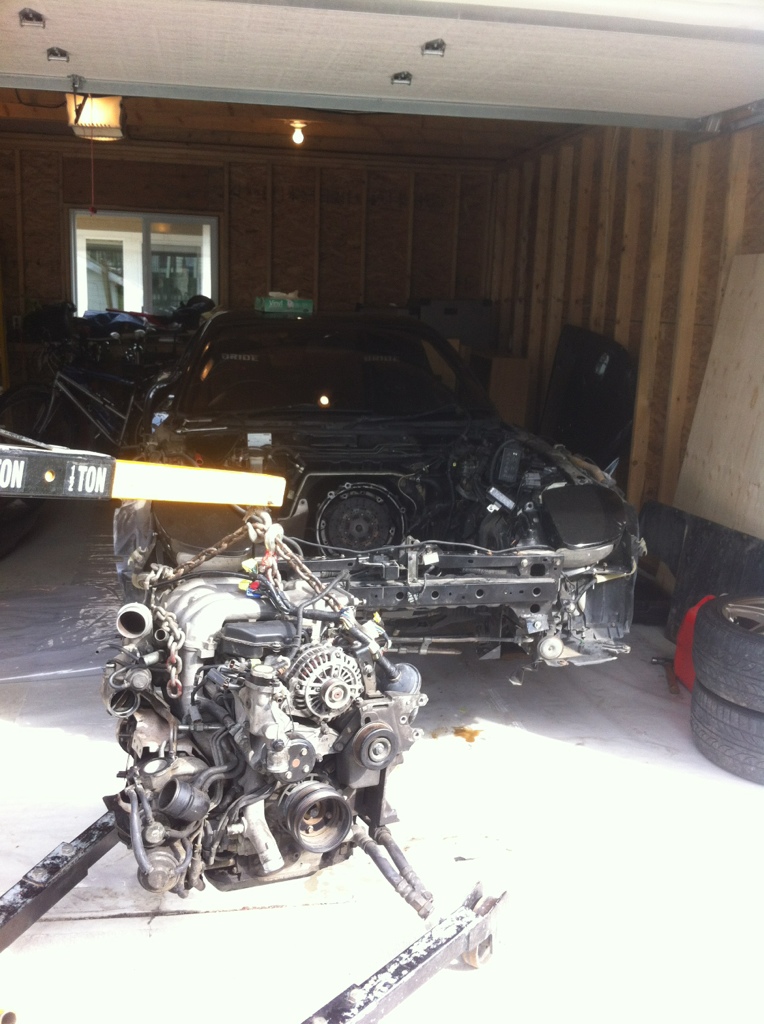
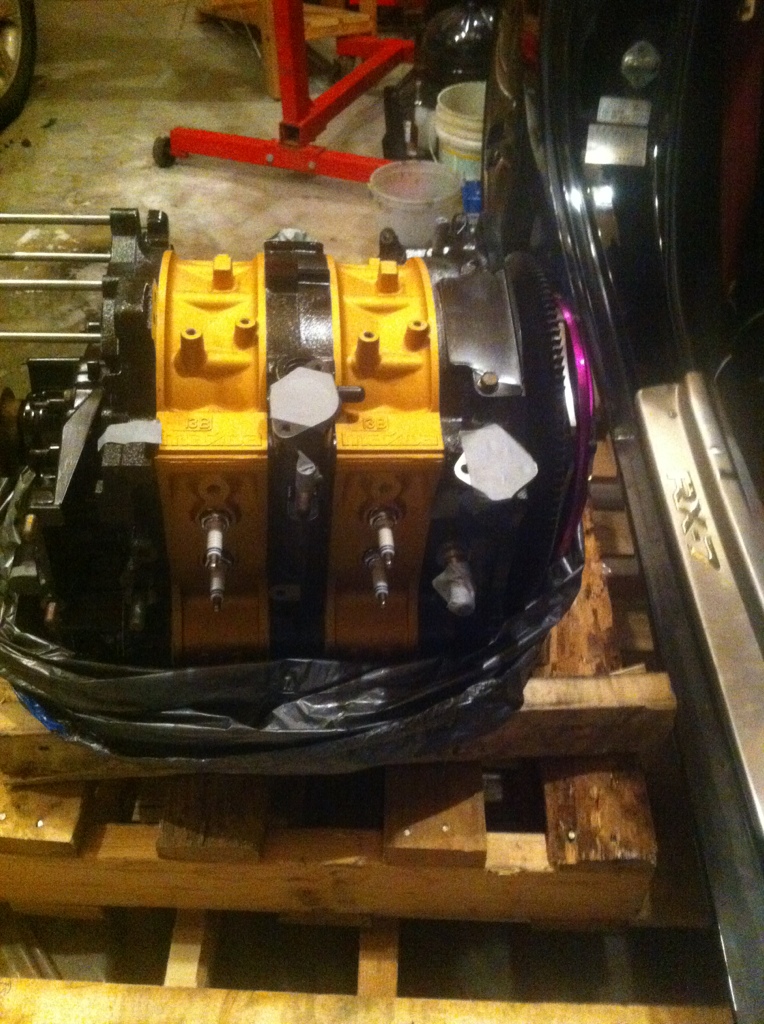
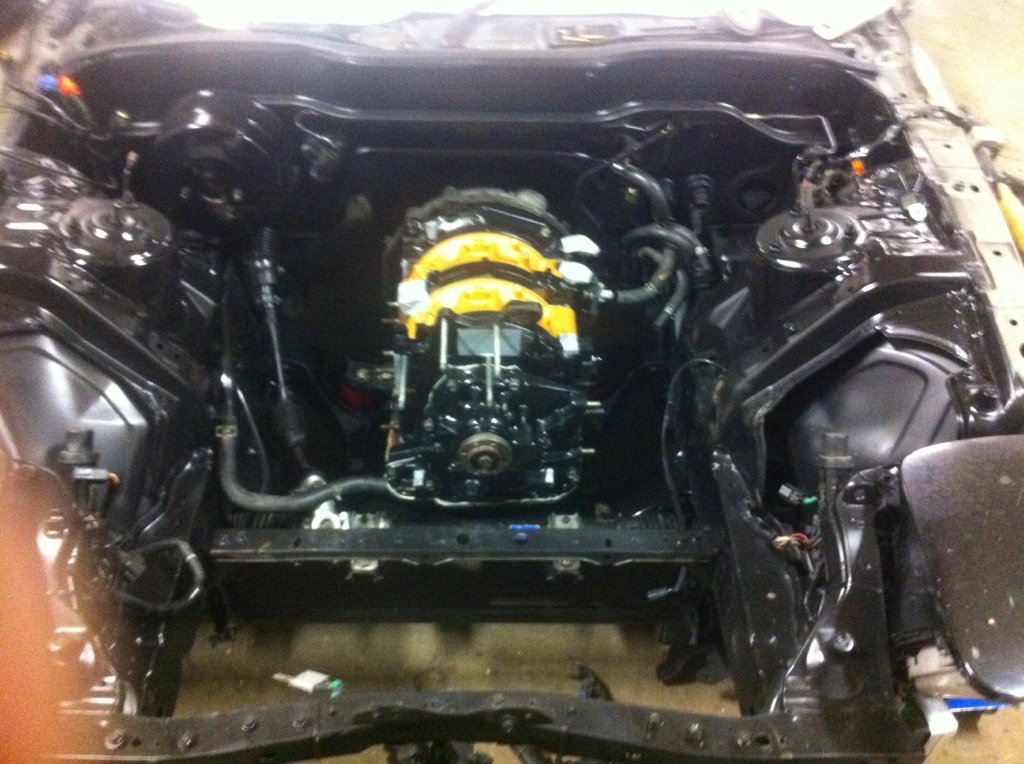
The engine going in (oh yeah.. the crane in the shop is also pretty handy..)
 .
.
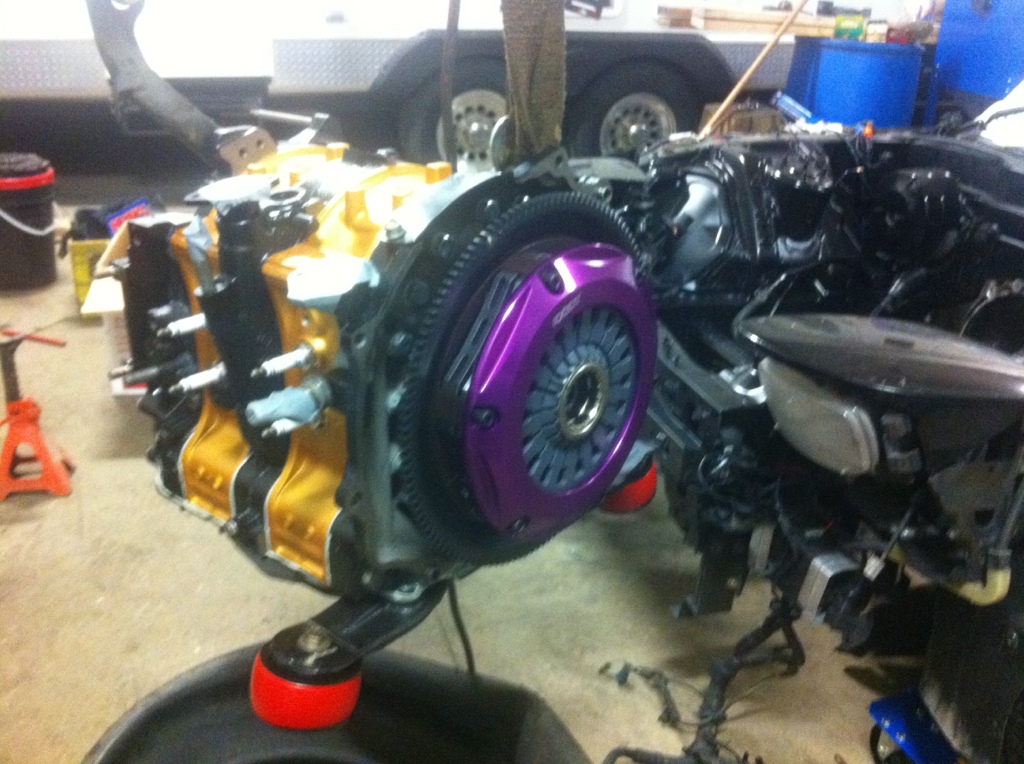
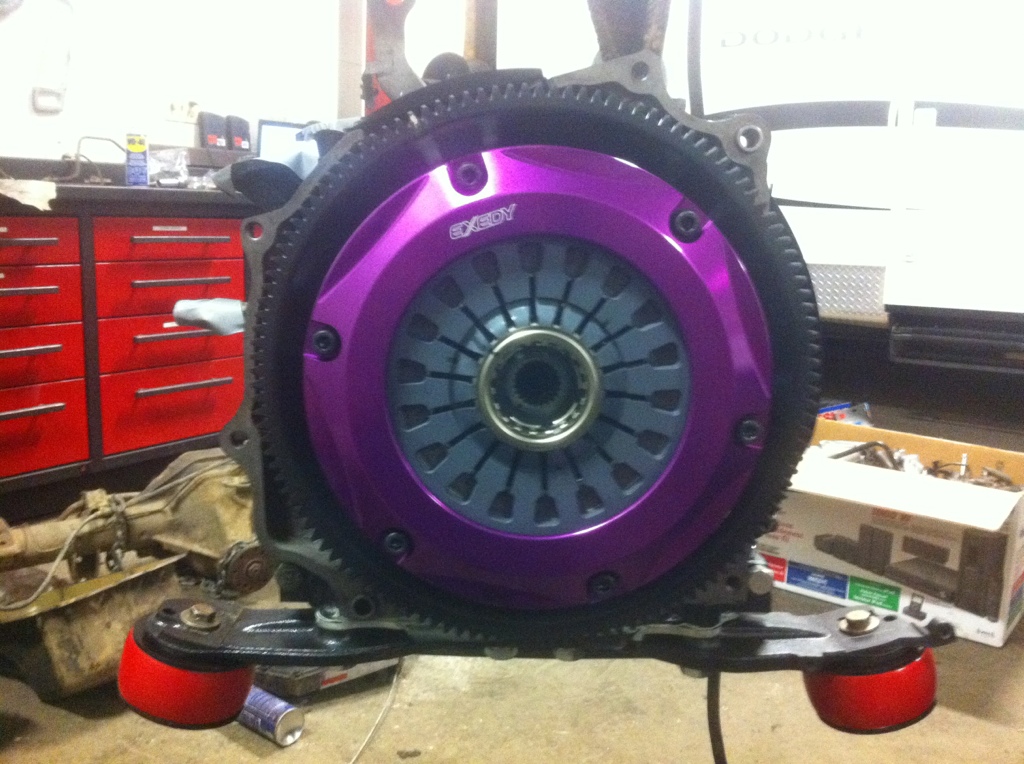
one last shot of that sexy clutch before it's hidden away:
in:
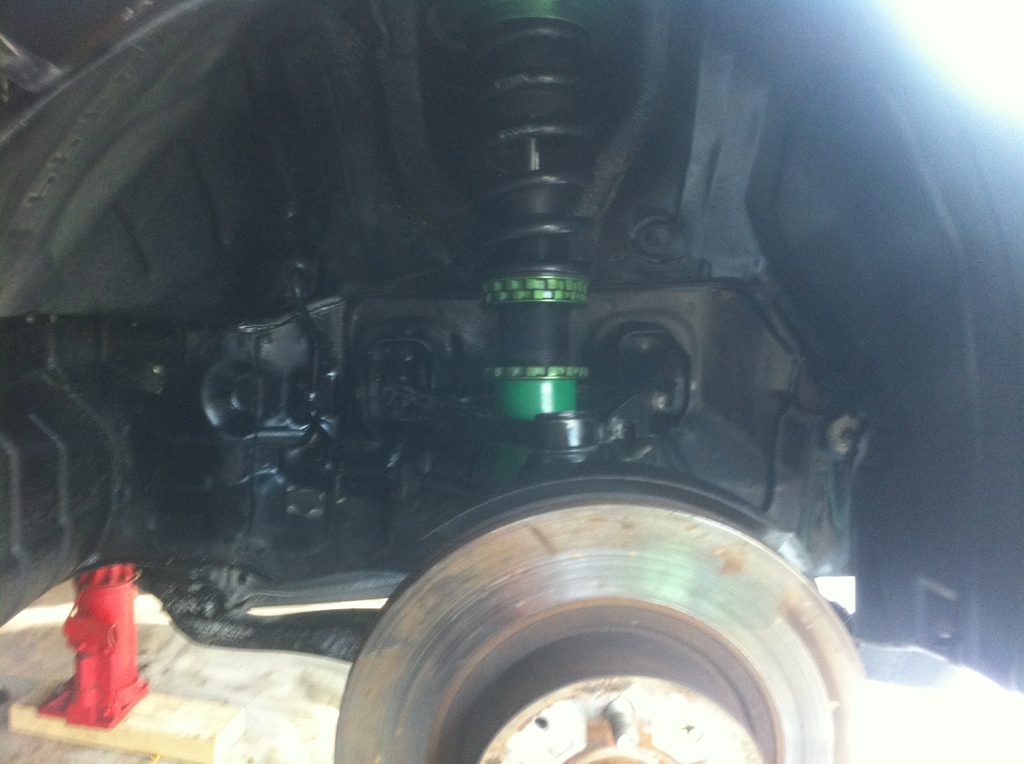
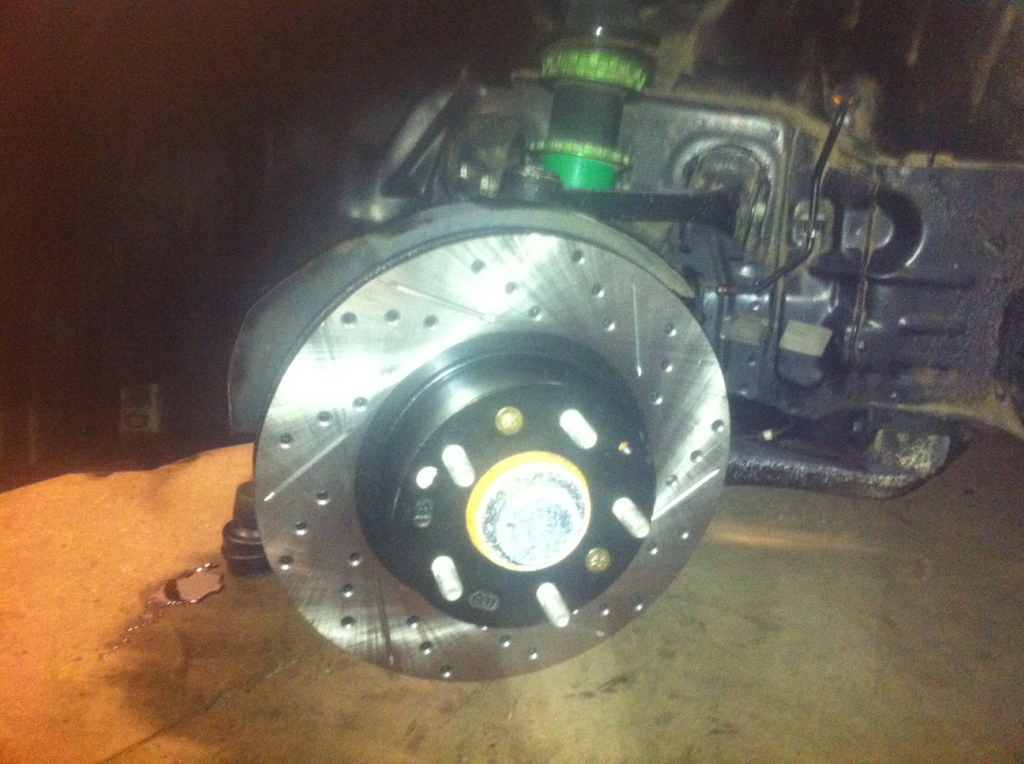
pics of brake install:
(excuses my drilled/ricer rotors.. i think they look cool)
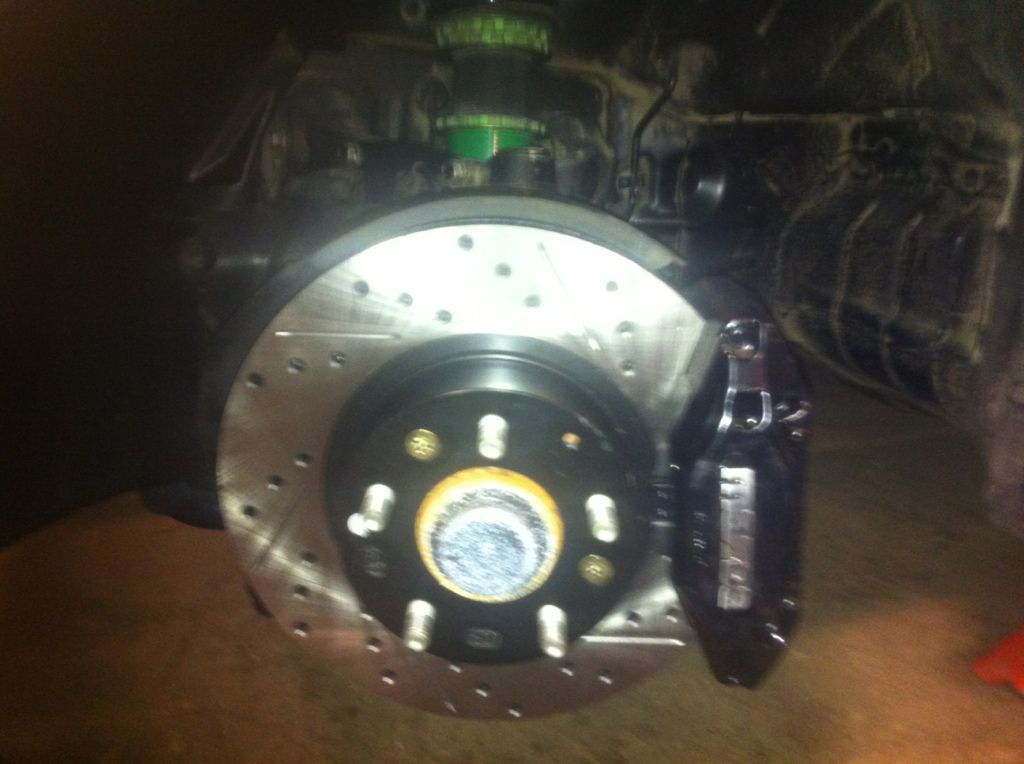
stainless lines:
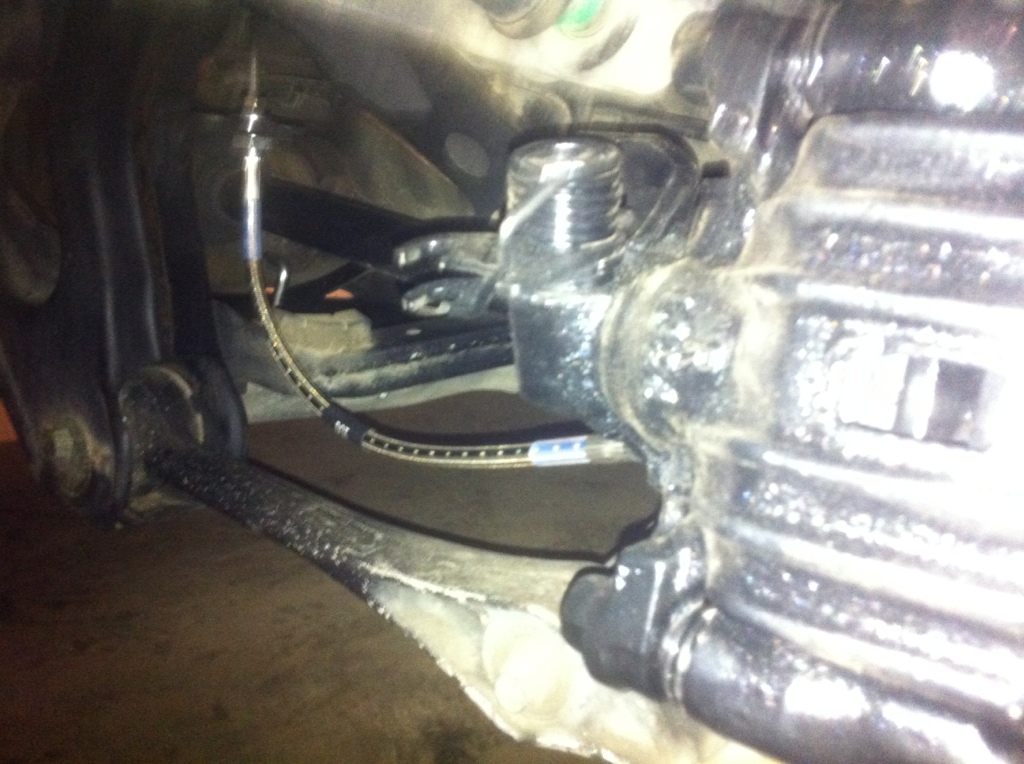
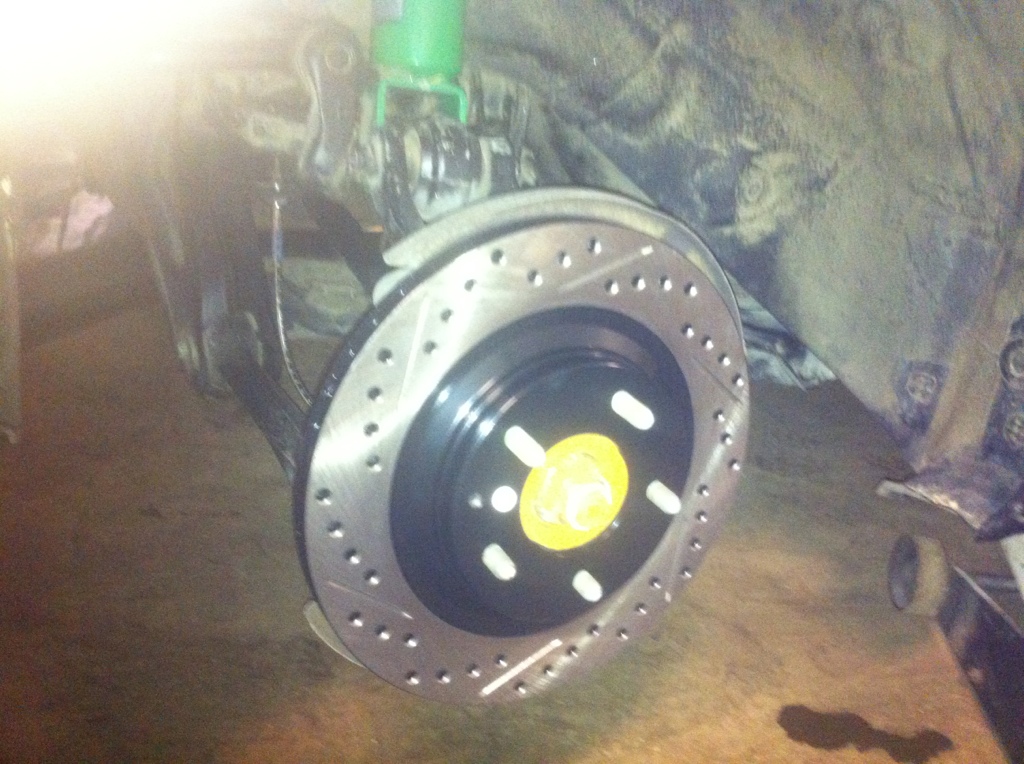
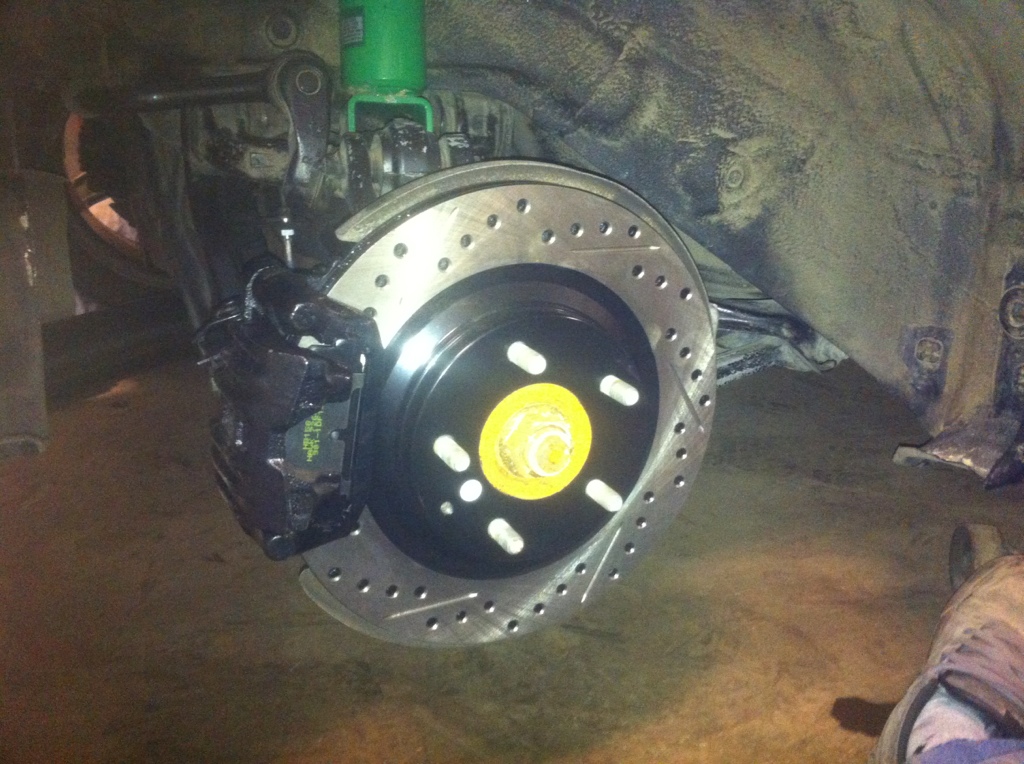
looks good?
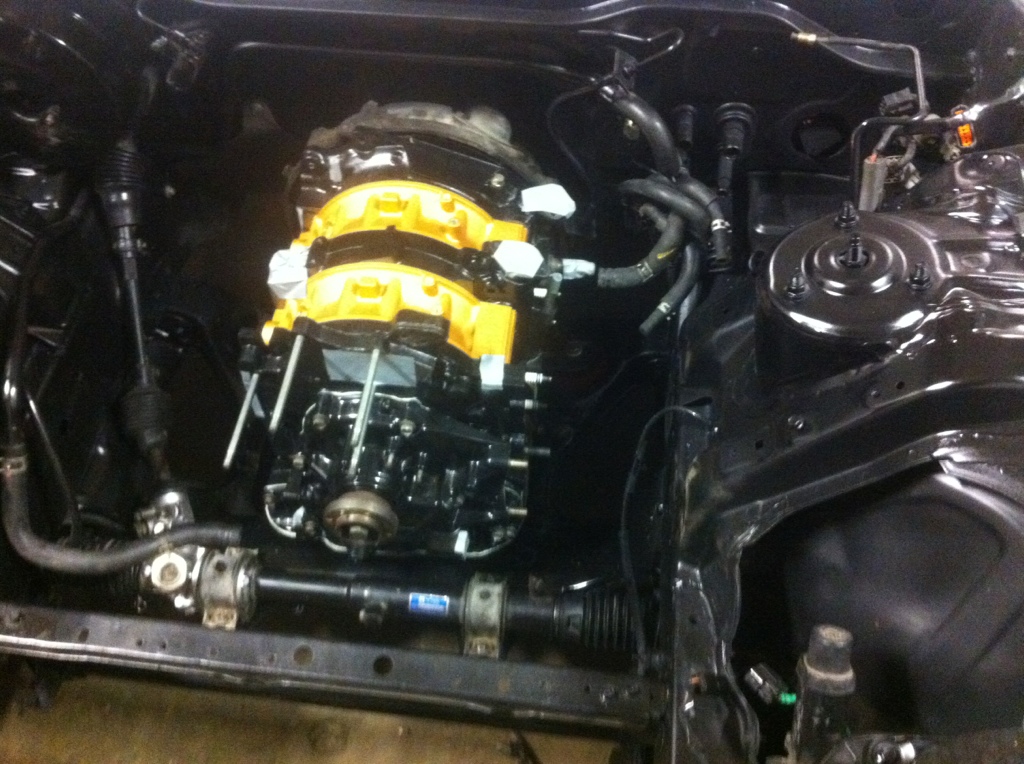
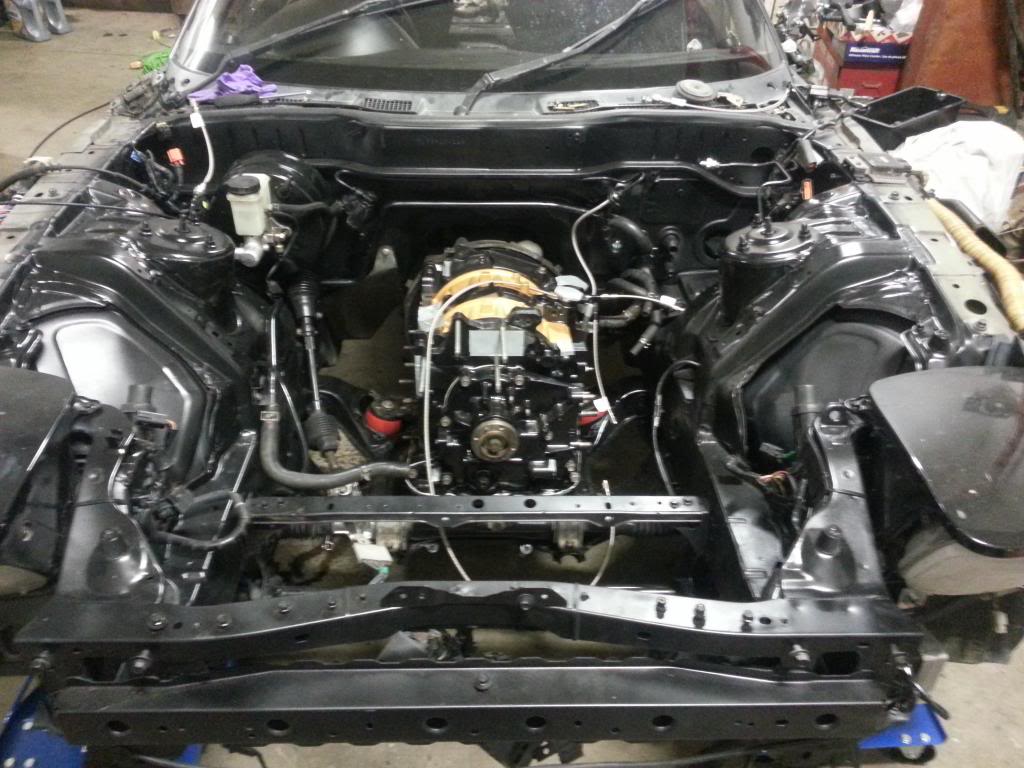
i realized i don't have any current engine bay pics.. the abs delete isn't even installed in this one:
.............
.one last shot of that sexy clutch before it's hidden away:
in:
pics of brake install:
(excuses my drilled/ricer rotors.. i think they look cool
)stainless lines:
looks good?
i realized i don't have any current engine bay pics.. the abs delete isn't even installed in this one:
.............
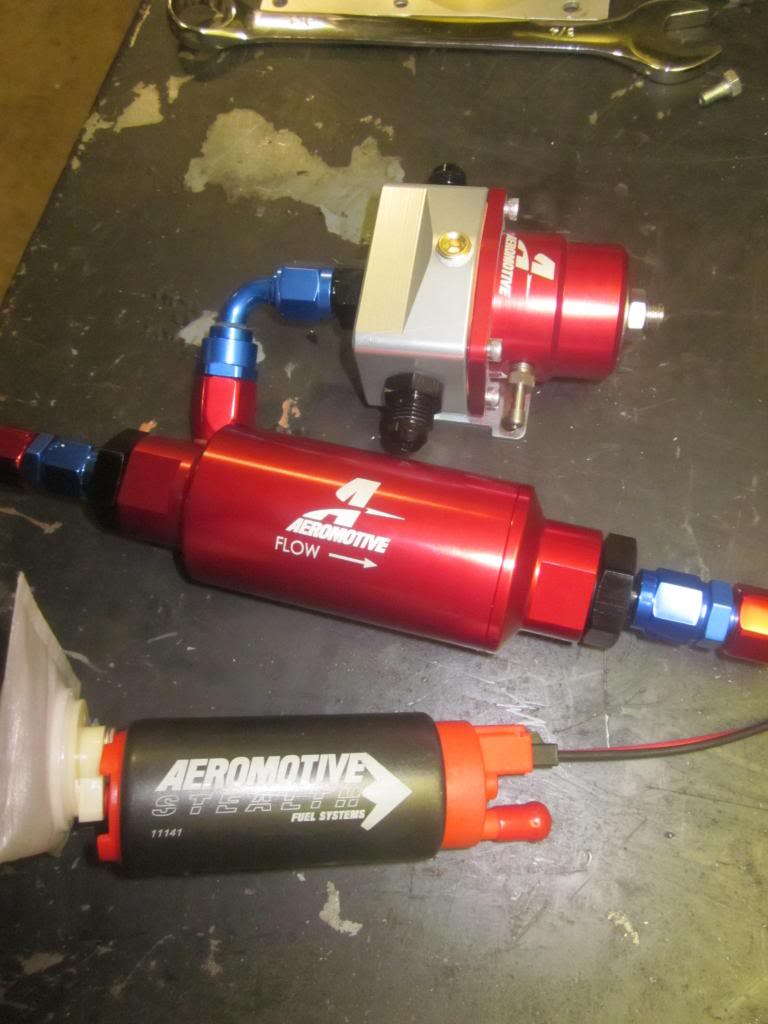
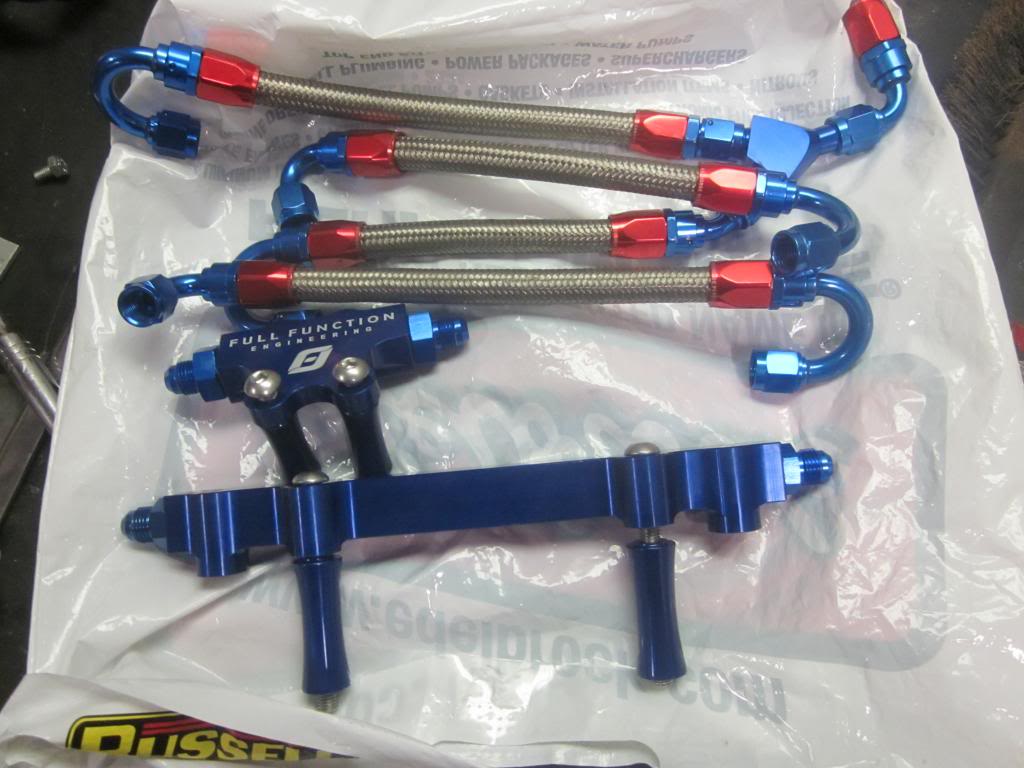
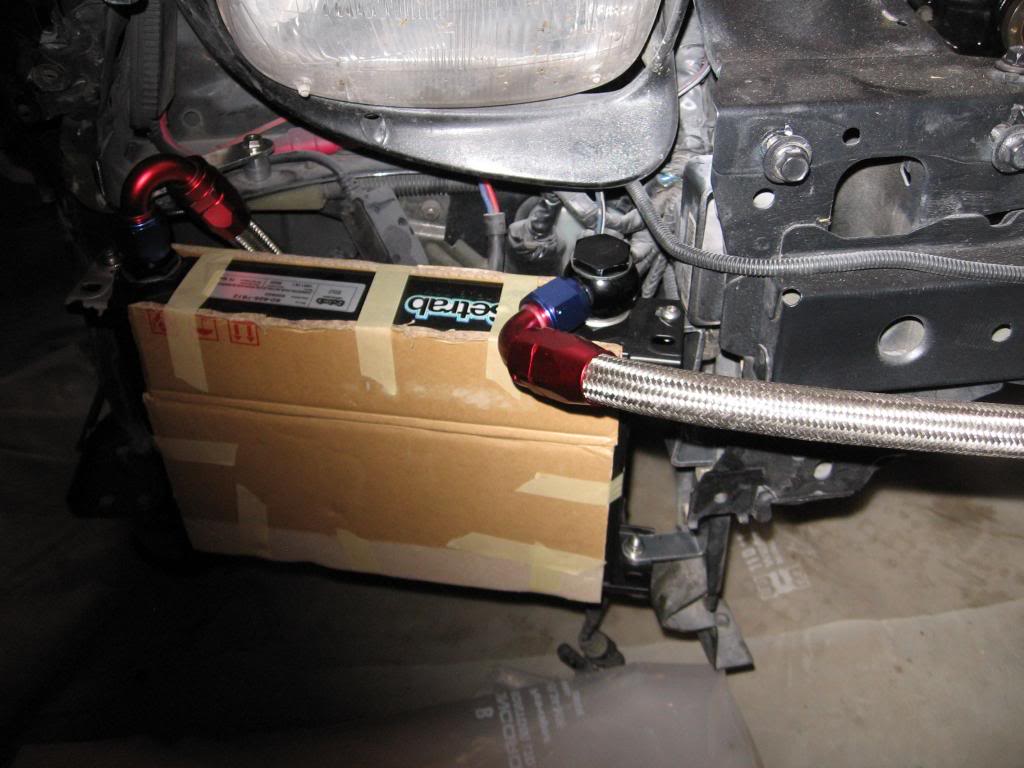
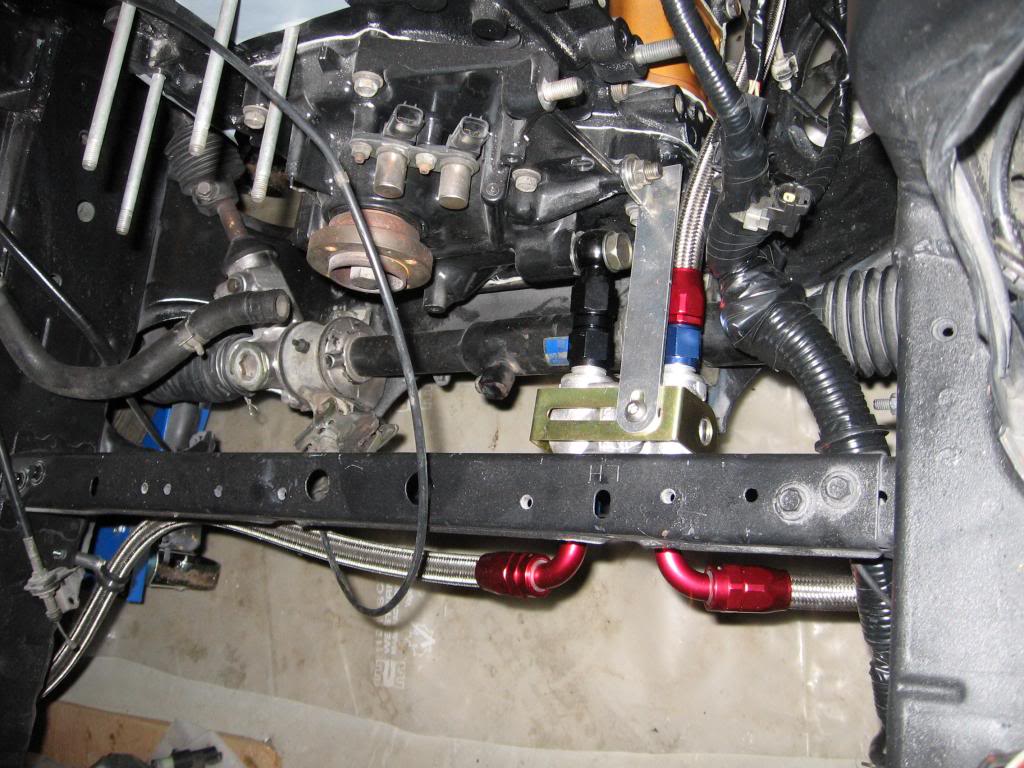
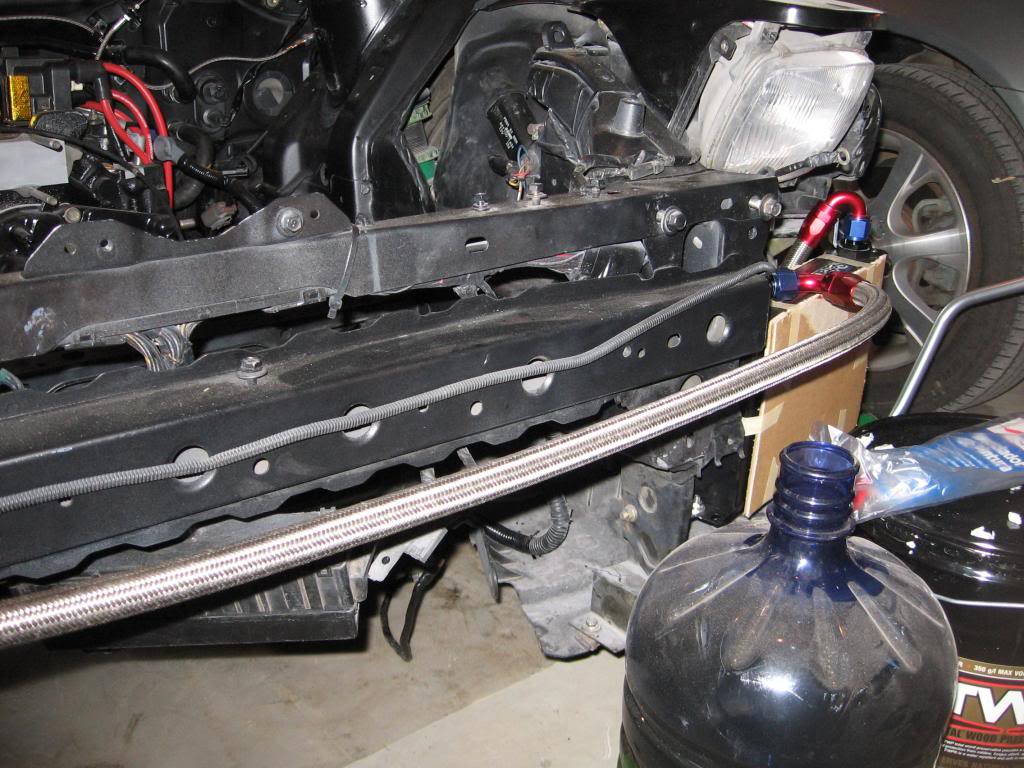
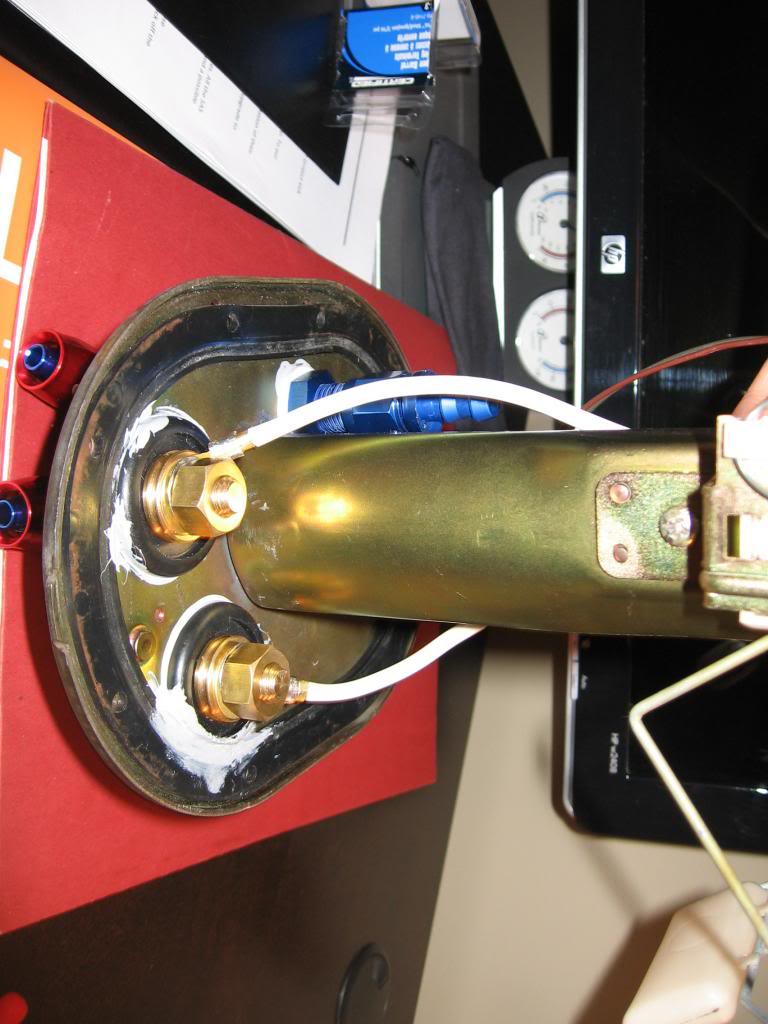
some fuel system parts:
I was lucky and got to use diesel dakota's short block to mock this up otherwise it would have been a PAIN
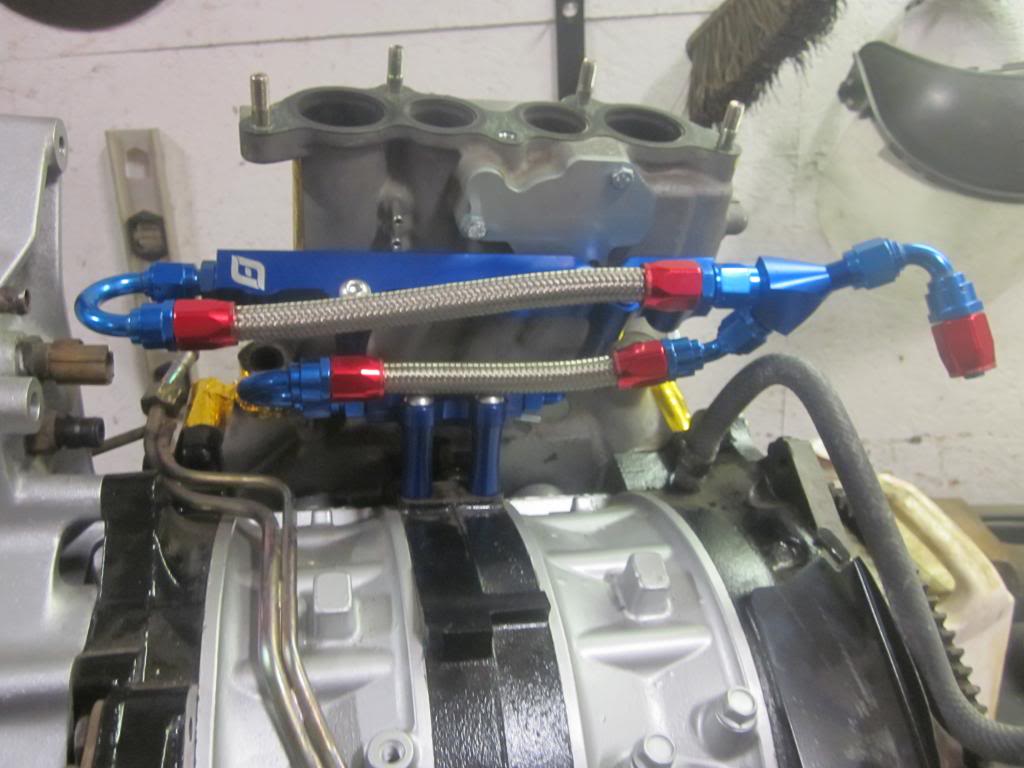
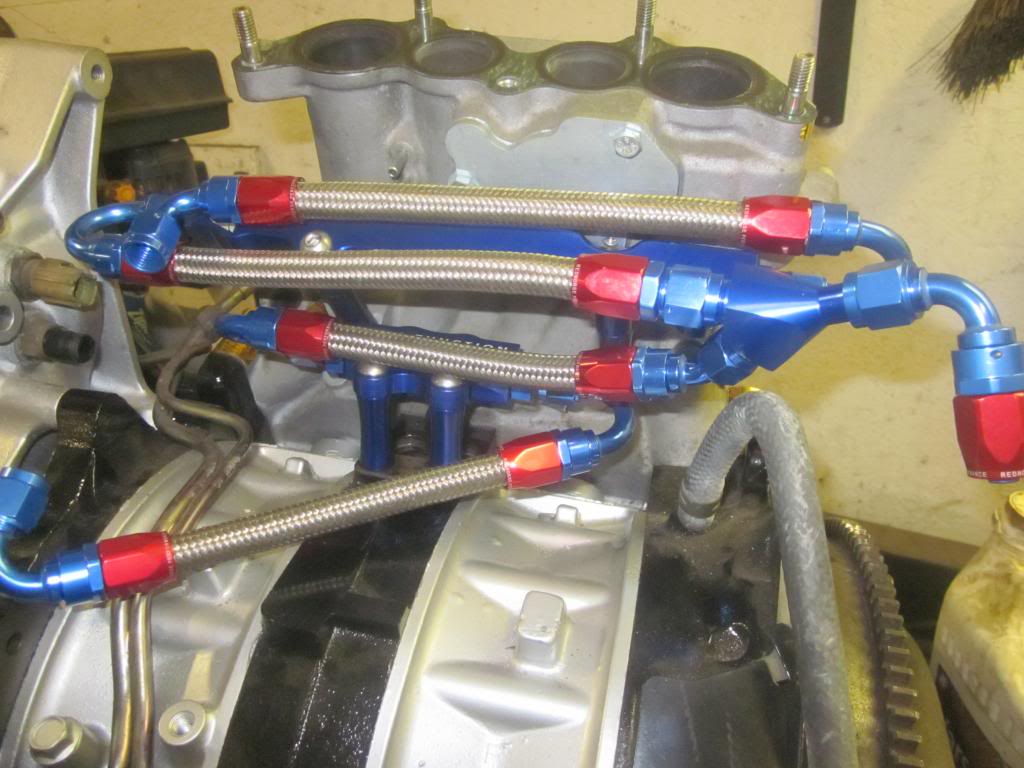
Here are the rails:
Here is the line feeding the rails. It Y's so the rails are run parallel which IMO is far far better than in series. Only problem with that was getting the return lines to where the regulator was sitting, so the lines had to be looped around:
Here are the return lines / lines going to the regulator on:
And the regulator on. This is from the front (and that bracket is being replaced.. found a nice piece of aluminum at home depot and it is more straight)
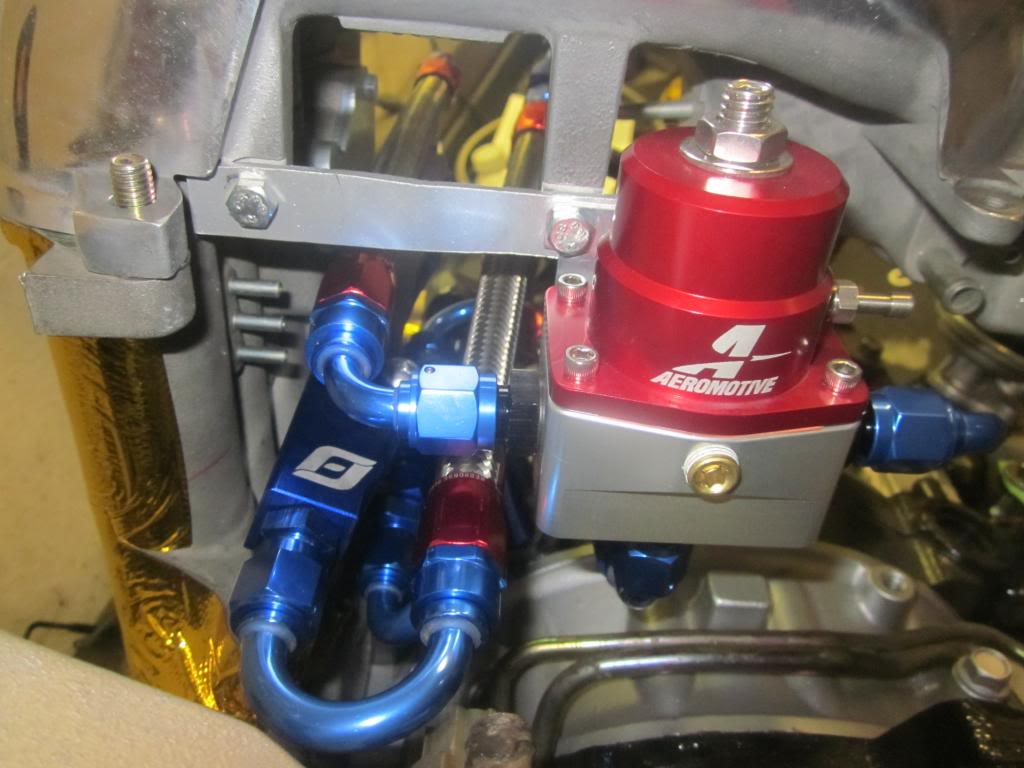
From the back side:
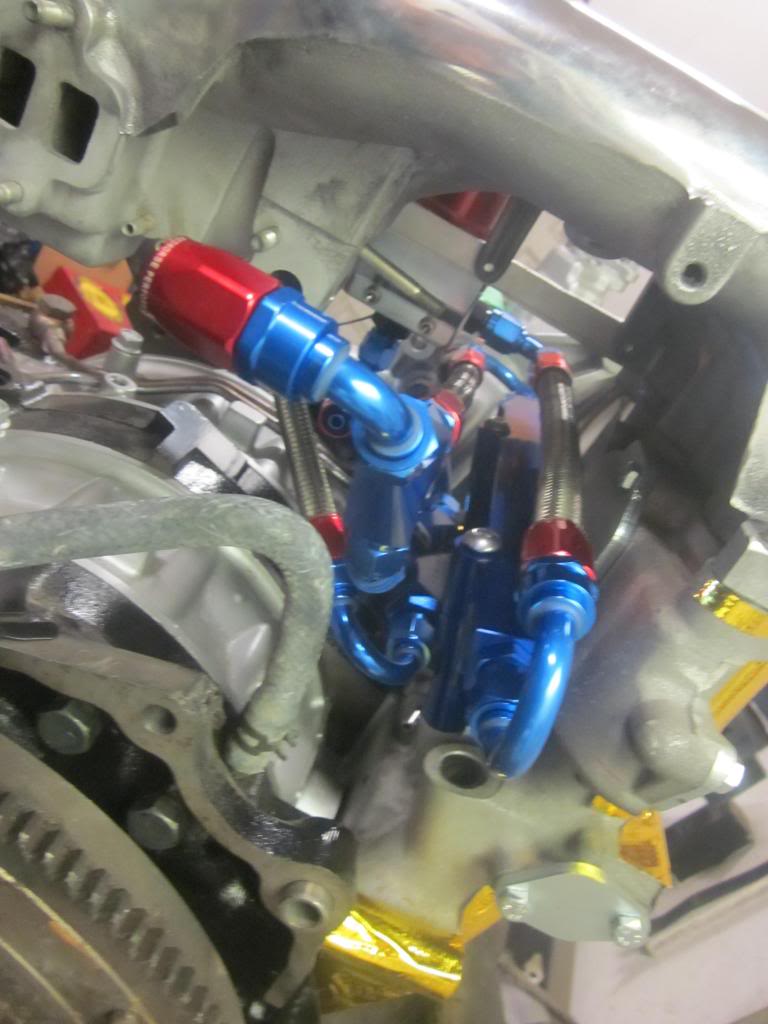
and here it is disassembled again:
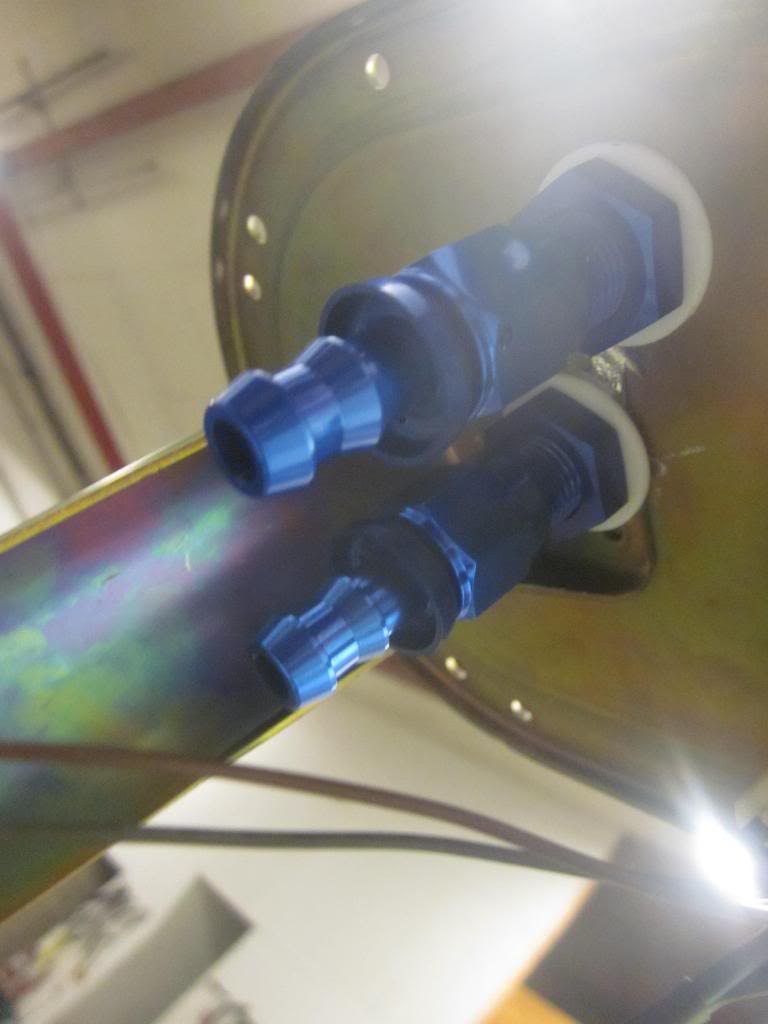
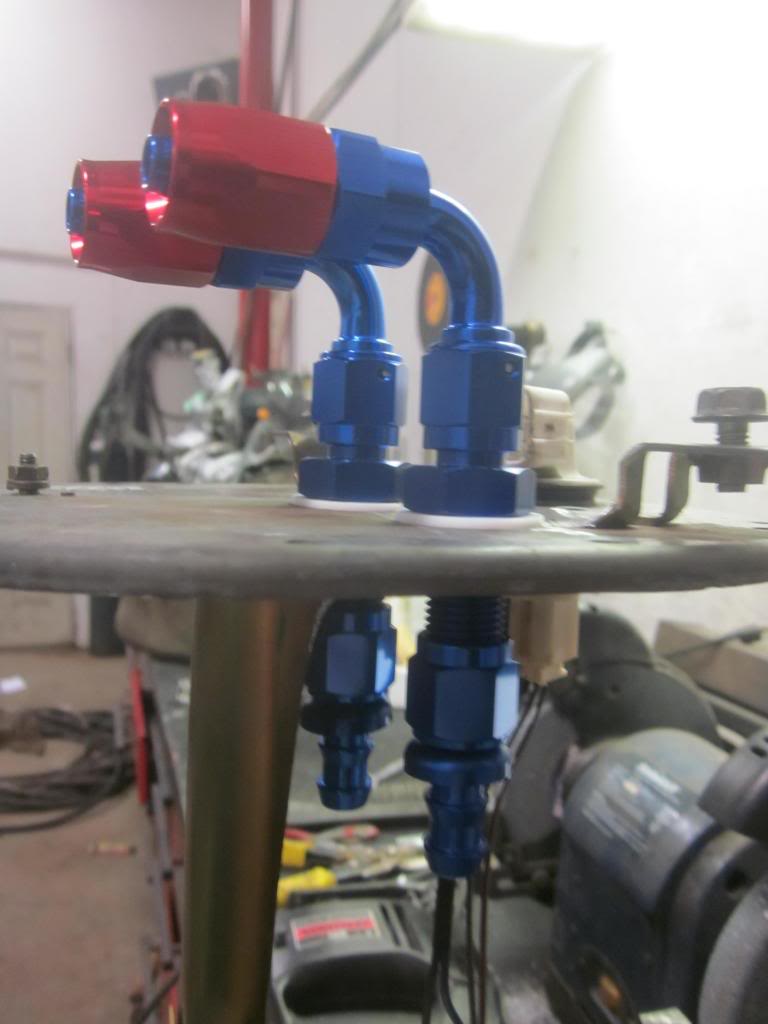
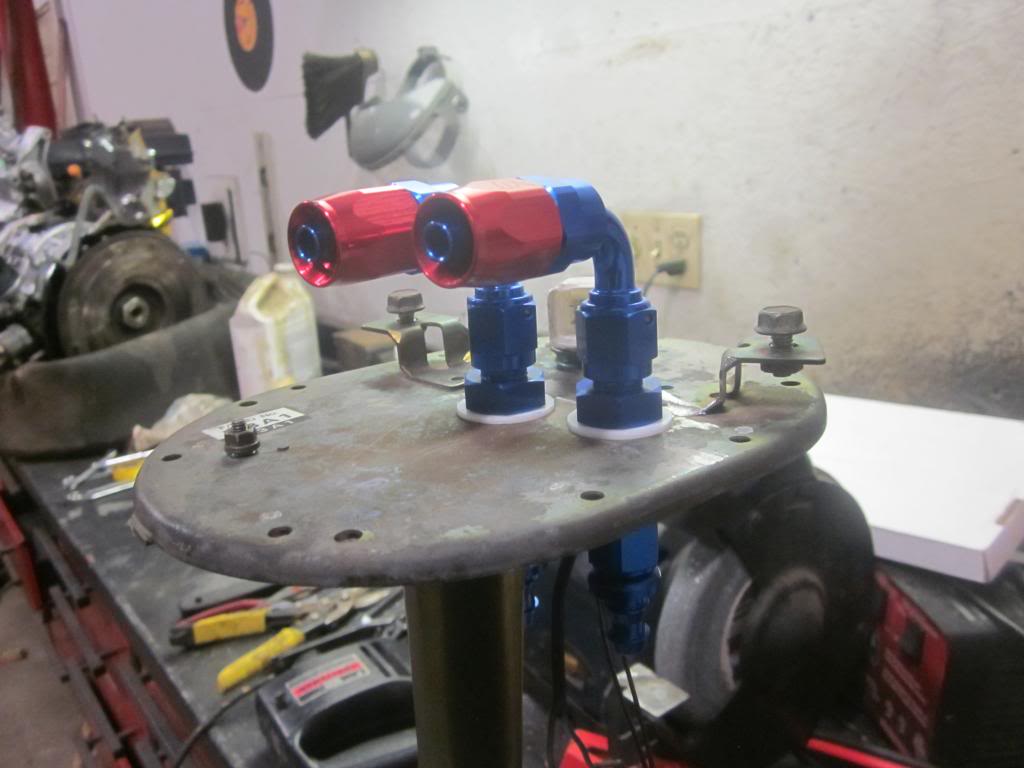
Then I modified the bulkhead to use -an fittings. These are the fitting:
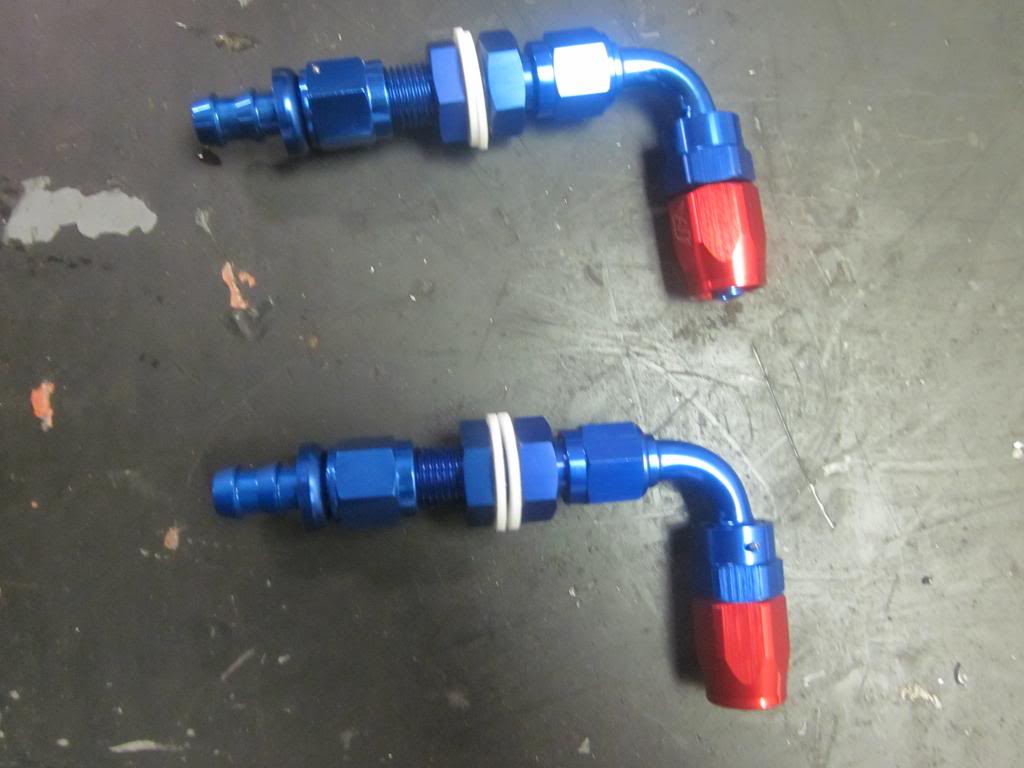
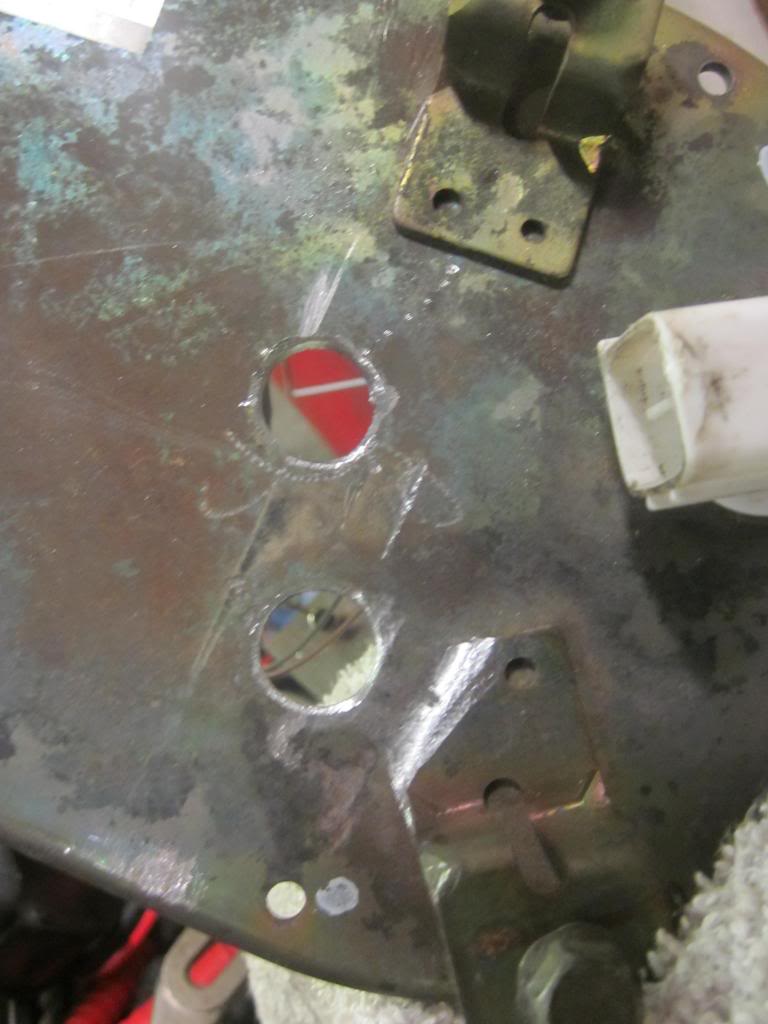
There were hard lines running down the bulkhead which hooked up to the pump and the return just went down. Those were drilled out to make room for new fittings, and also had to grind back a few brackets so the nylon washers would fit. This kind of shows that:
Top side:
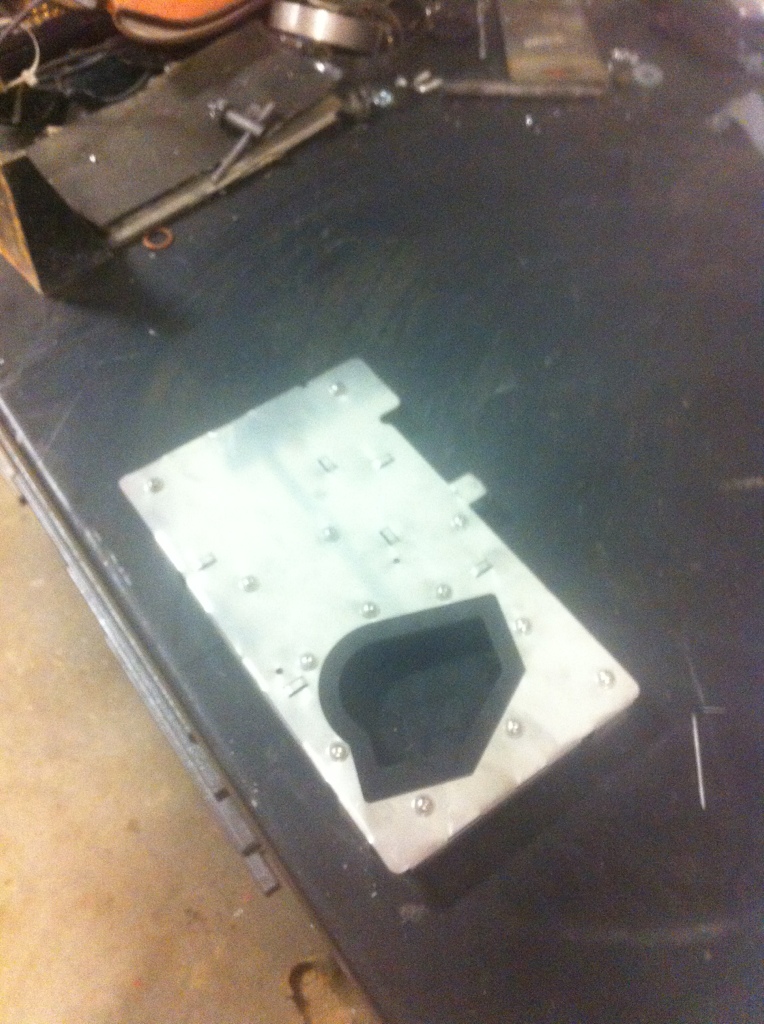
Bottom (in tank) side:
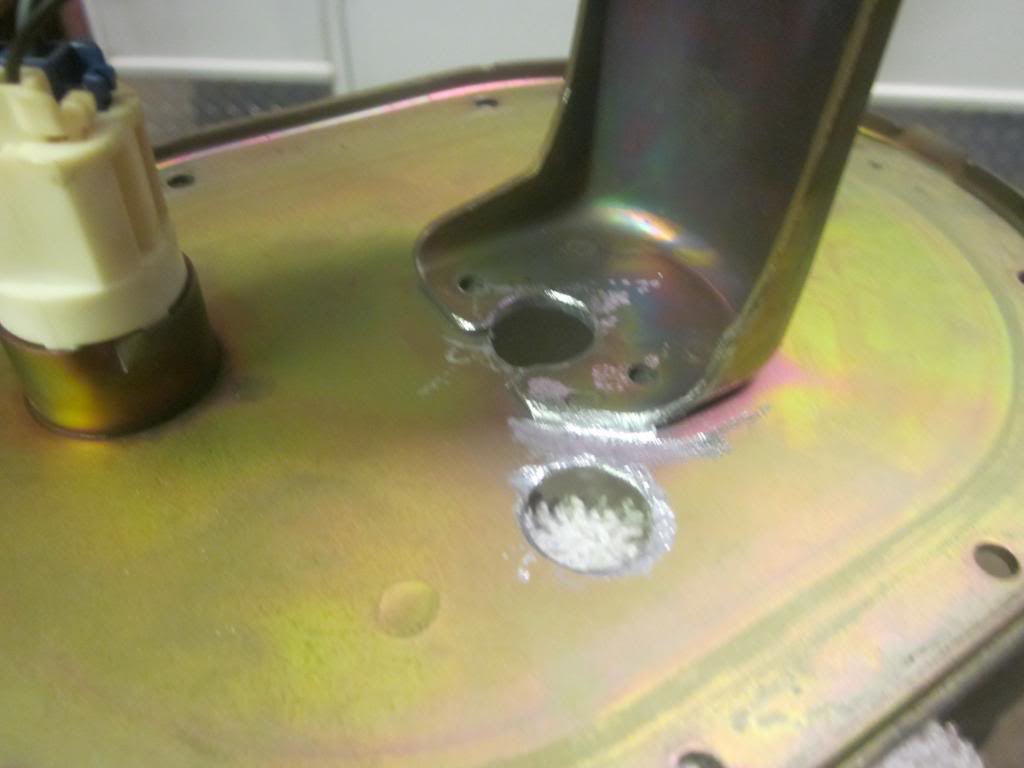
And everything worked easier than i thought it would
........
I was lucky and got to use diesel dakota's short block to mock this up otherwise it would have been a PAIN
Here are the rails:
Here is the line feeding the rails. It Y's so the rails are run parallel which IMO is far far better than in series. Only problem with that was getting the return lines to where the regulator was sitting, so the lines had to be looped around:
Here are the return lines / lines going to the regulator on:
And the regulator on. This is from the front (and that bracket is being replaced.. found a nice piece of aluminum at home depot and it is more straight)
From the back side:
and here it is disassembled again:
Then I modified the bulkhead to use -an fittings. These are the fitting:
There were hard lines running down the bulkhead which hooked up to the pump and the return just went down. Those were drilled out to make room for new fittings, and also had to grind back a few brackets so the nylon washers would fit. This kind of shows that:
Top side:
Bottom (in tank) side:
And everything worked easier than i thought it would
........
Trending Topics
These pictures suck but they kind of show the in tank baffle I installed.
it's the one by RS-engineering, a vendor on here:
Installing it sucked. There was a piece of sheet metal in the tank that i kept cutting my hand on. And the tank was pretty much full too. Open wounds submerged in fuel = not fun. In hindsight, I should have drained the tank first seeing as I'll have to anyways.. but oh well.
Here you can sort of see the stock "tub." And the cover beside it just not in place:


Awsome build,
Wish I had seen your fuel setup before I ordered my fittings, I was planning on going parallel but it seemed easier to lay it out in series.
Is there much move ability in the loom with the heat wrap on it, seems like a great idea.
Might borrow it if you dont mind haha.
What turbo are you going with, don't think I saw one listed.
It would be way easier to lay it out in series than how I did it. And I would think it would be just as reliable to a certain point too. I was pretty set on going parallel.
There isn't MUCH movability with the heat wrap.. But there is enough. I might have to take some off but I guess we'll see.
And turbo is a Garrett T04Z with a 1.00 hotside.
I'm hoping that should get sent to me this week. I'm waiting on znperformance to finish fabbing the downpipe
There isn't MUCH movability with the heat wrap.. But there is enough. I might have to take some off but I guess we'll see.
And turbo is a Garrett T04Z with a 1.00 hotside.
I'm hoping that should get sent to me this week. I'm waiting on znperformance to finish fabbing the downpipe
It was a full rebuild, some upgraded seals, and a large streetport. And if you're wondering about the color, Banzai paints can paint your engine to pretty much any colour scheme you want. The actual build was very reasonably priced but once I tacked on international shipping, and brokerage, and EPA papers etc, it got to be a little more.
I just wish i had your intense fab skills but what can you do..
Car has been in the body shop for a few days now. Prep is pretty much done and its getting primed tomorrow.
I only have one pic that i took and it was in the early stages but its proof i'm not BSing
Aero fittings? Not sure which one's you mean (not gonna lie, i had some help piecing this together aha). But if you mean the ones that hook up to the aeromotive parts (filter and regulator) they are just an orb to -6 male adaptor. the orb side goes to the aeromotive part. the filter uses an orb 10 though if im not mistaken. I think the undisputed place to buy fittings on the internet is summitracing, but i got mine locally.
also,.. the car is back home and looking better than ever
Course it won't be all back together for a while..

also,.. the car is back home and looking better than ever
Course it won't be all back together for a while..
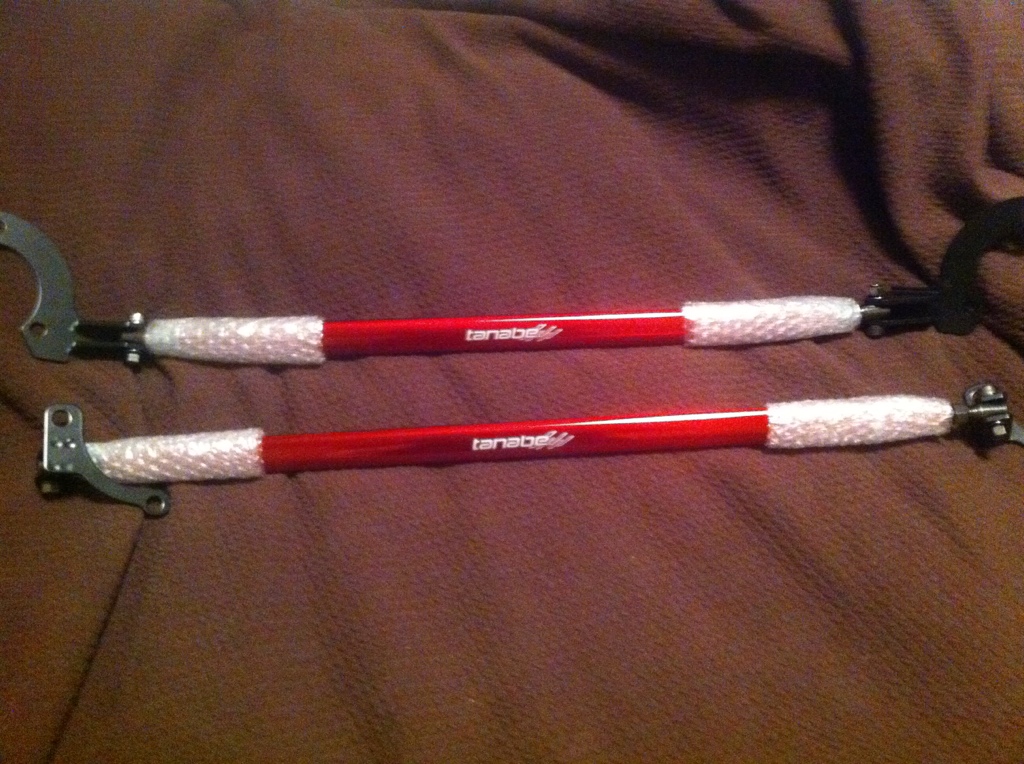
Here's a few inside pics and one of the new rear strut tower bar. The inside is still a mess but eh.. haven't got to cleaning yet. Going to conroys this weekend to pick up a few more interior parts.
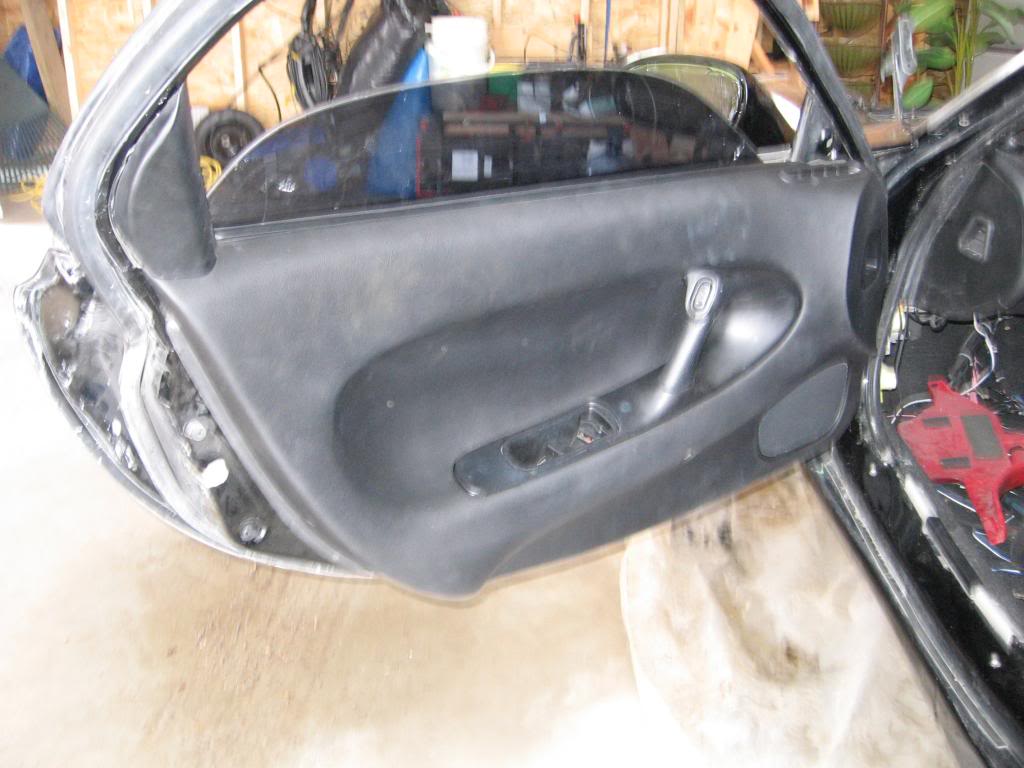
gross dirty:
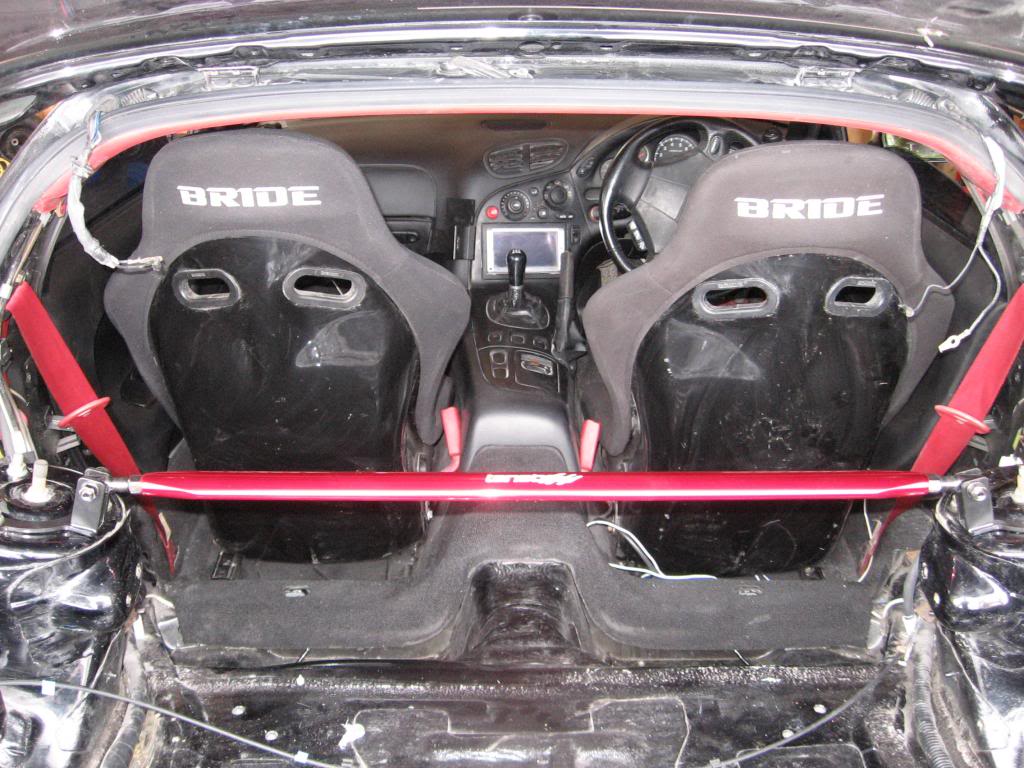
oh and one more for..
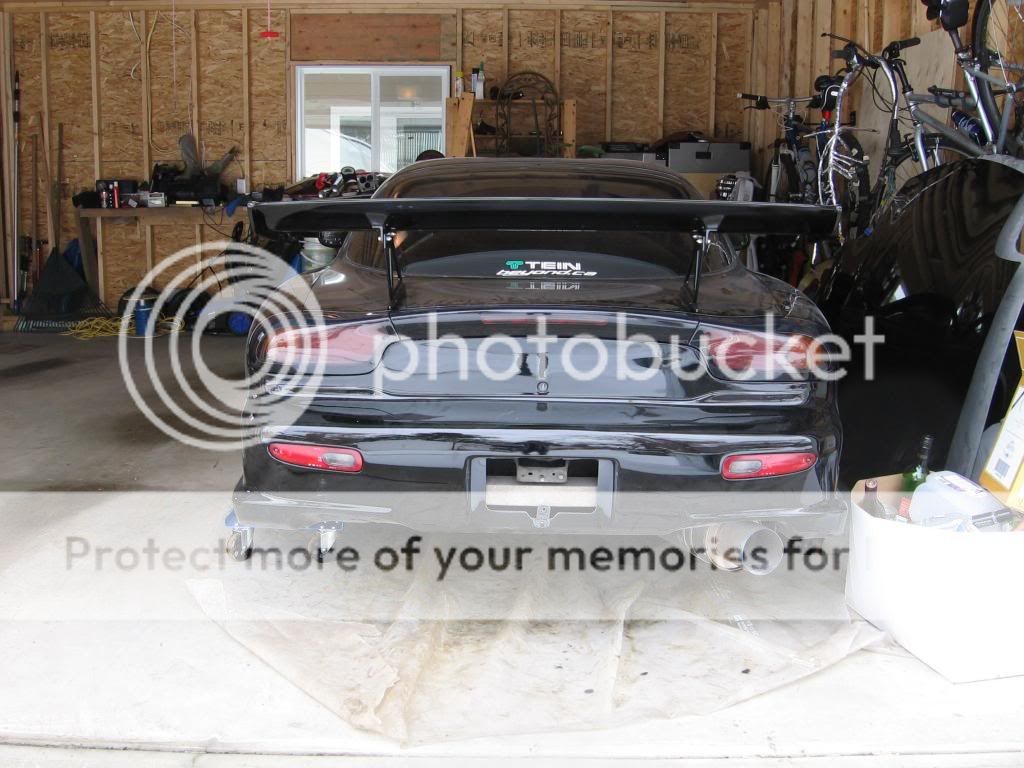
wiiiiiing
also ordered some more parts..
-oil neck from re-speed.. which im now waiting for paypal to assess my claim since they won't get back to me.
-hks oil cap.. which wasn't in stock where i ordered so i am now being refunded
(man.. internet shops are treating me bad lately.. oh... and theres also the znperformance fiasco..)
carbon fiber door sills,
dual 25 row oil coolers from SB garage
and most importantly RICE RACING WATER INJECTION!!!!!!!!!!!

gross dirty:
oh and one more for..
wiiiiiing
also ordered some more parts..
-oil neck from re-speed.. which im now waiting for paypal to assess my claim since they won't get back to me.
-hks oil cap.. which wasn't in stock where i ordered so i am now being refunded
(man.. internet shops are treating me bad lately.. oh... and theres also the znperformance fiasco..)
carbon fiber door sills,
dual 25 row oil coolers from SB garage
and most importantly RICE RACING WATER INJECTION!!!!!!!!!!!
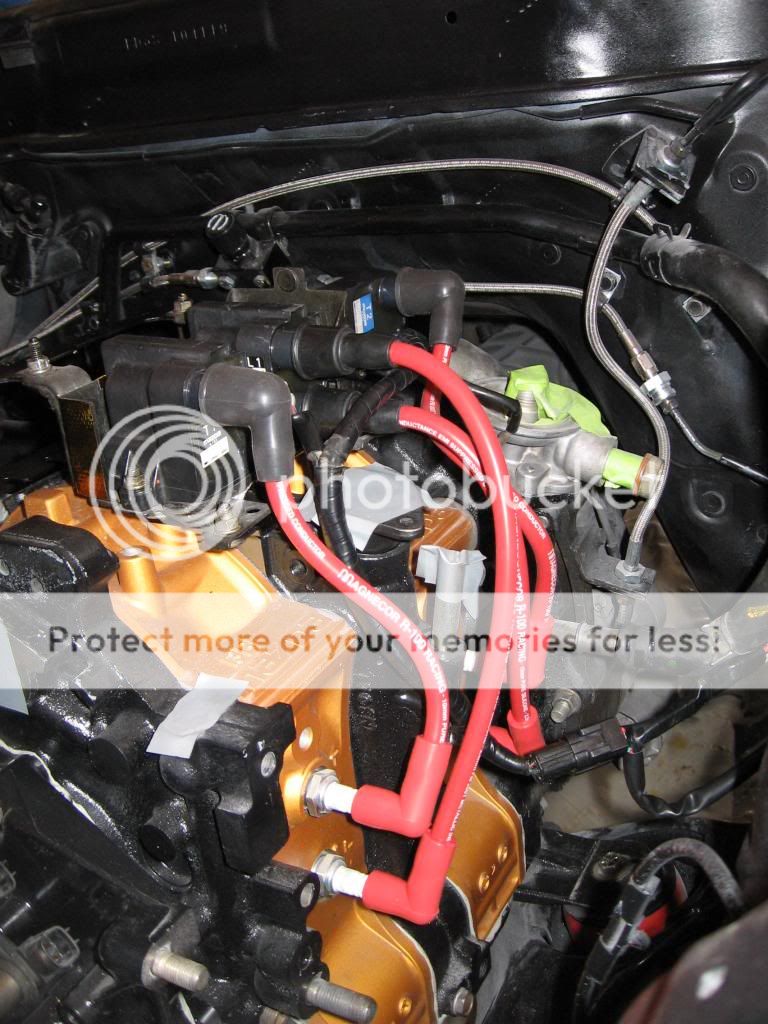
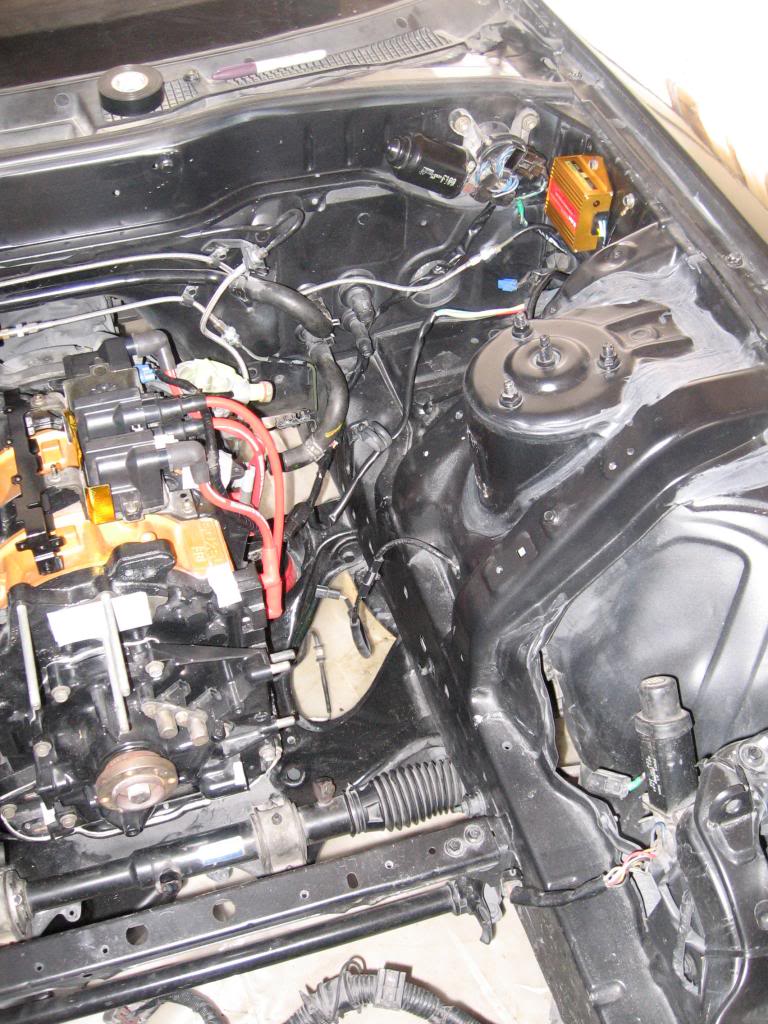
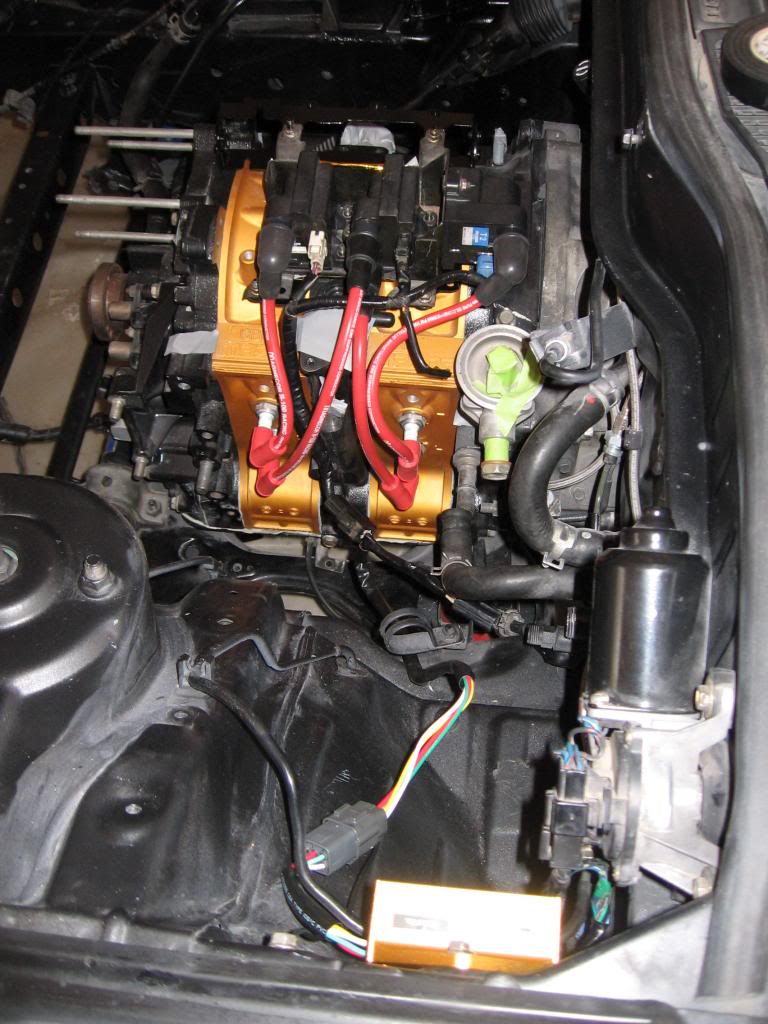
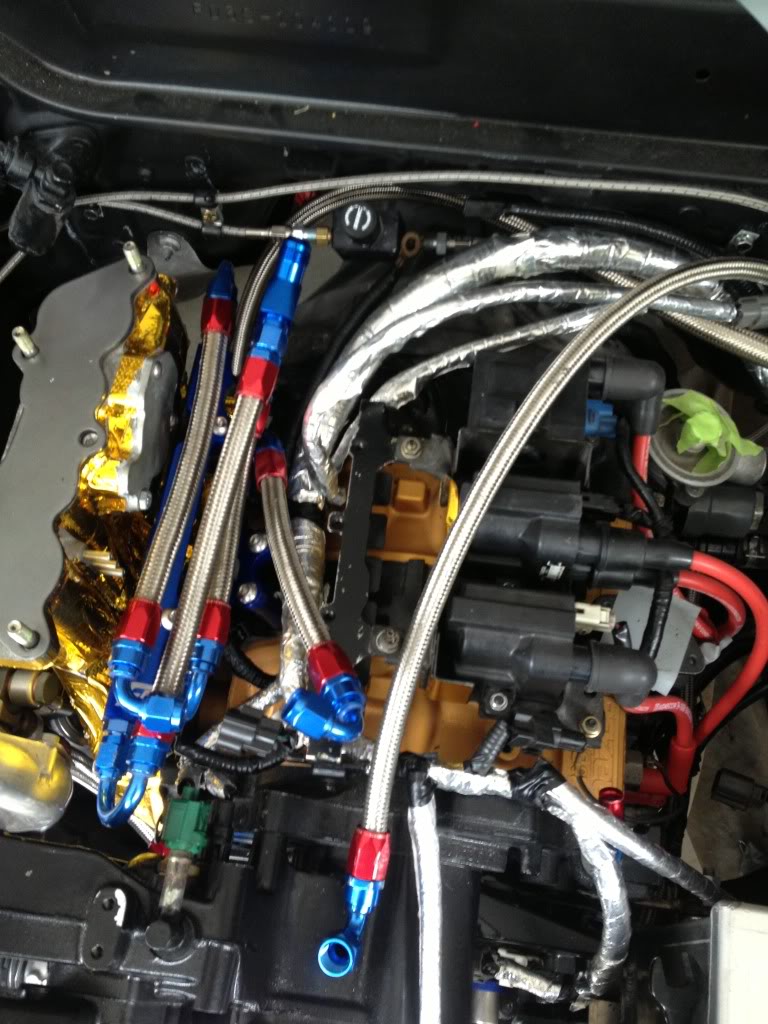
heres a few more pics of the ignition coil, twin-power, and ingiter mount:
First I relocated the igniter to outside the engine bay behind the fender. Probably the cleanest "wire tuck" i've ever done too. Mad impressed with myself :302: although it was really really easy lol.
and the result:
mounted coils and plug wires...
not the cleanest thing in the engine but you can barely see them anyways when it's all said and done. I might relocate them to the frame rail later but this will last long enough:
and with the igniter gone, it made mounting the twin power pretty easy:

the flash makes the engine bay look dirtier than it is
First I relocated the igniter to outside the engine bay behind the fender. Probably the cleanest "wire tuck" i've ever done too. Mad impressed with myself :302: although it was really really easy lol.

and the result:

mounted coils and plug wires...
not the cleanest thing in the engine but you can barely see them anyways when it's all said and done. I might relocate them to the frame rail later but this will last long enough:

and with the igniter gone, it made mounting the twin power pretty easy:


the flash makes the engine bay look dirtier than it is

damn it's been a long time since i've posted an update.
here are some pictures of the sakebomb oil cooler install:

Theres some more stuff in the engine now too. I think my time frame for starting this is 3 weeks. i should be getting the rest of my turbo kit and fuel system this week so over the weekednd i'll have that on.
I'm waiting for a few fittings at stuff at mopac and I'm also having a custom oil filler neck made as well.
I'll just be using the stock rad and intercooler for the engine break in because it's still going to be about another 2 months before the shop can have mine finished.
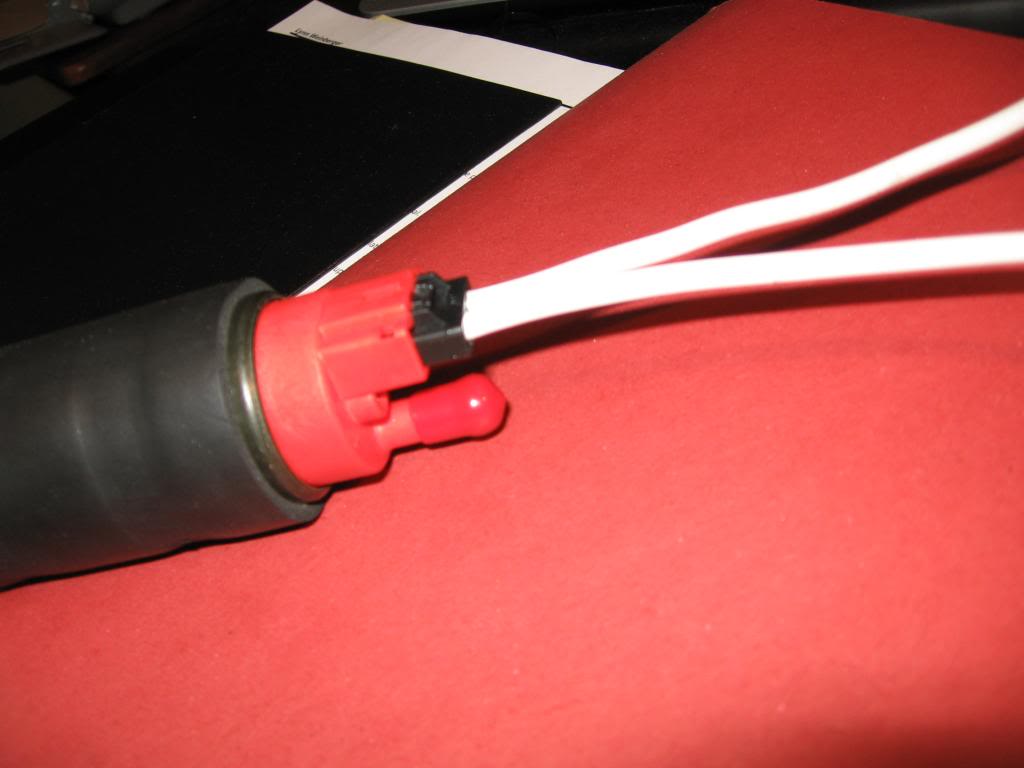
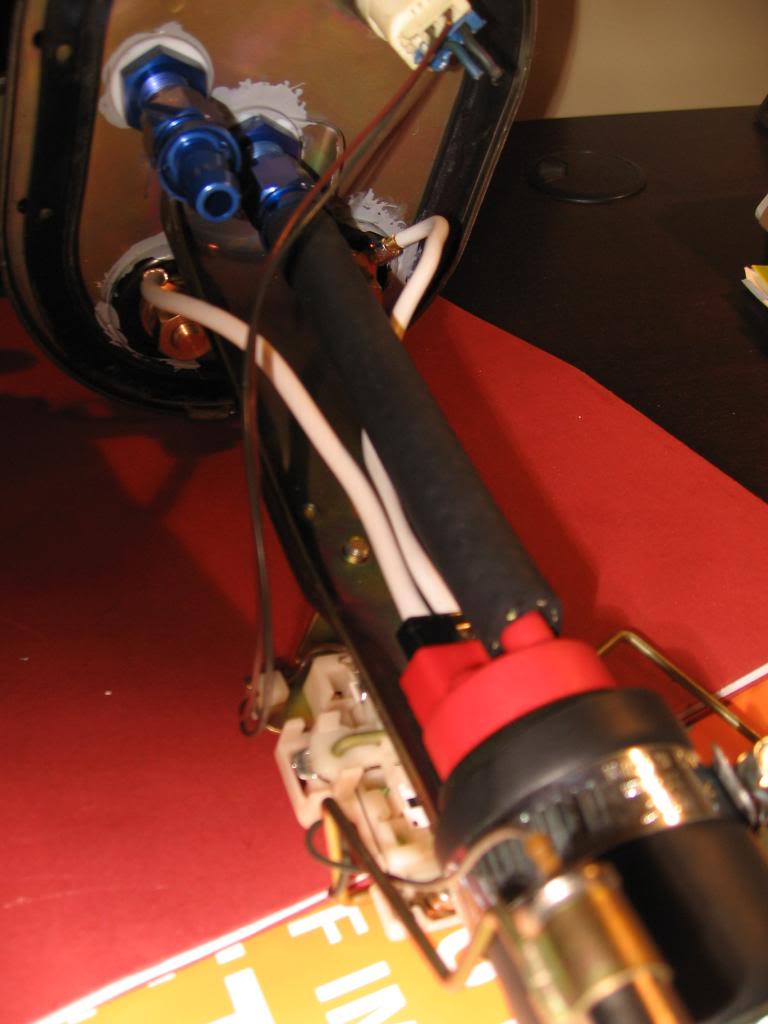
today i did the fuel pump re-wiring as well and more or less finished that whole assembly:

and it still clips in the pump just like that:

next weekend should have a few good updates
here are some pictures of the sakebomb oil cooler install:
Theres some more stuff in the engine now too. I think my time frame for starting this is 3 weeks. i should be getting the rest of my turbo kit and fuel system this week so over the weekednd i'll have that on.
I'm waiting for a few fittings at stuff at mopac and I'm also having a custom oil filler neck made as well.
I'll just be using the stock rad and intercooler for the engine break in because it's still going to be about another 2 months before the shop can have mine finished.
today i did the fuel pump re-wiring as well and more or less finished that whole assembly:
and it still clips in the pump just like that:
next weekend should have a few good updates
Been a long time since I updated.
Recently I've done a lot of work but not too many pictures because I was more focused on doing things.
Few small things..
Decided to go with a link g4 ecu. It's already tuned for my setup. Might need some touching up because the other car lived in Australia.
New manifold Is also on.. Oh I have a pic of the manifold I think..
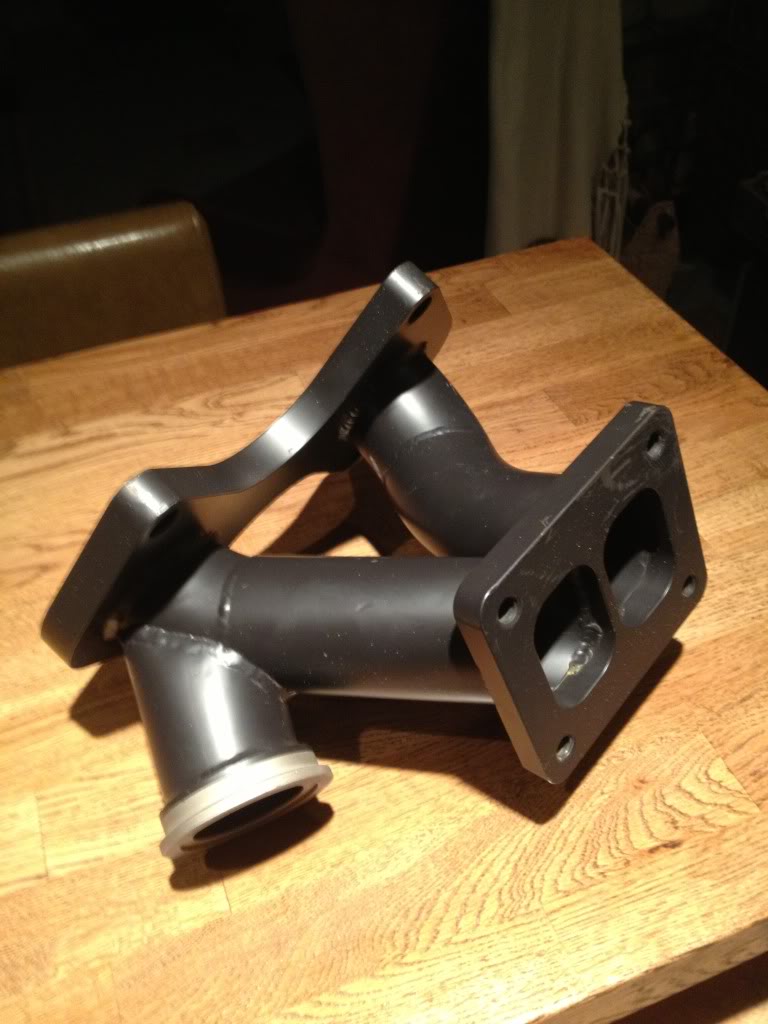
BAM!

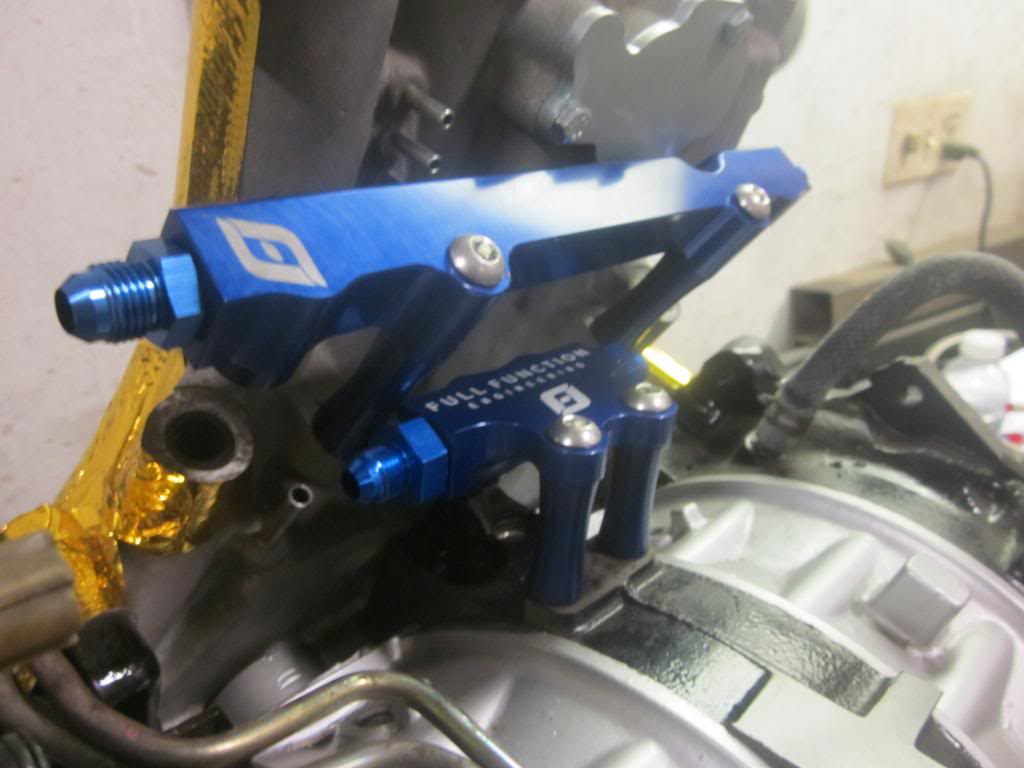
Setup for 2 wastegates:
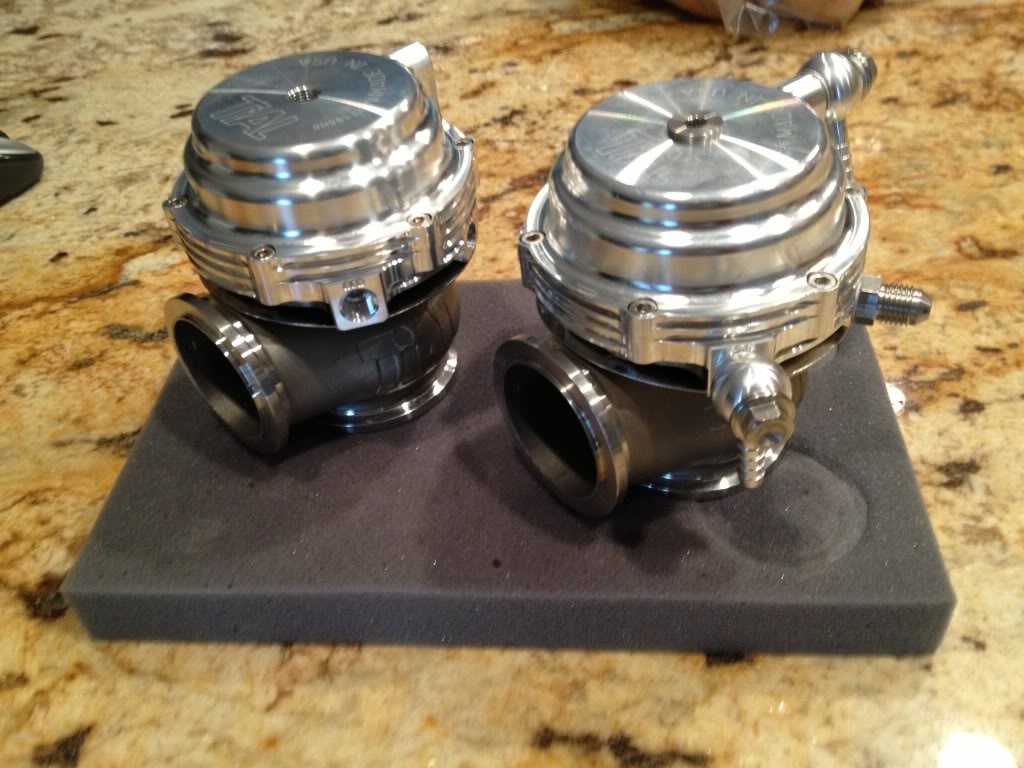
Here is the initial setup:
But the front most wastegate hit the steering column soo, had the raise the engine, drop the subframe, take off the engine mounts, cut an inch or so off the mount then put everything back on.
NOPE.
The mounts are sort of in a "V" shape, so when you shorten them, they really didn't want to line up with the holes in the subframe where they bolt so I drilled a new hole, dropped it in, and luckily it worked!
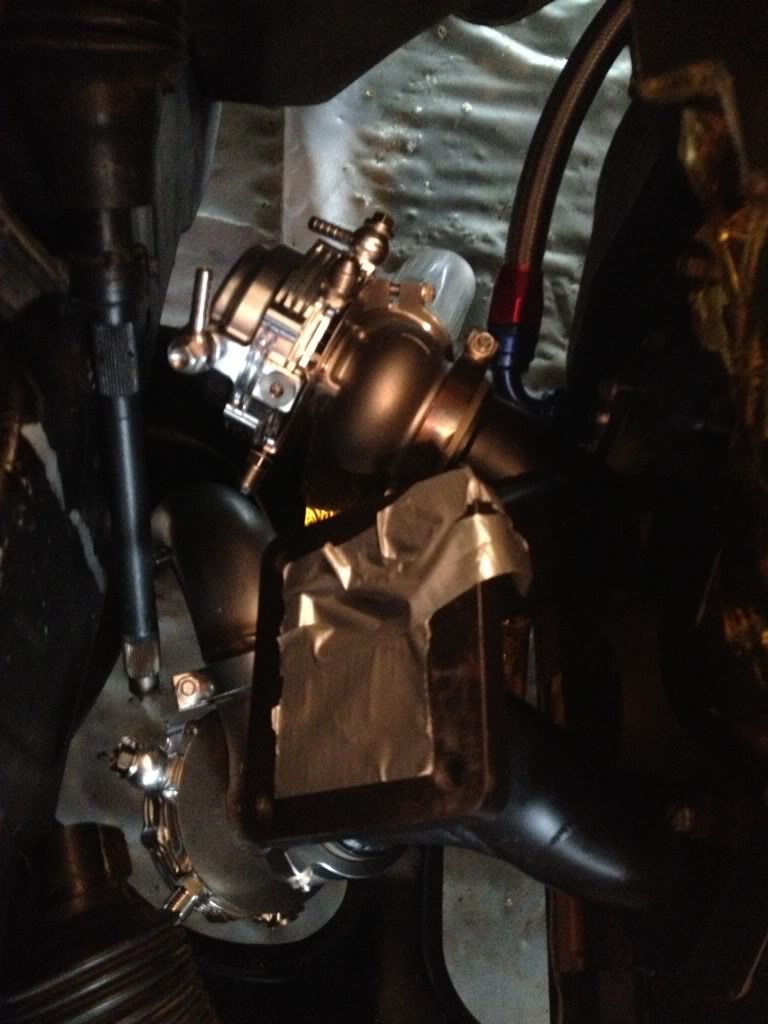
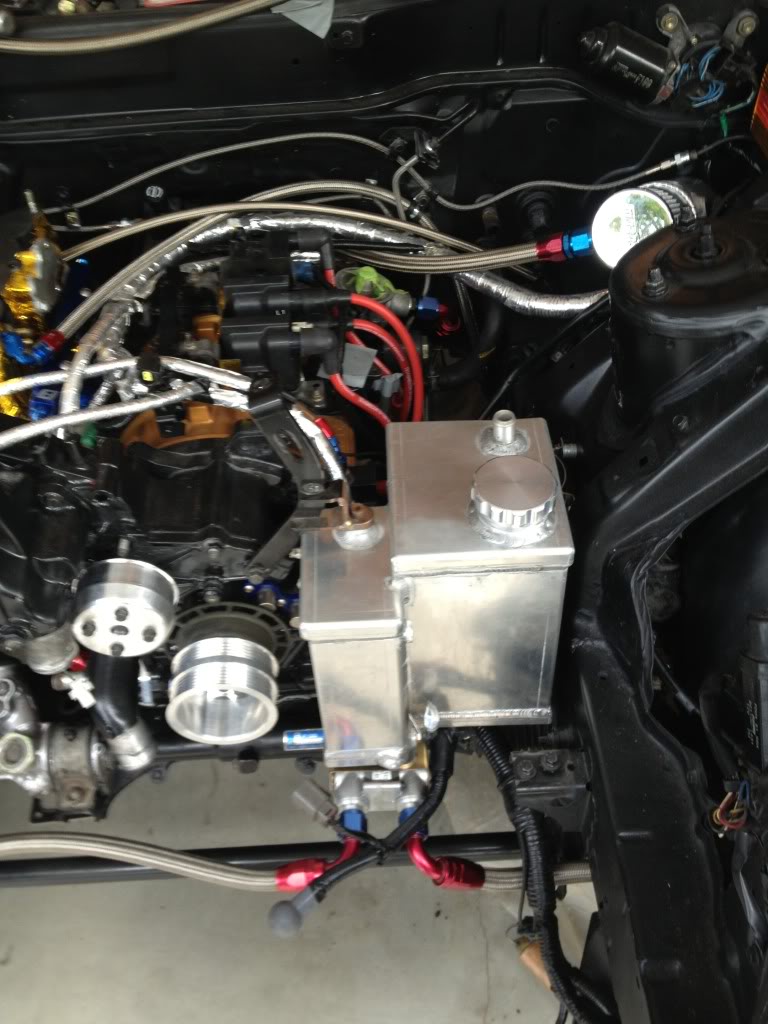
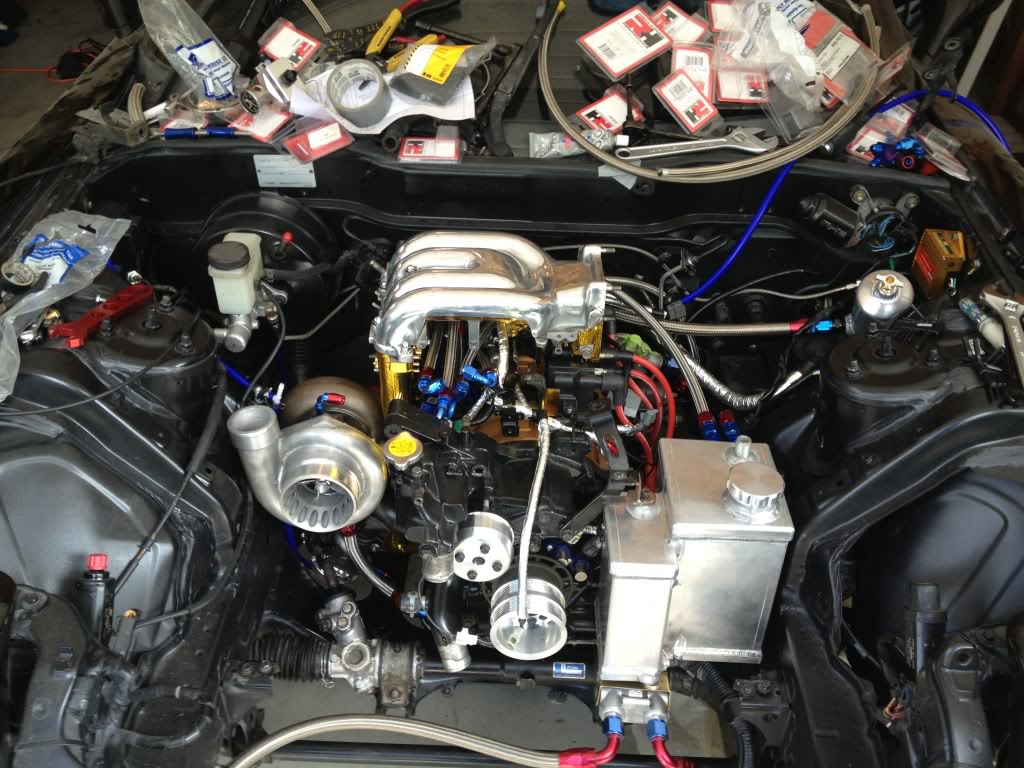
Got a bunch of other stuff put together as well, fuel system, turbo, water tank/fuel cooler (the big tank you see) here are just a few random shots. Like I said, didn't take many. Last pic is basically where it's at now.
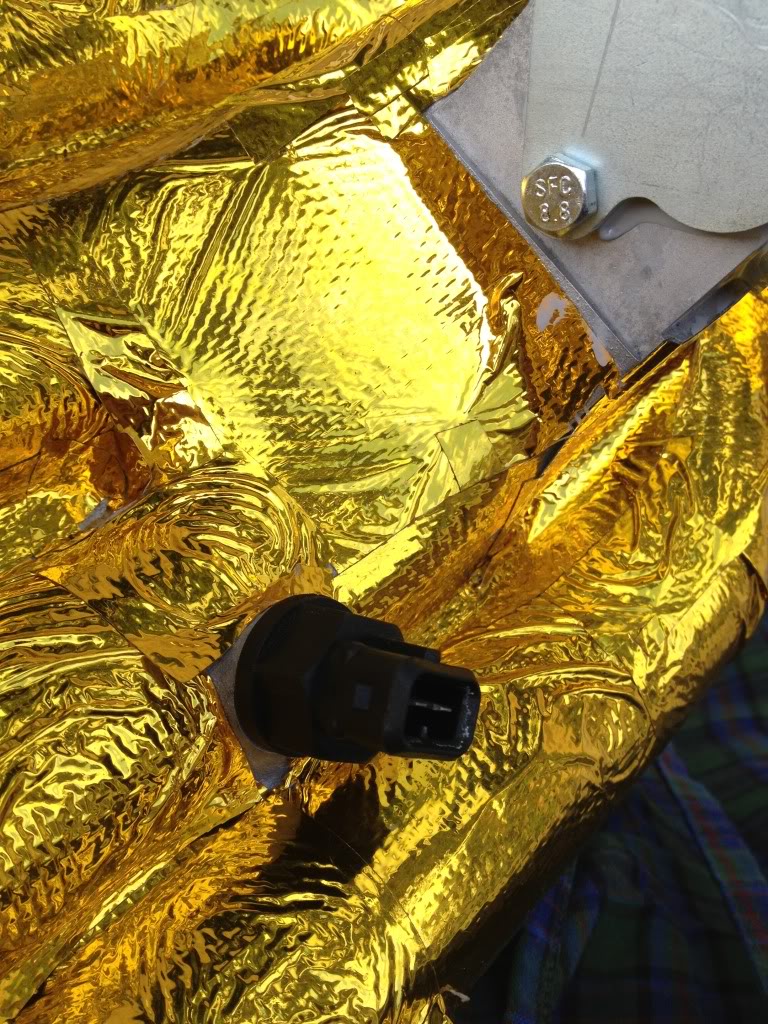
Fast reacting intake air temp sensor:
The windshield is a workbench
More to come soon as well!
Recently I've done a lot of work but not too many pictures because I was more focused on doing things.
Few small things..
Decided to go with a link g4 ecu. It's already tuned for my setup. Might need some touching up because the other car lived in Australia.
New manifold Is also on.. Oh I have a pic of the manifold I think..
BAM!
Setup for 2 wastegates:
Here is the initial setup:
But the front most wastegate hit the steering column soo, had the raise the engine, drop the subframe, take off the engine mounts, cut an inch or so off the mount then put everything back on.
NOPE.
The mounts are sort of in a "V" shape, so when you shorten them, they really didn't want to line up with the holes in the subframe where they bolt so I drilled a new hole, dropped it in, and luckily it worked!
Got a bunch of other stuff put together as well, fuel system, turbo, water tank/fuel cooler (the big tank you see) here are just a few random shots. Like I said, didn't take many. Last pic is basically where it's at now.
Fast reacting intake air temp sensor:
The windshield is a workbench
More to come soon as well!
