
93' Efini Build


well i tried to have it running again this weekend but didn't have much time. I did get the boost controller installed though.
Took me a while to figure out where i wanted to put it. I just new i wanted it hidden. I also decided i didn't want to drill more holes through the firewall so i basically bundled up the wires and ran them down the tranny tunnel and up by the shifter. Everything got tucked under the consoly-thing.
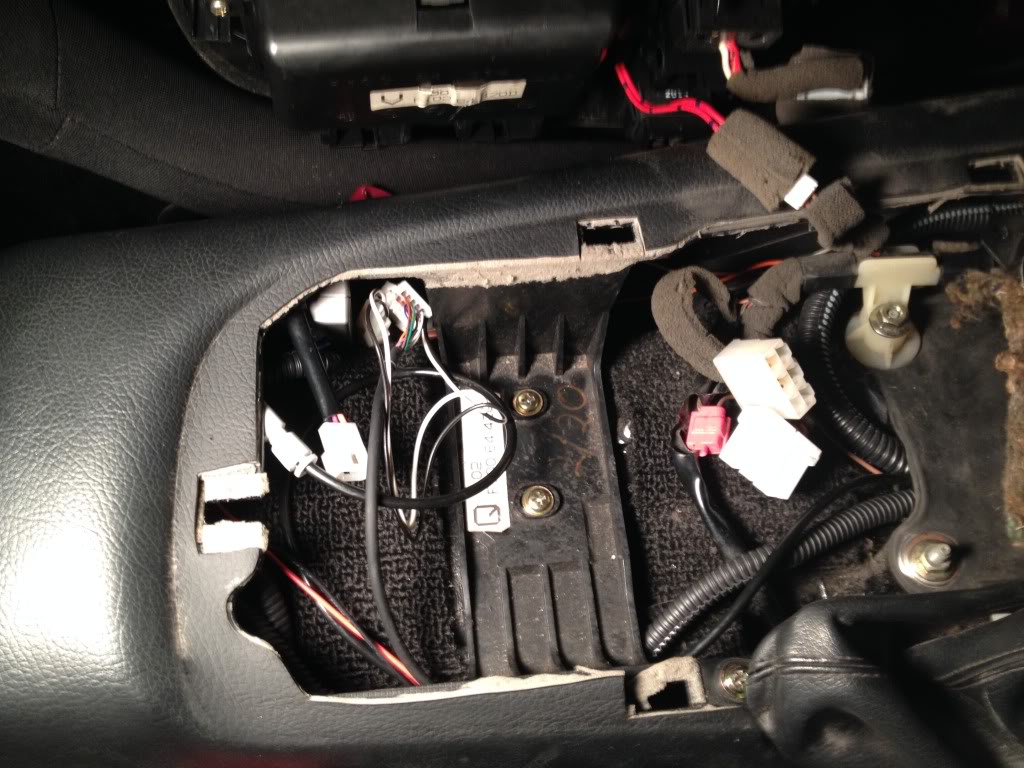
this is the actual computer unit thing velcro'd down on the carpet inside the console:
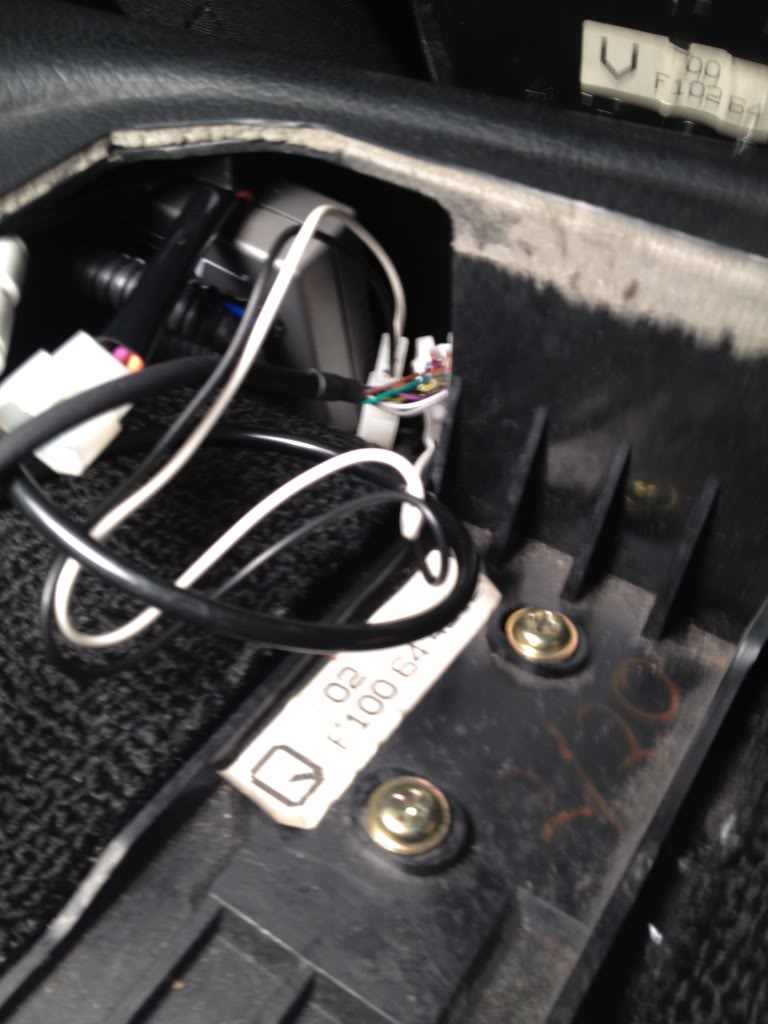
heres a better pic. The wire that loops back around and goes forward is actually for the wideband which works with the b/c. Theres a little box that wouldn't fit under the console so its going up by the passengers feet - out of the way of course
and here's the result:
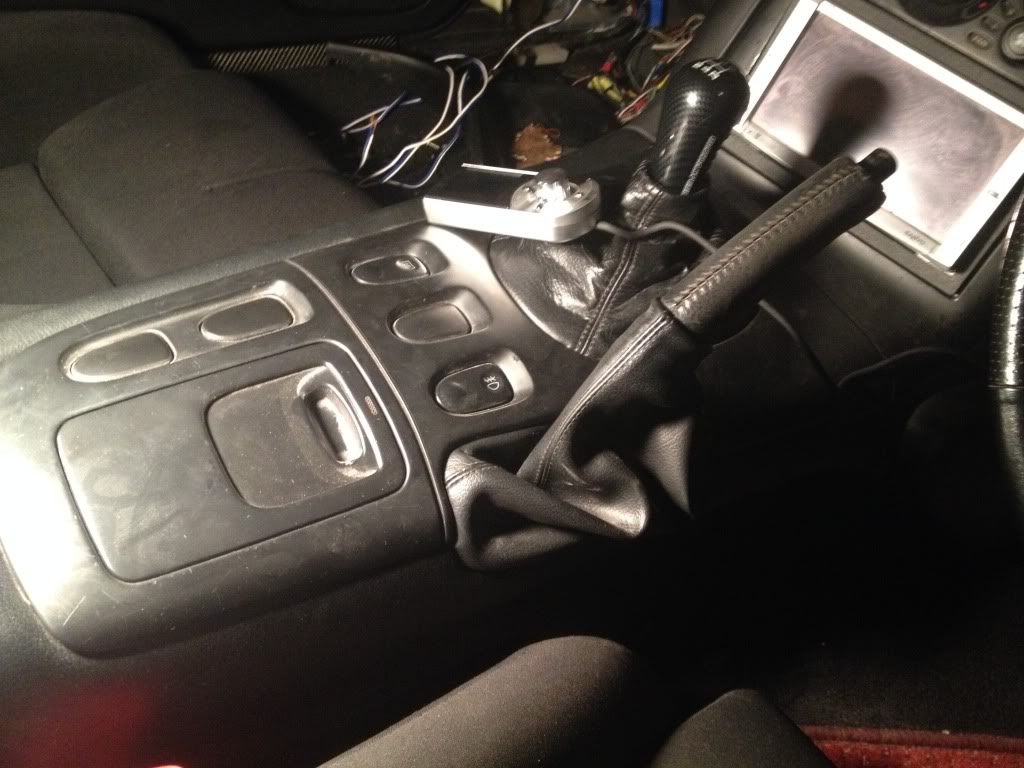
hand controller i'll probably put up on the dash somehow but its just sitting there for now.
Took me a while to figure out where i wanted to put it. I just new i wanted it hidden. I also decided i didn't want to drill more holes through the firewall so i basically bundled up the wires and ran them down the tranny tunnel and up by the shifter. Everything got tucked under the consoly-thing.
this is the actual computer unit thing velcro'd down on the carpet inside the console:

heres a better pic. The wire that loops back around and goes forward is actually for the wideband which works with the b/c. Theres a little box that wouldn't fit under the console so its going up by the passengers feet - out of the way of course

and here's the result:

hand controller i'll probably put up on the dash somehow but its just sitting there for now.


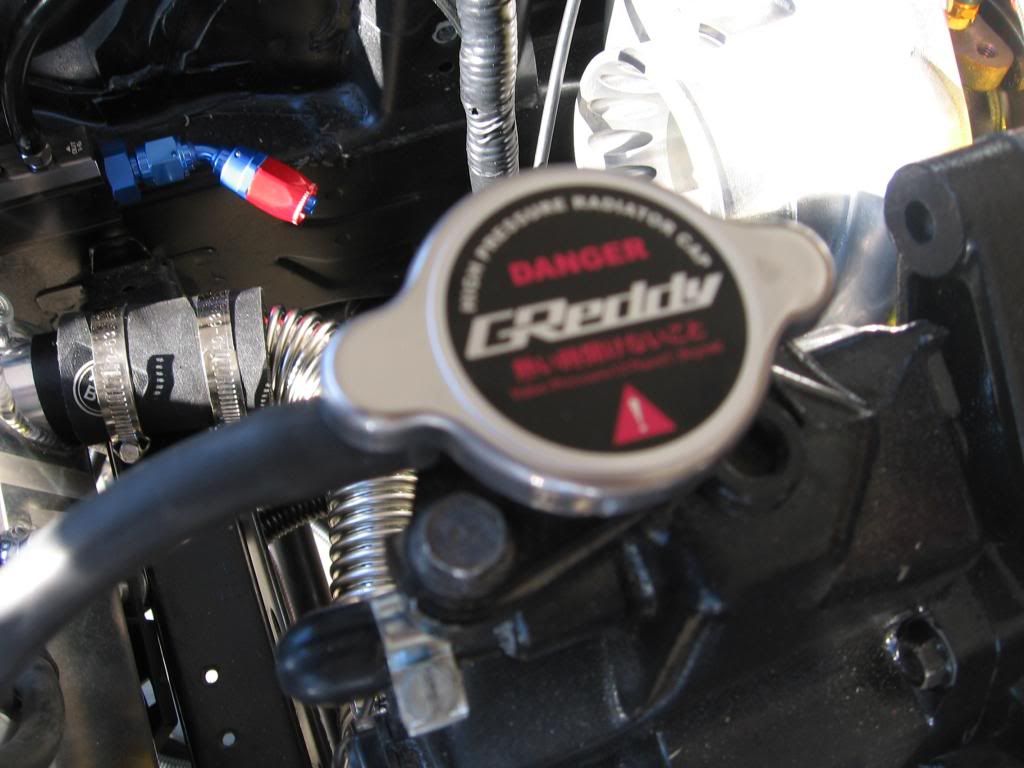
Very nice finish to everything as you can see:
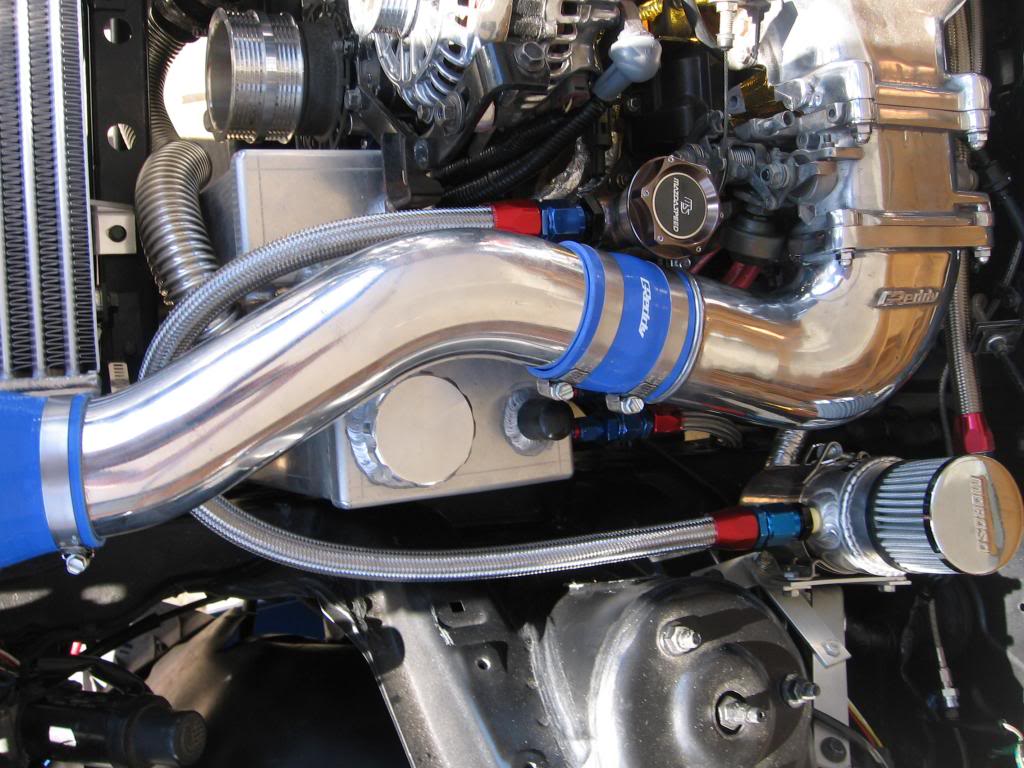
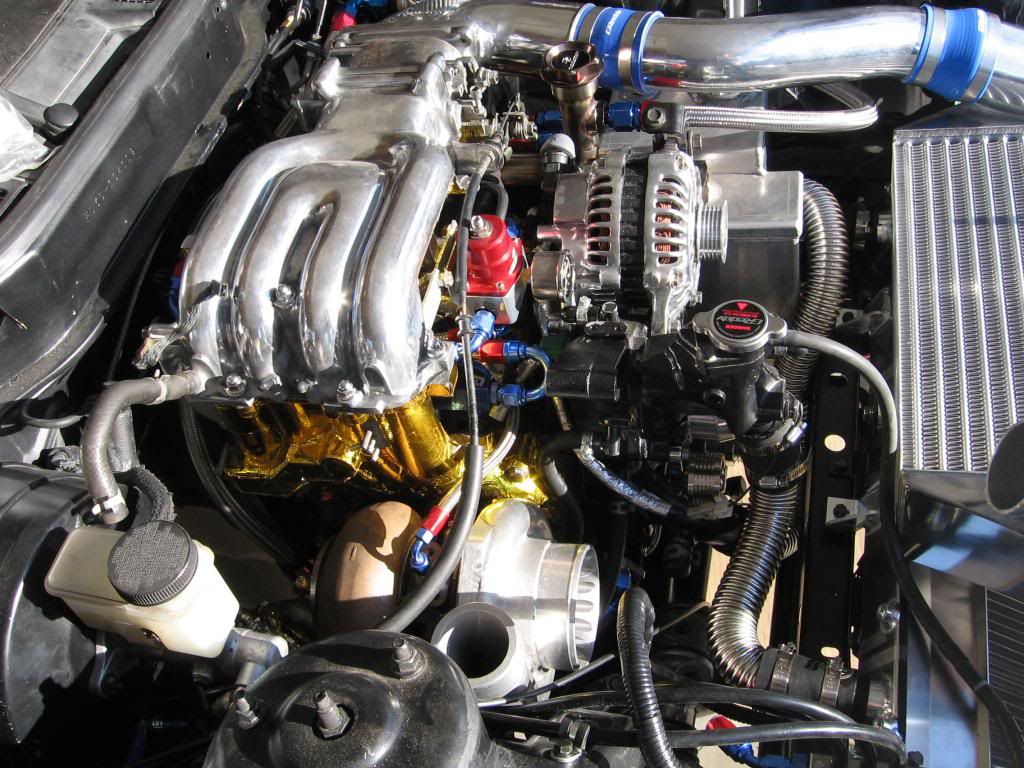
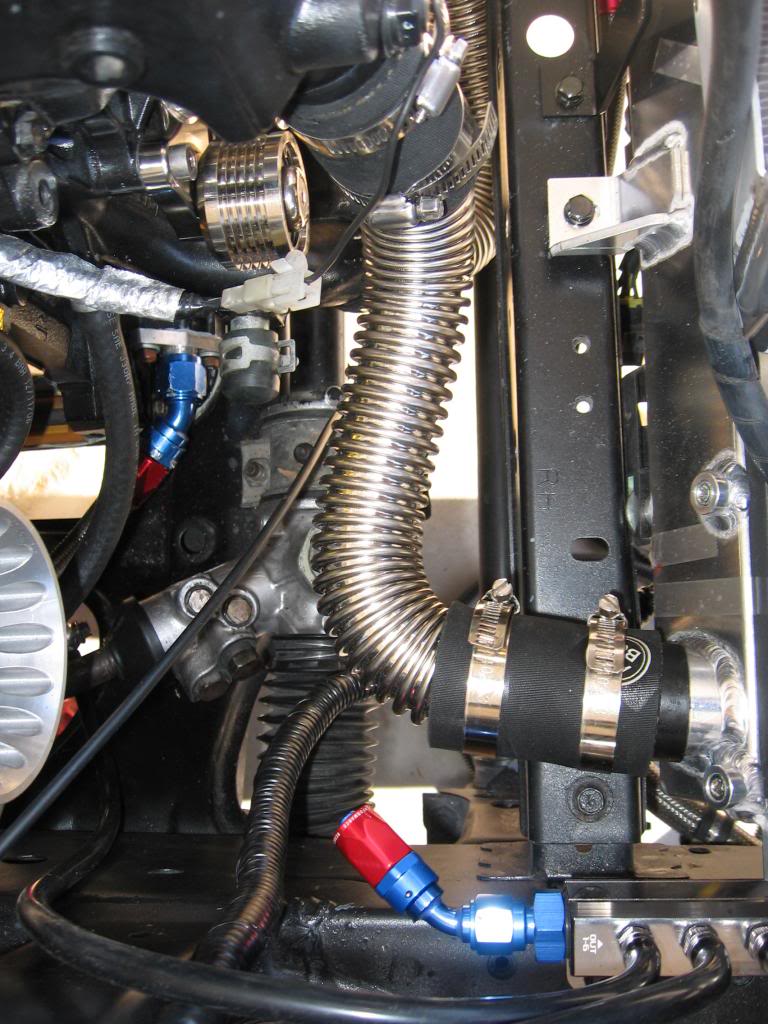
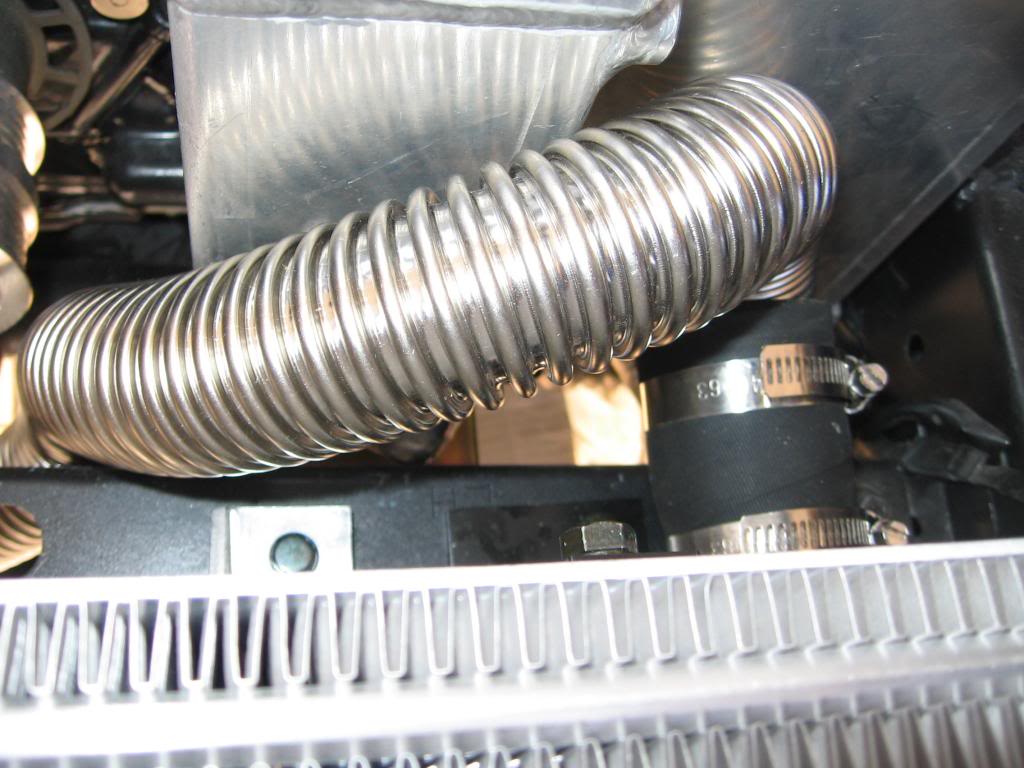
The water tank I have made the rad hose routing tricky but i found this bendy SS tube stuff and it worked great:
Easy side:
water tank side:

VMS vacuum manifold for an easy vac line solution:
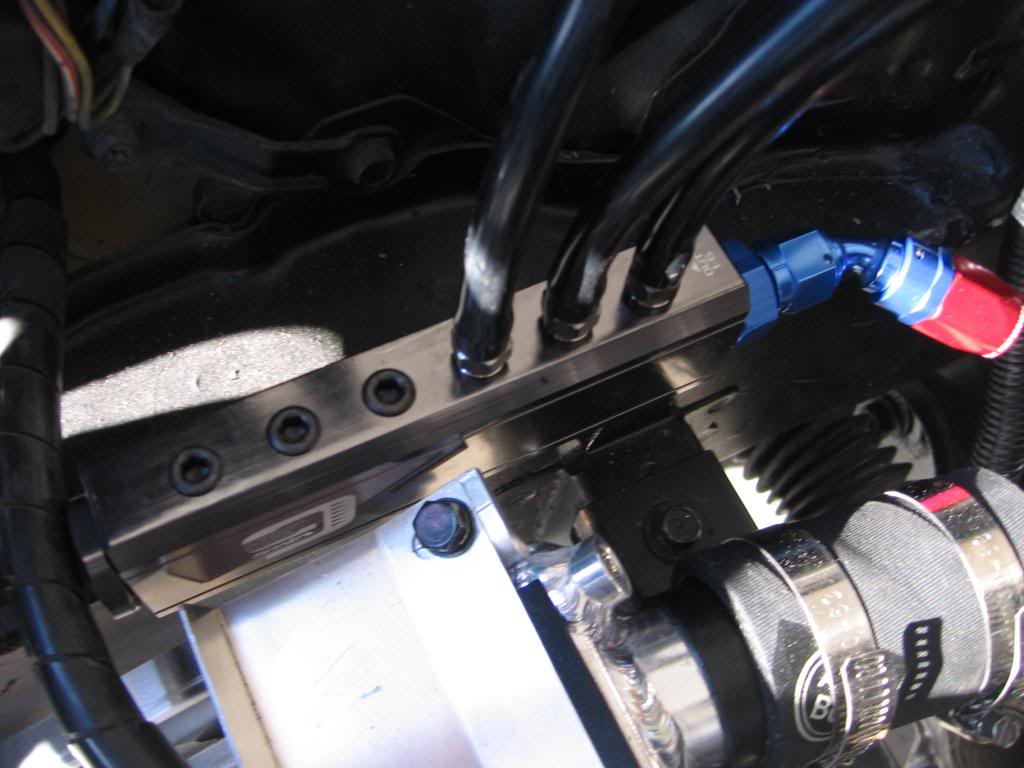
and yeah now im a greddy fanboi


The water tank I have made the rad hose routing tricky but i found this bendy SS tube stuff and it worked great:
Easy side:

water tank side:


VMS vacuum manifold for an easy vac line solution:

and yeah now im a greddy fanboi


Only complaints I have about it are going to be specific to my setup and those are just that the bung wasn't in the best location so the line going from neck to catch can isn't very direct (it sort of loops around the front.) Also I'm sure you have a good reason but for me at least a male -an flare fitting would have been better as opposed to a female npt bung. But again that's just stuff that could just be specific to my setup which is one off.
And as for the tank it's sort of dual purpose. It's both a mechanical water injection tank and a fuel cooler. Basically there are fuel hardlines that spiral down and then back up again and obviously they're submerged in the water so that basically cools the fuel. It's a pretty intricate piece, that's for sure!
Joined: May 2005
Posts: 3,243
Likes: 42
From: Kennewick, Washington
Yeah the filler neck is a nice piece, the fitment and welds are A+.
Only complaints I have about it are going to be specific to my setup and those are just that the bung wasn't in the best location so the line going from neck to catch can isn't very direct (it sort of loops around the front.) Also I'm sure you have a good reason but for me at least a male -an flare fitting would have been better as opposed to a female npt bung. But again that's just stuff that could just be specific to my setup which is one off.
Forward facing single port:
This was the best direction for multiple setups to have decent fitting access. So for those that are running closer to a stock setup, keeping the front engine picking eye, etc. There were many points we had to compromise on which layout would work for the most people. Im sorry it wasn't ideal, but I do hope that between the baffle in the neck and venting, that you have zero issues with puking out oil.
The female fittings: they are actually -10orb. We went this route for a number of reasons. We could machine the pipe so the port did not stick out much, netting about a total of a 1/8" difference. After adding the male orb to an adapter. This also allows for the owner to have a choice in fitting color. Again, slight compromise but aiming for more flexibility. The other reason is we did not want to risk warping during welding and it would have meant having a stainless male fitting. If I recall, those were a bit pricy versus a custom machined -10orb bung.
I do appreciate the honest input. I apologize that the design wasn't perfect for you, but sincerely hope you have zero troubles.
Keep up the awesome build!
All very good points. I can elaborate on the design goals and reasoning.
Forward facing single port:
This was the best direction for multiple setups to have decent fitting access. So for those that are running closer to a stock setup, keeping the front engine picking eye, etc. There were many points we had to compromise on which layout would work for the most people. Im sorry it wasn't ideal, but I do hope that between the baffle in the neck and venting, that you have zero issues with puking out oil.
The female fittings: they are actually -10orb. We went this route for a number of reasons. We could machine the pipe so the port did not stick out much, netting about a total of a 1/8" difference. After adding the male orb to an adapter. This also allows for the owner to have a choice in fitting color. Again, slight compromise but aiming for more flexibility. The other reason is we did not want to risk warping during welding and it would have meant having a stainless male fitting. If I recall, those were a bit pricy versus a custom machined -10orb bung.
I do appreciate the honest input. I apologize that the design wasn't perfect for you, but sincerely hope you have zero troubles.
Keep up the awesome build!
And yeah I hear you about the orb fitting that makes sense.
I'm gonna a keep trouble shooting and maybe hear this thing start up tonight!

I throw university parties
It actually started last weekend, I'll post a vid I have of startup tomorrow.
There's an exhaust leak at the turbo vband so it's RETARDED loud and I hope fixing that tones it down a bit. I have to calibrate the ECU timing though since it's retarded a bit so I have someone coming this weekend to check that out
I'm so bad at updating build threads but a lot has happened since last time. Basically in the last post, I said it was started but it was only running on one rotor. Here's a vid of one of those startups- sounds like crap.
http://m.youtube.com/watch?v=YkMpA6wzVck
So at that point I started trouble shooting the one rotor issue. Did a lot of stuff from adjusting fuel pressure to testing wires, swapping injectors. In the end what fixed the problem was new injector pigtails. Wonderful! It works now. Here is a proper startup vid:
http://m.youtube.com/watch?v=BtAO5_bKhkU
But wait.. It still doesn't rev past 2000 rpm. (Well it does, it seems to shoot up to closer to 3k but you can hear it cut for sure right around 2). So for the last little while I've been trying to find a PFC map I could run just to see if a different ecu would fix this issue. Still haven't found that but last Sunday just before leaving town for work, I was poking around on the PC Link software and found something very intadesting.. See if you spot the problem on this screenshot. No clue how I didn't see this before because I swear I've been in this display mode.. Then again they are all pretty similar so maybe not. Anyways:
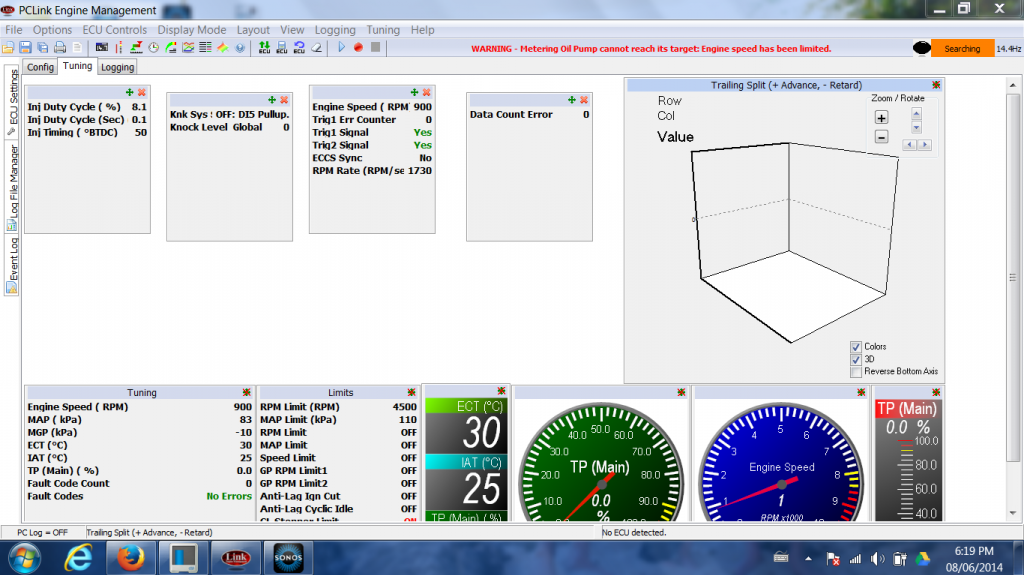
I didn't really have time to try to fix the issue cause I have no idea where the OMP settings are on the ecu but I know now so I'm hoping that straight up fixes the whole rev cut issue.
Only other thing to address is a small oil leak which I'm sure is just a fitting that needs a bit on a tighten. I'm actually surprised there's only one leak with how much I changed. Oh and bleed the brakes
But Friday I'll be back and hopefully after this it's good to go
Edit: oops apparently this site doesn't hyperlink YouTube the same way I'm used to so
I just through in the web URL instead, sorry!