When you click on links to various merchants on this site and make a purchase, this can result in this site earning a commission. Affiliate programs and affiliations include, but are not limited to, the eBay Partner Network.
Not much work to update, but some new parts in. The rest of the PartsShopMax front suspension came in (lower control arms were on back order). These (plus the uppers and knuckles) are amazing. Very adjustable, car is not for drifting, but with the widebody, this allows me to push the pivot point of the front wheels out up to 3 inches on each side, so I avoid weird wheel sweeping when turning).
also got louvers!
did you get to mount these controls arms by any chance?
I have been considering upgrading the stock ones for a while. I have raised the car just a little so i have maxed out the camber settings on the OEM and i am not where i was when the car was lowered
Thanks
it looks like its going to be a sick build. the DCT swap seems like a great option !!!
Haven�t mounted the control arms yet. Waiting to do that last.
have been making progress on the other cars. Motor is ready to come out of the silver car.
and picked up the new motor for the blue car today (new from Mazda but taken apart for cooling and oil mods, big street port, and dowels. Also picked up the rebuilt motor (housings from old twincharged motor and irons from the blue car�s old engine) for the silver car. Streetported with new bearings. Time to start assembly.
True. I guess not a bad place to go vs being eaten by a cat.
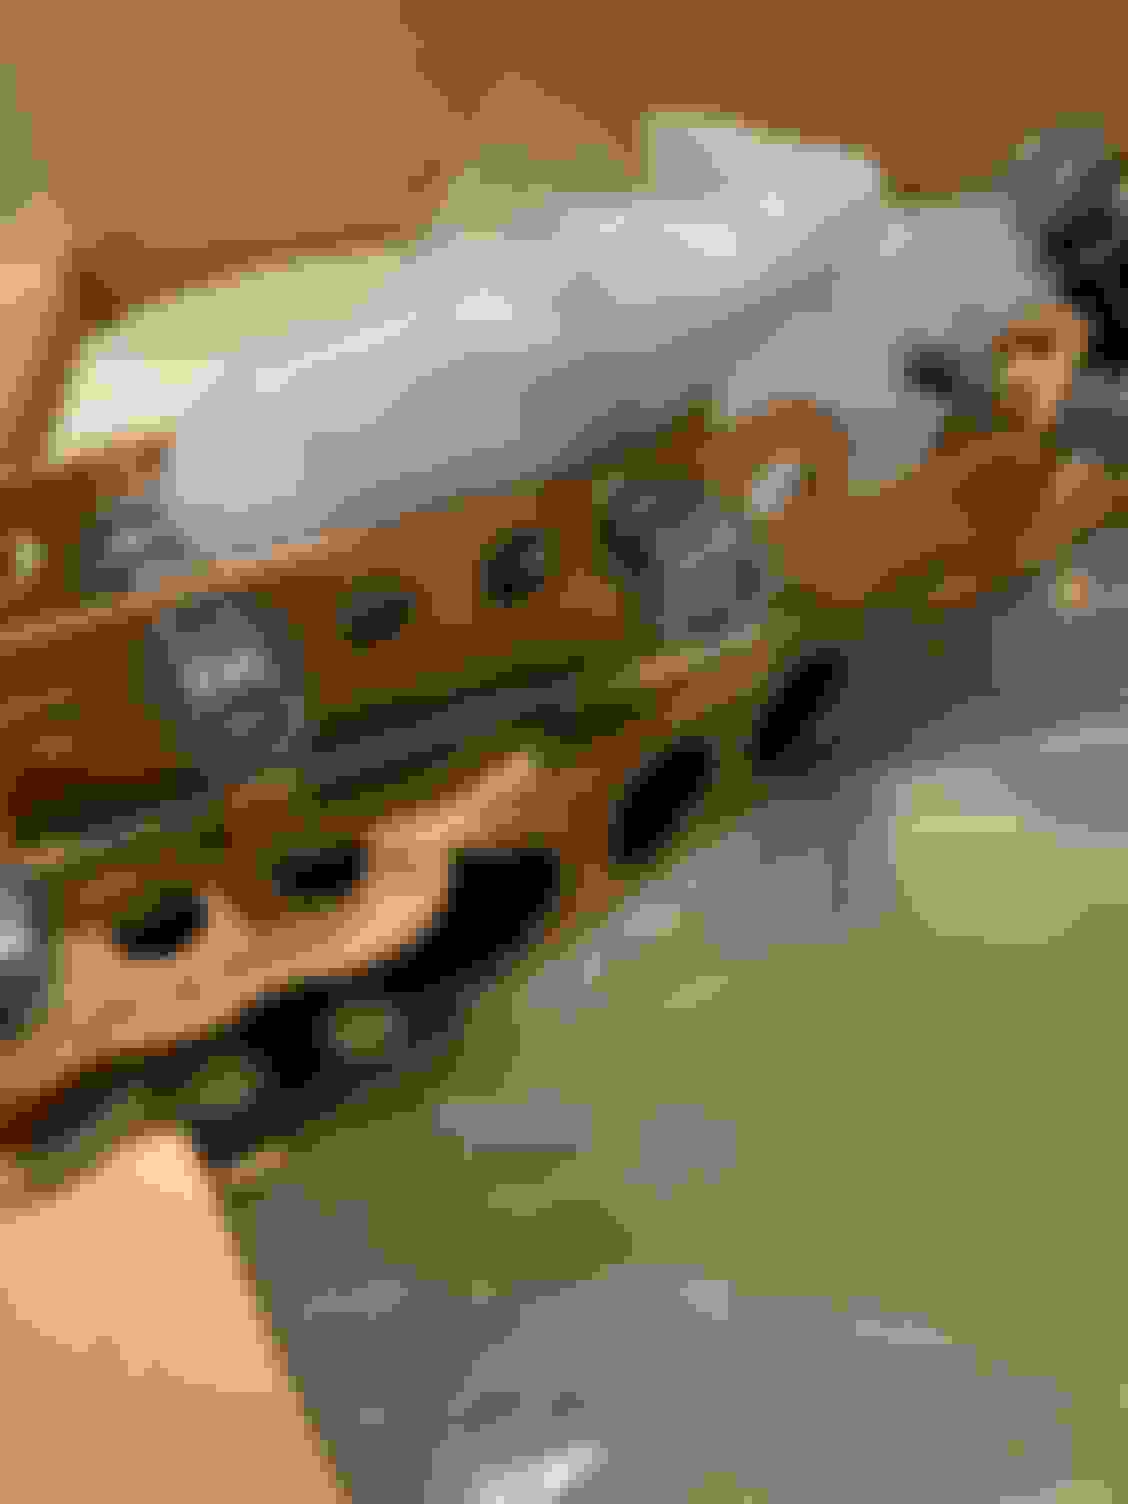
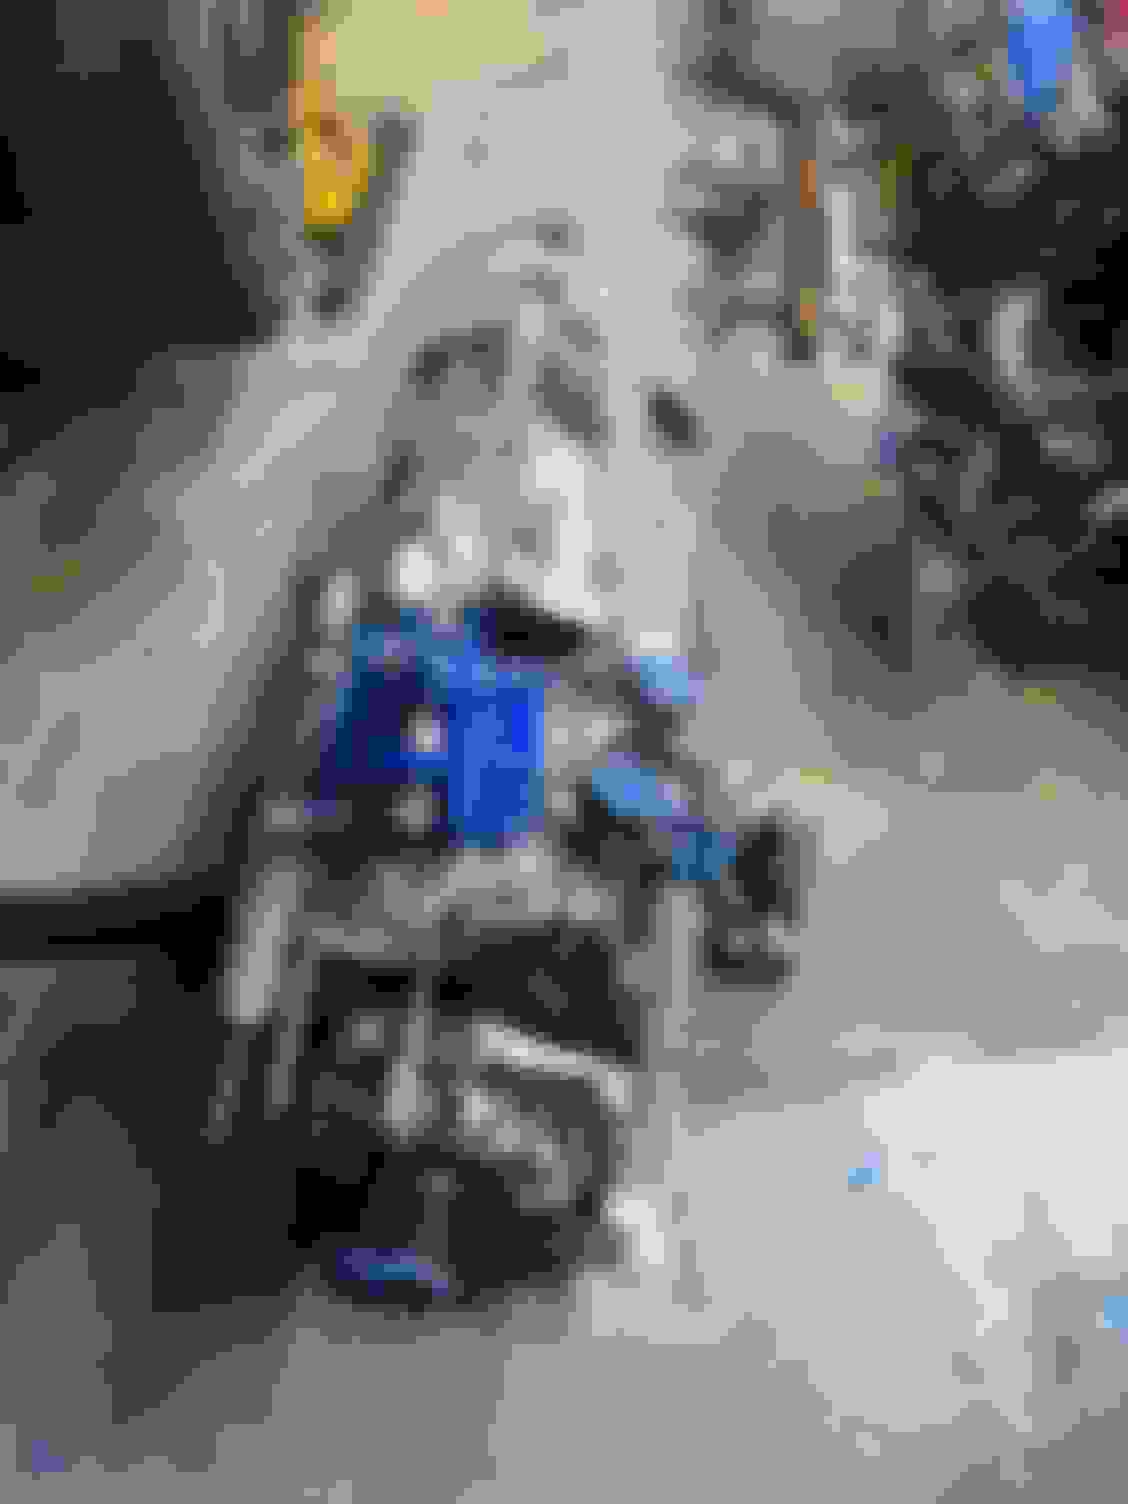
here are the motors unwrapped.
New engine for blue car. Built for 500whp Rebuilt engine for silver car. Likely will not be pushed past 400whp. Good street port and fresh bearings and seals.
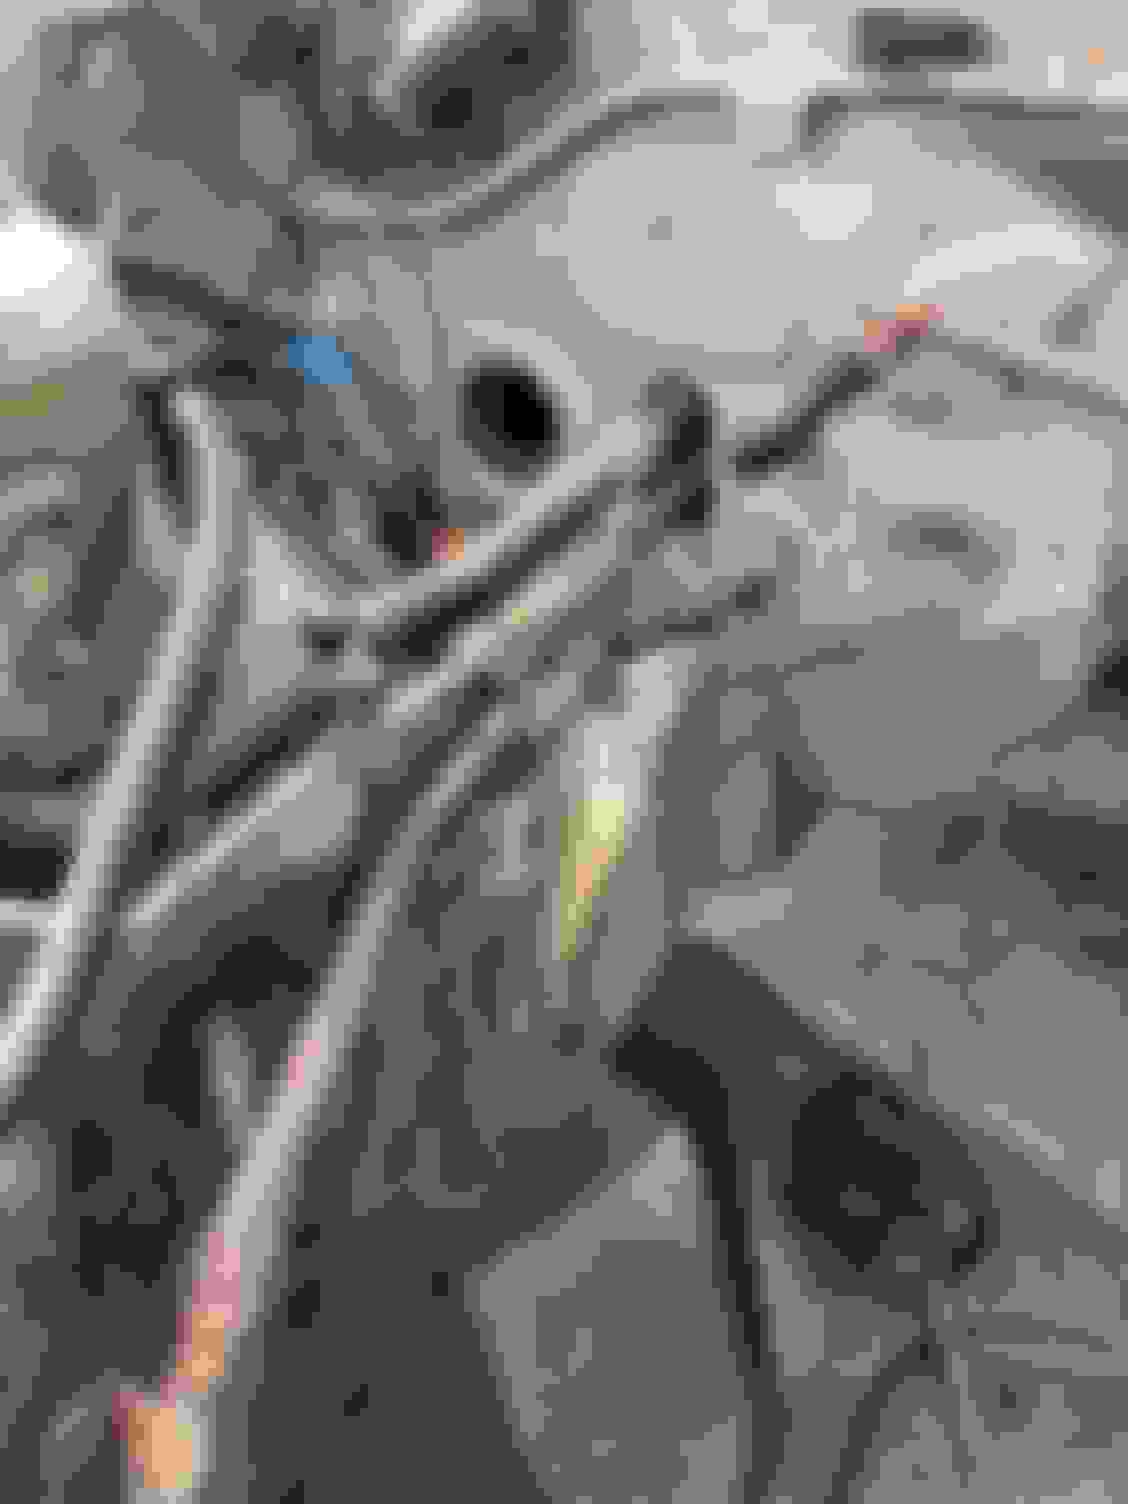
Got the engine out of the SSM. Completely seized. Was going to leave the trans in, but the clutch for was stuck so I couldn�t unclip the throw out release collar. Once I got it out of the car, realized quickly what the issue was. Slave cylinder was seized in the fully pressed position, I was wondering why the clutch pedal would just go to the floor. Unscrewed the salved cylinder and clutch fork went back and was super easy to unclip the collar.
Suedes slave cylinder removed. When I undid the bolts that hold it in it popped right out. Anyone know what brand this is? No markings on it.
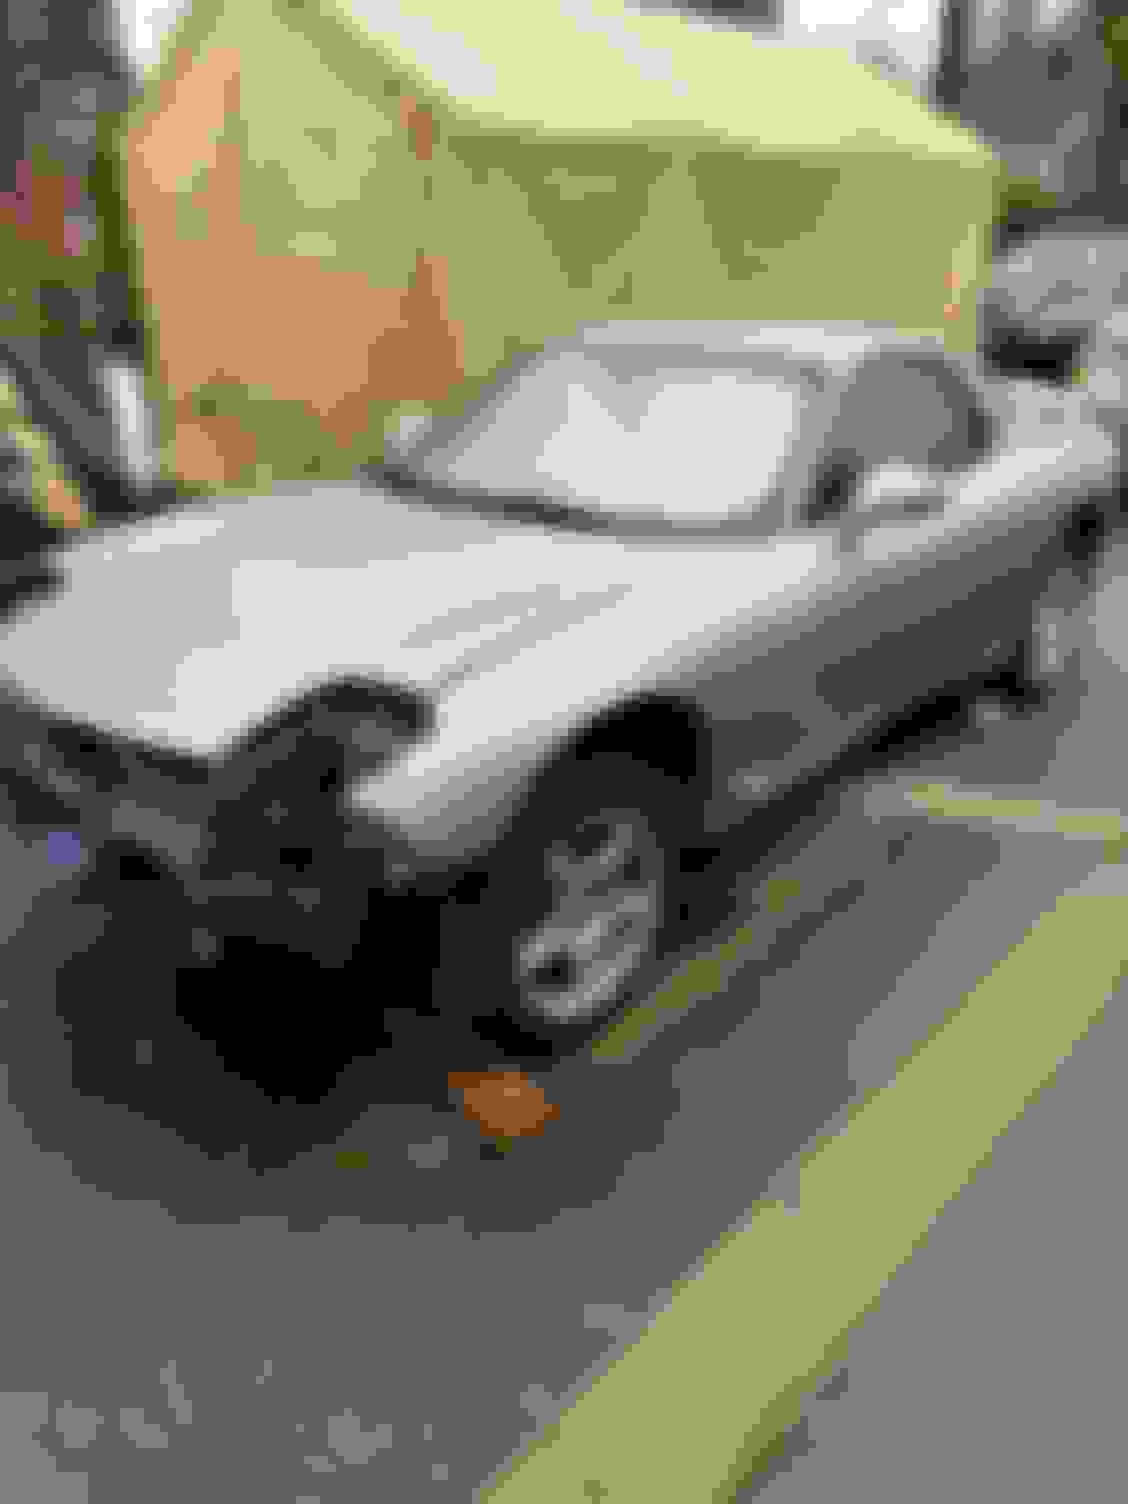
Finished cleaning the engine bay on the SSM. I was not planning to restore this car, I just wanted to put a new engine in and drive it. But I just can�t bring myself to put it back in this condition, so off to the body shop for an engine bay paint it is. I try to strip as much as I can and get it as clean as possible to cut down on body shop labor, it adds up fast.
Before cleaning and degreasing Quite a few spots of surface rust. Luckily, the underside of the car is covered in oil so it�s rust free. Sometimes a little oil leak is a good thing haha. After cleaning and degreasing. Much better. Darn battery. It looks worse than it is. Still very solid. Not rotten.
Yeah, came out better than expected. need to go look more closely though, Even after cleaning it doesn't look quite like SSM. Very much faded out. Is this common on all SSM engine bays?
Can't wait to get it painted and start bolting stuff together. Trying to make this a "bolt on" car. Bolt on stuff has come a long way. I'll need to make fuel lines for the CJM fuel rails with ID injectors, but hopefully that's it for the 450whp target. Have a RaceOnly bolt on fuel pump kit (I will run a new power wire though), IRP plug n play smart coils, haltech elite 2500 plug n play, koyo rad, ACT clutch, IRP oil pan brace, new OEM engine and charge harnesses, FEED big bore clutch master cylinder, upgraded throw out bearing, sending front and rear brakes out to be refurbished and colored red, IRP water pump, Sakebomb braided brake lines. Goldwin racing short shifter. RaceOnly airpump delete water pump pulley and AST replacement. Ball bearing twin turbos....
Just looked at a few other engine bay pictures. Here is another nice build (estevan running 11�s). Notice how the engine bay paint is different than the fender, same as mine.
is this just fading over time due to engine bay heat, or was the finish on the engine bay different than the final coats on the exterior?
SSM engine bay is painted and ready for reassembly. All the brackets and pipes are corroded/surface rust, so will be a lot of satin black powder coating happing before it goes back together.
also picked up a Knightsports twin tube downpipe and Knightsports U SMIC.
Before paint Note to self. Don�t forget to remove little rubber hood bumpers. Painters thought I left it on purpose. Not a big deal, but would have taken 2 seconds to remove.
After sanding and a few coats of primer and paint All done Knightsports U type SMIC
F82 M4 trans with 26k miles. Hotel 7 adapter kit. Rear trans mount with bushings installed Best tool ever �Pivot� for anyone that installs engines without any helpers around. I like it a lot better than the normal balance bar type. I cut out the brackets for the radiator cross bar to free up room for the turbos. So now have to prime and paint to keep it from rusting, luckily once the engine is in with all accessories it won�t be noticeable.
Drilled out the spotwelds on the intercooler crossbar brackets to make more room for turbos and AC bracket to make room for chase bays radiator. Ground down the left overs, cleaned, primed. Will need to order a can of blue to match the paint later though.
Took a little longer than planned. But overall went well.
Tapped the oil feed and return for the trans cooler. The aftermarket ones typically blow out the o-rings. So tapped for 1/4� NPT and have a 1/4� NPT to -8AN adapter on the way.
Brass fitting only in there to check the threads.
Onto the engine install. It fits, but it�s a little too close for comfort inside the tunnel. So will take it out next weekend and shave the motor mounts 1/4�. Will also install the oil fittings in the trans when it�s back out to make it easier.
The PIVOT balancer is doesn�t work as well with such a heavy trans and light engine, and I can�t move the mounting position further to the rear or else it will hit the fire wall during installation . Was still helpful but ended up using a jack under the car to level out the trans when I needed it. Was a great angle for getting through the engine bay though.
pineapple racing oil pan looking beefy.
Put the front wheels on fillets. 1), if the front isn�t lifted, when the car has the engine weight in it, the bottom of the subframe traps the engine hoist. 2) makes it easy to move the car under the hoist. Instead of pushing the hoist and having the engine start swinging, I just tug on the car to move it under the engine. It�s in.
Last edited by TwinCharged RX7; Jan 22, 2023 at 09:53 PM.
Yeah. I need to make a better adapter to mount it to the engine. Piecing together nuts and bolts and angle each time is annoying. Just need to make something solid that bolts on nicely.
Mocking up some fresh parts. Dug out my old coolant housing from the twincharged car. Needs to be cleaned up but looks good with the ewp blockoff and RaceOnly AST delete.
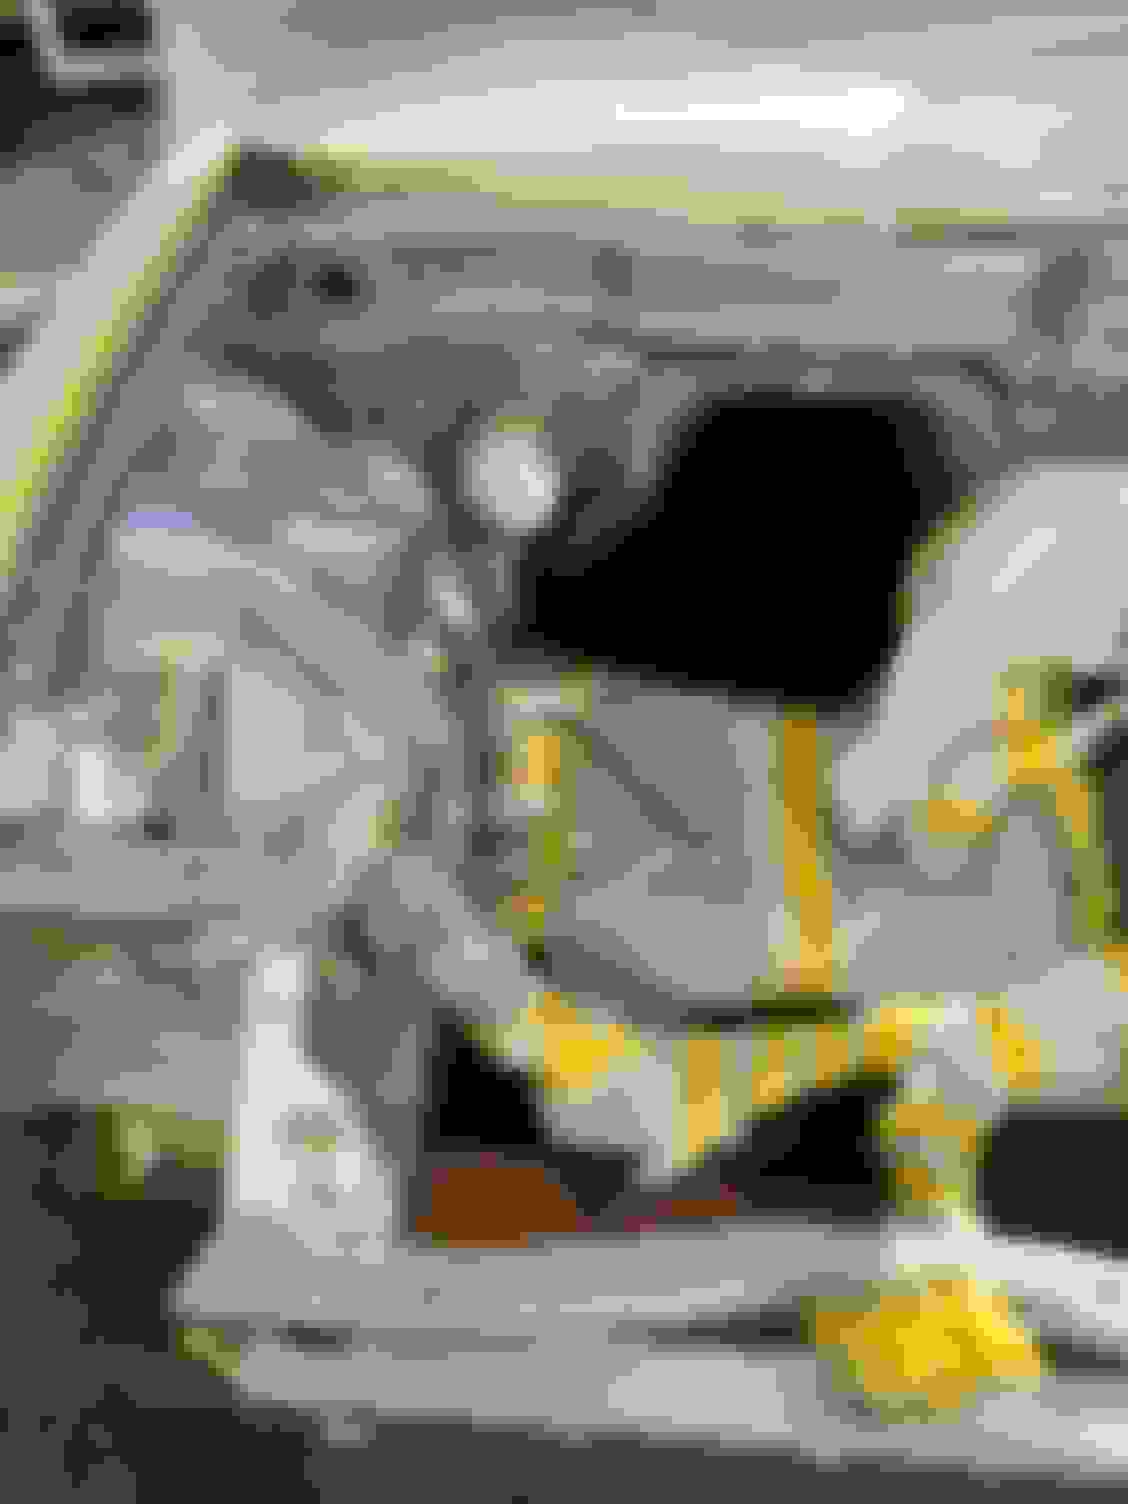
Full Race electronic internal wastegate actuator kit came in today. It�s a really nice little kit with a sturdy bracket and linkage to sit tight to the housing without binding. Uses the Honda civic FK8 actuator. It doesn�t take up as much space as I was fearing.
mocked it up again now that the actuator and brackets are here I can really figure out turbo placement and clearance. A lot of puzzle pieces to figure out how to fit together (oil drains, coolant lines, manifold piping, etc). Everything is a little further forward than I would prefer, but that�s because the upper turbo doesn�t have space to go further back without the actuator hitting the strut tower, and the front turbo has to sit far forward if the turbine inlet faces down in order to give room for the rear turbo�s oil drain. But I think it will work out. Now to cut some pipe and tack things up.