
///Rx7 Boutique Tutorial\\\ How To Safely Clean Recaro RZ & Spirit-R Seats

Thread Starter
Registered User
iTrader: (61)
Joined: Apr 2004
Posts: 7,334
Likes: 8
From: Los Angeles, CA
///Rx7 Boutique Tutorial\\\ How To Safely Clean Recaro RZ & Spirit-R Seats
As always, I wanted to take a brief moment to thank our loyal clients for their business and support. This tutorial has been a LONG time coming and through several different trials/techniques I have found the most efficient process to safely clean our special fabric Recaro OEM seats. When you spend several thousand dollars on seats I can understand why anyone would have an apprehension towards cleaning them. The purpose of this tutorial is to help rejuvenate your Recaro seats to remove any stains and bring the color back to the most "like new" condition as possible. This process can be applied to any Recaro fabric seat and most fabric seats in general.
Required:
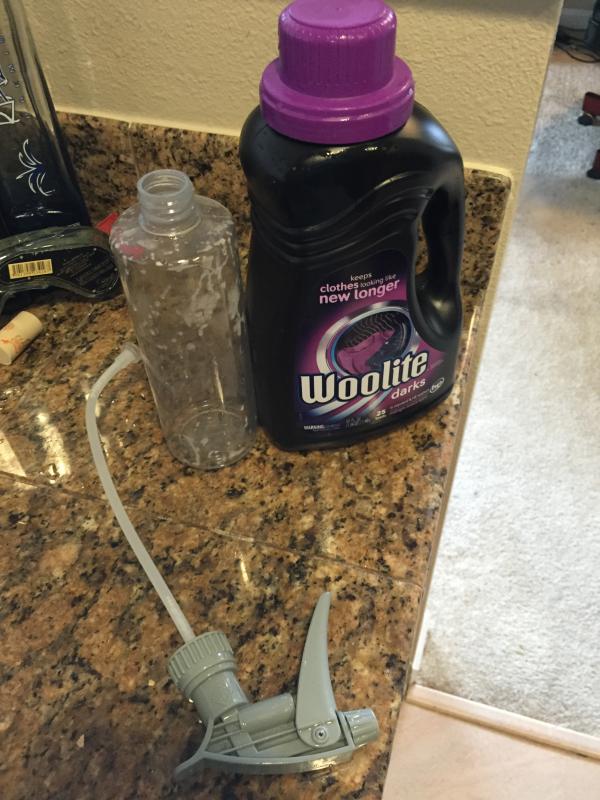
Woolite for darks detergent (appropriate for both red and black Recaro seats) Can be found at any grocery store
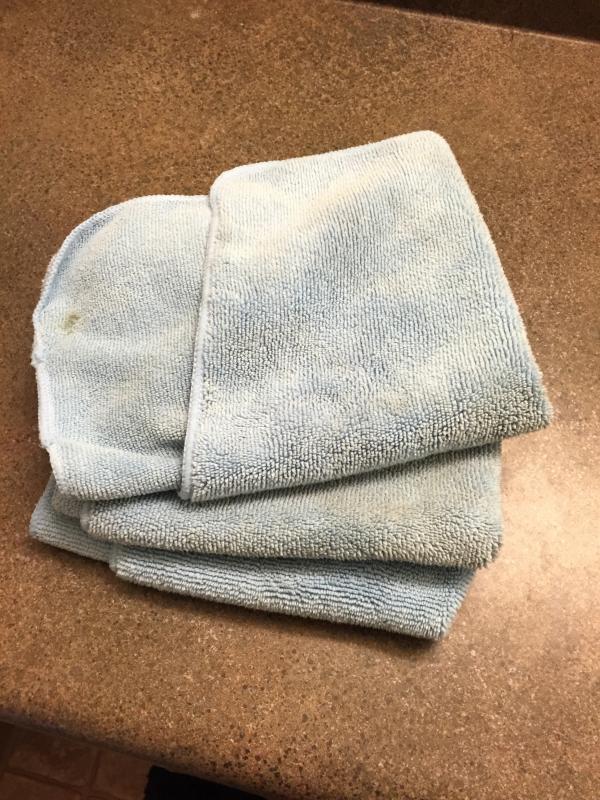
Microfiber Rags
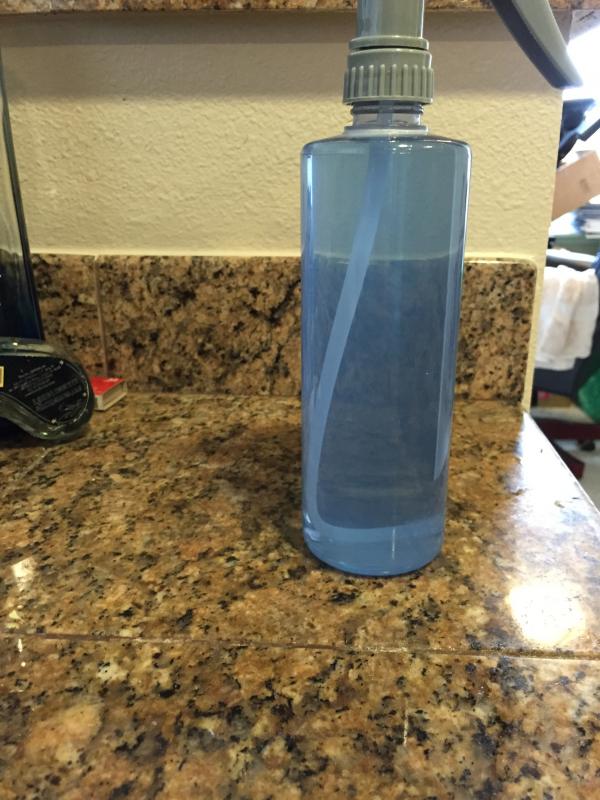
Empty Spray Bottle
Two bowls or pots
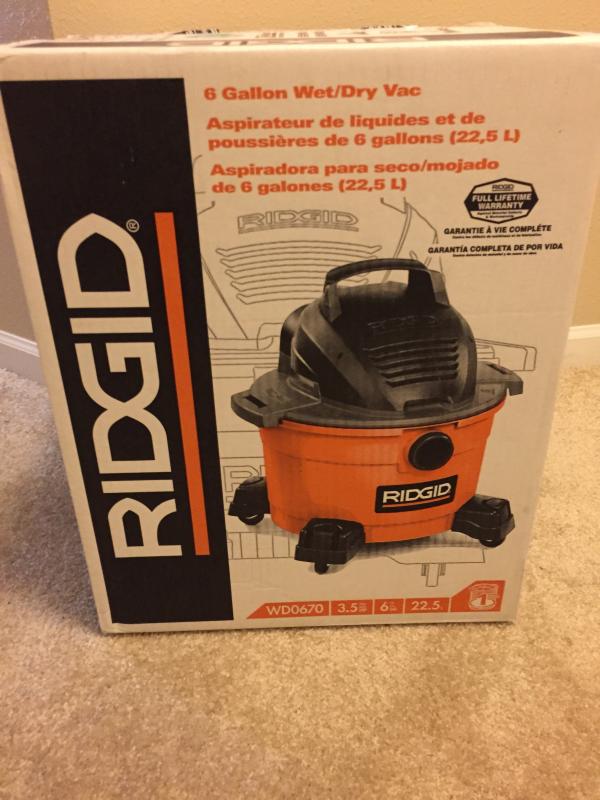
Wet/Dry Vacuum (doesn't need to be sophisticated or the best, I picked this up brand new from home depot for less than $50)
Total time: 60-90 minutes
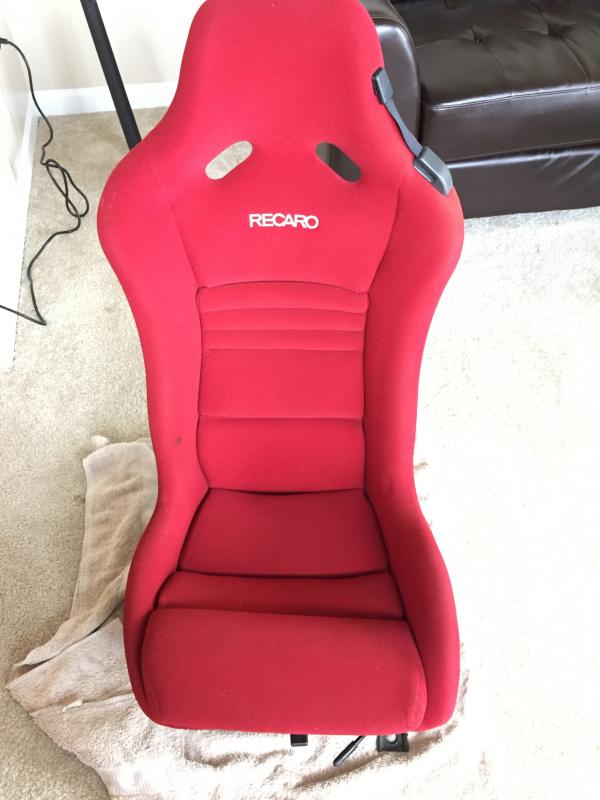
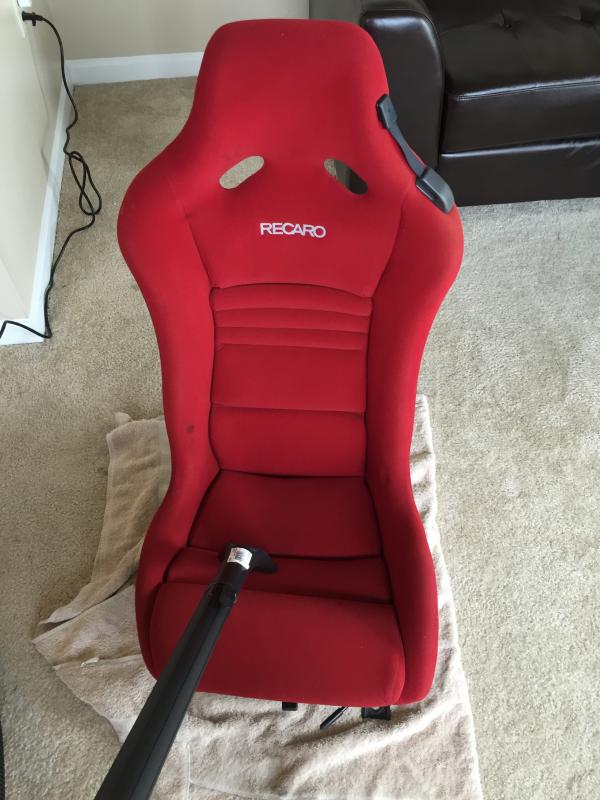
Seat Initial Condition:
Step 1:
First step is to dilute the Woolite in the spray bottle. This should be 5 parts water to 1 part Woolite or roughly 20% of the bottle. Use lukewarm water.
Step 2:
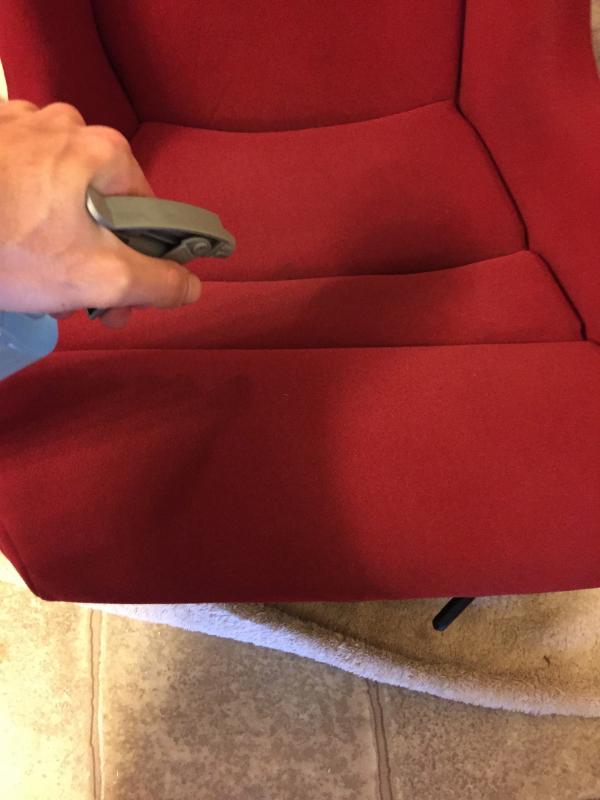
Use the wet/dry vacuum to thoroughly vacuum the entire seat and remove any debris.
Step 3:
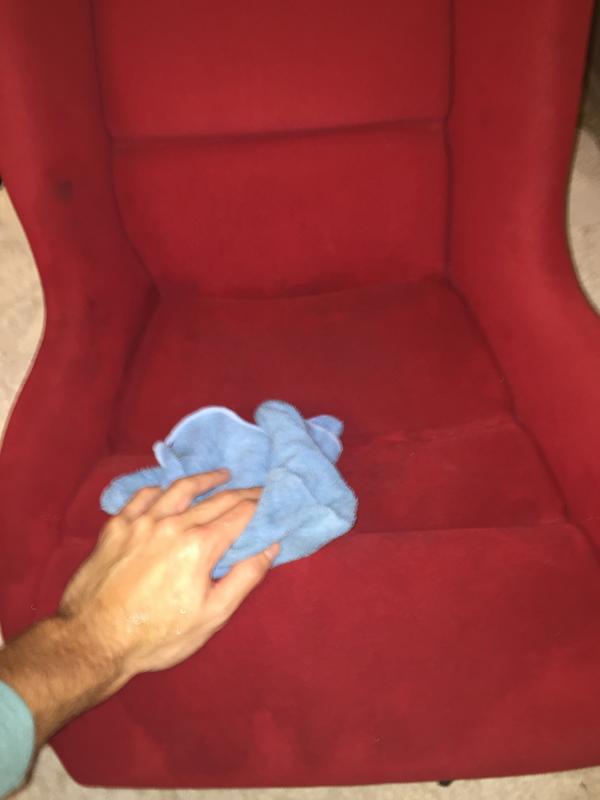
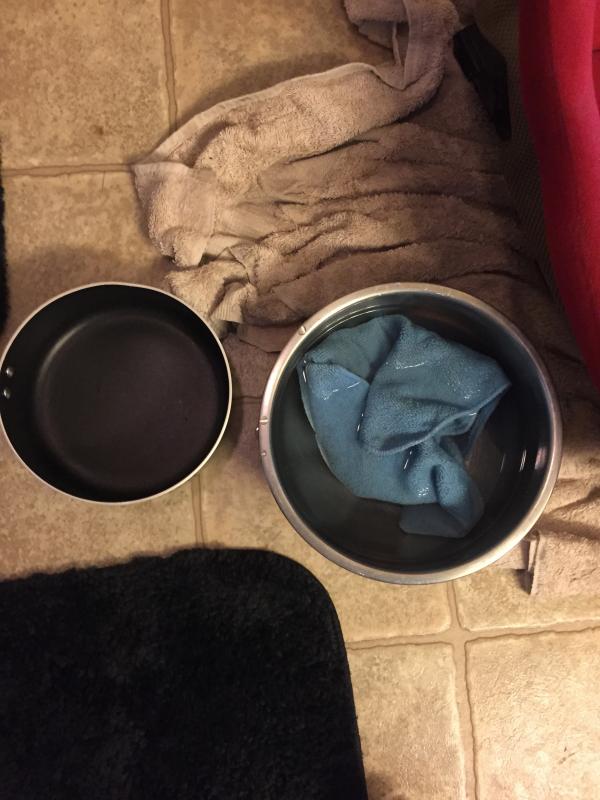
Take two bowls, one with warm water and the other being empty. Our goal here is to dampen the seat while lifting any dirt that vacuum didn't catch. Also we don't want to further rub in any dirt while applying the detergent. Take your first microfiber rag and soak it in water, you are going to blot the seat with water while applying firm pressure. Much akin to when you blot carpet to remove a stain. After several blots, ring out the water into the empty bowl - the water being ringed out should be quite dirty. Continue this until the seat is entirely drenched with water and the water being ringed out becomes more clean.
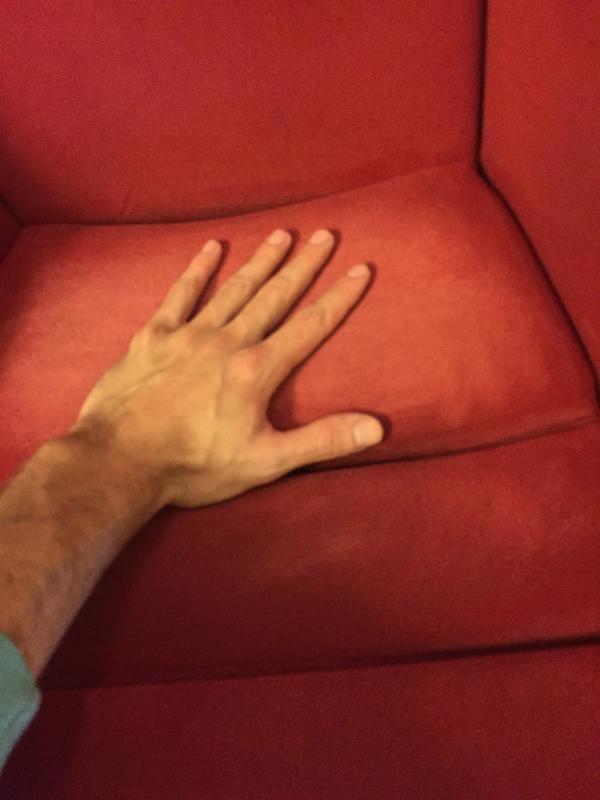
Step 4:
Now we are going to spray our cleaning solution onto the seat but it is important to work in small sections. I started with the bottom seat section, then the side bolsters then the back and finally the top. Spray a good portion of the solution on to the section you are working, then lather the seat with your hands to rub the solution deep into the fabric. Make sure to use your hands and NOT a brush or anything harsh. You could use one of the microfiber rags but I found my hand to be the most effective. I used a top to bottom then side to side motion to make sure I was able to really work the solution into the fabric, I probably spent 7 to 10 minutes on each section. You should see the seat lather quite nicely like in the picture, if it doesn't then that means you have too much water in your spray bottle and not enough detergent. Let the seat sit for 10 to 15 minutes.
Required:
Woolite for darks detergent (appropriate for both red and black Recaro seats) Can be found at any grocery store
Microfiber Rags
Empty Spray Bottle
Two bowls or pots
Wet/Dry Vacuum (doesn't need to be sophisticated or the best, I picked this up brand new from home depot for less than $50)
Total time: 60-90 minutes
Seat Initial Condition:
Step 1:
First step is to dilute the Woolite in the spray bottle. This should be 5 parts water to 1 part Woolite or roughly 20% of the bottle. Use lukewarm water.
Step 2:
Use the wet/dry vacuum to thoroughly vacuum the entire seat and remove any debris.
Step 3:
Take two bowls, one with warm water and the other being empty. Our goal here is to dampen the seat while lifting any dirt that vacuum didn't catch. Also we don't want to further rub in any dirt while applying the detergent. Take your first microfiber rag and soak it in water, you are going to blot the seat with water while applying firm pressure. Much akin to when you blot carpet to remove a stain. After several blots, ring out the water into the empty bowl - the water being ringed out should be quite dirty. Continue this until the seat is entirely drenched with water and the water being ringed out becomes more clean.
Step 4:
Now we are going to spray our cleaning solution onto the seat but it is important to work in small sections. I started with the bottom seat section, then the side bolsters then the back and finally the top. Spray a good portion of the solution on to the section you are working, then lather the seat with your hands to rub the solution deep into the fabric. Make sure to use your hands and NOT a brush or anything harsh. You could use one of the microfiber rags but I found my hand to be the most effective. I used a top to bottom then side to side motion to make sure I was able to really work the solution into the fabric, I probably spent 7 to 10 minutes on each section. You should see the seat lather quite nicely like in the picture, if it doesn't then that means you have too much water in your spray bottle and not enough detergent. Let the seat sit for 10 to 15 minutes.
Thread Starter
Registered User
iTrader: (61)
Joined: Apr 2004
Posts: 7,334
Likes: 8
From: Los Angeles, CA
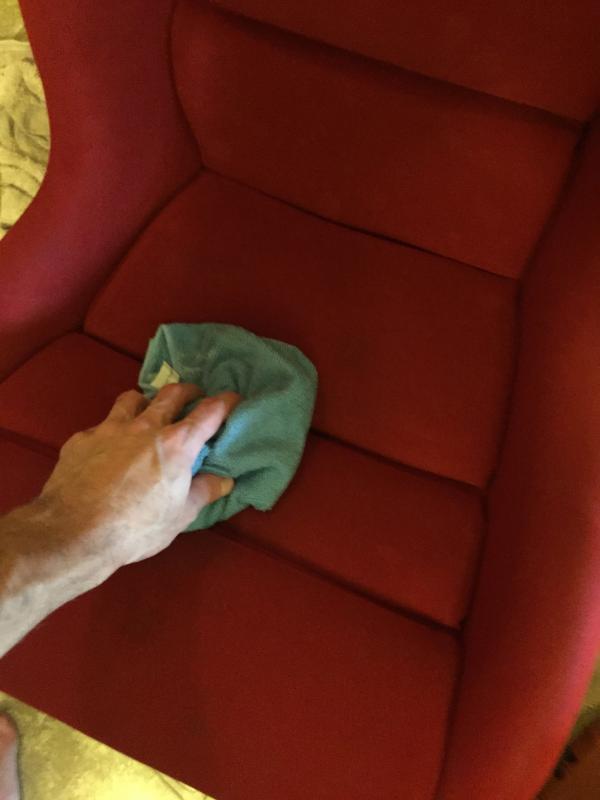
Step 5:
Take a clean microfiber rag and if you haven't already, then empty the two bowls from step 3. You are going to use the same process from step three, fill one of the bowls up with lukewarm water then soak the microfiber rag in the water. Use the same blotting motion we used in step three to remove the dirt but now we are going to remove the detergent. This should take roughly 20 minutes or so, you will not be able to remove all the detergent which is fine, the purpose of this step is to just remove a good portion of the detergent and to further soak the seat.
Step 6:
Now that the seat is clean we need to remove the water and detergent, this is where the wet/dry shop vac comes into play. Do not use any attachment, I found the end of the hose to provide the best suction to quickly remove the water. Take the vacuum and start to remove the water/detergent in the same sequence that you applied the detergent in step 4. You should move the vacuum slowly with each pass. After 20 to 25 minutes the seat should be completely dry and look new again. I let the seat sit in my living room for 24 hours to completely air-out but this isn't necessary. Enjoy your new seat!

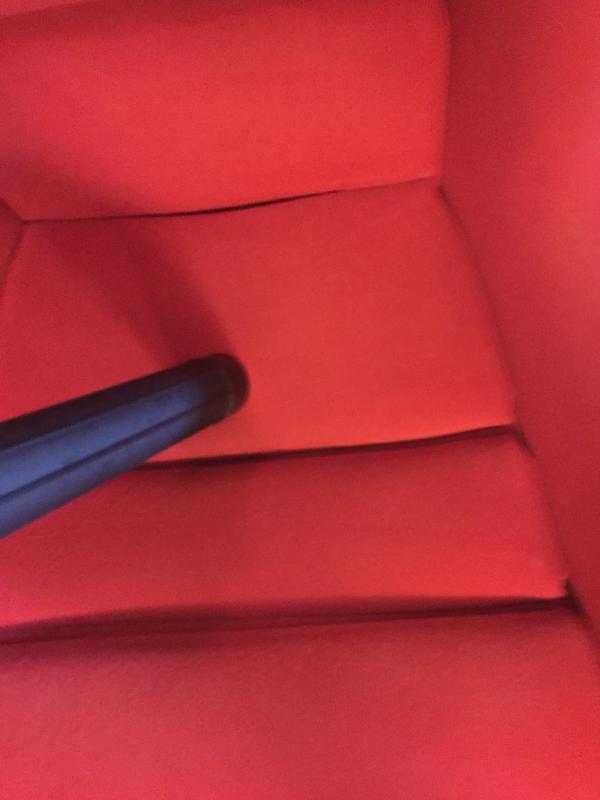
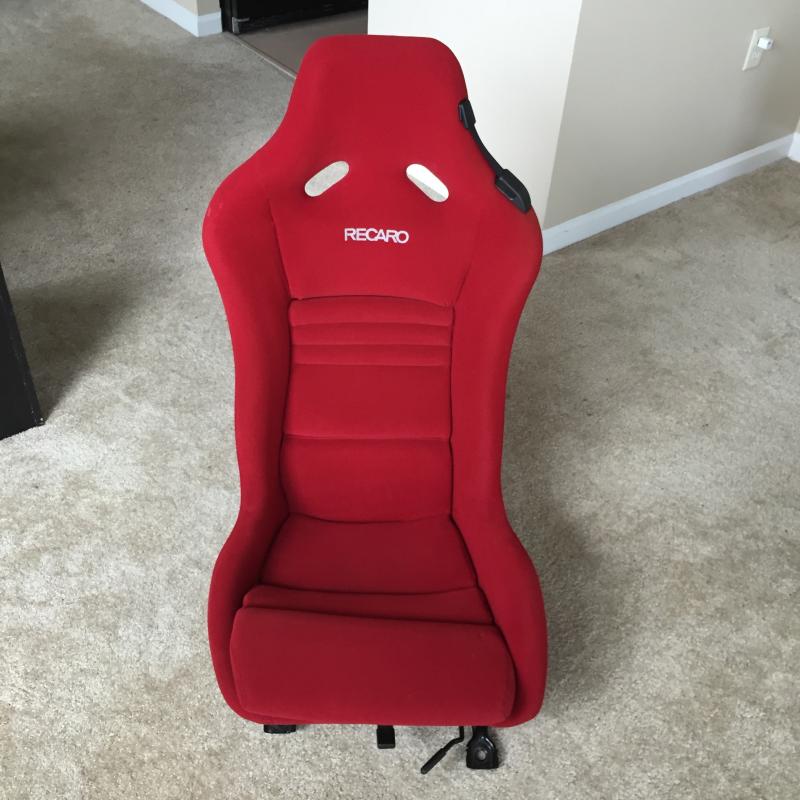
Finished Seat: Notice the true bright color of the clean red fabric and how clean the recaro letting is now in comparison - night and day difference
Please feel free to ask any questions or if I can add any transparency on the process.
Take a clean microfiber rag and if you haven't already, then empty the two bowls from step 3. You are going to use the same process from step three, fill one of the bowls up with lukewarm water then soak the microfiber rag in the water. Use the same blotting motion we used in step three to remove the dirt but now we are going to remove the detergent. This should take roughly 20 minutes or so, you will not be able to remove all the detergent which is fine, the purpose of this step is to just remove a good portion of the detergent and to further soak the seat.
Step 6:
Now that the seat is clean we need to remove the water and detergent, this is where the wet/dry shop vac comes into play. Do not use any attachment, I found the end of the hose to provide the best suction to quickly remove the water. Take the vacuum and start to remove the water/detergent in the same sequence that you applied the detergent in step 4. You should move the vacuum slowly with each pass. After 20 to 25 minutes the seat should be completely dry and look new again. I let the seat sit in my living room for 24 hours to completely air-out but this isn't necessary. Enjoy your new seat!
Finished Seat: Notice the true bright color of the clean red fabric and how clean the recaro letting is now in comparison - night and day difference
Please feel free to ask any questions or if I can add any transparency on the process.
Last edited by purerx7; Jan 4, 2015 at 11:58 AM.


Trending Topics
Thread Starter
Registered User
iTrader: (61)
Joined: Apr 2004
Posts: 7,334
Likes: 8
From: Los Angeles, CA
I would advise against putting the fabric in the washing machine, the fabric isn't the most durable and easily punctures.