My Project ... (lots of pics)


 04-21-09, 01:11 AM
#53


 04-21-09, 01:13 AM
#54
Senior Member
Thread Starter
iTrader: (12)
Join Date: Aug 2007
Location: Calgary, Alberta (Canada)
Posts: 272
Likes: 0
Received 1 Like
on
1 Post
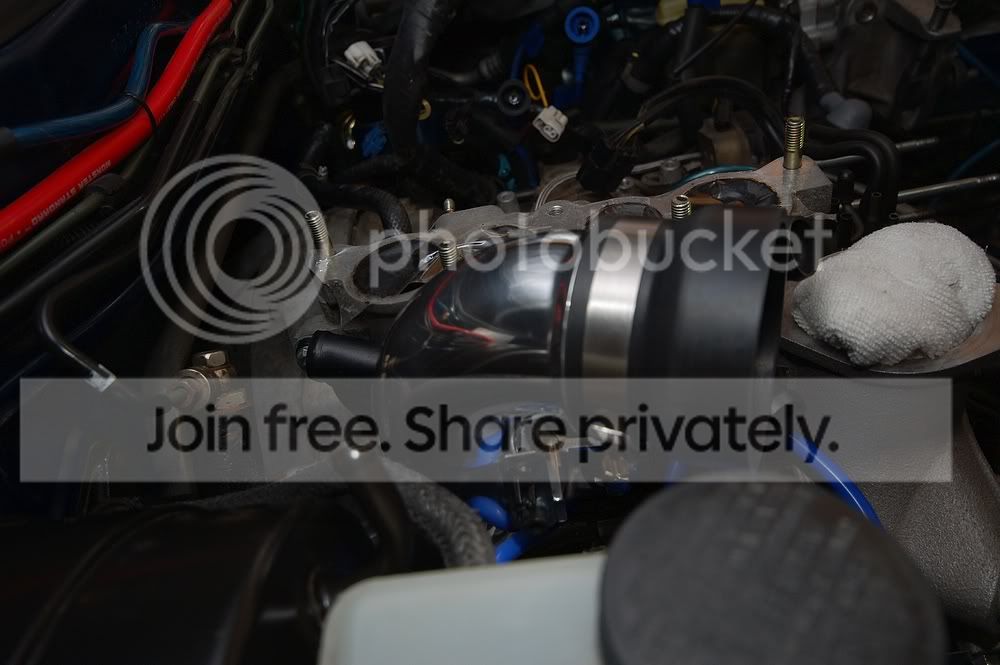
Then I finally started putting stuff back together again ...
HKS Down Pipe [what a PITA]:

Y-Pipe:
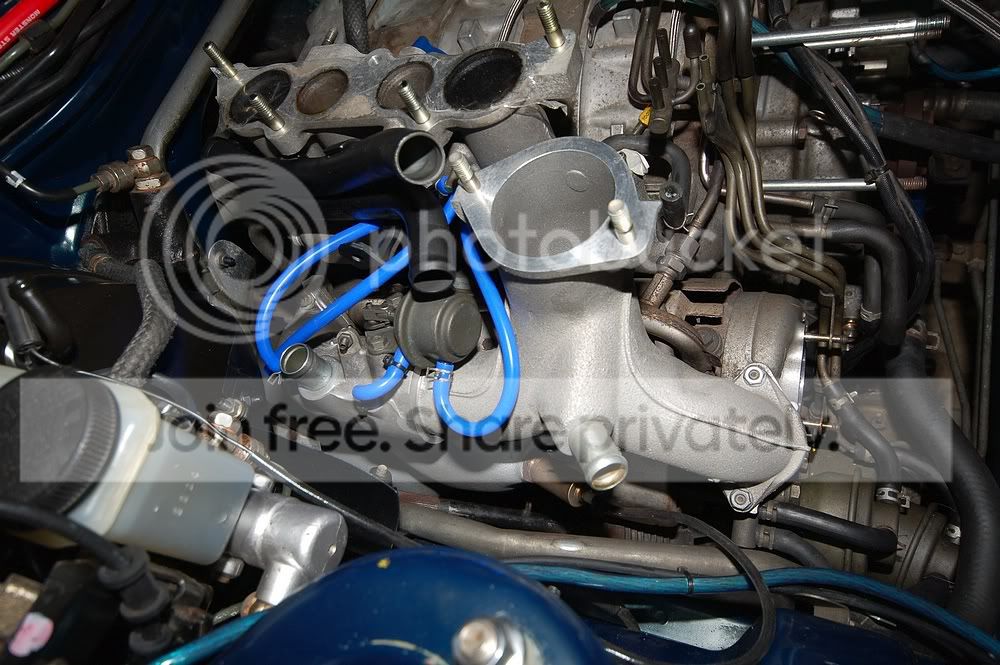
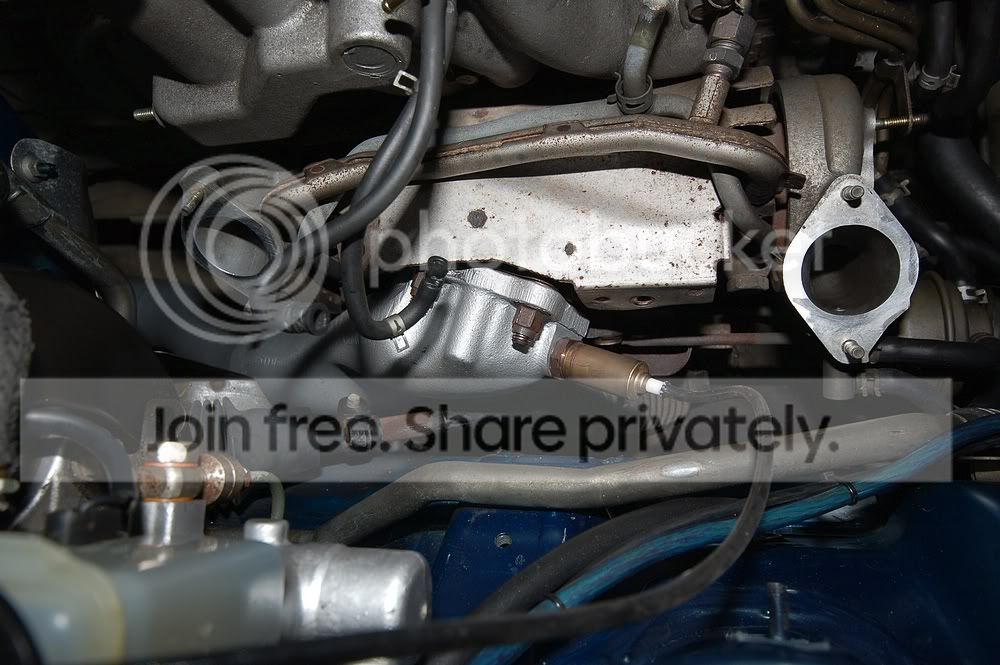
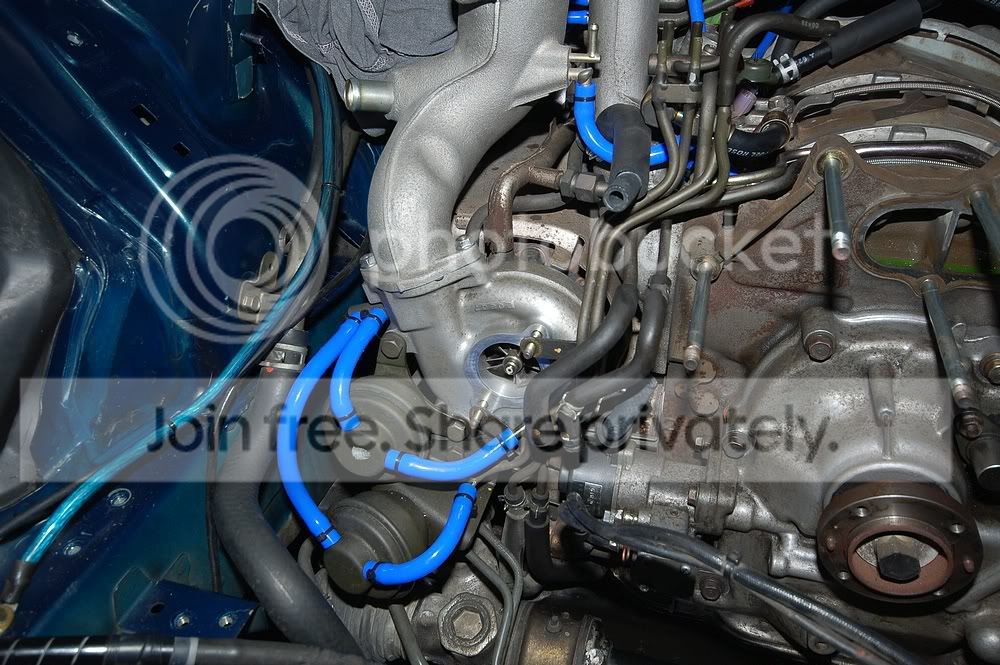
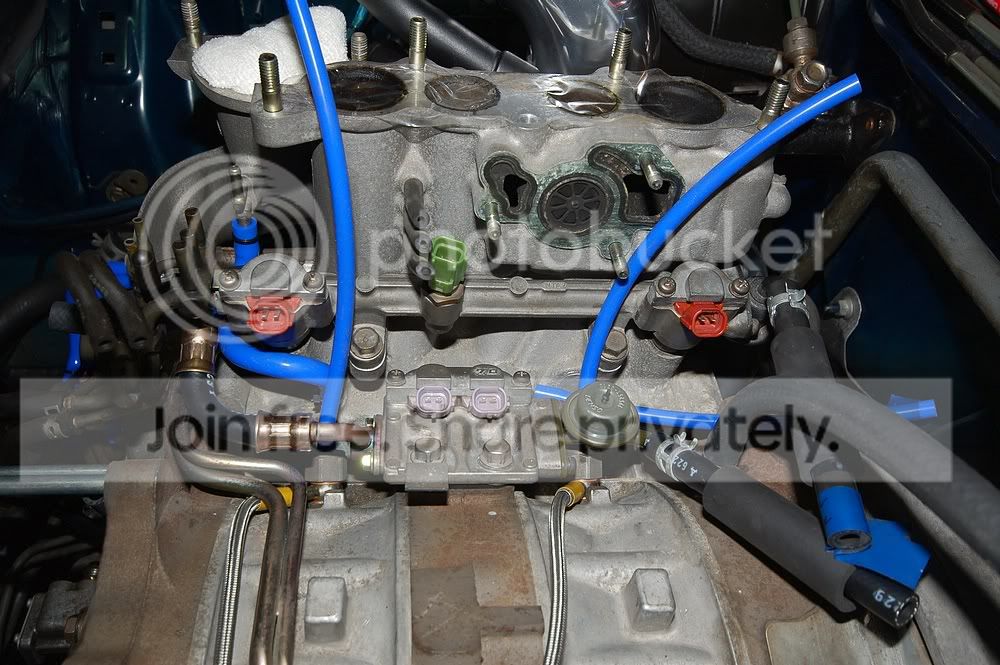
Vacuum Lines and New Coolant Hoses To The Turbos:
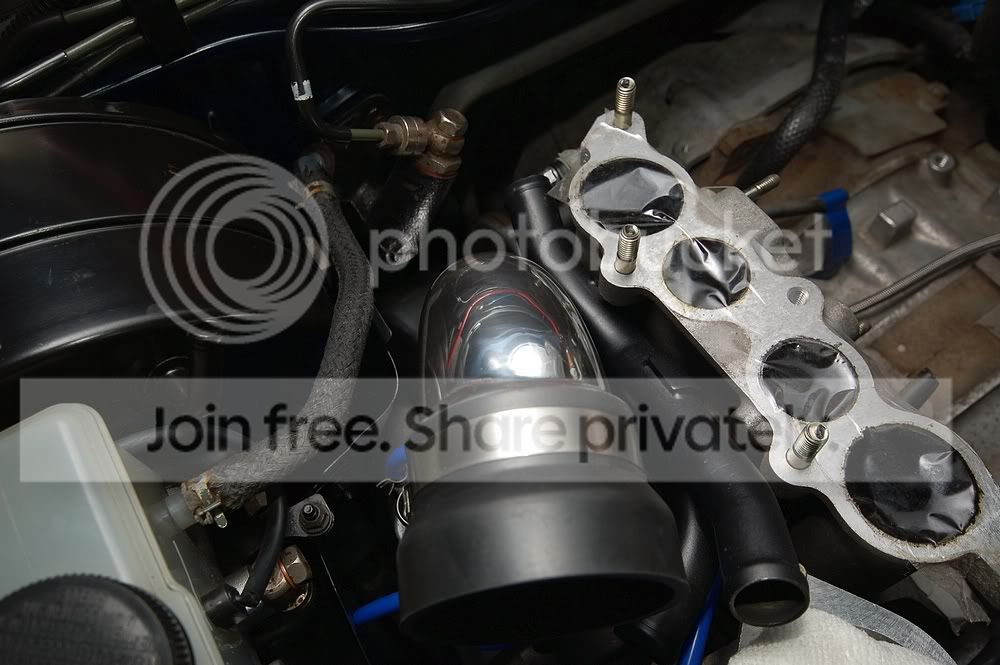
Turbo Inlet:
Goodridge SS OMP Lines:

Fuel Rail:
HKS Down Pipe [what a PITA]:
Y-Pipe:
Vacuum Lines and New Coolant Hoses To The Turbos:
Turbo Inlet:
Goodridge SS OMP Lines:
Fuel Rail:
 04-30-09, 12:20 PM
#57
Senior Member
Thread Starter
iTrader: (12)
Join Date: Aug 2007
Location: Calgary, Alberta (Canada)
Posts: 272
Likes: 0
Received 1 Like
on
1 Post
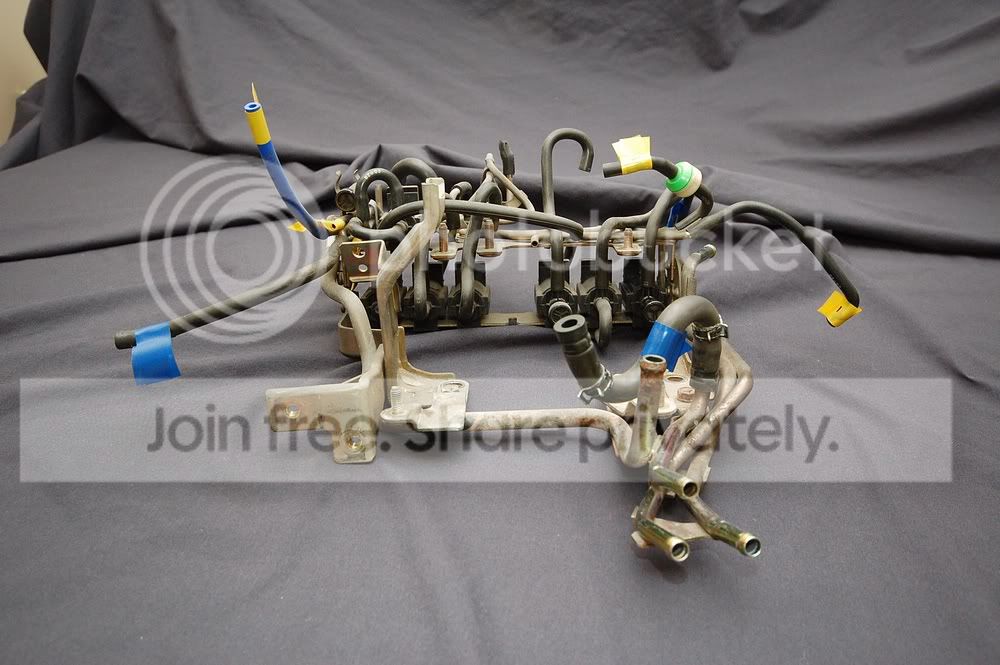
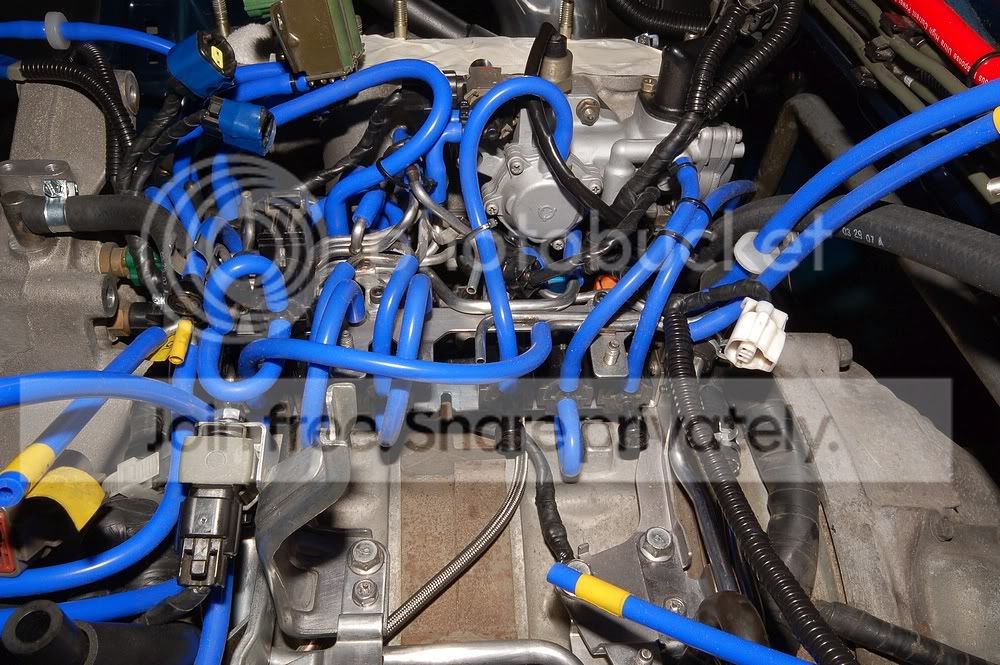
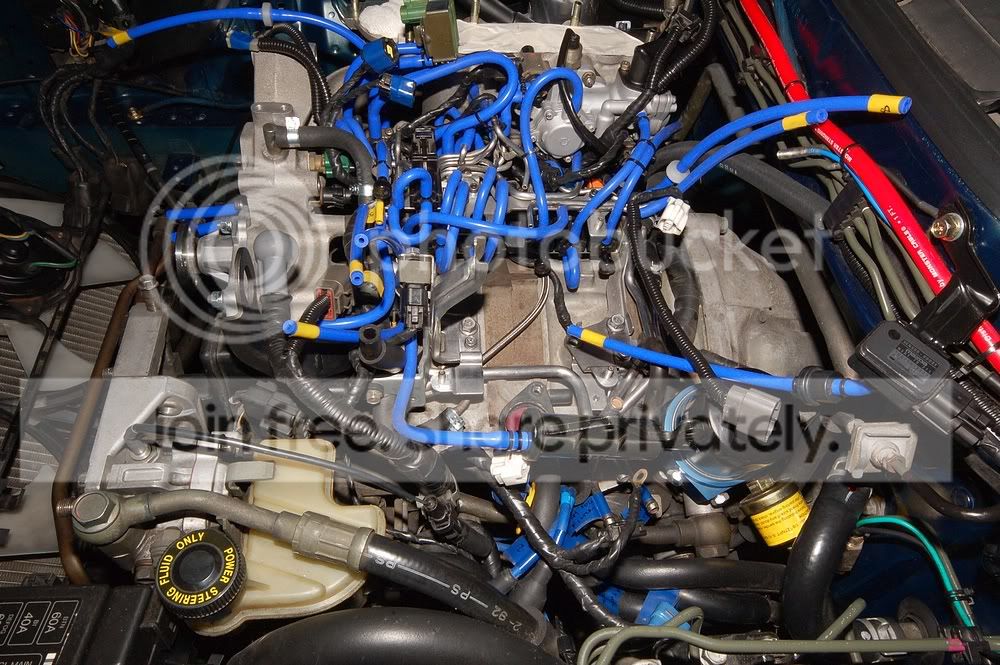
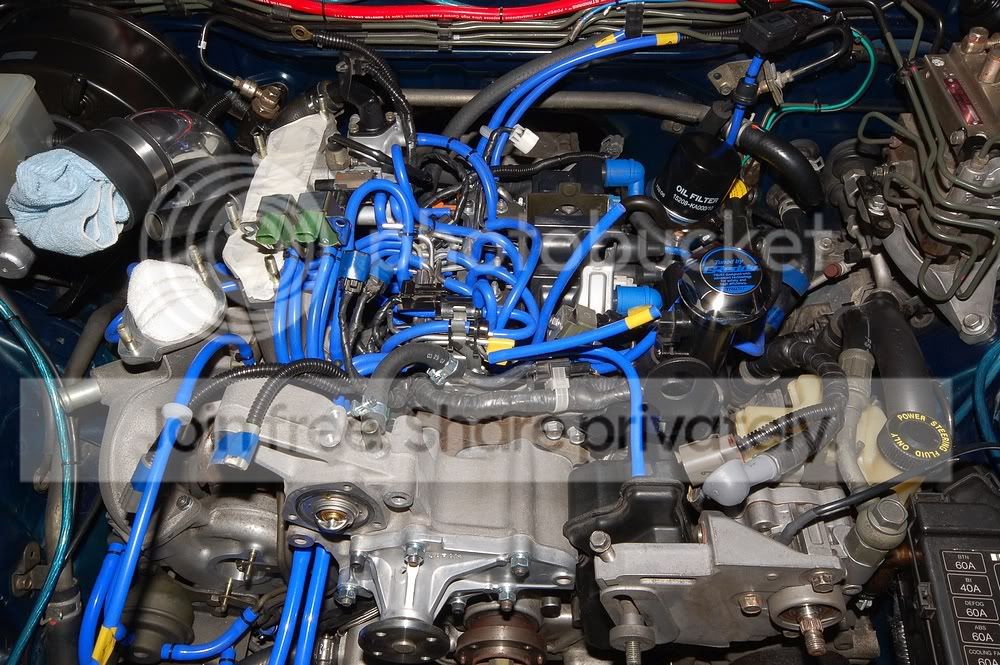
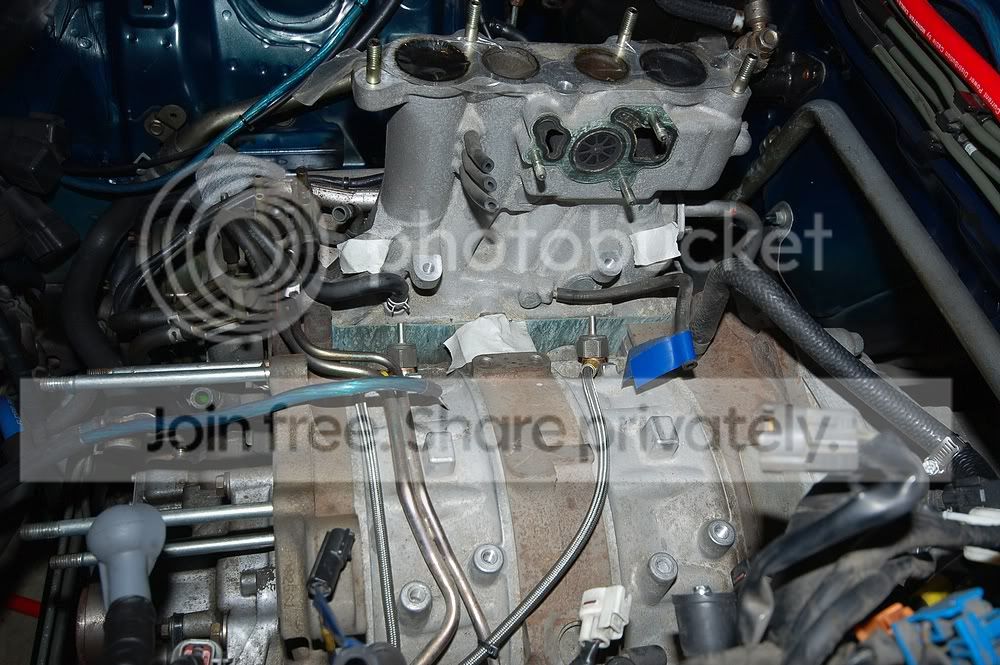
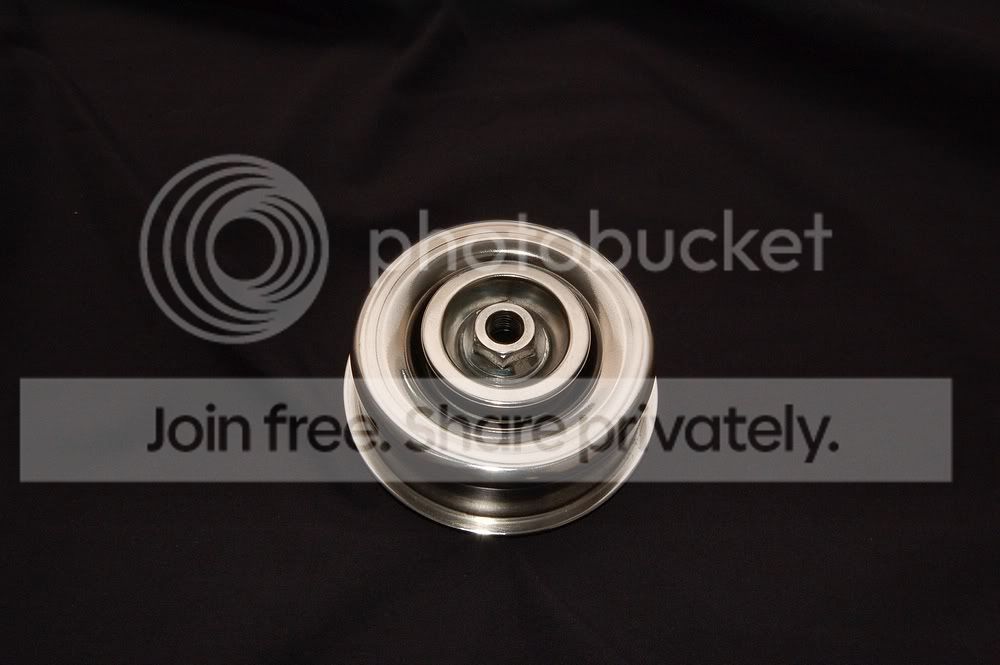
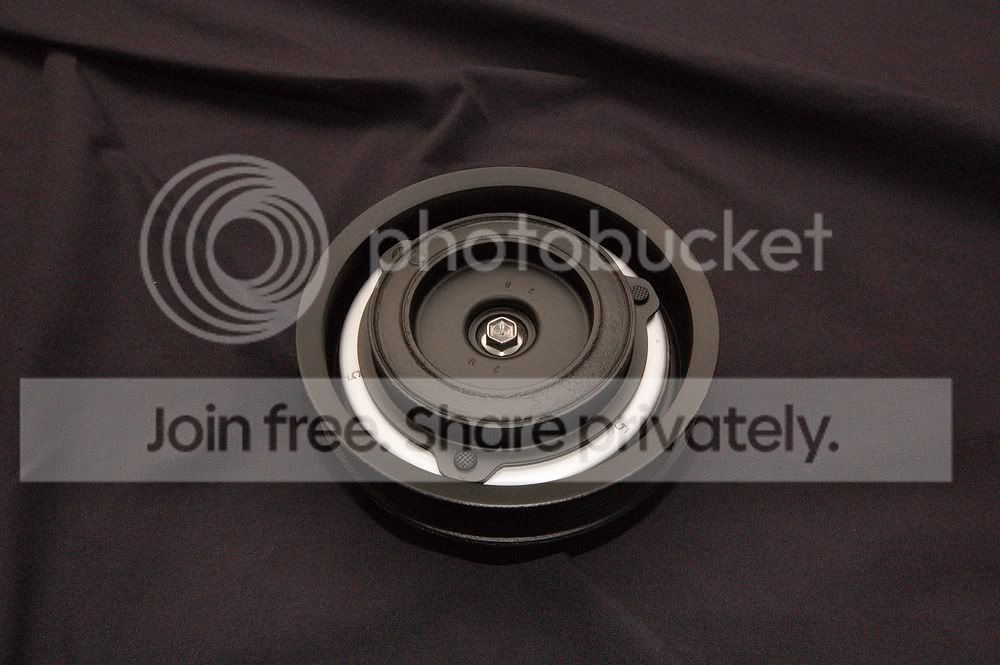
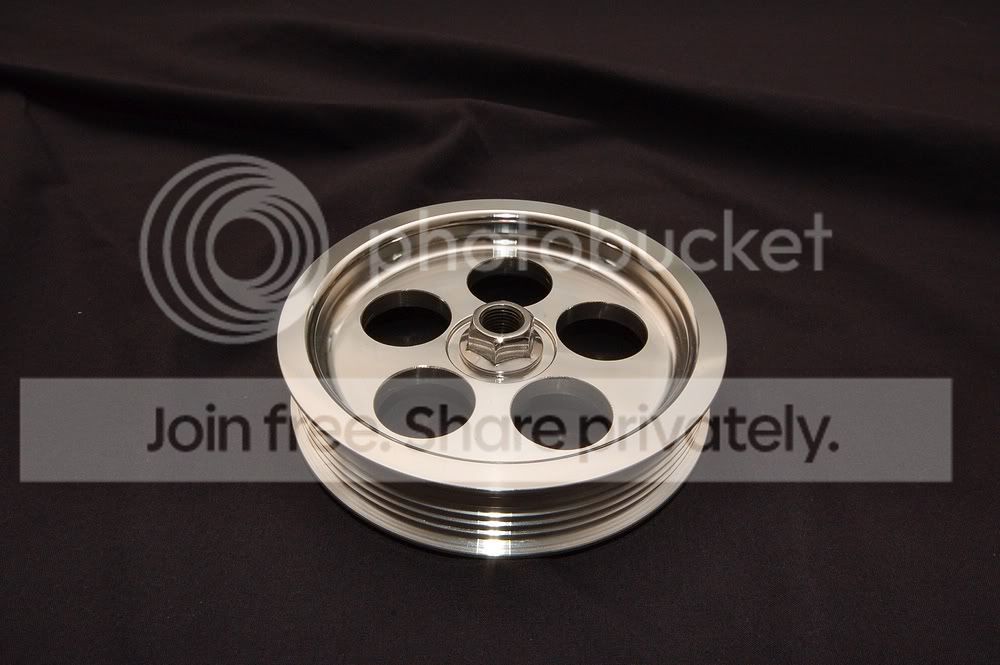
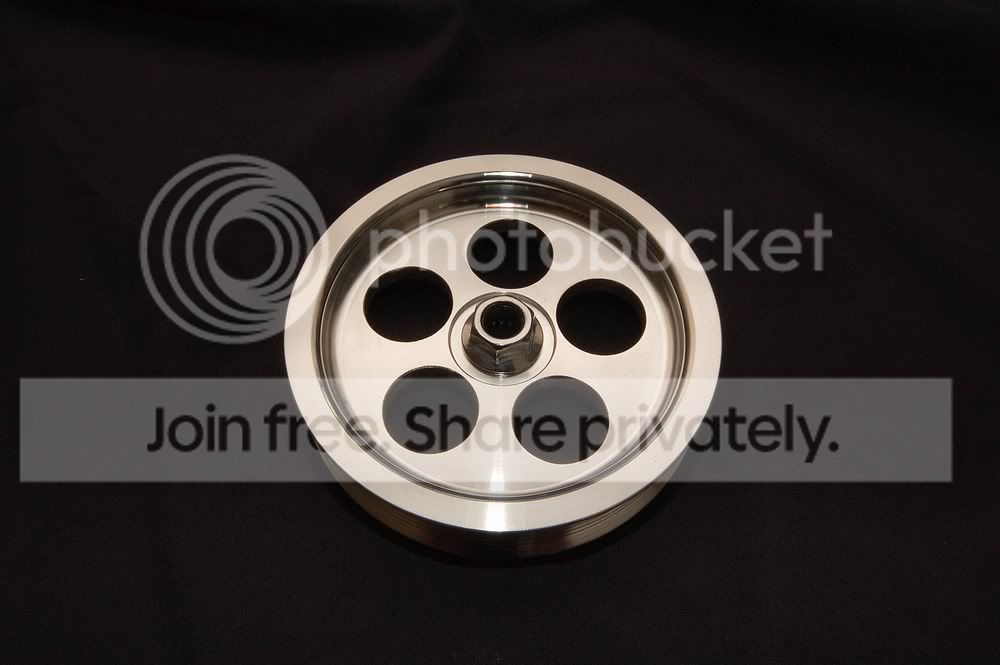
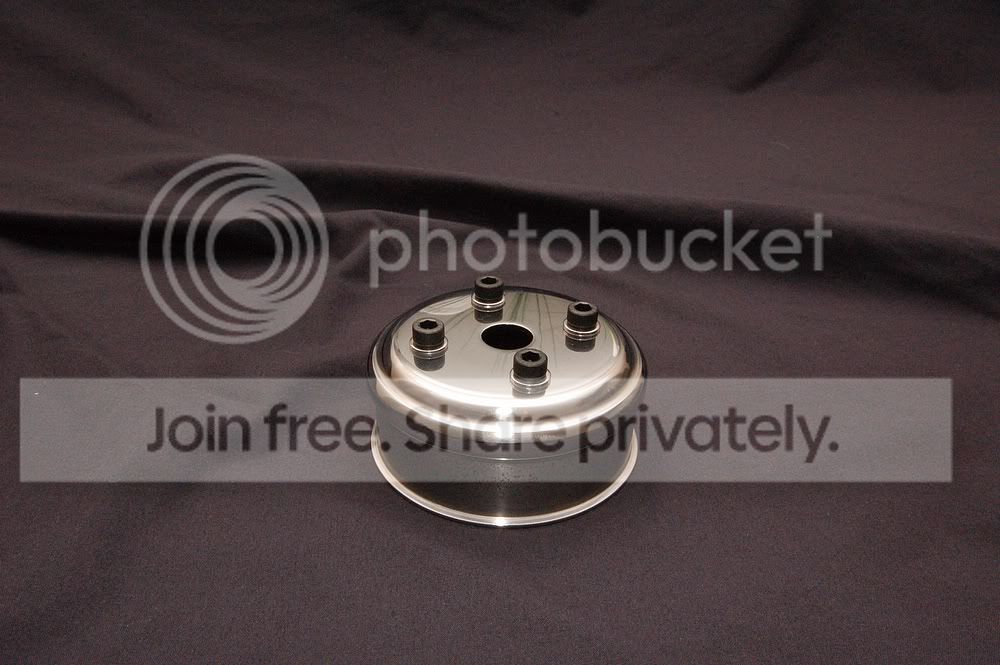
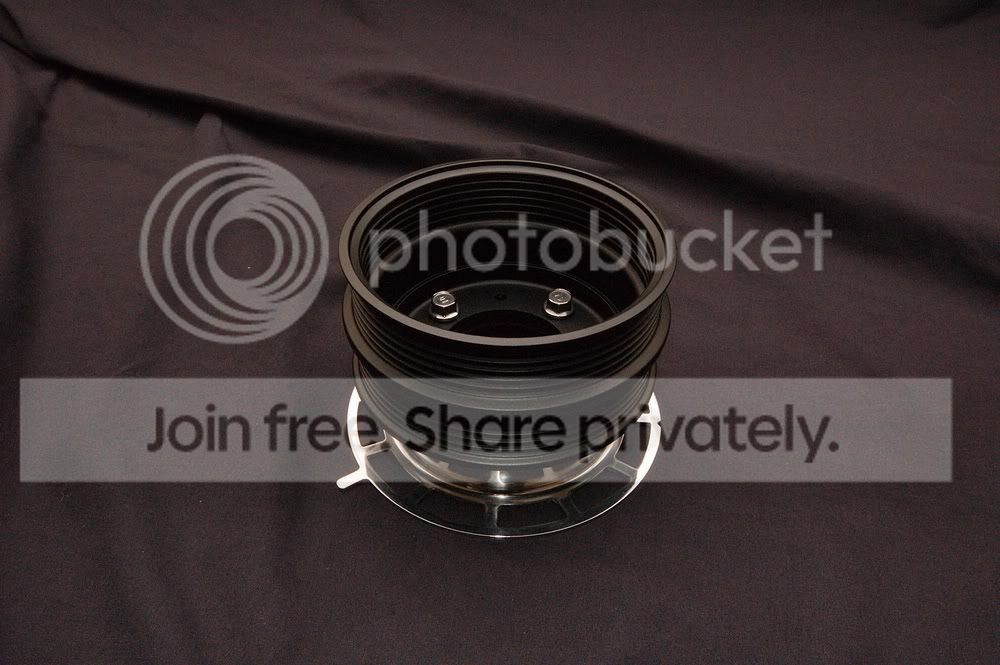
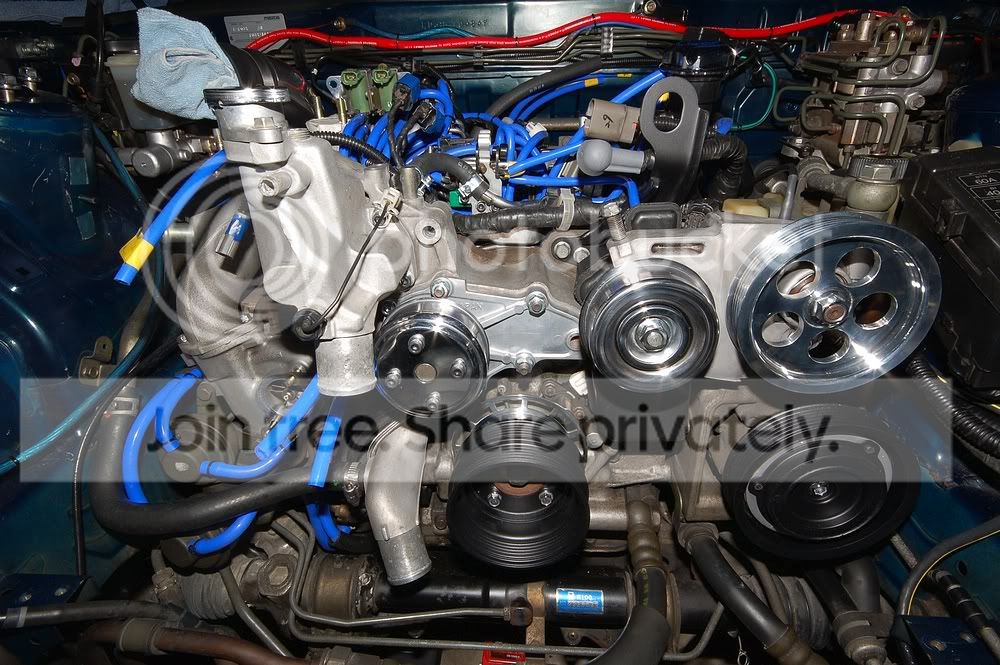
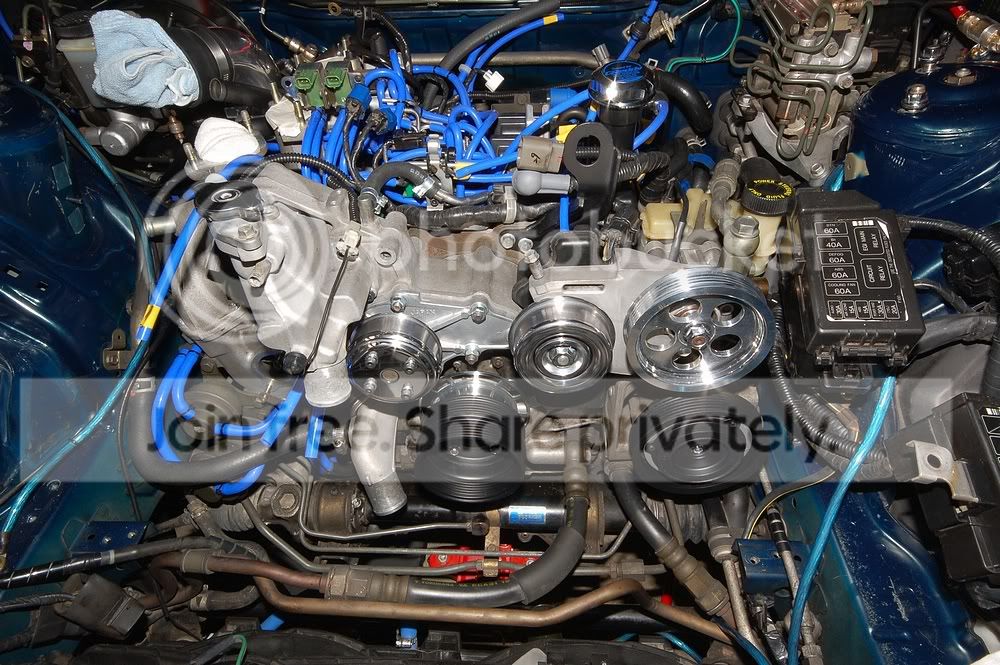
So works been busy and I had to do my taxes so I didn't get too much done. It's coming along though. I re-taped the wiring harness, did the vacuum hoses, cleaned up and painted a few things, polished and paint all the pulleys, and re-install some stuff along the way.
Vacuum Hoses before:
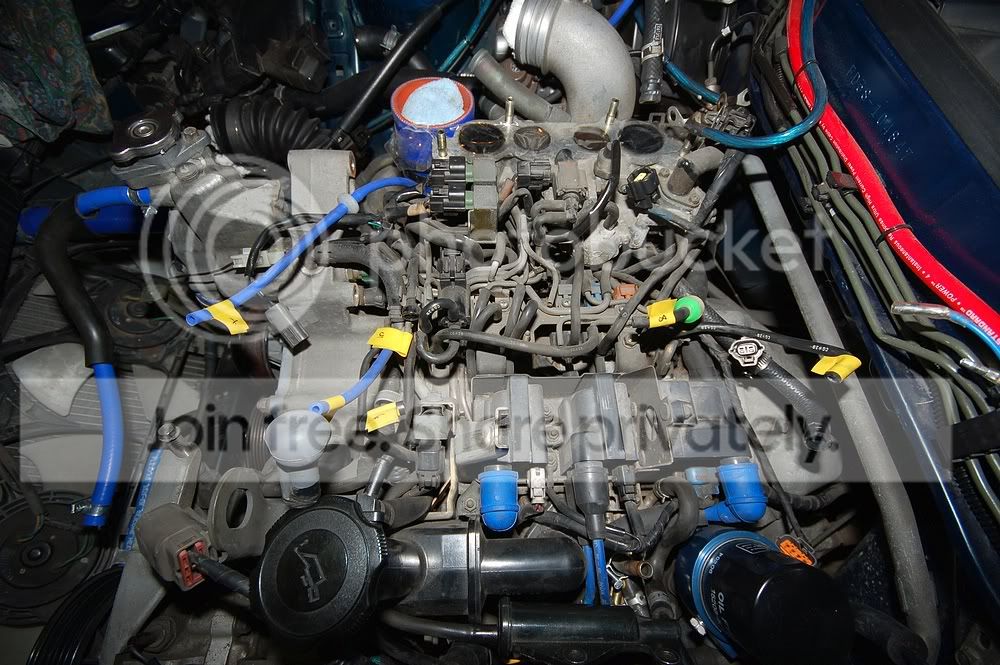

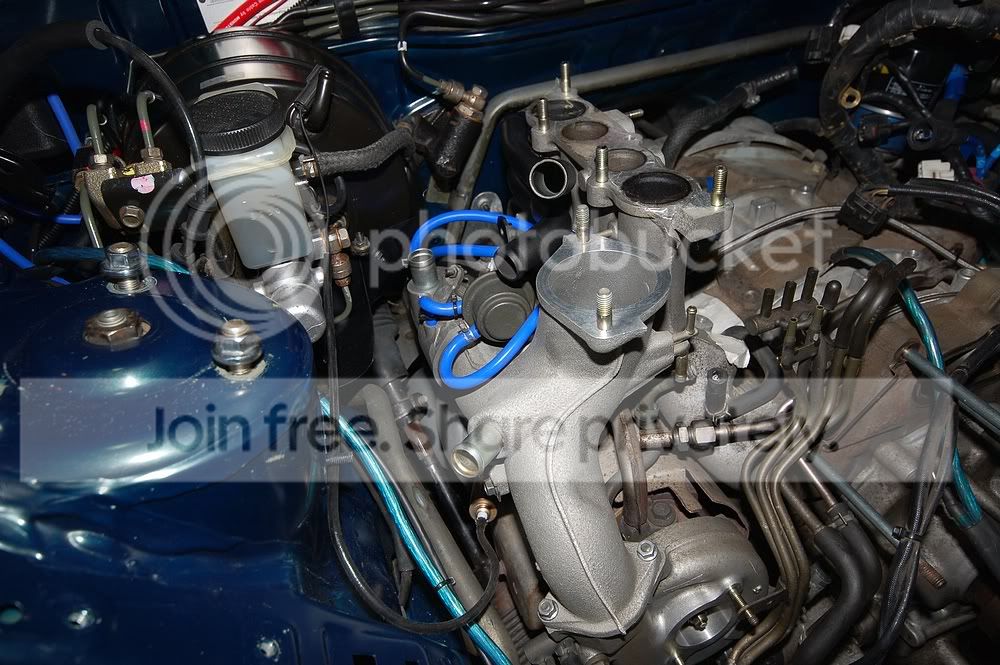
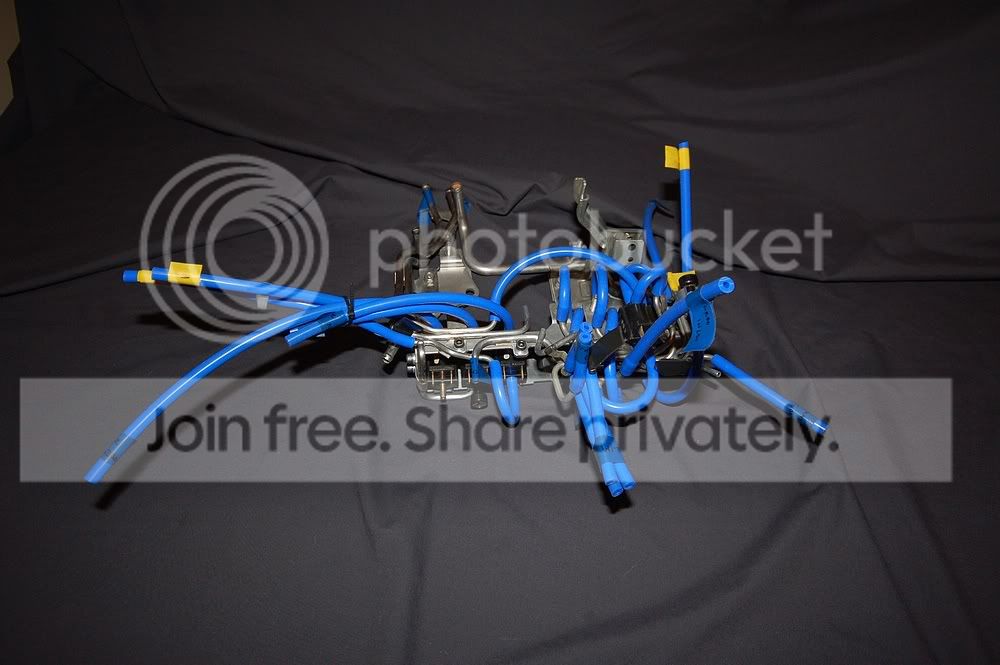
Vacuum Hoses after:

Vacuum Hoses before:
Vacuum Hoses after:

 04-30-09, 12:31 PM
#59
Need a tune

Join Date: Aug 2006
Location: Paris (France)
Posts: 338
Likes: 0
Received 0 Likes
on
0 Posts
Fantastic job!
Hey I noticed that you replaced the actuators lines containing pills by normal silicon hoses.
You will have boost issues if you don't hook boost control there.
Hey I noticed that you replaced the actuators lines containing pills by normal silicon hoses.
You will have boost issues if you don't hook boost control there.


 04-30-09, 12:55 PM
#65
Senior Member
Thread Starter
iTrader: (12)
Join Date: Aug 2007
Location: Calgary, Alberta (Canada)
Posts: 272
Likes: 0
Received 1 Like
on
1 Post
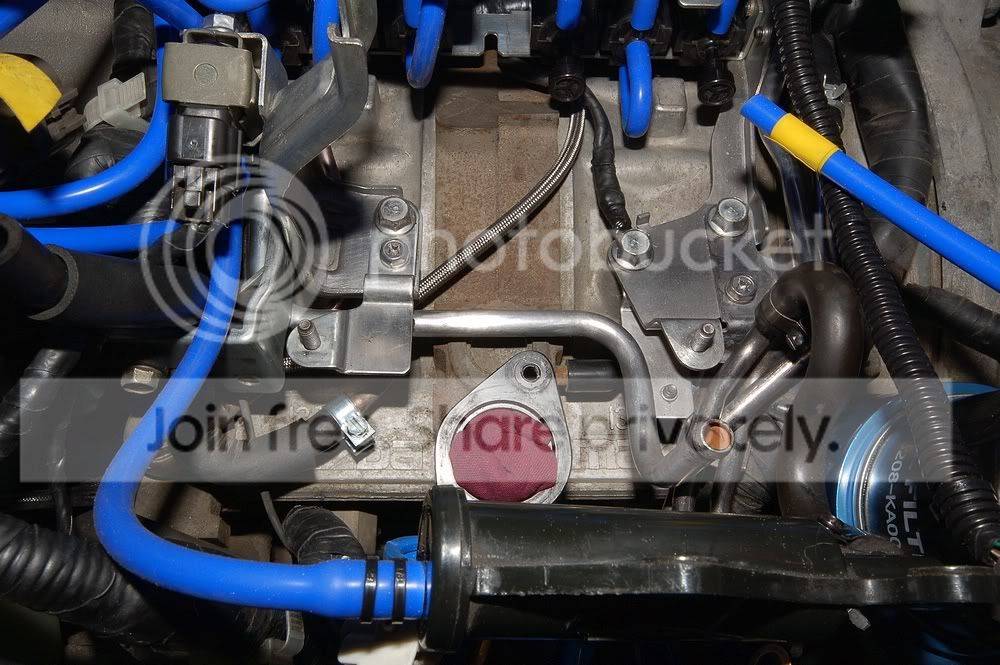
If you are talking about the gasket for the avc it's done. I've replaced all the gaskets with new metal ones except for the lim. I didn't take it off so I thought it would be okay.
05-01-09, 02:17 AM
#67
Senior Member
Thread Starter
iTrader: (12)
Join Date: Aug 2007
Location: Calgary, Alberta (Canada)
Posts: 272
Likes: 0
Received 1 Like
on
1 Post
I really didn't want to change the lower lim gasket. I believe you have to take out the turbos to access the bolts. Not a fun job from what I've read. I wasn't having any boost or idling issues so I thought it would be alright. No carbon build up around the lower part of the lim either. Also I don't have that gasket on hand. It wasn't on any of the lists in the hose job write-ups I read. Hopefully it will be okay. If I ever have to take out the turbos I will definitely change it.
05-01-09, 10:14 PM
#70
Junior Member

Join Date: Sep 2007
Location: Cheshire, UK
Posts: 41
Likes: 0
Received 0 Likes
on
0 Posts
Fantastic work there mate, really impressed with the attention to details, especially with the complicated engine bays we have! I hope when I get chance to do similar that I can do even half as good a job!
BTW - anyone point me in the direction of a definitive 'removing/fitting' the stock turbopack? ...while people mention it!
BTW - anyone point me in the direction of a definitive 'removing/fitting' the stock turbopack? ...while people mention it!
 05-03-09, 01:47 AM
#73
DIGG7ER
iTrader: (4)
Join Date: Apr 2001
Location: virginia beach, va.
Posts: 988
Likes: 0
Received 0 Likes
on
0 Posts
my LIM gasket blew on mine also when I was still running twins and if I was in the position you are in right now, I'd replace that crap now!!! I don't know why mazda would put a fn paper gasket in an engine that generates so much heat...
05-03-09, 10:39 PM
#74
You inspired me to try and clean up a bunch of low mileage parts that are going onto my FD soon. My results were nowhere near as good as yours.
I used some engine cleaner/degreaser and some light bristle brushes. when that didn't work well enough, I used the same stuff and wire brushes. That helped a bit. Then I moved back to the bristle brushes. What a pita. In the end there was some stuff that wouldn't come out of the aluminum even with sand paper. I also cleaned my power steering pump which I didn't want to get too wet by using water. I used water and all purpose cleaner to rinse the primary rail and it didn't help either.
It looks a little better but nowhere near the results you had. Congrats on the great results.
05-04-09, 12:19 AM
#75
Senior Member
Thread Starter
iTrader: (12)
Join Date: Aug 2007
Location: Calgary, Alberta (Canada)
Posts: 272
Likes: 0
Received 1 Like
on
1 Post
Thanks for all the good comments and suggestions. I've decided to hold off on the lim gasket. I read a little bit on the turbos and like everything with this car you can't just take them off and then put them back on. There's a bunch of stuff you should do "while you're in there". Isn't that like the motto for this car. Anyways it should be okay until next winter and then I'll play around with the turbos. Besides I may end up pulling the motor so I can paint the engine bay.
As for cleaning parts ... couple things I use. I use engine degreaser which works pretty good and if that doesn't work I use a rust dissolver gel. If the parts are off, I rinse them with water and make sure there completely dry before I install them. If they're on the car, I just use a wet rag to remove the cleaners. I really don't like to spray down my engine. You never know where a pool of water will end up just sitting. This of course is only on raw aluminum or iron not anything polished. I also only use copper brushes because they don't leave scratch marks.
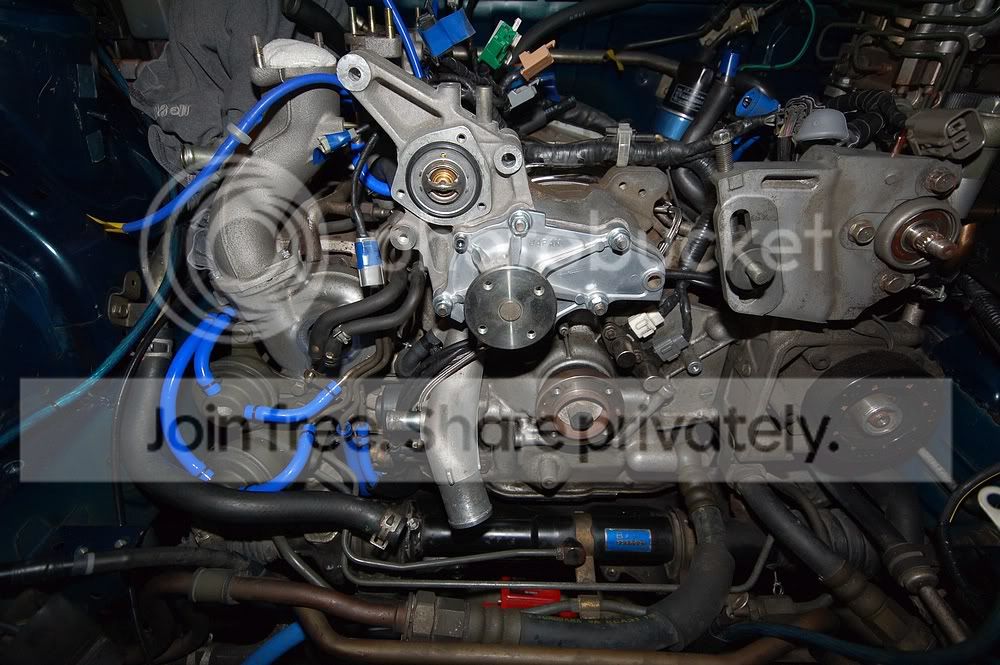
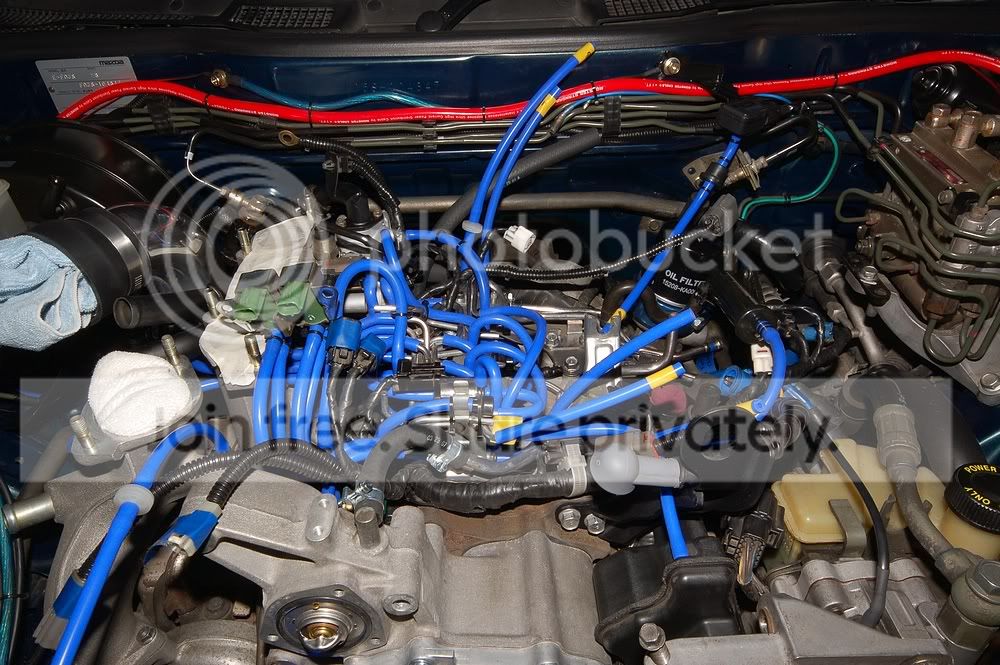
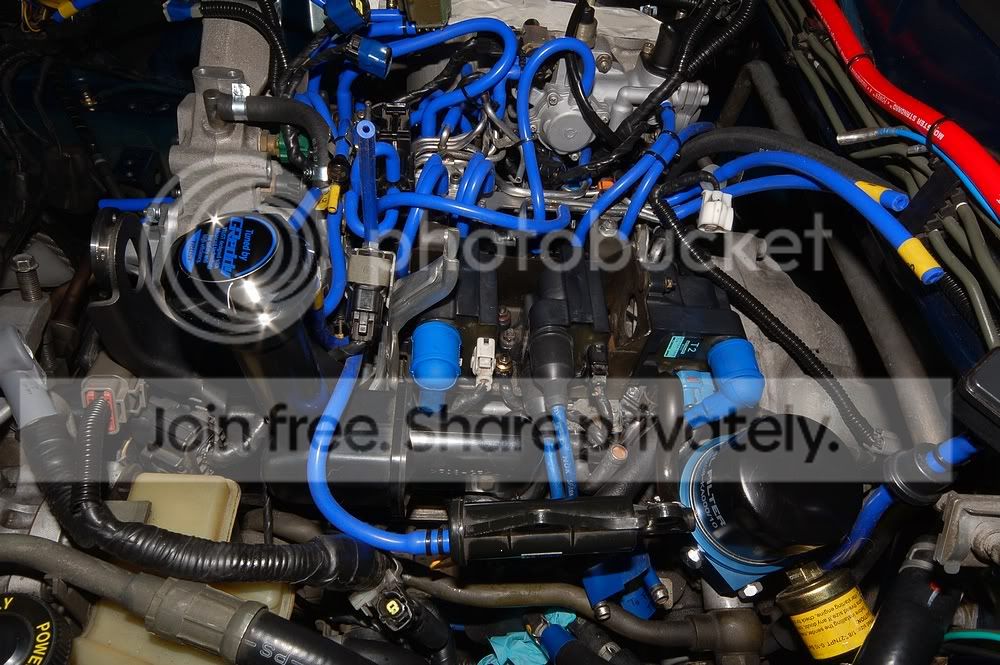
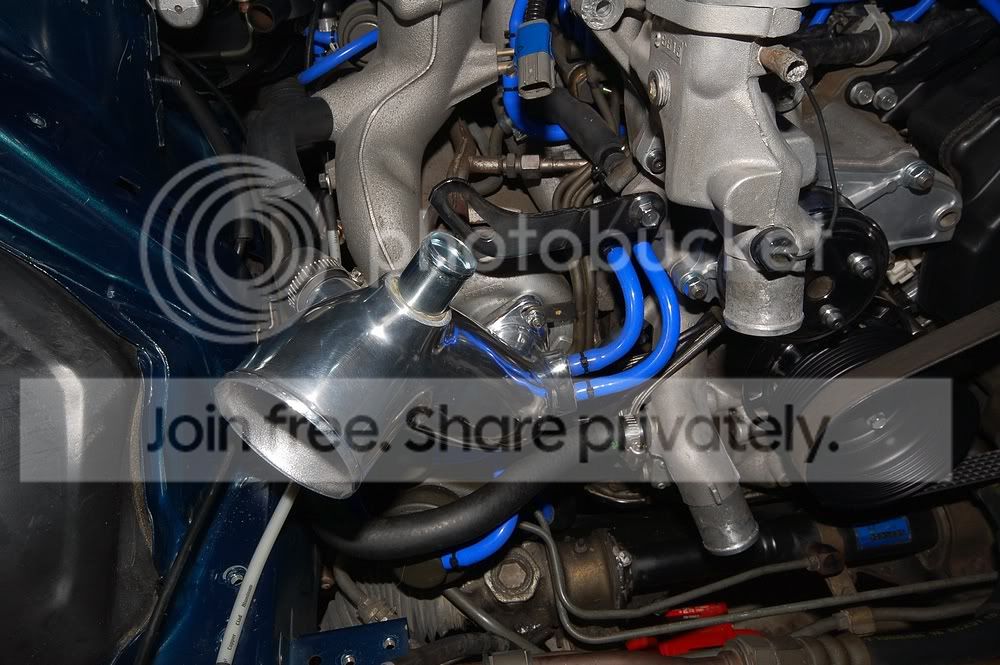
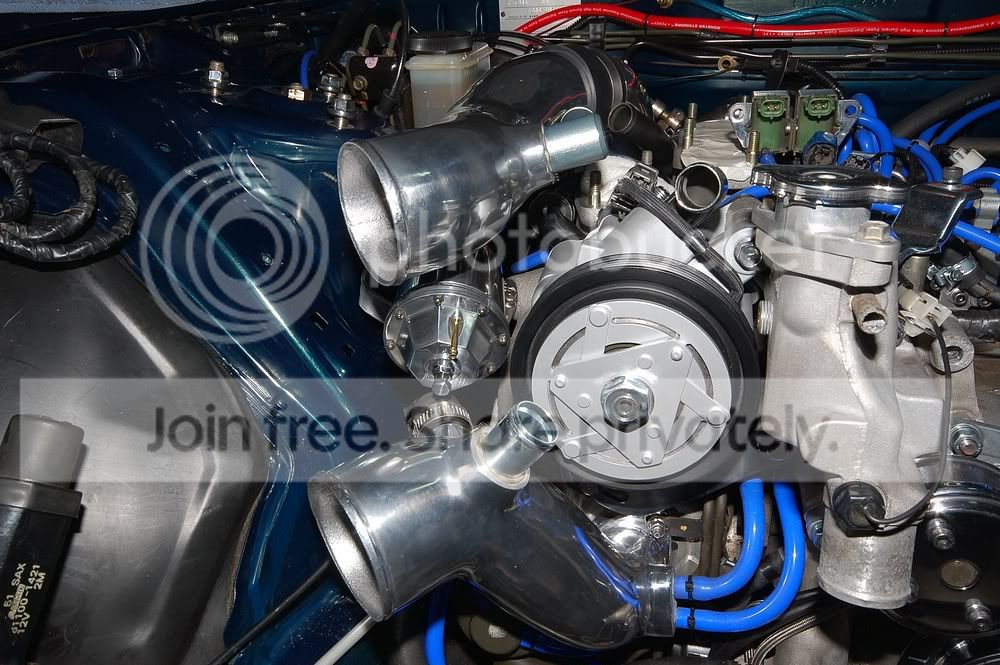
On to my progress ... Having the engine bay stripped down has been a treat. I started putting stuff back on and remembered how tight this car is to work with. I got the intakes, bov, air pump, alternator, and rad hoses installed. Also changed a bunch of clamps, painted the cross beam, and replaced a few rusted bolts. What's with wire clamps for power steering pump? I have a ton of pics. Hope it's not over kill.
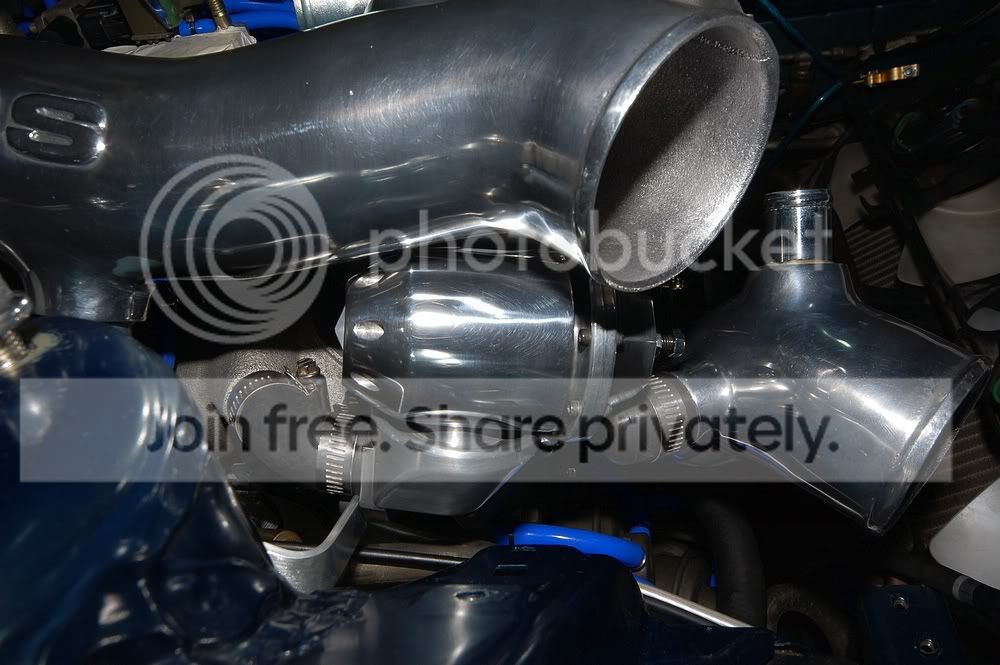
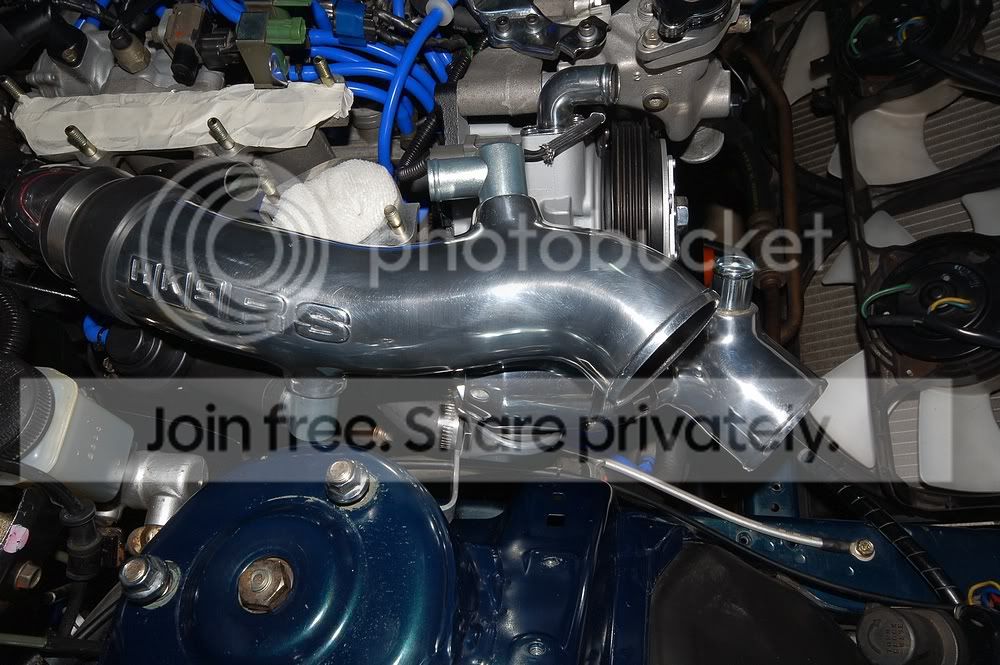
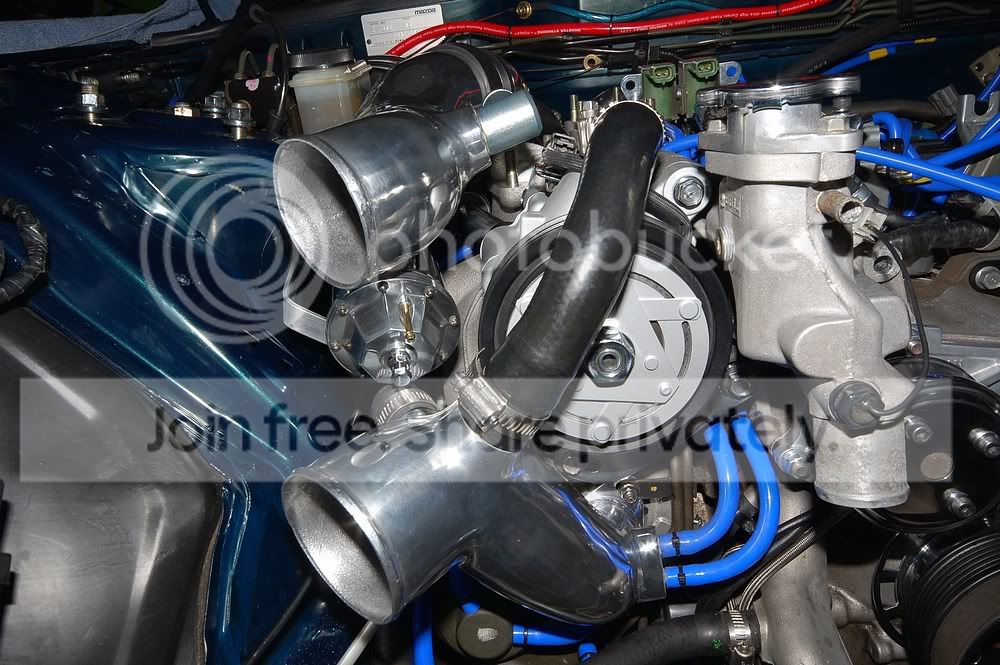
HKS Intakes:

Air Pump:
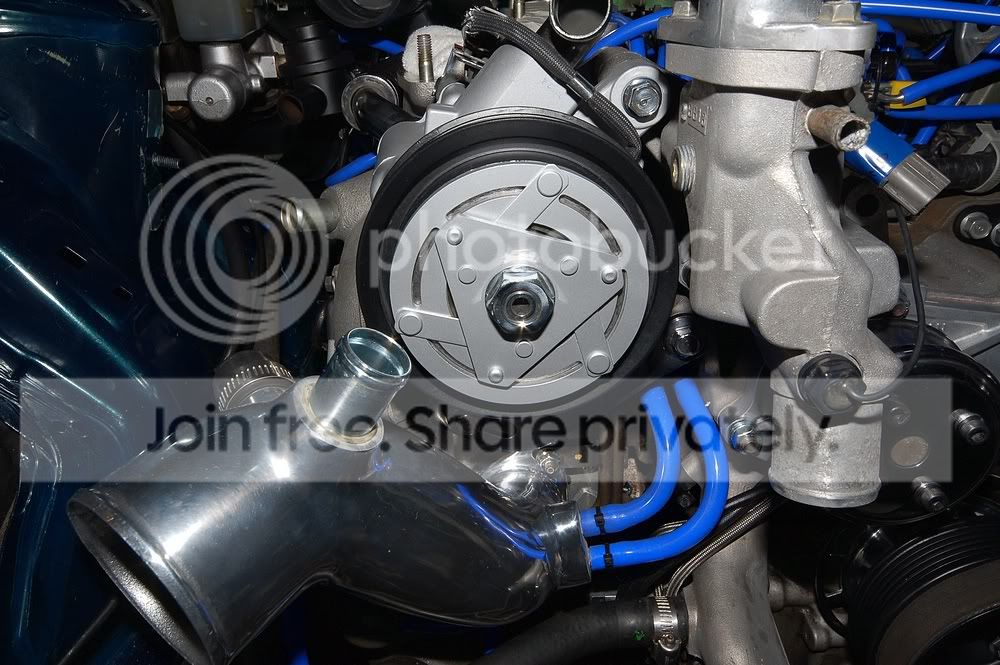
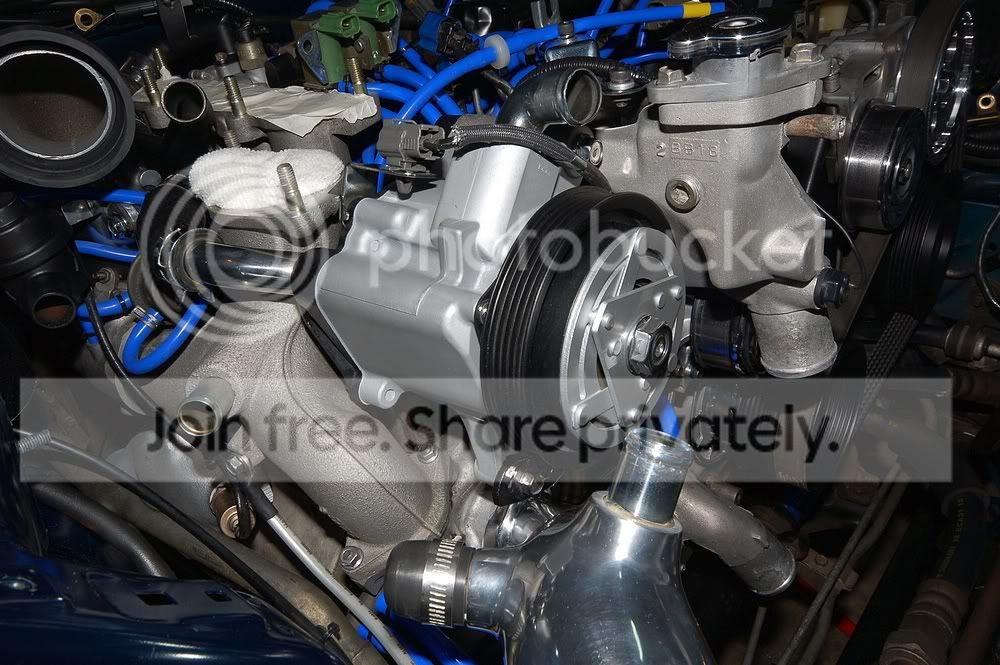
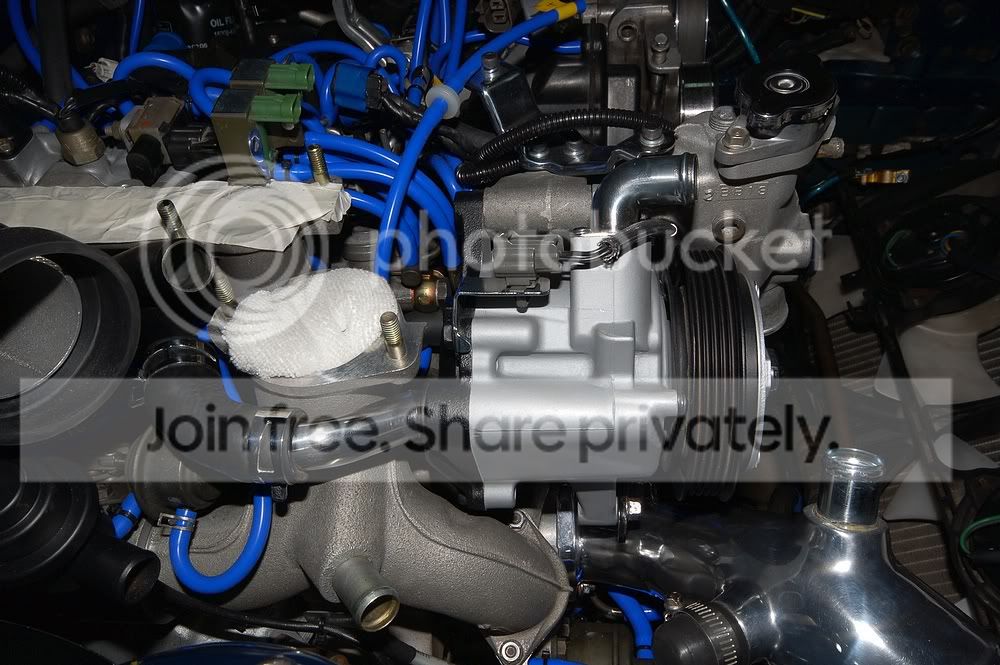
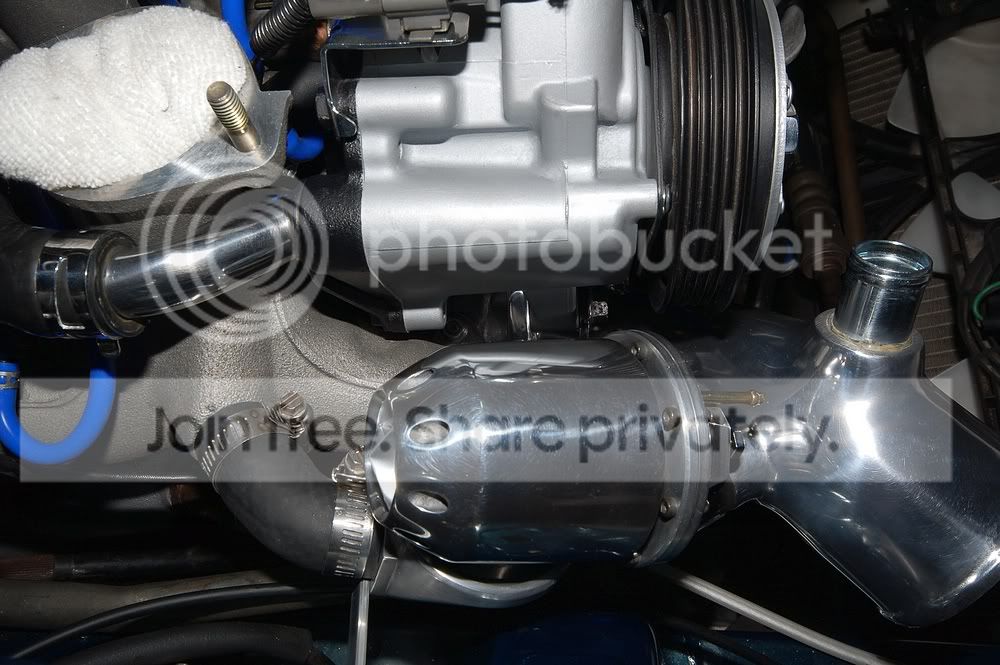
HKS BOV:


As for cleaning parts ... couple things I use. I use engine degreaser which works pretty good and if that doesn't work I use a rust dissolver gel. If the parts are off, I rinse them with water and make sure there completely dry before I install them. If they're on the car, I just use a wet rag to remove the cleaners. I really don't like to spray down my engine. You never know where a pool of water will end up just sitting. This of course is only on raw aluminum or iron not anything polished. I also only use copper brushes because they don't leave scratch marks.
On to my progress ... Having the engine bay stripped down has been a treat. I started putting stuff back on and remembered how tight this car is to work with. I got the intakes, bov, air pump, alternator, and rad hoses installed. Also changed a bunch of clamps, painted the cross beam, and replaced a few rusted bolts. What's with wire clamps for power steering pump? I have a ton of pics. Hope it's not over kill.
HKS Intakes:
Air Pump:
HKS BOV: