
My Project ... (lots of pics)

Thread Starter
Joined: Aug 2007
Posts: 272
Likes: 1
From: Calgary, Alberta (Canada)
My Project ... (lots of pics)
So the snow is finally gone and now it's time to start putting this thing back together again. I bought a ton of stuff over the winter and I'm in the process of polishing the last couple of pieces before I attempt to install all this ****. I thought I would post some before and after pics of my work in progress. I spent alot of time on it so I thought I would show it off.
I purchase a 92' FD Montego Blue (RHD) w/ about 50000km (stock motor and twins) in 2007. This is what it looked like:

So I did the regular maintenance stuff, clean up the engine bay, and this is where I was at the beginning of the off season in 2008:

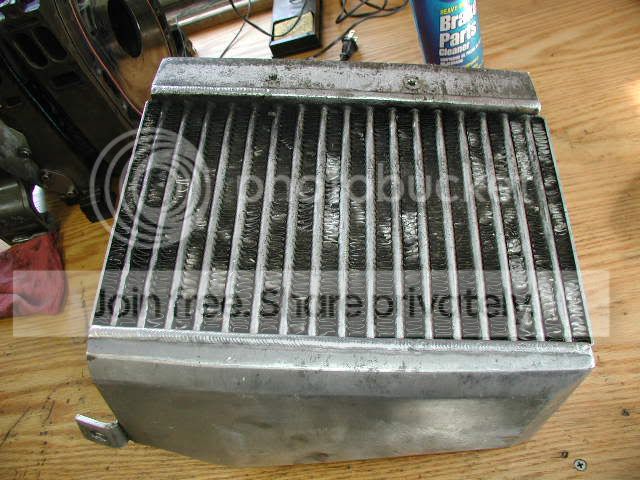
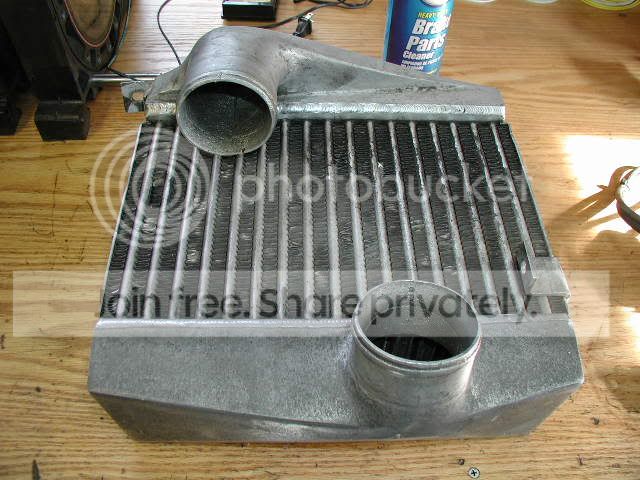
Stuff I bought over the winter:
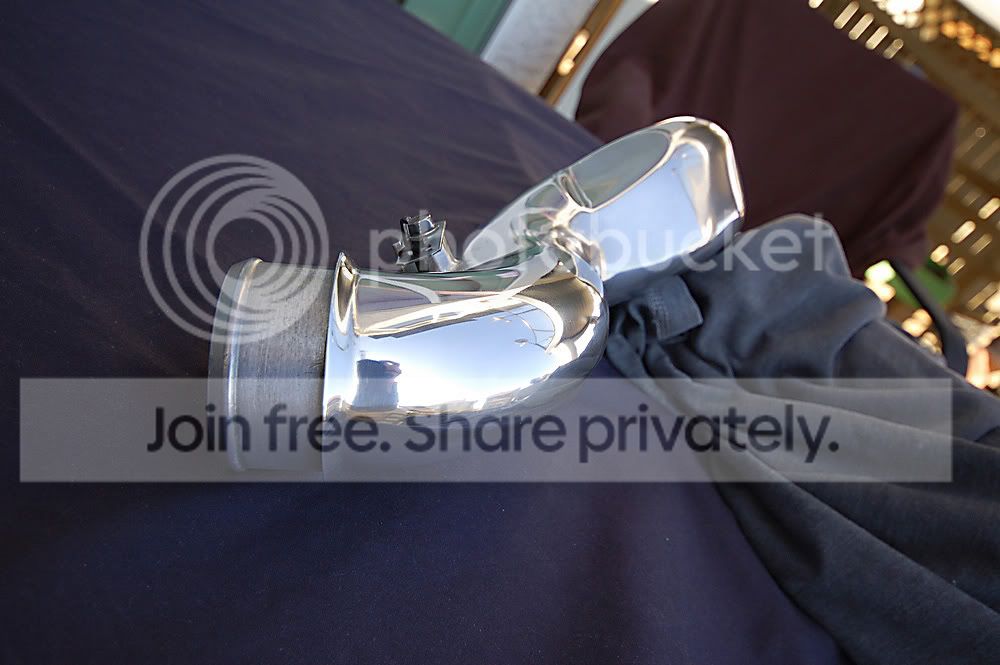
HKS BOV (used) before:

HKS BOV after:


Gotta go for now. I'll post the rest of my pics later.
I purchase a 92' FD Montego Blue (RHD) w/ about 50000km (stock motor and twins) in 2007. This is what it looked like:
So I did the regular maintenance stuff, clean up the engine bay, and this is where I was at the beginning of the off season in 2008:
Stuff I bought over the winter:
HKS BOV (used) before:
HKS BOV after:
Gotta go for now. I'll post the rest of my pics later.

Nice clean up of the engine bay. The colors really set it off. I like your front aluminum ducting sheild...is it custom? I've been tinkering on mine too..... just got done doing a single turbo swap (T78) over the past two months. Just awaitng to get it tuned. Hoping for at least 400 hp to the ground on moderate boost. Good luck with the car.
Thread Starter
Joined: Aug 2007
Posts: 272
Likes: 1
From: Calgary, Alberta (Canada)
More pics ....
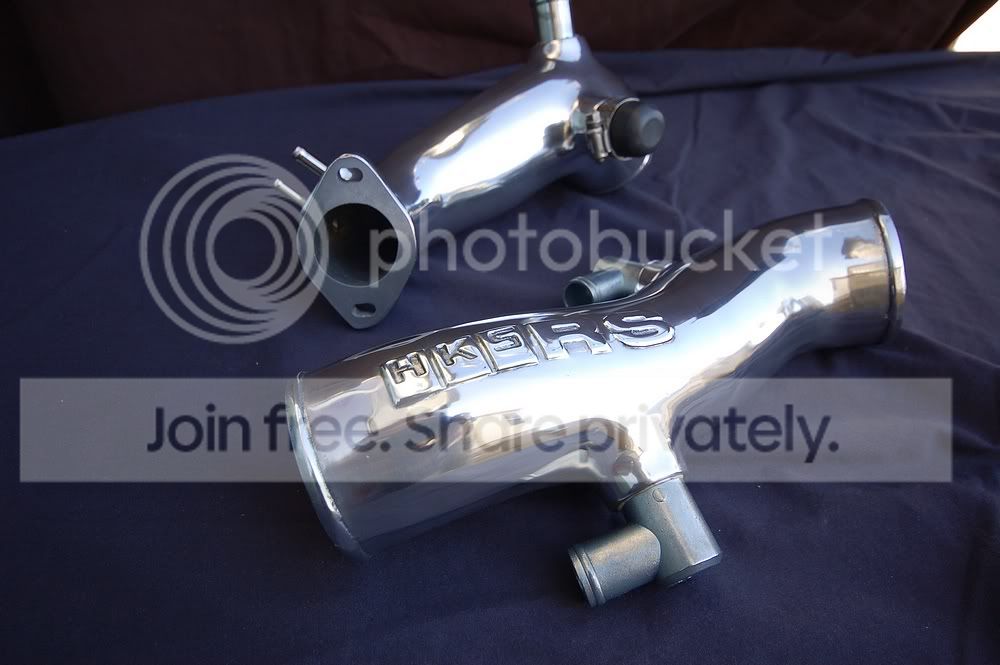
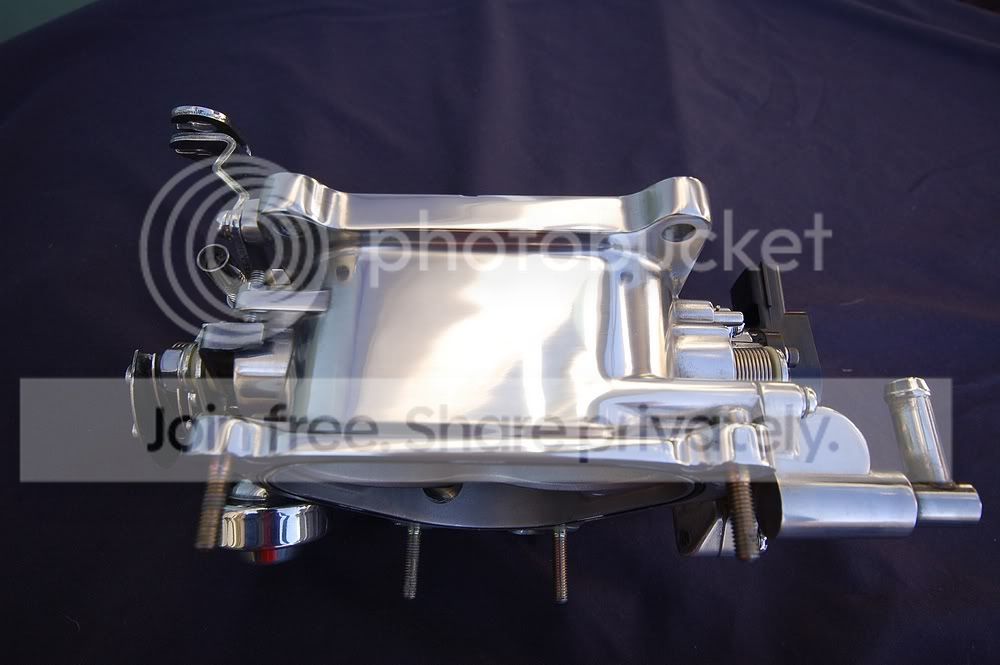
Efini Y-Pipe (used) before:

Efini Y-Pipe after:


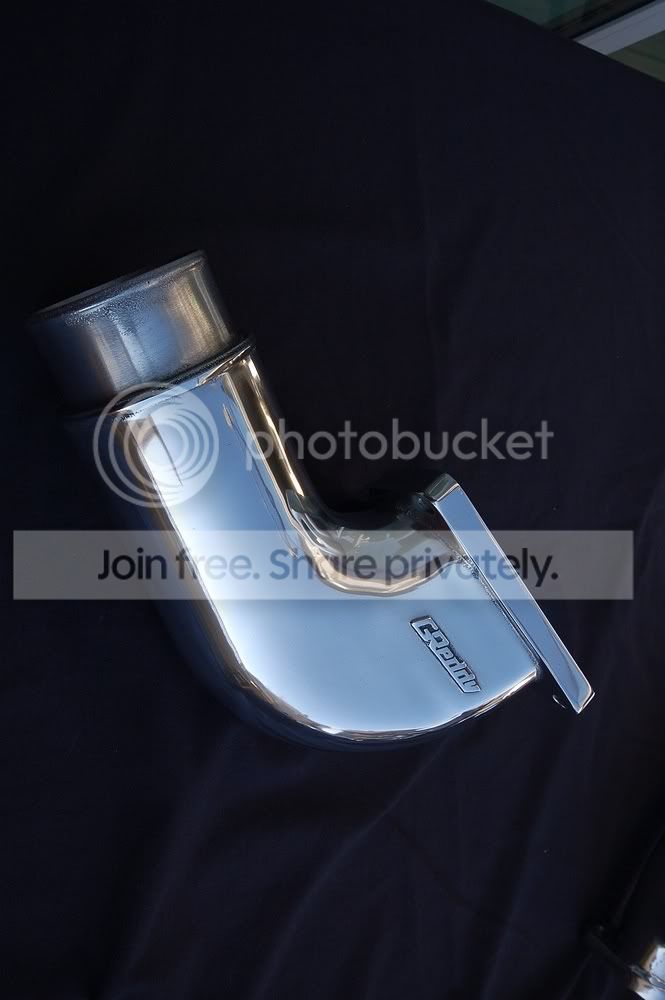
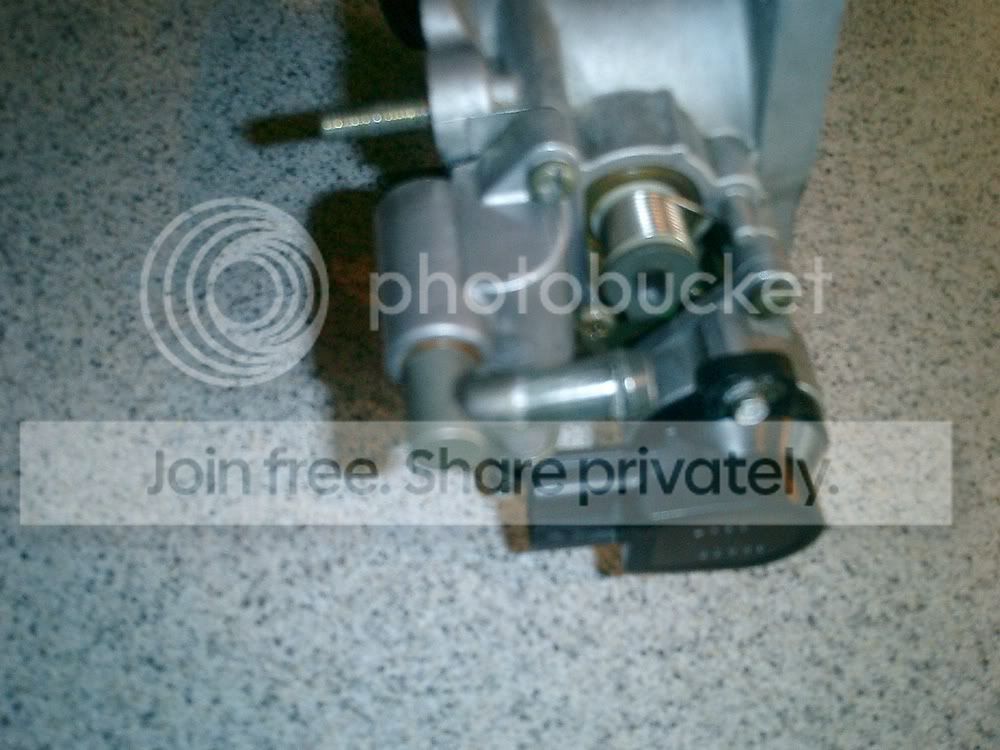
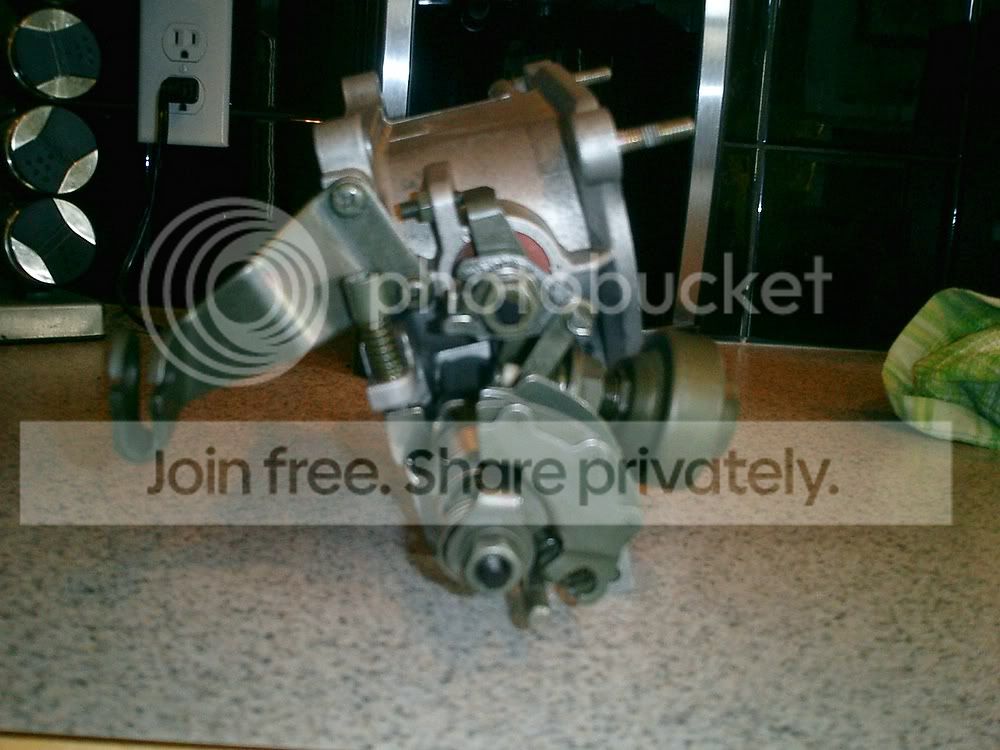
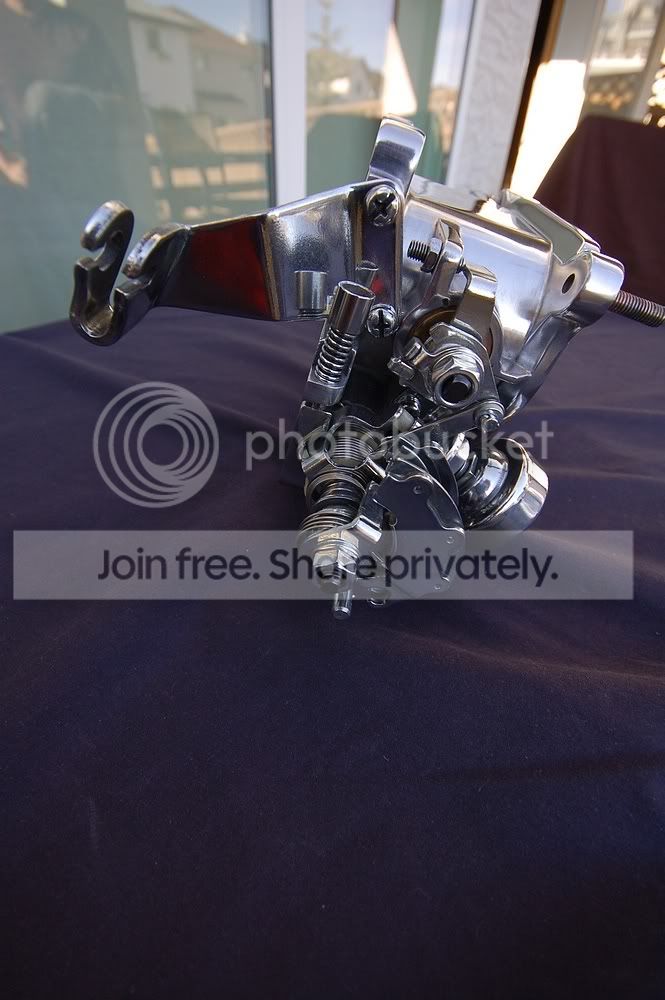
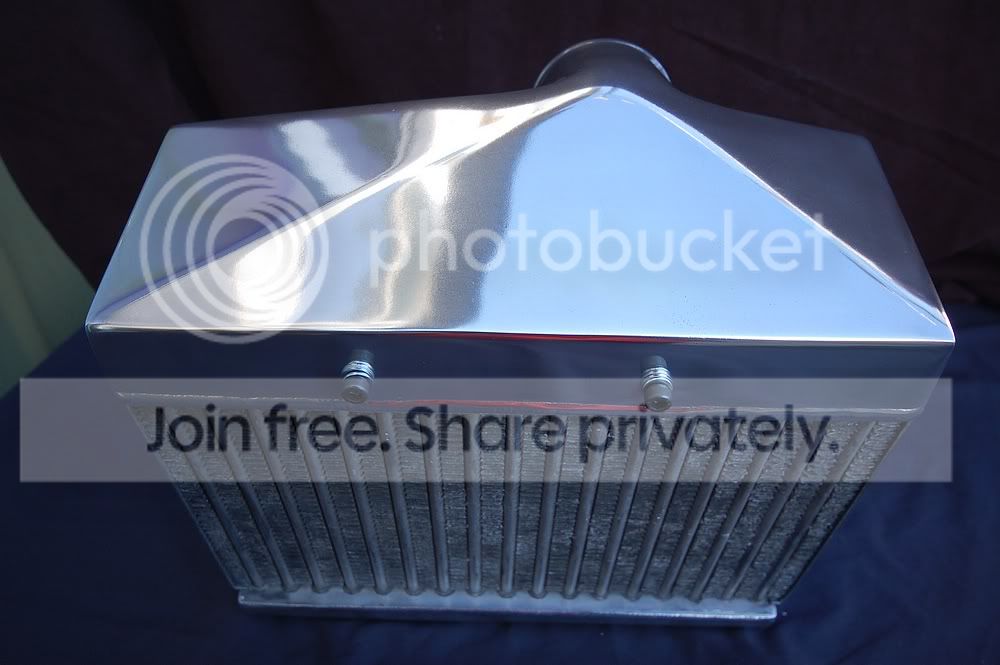
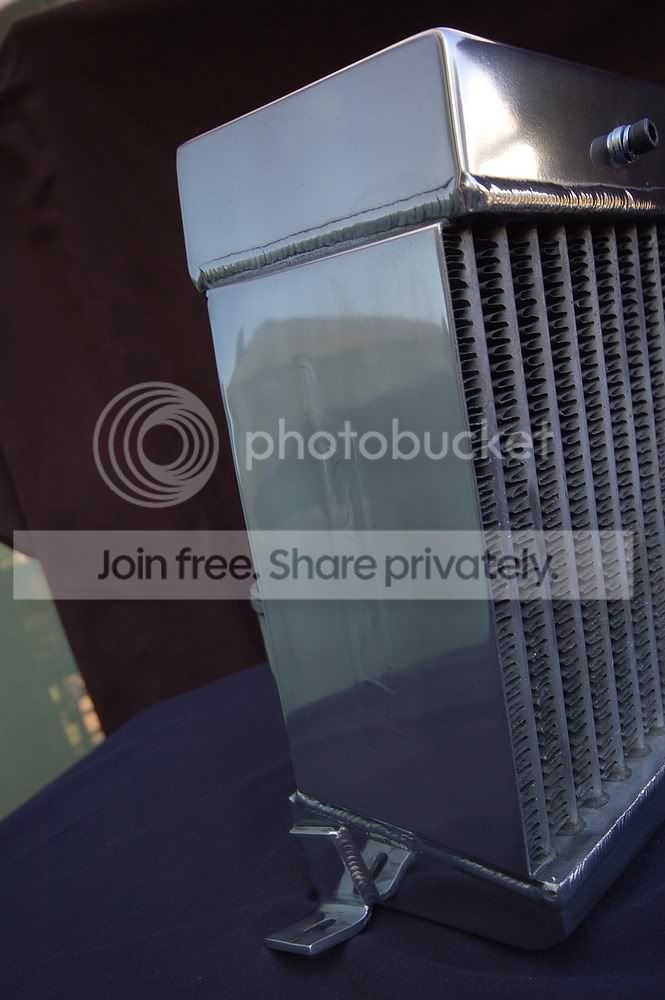
Greddy Elbow (used) before:

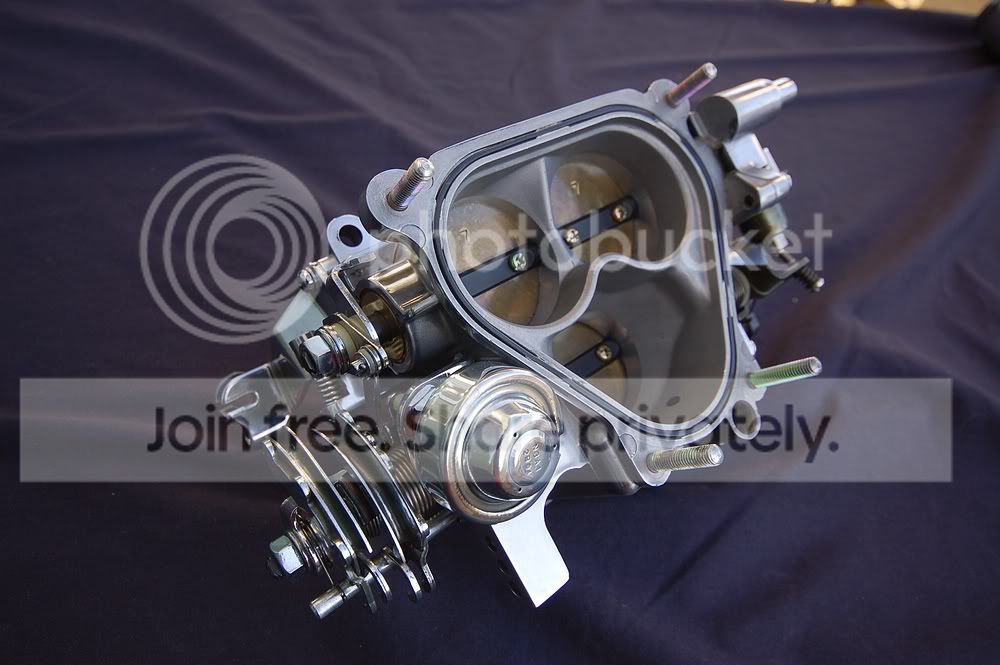
Greddy Elbow after [already polished but cleaned up Greddy logo and repolished]:


IC Pipes after [repolished]:

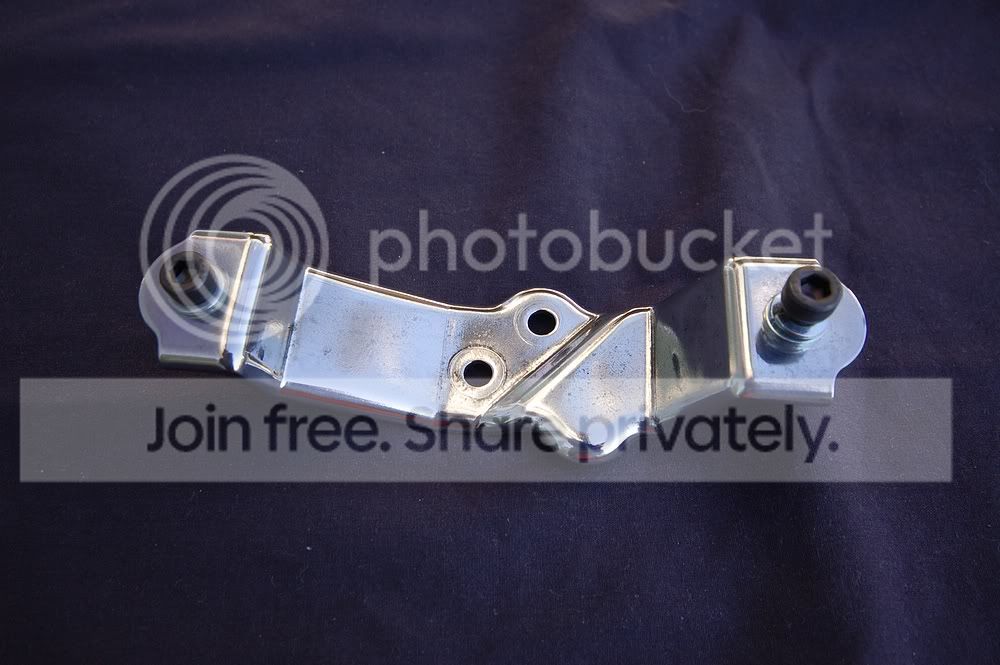
Y-Pipe Bracket after:
Efini Y-Pipe (used) before:
Efini Y-Pipe after:
Greddy Elbow (used) before:
Greddy Elbow after [already polished but cleaned up Greddy logo and repolished]:
IC Pipes after [repolished]:
Y-Pipe Bracket after:
Thread Starter
Joined: Aug 2007
Posts: 272
Likes: 1
From: Calgary, Alberta (Canada)
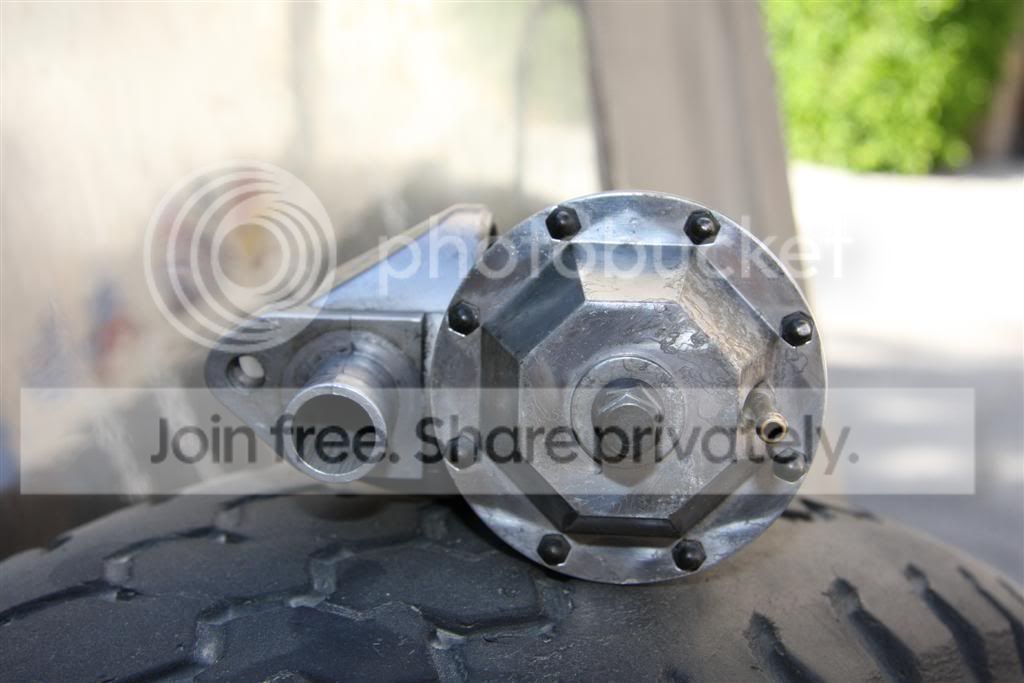
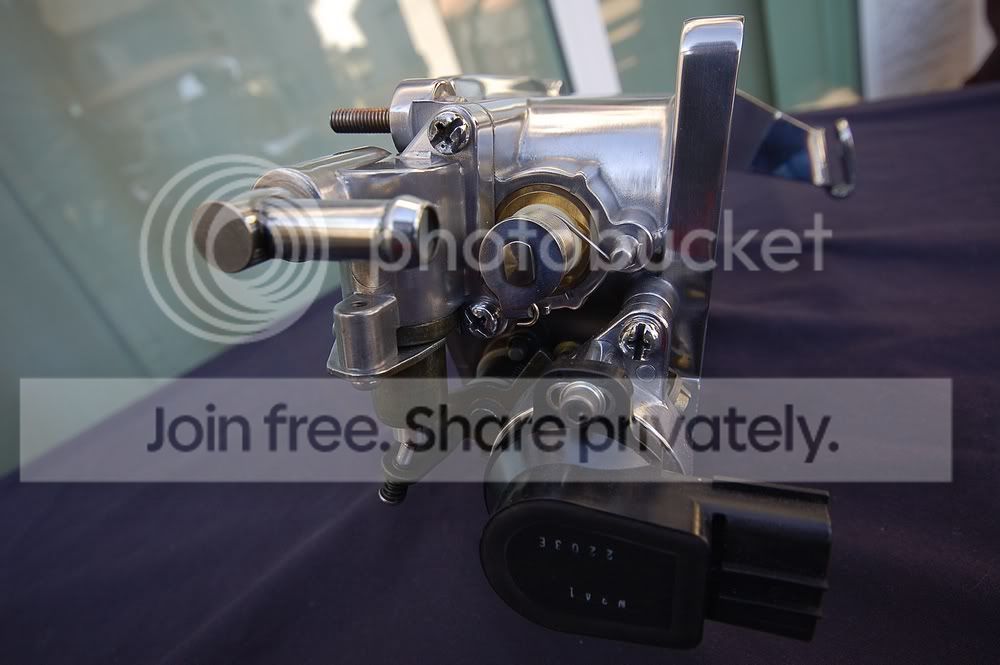
Turbo Inlet Pipe after:

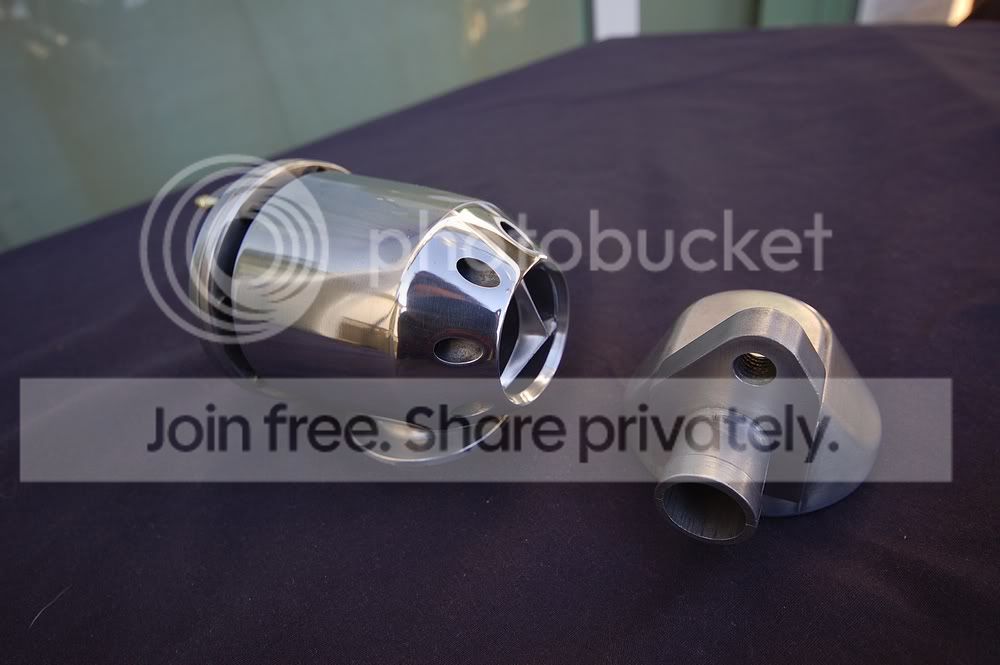
HKS Air Intakes before:

Hks Air Intakes after [bought them new but cleaned up HKS logo, repolished, and remove all the red]:


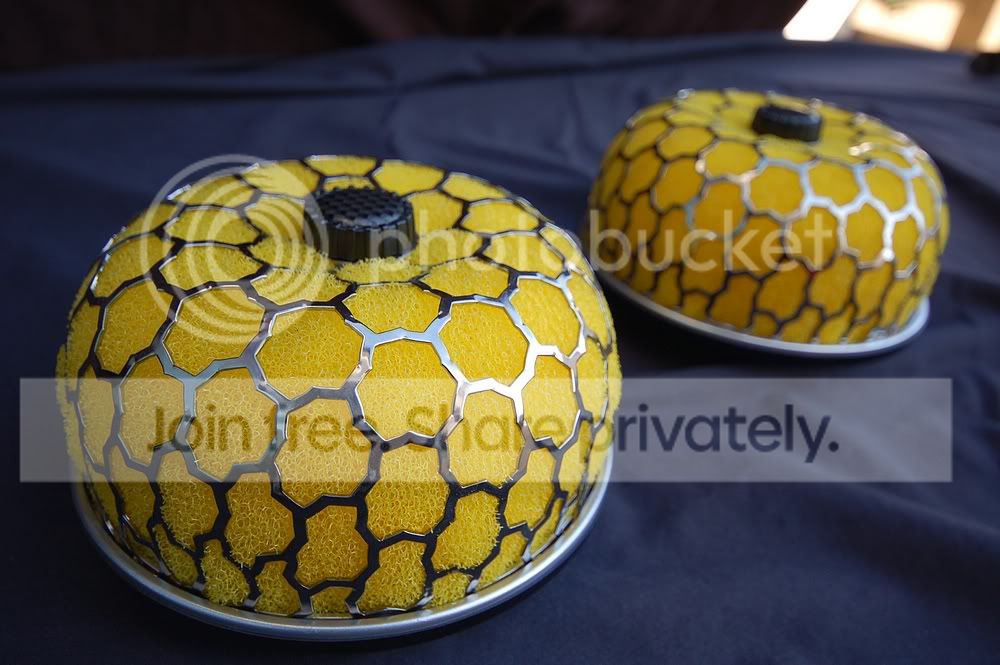
I'm actually looking for blue or grey replacement elements for the HKS intakes if anyone knows where to get them.
HKS Air Intakes before:
Hks Air Intakes after [bought them new but cleaned up HKS logo, repolished, and remove all the red]:
I'm actually looking for blue or grey replacement elements for the HKS intakes if anyone knows where to get them.


Thread Starter
Joined: Aug 2007
Posts: 272
Likes: 1
From: Calgary, Alberta (Canada)
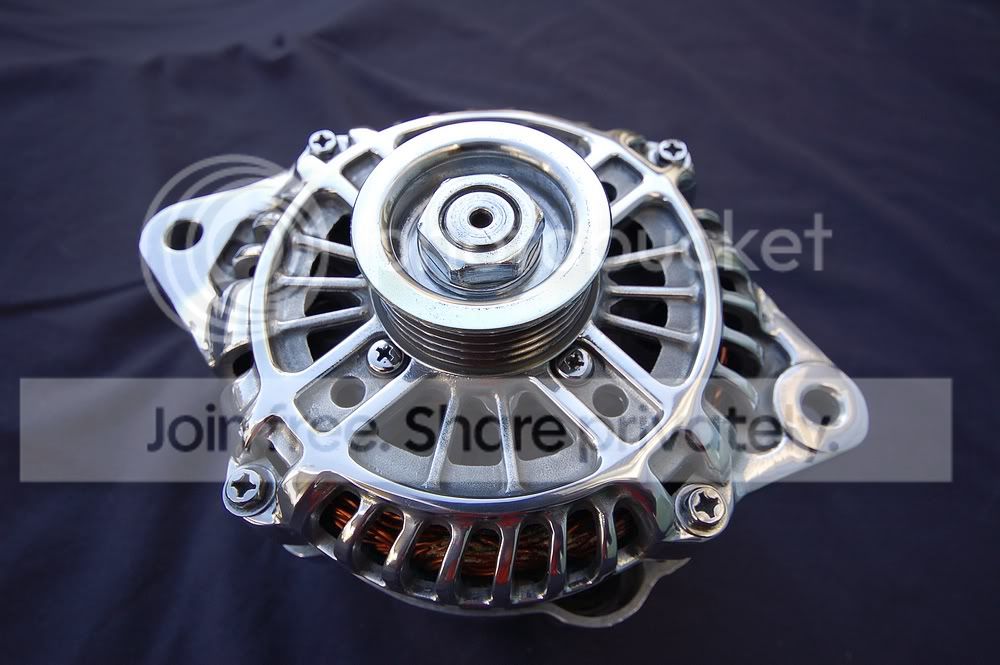
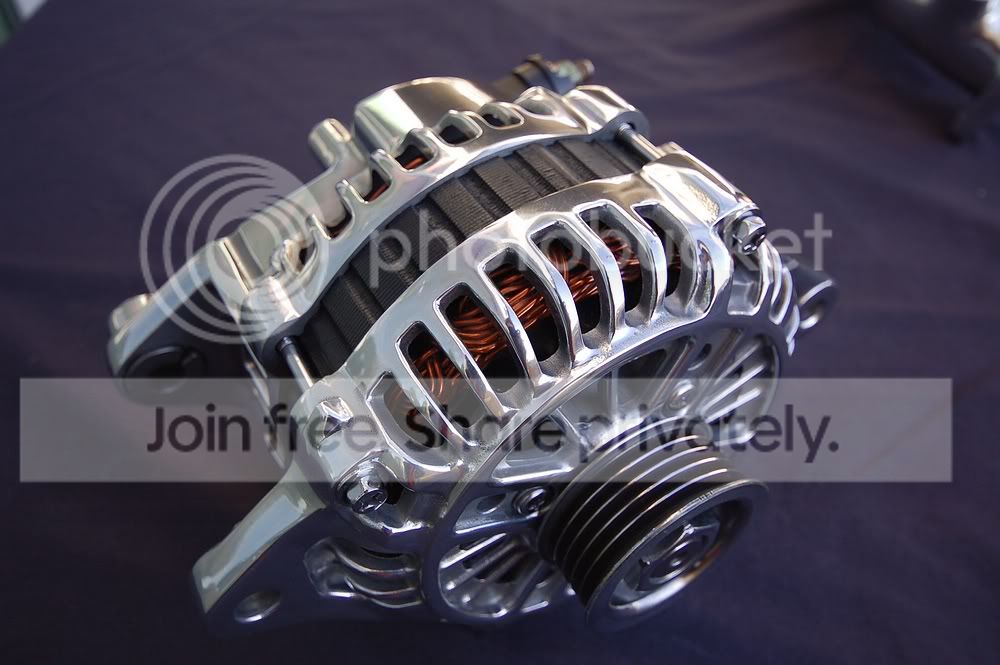
Alternator after [bought this already polished but took it apart cleaned it all up, painted stator black, and repolished]:


Well that's all for now. I gotta get back to polishing the UIM. What a PITA. I still have alot more stuff to install besides this so I'll try to take pics and update as I go along.
Well that's all for now. I gotta get back to polishing the UIM. What a PITA. I still have alot more stuff to install besides this so I'll try to take pics and update as I go along.
Trending Topics


Thread Starter
Joined: Aug 2007
Posts: 272
Likes: 1
From: Calgary, Alberta (Canada)
Thank for all the comments. I used alot of sand paper, a palm sander, dremel tool, more sand paper, converted my grinder to a buffing wheel, metal polish, more sand paper, and a **** load of time. Half way done my UIM, so I'll post some more pics when thats done.


Thread Starter
Joined: Aug 2007
Posts: 272
Likes: 1
From: Calgary, Alberta (Canada)
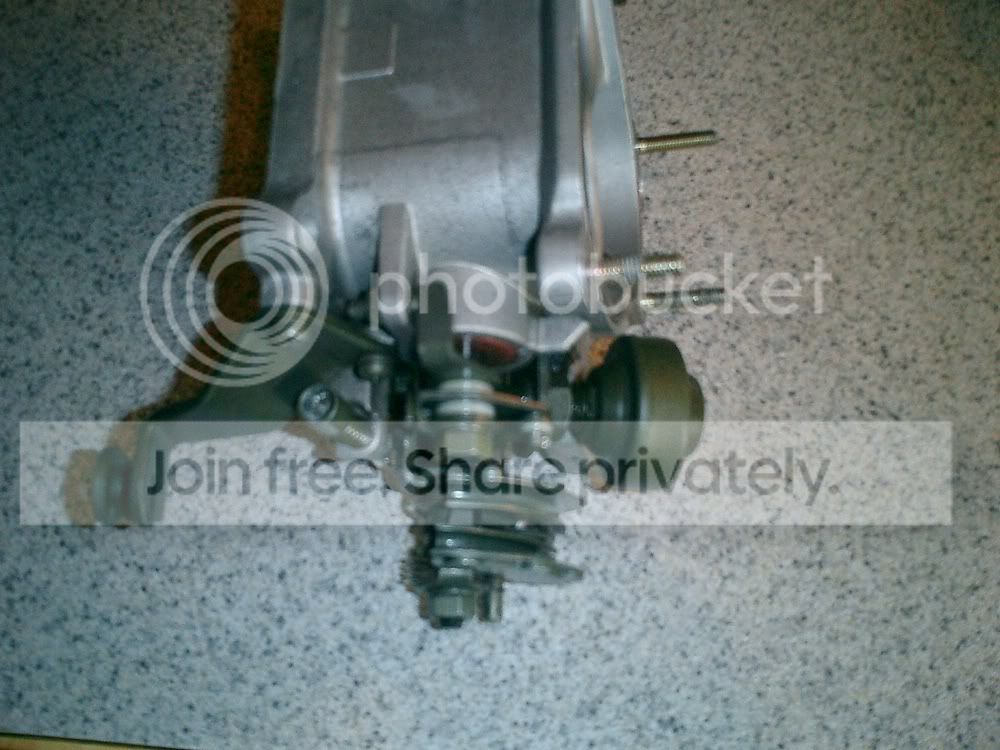
So I got a little side tracked. I started tearing down my engine bay and realized my air pump was in pretty bad shape and a little seized up. So I took it apart, clean the inside (as much as I could), and painted it. Don't know how well the paint will hold but it looks alot better than it did.
Air Pump before:


Air Pump after:
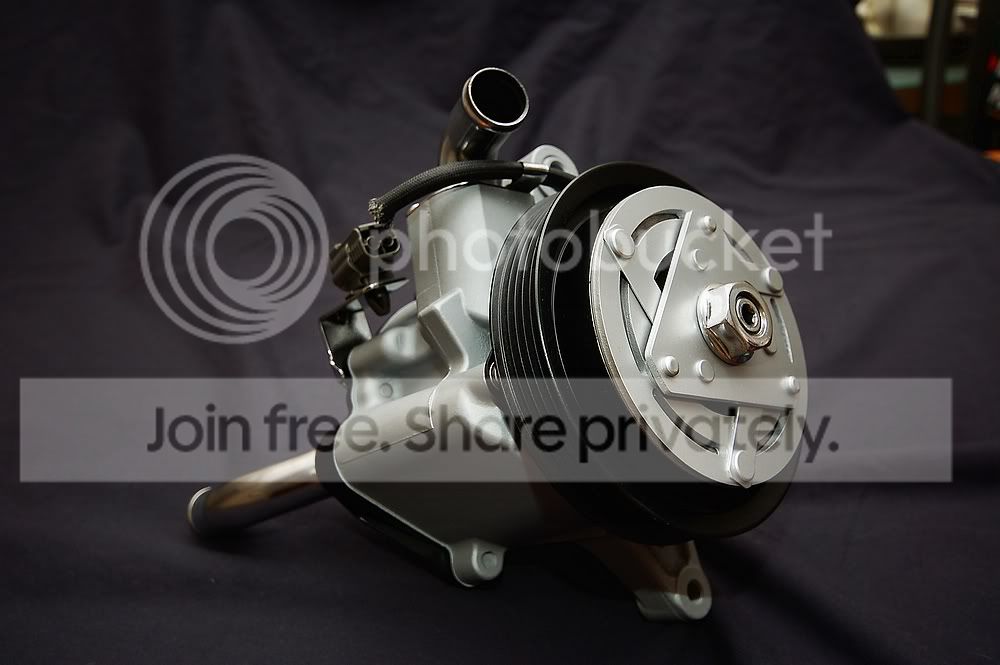
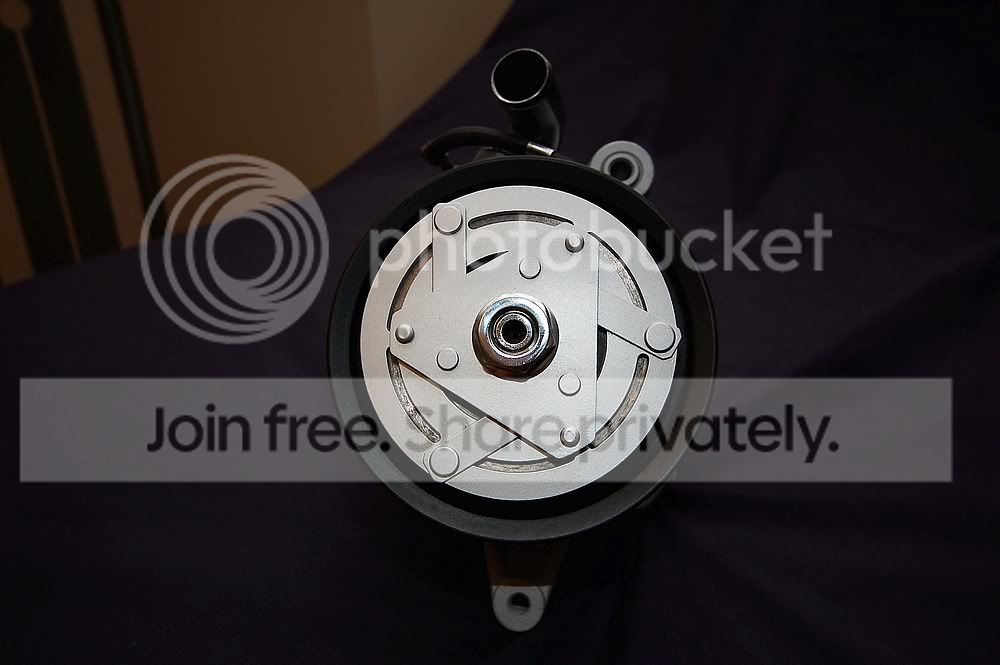
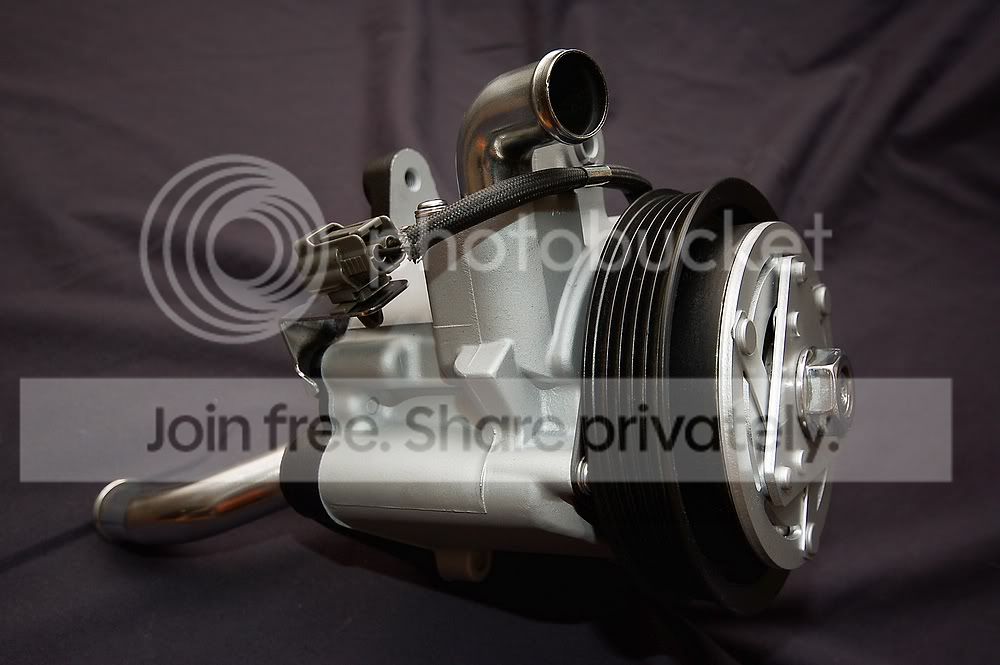
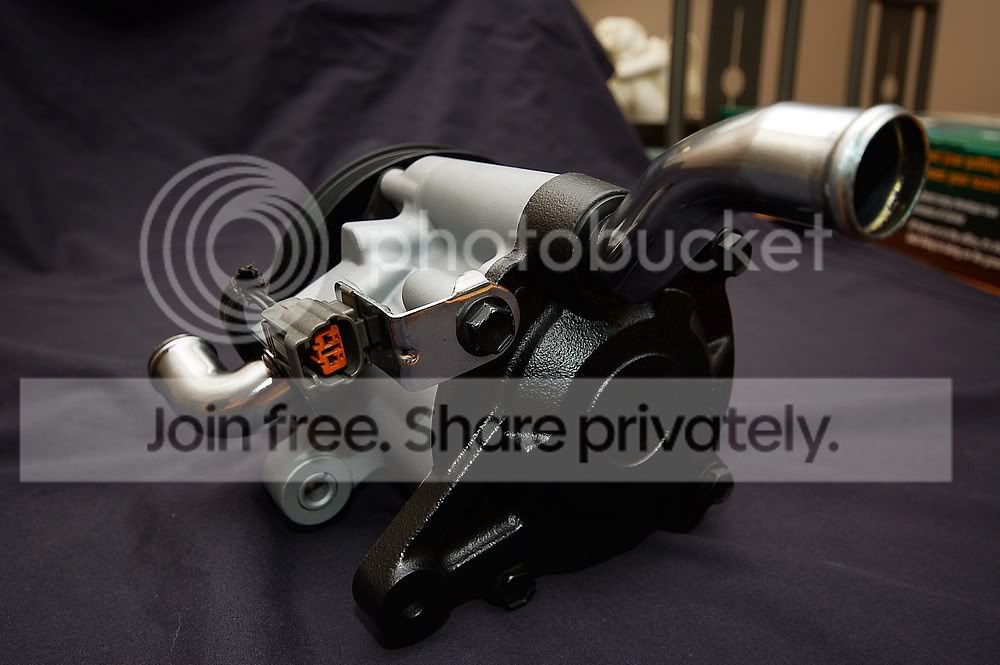
Air Pump before:
Air Pump after:


they don't totally look like needle nose plier or flat head screwdriver job
I remeber there's some tool you can roll around to straighten that as well, but not sure if that's what he used.