My Project ... (lots of pics)


 04-15-09, 12:35 AM
#30
dorito powered
iTrader: (5)

Join Date: Mar 2008
Location: Lincoln, NE
Posts: 2,839
Likes: 0
Received 0 Likes
on
0 Posts
god, the more I look at the airpump, the intercooler, and the TB, the more impressed I get, you've got some real skill man, those parts just simply speak for themselves.
04-17-09, 02:42 PM
#31
Senior Member
Thread Starter
iTrader: (12)
Join Date: Aug 2007
Location: Calgary, Alberta (Canada)
Posts: 272
Likes: 0
Received 1 Like
on
1 Post
Just a few more things I'm working on ...
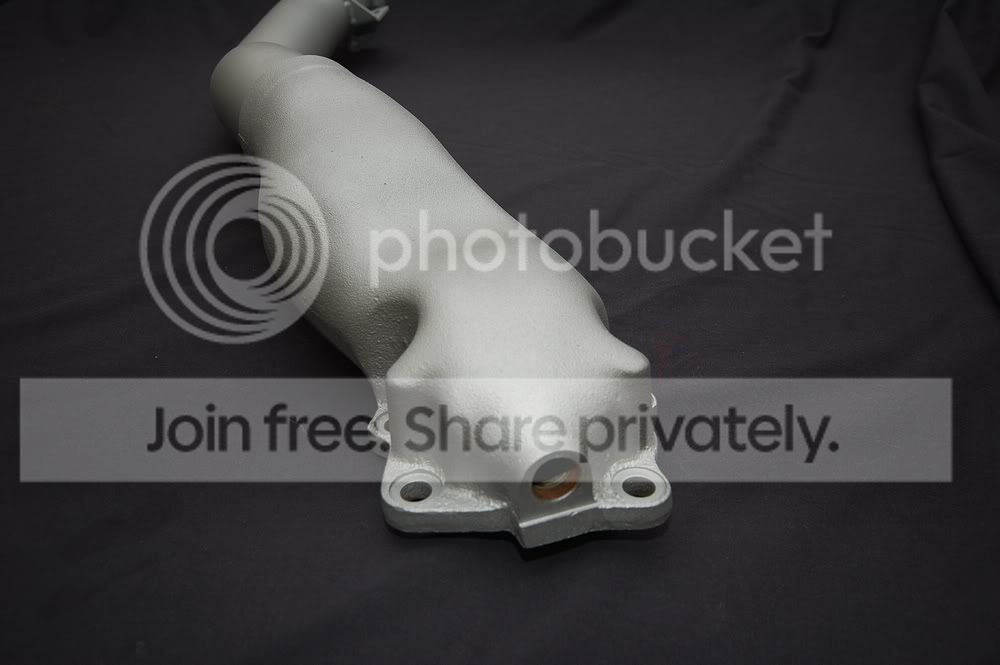
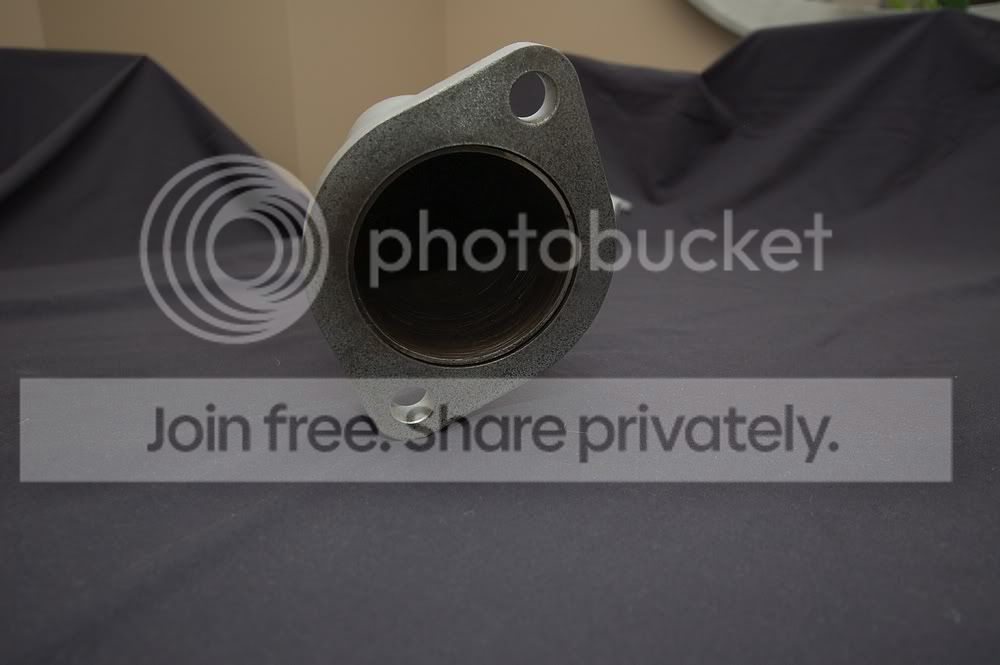
HKS Downpipe (used) before:

HKS Downpipe after:


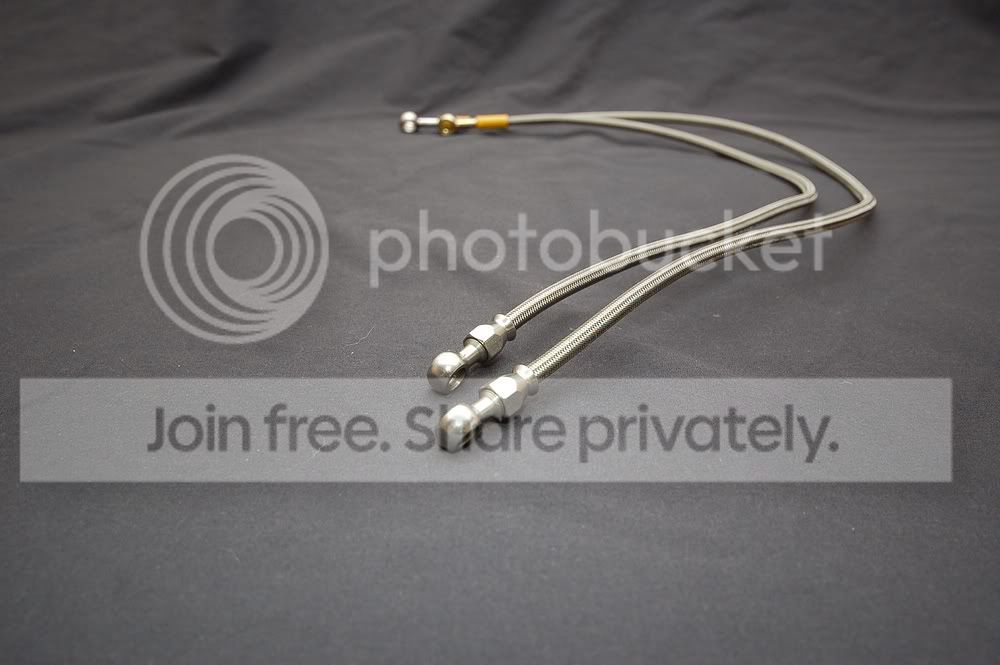
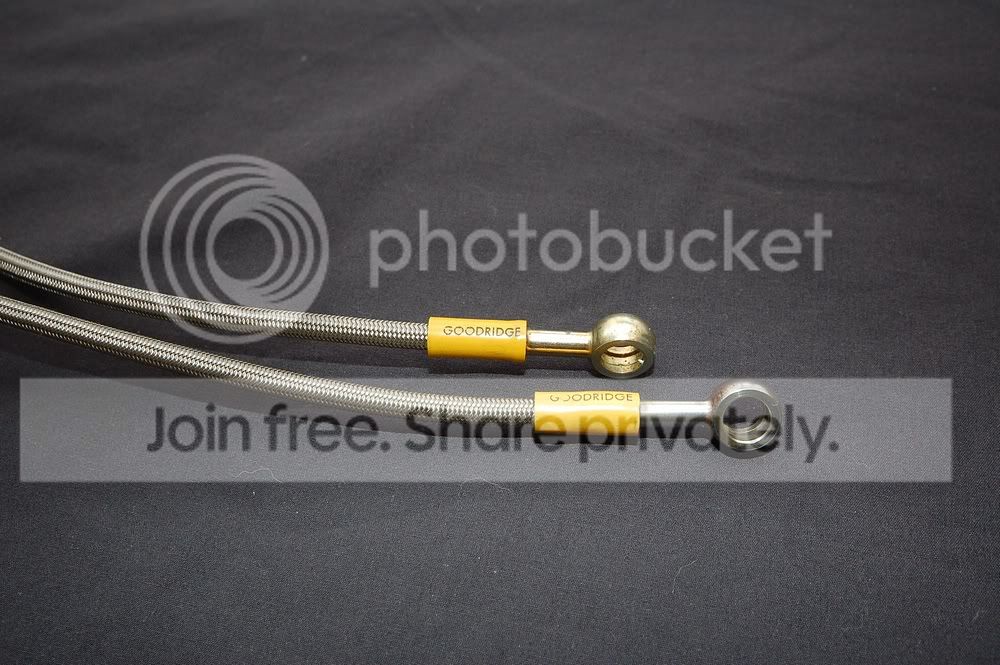
SS Goodridge OMP Lines (used):

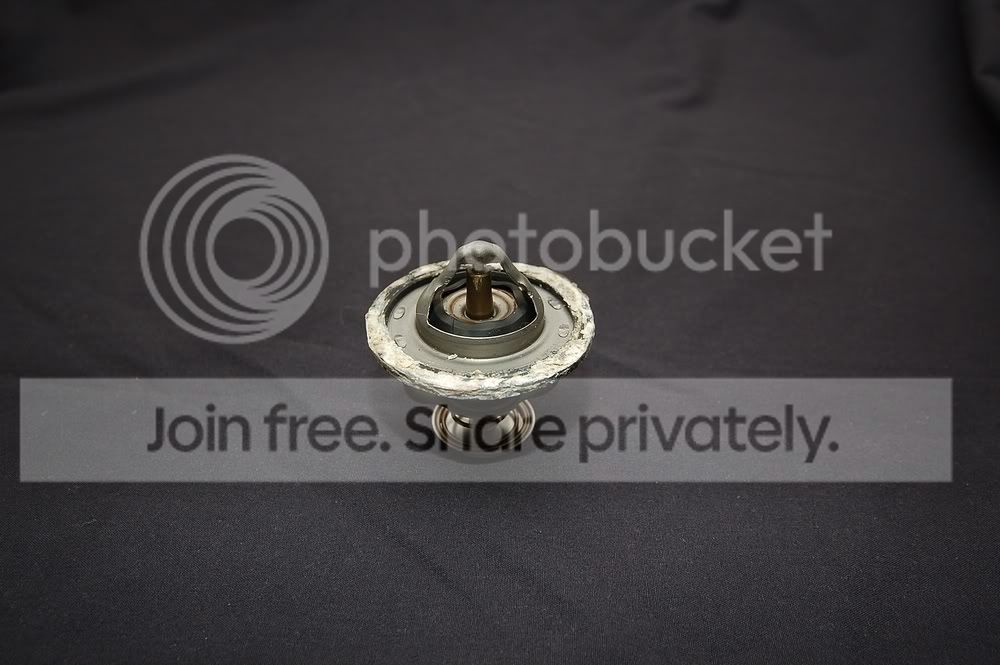
Thermostat (old):
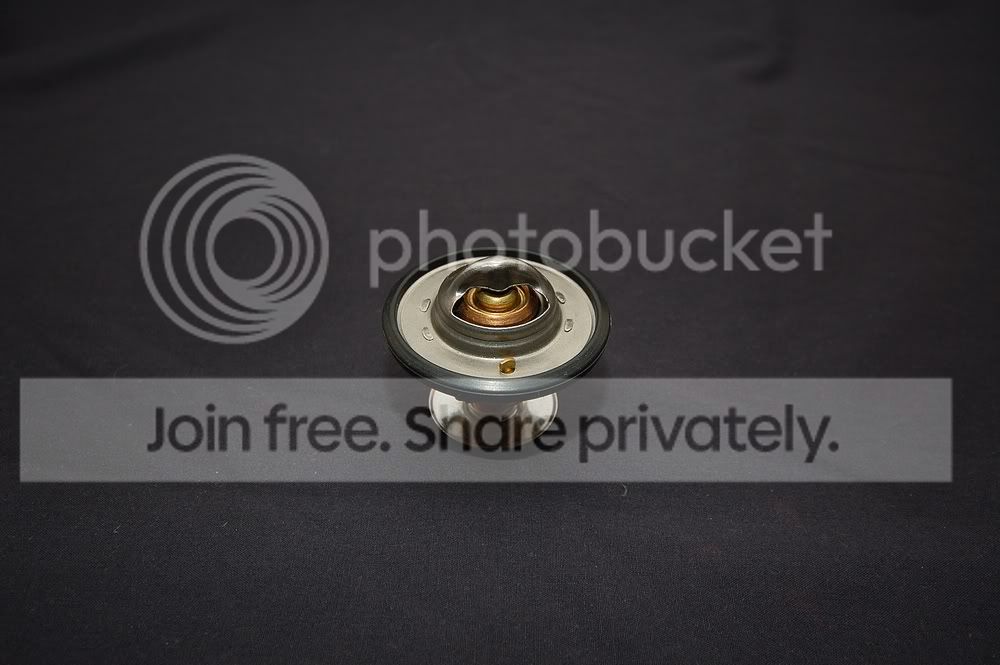
Thermostat (new):
HKS Downpipe (used) before:
HKS Downpipe after:
SS Goodridge OMP Lines (used):
Thermostat (old):
Thermostat (new):
04-17-09, 03:08 PM
#32
Senior Member
Thread Starter
iTrader: (12)
Join Date: Aug 2007
Location: Calgary, Alberta (Canada)
Posts: 272
Likes: 0
Received 1 Like
on
1 Post
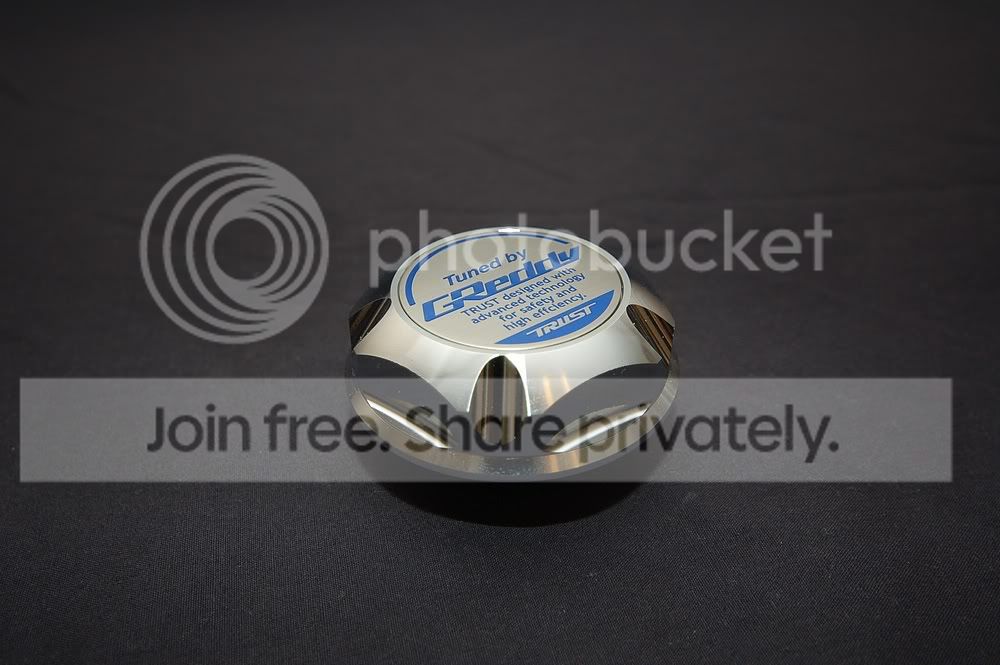
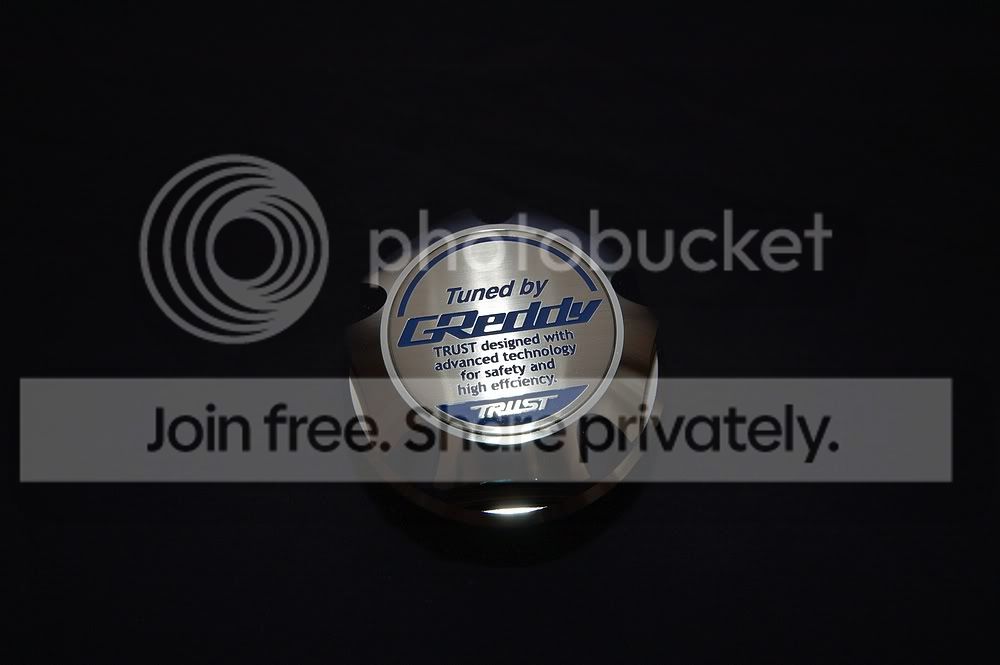
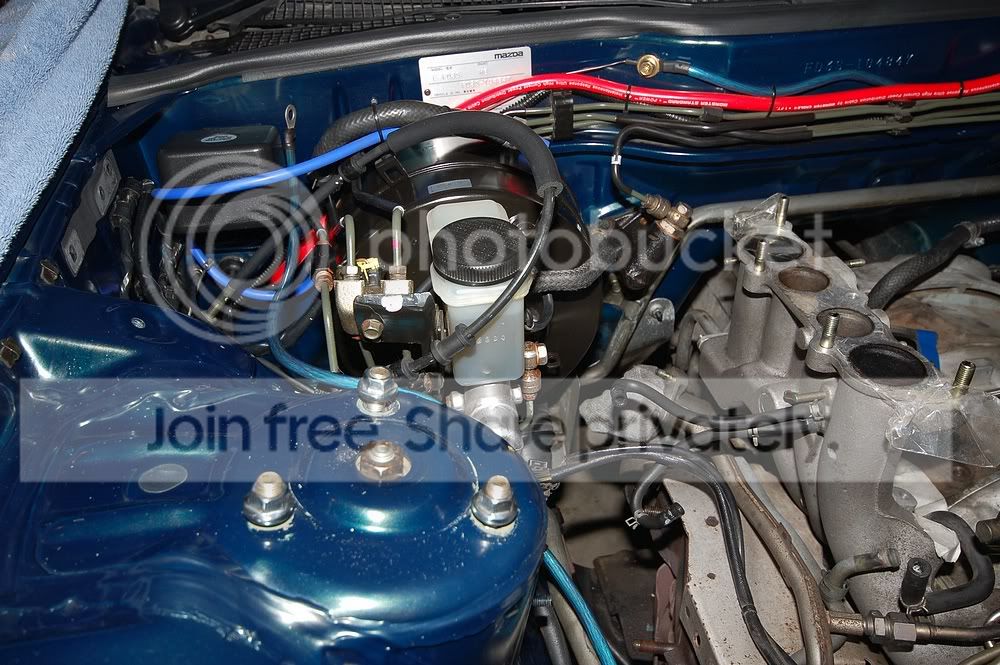
Greddy Oil Cap (new):
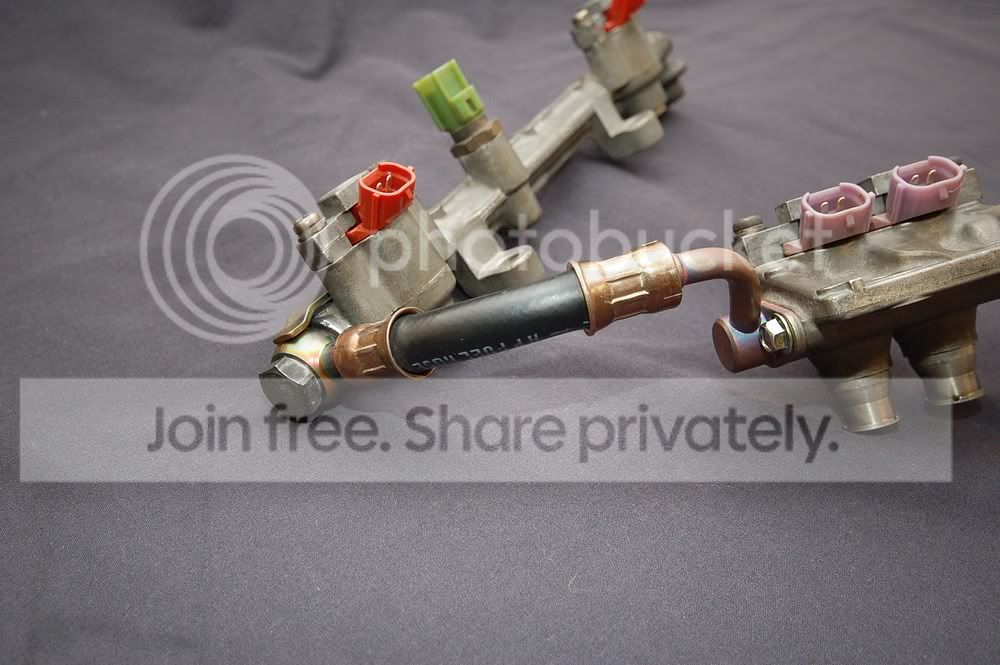
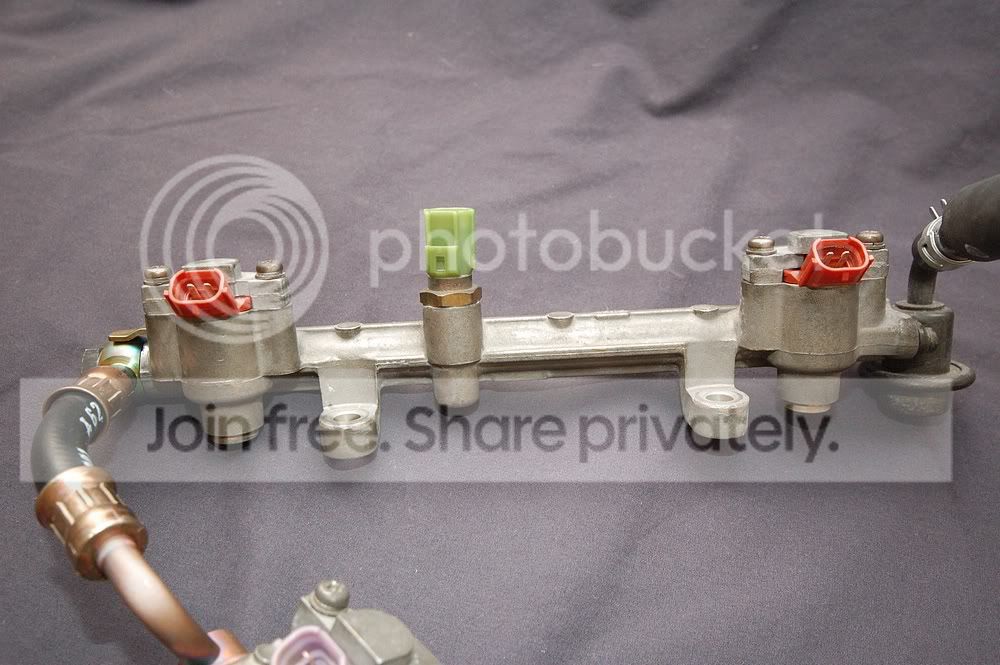
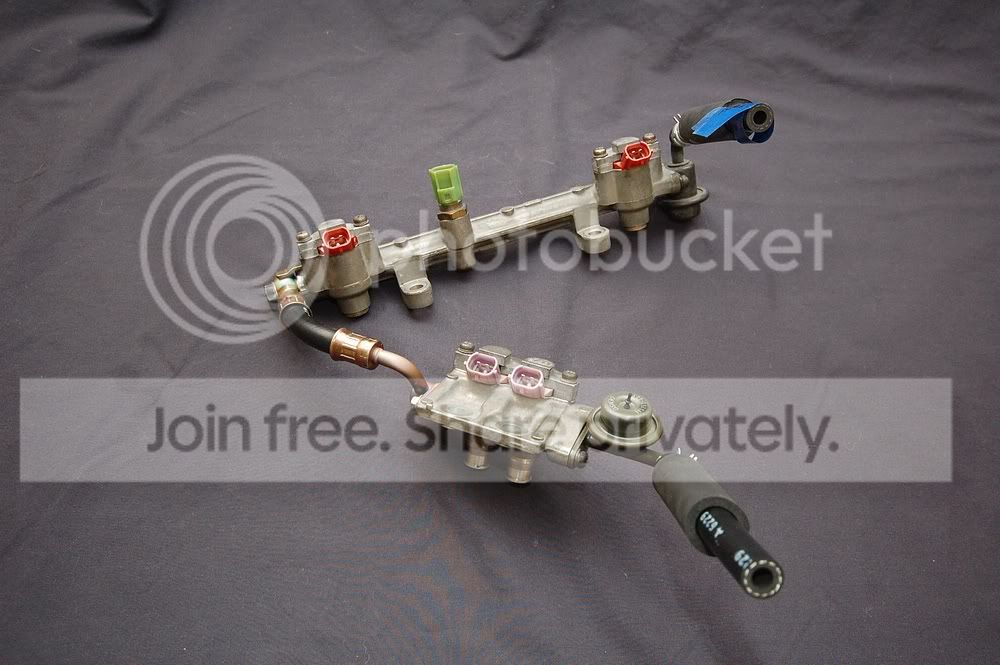
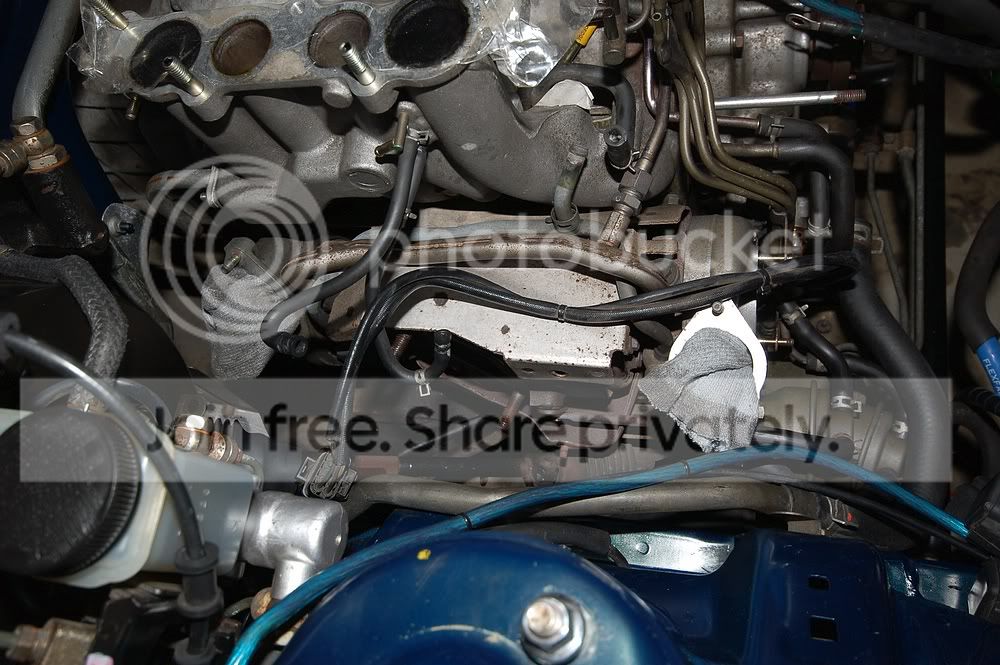
Fuel Rail before:
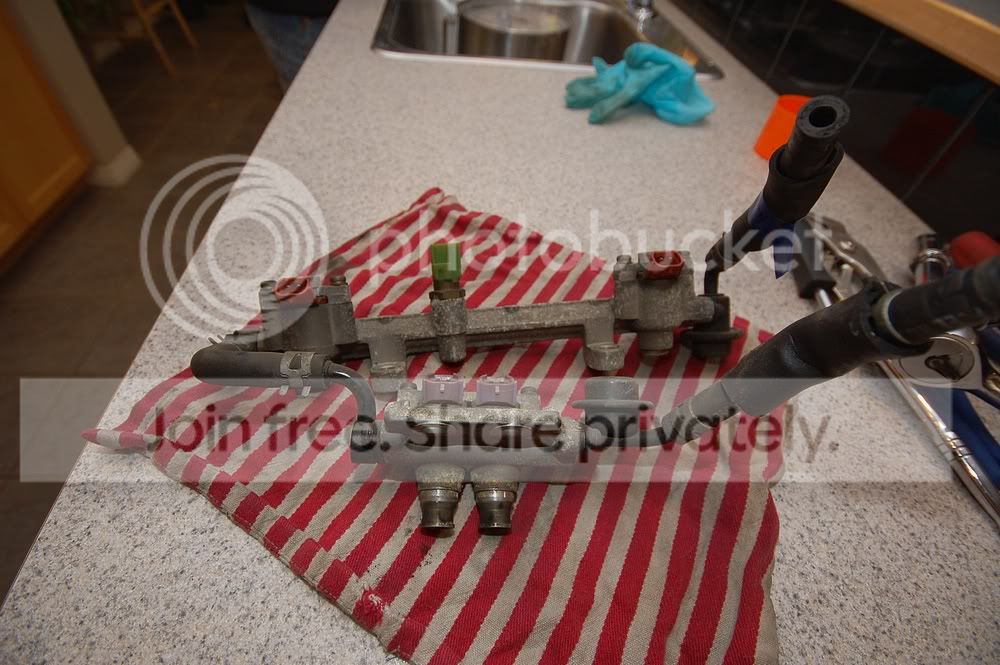

Fuel Rail after [fuel line recall kit and injector cleaning]:

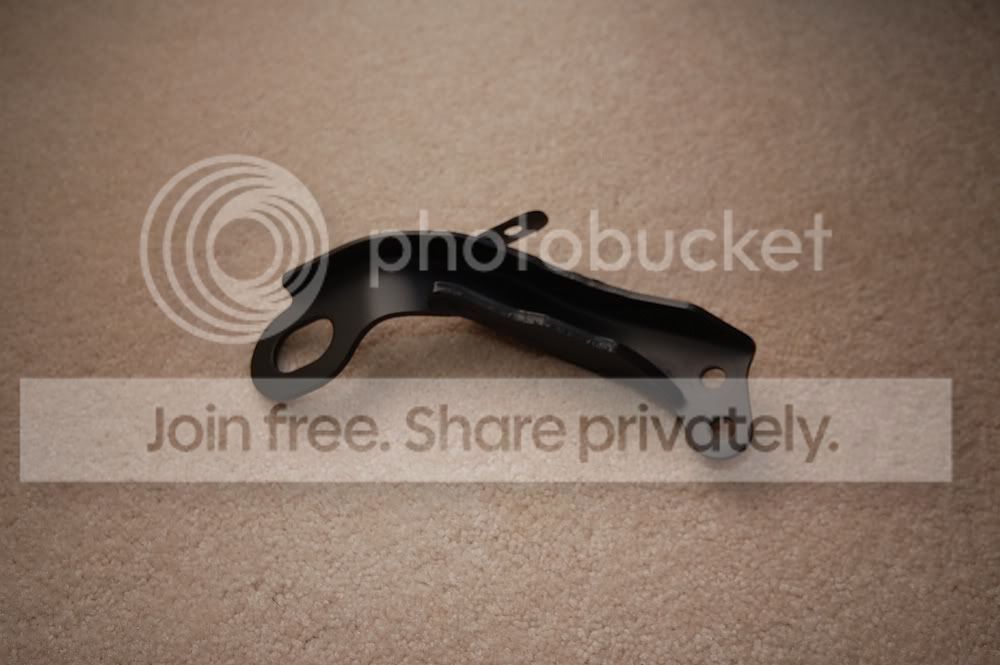
Engine Bracket after [black engine paint]:
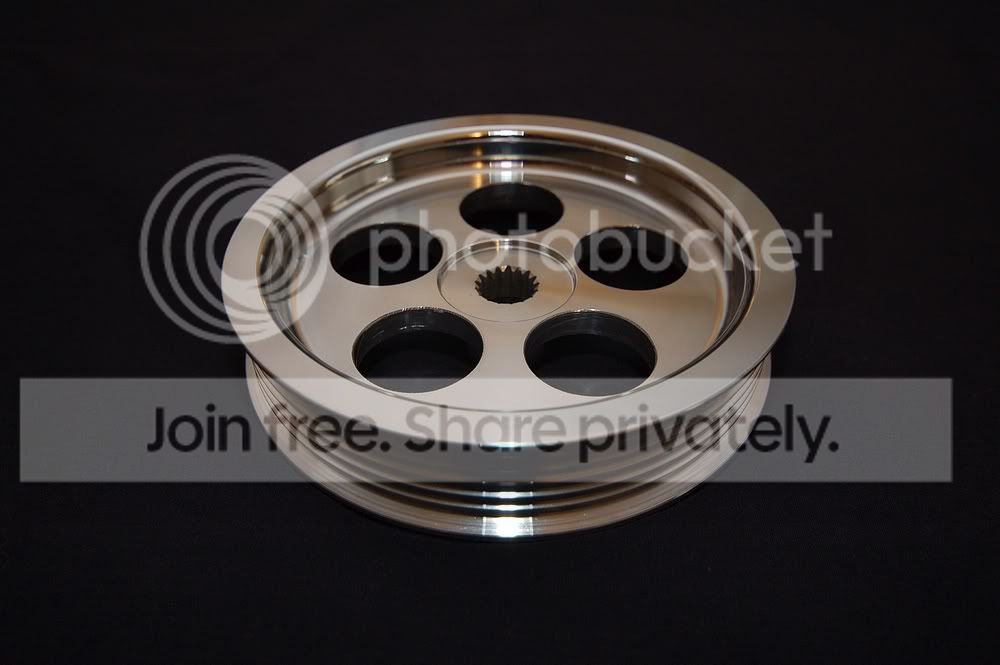
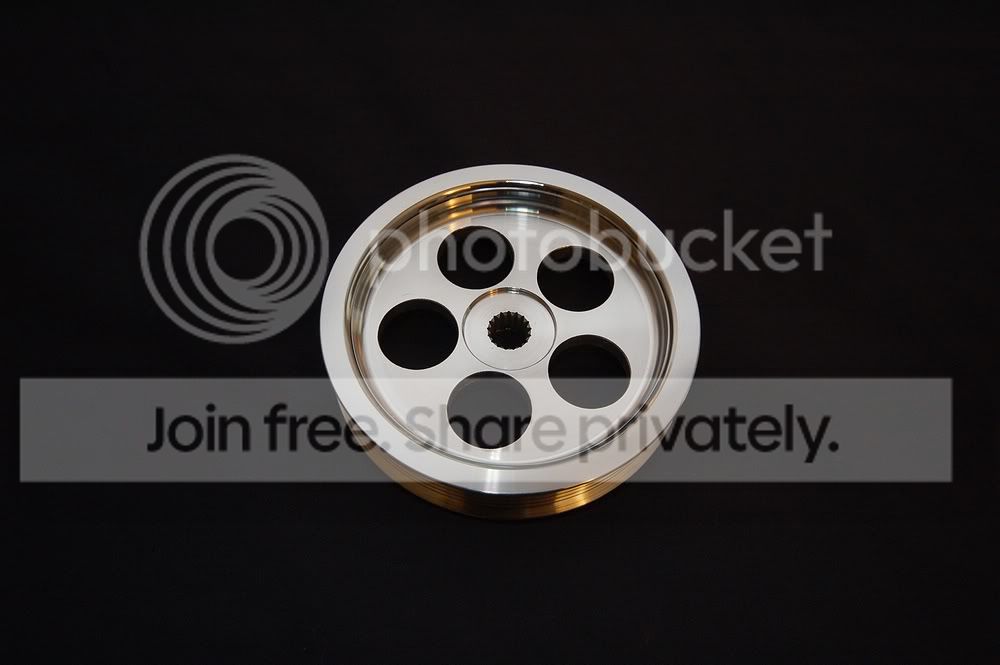
PS Pulley (new):
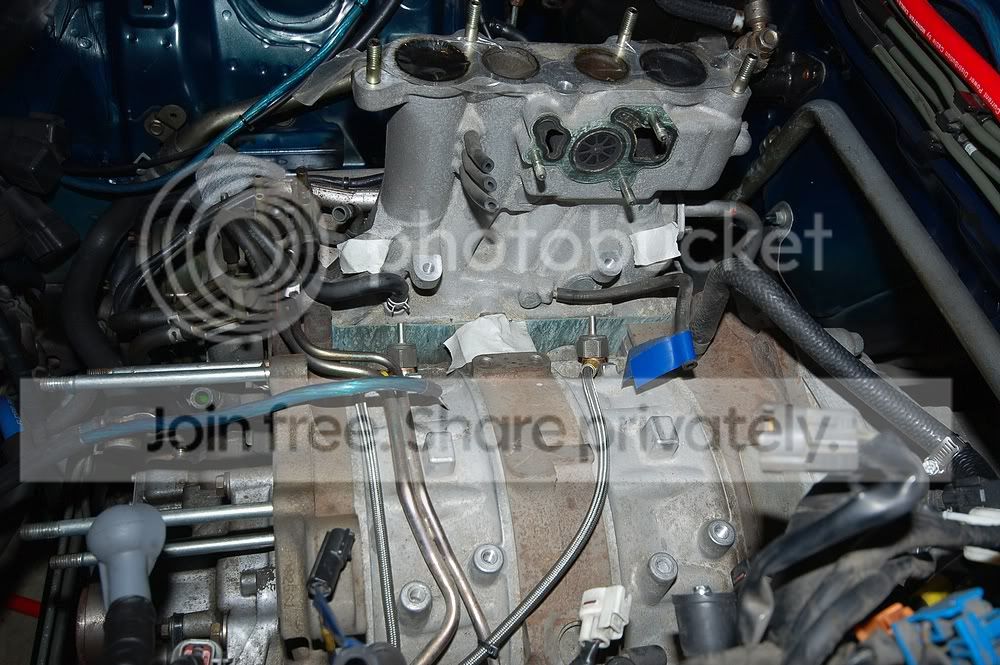
That's it for now. I'm in the process of gutting out the engine bay. Everything is going good. Just didn't expect the wiring harness to be so brittle. I will probably end up retaping it. More to come ...
Fuel Rail before:
Fuel Rail after [fuel line recall kit and injector cleaning]:
Engine Bracket after [black engine paint]:
PS Pulley (new):
That's it for now. I'm in the process of gutting out the engine bay. Everything is going good. Just didn't expect the wiring harness to be so brittle. I will probably end up retaping it. More to come ...
04-17-09, 03:19 PM
#33
If its brittle, replace it and save yourself more time and money and risk of failure down the line. They get more expensive every year.
Nice job cleaning and restoring everything. What products did you use to clean the air pump and such and how did you do it?
Thanks.
Nice job cleaning and restoring everything. What products did you use to clean the air pump and such and how did you do it?
Thanks.
04-17-09, 08:27 PM
#36
Senior Member
Thread Starter
iTrader: (12)
Join Date: Aug 2007
Location: Calgary, Alberta (Canada)
Posts: 272
Likes: 0
Received 1 Like
on
1 Post
I am going to change all the vacuum lines. It's on the list and I already have some platinum cured blue silicone hose and some viton check valves.
The air pump is supposed be oil-less but when I looked in mine it looked rusty. I'm assuming this is why a lot of people have problems with them seizing up. I tried pulling it apart but it seems to be sealed permanently. I used some engine degreaser (sprayed it in both the inlet and outlet), let it sit and then rinsed. I did this a few times until the rinse water was clean. I then did the same with WD-40. Rinsed it out as well. It is supposed to be oil-less and some of the WD-40 will stay in there anyway. I then let it air dry over night and painted it. If you want to paint it be sure to wash the outside with a little bit of soapy water, rinse well, and let it dry fully. Try not to get soap inside the air pump, it will rinse all the WD-40 out. Now it looks and spins like it's band new. Tip: Use a drill with the appropriate hex bit to spin air pump back and forth while cleaning.
The wiring harness isn't that bad. All the ends are good and there no breaks in the lines. It's just the type of covering they use from the plugs to the main harness is not made for high heat. Over time it will become brittle. The main wiring loom is still in good shape with no cracks or breaks. It still has good bend to it as well. I plan on cutting off all the brittle coverings and re-taping with rubber (silicone) tape. I did look into buying a new wiring harness but there not cheap. The RX-7 shop we have locally only carries them for LHD and they’re made with the exact same materials. Over time you'll be in the same boat. I think if I did buy a new one I would end up recovering it myself anyways.

 04-18-09, 09:30 AM
#41
Need a tune

Join Date: Aug 2006
Location: Paris (France)
Posts: 338
Likes: 0
Received 0 Likes
on
0 Posts
04-18-09, 11:14 AM
#42
The polishing looks amazing!! I polished alot of my engine parts when I had mine out and yours look waaaay better!!! That is some serious time you've put into polishing. You are going to have a very clean engine bay once it's all said and done. I've used a couple of dental picks in the past to straighten out cooling fins.
04-18-09, 02:07 PM
#44
Senior Member
Thread Starter
iTrader: (12)
Join Date: Aug 2007
Location: Calgary, Alberta (Canada)
Posts: 272
Likes: 0
Received 1 Like
on
1 Post
I just went through this post again and thought I would answer some of your questions ...
I'm too busy right now to do a polishing write-up. May be after I'm done. I actually just followed the write-ups of the other guys on here. I need to get this thing back together again by the middle of next month so I can get it tuned. I still have a few things to do in the interior as well.
The aluminum radiator cover I got a while back off of ebay. I think it was $50 or something like that. Wicked deal in my opinion. I'm probably going to polish it as well.
I'm not a professional photographer. My wife is. She actually just started doing it last year. She did the first set of pics and showed me a few tips. Now I have to do them myself. I did all the ones after the air pump. I'm not as good a she is but her equipment is pretty good so my pics aren't too bad.
The SMIC fins ... ahhhhh. I'm glad someone noticed that. What a PITA. It took about a hour and a half of watching Barney with my son straightening them out one by one. You can buy the tool from Wal-Mart for $2 or steal one from your wife. I'll post some pics of it.
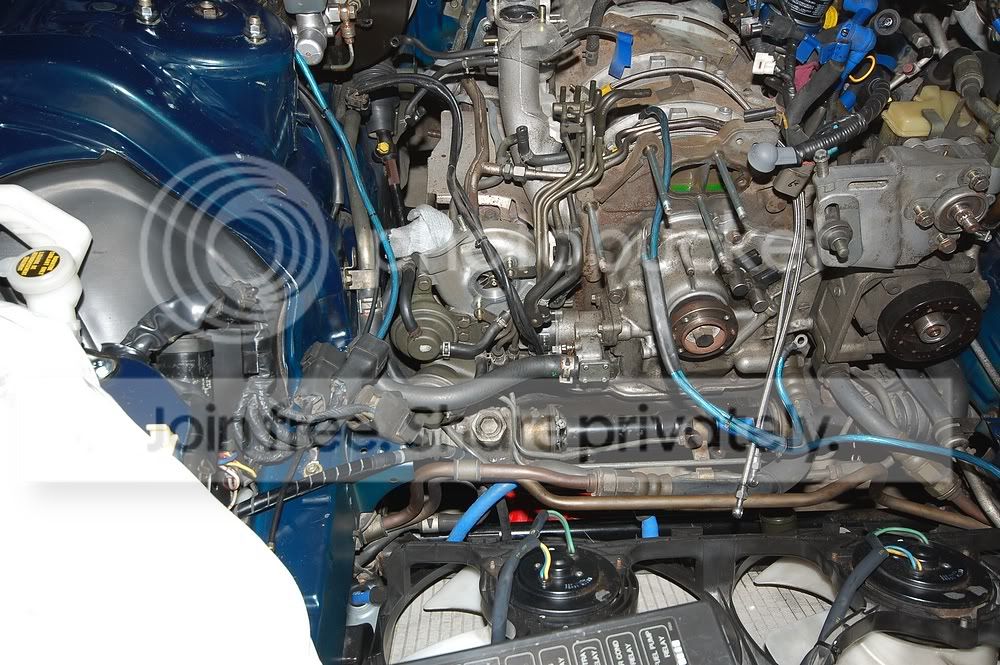
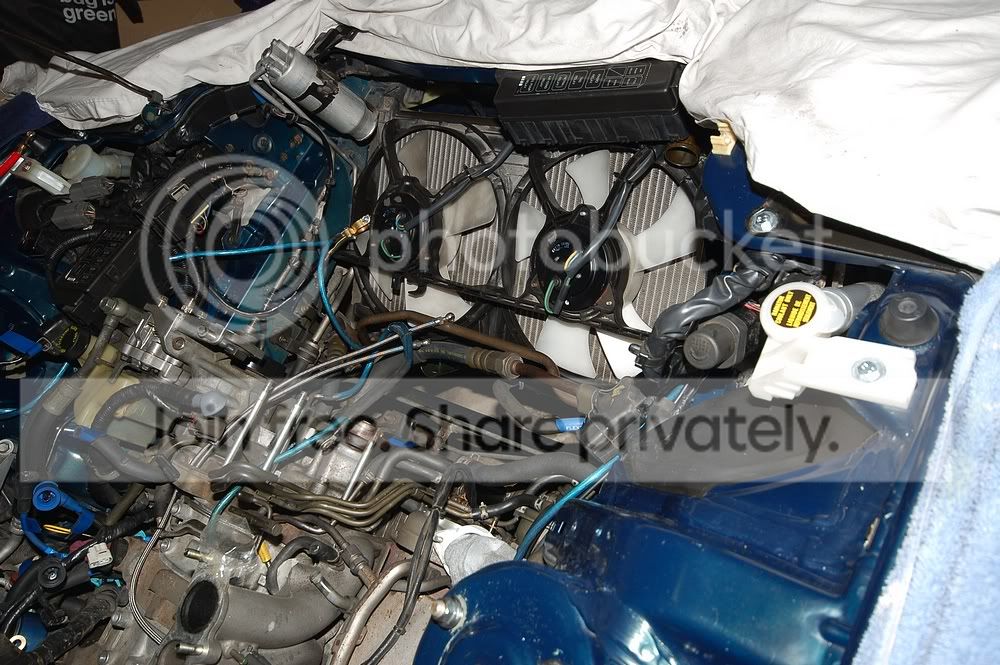
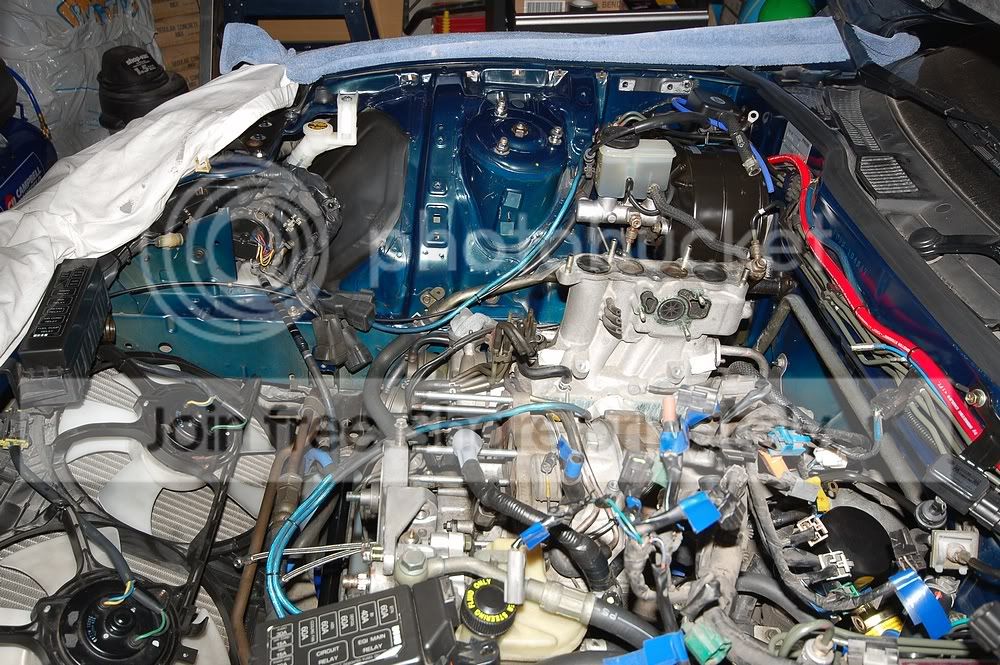
So the engine is totally stripped. I cleaned it up a bit and now I'm ready to start trying to put it back together. Thought I would post some pics of it bare. It's nice to see what's underneath all that ****.
Engine bay:


Special Fin Tool (tweezers):


I'm too busy right now to do a polishing write-up. May be after I'm done. I actually just followed the write-ups of the other guys on here. I need to get this thing back together again by the middle of next month so I can get it tuned. I still have a few things to do in the interior as well.
The aluminum radiator cover I got a while back off of ebay. I think it was $50 or something like that. Wicked deal in my opinion. I'm probably going to polish it as well.
I'm not a professional photographer. My wife is. She actually just started doing it last year. She did the first set of pics and showed me a few tips. Now I have to do them myself. I did all the ones after the air pump. I'm not as good a she is but her equipment is pretty good so my pics aren't too bad.
The SMIC fins ... ahhhhh. I'm glad someone noticed that. What a PITA. It took about a hour and a half of watching Barney with my son straightening them out one by one. You can buy the tool from Wal-Mart for $2 or steal one from your wife. I'll post some pics of it.
So the engine is totally stripped. I cleaned it up a bit and now I'm ready to start trying to put it back together. Thought I would post some pics of it bare. It's nice to see what's underneath all that ****.
Engine bay:
Special Fin Tool (tweezers):

