When you click on links to various merchants on this site and make a purchase, this can result in this site earning a commission. Affiliate programs and affiliations include, but are not limited to, the eBay Partner Network.
If you are experiencing Brake fluid moving out and back in whilst trying to bleed your front or rear calipers, it may be time to look at that 25+ year old master cylinder. Instead of buying a new one, purchasing a rebuild kit can be a lot cheaper and doesn't need a lot of work to rebuild back to working order.
What you will need:
- Brake Master rebuild kit (the one I got was from Atkins Rotary)
- 9mm Spanner
- Flat blade screw driver
- Center Sprung circlip pliers
Optional:
- Bench vice (If the Brake piston assembly just won't budge)
- Compressed Air / Air Gun to assist removing the front brake master piston (if it's being stubborn)
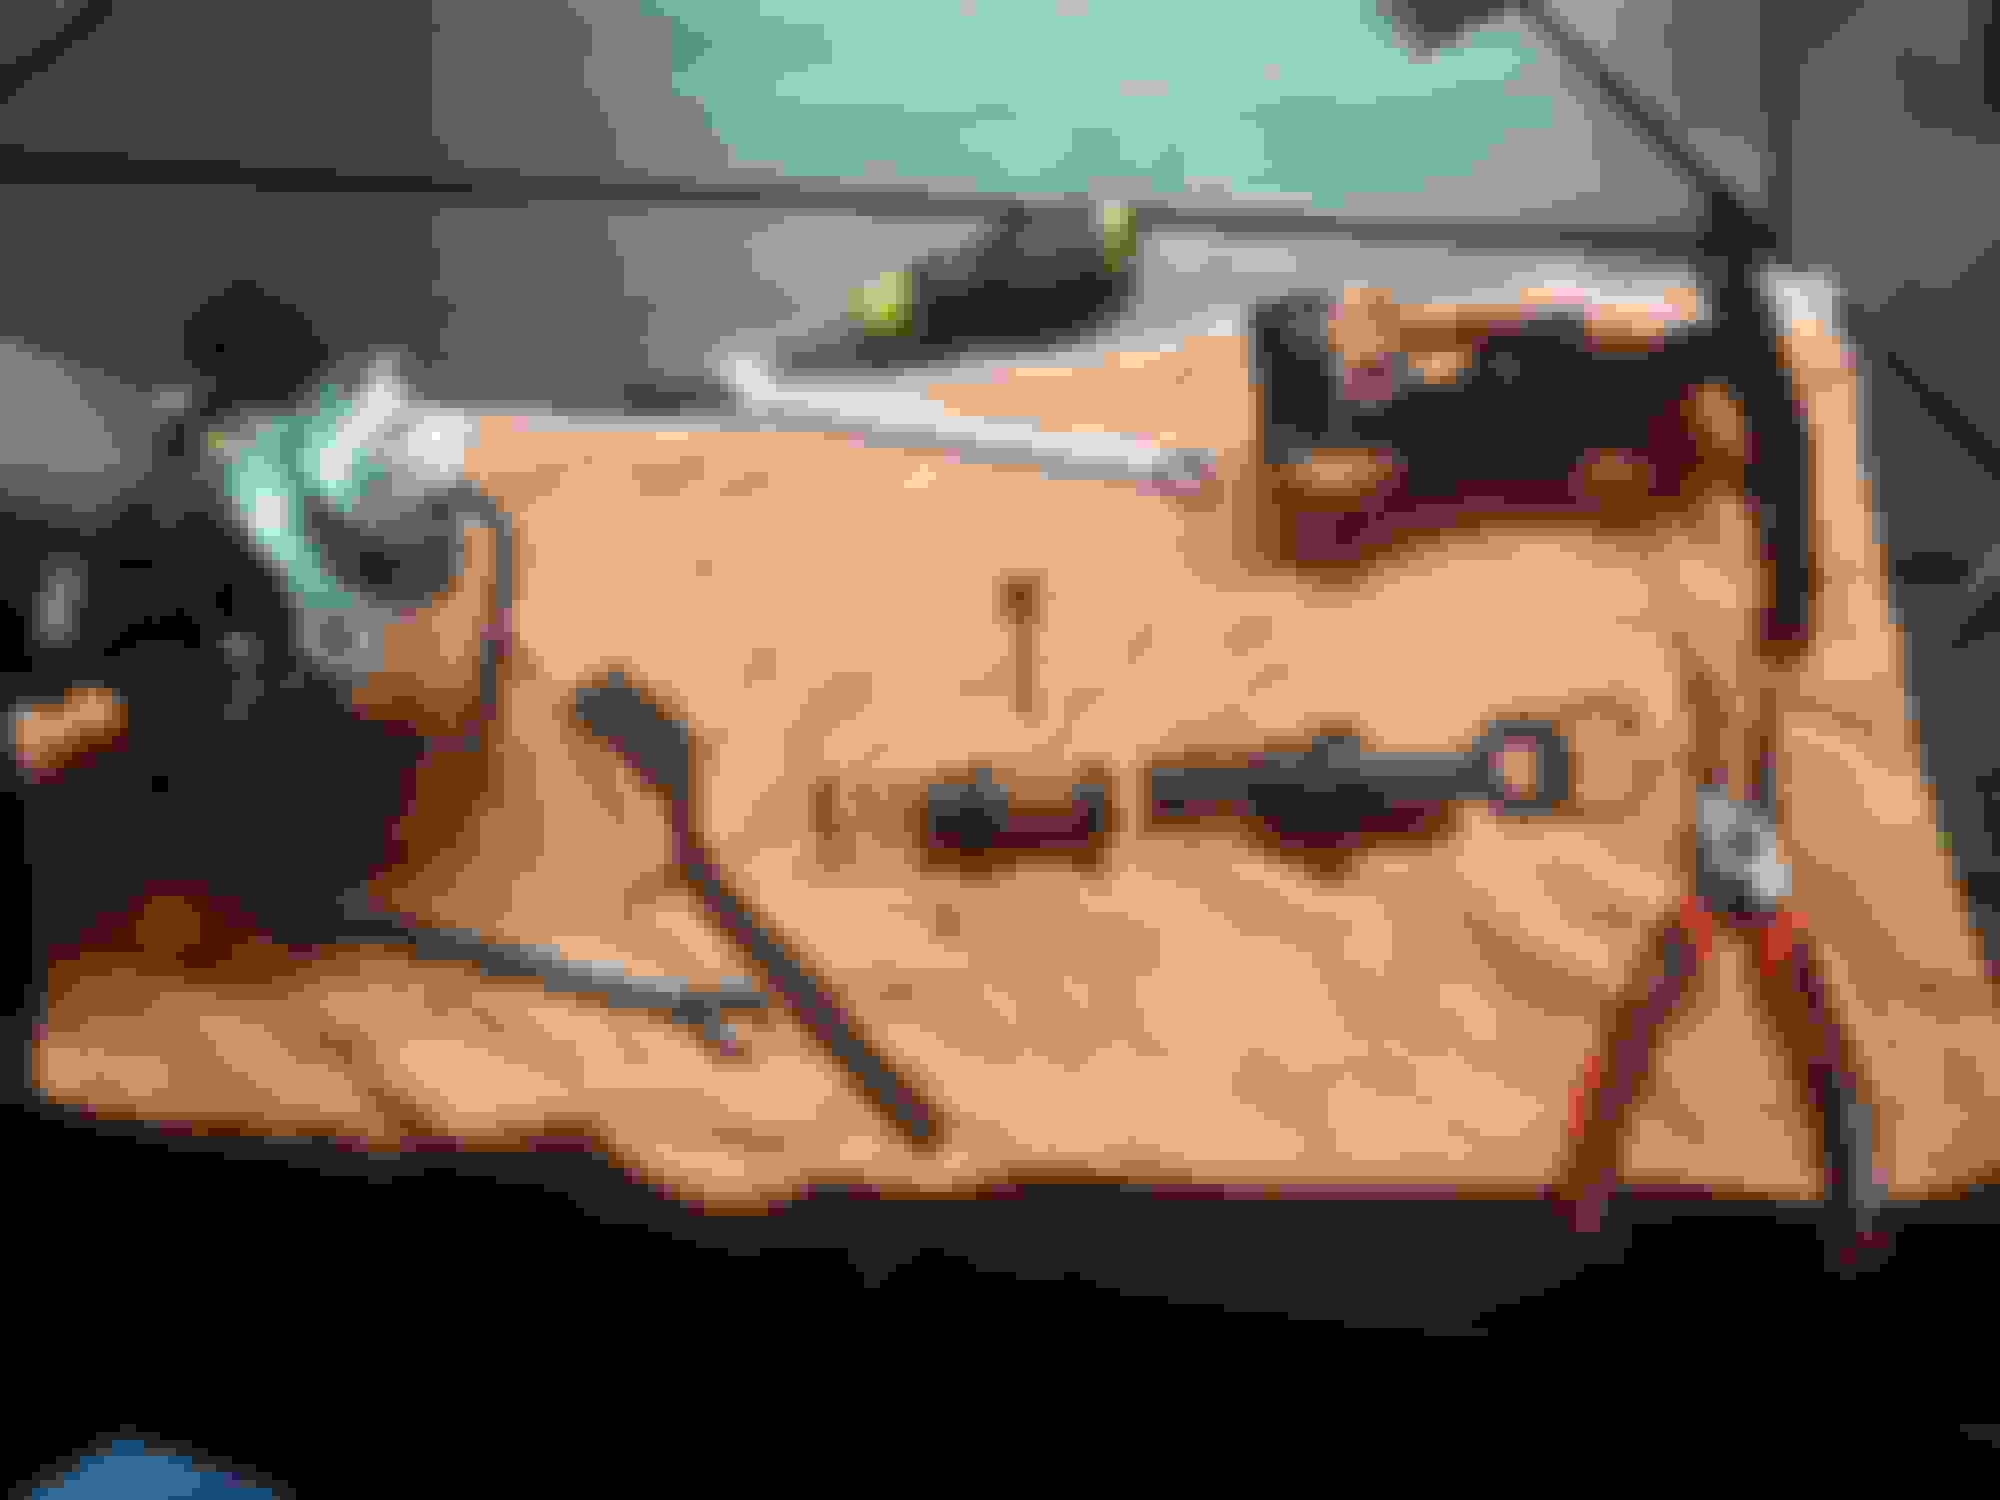
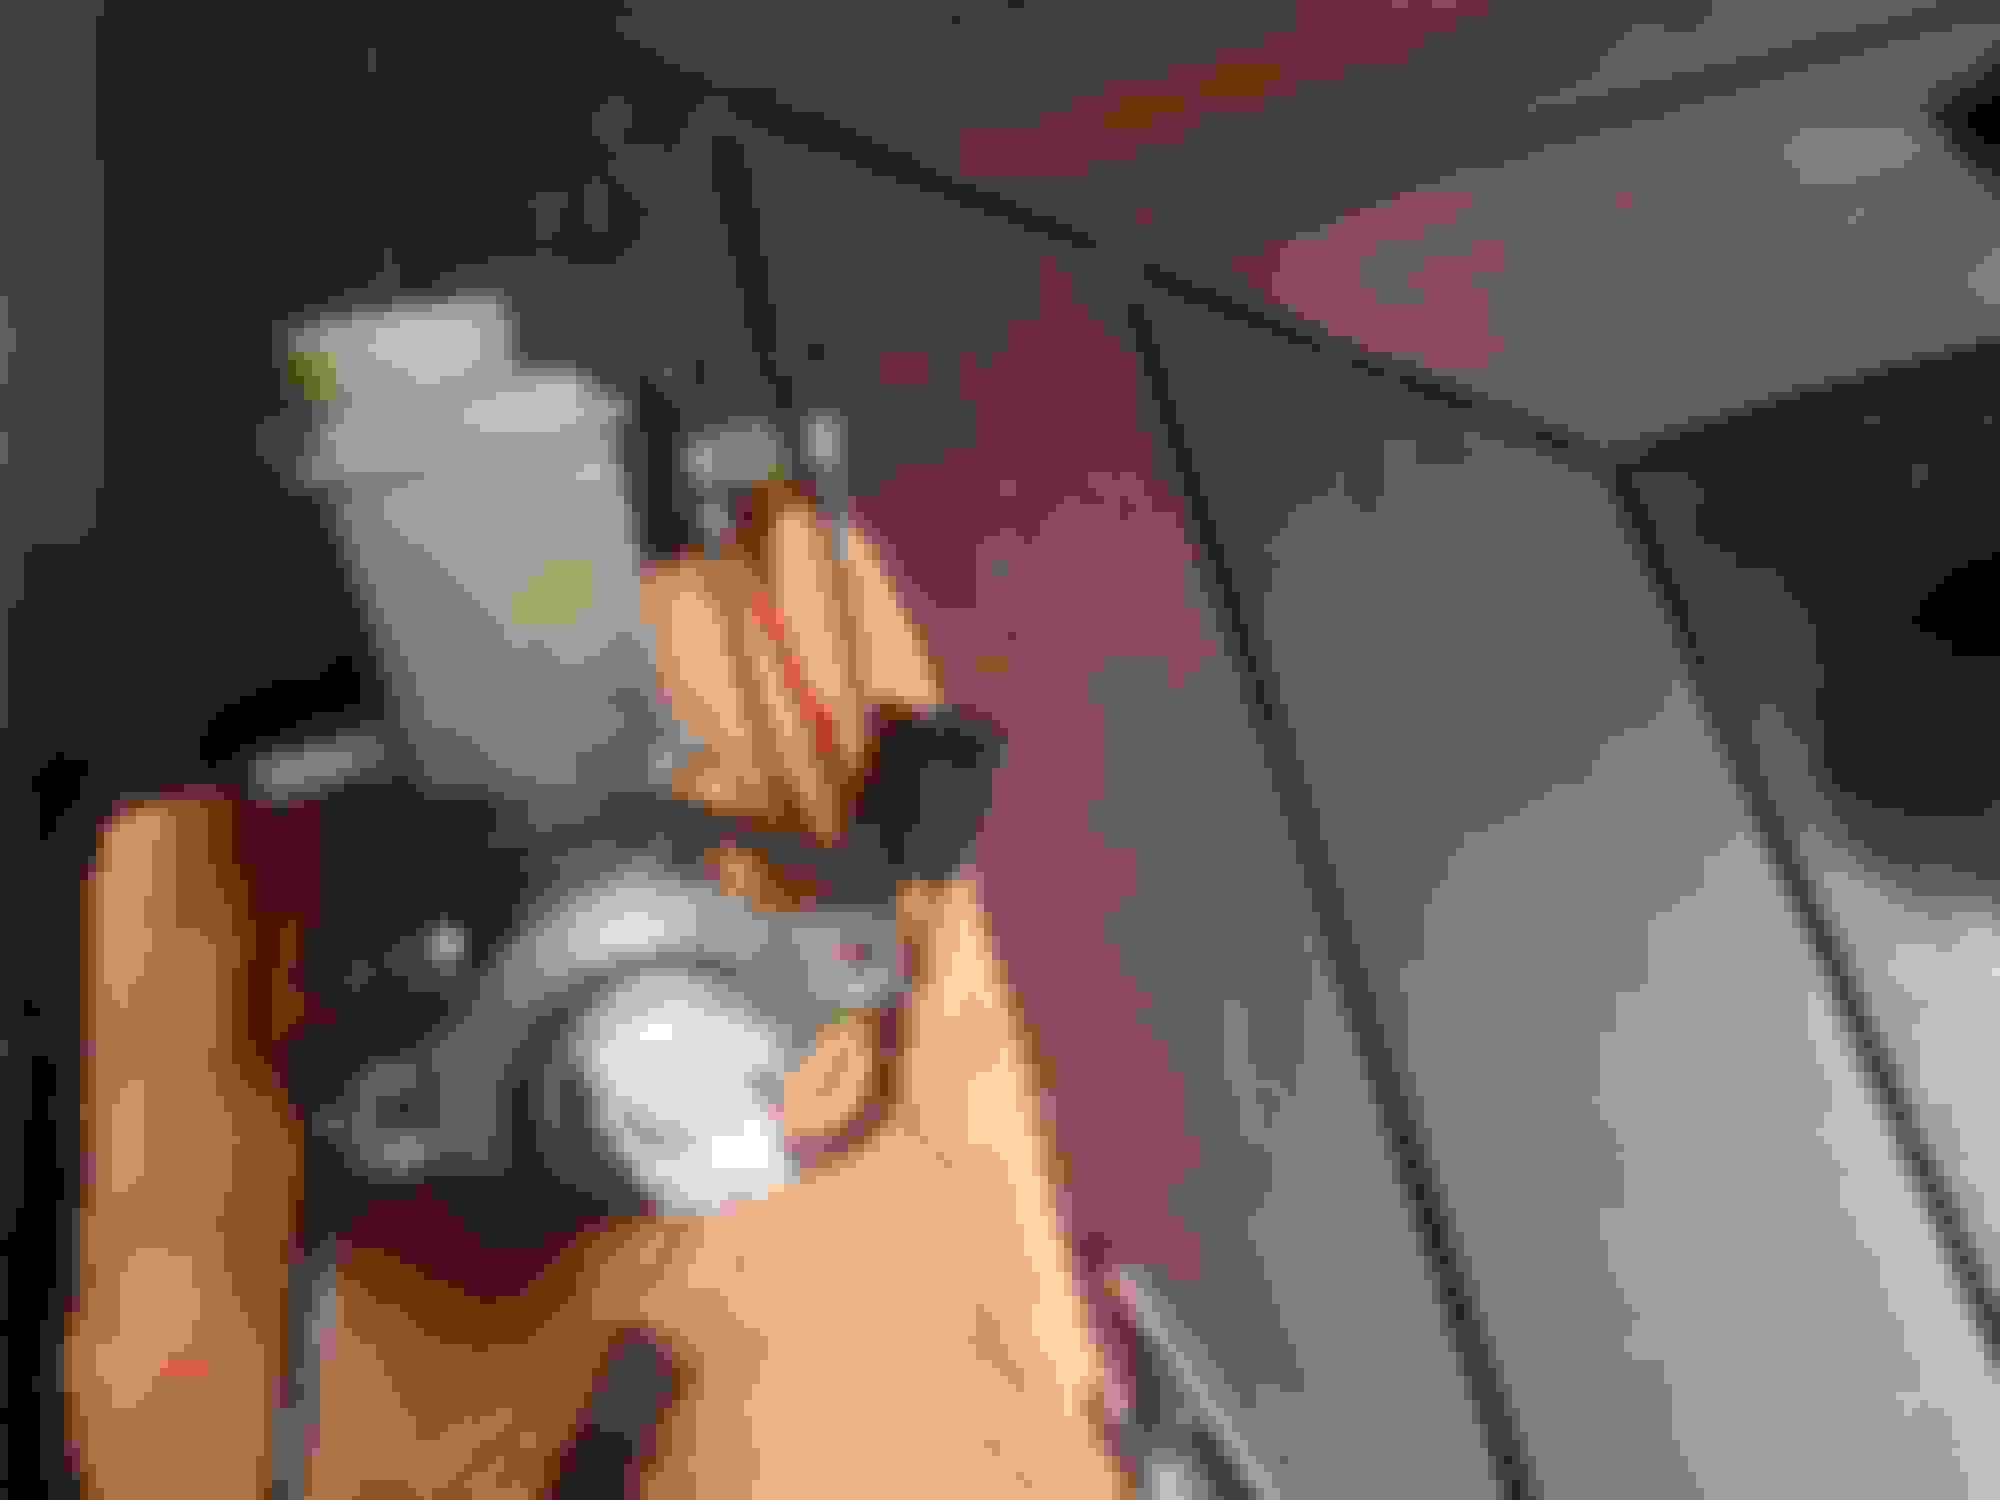
After removing the Brake Master from the car:
- Remove circlip and spacer ring (May require some prying with a flat head screwdriver)
- Place piston in bench vice (protect it with a cloth if you wish) and hit rear flange to pop out the rear piston assembly.
- Remove 9mm stop pin and work front piston assembly against the spring. If it won't come out easily, use some compressed air to pop it out.
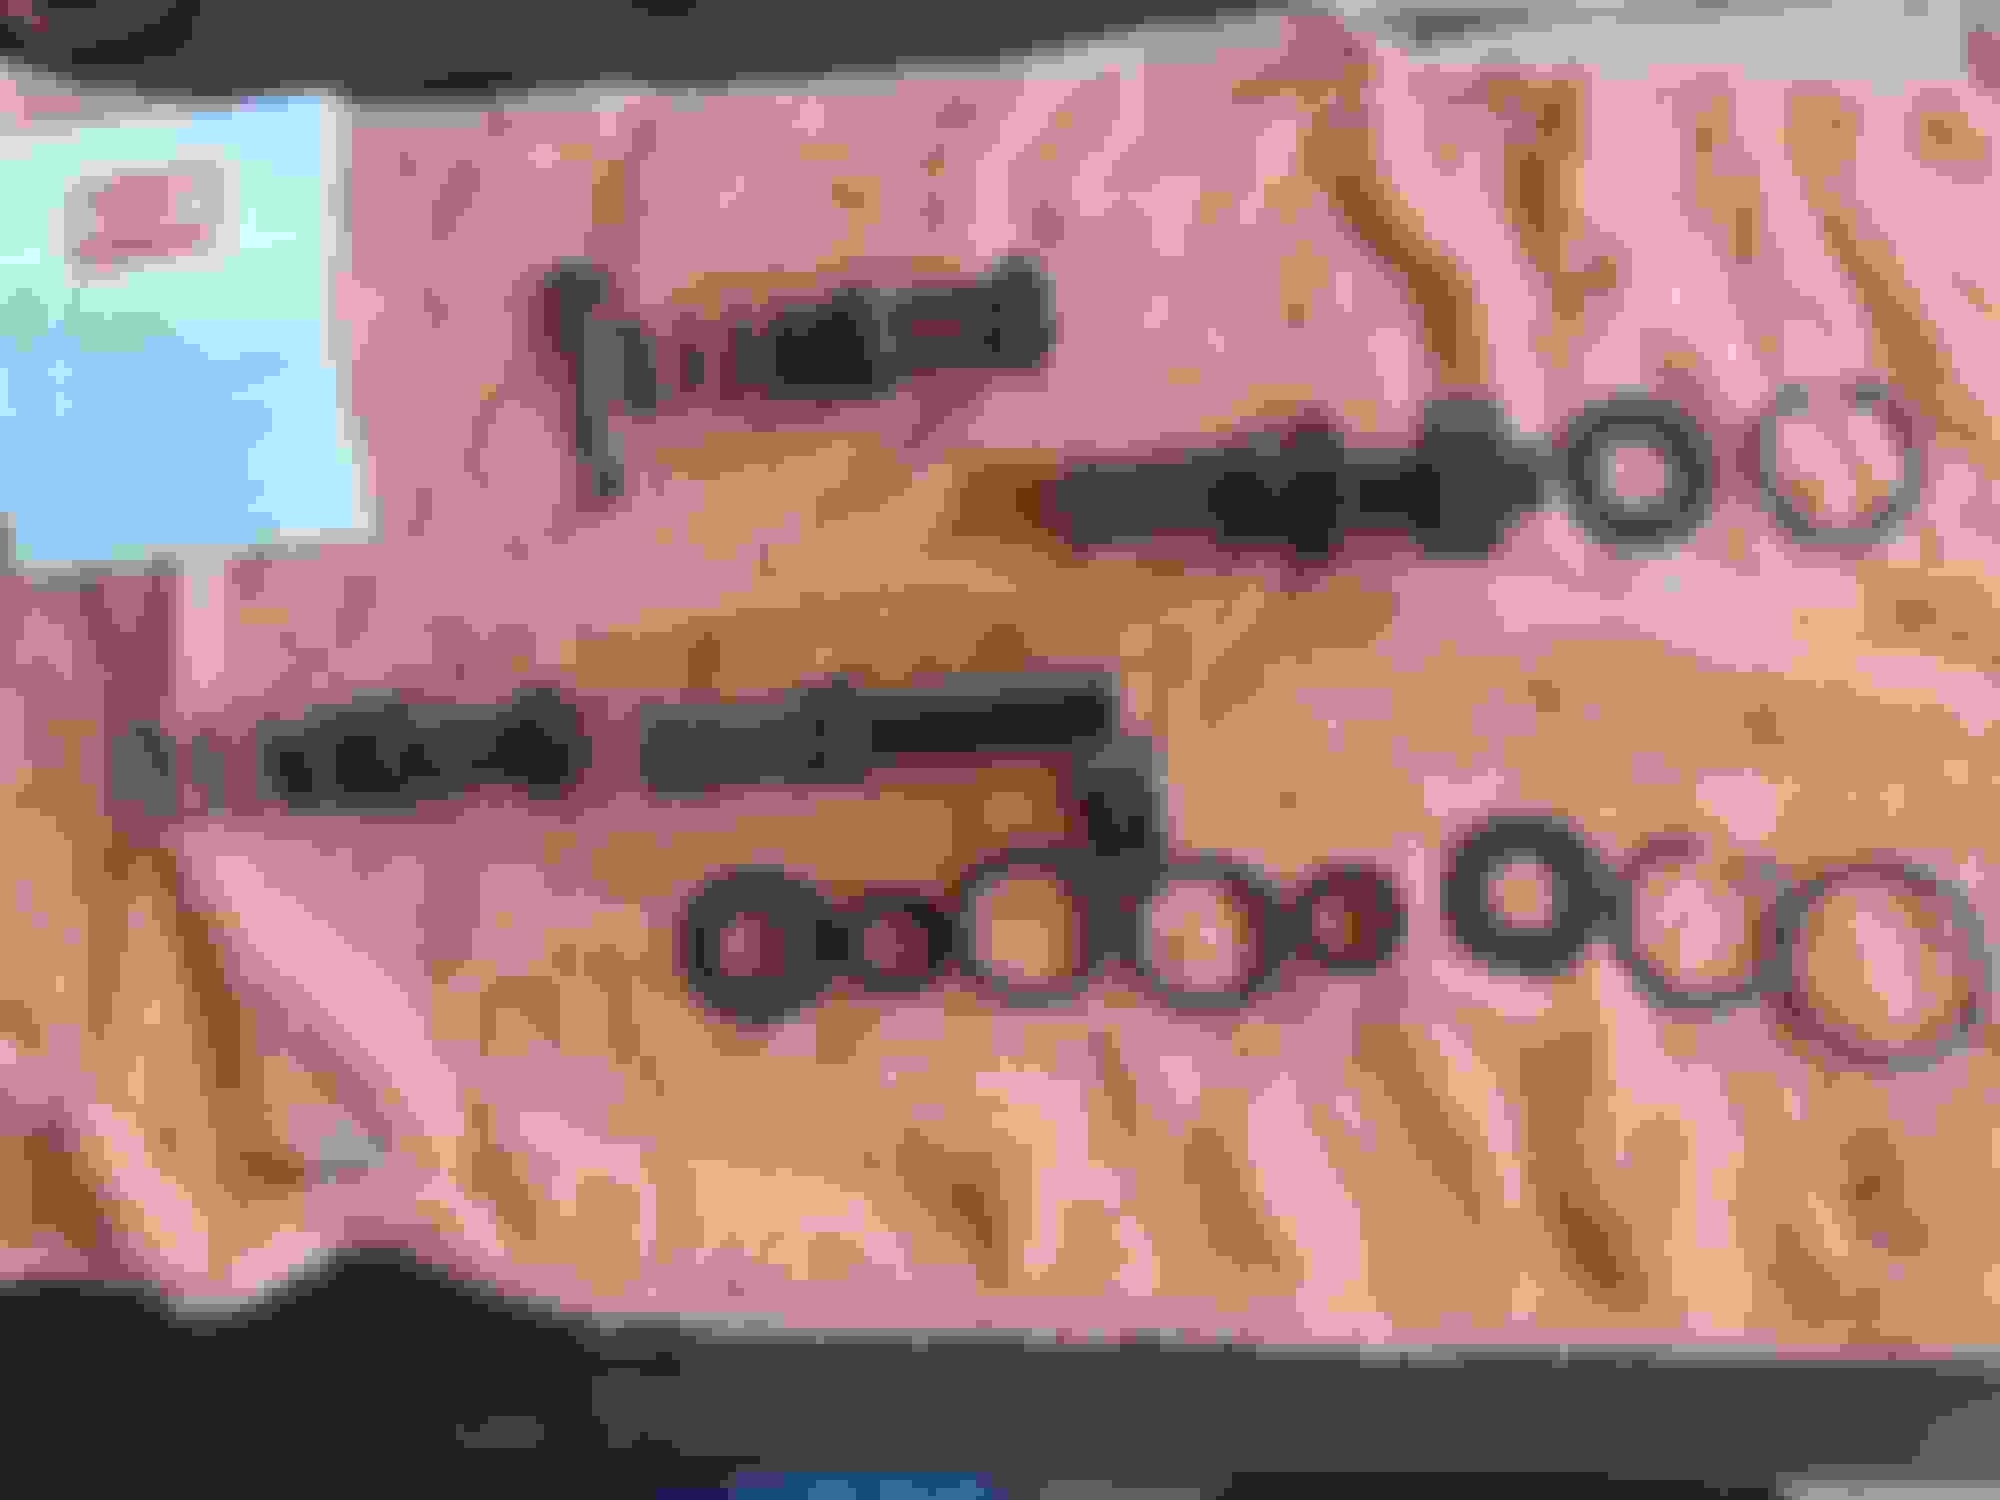
- Clean the bore with brake cleaner and shop towel or a soft rag, being careful not to scratch the bore
- Assemble the replacement pistons and seals
- Pour a small amount of clean brake fluid down the bore and wash it around.
- Apply rubber grease to the Piston seals and o-rings (should come with the rebuild kit)
- Replace the 9mm stop pin o-ring
- Add some more clean brake fluid to aid in bleeding, Insert the front piston and using a screw driver, press down while inserting the 9mm stop pin, tighten down
- Insert the rear piston assembly and apply even pressure to push it into the bore
- Install the spacer and circlip into the groove, a flat head screw driver is helpful to press the circlip in flat
- Replace the outer o-ring on the flange
- Fill the front part of the resevoir part way and hand pump the piston to bench bleed. Once installed, connect the clutch master hose and fill
- Give the clutch a couple of pumps
- Pump the brake pedal like a mad man until the fluid stops sloshing around in the resevoir
- Bleed the clutch slave and brakes as normal, top up fluid as required during bleeding
- Do not forget that the rear brakes and clutch master have a wall separating the fluid from the front part of the resevoir
I'll add to be SUPER careful removing parts and keeping parts in order and correct orientation. Sometimes a part looks like it can go either way but it can't.
Also be certain to do a nice, slow easy drive once you get it back and going to test brakes. You don't want brakes to fail on you!
Obviously you found no reason to hone the bore, there were no wear mark?
I did have a rather long and entertaining answer, but no, I had no wear marks and there really wasn't any reason to hone the bore. The pistons are like a hard plastic and seal using rubber O Rings.
If you can't clean out any stains from old fluid or markings with brake clean, fresh fluid and a shop towel, a very light hone to get the gunk out doesn't hurt. Only enough to clean the bore so it's shiny again.
This is an excellent thread. For those that don't know, you can't buy replacement units anymore. Not OEM not aftermarket either. I just went through this exercise a couple of months ago and HAD to go the rebuilt route.
Thank you! I�m going to be doing this shortly so this is a great help. I picked up both the brake and cluster master kits from Mazda along with a new clutch slave and will do it all at once.
This is an excellent thread. For those that don't know, you can't buy replacement units anymore. Not OEM not aftermarket either. I just went through this exercise a couple of months ago and HAD to go the rebuilt route.
It is still available new from Mazda under the superseded PN of F1004340ZA but it is pretty expensive at just under $600.
It is still available new from Mazda under the superseded PN of F1004340ZA but it is pretty expensive at just under $600.
Thank you and good to know! I will say even Ray did not know as he is my first stop when shopping for OEM parts, maybe because it isn't being offered through Mazda USA? Still good to know, but damn... Ouch on that price
 02-20-21, 04:10 AM