
Clutch Line

Clutch Line
Okay, so I'm sure I'm going to get a lot of ridicule for this, but I've never replaced a brake or clutch line before. Last night my clutch went out, the clutch goes down to the floor, but no clutch engagement. I managed to get a master and slave cylinder, because that was my first thought for the problem. However while bleeding the system I couldn't get the system to pressurize. I looked again and found a puddle under the car. Upon closer inspection the flex pipe popped. I figure now would be a good time to upgrade to a mazdatrix stainless steel one. However in all my years I've never replaced a line before. Can someone give me a step by step? I imagine it's probably simple but I've just never done it.

Can someone tell me what tools I'll need. Is everything real easy to get to, or are there some tricks that make the job easier. Reinstalling the hard line on the slave was a bitch untill I figured out some angles.


Joined: Sep 2009
Posts: 779
Likes: 22
From: Rancho Santa Margarita, CA
normal tools should do, (8mm, 10mm, back wrench, socket wrench, extension) Everything is easily accessible.
Remove the throttle elbow, jack the car up. I have to remove the clutch hydraulic myself since I have opted to rebuild it, you may not need to remove it. I ended up removing the starter, but I have to replace mine that time anyway. Replace the line.
Bleed it after you are done.
Remove the throttle elbow, jack the car up. I have to remove the clutch hydraulic myself since I have opted to rebuild it, you may not need to remove it. I ended up removing the starter, but I have to replace mine that time anyway. Replace the line.
Bleed it after you are done.
Okay, fortunately it looks like I just need to replace the flex hose portion. I was wondering if I'd need to take the elbow off, but since I need to adjust the idle set screw I'll do it all at once.


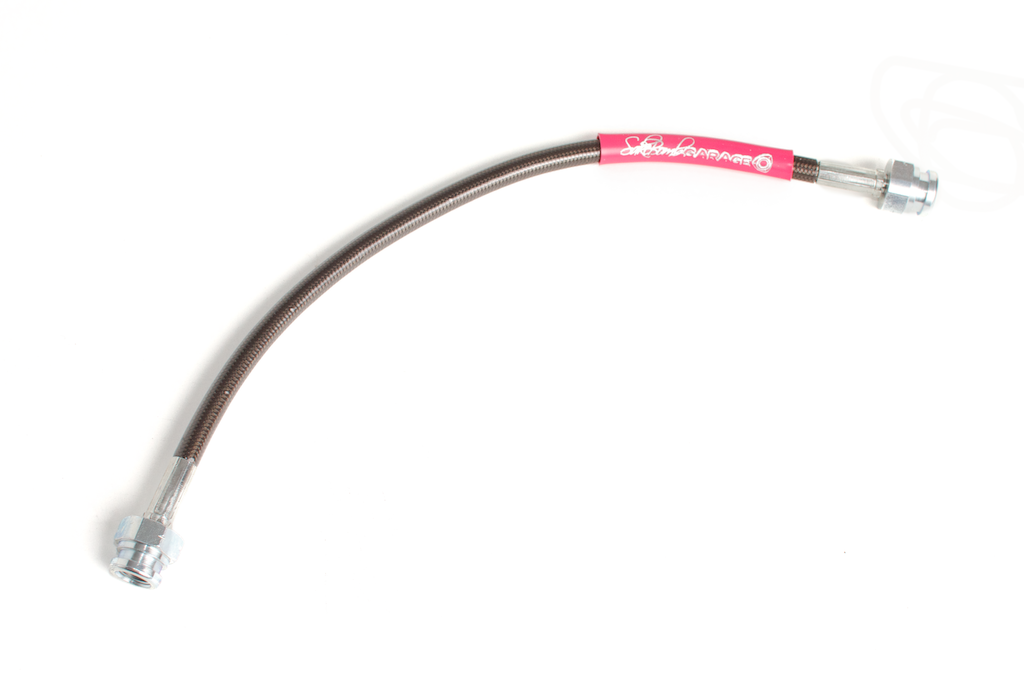
buh bam Stainless Braided Clutch line - SakeBomb Garage
If you're a contortionist with small hands it's possible to do without removing the elbow, but having room definitely helps.
1. Grab a drain container, a small drain hose to fit over the bleed screw on the clutch slave, and some paper towels. 8mm brake wrench for the bleed screw and an open 17mm for the large line nut.

2. Use a flat blade screw driver to pop off the "clips" on the clutch line fittings (you'll see a little indent on the clip... just carefully wiggle it up).

3. Holding the line nut with the 17mm wrench, unscrew the hard line from the soft line (I typically do the lower one first, let it drain, then the upper).
4. Get the new soft line on quickly (finger tight) as the fluid will slowly be gravity draining at this point. I usually wait till fluid works it's way through the new soft line before attaching the bottom so there's less air to bleed out of the clutch slave.
5. Tighten the hard->soft line connection top and bottom (don't overtighten it... the hard line nuts only only require 75 inch lbs or so says mazda, but that's a useless number to know... just snug it down real nice like )
)
6. Pop those retainer clips back in!
7. Attach your small drain hose to the bleeder screw on the clutch slave cylinder and open it up. You can simply gravity drain it, or bleed it like brakes.
This is a good opportunity to put new (high quality) brake fluid in and bleed the entire brake system. Brake fluid is hydroscopic... if it's old it's soaked up water and when that water gets hot you'll boil the fluid and end up with a sponge for a brake pedal.
*And remember kids, Ricky the Rotor says: "keep the g-damn brake fluid off the paint"
-Heath
If you're a contortionist with small hands it's possible to do without removing the elbow, but having room definitely helps.
1. Grab a drain container, a small drain hose to fit over the bleed screw on the clutch slave, and some paper towels. 8mm brake wrench for the bleed screw and an open 17mm for the large line nut.
2. Use a flat blade screw driver to pop off the "clips" on the clutch line fittings (you'll see a little indent on the clip... just carefully wiggle it up).
3. Holding the line nut with the 17mm wrench, unscrew the hard line from the soft line (I typically do the lower one first, let it drain, then the upper).
4. Get the new soft line on quickly (finger tight) as the fluid will slowly be gravity draining at this point. I usually wait till fluid works it's way through the new soft line before attaching the bottom so there's less air to bleed out of the clutch slave.
5. Tighten the hard->soft line connection top and bottom (don't overtighten it... the hard line nuts only only require 75 inch lbs or so says mazda, but that's a useless number to know... just snug it down real nice like
) 6. Pop those retainer clips back in!
7. Attach your small drain hose to the bleeder screw on the clutch slave cylinder and open it up. You can simply gravity drain it, or bleed it like brakes.
This is a good opportunity to put new (high quality) brake fluid in and bleed the entire brake system. Brake fluid is hydroscopic... if it's old it's soaked up water and when that water gets hot you'll boil the fluid and end up with a sponge for a brake pedal.
*And remember kids, Ricky the Rotor says: "keep the g-damn brake fluid off the paint"
-Heath
__________________
SAKEBOMB GARAGE LLC
www.SAKEBOMBGARAGE.com
Specialty aftermarket parts & service // Fremont, California
Contact: info@sakebombgarage.com
SAKEBOMB GARAGE LLC
www.SAKEBOMBGARAGE.com
Specialty aftermarket parts & service // Fremont, California
Contact: info@sakebombgarage.com
Last edited by SakeBomb Garage; Aug 21, 2013 at 01:37 PM.
Trending Topics
Nice, thank you. By the way I'm loving the aluminum interior passenger handle I bought from you guys. To bad I didn't know about your line, I already ordered a steel braided from Mazda Trix.
 we've been talking about doing some how-to's for the newbs for some time now... once we get the blog going we'll do at least a few writeups for basic installs and maintenance. Miata.net is really good with pictorial how-to's for the un-initiated. I've been pitching that idea for years to rx7club but so far no traction.
 -Heath
__________________
SAKEBOMB GARAGE LLC
www.SAKEBOMBGARAGE.com
Specialty aftermarket parts & service // Fremont, California
Contact: info@sakebombgarage.com
SAKEBOMB GARAGE LLC
www.SAKEBOMBGARAGE.com
Specialty aftermarket parts & service // Fremont, California
Contact: info@sakebombgarage.com
Happy to help we've been talking about doing some how-to's for the newbs for some time now... once we get the blog going we'll do at least a few writeups for basic installs and maintenance. Miata.net is really good with pictorial how-to's for the un-initiated. I've been pitching that idea for years to rx7club but so far no traction.
-Heath
we've been talking about doing some how-to's for the newbs for some time now... once we get the blog going we'll do at least a few writeups for basic installs and maintenance. Miata.net is really good with pictorial how-to's for the un-initiated. I've been pitching that idea for years to rx7club but so far no traction. -Heath

Thread
Thread Starter
Forum
Replies
Last Post
NCross
2nd Generation Specific (1986-1992)
9
Sep 3, 2015 03:42 PM