
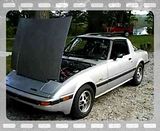
White becomes Silver


Thanks Guys, it's fun. And there's still some things to do.
The car is coming along nicely, two trips into Atlanta without a hitch, she is completely roadworthy, potentially better than the White One. I need to improve the steering and get some tires, but neither are bad enough to need to be done now. I stopped by Discounttires on my way home from work yesterday and got my 100,000+ Yokohama Avid Touring's balanced, they are probably good for another 20,000 miles. I sure wish Yokohama still made that tire in a 185/70/13.
So this weekend I'm attending to details. Like the undercarriage.
Among several other details, I decided to put back the heat shielding removed by the PO, since I was noticing the shifter was getting hot. Problem was, PO didn't send the shield along with the car. But problem solved by Keven (Yayo) who had given me some sheet metal from his 85 GS a few weeks ago, one of which was the right piece:


Turns out that in order to put that piece in you need to remove the presilencer, so while I had it out I added a coat of heat paint:

And you also need to remove the header (I took the one out of the White One while I was at it, White on top, Silver underneath):

Finally I needed to drill out and retap two of those fixed nuts that are used to bolt the heat shield to the body, but now the shield is installed and looking great - all mounts are engaged!
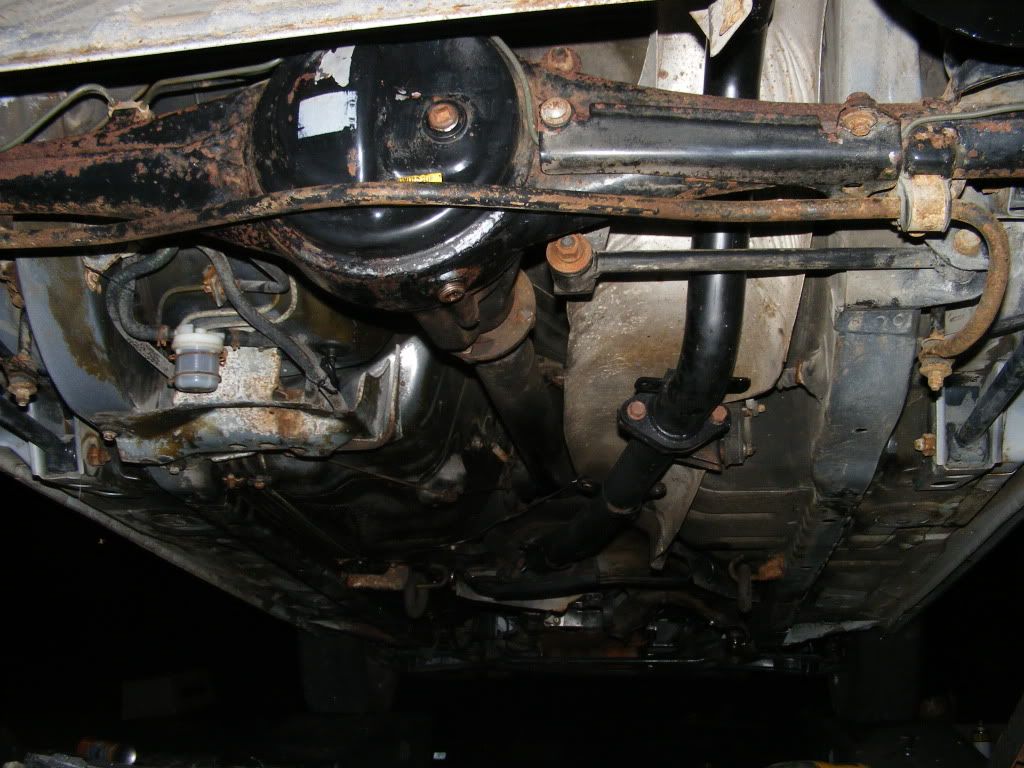
Here's a couple photos of the current situation, I've done 2-3 degreaser treatments and some detergent washing, which is why you see the surface rust. Tomorrow I'll paint, undercoat and reinstall the exhaust:


The car is coming along nicely, two trips into Atlanta without a hitch, she is completely roadworthy, potentially better than the White One. I need to improve the steering and get some tires, but neither are bad enough to need to be done now. I stopped by Discounttires on my way home from work yesterday and got my 100,000+ Yokohama Avid Touring's balanced, they are probably good for another 20,000 miles. I sure wish Yokohama still made that tire in a 185/70/13.
So this weekend I'm attending to details. Like the undercarriage.
Among several other details, I decided to put back the heat shielding removed by the PO, since I was noticing the shifter was getting hot. Problem was, PO didn't send the shield along with the car. But problem solved by Keven (Yayo) who had given me some sheet metal from his 85 GS a few weeks ago, one of which was the right piece:
Turns out that in order to put that piece in you need to remove the presilencer, so while I had it out I added a coat of heat paint:
And you also need to remove the header (I took the one out of the White One while I was at it, White on top, Silver underneath):
Finally I needed to drill out and retap two of those fixed nuts that are used to bolt the heat shield to the body, but now the shield is installed and looking great - all mounts are engaged!
Here's a couple photos of the current situation, I've done 2-3 degreaser treatments and some detergent washing, which is why you see the surface rust. Tomorrow I'll paint, undercoat and reinstall the exhaust:


Joined: Mar 2001
Posts: 31,833
Likes: 3,232
From: https://www2.mazda.com/en/100th/
yeah good job putting the shield back!
demonspawn's current car melted the carpet during its smog test, and then melted the passengers shoes at buttonwillow, WITH NO CAT
demonspawn's current car melted the carpet during its smog test, and then melted the passengers shoes at buttonwillow, WITH NO CAT
Thanks Guys! Yes that shield is definitely a good idea, even though they are a real PIA. The car is hot enough during our Georgia summers without AC, I don't need the exhaust system contributing to the problem.
Sam anybody who ran a restoration business the way I work would be out of business pretty soon. Seems like I do everything the hard way.
For example, when I put the intake manifold on I forgot those two center mounts were studs, not bolts. That probably contributed to me snapping the head off one of the bolts when I tightened it up. So this weekend I decided to make it right and went out and bought an easy out set to remove the broken bolt.
Then I discovered my drill was too big to fit in between the engine bay and manifold, so this morning I went to home depot to get an angle drill attachment for the drill. Then I found out that drilling out the broken bolt with the carb and manifold in place wasn't going to be easy, so off came the carb and intake manifold. This exposed about 1/4" of the broken bolt, which I was then able to turn out with my fingers. Duh. At least I'm well prepared for the next broken bolt that comes along.
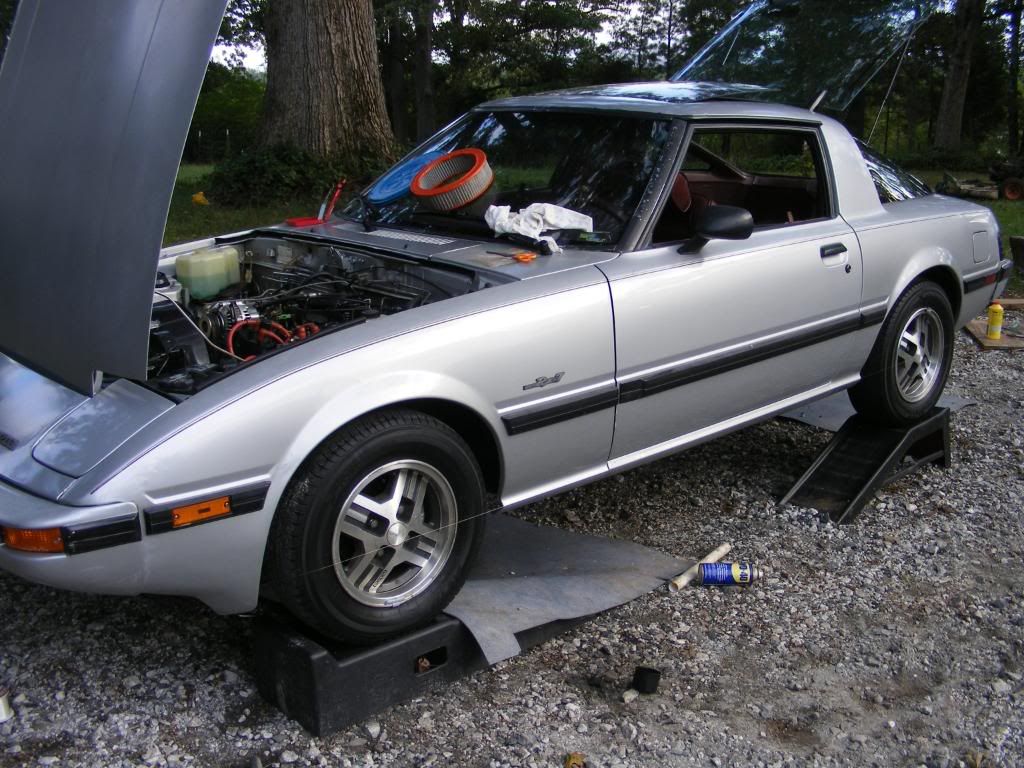
Anyway, today should be the day I get everything back together, do the front end alignment and clean everything up real well, including a coat of wax outside and a good Lexol treatment inside. I'll post some pictures of the "finished" Silver One a little later today.
Sam anybody who ran a restoration business the way I work would be out of business pretty soon. Seems like I do everything the hard way.
For example, when I put the intake manifold on I forgot those two center mounts were studs, not bolts. That probably contributed to me snapping the head off one of the bolts when I tightened it up. So this weekend I decided to make it right and went out and bought an easy out set to remove the broken bolt.
Then I discovered my drill was too big to fit in between the engine bay and manifold, so this morning I went to home depot to get an angle drill attachment for the drill. Then I found out that drilling out the broken bolt with the carb and manifold in place wasn't going to be easy, so off came the carb and intake manifold. This exposed about 1/4" of the broken bolt, which I was then able to turn out with my fingers. Duh. At least I'm well prepared for the next broken bolt that comes along.
Anyway, today should be the day I get everything back together, do the front end alignment and clean everything up real well, including a coat of wax outside and a good Lexol treatment inside. I'll post some pictures of the "finished" Silver One a little later today.
Well everything is back in place and the car runs great! The intake manifold and header took a bit longer than I expected because this time I did everything slowly, carefully and triple checked - this time I want it right (even got the torque wrench out). But by the time I got the alignment done the sun was going down, just enough time for a short test drive but not enough for pics. I'll try to get some after work and another 110 mile test run today.
Crit thanks, yes I could use that heat shielding for future projects! (One of the reasons we have so many nice 1st gens down here in Georgia is that Southern philosophy of if you aren't using it, give it to someone who can!)
Crit thanks, yes I could use that heat shielding for future projects! (One of the reasons we have so many nice 1st gens down here in Georgia is that Southern philosophy of if you aren't using it, give it to someone who can!)
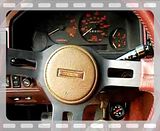
OK I have a question. I've done what I can with the steering components, besides the idler arm that I replace, everything else is good EXCEPT there is play in the steering box. The Silver One has manual steering and as I understand it these wear out faster than the power units because of the added drag.
The play isn't very bad but I want a sports car, not a ford falcon, so now is the time to fix it.
Rebuilding the manual box means removing the whole steering column (ugh!) so now I'm thinking I need to take this opportunity for an upgrade. Even though all the inner and outer tie rod ends are still tight, their rubber boots are all rotted and I suspect they are original, so now would be a good time to replace them too. All the tie rod ends plus the pitman arm with run about $160 from Rock Auto, assuming I use the moog replacements (are AC delco better? Someone said they were).
Here then are my options:
1. Pull the manual unit and rebuild it; also add new tie rod ends an pitman arm to go with the already replaced moog idler arm.
2. Pull the manual unit and replace it with a good used power unit, along with changing out the tie rod ends and pitman arm as above.
3. Go with a rack and pinion steering set up. I know respeed sells these but I don't know anything about them or what is needed for installation. This would cost some bucks but I'd already have the $160 saved on tie rod parts toward the conversion. Is rack and pinion really that much better, especially for the mostly highway driving I do?
Opinions are very much solicited and welcome! What should I do???
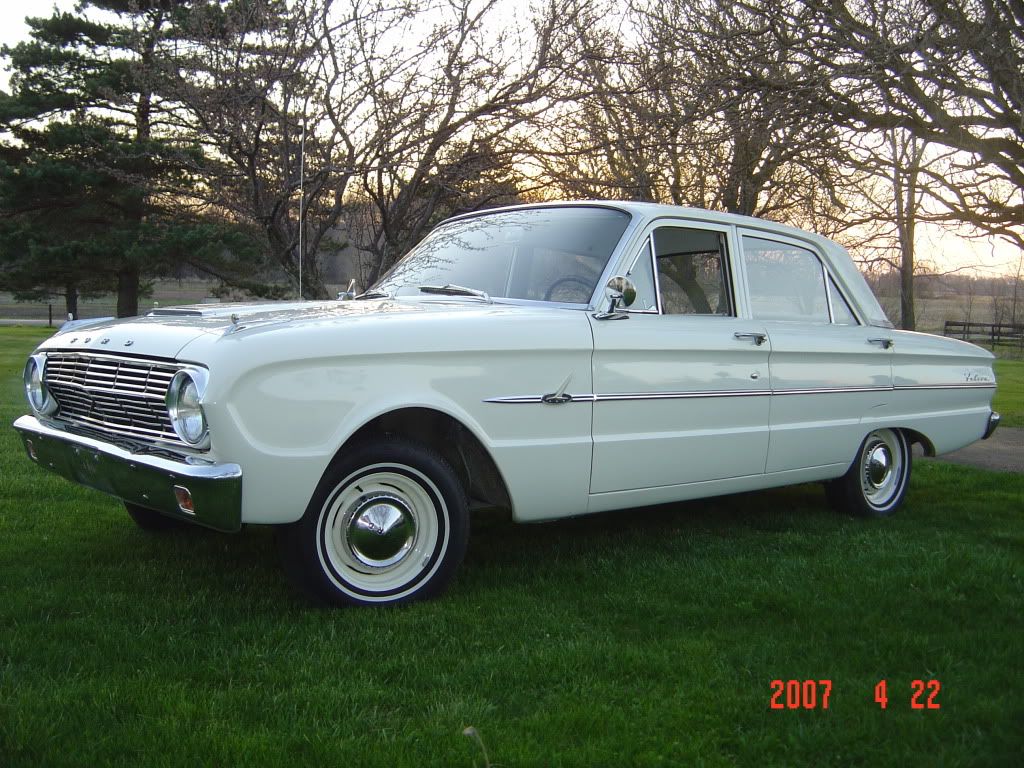

That's pretty. My grandmother's was a black two door, PRNDLR on the column. I was drooling over it in 1969 but I think one of my cousin's got it.
Here's an update on the Silver One. I'm still working on that steering adjust but switching around the old Yoko tires made a big difference in the alignment
Joined: Mar 2001
Posts: 31,833
Likes: 3,232
From: https://www2.mazda.com/en/100th/
i spent a LONG TIME adjusting the box in Mr Peepers, there are 3 adjustments to the box itself, and the two easy ones (the ones on top) interact with each other.
i actually took it apart (twice!) to see how it worked. on the top there are two adjustments, one adjusts play and the other adjusts effort. my first time i ended up with high effort and tons of play. take two is low effort and very little play (less than 1/8" at the wheel).
front end should be off the ground, so you can turn the wheel and check effort/binding.
i also filled mine with redline, although i doubt it did anything
the 3rd adjustment is on the column side, and i dont have that tool....
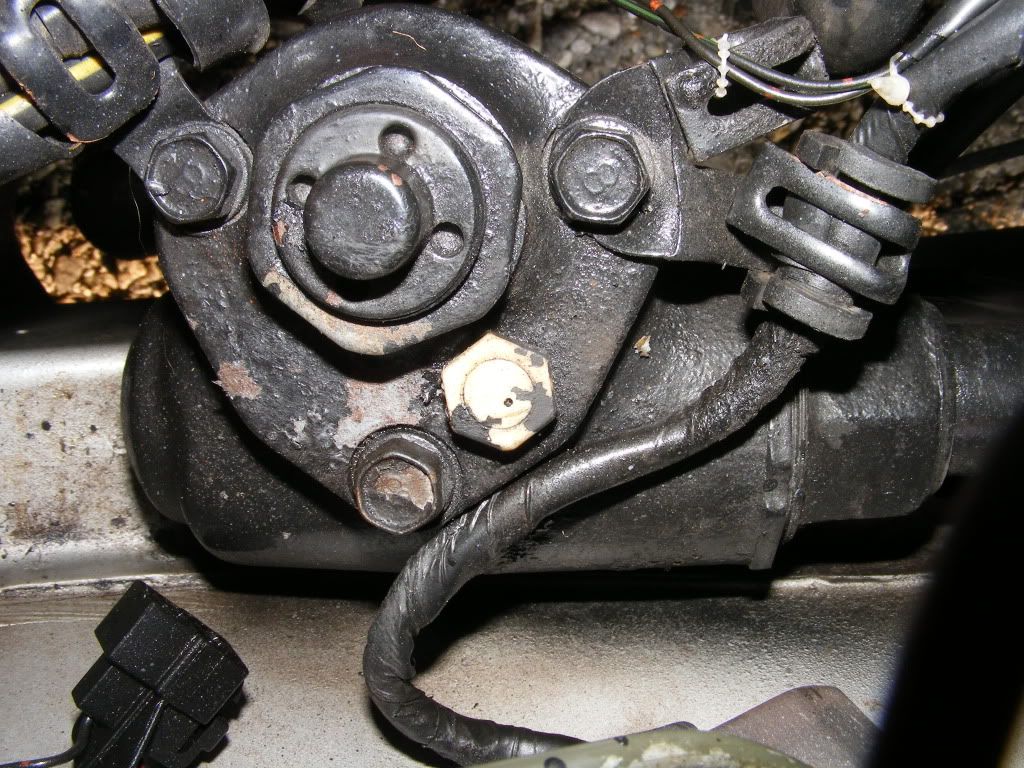
Ray. Try adjusting the steering box. Break the large nut loose first. Turn the inner part with the 4 dimples. Don't mess with popping the center cap off and messing with that adjustment. Car looks and sounds pretty good.
Got it Sam, I finally found a way to loosen that lock nut. Chisel didn't work, large vice grips didn't work, nor did either a 40, 41 or 1 9/16" socket, they wouldn't hold well enough to torque it off. But finally this afternoon I tried a small pipe wrench, helped along by a 3 lb. sledge hammer, and it broke loose. I snugged it up clockwise with a large punch on the little holes in the cap and added gear oil (it was half empty).
The paint is a little scrapped up and the lock nut has some battle scars, but now the steering is just fine. Thanks to all for the tips on how to deal with that damn steering box!
So it turns out I don't need to install rack and pinion or even replace any of the steering linkages, they are all fine despite their rotted dust boots. I'll wait till something develops some play, then do that job. And I'll use the money saved to pick up some new tires, I'm thinking the Kumho Solus KR21's are the best current deal, about $330 with installation, tax, free balancing, annual alignment and road damage warranty.

Thread
Thread Starter
Forum
Replies
Last Post