
RE-Speed steering kit! It's here!


Edit: nevermind, found it in Key Sets
Damnitall. Threw on the wheels today. The tie rod ends rubbed against my rims. After a bit of grinding and positioning, I was able to get a 1/32" to 1/16" clearance from the rims. For the record they are the stock 13" rims, with the aluminum steering arms. I need to find a solution for this.
Damn that sucks, I did the big brake conversion at the same time, so no issues so far, but I am planning on installing a kit on my other FB, which will have stock wheels, this isn't good!
FWIW I had a hell of a time getting the control arms in the crossmember as well, ended up trimming a bit of the bushing to make it easier, didn't think about spreading the crossmember a bit.. Will have to try that next time.
FWIW I had a hell of a time getting the control arms in the crossmember as well, ended up trimming a bit of the bushing to make it easier, didn't think about spreading the crossmember a bit.. Will have to try that next time.

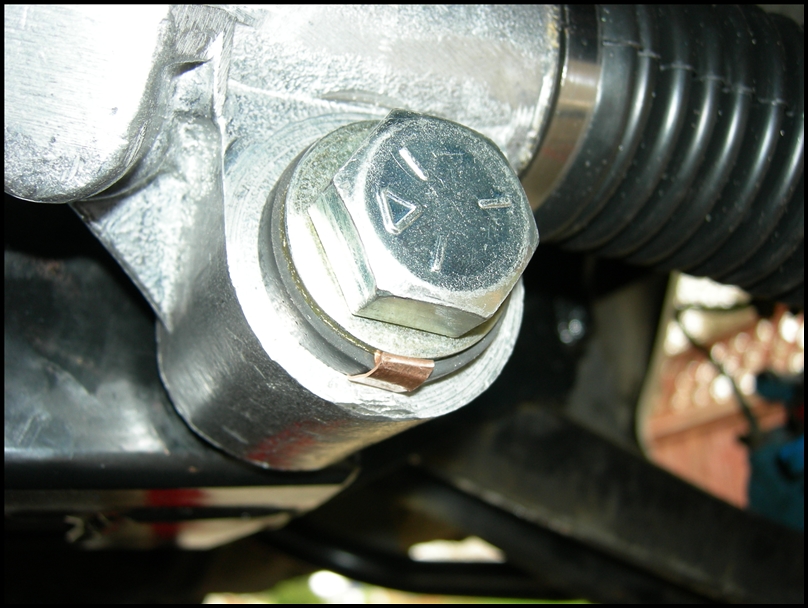
I am also interested on your views on the non-grounding issue. It was a simple fix to ground the rack, but I am surprised I am the first one to encounter this.
Also, is the lower rad hose supposed to touch the rack?
Also, is the lower rad hose supposed to touch the rack?
I know the question was aimed at Billy, but i'll throw in my 2 cents, The horn isn't installed on my car yet, I plan on changing steering wheels once the car is back on the road, good to know, I'll add a ground now.
I have the shorter 79-82 radiator in my car, so no issues with the hose, but the 79-82 oil cooler won't work correctly as the bottom line for it pushes into the steering racks boot, it will saw right through it I'm sure (I have braided stainless lines) I'm plannin either moving the cooler or getting a FC cooler to solve this....
I have the shorter 79-82 radiator in my car, so no issues with the hose, but the 79-82 oil cooler won't work correctly as the bottom line for it pushes into the steering racks boot, it will saw right through it I'm sure (I have braided stainless lines) I'm plannin either moving the cooler or getting a FC cooler to solve this....
I can see where if the horn grounded through the steering box before it would not after the install. If this is the case on all installs then the ground strap is a good solution.
With the taller rads it is very close. Did not touch on our end. You can move the rack back a bit by removing the inner mounting bushing washers.
We crammed a bunch of stuff in front of the engine with this kit. Clearances are very tight.
-billy
With the taller rads it is very close. Did not touch on our end. You can move the rack back a bit by removing the inner mounting bushing washers.
We crammed a bunch of stuff in front of the engine with this kit. Clearances are very tight.
-billy
Still waiting to hear back from the alignment shop. Apparently, its taking some tome to align right.
Thread Starter
Joined: Sep 2005
Posts: 532
Likes: 1
From: Abilene, TX
You're not going to get it done in an hour I'm sure unless the guy is top notch.
What do you use your horn for anyways? Just out of curiosity. I never use it I just yell. Or position the car I'm driving so it intimidates people out of the way. Maybe I'm just a dick but it works everytime. i also thing it's funny how you won't be very close to another car and they move over or out of the way as if you pushed them. People are stupid and bad drivers should be picked on. In my opinion. Like the guy that will be passing you then slow down and stay right next to you. I had that happen the other night coming home on the freeway. I have the car on cruise control and there are no hills and the guy was doing at least. 7 miles an hour more than me caught all the way up and stopped so I was in his blind spot. I wait a bit he doesn't speed up. So I move onto the center line and scare him away. He speeds up then goes into my lane and slows down. I started out in the slow lane just doing 65 not in a hurry. I just moved over to the fast lane now he's doing it again. So I move him to the emergency lane. He slows down of course and goes behind me way back till I exit. Mind you there is not another single car on the road it was pretty late. In my opinion I take that as placing me in unneccessary harms way. Since there is no reason to be near me. If your going faster go faster I'm in an Accord it doesn't even look like a police car. I hate people that do this stuff. People suck............. I hate them all. Present company excluded of course. just me ranting again I guess. I should be a cop everyone tries stupid **** when I'm around or I am always in the wrong place at the right/wrong time.
Thread Starter
Joined: Sep 2005
Posts: 532
Likes: 1
From: Abilene, TX
Yeah more pictures of the car that seems like it will never have engine mounts. I really am at the end of about anything I can do now. I am seriously contemplating painting the engine bay as well although I'd rather have it done professionally.
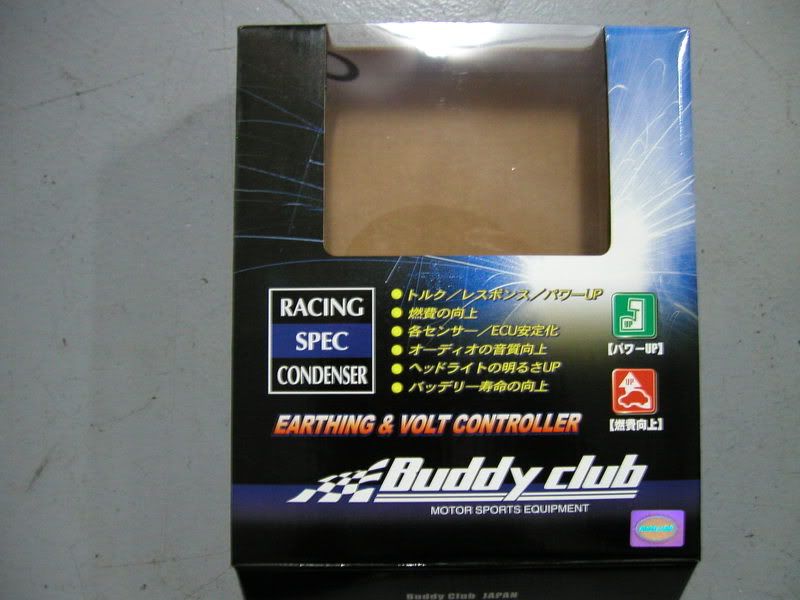
Got my buddy club voltage stabalizer today. here's the box
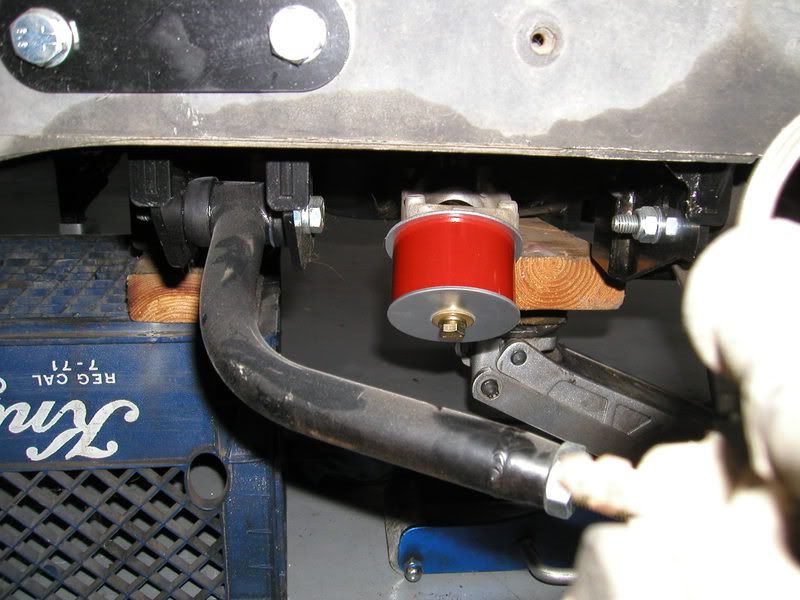
A picture of it and where it's mounted. It's so shiny. It has cheesy blue leds in it that come on when the capacitors are charged up. Not sure I care about that part.
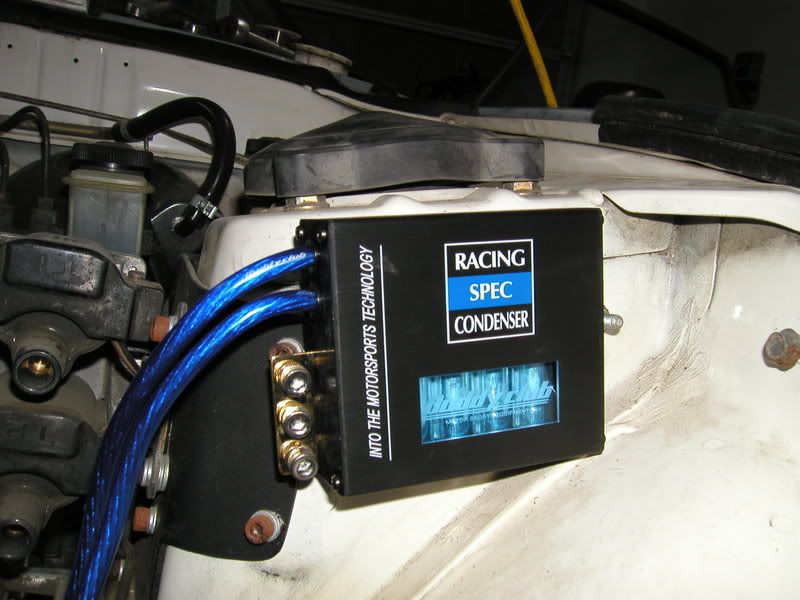
Another view. As you can tell it's fairly compact and I was thinking at first I might use double sided tape to mount it to the side of the battery then remember the tie down needs to pass by the side of the battery.
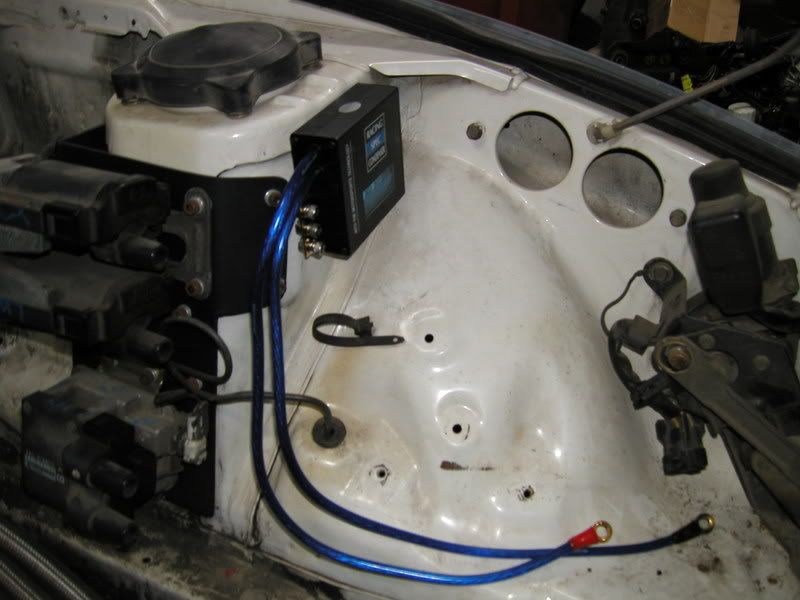
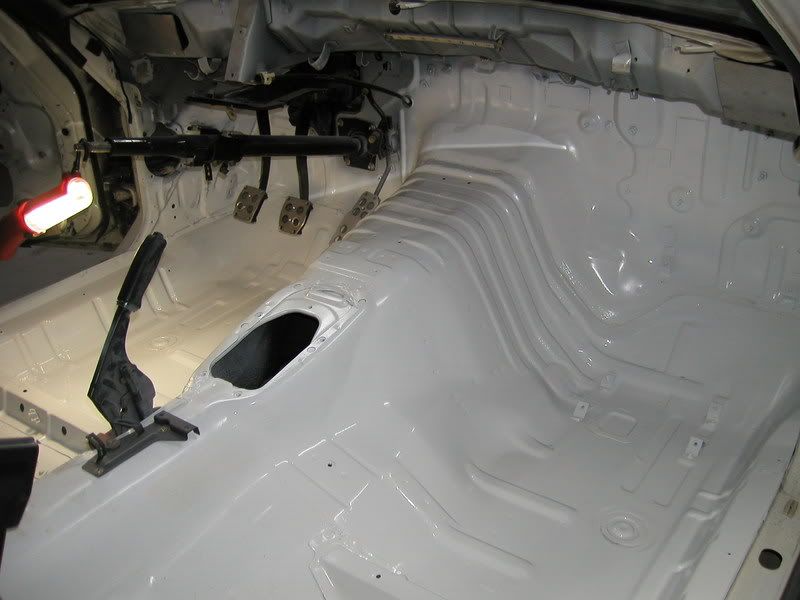
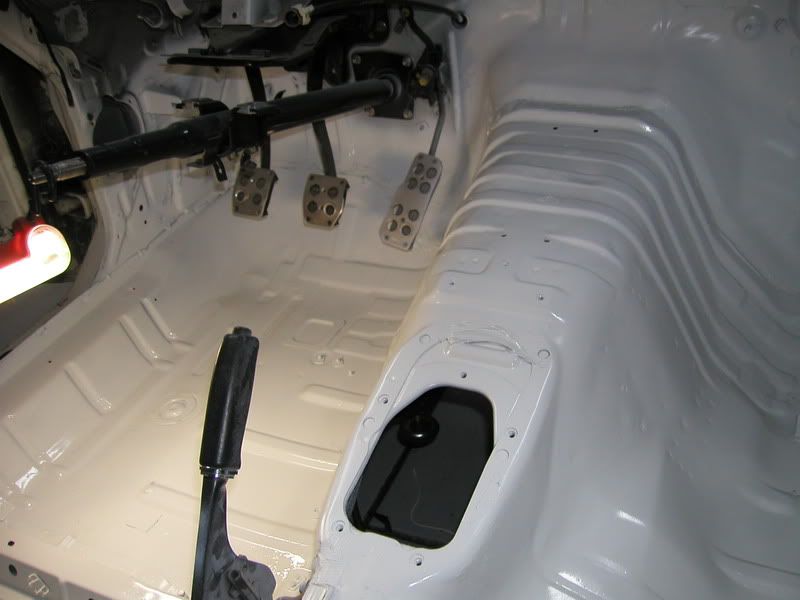
I finished painting the interior of the car today as well. This is when it's drying
another view
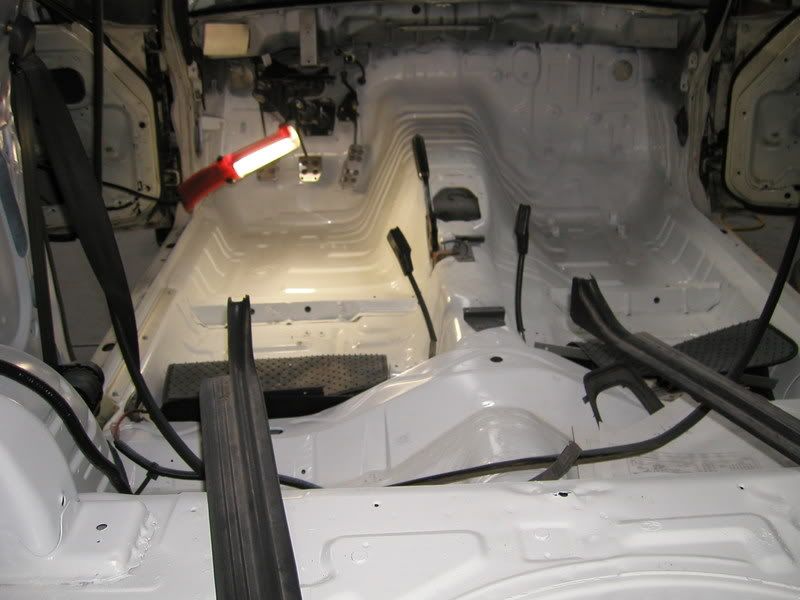
yet another
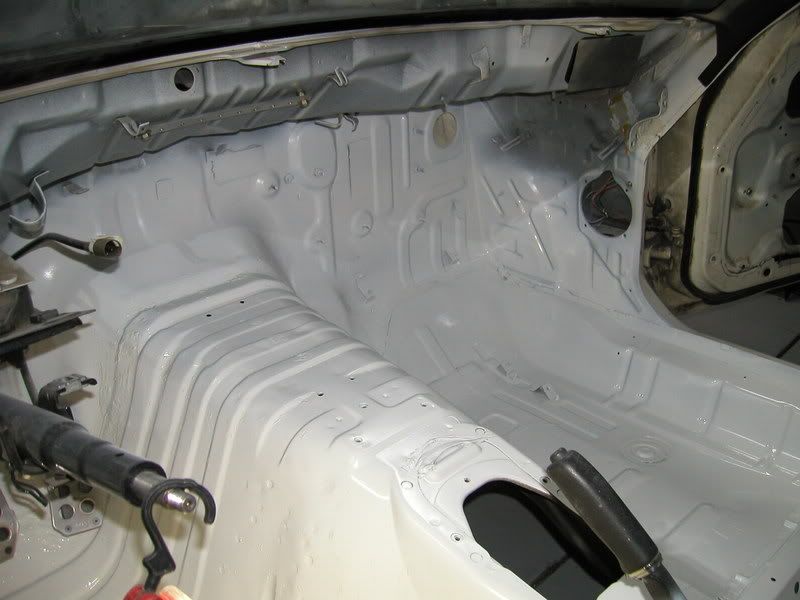
And one more. All the holes to outside are now filled or block by aluminium plates and silicon. Then painted over. You almost don't even notice them now.
This is how I have been using the roof for the last couple weeks. Pretty much all kinds of stuff is accumulating there.
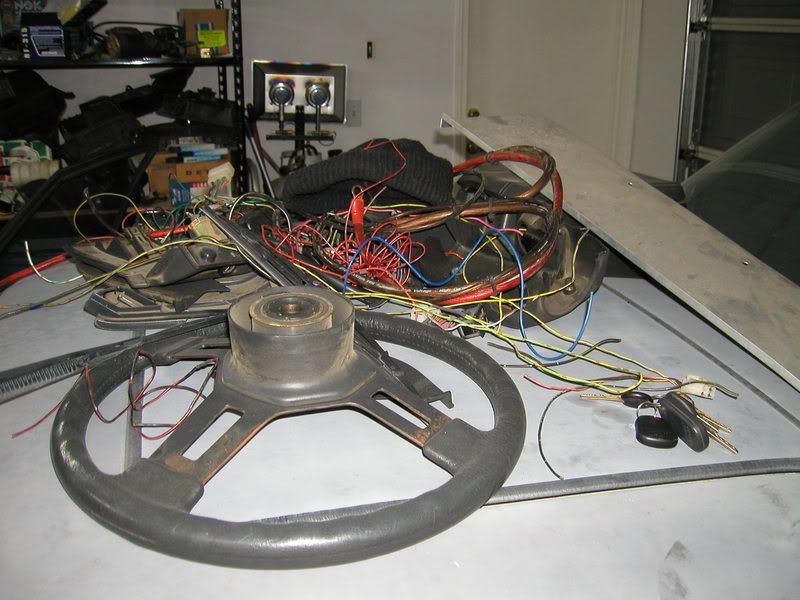
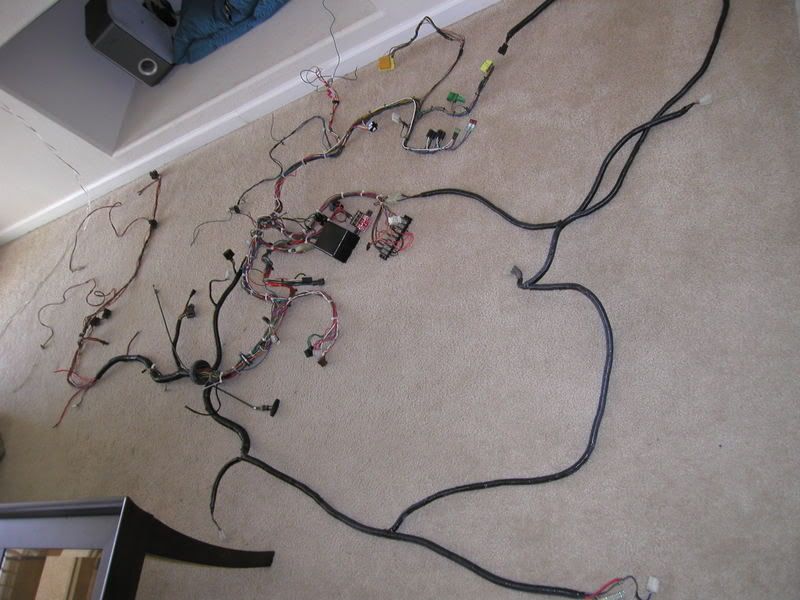
I had to pull the wiring harness out to paint it of course so here it is in a huge pile on one of my tool boxes.

Got my buddy club voltage stabalizer today. here's the box
A picture of it and where it's mounted. It's so shiny. It has cheesy blue leds in it that come on when the capacitors are charged up. Not sure I care about that part.
Another view. As you can tell it's fairly compact and I was thinking at first I might use double sided tape to mount it to the side of the battery then remember the tie down needs to pass by the side of the battery.
I finished painting the interior of the car today as well. This is when it's drying
another view
yet another
And one more. All the holes to outside are now filled or block by aluminium plates and silicon. Then painted over. You almost don't even notice them now.
This is how I have been using the roof for the last couple weeks. Pretty much all kinds of stuff is accumulating there.
I had to pull the wiring harness out to paint it of course so here it is in a huge pile on one of my tool boxes.
Thread Starter
Joined: Sep 2005
Posts: 532
Likes: 1
From: Abilene, TX
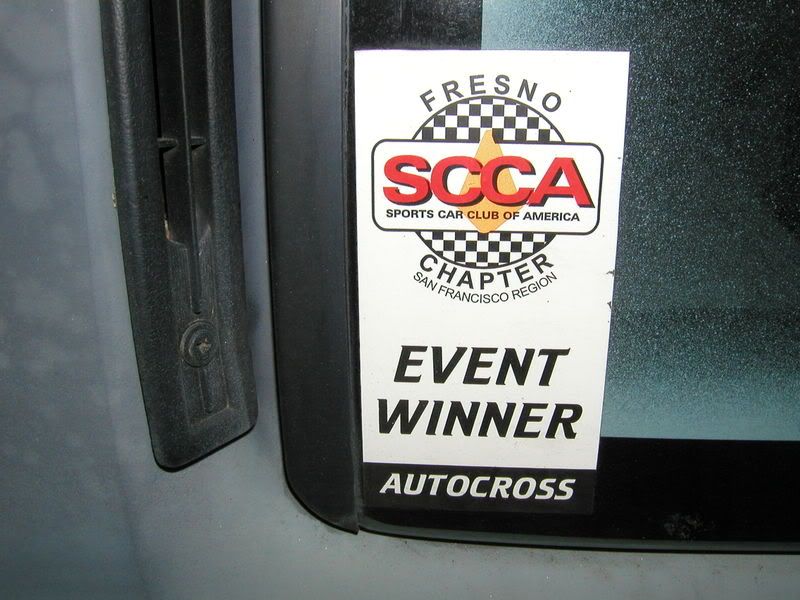
This pic is just for fun. There's only one on the car but I have a handful in the house. It's almost time to go get some more. Come on Omar build my ****!
I fixed the diff seal too the other day. That was pretty fun. The weakest 8 year old girl must have tightened the bolts to the 3rd member before I had it because a couple of them were pretty much hand tight. Well they were they were just too greasy to grab. Cleaned everything up and resealed that bastard. Put some new synthetic mobil 1 oil in it and it's ready for action. I also took the opprotunity to loosely install the drive shaft bolt and transmission cross brace bolts in their respective places minus the actual peices of course so they are there for the engine install. I told you I really don't have much to do. Tomorrow after the paint dries I'll stick the harness and dash back in the car and figure out what I'm going to do for a floormat since I just don't want a loose on sliding around in there. It would drive me crazy.
I fixed the diff seal too the other day. That was pretty fun. The weakest 8 year old girl must have tightened the bolts to the 3rd member before I had it because a couple of them were pretty much hand tight. Well they were they were just too greasy to grab. Cleaned everything up and resealed that bastard. Put some new synthetic mobil 1 oil in it and it's ready for action. I also took the opprotunity to loosely install the drive shaft bolt and transmission cross brace bolts in their respective places minus the actual peices of course so they are there for the engine install. I told you I really don't have much to do. Tomorrow after the paint dries I'll stick the harness and dash back in the car and figure out what I'm going to do for a floormat since I just don't want a loose on sliding around in there. It would drive me crazy.
Thread Starter
Joined: Sep 2005
Posts: 532
Likes: 1
From: Abilene, TX
Yep that's pretty much it. you could build your own obviously but I'd just rather buy it and it's already in a nice tidy package. It's the same thing as having a 1 farad (1,000,000 micro farad) capacitor for your "tight" system so when the bass hits and it draws a lot of power your lights don't dim.
Last edited by Skidtron; Mar 14, 2008 at 04:36 AM.
Thread Starter
Joined: Sep 2005
Posts: 532
Likes: 1
From: Abilene, TX
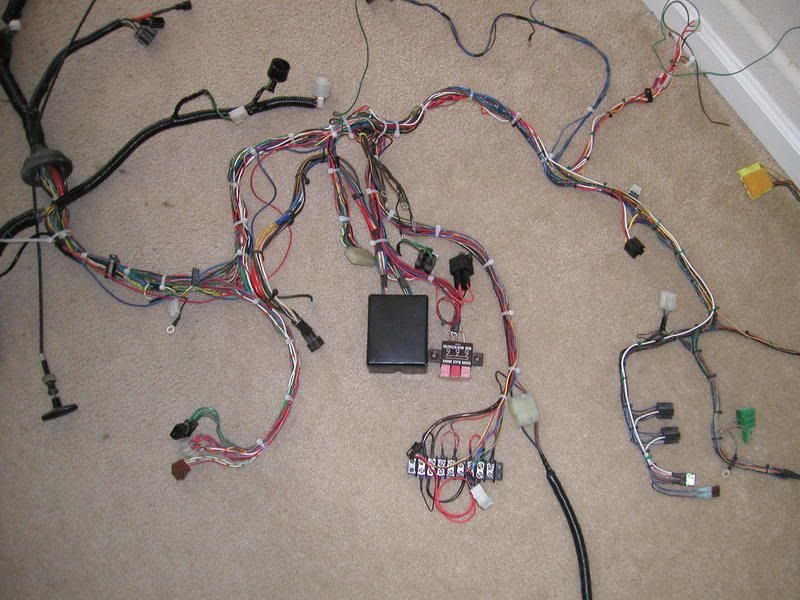
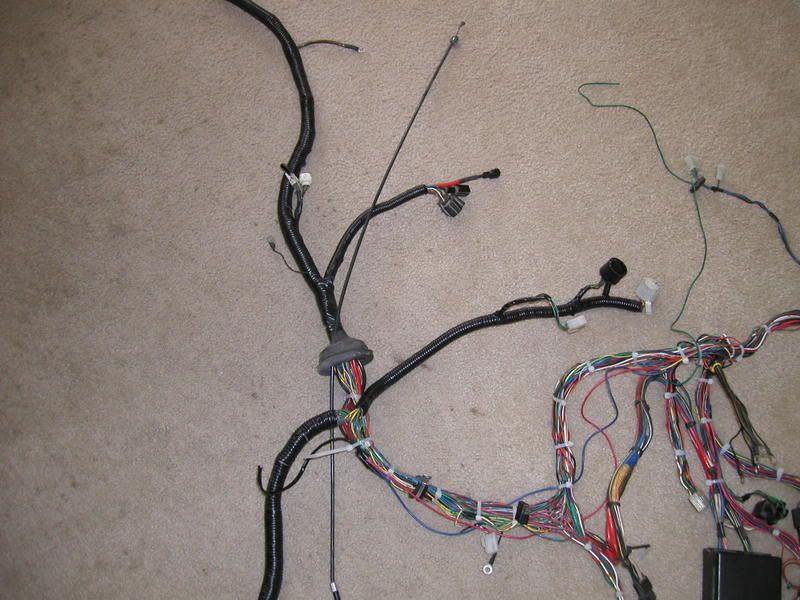
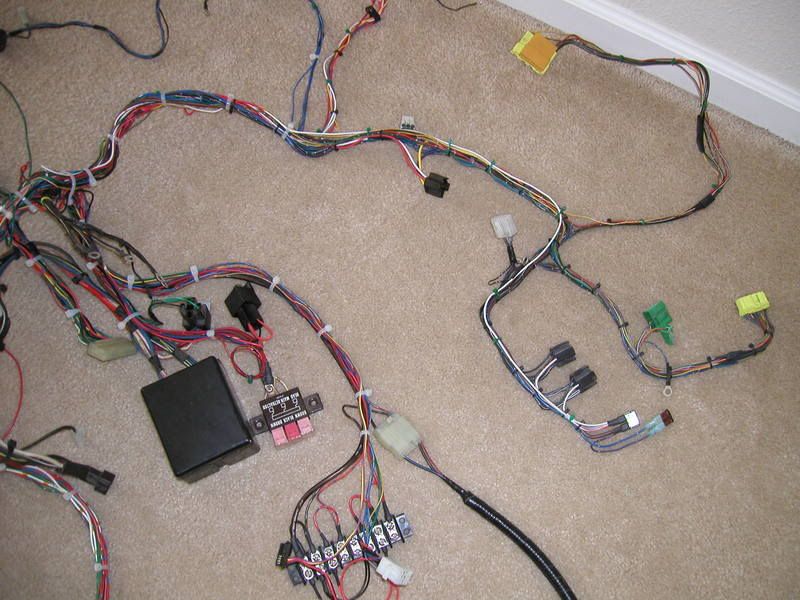
Alright here is some pictures of the wiring harness out of the car.
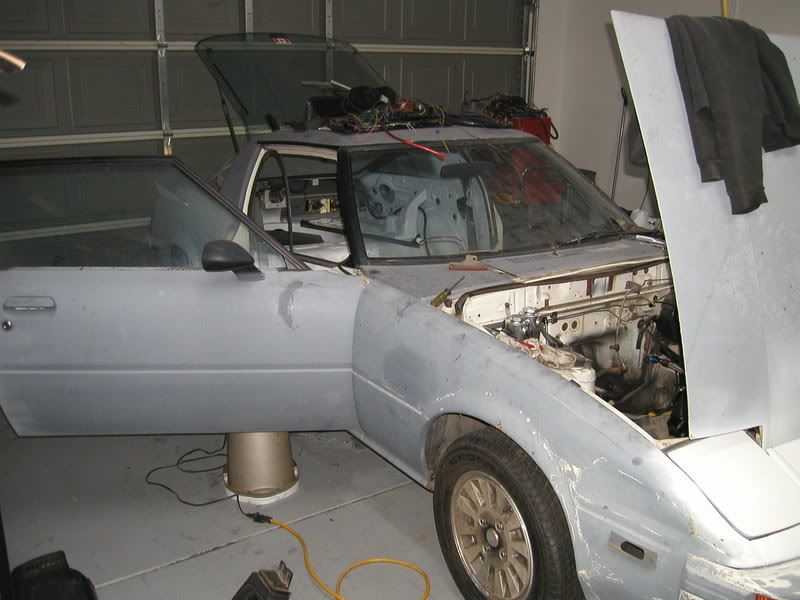
And time to get down to business. I'm tired of waiting and there seems like no time soon that my project will get done if I wait for my buddy to build the brackets so I'm just going to do it myself. Here's the hood off to start with. I decided to just use a MIG to tack everything together and then take the brackets and have him TIG it all together

One of the trans in there nothing unusual.
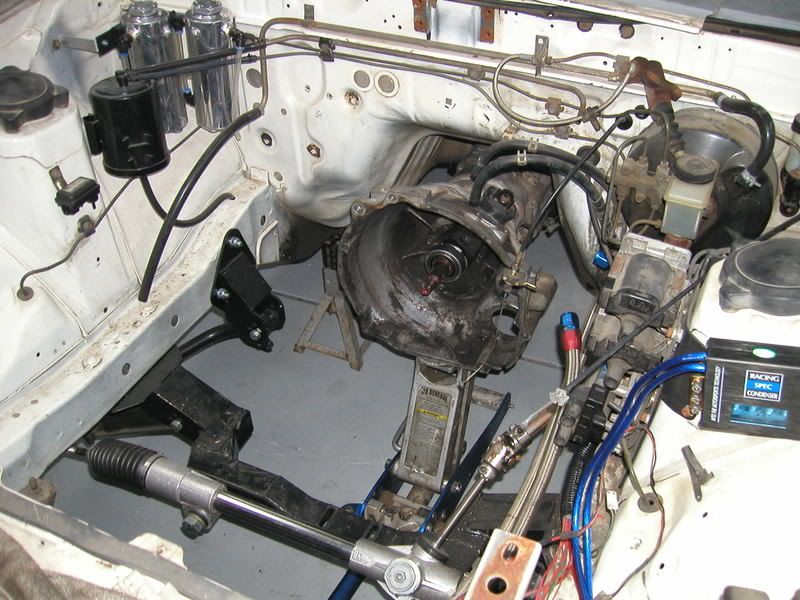
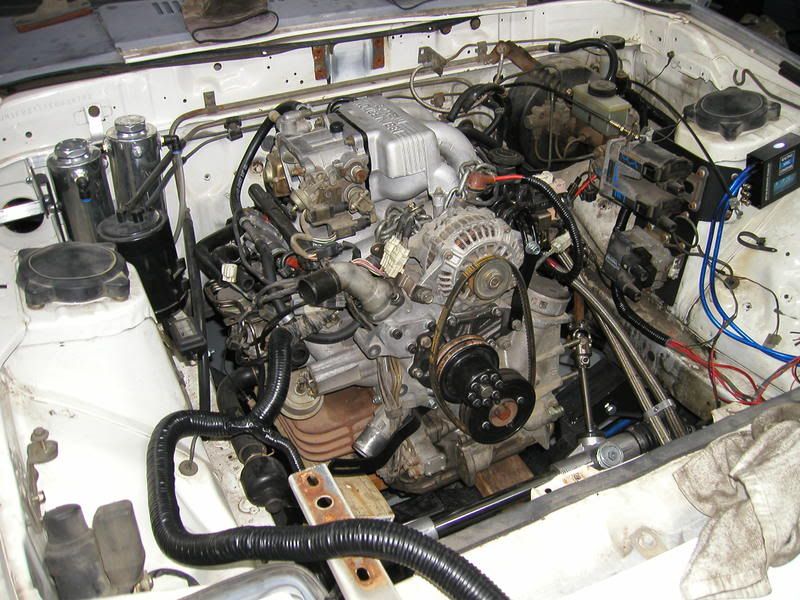
Now engine bolted to said transmission.
And time to get down to business. I'm tired of waiting and there seems like no time soon that my project will get done if I wait for my buddy to build the brackets so I'm just going to do it myself. Here's the hood off to start with. I decided to just use a MIG to tack everything together and then take the brackets and have him TIG it all together
One of the trans in there nothing unusual.
Now engine bolted to said transmission.
Thread Starter
Joined: Sep 2005
Posts: 532
Likes: 1
From: Abilene, TX
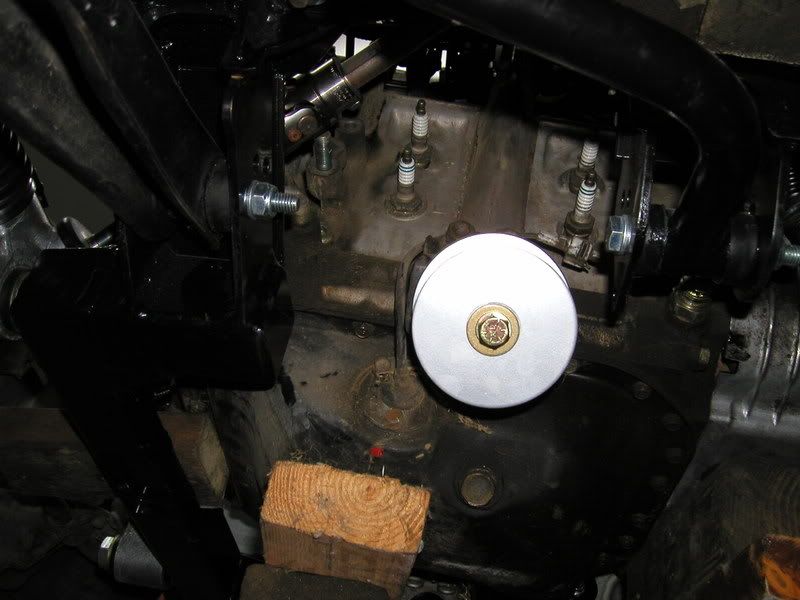
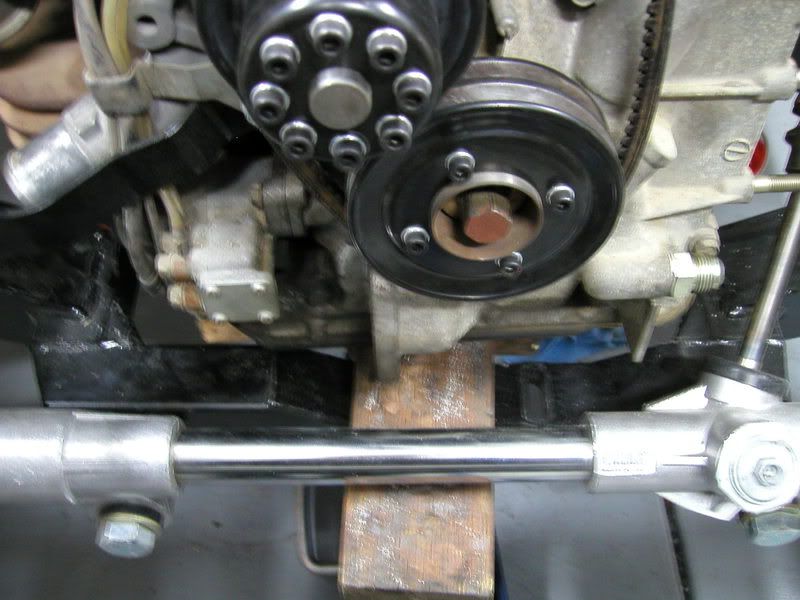
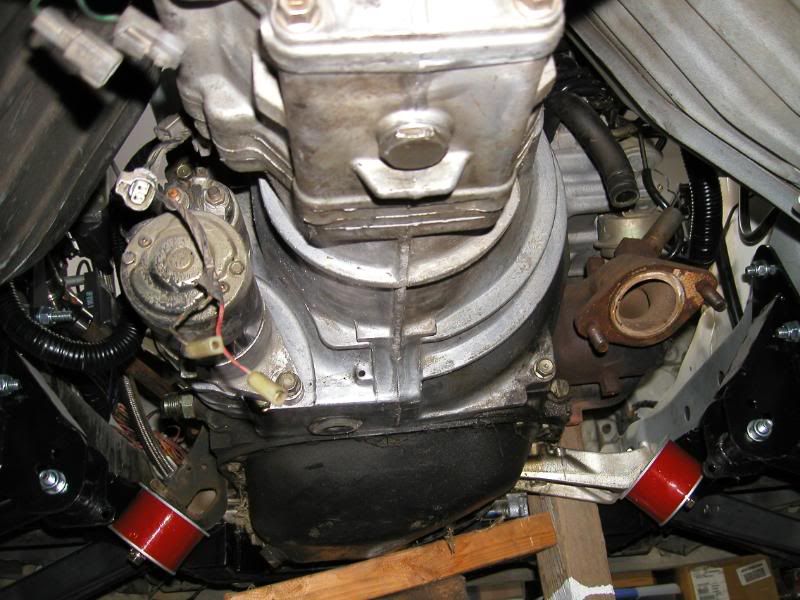
In this picture you can see the crate and a stack of 2 x4 s holding up the front of the transmission. The transmission is bolted to the car with it's mount and the engine is now bolted to the transmission. I did this so I can manipulate the engine without holding it up directly. Just so you know it's not at the right height yet I'm just getting my game plan together at this point.

A pic from the top again I stuck a little piece of 2 x 4 in there just in case the motor slips it will get stuck. It also can hold the entire weight of the engine anyways just so you know the rack or the crossmember didn't even flex. It's well built and I'm sure thats probably not the smartest thing I could do anyways but whatever.
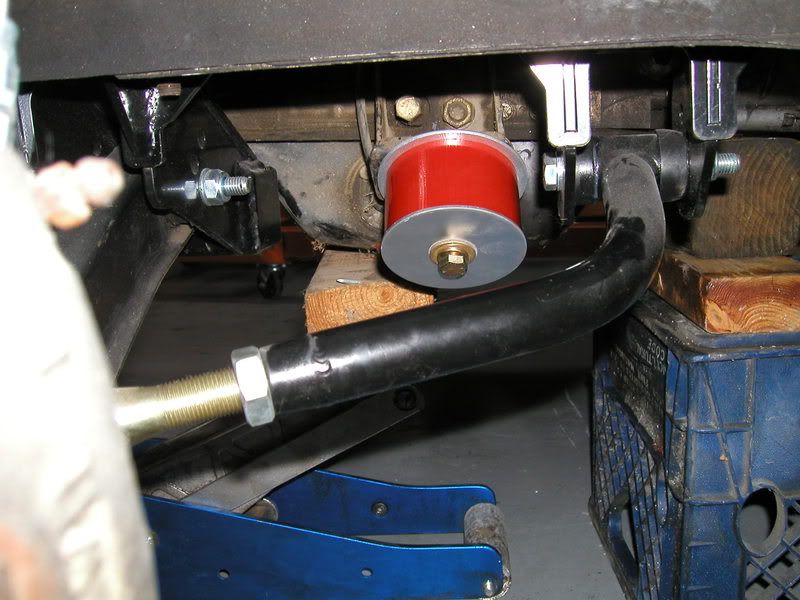
Here's a pic of the driver's side with the banzai mount hand tight. Remember the engine is too low at this point and nothing is where it will be in the end. I'm just putting up pics for you guys to see what's going on. So don't worry about ground clearance and this and that.
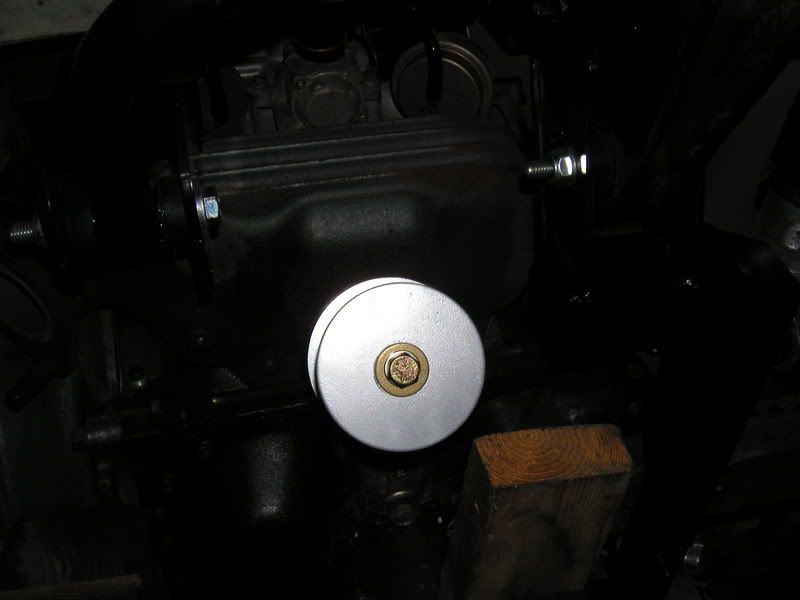
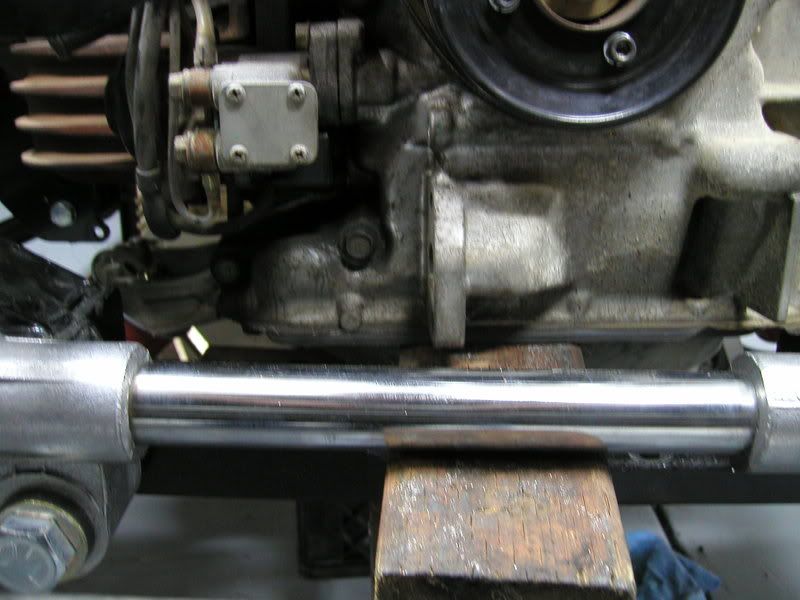
This ones pretty dark but it is from a lower vantage point on the driver's side. I am having a hard time taking a picture from the angles I can view it in person. I'm not too good with the camera.
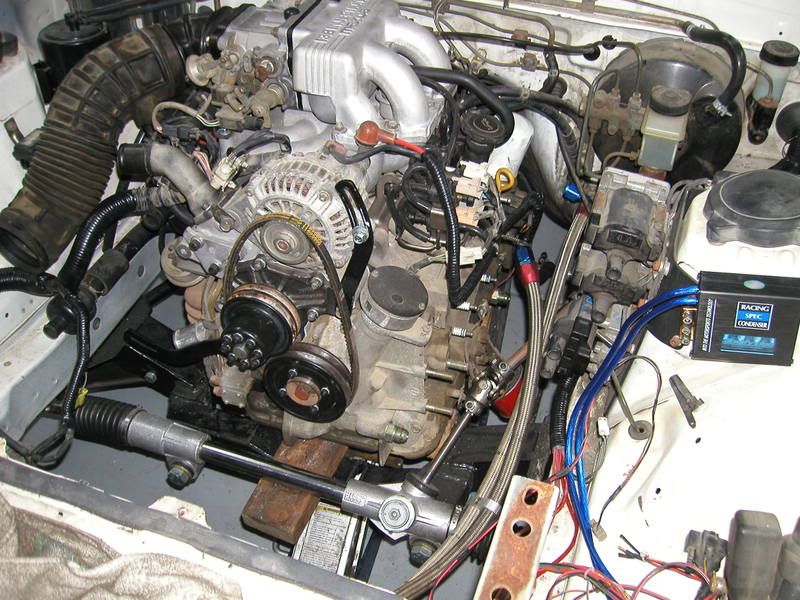
Passenger side view
Again sorry for the crappy picture. This one is from belowish on the passenger side
In the next few pictures I'm trying to get a good angle of how much room there is between the oil pan and the crossmember. again this is with the engine dipped too low in the front so there's going to probably be enough room to remove the oil pan without removing the crossmember.

So tomorrow I hope to make some decent headway. I'm going to go buy the steel plate/bar and get started after some serious measuring to locate the engine properly like a stock gsl-se. Like the one parked in my driveway. Only problem is there's no transmission in it and all my jack stands are under my car. Crap! well I'll figure it out.
A pic from the top again I stuck a little piece of 2 x 4 in there just in case the motor slips it will get stuck. It also can hold the entire weight of the engine anyways just so you know the rack or the crossmember didn't even flex. It's well built and I'm sure thats probably not the smartest thing I could do anyways but whatever.
Here's a pic of the driver's side with the banzai mount hand tight. Remember the engine is too low at this point and nothing is where it will be in the end. I'm just putting up pics for you guys to see what's going on. So don't worry about ground clearance and this and that.
This ones pretty dark but it is from a lower vantage point on the driver's side. I am having a hard time taking a picture from the angles I can view it in person. I'm not too good with the camera.
Passenger side view
Again sorry for the crappy picture. This one is from belowish on the passenger side
In the next few pictures I'm trying to get a good angle of how much room there is between the oil pan and the crossmember. again this is with the engine dipped too low in the front so there's going to probably be enough room to remove the oil pan without removing the crossmember.
So tomorrow I hope to make some decent headway. I'm going to go buy the steel plate/bar and get started after some serious measuring to locate the engine properly like a stock gsl-se. Like the one parked in my driveway. Only problem is there's no transmission in it and all my jack stands are under my car. Crap! well I'll figure it out.
Looks like your making progress. I spent a few hours last night putting the T2 front cover back on my engine, hopefully tonight i'll get the oil pan and mounts all back on, and that will done, I'll take pics once I do. Nice wiring btw, I was considering stripping down my stock harness to remove the unneeded wires.... Ended up leaving it for now though.
Thread Starter
Joined: Sep 2005
Posts: 532
Likes: 1
From: Abilene, TX
Looks like your making progress. I spent a few hours last night putting the T2 front cover back on my engine, hopefully tonight i'll get the oil pan and mounts all back on, and that will done, I'll take pics once I do. Nice wiring btw, I was considering stripping down my stock harness to remove the unneeded wires.... Ended up leaving it for now though.
I'd change you harness if you want to since there is a lot of extra wiring in the car. I got rid of all that crap by the pedal assembly and man it makes working on th wiring a snap with everything out of the way. Also move that part of the harness that goes between the pedal assembly and the firewall out and around the front of the assembly. The whole harness passed between the steering column and the bottom of the top parts of the pedal assembly now. It's just so much easier.
I did mine in this order:
1) cut the whole harness open all the tape and holders everything so the wires are free and loose
2) Remove all wiring that you don't need or want in the car. Look at the wiring diagram often so you don't take anything out you might still need.
3) Solve all the problems like wires that were spliced at certain points that are now cut off do to other parts removal. Like addding lengths of wire to reconnect and so on
4) Locate your fuse box and other hardware wherever it's going to live from now on.
5) Then add the T2 wiring. Btw the T2 ECU will bolt to the stock ECU frame. The factory T2 harness will fit with extra wire left in the engine bay so that's easy. All you have left to worry about is the ECU plug that goes to the driver's side equipment and the rest of the car stuff.
6) Then just go through and do them one at a time or whatever your comfortable with. Adding the wiring. pay attention to fuse sizes and what not as the FC has some different fuse sizes than the FB. Some of mine were decreased in size since the other things on the stock FB wiring are gone now and that circuit is pretty much just supporting FC stuff now.
7) Tie wrap the harness all up so it's still and can get caught on anything.
8) Fire the car up make sure everything works. Now finish or fix anything you missed
9) Now take the new harness out of the car and close it up with loom or what ever your going to do. I'm going to leave a lot of the interior of the car unloomed but all the exterior of the car will be loomed for protection. Make sure wires stay away from spinning parts and hot parts as much as you can. I don't really care for how the factory harness is all intertwinded with the engine. Although I haven't given it much thought yet I would like to get that wiring out from under everything if possible in the future.
10) pat yourself on the back and realized your mom was right and you are the best.
That's how I would attack it if I was a guy that doesn't do a lot of wiring harnesses.
I do it a bit different. I look at the wiring diagrams over the course of a few hours. Looking for what does and does not need to be changed. Like the really cool thing is two out of the three ECU plugs is done already and is a given. I like that it makes it way simplier. Then I get the car harness from the FC split that bastard open and remove the wiring I need that goes to the coils and stuff. Add that to the chassis it fits pretty well it's Not much extending at all. Then wire up that plug that jumps to near the trans with all the trans wiring and what not in it. At this point the car will run. Use the FC fuse box if it makes it clearer I decided not to since it's just more stuff in the engine bay. I moved the main fuel injection relay to the ECU and the Fuses for the ECU to the ECU. The main realy is actually two bosch relay now. and since they are not very weatherproof they need to be inside the chassis. The fuses are sinmple as you can see in the one of the pics. Just regular sized quick disconnects and the actual fuse. If it was a custo,ers car there would be a small fuse box of some kind to make it look more professional. On my own car I just need a fuse it's plastic. It can't short anyways. I kinda just figure out groups of wires and do them all at once. I've been into electronics for quite some time though and I can remember what I'm doing with 5 wires or more at one time even though they don't go to the same place or whatever. It's all short term memory stuff. Wiring up one of these engines is not hard in my opinion if you just get the fc harness your life will be much simplier, but you can just extend wires form the ECU plugs to the coils and stuff too. It will just take a bit longer is all. I was going to do it that way when I was going S4 at first. But I bought the whole S5 car so I had the opprutunity to take the harness apart and see how it was made and kinda get into Mazdas head. It gives me a lot of ideas and I bring wiring ideas to all my projects that come from seeing how to do and how to not do something depending on manufacturer and aftermarket products. Not to mention I was train by the USAF to work on satellite comm equipment so that doesn't hurt my background either. That stuff is a bit more complex than a car. Car's are fun I like them it all reletively simple to me. I actually enjoy the wiring process. It's sometimes even relaxing.
Well I wasn't going to type a long reply and now I did see what you made me do! LOL
Thread Starter
Joined: Sep 2005
Posts: 532
Likes: 1
From: Abilene, TX
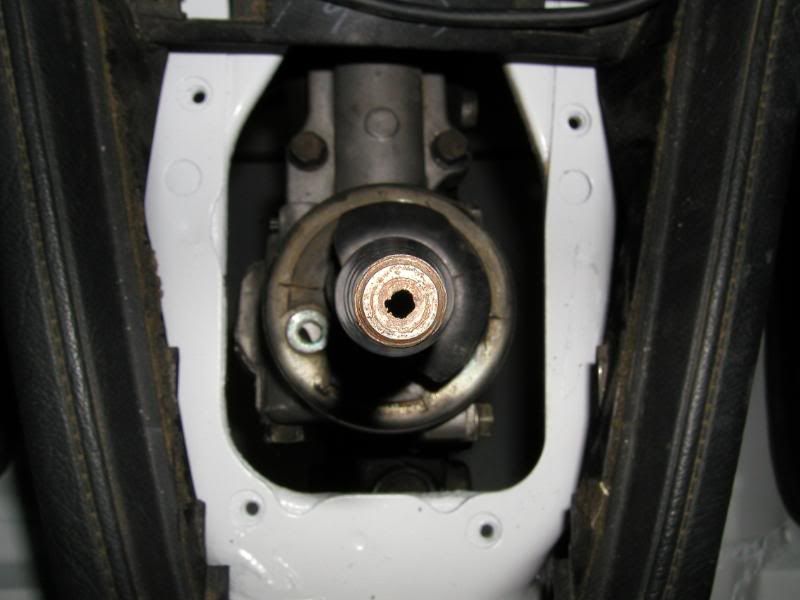
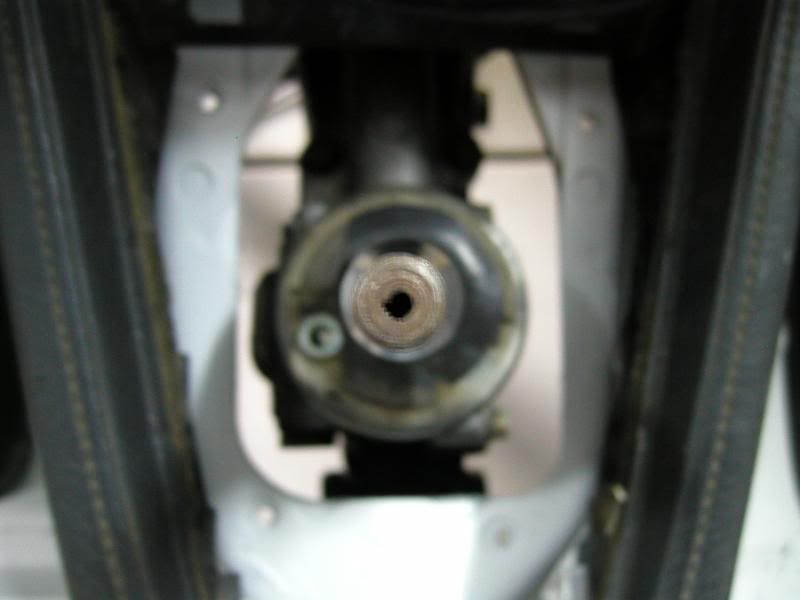
OK after about two hours of measureing, staring, and pondering this is where I'm at. These pictures are for the benefit of anyone looking and hopefully billy can steal a couple minutes away to take a peek at the completed car he has and give me a comparison. Unfortunetaley my car is in CA and his is in GA.
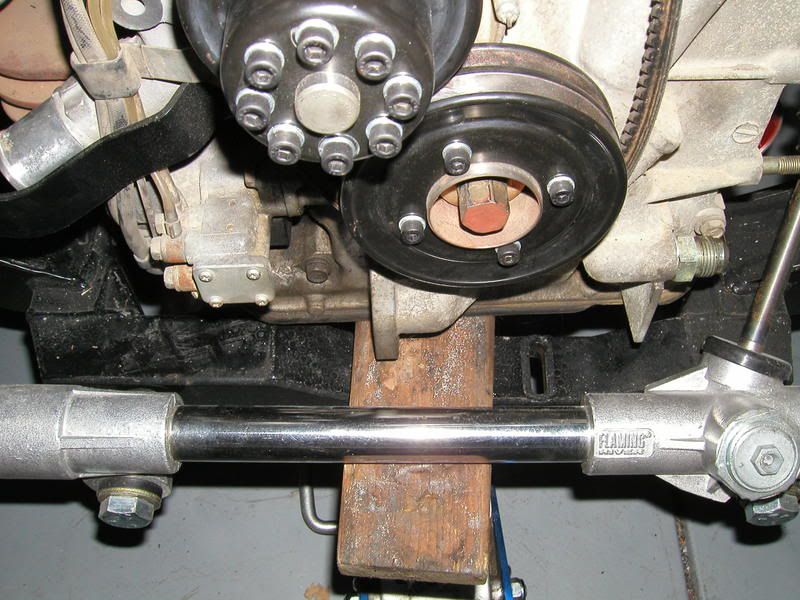
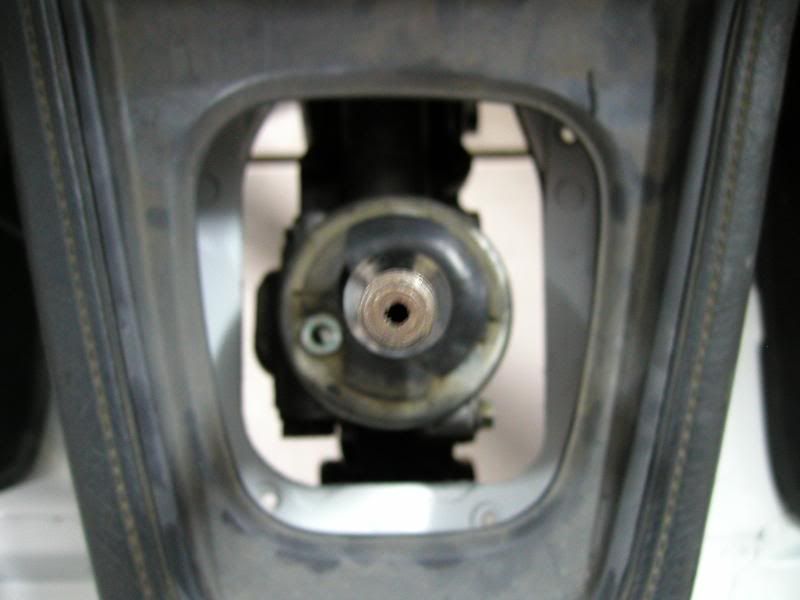
First up is shifter position there's a few pics. The shift pattern is straight up and down and appears to be in the stock location. Let me know what you guys think.
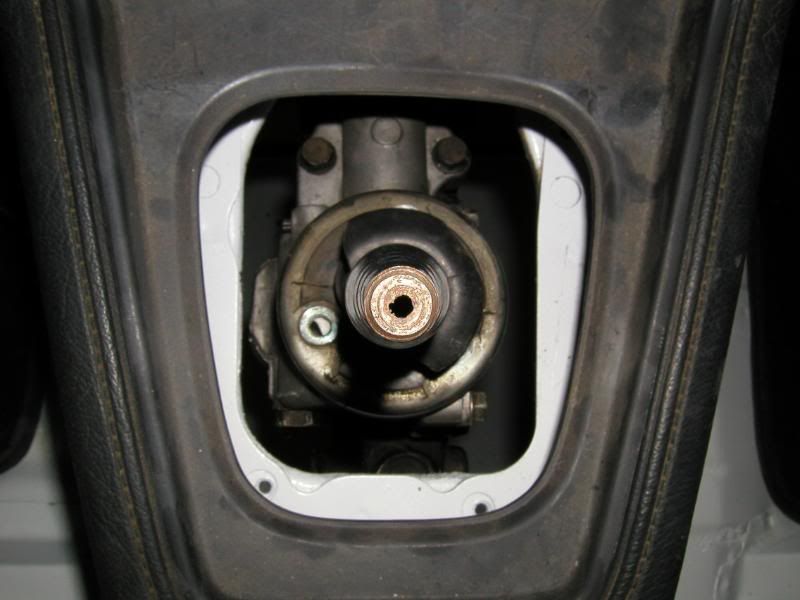
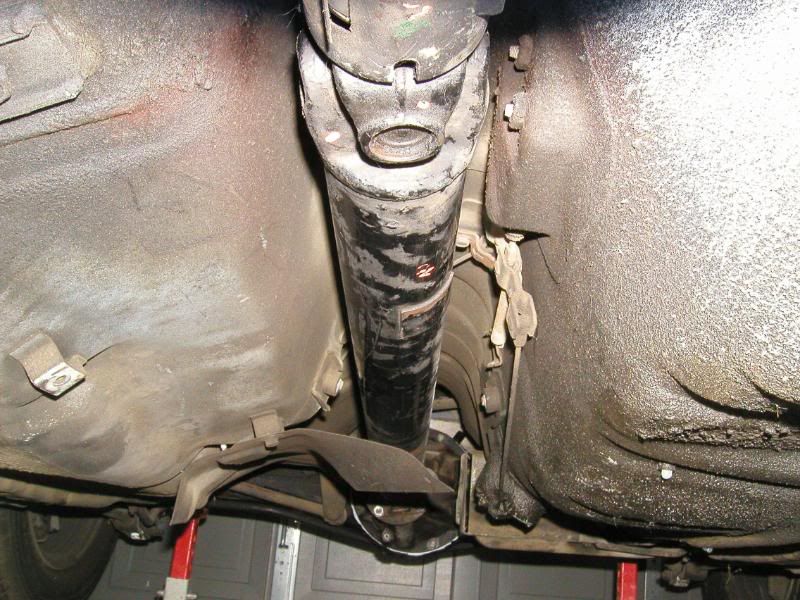
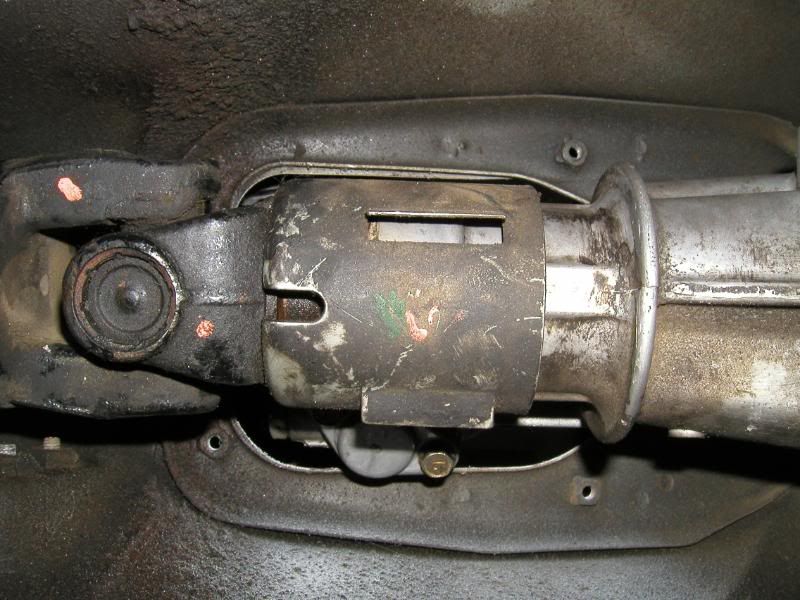
Here's one of the driveshaft position and some of the trans position.

First up is shifter position there's a few pics. The shift pattern is straight up and down and appears to be in the stock location. Let me know what you guys think.
Here's one of the driveshaft position and some of the trans position.