When you click on links to various merchants on this site and make a purchase, this can result in this site earning a commission. Affiliate programs and affiliations include, but are not limited to, the eBay Partner Network.
1983 Unknown electrical connectors and heater control problems
So while digging through the rear panels and the center dash today, I found multiple connectors that were disconnected, and one that even had a wire right out cut off of it. Looking at diagrams hasn't given me much of any insight as to what connectors these are. https://imgur.com/a/aH8e2hZ
And this is assumingly the stock cassette deck, and one of the POs decided to cut the power cords off clean at the deck. So I assume that the power wires go as follows:
Red = Power
Black = Ground
Yellow = Ignition
White = Control wire
If that's wrong, please correct me as I'm trying to make this deck work with a modern head unit. And to that end, which tabs out go to what. Pretty certain 4 of them are for L/R speakers, but which ones are they? And if so, then what are the other 2 for? Or is that completely wrong? https://imgur.com/NfV9ejq
And lastly, I'm having a problem with the heater controls. I can select BILEVEL, HEAT, and Defrost, but the lever will not move over any further to the left. So I can not select Vent or Max AC at all. It just feels as if the lever is completely stuck once it hits BILEVEL, but will slide very easily between the other 3 options. Is there any particular thing that would cause this?
I can't help with all of this, other than to direct you to the manuals at Foxed.ca which will give you the colors of all the wires and a diagram of each of the radio options.
One thing I will mention is that a few of those wires go un-used in a manual transmission car, I think it's the two long ones with the bullet connectors which connect to the automatic transmission gear selector.
The black bullet connector looks like the one for the cigarette lighter - at least on the 80 and 82 that's what the hot looks like.
Not sure about the other. It might be for the cigarette lighter light (I'm assuming this is a picture from the center console area).
The heater controls use cables and connected linkages. Over time the clips that hold the cables in place can wear down the cable sheath and cause movement leading to a limited throw. This may be what is causing your 'not going any further' issue if the cable had moved once and then got stuck in the new place. Another possibility is that the mechanics in the blower motor or heater core are frozen at certain settings. What year is the car? I'm not sure whether the systems changed over the first gens or not, but I can attest that at least the 80-82 were the same and I can help with those if you decide to dive deeper.
Best of luck.
The black bullet is for the lighter, yep. Turns out mine has no center prong, so I'll have to fix that before it works.
As far as I know, the 83 is the same as the 80-82 models in terms of the heaters control operations. It seems I'll have to go digging around for those cables and see what I can find.
Originally Posted by chuyler1
I can't help with all of this, other than to direct you to the manuals at Foxed.ca which will give you the colors of all the wires and a diagram of each of the radio options.
One thing I will mention is that a few of those wires go un-used in a manual transmission car, I think it's the two long ones with the bullet connectors which connect to the automatic transmission gear selector.
The double bullet connectors are indeed for the AT lighting, thanks.
Glad you figured out the wiring bits. I hadn't noticed the year in the title until now so pardon that extraneous question .
Now for those pesky cables...
For starters there is the "rack" that the two control levers are mounted to. From there the temperature cable goes down to the drivers side foot-well and connects to a valve that controls the flow of water through the heater core. There is a short linkage, partially hidden by a removable shroud, between the cable and valve and it is entirely possible that it has gotten bent causing it to either slip or simply fall off. Mine fell off at one point (due to the extra forced needed to move my rather sticky valve), and I just swapped it for a spare I had rather than trying to get the ends right again - I did treat the valve of course. It's a bit of a pain to get to, but it can be done without removing much if anything - I may have removed the pipe for the leftmost vent that runs under the steering column.
The zone cable goes to (I believe) the blower motor. Although there's a cable that goes to the heater core too and so it might be that the control goes to the heater core and then from there to the blower motor - I haven't looked in a while. As for the blower motor, it just flips between recirculate and outside air with a single flap (visible if looking from a contorted position at the bottom of the unit), and it only goes to 'recirculate mode' when the selector is at AC max. The heater core itself is a bit more complicated and, due to having never fully disassembled one, I won't be of much help there. If you want to figure out how some part of it works though, I've got a spare in storage that I could go look into to perhaps clear things up.
I will say that working under the dash isn't a pass time to enjoy, but if you fix it then you'll have working HVAC and in my mind, that's worth the work.
Also, if you find that the cables are slipping, first figure out which way they're slipping (usually it's only on one end of the full throw), and then go pick up a small hose clamp and install it where ever it's needed. Not the most elegant solution but it works and who's gonna see it.
And just to get my bet out there, it sounds like you've probably got a sticking flap since the throw is limited and not loose; you'll find out soon enough.
As for the deck... my bet is that you're in the ballpark, but I wouldn't know for certain since the PO installed an aftermarket system in my car before I bought it. I'm sure someone will know the color codes, and of course the manual will be of help too.
It sounds pretty strait forward, disassemble center console on the dash, and then just go digging around. Would a stuck flap cause a complete lock up right at bilevel though? Or well, that does sound spot on because even on bilevel I don't get anything through the vents, only the foot area.
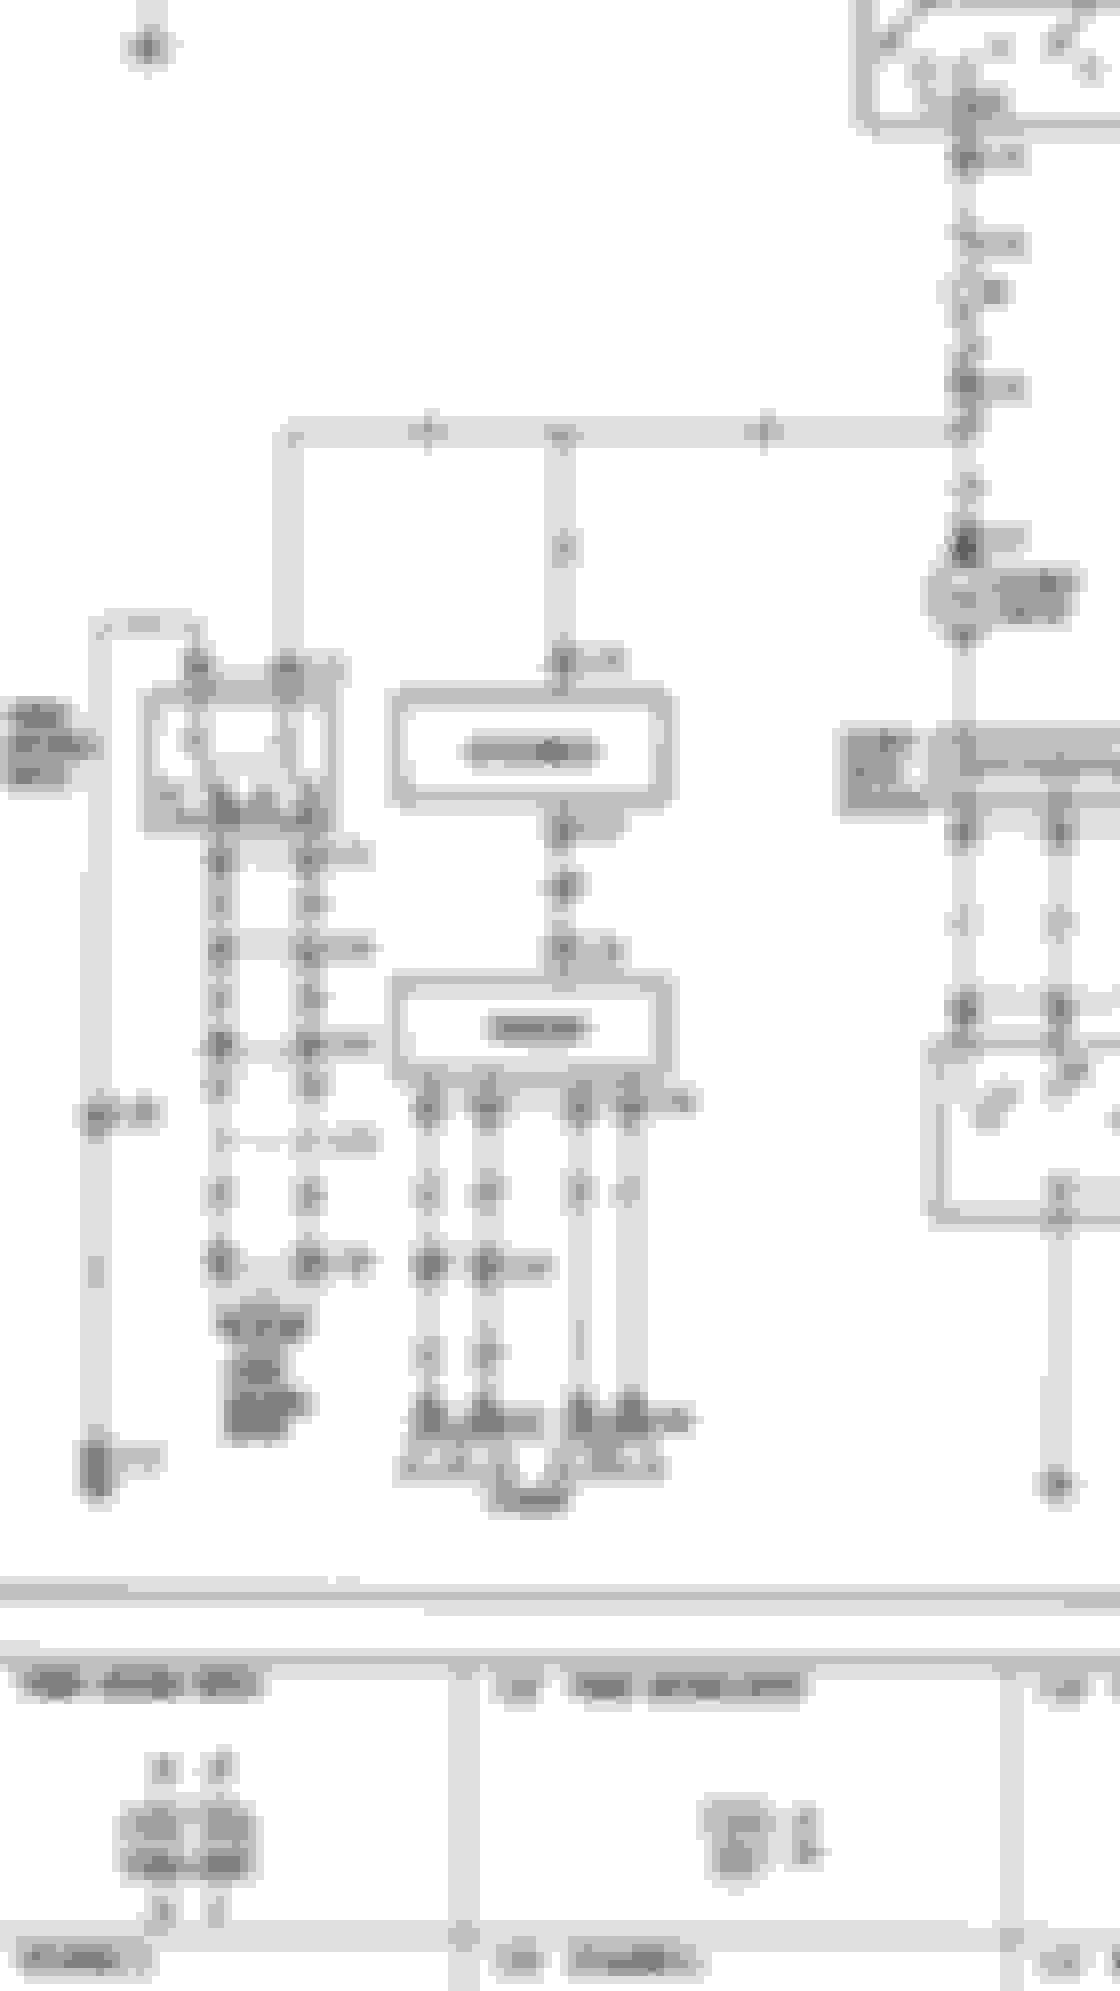
I think I may have found the connector in one of the manuals. Apparently it's connector J-04 and only uses 3 of the pins. But nothing on the deck itself, so dunno on the power wires just yet.
Providing it's not raining I'll do some looking on the HVAC system when I get home today or tomorrow. I actually need to do some more work on mine too before the weather starts warming up - my temp only goes from hot to less hot and the foot-well vent from the core never shuts off except for on recirculate...
For the time being here's a screenshot of the testing I was doing a while back before the linkage fell off. It's not what the different zones should be, but it'll give you an idea of possible correlations.
Note that REC is the same setting as AC max. Also I don't have AC in my car so... consider that where appropriate.
I don't have A/C in mine either (for now) so I'm not too worried about getting that one working yet .but would really like to get vent to work for those cold chilly mornings .
I'm really confused following this diagram. J-04 is the only connector on there that matches the back of the cassette deck, but only 3 pins are used and it doesn't quite make sense as to where they're going.
I just checked the wiring diagram and I'm not seeing a J-04 in that loom, had you meant G-04?
Do the wires that are still present match the ones in the diagram?
By the way, a friend scanned the whole Haynes manual a while back and put it in a searchable PDF for me in case anyone wants it (the page numbers even match ). It's not the FSM, but it's still got some useful info such as the allusive PCV inner workings diagram. It's also where I just pulled those screenshots from. Anyway, the file is rather large, so I can't put it up here but there's other ways to share it if anyone wants it.
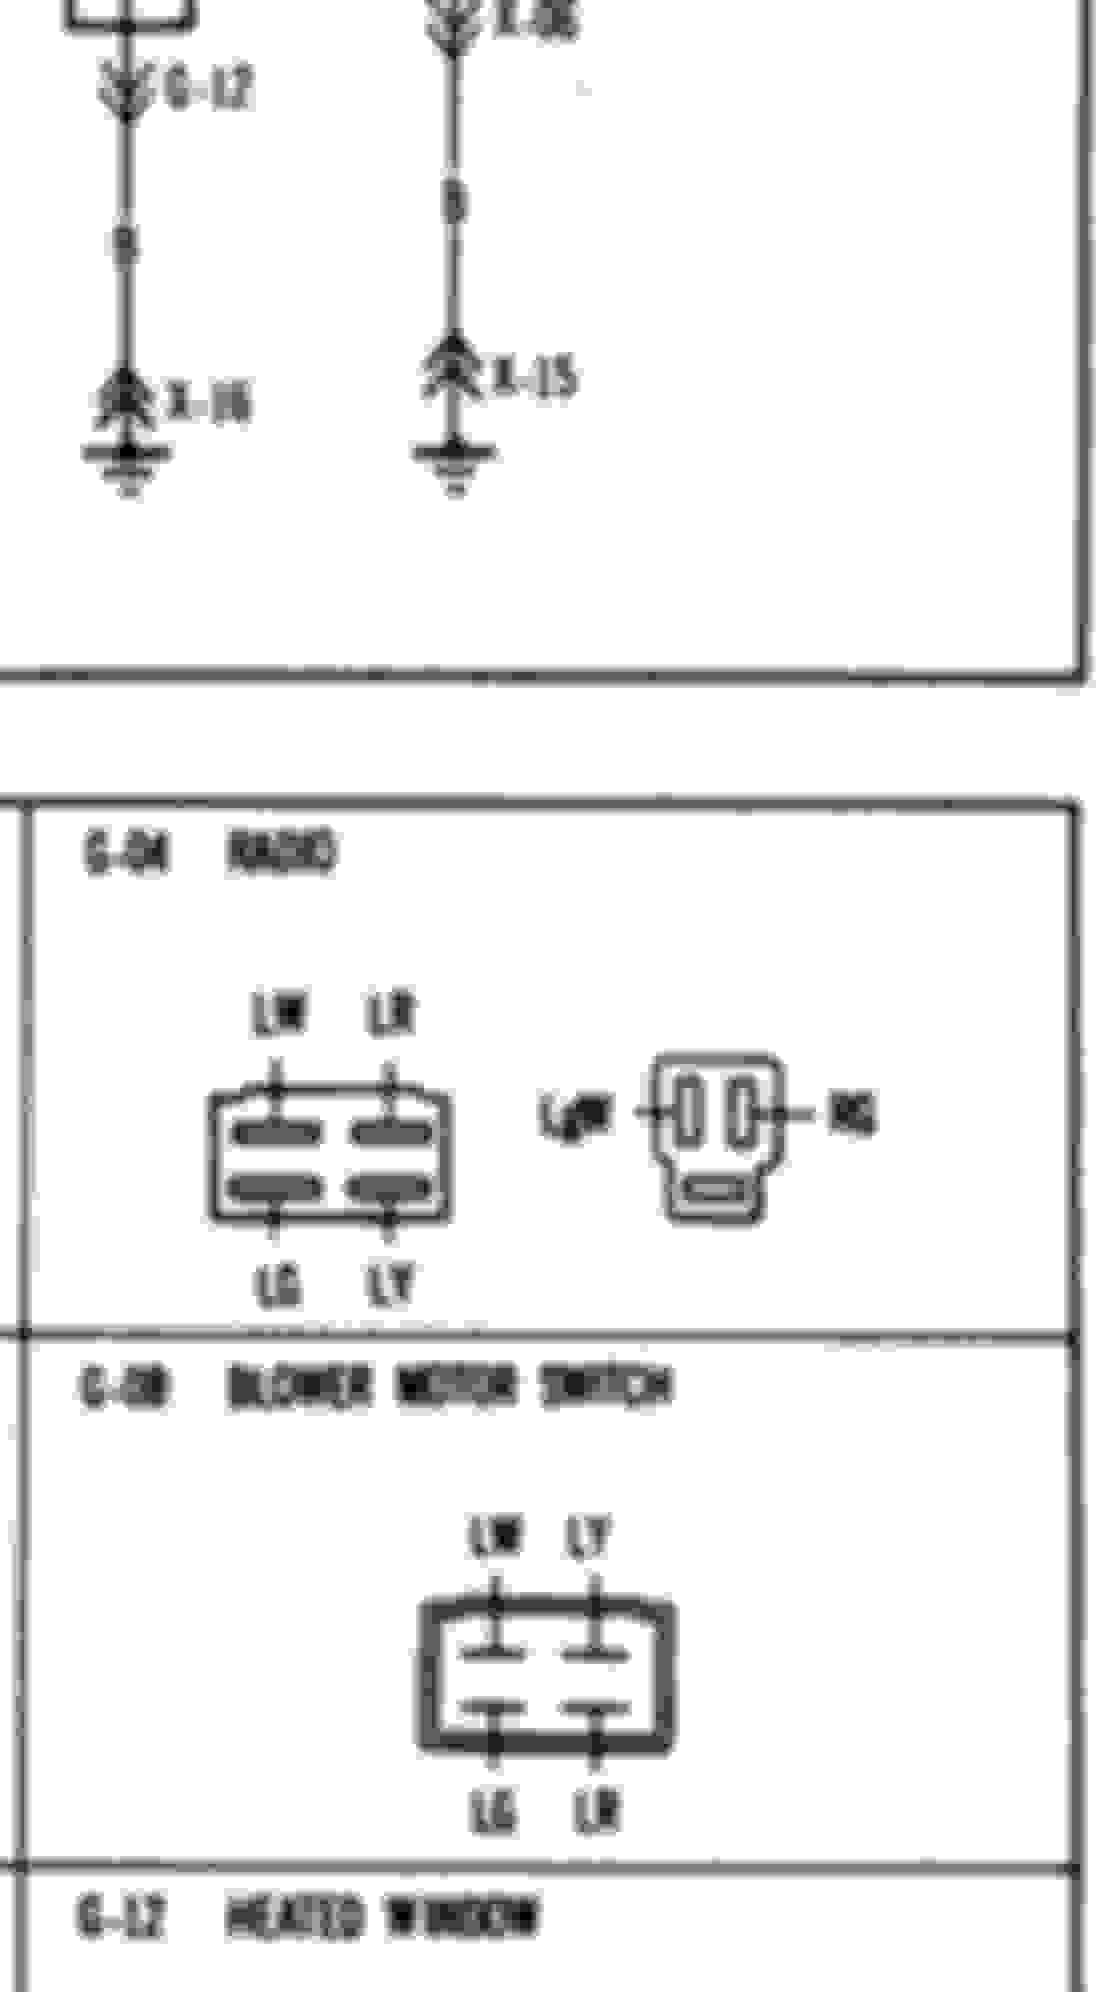
Nope, J-04. According to that, G-04 is the connector going out to the speakers. And as far as I can tell, I have no original connecters left that went to the stereo, which is why I'm trying to recreate a harness from scratch.
I got a Haynes with the car, seems to be a pretty old one no less. All tattered up and dirty.


 .
.