
What did you do to your FB today?

Joined: Jun 2008
Posts: 8,376
Likes: 30
From: Chino Hills, CA
Bull-headedness got me where I am today.
I understand there's a bill under discussion in the state Legislature that would move the biennial smog-test cut off year from 75 and older to 81 and older. With my luck, it will pass - - exactly two weeks after whenever I finish passing smog.
I understand there's a bill under discussion in the state Legislature that would move the biennial smog-test cut off year from 75 and older to 81 and older. With my luck, it will pass - - exactly two weeks after whenever I finish passing smog.
Joined: Aug 2011
Posts: 3,078
Likes: 42
From: Cambridge, Minnesota
New fuel filter today, figured that was necessary considering I hadn't done it since I bought it last August. Bought car wash soap as well, sick of using the crappy stuff I found in the shed.
Plan on putting the mounting cups on the Auto Meter Ultra Lites tomorrow, and installing the rear carpet pieces I scored last week. I'd like to wash and wax and detail her as well, but I don't think that's happening till Friday.
Fuel filter really made me realize I need a carb rebuild. So I also ordered the GP Sorenson kit from Autozone today, should be in early next week I'm guessing. So I can tear down and rebuild that extra Nikki I scored - with mechanical secondaries and anything else that Sterling suggests, along with anything you guys would recommend that an at-home, in-training, young *** mechanic can accomplish.
Wondering about what is in that exhaust??? I need to do mine in the next 2 months and I looooooove the way that sounds, and I'm constantly researching for suggestions !
Last edited by DreamInRotary; Apr 19, 2012 at 12:04 AM. Reason: Forgot something

do it everyday, but fired up the car, let it warm up. also started filling out all of the necessary paperwork to get my car inspected by a sheriff to register it here in CA as it was last registered in FL. Gonna be an exciting next couple of weeks, getting the beauty back on the road with a fresh motor for the first time since 2005! 
You guys need to come out here to Kansas, no smog, no safety. If its got headlights, tail/brake lights and a horn its legal! One time VIN inspection if it comes from out of state.
Joined: Jun 2008
Posts: 8,376
Likes: 30
From: Chino Hills, CA
Spent last night putting the final exhaust piece back in, peeling electrical tape off of the engine harness, and identifying wires needing replacement due to hardened/cracked insulation.
I also finally removed the two non-California connectors from the harness wiring (choke opener, sub-zero temp sensor) & stored them and their connectors against future need. The choke opener wire (green solenoid connector at the carb) has always bugged me; it's the longest lead on the harness, and with nowhere to go it just dangled 6" off the end of the cable. Always looked like something had fallen off.
By the way, WD40 is excellent for removing the gooey adhesive residue left by old electrical tape... and isopropol alcohol takes off the WD40 so new tape can stick. I may buy a can of WD40 and just soak the whole damn harness in it, then clean it before retaping. What a sticky mess.


Joined: Mar 2001
Posts: 31,853
Likes: 3,242
From: https://www2.mazda.com/en/100th/
Bull-headedness got me where I am today.
I understand there's a bill under discussion in the state Legislature that would move the biennial smog-test cut off year from 75 and older to 81 and older. With my luck, it will pass - - exactly two weeks after whenever I finish passing smog.
I understand there's a bill under discussion in the state Legislature that would move the biennial smog-test cut off year from 75 and older to 81 and older. With my luck, it will pass - - exactly two weeks after whenever I finish passing smog.
Joined: Mar 2001
Posts: 31,853
Likes: 3,242
From: https://www2.mazda.com/en/100th/
Sin City Rotary
Joined: Sep 2009
Posts: 1,707
Likes: 2
From: Las Vegas
Joined: Jun 2008
Posts: 8,376
Likes: 30
From: Chino Hills, CA
http://www.wiringharness.com/harnesstape.htm
Wonder where I could find it in color, hehehe.
The big advantage of the sticky tape is that it protects the wires better; waterproof, ozone proof, and it seals in the volatiles that otherwise bake out of the plastic insulation. Wires inside my harness are as supple and bright colored as when they were new - - only the parts not covered by the tape get brittle with age & heat.
Joined: Feb 2006
Posts: 3,162
Likes: 1
From: London, Ontario, Canada
Did the final assembly of the center hex/caps

Installed my body colored rad panels and the new radiator

Last pic shows the tiny amount of clearance between the fan and the front pulley. I'm sure those bolts will make their own clearance if necessary.

Also ordered new rear axle seals and a throwout bearing from Mazdatrix. Hopefull they'll be here by the end of next week so I can get the axles in and the rear brakes done. Wheels should at least be painted by then (fingers crossed) and with a tiny amount of motivation I can get them assembled. Add coolant, change oil, fuel filter and spark plugs, install battery and readjust ride height. Then drive.... hopefully.
Installed my body colored rad panels and the new radiator
Last pic shows the tiny amount of clearance between the fan and the front pulley. I'm sure those bolts will make their own clearance if necessary.
Also ordered new rear axle seals and a throwout bearing from Mazdatrix. Hopefull they'll be here by the end of next week so I can get the axles in and the rear brakes done. Wheels should at least be painted by then (fingers crossed) and with a tiny amount of motivation I can get them assembled. Add coolant, change oil, fuel filter and spark plugs, install battery and readjust ride height. Then drive.... hopefully.
Joined: Jun 2008
Posts: 8,376
Likes: 30
From: Chino Hills, CA
Got the engine wiring harness finished last night; had to re-terminate a total of 6 leads that were just too crispy & cracking to be relied upon. Carefully salvaged the connector shells, installed new terminal on new wire pigtails, and solder-spliced the pigtails to the still-sound wire inside the harness. Documented the color changes, of course.
All nicely taped up and ready to go on the motor. Tonight, I start doing the same thing for the engine bay harness. It's longer and more complex, but I don't think I have any leads in need of splicing on there, so it shouldn't be too horrific a task.
I found a source for new panel mount tie-straps as used to hold the harness to the sheet metal in many places, and have a bag of them on the way. I've been able to ID the maker and model of the 'tape-on' wire holders used around the headlights, but so far haven't found anyone that stocks them. Not willing to pony up for a box of 1000 and wait 4 weeks to get them, so I'll be re-using the old ones there. I was able to get all but one out without snapping either of the retaining prongs, luckily.
How the bay looked last night, with the harness all disconnected and piled up on one side:
Joined: Jun 2008
Posts: 8,376
Likes: 30
From: Chino Hills, CA
Grats, Scott; always a great "got 'er done."
Finished off retaping the harness, working on getting it and other prepped parts reinstalled properly. Got the next layer of parts (front rotating bits, mainly) to get stripped and painted, too.
Then, on to the carb.
Finished off retaping the harness, working on getting it and other prepped parts reinstalled properly. Got the next layer of parts (front rotating bits, mainly) to get stripped and painted, too.
Then, on to the carb.


Finally finished my SA 12A Turbo build.
Basic specs:
12A with streetport, Holly style TB with 4 - 42#/hr injectors, MS1 Squirt-n-Spark, Summit Racing EFI fuel pump with custom surge tank, Rotary Shack intake manifold, S4 Turbo w/waste gate mod, S4 TMIC mounted in front of radiator, 6psi boost.
RXDad
Sin City Rotary
Joined: Sep 2009
Posts: 1,707
Likes: 2
From: Las Vegas
Got the engine wiring harness finished last night; had to re-terminate a total of 6 leads that were just too crispy & cracking to be relied upon. Carefully salvaged the connector shells, installed new terminal on new wire pigtails, and solder-spliced the pigtails to the still-sound wire inside the harness. Documented the color changes, of course.
All nicely taped up and ready to go on the motor. Tonight, I start doing the same thing for the engine bay harness. It's longer and more complex, but I don't think I have any leads in need of splicing on there, so it shouldn't be too horrific a task.
I found a source for new panel mount tie-straps as used to hold the harness to the sheet metal in many places, and have a bag of them on the way. I've been able to ID the maker and model of the 'tape-on' wire holders used around the headlights, but so far haven't found anyone that stocks them. Not willing to pony up for a box of 1000 and wait 4 weeks to get them, so I'll be re-using the old ones there. I was able to get all but one out without snapping either of the retaining prongs, luckily.
How the bay looked last night, with the harness all disconnected and piled up on one side:


Joined: Mar 2001
Posts: 31,853
Likes: 3,242
From: https://www2.mazda.com/en/100th/
that looks great, however i'm more excited about your panel mount zipties, Mazda has a part number, but @$14 each, well I won't even buy that!
i looked for another SA/FB.... oh i put a couple more stickers on Peepers, pics to follow
i looked for another SA/FB.... oh i put a couple more stickers on Peepers, pics to follow
Joined: Aug 2011
Posts: 3,078
Likes: 42
From: Cambridge, Minnesota
^Excuse me while I wipe up my man drool. Goodness would I like to have the time to get my car looking like that! I guess college is a good investment as well though..
I spent 3 hours out in the rain replacing the drivers side heater core to the bottom of my beehive oil cooler hose (the longer one that runs right above the slave cylinder and is the hardest to reach underneath the beehive). No fun whatsoever. But since I was already soaked I decided to wash all the dirt off of her and see how the paint has held up. It isn't doing too terrible, but she needs another fresh coat sometime soon I believe.
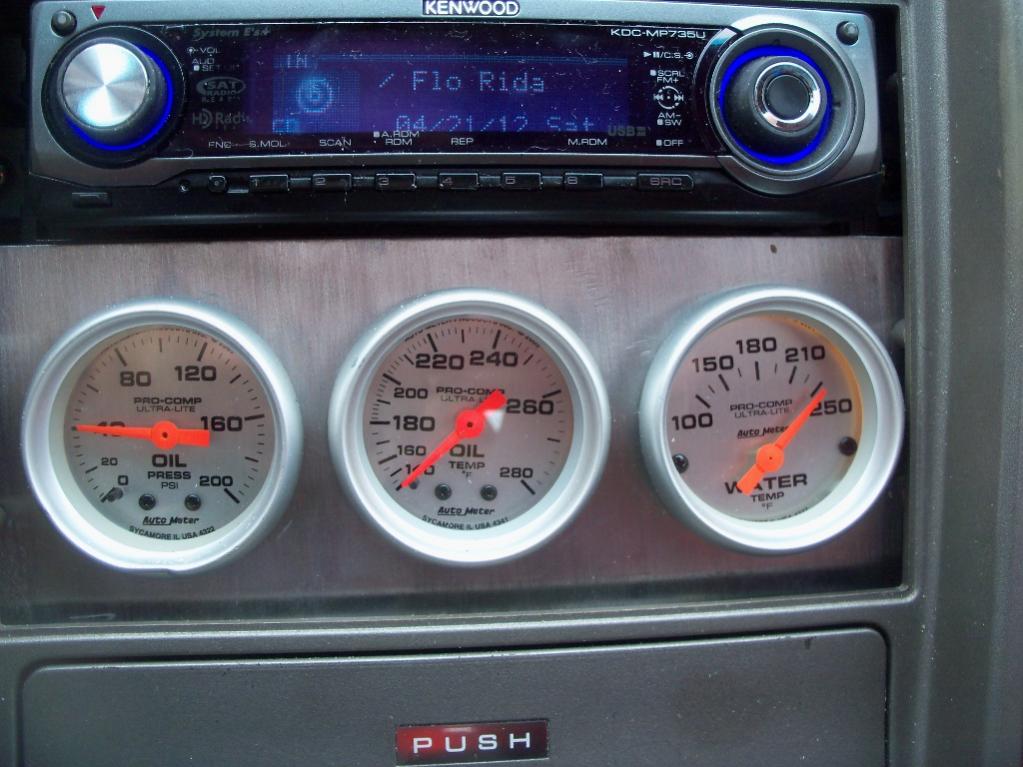
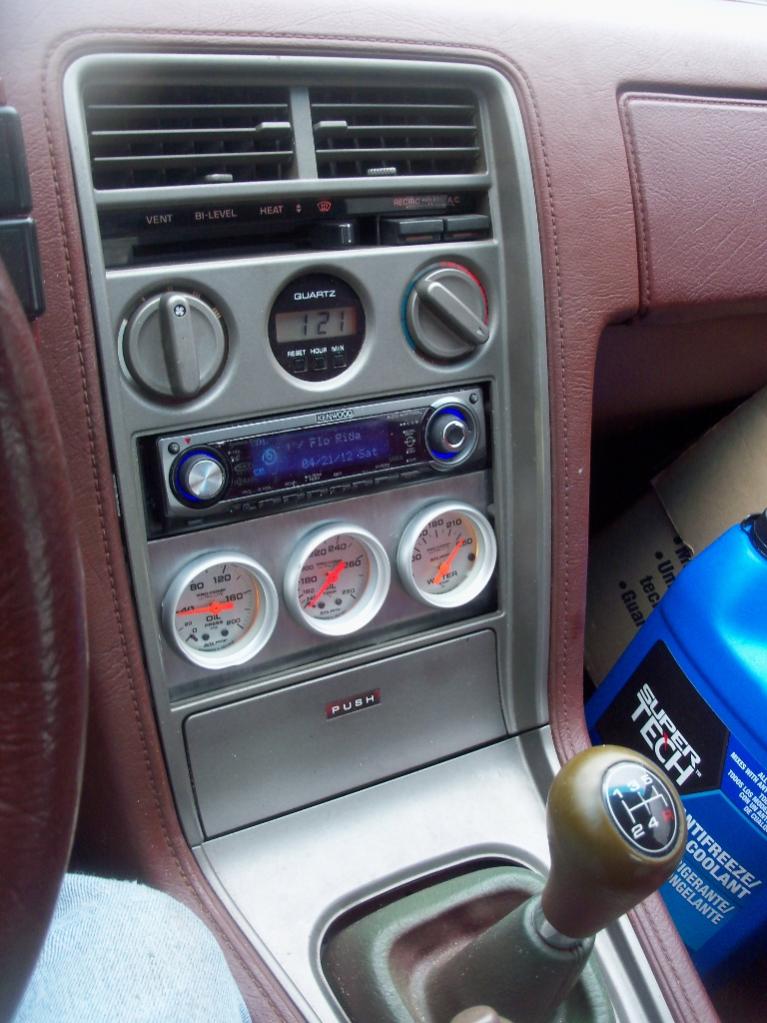
Also finished mounting those gauges in my center console, some pics. As you'll notice my water temp gauge is maxed out at 250 because the car was sitting and idling for quite a long time to make sure there weren't any leaks appearing or hoses blowing open. Also the oil temp gauge isn't hooked up at the moment, it will be when I get a day off of work.
One more thing I'm ripping into finally,
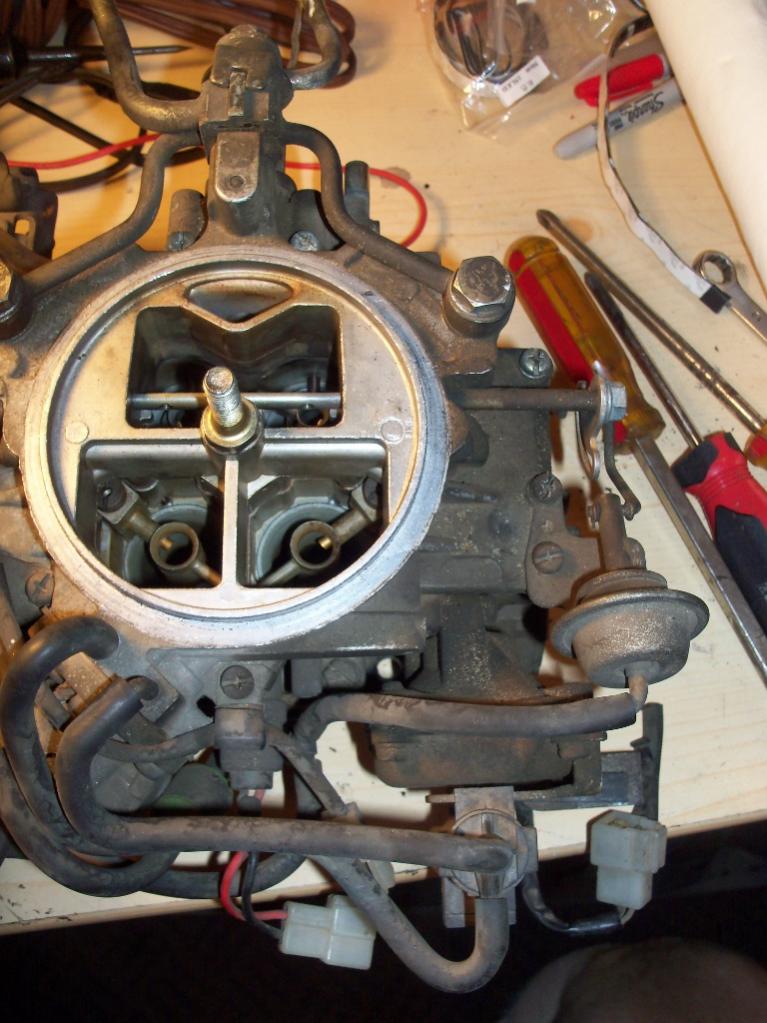
85 12a Nikki carb that will soon have a GP Sorenson kit and mech secondaries and no emissions (maybe, haven't decided to put rats nest back on or not). Should be getting rebuild kit from Fed Ex tomorrow, reportedly.
I spent 3 hours out in the rain replacing the drivers side heater core to the bottom of my beehive oil cooler hose (the longer one that runs right above the slave cylinder and is the hardest to reach underneath the beehive). No fun whatsoever. But since I was already soaked I decided to wash all the dirt off of her and see how the paint has held up. It isn't doing too terrible, but she needs another fresh coat sometime soon I believe.
Also finished mounting those gauges in my center console, some pics. As you'll notice my water temp gauge is maxed out at 250 because the car was sitting and idling for quite a long time to make sure there weren't any leaks appearing or hoses blowing open. Also the oil temp gauge isn't hooked up at the moment, it will be when I get a day off of work.
One more thing I'm ripping into finally,
85 12a Nikki carb that will soon have a GP Sorenson kit and mech secondaries and no emissions (maybe, haven't decided to put rats nest back on or not). Should be getting rebuild kit from Fed Ex tomorrow, reportedly.
Joined: Oct 2003
Posts: 1,341
Likes: 6
From: Burlington, NC
I was planning on checking/setting my timing this weekend, but I was unsuccessful at finding one to borrow, I suppose I'll have to buy one.
So instead... I installed a new radio! An Alpine head unit with mini amp, and my Infinity Kappa speakers in the back are happy to finally be getting some decent power. The only thing is I used one of the Scosche install kits and it doesn't quite fit right. I had to install it without the DIN bracket, so it's really just loose in there. I'm not sure what I want to do about it, as I would need to trim the edges of the stereo surround to install it properly. Or I could use the old Metra kit that my previous radio used, not that I was crazy about it either.
So instead... I installed a new radio! An Alpine head unit with mini amp, and my Infinity Kappa speakers in the back are happy to finally be getting some decent power. The only thing is I used one of the Scosche install kits and it doesn't quite fit right. I had to install it without the DIN bracket, so it's really just loose in there. I'm not sure what I want to do about it, as I would need to trim the edges of the stereo surround to install it properly. Or I could use the old Metra kit that my previous radio used, not that I was crazy about it either.