
Show us yer knobs!

Thread Starter
Joined: Jun 2008
Posts: 8,376
Likes: 28
From: Chino Hills, CA
That gives me hazardous ideas about trying to leather-wrap my non-leather ****... if thin enough, it wouldn't increase the size much. Hmmm...
Just what I need, another OCD-level project. Got three other mad-scientist ideas already waiting, but must get through an engine rebuild first this winter.
Just what I need, another OCD-level project. Got three other mad-scientist ideas already waiting, but must get through an engine rebuild first this winter.

I wonder if you can get that shrink wrap stuff they use for sealing electrical connections in Leatherette?
Or maybe dip your **** into some liquid polymer that will polymerize and yield a nice grippy surface, kind of like they do with candy apples?
Or maybe dip your **** into some liquid polymer that will polymerize and yield a nice grippy surface, kind of like they do with candy apples?


Should work DD, basically the leather ones are just plastic underneath. I can only imagine your lab with all sorts of giant electrical arching sparks and thunder clapping centered around a lifeless caramel covered shift ****......
Rotary Rabid
Joined: Jun 2008
Posts: 19
Likes: 0
From: Maryland
I replaced my boot plate and boot with an OEM part from Mazdatrix around 2001. The new plate is already missing two teeth. I give up. Defective part for sure, and I am very careful handling it. Thanks for the suggestion here. I recently tacked the two places over the missing pins down with superglue as a temporary measure but I don't think that will last.
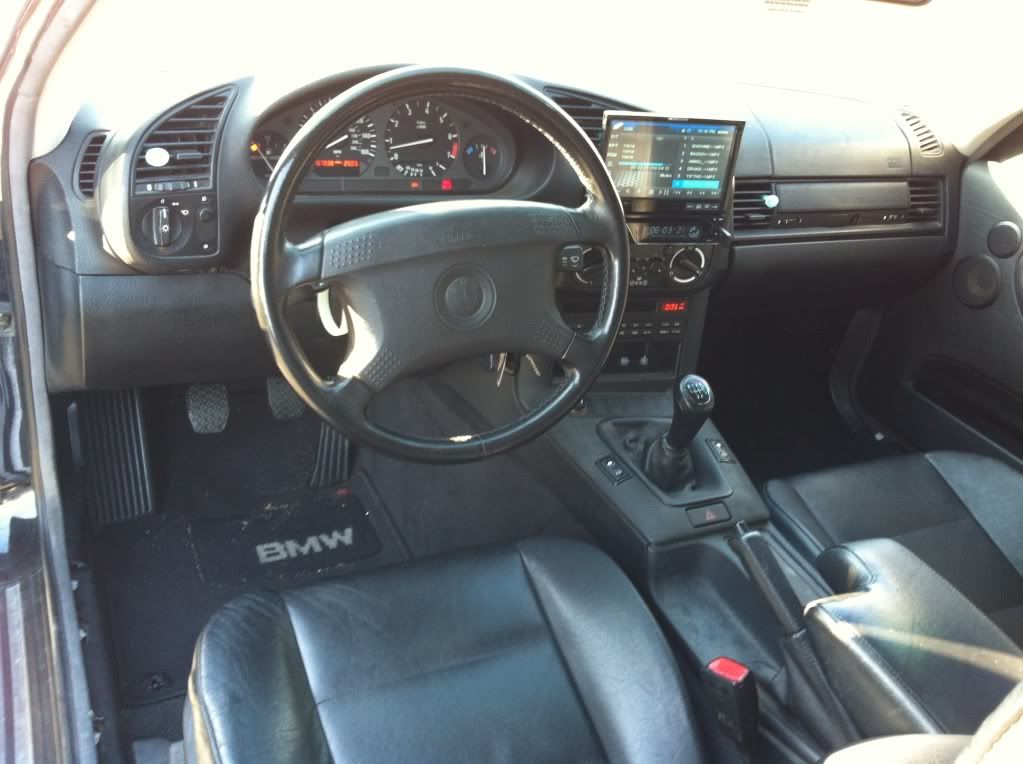
I also have a defective shift ****, which I will try to post an image of later. It's a potential restoration project because I want that stock (as well as the rest of the vehicle and especially the interior
I could have bought a new color matching shift **** from Mazdatrix back around 2001 but passed it over because I thought it was a little pricey to fix a cosmetic issue. So sad now
I fixed mine by making my own "clips" to replace the broken ones on the underside of the panel. Here's the secret: hot glue the boot into place on the underside by sealing all of the cracks around the edge of the rubber, and carefully let it dry without moving the boot (so that the glue stays clear when it hardens and not cloudy/milky). Next, put a drop or two of super glue straight into the holes on the boot where the clips are supposed to be, until there's a small pool of glue overflowing onto the rubber. Immediately afterwards, take some Zip Kicker* and spray the pools to instantly harden them, effectively creating a fastening clip out of super glue. Finish up by wiping/cleaning off the excess Zip Kicker on the underside of the boot and panel. You can leave the hot glue on for extra security or you can peel it off at this point (I just left mine on). Install back into the car and enjoy your fixed shifter boot!
*If you've never used Zip Kicker before, make ABSOLUTELY SURE that there's no super glue on your fingers, even in trace amounts. There's nothing pleasant about accidentally touching a Zip Kicker-coated surface and then having to saw at frozen, dead skin between your finger and the surface to free yourself. Ask me how I know.
mine in my 3rd gen and my 1st gen. Had them custom made from a place that makes pool *****.
Only have the pic of the 3rd gen right now because the tranny is not in on the FB.
Only have the pic of the 3rd gen right now because the tranny is not in on the FB.


Thread
Thread Starter
Forum
Replies
Last Post
risingsunroof82
1st Generation Specific (1979-1985)
22
Sep 22, 2015 01:20 PM
REX7&Z32TT
New Member RX-7 Technical
2
Sep 14, 2015 08:46 AM