When you click on links to various merchants on this site and make a purchase, this can result in this site earning a commission. Affiliate programs and affiliations include, but are not limited to, the eBay Partner Network.
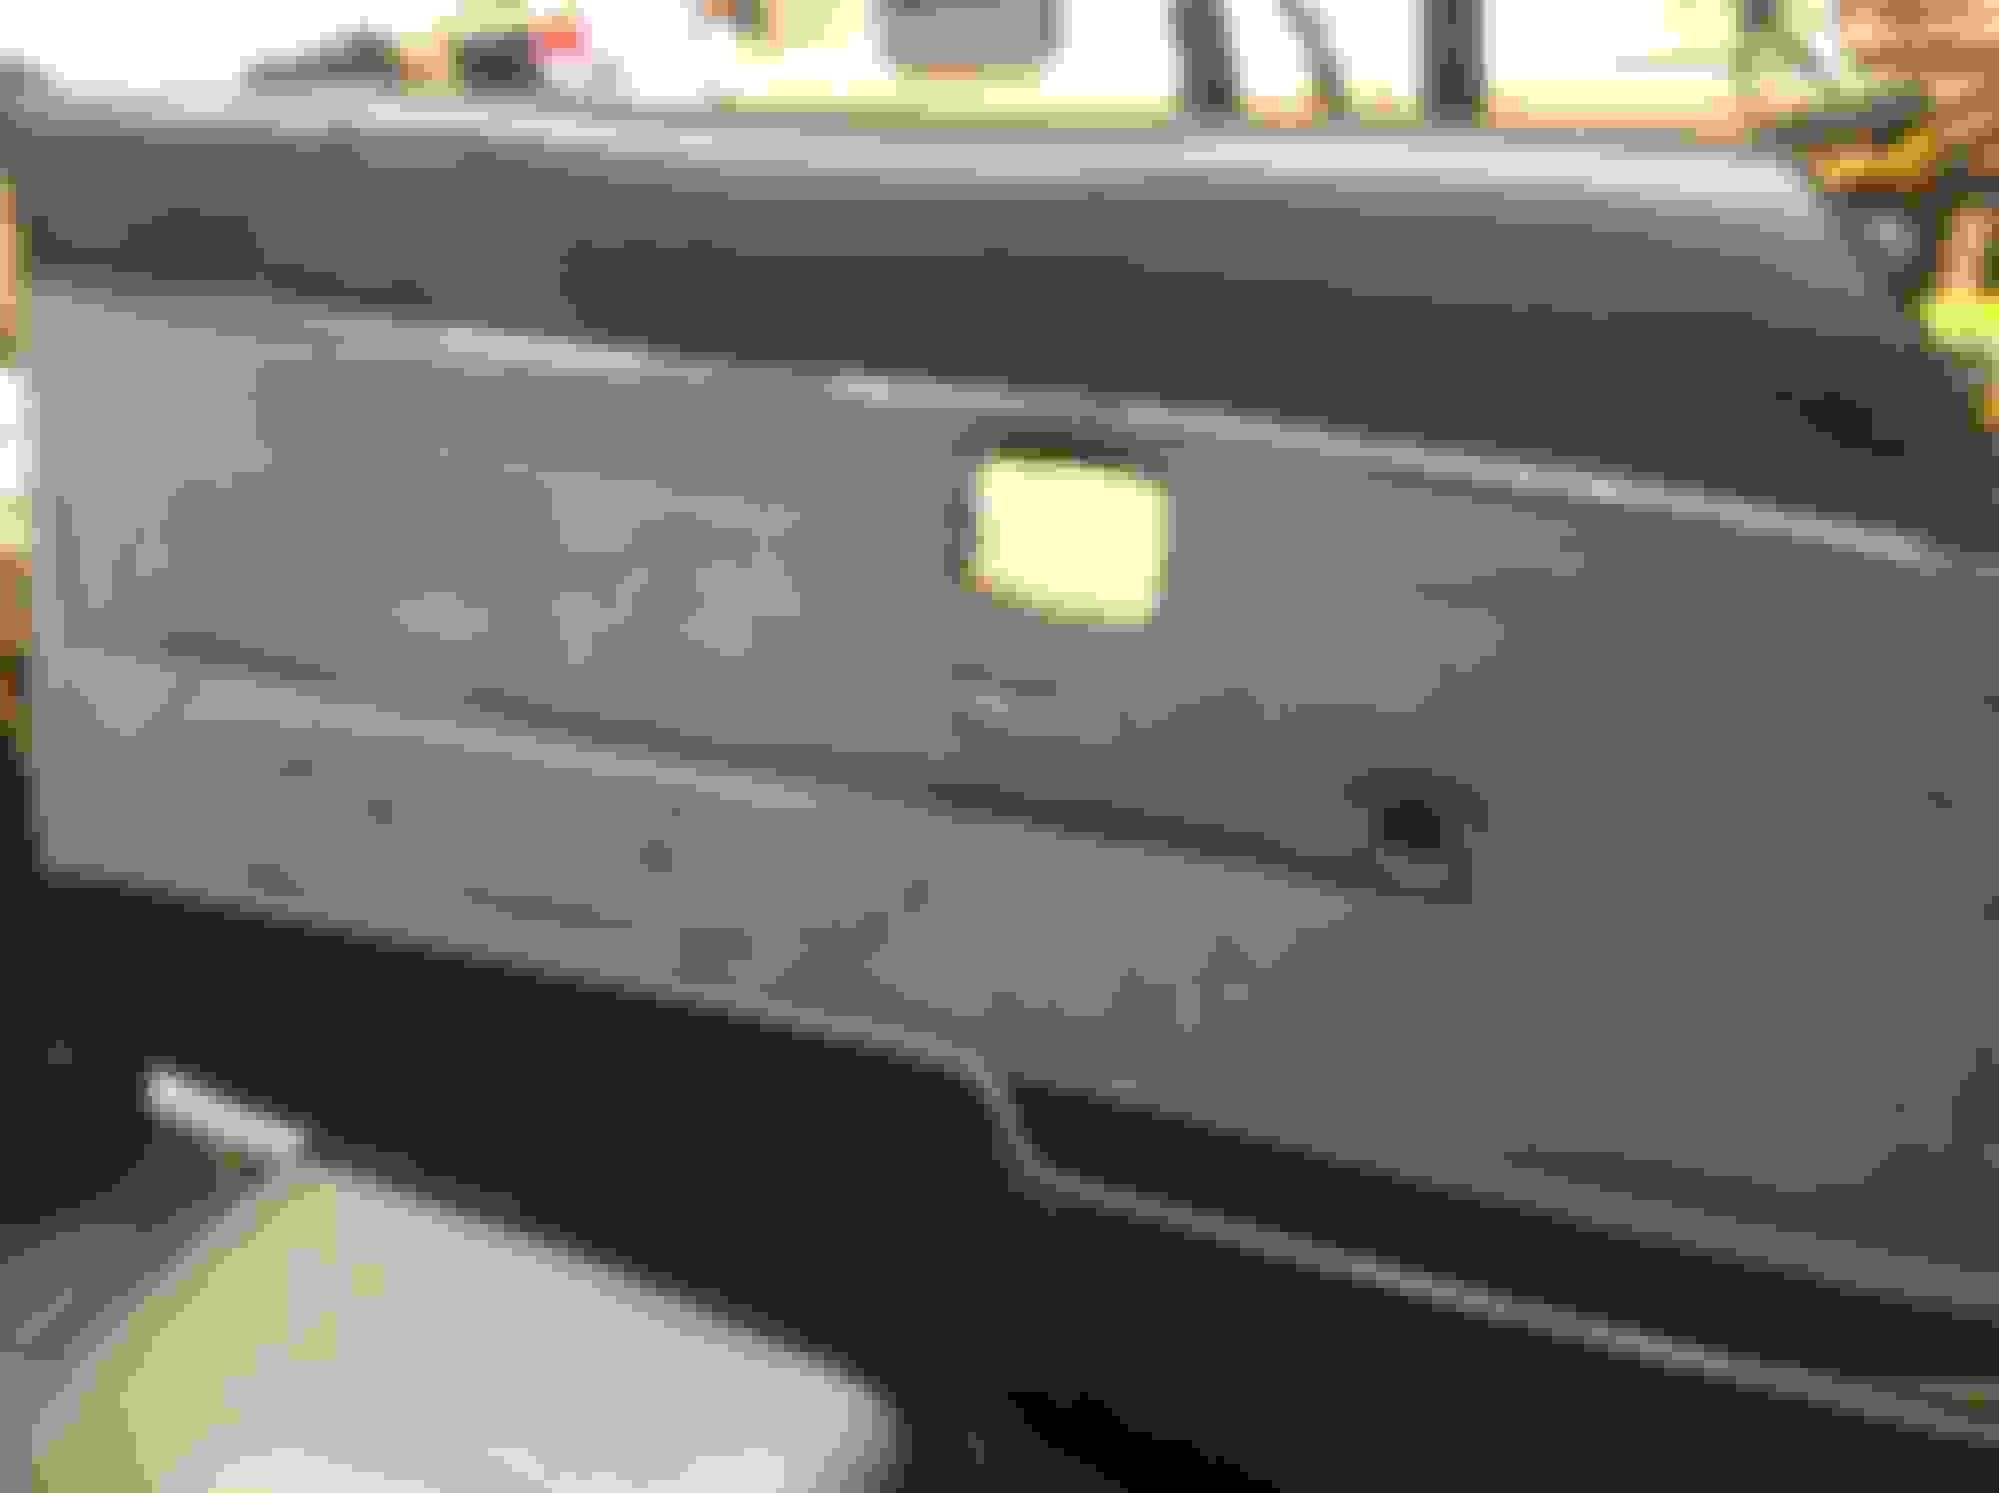
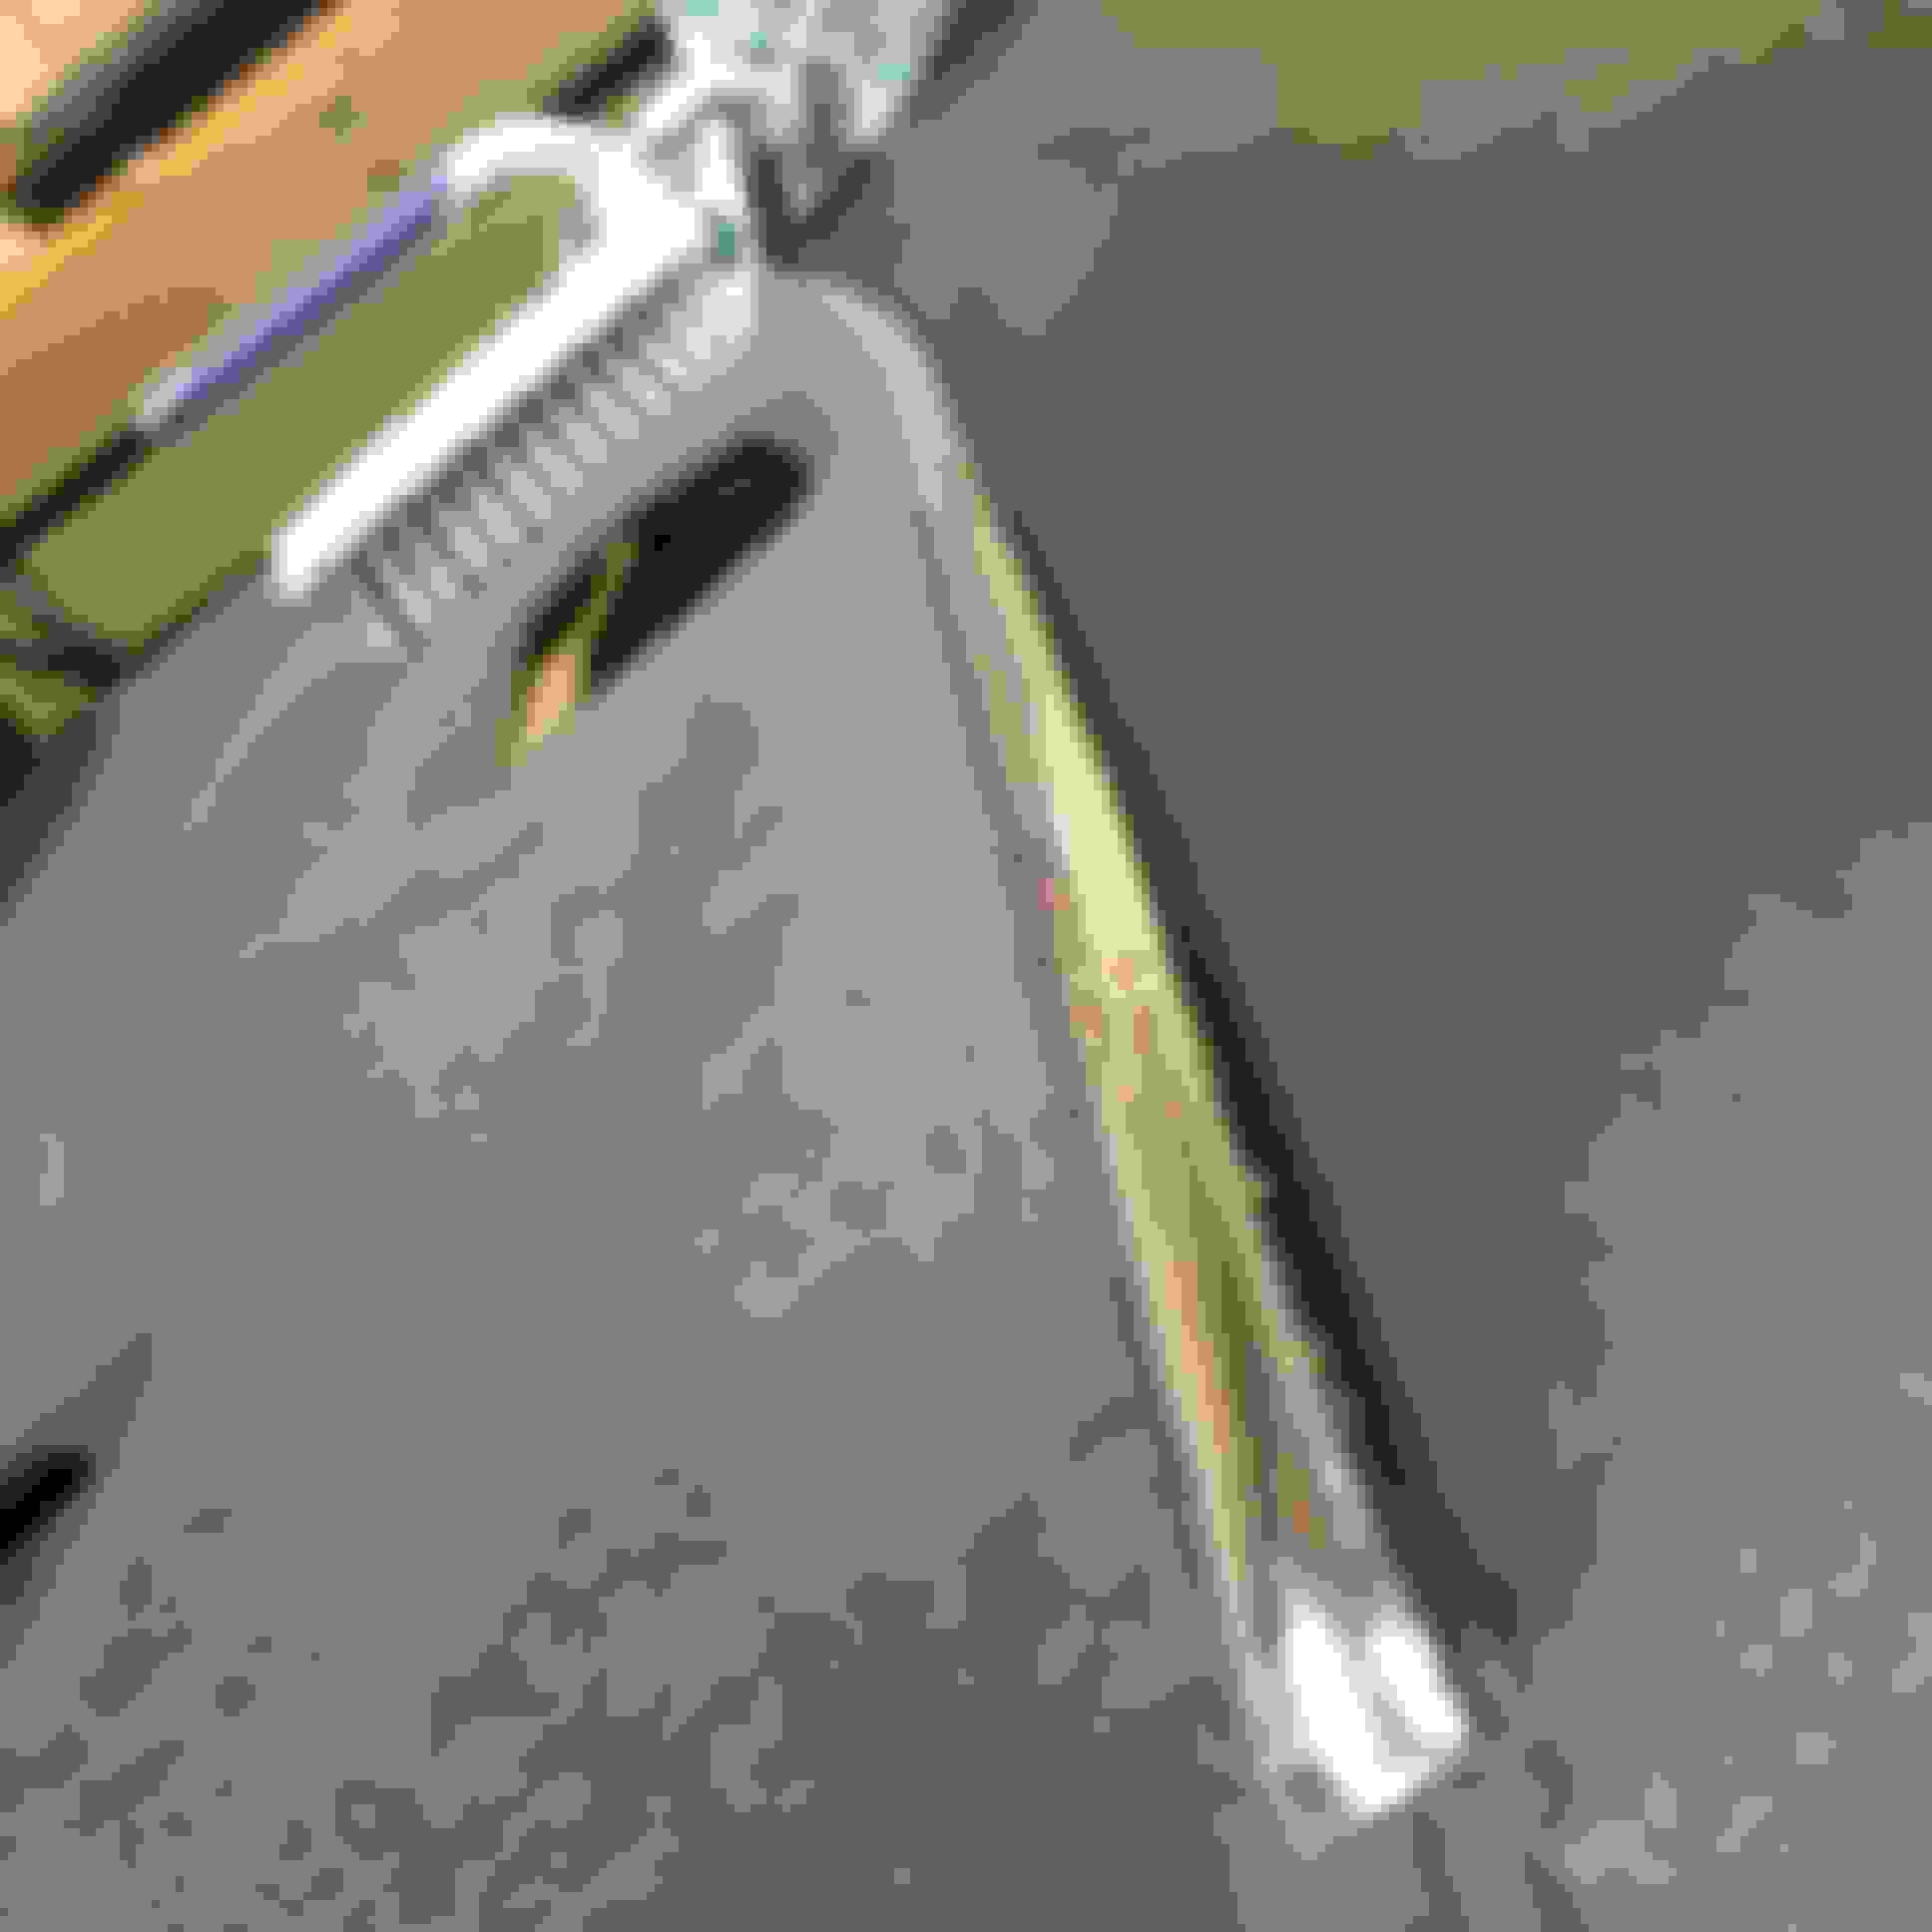
Anyone who has spent time around 1st Gen RX-7s has probably encountered peeling and delaminated chrome, common on the plastic trim used in the majority of SA�s. Early 1st year cars used a dual, thin line trim separated by a black band. From what I�ve saw, the chrome (more silver) is actually a paint of coating of some sort. It can dull, fade and/or rub off but seems to be fairly durable under normal conditions. The trim style that is problematic was used later in 78 production and into 79. This is the single chrome band approximately � wide running across the middle of the dash and down both doors, providing a break bwt the upper and lower dash and interior. This chrome is a thin film product applied over the underlying shape and is very susceptible to peeling off over time, exposing the underlying bare plastic.
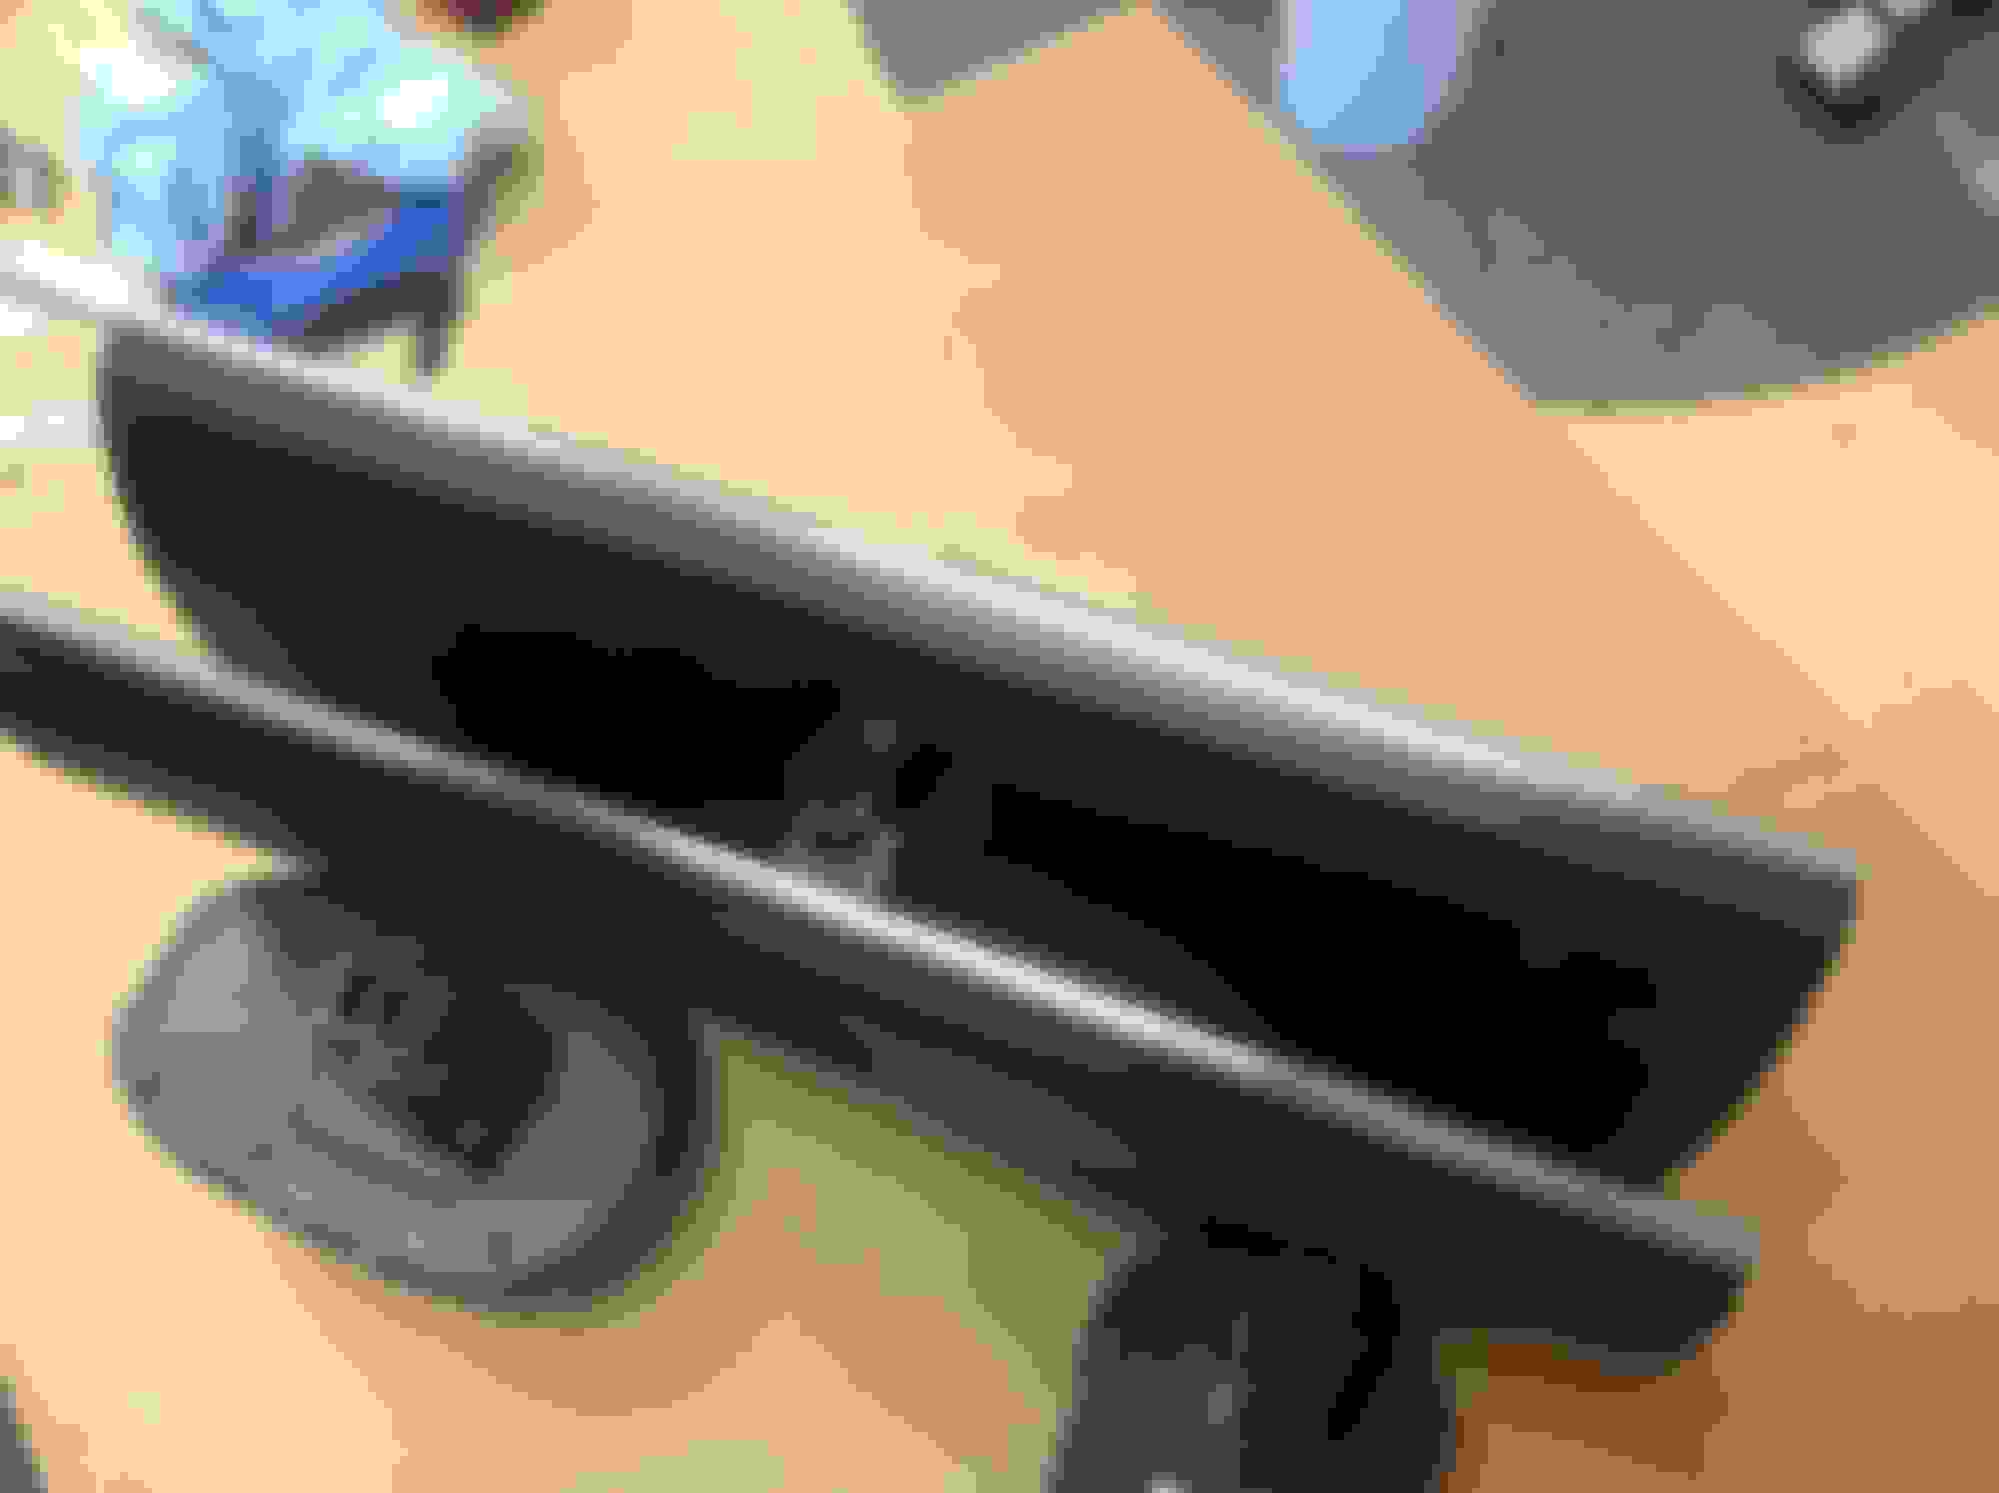
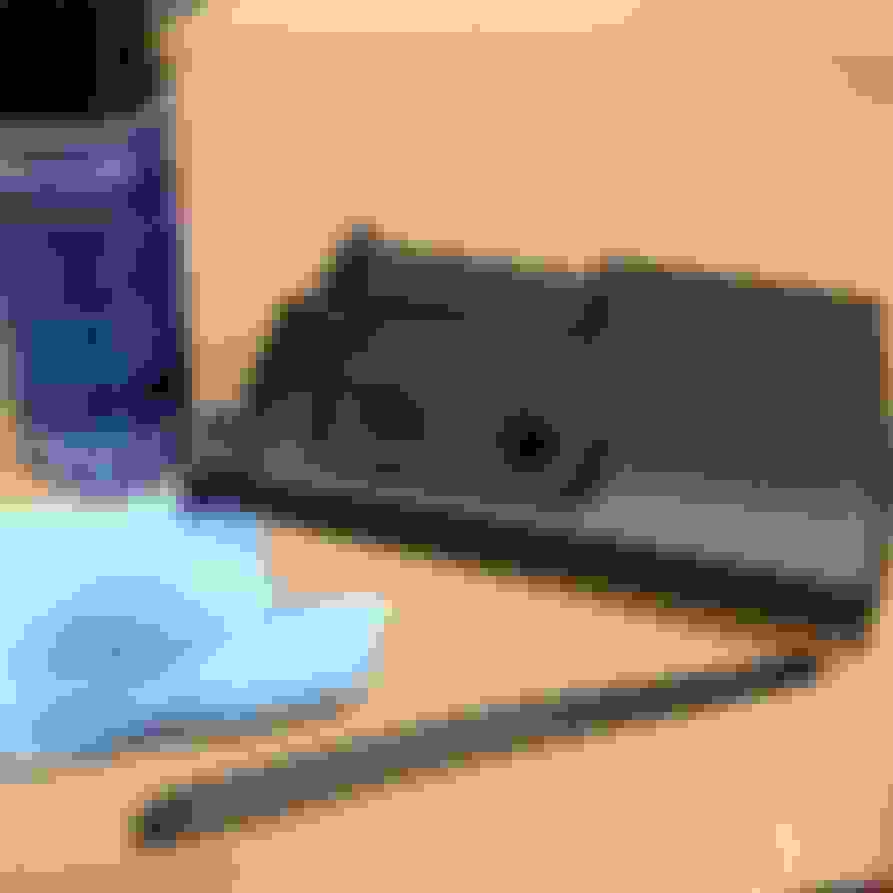
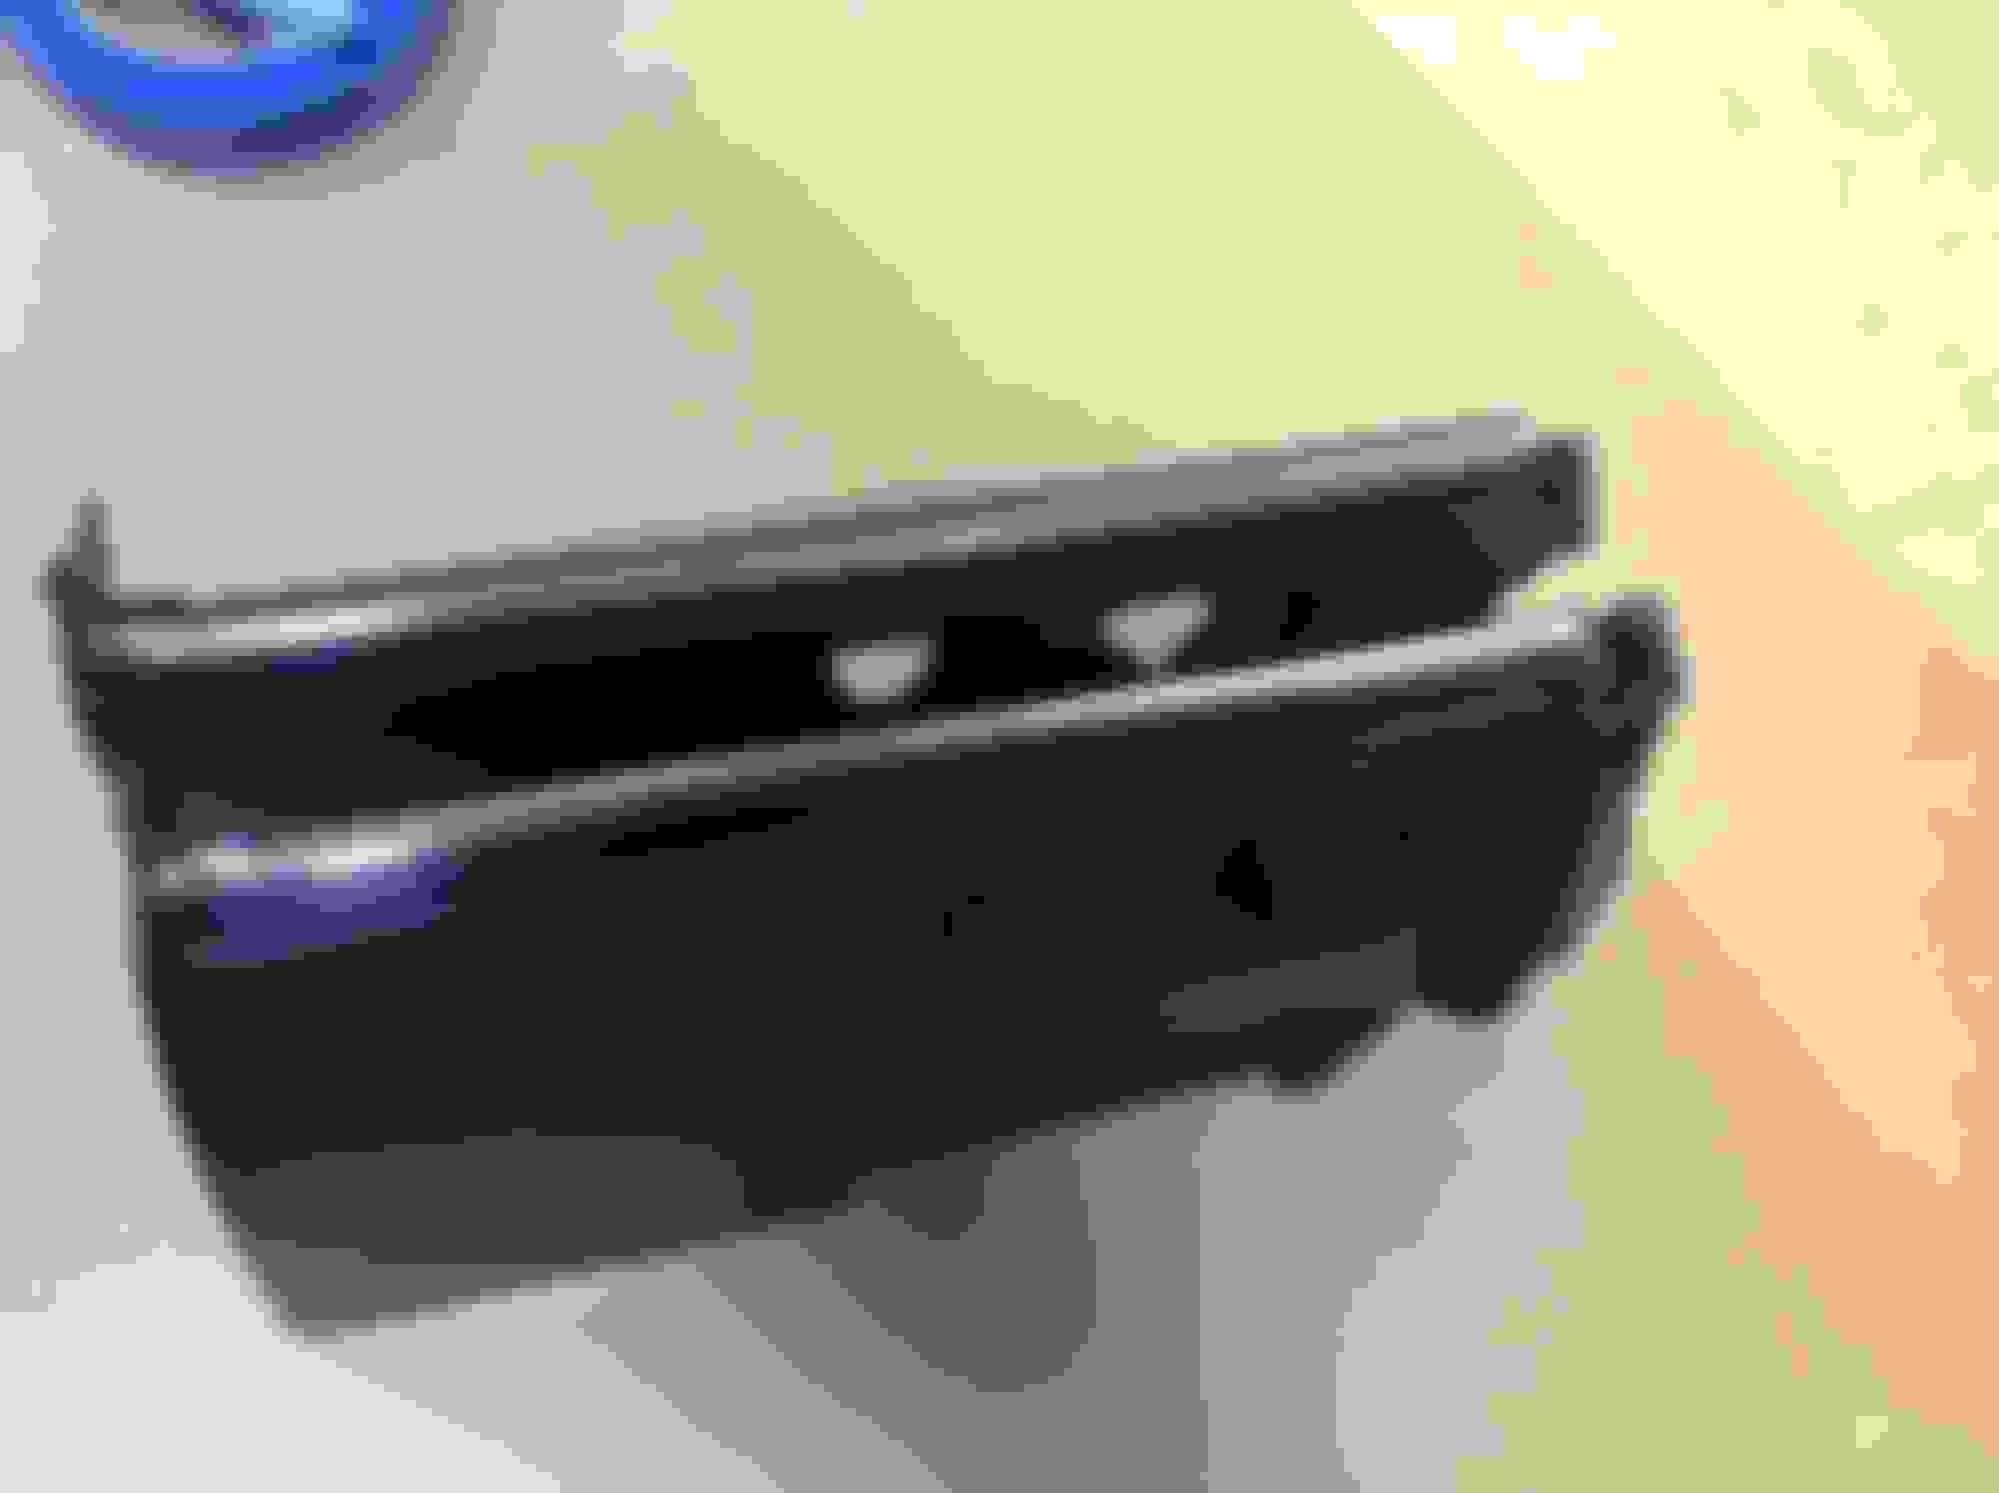
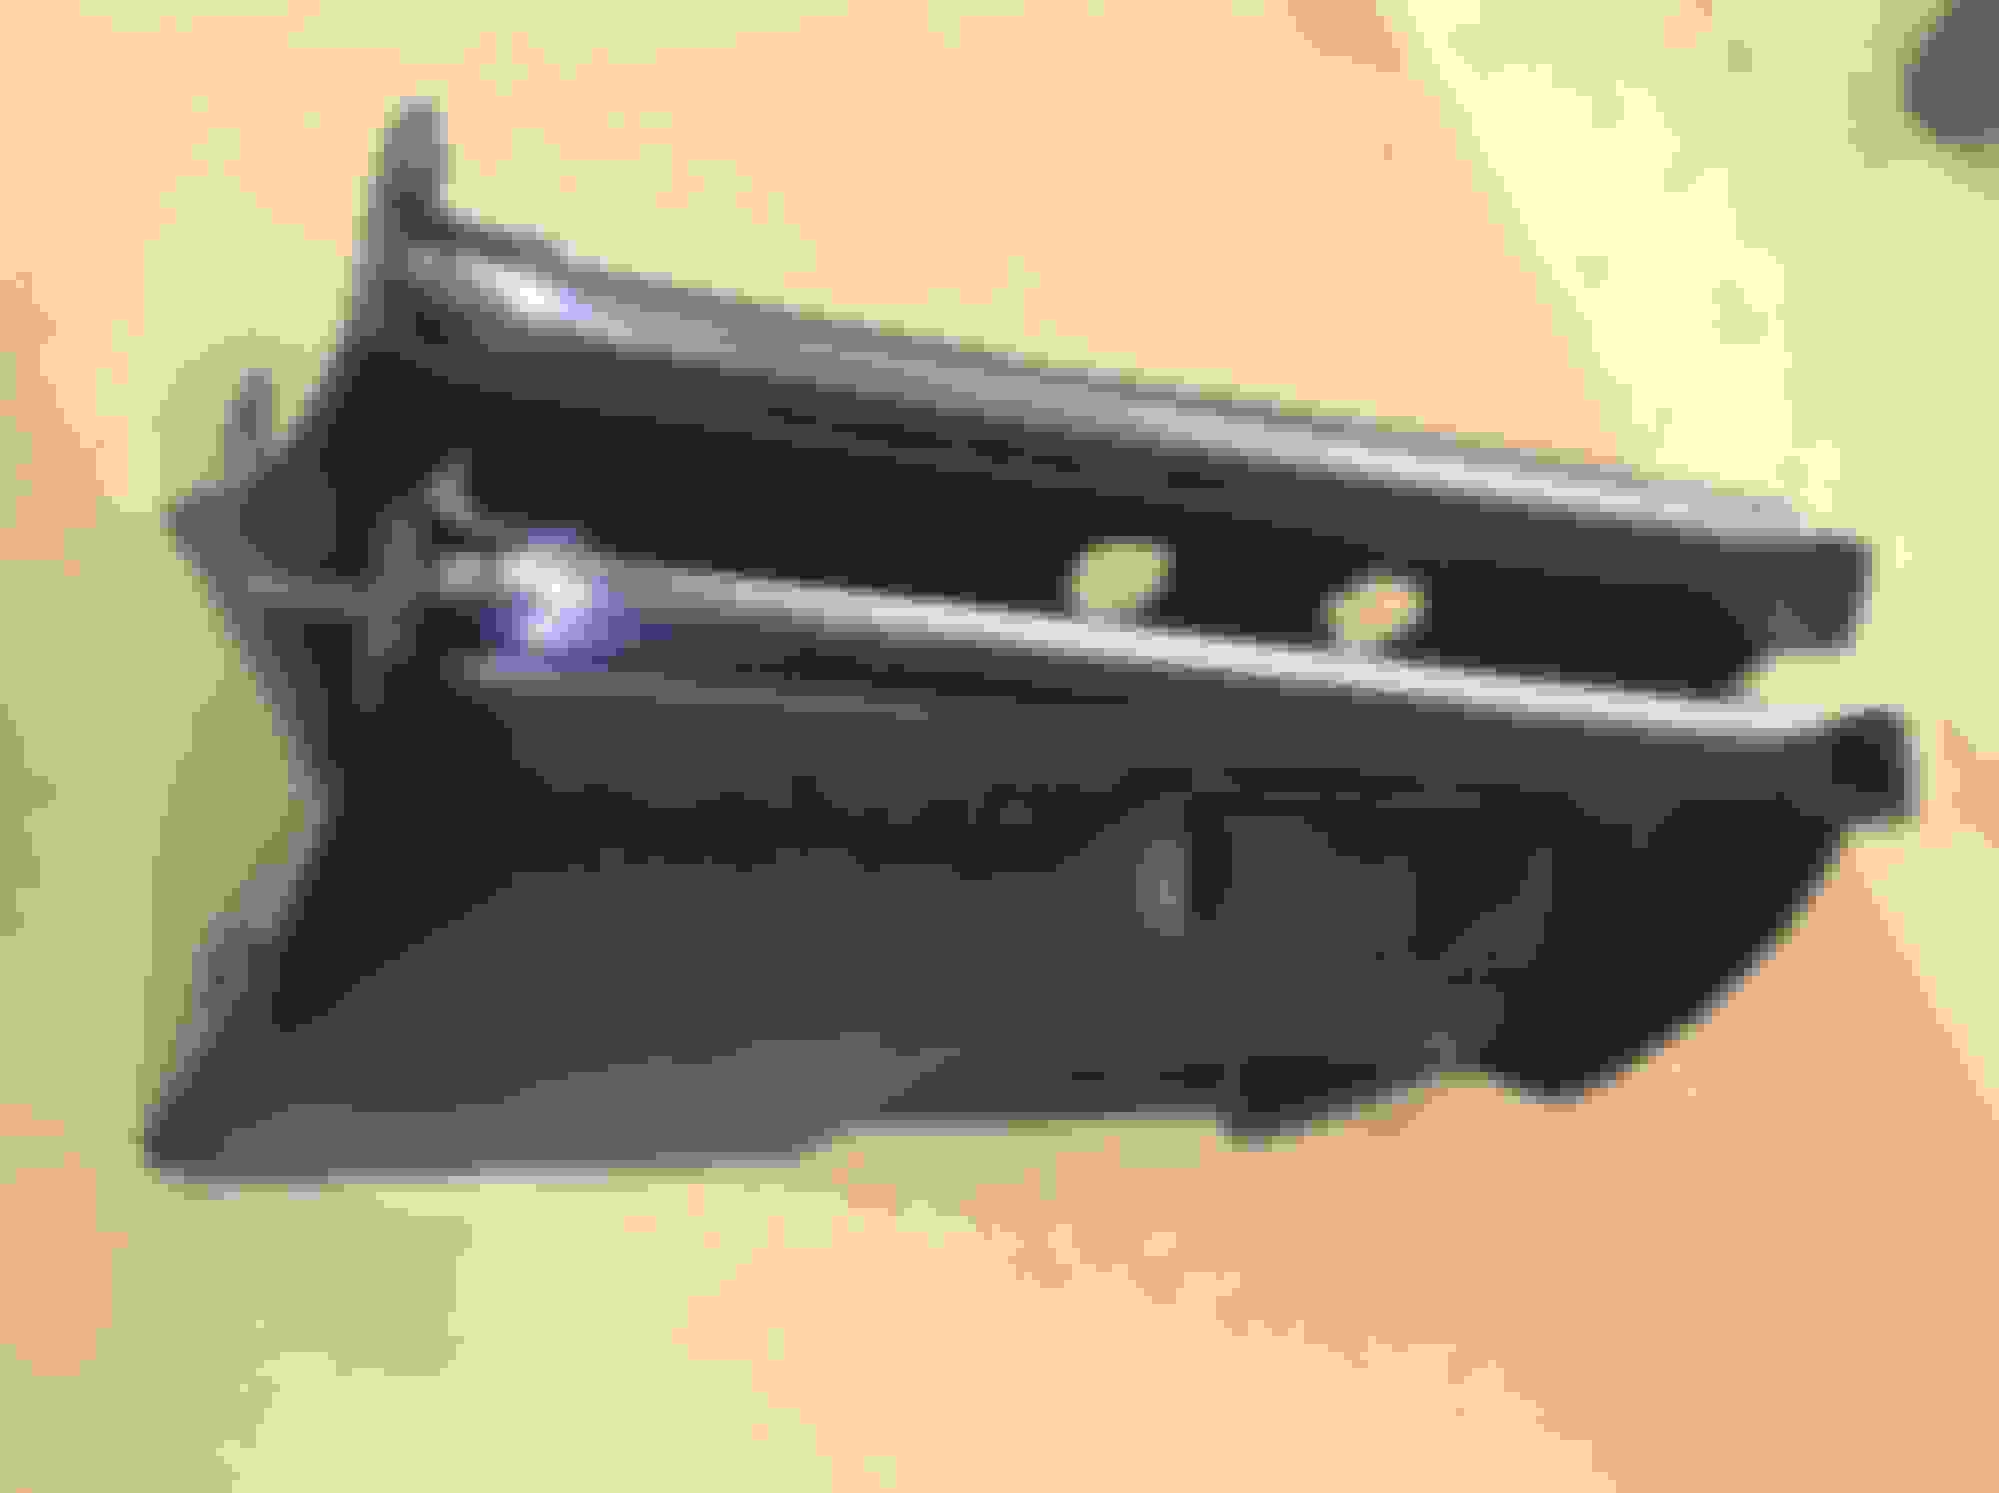
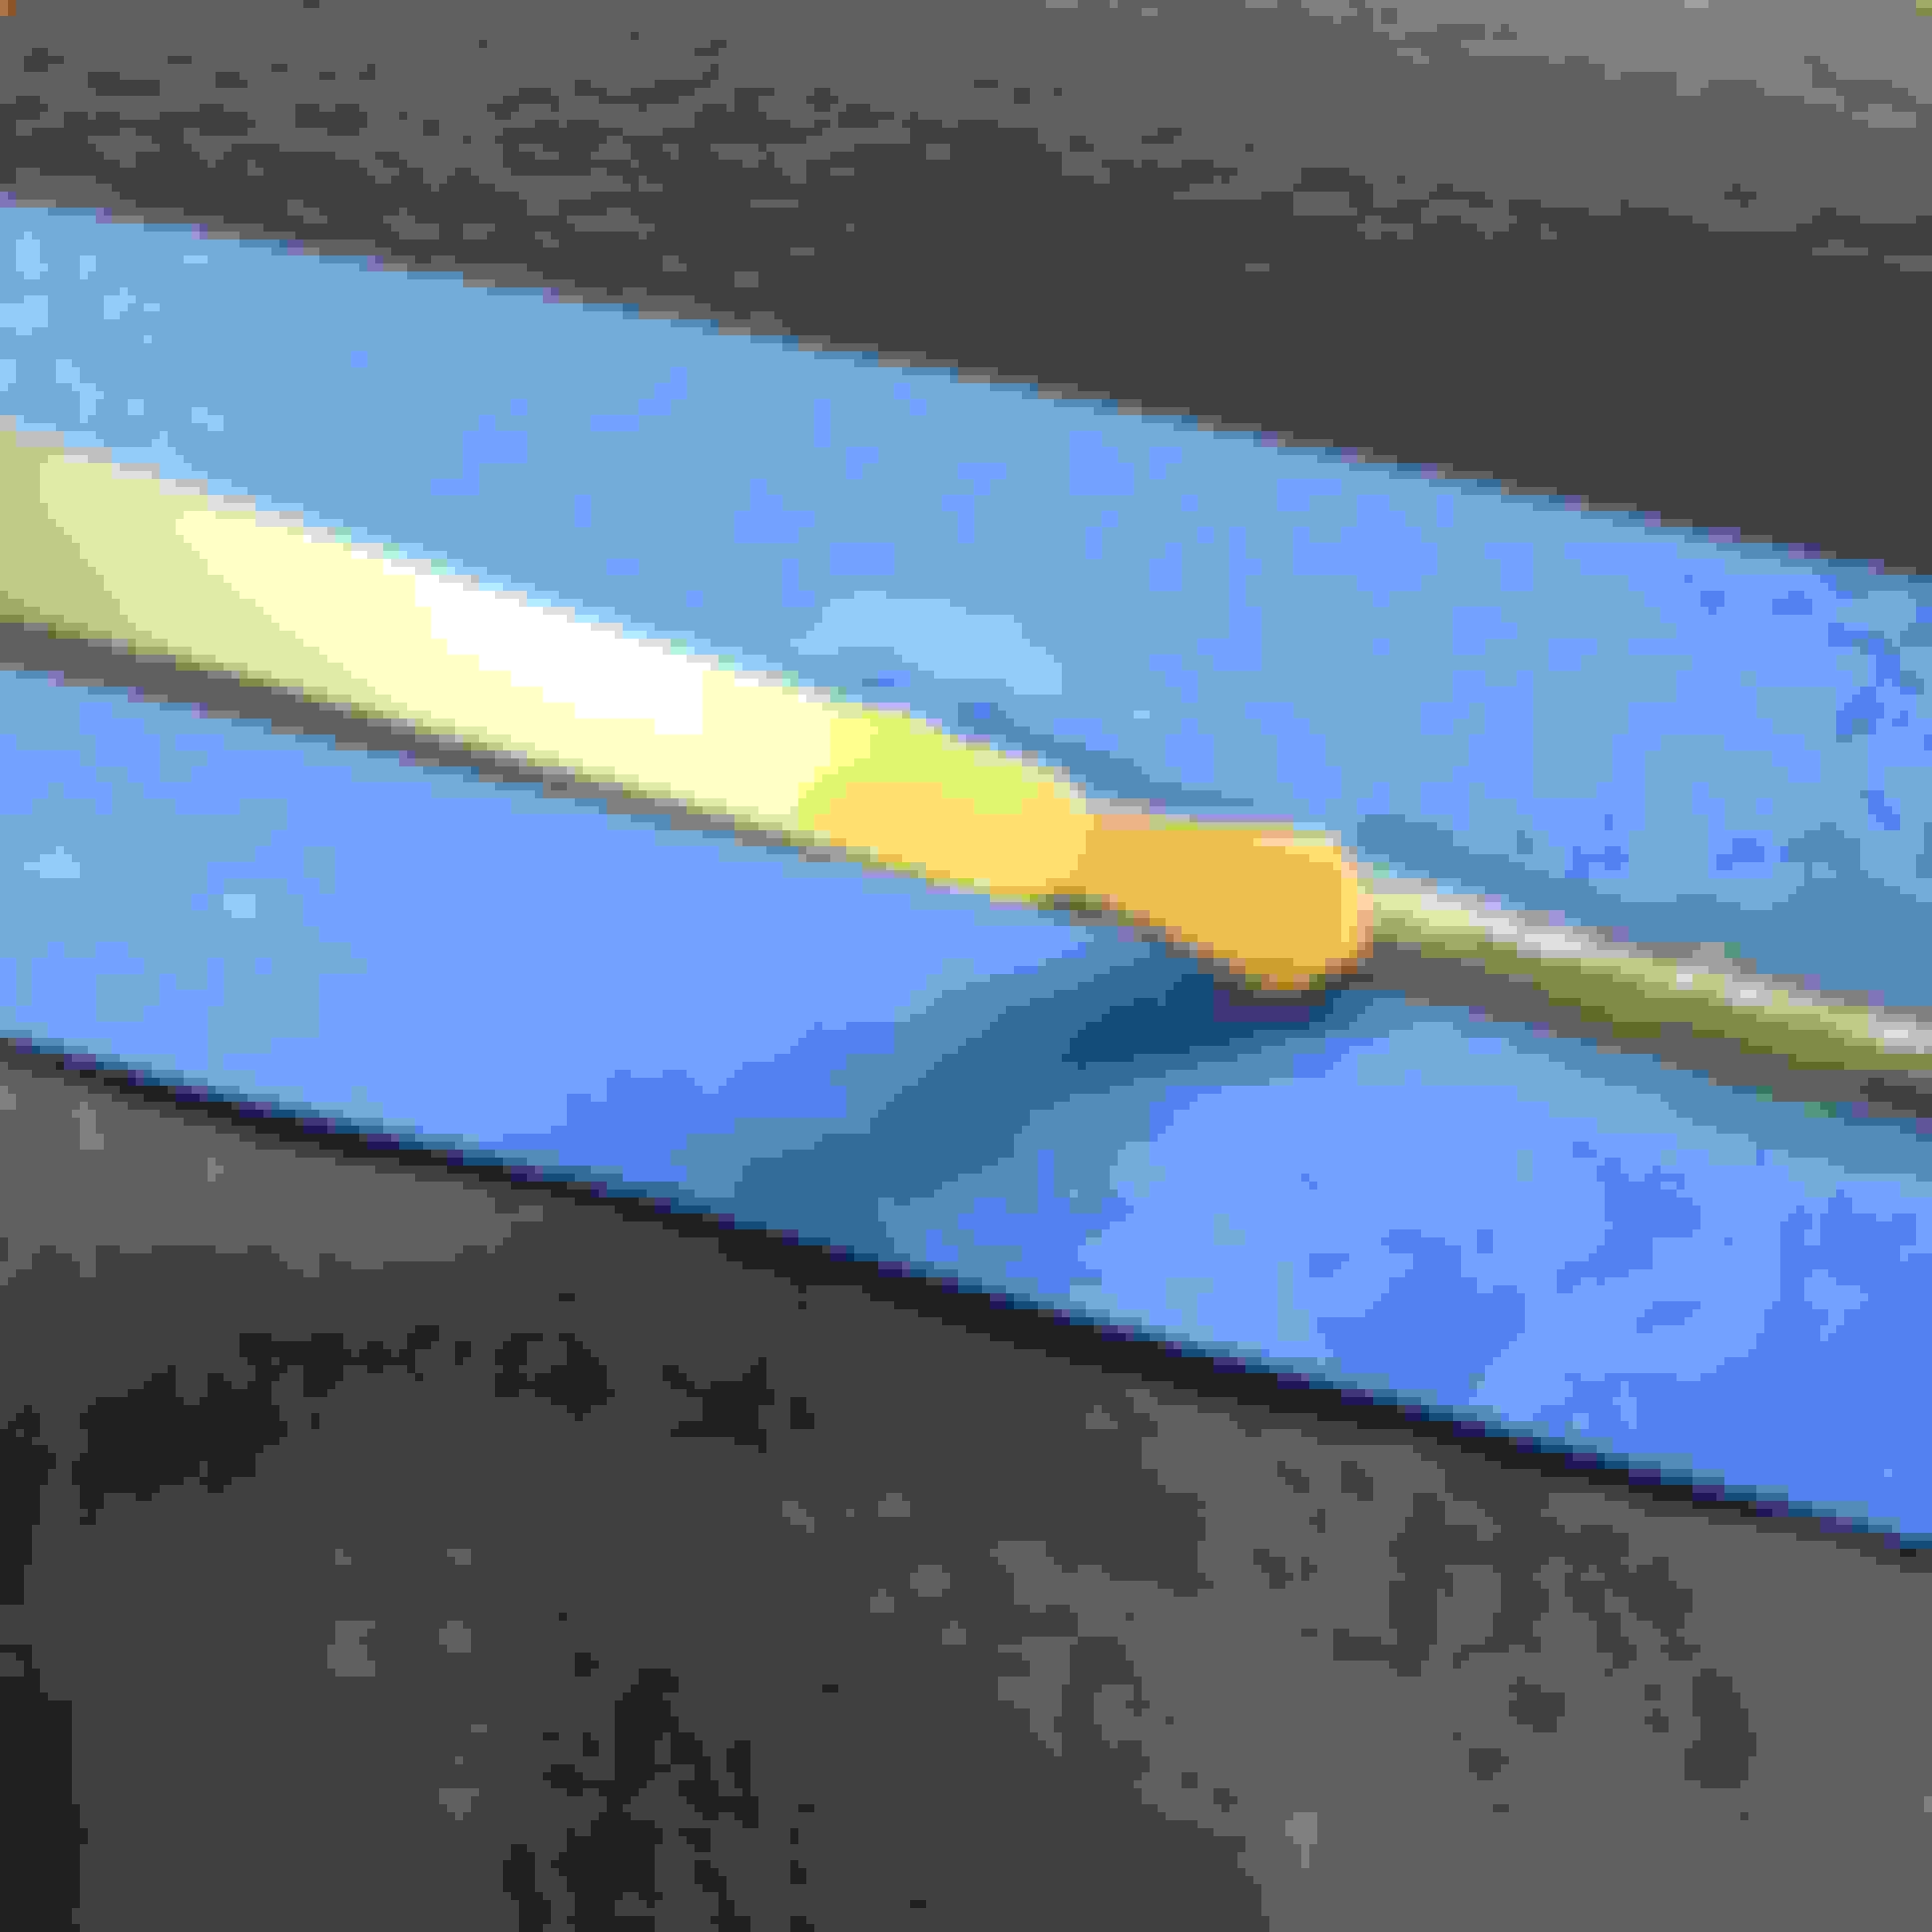
Early style dual chrome (bottom) vs. the later, wider, single chrome strip more prone to flaking / peeling.
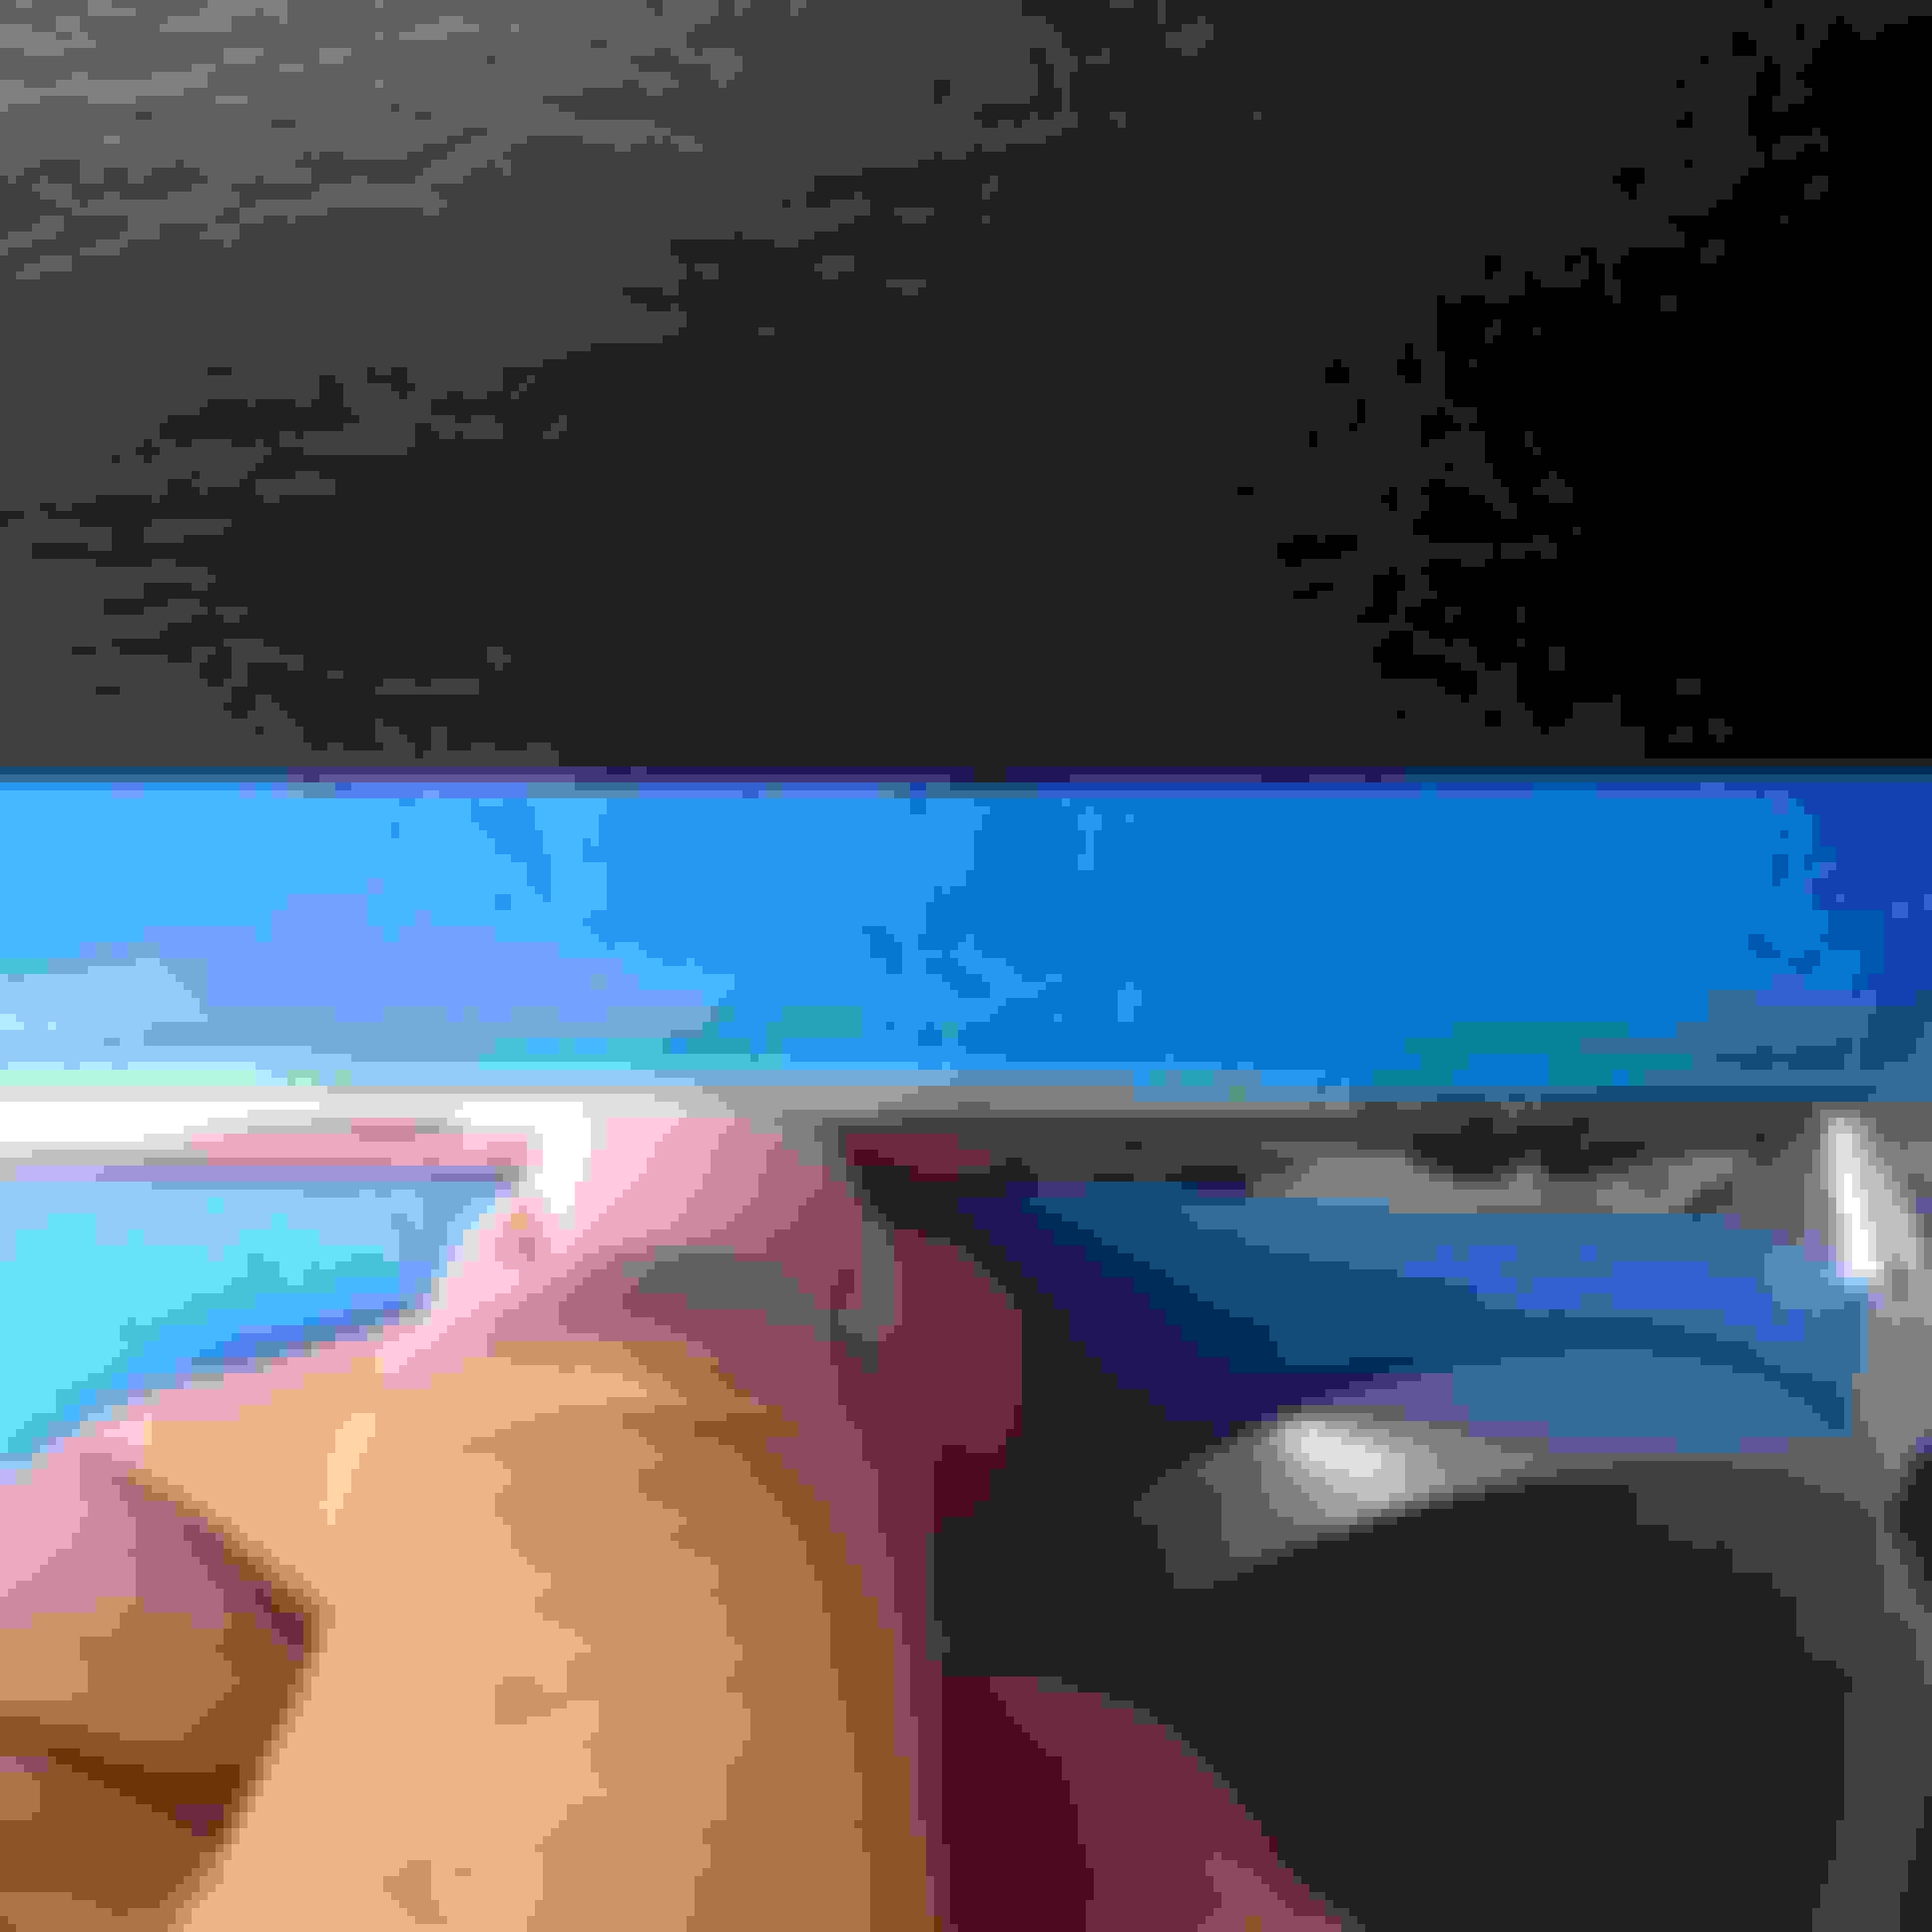
Since we don�t enjoy any OEM style aftermarket replacement part sources, I�ve looked for a solution off and on over the past few years. My fist attempt was using chrome pin striping. It comes in a continuous roll of � wide pin stripe. Although I could get it to stick, it was too thick to conform around corners or compound bends. Even using additional glue plus heat, it would release overnight at the edges, to appear flat instead of rounded. Next idea was vinyl sign material. I got a local sign maker to cut � strips from a length of 12 inch wide chrome material. Although marginally better than the pin stripe, it too would not stay adhered and lay proper for very long. Strike 2�..
Pin Strip
Sign Material
Original Film vs. Stripe
That is where things sat for a few years until this past winter when the ole light bulb dimly lit once again. This time I went to a place that advertised vehicle wraps. I remembered seeing some vehicles being chrome wrapped when this first became a thing, so I figured that if you could cover an entire vehicle, what would be so hard about a small piece of trim? I was able to obtain a small sample piece for free to see if would work or not. Luckily, that sample was large enough to cut even door pieces with. With other projects and chores to get done this summer, the trim project sat until last month when I was finally able cut some individual strips form the sheet. 1/4 wide for the dash, 5/16 seems to fit better for the doors.
With just a few basic items, I went with a simple straight line first, an old glove box door.
It was as simple as line it up and lay it down. I like to line up the top edge and get it just right as that�s the line which is most visible to your eye after it�s installed.
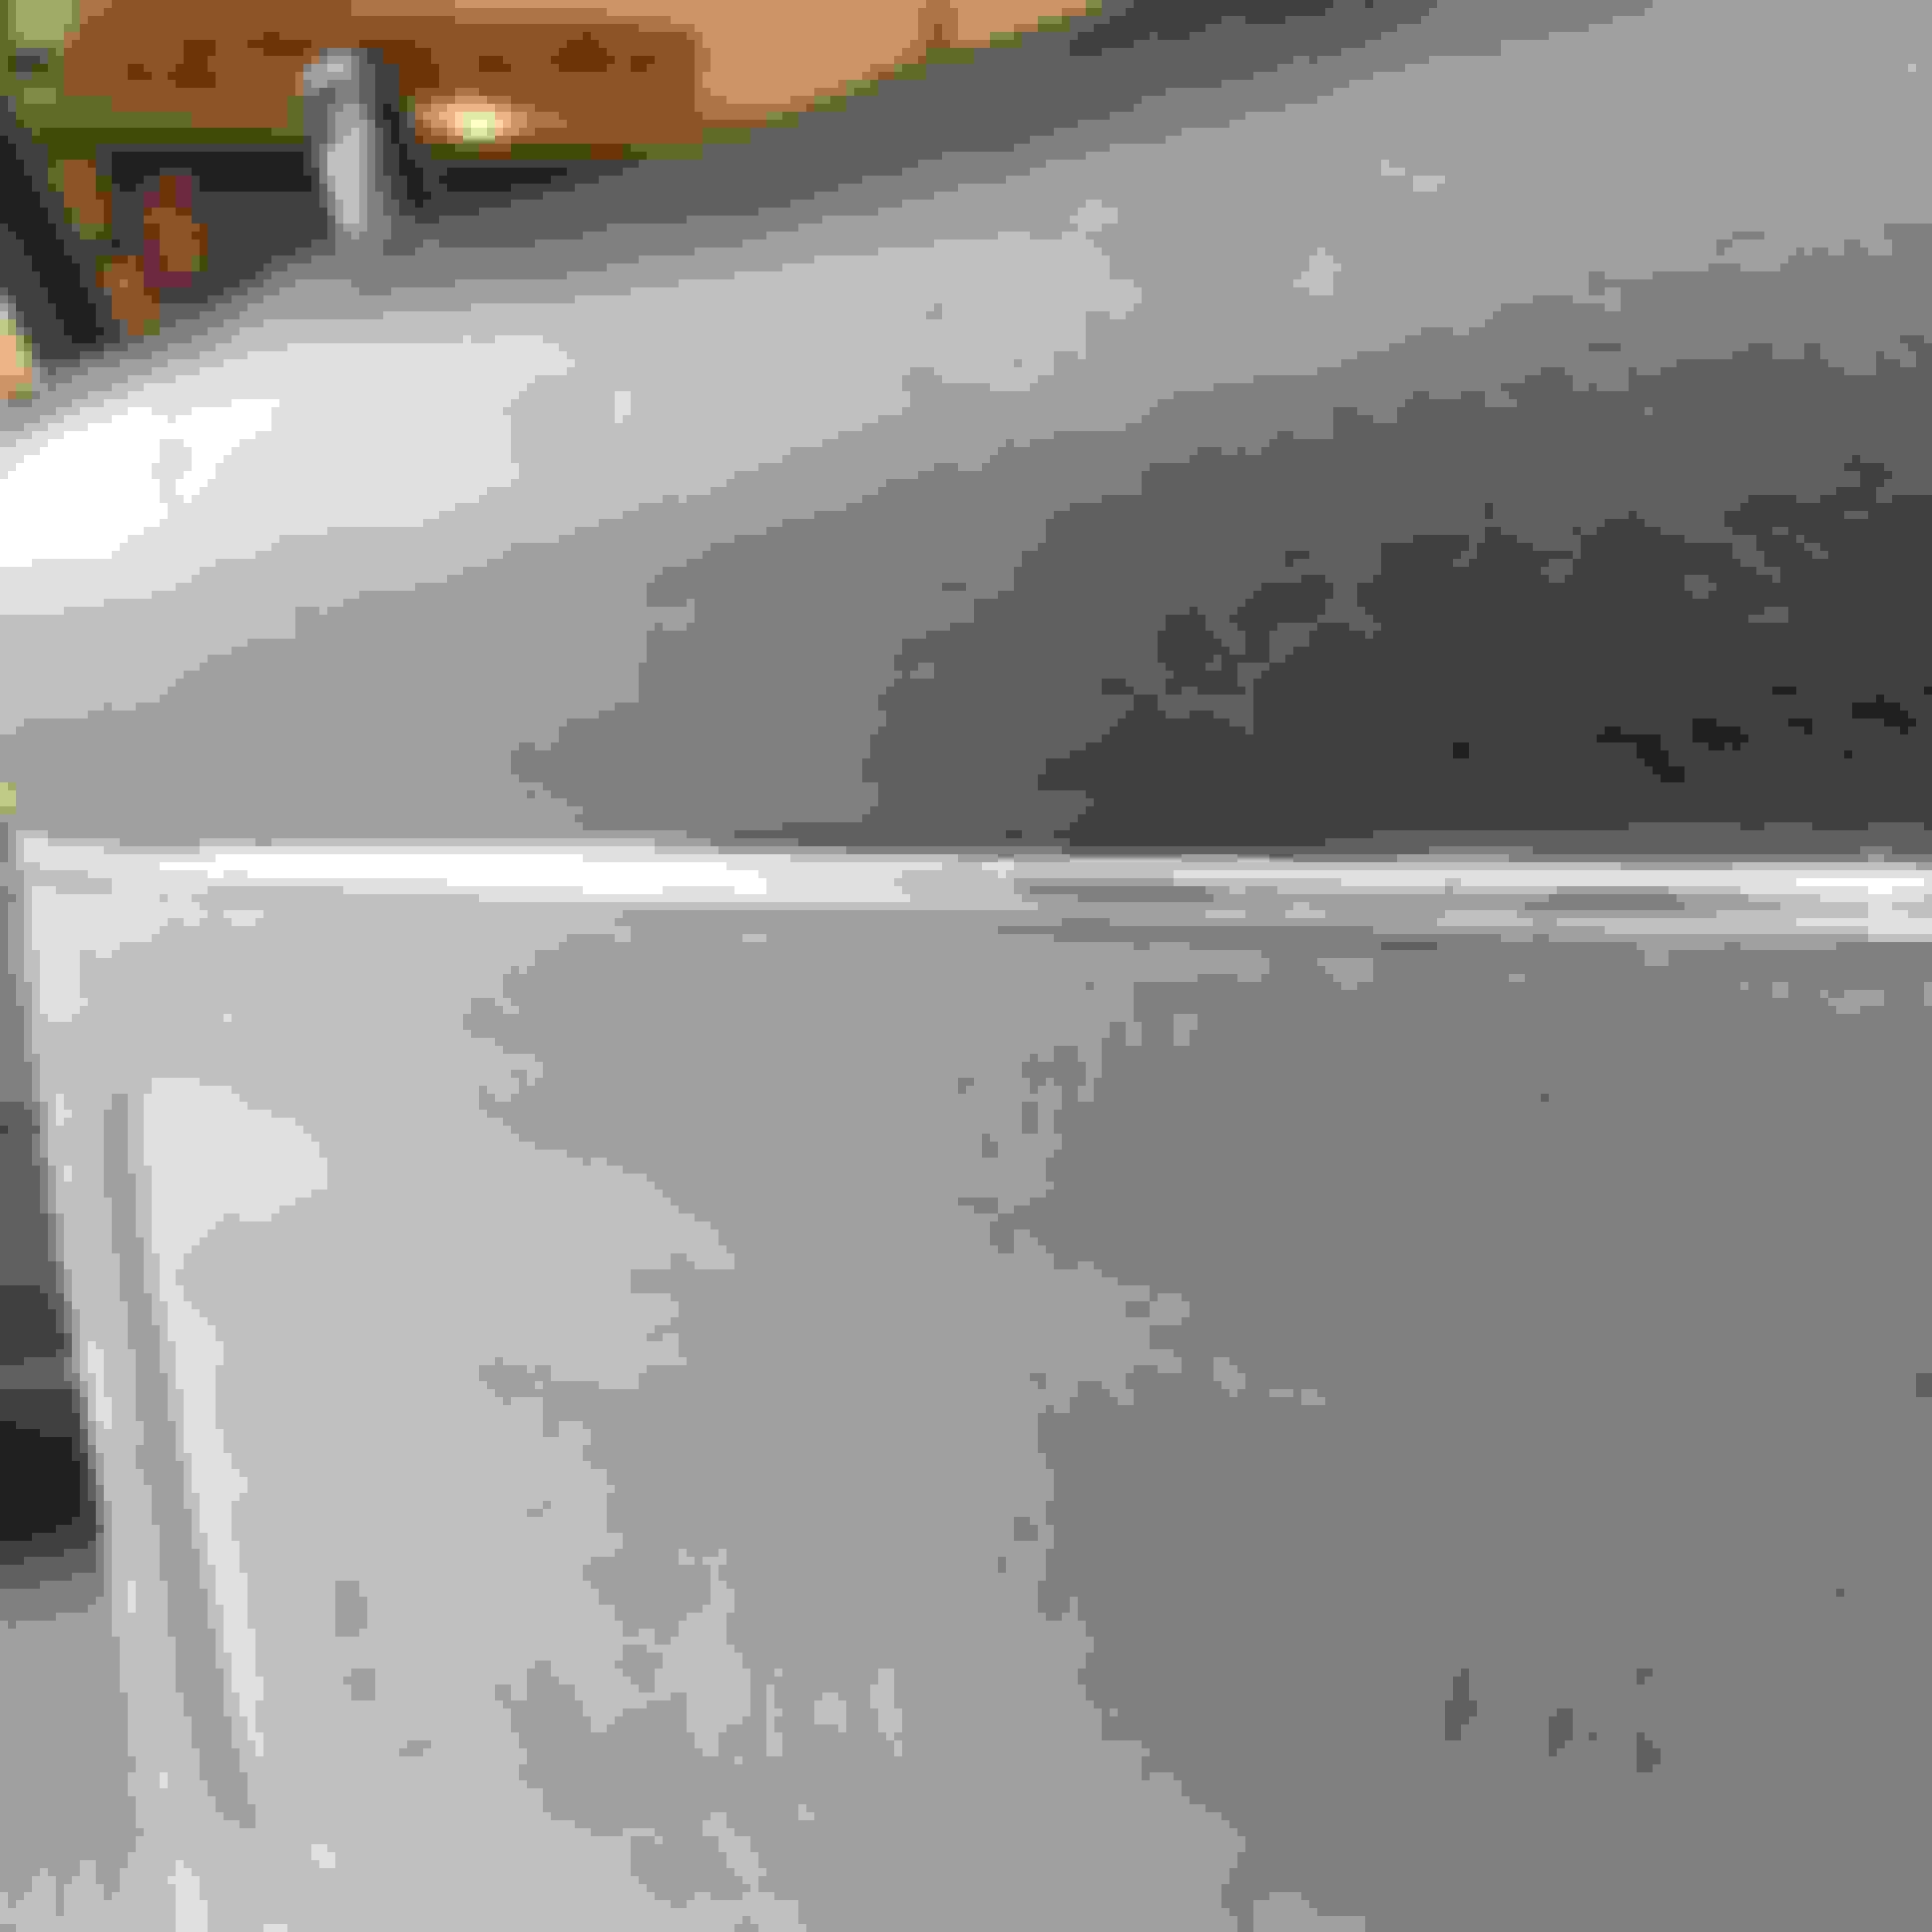
The results after rubbing down the edges (a shop towel works good for this) and trimming the ends. OEM trim on top, reworked on the bottom.
Next up, let�s adds a curve. This is a sports car after all��I prepped this piece first by cleaning it good.
Same process, same results, OEM on top, wrapped part on the bottom.
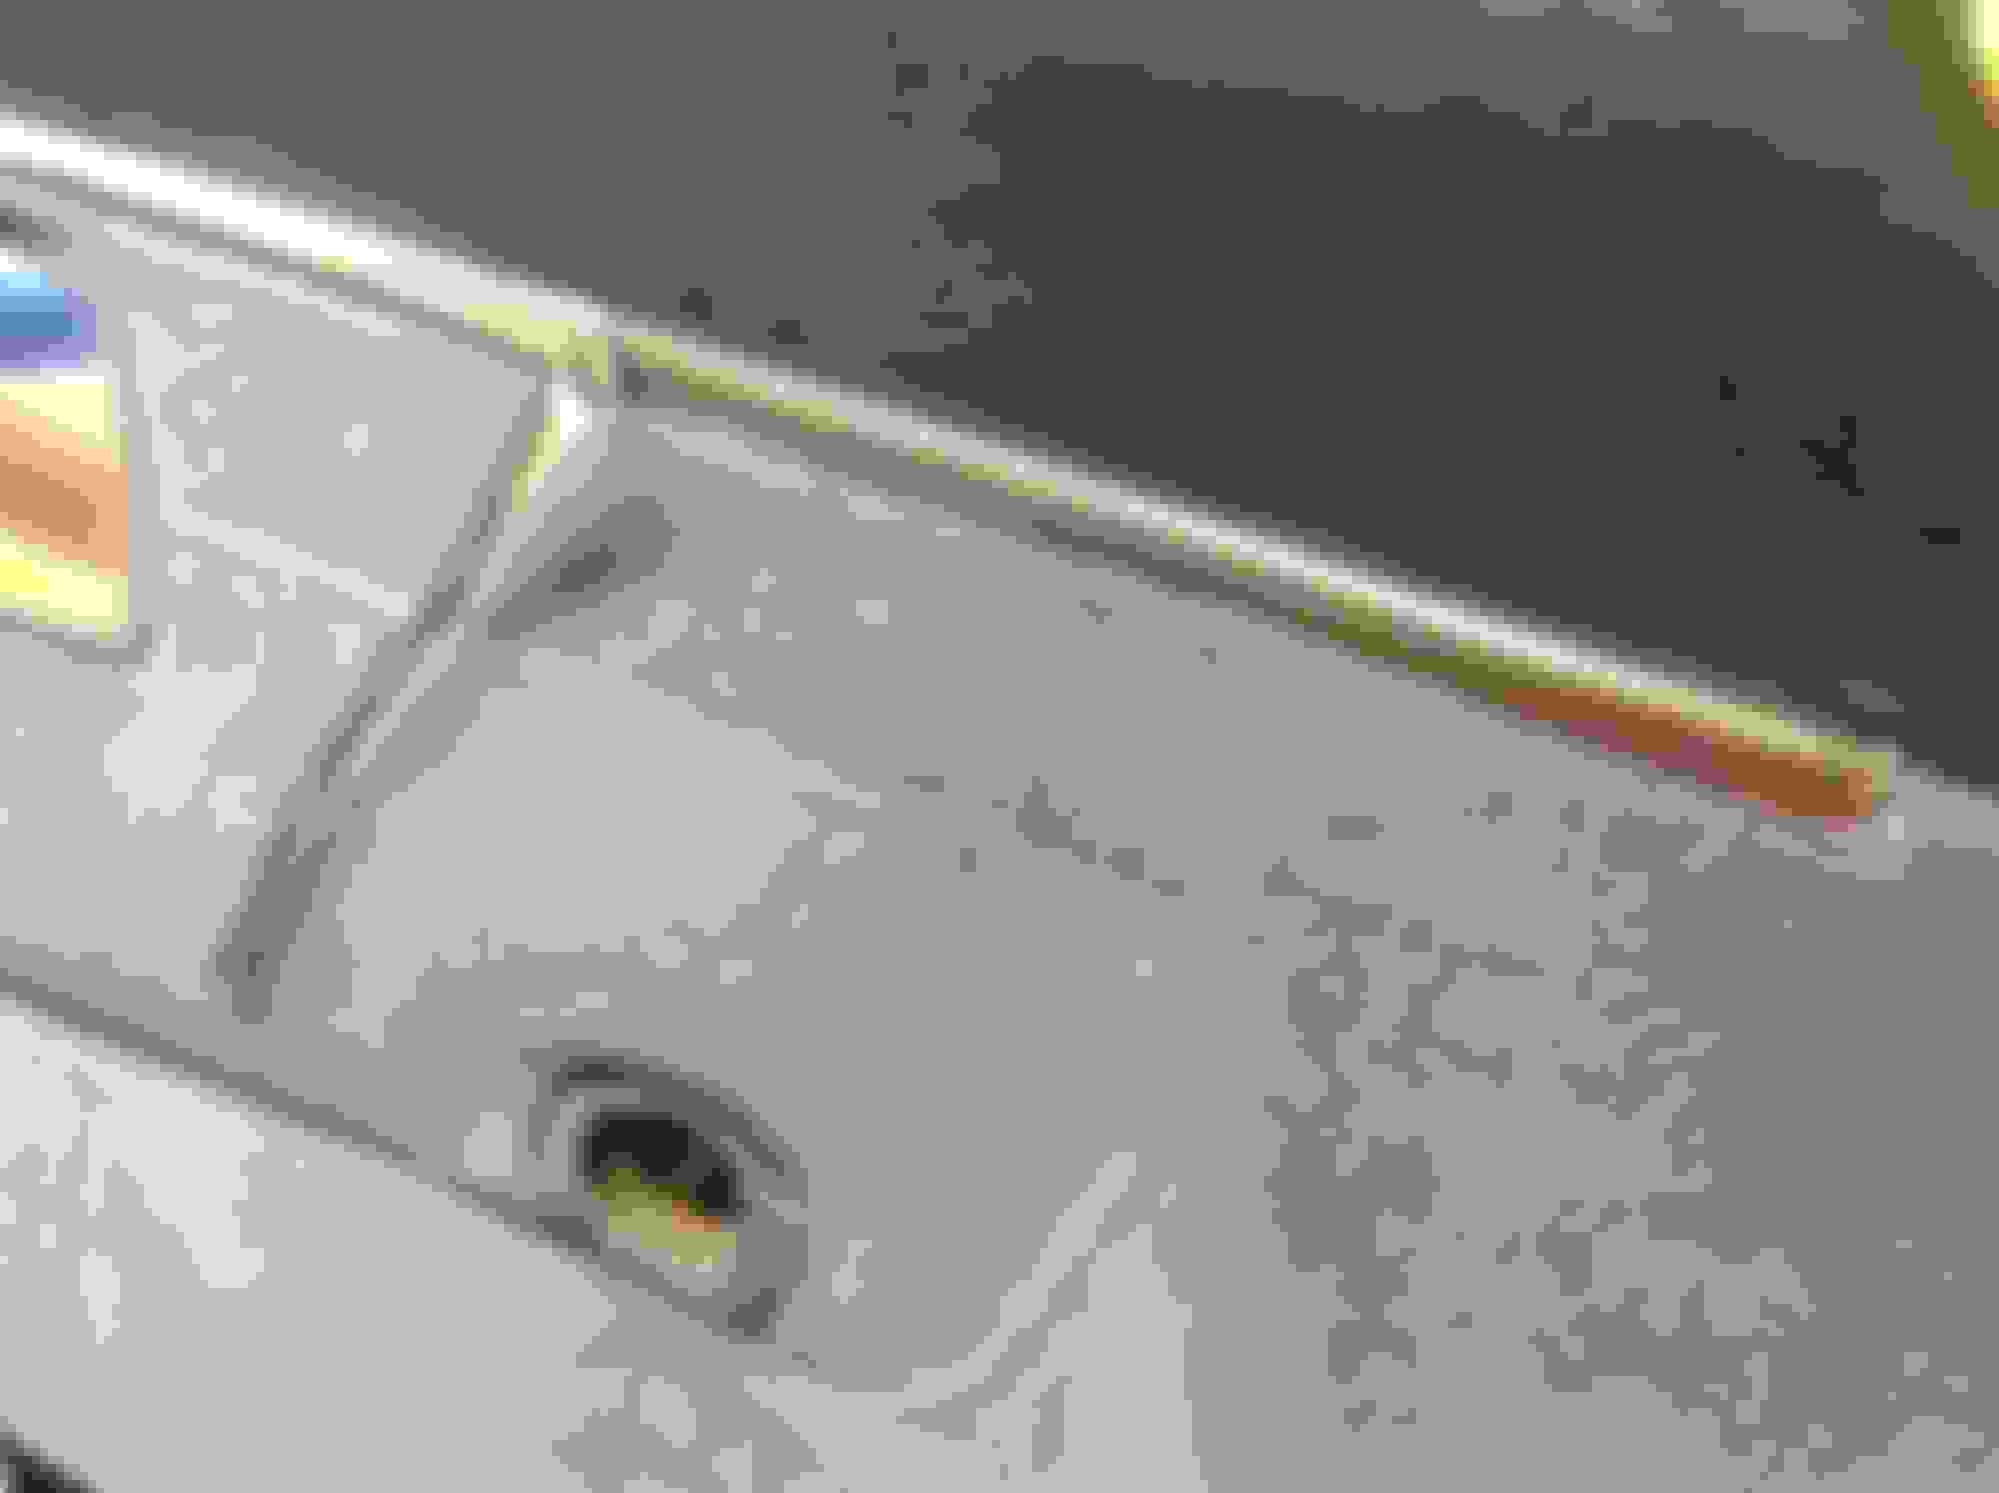
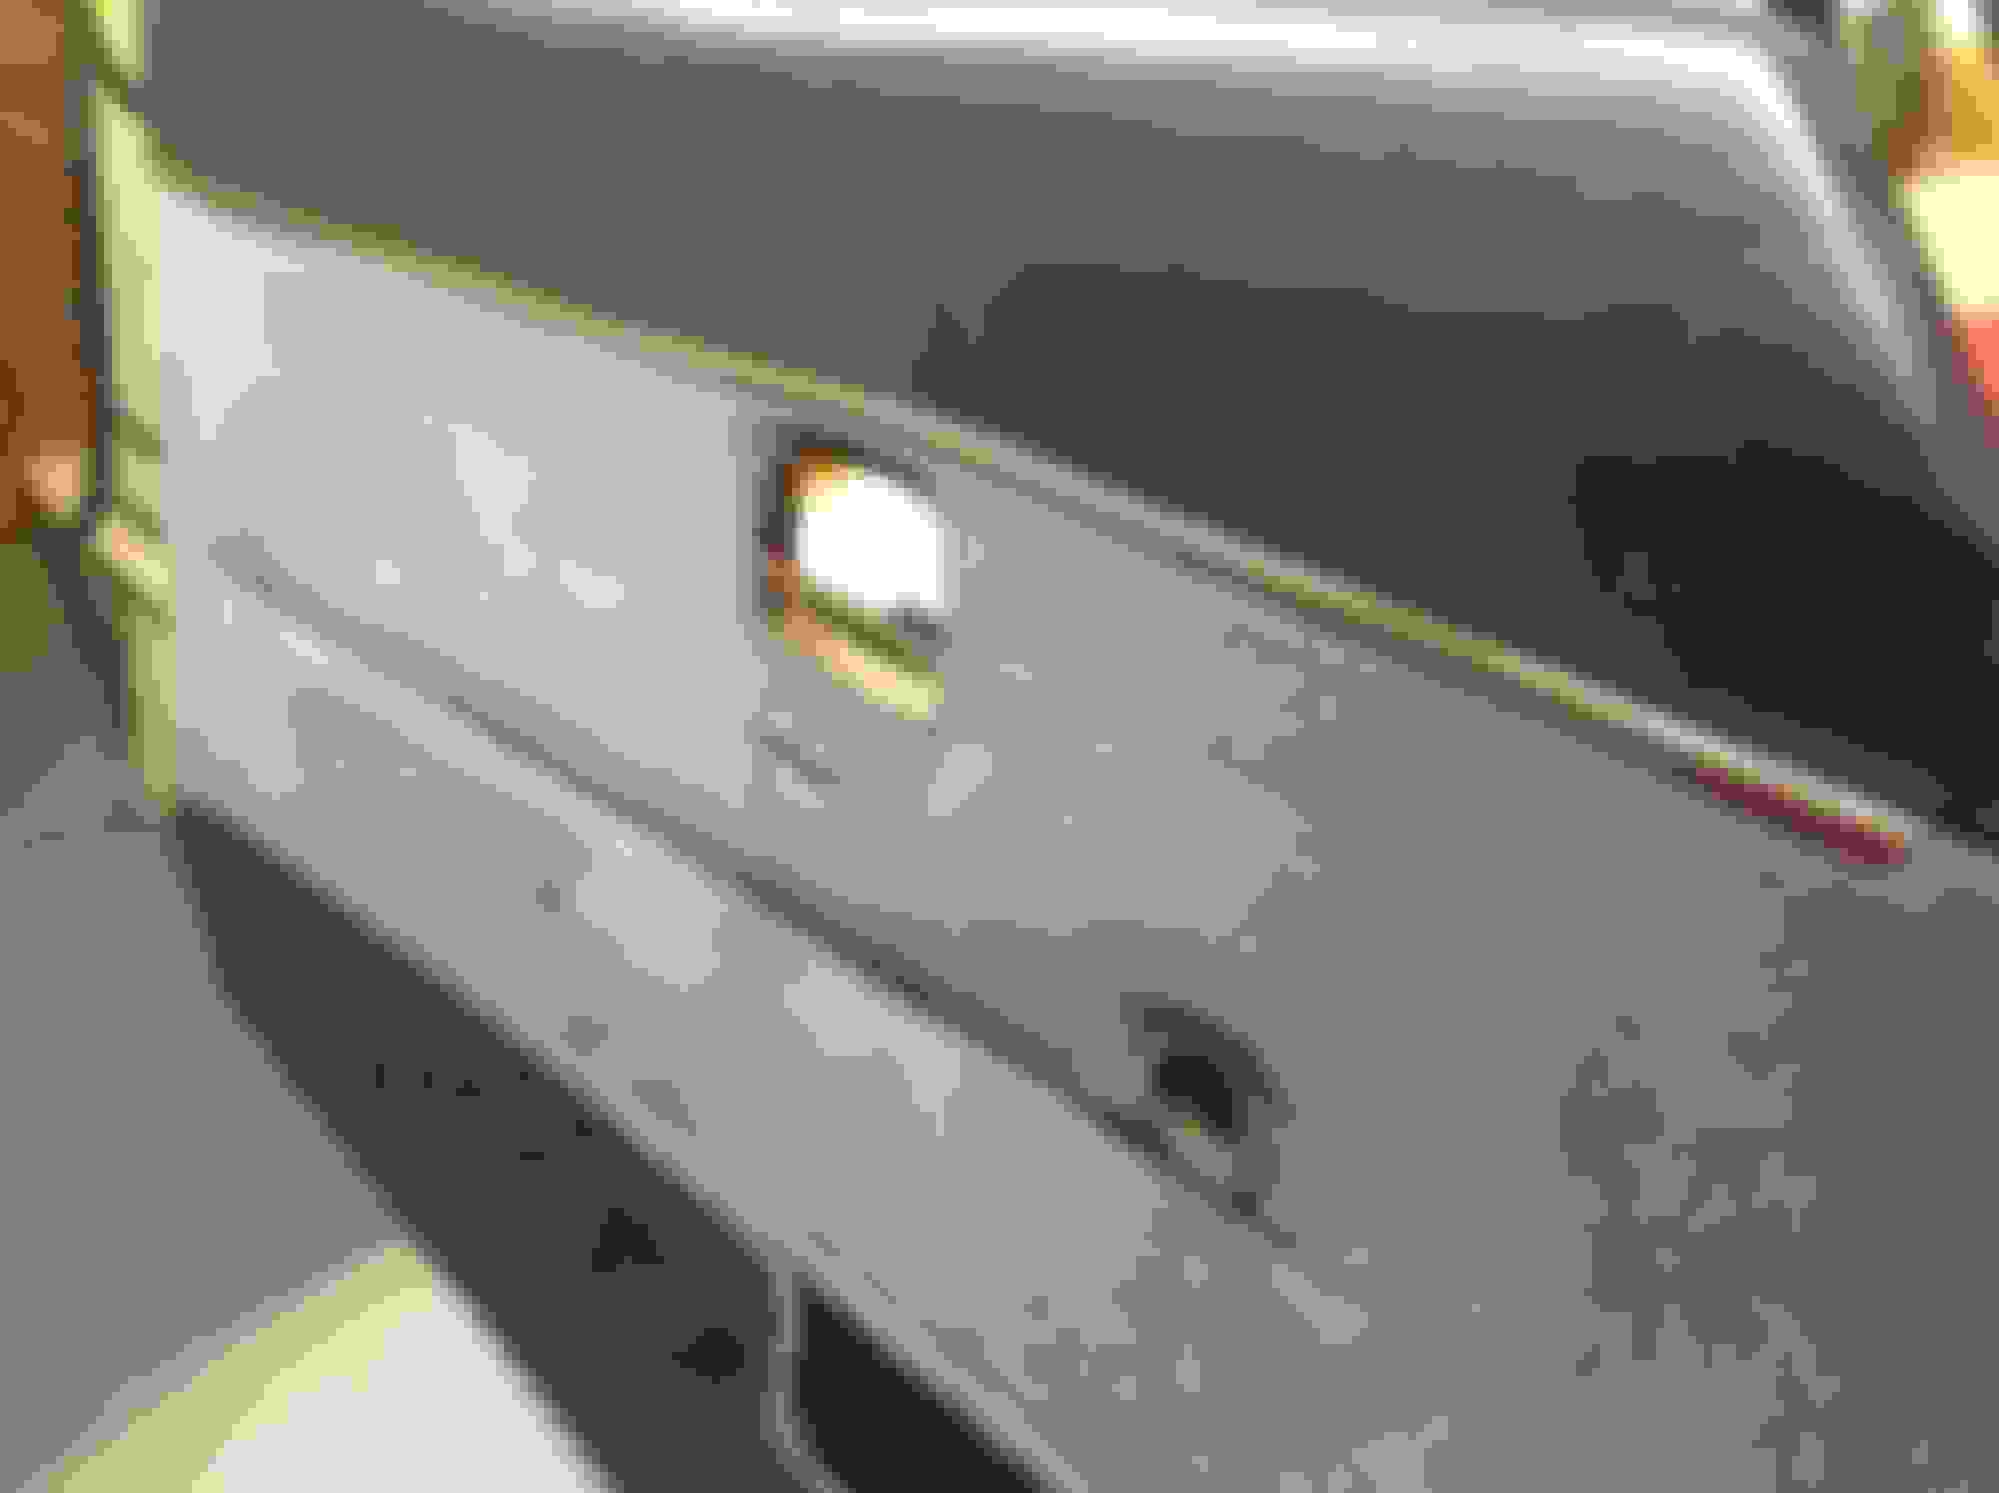
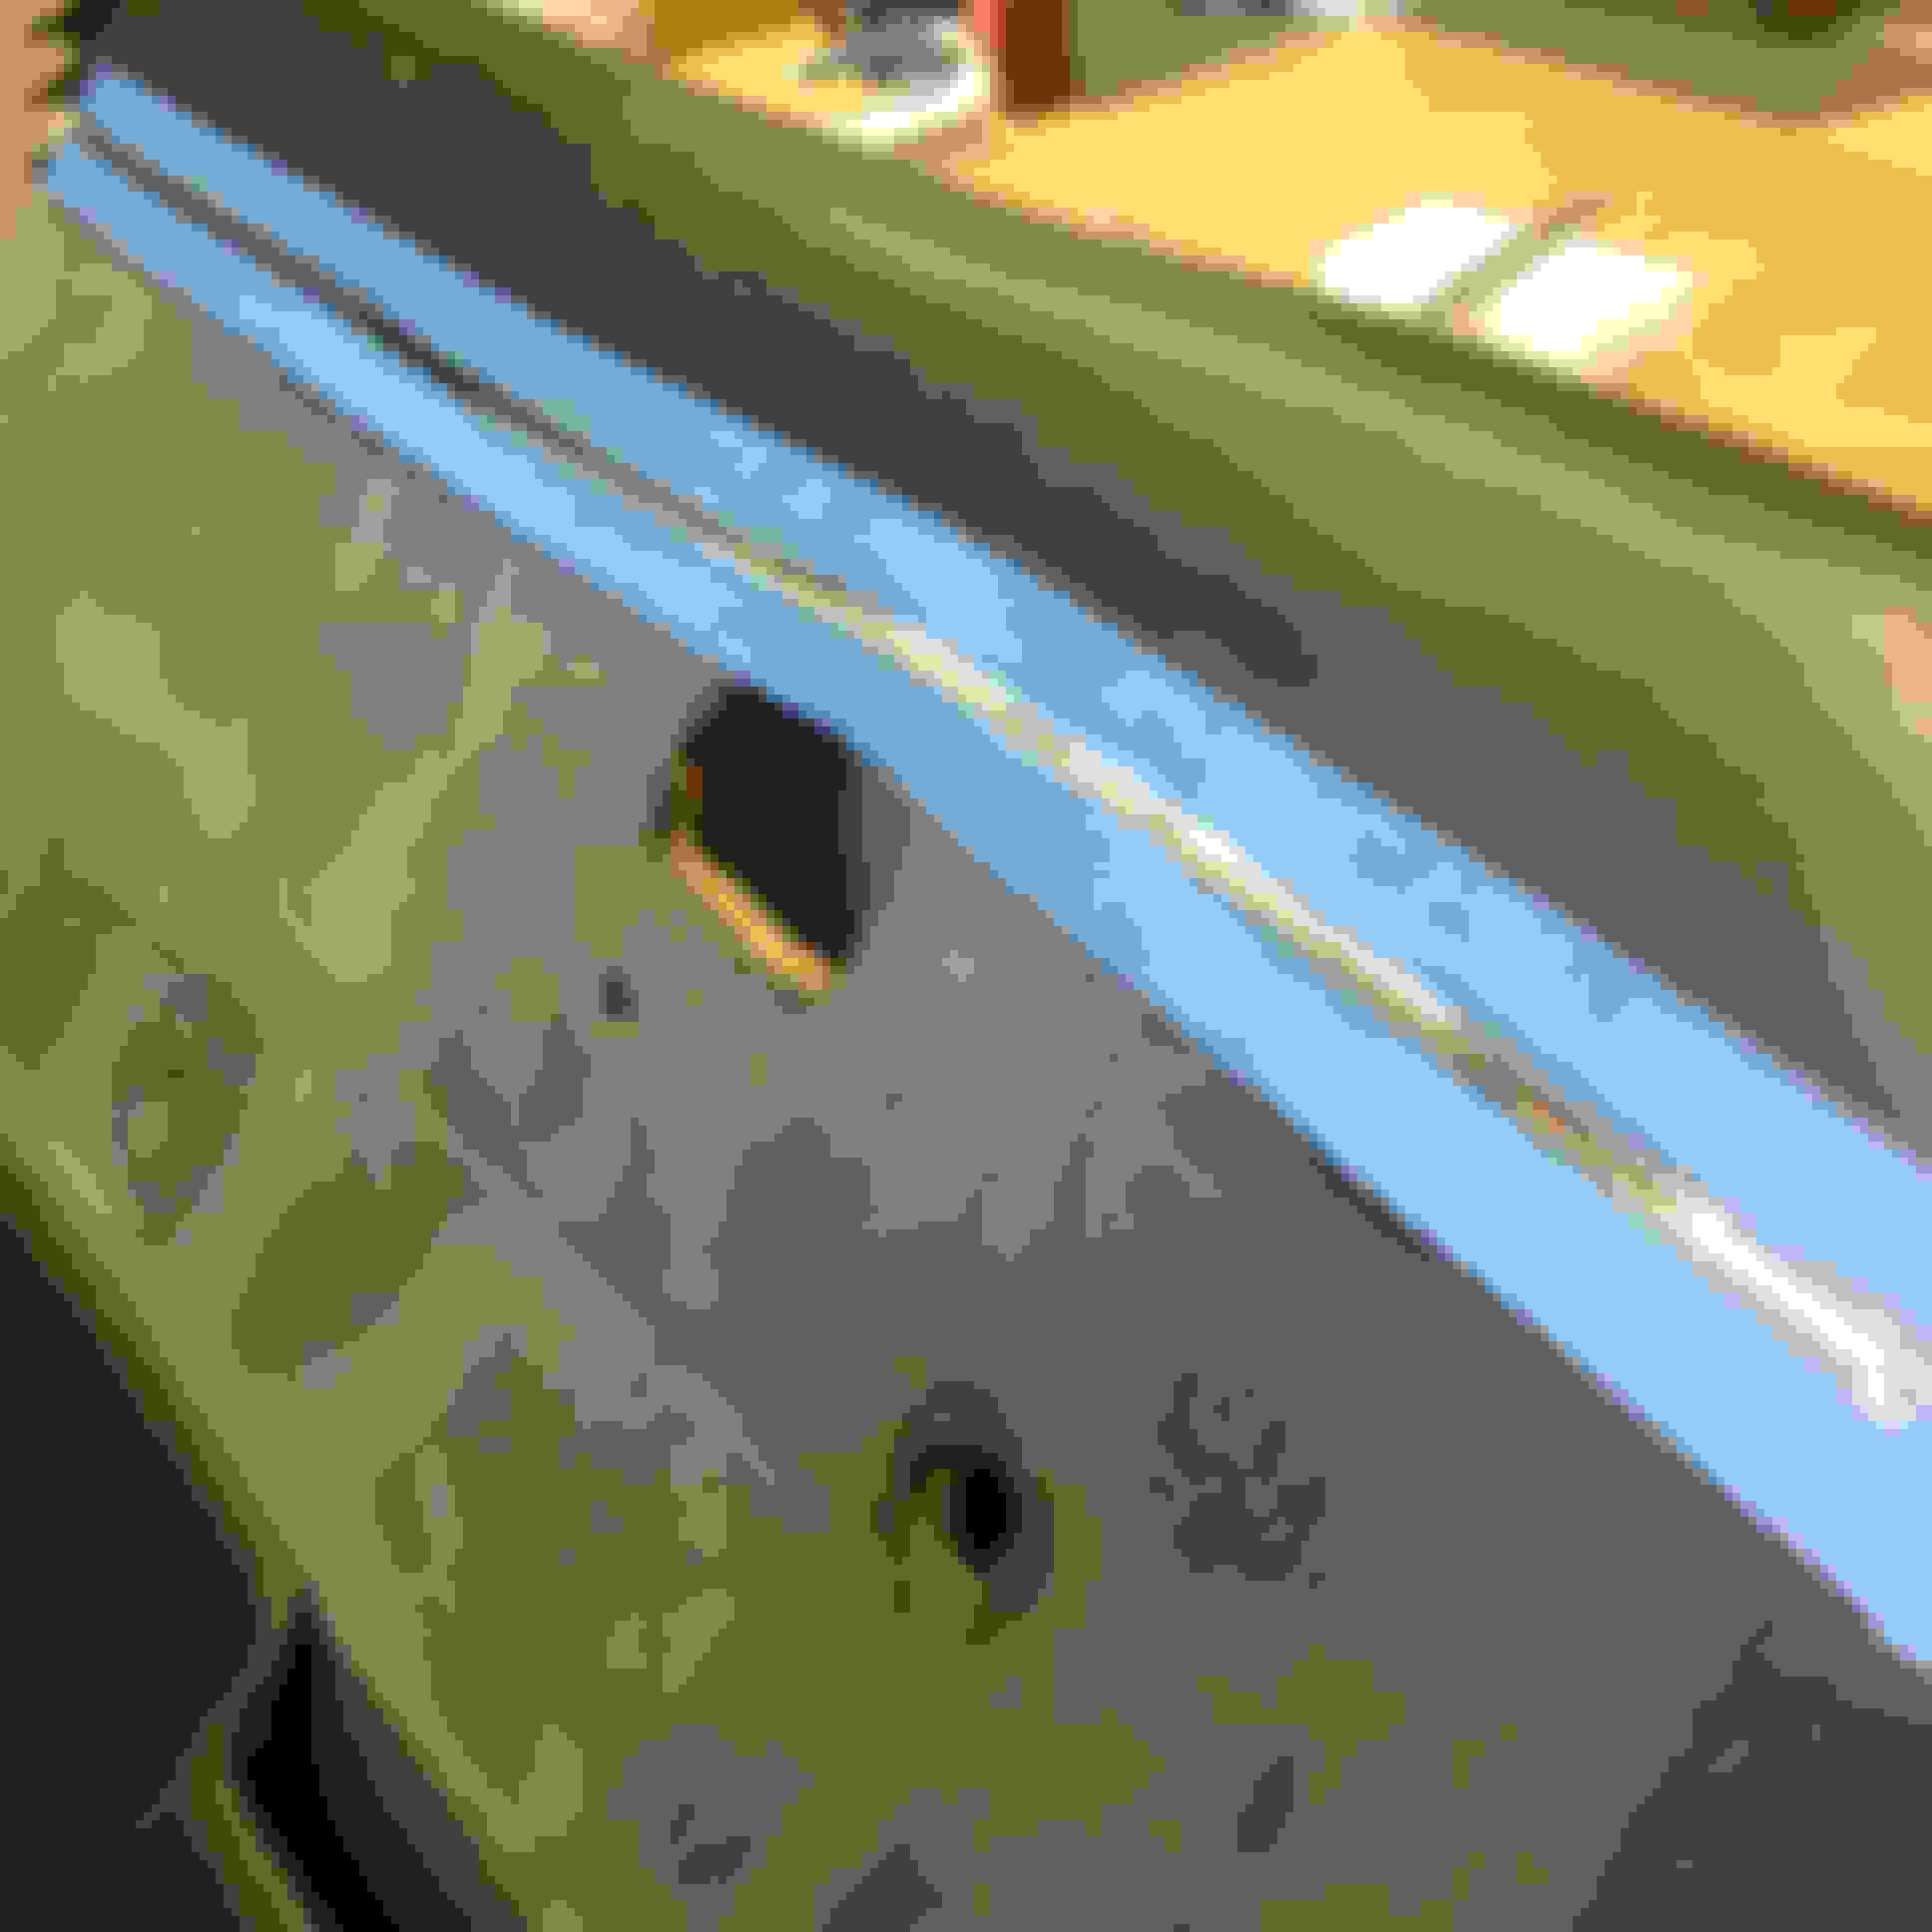
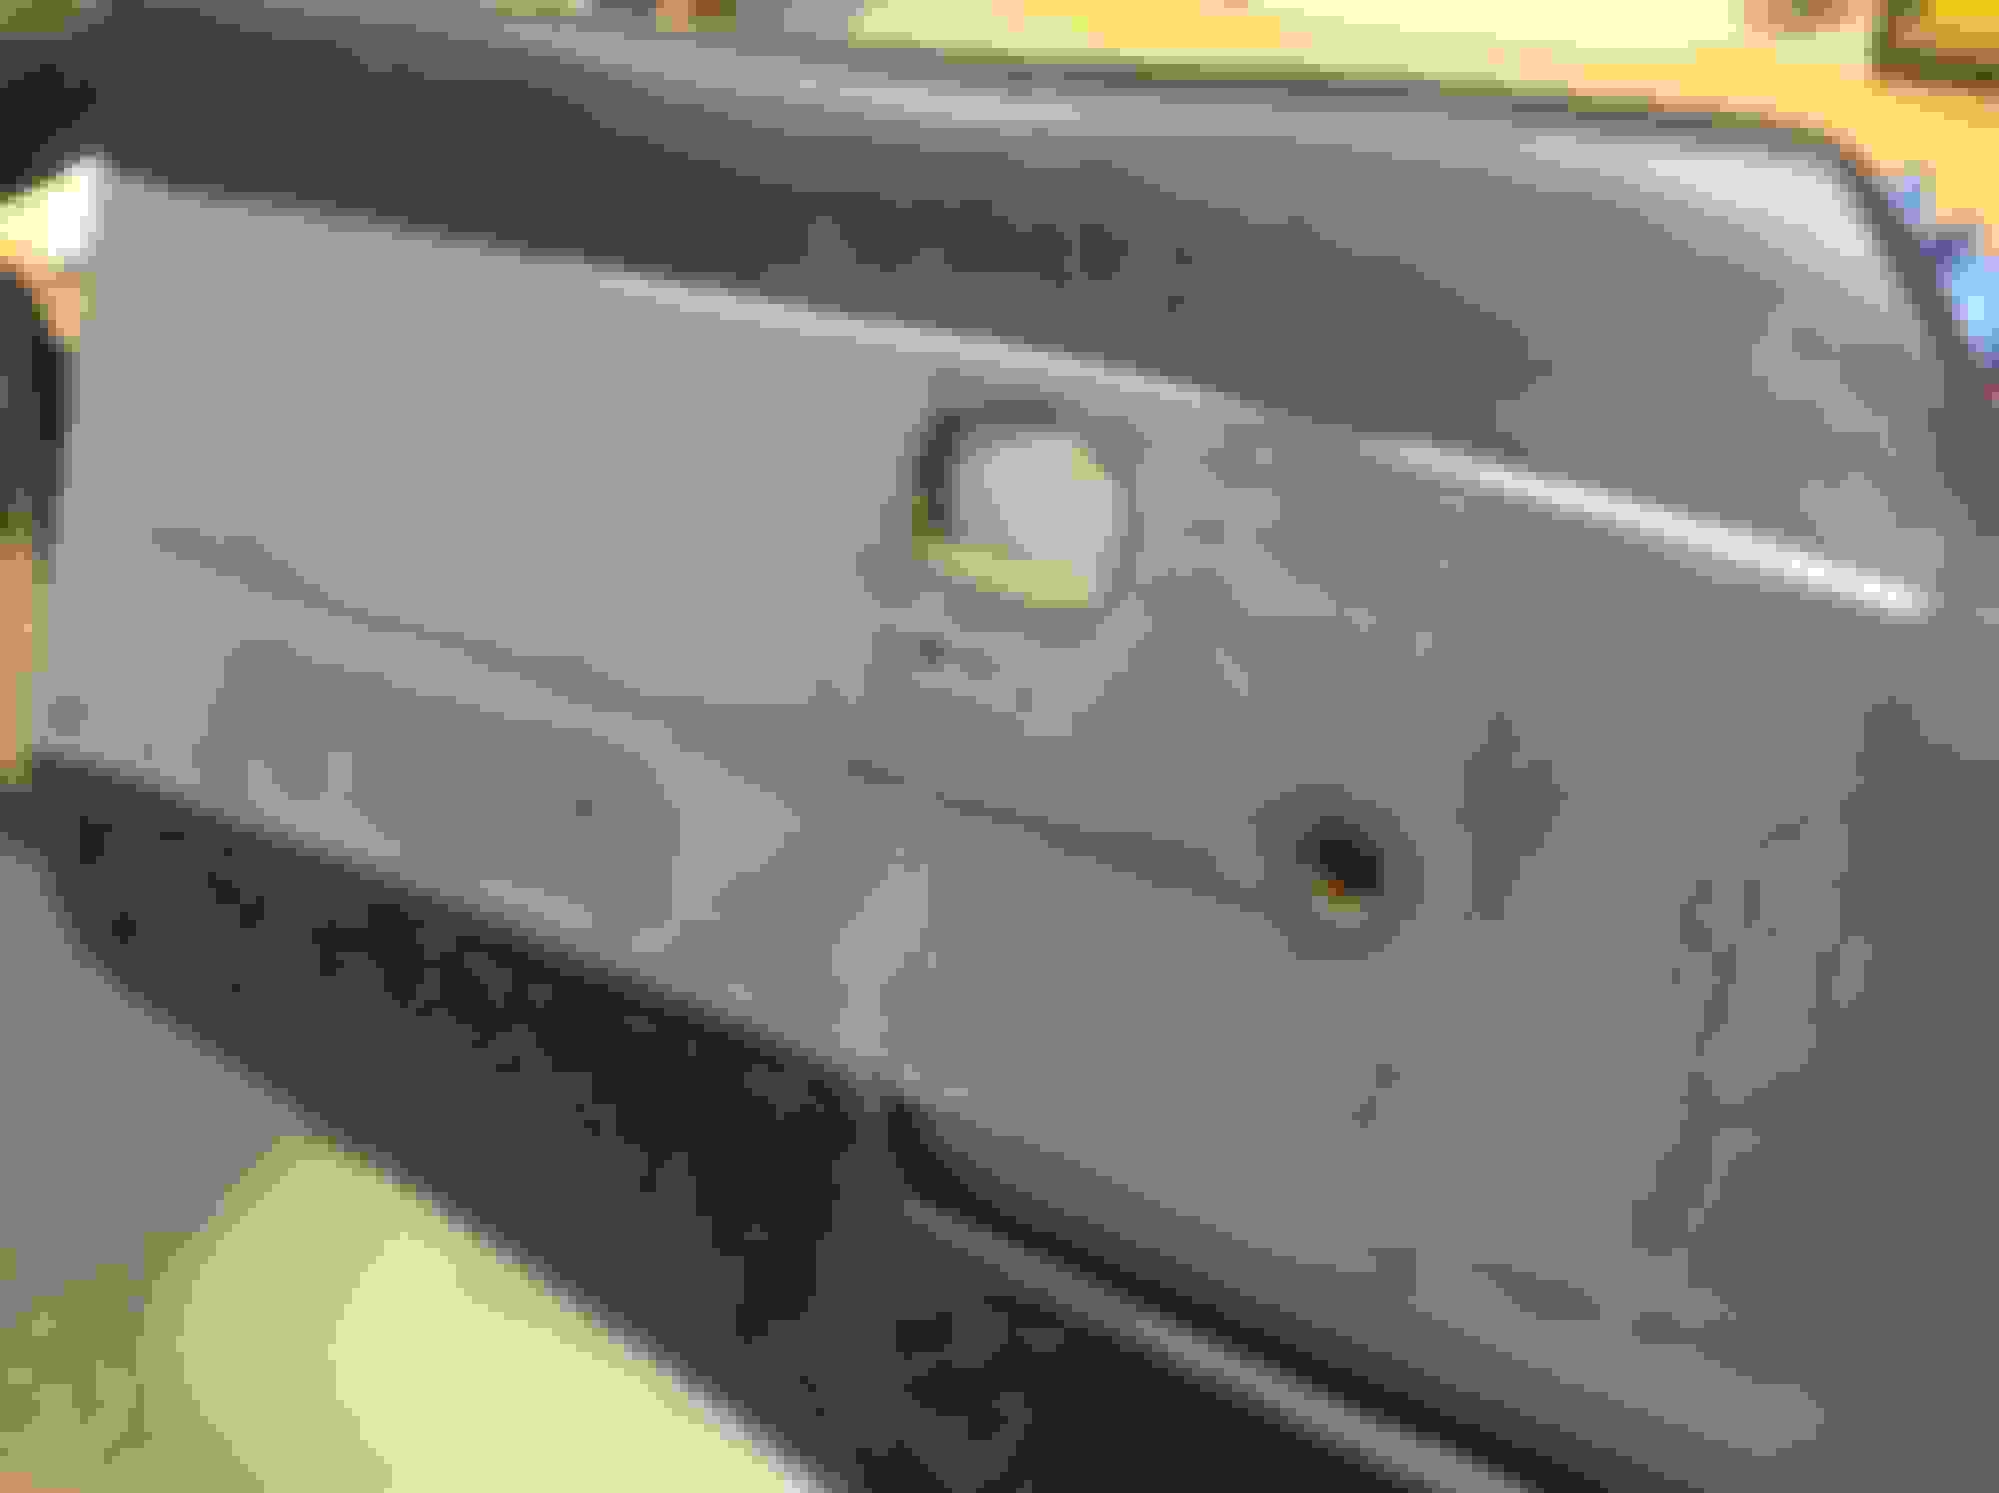
So far so good, but the door panels were my main goal here. After a little trial and error I came up with a way that worked out pretty well. I just added a little contact cement to the formula. First, the door panel as is, parts of the chrome gone and peeling off.
The stripped door panel
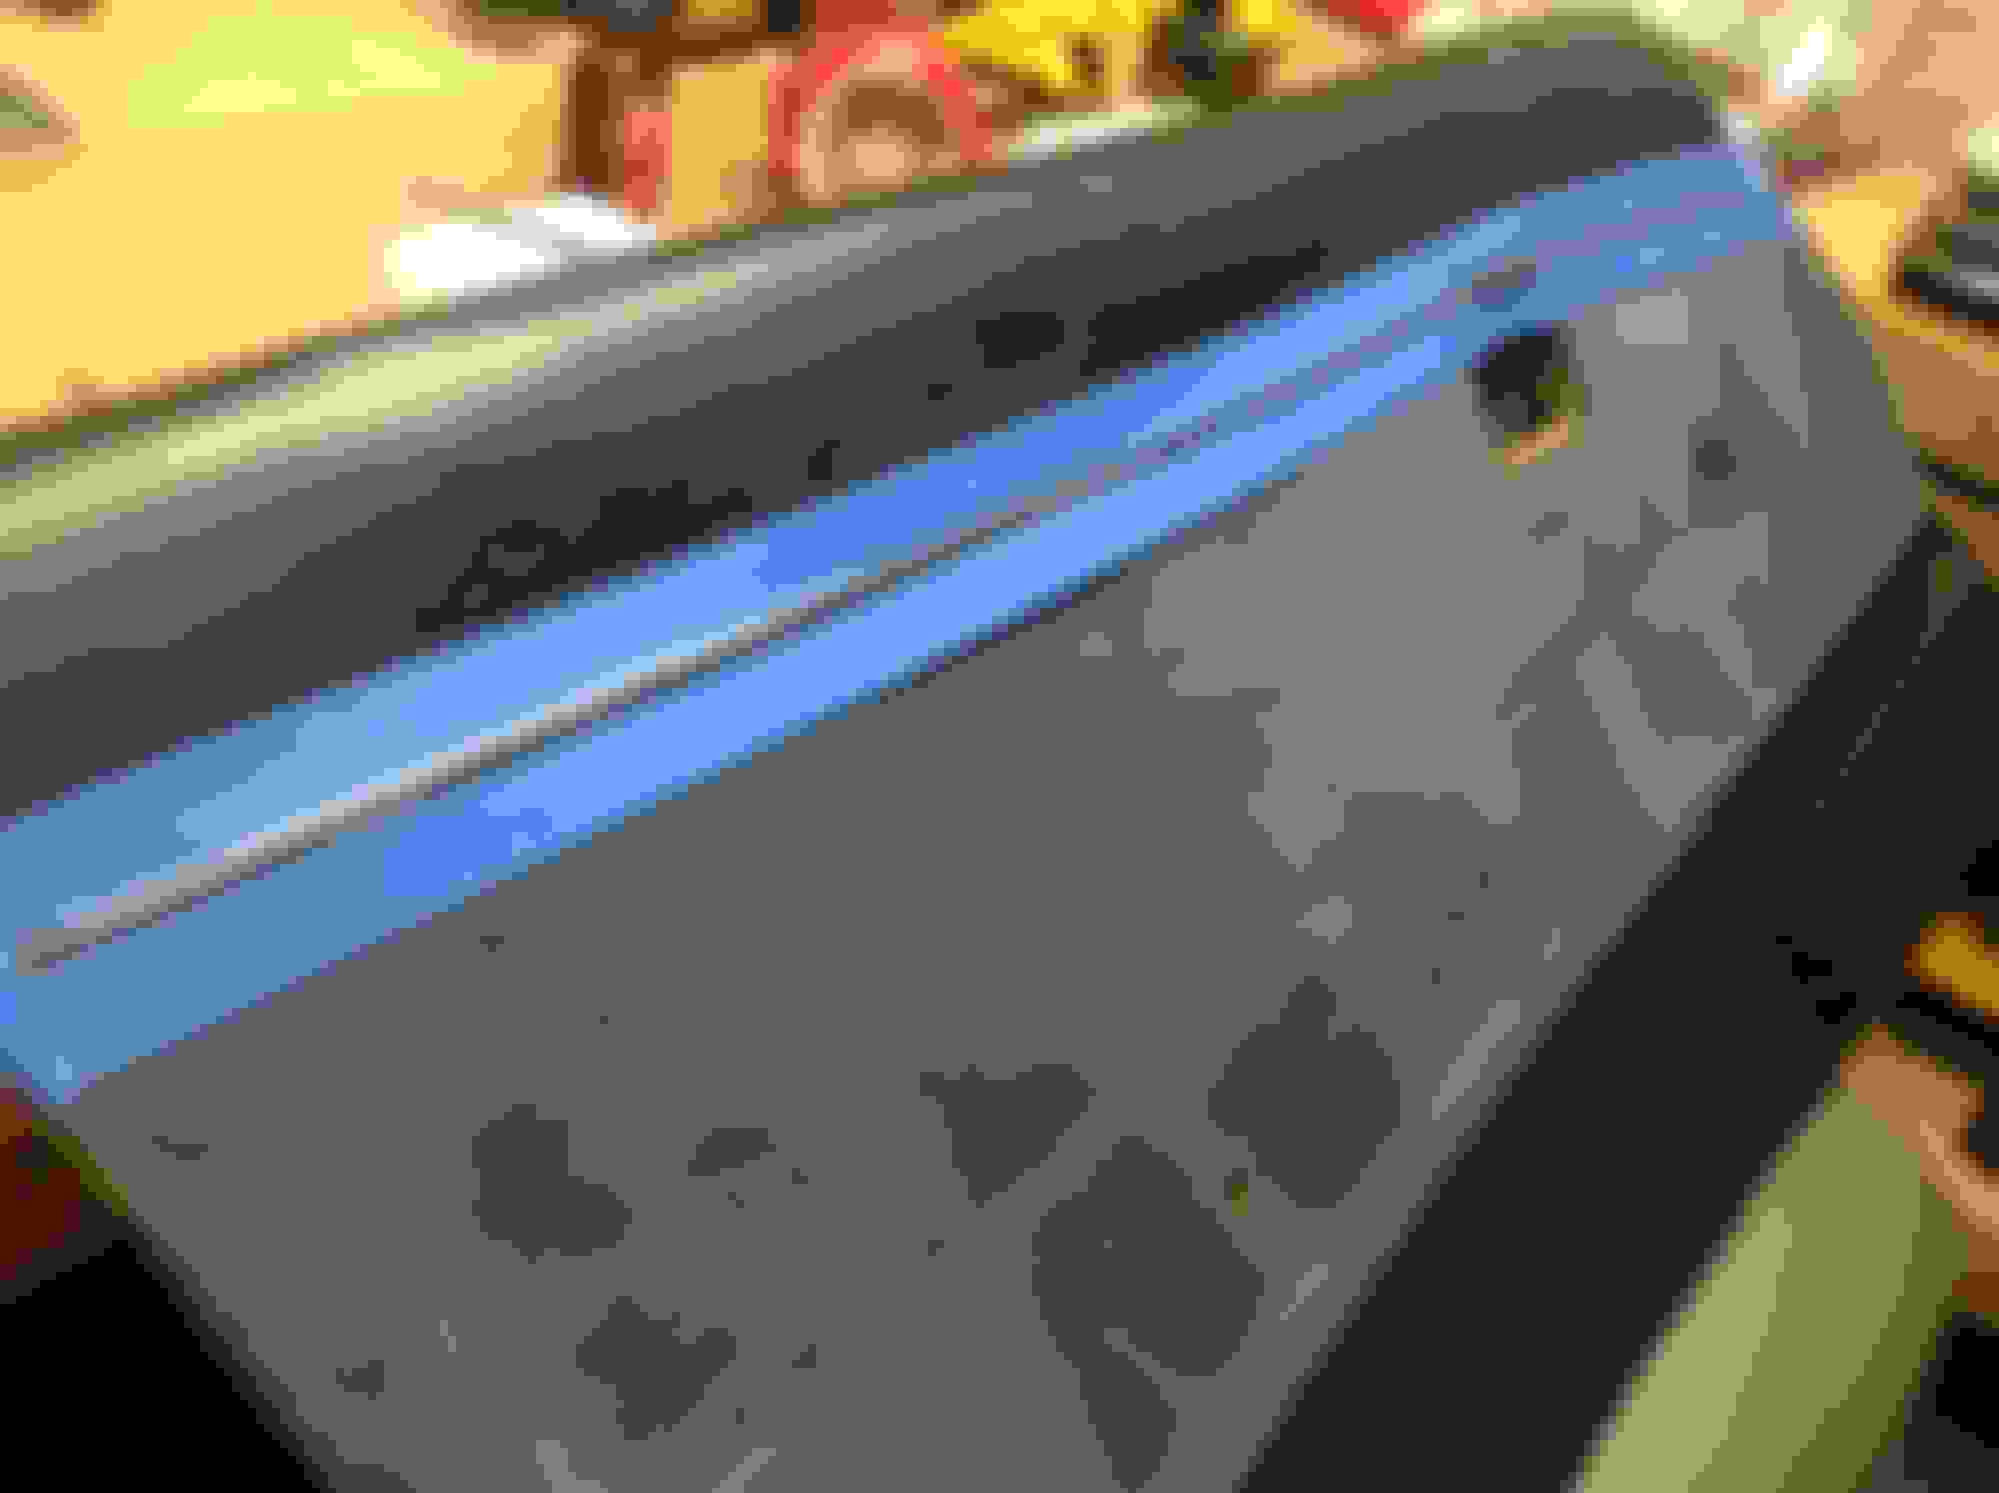
Painters tape applied for glue protection
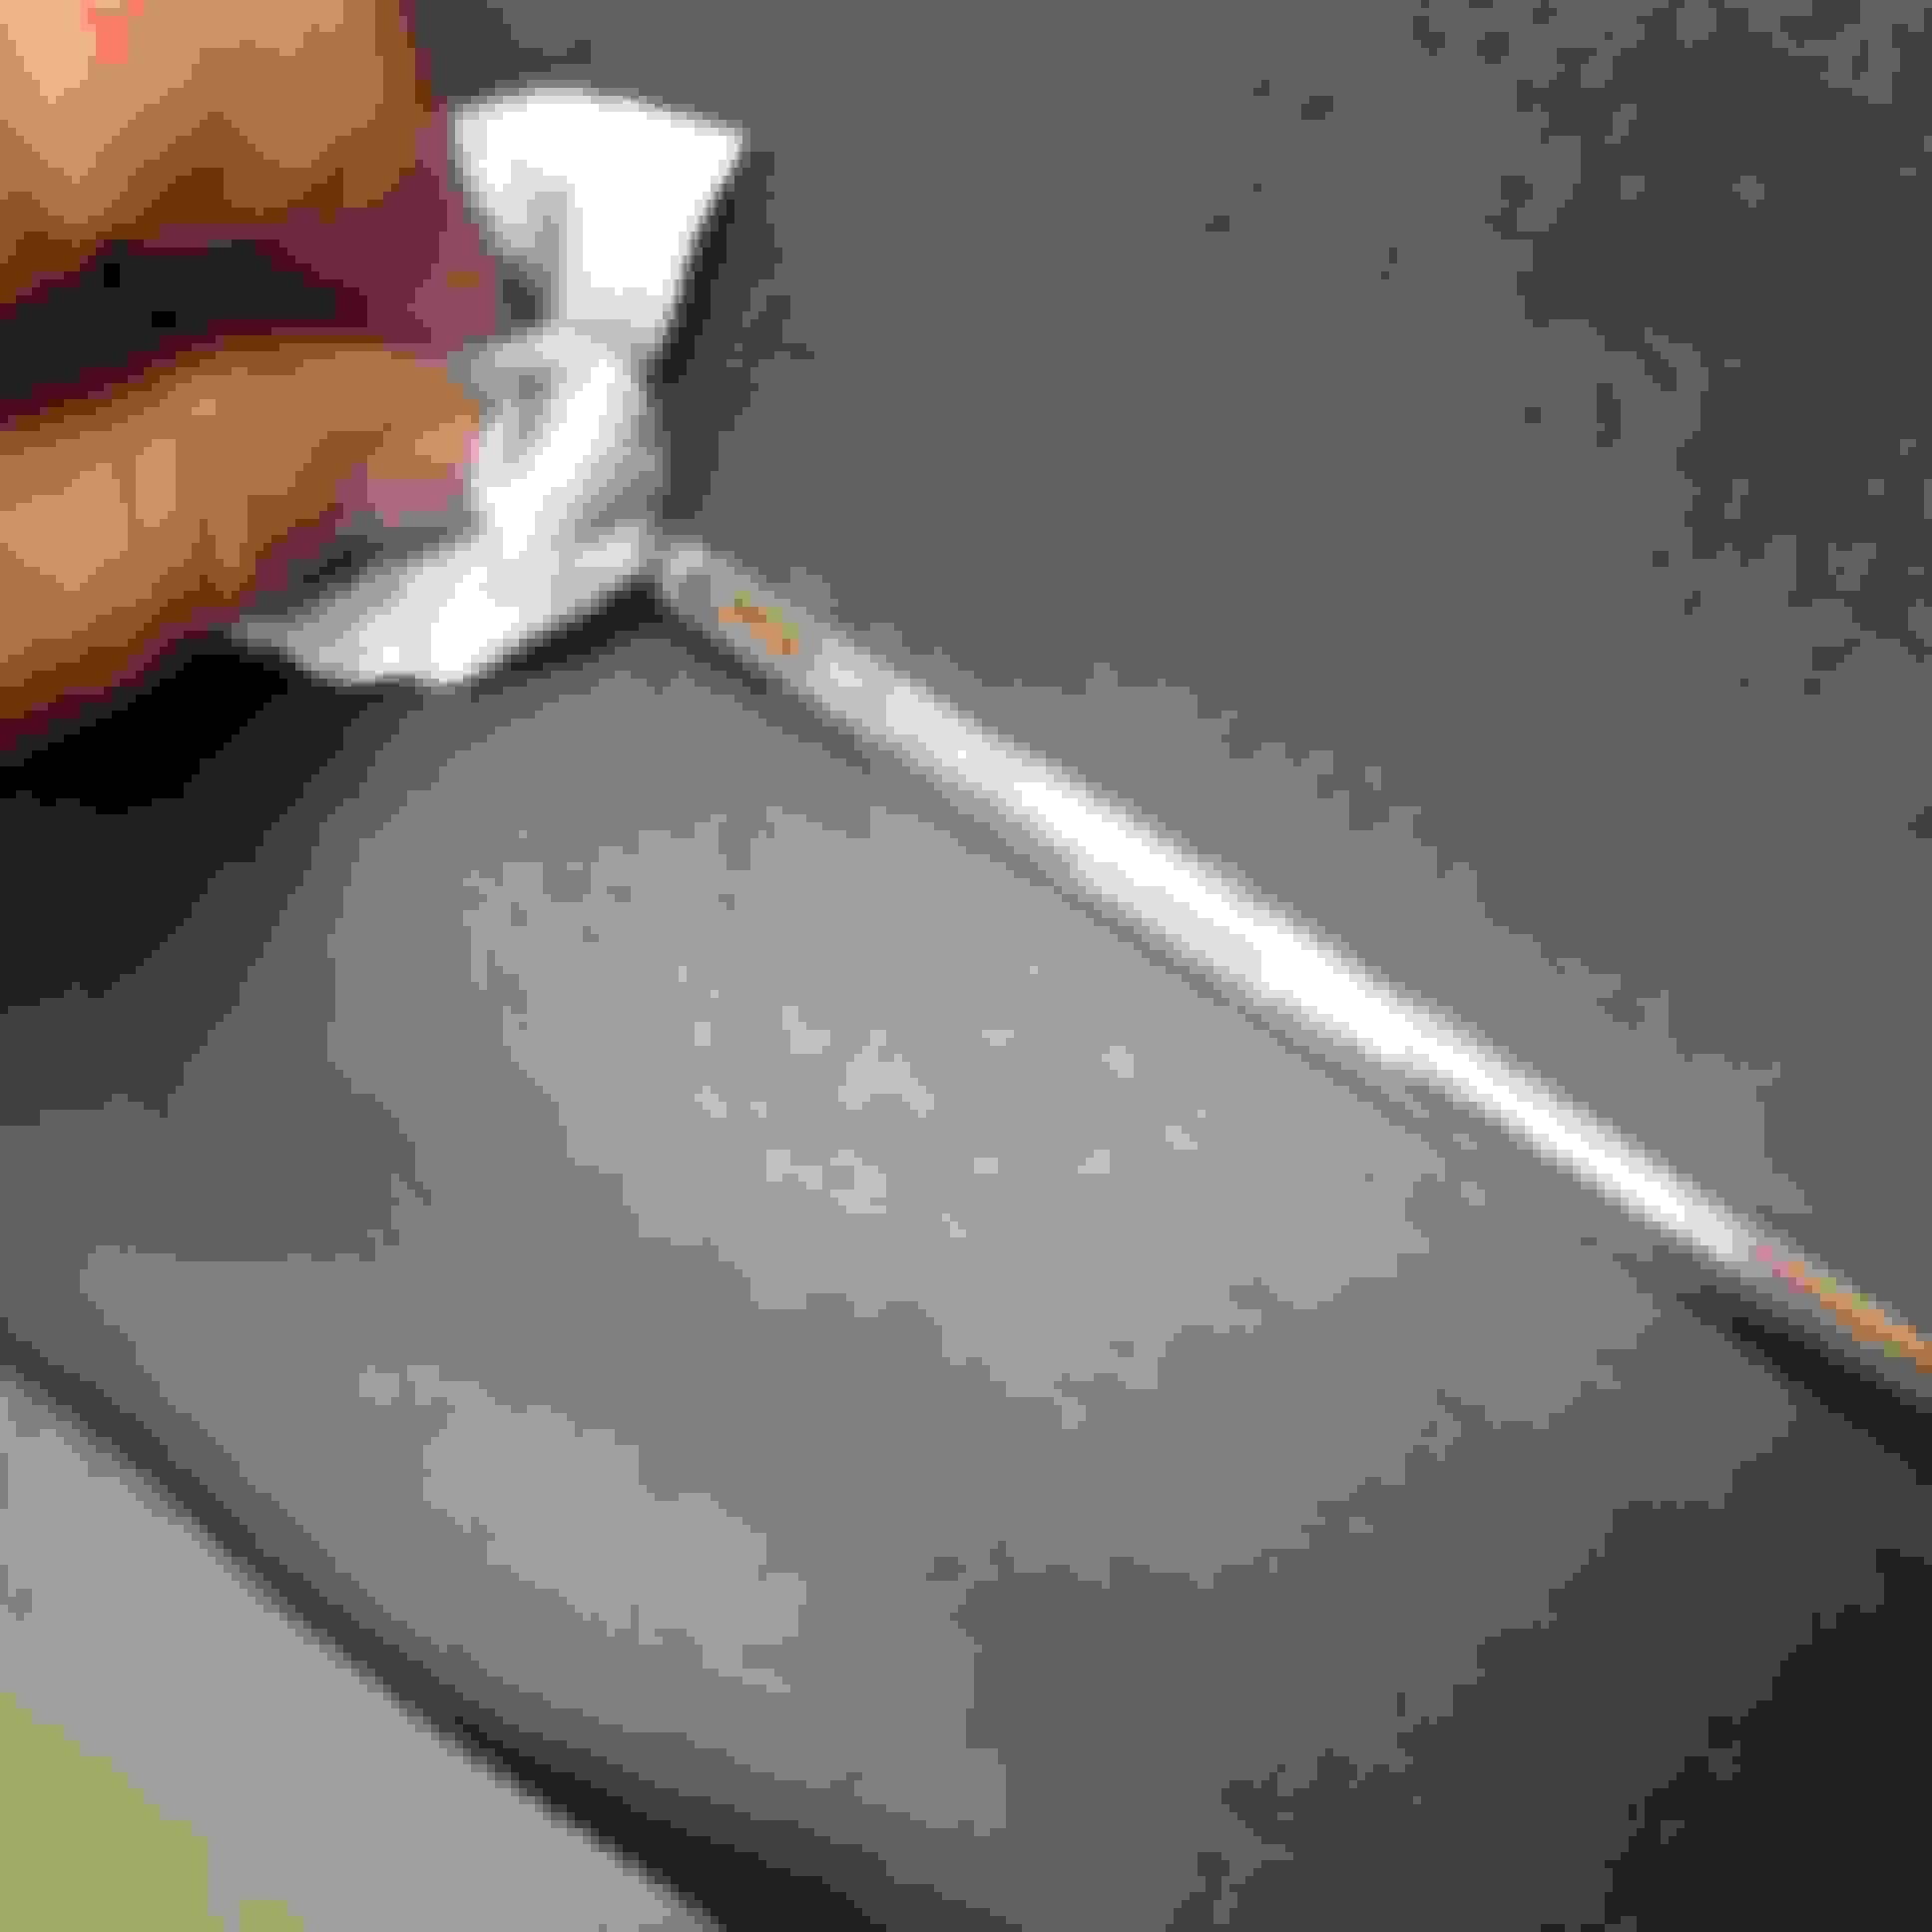
The right amount of contact cement is key here. Just enough to help, not so much as to make a big mess later
Start with one end and go in the direction you are most comfortable. Again, I use the top edge to align to. Lay down six inches or so and rub down the edges some (but not completely)
Polish down the whole thing with a towel. A small brush works well here to remove bits of rolled up glue from the edges. (here is where the right amount of glue pay off with a happy ending)
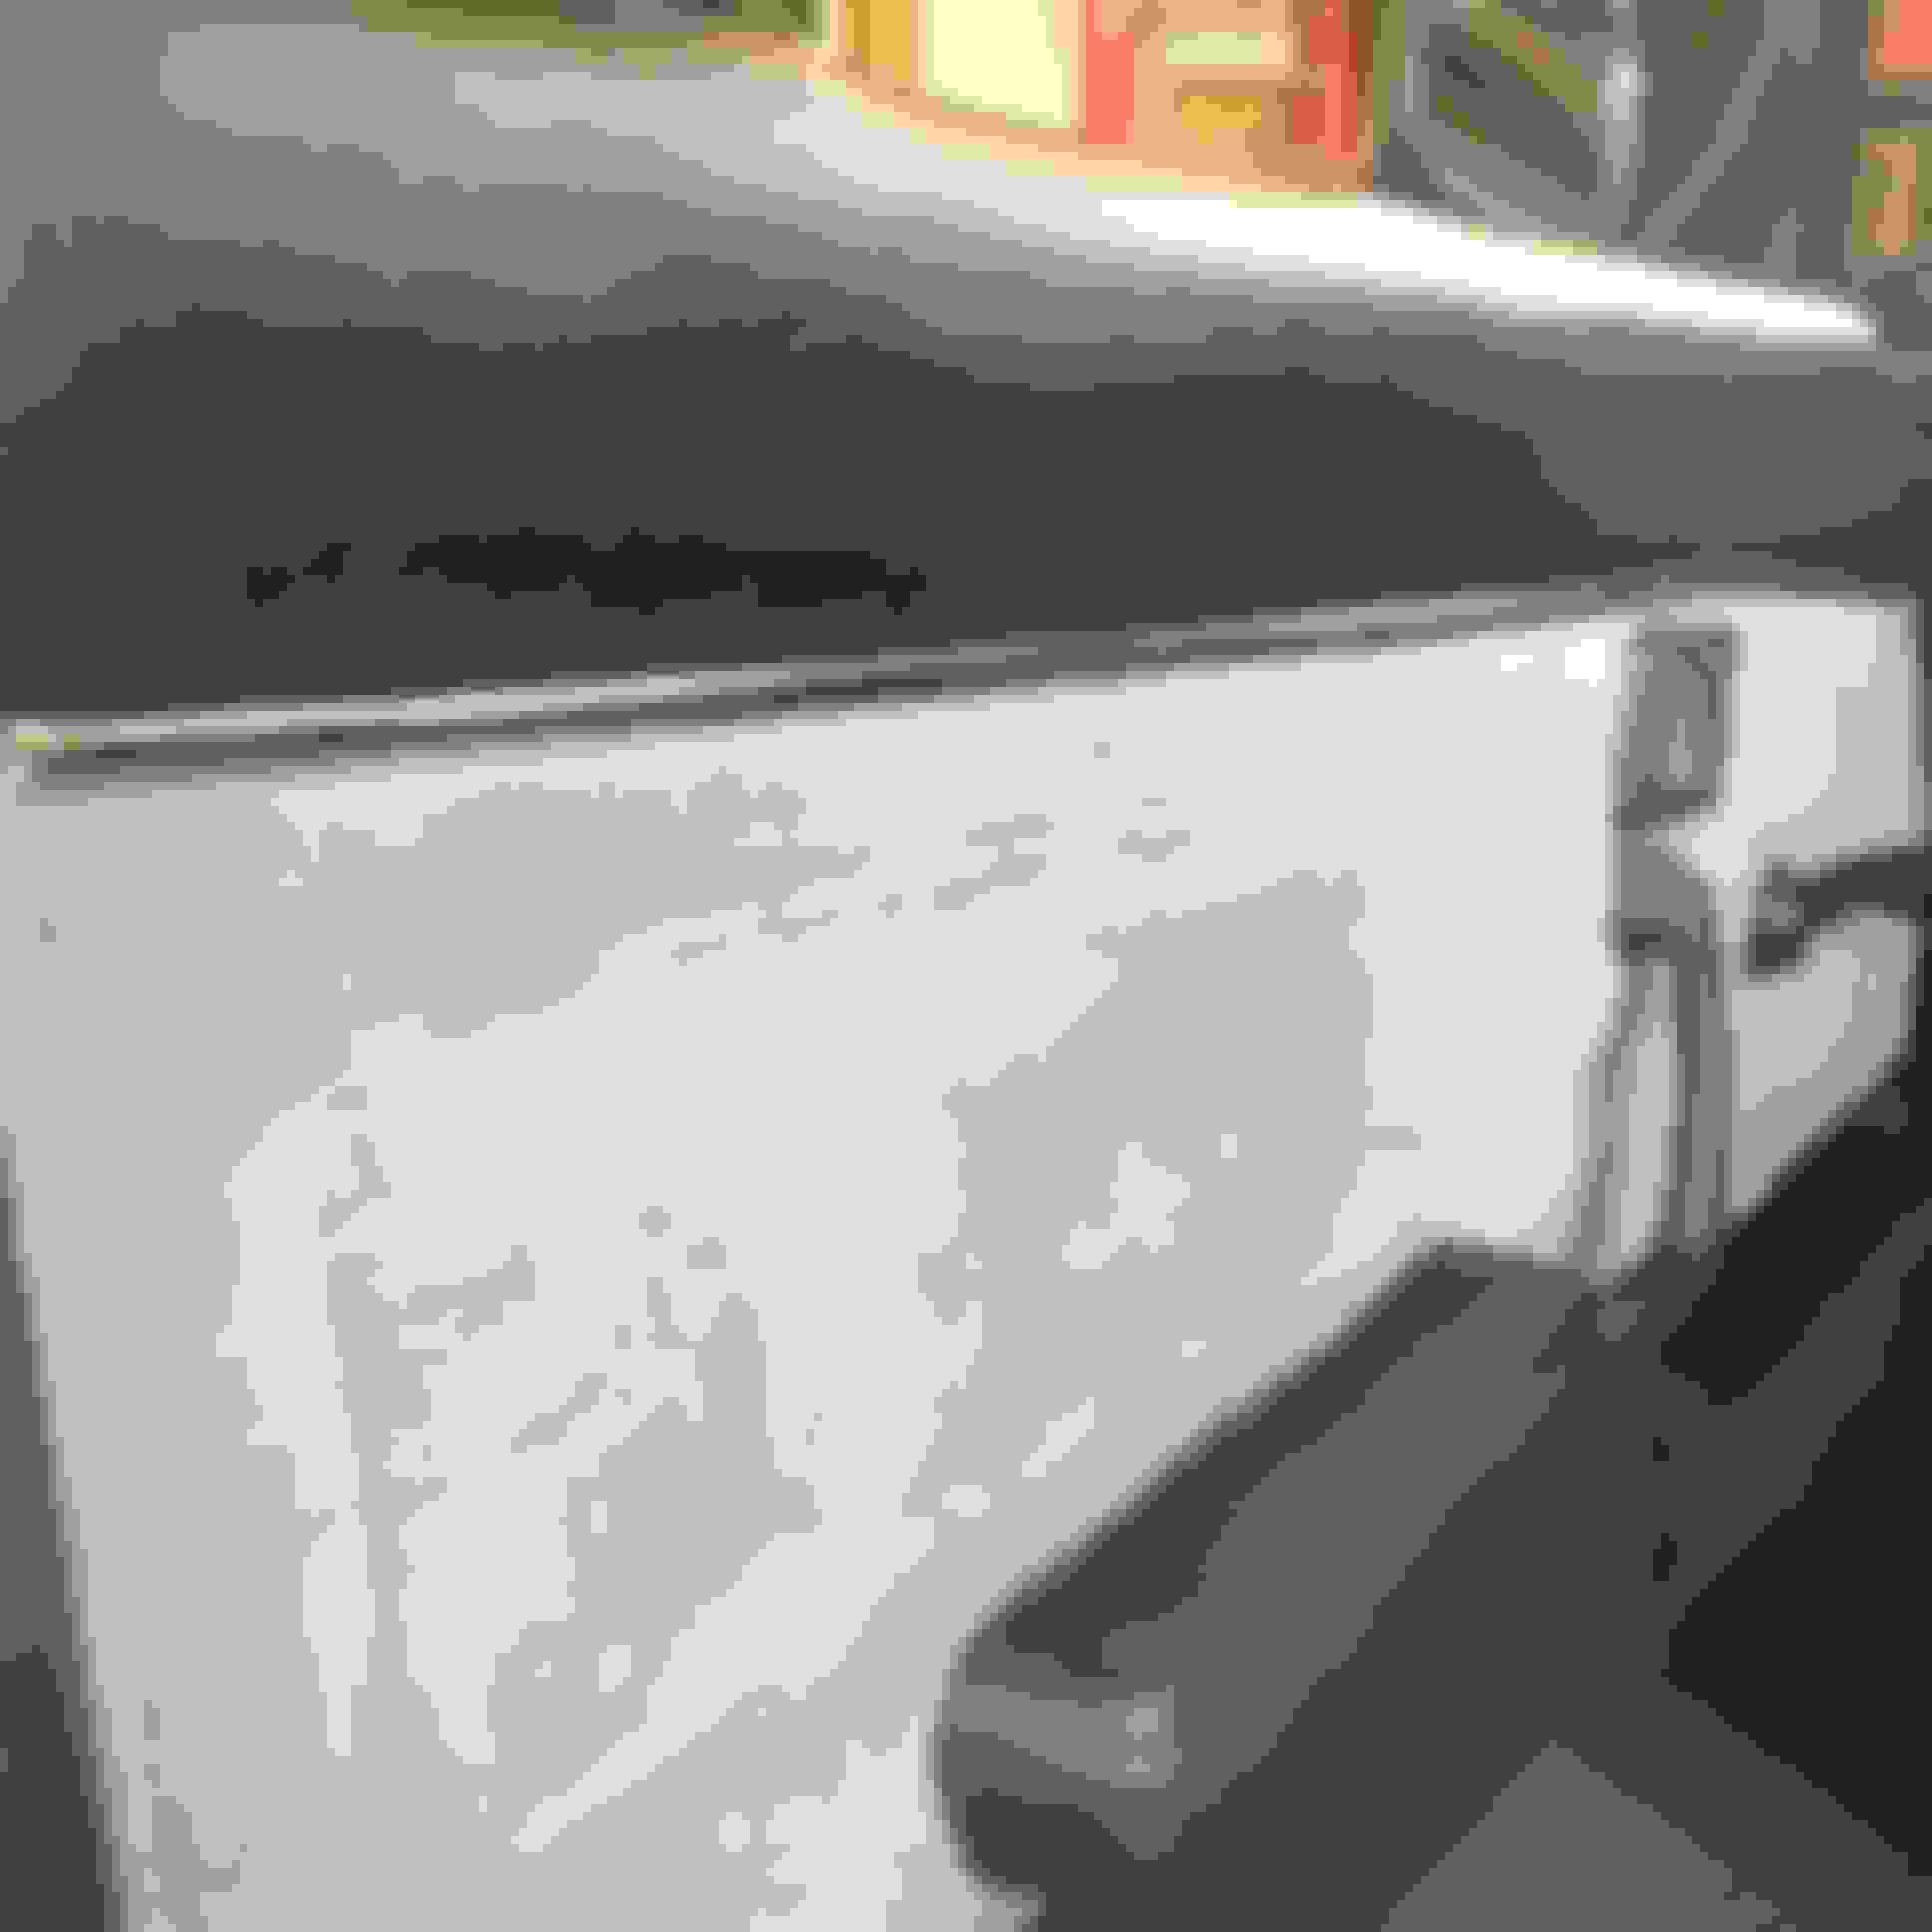
The finished panel
And installed. Time to sit back with a beer and admire you work.
This could be done without even taking the door panel off. Start to finish, it should only take 20 minutes or less once you have everything ready and the pieces cut. The best fixes are usually the simple ones and my goal was help others with a way to restore your own door panels and trim. Just remember, first the fix, then the beer�..
Nice work. I was wondering if that wrap stuff would work after seeing some cars at the local C&C.
My problem is not the strips, its the small chrome ends on the 80 SA GS models that sit at the
top of the armrest where it is bolted to the door. Mine are crumbling apart and I need to find
replacements or make them whole and recover them.
I'm thinking this just may be the ticket, short of reproducing the part with a 3d printer or mold
like DivenDriver did sometime back. Use this covering and glue the parts into a cohesive whole
and cover it up with new chrome.
So what kind of chrome wrap is it? Name or model or anything specific. What kind of glue?
Would the 3M spray adheive work better?
Last edited by t_g_farrell; Aug 9, 2016 at 02:52 PM.
My problem is not the strips, its the small chrome ends on the 80 SA GS models that sit at the top of the armrest where it is bolted to the door. So what kind of chrome wrap is it? Name or model or anything specific. What kind of glue? Would the 3M spray adheive work better?
Thanks Tim. Yes, having an 80 I know the Unicorn trim caps at the top of the armrests. While I'd say using this method isn't impossible for those, I would predict it would possibly give you fits. Those pieces are one big compound bulbous curve! I'd think other methods might be better suited. Replicating chrome has come a long way in the scale model hobby. Check out this video:
I apologize as I did not get an actual product name. I intended to, but the shop I went to did not stock the material. I got the impression that they are more of a sign printing shop and sub out the vehicle wraps. I believe they got the sample from who ever does the wrapping and didn't know many specifics about it. I'd bet it is a 3M product. I did try 3M spray adhesive first. It seemed to clump some and show through the finished result. Kind of a dimpled look.
I just used some plain old DAP brand contact cement I had on the workbench. (shown in the supplies pic) There probably are other glues that may apply better. I'm sure that others may find them by experimenting. I was surprised that I liked the contact cement over the spray adhesive, just as I was surprised that it worked better on the plastic dash pieces with no glue at all. Plus, I only used the heat gun in a couple areas, then as a finishing thing mostly I think to make me feel better.
First step to the trim caps is to get then reproduced. From there you can tackle the finishing.
Excellent work! And thanks for sharing. I've seen other people attempt to restore the same chrome striping on RX-3s and found those tapes to be useless. This guy also resorted to the chrome vinyl wrap but got the professional to install it for him:
Looks like that is a good easily accessible long term solution.
That said, the user "gypsy" on Ausrotary, who is one of our restoration gurus, managed to repair using aviation aluminium tape his brother managed to get hold of while working for Qantas: AusRotary.com ? View topic - RX-3 Restoration information
Thanks for the post and video. It makes an excellent addition to the topic. Its interesting how different people on opposing side of the planet can come to similar conclusions. For the dash trim, I also looked at the self-adhesive trim molding once upon a time. Its made in a variety of styles but could only find something close, not an exact match. Some of the other subjects mentioned in that video look very useful as well.
That is incredible!! I'm impressed at how nice of a job you did! It inspires me to do the same on my 80. I was just thinking the other day how I could restore the chrome on the shifter surround. This could work if it were pre cut to a close to exact size in a square shape before laying it on. Better than trying four separate pieces. That would probably just look hoaky. Have you played around with the idea of doing a shifter surround yet? This thread gives me yet more hope in restoring my SA, thank you!
Have you played around with the idea of doing a shifter surround yet?
As a matter of fact Dave, it did cross my mind. I figured it would be an ultimate test of the method. (At least until Tim brought up the 80 door pull cover) I think you are right, a single piece cut close to the outside shape of the shift surround, then just slice an "X" in the middle and work it slowly from there. It might take a couple try's but I do think its possible. I even have an old one in my parts some where but didn't take the time to search it out and try it.
Originally Posted by 7aull
Gads. Now another thing I have to tinker with on My Beloved.
Thanks Stu, no pressure! This is about the best solution I've had to date. It ends up a little more glossy than OEM, but not enough to offend anyone but the most hard core restorer.
My wife is a jeweler and gets these catalogs for jewelry and model maker tools. They have very
fine foil for plating model car bumpers and things. I wonder how that would work? Might not
wear as well but may to the compound curves on the unicorn door pull caps.
Like Stu says, another project to put on the list.
I used to fly radio controlled airplanes and this thread caused me to think of the heat shrink coverings that are used to cover the airplane frames. They are self adhesive when heat is applied with a gun or an iron. The temperature necessary to activate the glue is between 215 and 240f. I'm not sure whether the plastic parts can take that kind of heat but given how hot the interior of a car gets in full sun I'd bet that they could. The material is relatively inexpensive and, with practice, can be stretched around compound curves. Check this link: