My widebody LS6 build

My widebody LS6 build
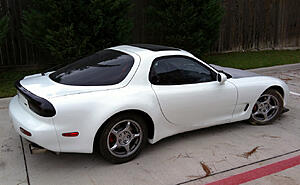
I started this project when I was 22. Im 28 now.  Here is every single picture Ive taken to date.
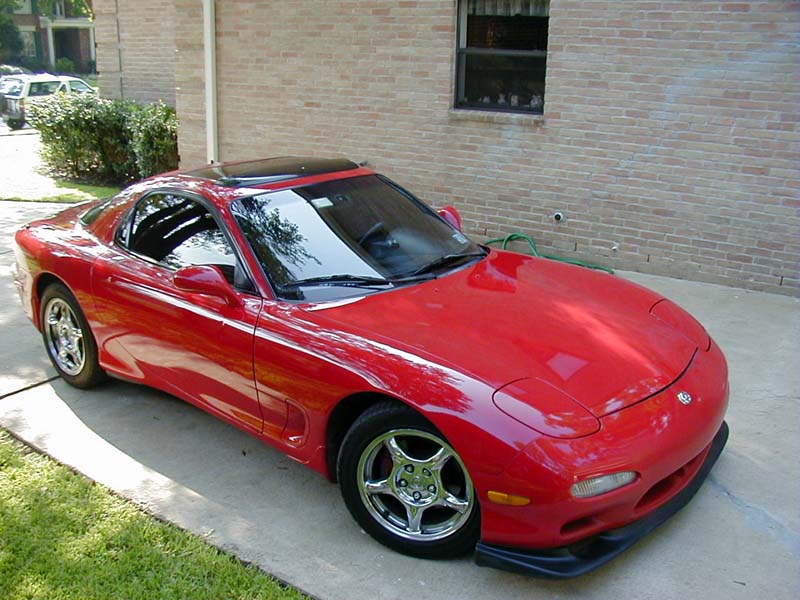
Quick backstory so you know why I started this to begin with...
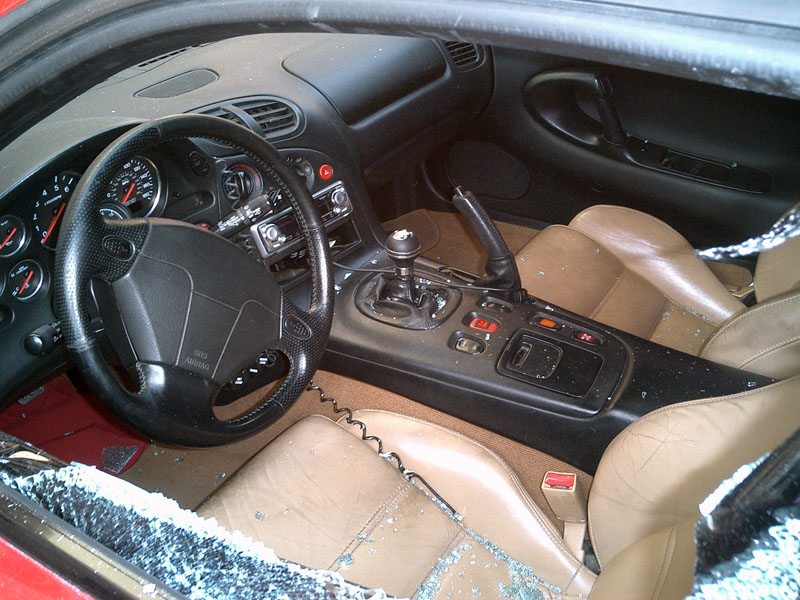
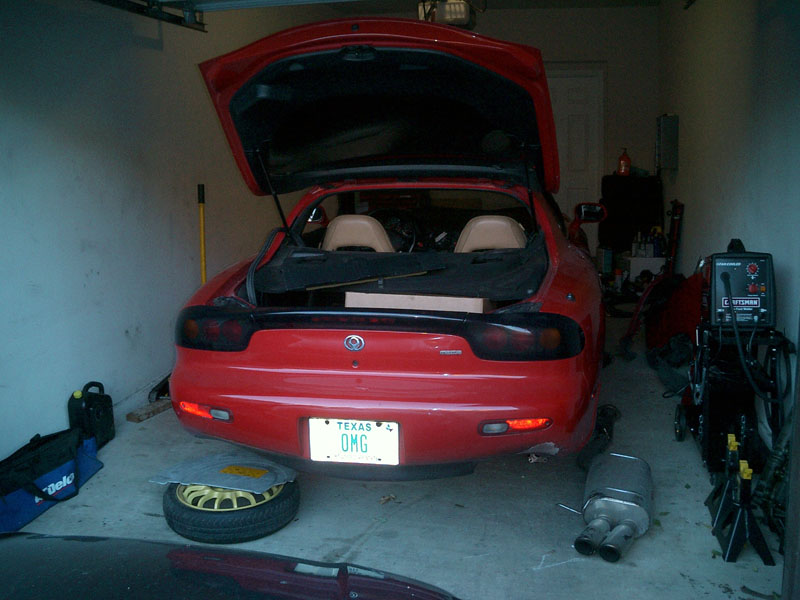
Some thief smashed my window to steal my radar detector.

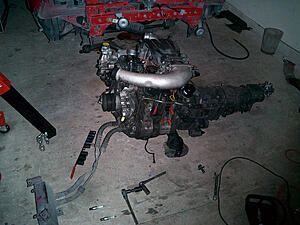
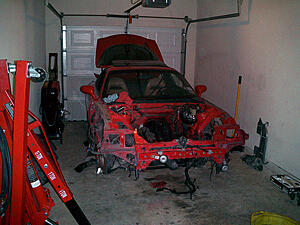
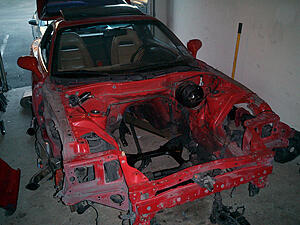
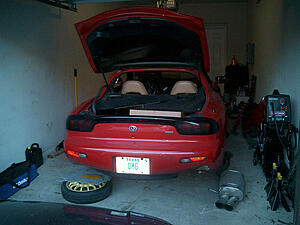
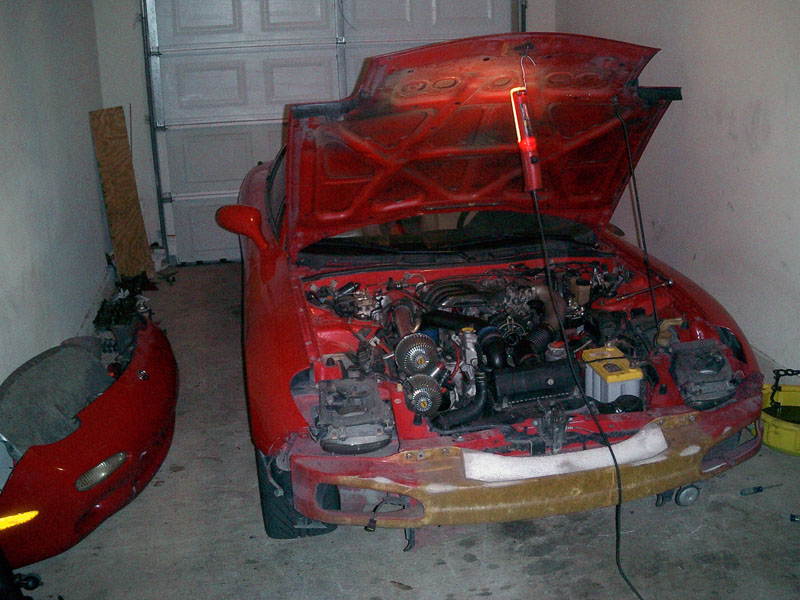
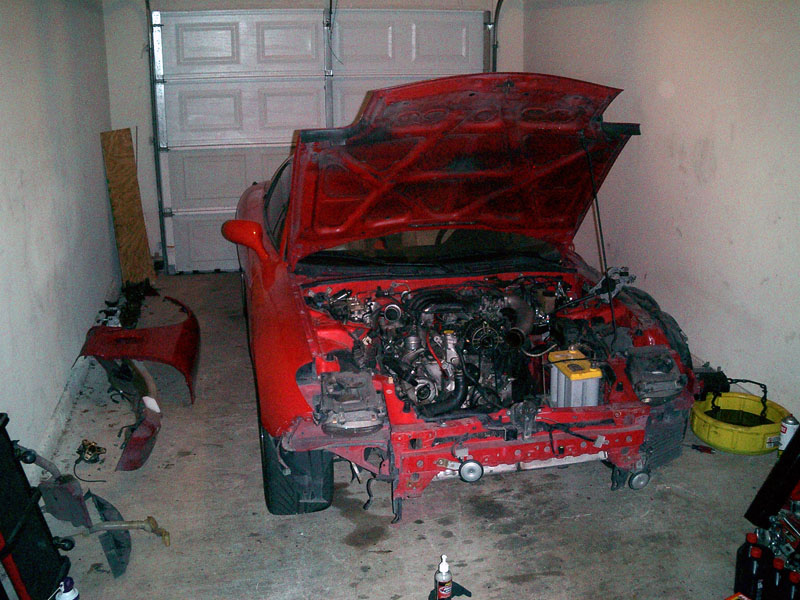
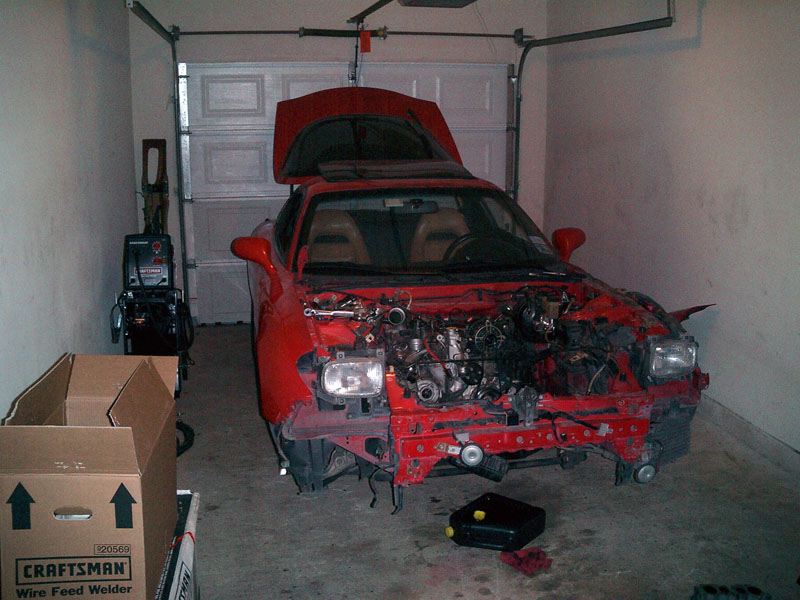
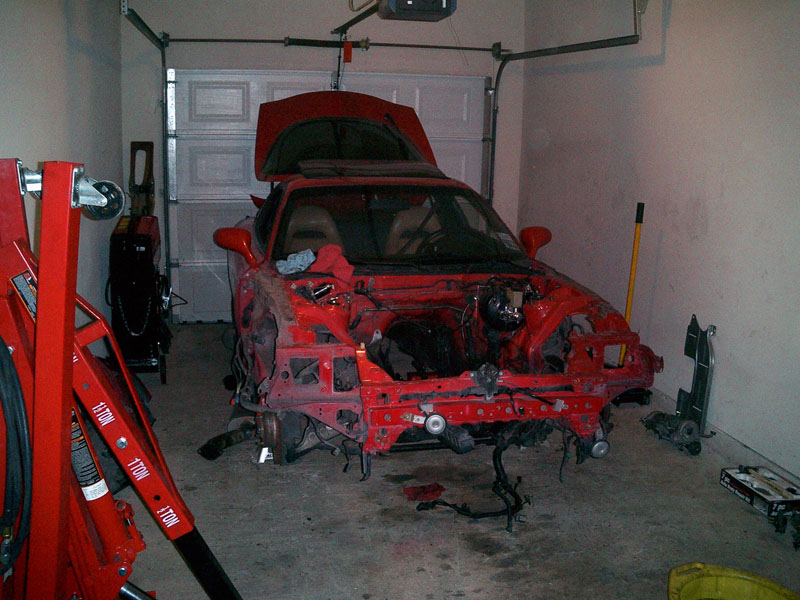
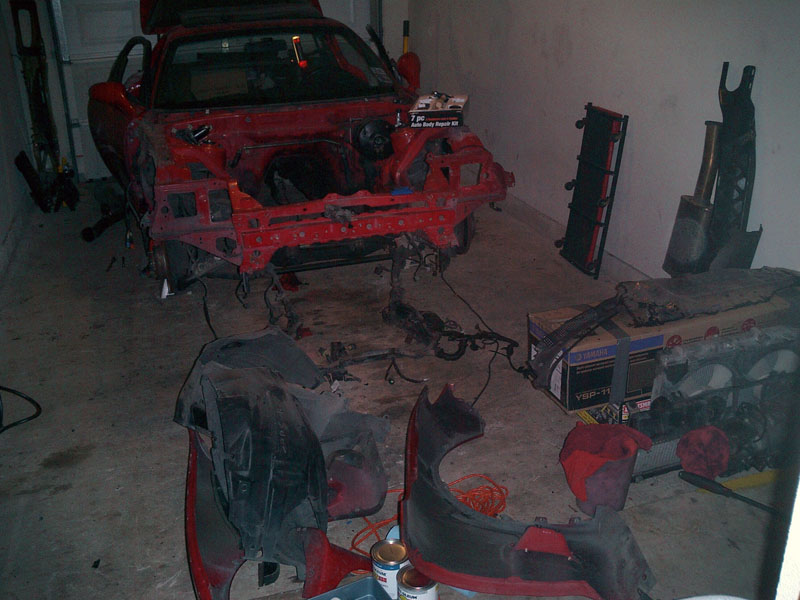
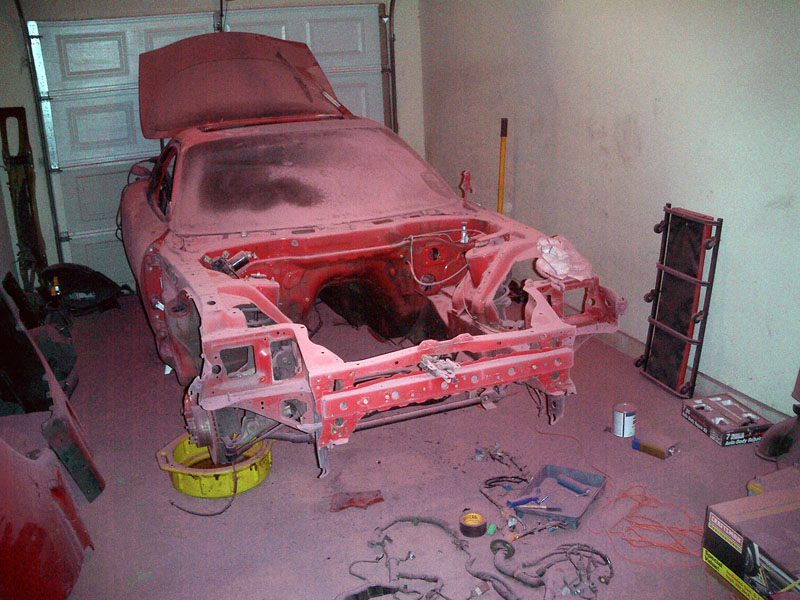
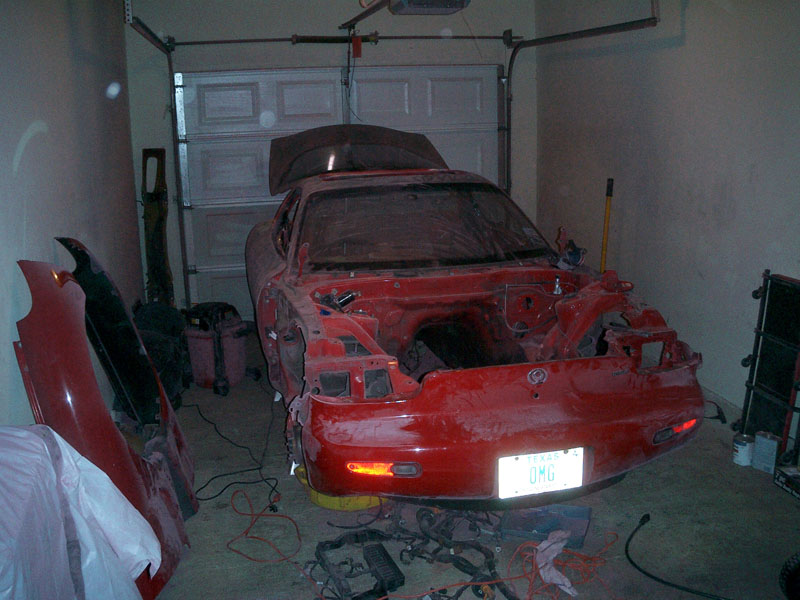
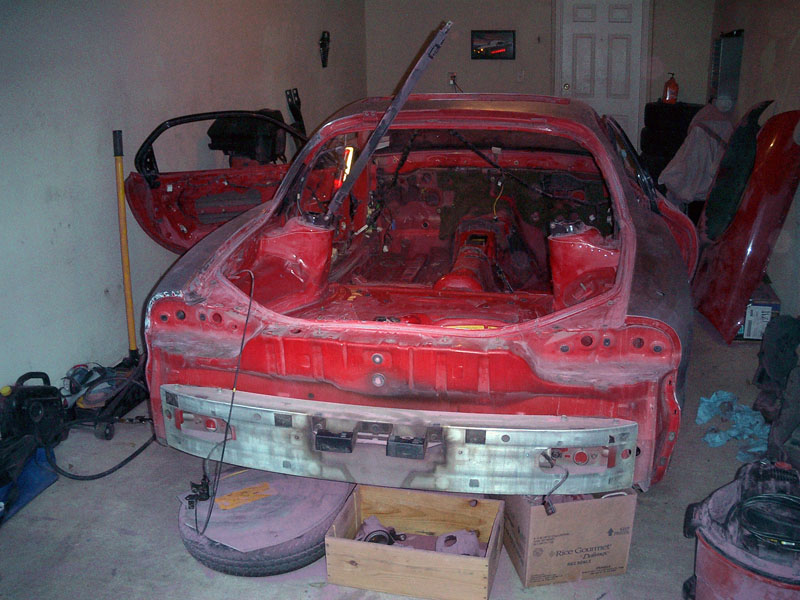
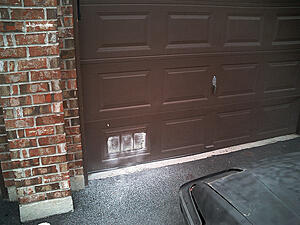
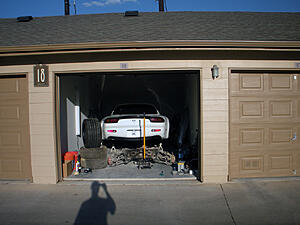
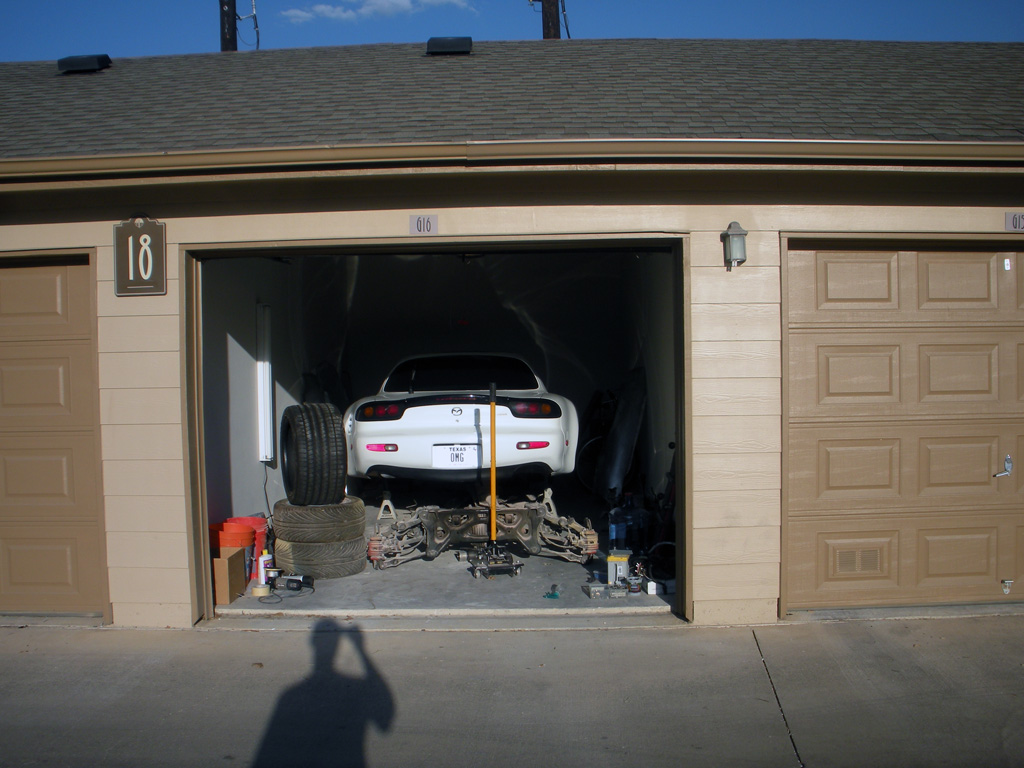
Of course there was only one brand new driver side window left in the entire U.S. and its coming out of Cali, so it'll show up in a week. All the aftermarket glass places I called could only get me a windshield, not door glass. To solve my driving situation I went and found a $600 beater car and drove the RX7 into the garage. Yes, drove. The engine wasnt blown. In that time it was down I figured I would replace the smoking set of twins I had with an almost new set I had purchased about half a year back (less than 12k miles on them). Halfway into tearing the top of the motor apart I figured **** it, lets go V8. It'd make my 500whp goal that much easier and Id actually get decent gas mileage. I pulled the motor out and decide it should really get painted while its all apart. As I start into that I decide why not tuck some extra fat tires in the back to help put down the power, so I order some pettit flares.
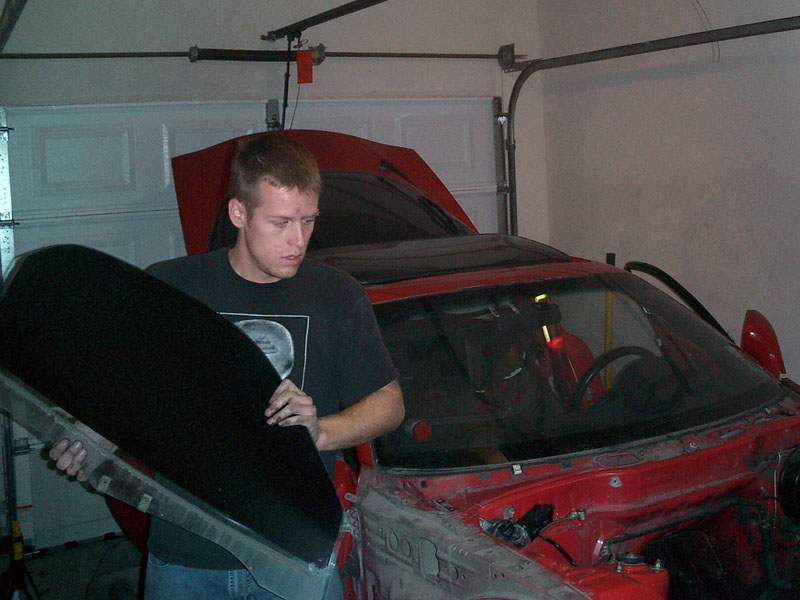
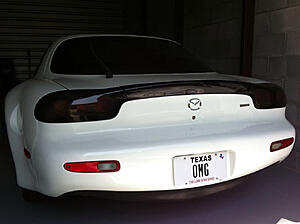
....then the replacement window arrived in the mail.

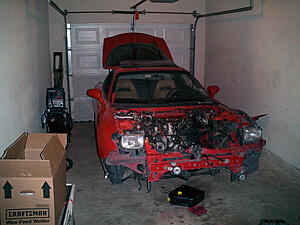
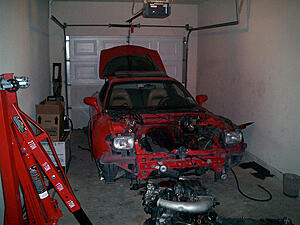
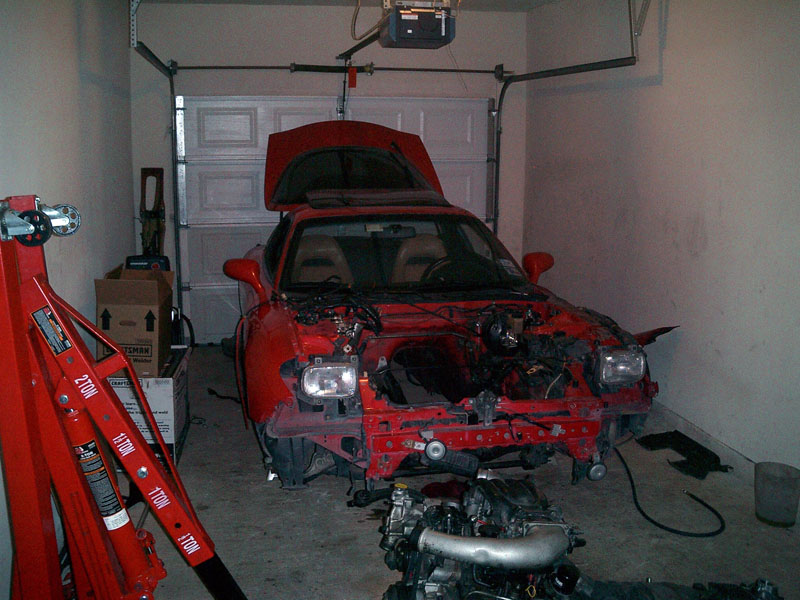
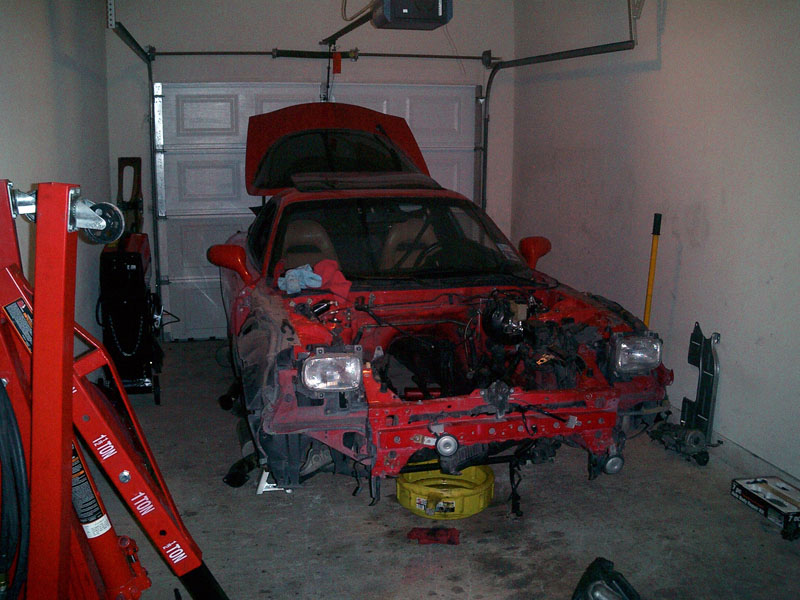
And its out. That didnt take long -


Here is every single picture Ive taken to date.Quick backstory so you know why I started this to begin with...
Some thief smashed my window to steal my radar detector.
Of course there was only one brand new driver side window left in the entire U.S. and its coming out of Cali, so it'll show up in a week. All the aftermarket glass places I called could only get me a windshield, not door glass. To solve my driving situation I went and found a $600 beater car and drove the RX7 into the garage. Yes, drove. The engine wasnt blown. In that time it was down I figured I would replace the smoking set of twins I had with an almost new set I had purchased about half a year back (less than 12k miles on them). Halfway into tearing the top of the motor apart I figured **** it, lets go V8. It'd make my 500whp goal that much easier and Id actually get decent gas mileage. I pulled the motor out and decide it should really get painted while its all apart. As I start into that I decide why not tuck some extra fat tires in the back to help put down the power, so I order some pettit flares.
....then the replacement window arrived in the mail.
And its out. That didnt take long -


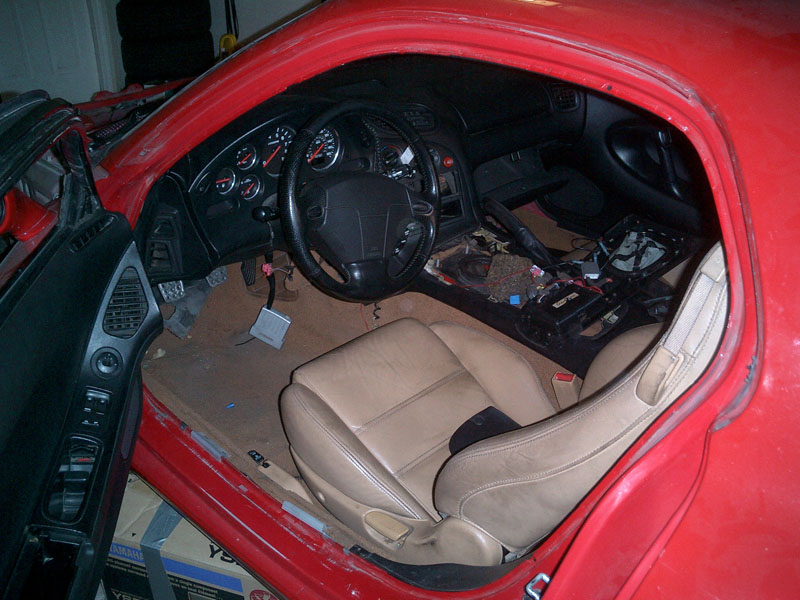

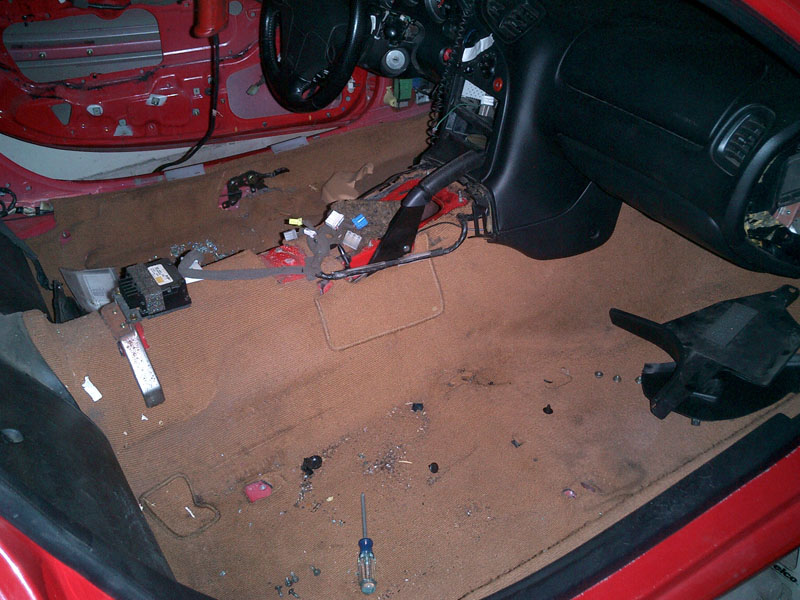
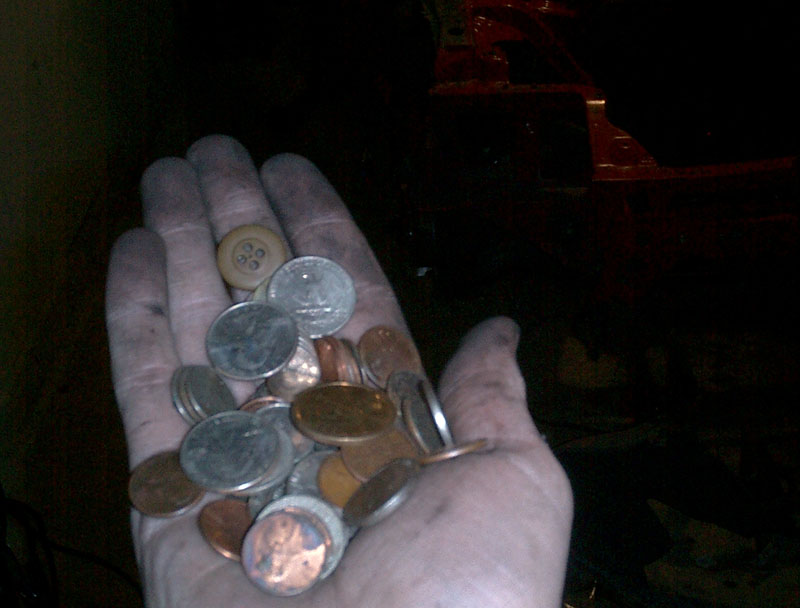
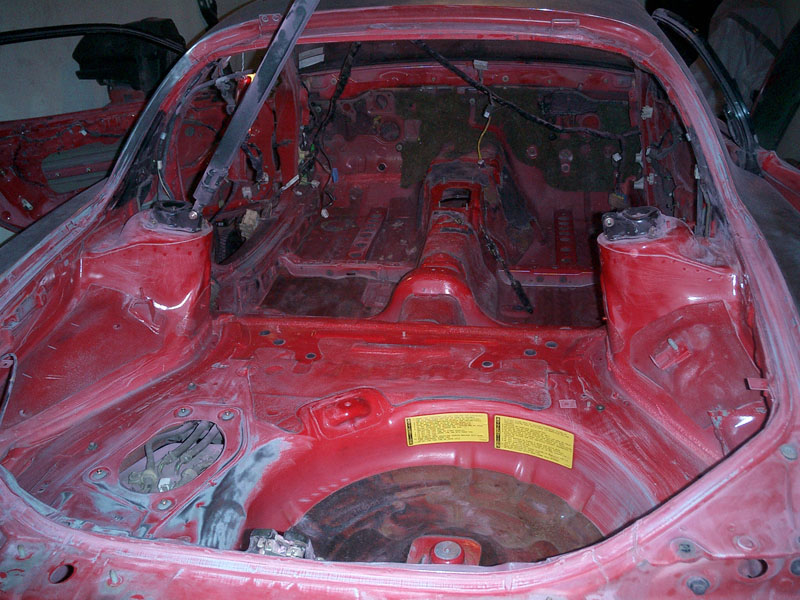
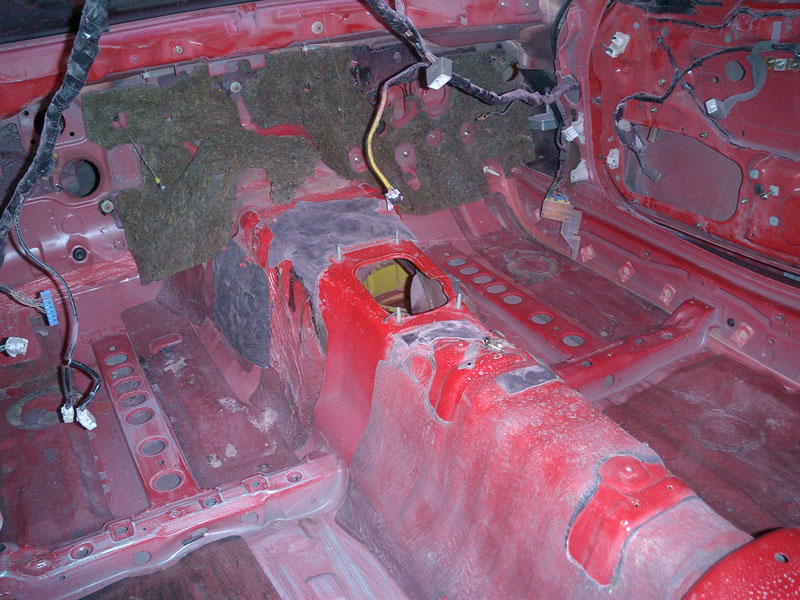
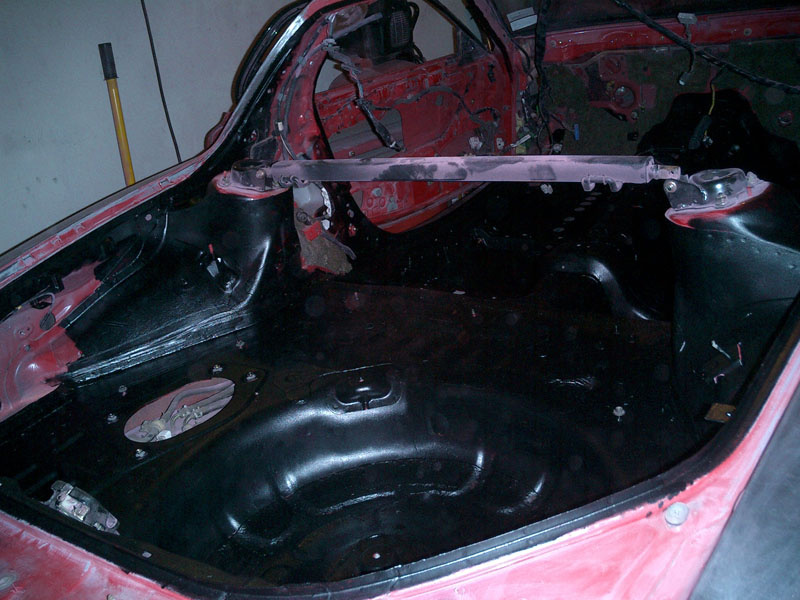
Look at all this change I found under the carpet! :eek3:
Dirty-
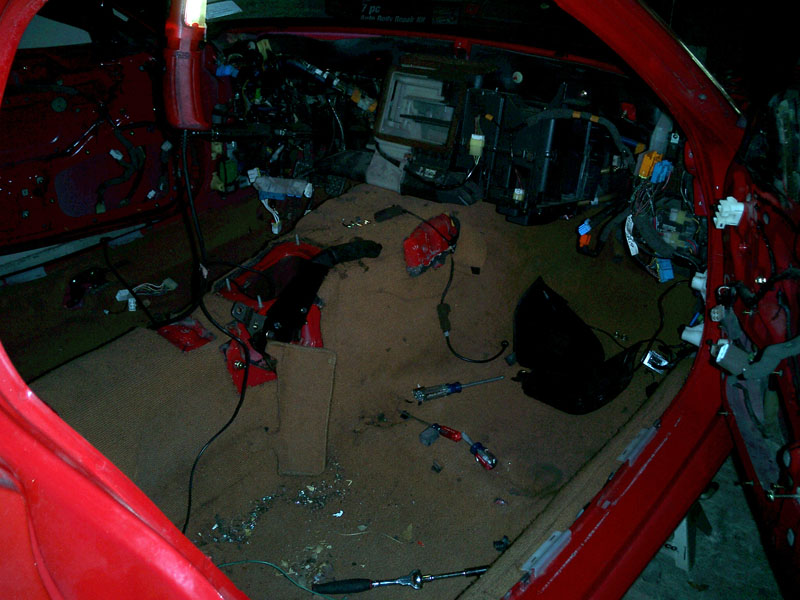
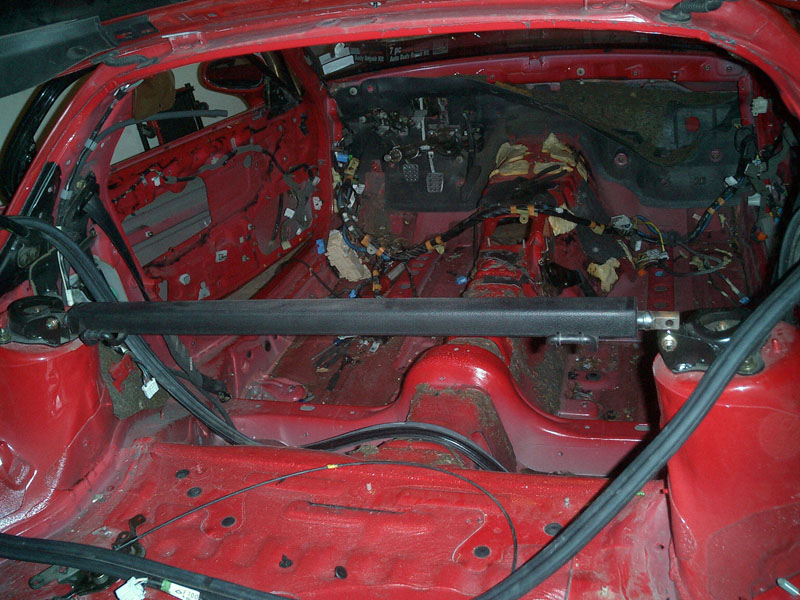
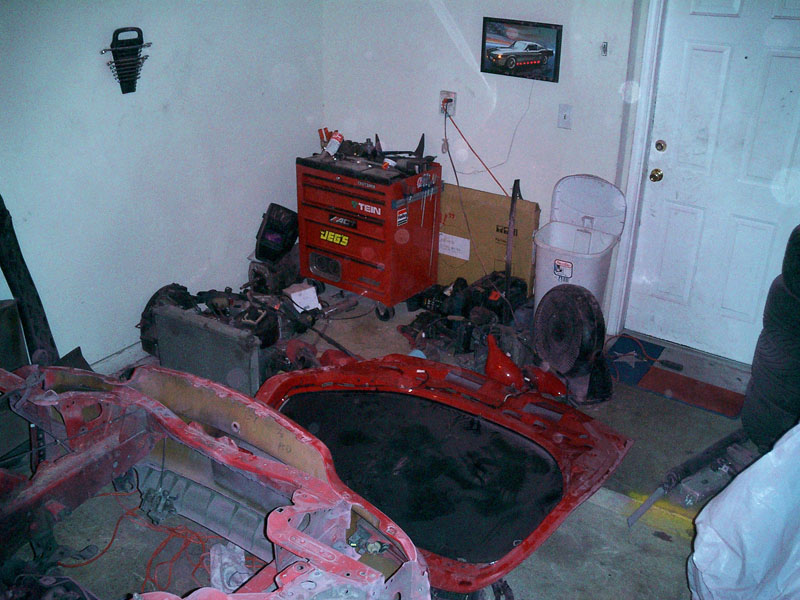
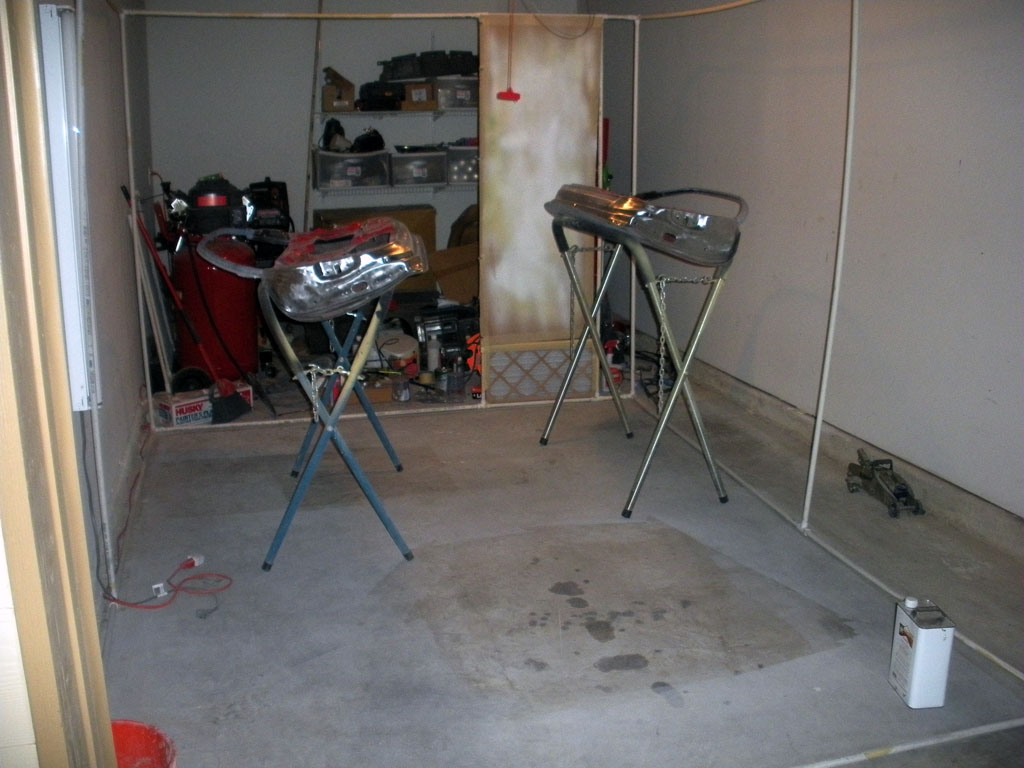
On a side note, this is seriously my brilliant idea of keeping organized -
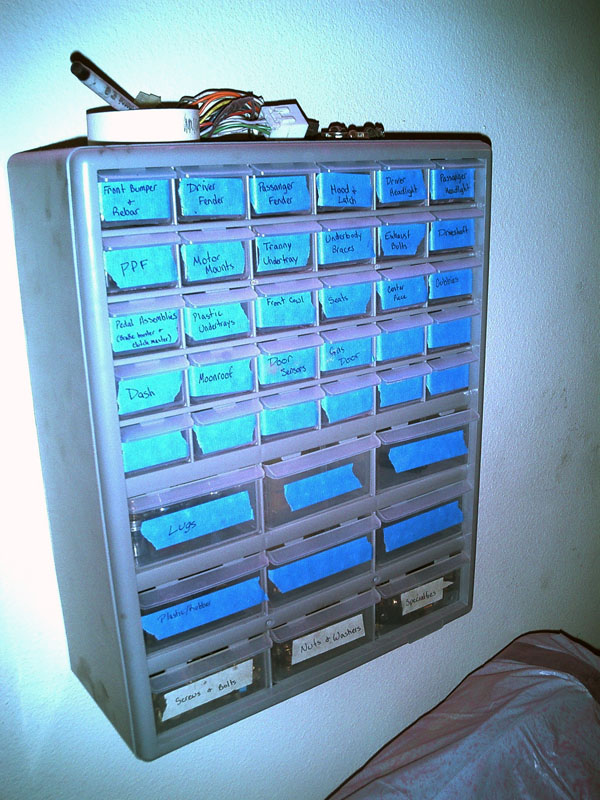
Of course 5.5 years later when I start putting it all back together Im thinking to myself, "wtf is this stupid ****? I dont remember how or where any of this goes." Its like putting together a damn puzzle.
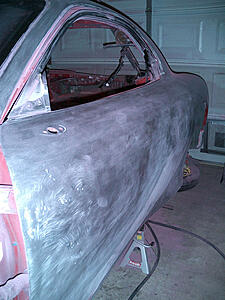
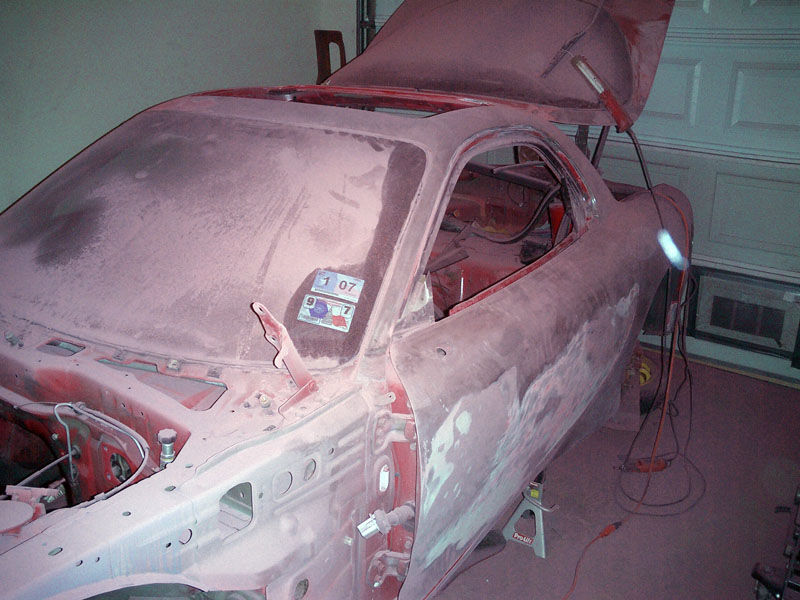
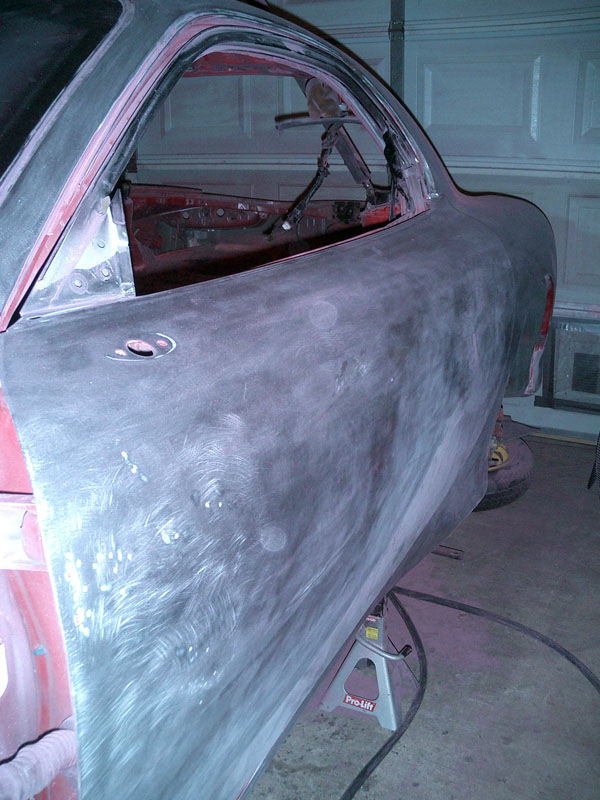
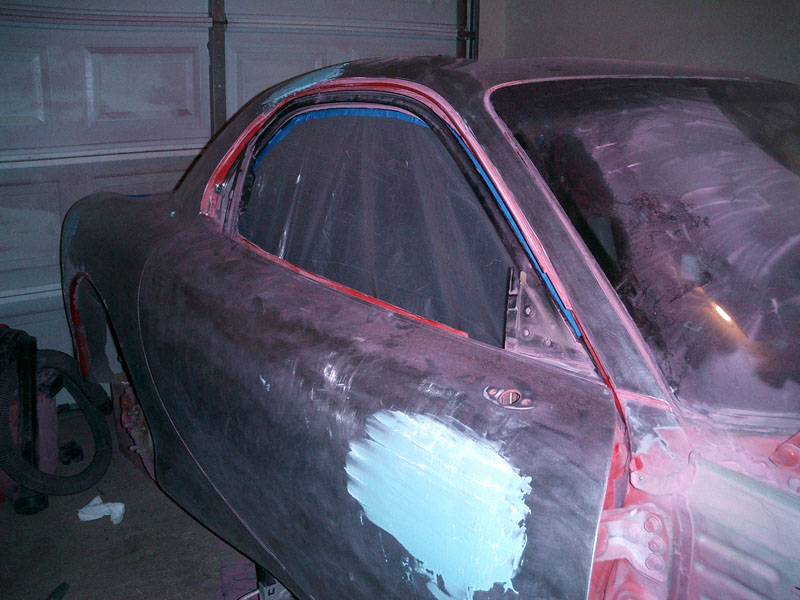
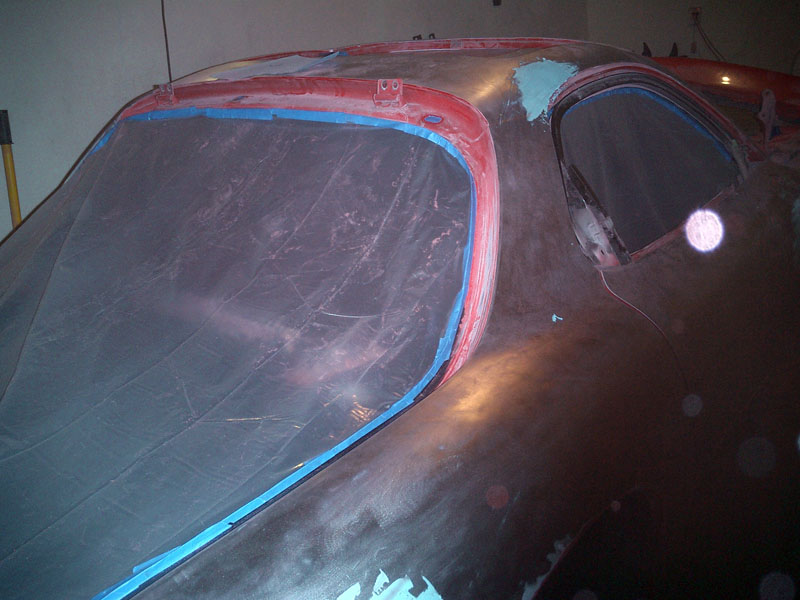
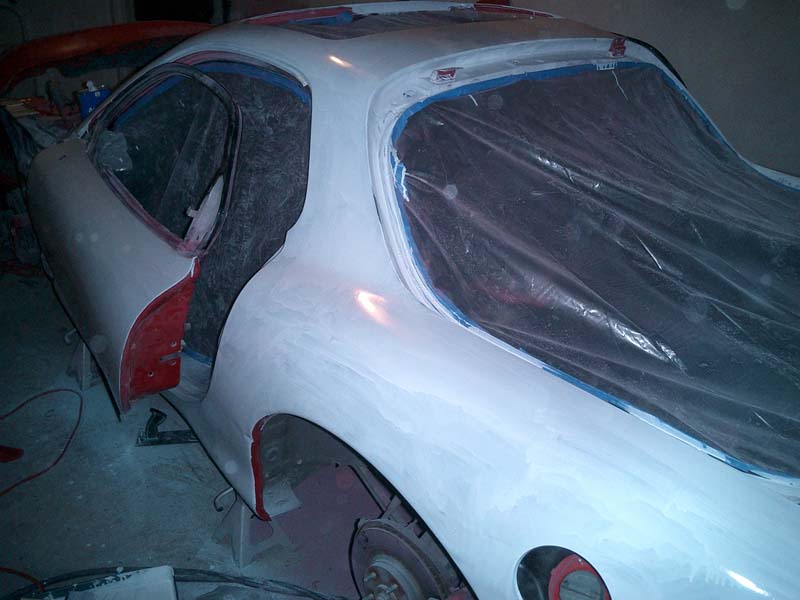
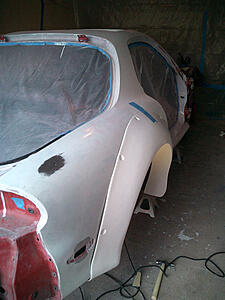
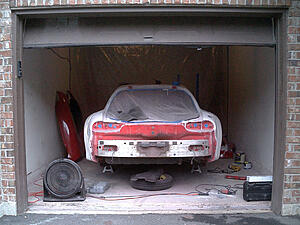
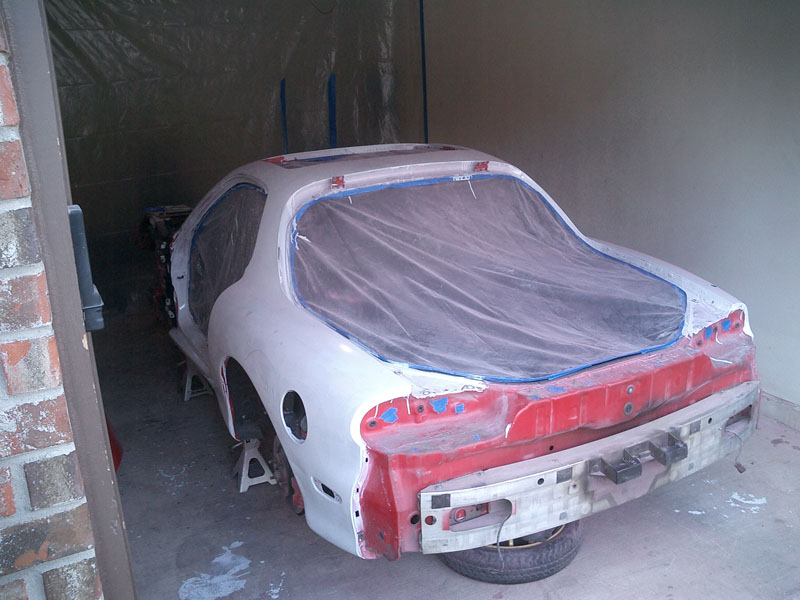
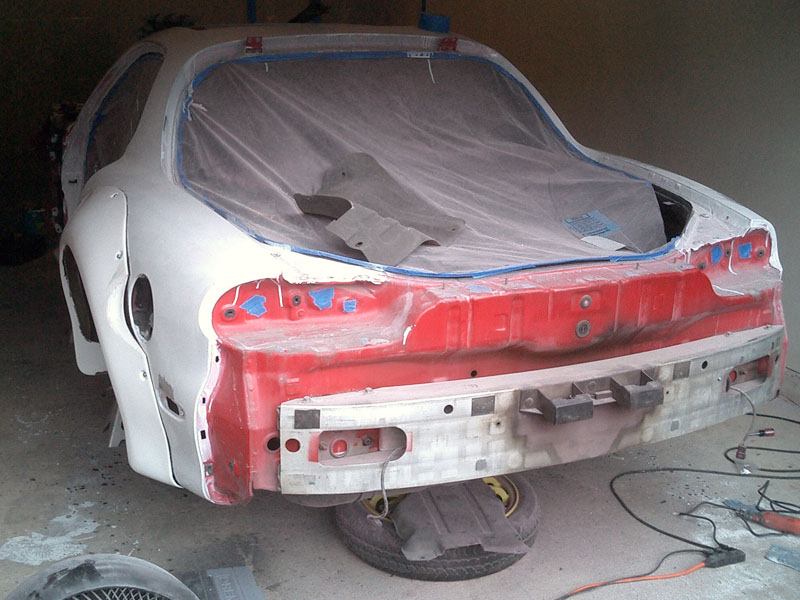
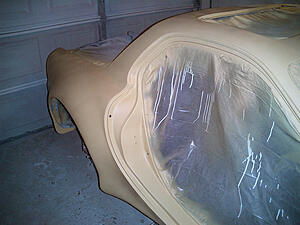
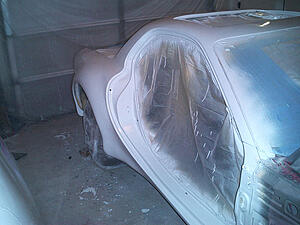
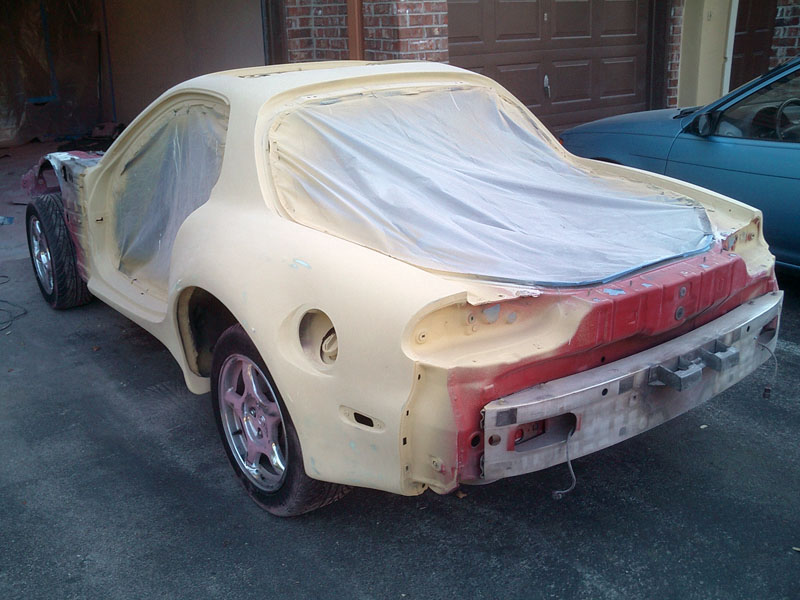
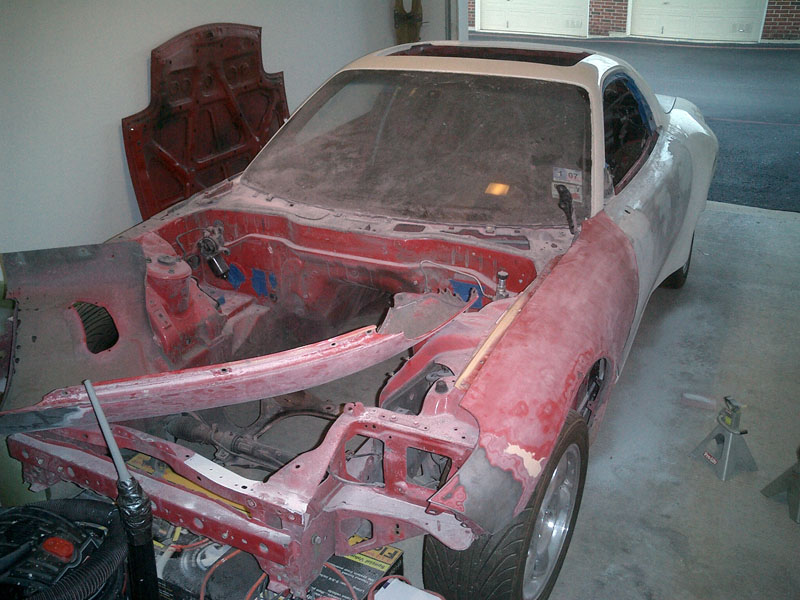
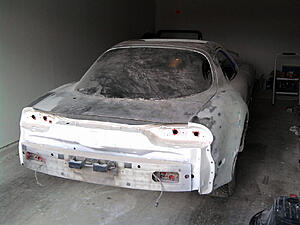
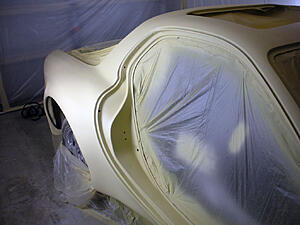
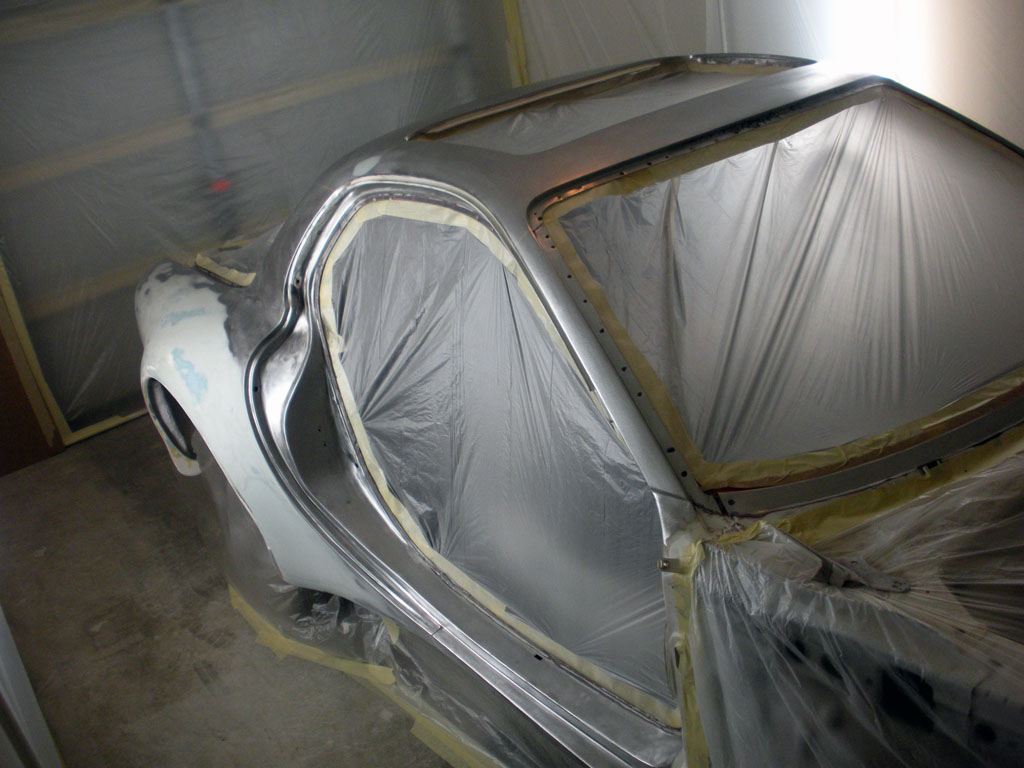
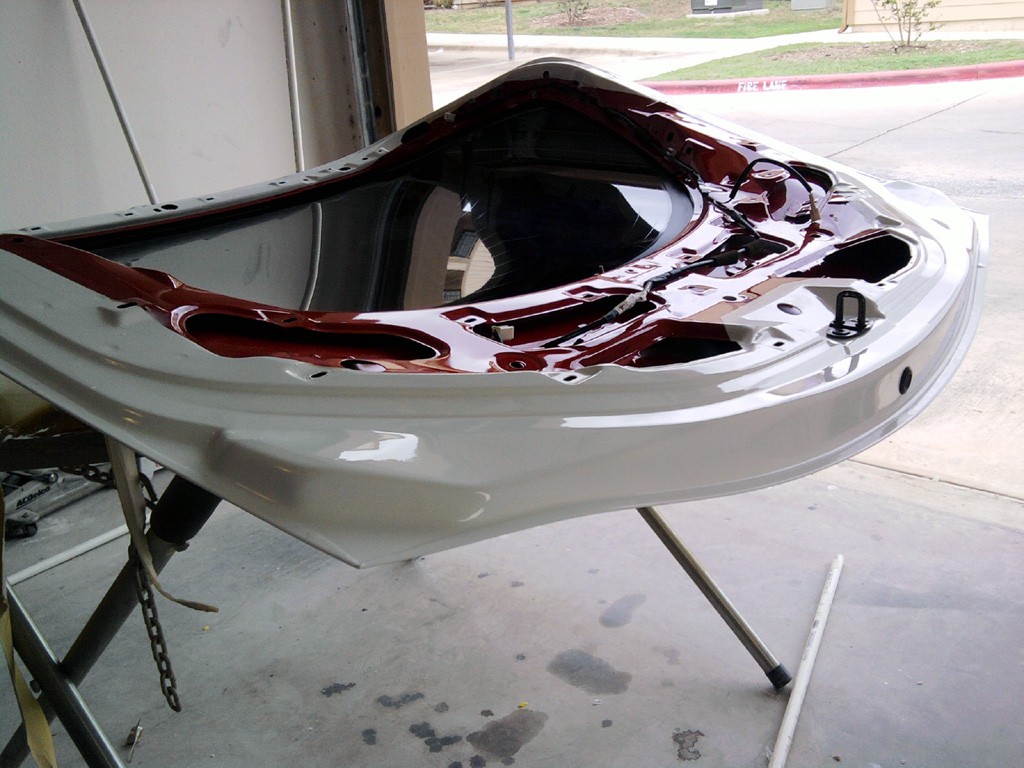
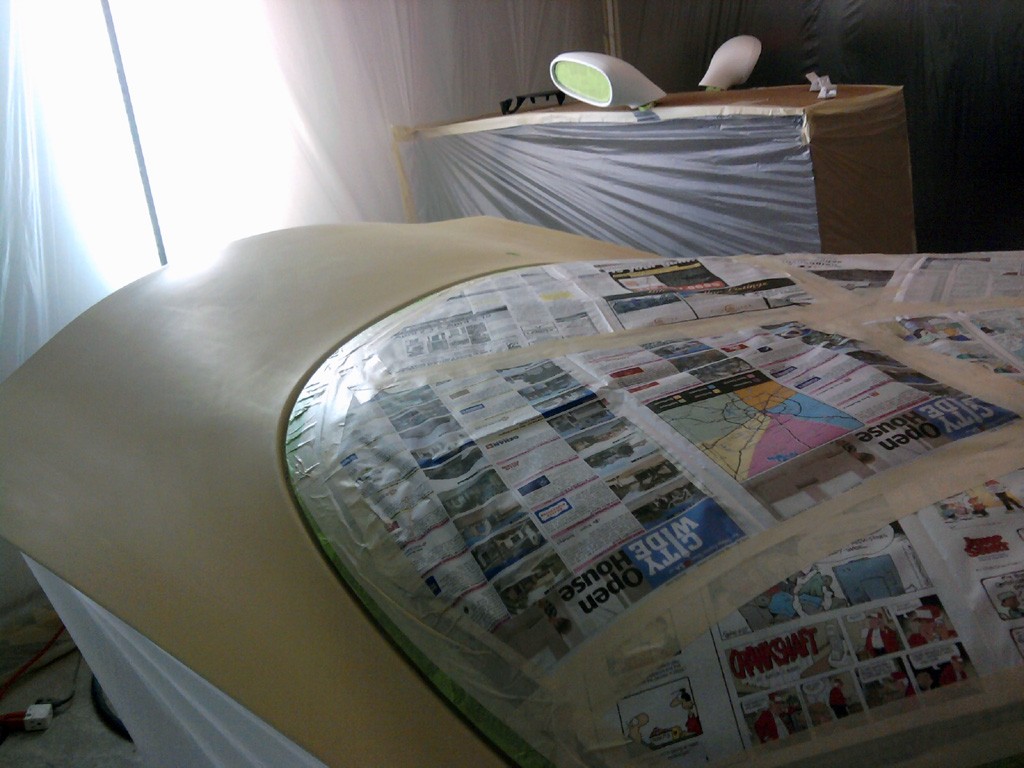
Well, on to the body work. The car had been repainted twice in its life, so Ive got 3 layers of red to go through. Two reasons I took it down to bare metal - 1. I wanted to paint the car white and didnt want to see red if I got a chip. 2. If I got a chip that went through all 4 layers of paint it would be over 1mm deep!

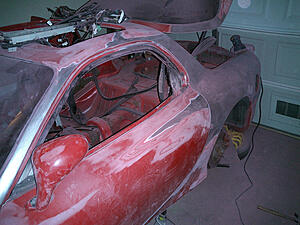
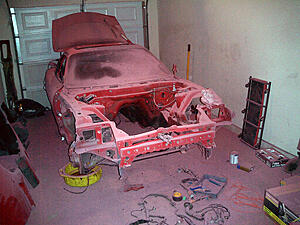
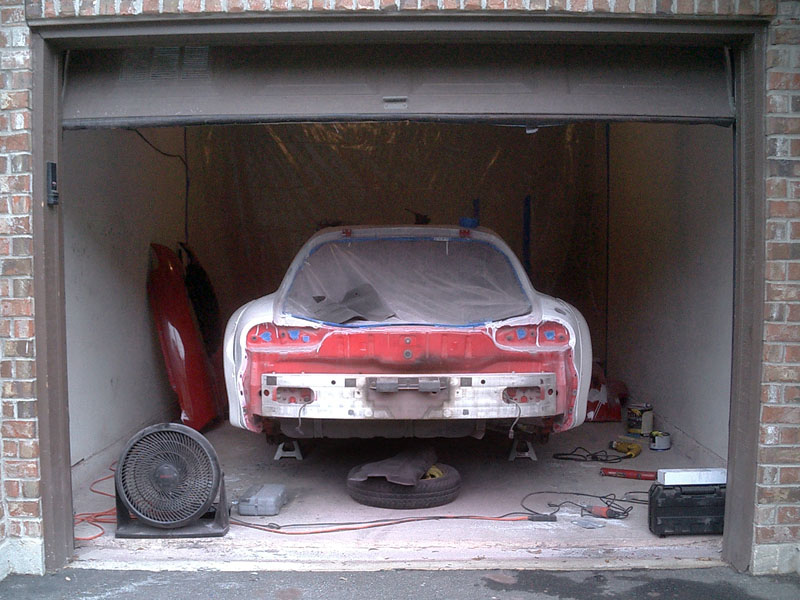
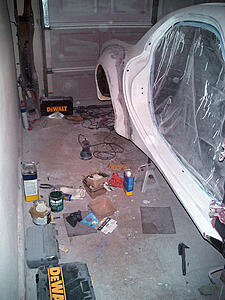
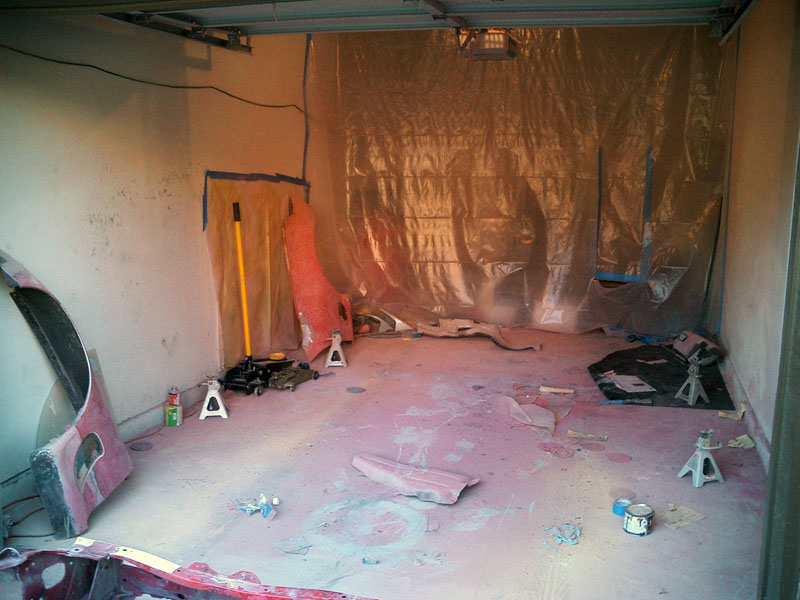
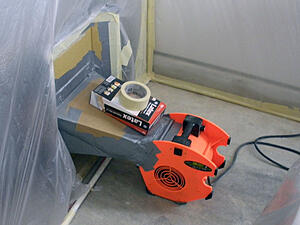
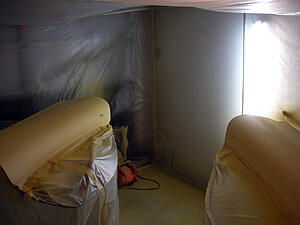
I got this far and realized it would be in my best interest to put up some kind of tarp to keep all the dust isolated. **** it, whats done is done, time to continue onward.


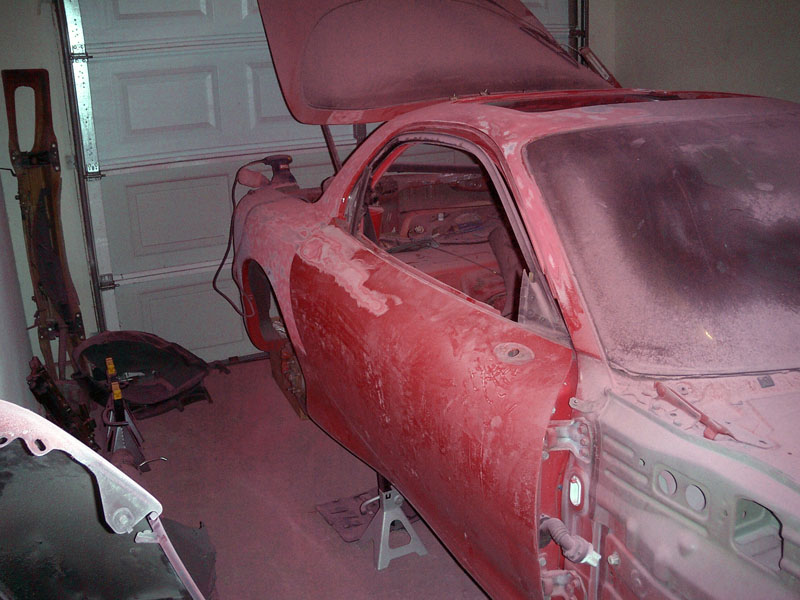
The dust was so thick I was using a shop vac to get up the majority of it -
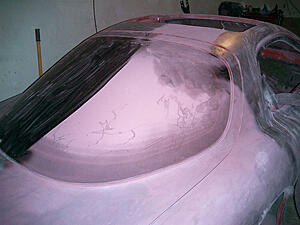
Better, but the walls were permanently pink, even when I moved out.


I got this far and realized it would be in my best interest to put up some kind of tarp to keep all the dust isolated. **** it, whats done is done, time to continue onward.
The dust was so thick I was using a shop vac to get up the majority of it -

Better, but the walls were permanently pink, even when I moved out.


Uh oh -
My first attempt at bodywork (using the extremely crappy bondo brand body filler) -
At this point its taken a lot longer than the one week I thought it would take, so I started getting worried about rust. I got some mineral spirits and a can of rustoleum and put a light coat on the metal to keep it protected while I did the rest of the bodywork -
I had now figured out if I put a plastic wall up all the dust stays in one area. Genius!

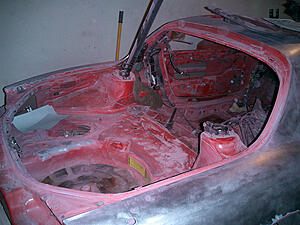
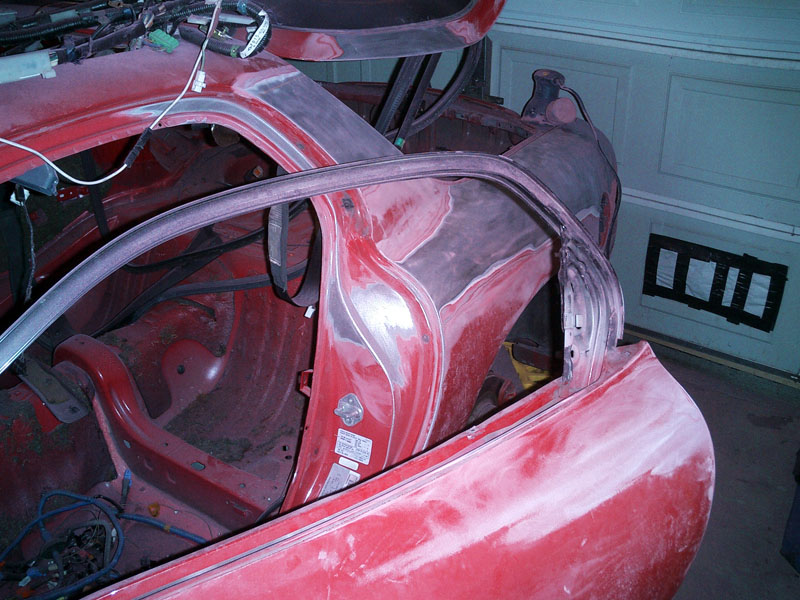
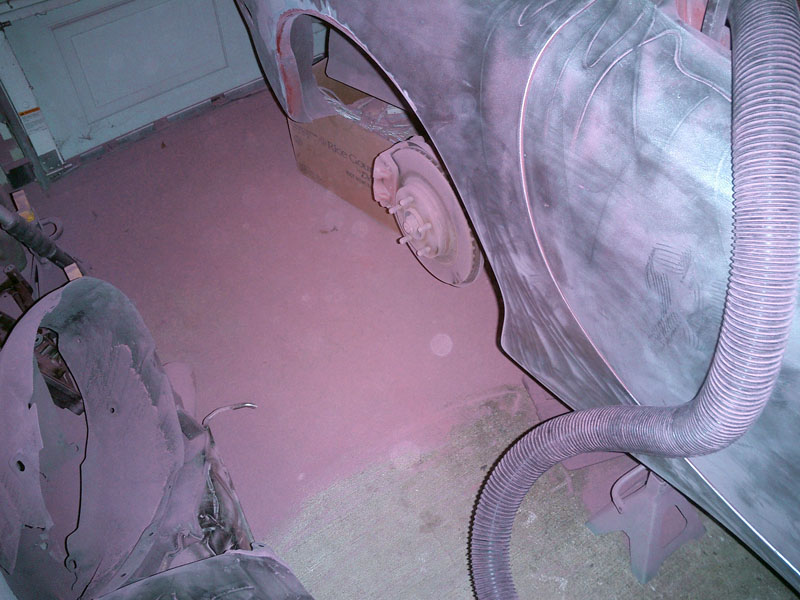
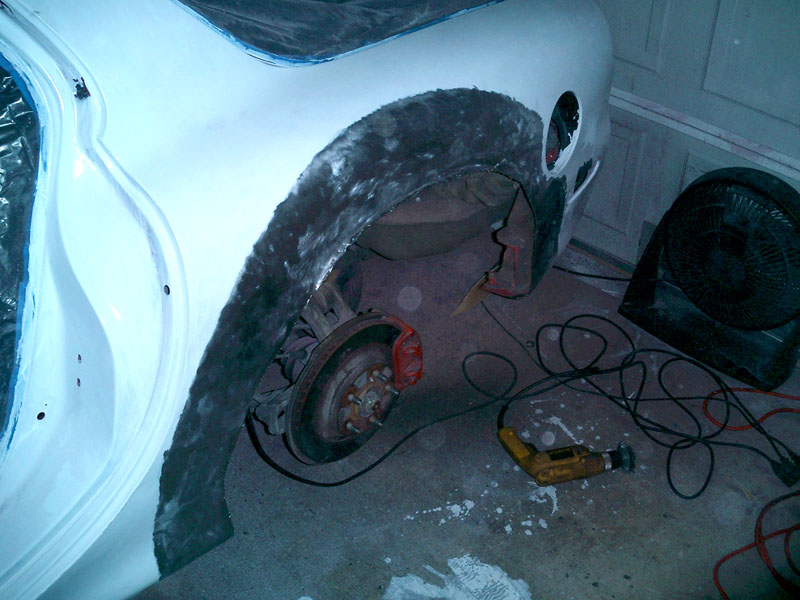
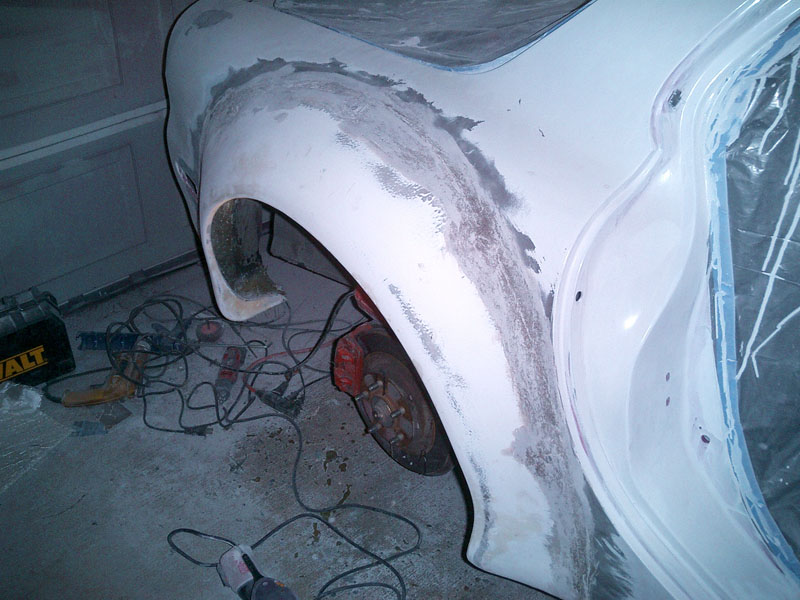
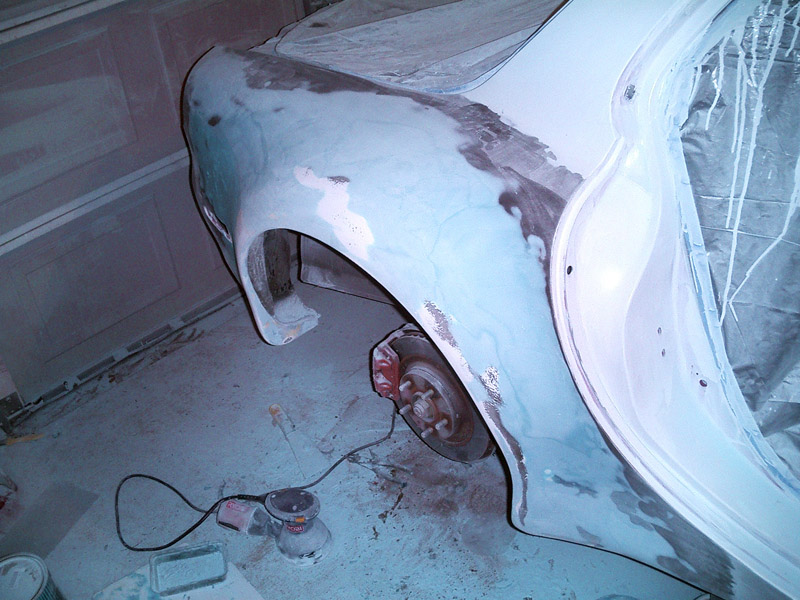
This cant be good -
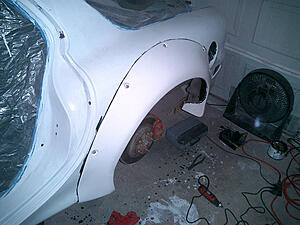
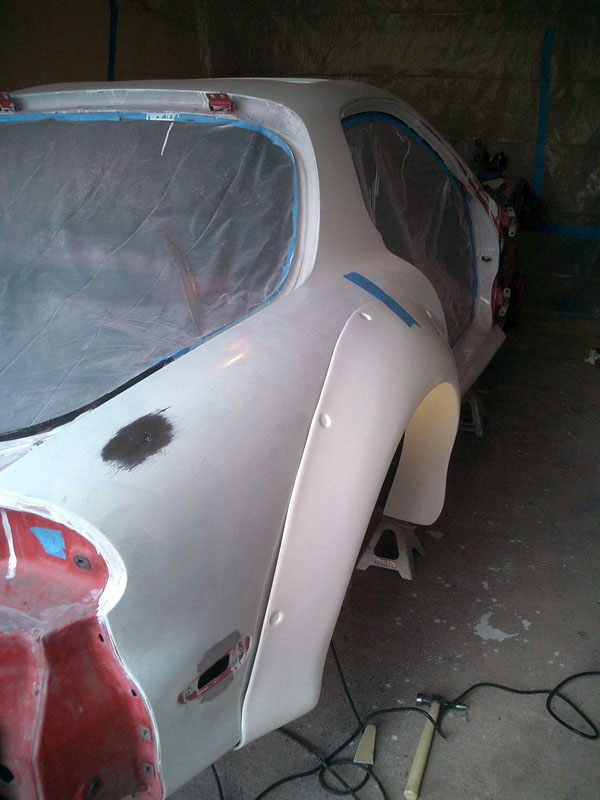
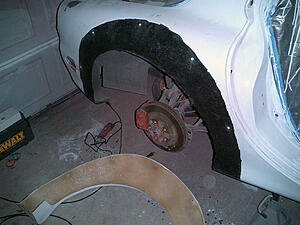
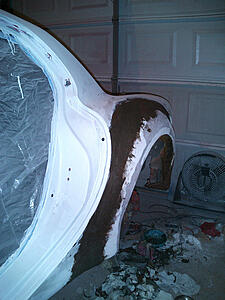
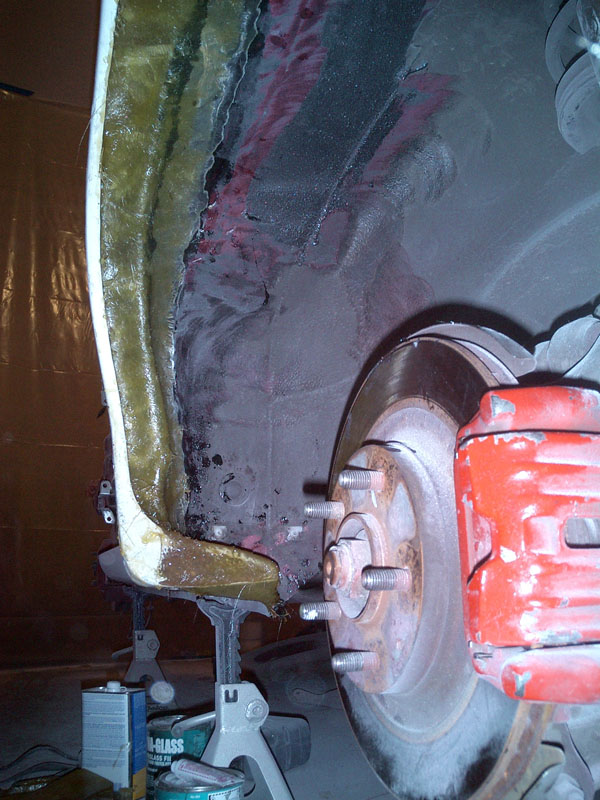
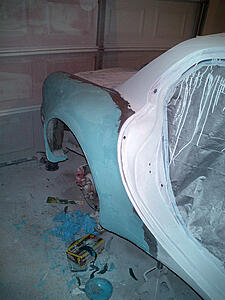
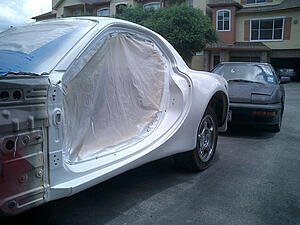
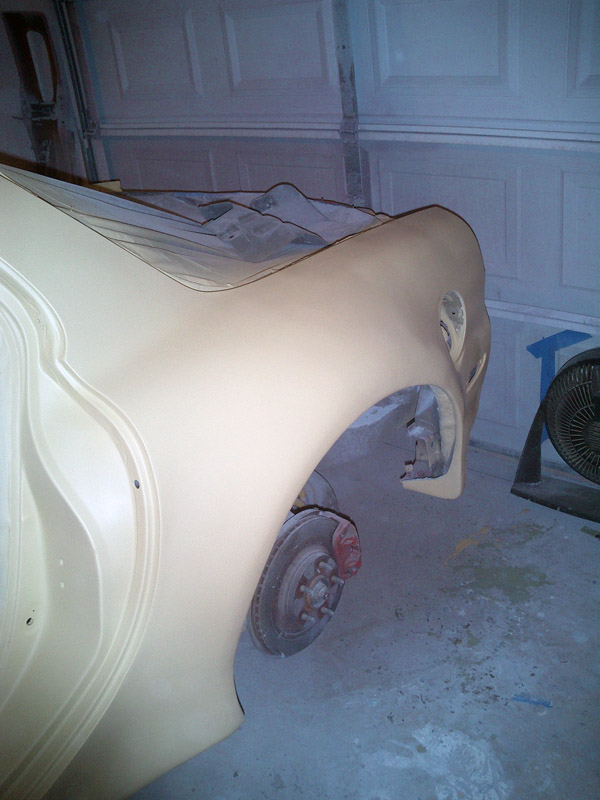
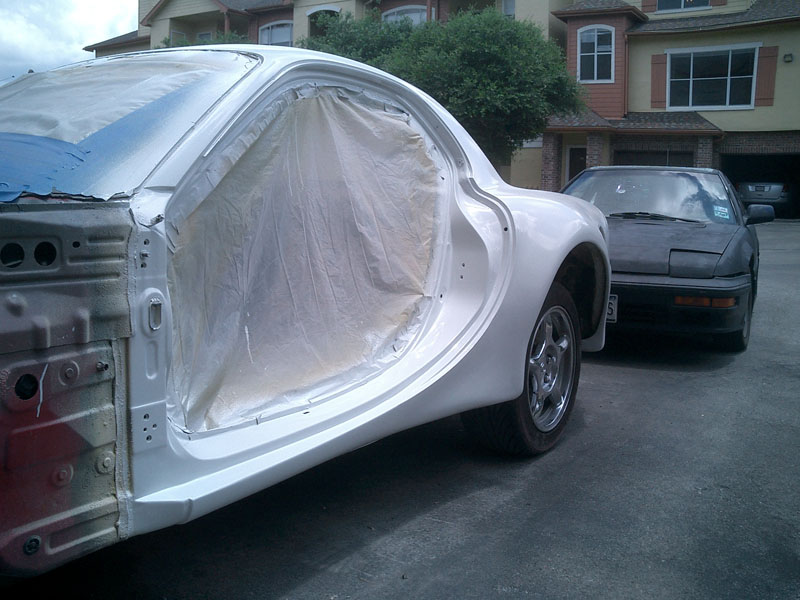
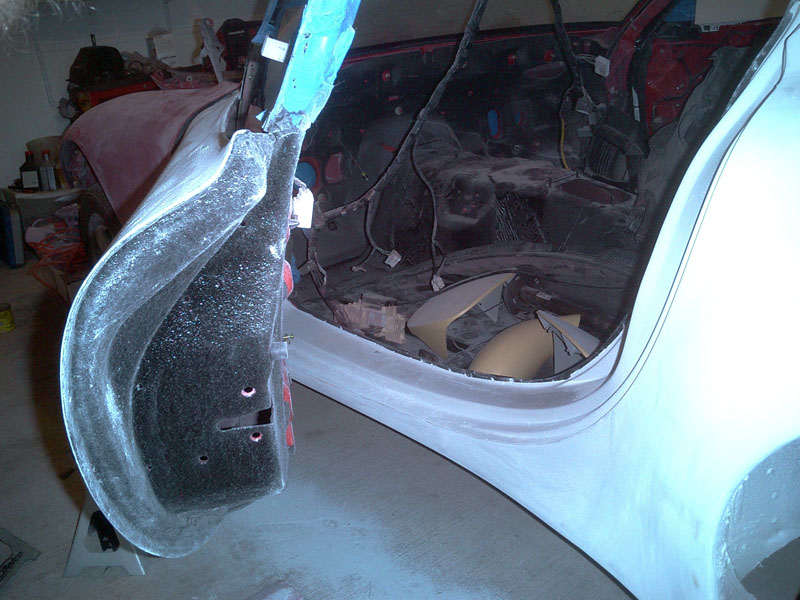
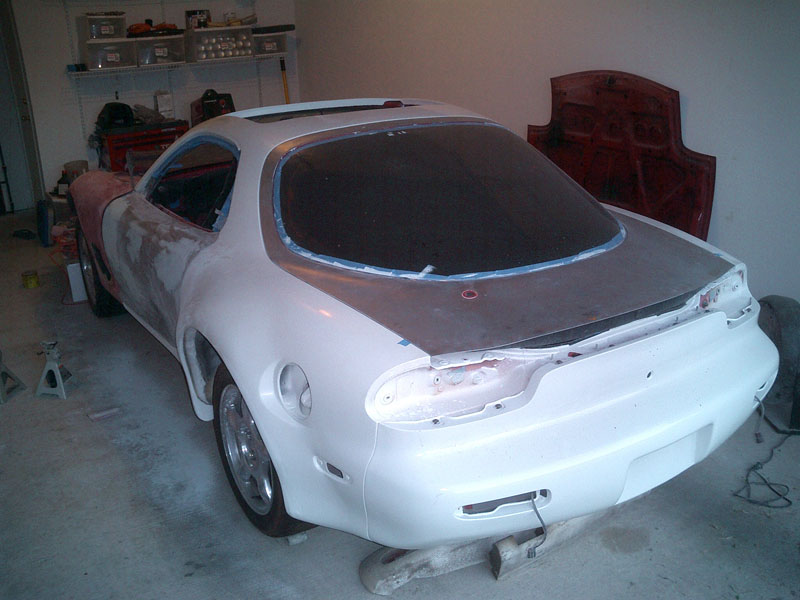
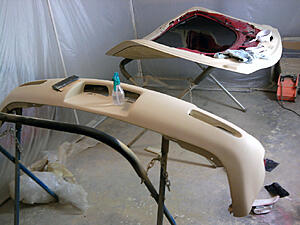
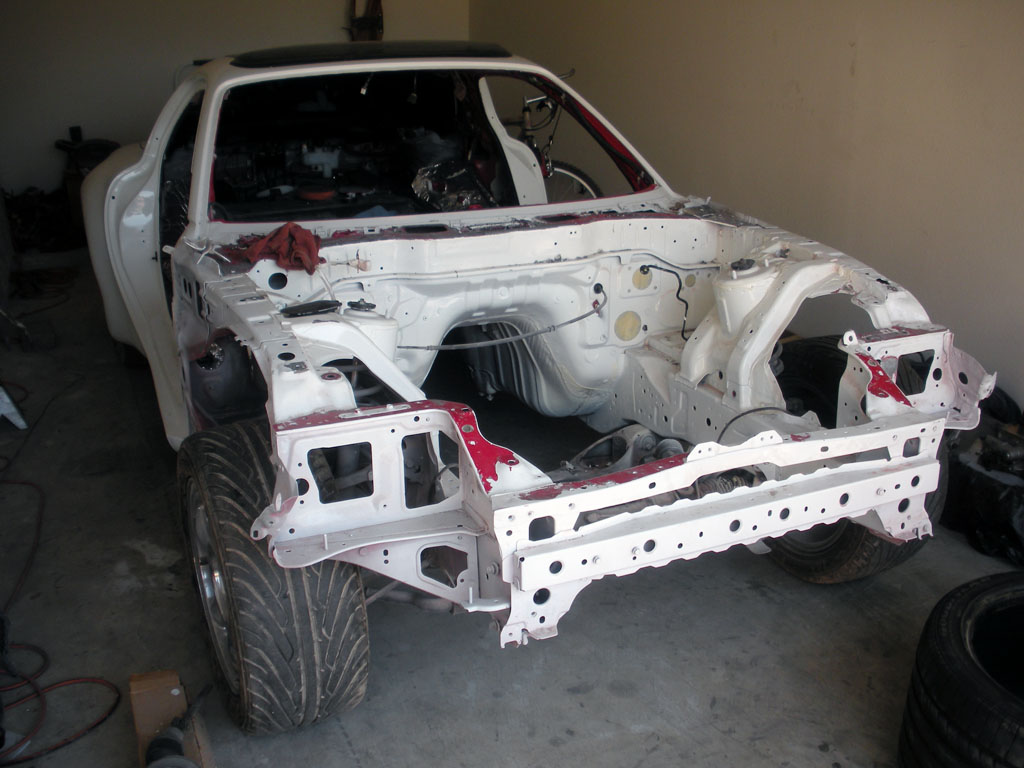
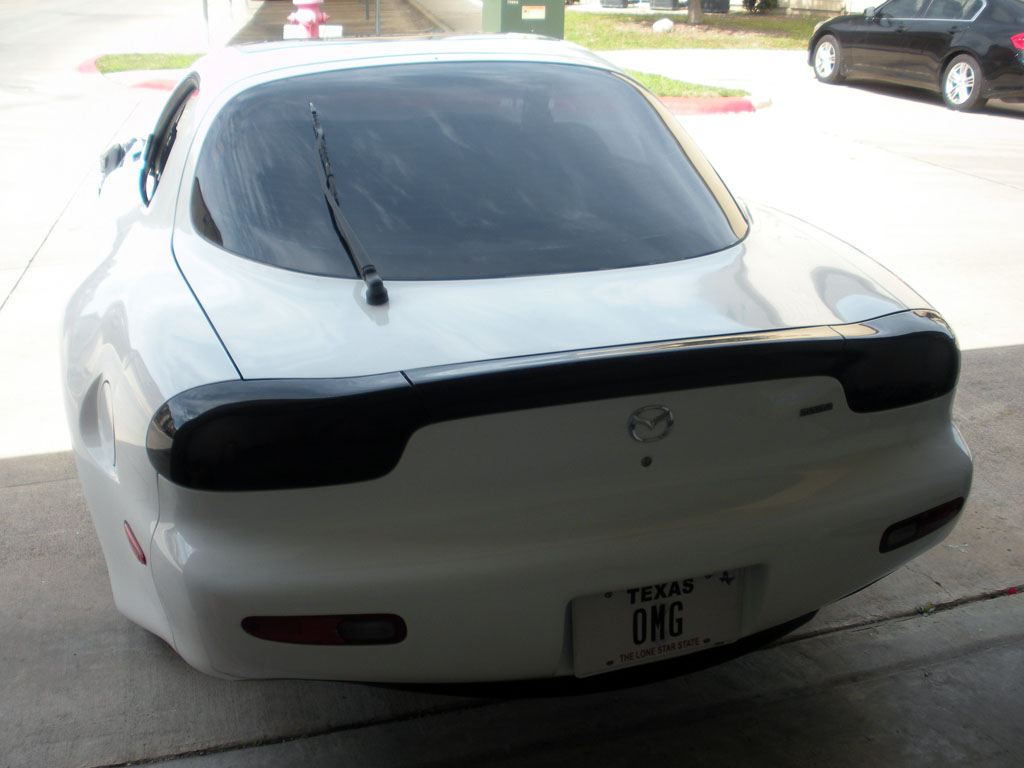
You can see where the antenna used to be. I welded that up and you'd have no idea it was ever there now. Also these pettit flares fit like ****.
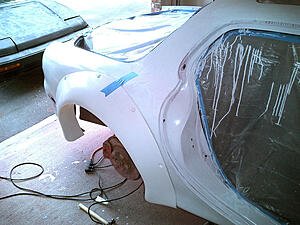
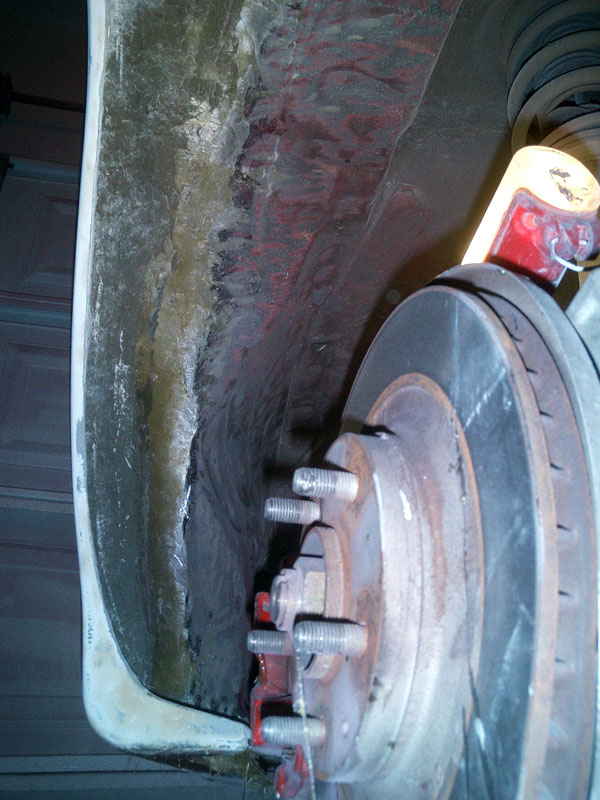
Well, I had to cut the wheel well out to make room for the tires. Didnt want to sacrifice structural rigidity, so with the help of a 4lb hammer I beat the inner fender liner into position and welded it back to the body.
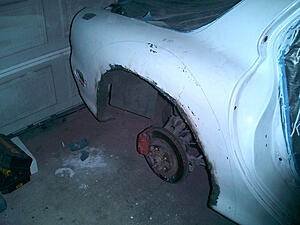
There's where the stock wheel well would have been

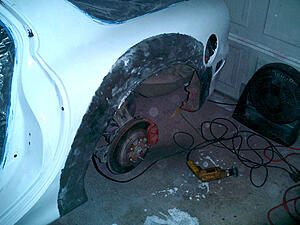
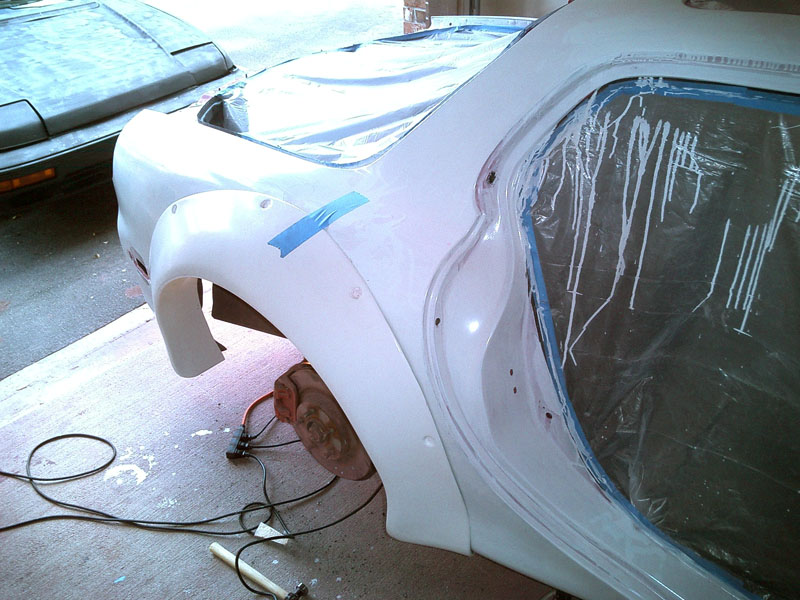
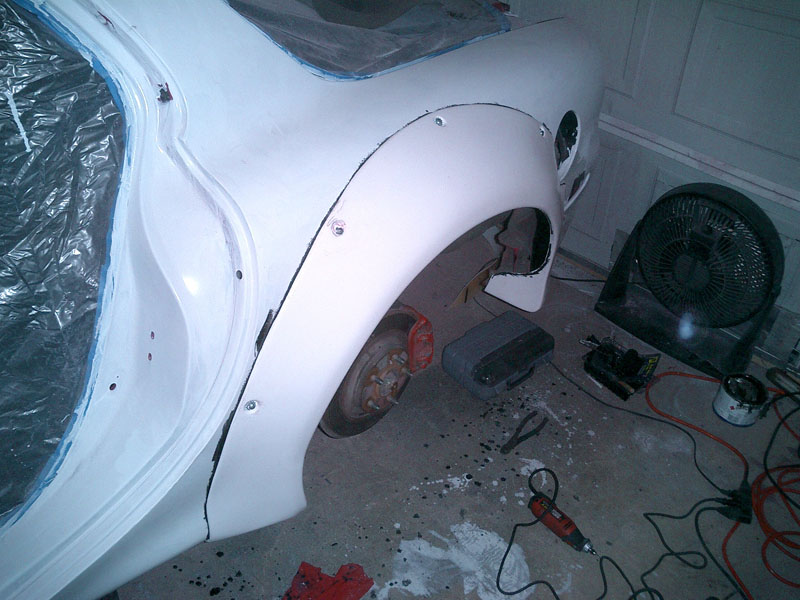
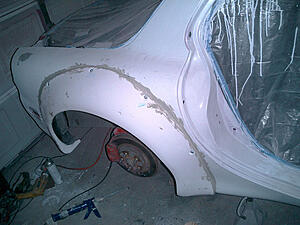
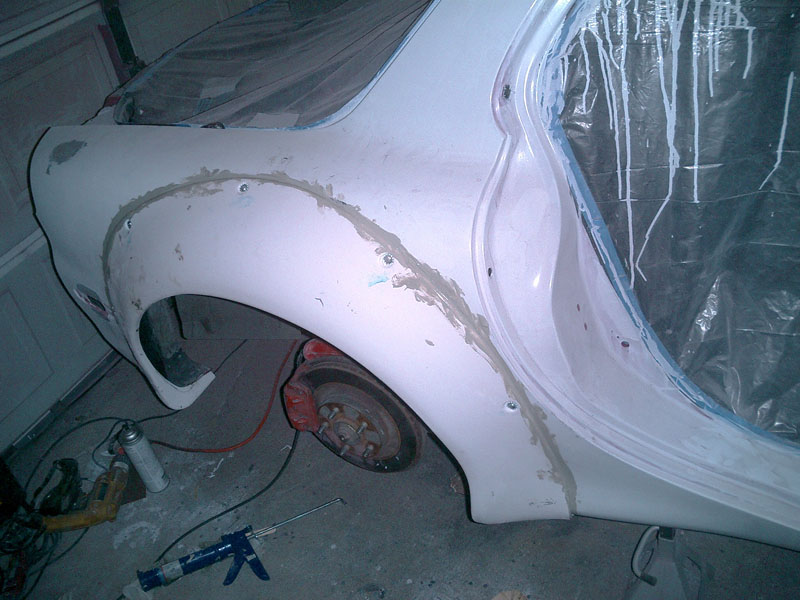
A little bit of trimming and the flares arent nearly as bad -
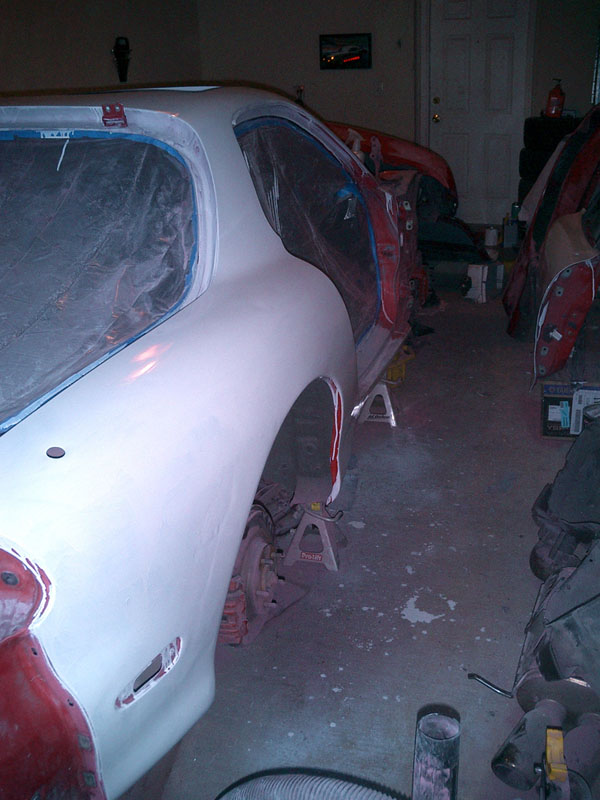
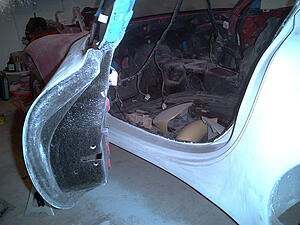
Test fitting -

My first dat *** shot -
This cant be good -
You can see where the antenna used to be. I welded that up and you'd have no idea it was ever there now. Also these pettit flares fit like ****.
Well, I had to cut the wheel well out to make room for the tires. Didnt want to sacrifice structural rigidity, so with the help of a 4lb hammer I beat the inner fender liner into position and welded it back to the body.

There's where the stock wheel well would have been

A little bit of trimming and the flares arent nearly as bad -
Test fitting -
My first dat *** shot -
I put some threaded pop rivets into the body and coated it with rhino liner to help absorb some of the road noise
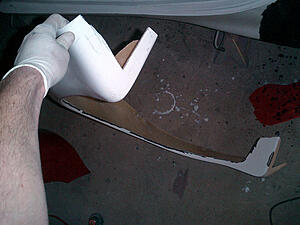
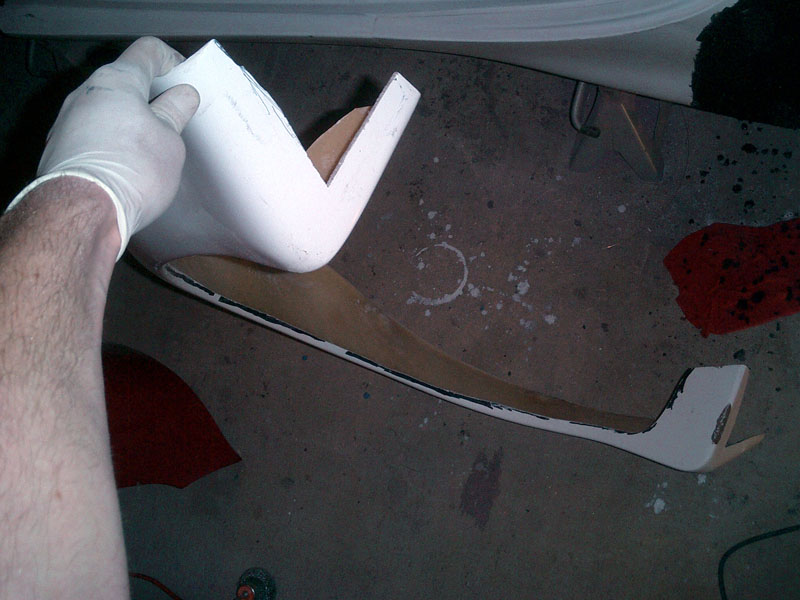
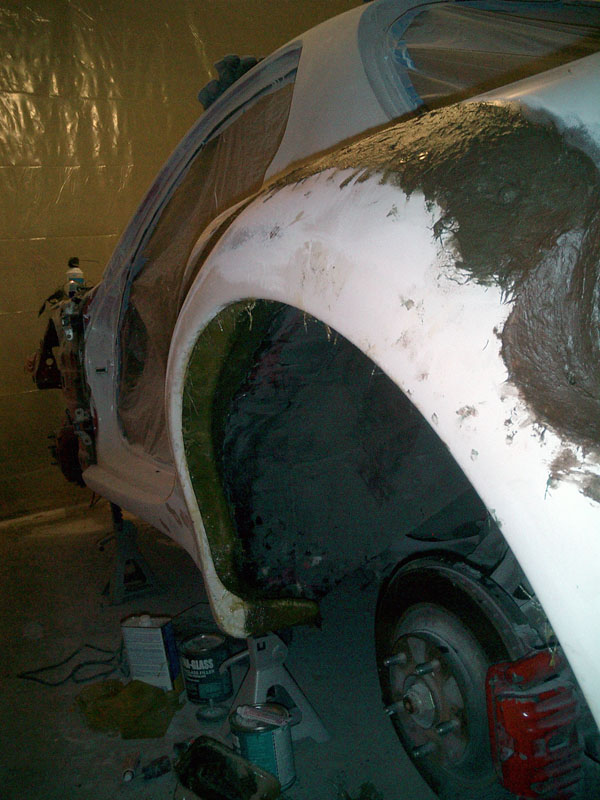
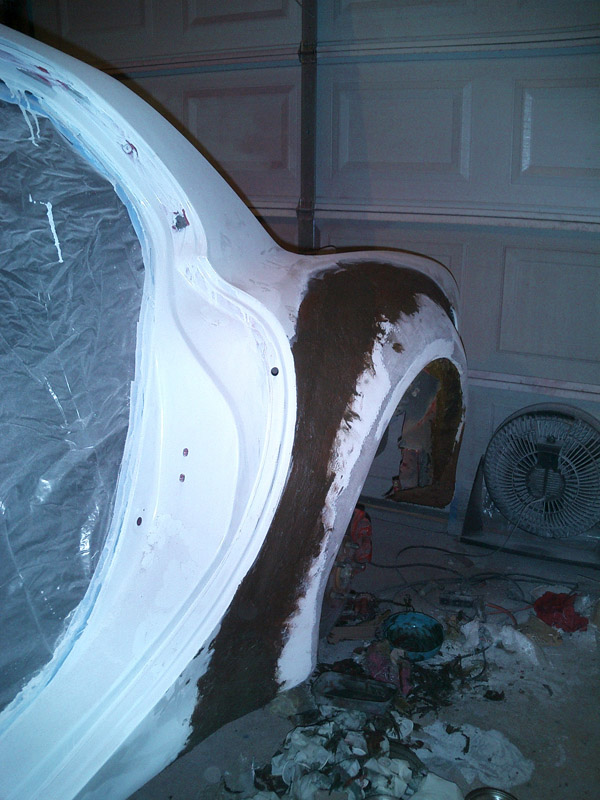
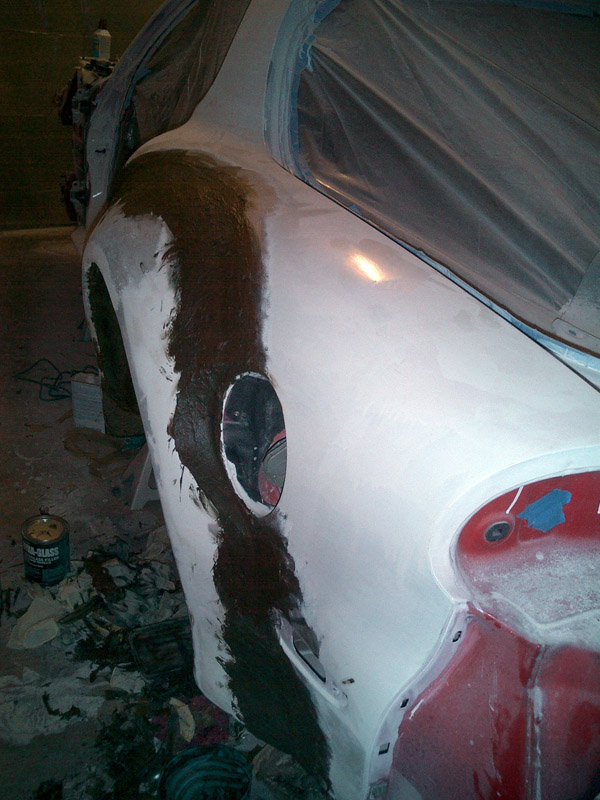
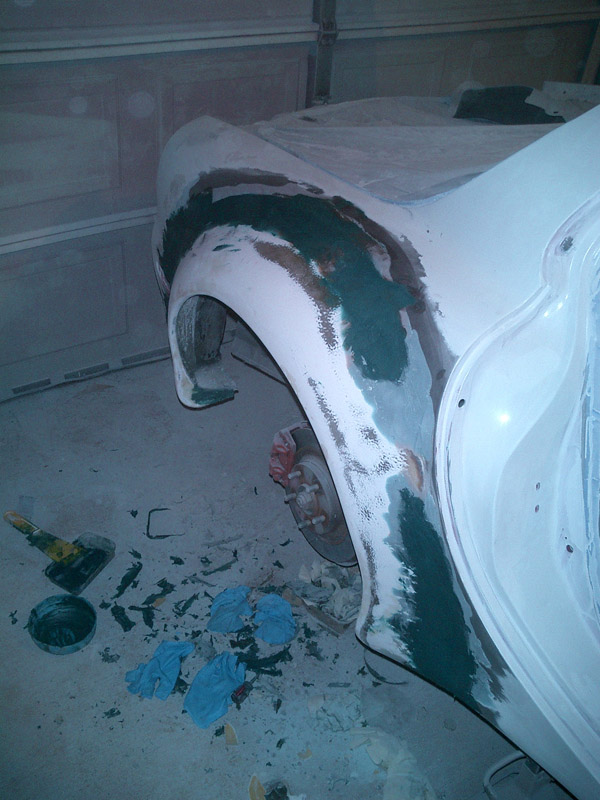
Dont be fooled - its actually glued to the metal not the black liner. I went and sanded a section for the glue to adhere directly to the body. The glue is a two part epoxy meant specifically for adhering fiberglass to metal. Used commonly when repairing corvettes. The bolts are also held in with loctite and barbed lock washers.
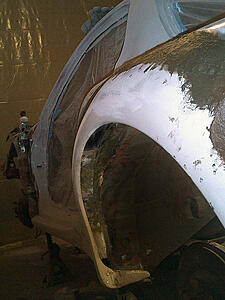
Short hair fiberglass filler. Allows for a little bit of flex without cracking.

Had to fill in the gap in the wheel well somehow. Here's my first attempt at laying fiberglass -


Dont be fooled - its actually glued to the metal not the black liner. I went and sanded a section for the glue to adhere directly to the body. The glue is a two part epoxy meant specifically for adhering fiberglass to metal. Used commonly when repairing corvettes. The bolts are also held in with loctite and barbed lock washers.
Short hair fiberglass filler. Allows for a little bit of flex without cracking.
Had to fill in the gap in the wheel well somehow. Here's my first attempt at laying fiberglass -

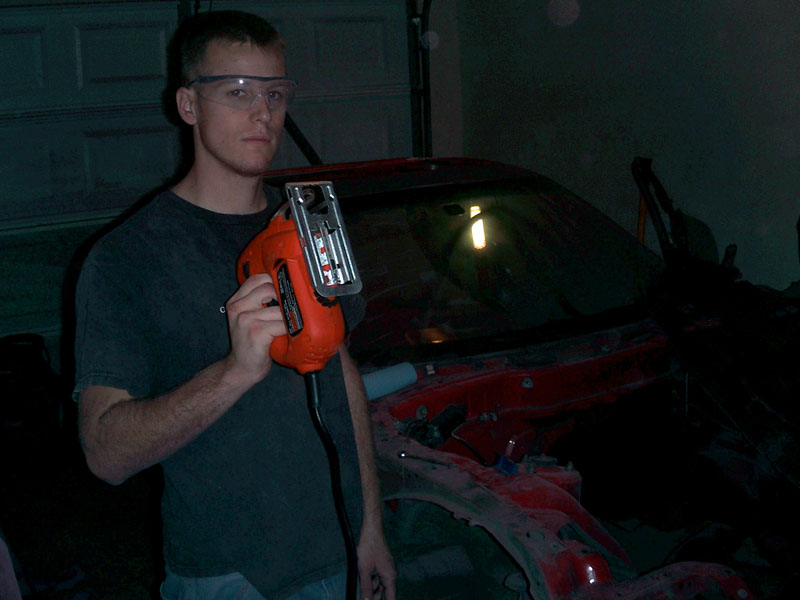
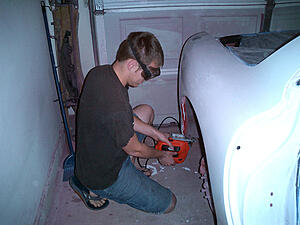
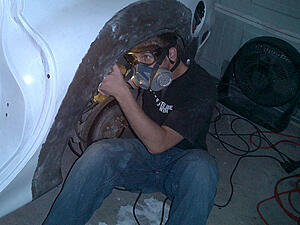
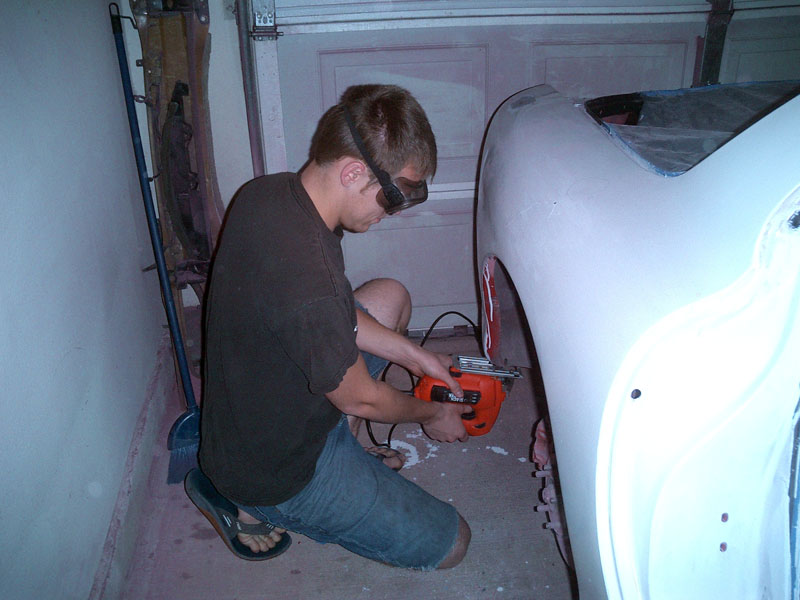
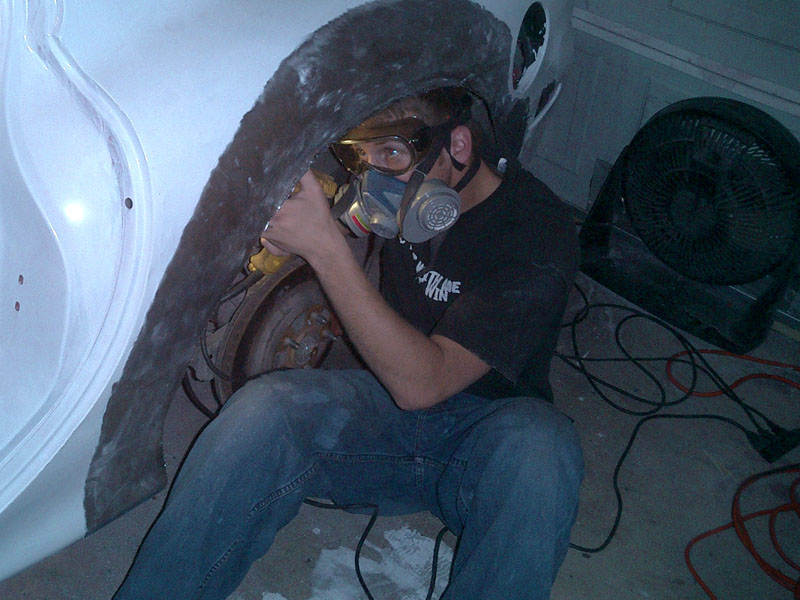
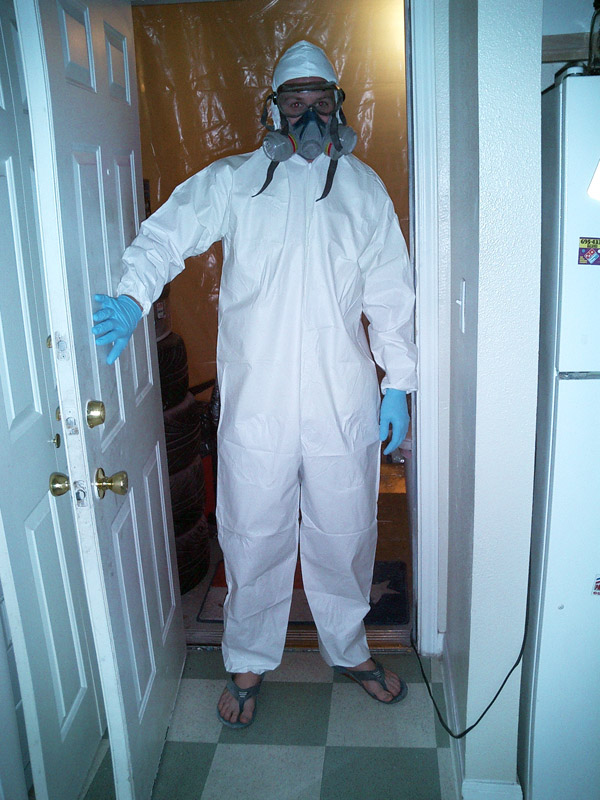
Getting ready to start sanding fiberglass for the first time. Pay specific attention to my footwear -

Of course now I just wear a respirator, but you can never be too careful your first time.

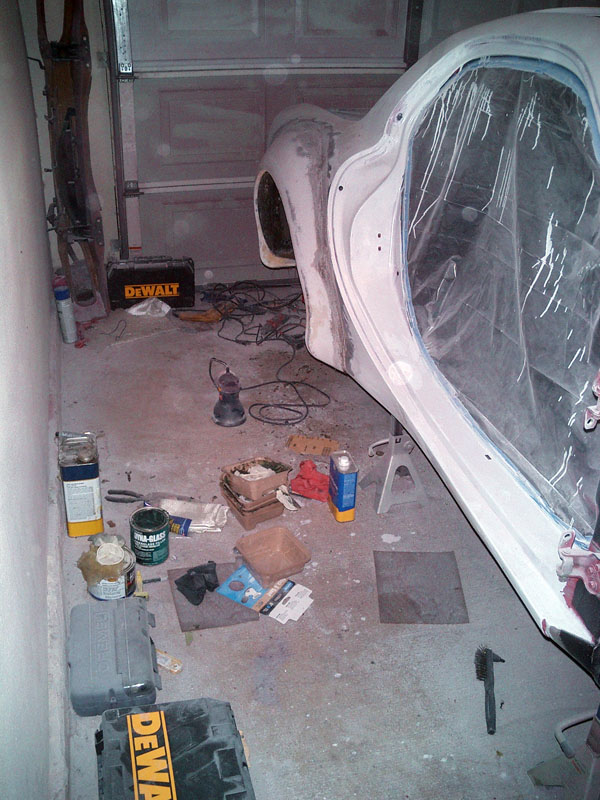
Ya, I might be doing bodywork in the garage
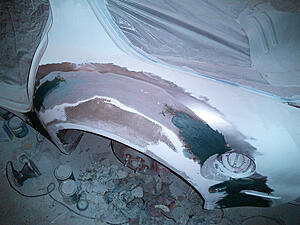
'Skim' coat of bondo to finish it off. God what was I thinking -


Of course now I just wear a respirator, but you can never be too careful your first time.

Ya, I might be doing bodywork in the garage

'Skim' coat of bondo to finish it off. God what was I thinking -

Trending Topics
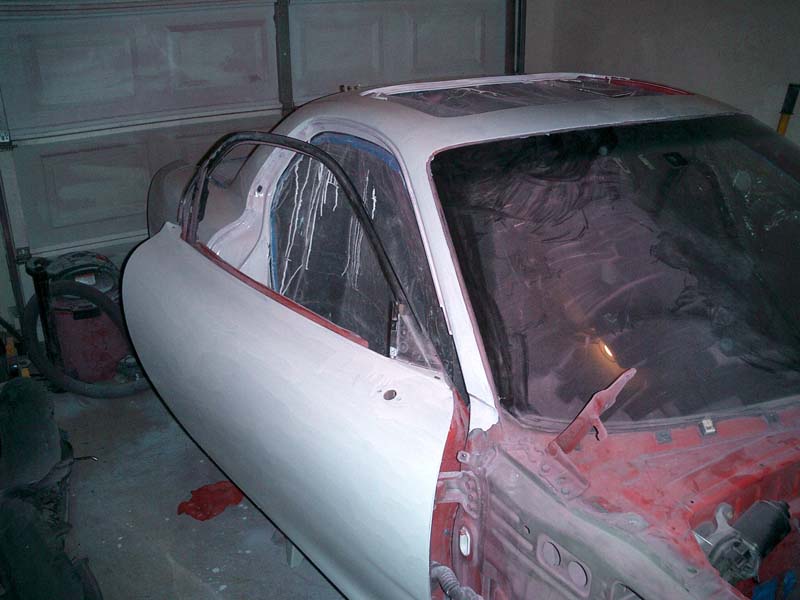
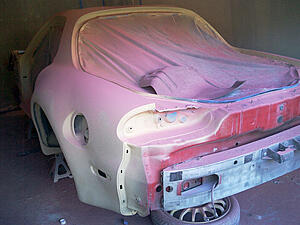
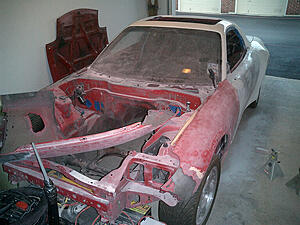
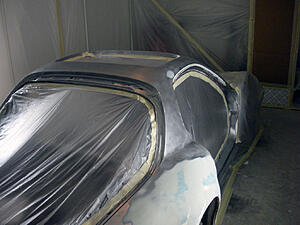
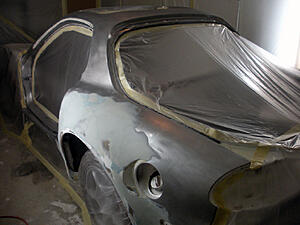
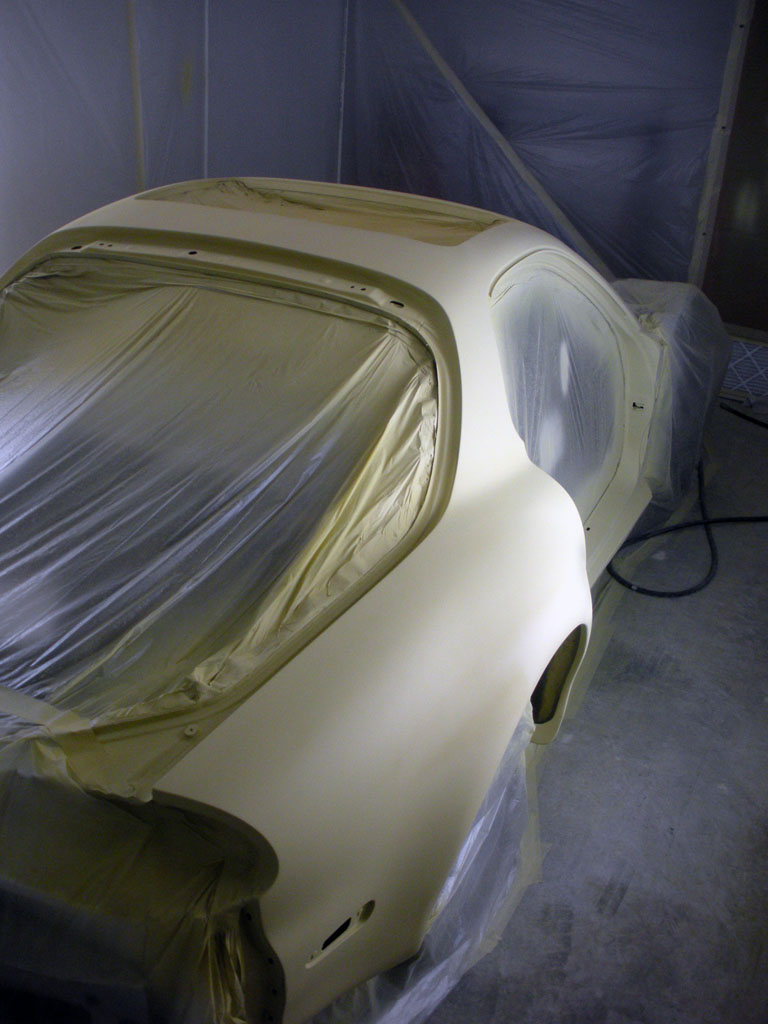
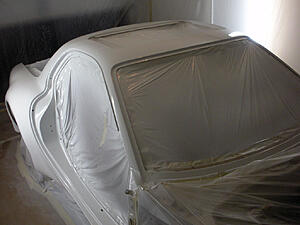
At this point I sanded off all the white rustoleum paint and never took pictures, so all of a sudden its primered -

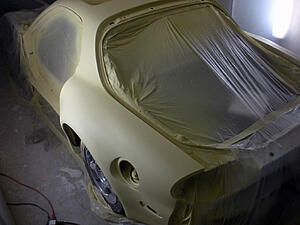
There's actually an etching primer underneath the yellow filler primer.
What a complete mess -


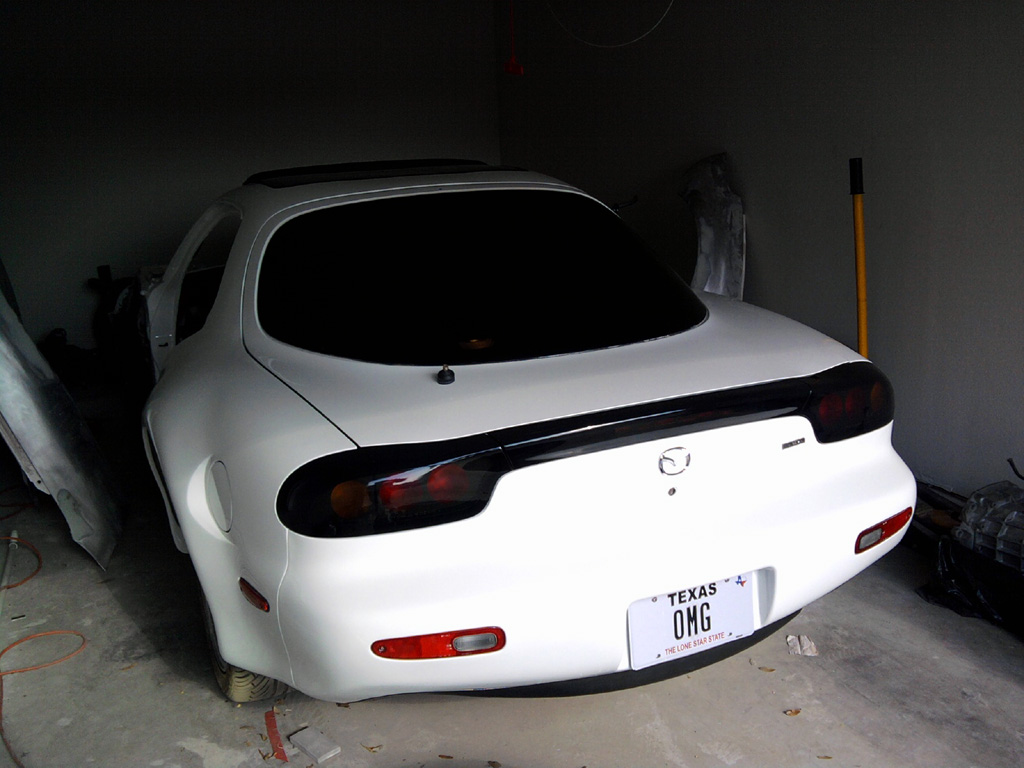
Here's my first attempt at painting this car. Single stage acrylic using a 1.8 tip on a cheap $60 hvlp gun. Again, what was I thinking -

Tons of orange peel and I didnt prep the bumper correctly so the paint never cured.
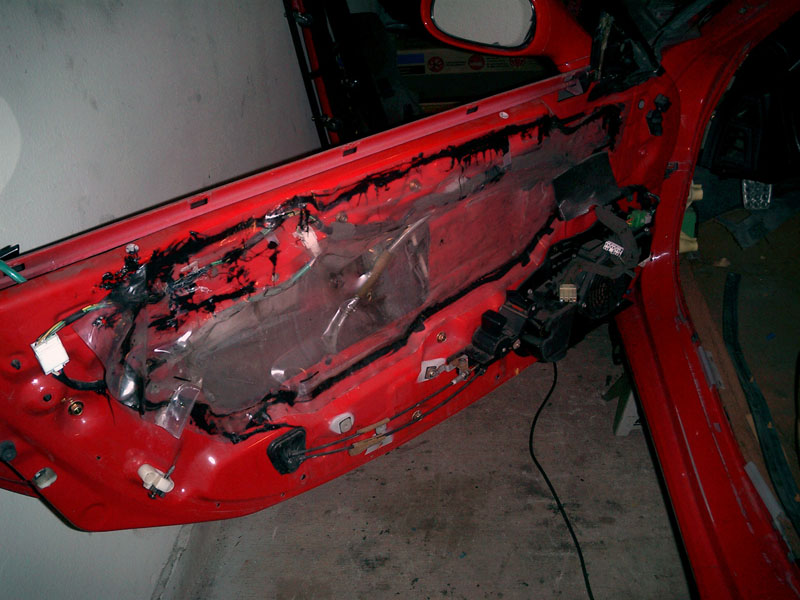
Then I thought putting rhino liner on the inside of the door was a brilliant idea and would make painting that much easier (since Id only have to paint one side of the door). Let me tell you how awesome it is removing all that.

There's actually an etching primer underneath the yellow filler primer.

What a complete mess -
Here's my first attempt at painting this car. Single stage acrylic using a 1.8 tip on a cheap $60 hvlp gun. Again, what was I thinking -

Tons of orange peel and I didnt prep the bumper correctly so the paint never cured.
Then I thought putting rhino liner on the inside of the door was a brilliant idea and would make painting that much easier (since Id only have to paint one side of the door). Let me tell you how awesome it is removing all that.
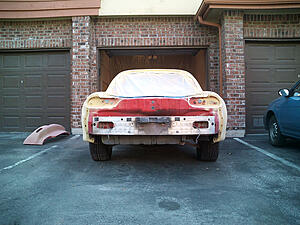
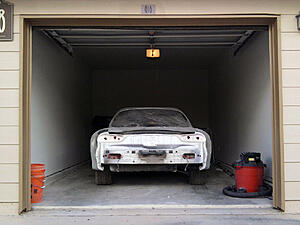
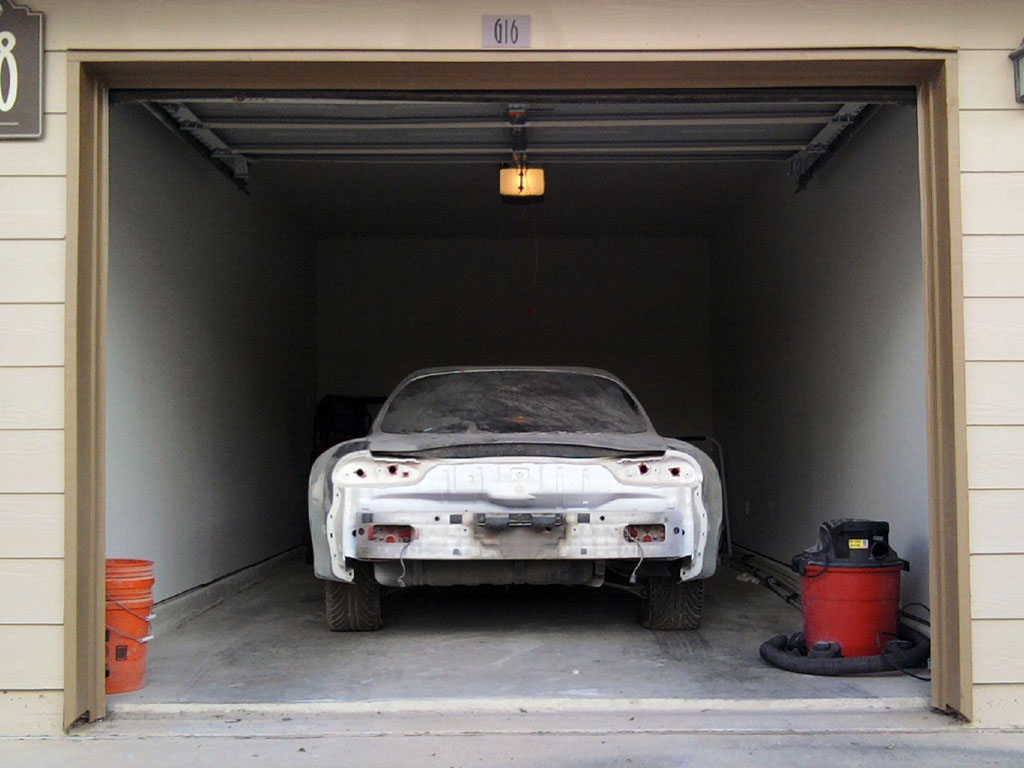
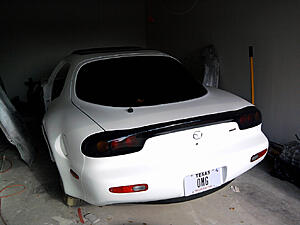
Okay. So now its been a year. Ive had to move to a different apt complex. Here is how the car sat for another year, untouched. Almost forgotten about. My old roomate moved out and I was using his compressor to power the paint gun so I couldn't keep going with the body work.

At the end of year 2 I had pretty much run out of steam on this project and was ready to throw in the towel. I had no interest in it anymore and my job left me with no free time to work on it. One my coworkers was getting ready to open up a paint shop. He had gone to UTI's paint and body school and the S2000 he owned had an amazing orange flake paintjob he had done himself. I threw him $1800 to finish the RX7 and put the body back together.

Now I might be an amateur, but I can put this guy to shame with my limited experience. I gave him all the right products to do the job and all he had to do was buy the color/clear. He used none of what I gave him, didnt prep the metal correctly, and bought the cheapest color/clear he could find. The paint was flaking off down to bare metal within months and the car was different color whites. It hadnt even moved out of my garage yet! I took him to small claims and won $2400 (and have yet to see a single penny). The car sat for about half a year while all that happened. So now we're at 3.5 years total.
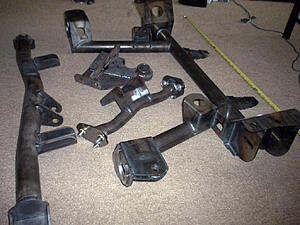
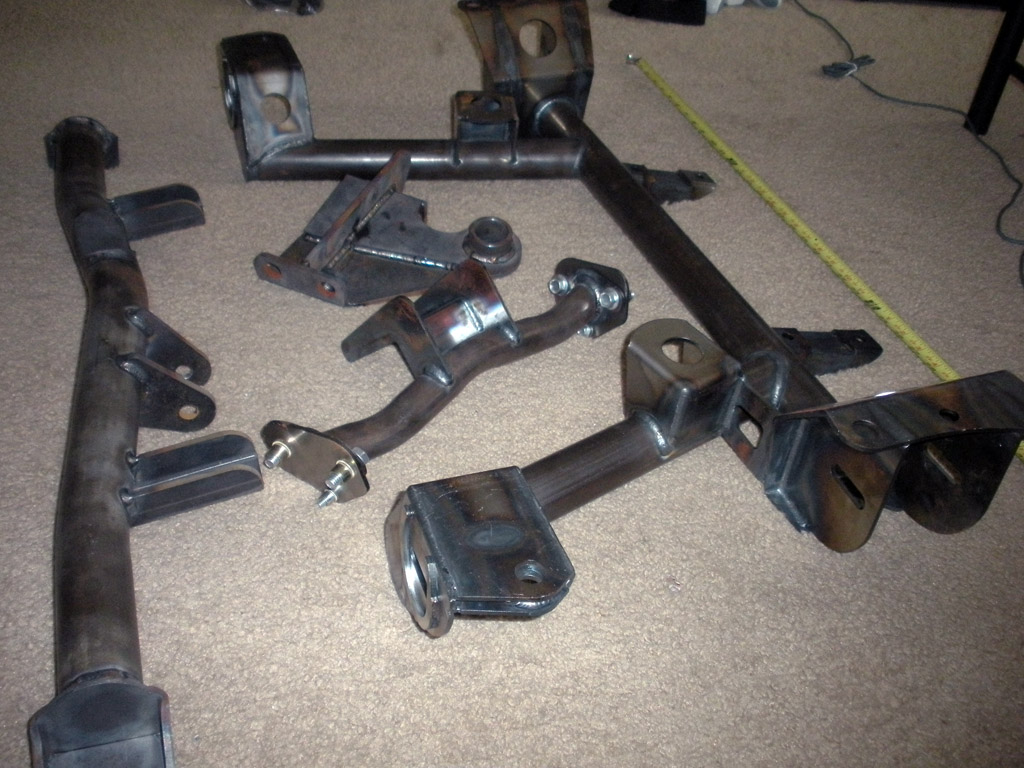
In the meantime I ordered the subframe -
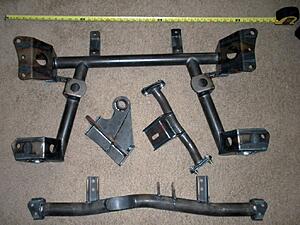
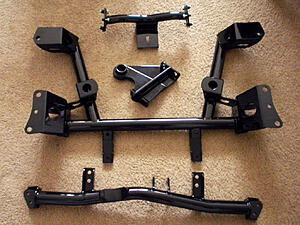
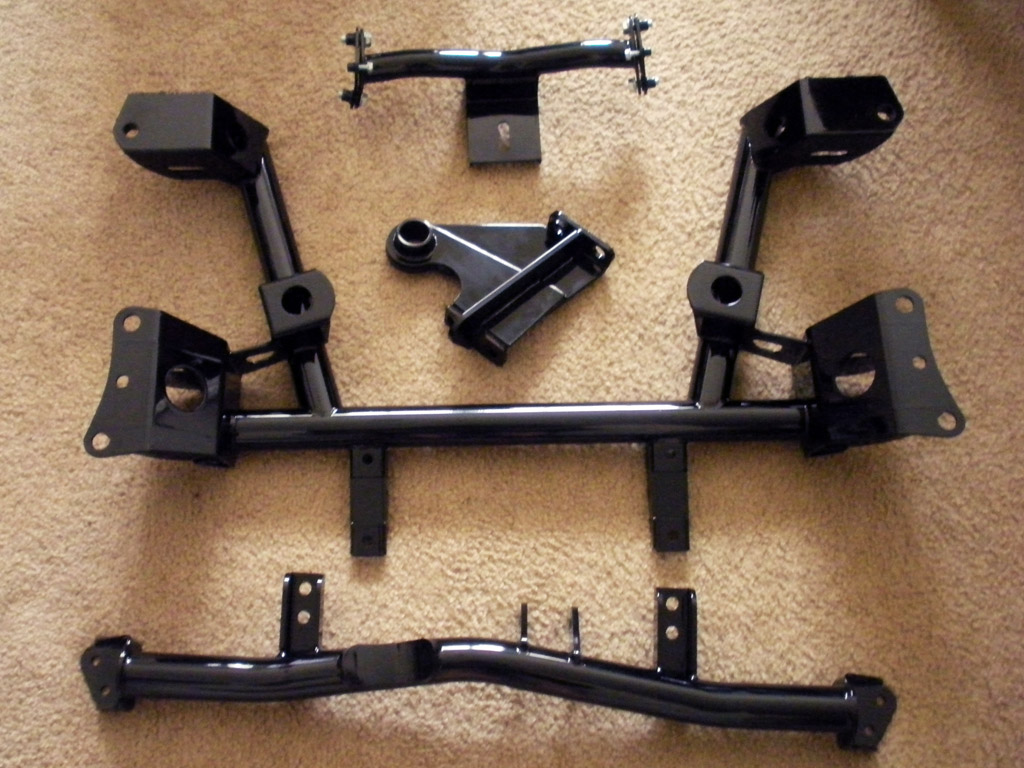
And had it powder coated -
And I moved again.
At the end of year 2 I had pretty much run out of steam on this project and was ready to throw in the towel. I had no interest in it anymore and my job left me with no free time to work on it. One my coworkers was getting ready to open up a paint shop. He had gone to UTI's paint and body school and the S2000 he owned had an amazing orange flake paintjob he had done himself. I threw him $1800 to finish the RX7 and put the body back together.

Now I might be an amateur, but I can put this guy to shame with my limited experience. I gave him all the right products to do the job and all he had to do was buy the color/clear. He used none of what I gave him, didnt prep the metal correctly, and bought the cheapest color/clear he could find. The paint was flaking off down to bare metal within months and the car was different color whites. It hadnt even moved out of my garage yet! I took him to small claims and won $2400 (and have yet to see a single penny). The car sat for about half a year while all that happened. So now we're at 3.5 years total.
In the meantime I ordered the subframe -
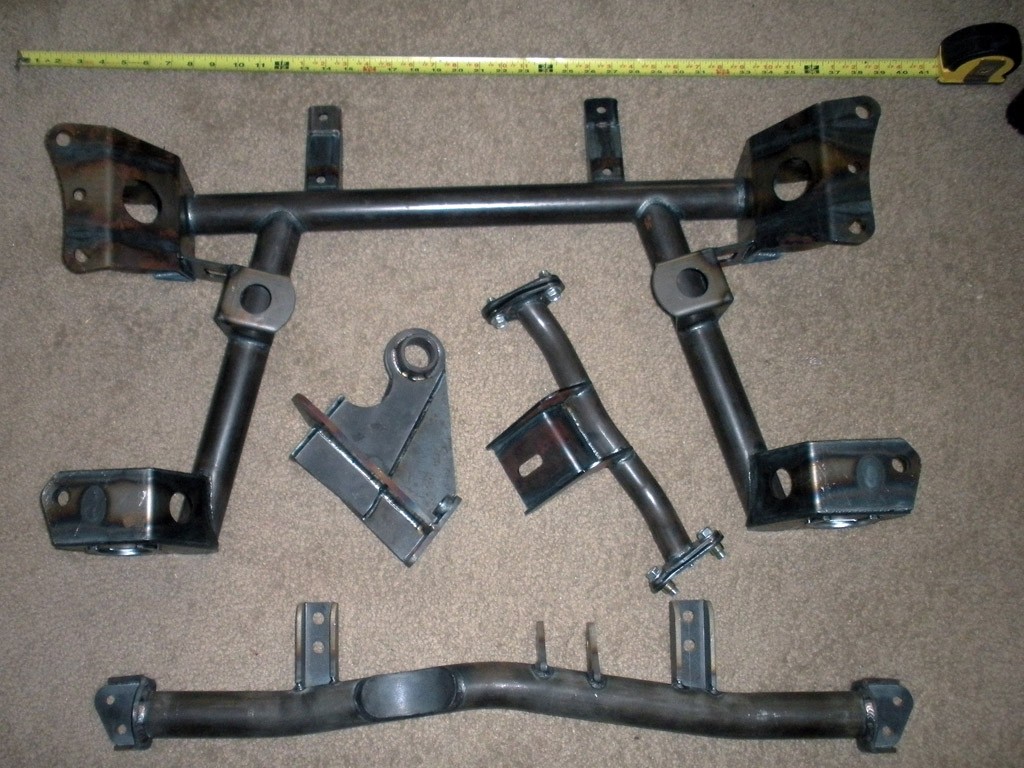
And had it powder coated -
And I moved again.
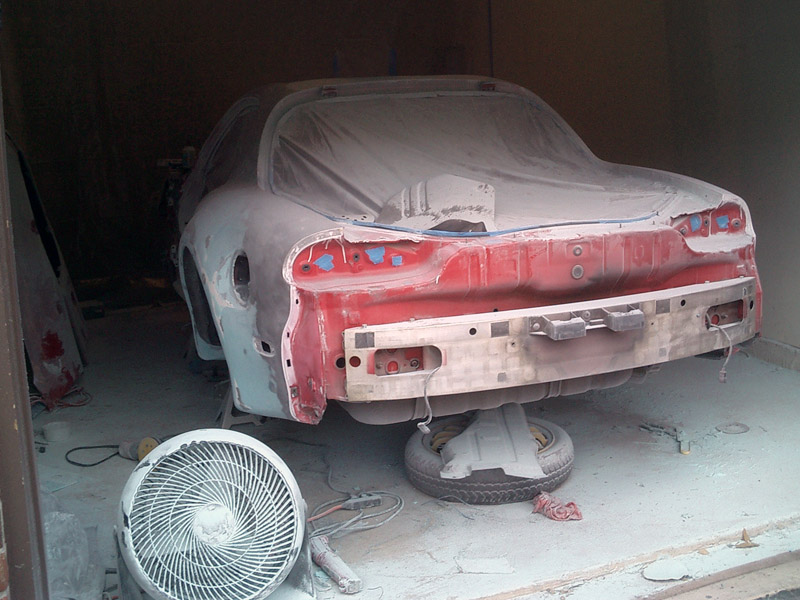
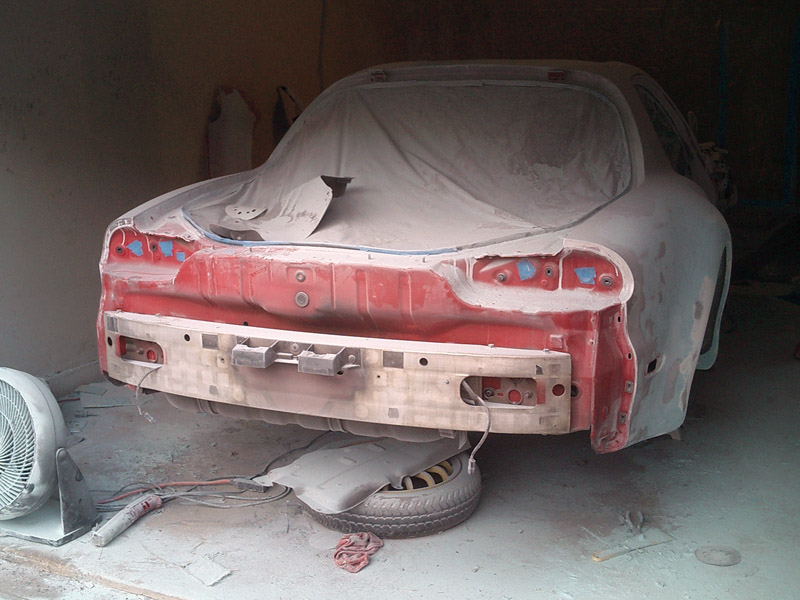
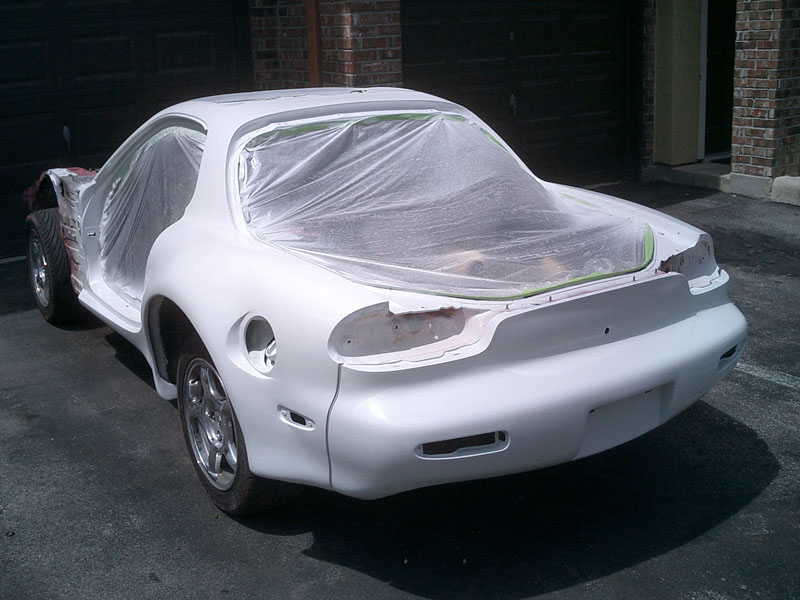
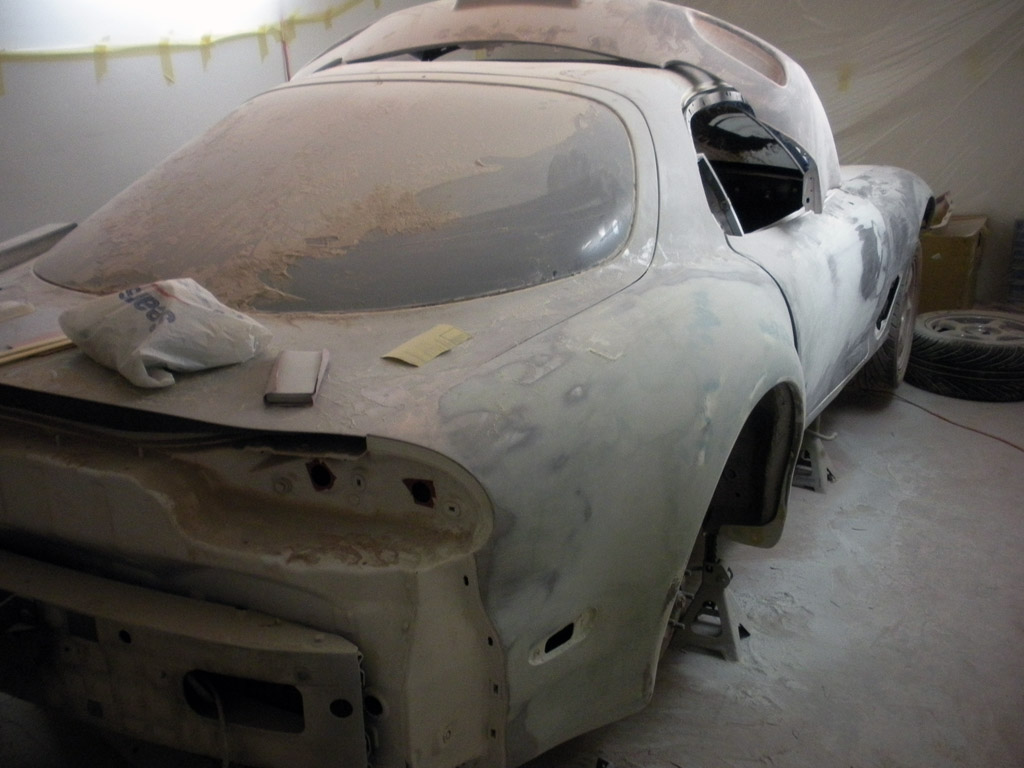
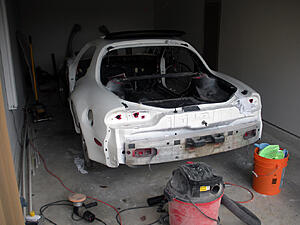
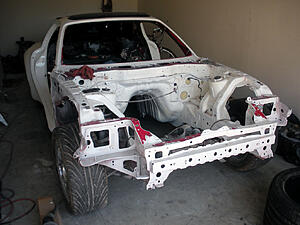
So now Im tasked with undoing everything this idiot "painter" has done. I had to strip all his paint off. Figured Id go through all my trial and error acrylic coats while I was at it and get back down to bare metal....for the second time. This includes redoing a lot of my bodywork. This time around I knew what I was doing and used some nice Rage Gold body filler. By the time I finished It was almost year 4 and it still looked exactly like it had only 1 month into the project.

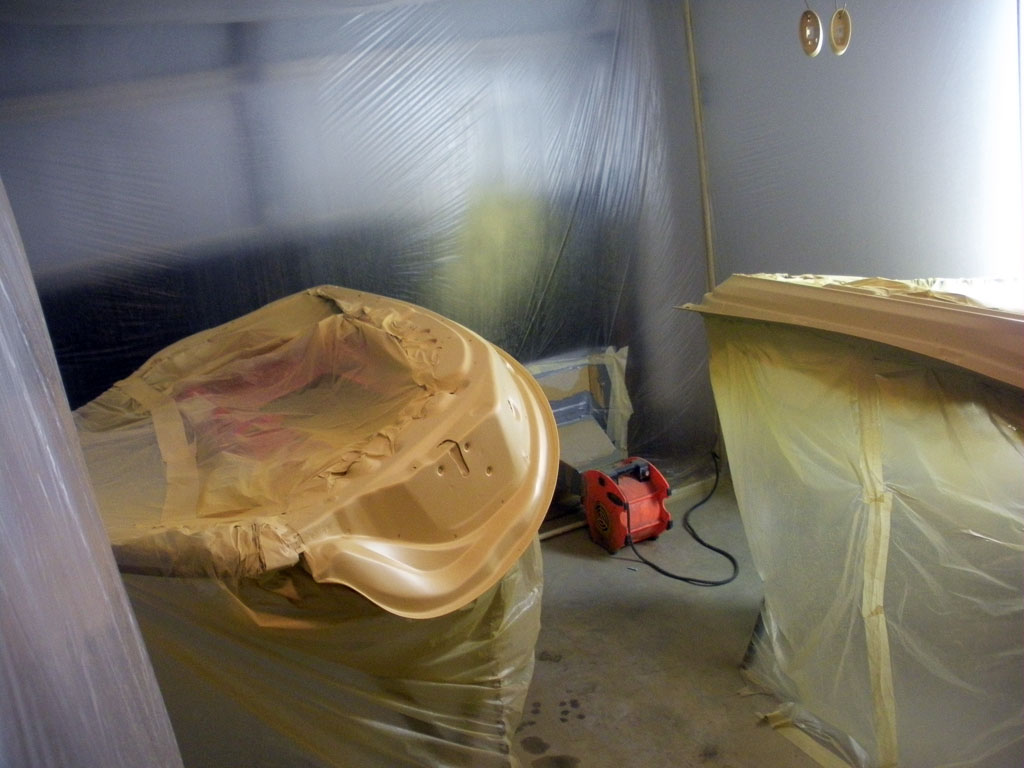
I built a real exhaust fan that didnt kick any air back into my work space
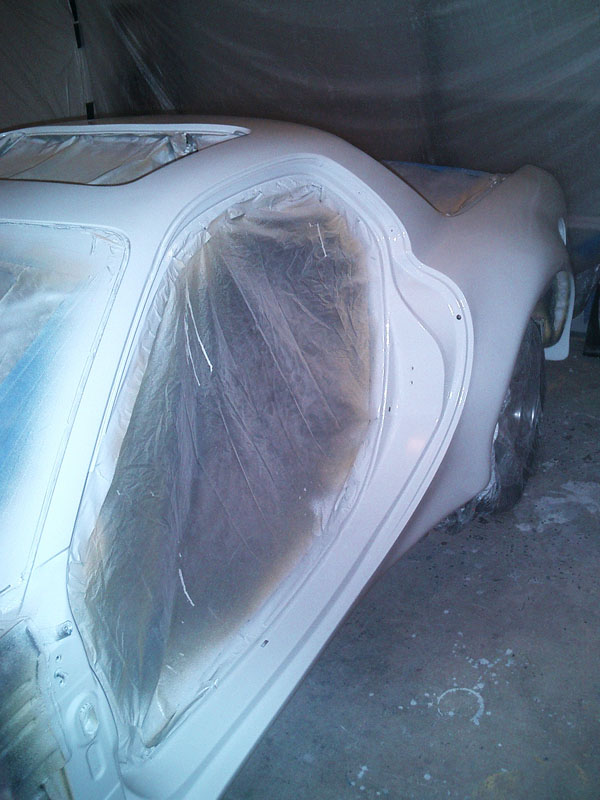
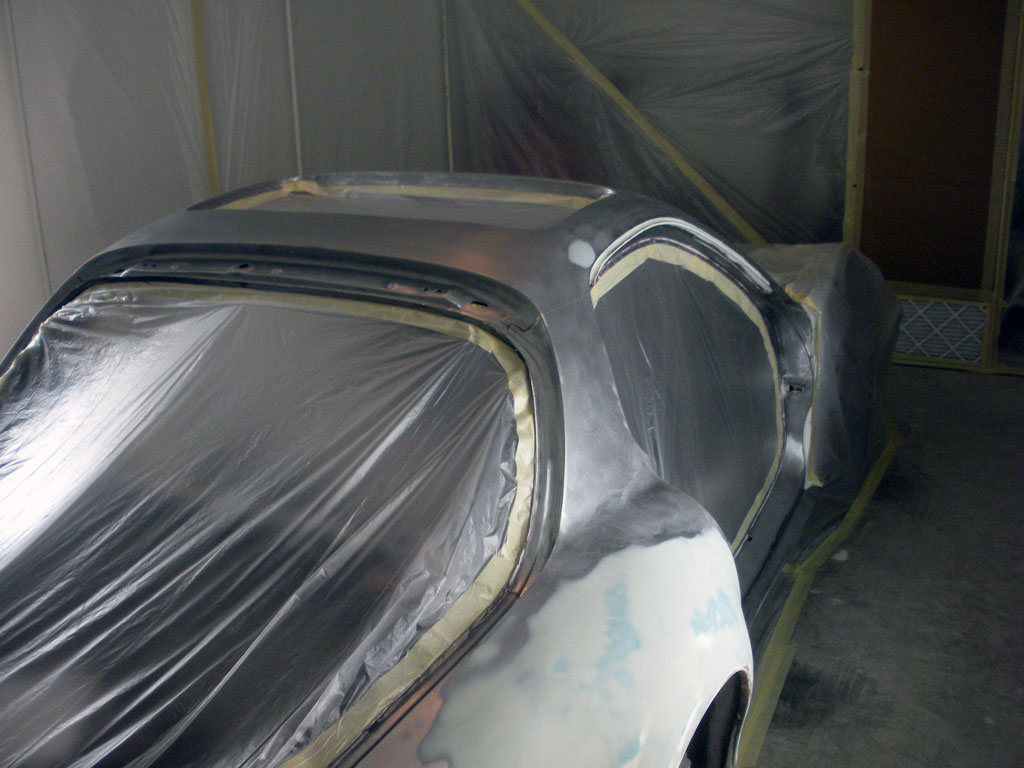
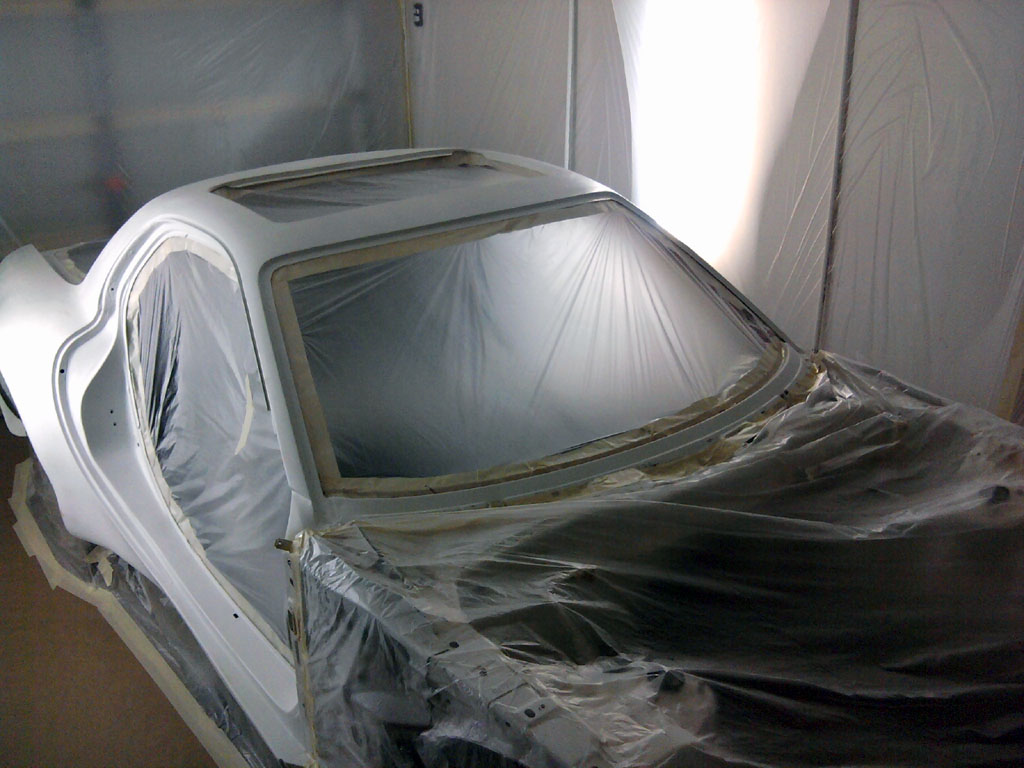
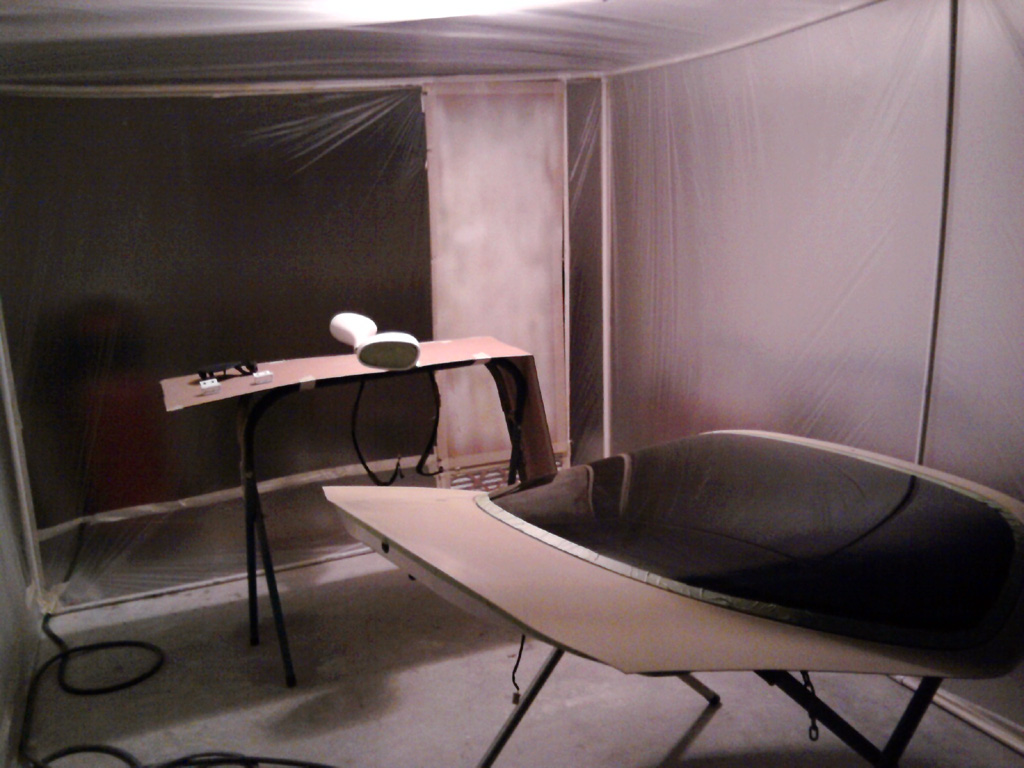
And the booth was now built out of a pvc framework and wrapped in plastic. No more taping to the walls. This created an actual low pressure booth.

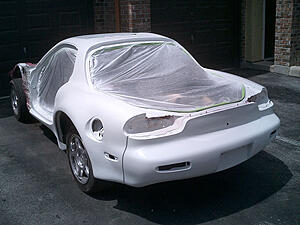
Primered.....again -

This should give you an idea of the pvc skeleton I constructed -


I built a real exhaust fan that didnt kick any air back into my work space

And the booth was now built out of a pvc framework and wrapped in plastic. No more taping to the walls. This created an actual low pressure booth.

Primered.....again -


This should give you an idea of the pvc skeleton I constructed -

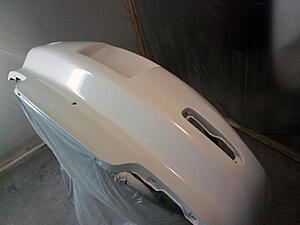
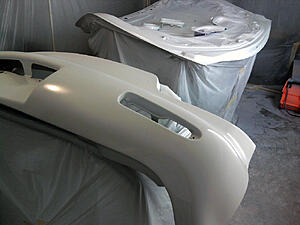
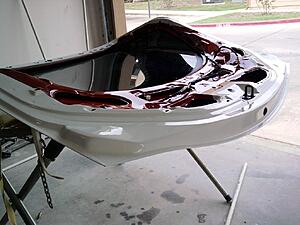
Now I had my own compressor. A nice primer gun and a good (and expensive) paint gun that was the correct needle size. No more single stage either. This time around I was doing a base coat and clear coat.


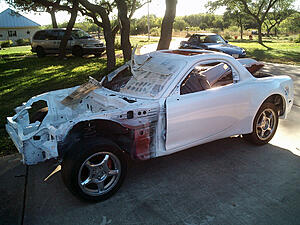
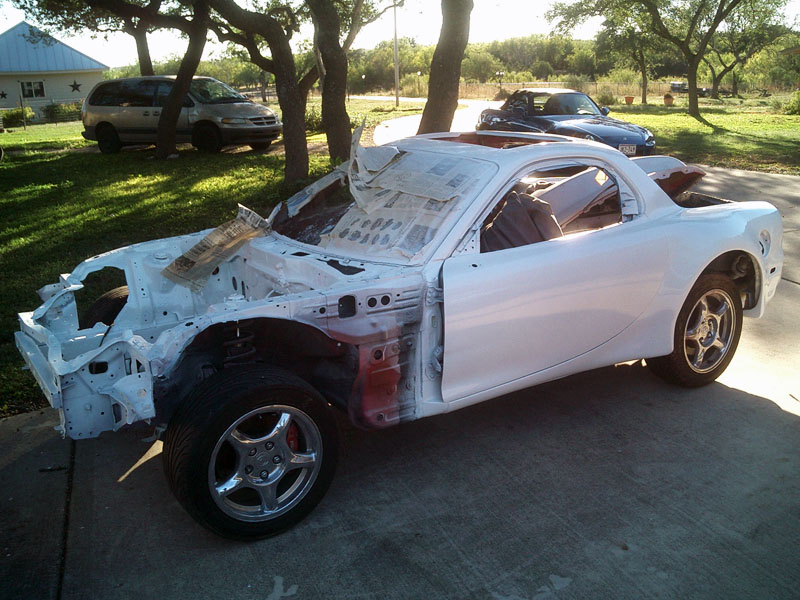
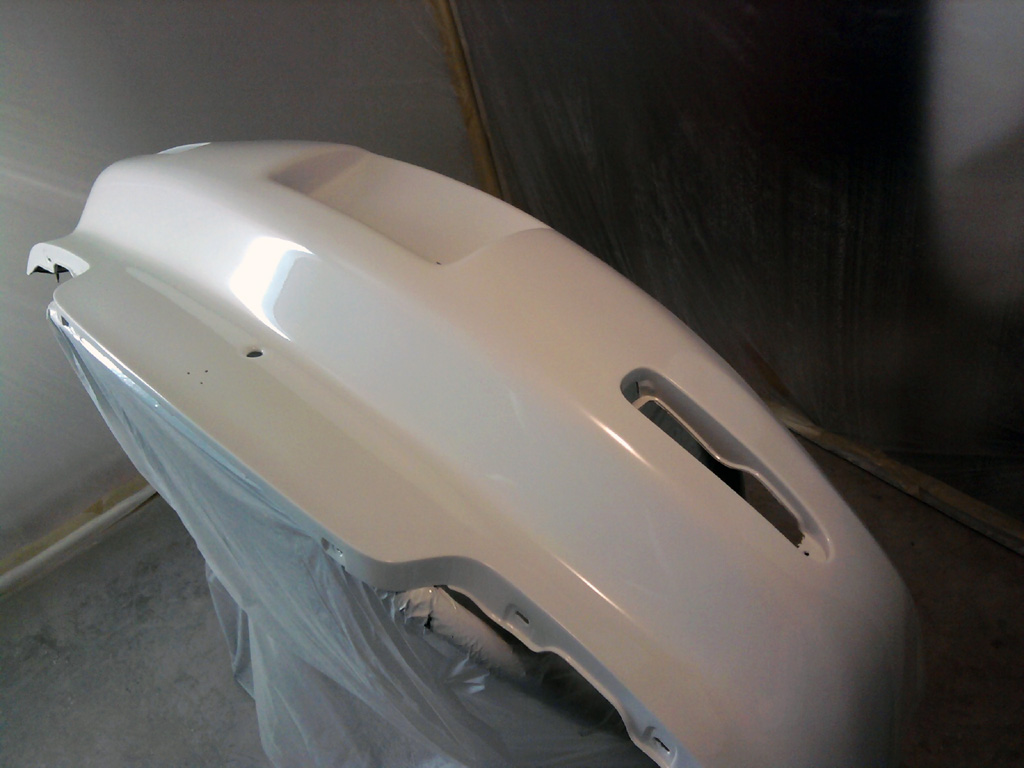
Awww yaahh

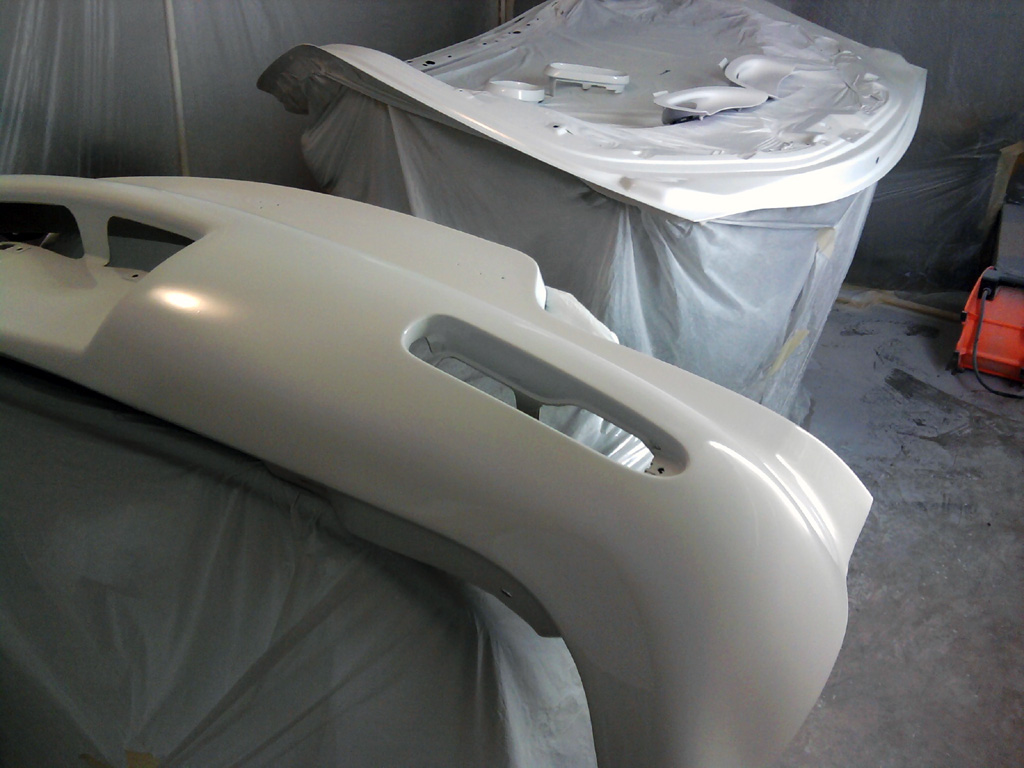
Now on to the rest of the body pieces -
Awww yaahh

Now on to the rest of the body pieces -

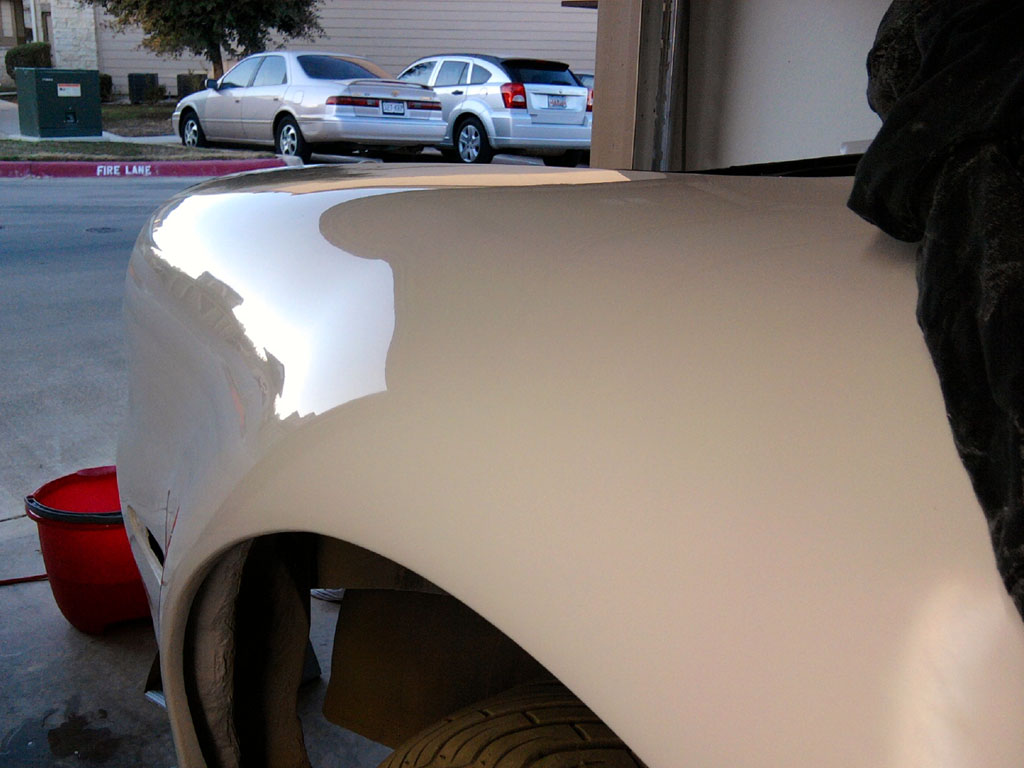
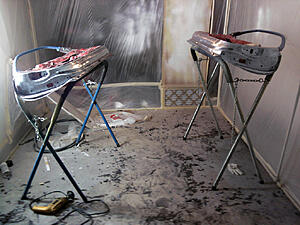
Setting up the paint booth


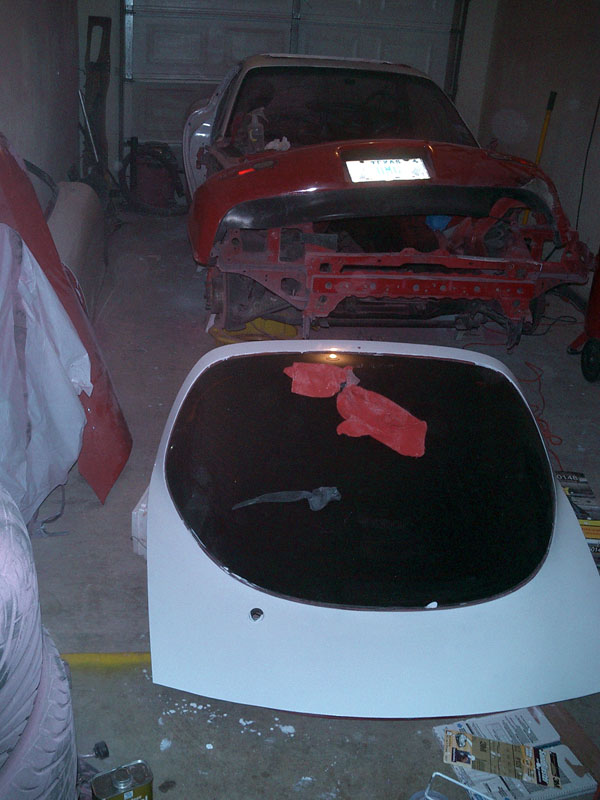
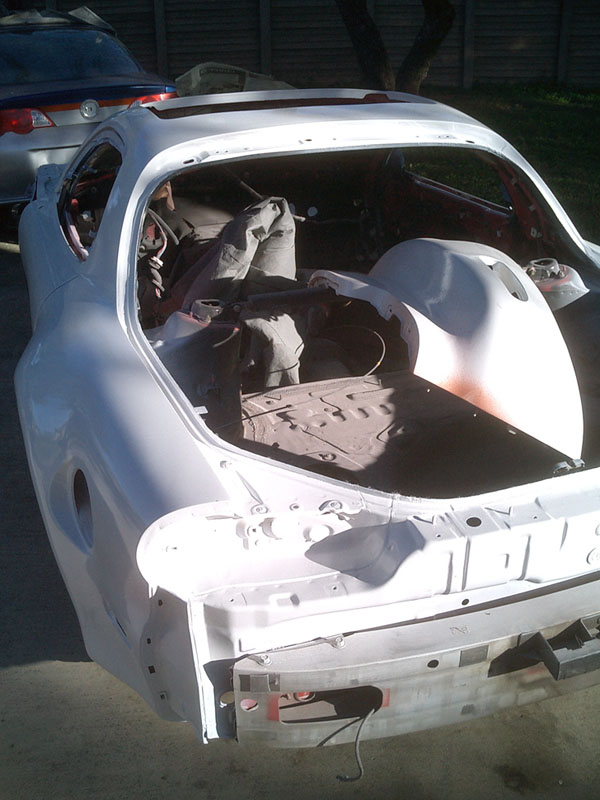
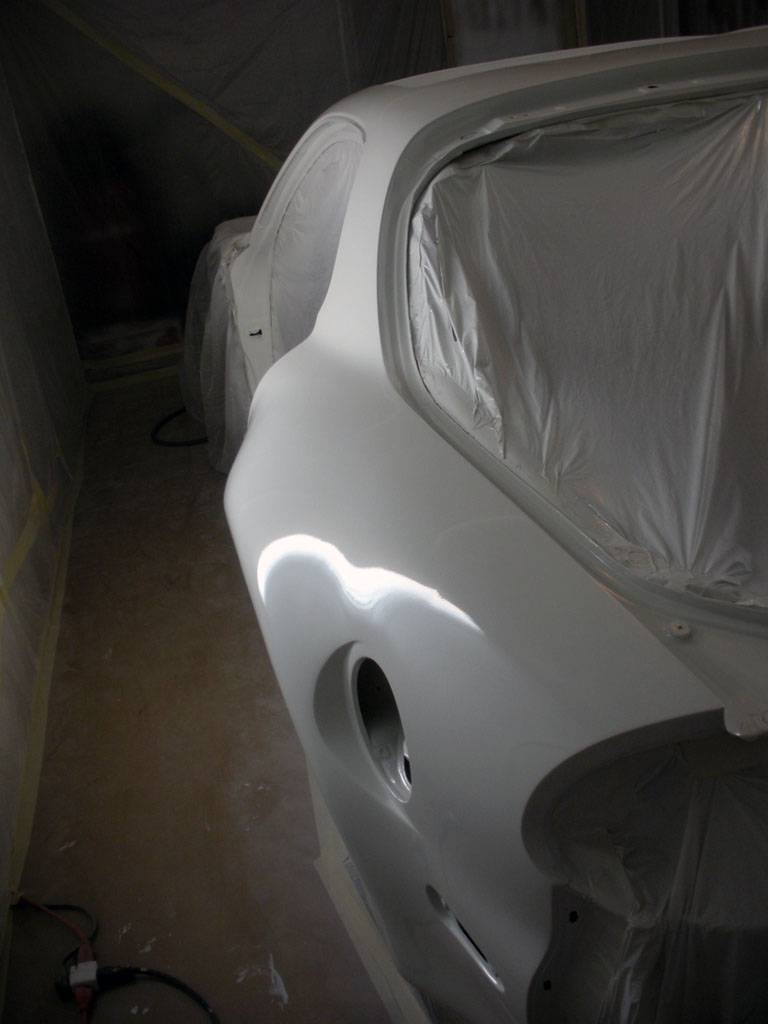
I still have to buff the other half

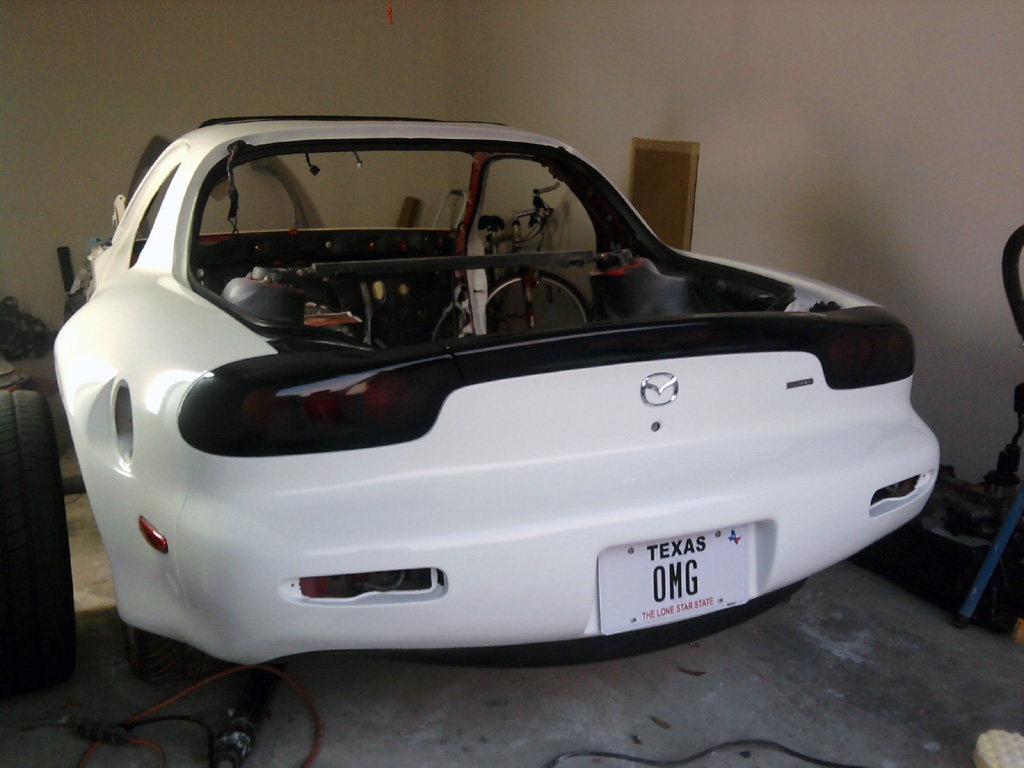
Fast forward a few steps and it's installed...
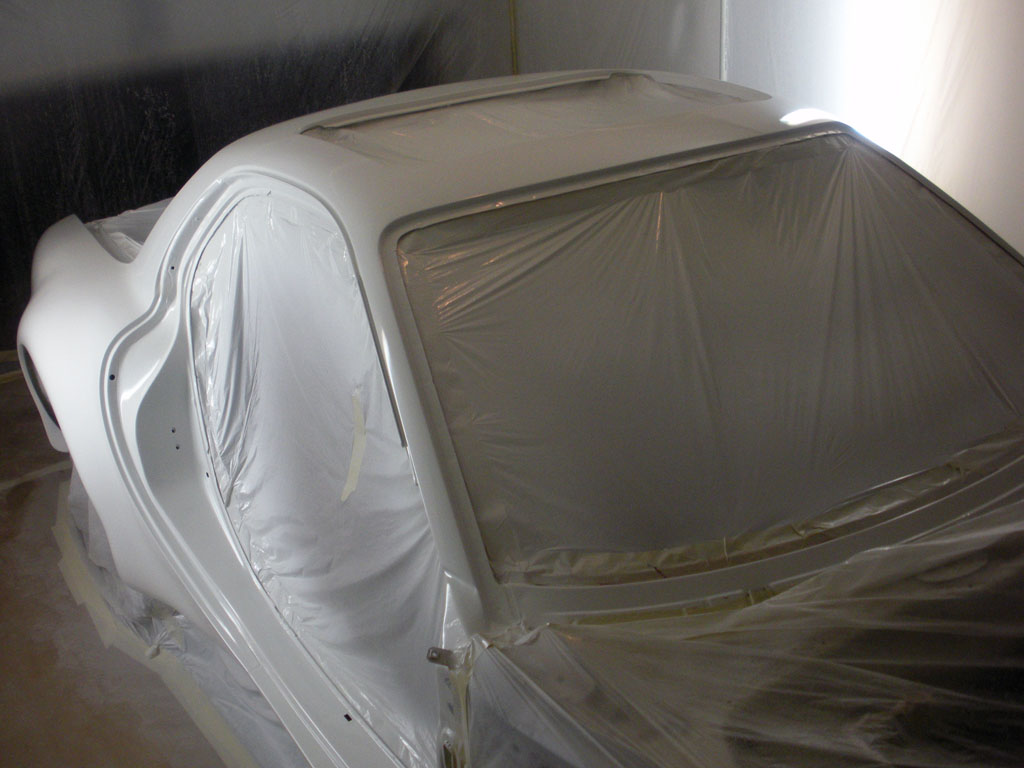
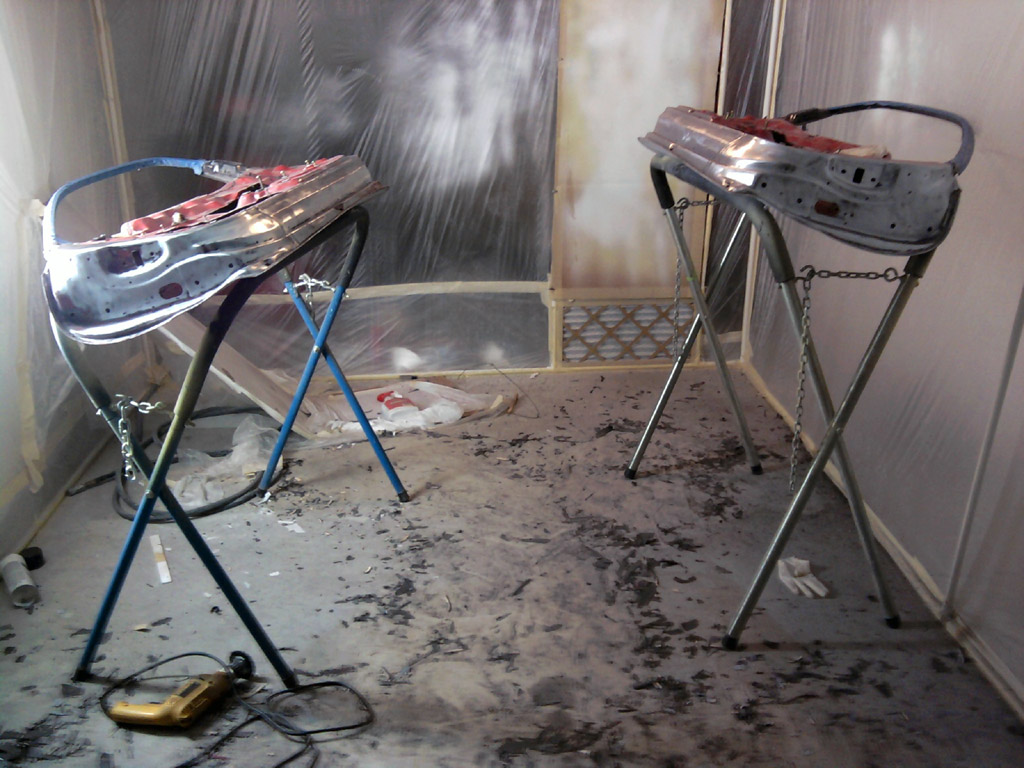
And back to the paint booth, where I started stripping the doors.
It was the summer at this point and the heat was insane. It would take so long to cool down it brought me to a crawl dealing with the paint work. It was just too hot to sit there and work with a respirator in a closed garage, so I left it like that for the entire summer.
I still have to buff the other half

Fast forward a few steps and it's installed...
And back to the paint booth, where I started stripping the doors.
It was the summer at this point and the heat was insane. It would take so long to cool down it brought me to a crawl dealing with the paint work. It was just too hot to sit there and work with a respirator in a closed garage, so I left it like that for the entire summer.
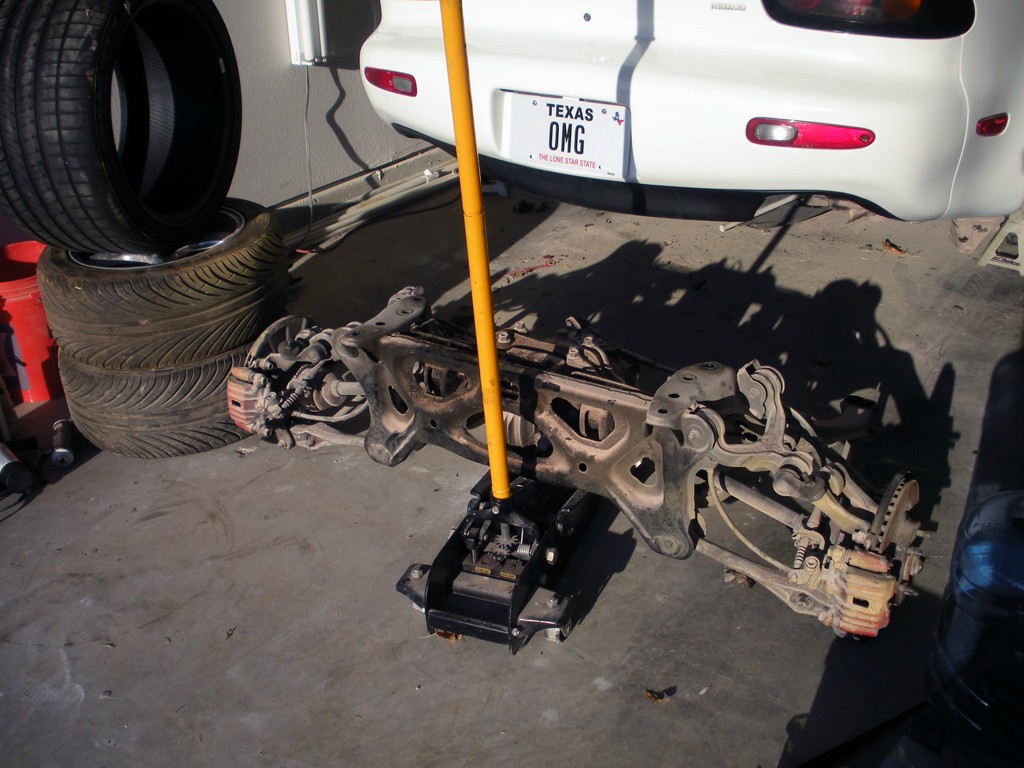
Work never ends for me though, so while I was taking a break from bodywork I focused my energy elsewhere. I pulled the rear subframe and loaded it up into my fiancee's truck so I could drag it to work.
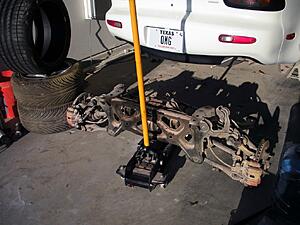
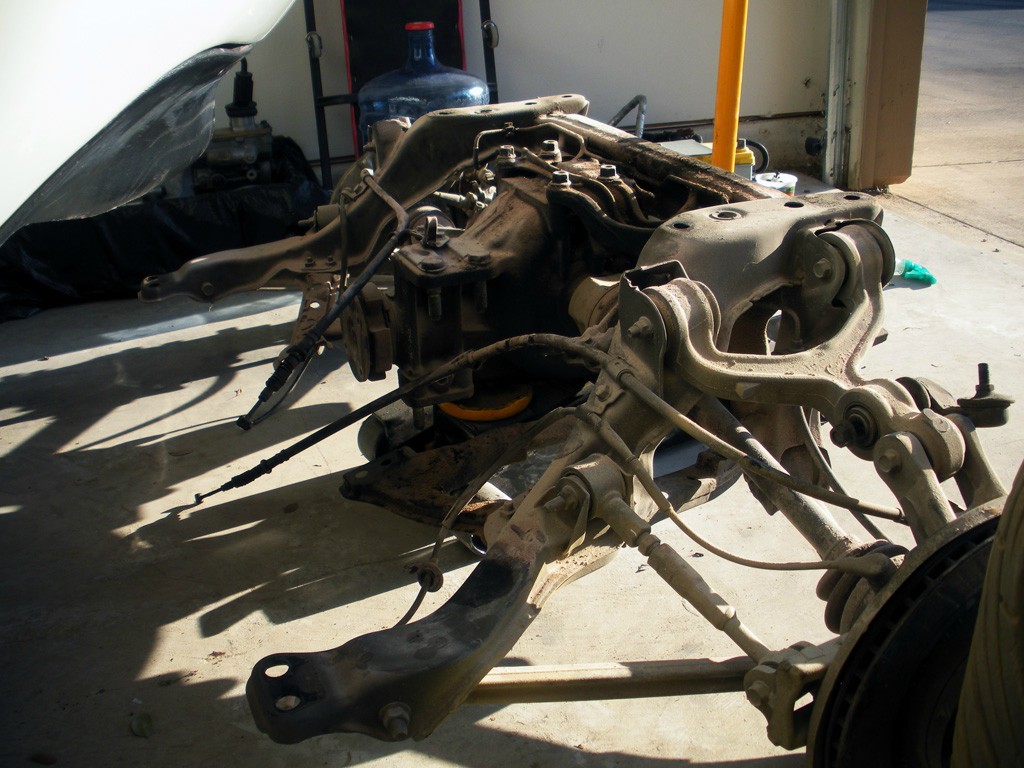
What a filthy mess.

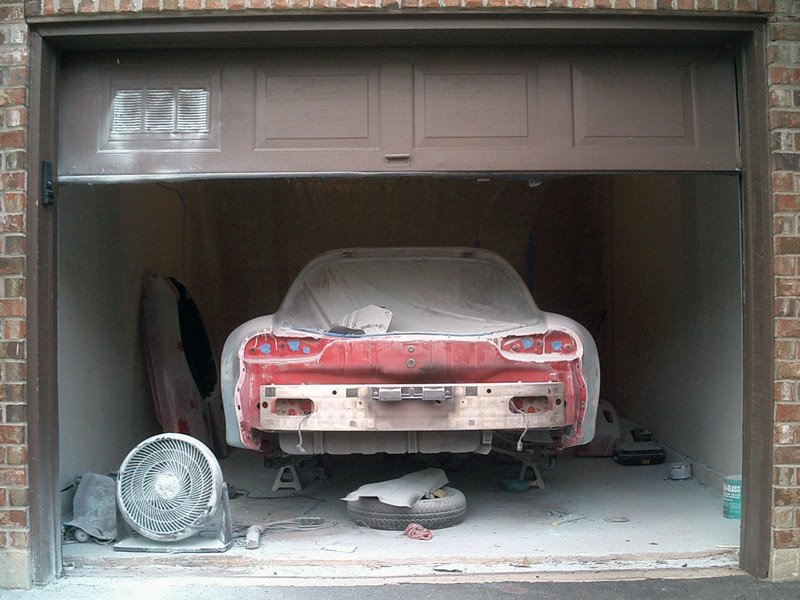
And to give you guys perspective of my workspace -
I had another garage at the end of the building thats the same size that I do all my painting in.
And like so many other things, I neglect to take pictures of the process and only the aftermath...

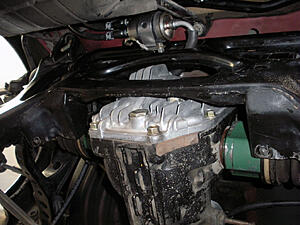
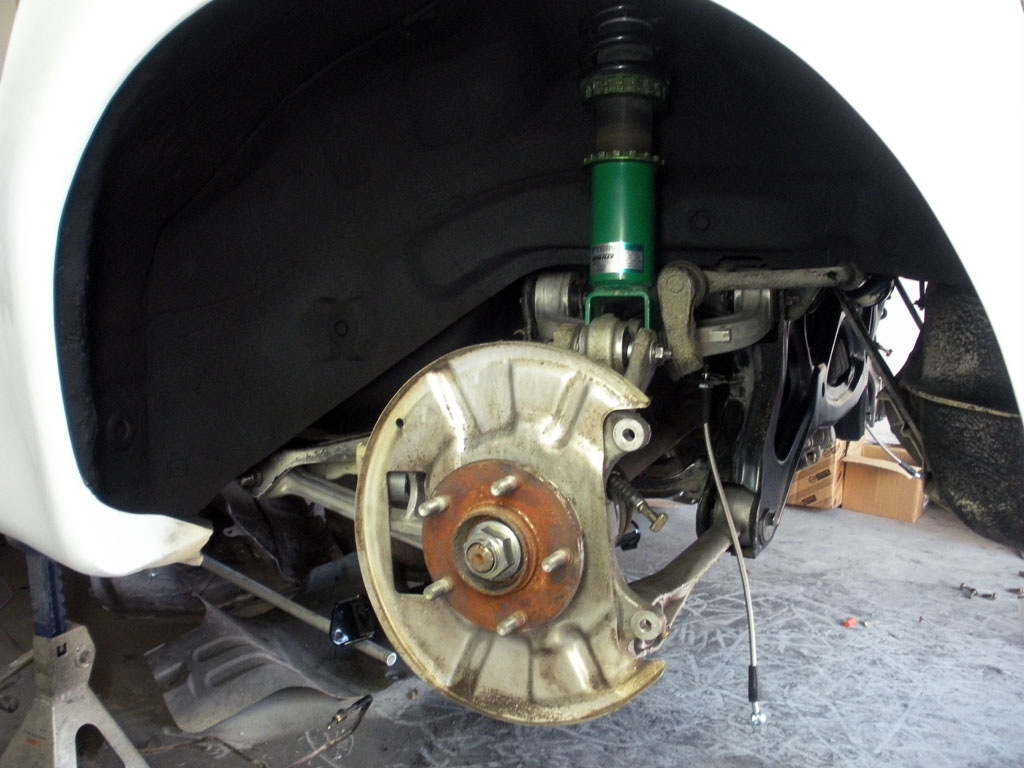
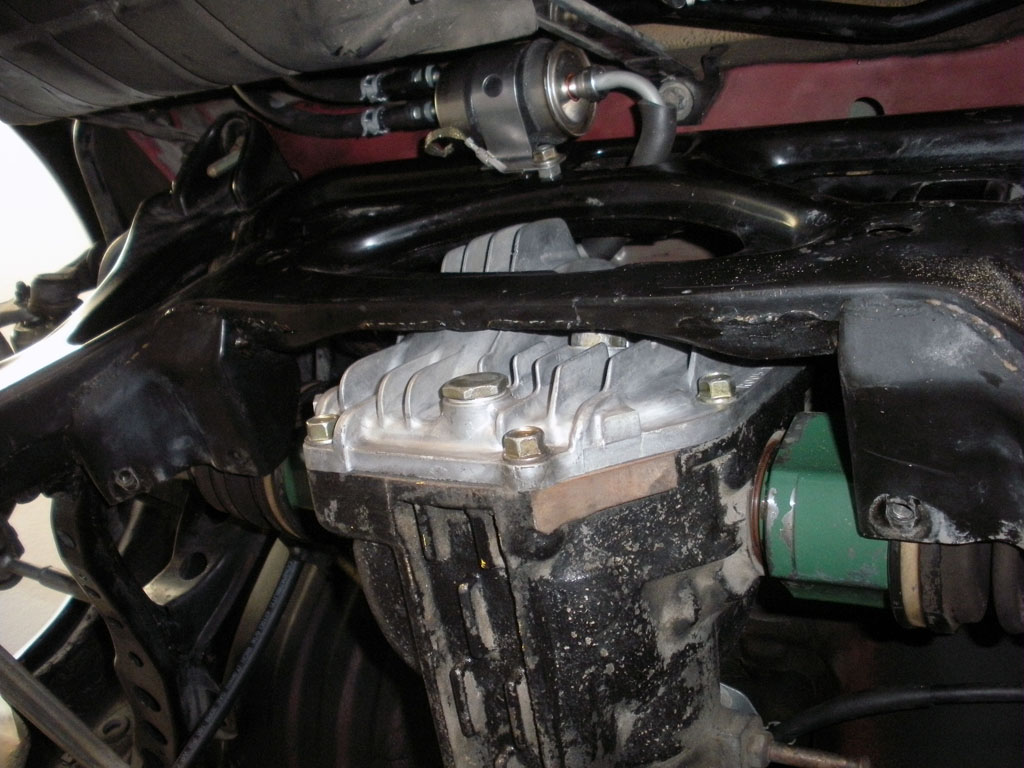
Diff seals were replaced, all 6 pillowball bushings were replaced, the diff was opened up and cleaned out, and all other components were given a good once over to clean up all the dust they were coated in after 4 years of bodywork as well as all the gunk they had collected over the nearly 20 years of use.
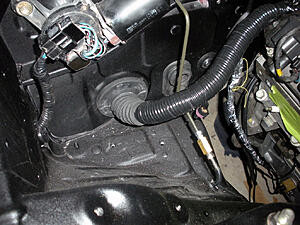
Here's a shot of the corvette fuel filter/pressure regulator. Fits perfect in this location and is 10x easier to service than the OEM one. The hardline running through the subframe ended up getting replaced later down the road when I had some issues lining it up with the factory hardline running the length of the car.
What a filthy mess.
And to give you guys perspective of my workspace -
I had another garage at the end of the building thats the same size that I do all my painting in.
And like so many other things, I neglect to take pictures of the process and only the aftermath...
Diff seals were replaced, all 6 pillowball bushings were replaced, the diff was opened up and cleaned out, and all other components were given a good once over to clean up all the dust they were coated in after 4 years of bodywork as well as all the gunk they had collected over the nearly 20 years of use.
Here's a shot of the corvette fuel filter/pressure regulator. Fits perfect in this location and is 10x easier to service than the OEM one. The hardline running through the subframe ended up getting replaced later down the road when I had some issues lining it up with the factory hardline running the length of the car.
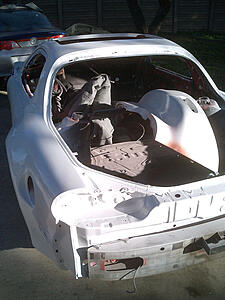
While waiting on parts I started waiting until nightfall and finished stripping the paint off the doors. Cleaned up the mess and ripped down the old plastic from the booth. I still needed to prep the doors and re-wrap the booth, but there was no point in trying to paint- it was still too hot.

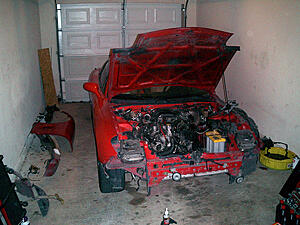
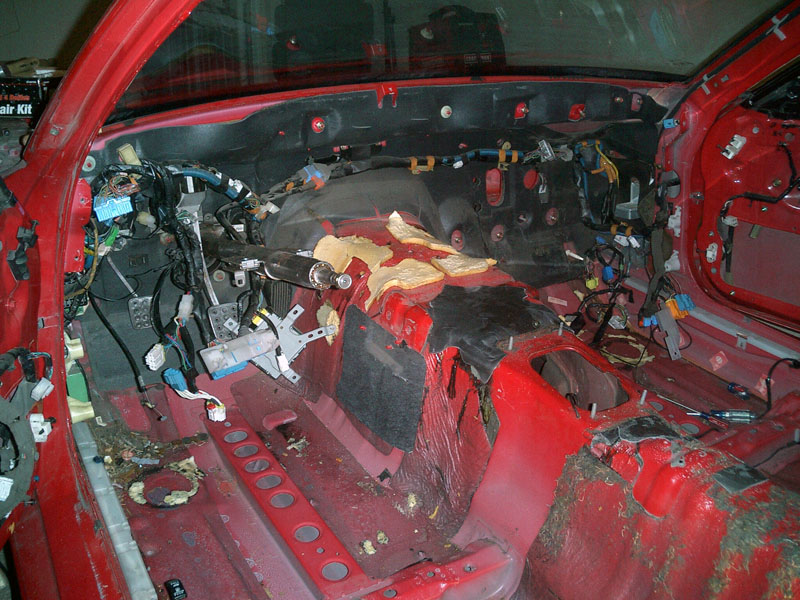
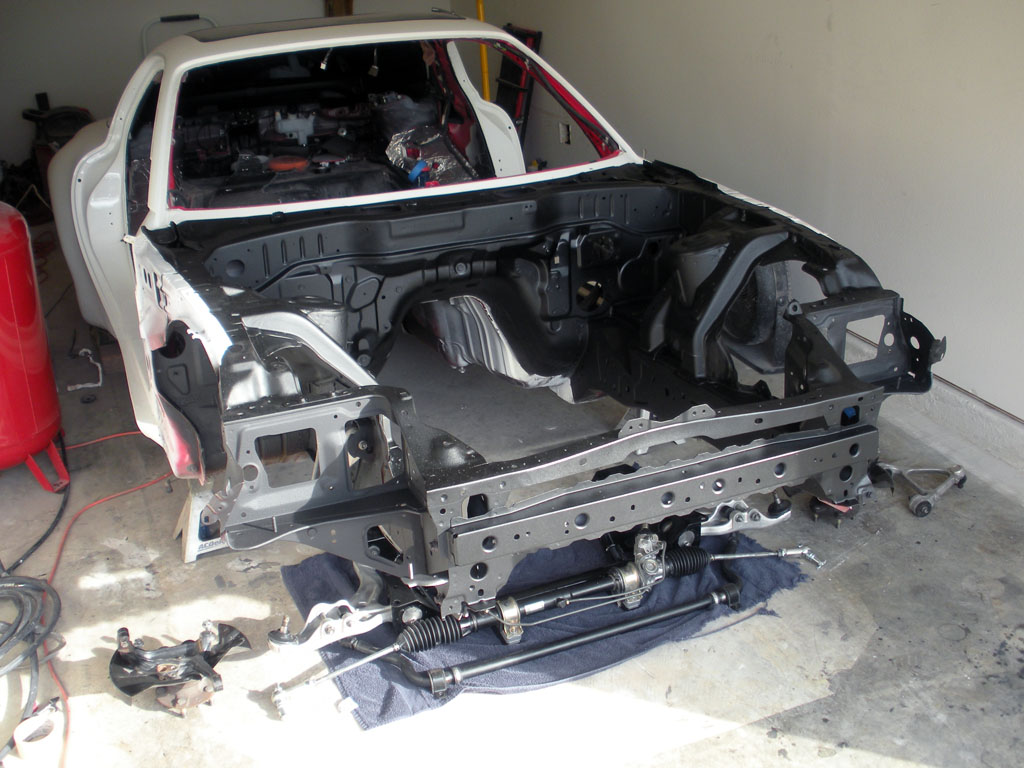
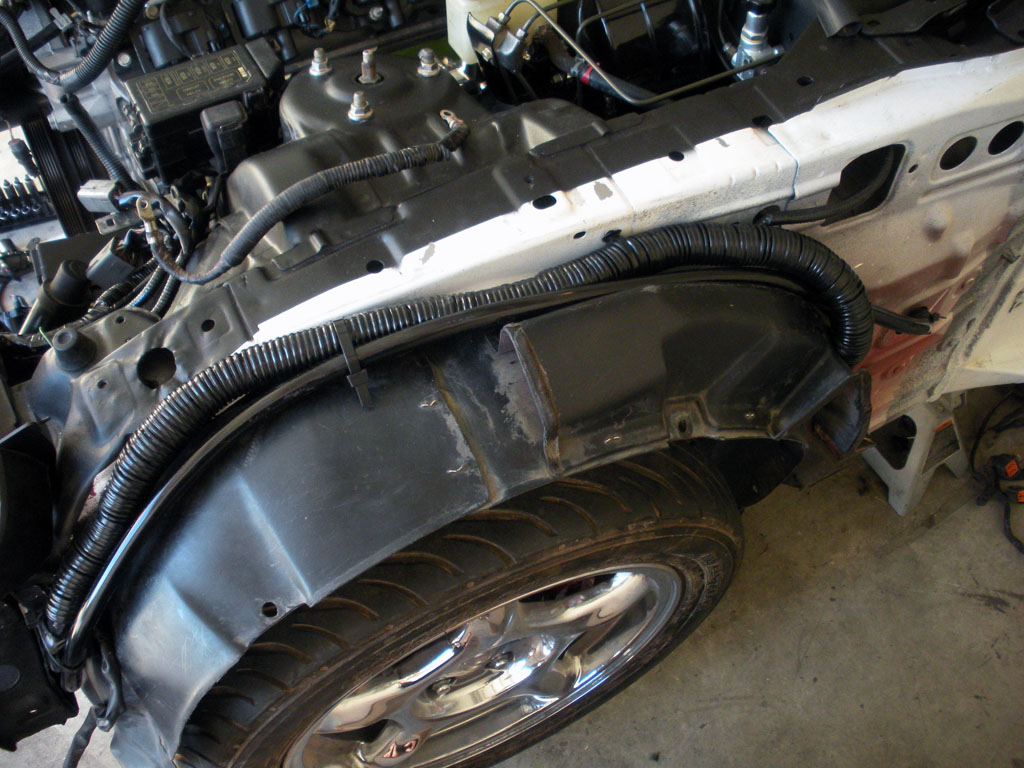
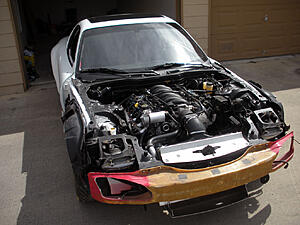
Turned the car around so I can start working on the engine bay -
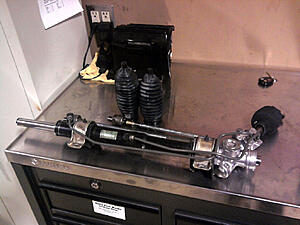
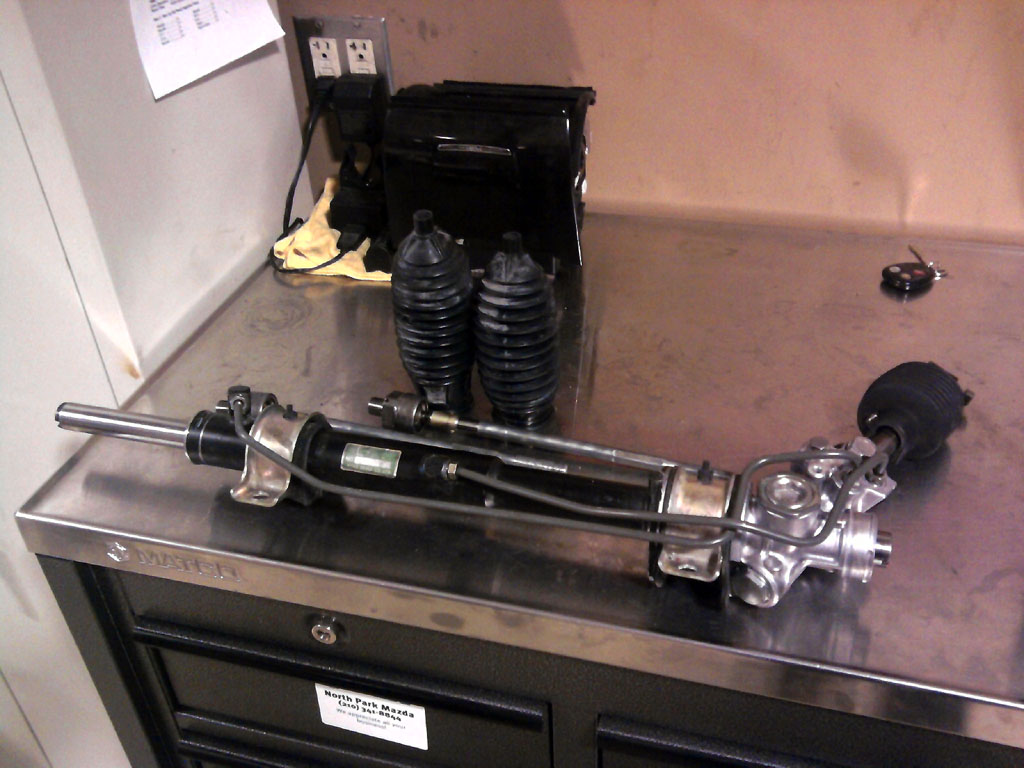
Here Im exactly half way through converting the steering rack to manual. You can see the ring at the bottom right that I had to cut off.

I had to go to a nut and bolt warehouse to try to find plugs for the power steering lines and they only had ones that fit the feed and return. The cross over tubes were too fine a pitch, so I had to re-use the old p/s hard lines.
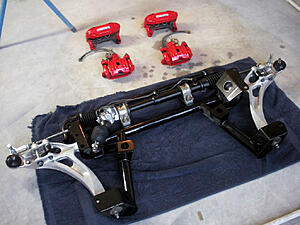
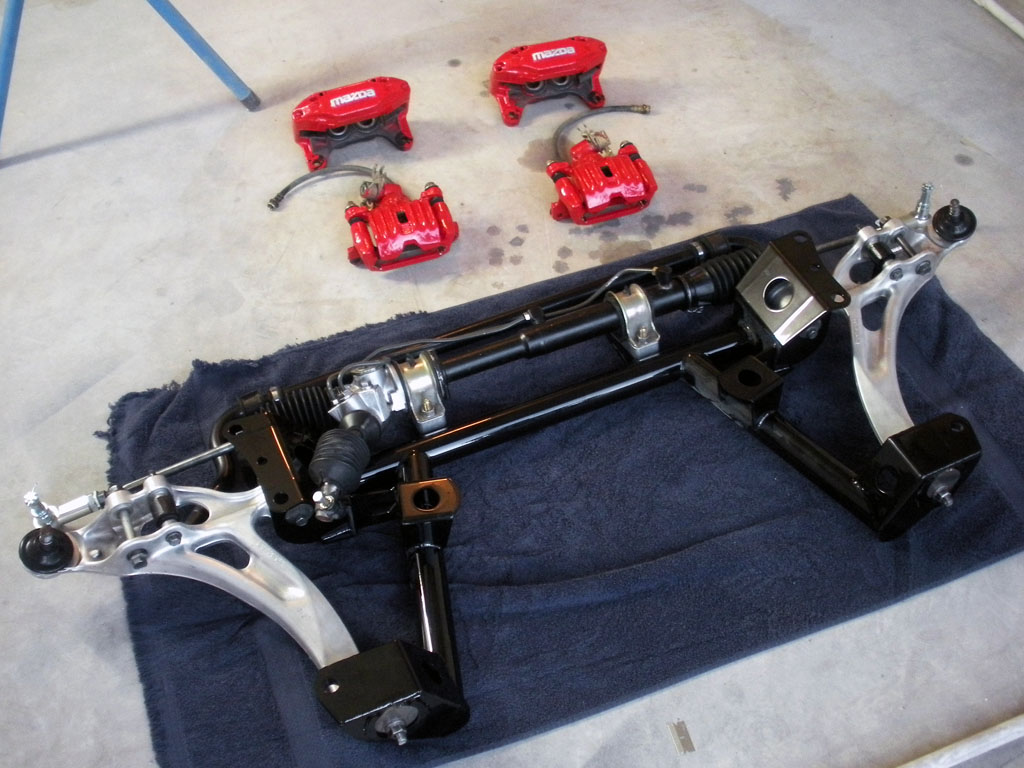
I finished that up and bolted together the lower subframe. While I was at it I decided to repaint the calipers.
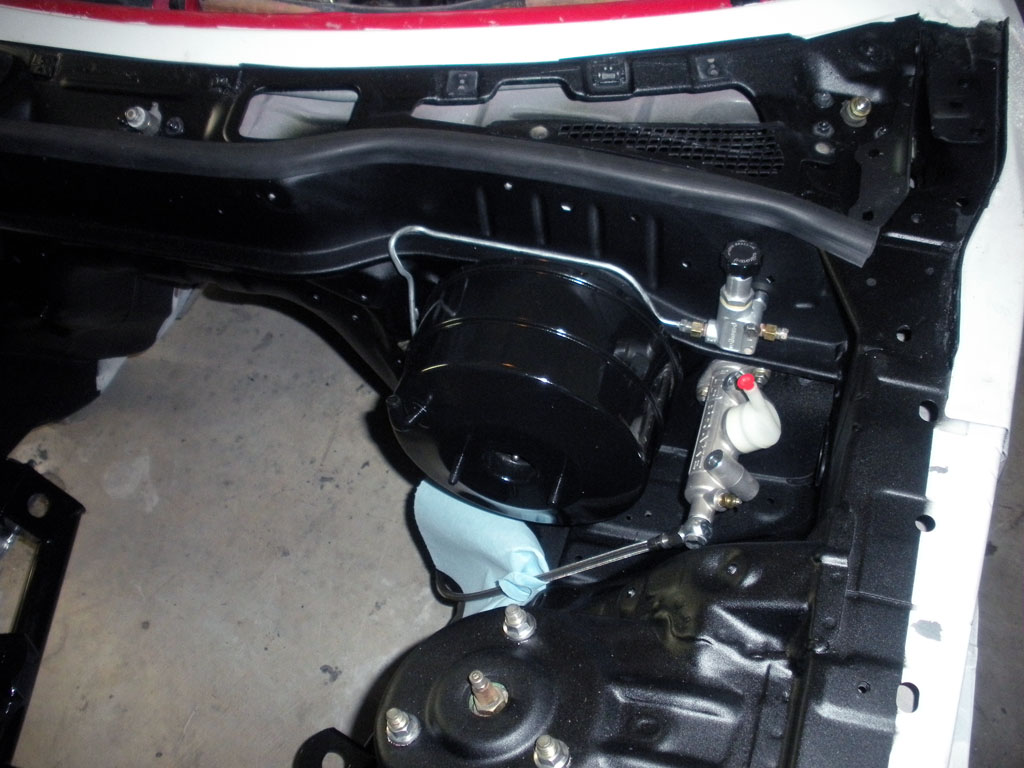
It was October by now, so I started taking advantage of the cooler evenings and painted the engine bay satin black-

And for the first time in 5 years re-assembly begins...


finally got my brake pads and rotors in. Pads are EBC reds (I was planning on using the yellows but opted for the reds last minute). Rotors are OEM blanks. Not sure why mazda painted the entire rotor. Oh, and obviously the subframe is now bolted to the car.

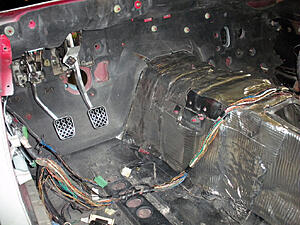
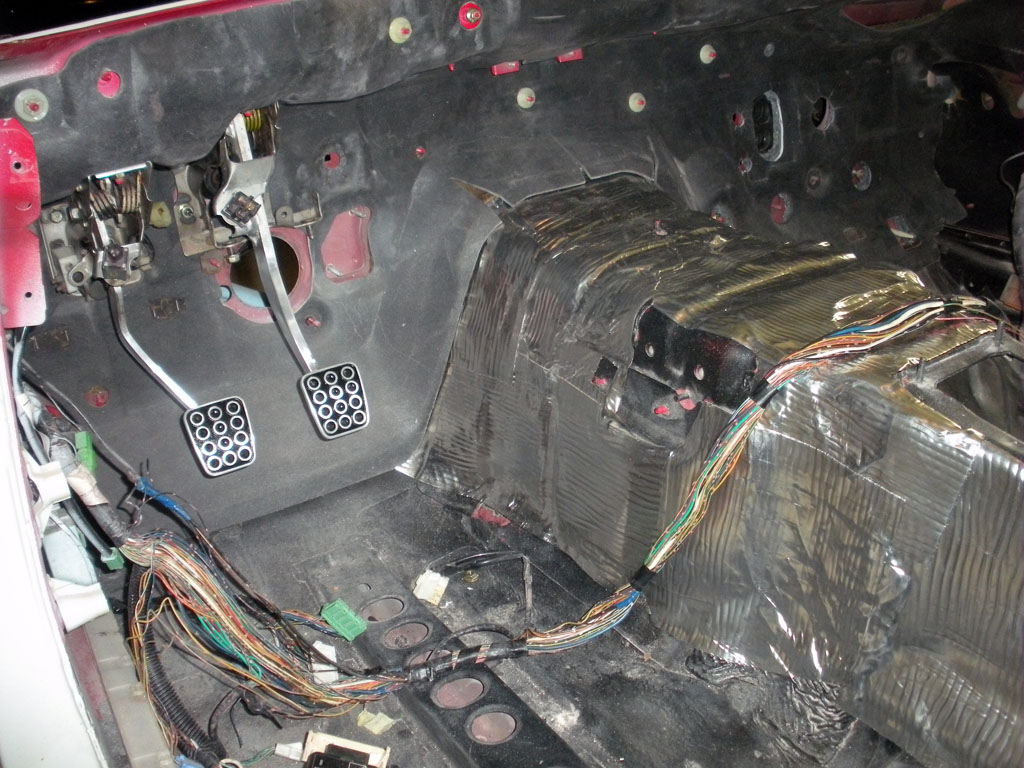
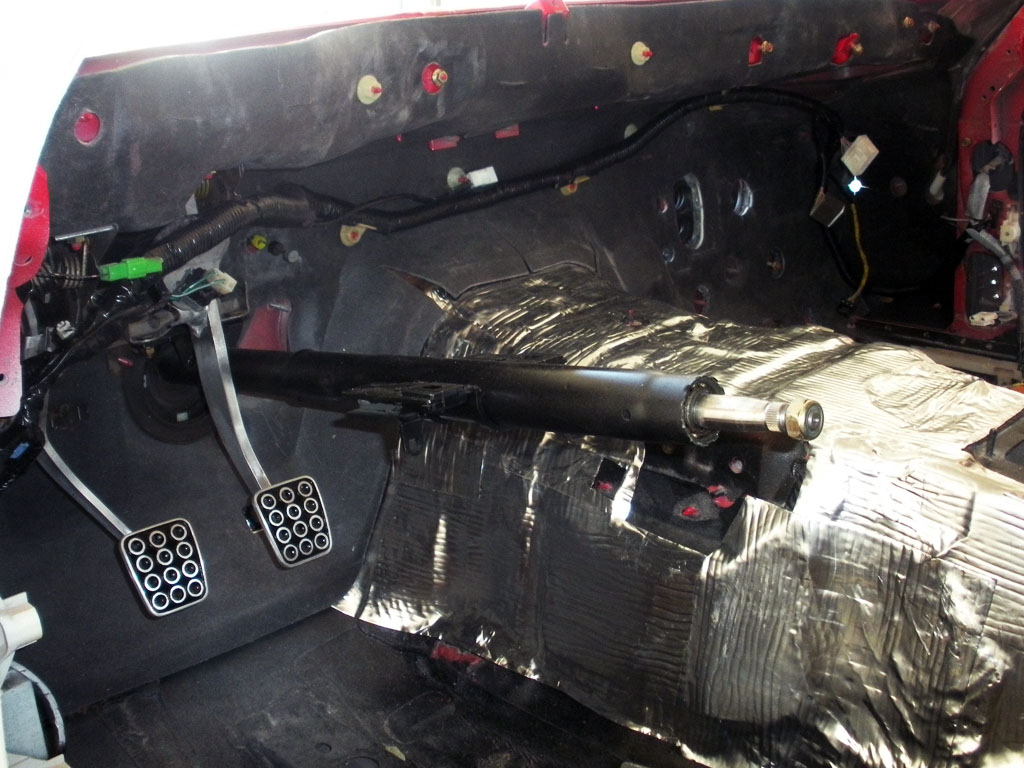
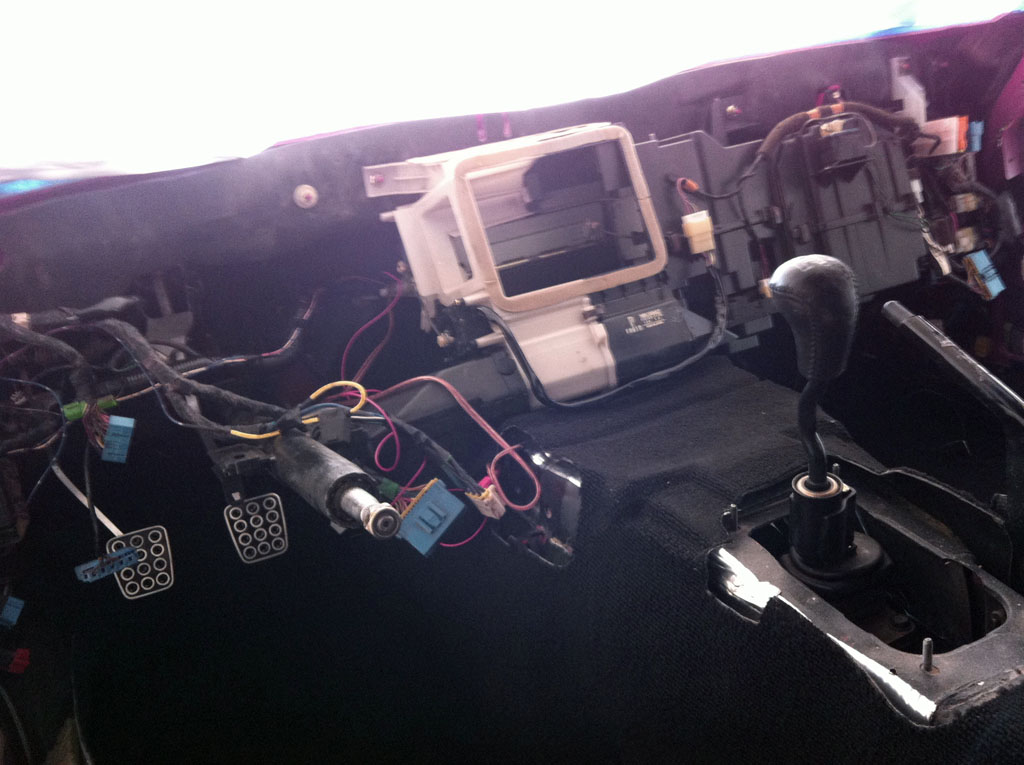
Interior is just starting to make progress. The lesser important pedals go in first.
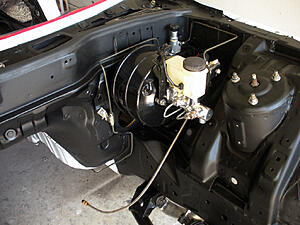
I cleaned up the master cylinder and bent some new brake line for the rear system.
So up until this point time was not a factor (obviously, since Ive managed to turn what should have taken me 6 months into 5 years). Its November and the lease for our apartment is up in December. I know the RX7 is far from finished. After some debating with the apt manager we come to a somewhat reasonable agreement and I avoid paying market rate provided Im out of there end of Feb. This gives me less than 3 months to finish.
Turned the car around so I can start working on the engine bay -
Here Im exactly half way through converting the steering rack to manual. You can see the ring at the bottom right that I had to cut off.

I had to go to a nut and bolt warehouse to try to find plugs for the power steering lines and they only had ones that fit the feed and return. The cross over tubes were too fine a pitch, so I had to re-use the old p/s hard lines.
I finished that up and bolted together the lower subframe. While I was at it I decided to repaint the calipers.
It was October by now, so I started taking advantage of the cooler evenings and painted the engine bay satin black-
And for the first time in 5 years re-assembly begins...
finally got my brake pads and rotors in. Pads are EBC reds (I was planning on using the yellows but opted for the reds last minute). Rotors are OEM blanks. Not sure why mazda painted the entire rotor. Oh, and obviously the subframe is now bolted to the car.

Interior is just starting to make progress. The lesser important pedals go in first.
I cleaned up the master cylinder and bent some new brake line for the rear system.

So up until this point time was not a factor (obviously, since Ive managed to turn what should have taken me 6 months into 5 years). Its November and the lease for our apartment is up in December. I know the RX7 is far from finished. After some debating with the apt manager we come to a somewhat reasonable agreement and I avoid paying market rate provided Im out of there end of Feb. This gives me less than 3 months to finish.
With the time crunch on I go into power mode.
Doors get primered.

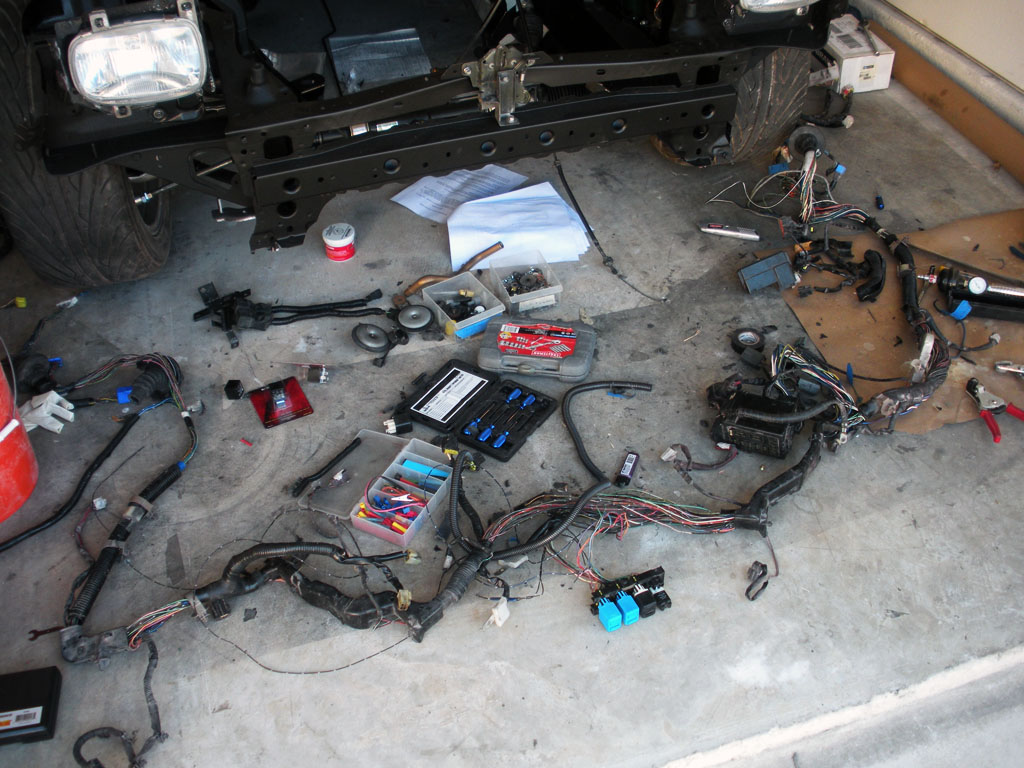
The engine bay wiring harness. What a nightmare. I removed some 40+ wires from the harness (including unpinning them from the connectors) as well as rewired most of the subsystems so they work correctly with the GM pcm. All wires controlling ABS, A/C, cruise, air bags, and diagnostics are gone. I still need to rewrap it and solder 2 wires but other than that its mostly finished in this picture -

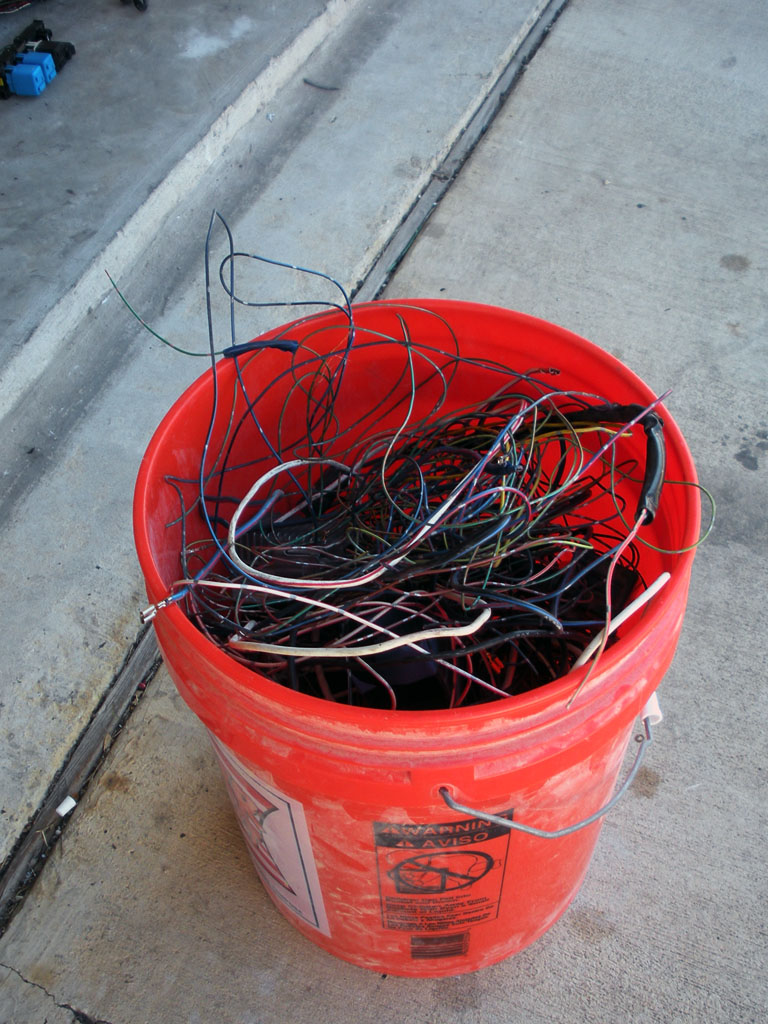
My massive bucket of densely packed wires. Probably about 15lbs worth.

The firewall harness finished and rewrapped -

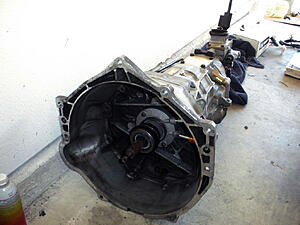
And the T56 is ready to go.
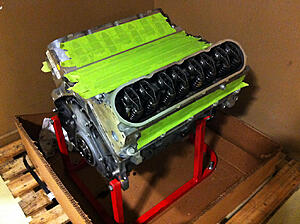
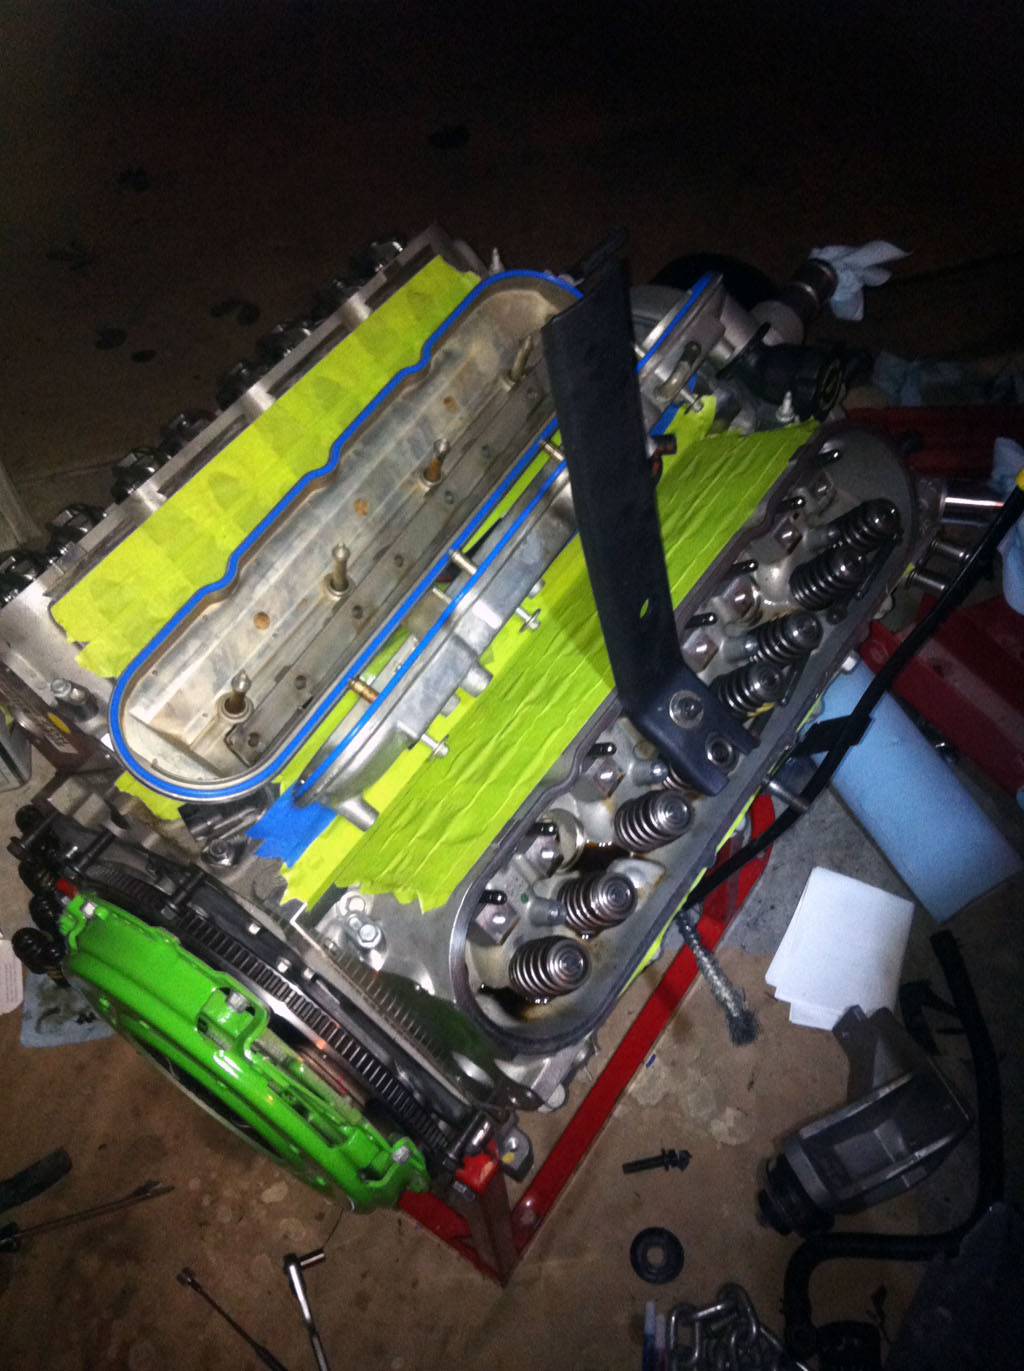
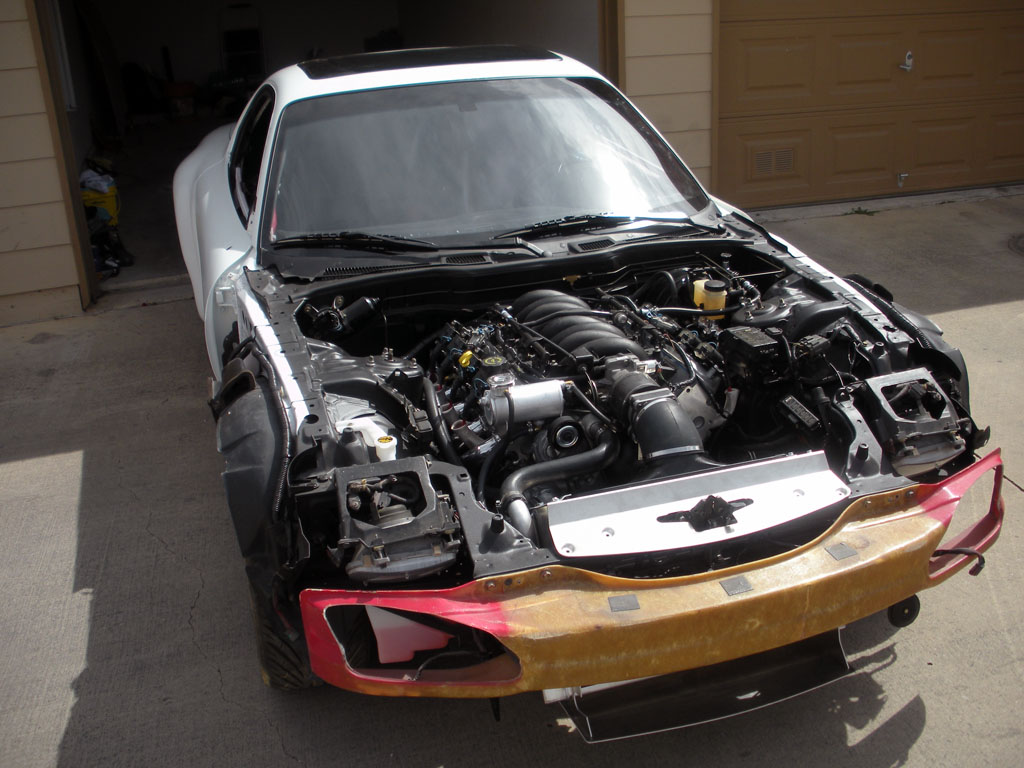
After 6 months of waiting and a lot of bullshit, I got my hands on an '02 LS6 with just over 20k miles on it.
Installed some Pac 1218 springs and did the trunion upgrade to the rockers

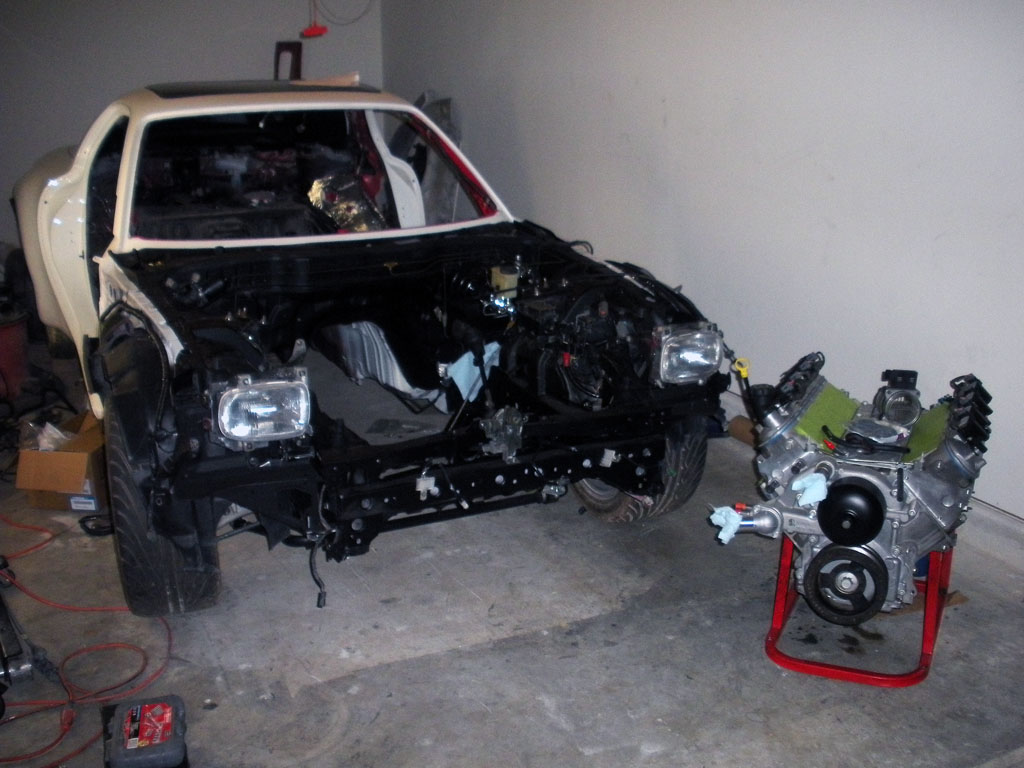
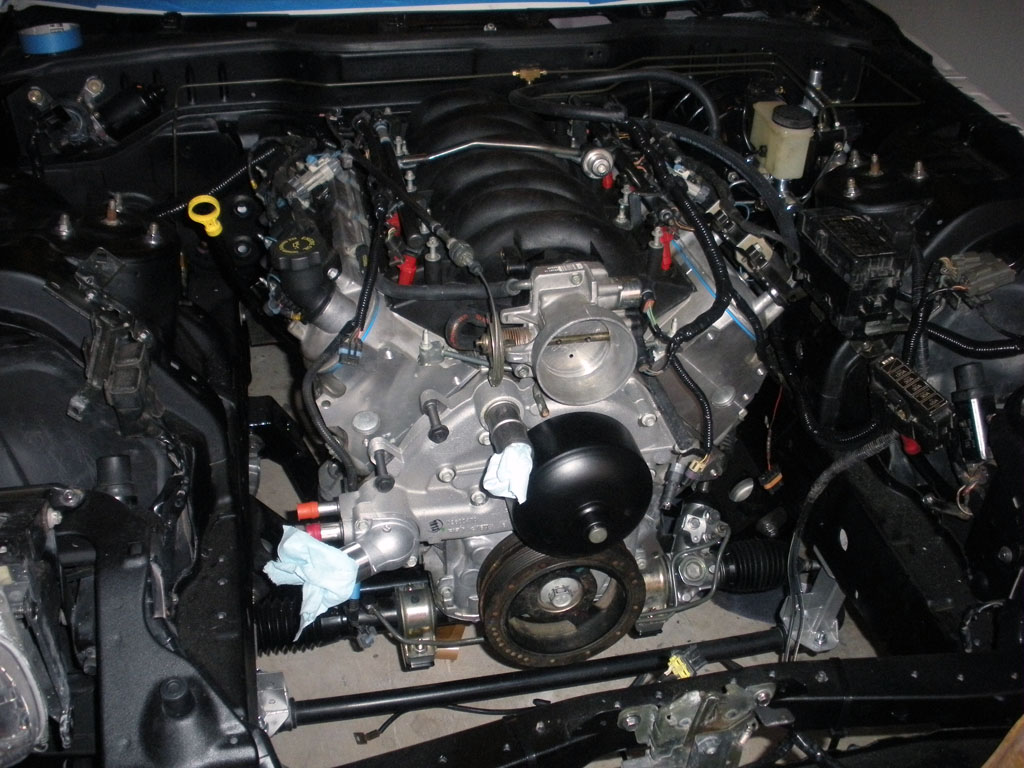
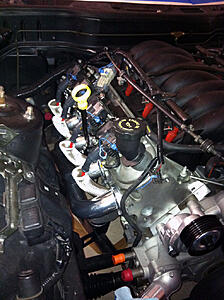
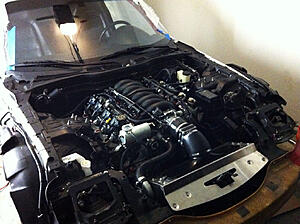
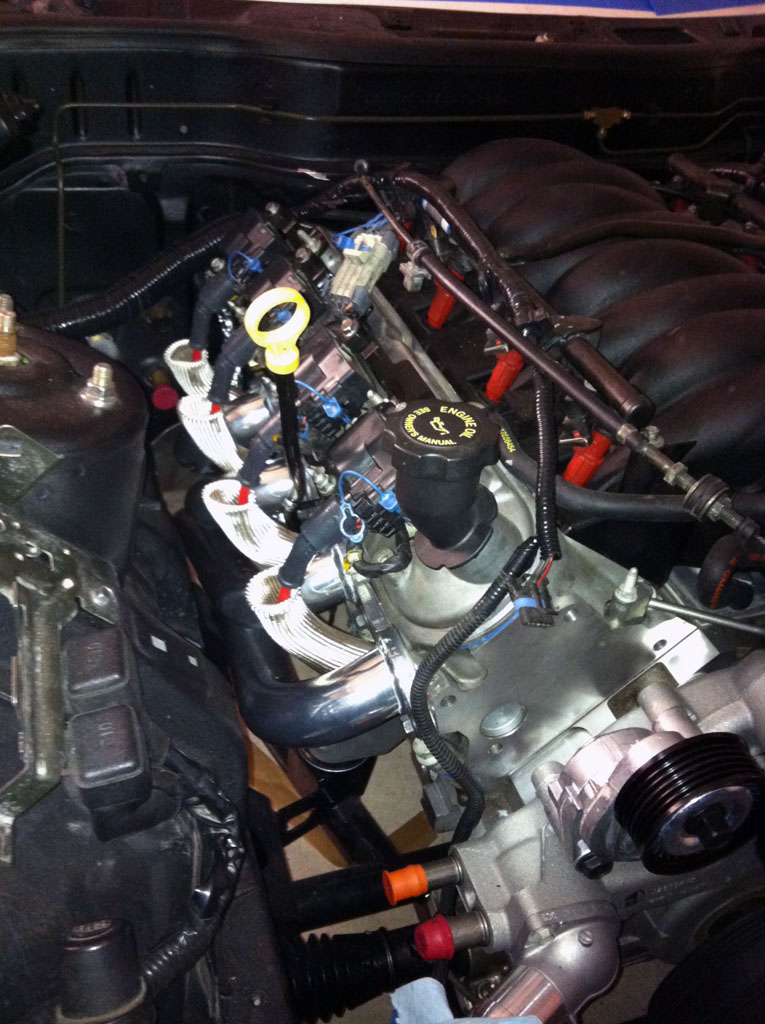
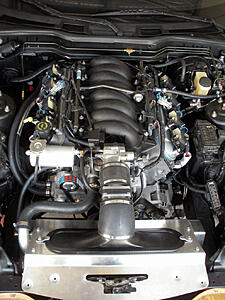
Engine is all buttoned up and ready for install...
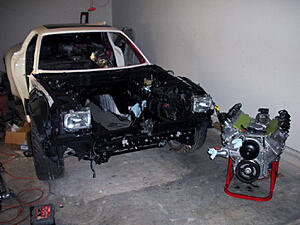
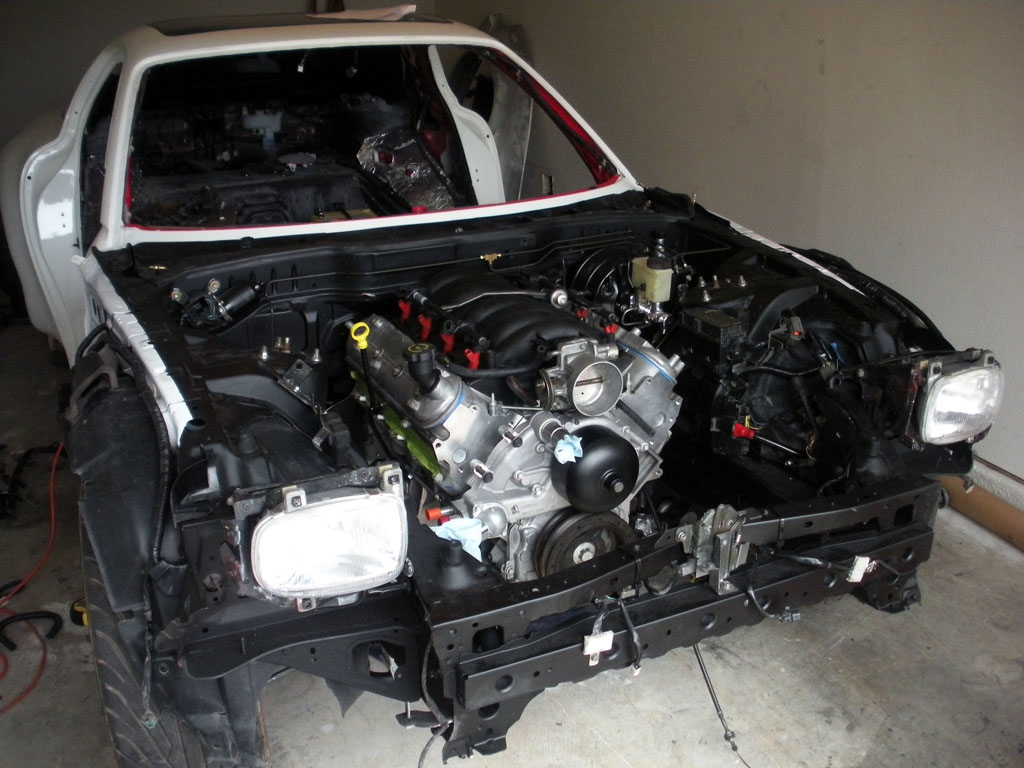
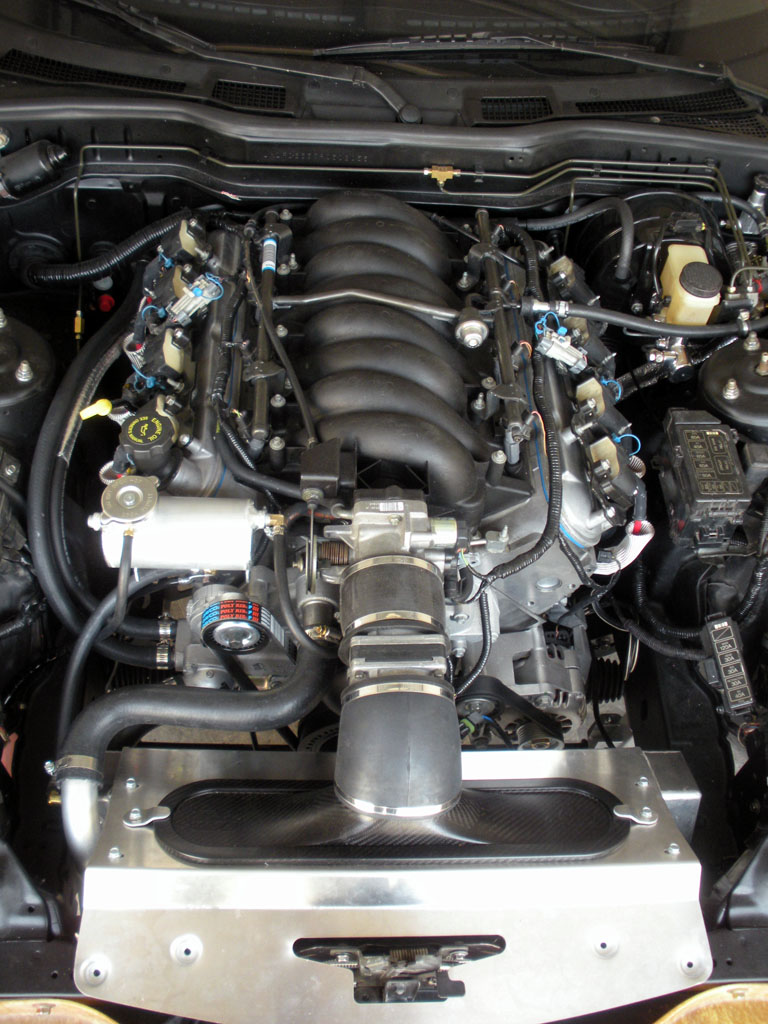
Suddenly there's a motor in the engine bay!

Doors get primered.

The engine bay wiring harness. What a nightmare. I removed some 40+ wires from the harness (including unpinning them from the connectors) as well as rewired most of the subsystems so they work correctly with the GM pcm. All wires controlling ABS, A/C, cruise, air bags, and diagnostics are gone. I still need to rewrap it and solder 2 wires but other than that its mostly finished in this picture -
My massive bucket of densely packed wires. Probably about 15lbs worth.
The firewall harness finished and rewrapped -
And the T56 is ready to go.

After 6 months of waiting and a lot of bullshit, I got my hands on an '02 LS6 with just over 20k miles on it.

Installed some Pac 1218 springs and did the trunion upgrade to the rockers
Engine is all buttoned up and ready for install...
Suddenly there's a motor in the engine bay!
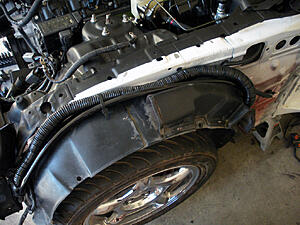
I routed and secured the power wire for the rear mounted battery
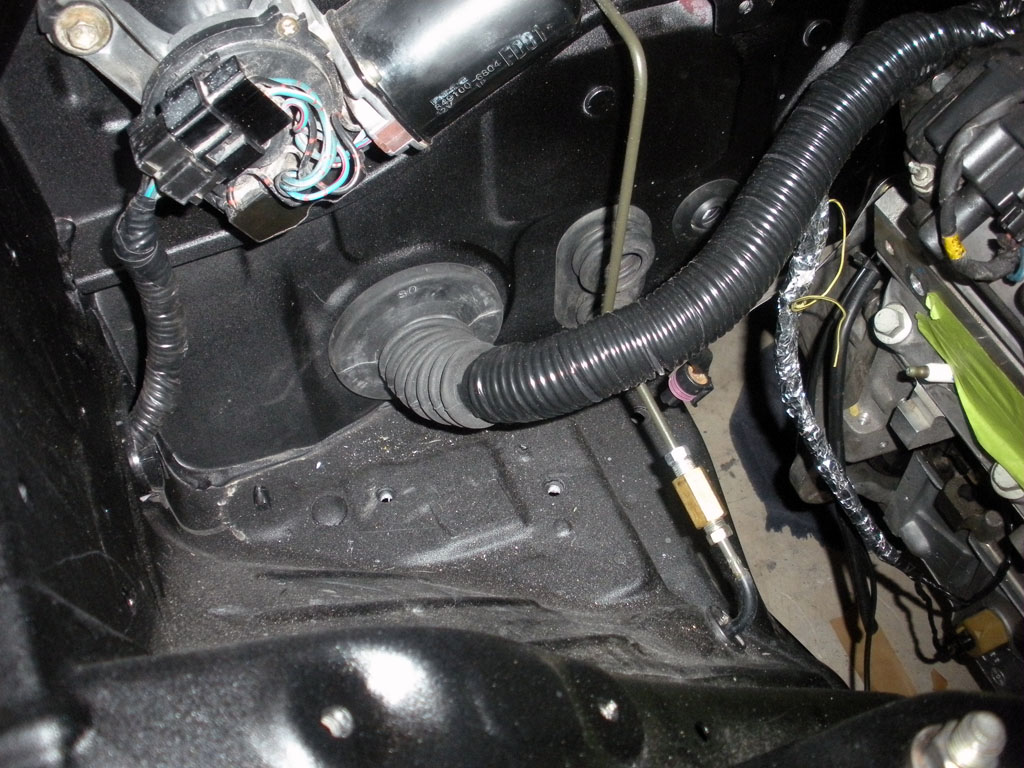
The harness is done and wrapped up nicely.

OCD much? Thats the OEM boot for the old rotary harness. It took me nearly 4 hours to slip that on there and wrap it all up. I had to unpin every wire from the ecu connectors and run them through one at a time.
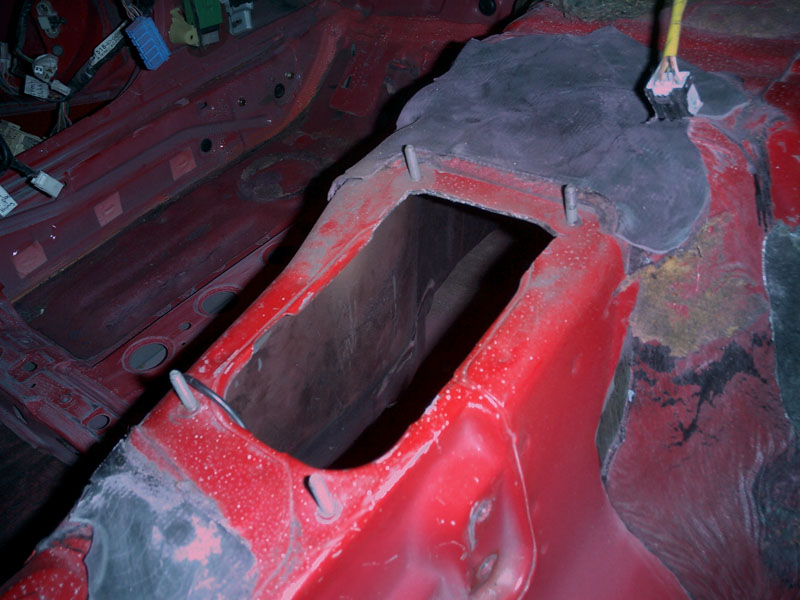
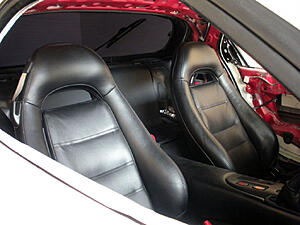
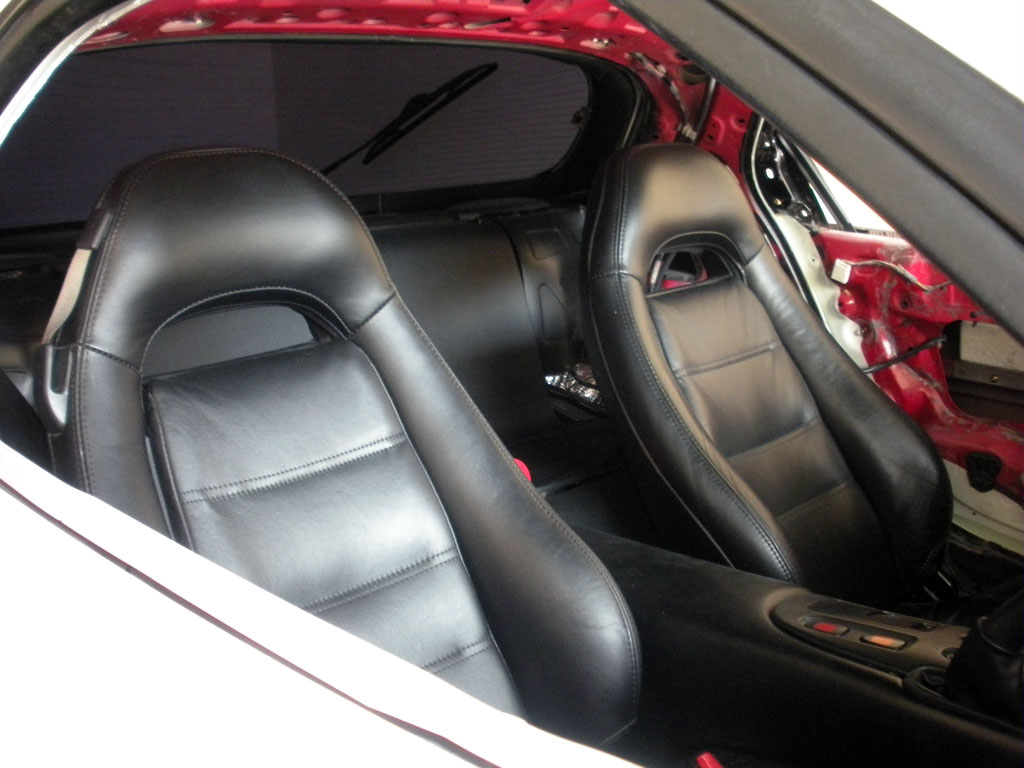
Now, before I bolt the doors back on, its time to put the interior back in the car.
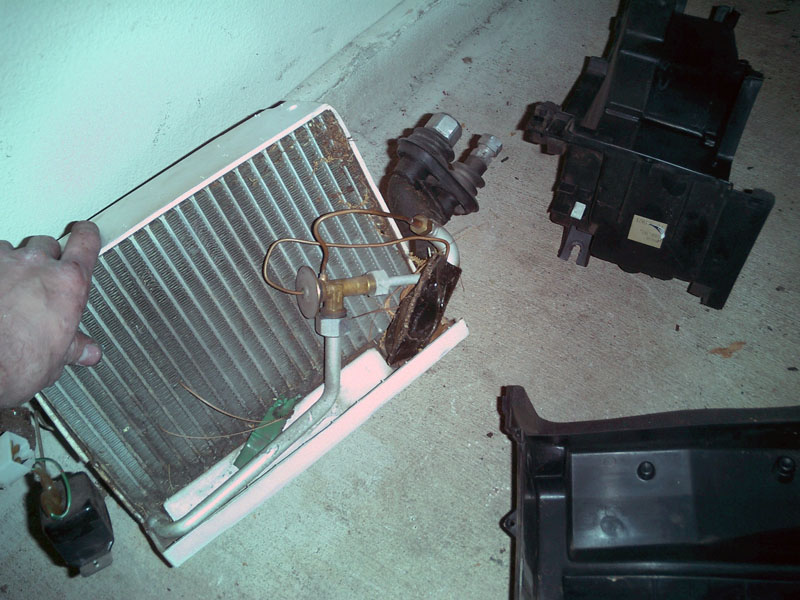
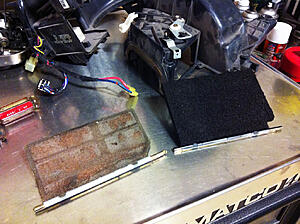
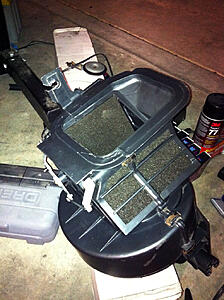
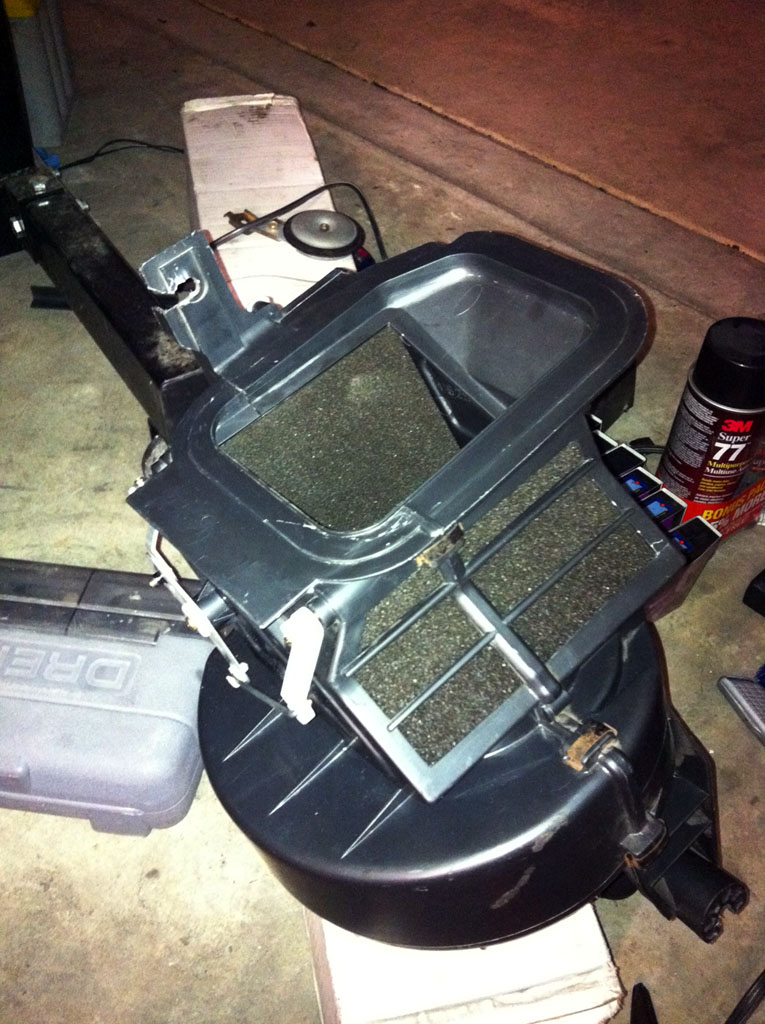
This is what 20 years and sitting in a garage for a couple years does to the blower motor portion of the A/C ducting -

That is just not acceptable, so I completely tore it apart, stripped all the foam off the paddles, and started re-coated them. That foam Im using is near impossible to find in a store. I pretty much took foam from every mechanic I worked with at Mazda and a couple I worked with at Honda to get enough. Here's one paddle knocked out, the other one still waiting restoration -
Finished. I wish I could have taken a picture at work so it was all the same lighting, but I had an incredibly busy day and had to stay late just to finish. I was in a rush to get out of there and forgot to snap a pic. Oh well -
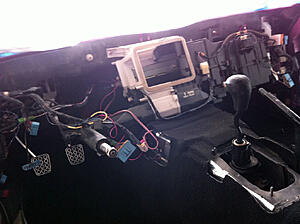
Brand new carpet installed, as well as the rest of the a/c box (with all new restored paddles throughout).
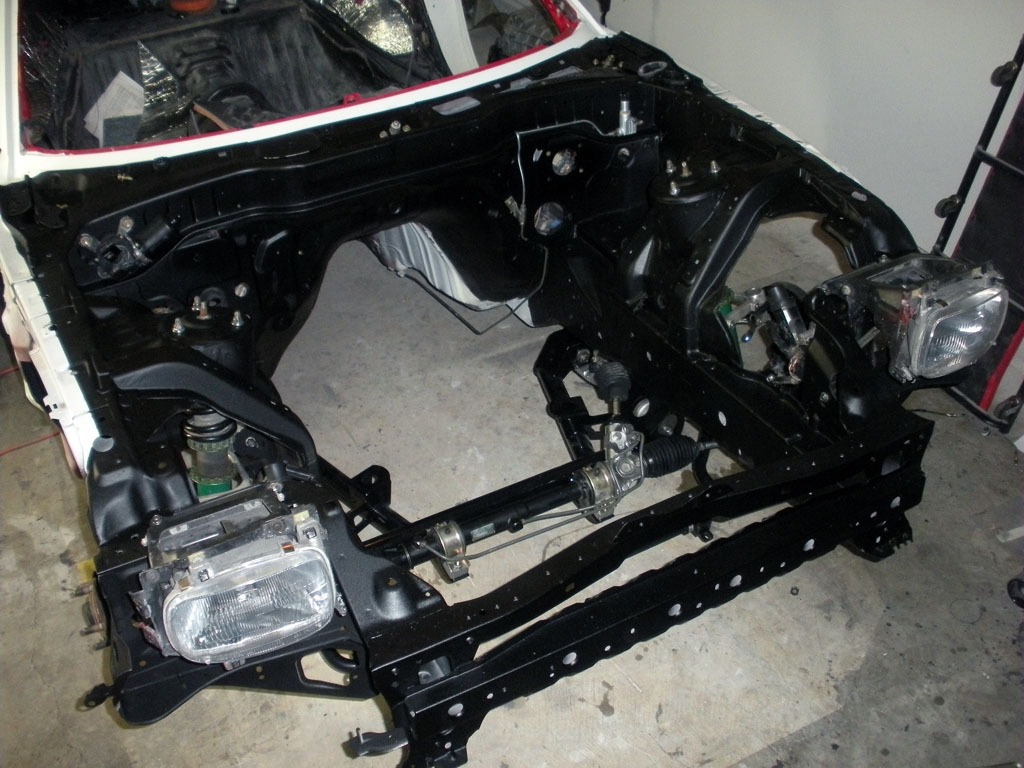
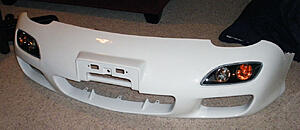
Front rebar is cut to fit the 99 spec turn lamps. Also replaced one of the OEM horns that sounded like a dying frog.

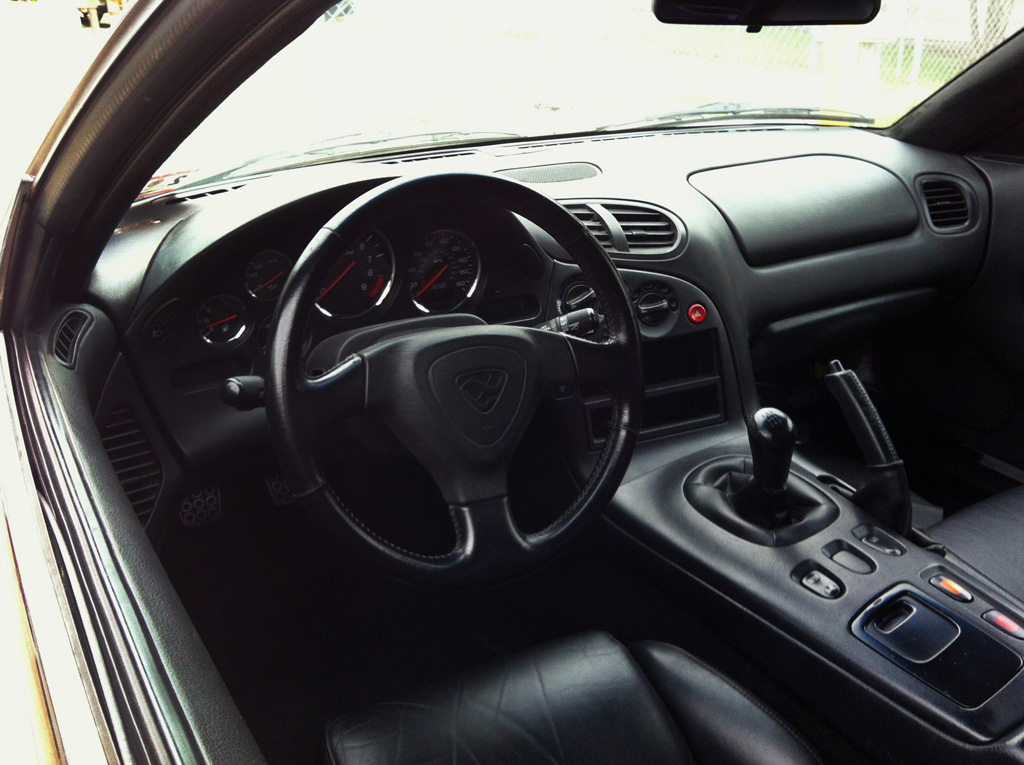
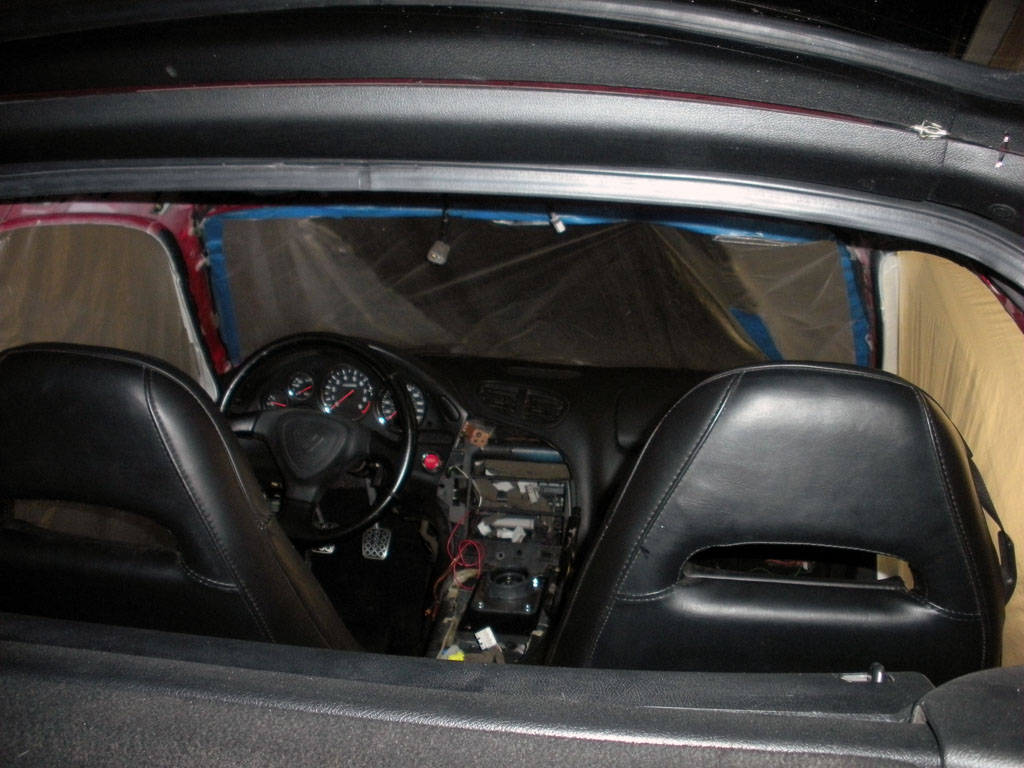
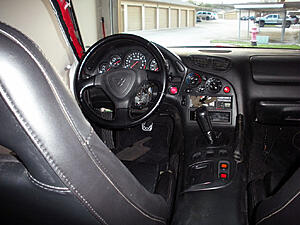
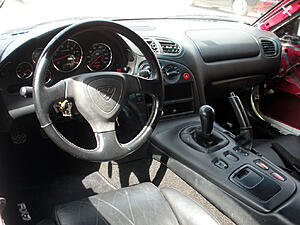
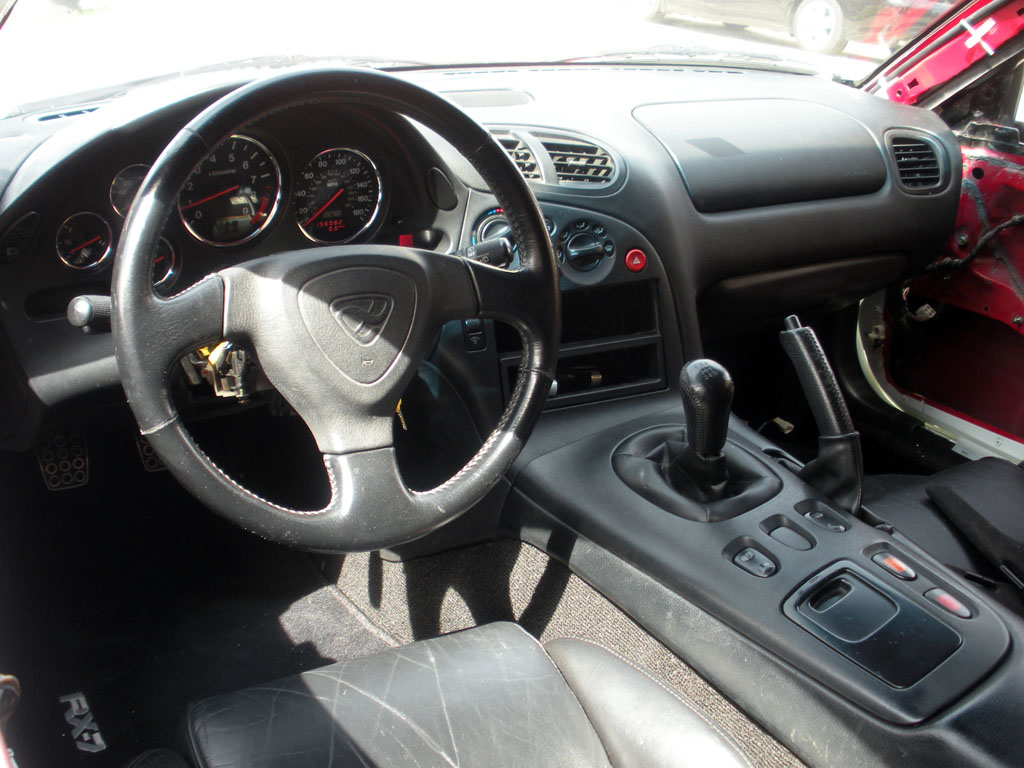
And for the first time in 5 years I was able to sit in my car again and grab onto the steering wheel.

The harness is done and wrapped up nicely.
OCD much? Thats the OEM boot for the old rotary harness. It took me nearly 4 hours to slip that on there and wrap it all up. I had to unpin every wire from the ecu connectors and run them through one at a time.
Now, before I bolt the doors back on, its time to put the interior back in the car.
This is what 20 years and sitting in a garage for a couple years does to the blower motor portion of the A/C ducting -
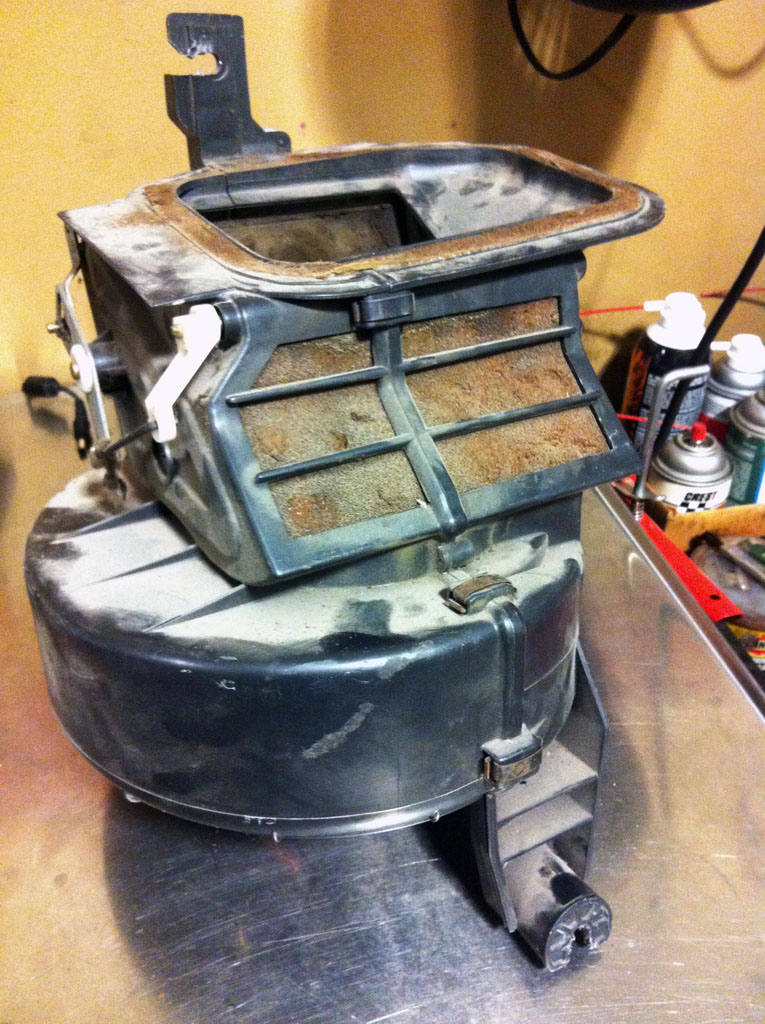
That is just not acceptable, so I completely tore it apart, stripped all the foam off the paddles, and started re-coated them. That foam Im using is near impossible to find in a store. I pretty much took foam from every mechanic I worked with at Mazda and a couple I worked with at Honda to get enough. Here's one paddle knocked out, the other one still waiting restoration -

Finished. I wish I could have taken a picture at work so it was all the same lighting, but I had an incredibly busy day and had to stay late just to finish. I was in a rush to get out of there and forgot to snap a pic. Oh well -
Brand new carpet installed, as well as the rest of the a/c box (with all new restored paddles throughout).
Front rebar is cut to fit the 99 spec turn lamps. Also replaced one of the OEM horns that sounded like a dying frog.

And for the first time in 5 years I was able to sit in my car again and grab onto the steering wheel.
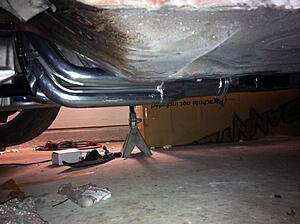
The headers showed up and I wasted no time installing them.
They are definitely the lowest point of the car
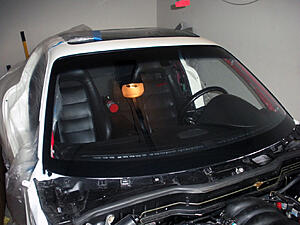
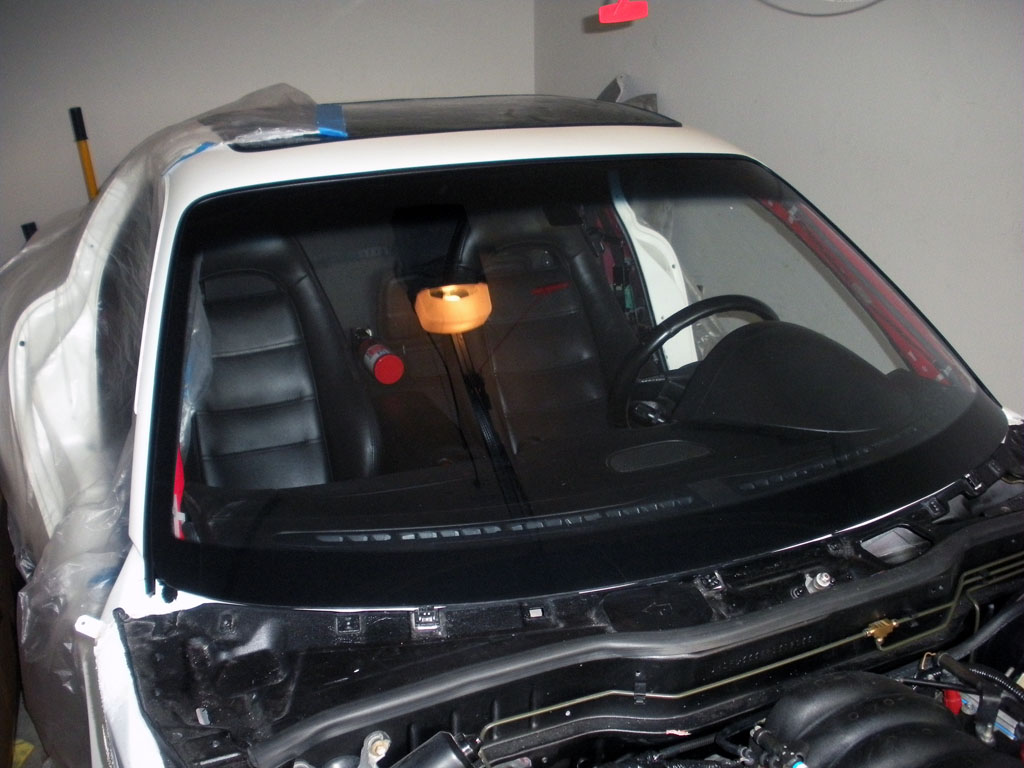
Windshield installed
I really dont like how the steeda tri-ax handle puts the shifter at that funny angle. Its cheaper than buying a short shifter, so for now I'll deal with it. Probably one of the first things Im gonna save up and install once this is up and running around is a short shifter that lines it strait up and down like it was factory.
Intake/radiator installed.
You know, as much as I love the products Samberg makes, after spending $1300 to have that shipped to my door, you'd figure it would come with a cap for the surge tank. Ah well.
They are definitely the lowest point of the car

Windshield installed
I really dont like how the steeda tri-ax handle puts the shifter at that funny angle. Its cheaper than buying a short shifter, so for now I'll deal with it. Probably one of the first things Im gonna save up and install once this is up and running around is a short shifter that lines it strait up and down like it was factory.

Intake/radiator installed.
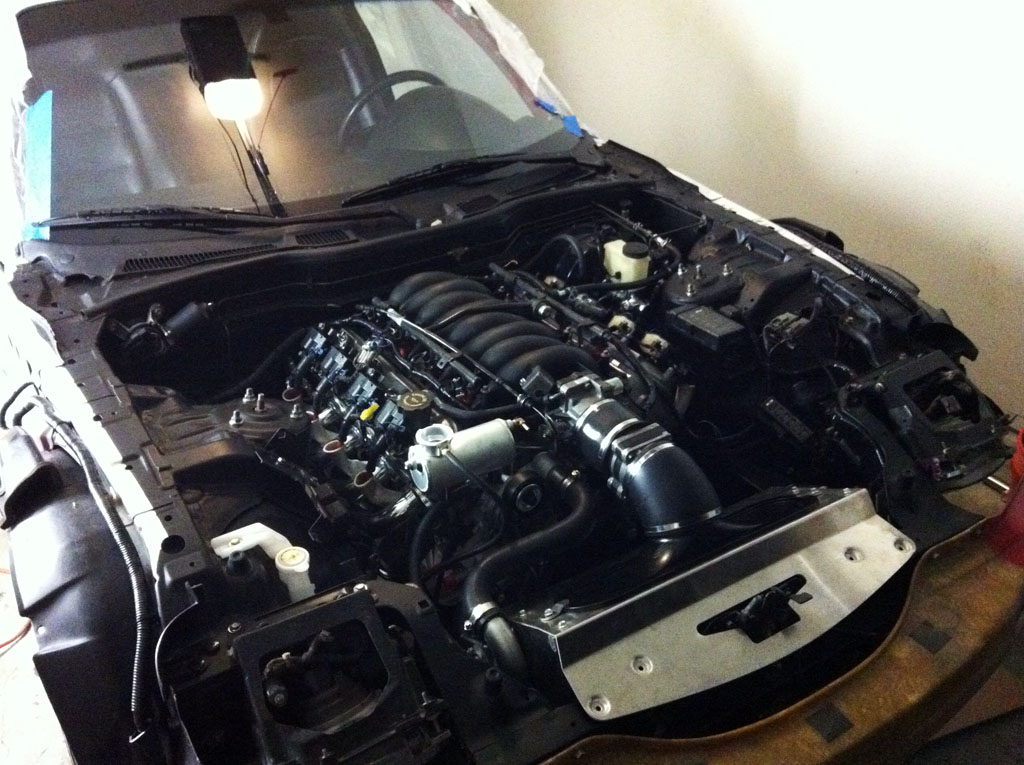
You know, as much as I love the products Samberg makes, after spending $1300 to have that shipped to my door, you'd figure it would come with a cap for the surge tank. Ah well.
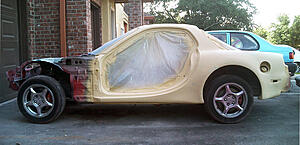
Now Im moving so fast even taking pictures of my progress is slowing me down. Doors are magically painted and installed.
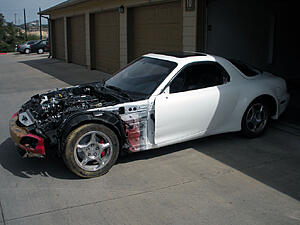

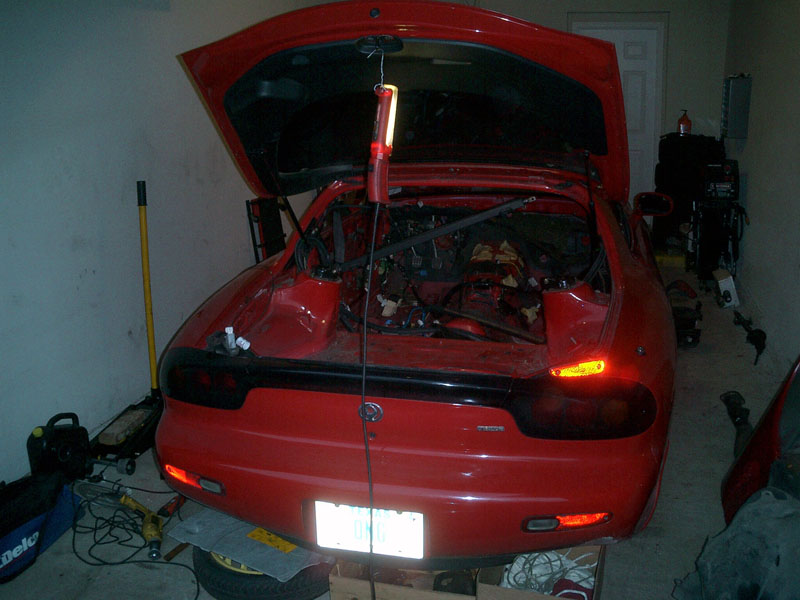
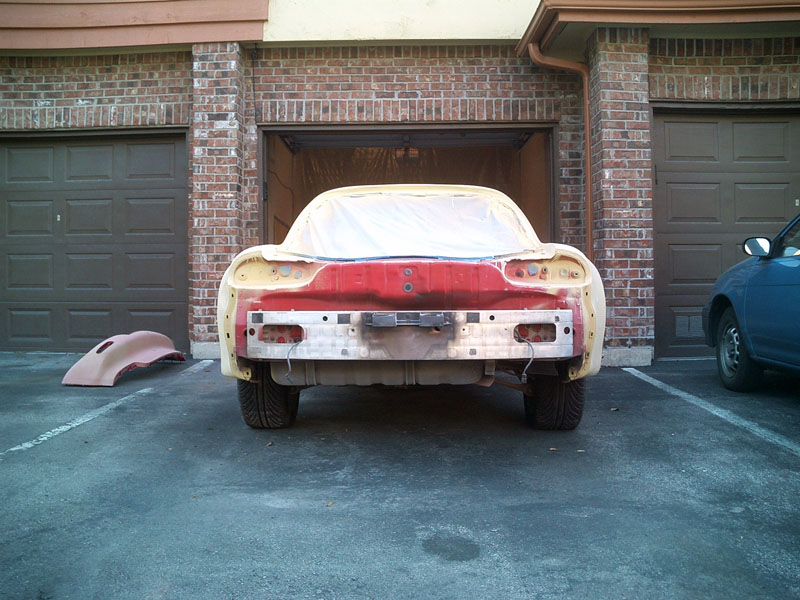
First time she's moved under her own power in over 5 years. I wish I could say I was more excited, but I only drove it out of the garage enough to take pictures (needed to insure it before I transported it to Houston). The fans still weren't wired up, so I couldn't drive it very far anyways.
At this point Im less than a week away from moving. My fiancee has already made the move to Houston and I spend almost every waking hour in the garage. I probably should have left my job sooner, but when I put my 30 day notice in I wasnt anticipating the amount of work I had ahead of me.
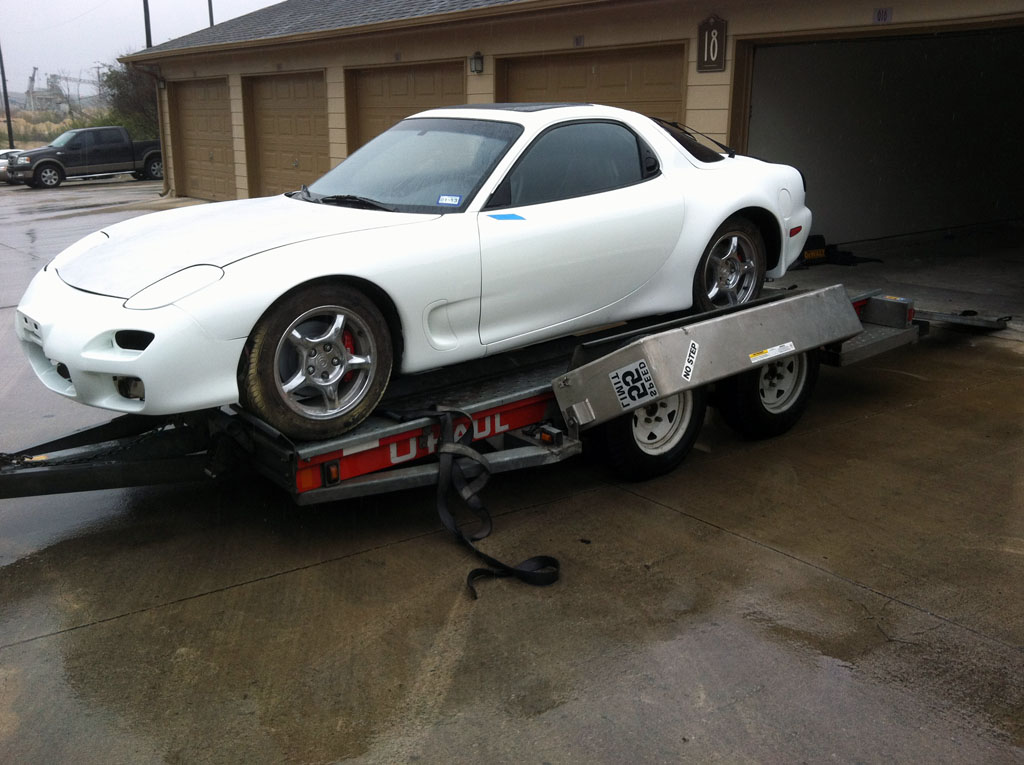
The bumper isnt installed, its just hung on there with 4 bolts to keep it from flying off.
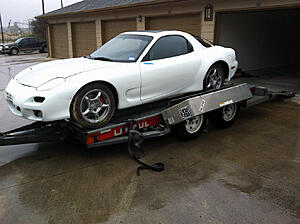
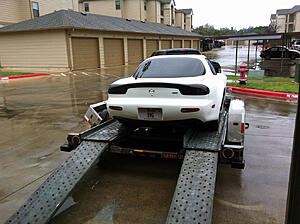
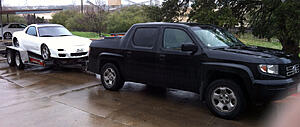
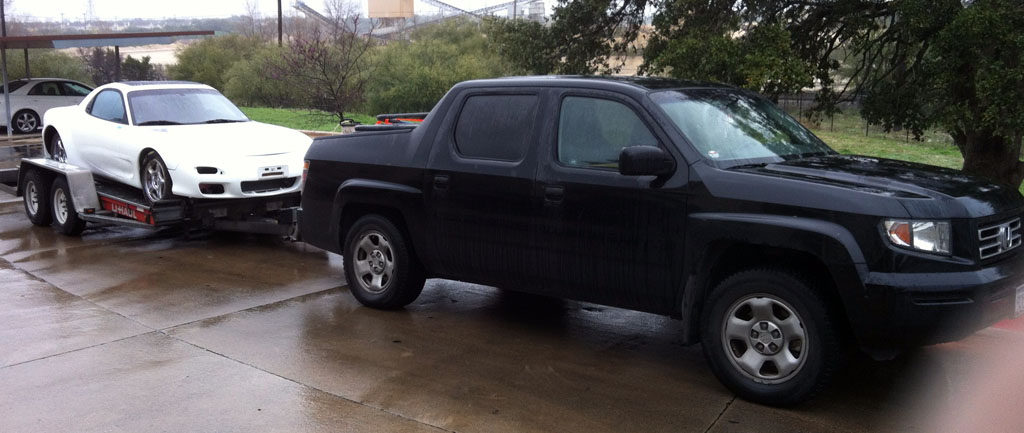
I think I might have exceeded the ridgelines towing capacity. She's squatting pretty low. I probably should have loaded the car on backwards to take some of the weight off the tongue, but with those wide flares and the rain I didnt have much choice - I was burning out on the ramps just trying to clutch it.
Also - I have the lip spoiler that goes on the front bumper, I just knew if I installed it Id have clearance issues getting on and off the trailer.

First time she's moved under her own power in over 5 years. I wish I could say I was more excited, but I only drove it out of the garage enough to take pictures (needed to insure it before I transported it to Houston). The fans still weren't wired up, so I couldn't drive it very far anyways.
At this point Im less than a week away from moving. My fiancee has already made the move to Houston and I spend almost every waking hour in the garage. I probably should have left my job sooner, but when I put my 30 day notice in I wasnt anticipating the amount of work I had ahead of me.
The bumper isnt installed, its just hung on there with 4 bolts to keep it from flying off.

I think I might have exceeded the ridgelines towing capacity. She's squatting pretty low. I probably should have loaded the car on backwards to take some of the weight off the tongue, but with those wide flares and the rain I didnt have much choice - I was burning out on the ramps just trying to clutch it.
Also - I have the lip spoiler that goes on the front bumper, I just knew if I installed it Id have clearance issues getting on and off the trailer.
Ordered the 99 spec turn signals.

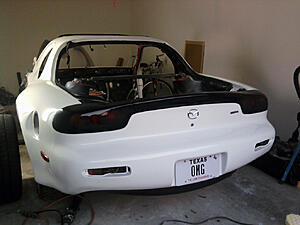
New bumper framework installed and I bolted the combo lights up. Now I just need to remount the bumper.
Fans are wired up and bumper is loosly installed.
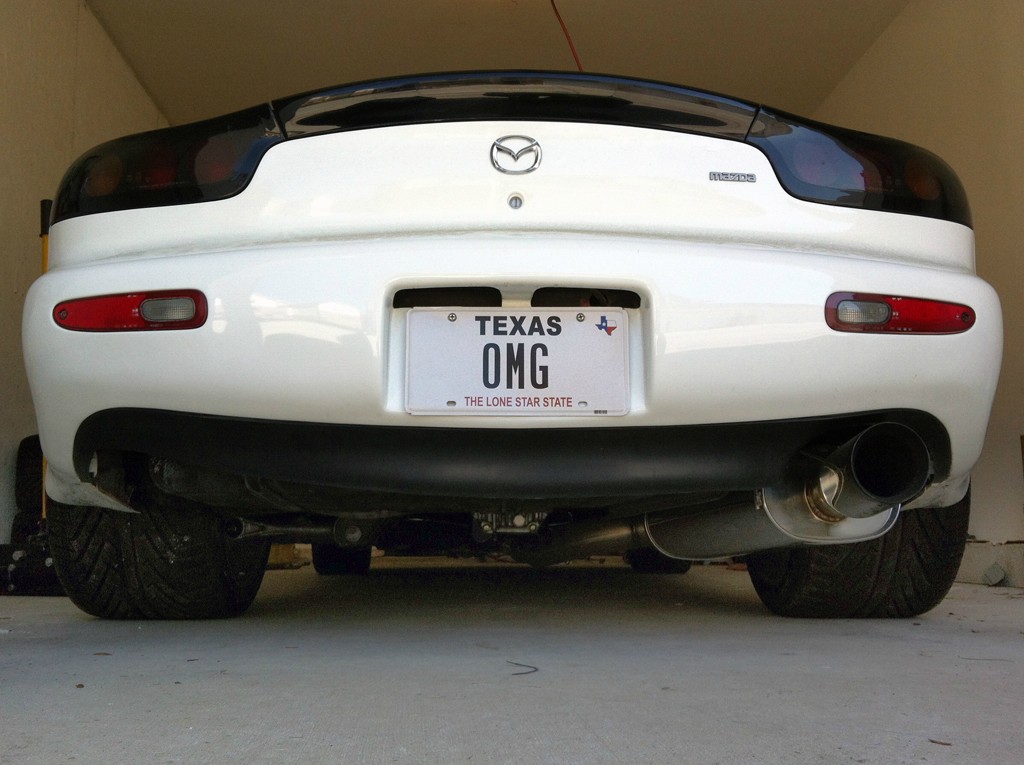
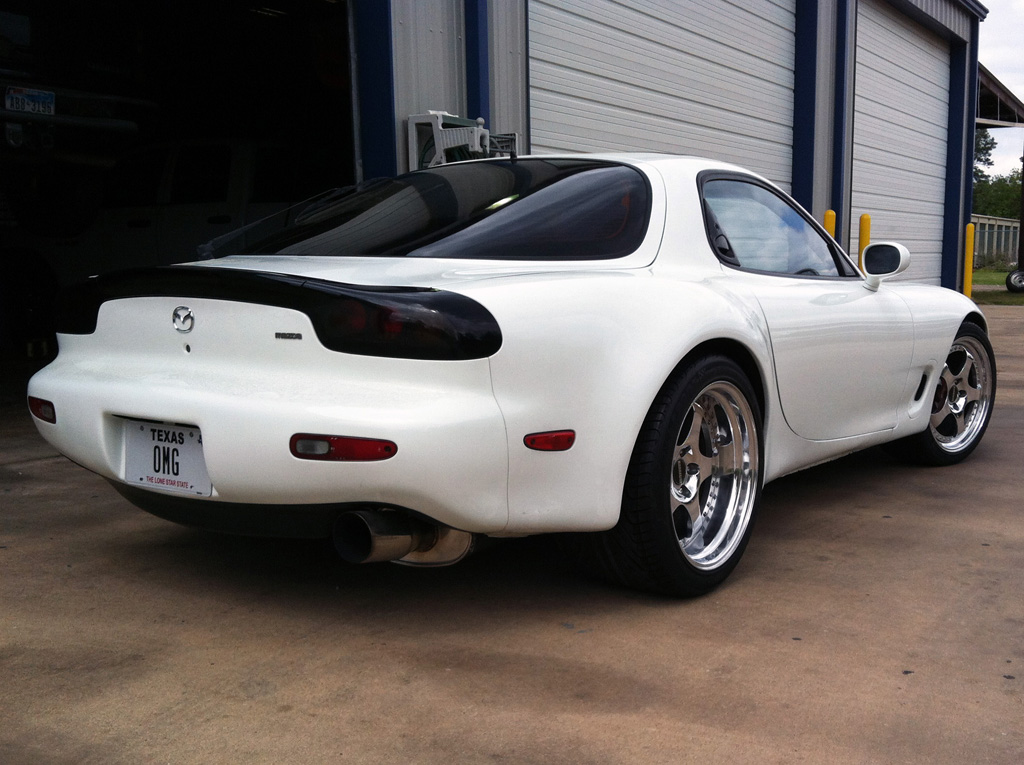
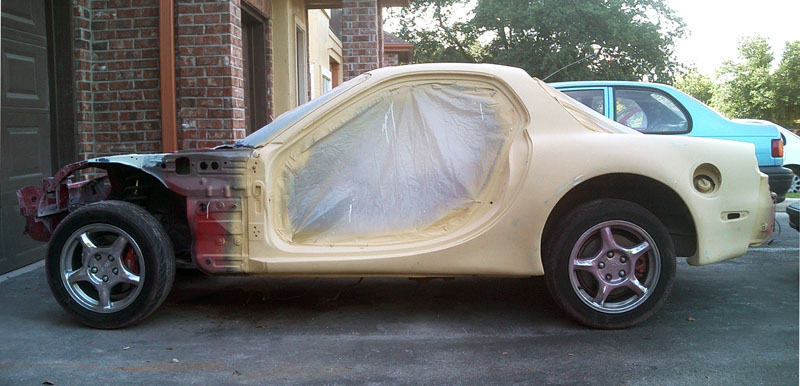
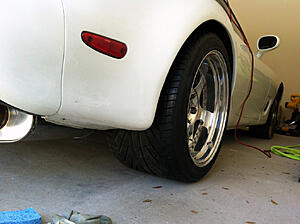
And an *** shot while I was at the storage unit.

New bumper framework installed and I bolted the combo lights up. Now I just need to remount the bumper.

Fans are wired up and bumper is loosly installed.
And an *** shot while I was at the storage unit.

So after several months of waiting a garage in my apt complex opens up and Im able to bring the RX7 back to where Im living. That was a very loud drive from the storage unit to home.
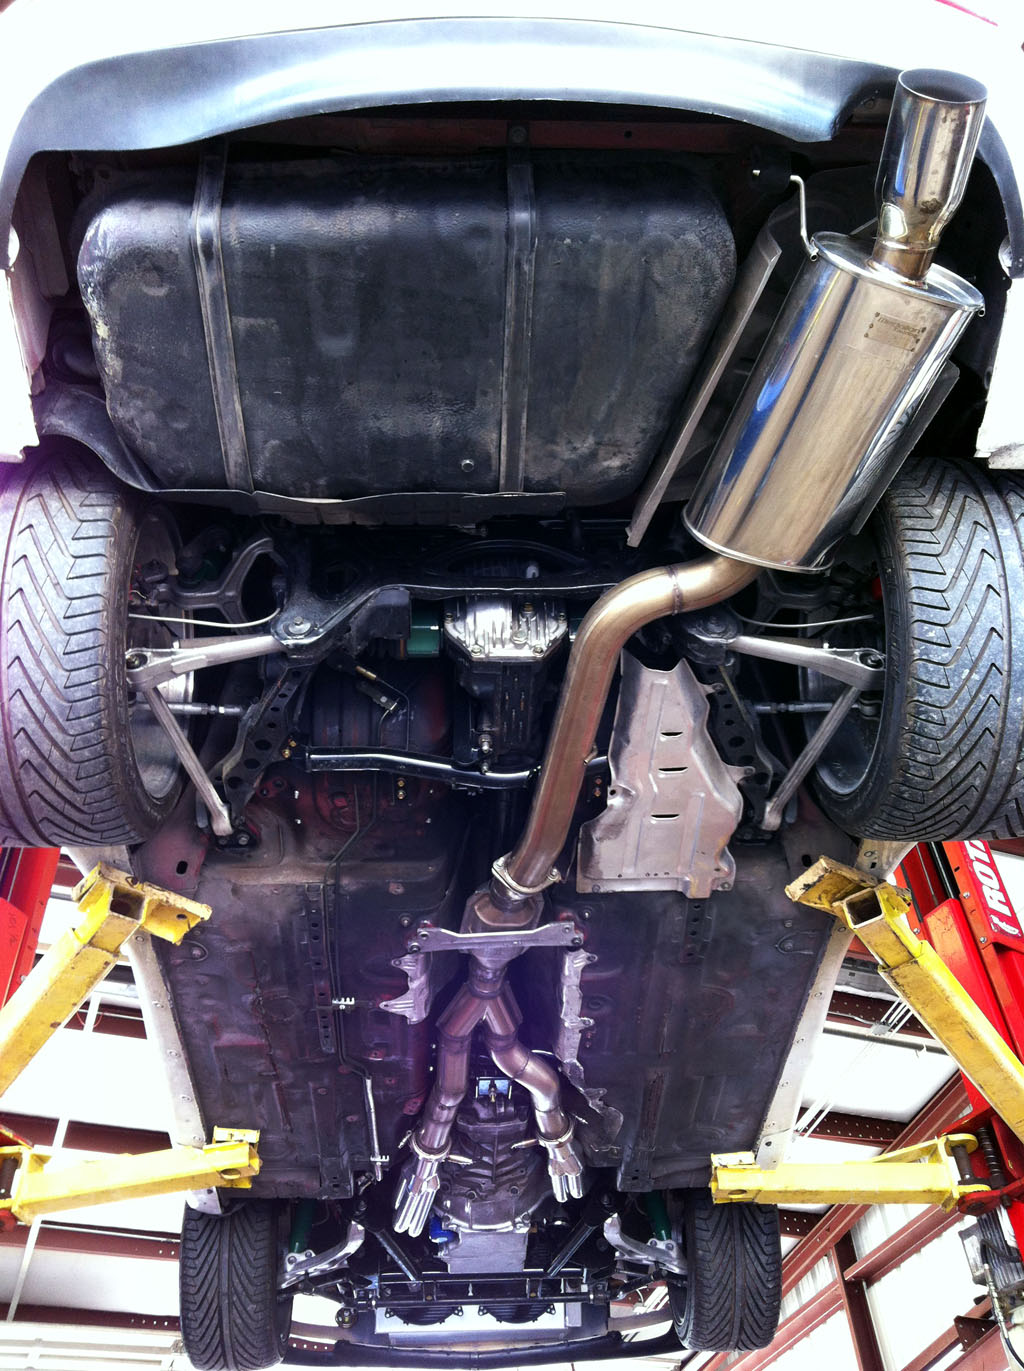
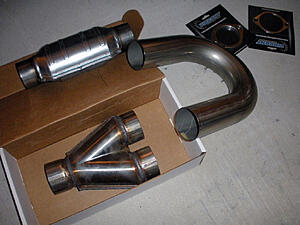
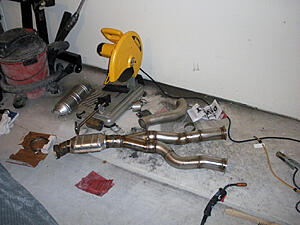
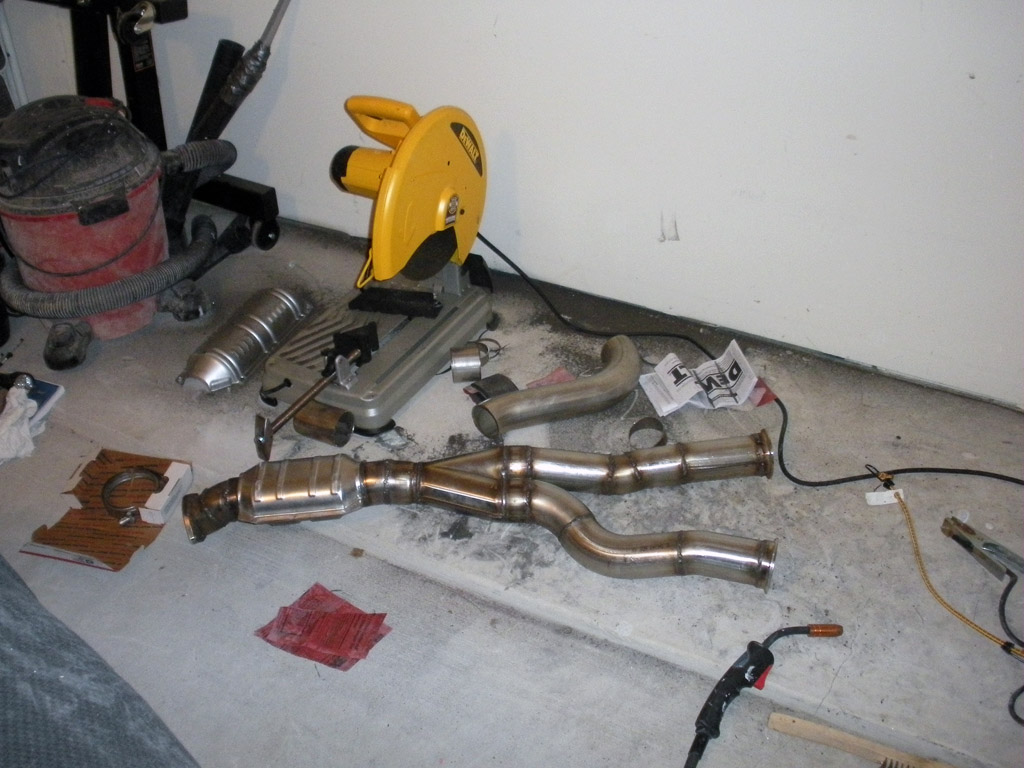
Exhuast is next up on the to-do list, so I go about ordering all the bits I need to build one myself.
In the meantime, while I practice welding stainless I take the 7 out for short drives around the apt complex.....open header. Im sure the neighbors love me.
I have no idea what Im doing...Ive never done this before.
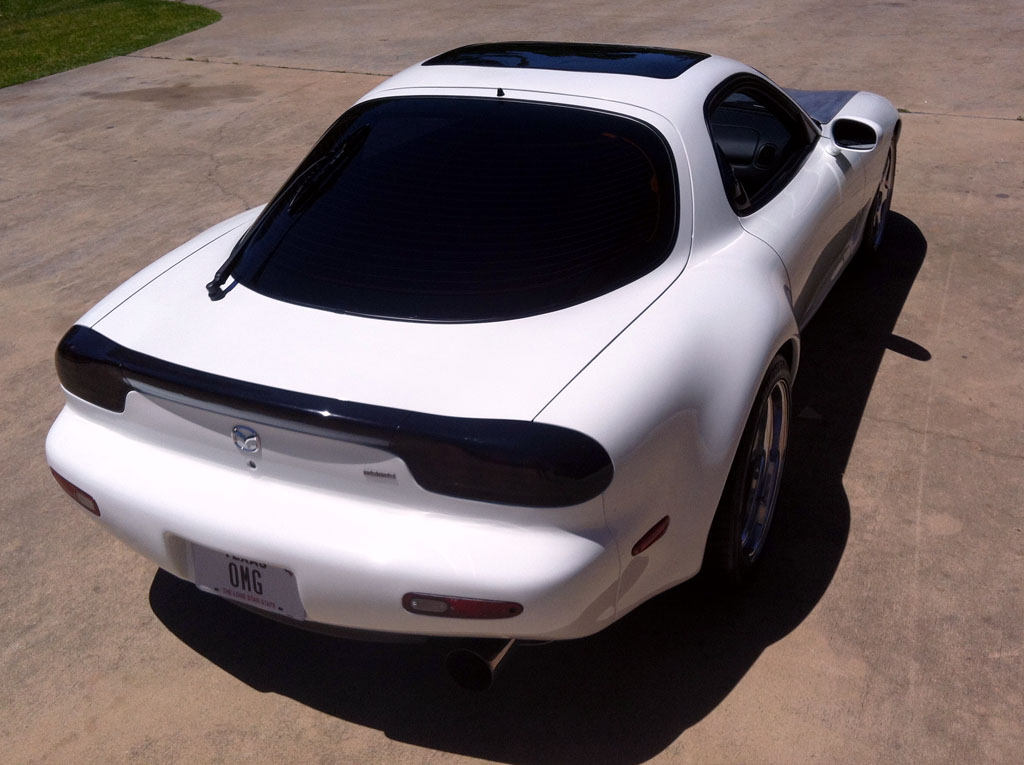
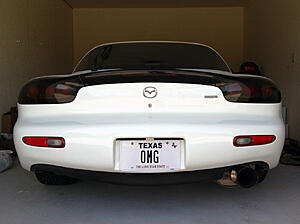
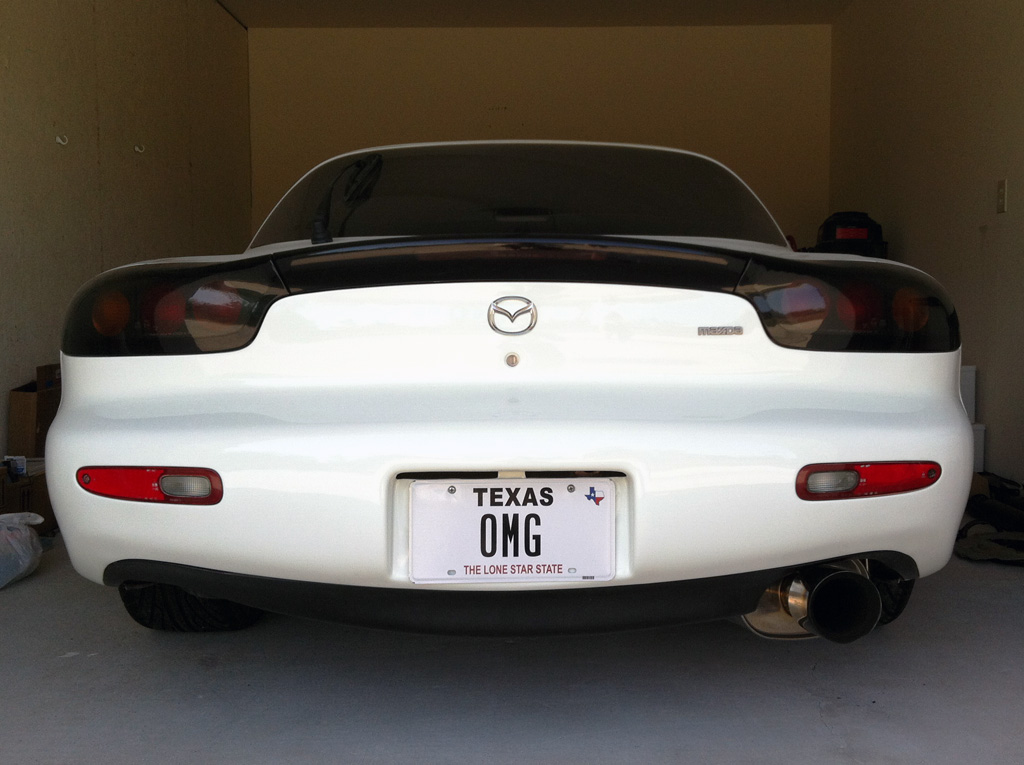
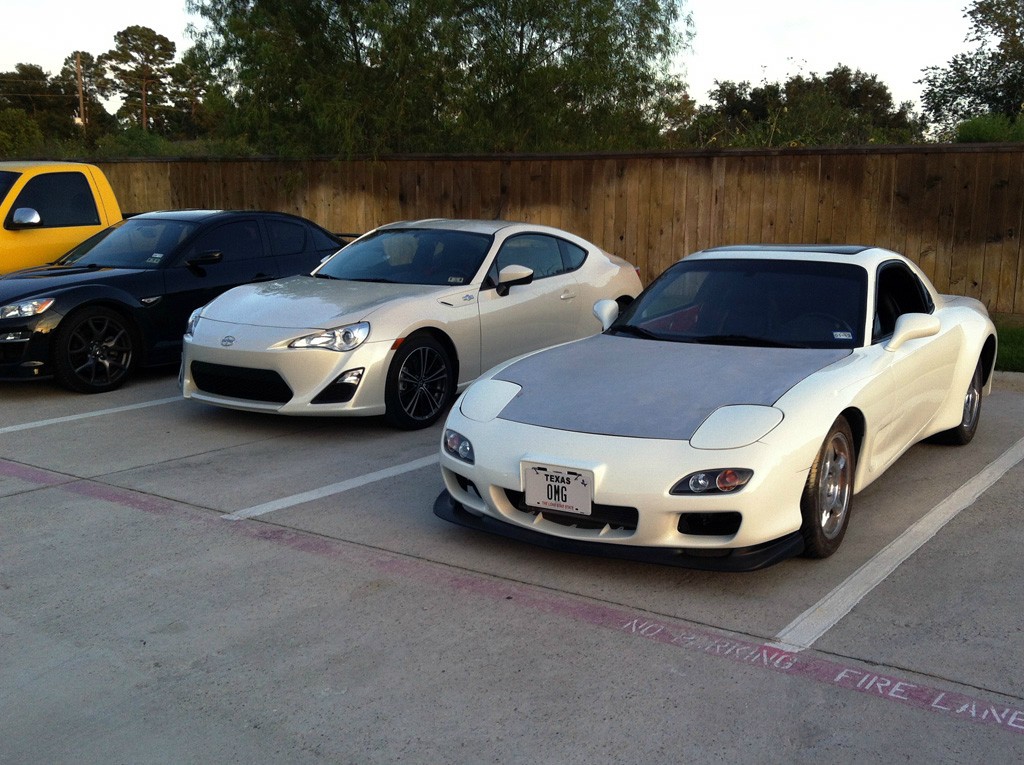
And a quick walk-around...
And now that Ive got a full exhaust I can go full throttle without wigging out my 02 sensors
Its almost the full test drive, so if you want to see the good stuff-
:40 - WOT in 1st and 2nd all the way to redline
3:00 - WOT in 2nd and into 3rd
4:05 - WOT in 2nd again, this time throttling it to maintain traction
Exhuast is next up on the to-do list, so I go about ordering all the bits I need to build one myself.

In the meantime, while I practice welding stainless I take the 7 out for short drives around the apt complex.....open header. Im sure the neighbors love me.
I have no idea what Im doing...Ive never done this before.
And a quick walk-around...
And now that Ive got a full exhaust I can go full throttle without wigging out my 02 sensors
Its almost the full test drive, so if you want to see the good stuff-
:40 - WOT in 1st and 2nd all the way to redline
3:00 - WOT in 2nd and into 3rd
4:05 - WOT in 2nd again, this time throttling it to maintain traction
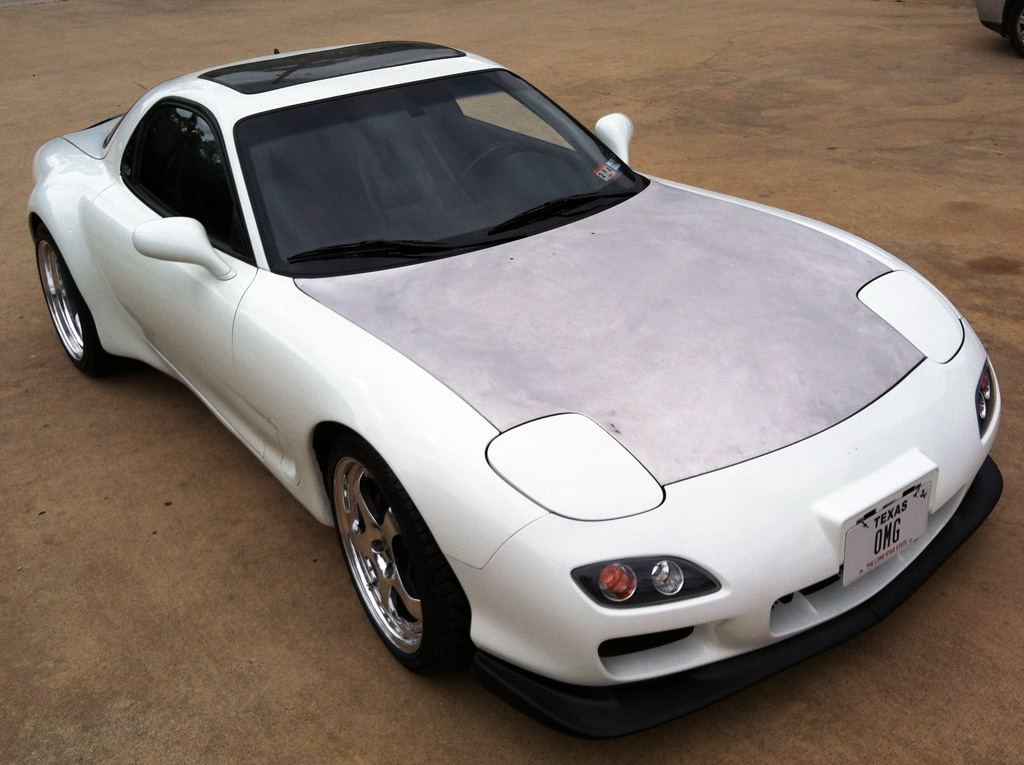
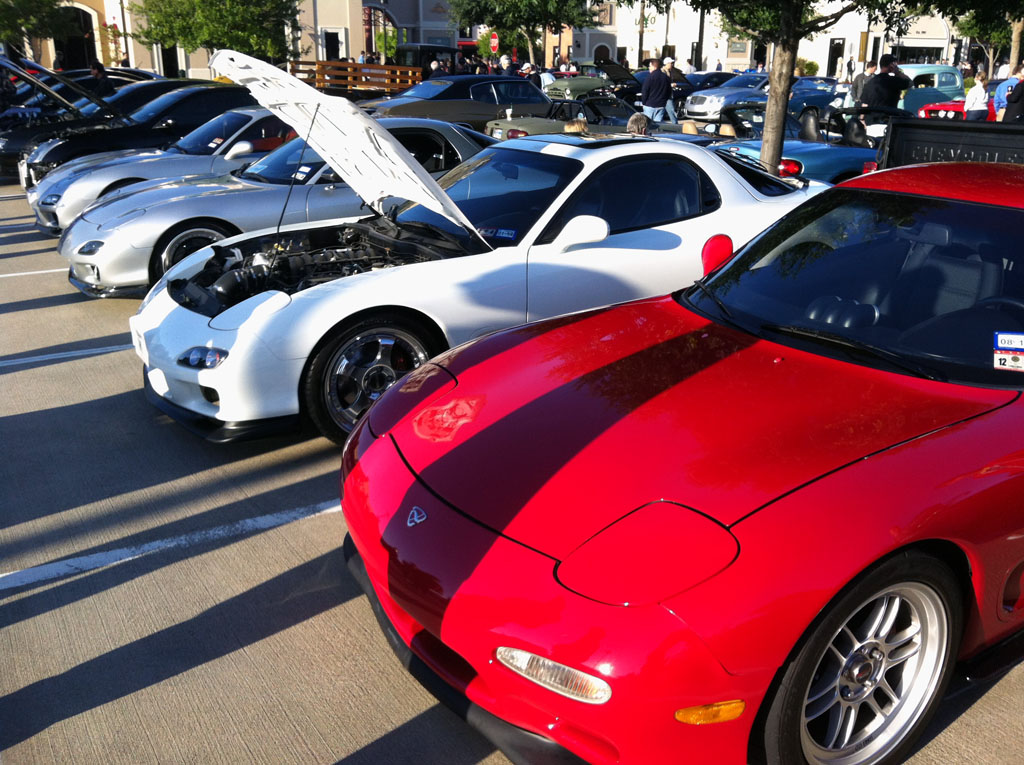
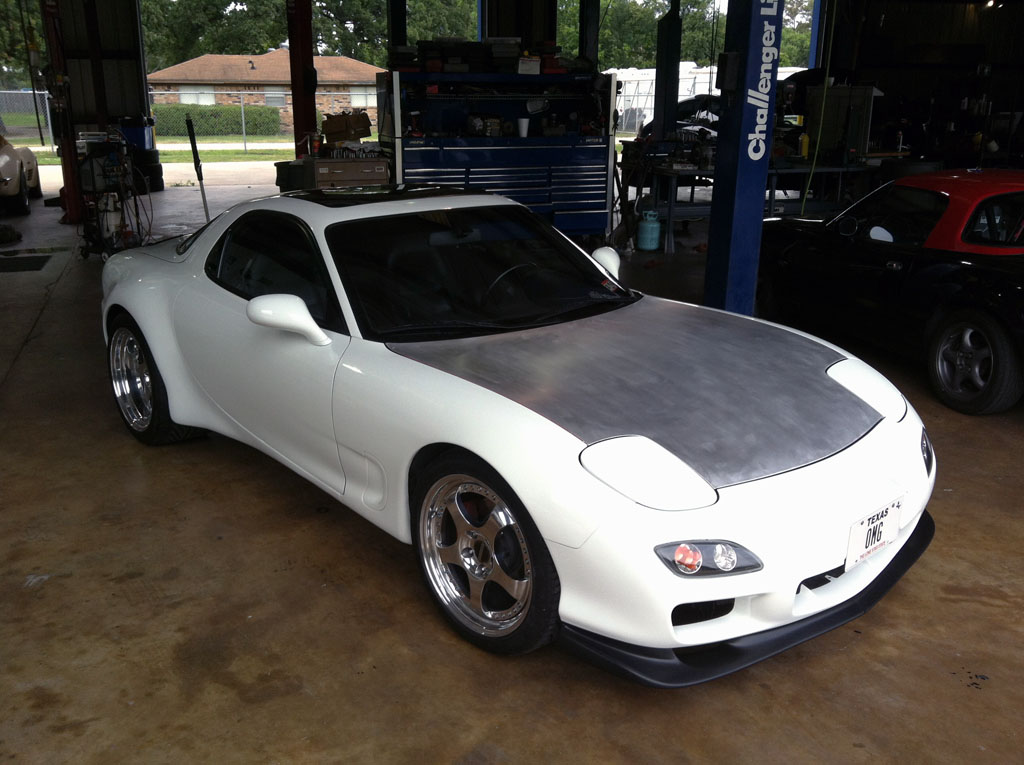
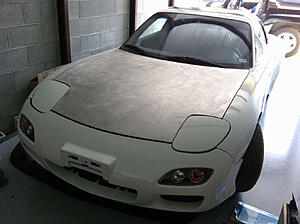
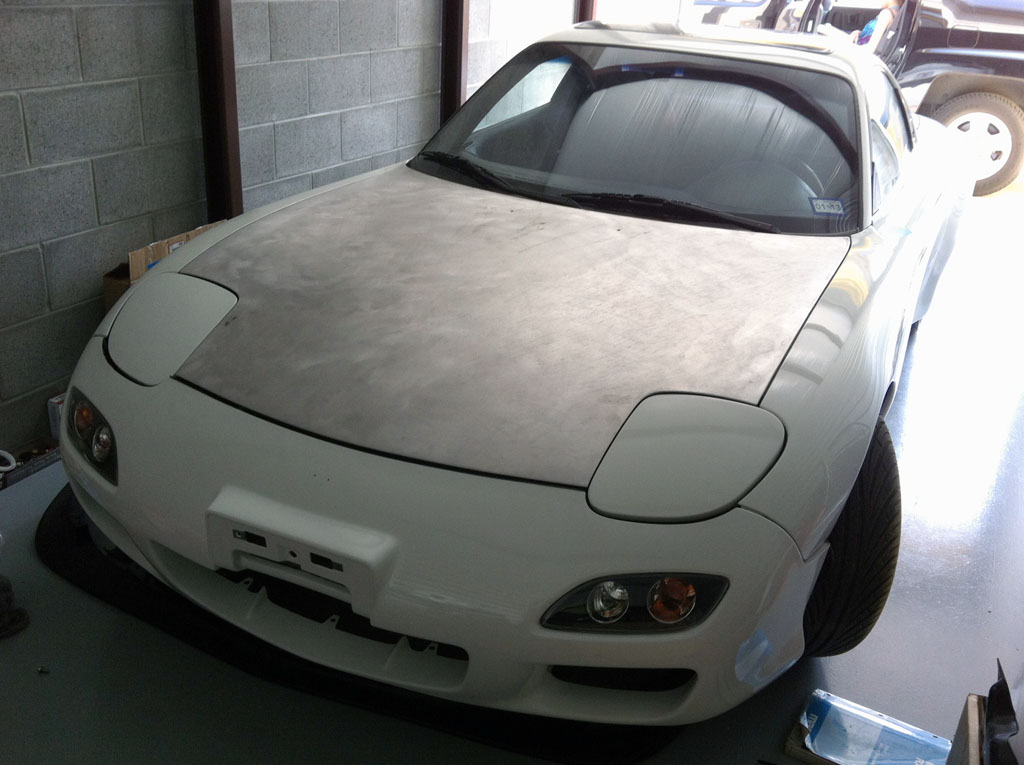
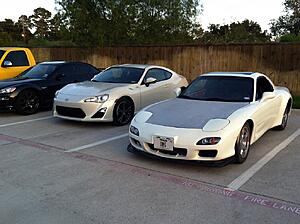
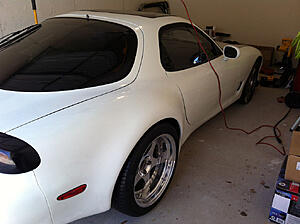
So at this point its all little things Im tackling. The meat of the project is done. Im still on the stock rims/tires (which look pretty retarded on the widebody) and I still havent painted the hood.
I drive it up to work one day and get a state inspection sticker. Houston is emission testing and Ive never done it the legal way (its pretty much impossible to pass with a modded rotary). This time it passes with flying colors. In fact, it has lower numbers than my bone stock 94 miata.
Also, just out of curiosity, I threw it on some corner weights to see what all that gutting did. Still needs to be corner balanced.

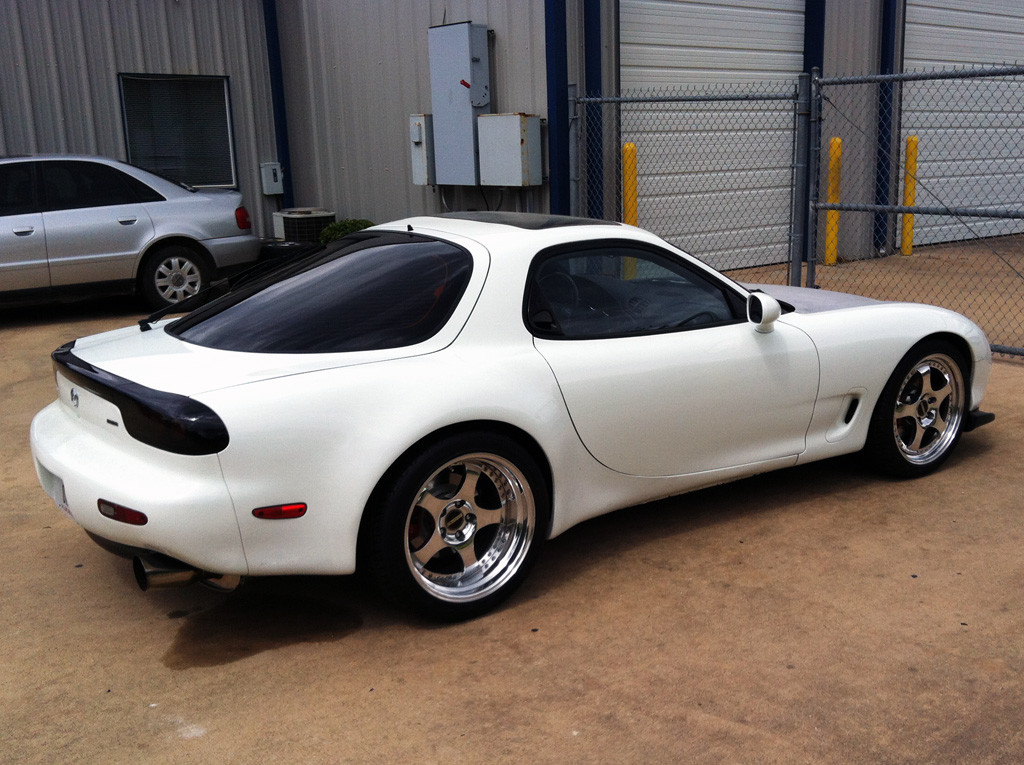
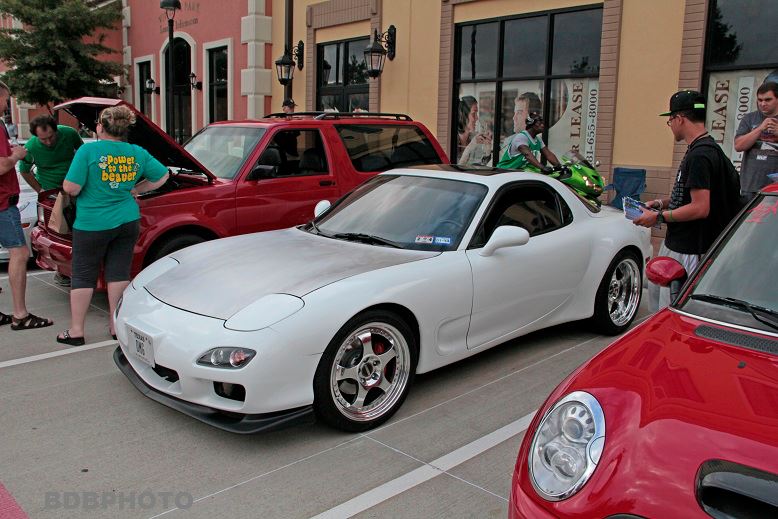
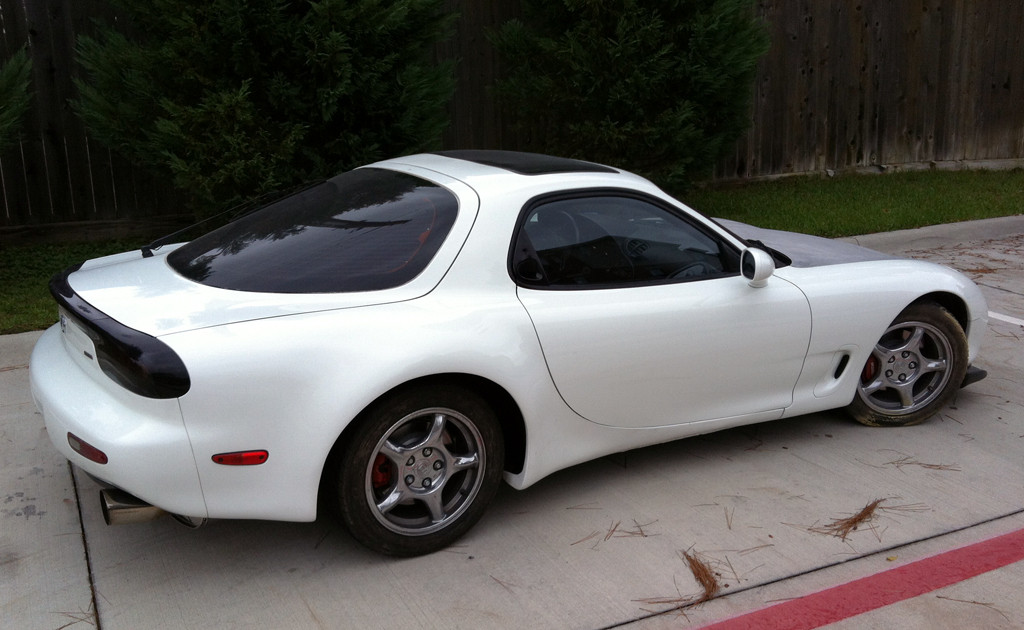
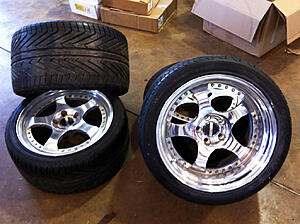
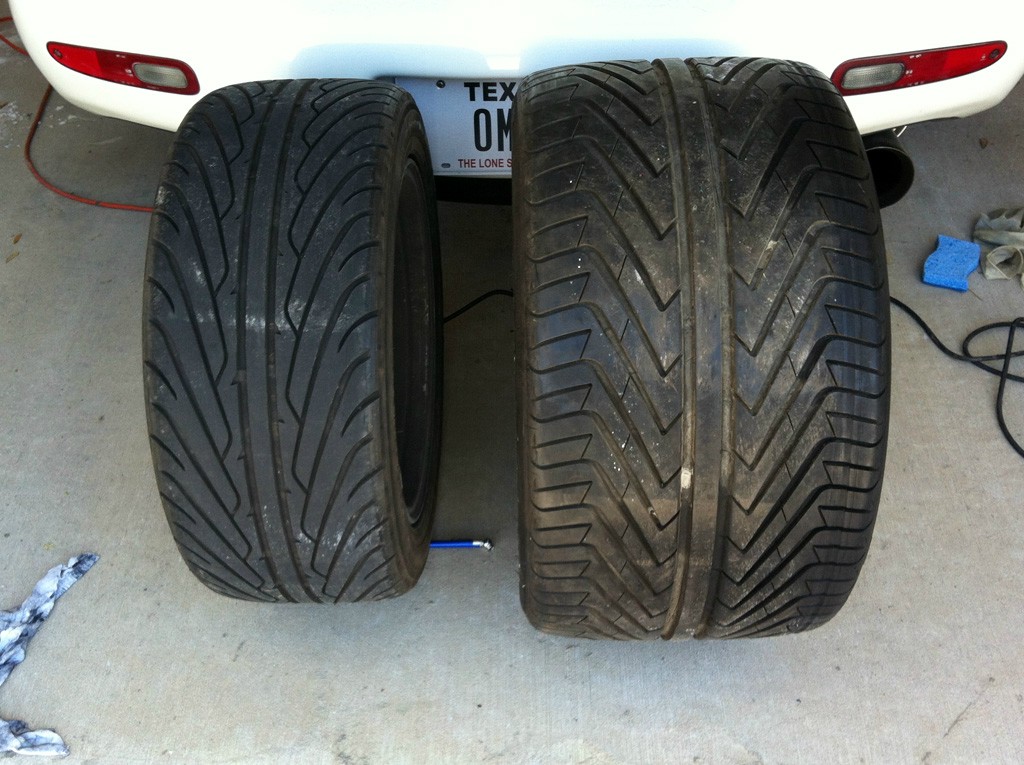
And I finally found some wheels off a member here. This completes the project.

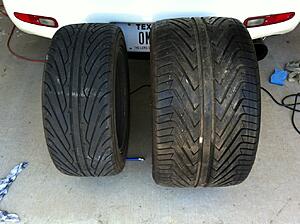
For comparison - old rear wheel on the left (245) and new rear wheel on the right (335)
With a little TLC they cleaned up rather nicely...

I drive it up to work one day and get a state inspection sticker. Houston is emission testing and Ive never done it the legal way (its pretty much impossible to pass with a modded rotary). This time it passes with flying colors. In fact, it has lower numbers than my bone stock 94 miata.
Also, just out of curiosity, I threw it on some corner weights to see what all that gutting did. Still needs to be corner balanced.
And I finally found some wheels off a member here. This completes the project.
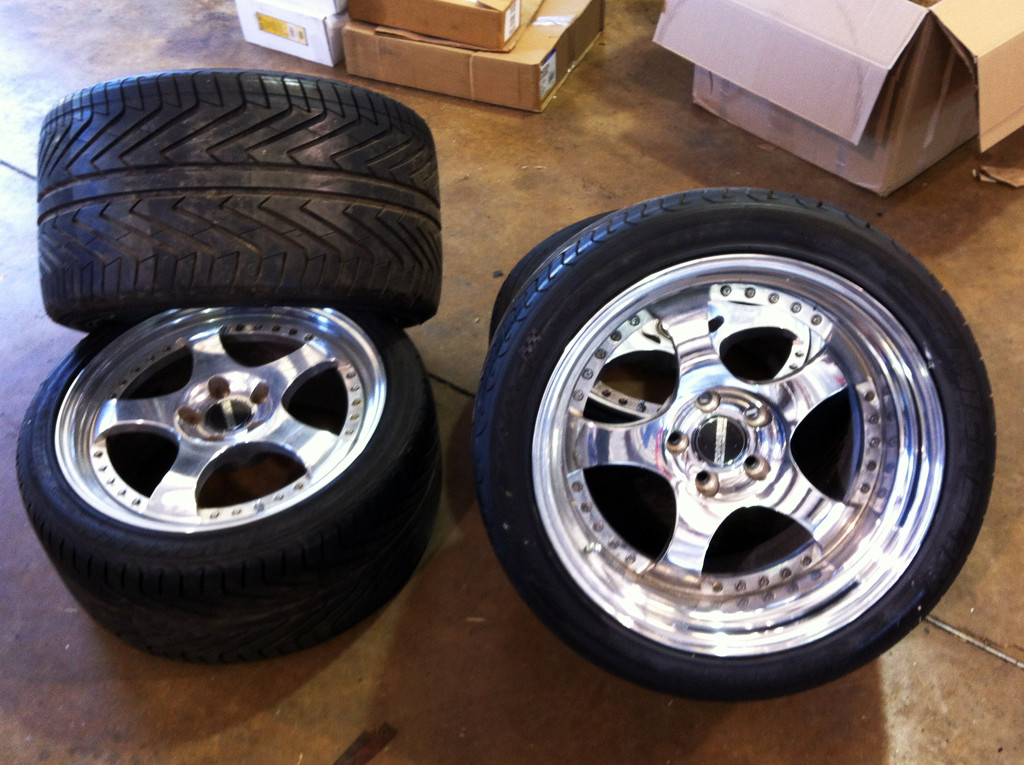

For comparison - old rear wheel on the left (245) and new rear wheel on the right (335)
With a little TLC they cleaned up rather nicely...