
Mississippi FD - 383CI Forged LS1 Stroker Build

FANTASTIC WORK!!!!!!!
I'm about to tackle wiring nightmare by going simple.. I hope I could ask you for some help
Also, please consider coming to DGRR 2012. I've always encourage LS FD owners to show up and I would love to take a look at your car in person... especially since you are only one state away.
I'm about to tackle wiring nightmare by going simple.. I hope I could ask you for some help
Also, please consider coming to DGRR 2012. I've always encourage LS FD owners to show up and I would love to take a look at your car in person... especially since you are only one state away.


Thread Starter
Joined: Apr 2009
Posts: 381
Likes: 27
From: Starkville, MS
Thanks guys!
Herblenny - Thanks for the invite! I really appreciate it! I'll seriously try and come. I'm sure I'll be much more involved with meets once I get this bad boy back on the road
hkp - Thanks and I'm sorry man.
Here's a couple of pictures from when I stopped by the paint shop earlier today.
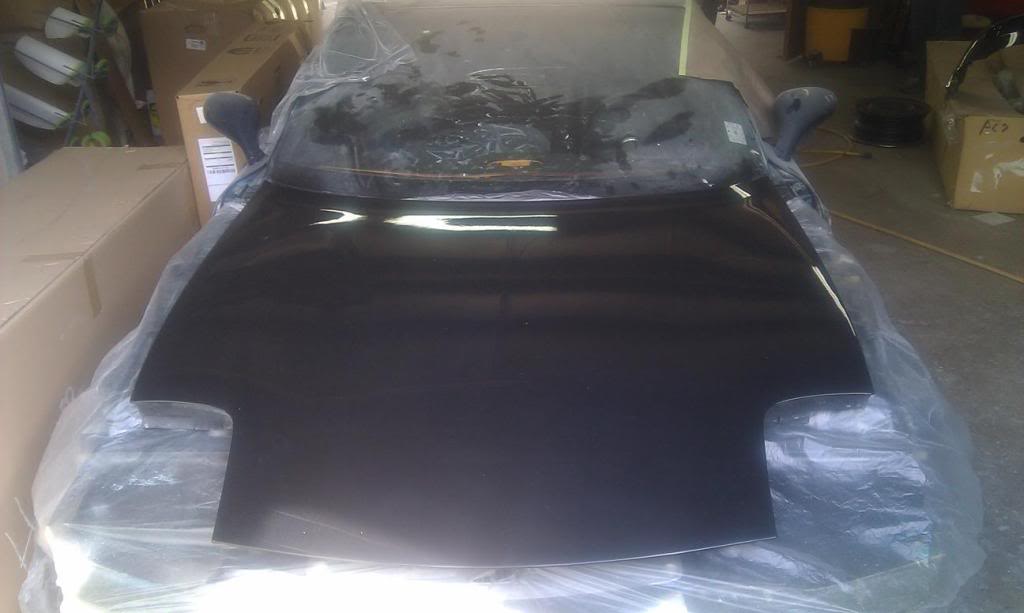
Front hood has been painted, wetsanded, and polished, but needs its final buff.
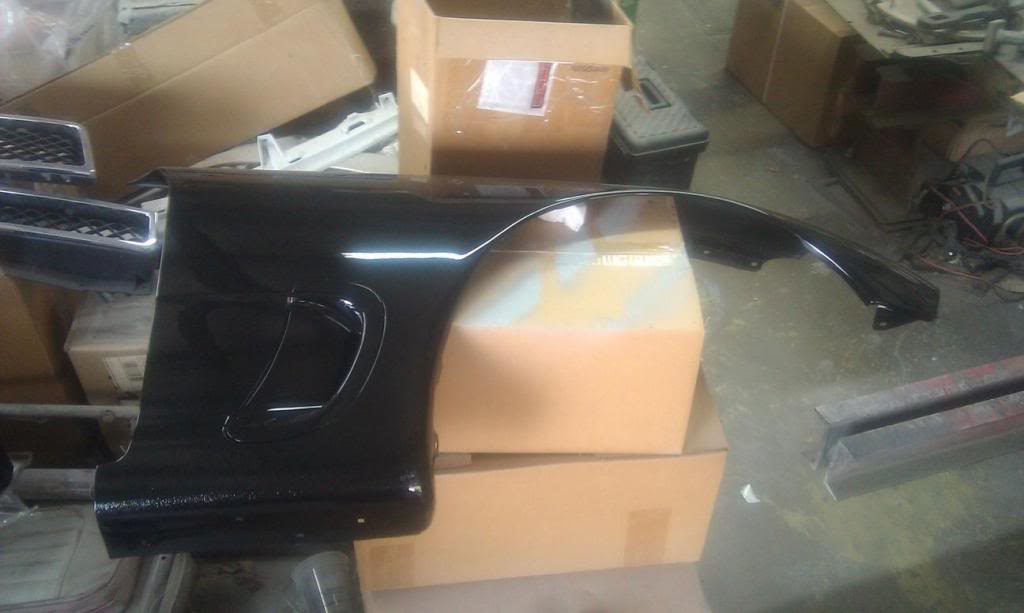
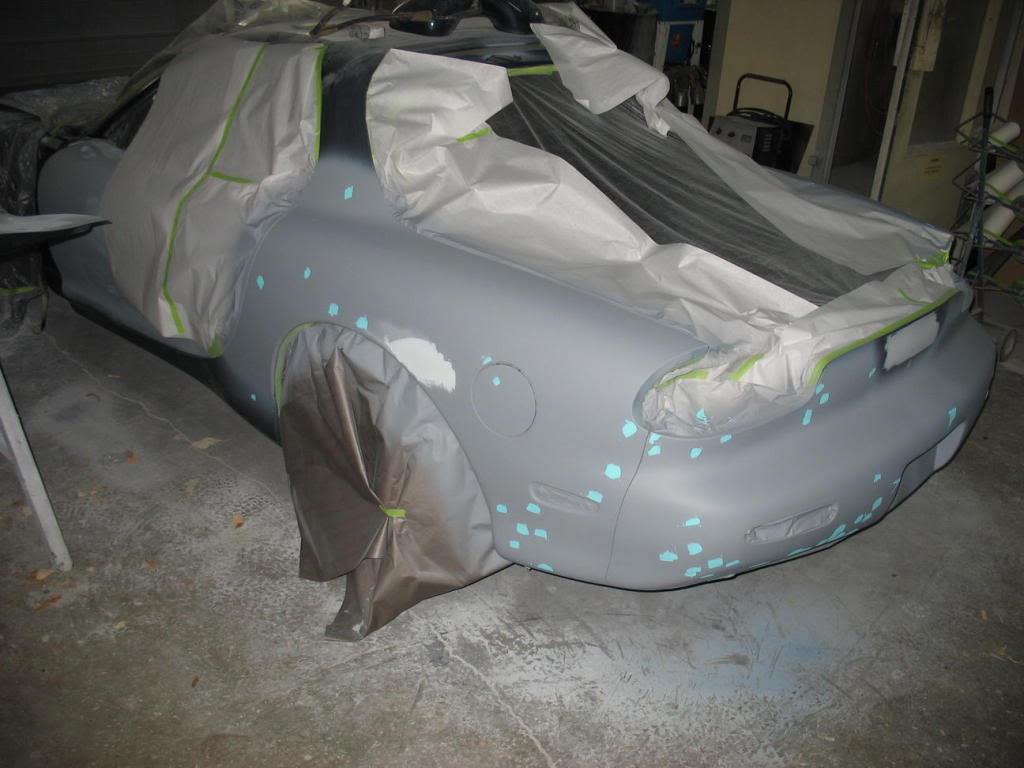
One of the completed front fenders
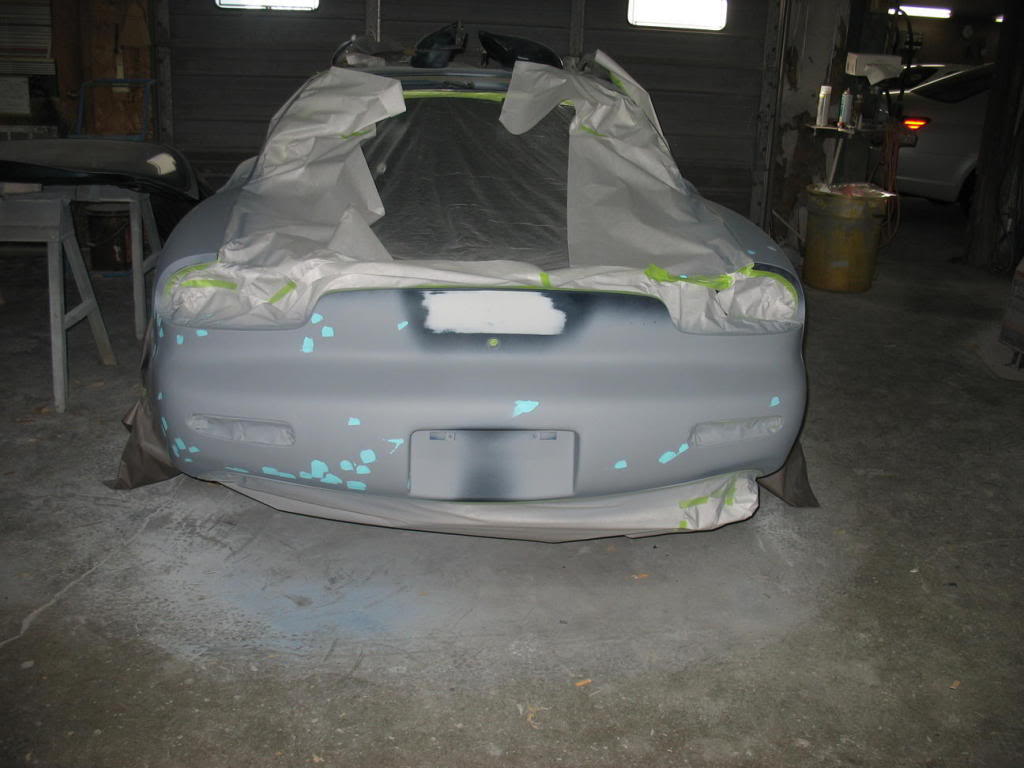
Front bumper. Done!
The sunroof and headlight covers are also done but they were laying in the trunk and I didn't want to lift the freakn heavy hatch without hydraulics :P
Lane
Herblenny - Thanks for the invite! I really appreciate it! I'll seriously try and come. I'm sure I'll be much more involved with meets once I get this bad boy back on the road
hkp - Thanks and I'm sorry man.
Here's a couple of pictures from when I stopped by the paint shop earlier today.
Front hood has been painted, wetsanded, and polished, but needs its final buff.
One of the completed front fenders
Front bumper. Done!
The sunroof and headlight covers are also done but they were laying in the trunk and I didn't want to lift the freakn heavy hatch without hydraulics :P
Lane

Thread Starter
Joined: Apr 2009
Posts: 381
Likes: 27
From: Starkville, MS
Decided to do a 99+ tail light conversion this week.
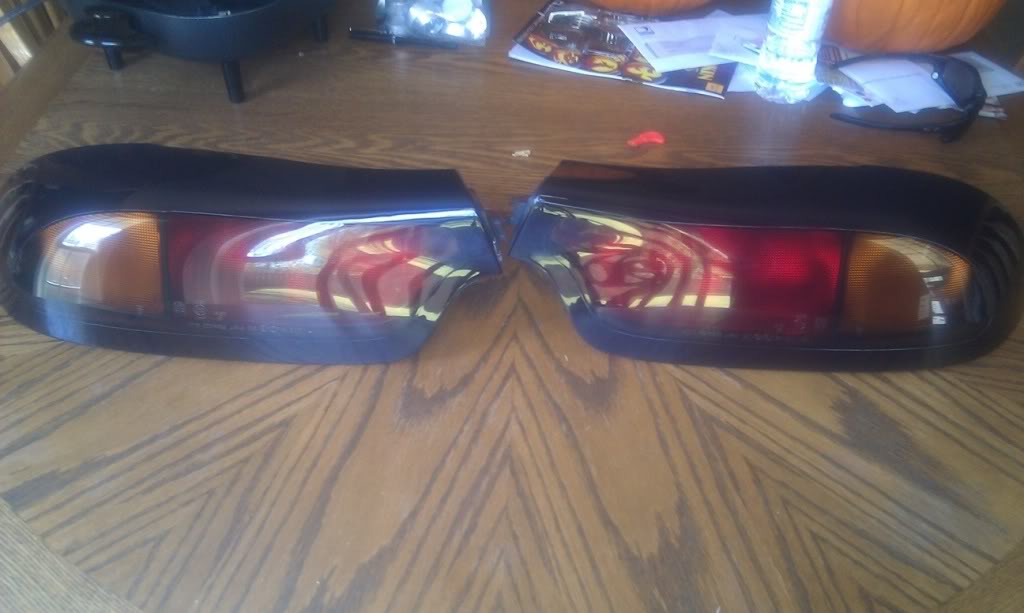
I started with near mint set of 93 taillights I picked up from str8ryd (awesome seller).
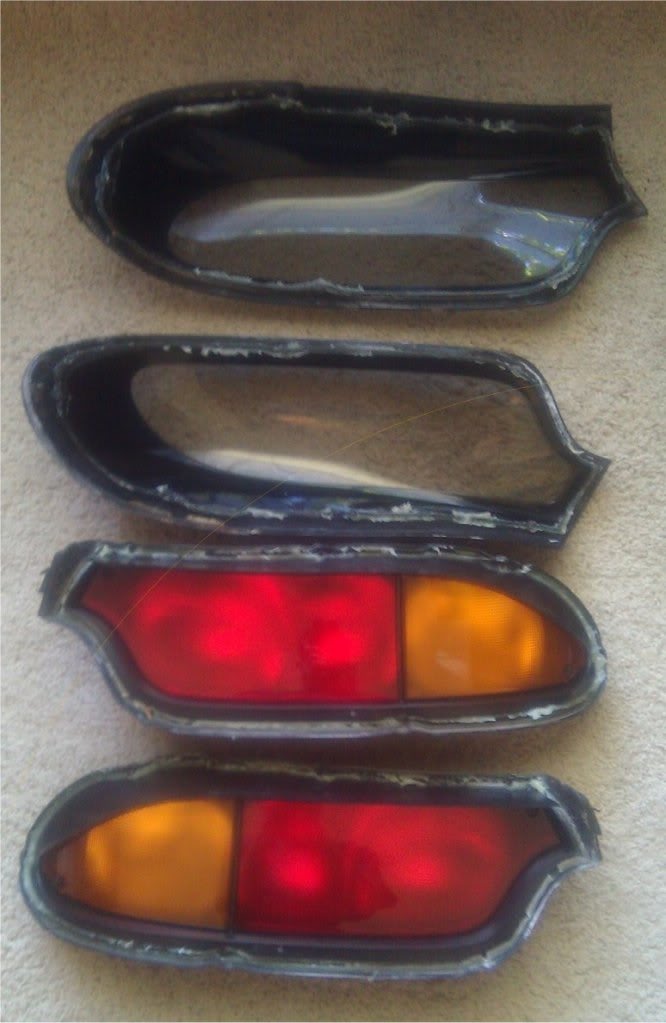
Removed the lenses with a heat gun and screw driver
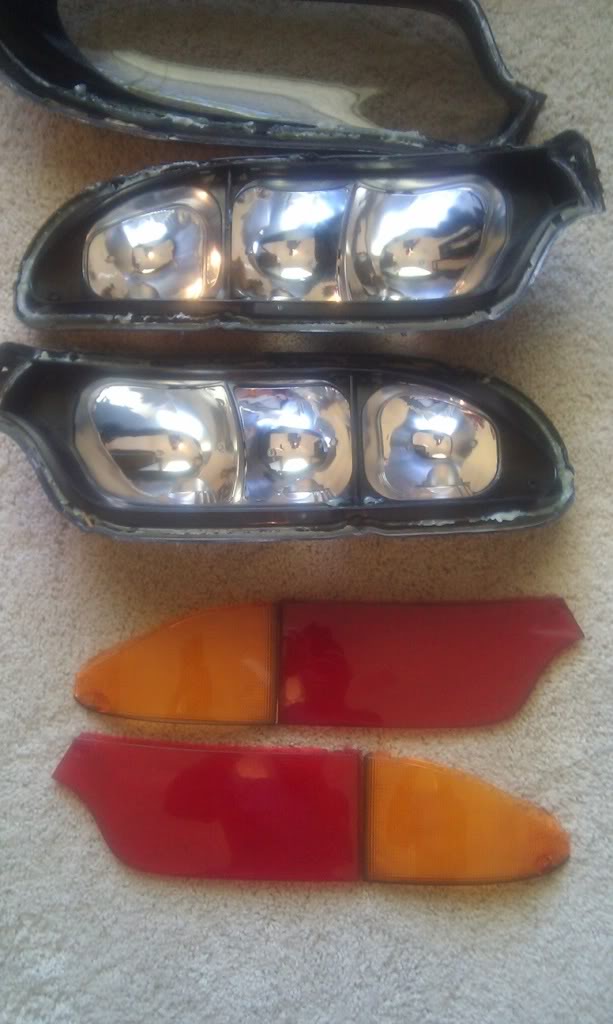
Also removed the filters with a heat gun and screw driver
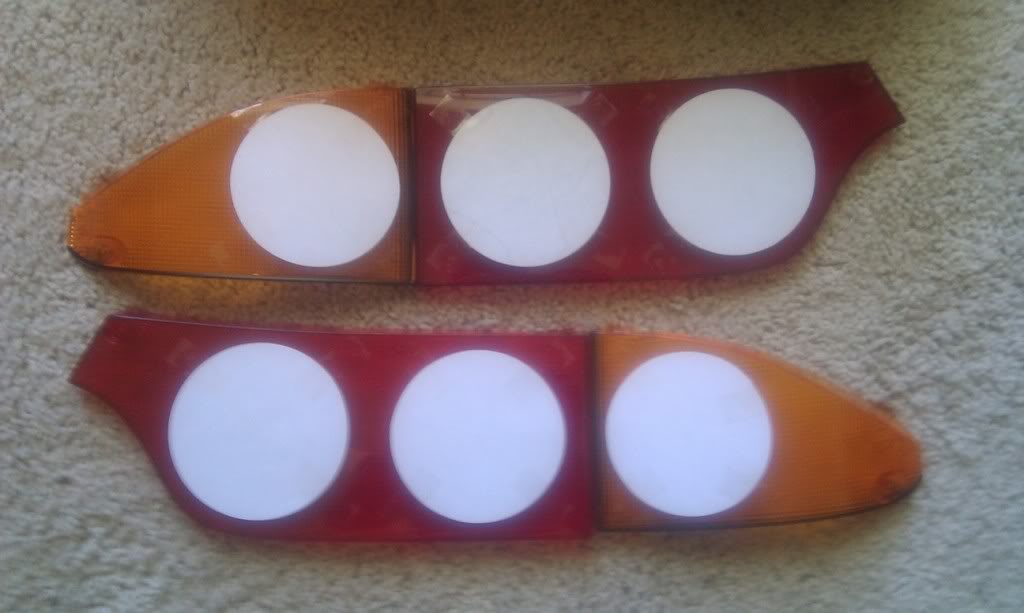
Test circles made of paper for centering measurements
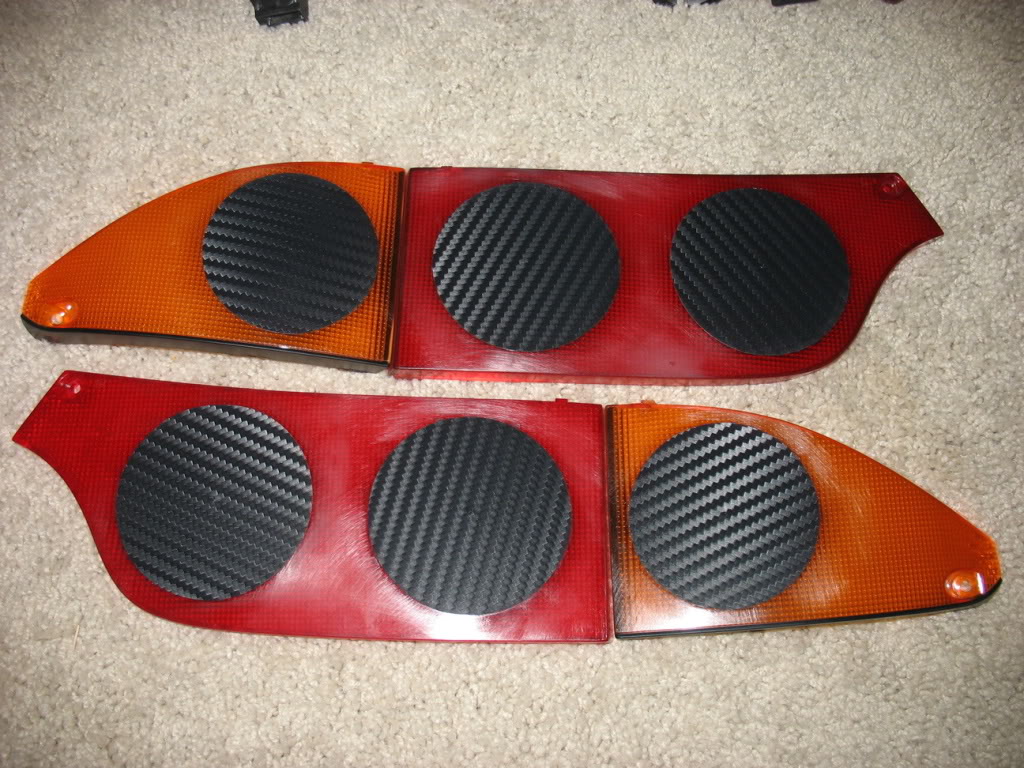
Circles made of scrap 3M DI-NOC were used for final masking. Yet another wonderful use of DI-NOC! All hail DI-NOC!
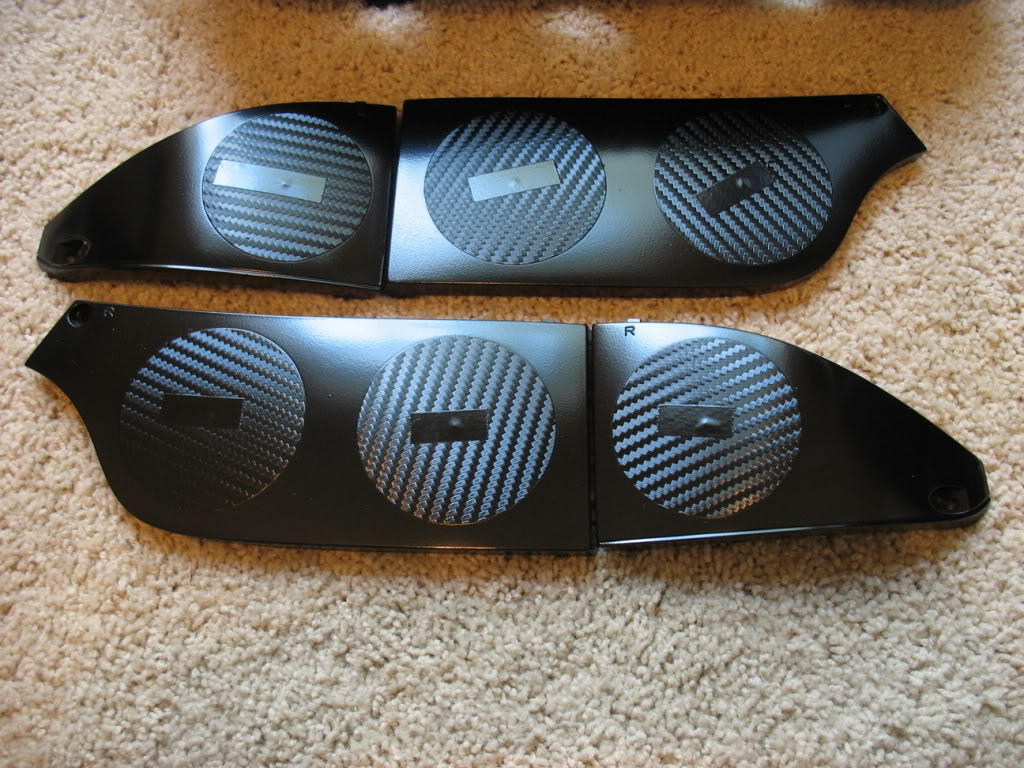
Painted with Krylon Fusion gloss black spay paint
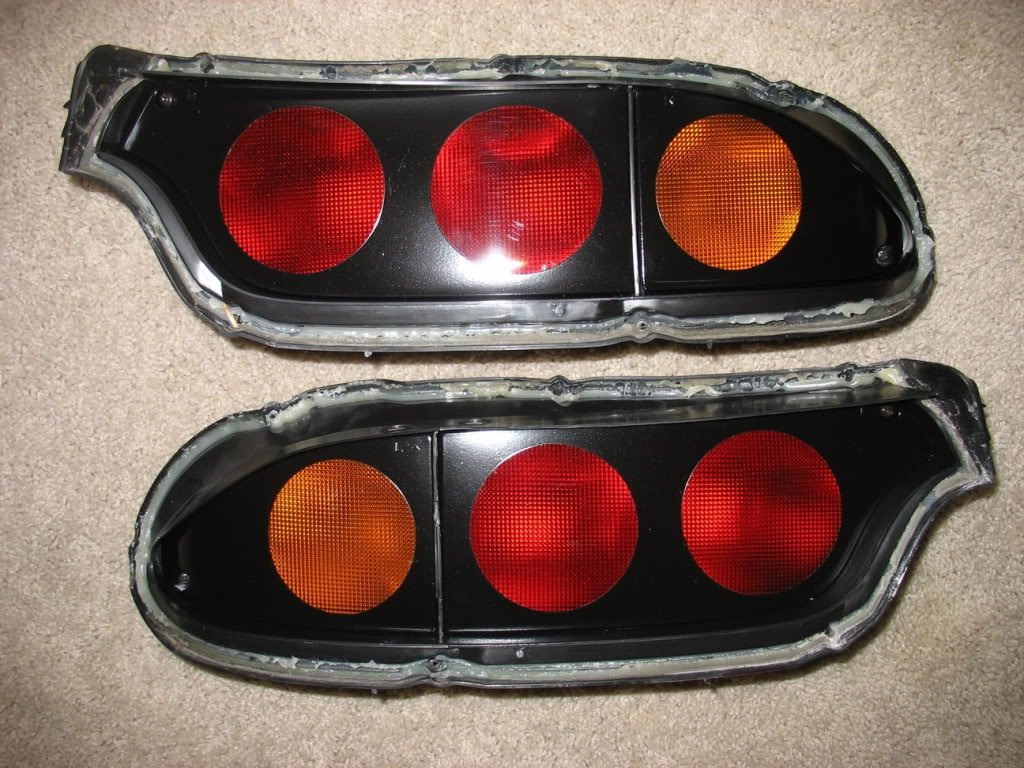
Filters reinstalled in the bases + DI-NOC masks removed
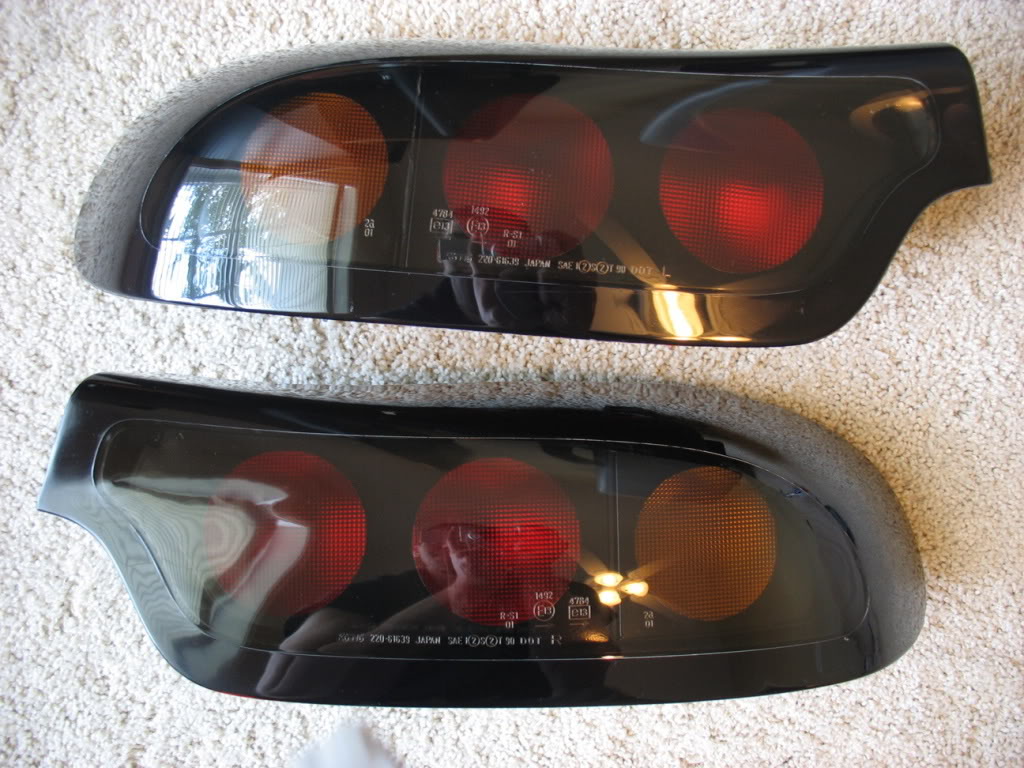
Lenses reinstalled. Finished Product! Saved myself $300-$400 bucks
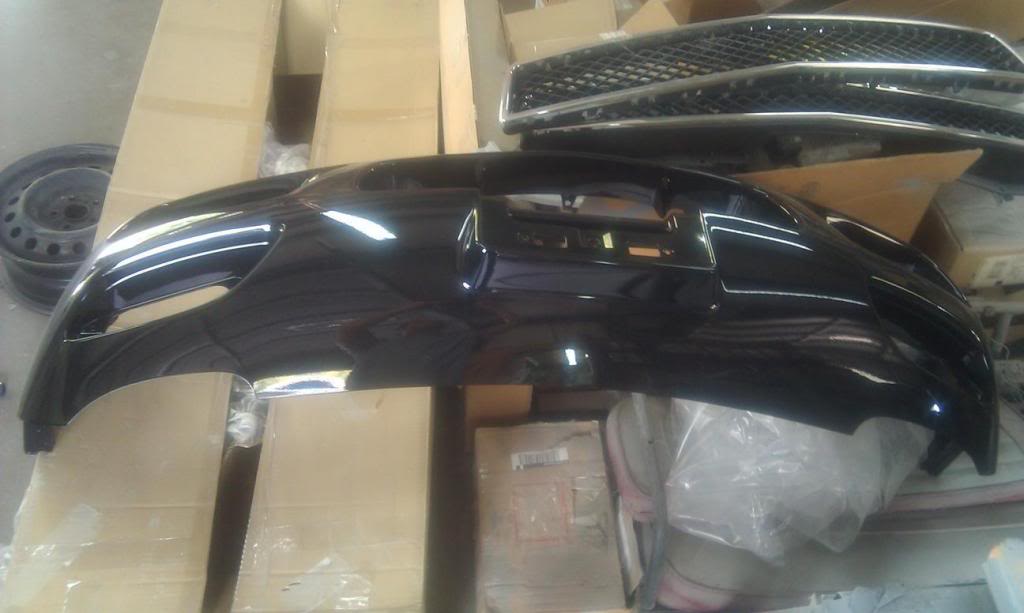
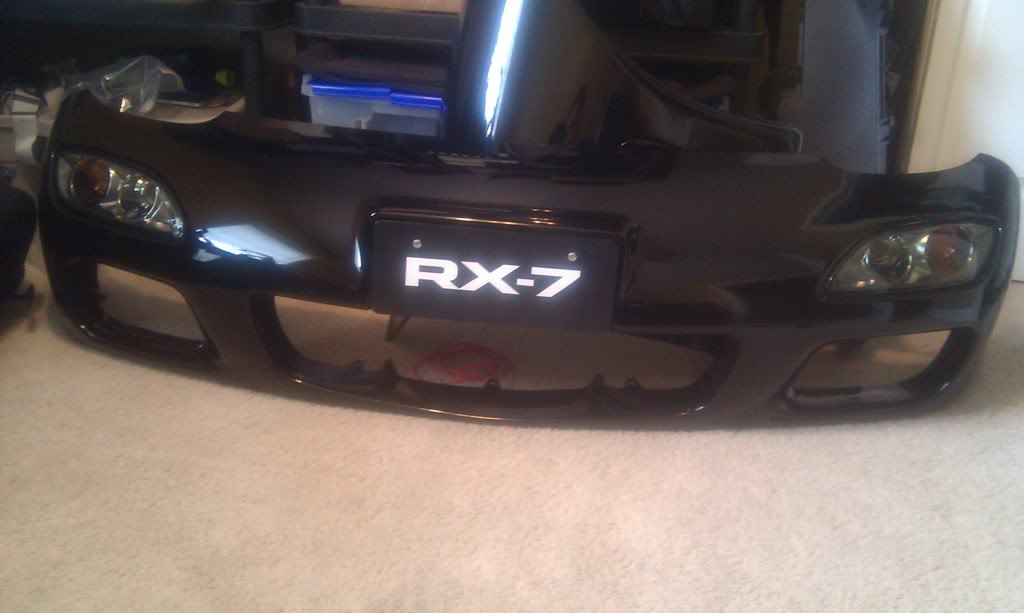
Oh yes, and my bumper and fenders are back home. Here's my bumper with a little bit of swag mocked up on it:
Lane
I started with near mint set of 93 taillights I picked up from str8ryd (awesome seller).
Removed the lenses with a heat gun and screw driver
Also removed the filters with a heat gun and screw driver
Test circles made of paper for centering measurements
Circles made of scrap 3M DI-NOC were used for final masking. Yet another wonderful use of DI-NOC! All hail DI-NOC!
Painted with Krylon Fusion gloss black spay paint
Filters reinstalled in the bases + DI-NOC masks removed
Lenses reinstalled. Finished Product! Saved myself $300-$400 bucks
Oh yes, and my bumper and fenders are back home. Here's my bumper with a little bit of swag mocked up on it:
Lane
Thread Starter
Joined: Apr 2009
Posts: 381
Likes: 27
From: Starkville, MS
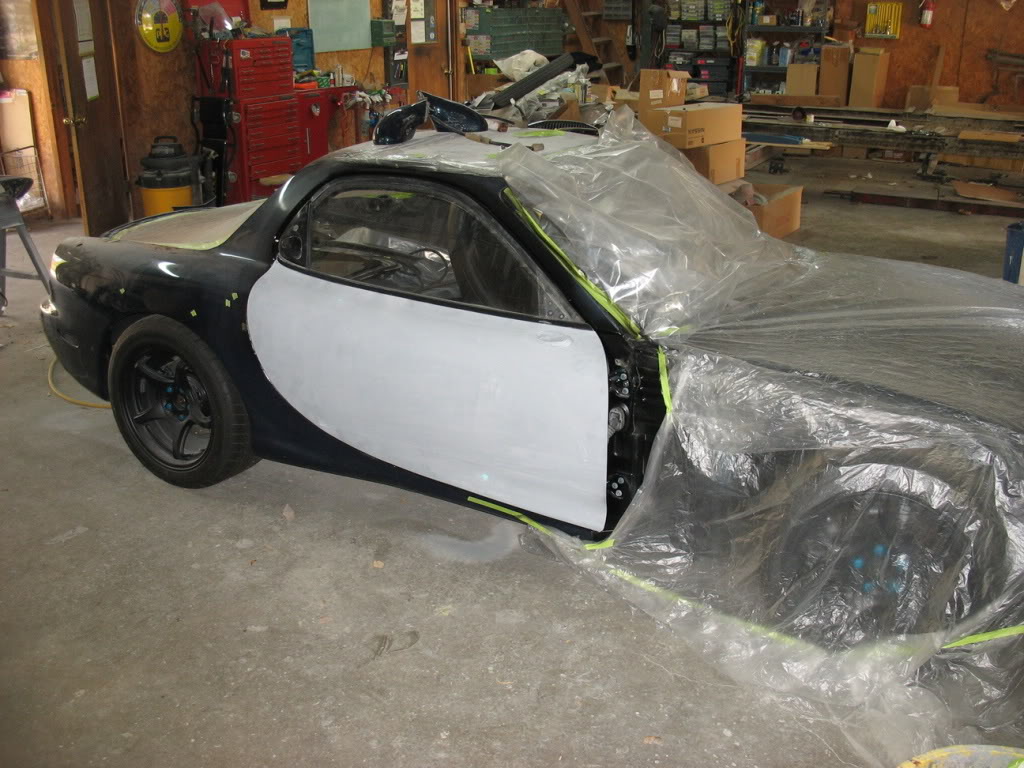
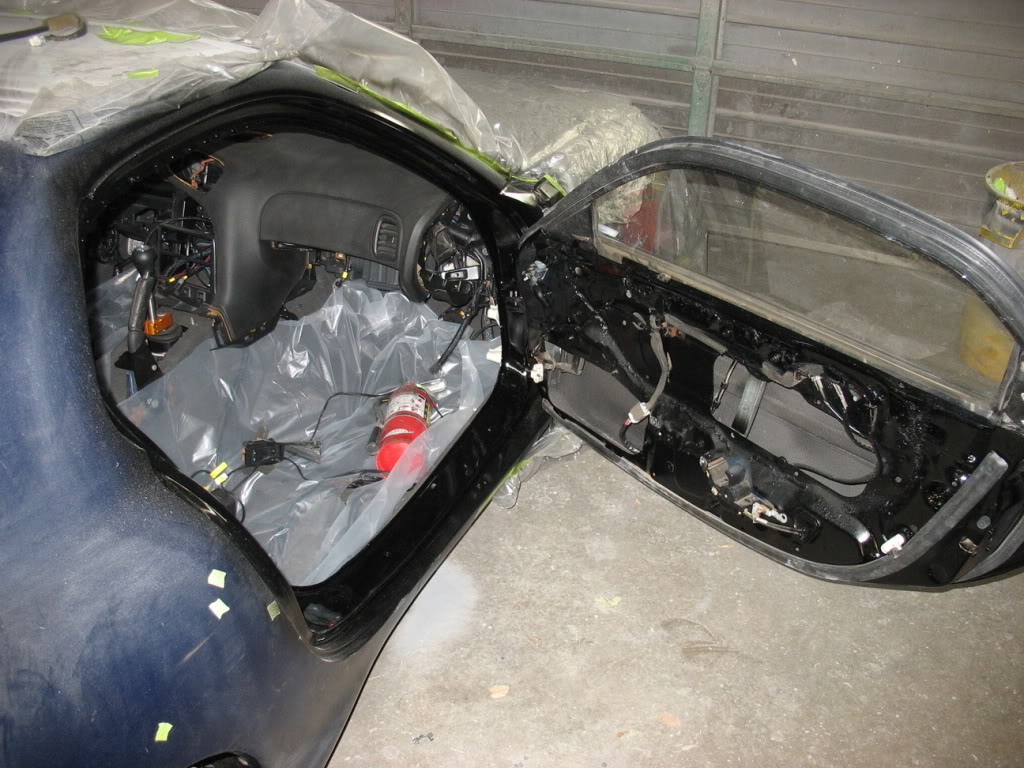
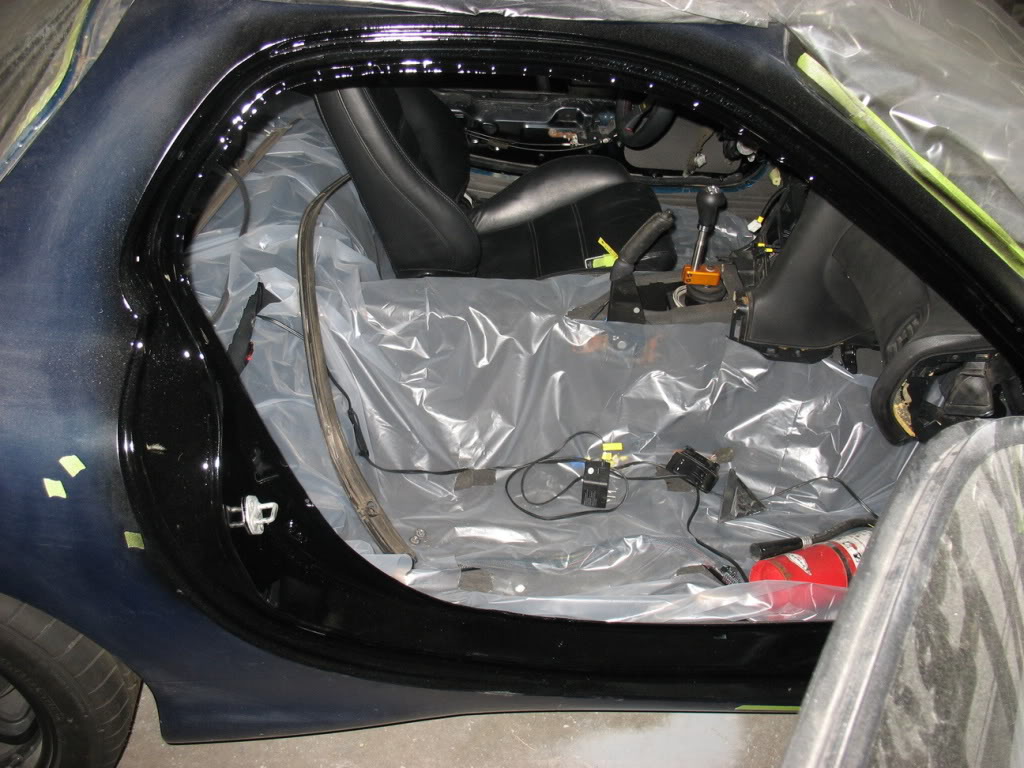
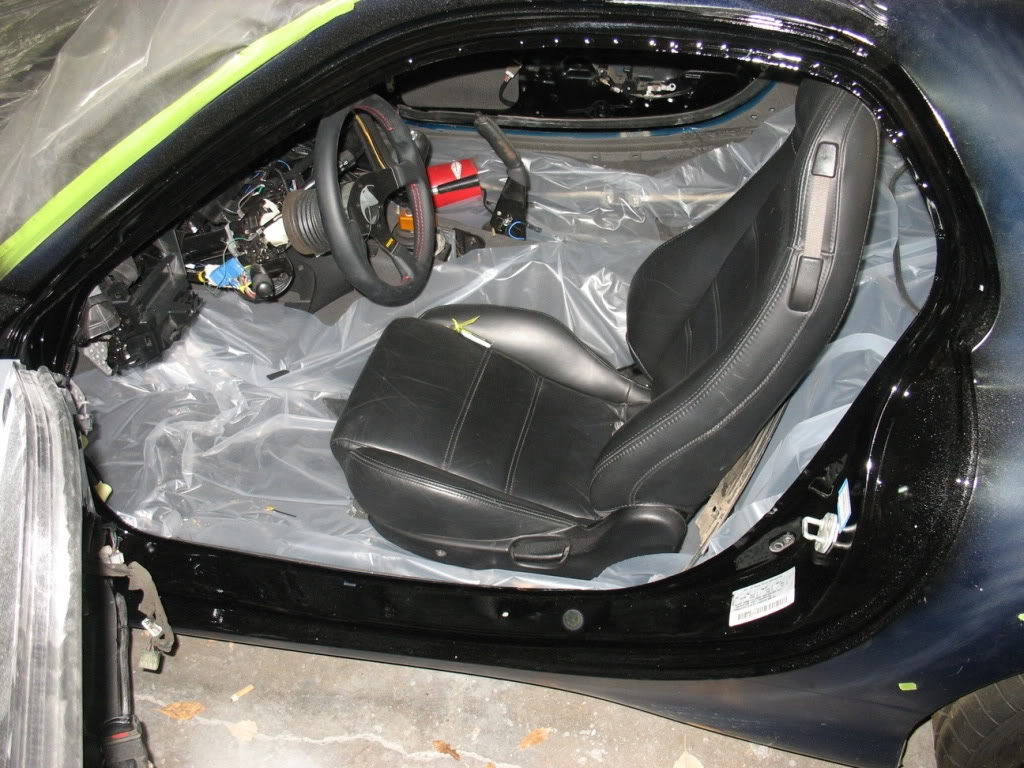
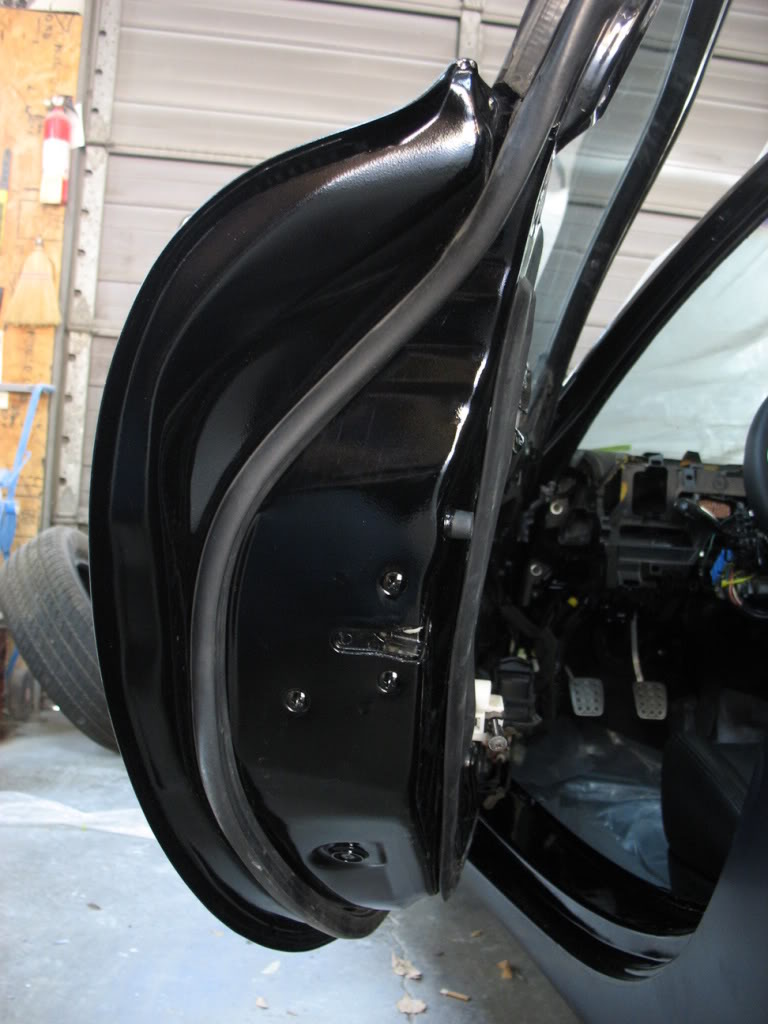
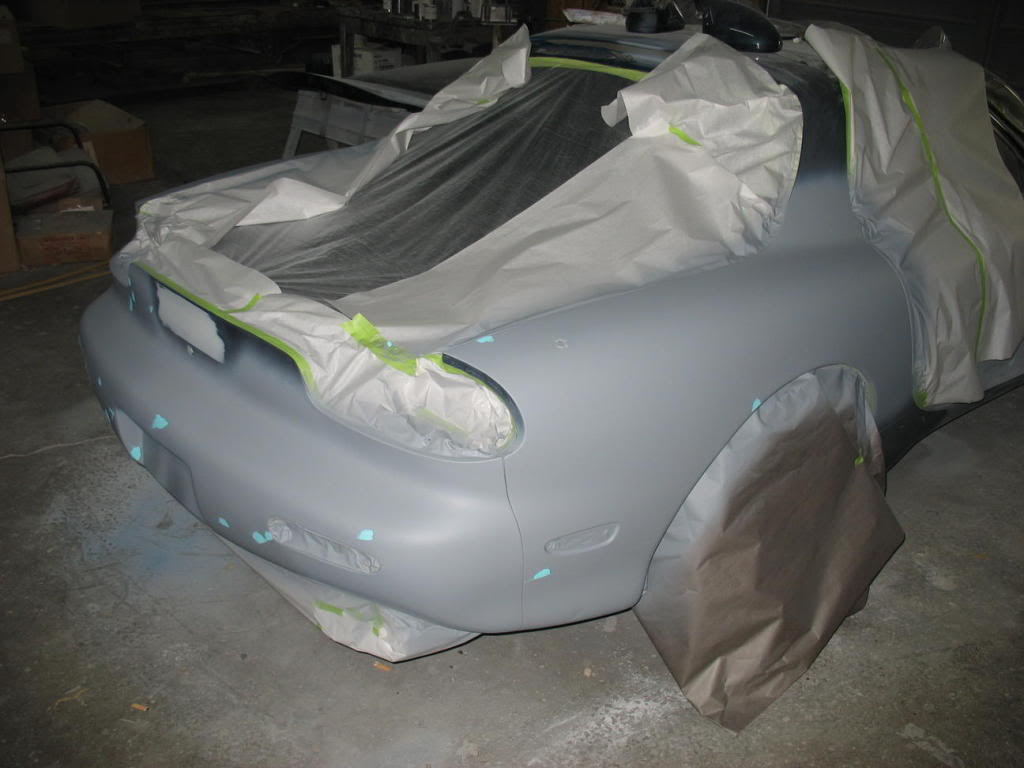
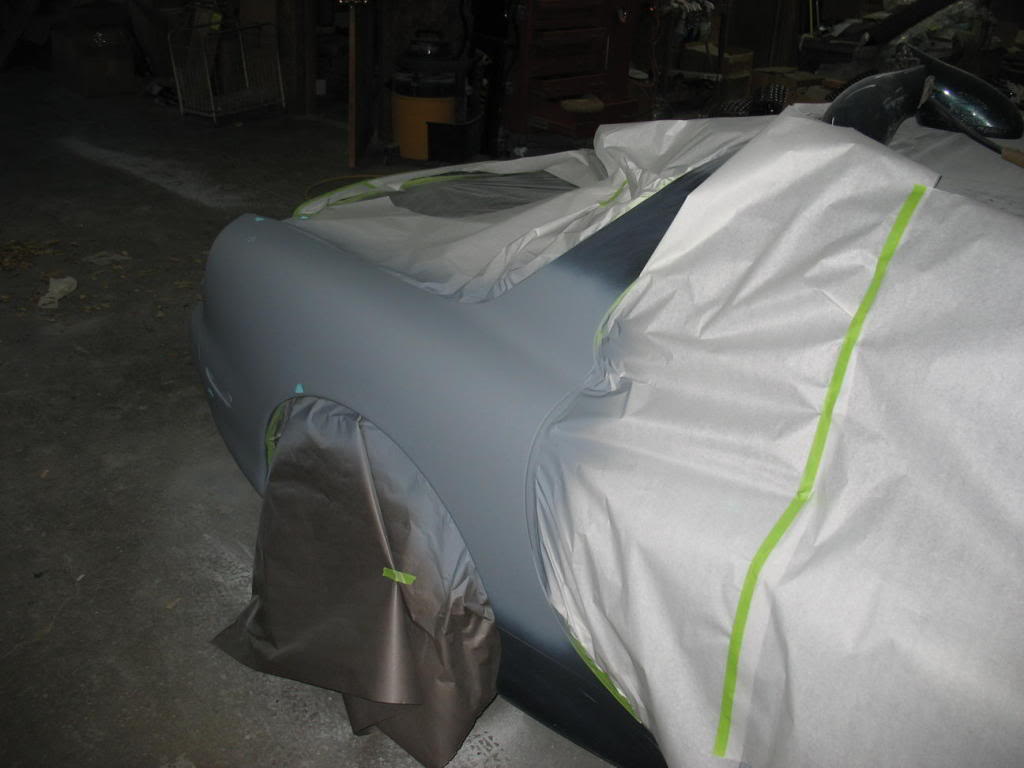
I went by the paint shop today to find that they have started on my door and jambs. I'm pretty excited because between the thorough job with the jambs and my sound/thermal proofing inside there's not going to be green paint anywhere after they are done!
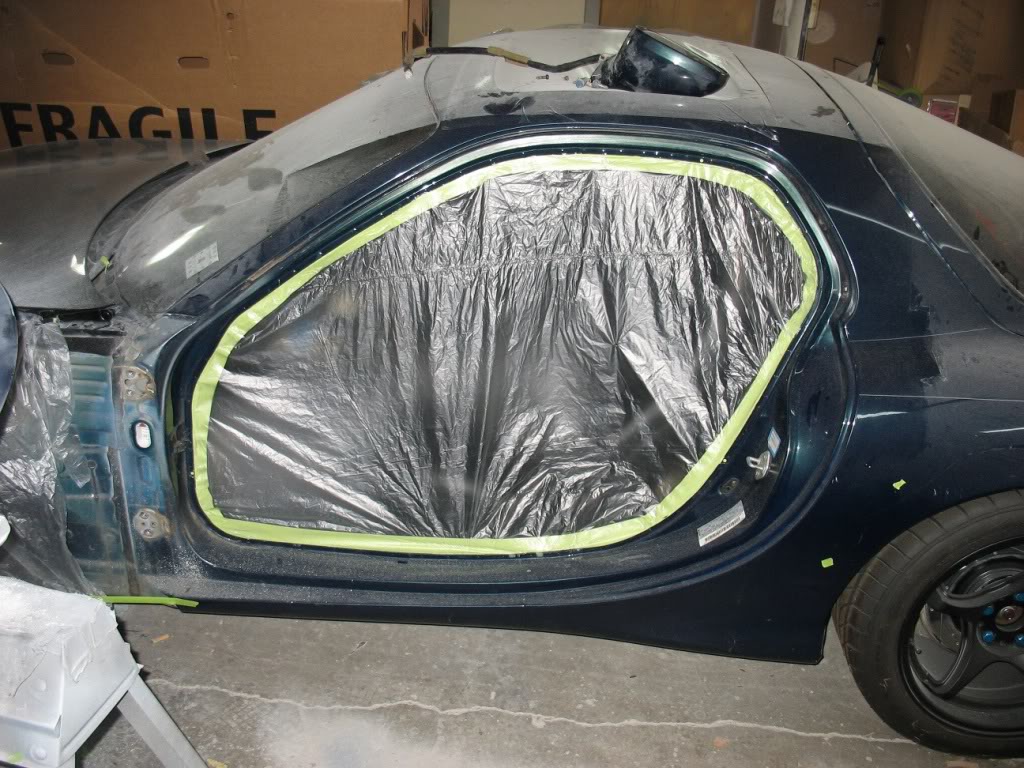

That's it for this week.
Lane
That's it for this week.
Lane
Thread Starter
Joined: Apr 2009
Posts: 381
Likes: 27
From: Starkville, MS
Hey Richard. I've lost count. The initial quote was 4-6 weeks. It's been 7 I think. I think 4-6 weeks from now is a pretty reasonable timeframe :P
It's mostly my fault because I only check on it every 2 weeks and every time I go I never even mention time frames because I'm more concerned with the quality of the work vrs the time it takes to do it. So I always leave telling them I'm happy and to take their time
Lane
It's mostly my fault because I only check on it every 2 weeks and every time I go I never even mention time frames because I'm more concerned with the quality of the work vrs the time it takes to do it. So I always leave telling them I'm happy and to take their time
Lane

Thread Starter
Joined: Apr 2009
Posts: 381
Likes: 27
From: Starkville, MS
Thread Starter
Joined: Apr 2009
Posts: 381
Likes: 27
From: Starkville, MS
After my last update I decided I'd probably have a good bit of time on my hands until I got my car back so I bought another 48"x48" sheet of Di-NOC and started round 2.
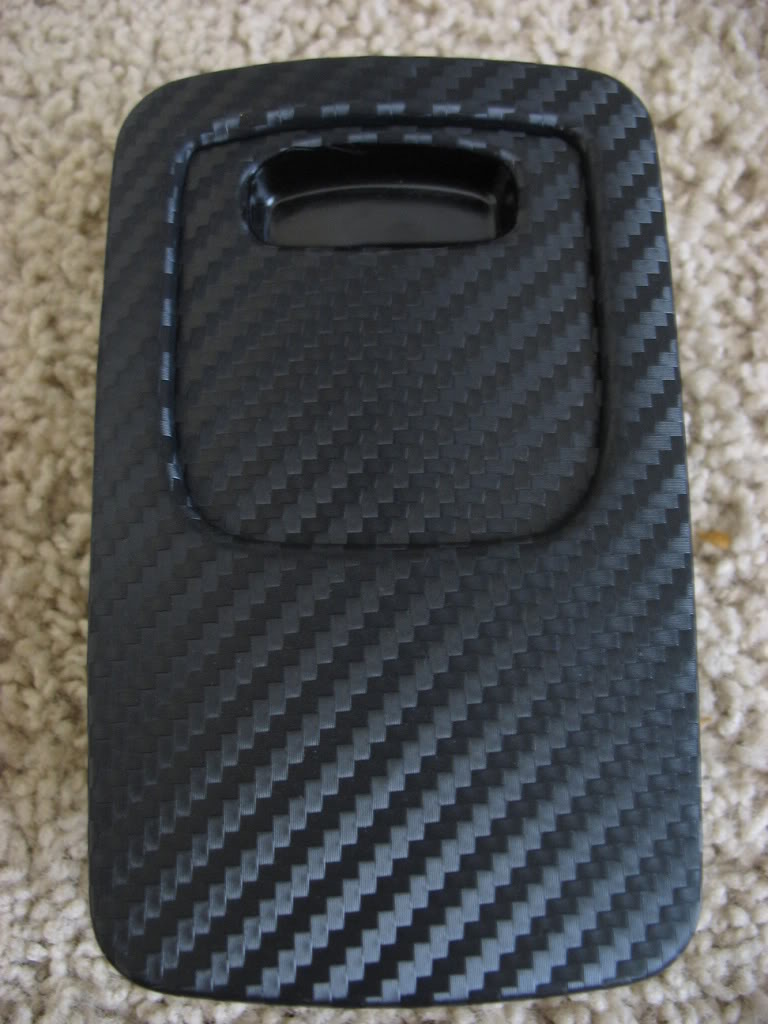
They'll be much more Di-NOC coming up. I have 2 things I'm wrapping that I've never seen anyone else wrap in a FD. I think it's going to look great!
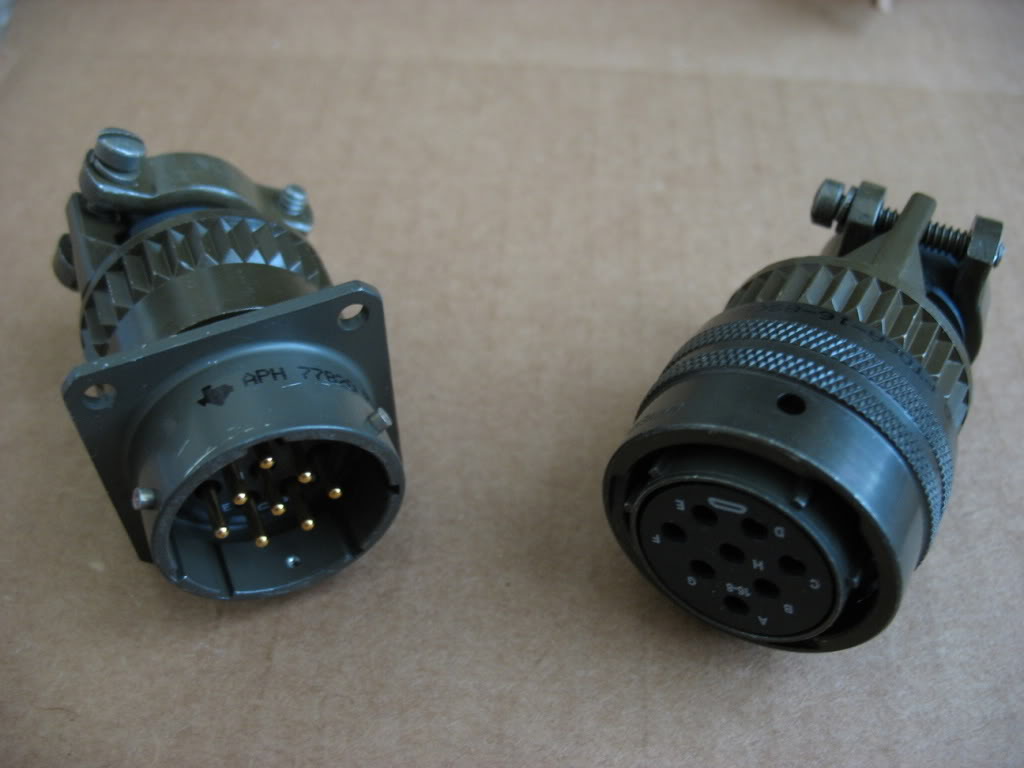
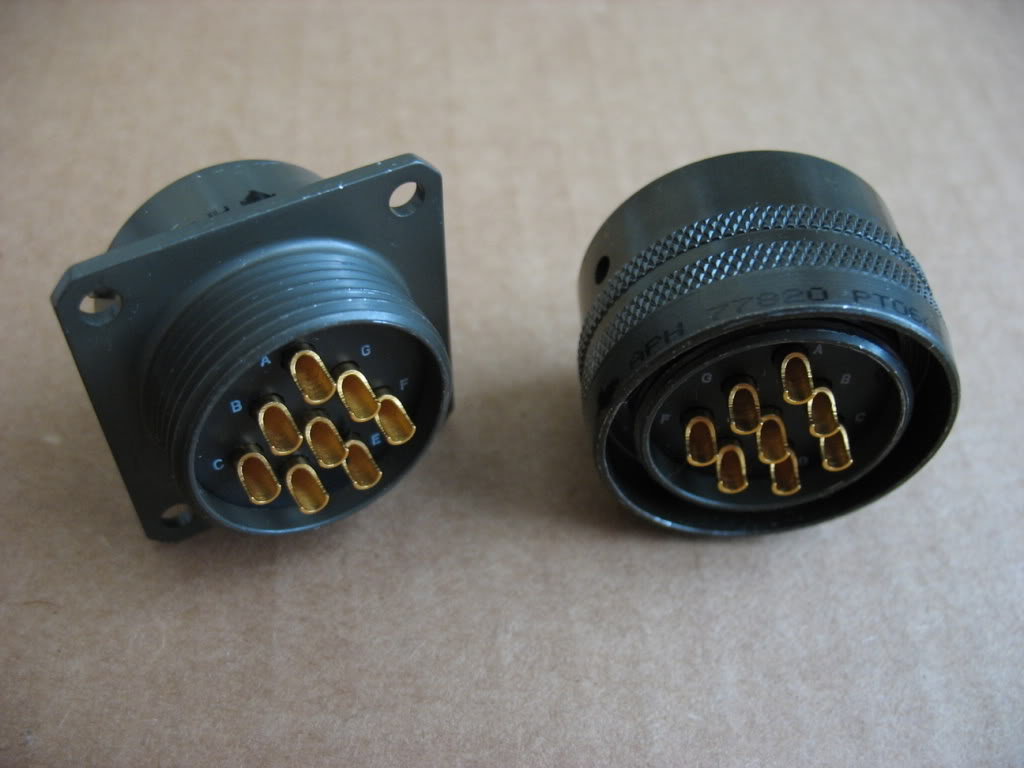
Also picked up a nifty 8pin circular Amphenol Mil spec connector to build a quick disconnect for my wideband sensor, so I don't have to unplug it from the interface every time I want to unscrew the sensor.
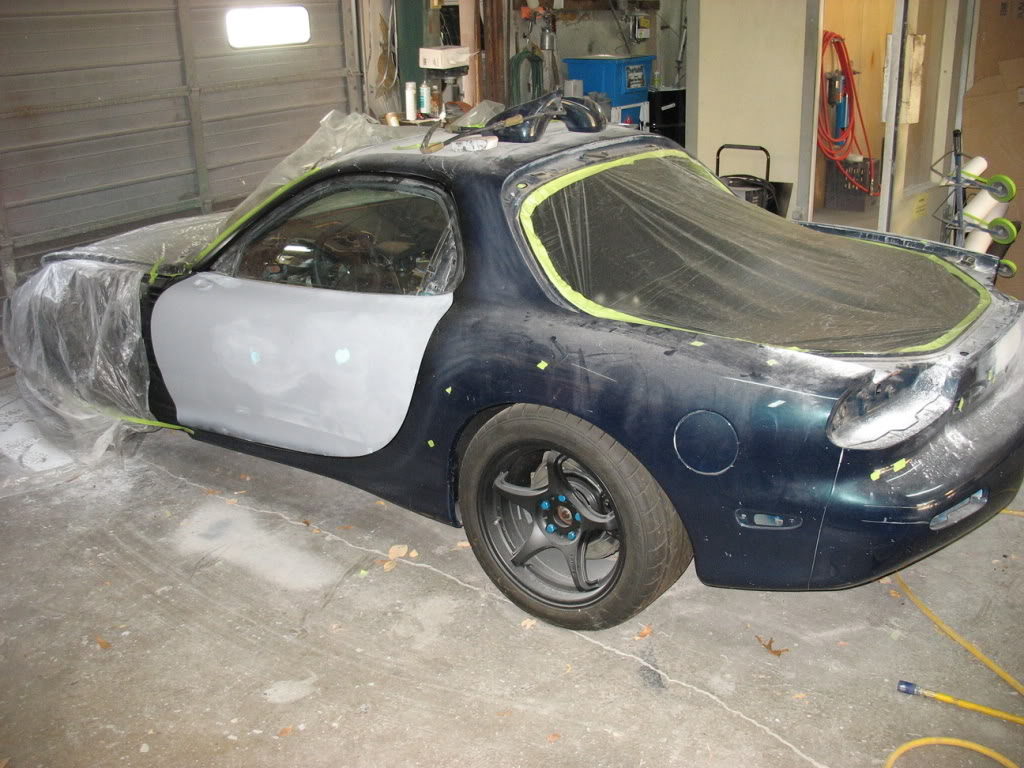
Turns out I may not have as much time on my hands as I'd thought. I stopped by the paintshop yesterday and they've been getting **** done
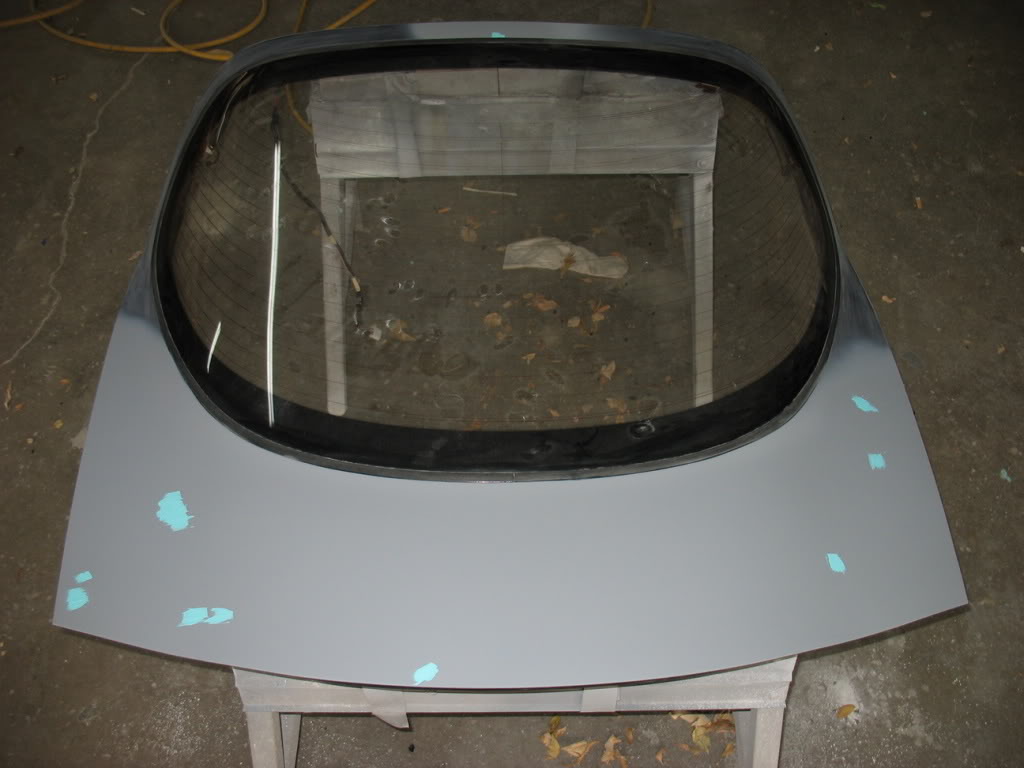
The window molding has been the subject of a recent discussion. We settled on cutting it out and replacing it with an aftermarket t-channel molding. Hopefully eliminating the need to remove the windshield while being able to paint where the new molding will go.
They'll be much more Di-NOC coming up. I have 2 things I'm wrapping that I've never seen anyone else wrap in a FD. I think it's going to look great!
Also picked up a nifty 8pin circular Amphenol Mil spec connector to build a quick disconnect for my wideband sensor, so I don't have to unplug it from the interface every time I want to unscrew the sensor.
Turns out I may not have as much time on my hands as I'd thought. I stopped by the paintshop yesterday and they've been getting **** done
The window molding has been the subject of a recent discussion. We settled on cutting it out and replacing it with an aftermarket t-channel molding. Hopefully eliminating the need to remove the windshield while being able to paint where the new molding will go.

Thread Starter
Joined: Apr 2009
Posts: 381
Likes: 27
From: Starkville, MS
Thanks gents
Turbo8 - I got the interconnects at mouser.com. Their part numbers were as follows:
654-PT00A168PSR
and
654-PT06A-16-8S-SR
It's made to mount inside a 1" hole.
Thanks again
Lane
Turbo8 - I got the interconnects at mouser.com. Their part numbers were as follows:
654-PT00A168PSR
and
654-PT06A-16-8S-SR
It's made to mount inside a 1" hole.
Thanks again
Lane
This is one of those builds that about halfway through I said to myself, damn if he ever sells this car someone is going to get really lucky.
I am interested to see what else you cover with the carbon fiber dinoc. I have a huge roll of the stuff but didn't think I could do the gauge cluster surround so I never went forward with it.
I am interested to see what else you cover with the carbon fiber dinoc. I have a huge roll of the stuff but didn't think I could do the gauge cluster surround so I never went forward with it.
Thread Starter
Joined: Apr 2009
Posts: 381
Likes: 27
From: Starkville, MS
Thanks prew! Hopefully I'll be able to hang on to this one for a long long time
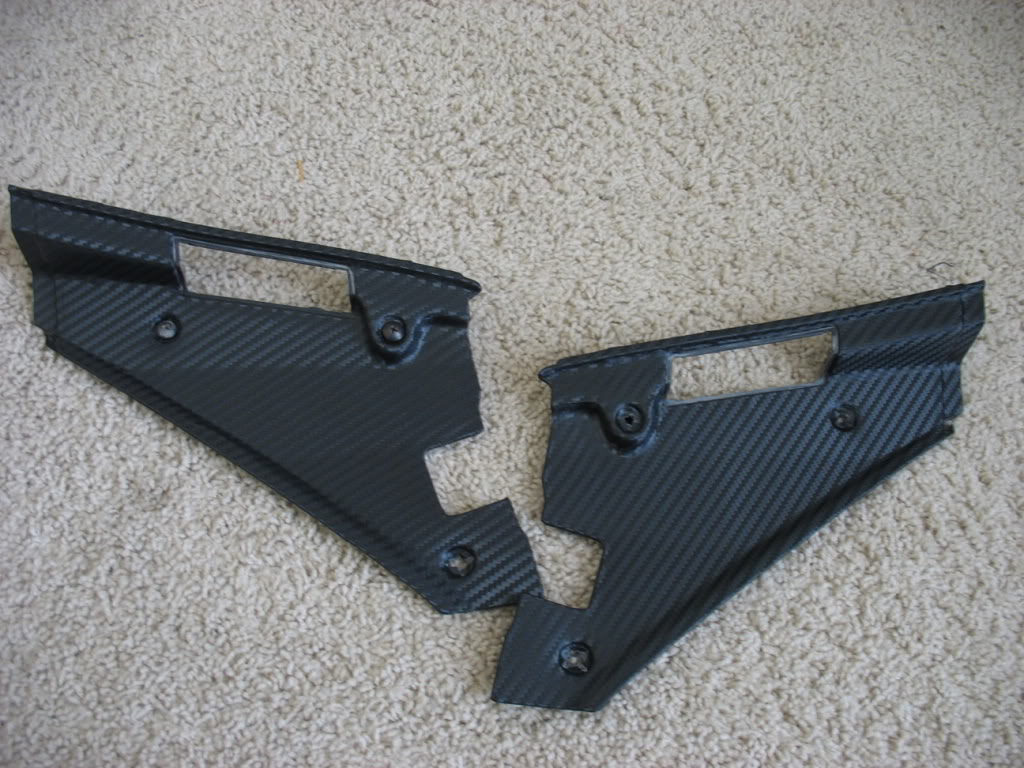
Ventured out to the exterior of the car and wrapped my light surrounds.
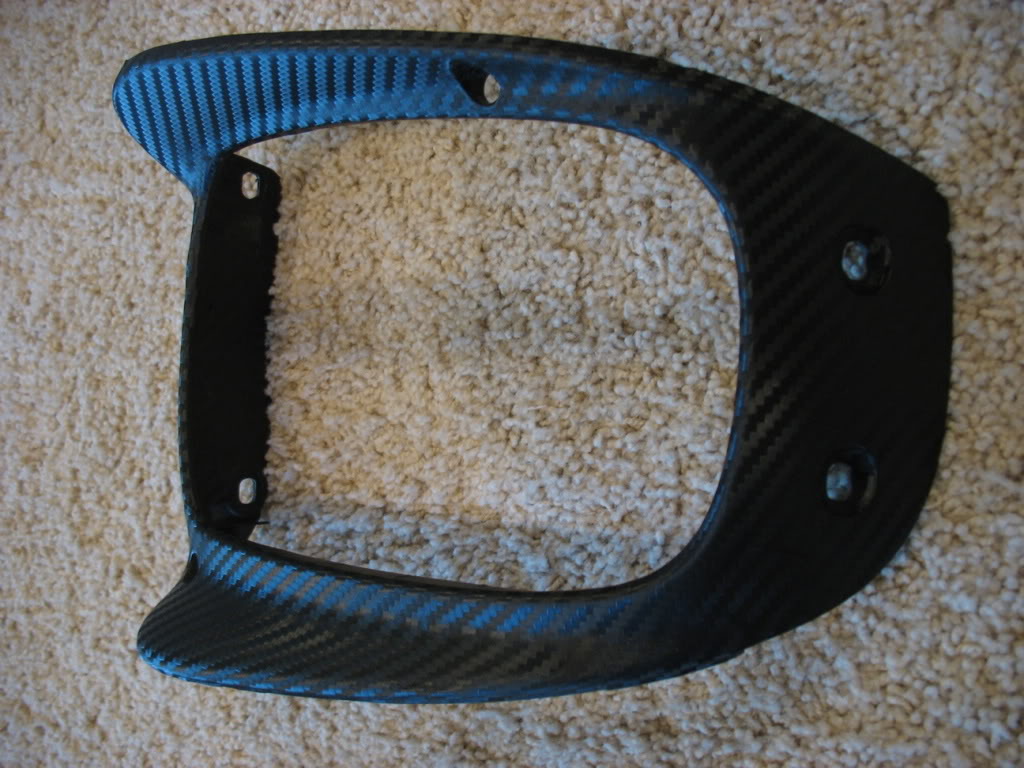
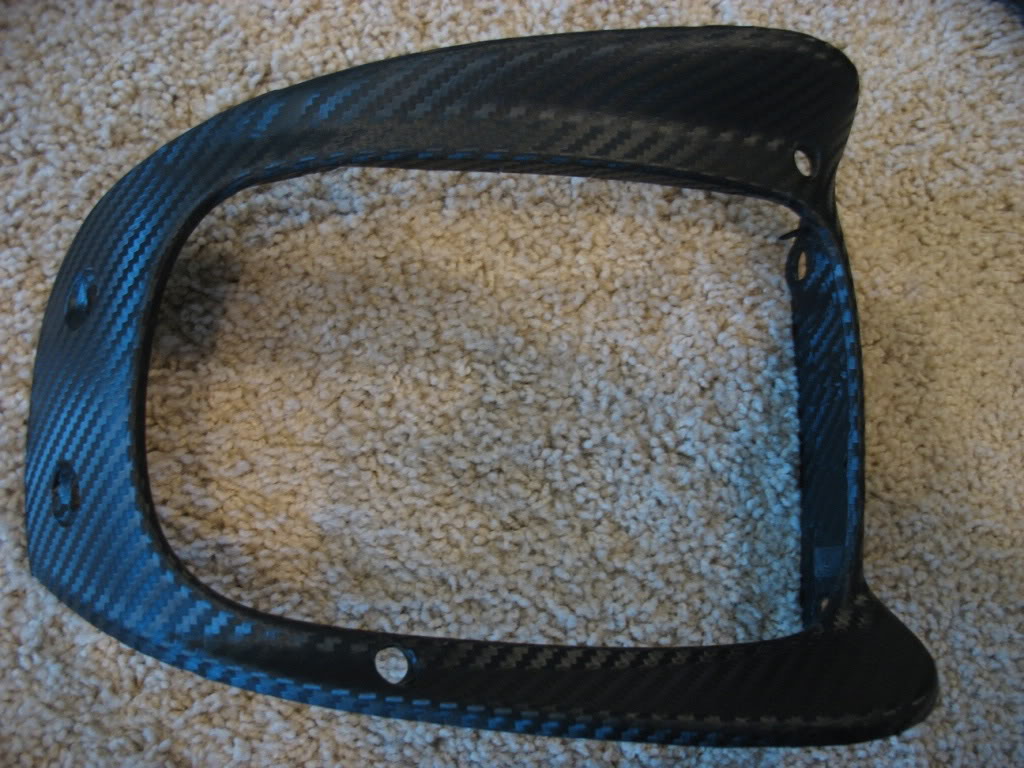
I wasn't really planning to wrap anything on the exterior because I never have been a big fan of the look of CF aero parts, but I really like the the subtleness of this wrap's matte finish and I'm liking how the surrounds turned out. I think I'll wrap my door lock panels and the window triangles then call it for the exterior.
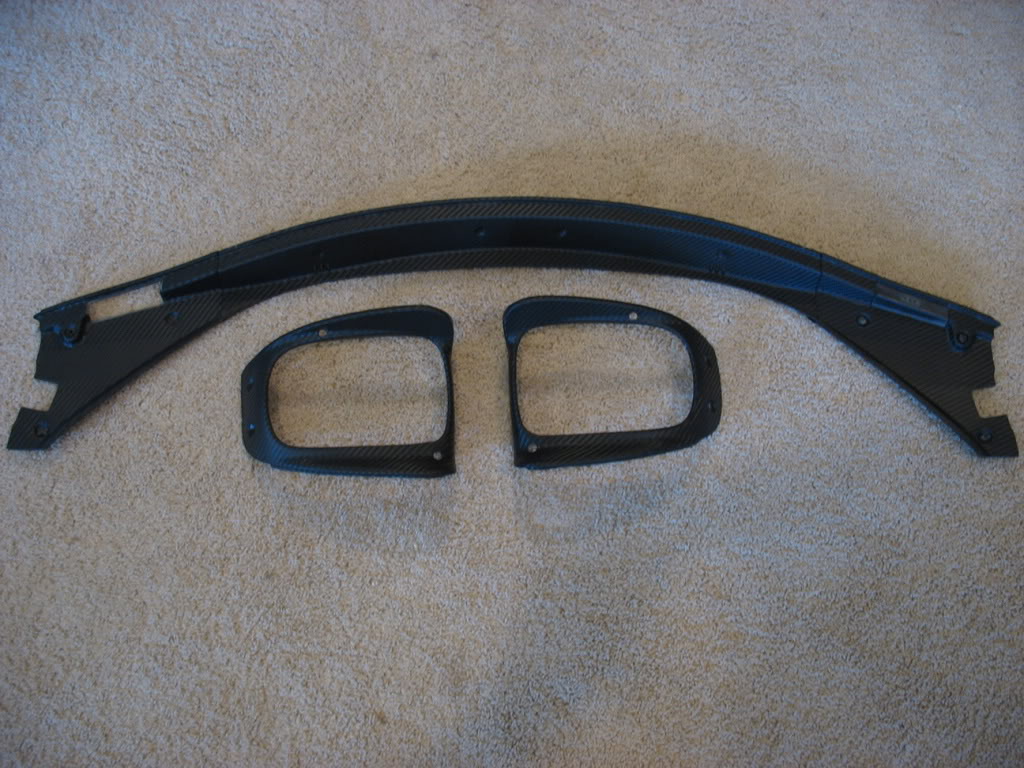
Also finished the trunk-2-hatch trim
Lane
Ventured out to the exterior of the car and wrapped my light surrounds.
I wasn't really planning to wrap anything on the exterior because I never have been a big fan of the look of CF aero parts, but I really like the the subtleness of this wrap's matte finish and I'm liking how the surrounds turned out. I think I'll wrap my door lock panels and the window triangles then call it for the exterior.
Also finished the trunk-2-hatch trim
Lane
Thread Starter
Joined: Apr 2009
Posts: 381
Likes: 27
From: Starkville, MS
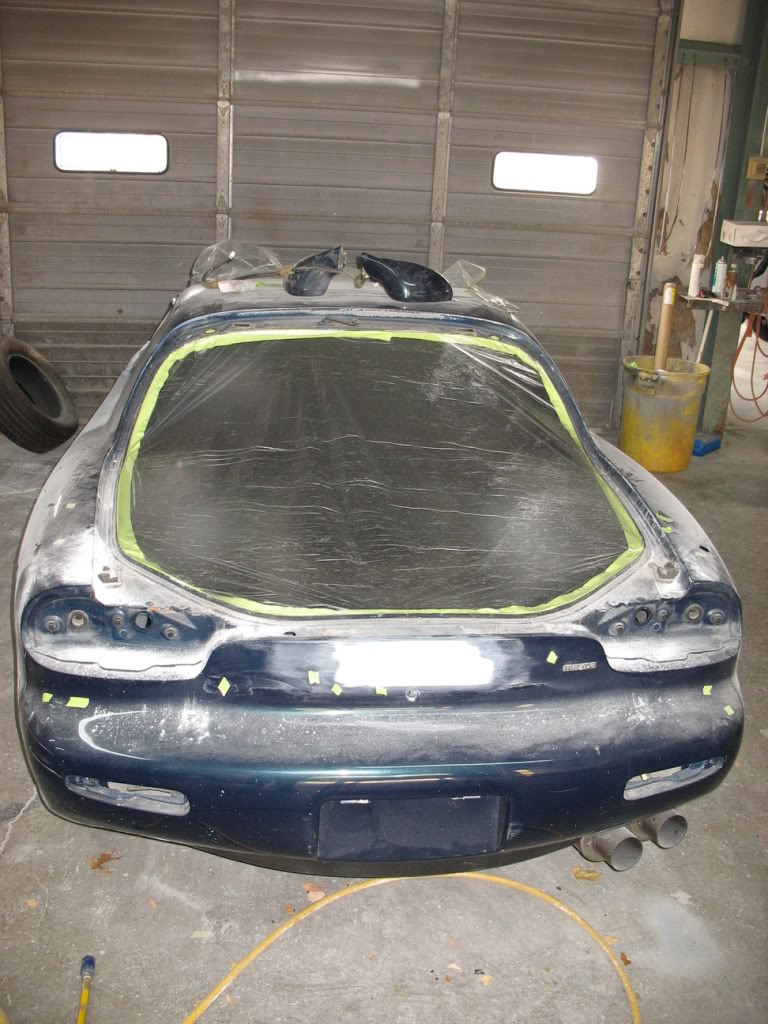
I made a quick bi-weekly stop by the paintshop today. Here's what's happening.
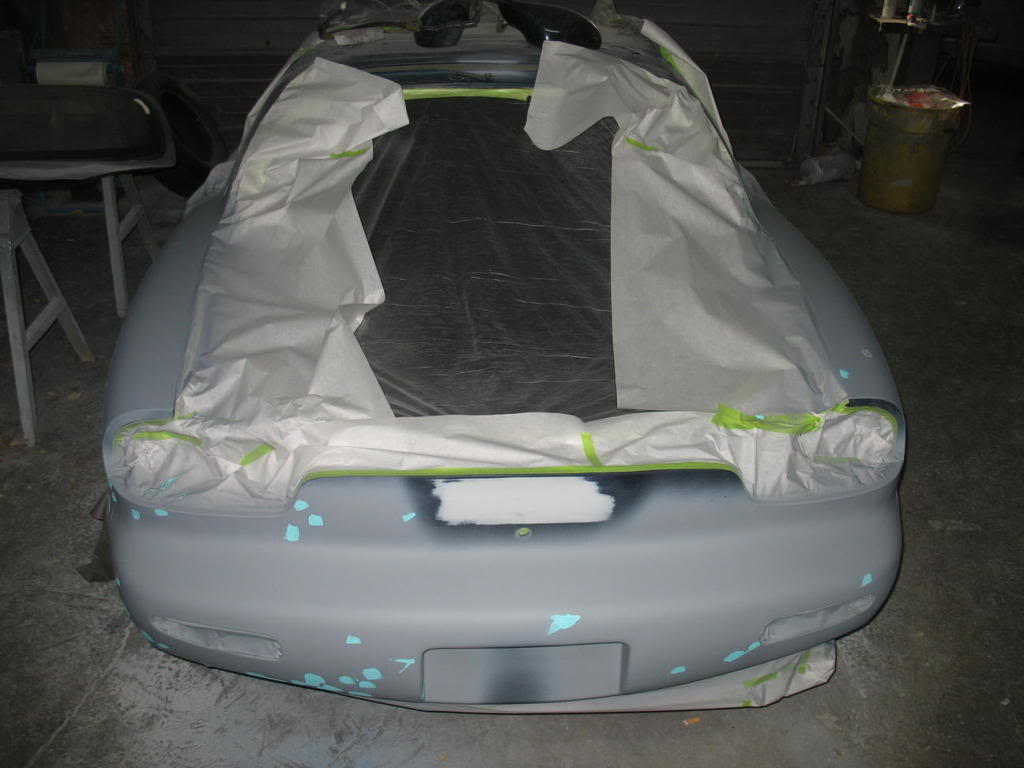
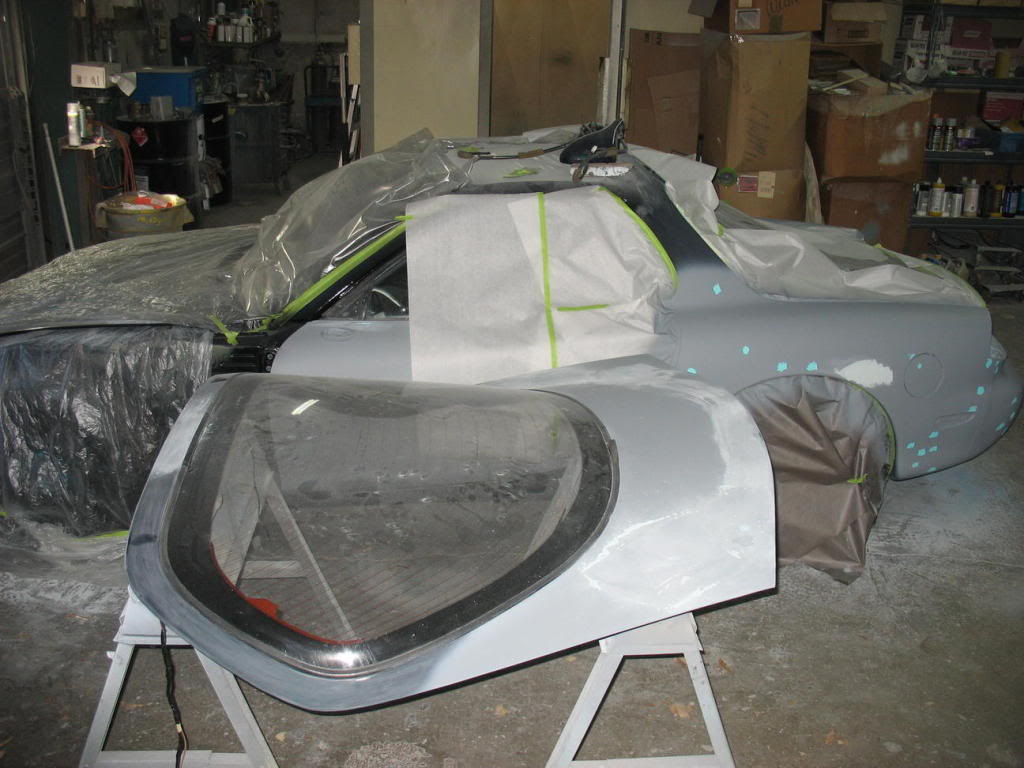
Pretty exciting for me. The rear, rear-quarters, doors, hatch, and roof are all that's left to paint and the prep is almost all done. They're going to shoot everything at once hopefully in the next week or so.
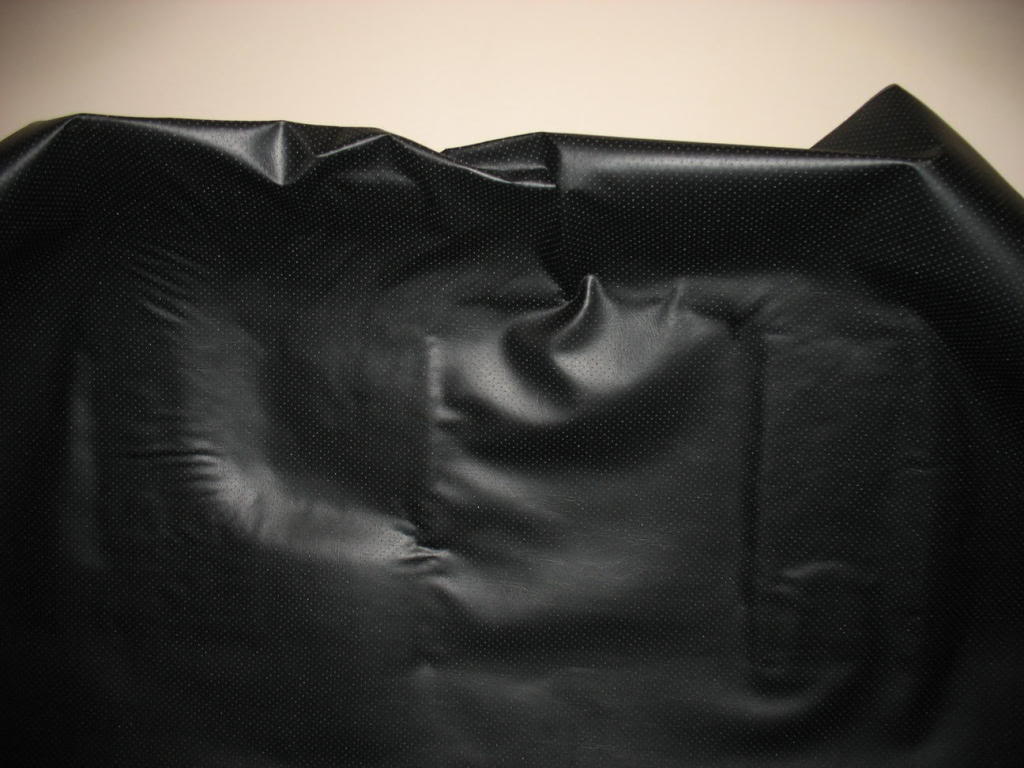
I also had to face facts this week and admit that re-upholstering a headliner is not something I should be doing. Halfway through my second attempt my headliner looked like this:
The part that was really giving me trouble was the rear-passenger corner:
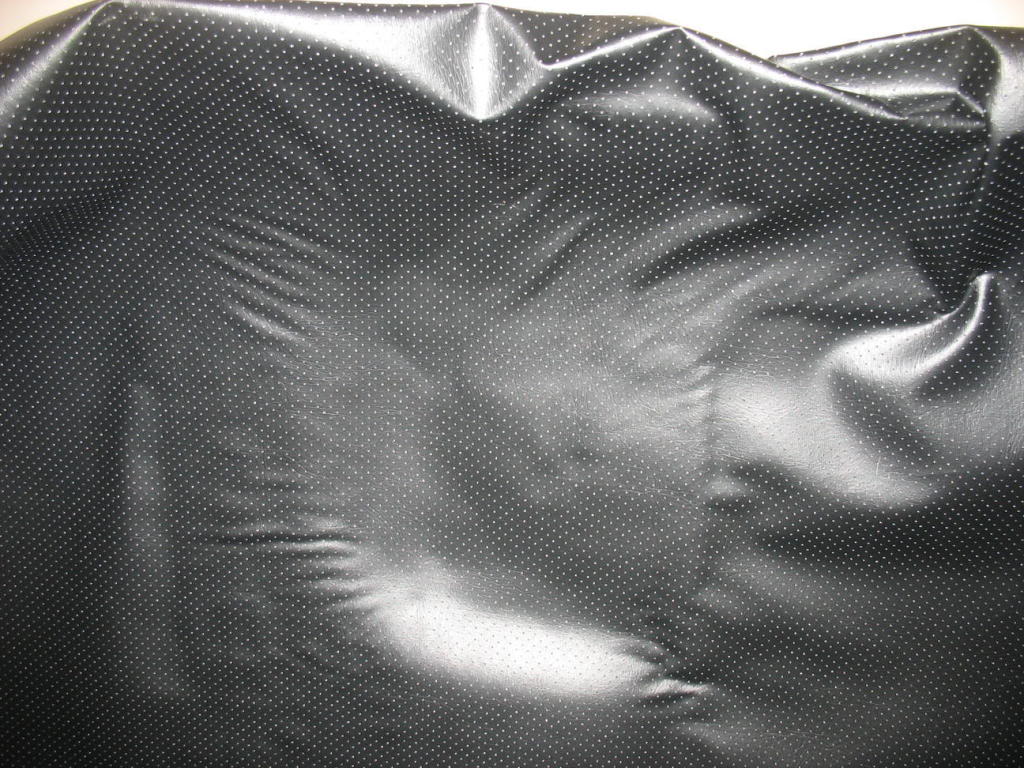
Here you can see the wrinkles I was dealing with. It doesn't look like something that would be a show stopper, but after peeling the vinyl back multiple time and carefully reapplying, I could not get it to sit flat with any level of coaxing or stretching. I don't know if it was just me, the material, or the fact that it only had 1/8" backing, but as of today I've thrown in the towel and have worked it out to get another headliner from someone local. It's a shame really... As much as I spent on the vinyl to re-upholster that POS, I could have easily bought a headliner in the first place and saved myself a lot of time and trouble
Oh well, can't win them all.
Lane
Pretty exciting for me. The rear, rear-quarters, doors, hatch, and roof are all that's left to paint and the prep is almost all done. They're going to shoot everything at once hopefully in the next week or so.
I also had to face facts this week and admit that re-upholstering a headliner is not something I should be doing. Halfway through my second attempt my headliner looked like this:
The part that was really giving me trouble was the rear-passenger corner:
Here you can see the wrinkles I was dealing with. It doesn't look like something that would be a show stopper, but after peeling the vinyl back multiple time and carefully reapplying, I could not get it to sit flat with any level of coaxing or stretching. I don't know if it was just me, the material, or the fact that it only had 1/8" backing, but as of today I've thrown in the towel and have worked it out to get another headliner from someone local. It's a shame really... As much as I spent on the vinyl to re-upholster that POS, I could have easily bought a headliner in the first place and saved myself a lot of time and trouble
Oh well, can't win them all.
Lane
your right but I at least you know now....think of all the money you've saved wrapping the other interior parts yourself though... that could've come out just as bad. You saved me money as well as I love DInoc now too haha.

The guage cluster is a headache... had to throw away a big piece of my Dinoc roll cause I couldnt get it going right..... Any tips? where to start? and how you got it to contour without wrinkling? I'm about to take it somewhere to get done
Thread Starter
Joined: Apr 2009
Posts: 381
Likes: 27
From: Starkville, MS
Thanks guys!
Aaron:
Thanks. Yeah, I always count failed projects as lessons learned, but they still sting sometime
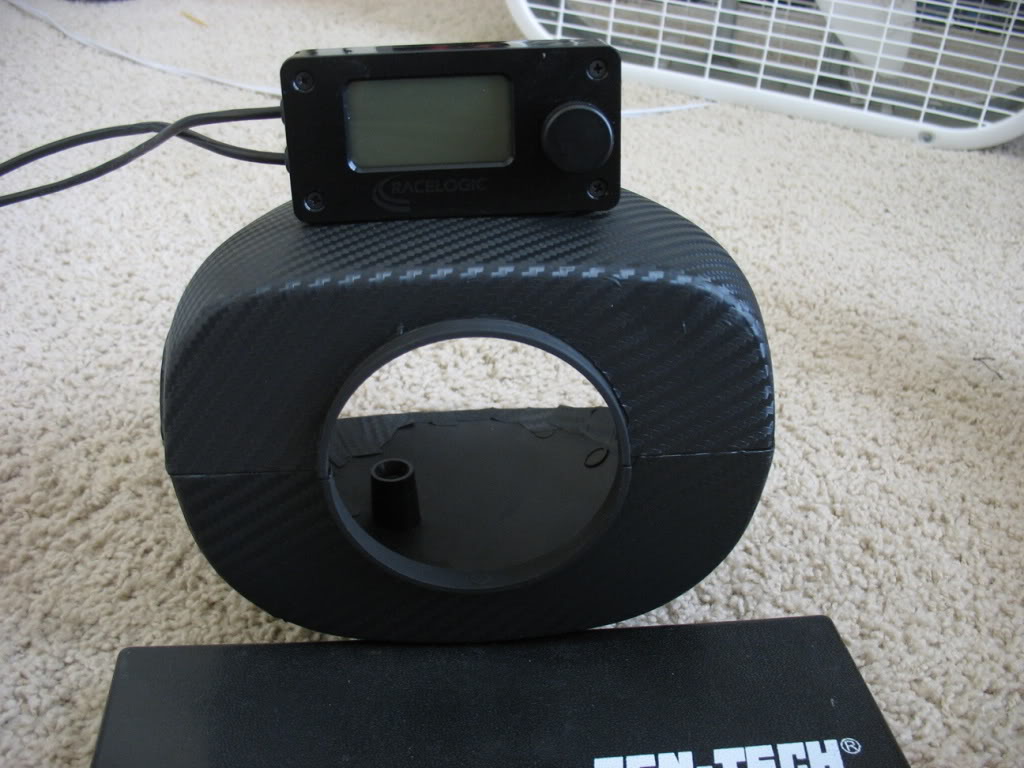
As for the gauge cluster... I know exactly how you feel. Its definitely the hardest piece I've wrapped. I need to post a picture of the very top of my cluster to show you how I had to notch my DI-NOC to let it sit down without wrinkles. In the pictures I've posted it looks almost perfect, but the top isn't. I'm living with it though because unless your 6'5" you can't see the top of the cluster well
I started from the bottom of the cluster and worked my way up. Even at the bottom its hard to get things to sit down straight, but I was able to manage by taking my time. When you get to the 'visor' section is where it gets interesting. I fought wrinkles the entire way up the visor and managed to stretch and shrink the DI-NOC with a heat gun all the way to the top, but when I tried to fold it over the top to where the hood meets the cluster I realized it was just too wrinkled to continue which is why I cut notches.
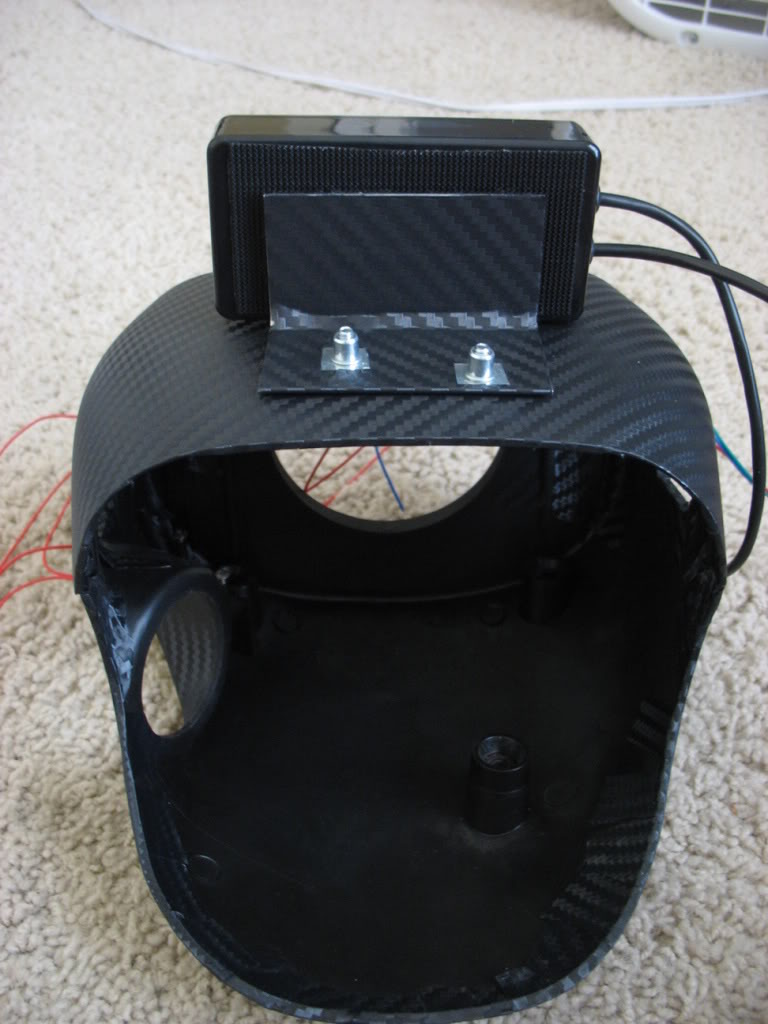
Even when I got it to sit down I was worried about it since I'd handled the DI-NOC for so long that it had lost a lot of its tack. Thankfully I have enough material to wrap around the backside of the cluster and after I bolted on the hood I was satisfied that it would stay put.
Hopefully you'll get it on your second try. It's a beast for sure!!!
Good luck!
Lane
Aaron:
Thanks. Yeah, I always count failed projects as lessons learned, but they still sting sometime
As for the gauge cluster... I know exactly how you feel. Its definitely the hardest piece I've wrapped. I need to post a picture of the very top of my cluster to show you how I had to notch my DI-NOC to let it sit down without wrinkles. In the pictures I've posted it looks almost perfect, but the top isn't. I'm living with it though because unless your 6'5" you can't see the top of the cluster well
I started from the bottom of the cluster and worked my way up. Even at the bottom its hard to get things to sit down straight, but I was able to manage by taking my time. When you get to the 'visor' section is where it gets interesting. I fought wrinkles the entire way up the visor and managed to stretch and shrink the DI-NOC with a heat gun all the way to the top, but when I tried to fold it over the top to where the hood meets the cluster I realized it was just too wrinkled to continue which is why I cut notches.
Even when I got it to sit down I was worried about it since I'd handled the DI-NOC for so long that it had lost a lot of its tack. Thankfully I have enough material to wrap around the backside of the cluster and after I bolted on the hood I was satisfied that it would stay put.
Hopefully you'll get it on your second try. It's a beast for sure!!!
Good luck!
Lane