When you click on links to various merchants on this site and make a purchase, this can result in this site earning a commission. Affiliate programs and affiliations include, but are not limited to, the eBay Partner Network.
unfortunately things didn�t work out today. I loaded up all my tools, the car and my daughter and I drove over an hour to the track only to find out they canceled the event due to the rain in the forecast. Crappy.
I�m not sure if I�ll be able to make it out there by the end of the year. December will be busy with holidays and all.
I will still calculate this as a victory for my 2019 New Years Resolution - in that the car did make it to the track, just not down it.
Happy New Year�s all! It�s off to a busy start but I�m getting some things done.
I left off with installing the engine accessories and the AC/PS delete. I have that all squared away but unfortunately the belt that was recommended by Mach is too short and I need to call them and see if they have a different belt number to try.
AC/PS Delete
I started thinking it�s a poor idea to trust the 38 year old Mazda dummy gauges and lights, especially on a fresh engine build. So I purchased a set of Summit analog-electric gauges. They look pretty good and were a good value. I plan on mounting them in the center stack area. I am currently modifying the panel and will share some photos when I�m done.
This past weekend I dove into the wiring. I started by laying the Ford harness in the engine bay and punched a hole in the bulkhead. I accomplished this by drilling two 1 �� holes and then cutting out the material between them. I still have to paint and rivet the Mustang plate to the RX7 but at least I can start wiring the car.
I moved on to removing the Mazda harness from car. I stripped all the conduit tubing and tape form it so I could cut out the unnecessary wires. I removed all the relay connectors, Choke switch and 12A ECM connectors. I then temporality zip tied and taped the harness enough to set back in the car. I will do all the modifications and then pull it back and wrap it back up all nice later.
Mazda harness stripped. The discarded wiring.
When I was doing the Mazda harness modifications I noticed two things.
The black/white IG B+ wire Granny�s tell you to connect the Ford power circuits to is a much thinner diameter wire than the Ford wire you splice it to.
The main white/red wire going from the 1.25F fusible link to the ignition switch and fuse block is a funny circuit. It�s hard to imagine the stock alternator doesn�t burn up a 1.25F (45A) fusible link. I guess Mazda calculated the alternator would never push enough current to the battery.
To tackle the black/white wire I am going to install some relays. I will use the Mazda circuits to power the relays and run the current for the Ford circuits through a new 16awg wire.
The white/red wire is more complicated. I will run the Ford alternator strait to the battery or solenoid like the Mustang. So no need to worry about the 1.25A fusible link. The challenge however is this. The white/red wire is too short to reach the new fuse block I put in under the hood. The other is when playing around with the wire I snapped it off the buss bar for the interior fuse block � OOPS. So I am still trying to determine how to overcome this obstacle without replacing the whole fuse block. I�m open to suggestions if anyone else has deleted this main white/red wire.That�s all I have for now ��till next time.
Hey i know the post is old but im stumped right now. Currently stripping my 1980 Rx7 to get ready for the 5.0 swap. Not sure on what wires from the rx7 i need to keep (in engine bay and behind dash)
I bought the 80 rx7 a week ago for 100 bucks with a blown motor. Found a complete 5.0 that was in a fb rx7 before so guy has ecu wiring harness motor mounts and brackets driveshaft etc for 1600. From my knowledge of cars even if the wiring harness he has came from an rx7 i would Still have to modify my wiring behind the dash or simply plug the ecu to motor and bam... ??
been reading grannyspeedshop wiring write up and this but im still not completely understanding what exactly needs to be cut out or kept
unfortunately things didn�t work out today. I loaded up all my tools, the car and my daughter and I drove over an hour to the track only to find out they canceled the event due to the rain in the forecast. Crappy.
I�m not sure if I�ll be able to make it out there by the end of the year. December will be busy with holidays and all.
I will still calculate this as a victory for my 2019 New Years Resolution - in that the car did make it to the track, just not down it.
That stinks! Glad to see it moving under it's own power!
Hey all – it’s been quite some time since I’ve posted anything. To start – yes I’m alive and I still have the car. And will admit that my 2020 New Year resolution didn’t happen. Which was to get the seven to the track. But I’m sure it’s not the only broken N.Y. resolution of 2020.
Two main things caused this to happen. The first, which is the larger of the two problems, is transportation. I need a trailer. I have been monitoring Craig’s List closely for the last year looking for an acceptable car hauler. When a suitable one did popup, the owners usually didn’t have the title or ghosted me when you asked about them. I have seen a few people I know be screwed by titles issues and trailers coming up stolen. So I am looking for a solid transaction. I am now starting to shop the new market.
As for the car, it is mostly unchanged over the last year. Many other projects around the house took my attention away from it, and had trouble getting into the groove with the car. I think knowing I wasn’t getting the track also plagued my desire to work on it. This month, however, I changed the oil with anticipation of making it happened. I’ve also been playing around with radiator ducting.
The two tiny fans are definitely going to struggle, if not incapable, of managing the engine temperature. Just letting the car idle in my driveway, in the rain, at about 60F, the fans came on and never turned off. They can only maintain the temp of idling in the cold. So I really want to do some radiator ducting to optimize the air flowing through it.
The ducting I am trying to do is by first adding a skid plate or lower engine cover between radiator and subframe, so to create some negative pressure on the backside of rad when moving. The other is by creating a top, bottom and sides forward of radiator to create channel into the radiator and prevent air from escaping around it. This is proving to be really challenging. There are a bunch of obstacles to overcome.
Fingers crossed I’ll overcome the cooling concerns and transportation issue to make it to the track soon.
Hey all � it�s been quite some time since I�ve posted anything. To start � yes I�m alive and I still have the car. And will admit that my 2020 New Year resolution didn�t happen. Which was to get the seven to the track. But I�m sure it�s not the only broken N.Y. resolution of 2020.
Two main things caused this to happen. The first, which is the larger of the two problems, is transportation. I need a trailer. I have been monitoring Craig�s List closely for the last year looking for an acceptable car hauler. When a suitable one did popup, the owners usually didn�t have the title or ghosted me when you asked about them. I have seen a few people I know be screwed by titles issues and trailers coming up stolen. So I am looking for a solid transaction. I am now starting to shop the new market.
As for the car, it is mostly unchanged over the last year. Many other projects around the house took my attention away from it, and had trouble getting into the groove with the car. I think knowing I wasn�t getting the track also plagued my desire to work on it. This month, however, I changed the oil with anticipation of making it happened. I�ve also been playing around with radiator ducting.
The two tiny fans are definitely going to struggle, if not incapable, of managing the engine temperature. Just letting the car idle in my driveway, in the rain, at about 60F, the fans came on and never turned off. They can only maintain the temp of idling in the cold. So I really want to do some radiator ducting to optimize the air flowing through it.
The ducting I am trying to do is by first adding a skid plate or lower engine cover between radiator and subframe, so to create some negative pressure on the backside of rad when moving. The other is by creating a top, bottom and sides forward of radiator to create channel into the radiator and prevent air from escaping around it. This is proving to be really challenging. There are a bunch of obstacles to overcome.
Fingers crossed I�ll overcome the cooling concerns and transportation issue to make it to the track soon.
thanks for the update. not looking through the whole thread, as i have long ago. does this have a roller cam/push rods? curious, cause mine does not and i was wondering if that might be why mine runs hot. I've done the things you mention to no avail. it's stay managably cool while driving...just don't let it sit and idle and pray for no traffic. I'm in S. FL...so my issue is probably even worse. On a side not, and hopefully this helps. I change the radiator fan in my other car about a week ago and noticed something that is probably applicable. The electric fan goes into the housing about 1/8 to 1/4 inch and the housing/shroud has an L shaped lip. The fan to housing clearance is literally maybe an 1/8 of an inch if that. I've built custom shrouds, used electric and flex fans and it pulls tons of air....but nothing like this tight of clearance which I am sure would equate to only pulling from through the radiator. I have 2 small pushers in front and flex on motor now...and panels to only let air go through the radiator and it's ok in winter...but i wouldn't dare risk traffic in summer. Everyone says 1/2 inch clearance on fans etc, etc....but seeing this fan i just took off a newer car was eye opening in how tight the clearance is. My radiator core is 18x18 and I may look for a factory radatior fan shroud combo with those dimensions and make it fit provided it is slim enough to clear which is another story. I hope you get it figured out, as I could use someone else's experience here.
Mine is a roller cam. I can�t think of a reason why that would play too much difference. A puller fan is always going to best when it sealed off as close as possible to the radiator core. Thats why OEM and aftermarket use/recommend them. It allows the fan to extract heat from whole core and not parts of it.
i really wish i could find a puller fan that would fit. I just don�t have the room. If remember correctly, 1
3/4� from core to water pump shaft.
1 3/4 sound about right. maximum. It was so tight I ground off some of the water pump nipple and ground the bolts a bit. I would buy a fan shroud combo even though it will cost more if you go that route.
Honestly the first fan shroud combo I made seemed to flow the best...pulled more than the other 4 or so things I tried. It was a 6 blade solid fan and my 1st shroud. I ended up cutting on it and trying different things, but it seemed to pull the most air. was like a fricken blower coming out of there, but not enough for S. FL and I had not put pusher fans on front or made channel to direct air only through the radiator core. It wasnt that difficult to make, just some sheet metal a vice, rivet gun and metal snips. use a 3/4 (our whatever depth strip of steel and vice grips and/or vice to make the bends.
I would say it pulled 2-3x any electric fan I could fit in there. and use whatever adapter you can to get the fan as close to the radiator as possible.
I have a custom fiberglass one on there now and flex fan. It was a real pain in the butt to make and looks great....guess how hard it was to make and the look is the only thing thats kept me from changing it...that and I fried my clutch and not driving it.
lately.
net-net though is the mechanical fans seem to pull more air given the depth restraints which I am sure equates to the fan strength of electrical.
I figured a roller cam would have less friction and create less heat than hydraulic lifters. I did some digging on my computer.
This is the electric fan I tried. https://www.summitracing.com/parts/s...RoCEwcQAvD_BwE
It's about 2", but it does not sit center of the WP on my car so the center nipple part of fan and WP did not line up and gave me that extra 1/4" ish. but like I said BARELY. The last pic is my current setup, which still pulls better than electric. I could not find HIGH CFM electric that thin.
Hey all. Still alive and have some small but big updates.
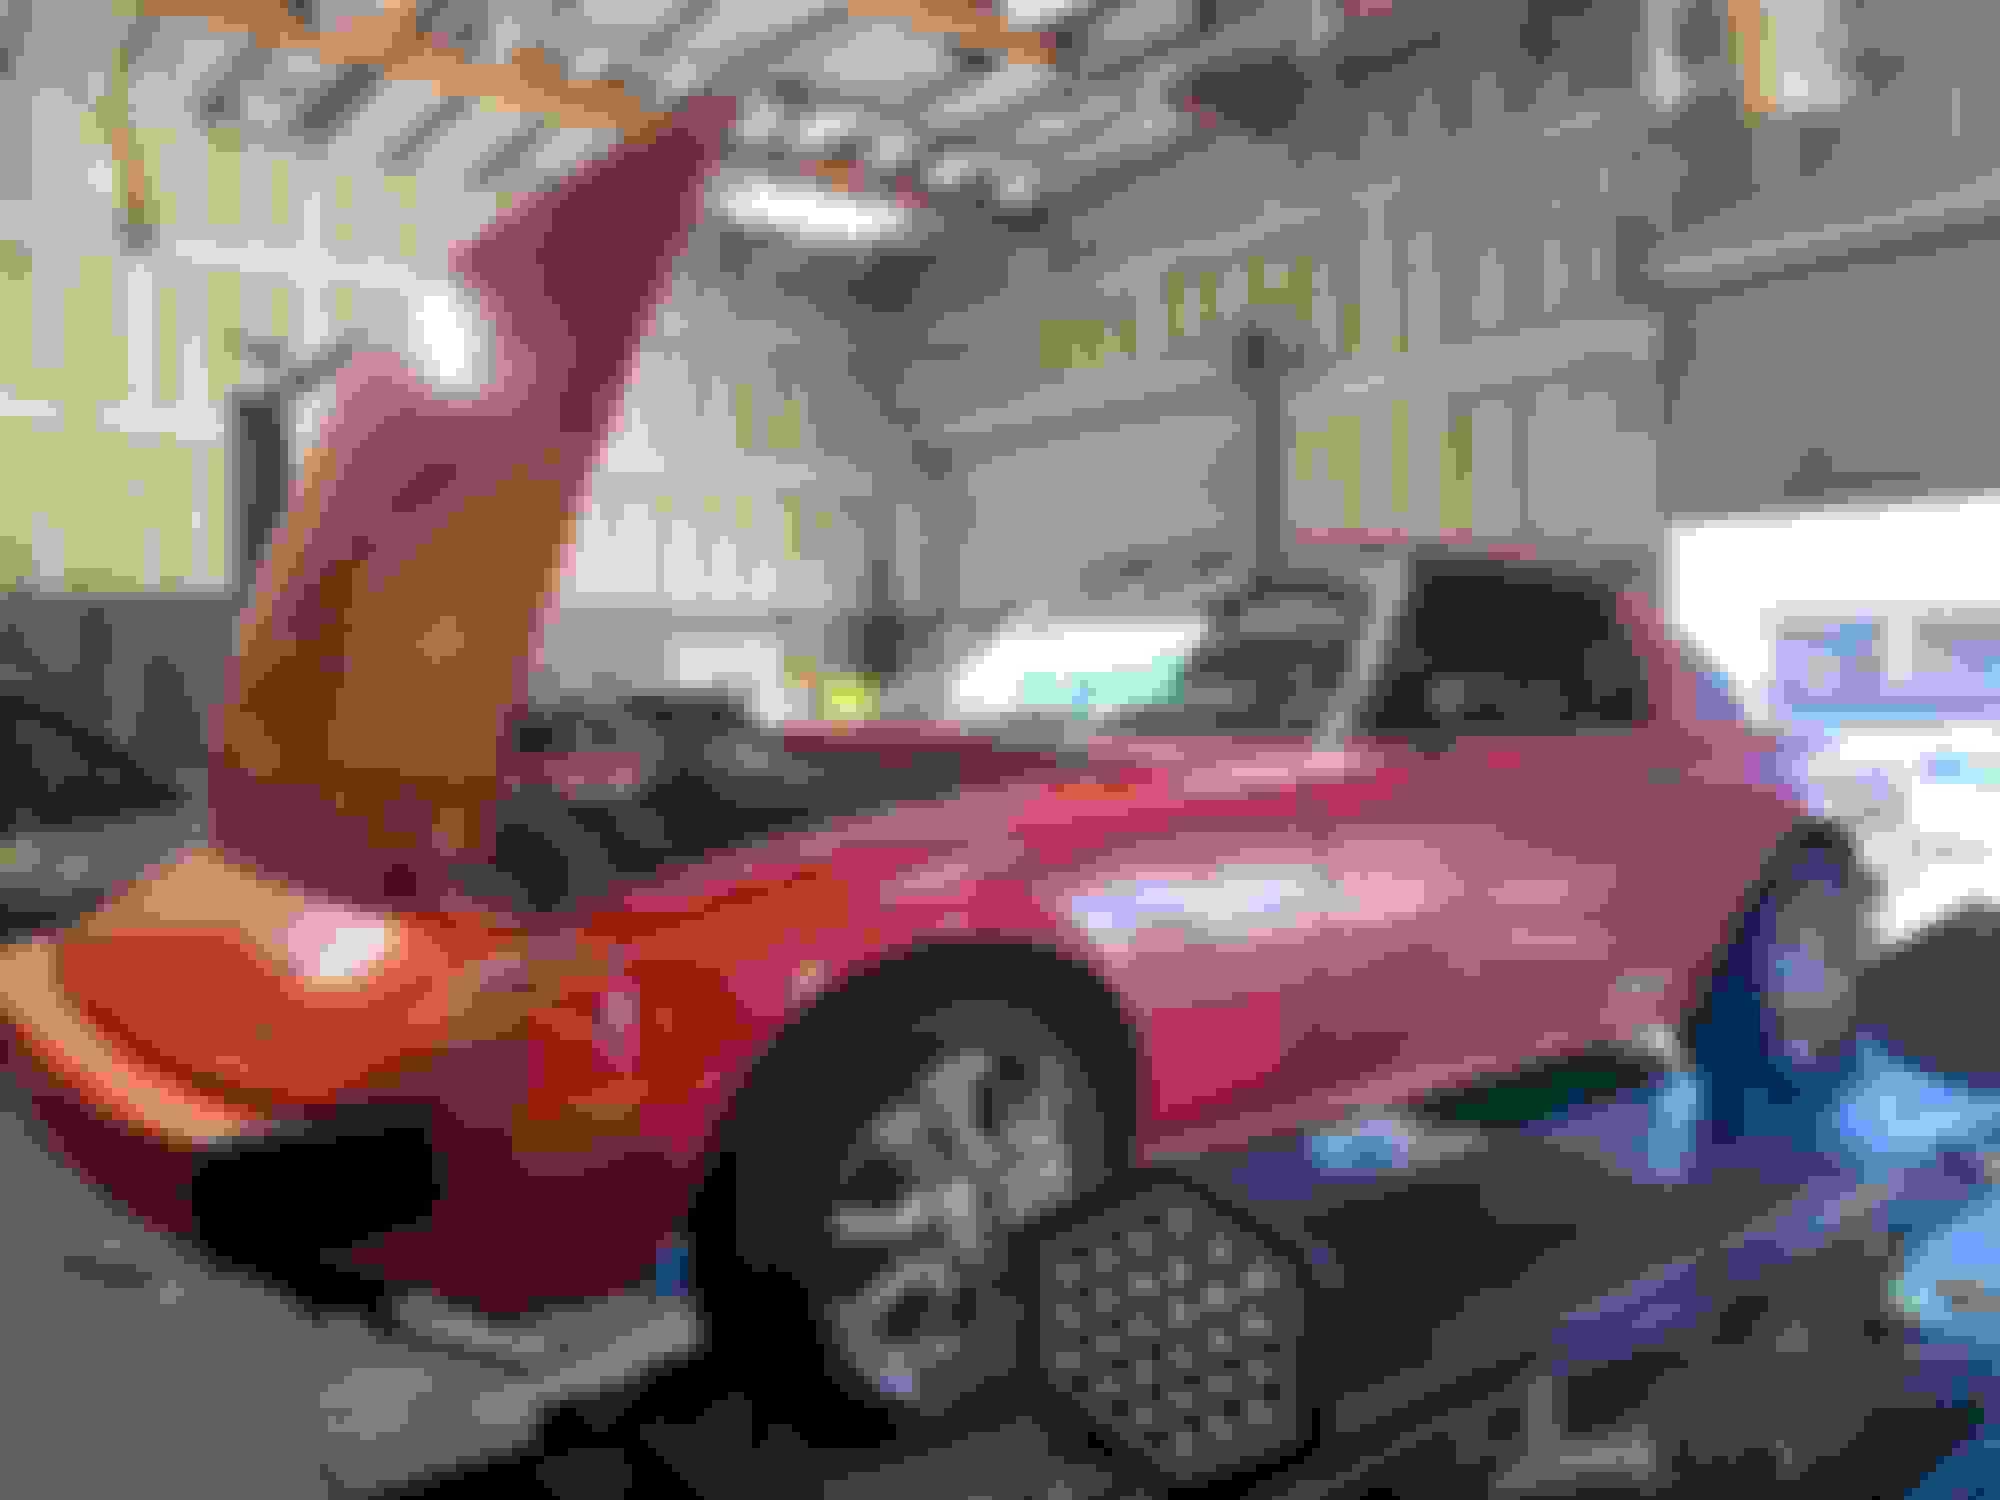
I�ll start with the exciting part. I finally got the car out to the drag strip yesterday! The best of news, I didn�t break down, overheat or spend anytime having to work on the car. Those were my biggest concerns going into it.
The bad news, the transmission isn�t doing so well. I had a lot of trouble shifting gears, especially as things got warmed up. It was taking me 2-3 tries to shift into 1, 2, 3 & 4. This cost me some serious time on the track. My best run, with a passenger, was at 15.5s @ 96 MPH. You can count several seconds in the video of the delayed shifts. But man, the car felt good. Easily a 13s car once sorted out.
As for what has changed with the car. I finished completing those cooling system changes and they seem to have paid off. I started by removing one of the 8� pusher fans and replaced it with a 10� 800 CFM SPAL puller fan. I also changed the thermostat to an 185F from the stock 195. I made a lower engine cover out of plywood and pieces from the original cover to seal off the side and behind the radiator. To help keep that positive pressure higher in front, I added aluminum sheeting around the radiator core.
All this seems to have paid off. The car does great while moving. Staying right 185. In the staging lanes, it hovered around 200. The fans seems to be good enough to keep it from getting over that.
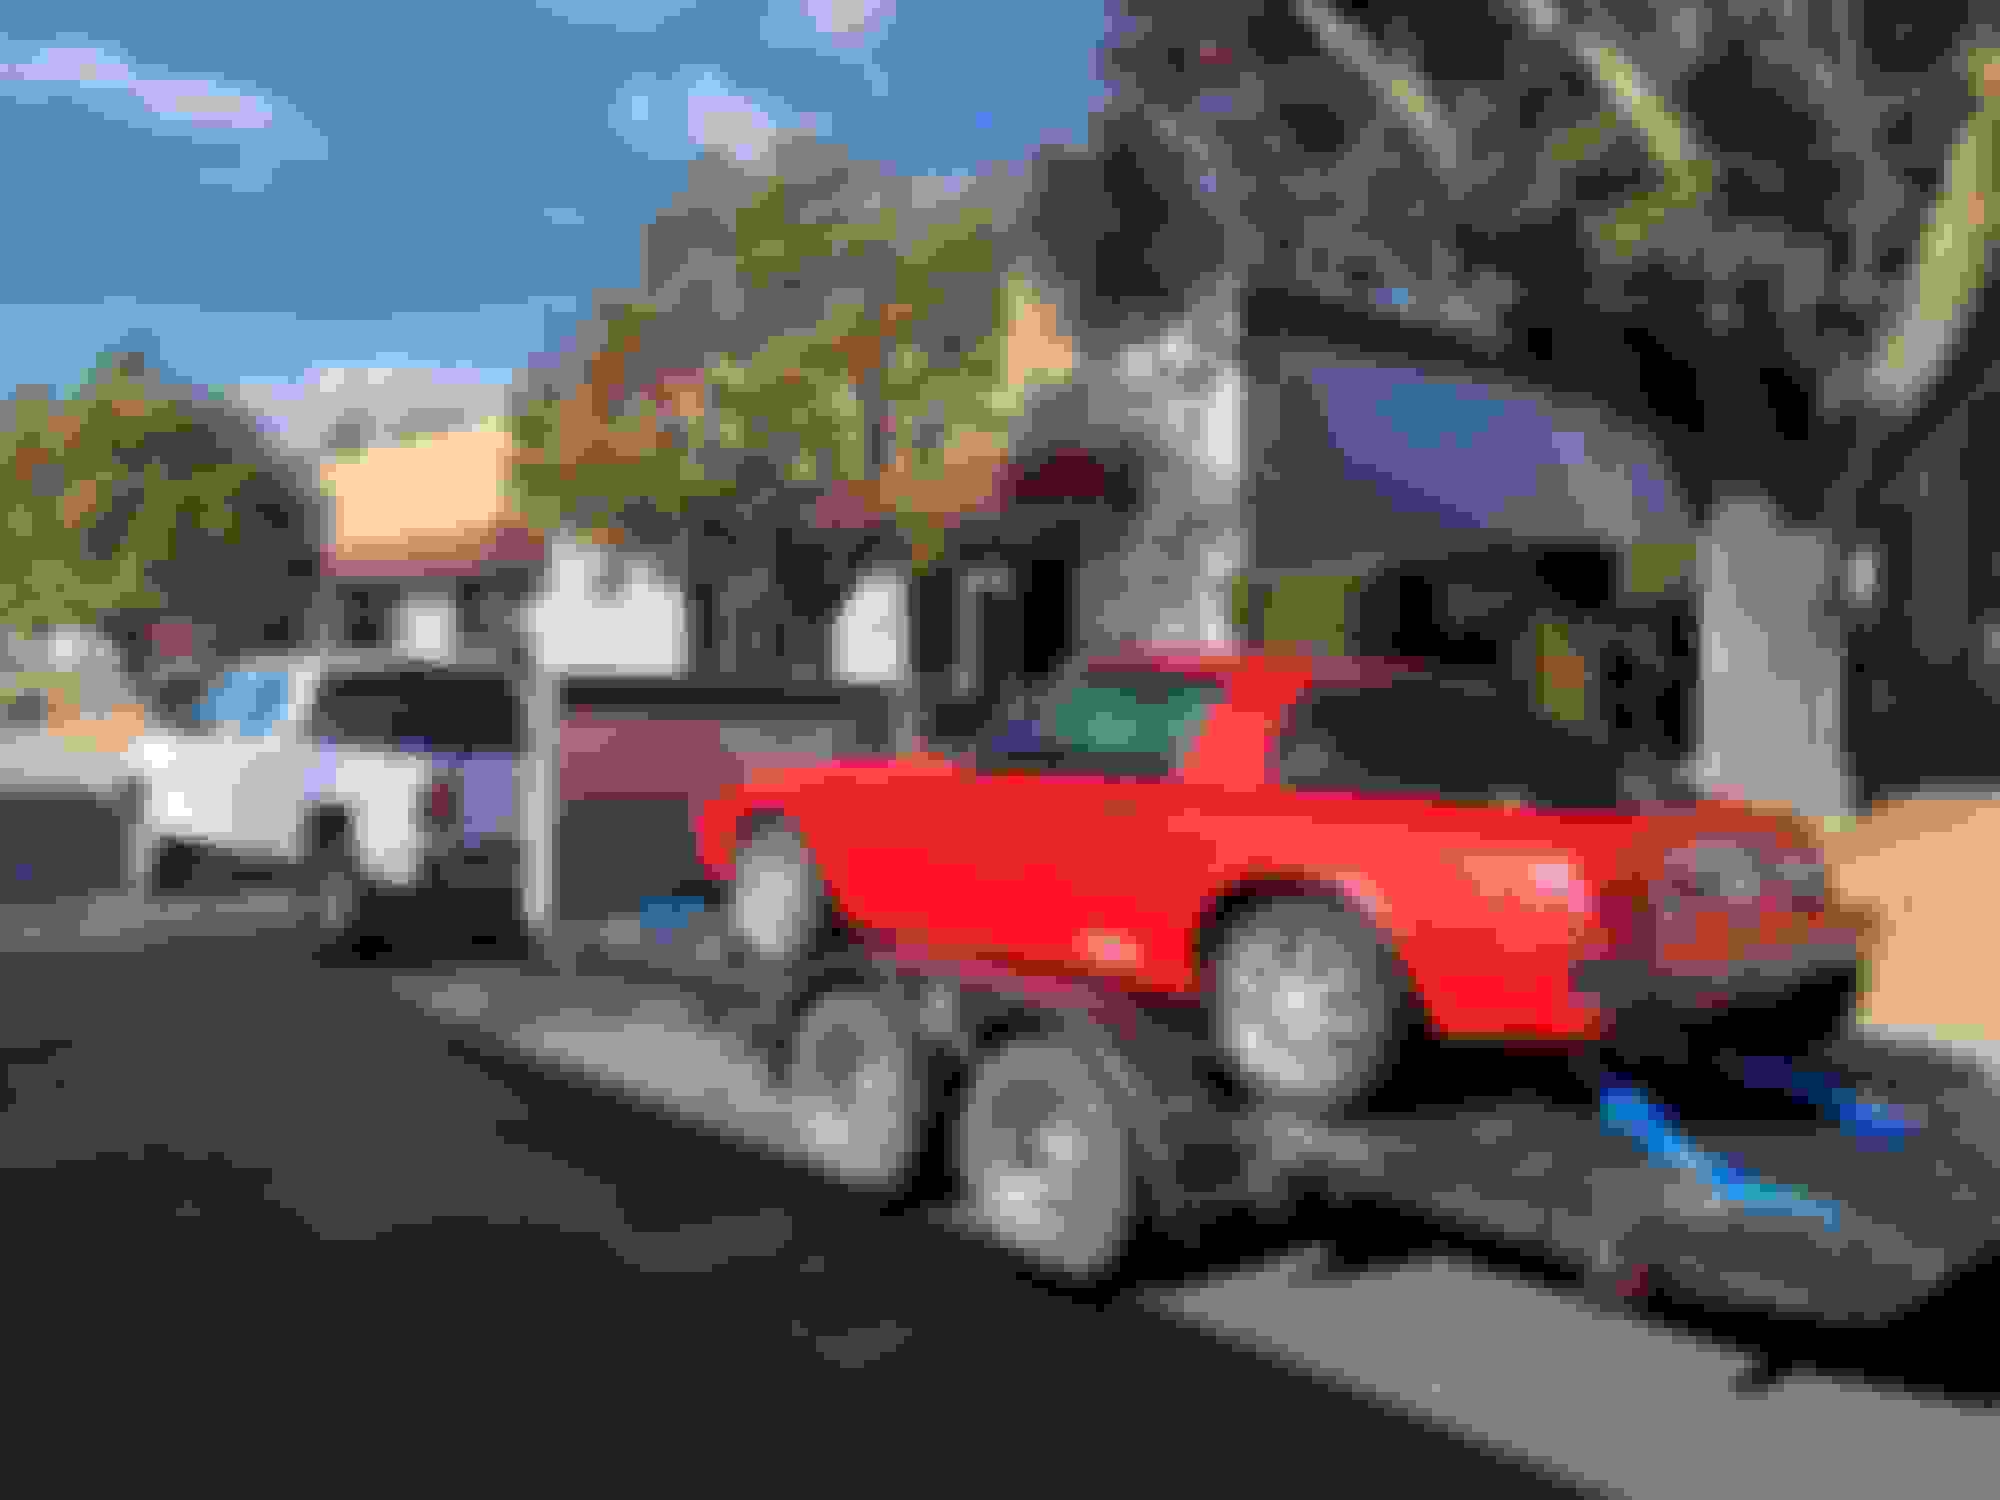
Not so car related. I finally came up on a trailer. I got a good deal on it too. I had to build some lumber ramps to get the car on/off it, however.
Two big things that need addressing before going back out. One is the transmission, as mentioned. The other is the exhaust. That flex piping and turndowns is just way too low. The track paddock and return lane is not level and the exhaust hits all over the place. Needs to go to exhaust shop and have a proper exhaust welded up.
This brings me to a difficult choice. This project has been fun. But managing work, family and everything in life, makes it difficult for me to get much done on it. I�d have to say, my passion for the projects isn�t like it once was either. I am now in a bit of dilemma on whether I want to invest more time and money into the project, versus selling it.
My goal in the last few years has been to just race it a few times before letting it go. I am too tall for the car and getting old enough that climbing under the car to work on it, isn�t as fun as it once was. I�ve also developed a desire to have a car that I can drive on the street.
With that said, if anyone is interesting in taking over the project, I�m happy to work out a good deal. I have tons of extra stuff to go with it. Otherwise, I�ll contemplate things for a few weeks before deciding if I want to post on CL.
The Frankenstein engine cover. I cut off the side pieces from the original cover and fastened them to the plywood. I can see the aluminum sheeting acting as an air dam on the leading edge. I did have to make once change after this photo. And that is a cutout in the rear-middle for jacking up from crossmember.
Yolo man great to see you are still making some progress in this now crazy world we all live in.but I feel your pain in the build. It is very easy to lose interest .
I wish things were better for us all I am even questioning my own build . Parts were so damn hard to get and now with gas prices out of controlI don't know if it even makes sense for me anymore
Guys. Don’t quit on me. I just got mine sorted out. And I can tell you there ain’t **** on the road, short of a few cars (haven’t found on yet from a rolling start) that will touch these things if finished. Suspension included and you have a flat out sports car that gets comments and videos every time you go out. Usually after you dusted them. Mine handles like a champ now and **** is it fast……and drivable after going to heavier flywheel and clutch.
Funny I found this thread while trying to find information on getting the exhaust in this thing to get it street legal.
As I was looking at the pictures all I could think was man that car looks familiar. It�s because it was familiar it�s my car!
since picking it up, I�ve done an interior restoration restored the emissions equipment radio install and started working on trying to get the exhaust in so it can be street legal. Going to drop the transmission soon and then hopefully get an exhaust in there.
This is EXACTLY why I like build threads. It's a storied history of a car, and the work done to it, that can help the next person along in the journey. Really cool that the car is still kicking and you're working on improving it @GrantSA22C
I figured anyone who had been following this would be glad to see it�s still alive. I wish I had better news and I had it out on the street. I�ve run into a bit of a snag with the exhaust. Seems that getting it street legal is going to be a nightmare. CA wants stock mustang routing for the cat back. Which is fine if I just had the room! Hopefully someone on here has done it before. @GtiKyle
The checklist to getting it road legal has gotten smaller. I need to finish:
the horn
wiper motor wiring
washer motor wiring
marker lights don�t work
exhaust installation.
once I get through that list I should be good to take it to the smog ref.
Since I last post I purchased some hella super tone horns and installed them.
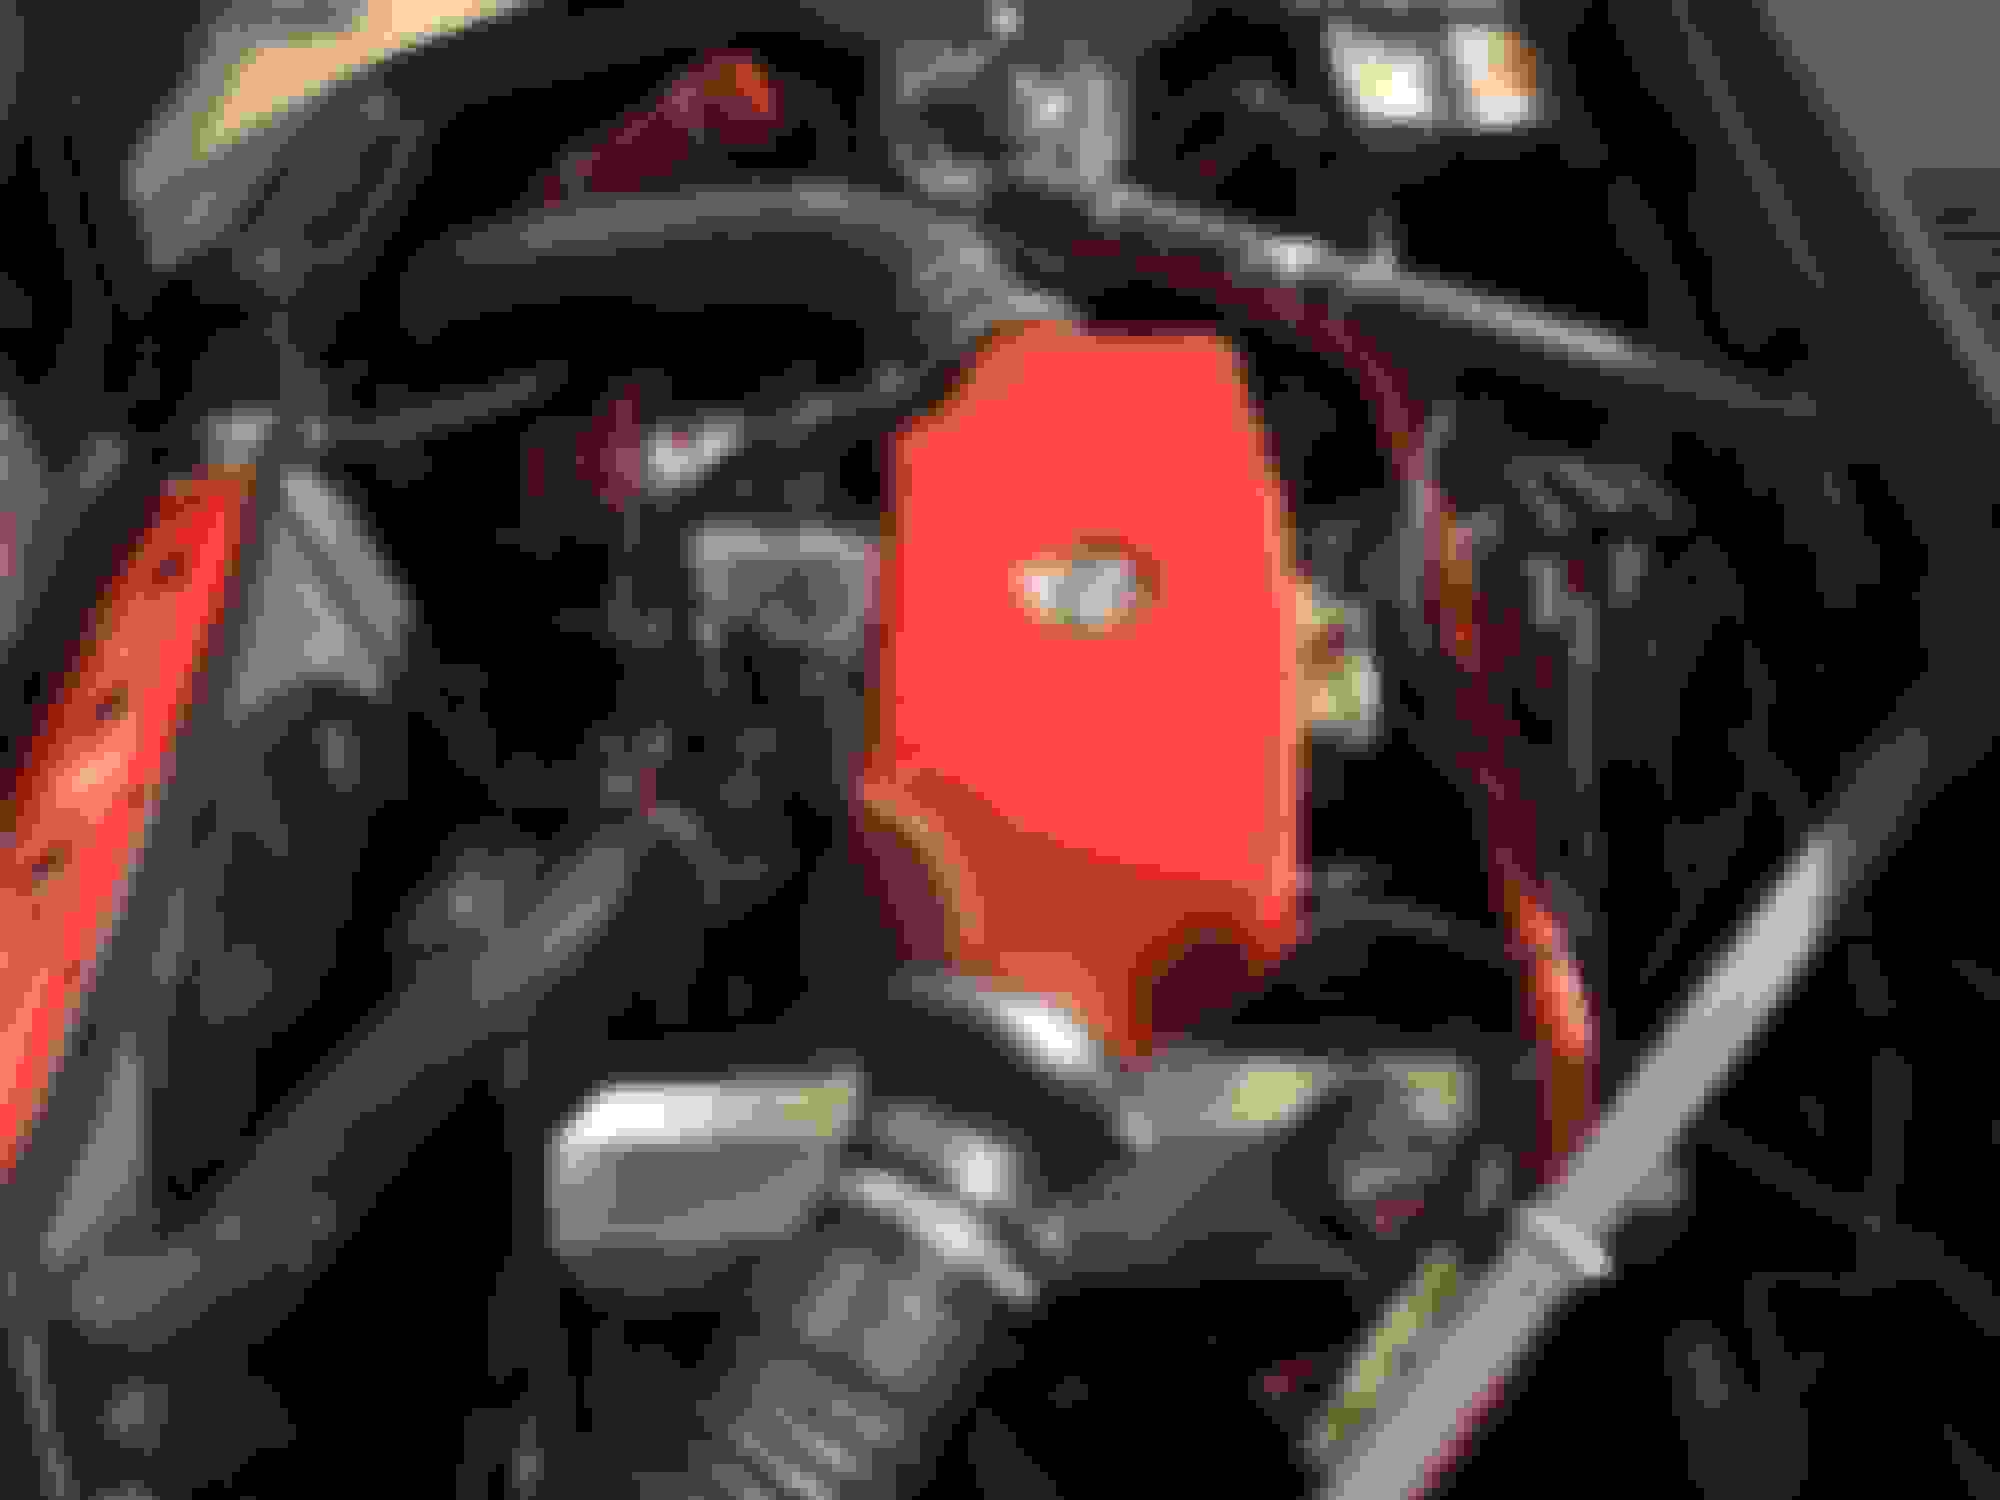
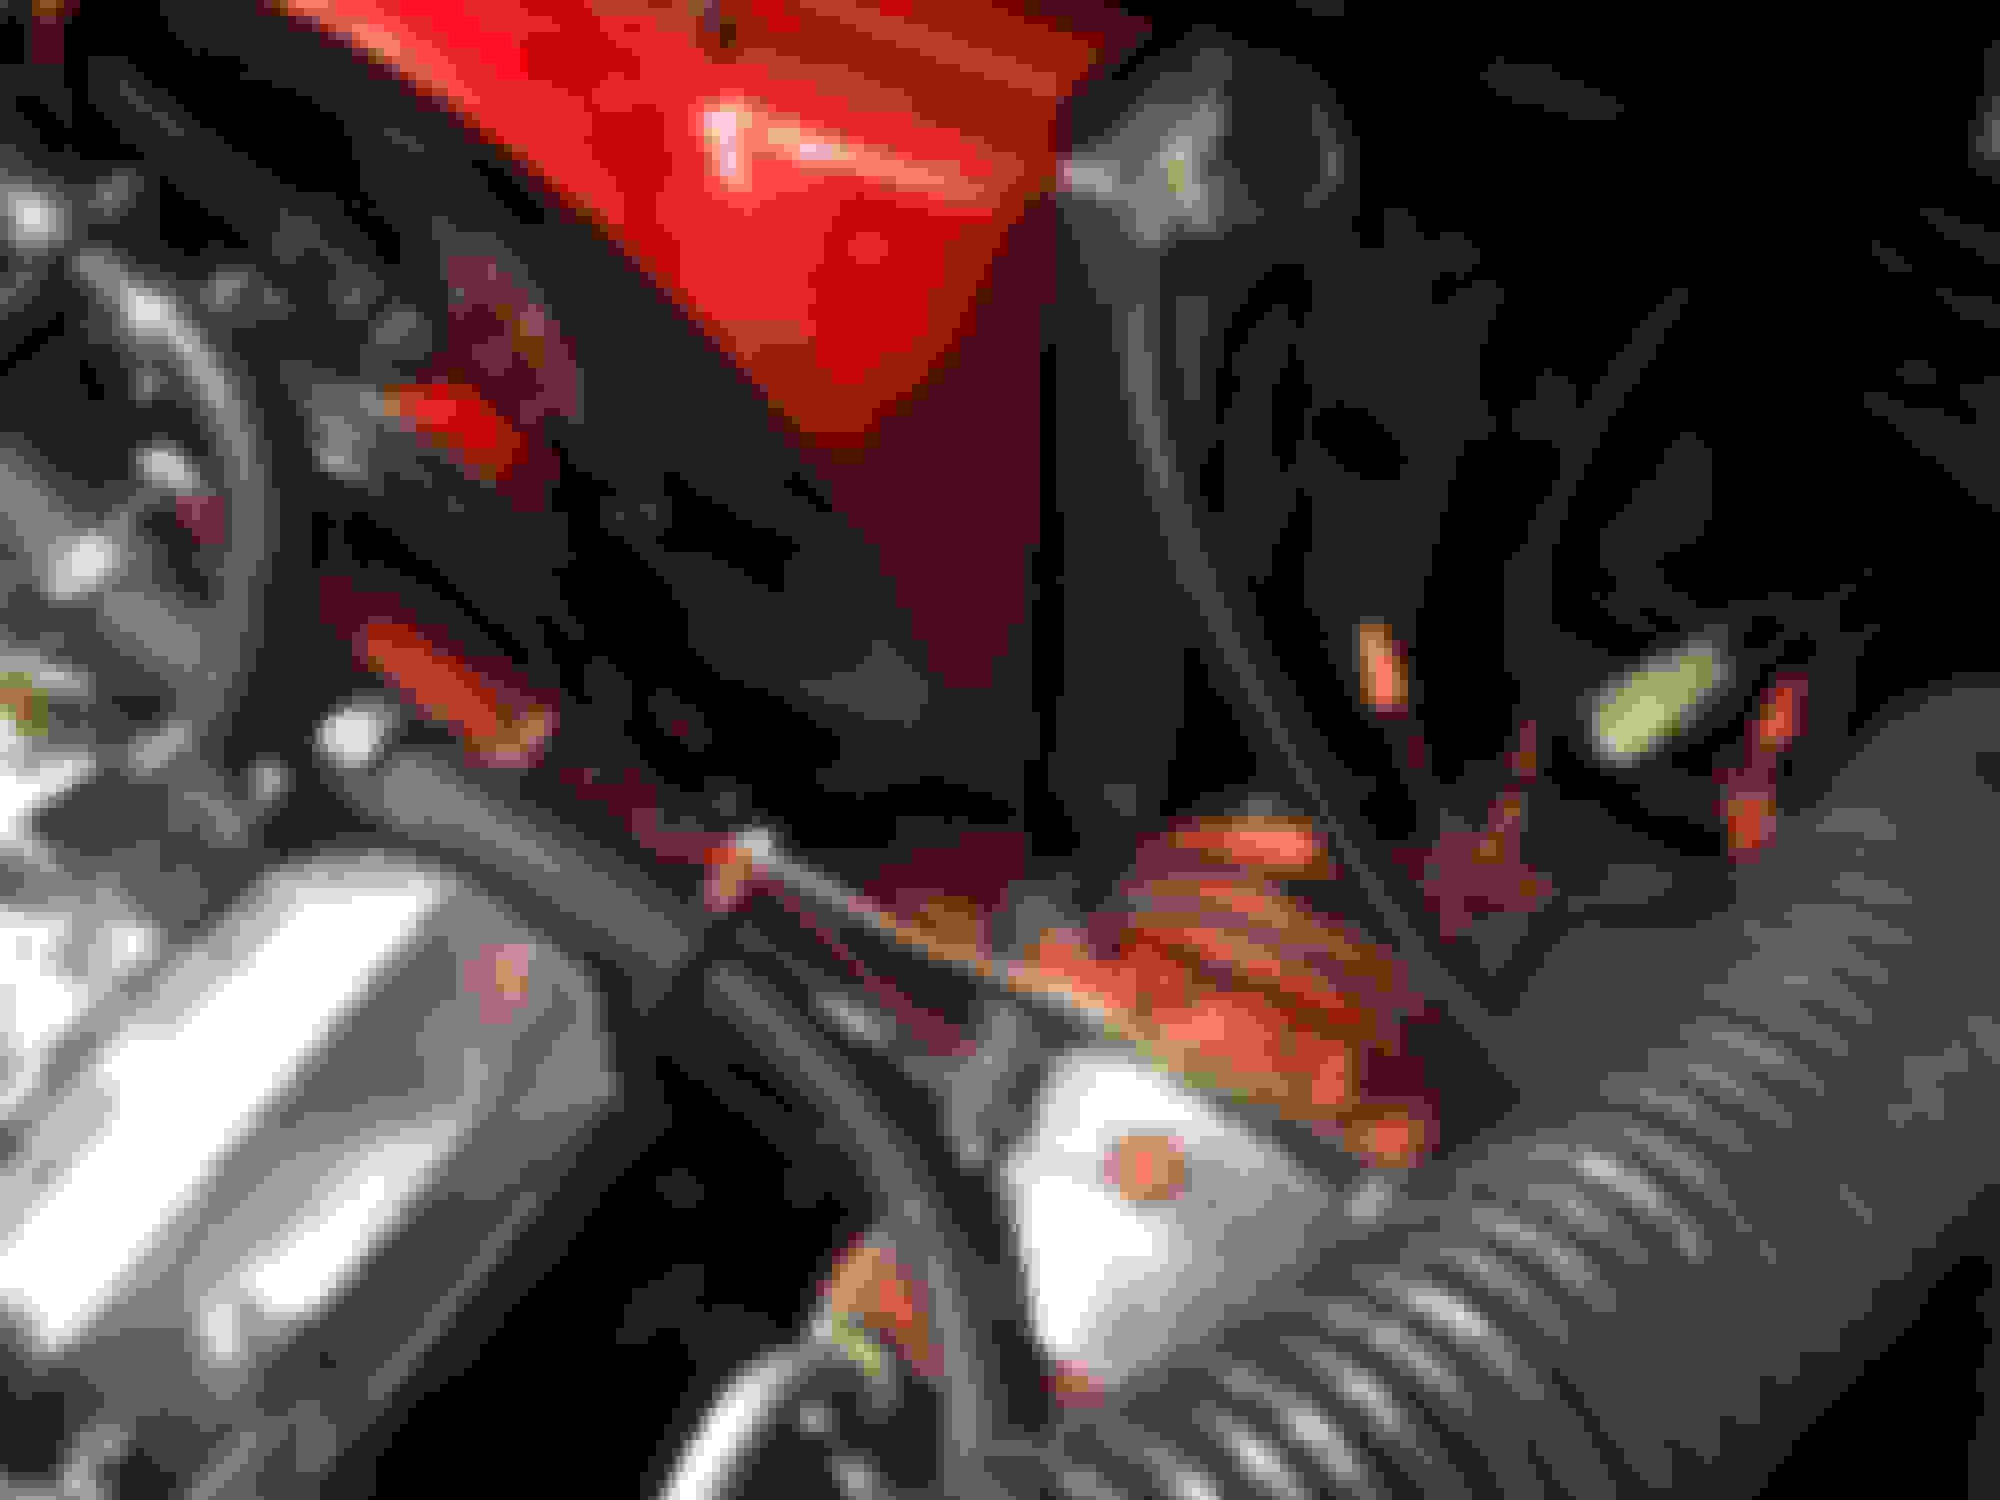
Also picked up a Magnaflow 337338 exhaust system to get it to conform to CA smog regulations
It�s hard to get a shot of the installation but it fits under there fairly well. I need to figure out the hangers but I may run a custom cross member or something. The plan is to merge the 2.5� pipes coming out of the H pipe into a single 3� and run that to a flowmaster 50 series 3� in 2x 2.5 out and put stock style tips on it.
Tested three wiper motors and one washer motor I have and they all work so I just need to buy some wire and run from the combo switch to the motors. Should be fairly easy to do.
May upload a walkthrough video of the progress on YouTube since my video files are all too large to post here.
I am glad to see you are making more progress. Especially with the exhaust. When I started the project, CA had different rules in place giving you more flexibility. I had planned doing a 2-1 and having a single 3-way cat, which would be cleaner than the old 2-ways.
I can�t remember. Did I leave the air injection pipe in the heads?
Of course they make it more difficult over time. Gotta keep the goal post moving. The ref I spoke to told me I could do whatever I want within reason after the CATs so I should be alright to merge it to a 3� and kick it out the passenger side.
You didn�t have the air tube in place but I found one for sale on eBay and all of the tubing for the air pump. I got that all installed a while ago.
Brought it to a local hotrodder/exhaust guy. Got the full smog legal pipes in. I�d post the video but it shows my plate. I�ll see if I can get a better one later.
had a hell of a time trying to figure out how to cool this monster. Finally settled on a 13� super slim clutch fan that�s on the way but I�ll need to build a shroud for it.
Wipers and all lighting work now.
next up:
- Speedometer cable
- clutch adjustment
- air tubing
- clutch fan
- hood louvers
Last edited by GrantSA22C; Mar 10, 2026 at 05:54 PM.
Decided to switch to a clutch fan with a shroud since it is impossible to fit a shroud with any meaningfully sized electric fans. Unless I modify the radiator placement which I don�t feel like doing. So I started up Fusion 360 a got to work.
Test placement for the shroud
that�s a earlier iteration the newer one has a larger depth it it and the air flows better. Learned simscale to test the airflow through it. Air flow sim at rest
By my calculations I get about 75-80% coverage. The test isn�t perfect but it should beat the single push pull config I had before which was maybe 20% coverage.
Tackled the fuel gauge not working I found the yellow signal wire and reattached it but got nothing. Luckly I had this pretty rare 1979 digital clock cluster I could install. It seems the 7v CVR died on the original because once I plugged this one the gauge came to life.
picked up some Hella H4 E-codes that I plan to install soon. Wiring harness just came in yesterday but haven�t had time to run it. I also plan on picking up some leds for the dash bulbs.
Next up is the speedometer cable. Got a good lead on a 120 mph gauge from a 79 I can swap in. Then I need to order the custom ford to Mazda cable.
keep it up Grant! That fan will also be beneficial to the electrical system. That alternator is undersized for the electric fans.
I can�t remember exactly why I de-pined the fuel sending unit wire. I had to replace the sender jn the tank with a junk yard part. I remember having some issues with the ground on the sender afterwards. I fixed that ground but it still wasn�t working. I believe the gauge or cluster has something internally wrong. I remember de-pinning the wire to make it easy to take resistance measurements to determine the level.
I just hooked up an AMP so removing the fans is one less thing pulling power.
The exhaust really helped motivate me to finish it. I remember I seen the yellow wire didn�t know what it was and I wrapped it with tape in case it was hot. Thankfully I didn�t cut it.
I read somewhere that the gauges use 7v so there�s a regulator on the back to step 12 down to 7. If that regular goes out then the gauges won�t work. That might have been the issue.