When you click on links to various merchants on this site and make a purchase, this can result in this site earning a commission. Affiliate programs and affiliations include, but are not limited to, the eBay Partner Network.
I was able to put in some decent time this weekend. My original plan for the weekend was to reassemble/install the rear axle. Rockauto had some sort of glitch in their system, because the rear axle seals they sent me are completely wrong. The Napa auto parts in town didn't have any in stock, so I had to order some seals from another vender. This kept me from tackling the rear axle this weekend.
I shifted my attention to the front. I removed just about everything in the front suspension. And started with rebuilding my front calipers. For a $6 kit and some cleaning time the calipers have been freshened up.
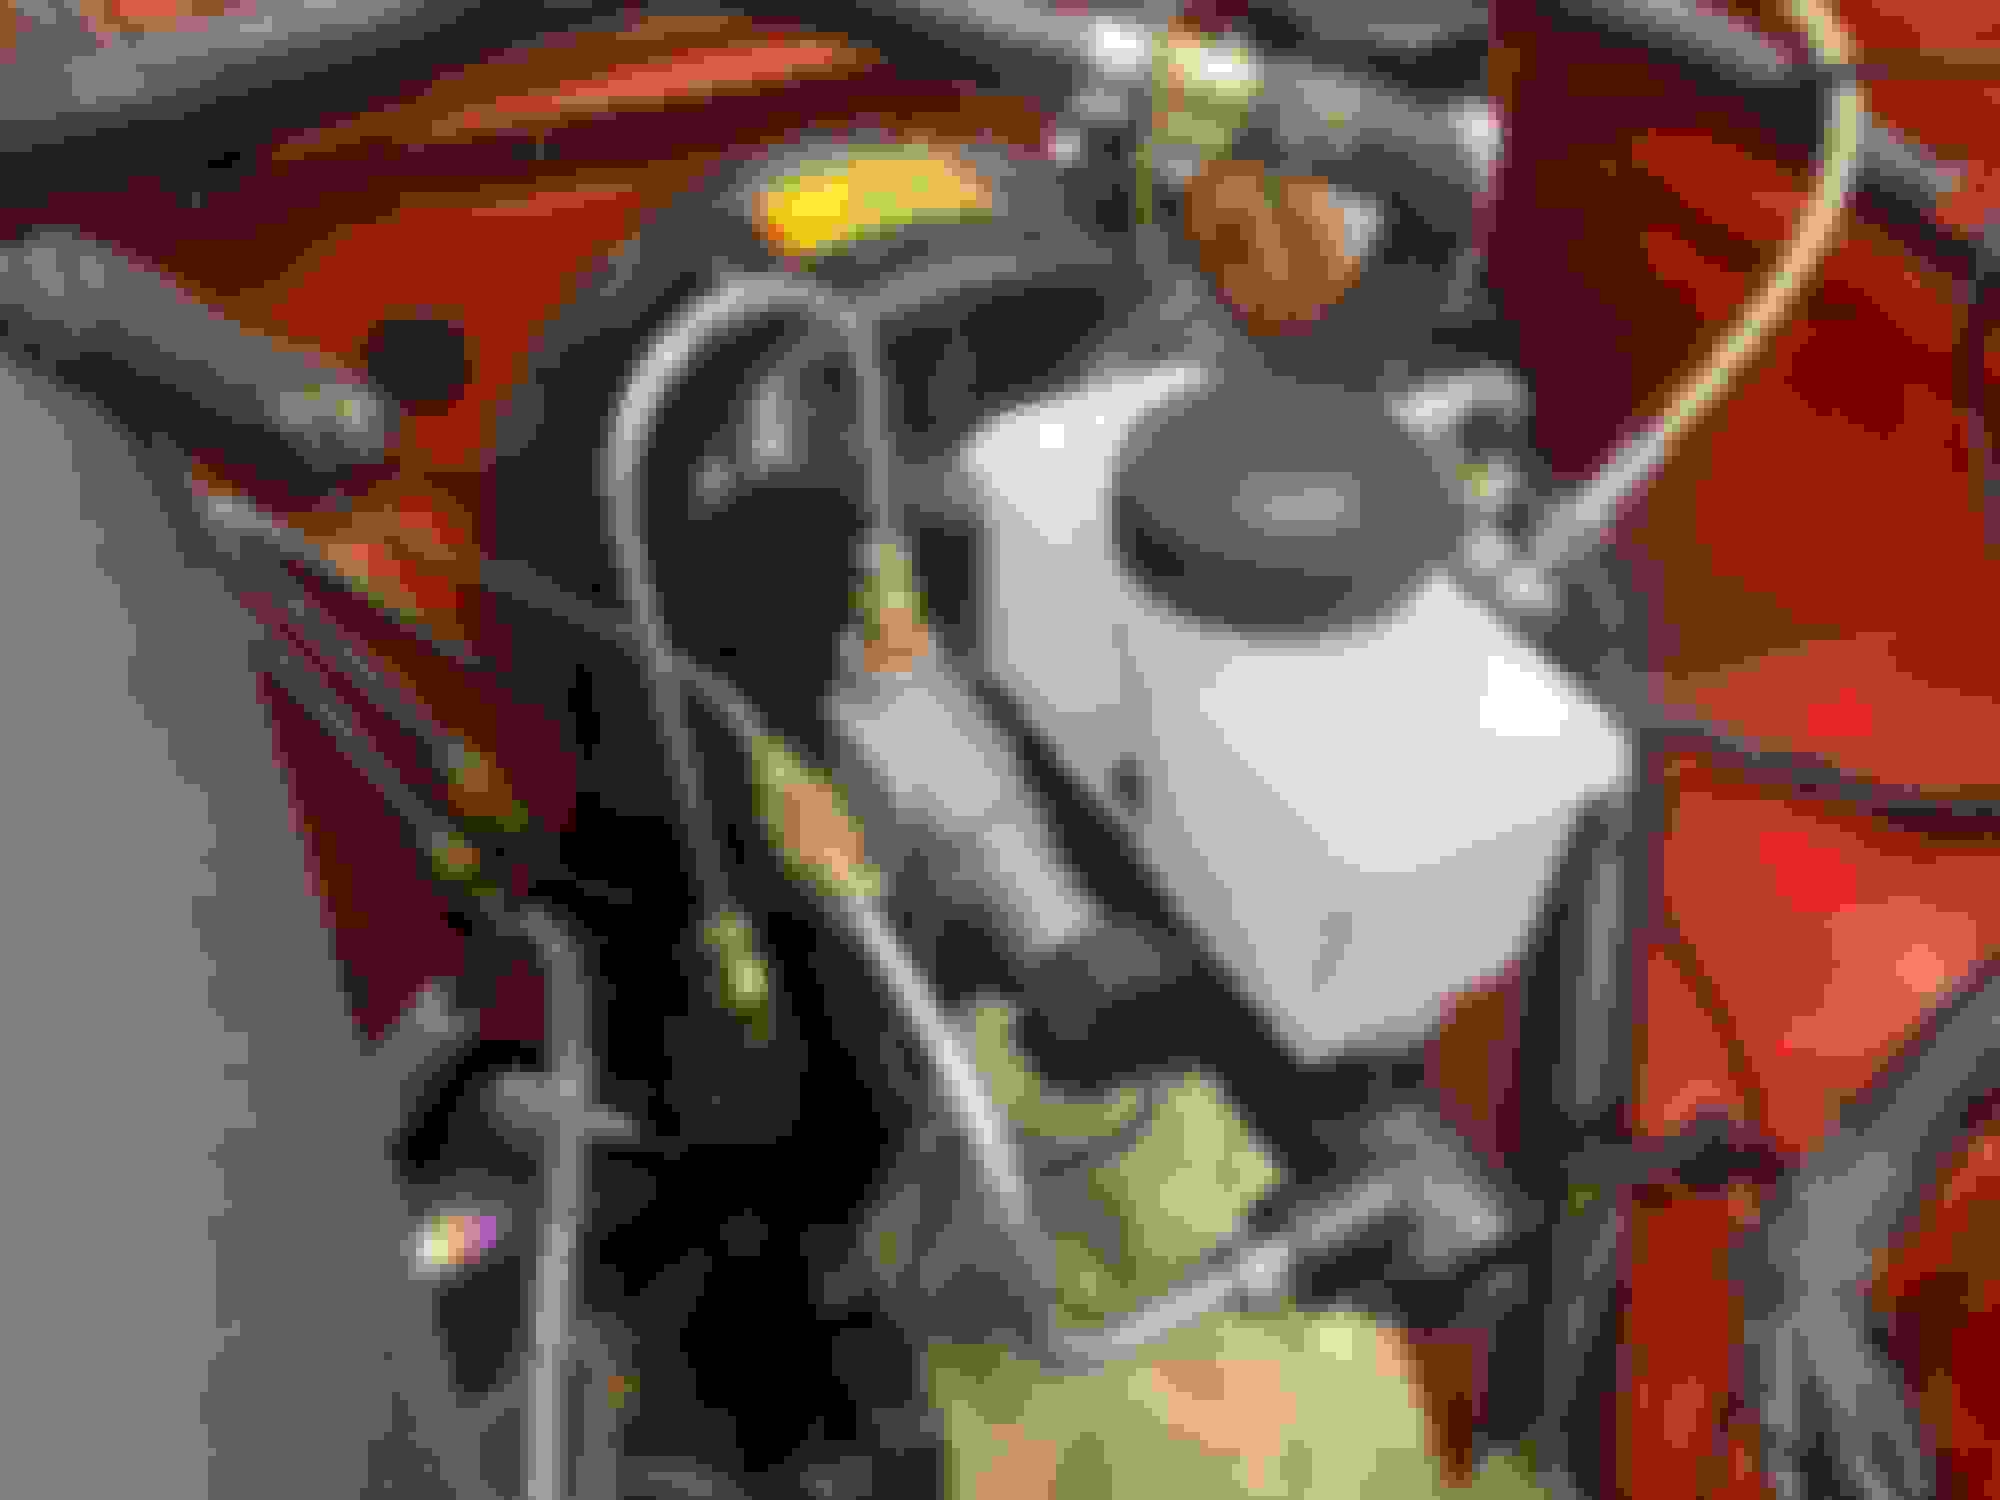
I then went on to install the adjustable proportioning valve. It went pretty well. I cut the RF and RR brake circuits and flared in new 3/8-24" tube nuts to them. To make the new lines, I bought some pre-made 12" brake lines. This gave me some small and straight tubes that were easy to work with. And it also allows me to only flare one end since the other is already done.
The front circuit only required one line to be made. The rear took two lines. One between the M/C and valve, and the other connecting the valve to RR brake line. I'm happy with the way it came out. We'll see how well it all works out.
This week I will take the front struts to work and disassemble them. The next two weekends are a pretty busy. We'll see how things go.
So an interesting development. Those axles seals that I thought Rockauto had wrong. It turns out I ordered them incorrectly. Same with the ones I reordered from Summit. All too small.
I ordered wrong, because it turns out my axle is the later type with the larger axles. I was told the axle was from an �82. I now know that it can�t be. I have another thread going in first gen section that goes into a little more depth.
So this is good news other than the fact I�ve ordered two sets of incorrect axle seals.
So a little bit of update. I have been making a little progress here and there between work, vacations, family and chores. But, I haven't had a chance really to write about.
So in another thread, I wrote about how I discovered that I have newer, large bearing rear axle. I discovered this after ordering a few sets of axle seals for an '83, only to find out they didn't fit. This was a pleasant surprise. Once I received the correct seals, I put the axle back together, installed new rotors, reman calipers and some SS brake hoses. That went pretty smooth, I mostly just need to load the axle to torque everything down and add some fluid.
As for the front, I have it all reassembled now. While the struts and springs were apart, I took a moment to clean everything and give it coat of paint. Maybe I should have taken them to do more of the under pinning's, because they came out pretty good. I used VTH Epoxy paint. A little pricy, but looks wonderful. I replaced control arm bushing, ball joint boots, strut bar and sway bar bushings all with E.S. poly bushings. Replaced rotors, tie rods, tie rods adjusters and bearings all with standard replacement parts. New SS brake lines were also put in.
My next move is to bleed the brake and install the driveline. I am hoping the prop shaft is correct, now that I discover I have the larger diff. I am thinking it is, because I remember measuring the bolt pattern when I placed the order with Granny's. I should be able get this all done this weekend. If I get time, I will also bleed the clutch. And by theory, the car should be able to move on its own at that point. We'll see how it goes.
A few questions. Does anyone have a recommendation on diff fluid and LSD friction modified? 80/90 weight w/ the generic modifier?
So things didn�t go quite as hoped this weekend. It started off promising Friday night. The weather was nice and I got off work at a good time, so I decided to jump in and get a head start.
I started by bench bleeding the M/C which was easy enough. After bolting it in and connecting all the lines, started bleeding the brakes, only to discover several connections were leaking. One of the leaks coming from the stock Mazda line going to the rear brakes. This was discouraging so I decided to sleep on it.
Saturday afternoon I came back to it. I cut back what little more flare-able line was left and tried flared it again. Sunday, I then remade the line that connects this chassis OE line to the proportioning valve. And went to bleed again only to have it leak again.
Examing my flares, i can see the flares are off center, regardless of my prep work and being careful. im convinced the cheep flaring tool is just garbage.
My coworker has lent me his nice hydraulic flare tool. What sucks is I will now have to splice a new line from under the car back up towards the MC because there really isn�t straight tubing to access in the engine bay after cutting a few times.
I will also have to get some more 3/16 tubing. Brake line work kind of sucks.
The remainder of Sunday was planning and beginning to fab the shifter boot plate to seal off the shifter and surfing then internet.
Wish me me luck with lines. I�ll probably tackle that over 4th of July.
Its a Mastercool set. I�ll let you know how it works.
Thanks yolo yes please I would love to know
I use a manual gray tools and it took me about 10 tries to get it right
When I saw this hyd version I have to have one
I'm back with some updates. Life has been busy, but I have managed to get some work done over the past few weeks. I've been working on the brakes, finishing the rear axle swap, shifter & boot among some other things.
I last left off with the brake lines. The Mastercool tool is pretty cool, but I was having some trouble with it, however. After flaring the lines, the tube nut was having difficulty sliding all the way down to the base of the flare. After examining the tool, I think it was due to the die having a little wear in it, possibly from a tub slipping in it at one point. But with sometime, I was able to fab a new line between the proportioning valve and the bottom of the car were it spliced into the original rear brake circuit. There were some challenges getting some of the connections to seal and I had to tighten the **** out them to get them to seal. The unusual part, is a lot of those leaks were coming from the pre-flared tubes I was using, not the flares I made.
In the end, the brakes are bleed, and I have not leaks. Hopefully I wont have to touch any of that again. I have a feeling that this tool would work fine with new dies. I am planning on buying them for my coworker.
In between working on this, I've been working on a shifter and boot setup. The T5 shifter sits several inches further back, so the Mazda boot and plate and doesn't really work. I used the Mazda shifter boot plate as a template, and built one similar to the outer shape using 16ga steel. After I had the basic outline, I cut a whole in it to match the shifter location. I used a cheap Summit shifter boot kit, and bolted and riveted it to the plate I made. The Summit shifter bezel is a little flimsy, but it seems work. To complete the job, I used the Mazda boot to cut out a sealing gasket around the outer edge where it all secures to the car. In hindsight, I could do better, but this works for now. I finished this off with buying the cheapest shifter handle and ball I could fund from Summit.
Other miscellaneous tasks have been bolting the prop shaft in, tightening the rest of the suspension up, and finishing the clutch hydraulics.
So with all that, guess what. I drove the stupid thing around the block yesterday!!!!! This being the first time I have ever driven the car.
There are few things needing some work, though. I think I've already burned up the fuel pump. It has been pretty noisy since day one, and yesterday the car didn't want to start. I quickly figured out, hey I don't hear the pump running. After confirming the power and ground to it, I tapped the pump with a hammer and it began operating. That doesn't sound good. It must be working too hard to suck fuel from the tank.. I will also add that during the 90 second test drive, the engine kept wanting to die, and I could hear the fuel pump changing speed when it was cutting out. Might need to go to a fuel cell or something.
Other things, the brake pedal feels really soft, I will play around with proportioning valve, re-bleed and see what I get. But, no real confidence in the brakes at the moment.
The clutch pedal is support stiff. I think it was Andrew that warned me on this. I can't remember, but I think he suggested a smaller diameter M/C. But at the same time, I'd hate to go smaller because I had to readjust the clutch too get it to go into gear. It appears that the slave isn't providing enough pull on the clutch fork. I tightened the adjustment at the slave, and hope its not loading the bearing too much with the clutch engaged. I think a smaller MC will only reduce the slave pull.
There are of course many things to do before this becomes race ready.
A few photos of the shifter setup. I'll have to get a final photo of it installed.
The basic shape cut out and working on the shifter opening. The original plate compared to mine after painting black. The Summit shifter boot kit. The boot placed over the plate I made. The shifter handle and ball.
So today I got to play around with the car for the first time in a while. My fuel supply issue got worst, to a point where the car wouldn't really run at all if you stepped on the gas or had any increase in load.
So hooked up an oscilloscope to watch the voltage and current of the pump. When I would rev up the engine, I would hear the pump change tone and see a significant reduction in current. So I assumed, I was either cavitating or running out fuel input to the pump (pump not working as hard = loss in current)
So I took a look at the pre-pump fuel filter. There is some debris in it, but it didn't look too bad. I went ahead and changed it with a filter that the local Napa had. After changing it, the wave form looked better. And when snapping the throttle, the engine wouldn't stumble anymore. Or at least with the car was stationary when the load wasn't high. This all changed when I drove it around the block, however. The car would do fine on light loads, but when I gave it throttle, the car would hiccup and fall flat on power.
I am thinking its still a fuel issue. My thought, is I am not able to draw enough fuel from the tank. My tank has at least 4-5 gallons in it. So I know it has enough fuel in the tank. I am thinking either some sort of restriction, air entering the line, or simply a flawed setup. The pump is mounted on the frame rail were the OE pump was. And I'm running a quality pump - its a genuine Walbro GSL394 (190LPH) pump.
I will add that my pump, makes a lot of noise - like a lot. I'm thinking the pump is already damaged from just running a few hours like this. I think I mentioned a few weeks ago, I had to give it a little tap with a mallet to get the car to start after the engine sat for a few months.
I would drop the tank and make sure its clean inside. That looks like a lot of crap in the filter for such a short time. Also is the "Sock" on the end of the pickup in the tank? That stuff will easily get drawn up around the sock and restrict the flow to the engine. It will also make the pump labor and make a variety of noises. When you shut the car down that sediment will fall down off the "sock" and the fuel pump will go through the same cycle over and over again.
I would drop the tank and make sure its clean inside. That looks like a lot of crap in the filter for such a short time. Also is the "Sock" on the end of the pickup in the tank? That stuff will easily get drawn up around the sock and restrict the flow to the engine. It will also make the pump labor and make a variety of noises. When you shut the car down that sediment will fall down off the "sock" and the fuel pump will go through the same cycle over and over again.
There is a sock in there? I didn�t think so, but that would make sense.
So to expand on this. Twan374, you maybe on the right track with an internal tank restriction, but I'm not sure about a sock being in there. When I cleaned the tank out before (obviously not good enough). I thought I remembered looking in there and I didn't recall seeing any sock or in-tank filter. I though it was like most old school applications, just a tube and collector.
I went through the parts catalog and some other resources, and none show anything similar to that. I would say if it did, changing it would be near impossible on an SA. Because, the only access is through the tiny hole for the sending unit.
The gas tank is pretty easy to remove, or at least if I can get the fuel out. I might take the tome to do that today and take another look and clean it out again.
The walbro pump should have a pick up strainer/sock on it. Do you have the pump on a dedicated relay? I have found that I got much better performance when I did. Previously when I started my car it would not want to run on all 8 cylinders for about 30 seconds. Now I have no issues with starting. I am running a dedicated 12v on a relay for my pump with a on off switch.
I had to pull my tank due to debris. soaked in vinegar/water a few days and then inner tank coating. no more debris. as to the fuel supply drop of........on mine I made the mistake of not crimping the retun line to the tank enough. if you don't do that it's a quicker route back to the tank then all the way up to the engine.
btw, I cleaned, and cleaned that tank before install. if it has slightest bit of rust it will get worse. only after my 3rd fuel filter do i breakdown and treat it. the return line crimp is the biggie though
The walbro pump should have a pick up strainer/sock on it. Do you have the pump on a dedicated relay? I have found that I got much better performance when I did. Previously when I started my car it would not want to run on all 8 cylinders for about 30 seconds. Now I have no issues with starting. I am running a dedicated 12v on a relay for my pump with a on off switch.
I'll check the pump inlet to see if has a screen on it.
As for the relay, I am using the Ford EEC-IV relay from the Mustang. Besides some new wires between the relay and the pump, all the electrical came from the Mustang donner. I don't think its electrical thing, though. The voltage at the pump remains consistent when the current drops, a strong 13.5V, which is plenty. Being that I changed my pre-filter and noticed improvement has convinced me its a fuel delivery issue to the pump.
I had to pull my tank due to debris. soaked in vinegar/water a few days and then inner tank coating. no more debris. as to the fuel supply drop of........on mine I made the mistake of not crimping the retun line to the tank enough. if you don't do that it's a quicker route back to the tank then all the way up to the engine.
btw, I cleaned, and cleaned that tank before install. if it has slightest bit of rust it will get worse. only after my 3rd fuel filter do i breakdown and treat it. the return line crimp is the biggie though
I thought I had cleaned mine pretty well too, but now I am questioning my work after a 0.5 mile of driving (LoL). I assume with the clamp you're referring to sucking air in past the clamp, that too passed through my head. I'll check it when I get the tank out. A lot easier to suck air than a liquid for sure.
If I reuse this tank, I'll probably spend the dough on the POR-15 restoration kit.