When you click on links to various merchants on this site and make a purchase, this can result in this site earning a commission. Affiliate programs and affiliations include, but are not limited to, the eBay Partner Network.
While I failed making a glasfibre hatch years ago, by just laying one layer of glasfiber over my hatch and later reinforcing it from the inside,
I started it over again but to make it from carbon and using a negative ( dont know what its called in english)
Im not a professional in this, and I know you can do it better with vacuum and so on, but for me this is a affordable way to save a lot of weight.
I can show the whole process if interessted, but this is the result:
Im pretty happy with it, better than expected
There are still some imperfections, I will try to fix them soon...
Oh, and it saves me about 20kg ( 44lbs )
I have done the same thing. I basically did a wet lay up on the existing hatch. the outside part and the inside skeleton then bonded it together. Basically put a layer of mold release wax onto the hatch and wet laid carbon on top of it. 4 layers in total and the same for the skeleton underneath. The once cured, some sanding with the DA to level it out and lay a thin coat of clear epoxy on top and clear.
How did it come out? ive been going back and forth debating wether i should just try to do carbon work myself didn't realize its hard to find someone to do carbon work
How did it come out? ive been going back and forth debating wether i should just try to do carbon work myself didn't realize its hard to find someone to do carbon work
turned out ok for what I needed it for. The oem hatch with glass was 60lbs. I made mine full carbon with no glass and its 10lbs
i have a reverse camera and a screen on the dash as my rearview mirror lol
i have a reverse camera and a screen on the dash as my rearview mirror lol
Can we please get one more show and tell on this set up? The new MXG 1.2's have a built in input for rear view cameras, and I am looking for a solve on my gen one that isn't compatible
Thanks, havent checked for a while, but this is a little write up of how I made it.
First I took my original hatch, cleaned it , took the rubber out and "sealed" the gap with thin transparent tape. ( dont have a pic of this, maybe you can also see it in the next step )
Then waxed the whole thing with carnauba wax from the shop I got all the epoxy stuff from. I didnt remove the wax after it dried , just keeping a thin layer of it everywhere.
You can carefully heat the wax on the part if it got too thick or just to smooth it out.
Next I put a thin glassfiber layer (weaved) on it and carefully "painted" cheap epoxy on it, you could also use polyester resin as this is only going to create the negative form for our final part.
Then I put a thick cheap glassfiber mat on it and soaked it with epoxy. Trying to get all the bubbles out.
And perhaps you want to put epoxy on the hatch first, before laying the glass mat on it, people say this helps to prevent air bubbles...
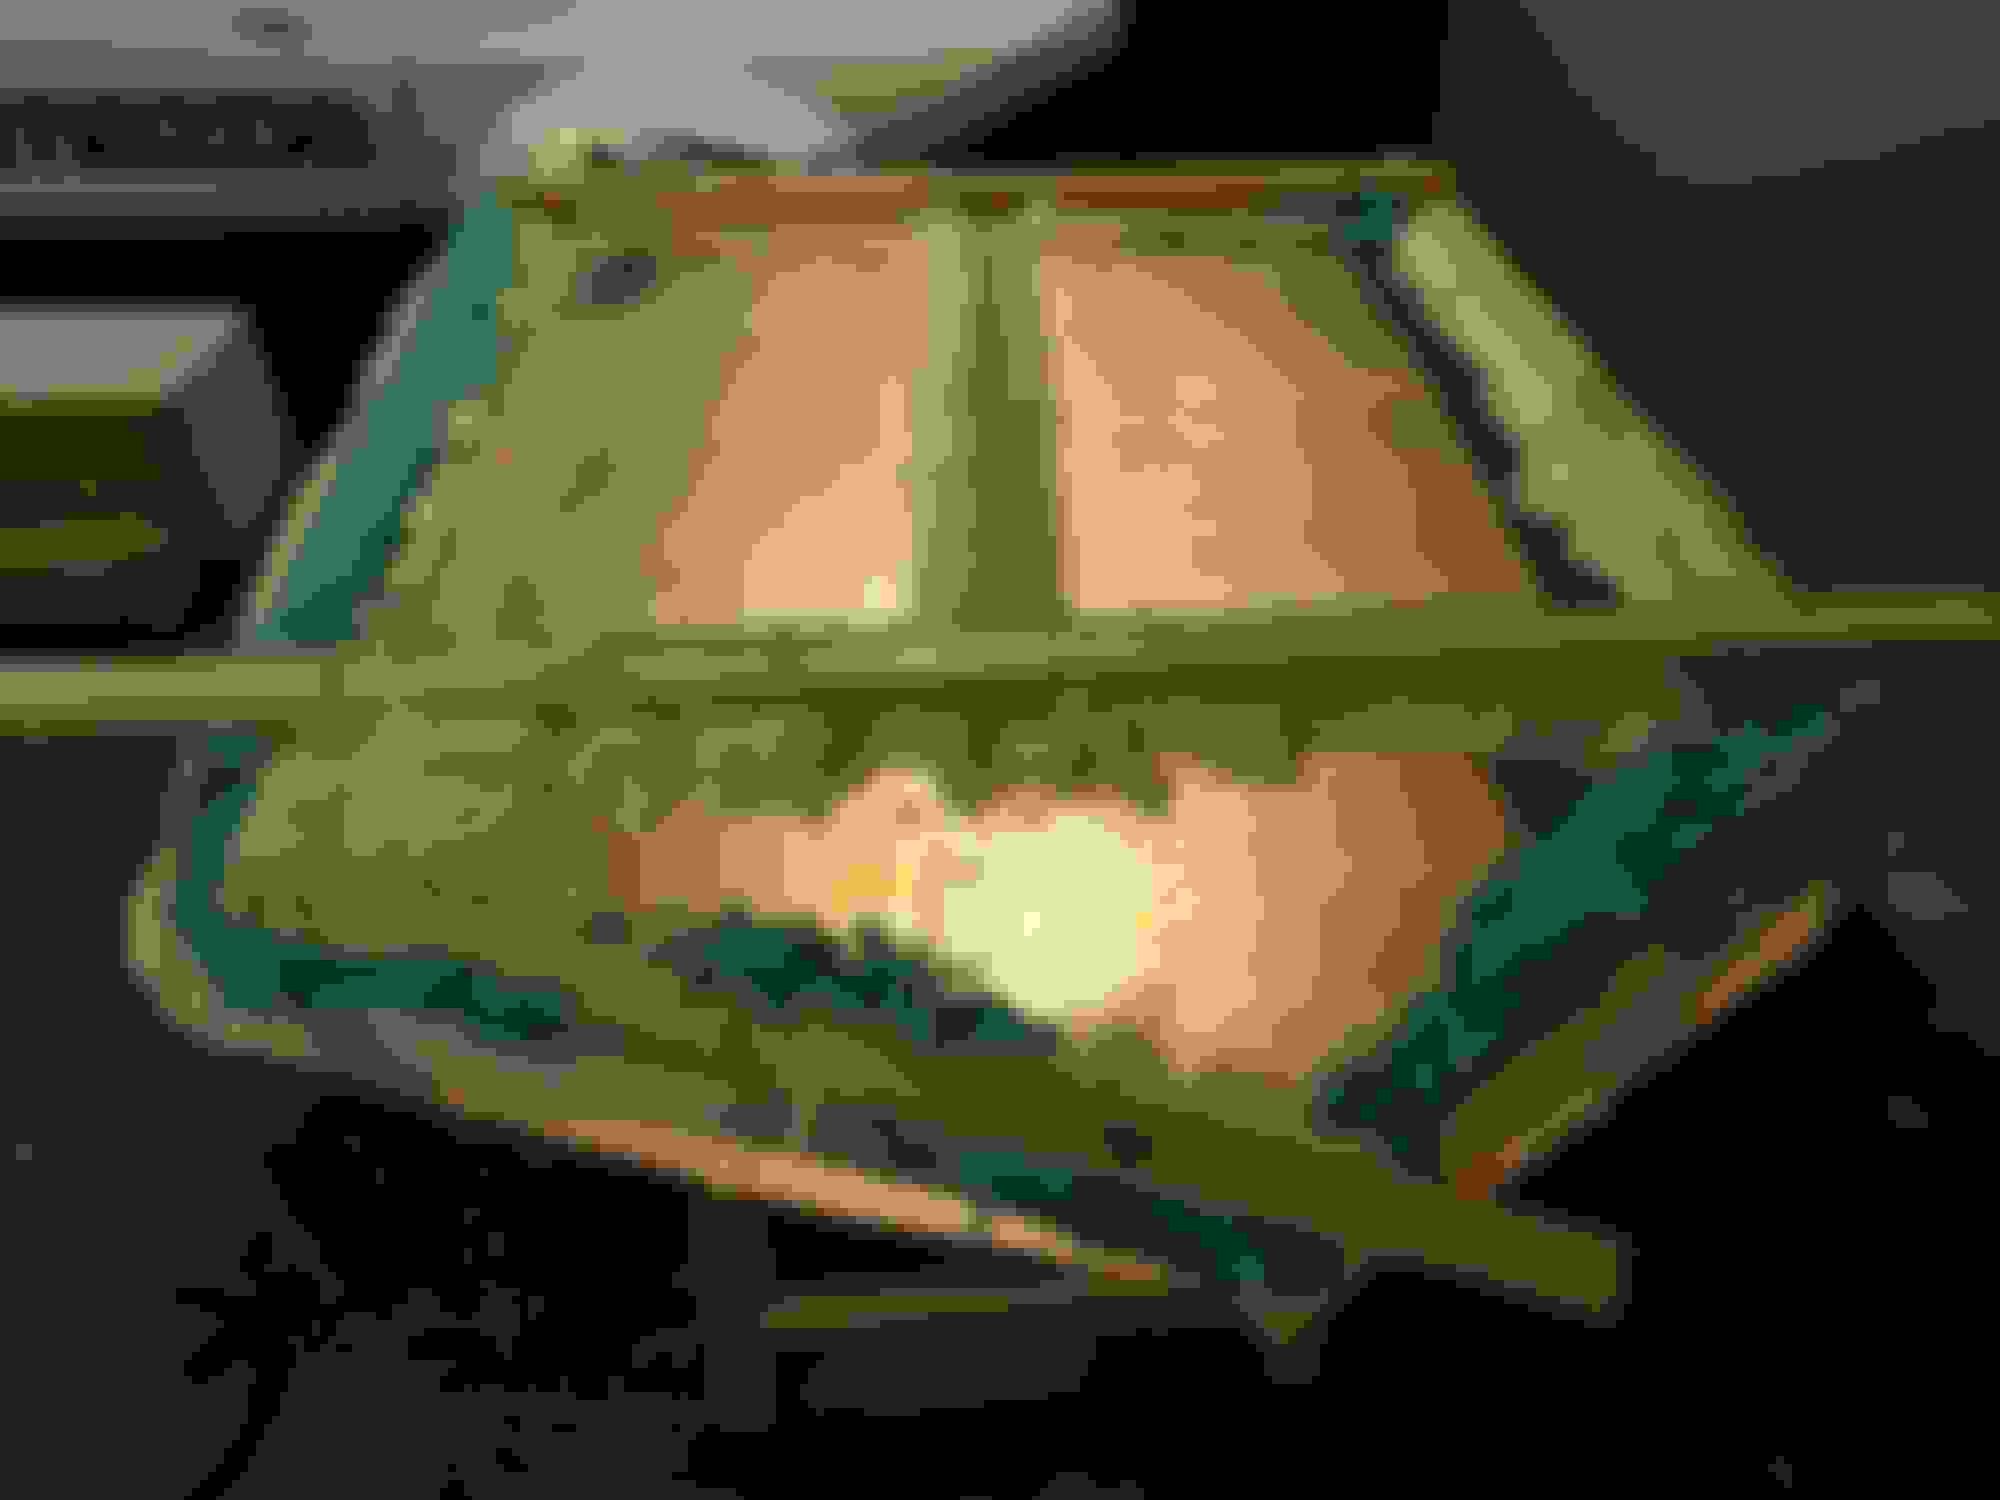
To make the negative able to handle better, and make it stiffer, I made a frame of wood to support it and glued it on:
After seperating the negative from the hatch, it already had a shiny smooth surface.
There were some holes from bubbles anyway, so I filled them the best I could with filler.
Finaly the negative also has to get wax on it. While I made it really thick on the outer lines that are outside of the original part, and arent smooth.
You dont want the parts to stick together there...
This is where I prepared the carabon mats. It was 3 layers of 300g/m� bidirectional mats ( non weaved, I dont know what it is called in english )
I do rarely take pictures while laminating, because you dont want to touch your phone with your gloves full of resin and the epoxy takes about 1 hour to start "jellying", so you need to hurry.
Oh it took high strength, 55min , hand lamination epoxy resin.
So I first laminated 2 layers to give it some strength from outside.
Then I put a 5mm styrofoam ....tile... in the middle to give it more height.
I reinforced the mounting spots with at least 2 additional carbon mats, soaked everything of course.
And then I put the final third layer on...
On the mounting spots I had those clamps with the plates, to make it a smooth surface from both sides. It is jusst easier to drill later on
Crucial thing here was, to get the bidirectional mats attach to the inner radius.
If you take weaved mats, this will be much easier...
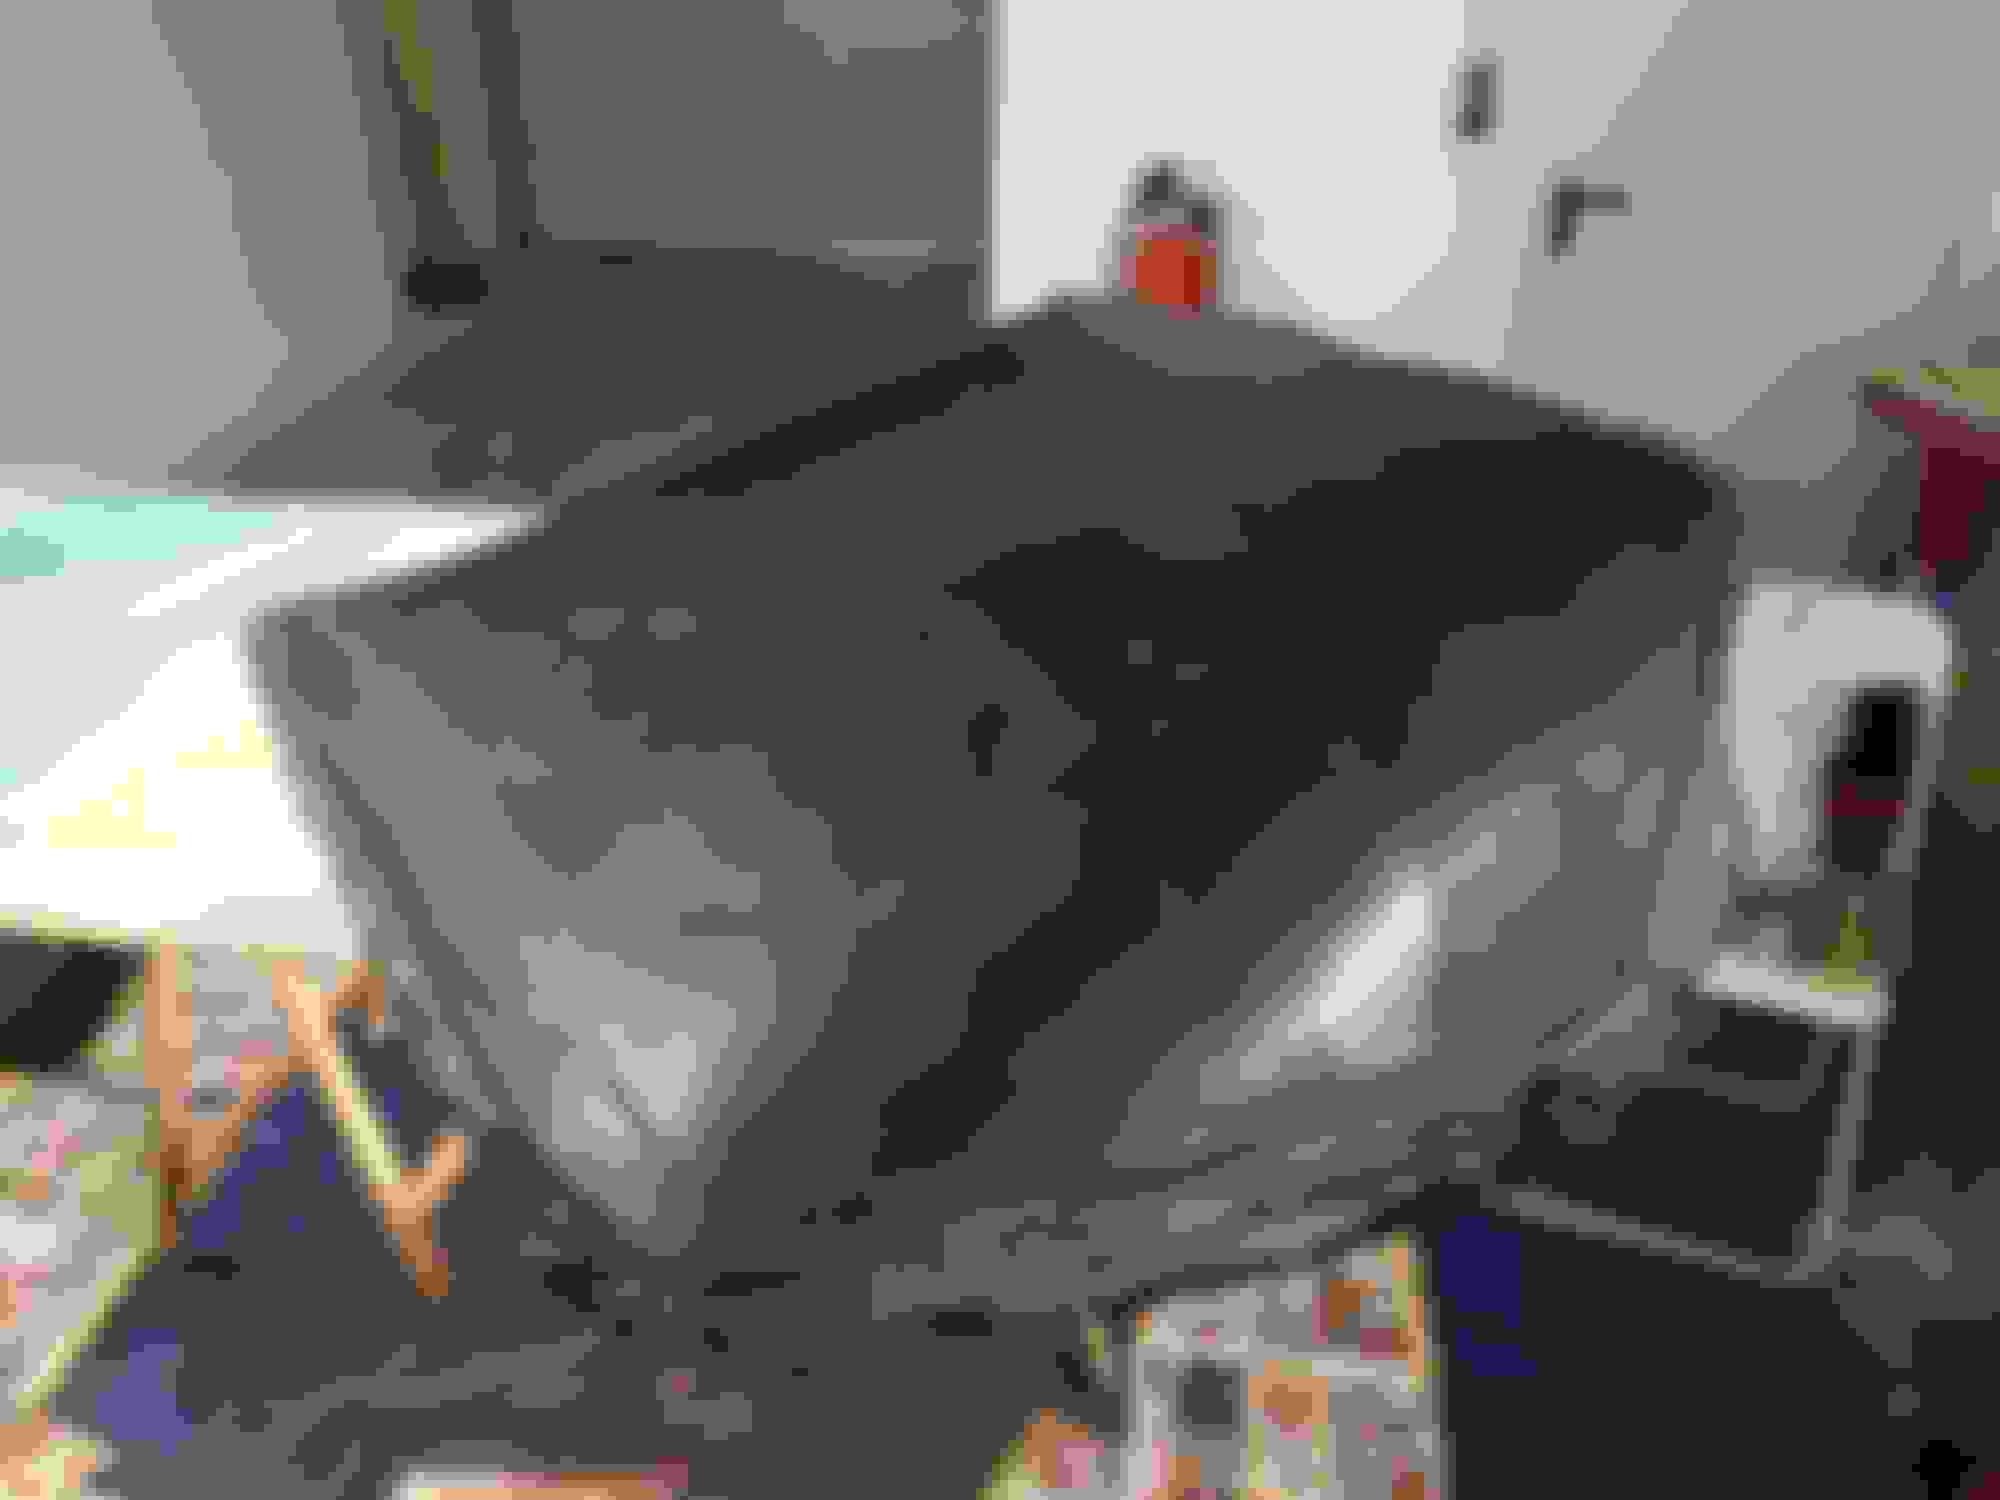
After two days of curing, the parts can be separated. And the result looks like follows:
It then has to be cut. I use a angle grinder with a thin cutting wheel.
You need to do this outside and fully masked, you will be covered in coal dust like a miner ..
You can then drill holes and polish it if you want.
I also realised it gets full strength after one week or so, so handle it with care the first days. ;-)
PS: by the time I also made a carbon floor, diffuser and splitter XD
- Patrick
Last edited by PatrickT; Aug 24, 2021 at 02:09 AM.
Reason: typo