
The FD Restoration - $$$$ Damnit

Thread Starter
Joined: Jul 2005
Posts: 2,913
Likes: 4
From: Kingman, AZ
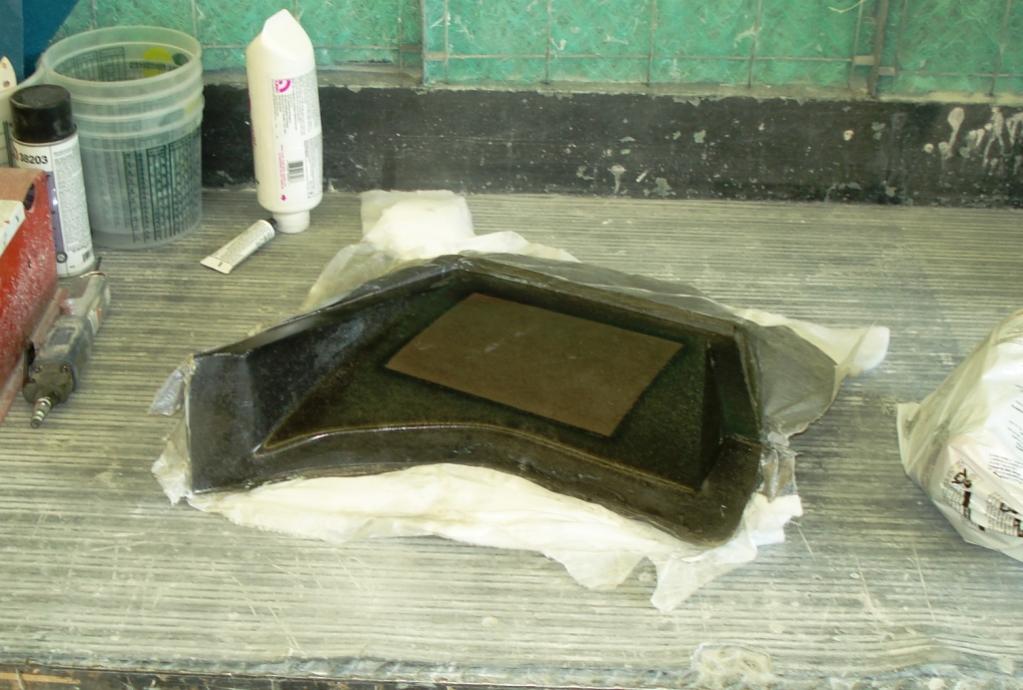
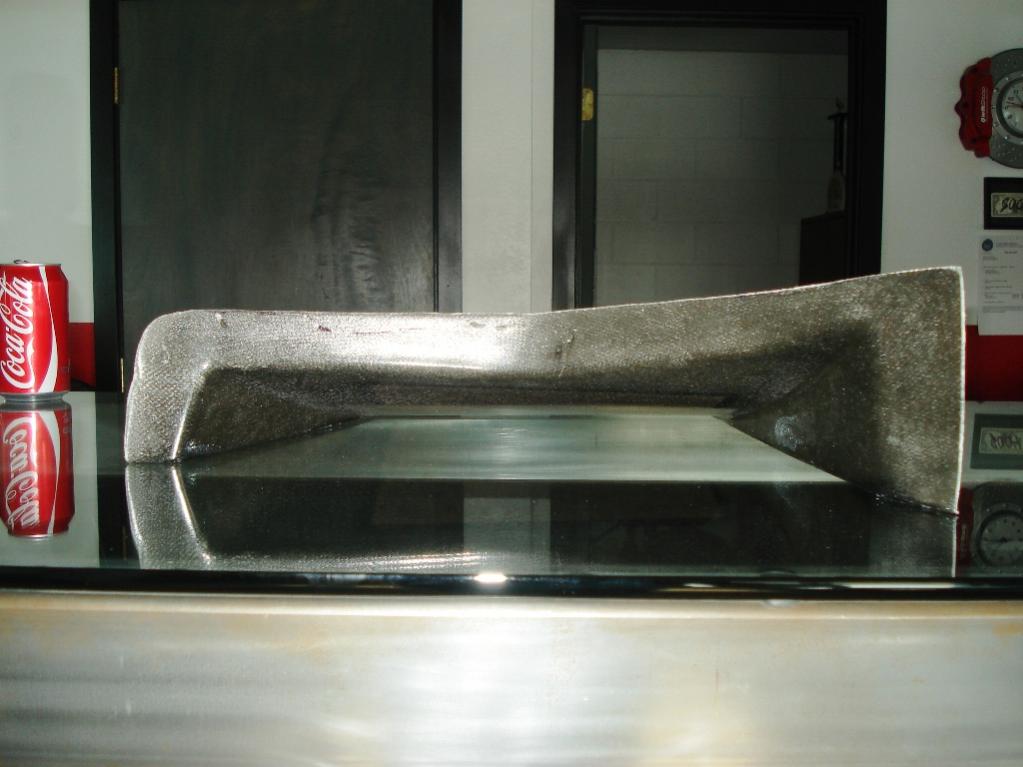
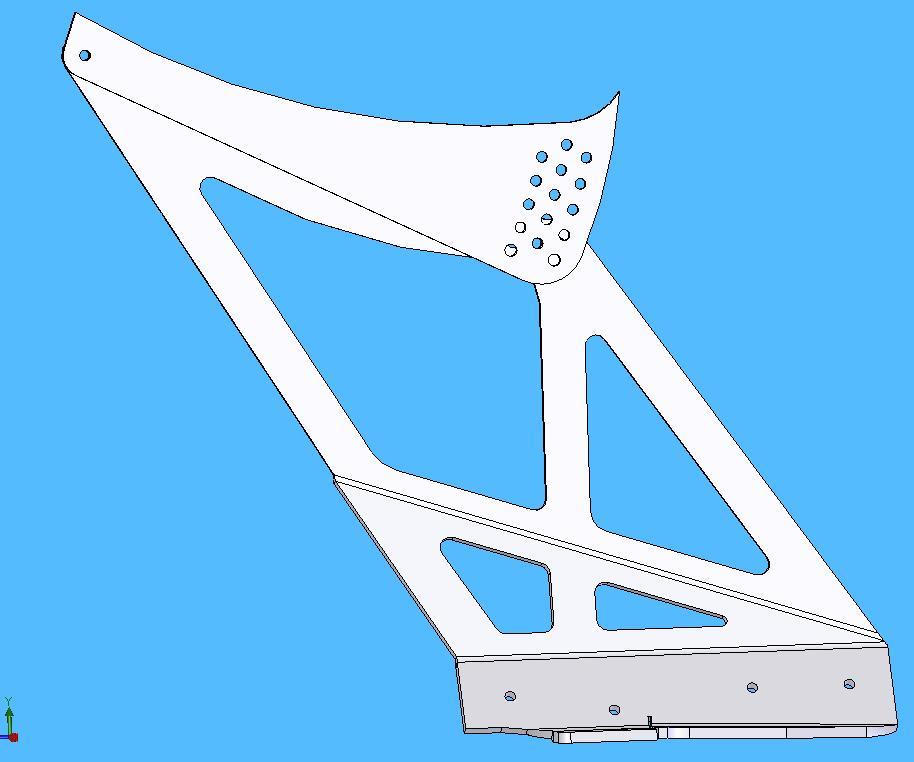
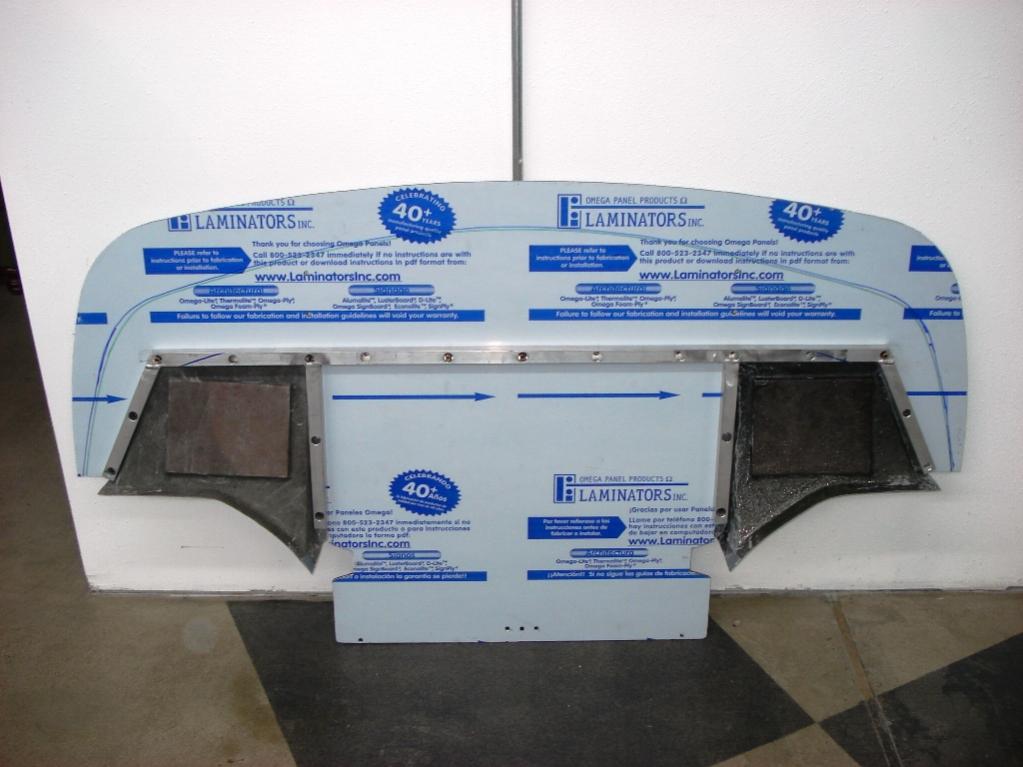
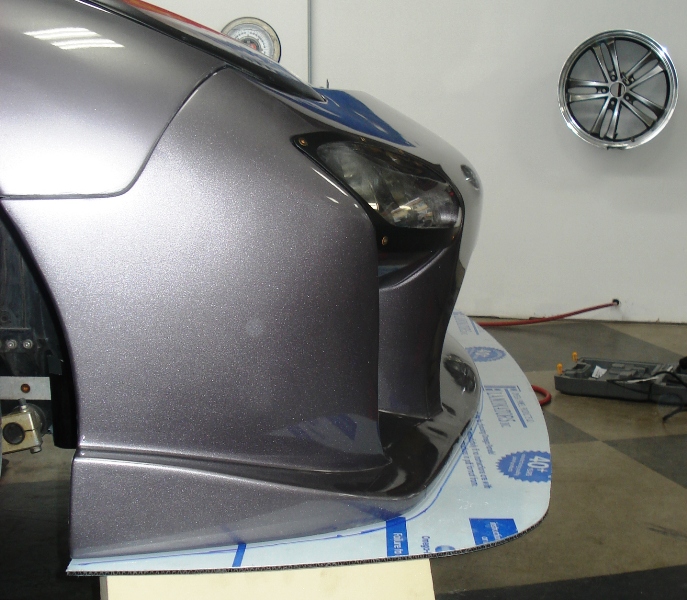
Prototype splitter/diffuser part made, turned out pretty good. The part turned out really light and really stiff. 
Making some changes, ordered a different resin that not as viscous and also ordered some stretchable vacuum bagging material. Also got a killer deal on some 3K twill weave carbon fiber. The plan is to test the front splitter on the 8th of May at ORP PCA track day.
Making some changes, ordered a different resin that not as viscous and also ordered some stretchable vacuum bagging material. Also got a killer deal on some 3K twill weave carbon fiber. The plan is to test the front splitter on the 8th of May at ORP PCA track day.
Thread Starter
Joined: Jul 2005
Posts: 2,913
Likes: 4
From: Kingman, AZ
Alright! Got the new resin and stretchalon 800 vacuum bagging material today so I will be makin the other prototype diffuser part tonight. And planning on making the splitter this weekend.


Thread Starter
Joined: Jul 2005
Posts: 2,913
Likes: 4
From: Kingman, AZ
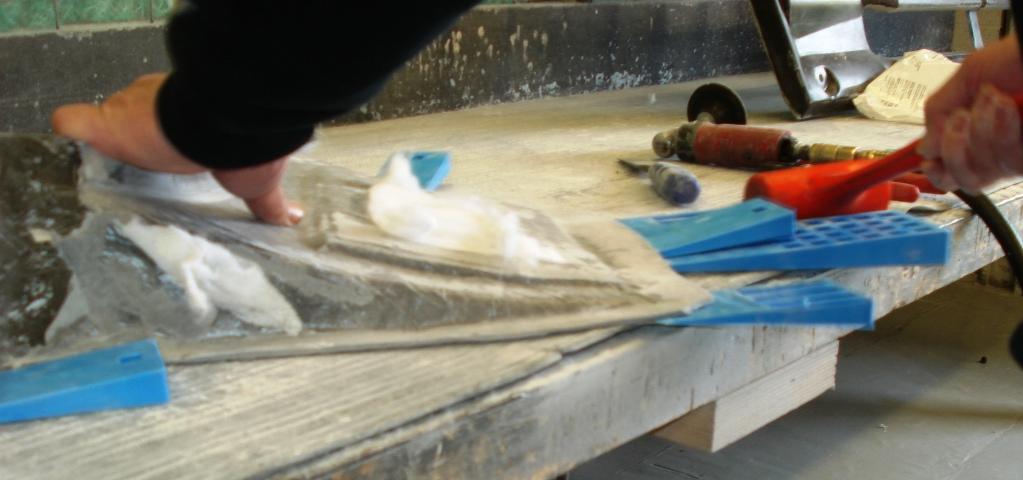
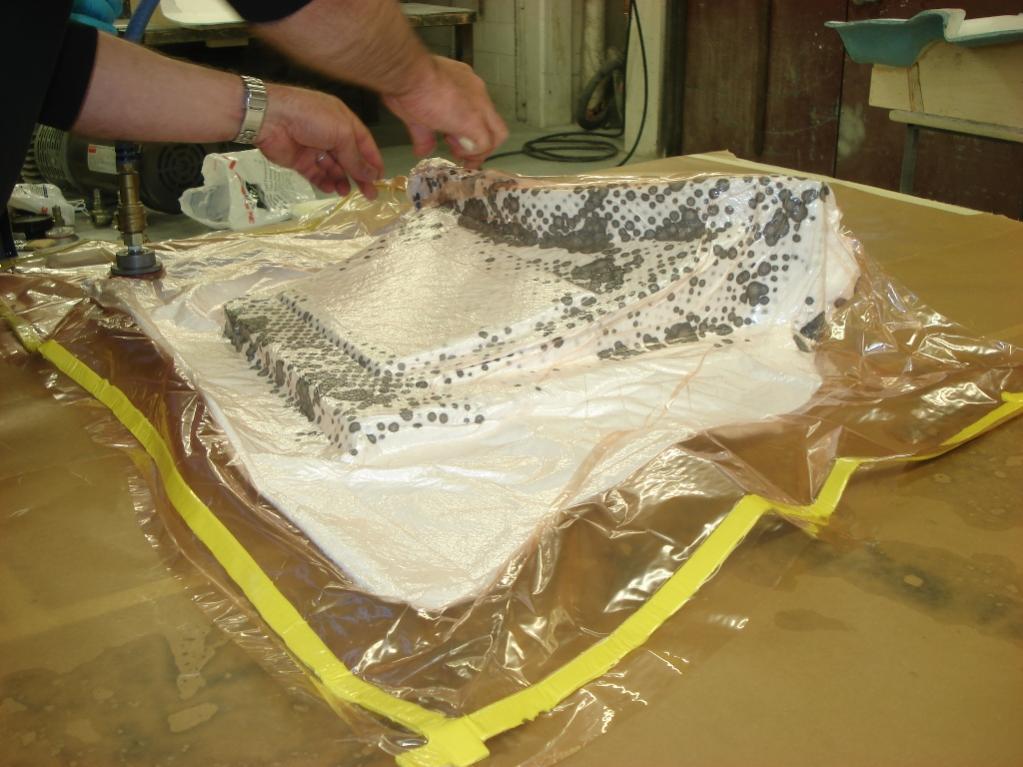
Alright! Second part turned out really good except for the tight corners. Looks like I will have to create a epoxy or gel coat layer to get a smooth surface. Used a lighter weight fiber glass as the first layers to get a better surface without the air bubbles like the first one, it worked, but still need to tweak the process.
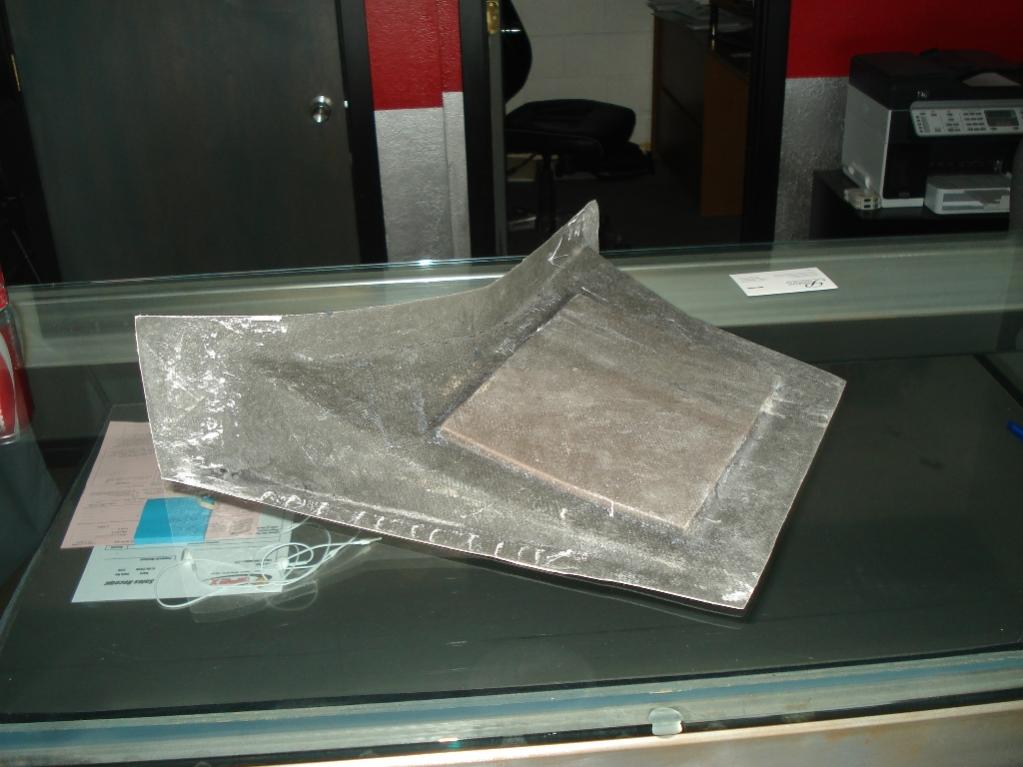
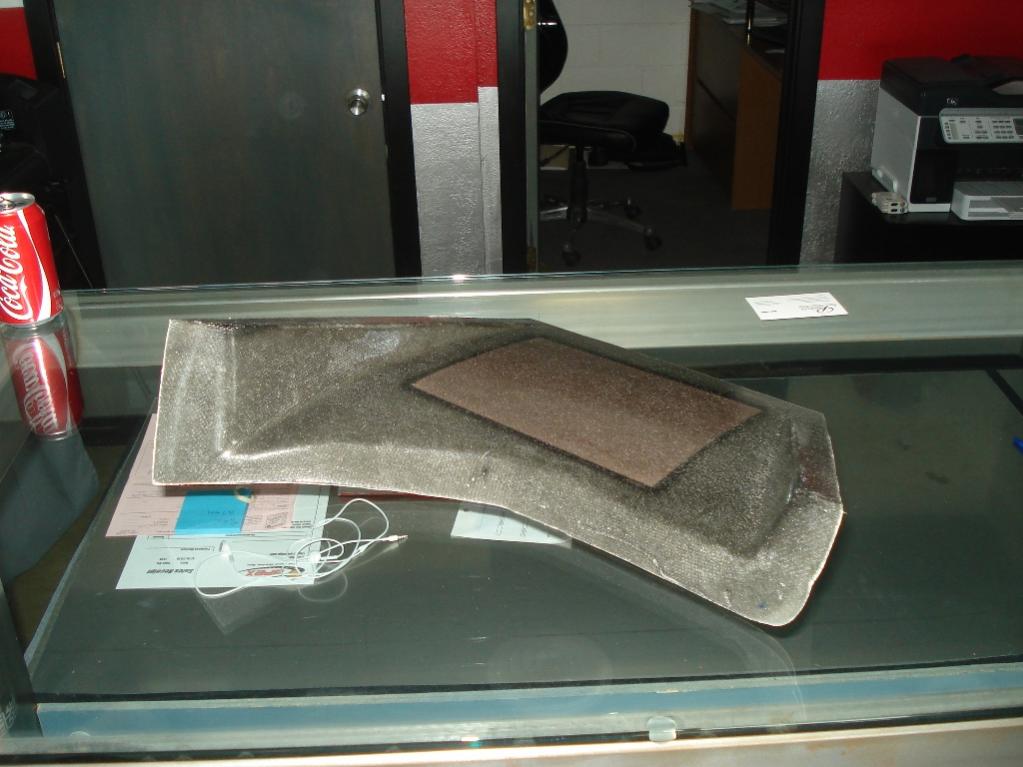
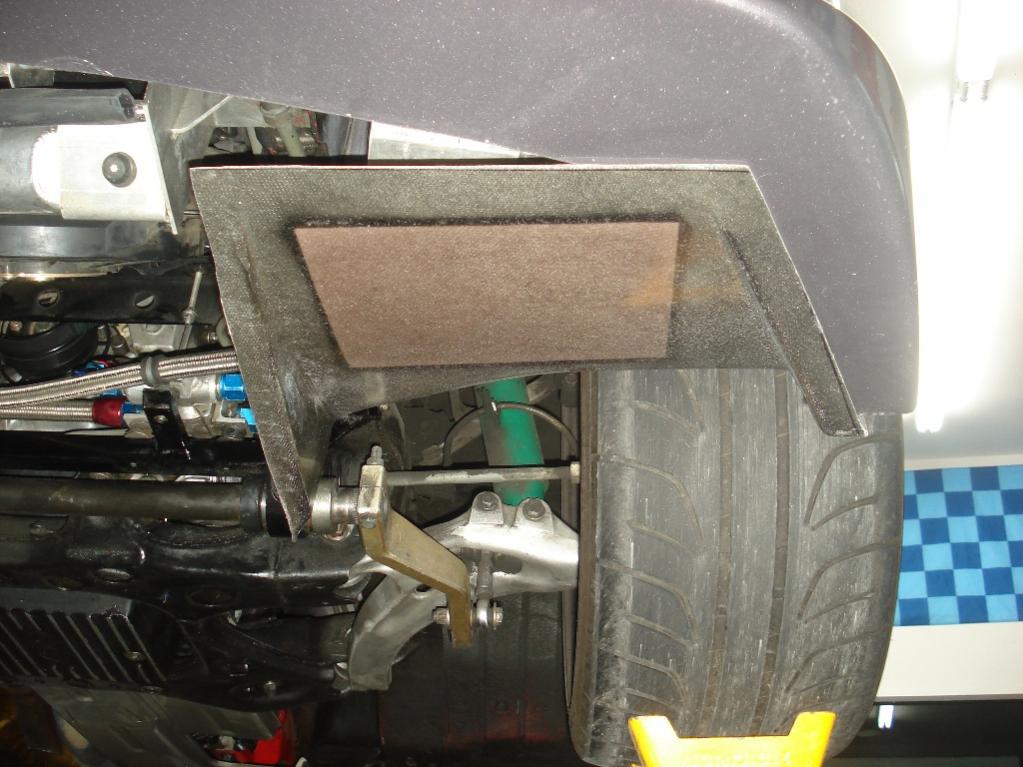
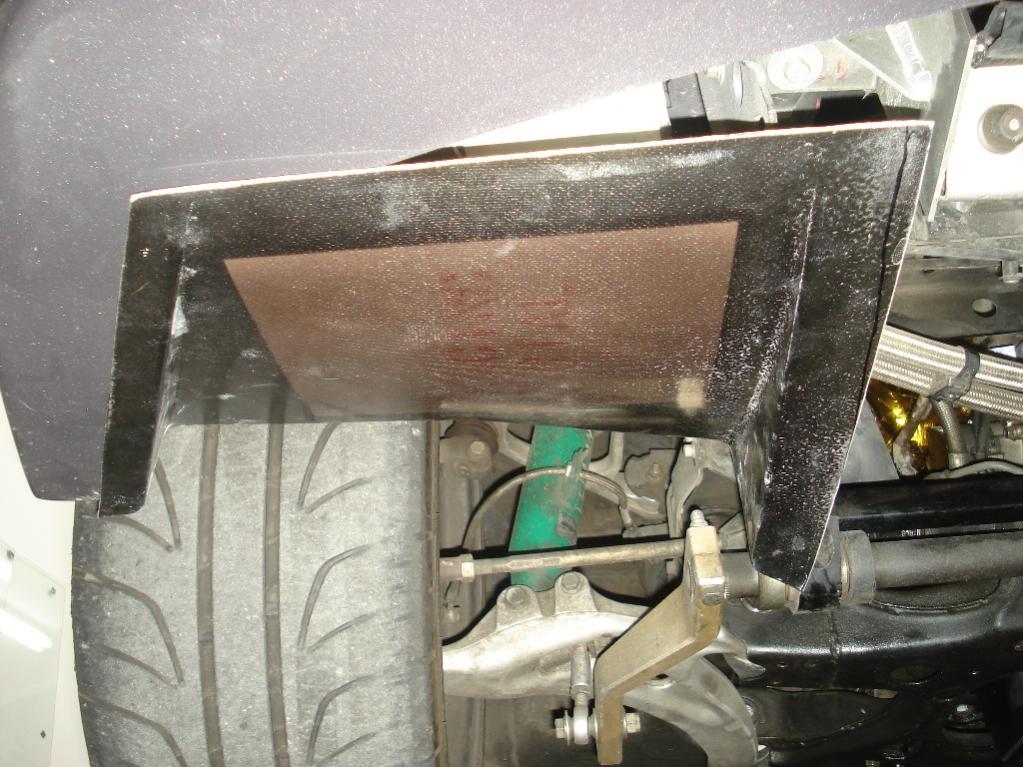
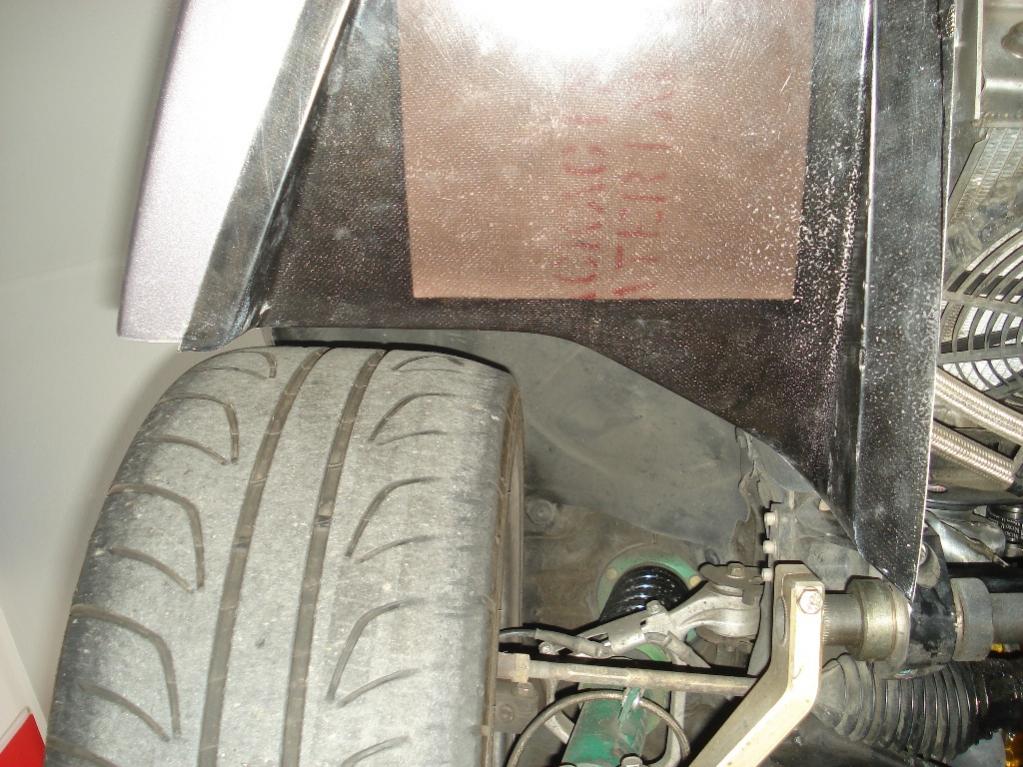
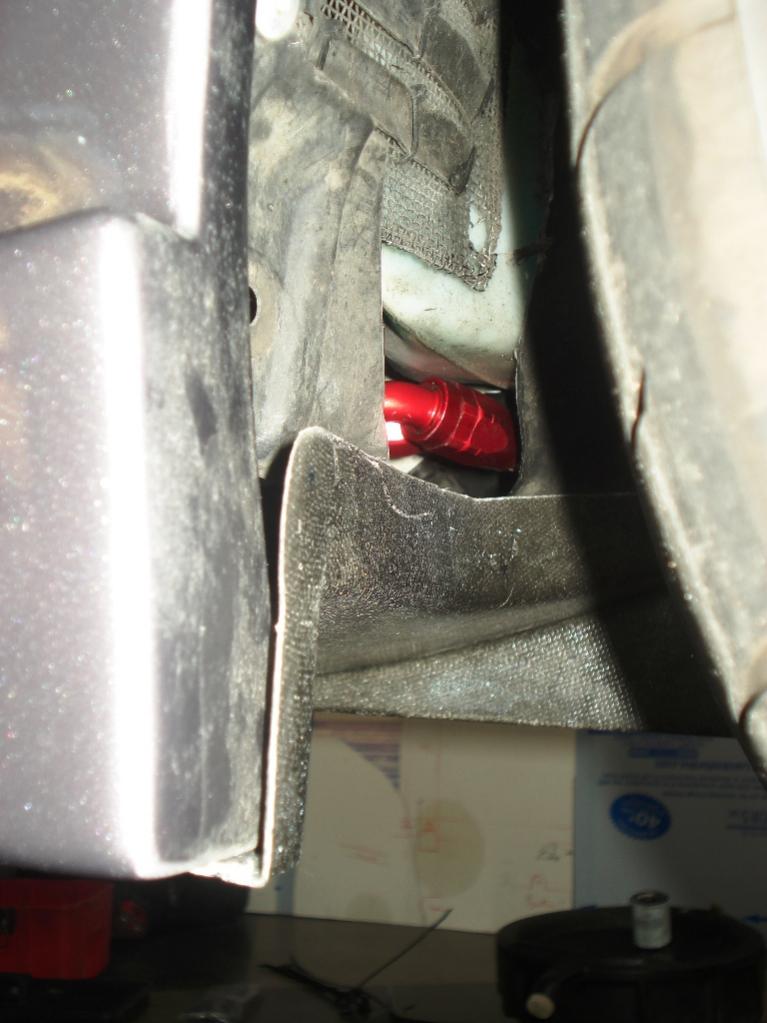
Anyways did a mock up of the diffuser pieces on the car, looks good. May have went to wide considering the swaybar is directly aft of the diffuser, but will do some flow studies to see how it interacts. Will be making fences for it to help keep attached airflow.
Will start on making the splitter piece Monday.
[img][/img]
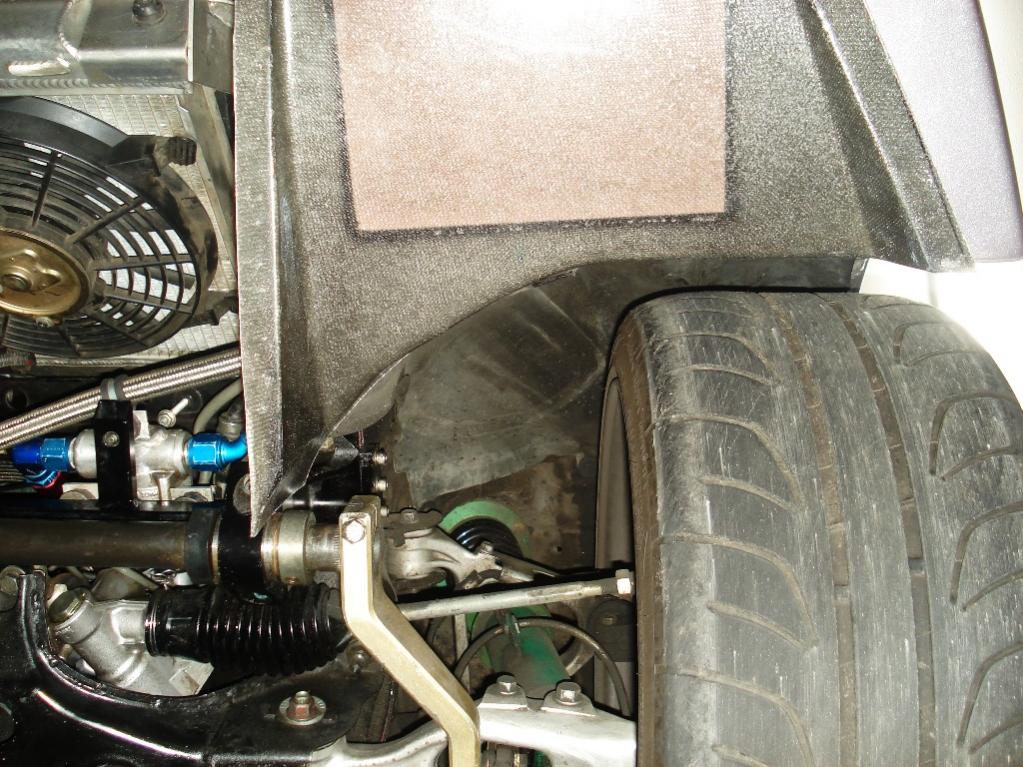
Thread Starter
Joined: Jul 2005
Posts: 2,913
Likes: 4
From: Kingman, AZ
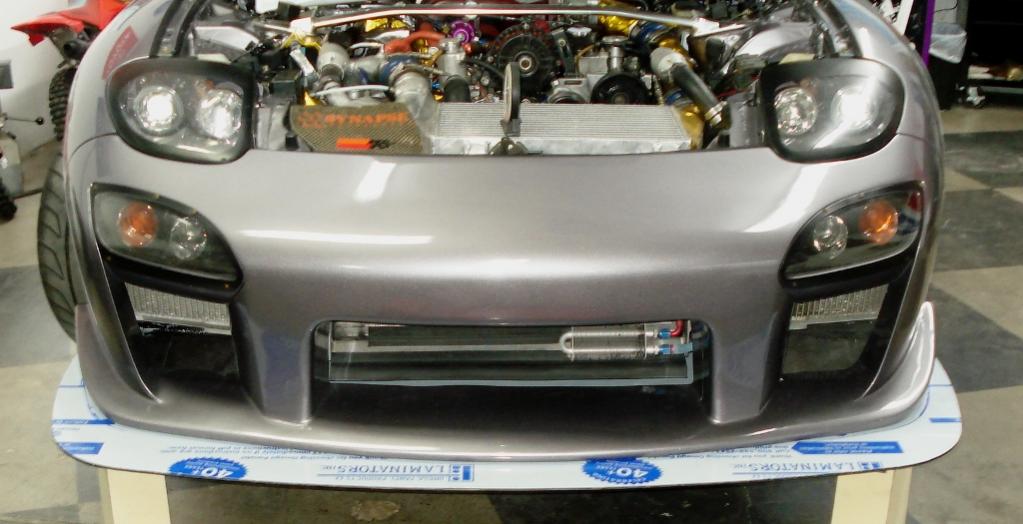
Getting the car prepped for the ORP trackday on the 15th. Looks like I can drop the oil coolers, originally set them up high to clear the diffuser piece, but it looks like I went a little overkill. Will fix than down the road.
Thread Starter
Joined: Jul 2005
Posts: 2,913
Likes: 4
From: Kingman, AZ
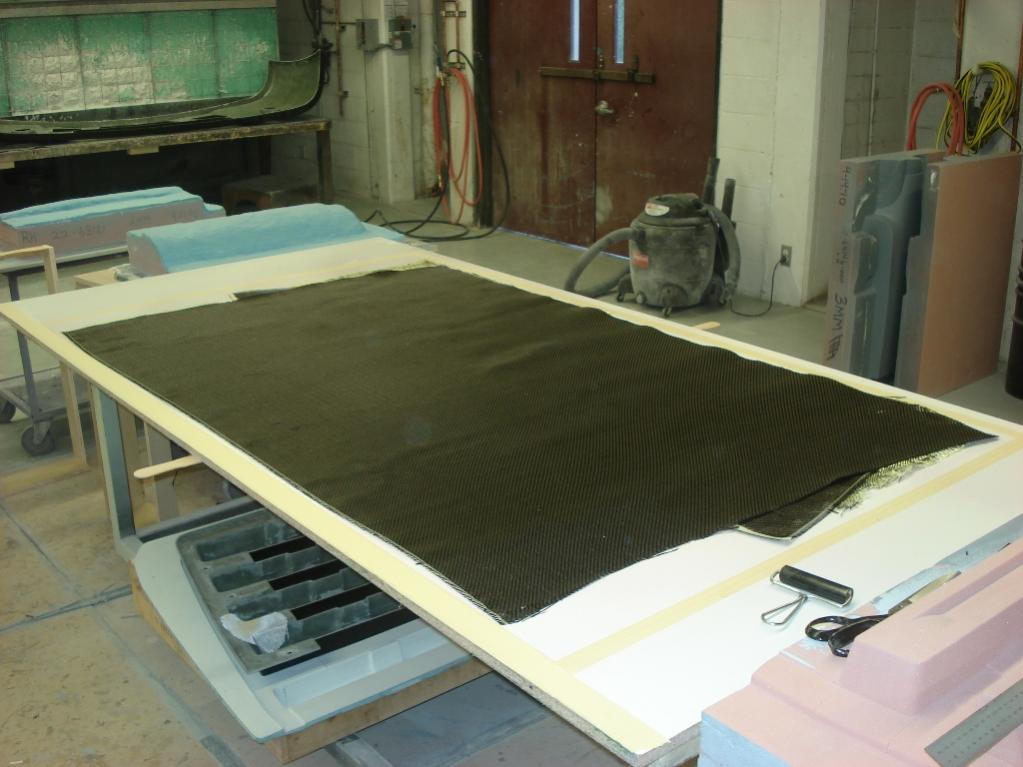
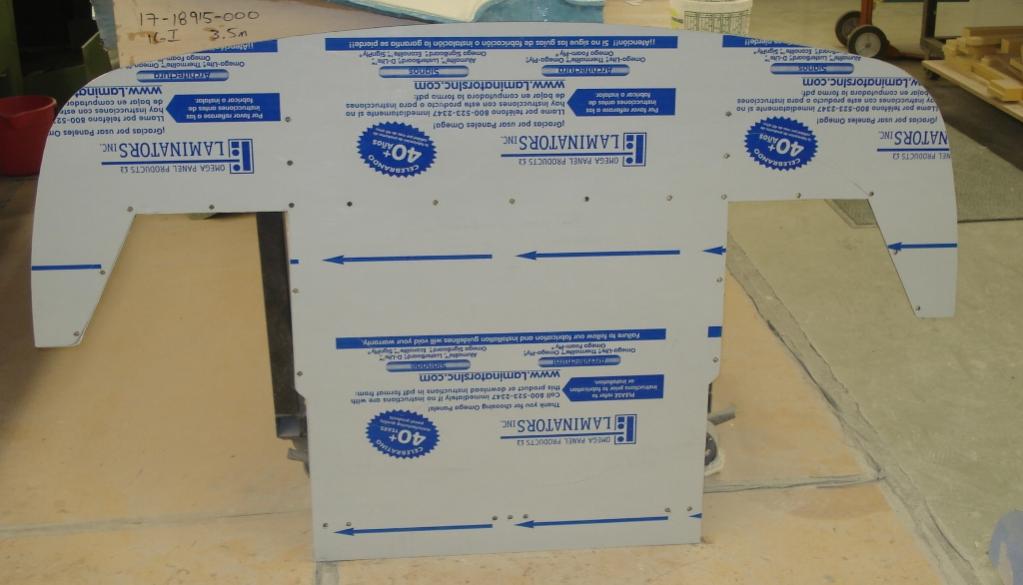
First part of the proto splitter lay up is tonight.
Also having SRC Fabrication laser cut some wing mounts plates for me. http://www.srcfab.com/
Also having SRC Fabrication laser cut some wing mounts plates for me. http://www.srcfab.com/
Thread Starter
Joined: Jul 2005
Posts: 2,913
Likes: 4
From: Kingman, AZ
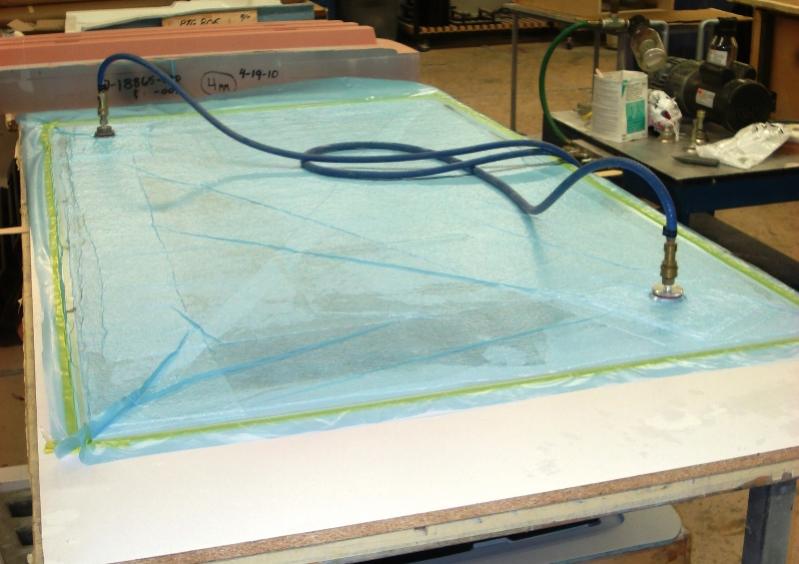
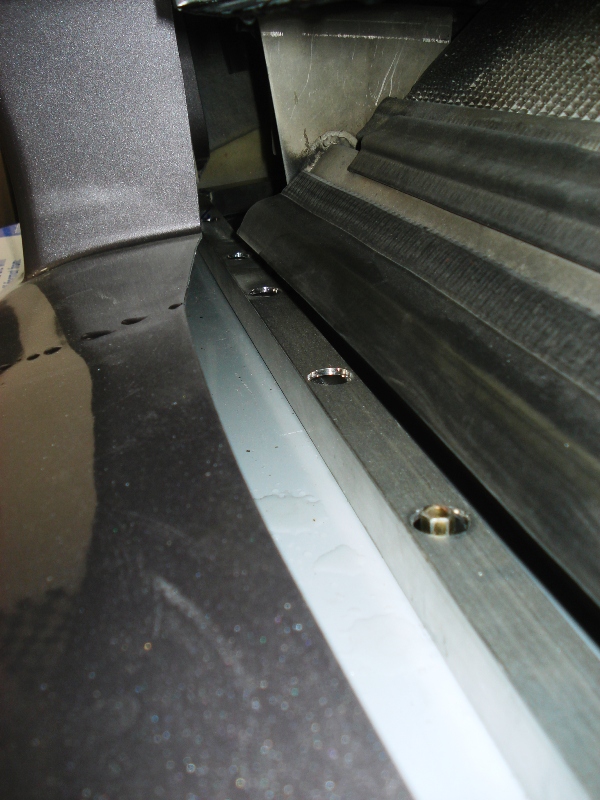
First layer of splitter bagged.
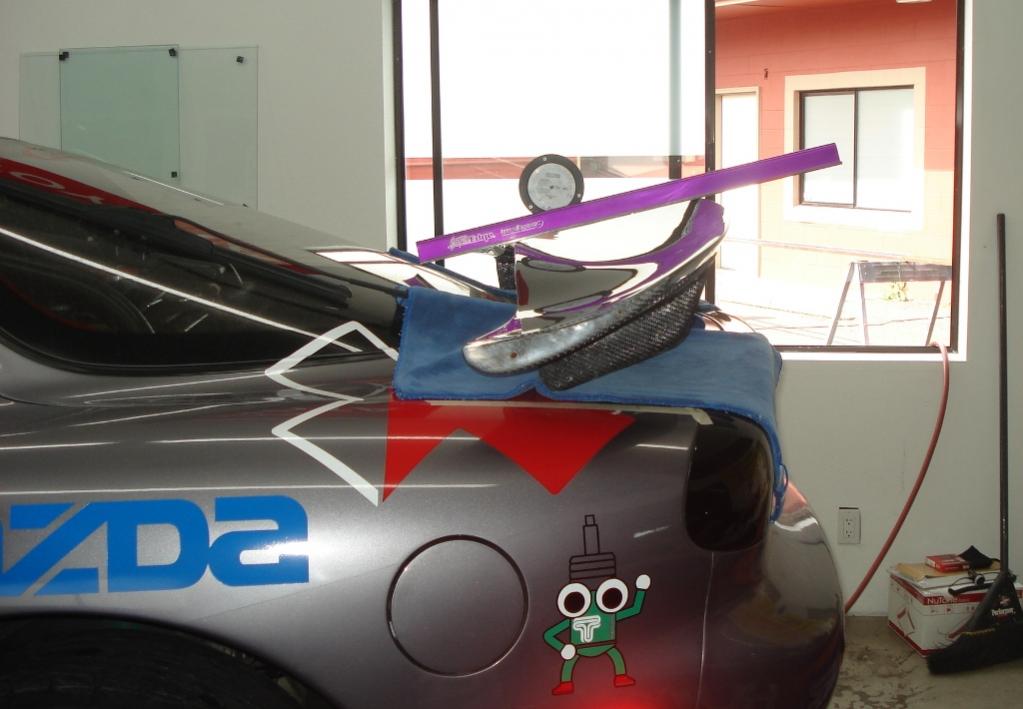
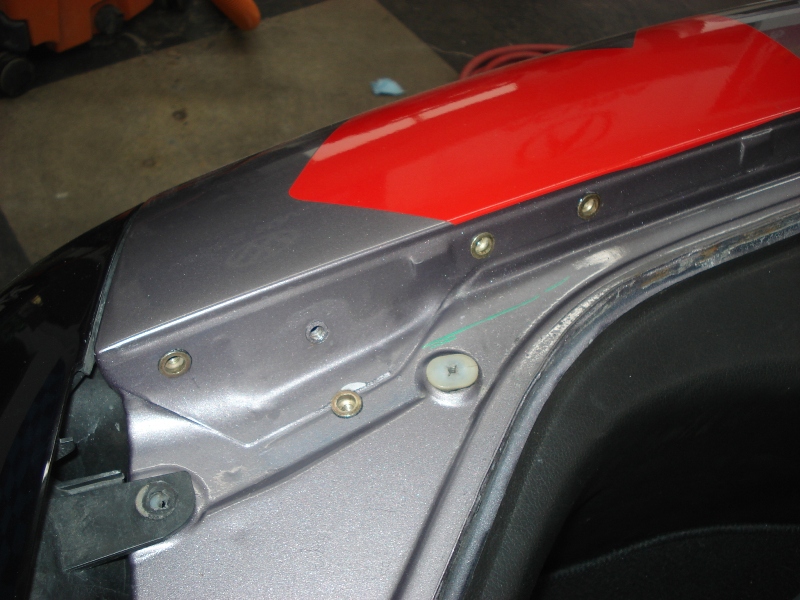
Also here are some wing mock-up photos. Photos show you the spacing in reference to the edge of hatch where the mounts will be.

Also here are some wing mock-up photos. Photos show you the spacing in reference to the edge of hatch where the mounts will be.

Thread Starter
Joined: Jul 2005
Posts: 2,913
Likes: 4
From: Kingman, AZ
For now yes and no, until I get the race car up and runnig.
Agressive wing angle ~12-13 Degrees and 15mm Gurney. Got to make the Gurneys, 10mm and 15mm.
Will also be making a 100mm decklid spoiler that will be bolted to the wing mounts to add to the downforce equation. Nice thing about the decklid flap is it will help promote air flow under the car which will make the diffuser I'm eventually making for effective since I can't go full flat bottom.


Thread Starter
Joined: Jul 2005
Posts: 2,913
Likes: 4
From: Kingman, AZ
Yes, need a few things to get it to work properly though. May break down and just get a new unit if Marc can't find the capacitors that are required for it to run properly. I didn't see you at the BBQ, when were you there?
Went to see a friend in the hospital, he's been there a week now.

Then drove to Olympia to pick up a Kirk Roll Bar.
Would have liked an M2 or Raceshop, but they are hard to find and when found, not everyone is willing to ship.
The Kirk was a good price at $250, should be fairly easy to install.
Thread Starter
Joined: Jul 2005
Posts: 2,913
Likes: 4
From: Kingman, AZ
Sorry for your friend. Yeah, the Raceshop and M2 bars are hard to come by.
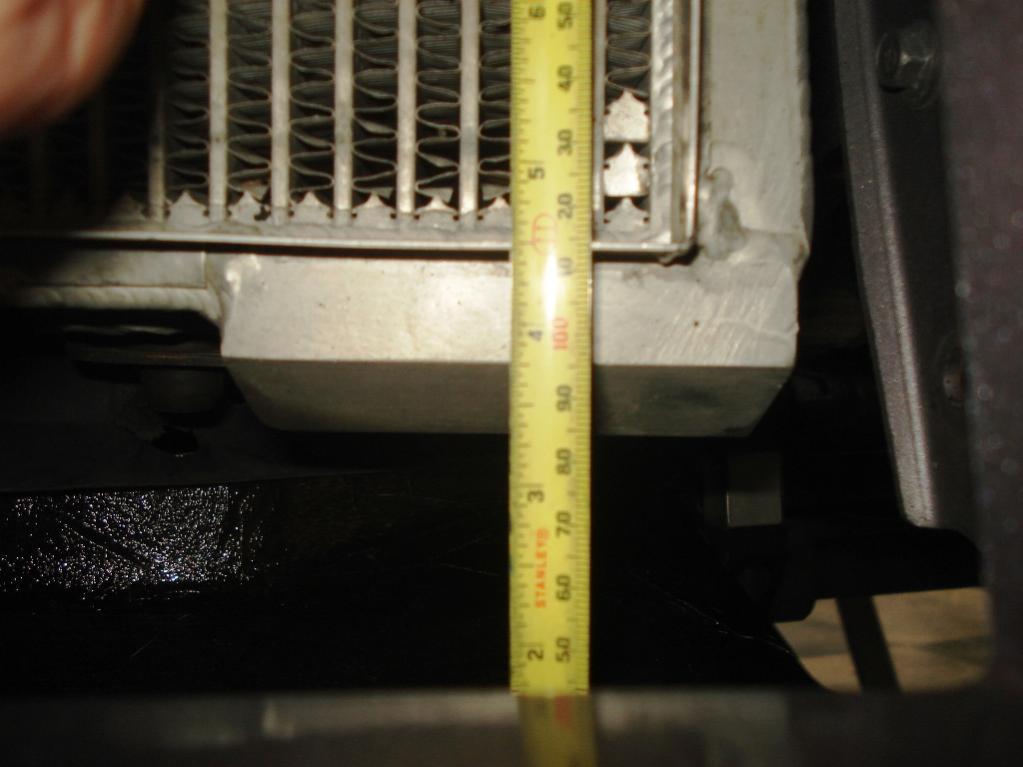
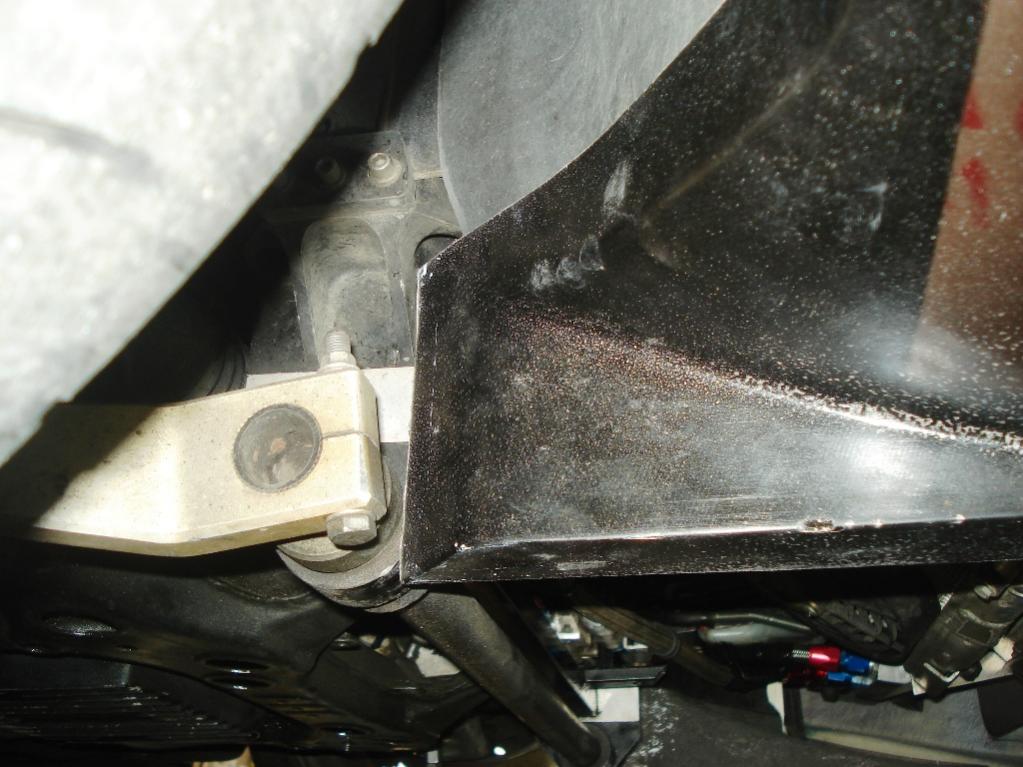
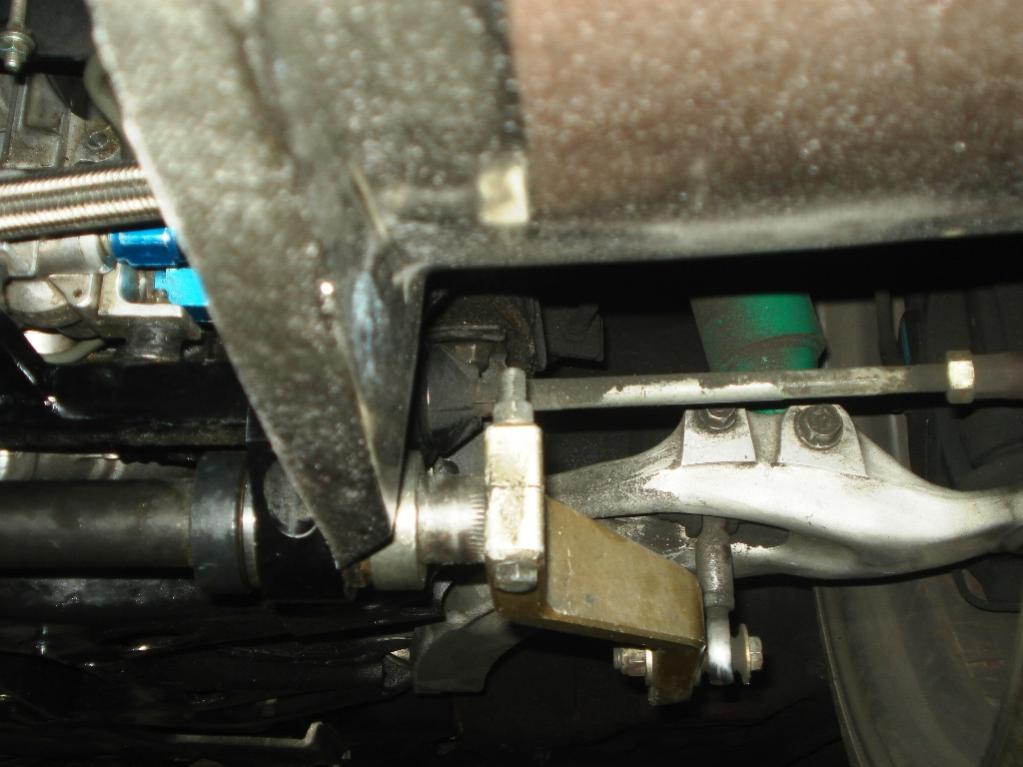
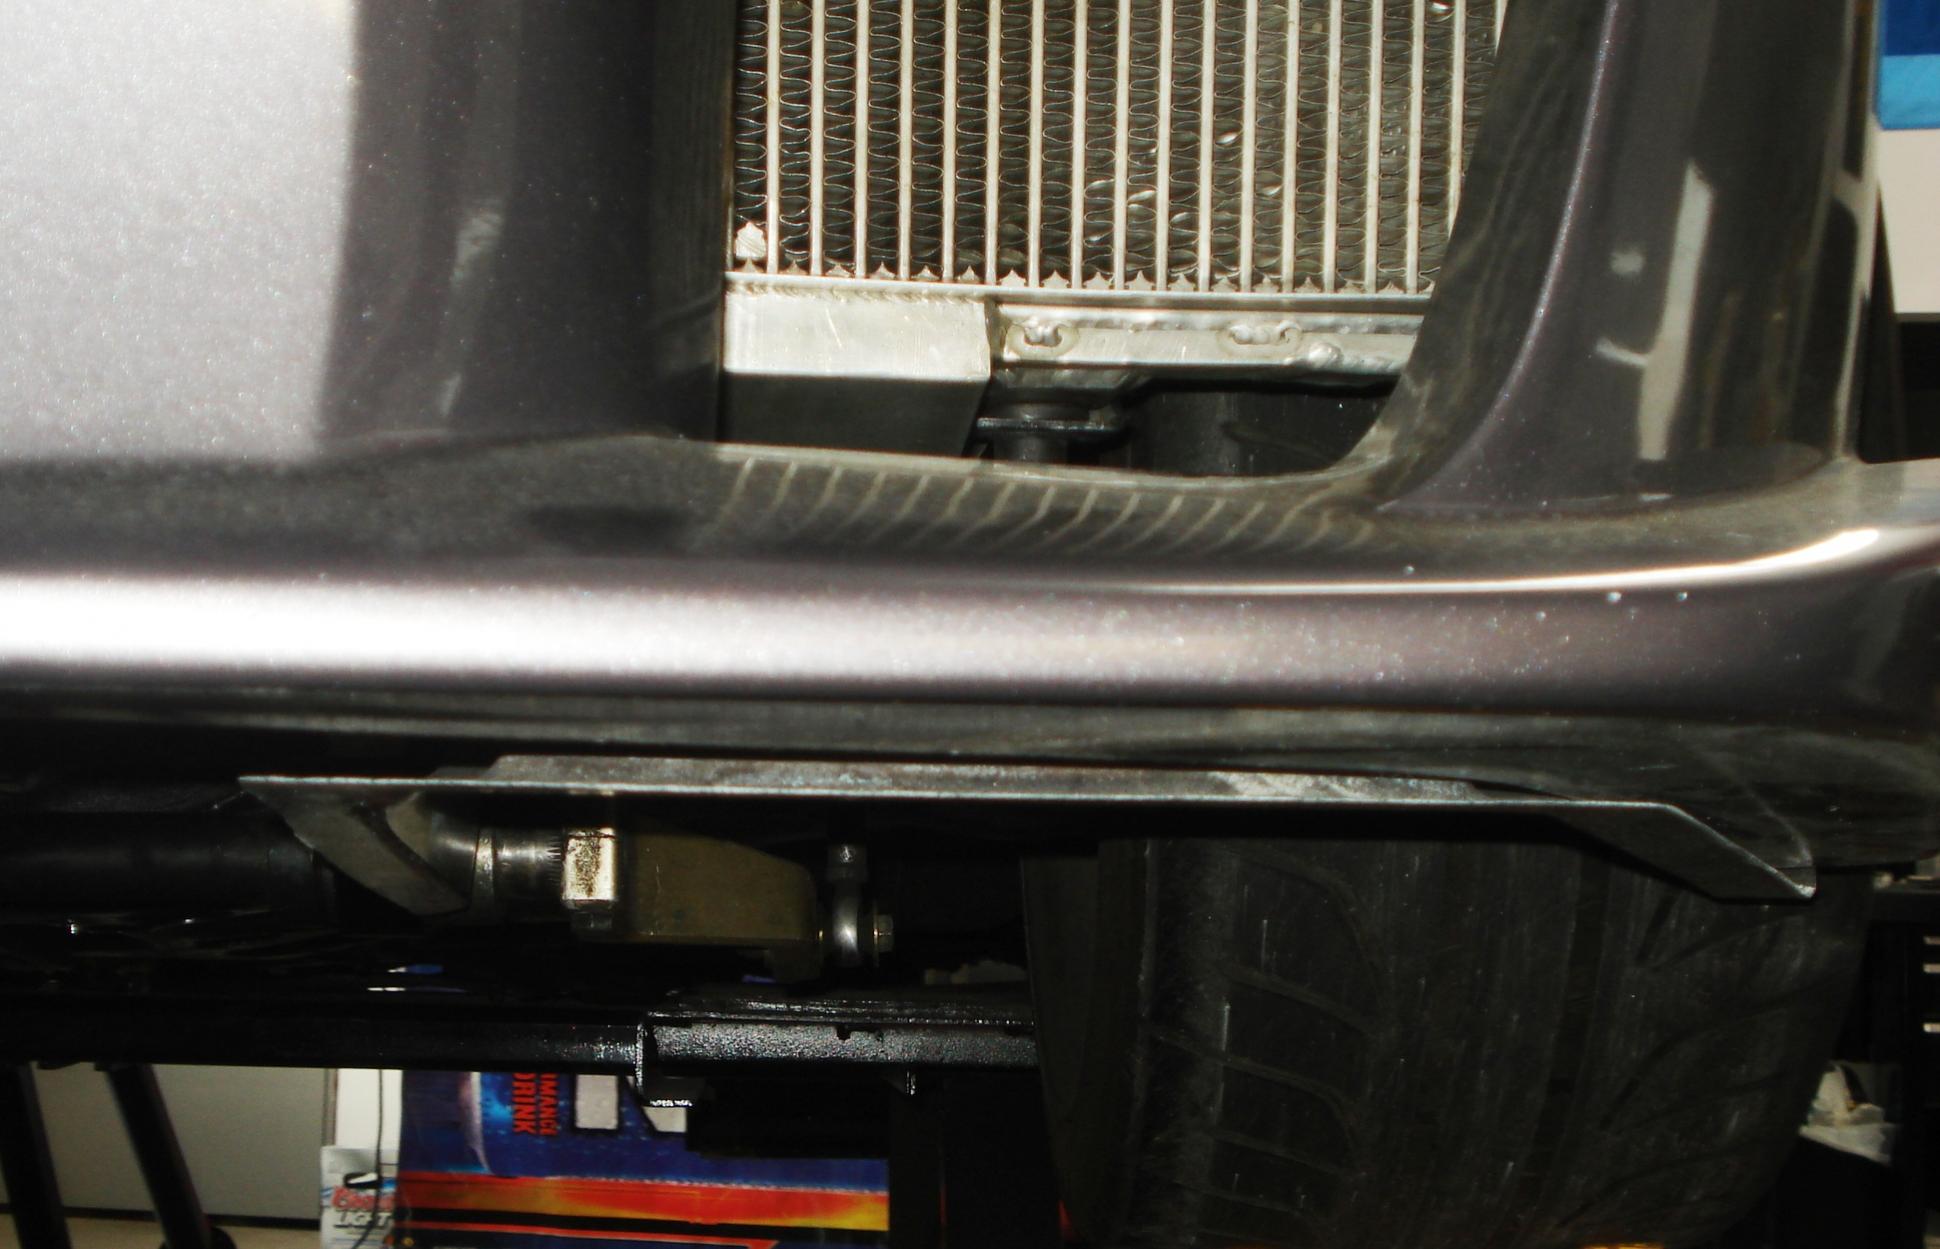
Made some more modifications to the alumacore splitter to clear the swaybar mounts and shorten it to be at the cenerline of the front axles. Overall it looks good. Also in the process of making the aluminum frame mounting. I will be making chasss brackets that will be using the OEM tow hook bolt points.
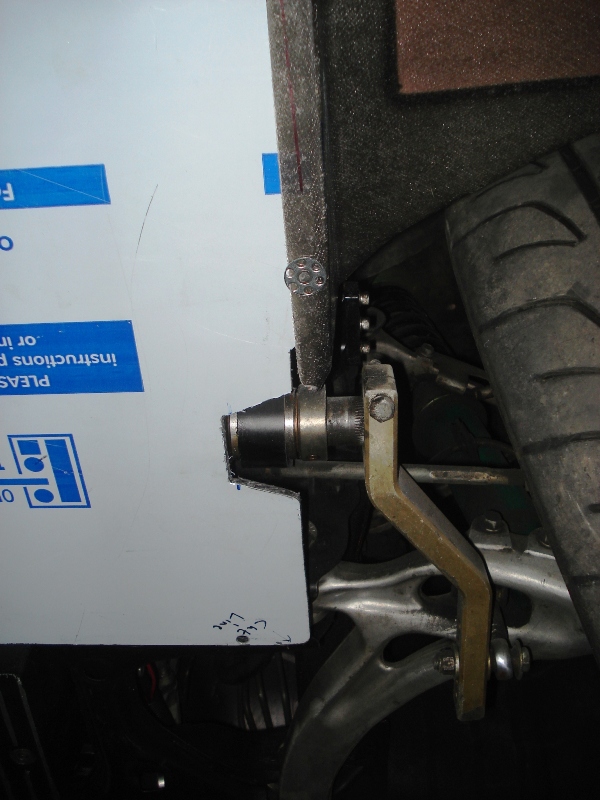
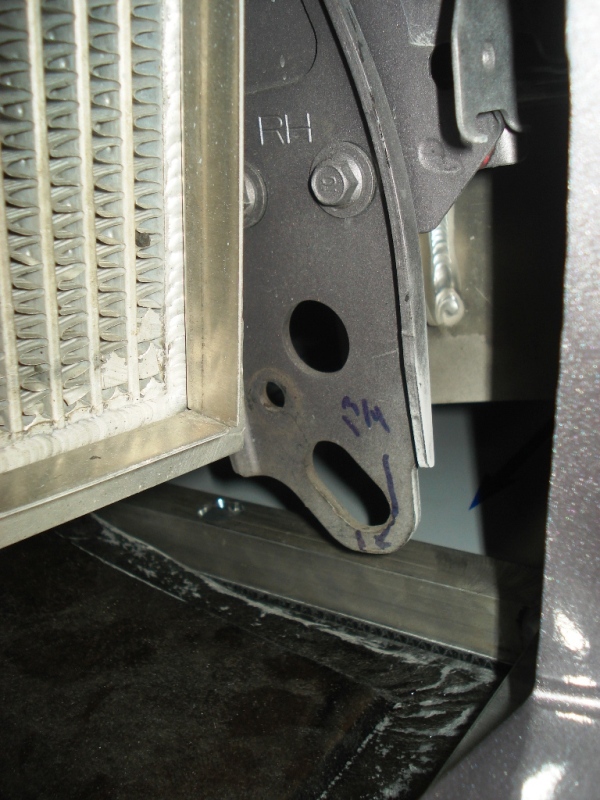
Yeah, the Raceshop and M2 bars are hard to come by.Made some more modifications to the alumacore splitter to clear the swaybar mounts and shorten it to be at the cenerline of the front axles. Overall it looks good. Also in the process of making the aluminum frame mounting. I will be making chasss brackets that will be using the OEM tow hook bolt points.

Adam, The work that you have put into this car is amazing! Truley Inspiring! I love it.
I feels more than just Slapping Mods together. it accually feels like it has a purpose! A Hi-Tech Alien looking Purpose, Fantastic Job! It looks amazing.
Your craftsmanship Rocks!
I feels more than just Slapping Mods together. it accually feels like it has a purpose! A Hi-Tech Alien looking Purpose, Fantastic Job! It looks amazing.
Your craftsmanship Rocks!
Thread Starter
Joined: Jul 2005
Posts: 2,913
Likes: 4
From: Kingman, AZ
Thanks man, I guess your saying my car is out of this world, lol.
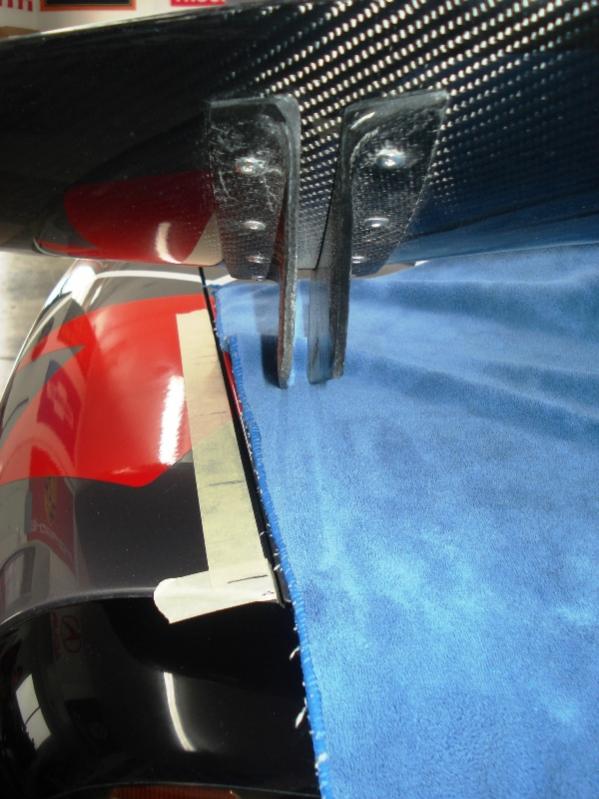
Wing mount closed end nut inserts are in place and epoxied to prevent spinage. Did a mockup of the wing to the new mounts. Need to trim and weld in a base pad on the upper aluminum plates. So far so good.
Doing the second part of the front spitte lay up tonight. Wish me luck on getting a good part out of it.
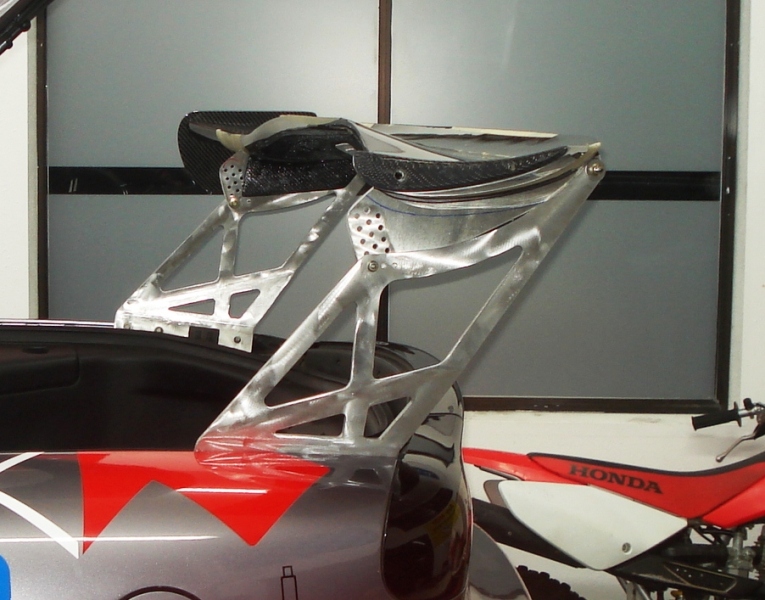
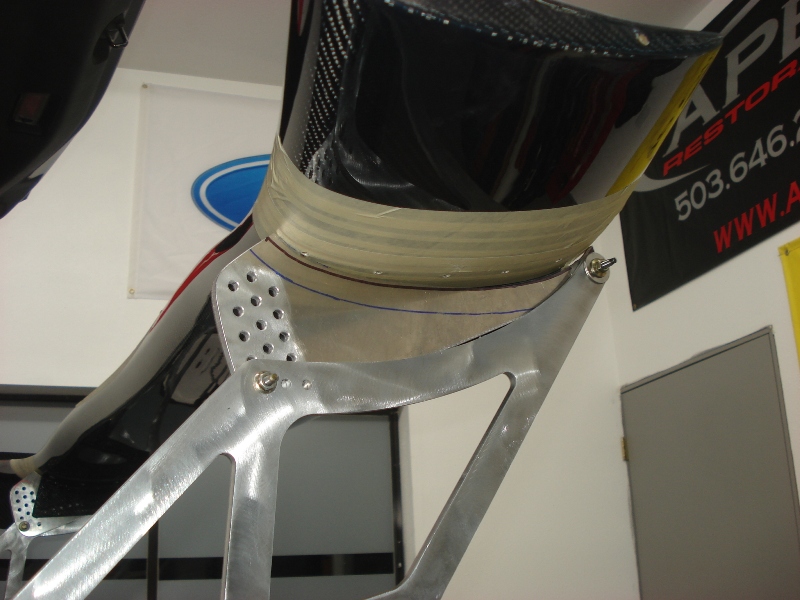
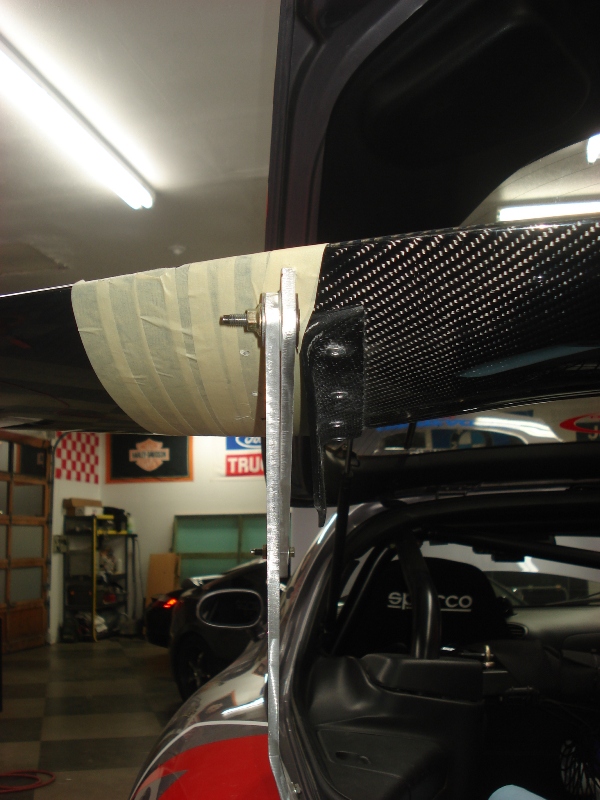
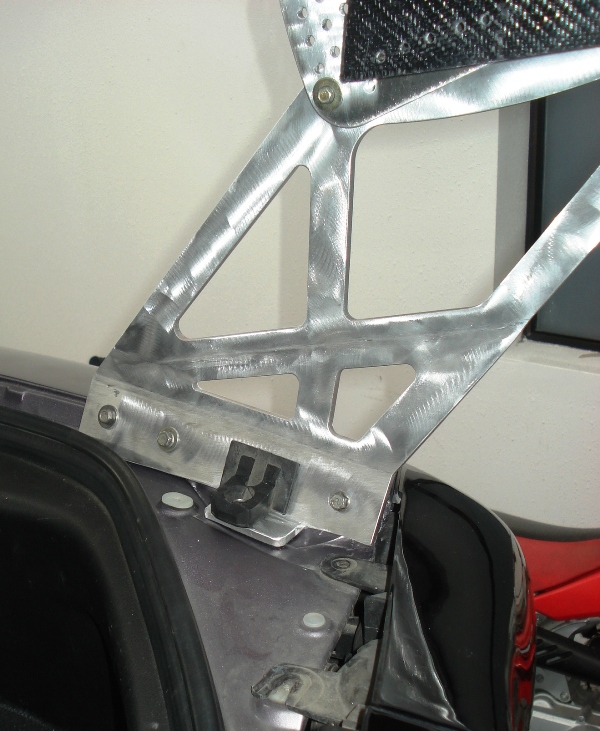