Introduce yourself New members post about yourself here...

New member from Ireland

Thread Tools
 
Search this Thread
 
Old 07-07-12, 01:00 PM
  #176  
Full Member
Thread Starter
 
peggyontherun's Avatar
 
Join Date: Nov 2011
Location: Ireland
Posts: 190
Likes: 0
Received 0 Likes on 0 Posts
Got the drivers side headlight all wired up


Passenger side spagetti junction nearly there another day or so on this side

Old 07-10-12, 08:01 AM
  #177  
Junior Member
 
Mazdaspeed3JHM's Avatar
 
Join Date: Jul 2012
Location: PA
Posts: 7
Likes: 0
Received 0 Likes on 0 Posts
cool to see rx7 fans from everywhere
Old 07-11-12, 01:16 PM
  #178  
Full Member
Thread Starter
 
peggyontherun's Avatar
 
Join Date: Nov 2011
Location: Ireland
Posts: 190
Likes: 0
Received 0 Likes on 0 Posts
Made the passenger side headlight brackets

Headlight in

Headlight in just a few bits to do


Headlight lens nearly in

HID's all working

Old 07-12-12, 01:09 PM
  #179  
Full Member
Thread Starter
 
peggyontherun's Avatar
 
Join Date: Nov 2011
Location: Ireland
Posts: 190
Likes: 0
Received 0 Likes on 0 Posts
Door cut out

A bit of weight added to keep the lens in position

Door cut out just have to finish the sills

Passenger side headlight in

Old 07-12-12, 01:17 PM
  #180  
Junior Member
 
evoxxx's Avatar
 
Join Date: Jul 2012
Location: Markham
Posts: 7
Likes: 0
Received 0 Likes on 0 Posts
what the heck... serious stuff
Old 07-22-12, 04:24 PM
  #181  
Junior Member
 
dmarex's Avatar
 
Join Date: Jan 2012
Location: Dublin, Ireland
Posts: 7
Likes: 0
Received 0 Likes on 0 Posts
Coming along nicely!
Old 07-25-12, 02:40 PM
  #182  
Full Member
Thread Starter
 
peggyontherun's Avatar
 
Join Date: Nov 2011
Location: Ireland
Posts: 190
Likes: 0
Received 0 Likes on 0 Posts
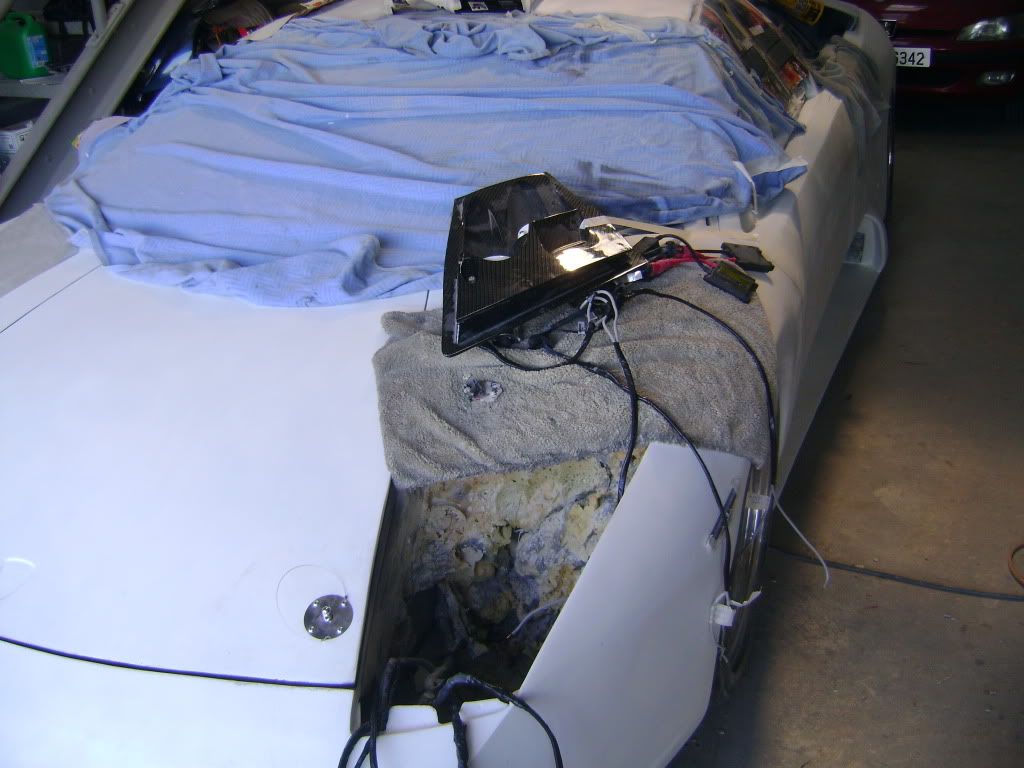
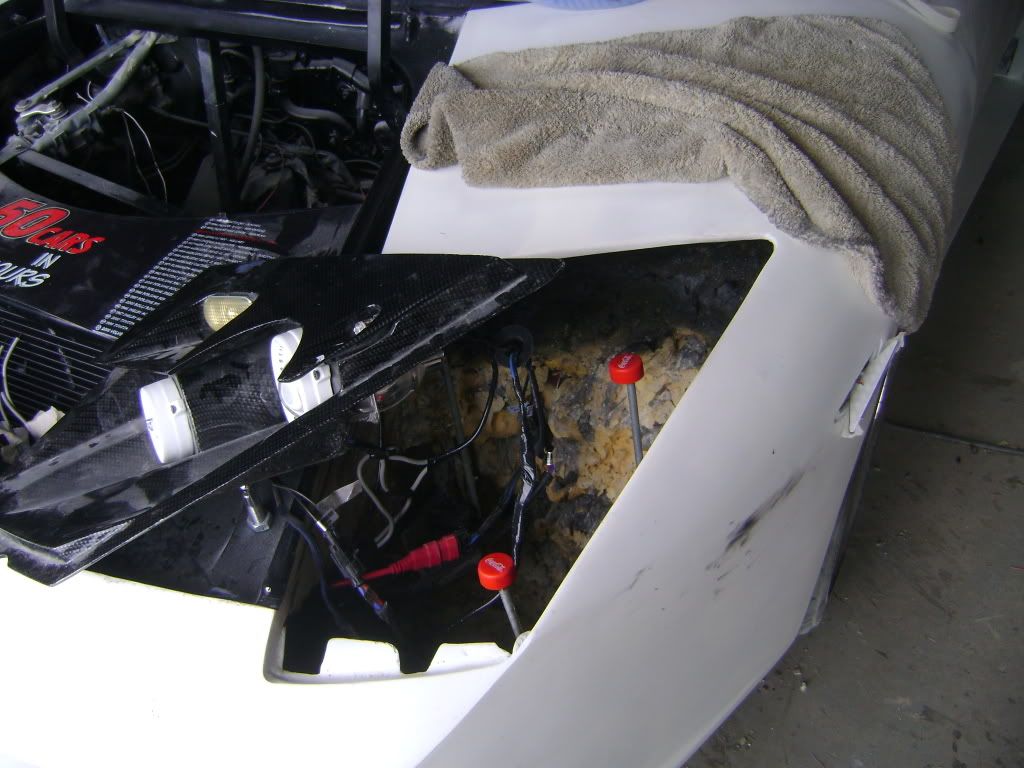
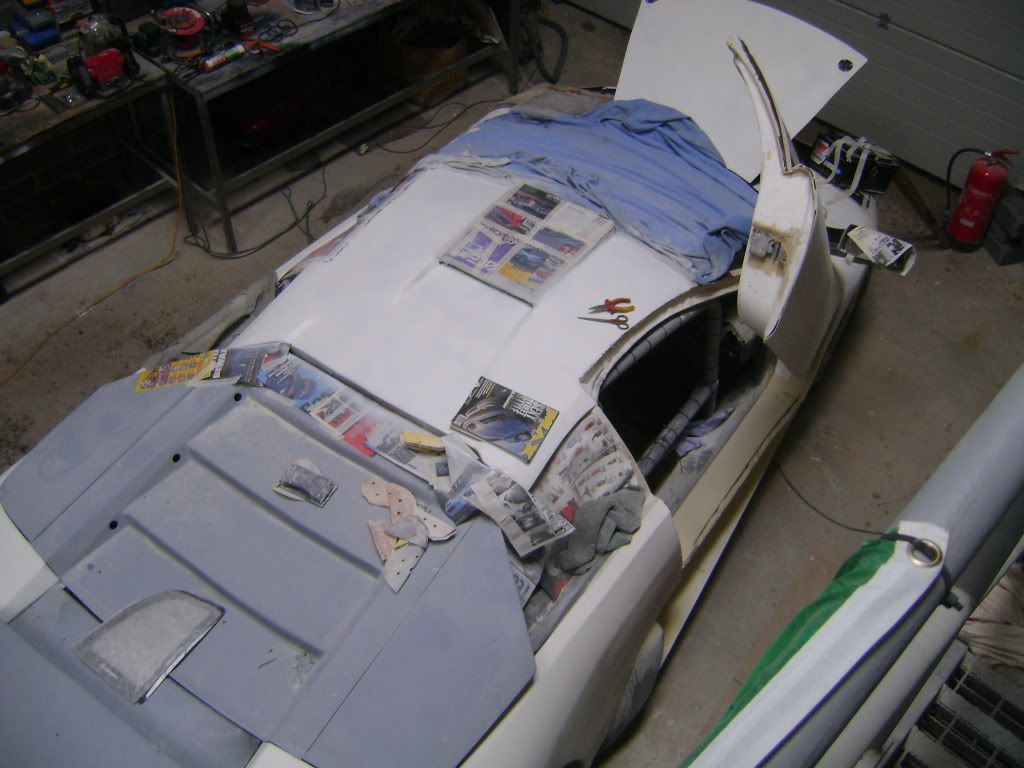
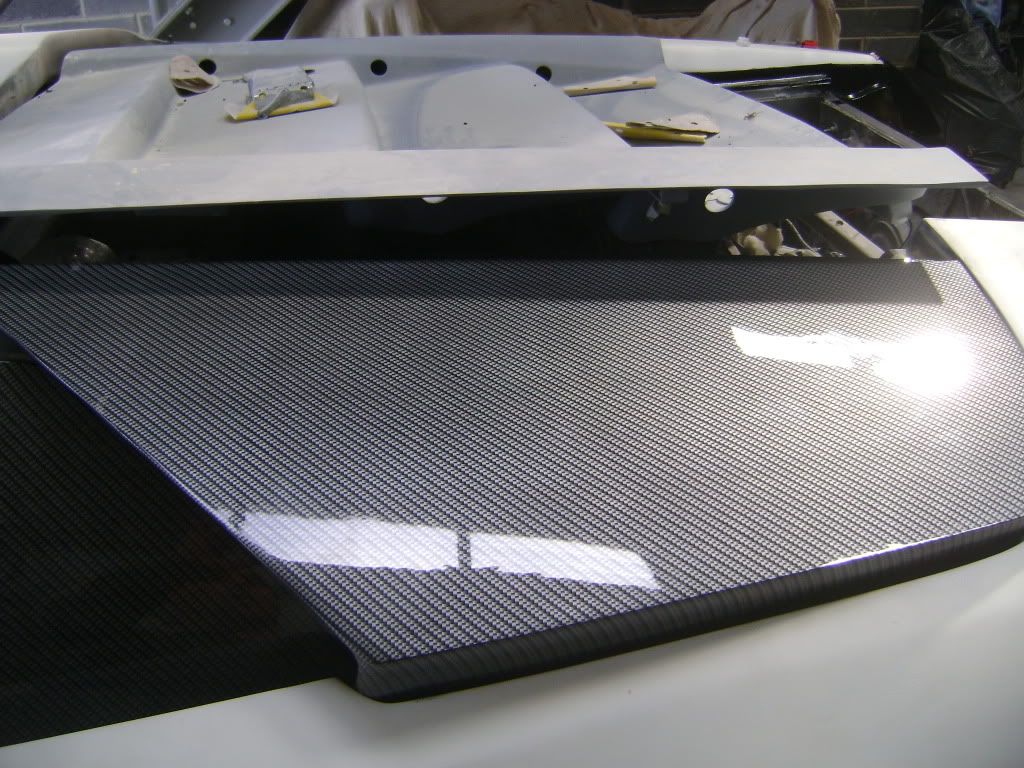
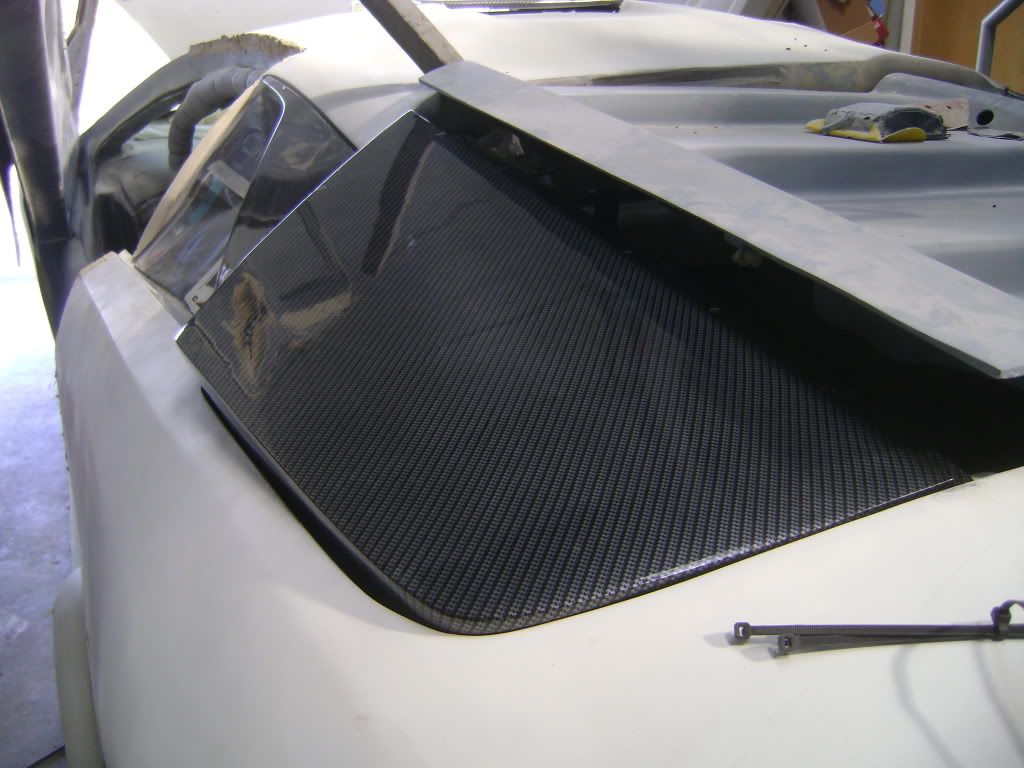
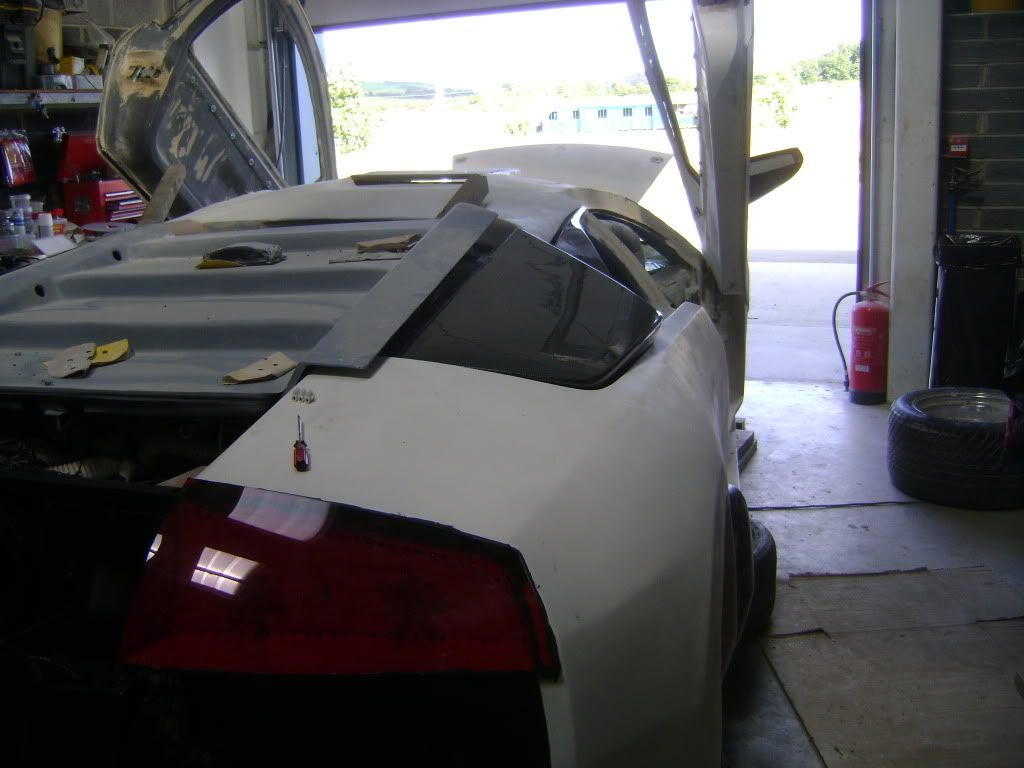
Spent a bit on the rear here it is in primer this was a in a bad way as the fiberglass was very poorly laid up


A few pin hole can only be seen when primer is painted on re-fillered and left to dry
Old 07-28-12, 01:06 PM
  #183  
Full Member
Thread Starter
 
peggyontherun's Avatar
 
Join Date: Nov 2011
Location: Ireland
Posts: 190
Likes: 0
Received 0 Likes on 0 Posts
Got the fake disk cut out i done this all by hand no machines used here

The drill/groove disk look im going for

All primed ready for painting
Old 07-31-12, 02:19 PM
  #184  
Full Member
Thread Starter
 
peggyontherun's Avatar
 
Join Date: Nov 2011
Location: Ireland
Posts: 190
Likes: 0
Received 0 Likes on 0 Posts
Rear disk

Fitted and painted


Polished

Front passenger disk fitted

Drivers side disk fitted

Passenger rear caliper trial fitted

Old 08-02-12, 02:12 PM
  #185  
Full Member
Thread Starter
 
peggyontherun's Avatar
 
Join Date: Nov 2011
Location: Ireland
Posts: 190
Likes: 0
Received 0 Likes on 0 Posts
Got the air scoops back


The disk painted and caliper on


Old 08-02-12, 02:23 PM
  #186  
Junior Member
 
houstonteamer's Avatar
 
Join Date: Oct 2011
Location: San Diego
Posts: 24
Likes: 0
Received 0 Likes on 0 Posts
this is super sweet mn good work!
Old 08-03-12, 12:57 PM
  #187  
Junior Member
 
Krazy's Avatar
 
Join Date: Jul 2012
Location: Ontario
Posts: 5
Likes: 0
Received 0 Likes on 0 Posts
ON

Loving this build, its looks awesome
Old 08-06-12, 02:25 PM
  #188  
Full Member
Thread Starter
 
peggyontherun's Avatar
 
Join Date: Nov 2011
Location: Ireland
Posts: 190
Likes: 0
Received 0 Likes on 0 Posts
Closing panel for the rear lights all hand made

Trial fitted before paint

Carbon air vents

Old 08-16-12, 03:38 AM
  #189  
Full Member
Thread Starter
 
peggyontherun's Avatar
 
Join Date: Nov 2011
Location: Ireland
Posts: 190
Likes: 0
Received 0 Likes on 0 Posts
Sorry i havent been on here much just busy

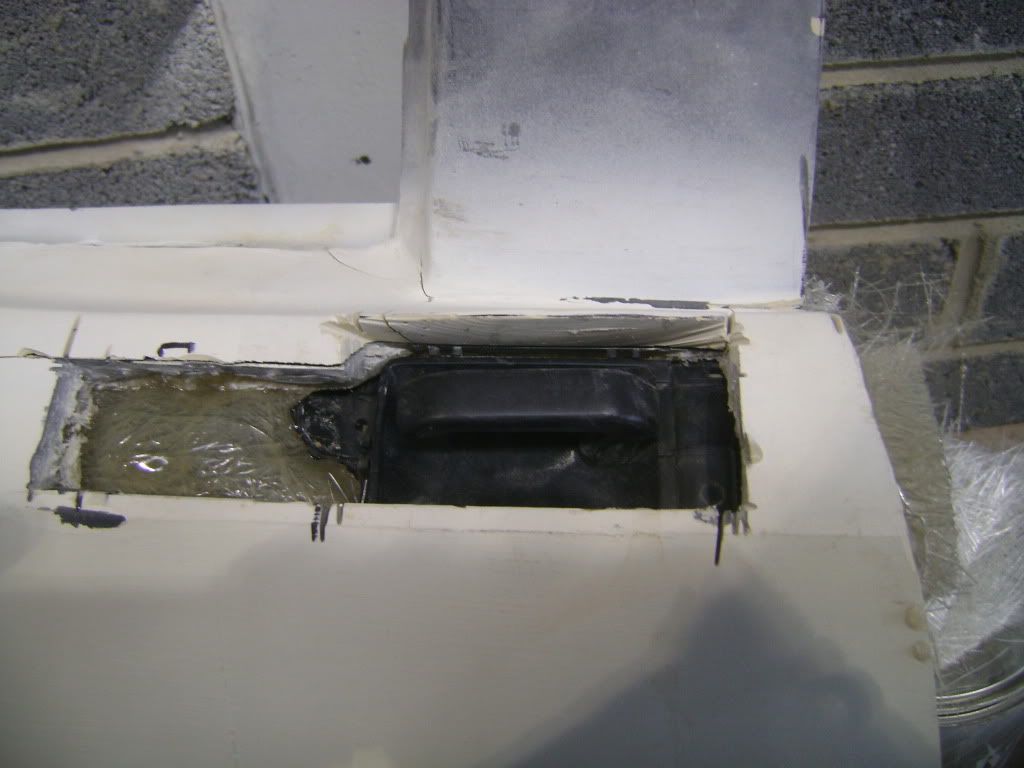
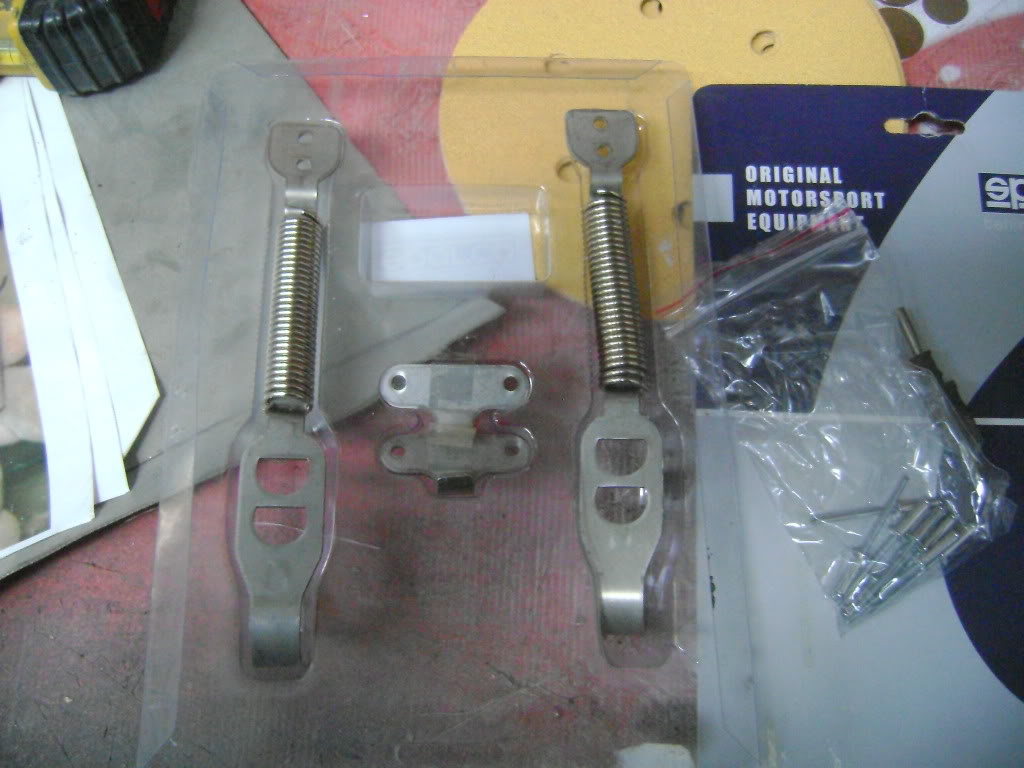
Here is the passenger exterior door handle being fitted

Flat


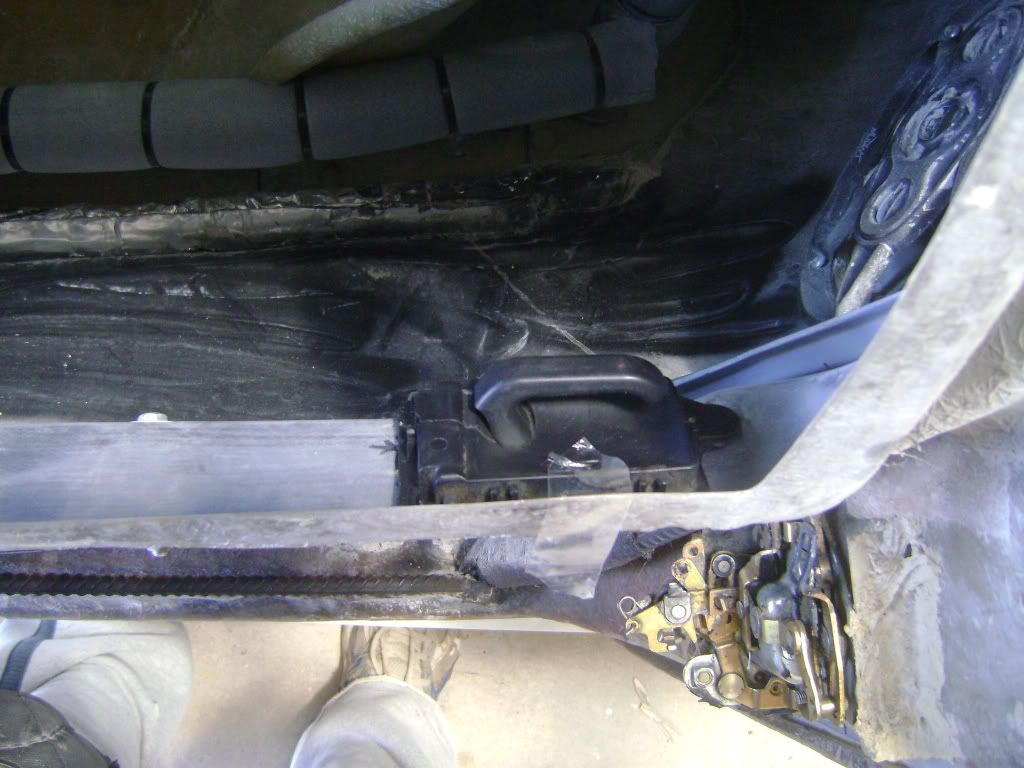
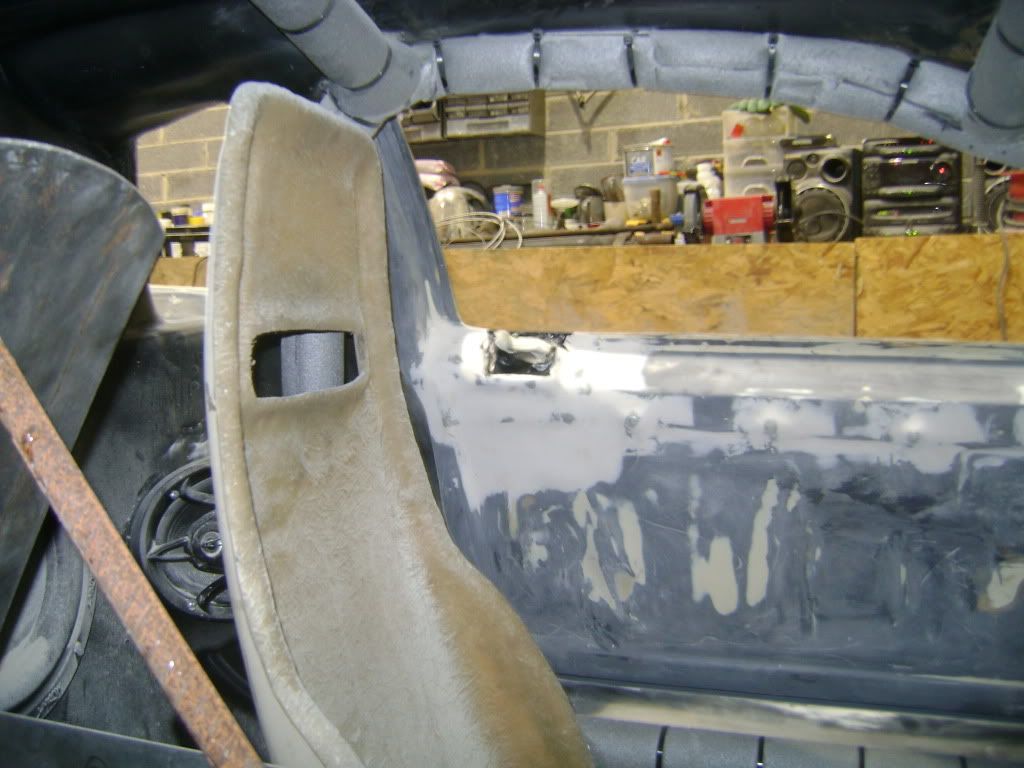
Got the door mechanism working bit of modification to this


This is the angle i have it set at

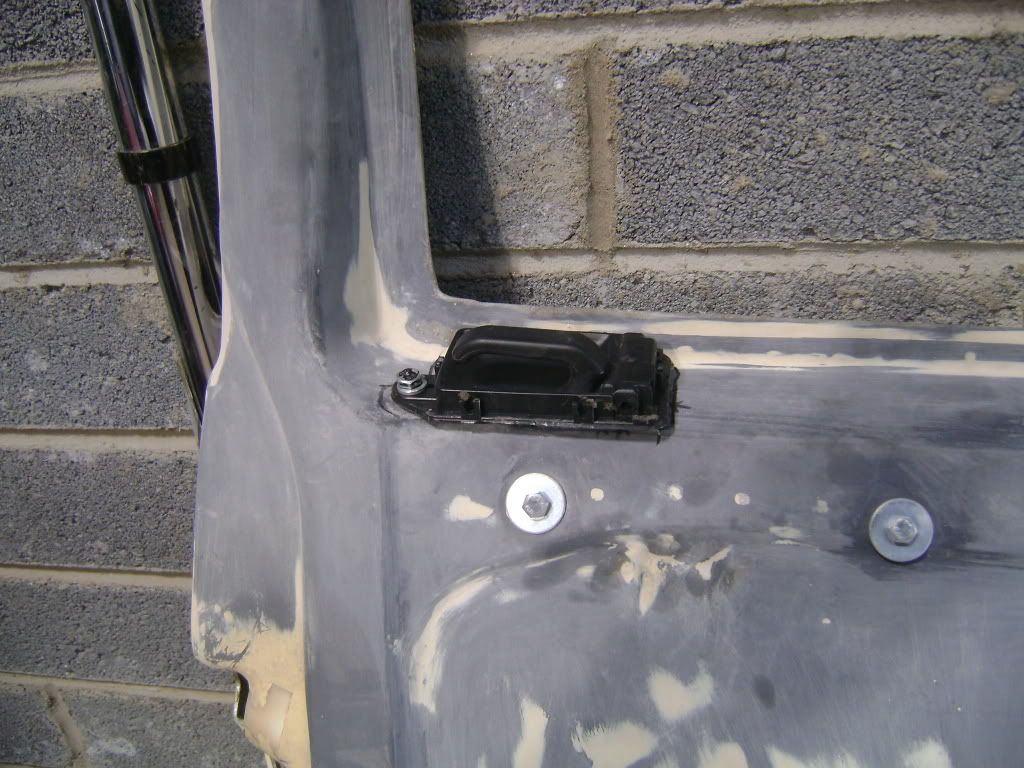
Got these from a scrap yard there from a peugeot 106 there the interior door handles

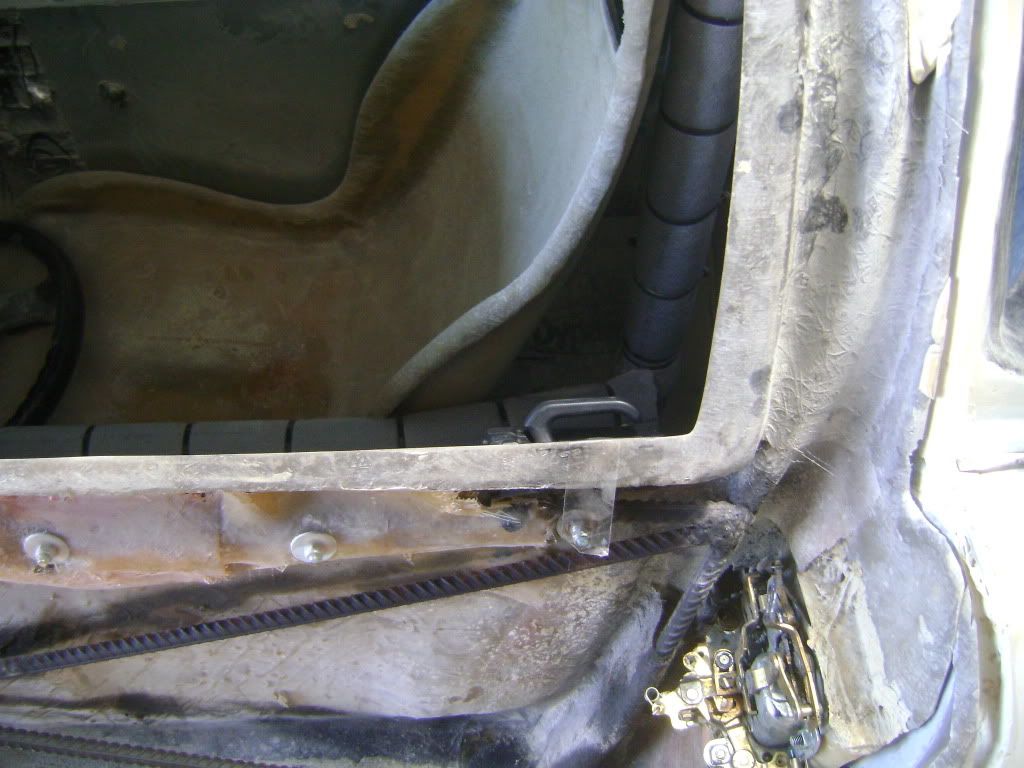
This is where the door handle is going


Old 08-16-12, 04:41 AM
  #190  
Junior Member

 
Phaat's Avatar
 
Join Date: Aug 2012
Location: auckland, NZ
Posts: 13
Likes: 0
Received 0 Likes on 0 Posts
holy crap thats a **** load of work. good luck you have way more patience than me
Old 08-27-12, 02:49 PM
  #191  
Full Member
Thread Starter
 
peggyontherun's Avatar
 
Join Date: Nov 2011
Location: Ireland
Posts: 190
Likes: 0
Received 0 Likes on 0 Posts
Passenger interior handle working

Door closed

Wasnt happy with the lambo handles so i got these

Lambo moved back

Wing mirror on and door getting bonded


Old 09-09-12, 12:24 PM
  #192  
Full Member
Thread Starter
 
peggyontherun's Avatar
 
Join Date: Nov 2011
Location: Ireland
Posts: 190
Likes: 0
Received 0 Likes on 0 Posts
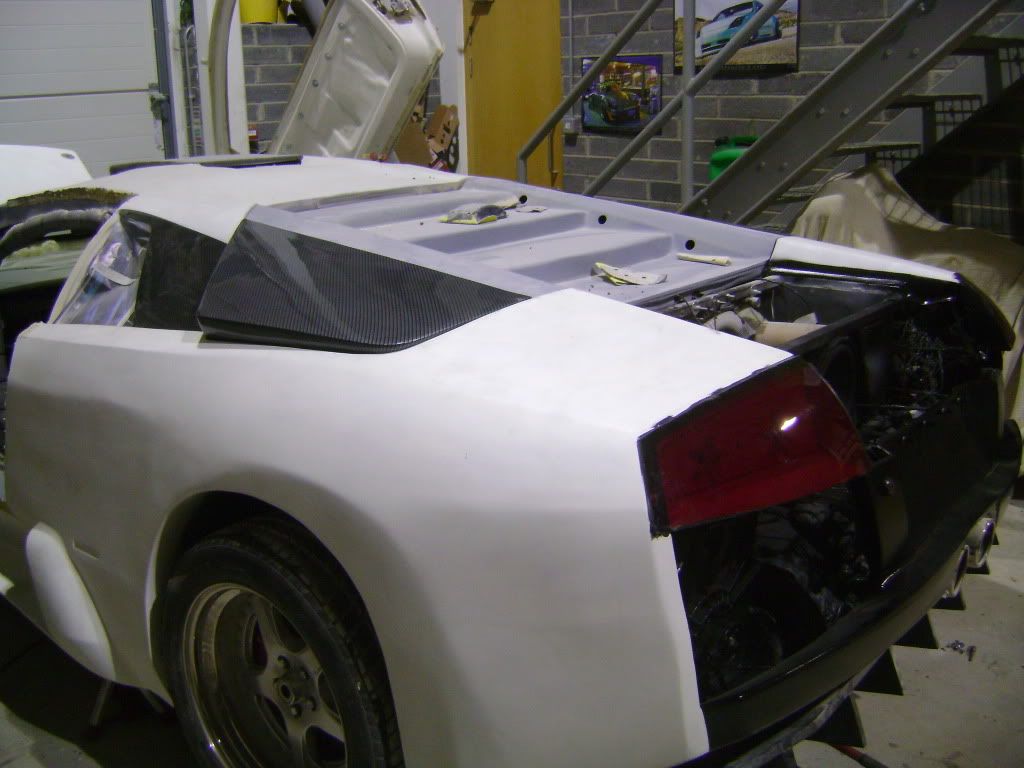
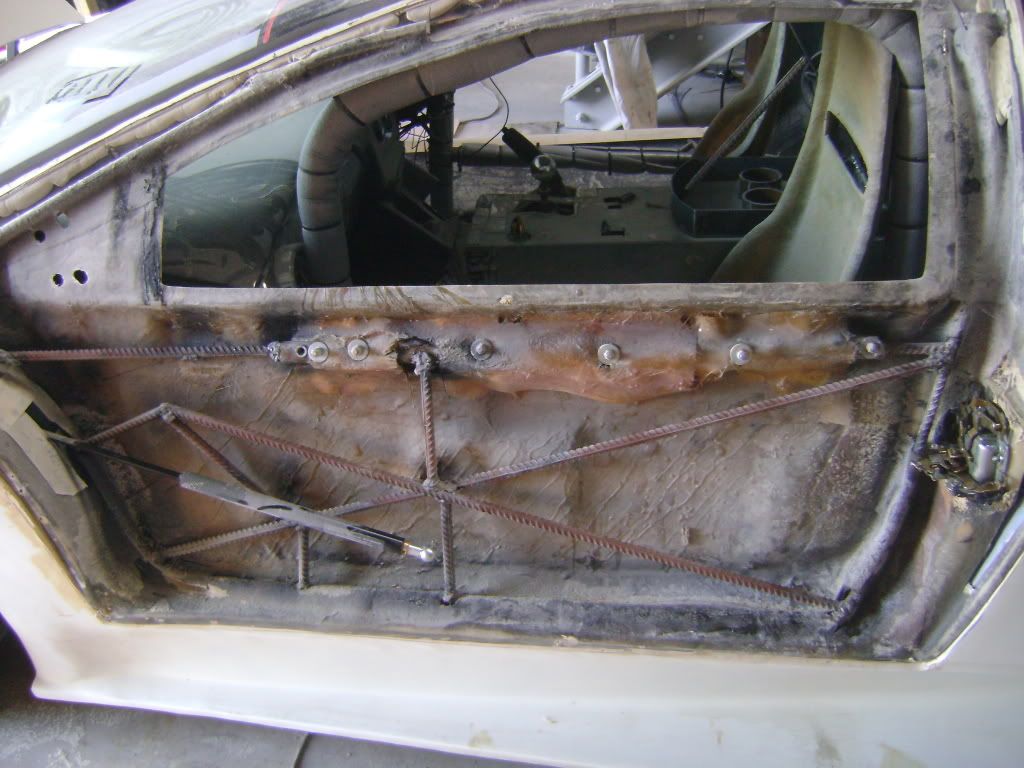
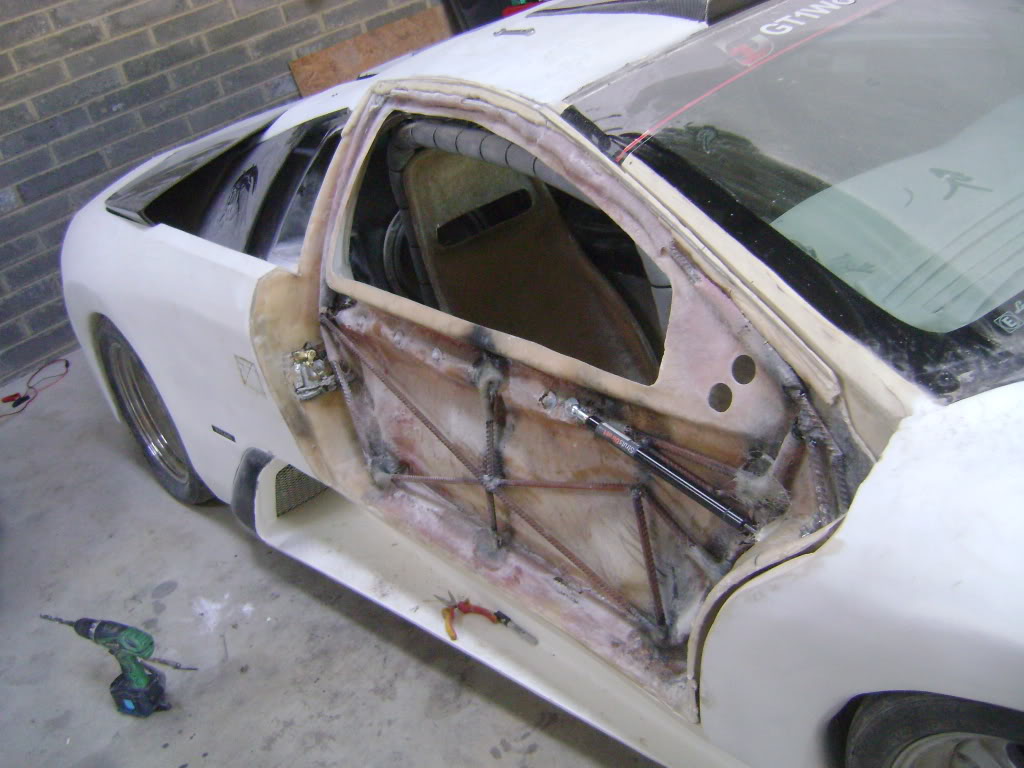
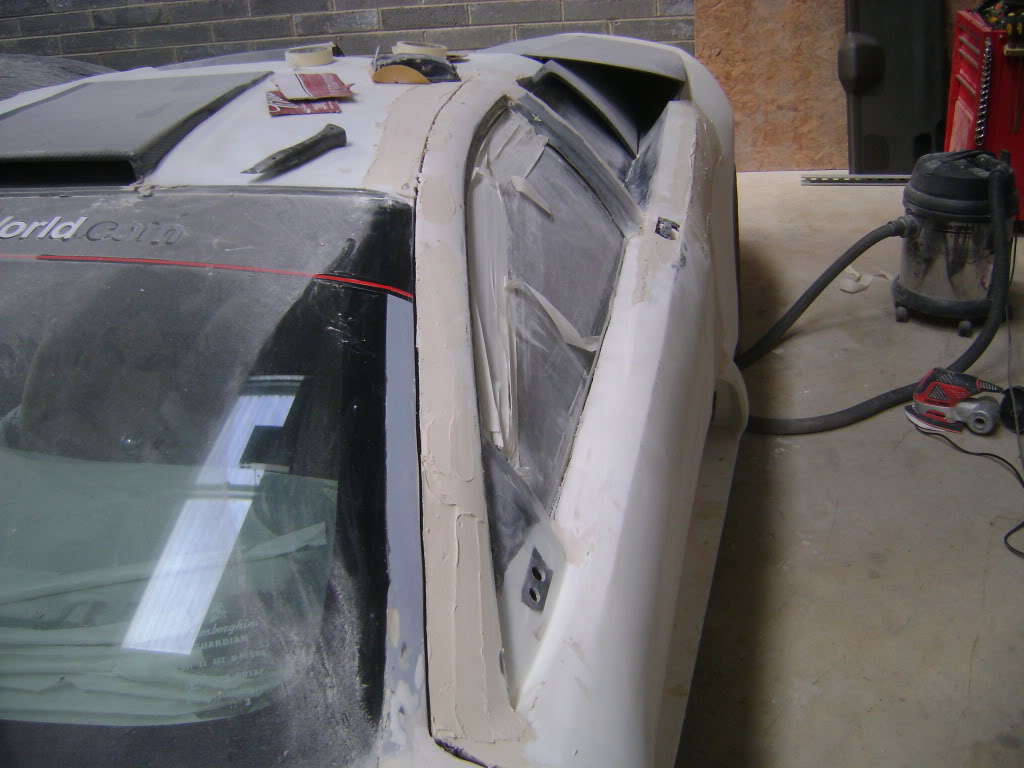
Fiberglassed the inner and outer skin on the passenger side door
Name:  passdooorrrrrr001.jpg
Views: 23
Size:  102.7 KB
Fiberglassed the hole where the gas ram goes
Name:  passdooorrrrrr002.jpg
Views: 20
Size:  106.6 KB
Door lock and catch working

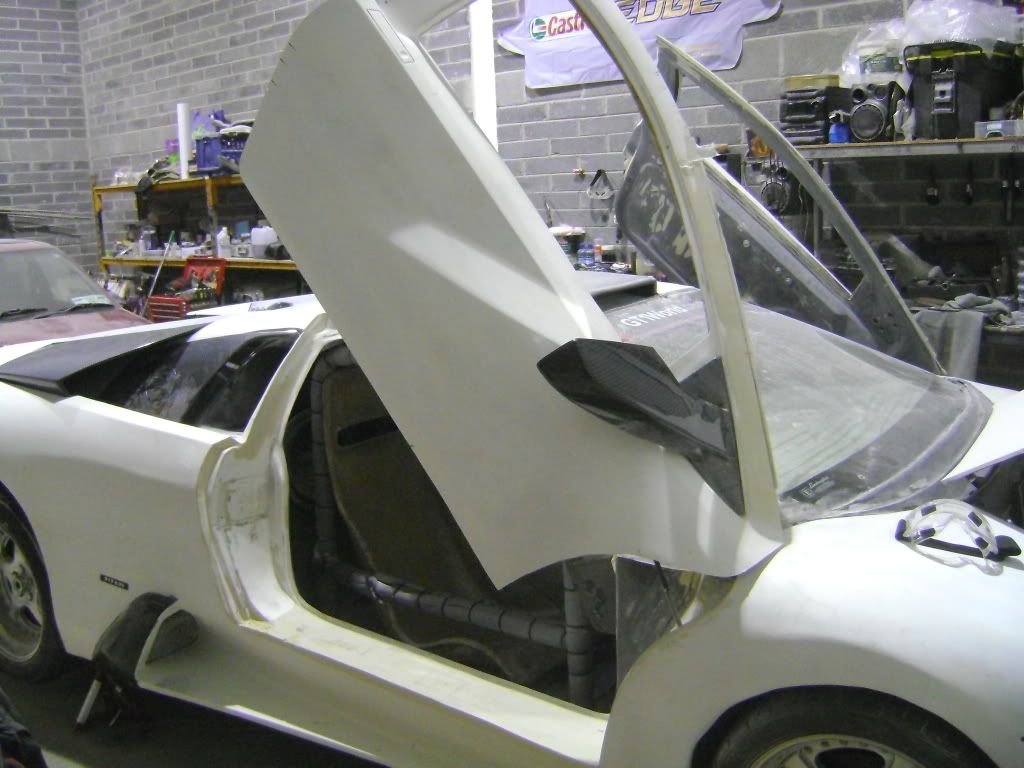
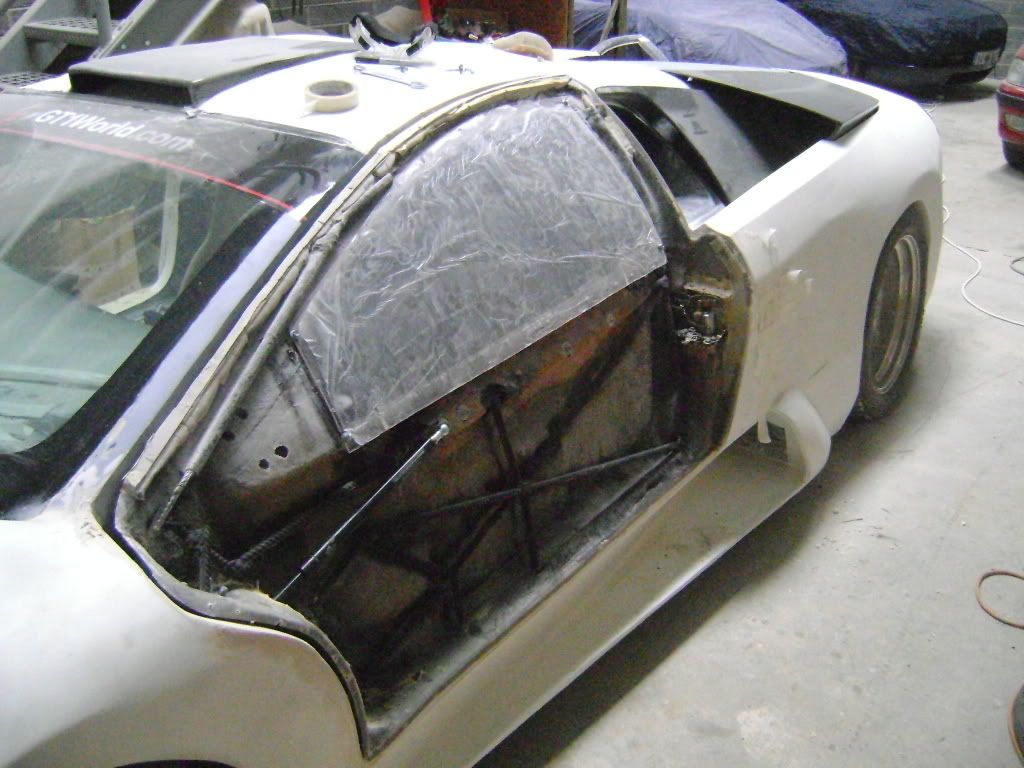
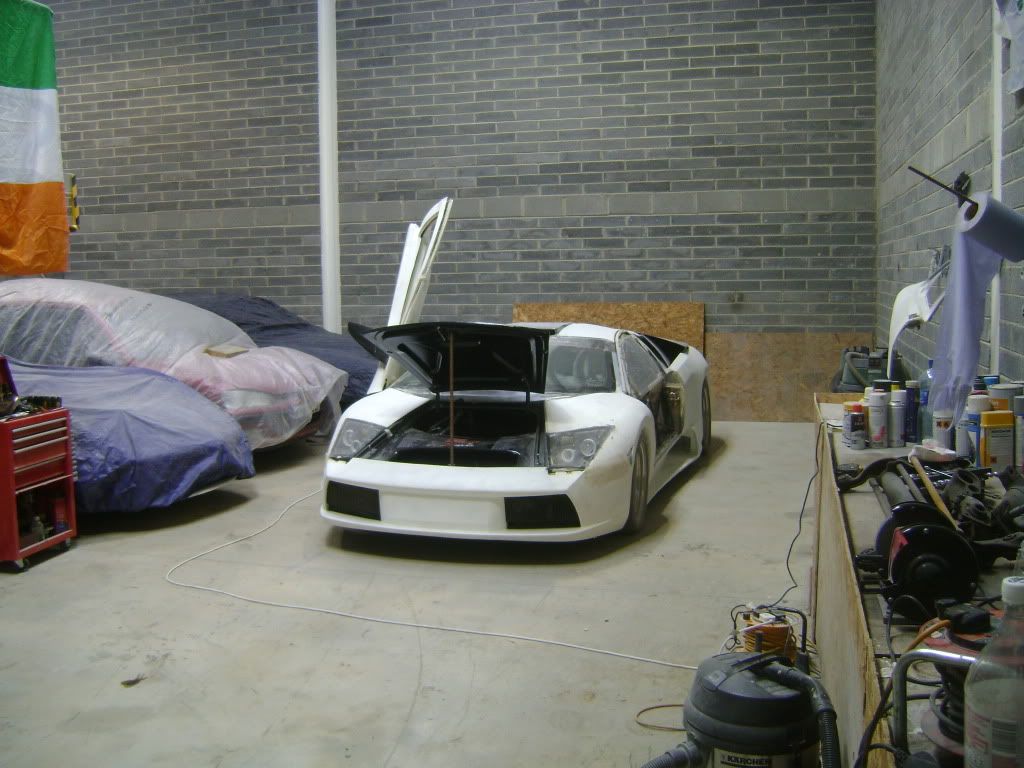
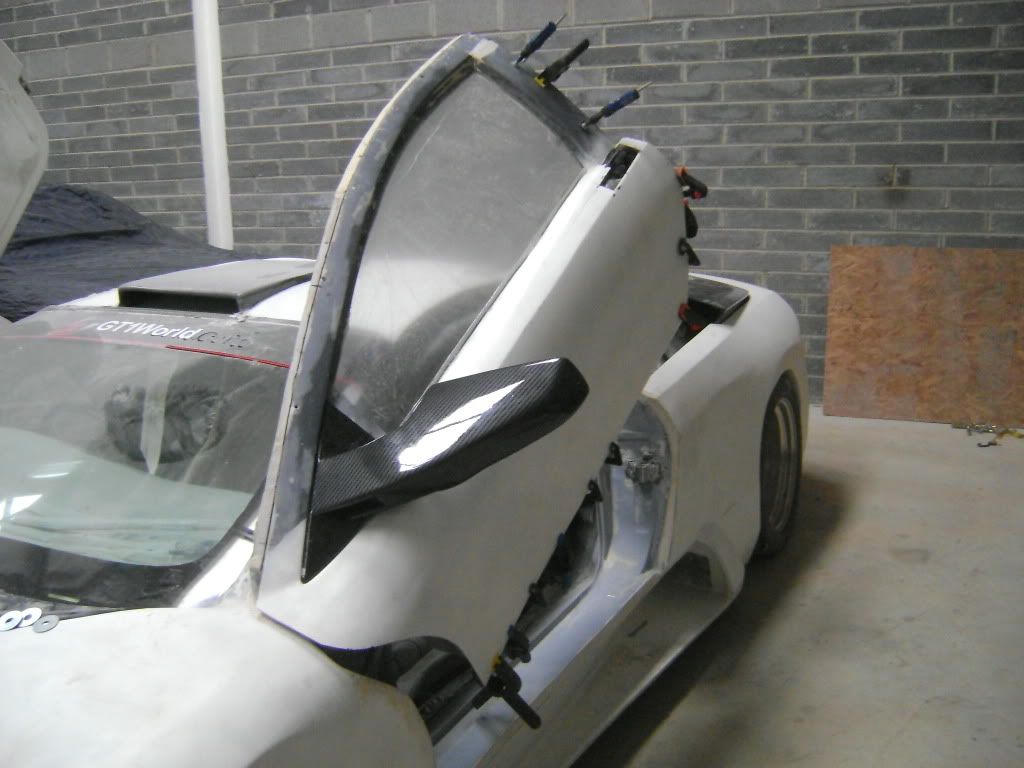
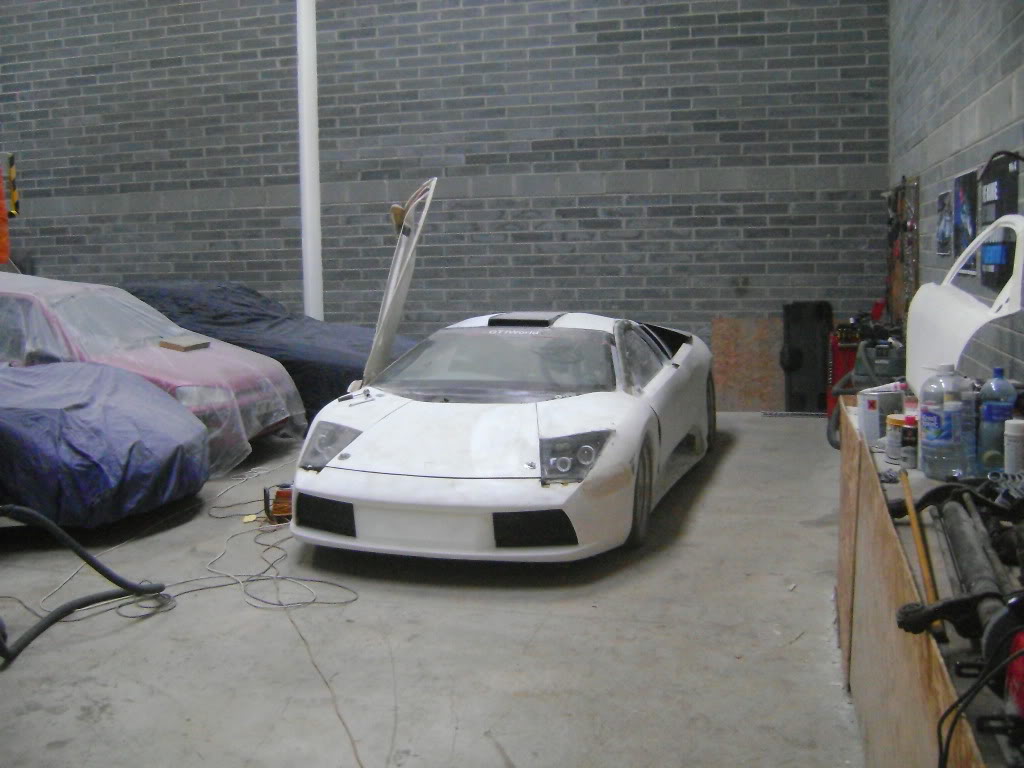
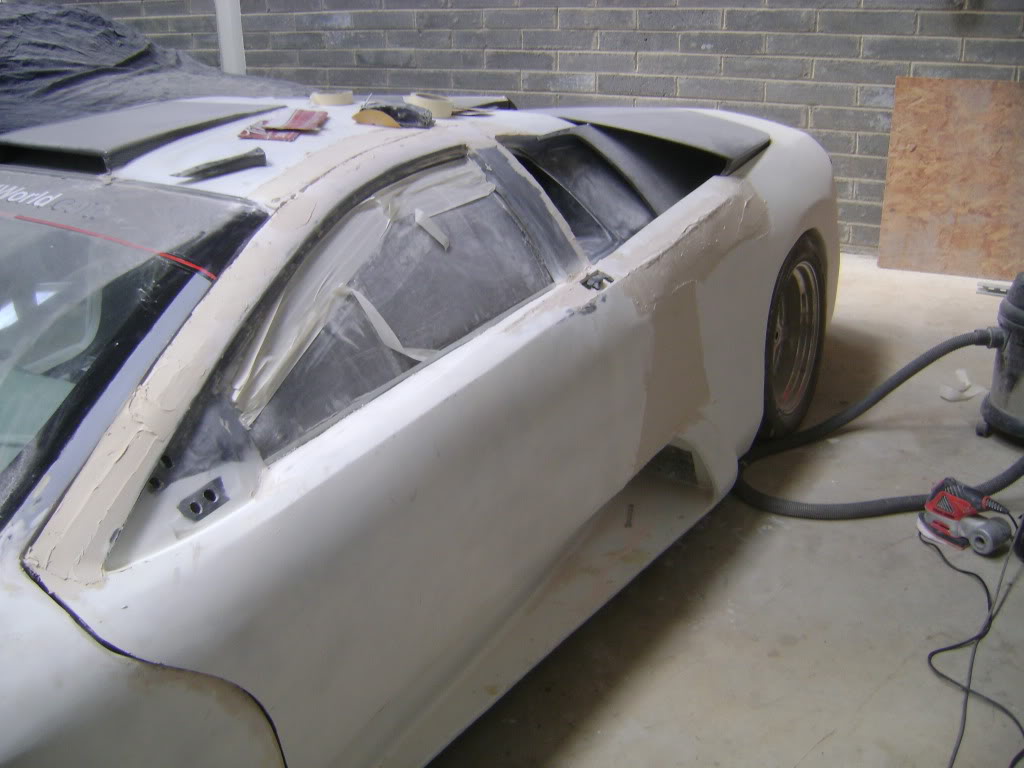
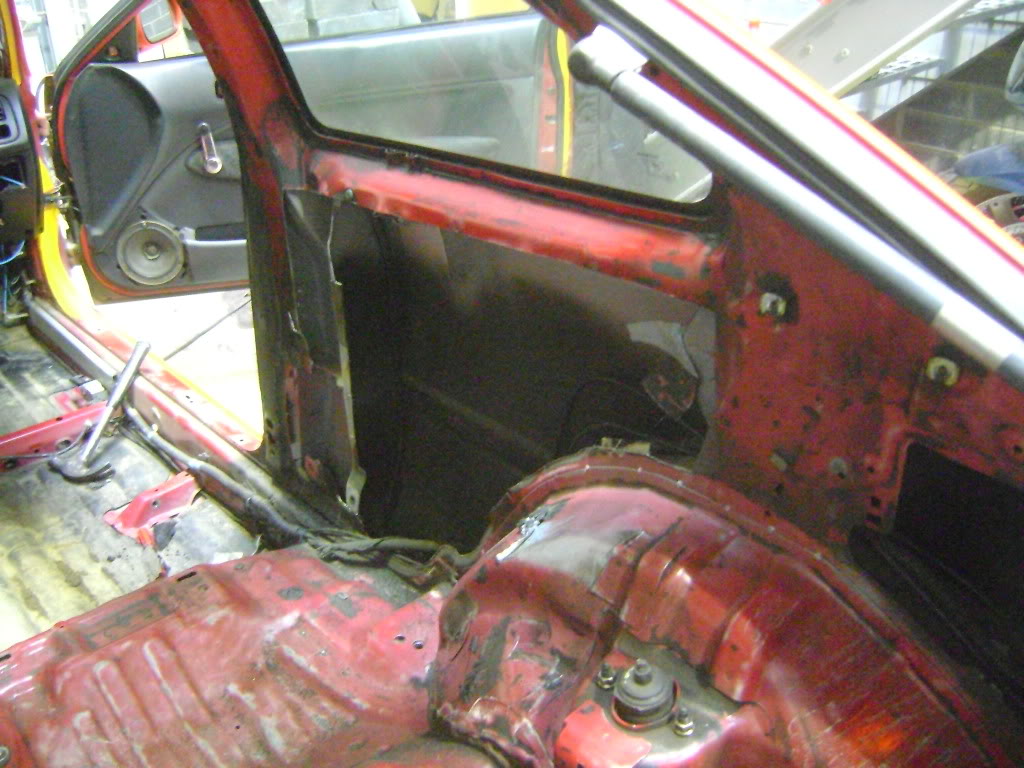
Drivers door in place
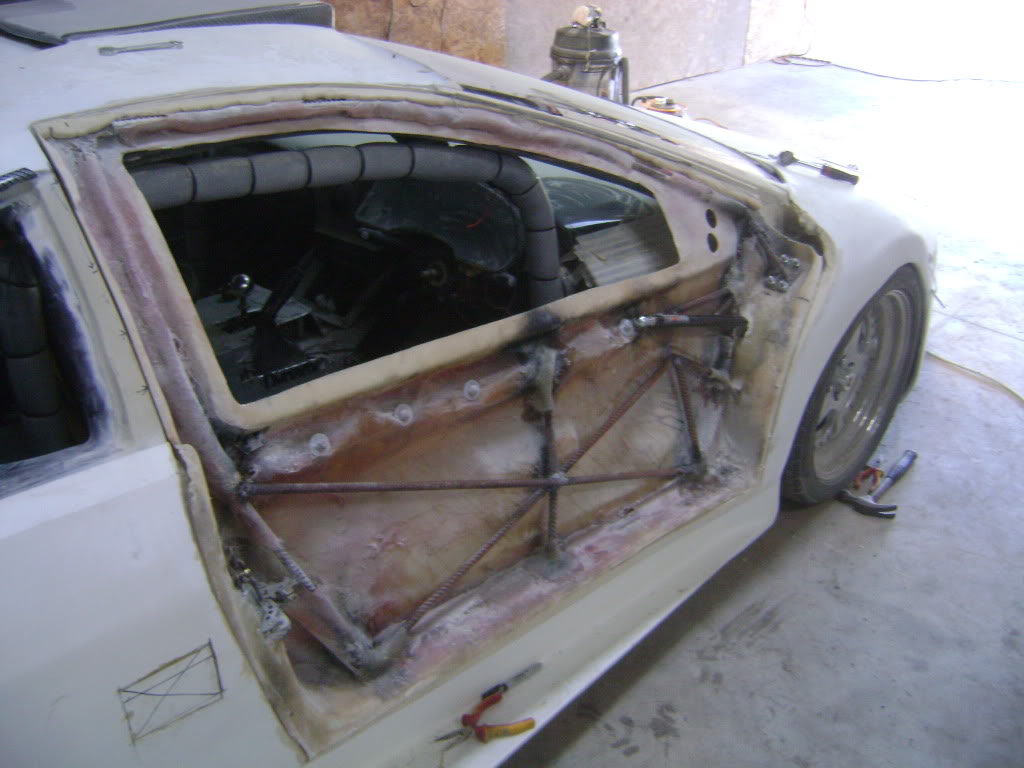
Name:  passdooorrrrrr004.jpg
Views: 21
Size:  104.5 KB
Name:  passdooorrrrrr005.jpg
Views: 24
Size:  103.2 KB
Name:  passdooorrrrrr006.jpg
Views: 21
Size:  86.6 KB
Drivers door opened
Name:  passdooorrrrrr007.jpg
Views: 17
Size:  77.6 KB
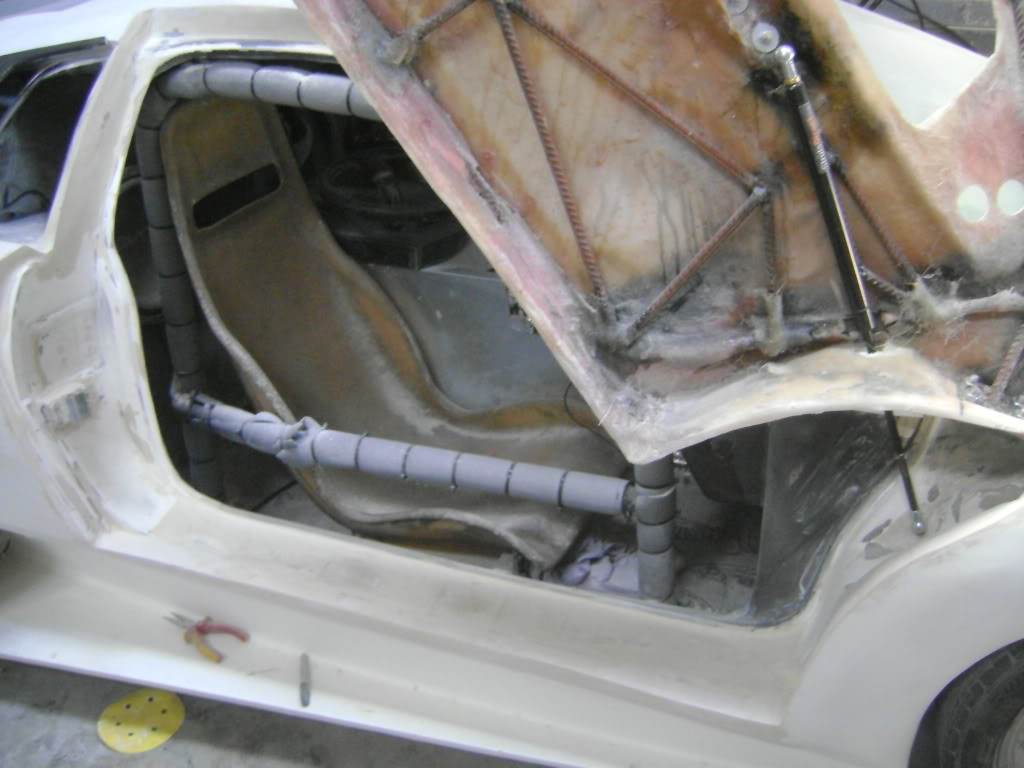
Alot of fitting work and gaps going on its slow work but will pay off
Name:  passdooorrrrrr008.jpg
Views: 17
Size:  103.1 KB
Old 09-11-12, 01:12 PM
  #193  
Full Member
Thread Starter
 
peggyontherun's Avatar
 
Join Date: Nov 2011
Location: Ireland
Posts: 190
Likes: 0
Received 0 Likes on 0 Posts
Got these for the doors
Name:  skim001.jpg
Views: 23
Size:  94.0 KB
Getting all the gaps done
Name:  skim002.jpg
Views: 23
Size:  94.3 KB
Still a good bit of work left to do
Name:  skim003.jpg
Views: 18
Size:  88.9 KB
Old 09-13-12, 01:48 PM
  #194  
Junior Member
 
gearshifter6's Avatar
 
Join Date: Sep 2012
Location: Westminster CA
Posts: 7
Likes: 0
Received 0 Likes on 0 Posts
Such a sick build!
Old 09-20-12, 01:23 PM
  #195  
Full Member
Thread Starter
 
peggyontherun's Avatar
 
Join Date: Nov 2011
Location: Ireland
Posts: 190
Likes: 0
Received 0 Likes on 0 Posts
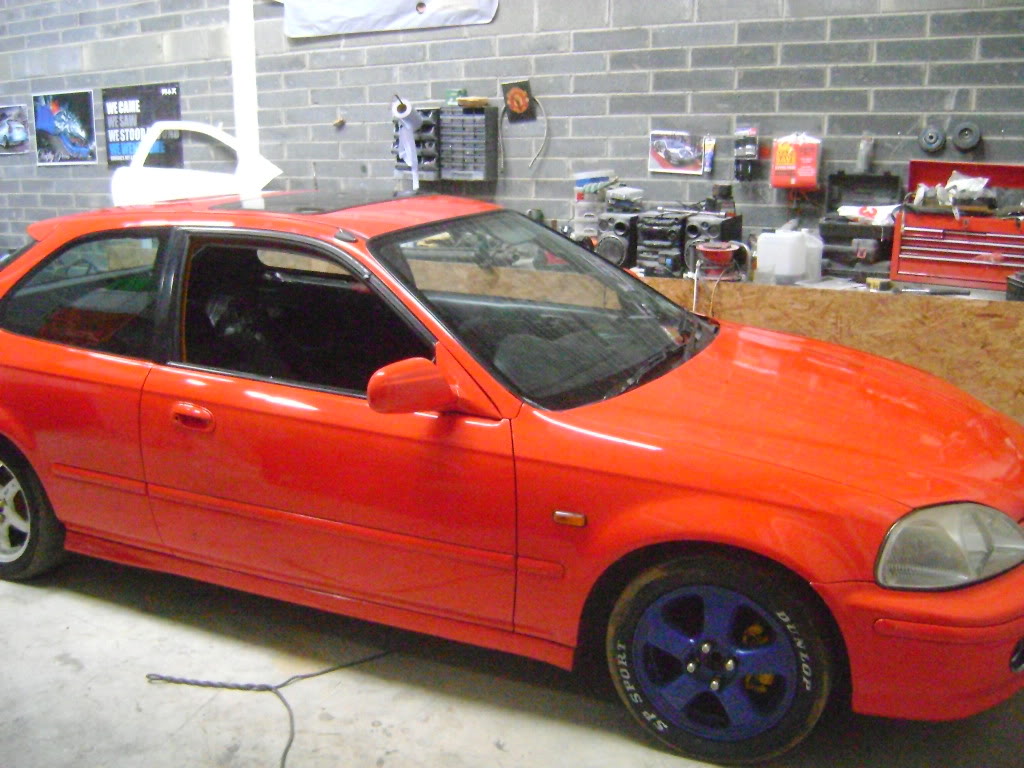
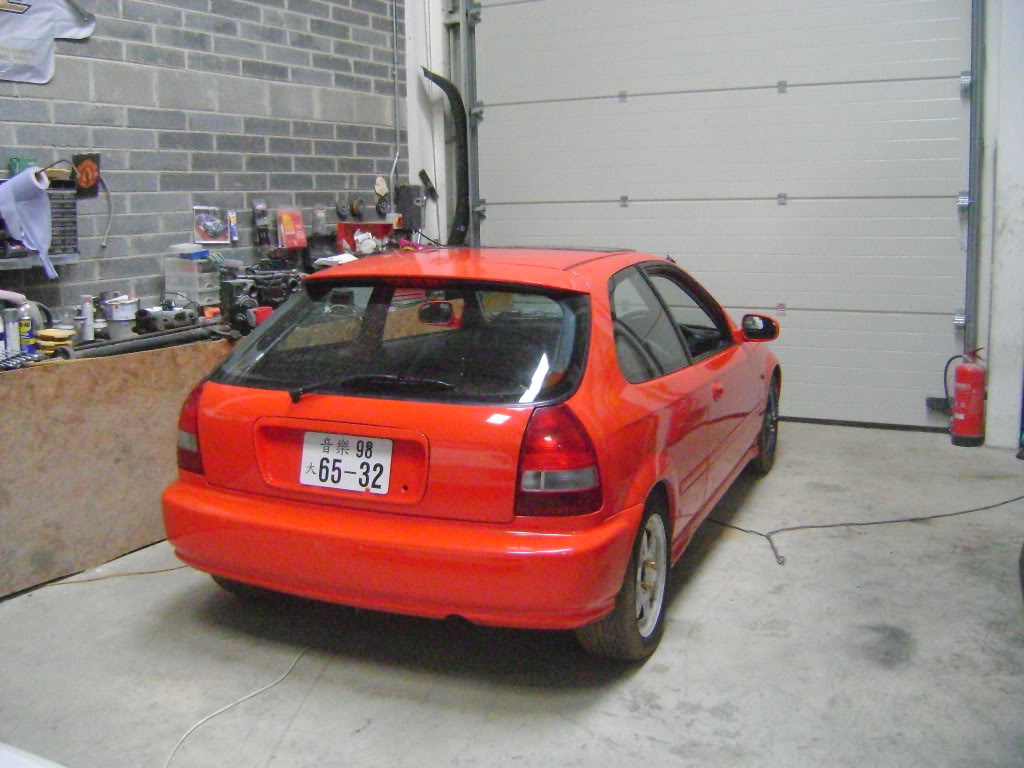
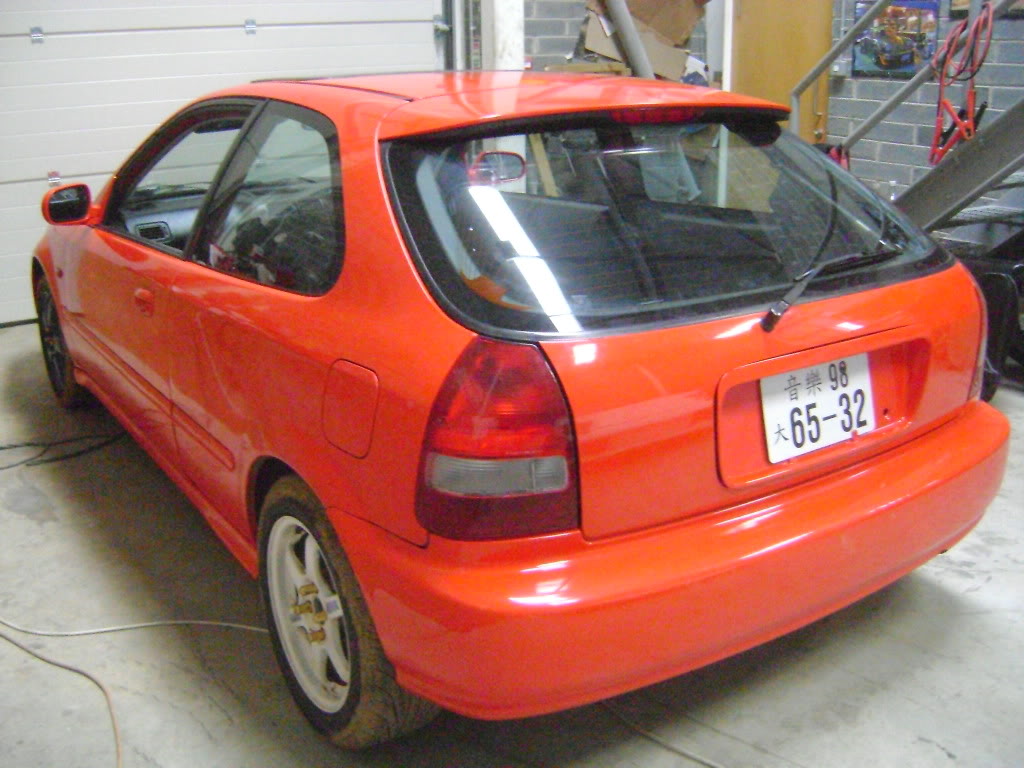
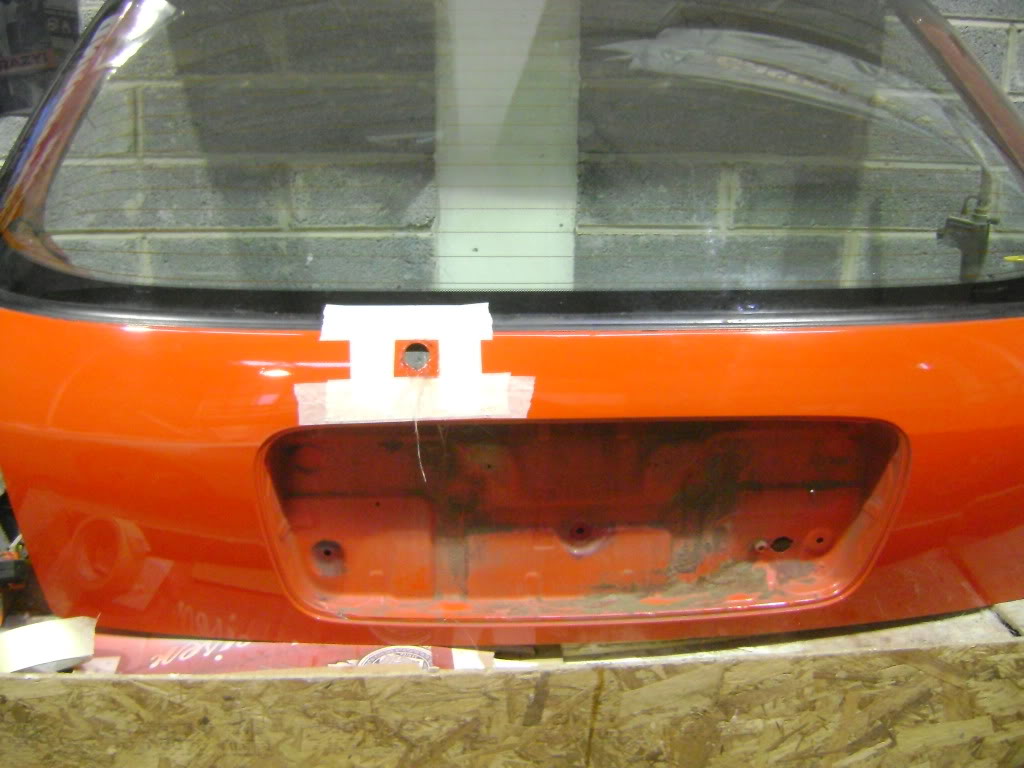
Got the rear booth back today

Name:  civicc002_zps95839ad5.jpg
Views: 11
Size:  122.2 KB
Name:  civicc003_zps41f5e88d.jpg
Views: 15
Size:  178.6 KB

my new drag racer

Name:  civicc003.jpg
Views: 19
Size:  147.8 KB
Name:  civicc004.jpg
Views: 22
Size:  124.0 KB
Name:  civicc005.jpg
Views: 29
Size:  135.0 KB
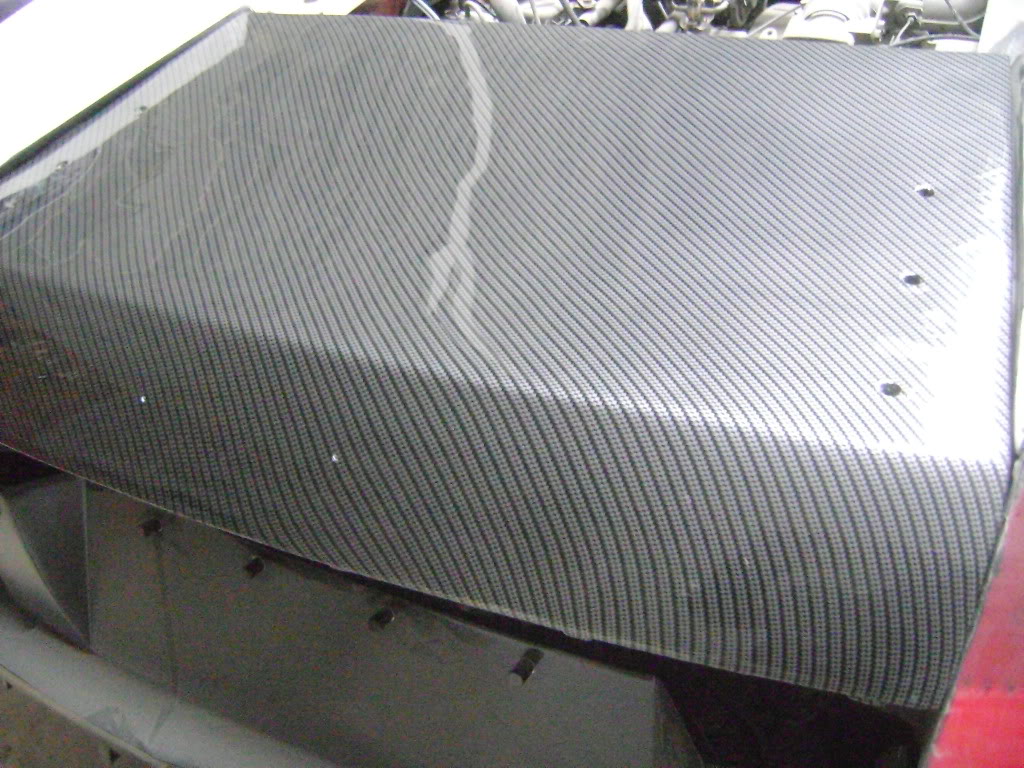
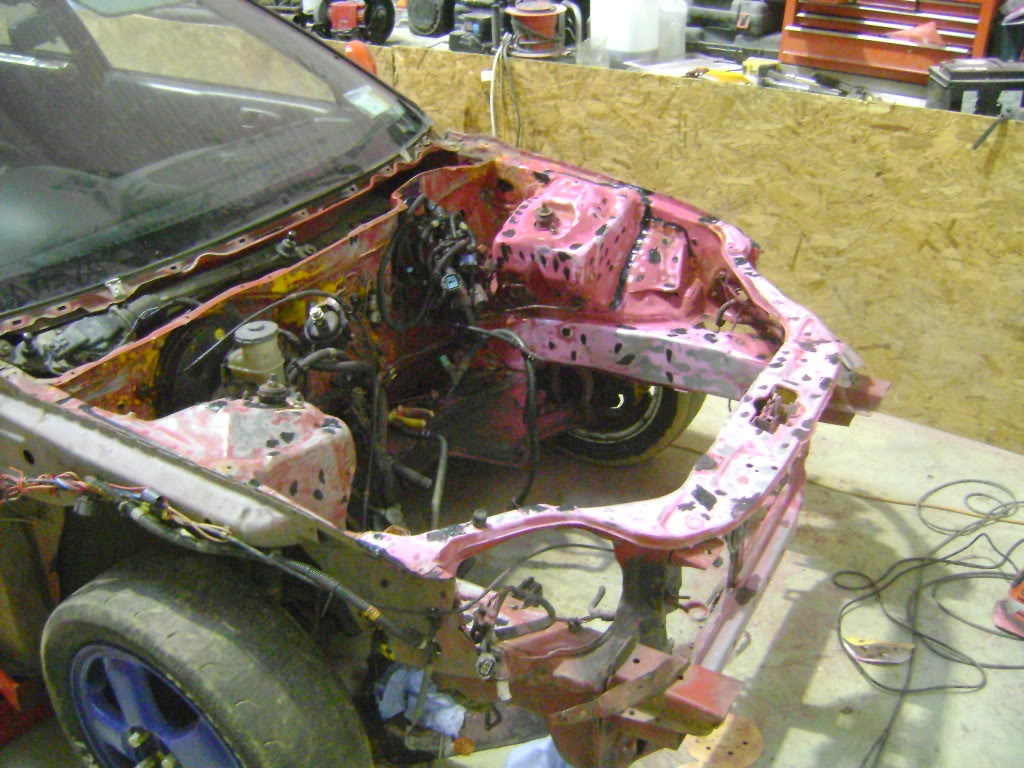
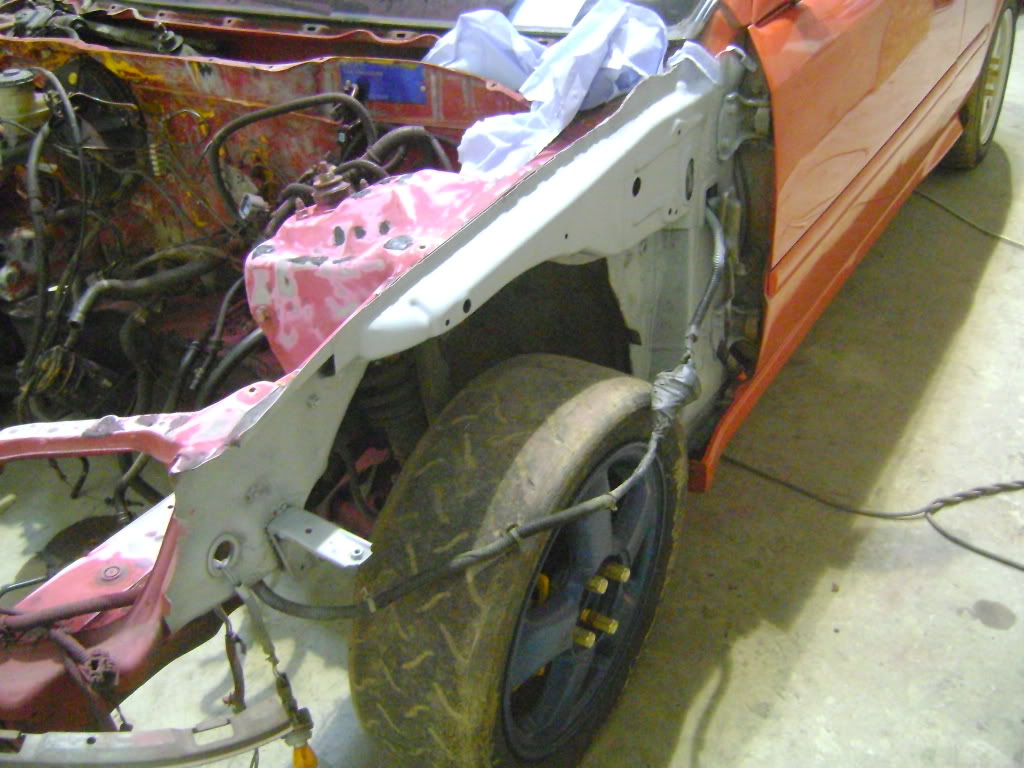
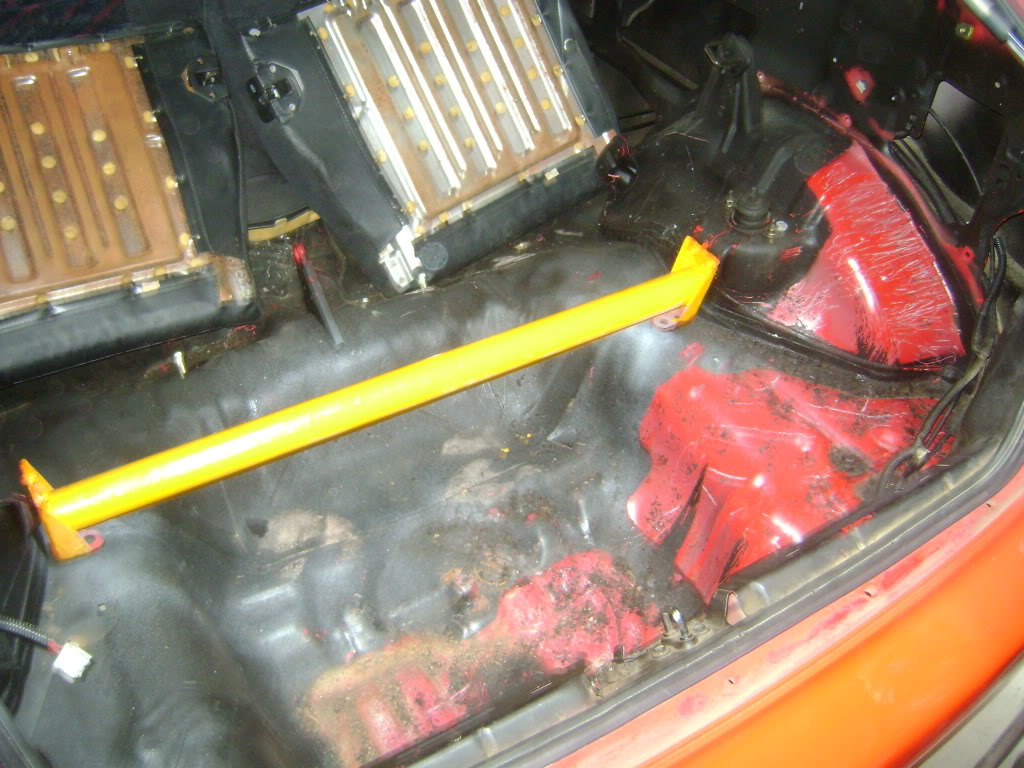
Wire tuck all done and car stripped of front panels
Name:  civicc006.jpg
Views: 19
Size:  136.4 KB
Name:  civicc007.jpg
Views: 19
Size:  157.0 KB
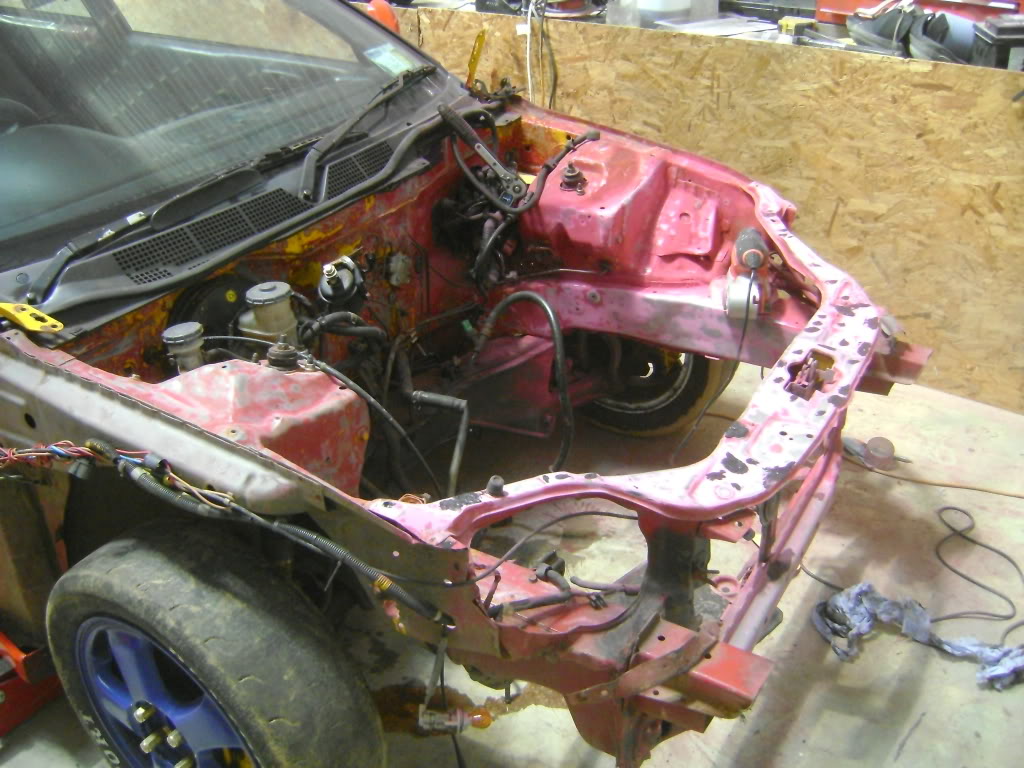
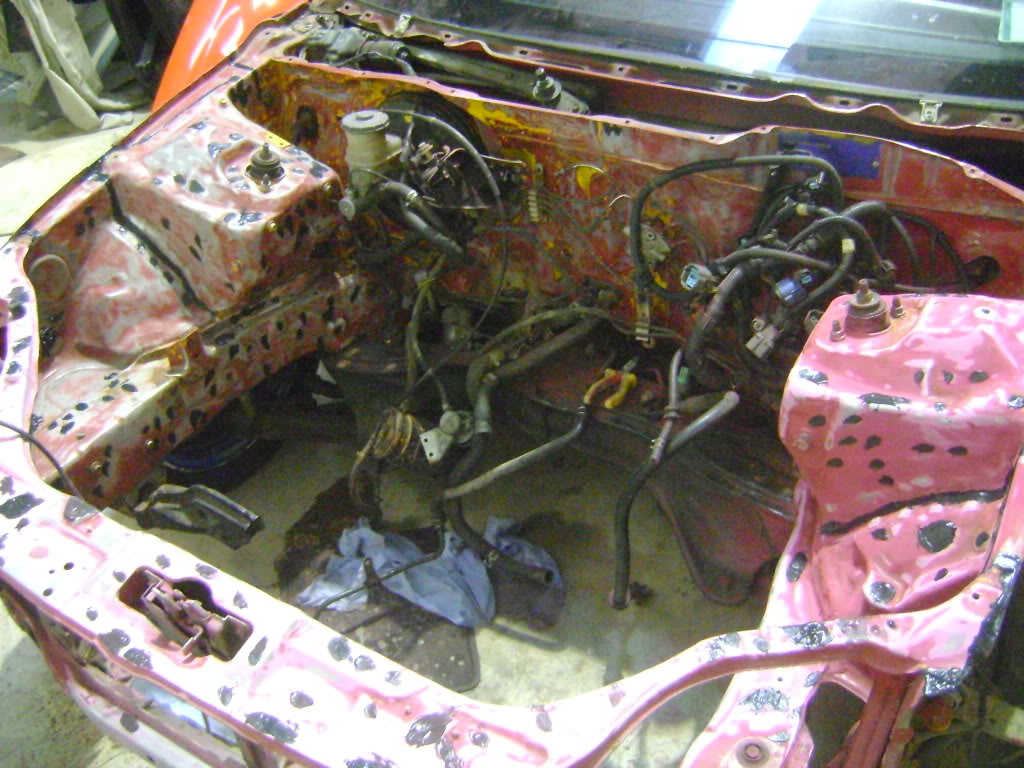
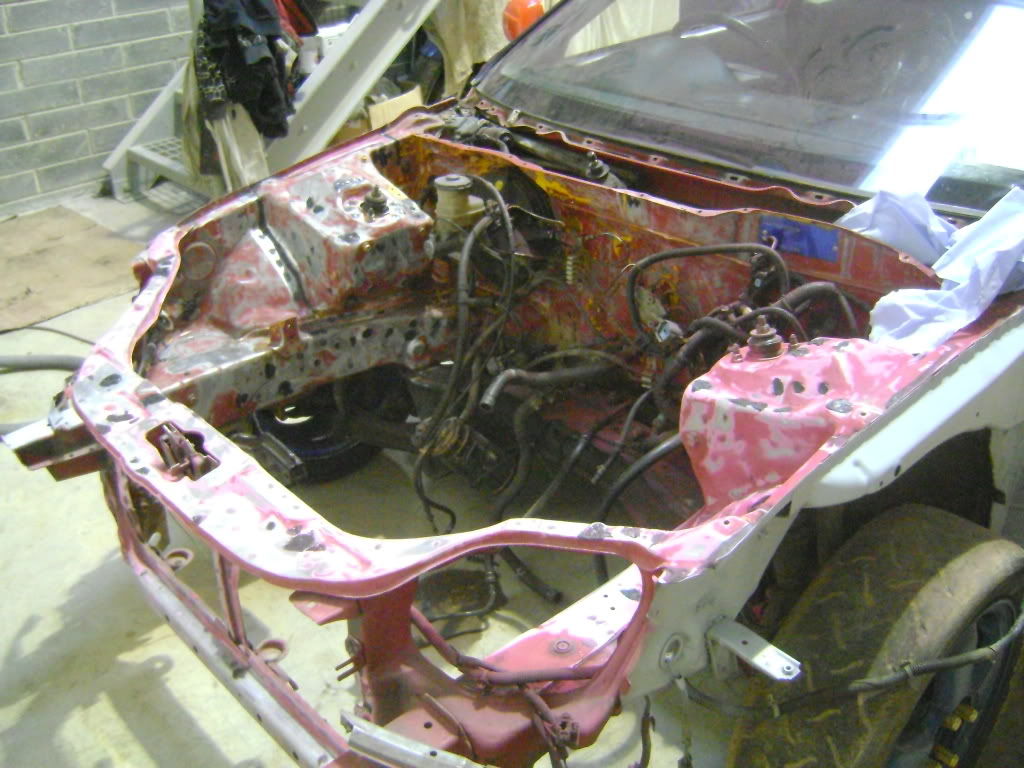
Engine bay all sanded back and all the holes filled in ready for sanding
Name:  civicc008.jpg
Views: 26
Size:  143.9 KB
Name:  civicc009.jpg
Views: 28
Size:  159.8 KB
Name:  civicc010.jpg
Views: 18
Size:  150.5 KB
Old 09-20-12, 01:23 PM
  #196  
Full Member
Thread Starter
 
peggyontherun's Avatar
 
Join Date: Nov 2011
Location: Ireland
Posts: 190
Likes: 0
Received 0 Likes on 0 Posts
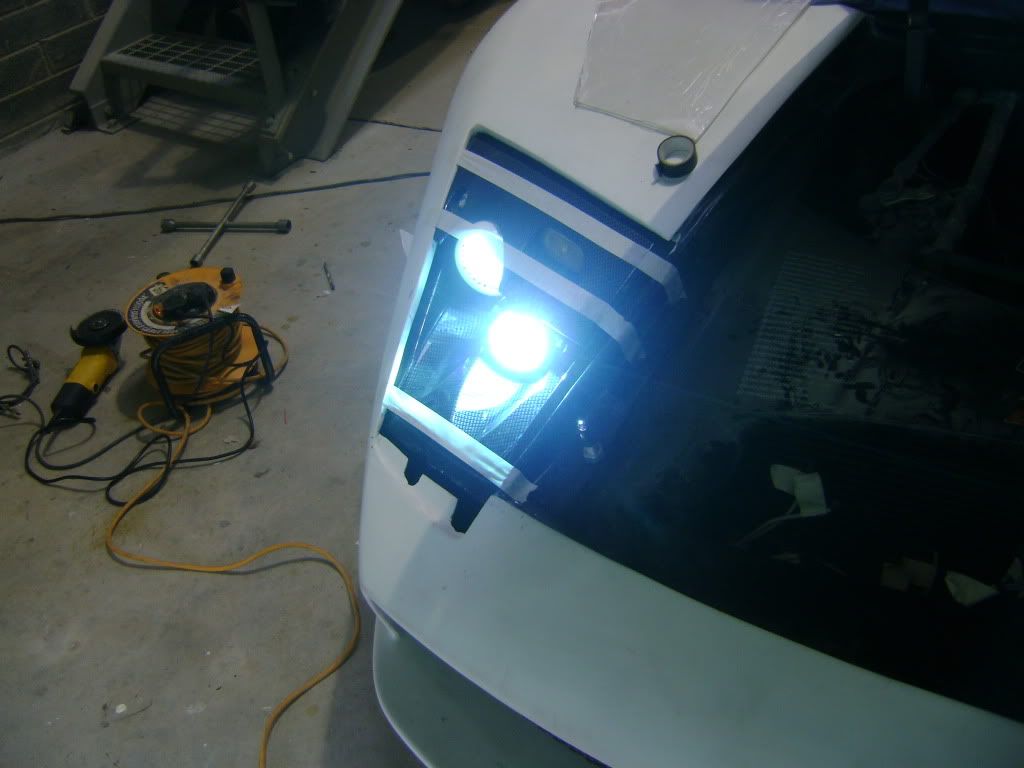
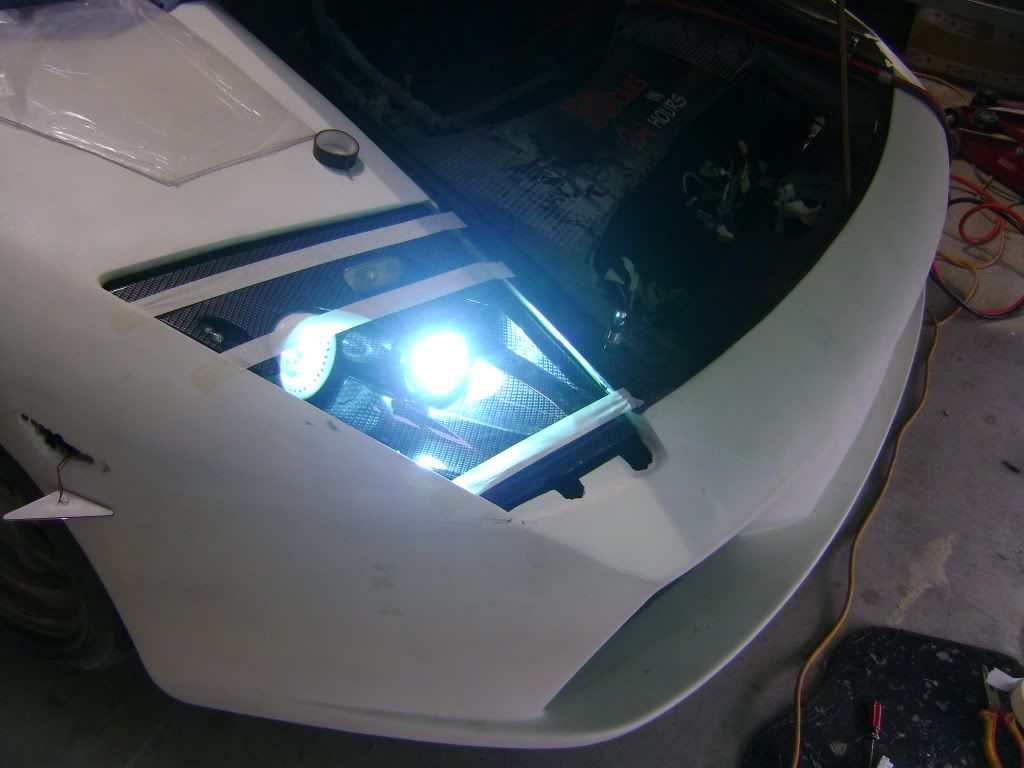
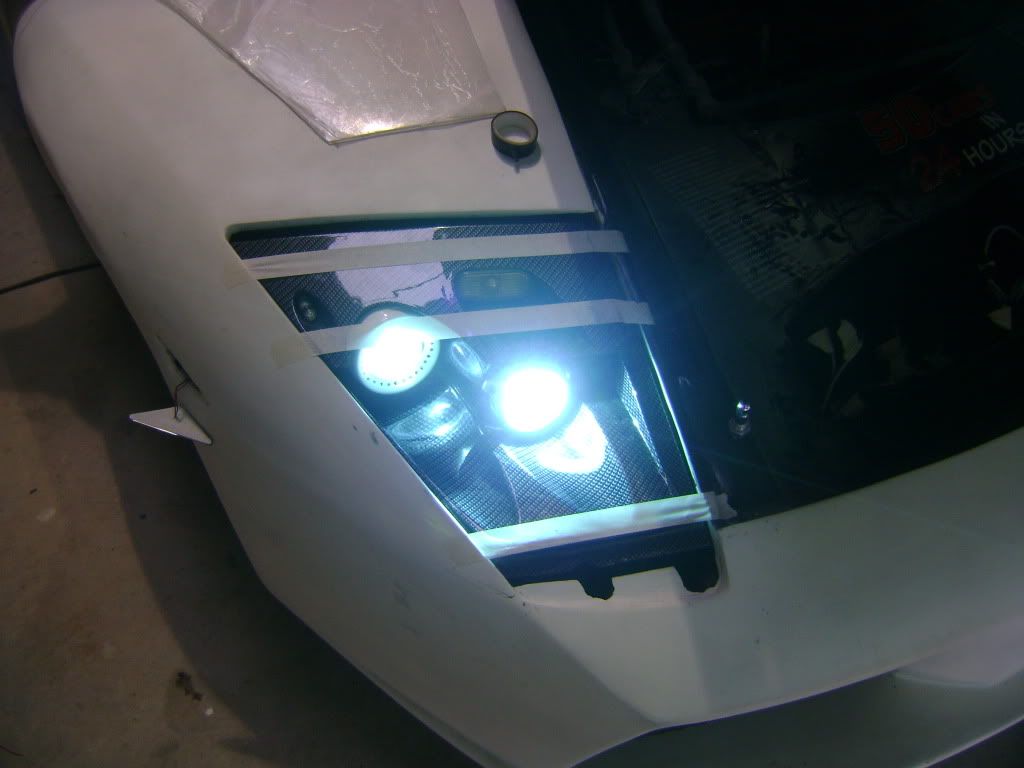
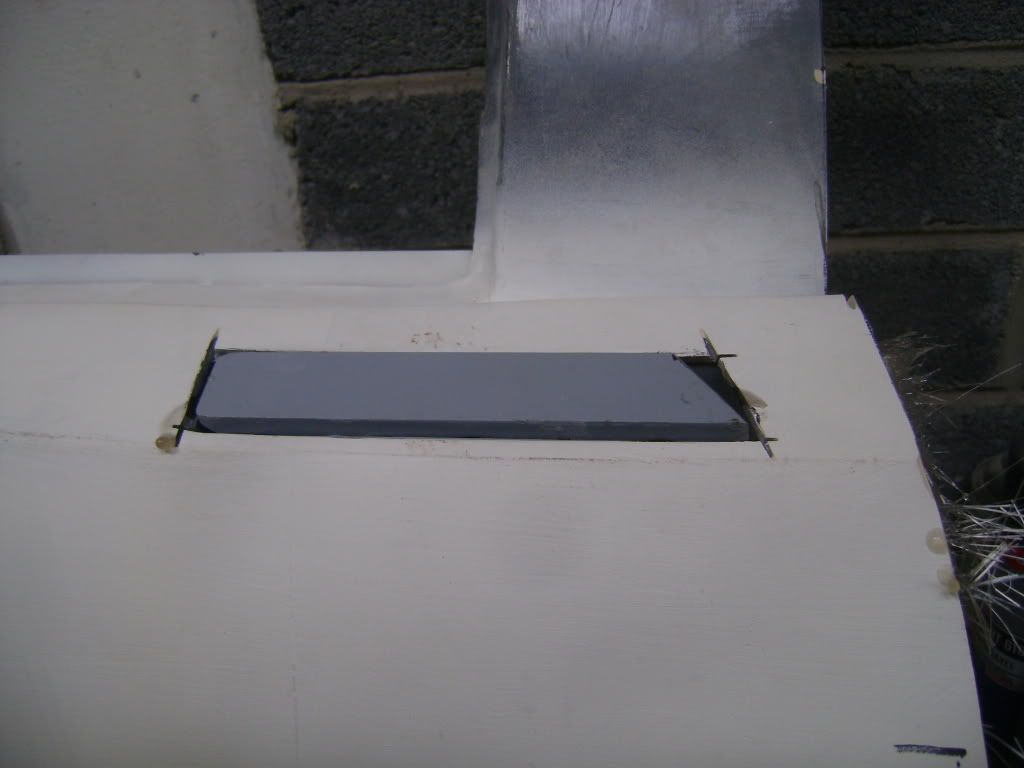
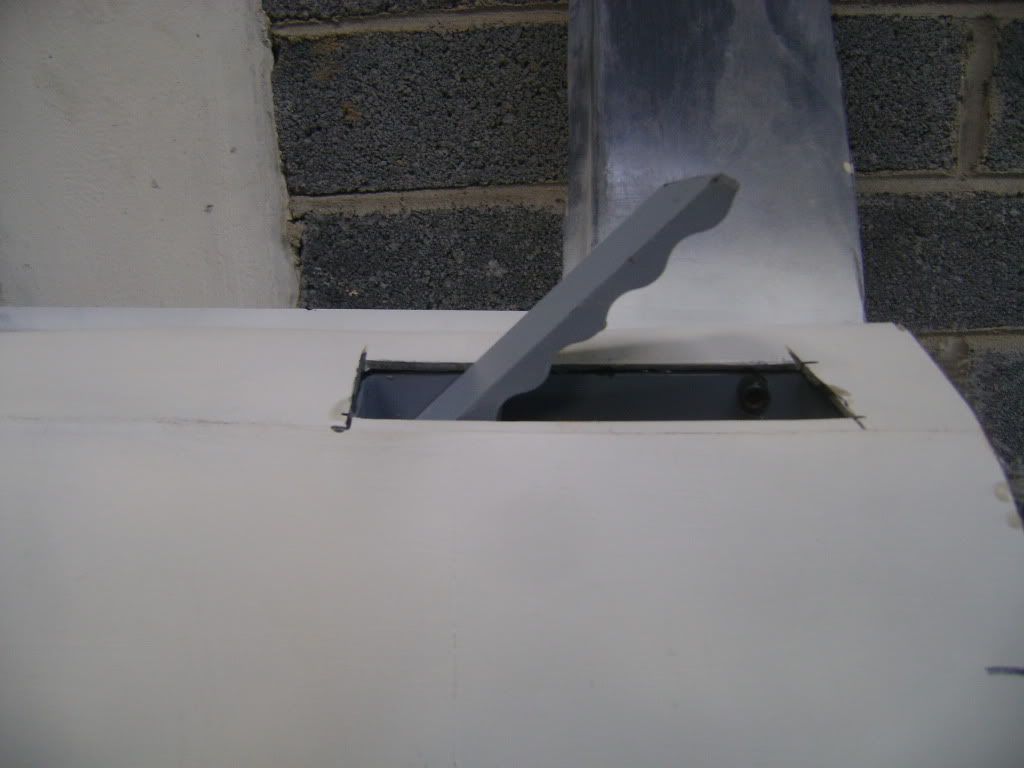
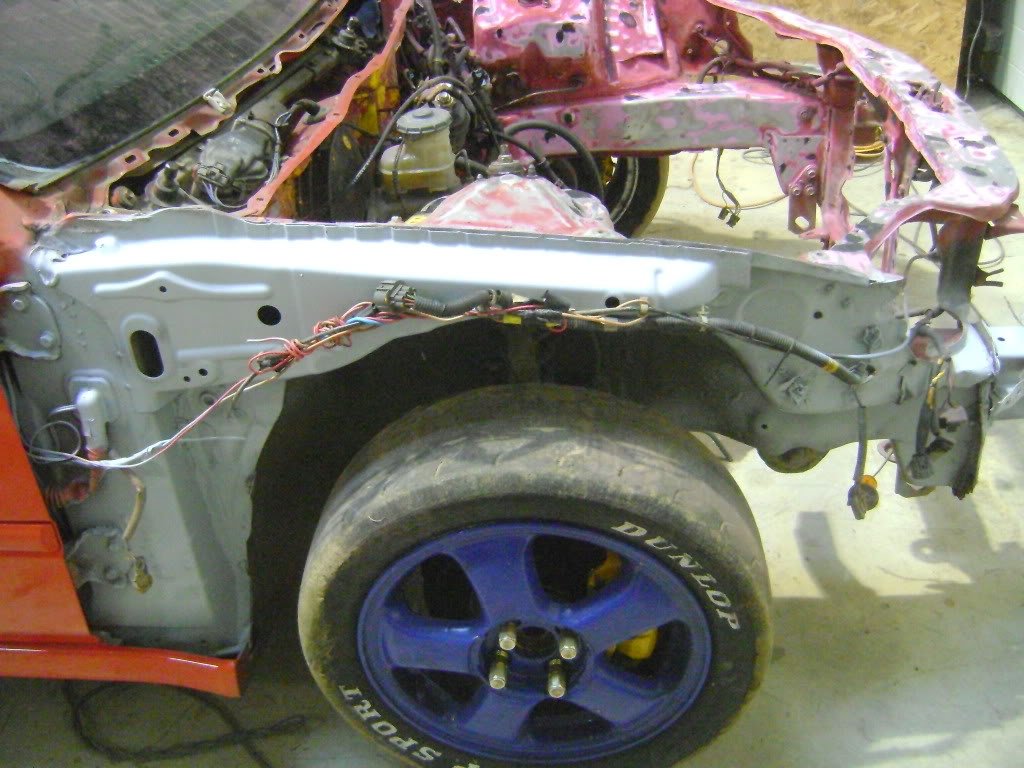
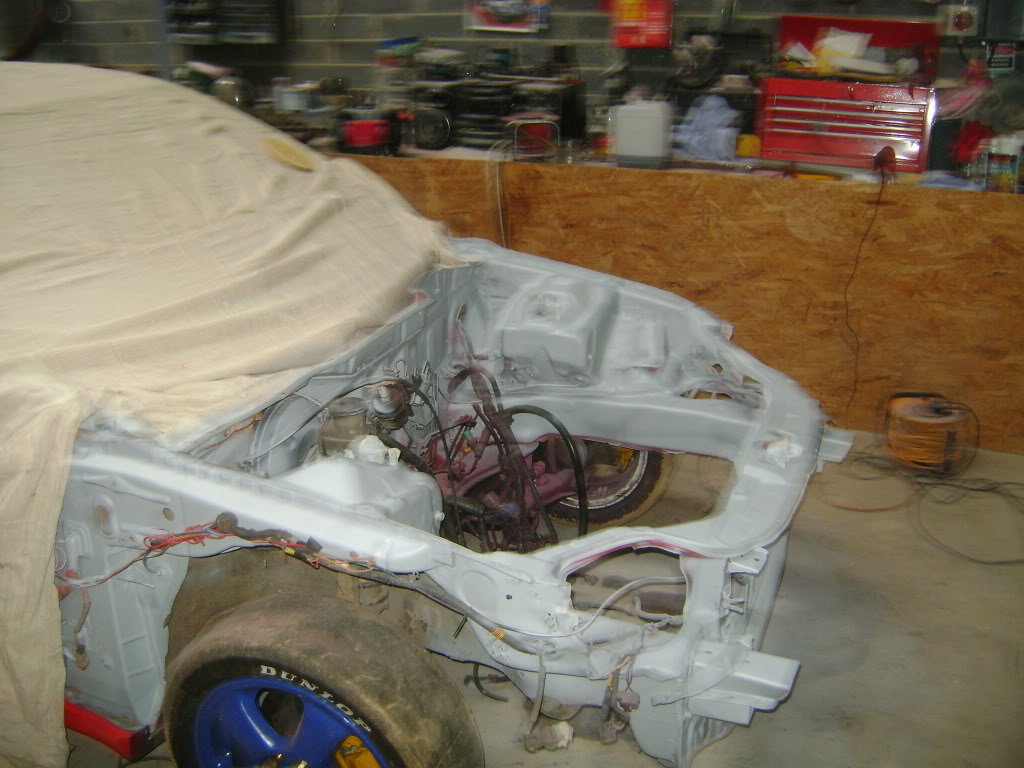
Front wings all primed
Name:  civic008.jpg
Views: 29
Size:  133.6 KB
Name:  civic007.jpg
Views: 15
Size:  120.2 KB
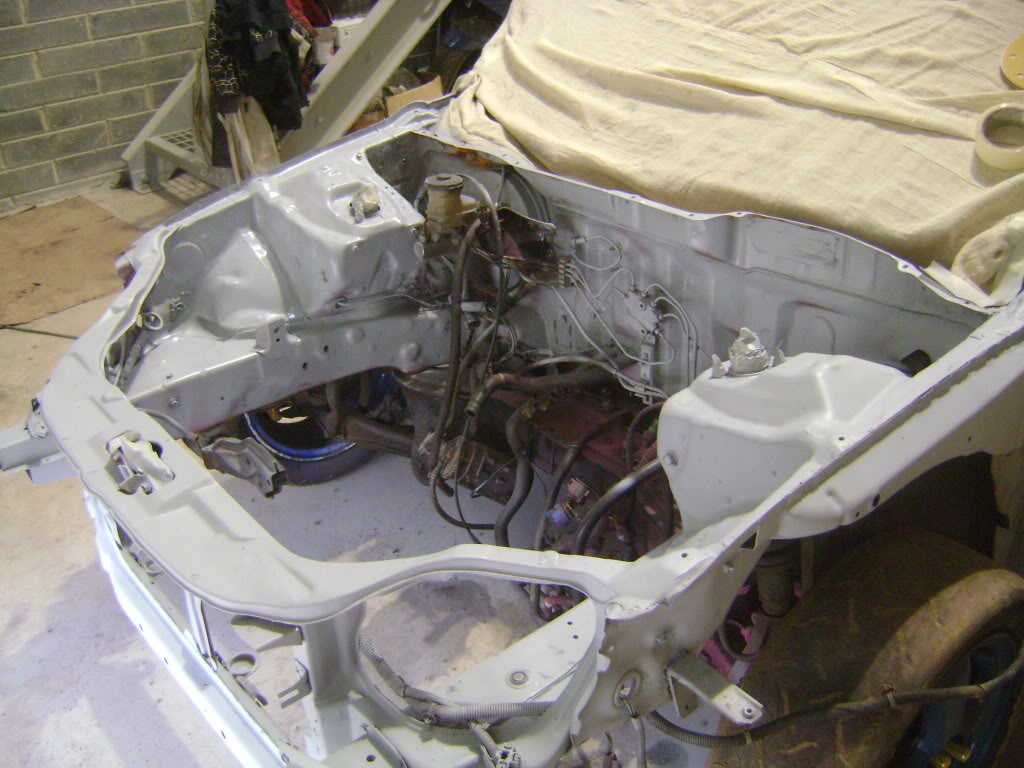
Engine bay nearly finished only one more day on it and it will be ready for priming
Name:  civic006.jpg
Views: 21
Size:  127.8 KB

First coat of primer
Name:  civice002.jpg
Views: 24
Size:  124.5 KB
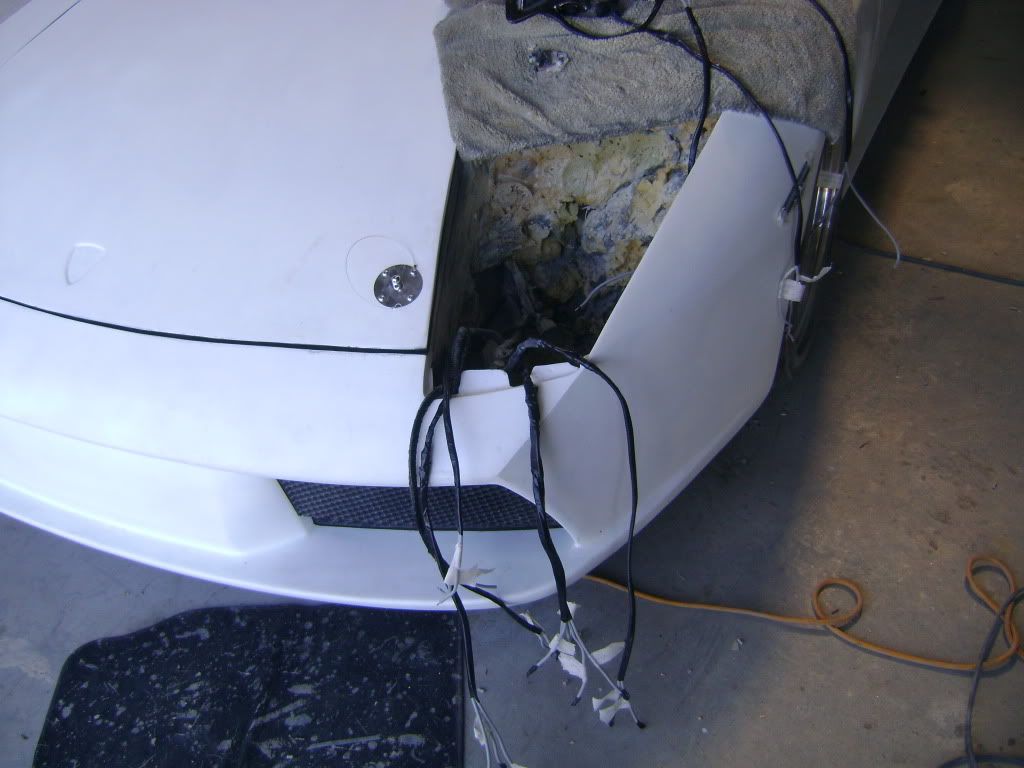
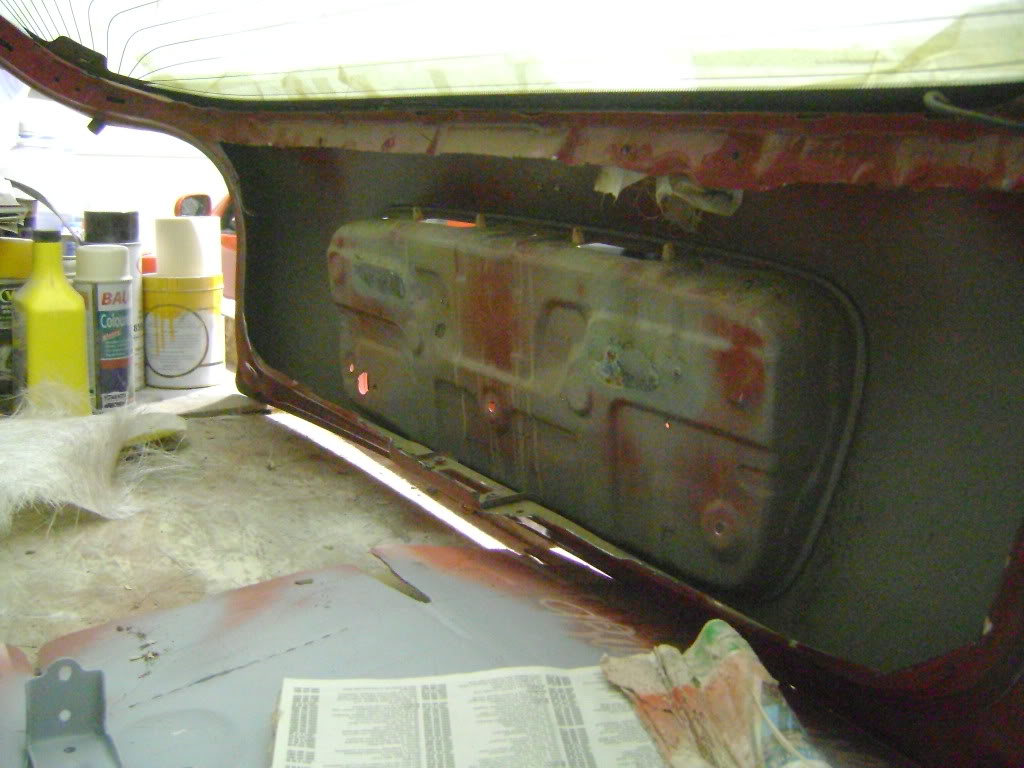
Booth off and wiper motor removed and fiberglassing the hole left
Name:  civice003.jpg
Views: 17
Size:  94.4 KB
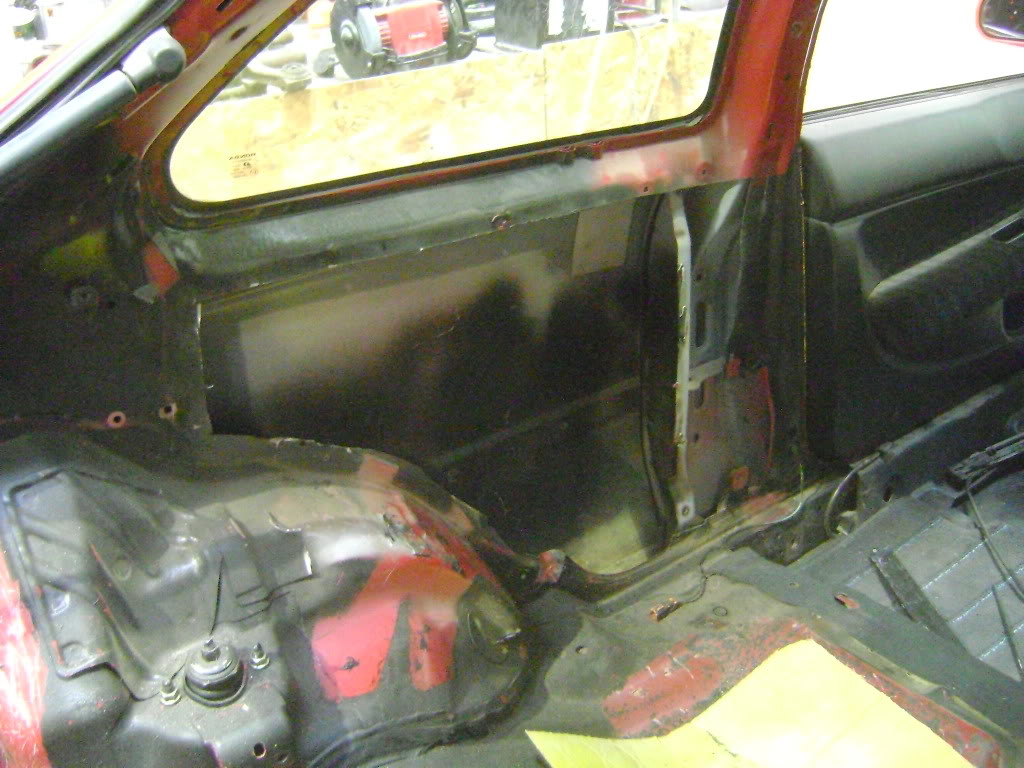
Most of this will be cut away to save weight
Name:  civice004.jpg
Views: 11
Size:  107.7 KB
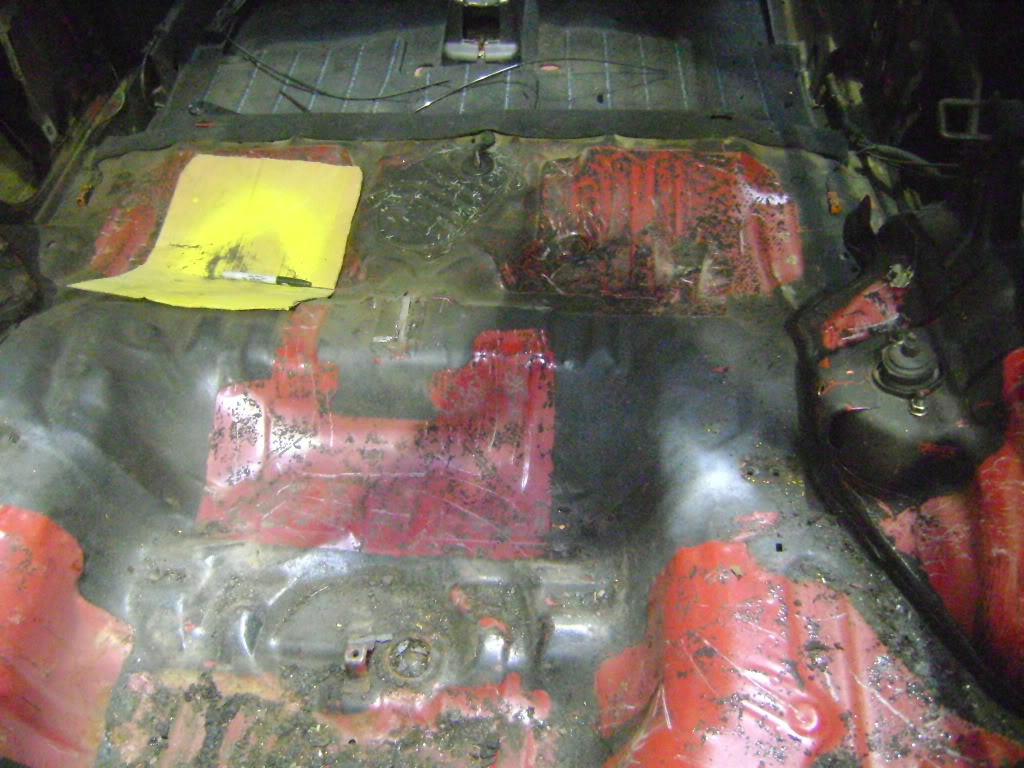
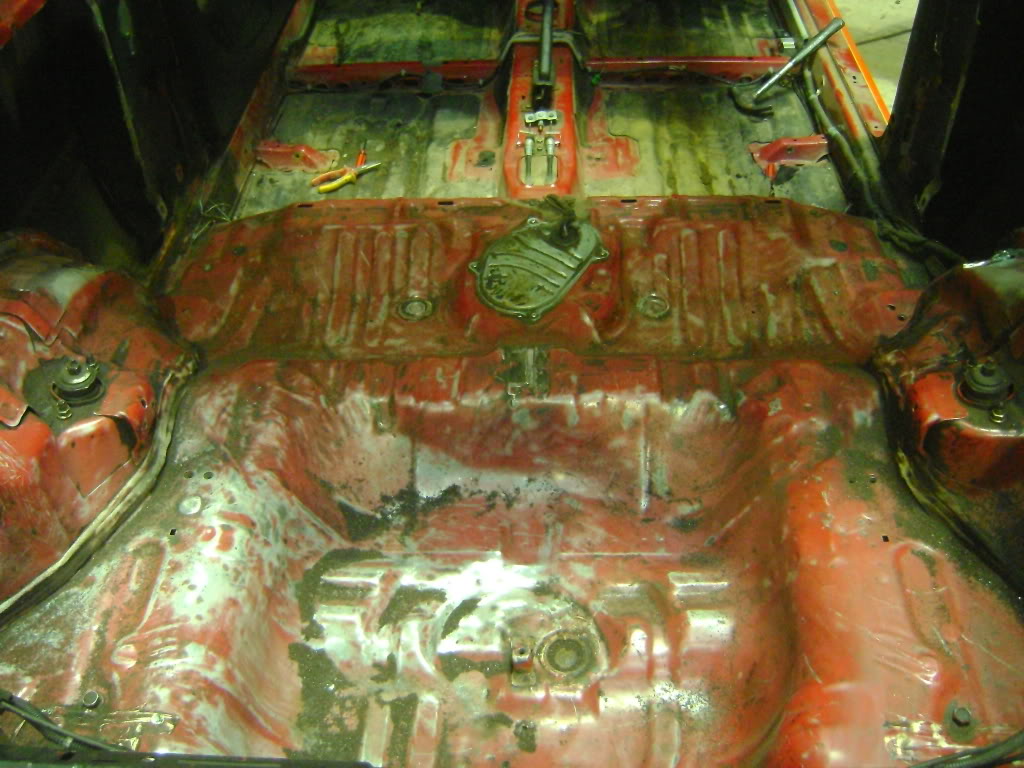
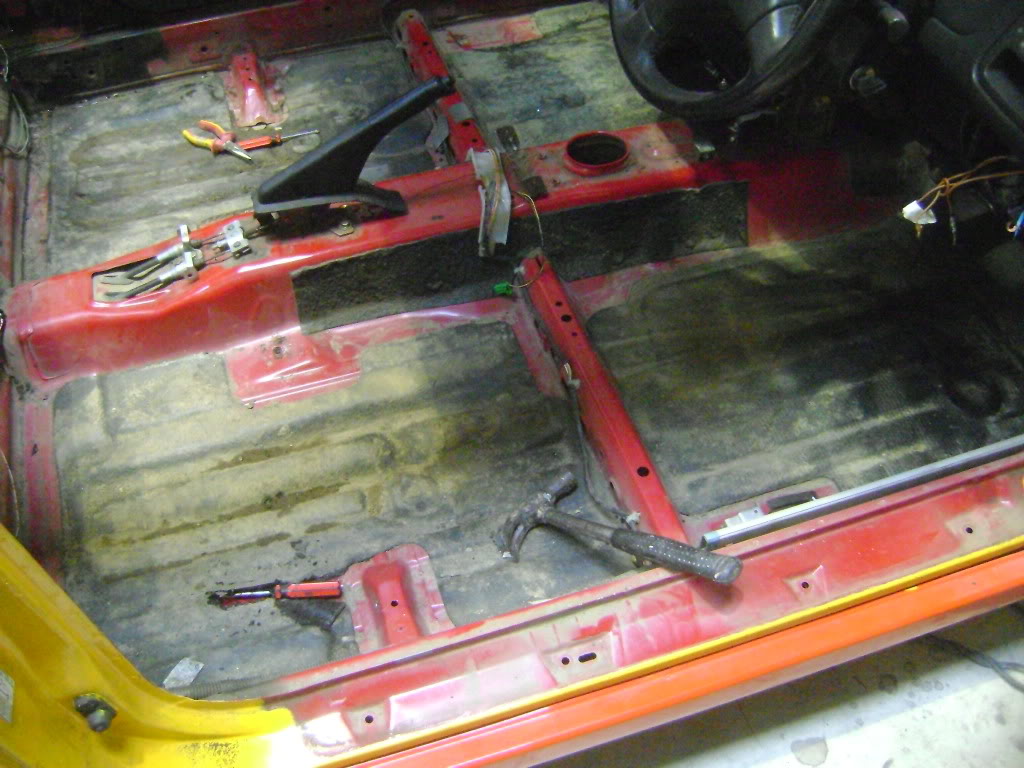
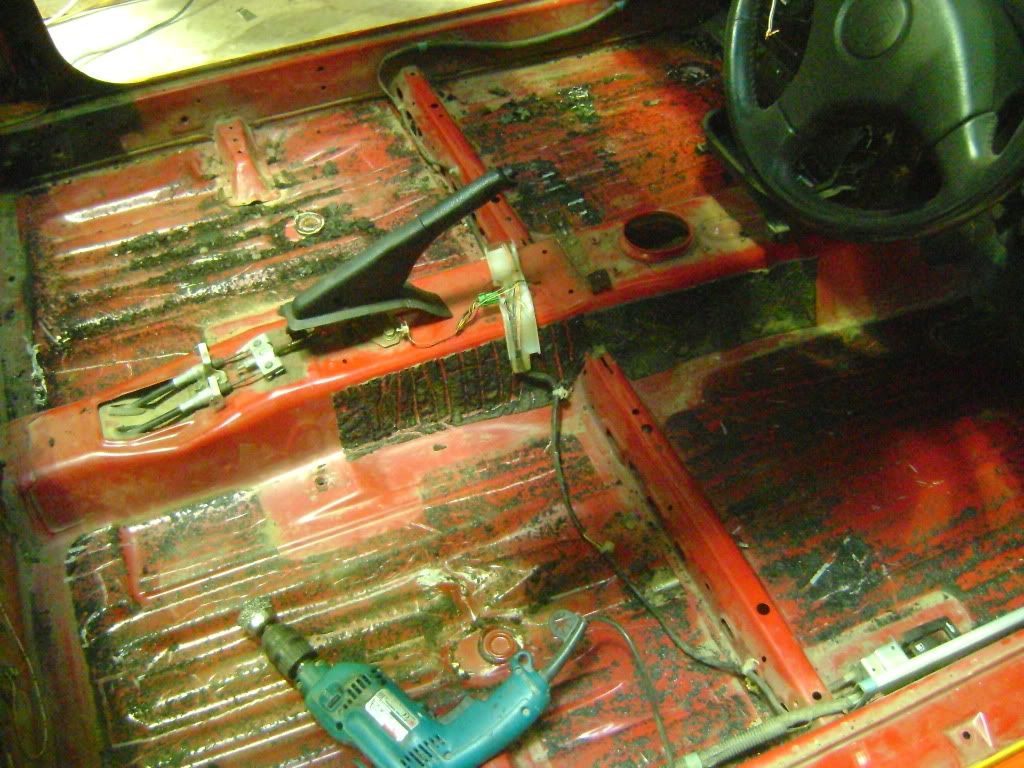
Starting to remove all the sound deading
Name:  civice006.jpg
Views: 13
Size:  141.2 KB
Name:  civice007.jpg
Views: 22
Size:  106.5 KB

Booth cut out for weight savings
Name:  wi%20003_zpsbdfa549f.jpg
Views: 20
Size:  103.1 KB
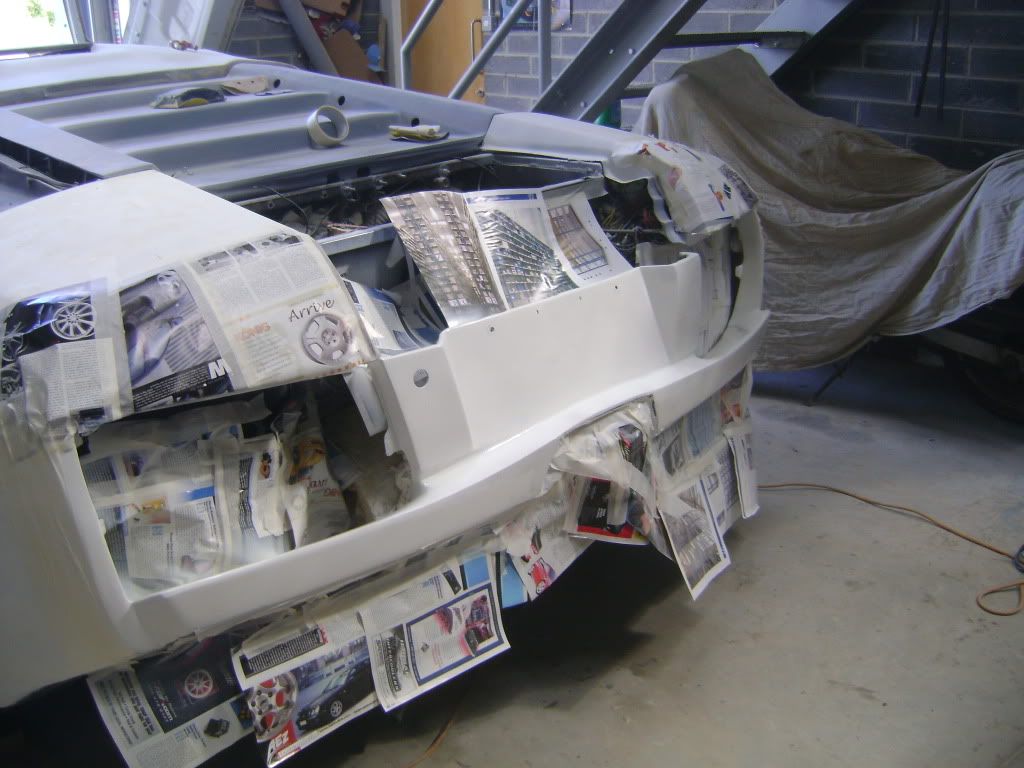
All masked up ready for its journey tomorrow stay tuned :winks:
Name:  wi%20004_zps2effb36c.jpg
Views: 23
Size:  90.6 KB
Centre section all sorted ready for its journey
Name:  wi%20005_zps0d96ebc9.jpg
Views: 14
Size:  154.1 KB
Passenger side section all cut out
Name:  wi%20006_zps02a39211.jpg
Views: 22
Size:  125.8 KB
Old 09-20-12, 01:24 PM
  #197  
Full Member
Thread Starter
 
peggyontherun's Avatar
 
Join Date: Nov 2011
Location: Ireland
Posts: 190
Likes: 0
Received 0 Likes on 0 Posts
All the sound deading taken out
Name:  wi%20007_zps2905c7b4.jpg
Views: 19
Size:  136.8 KB
Old 09-20-12, 02:01 PM
  #198  
Dragon Slayer
 
philthy23's Avatar
 
Join Date: Jul 2012
Location: Phoenix
Posts: 16
Likes: 0
Received 0 Likes on 0 Posts
Much respect on all the effort
Old 09-20-12, 10:01 PM
  #199  
Junior Member
 
tkltian's Avatar
 
Join Date: Sep 2012
Location: Minneapolis
Posts: 10
Likes: 0
Received 0 Likes on 0 Posts
Oh my god that's insane fabricating skills
Old 09-21-12, 02:41 PM
  #200  
Full Member
Thread Starter
 
peggyontherun's Avatar
 
Join Date: Nov 2011
Location: Ireland
Posts: 190
Likes: 0
Received 0 Likes on 0 Posts
Driver rear all cut out
Name:  civictrack001_zps87f1cdea.jpg
Views: 10
Size:  128.5 KB
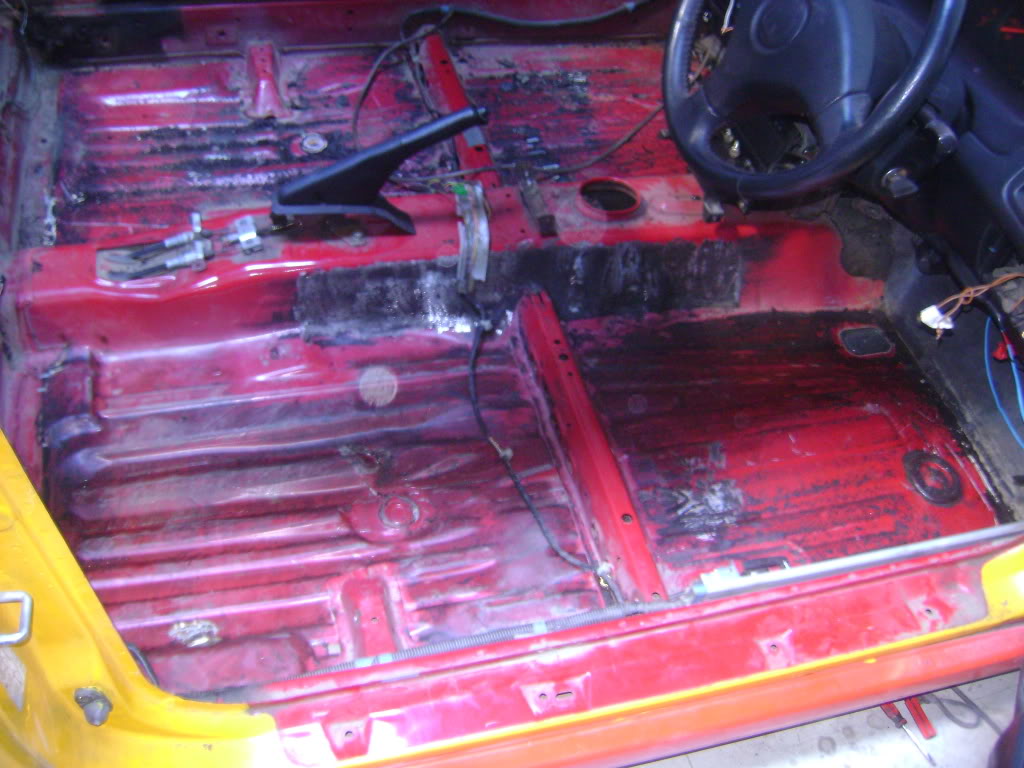
All the sound deading took out just need to hoover it
Name:  civictrack002_zpse7680264.jpg
Views: 11
Size:  128.3 KB
More sound deading up the front
Name:  civictrack003_zpseb88b565.jpg
Views: 16
Size:  127.8 KB
All removed
Name:  civictrack004_zps19d89c65.jpg
Views: 13
Size:  172.3 KB
Getting there
Name:  civictrack005_zpsde566f2d.jpg
Views: 12
Size:  116.6 KB
Mr & Mrs
Name:  civictrack006_zpsca7e0afa.jpg
Views: 10
Size:  132.8 KB

Last edited by peggyontherun; 09-21-12 at 02:46 PM.


Quick Reply: New member from Ireland


All times are GMT -5. The time now is 02:32 AM.