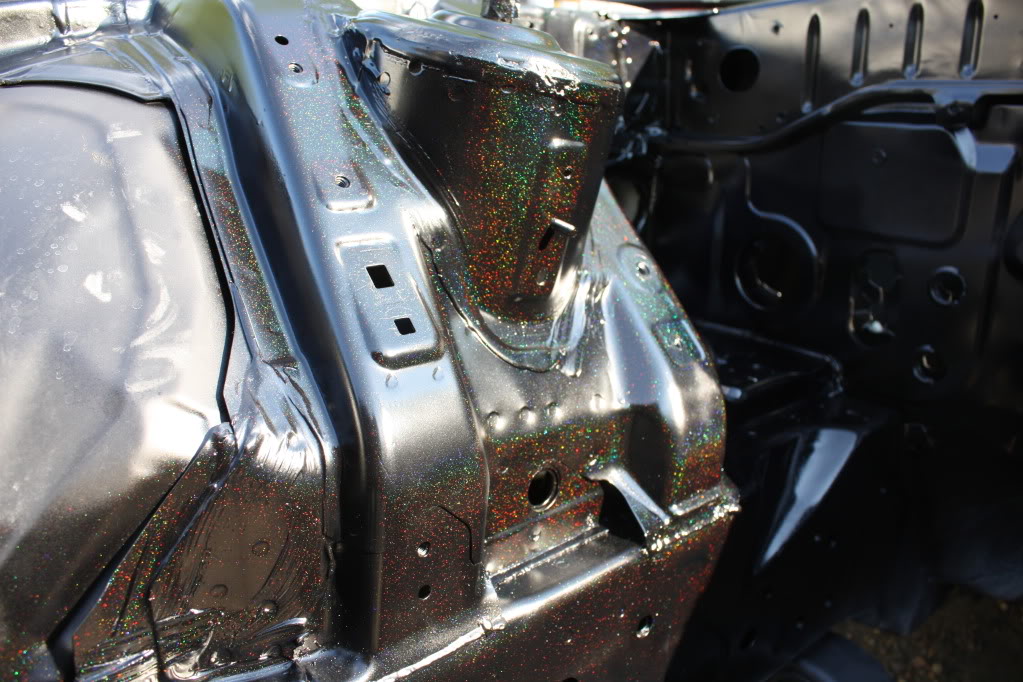
All about paint/body.. Kustom paint? Mega Flake? Shaved? post here!!


 06-27-11, 07:20 PM
#356
Full Member
Join Date: Jun 2011
Location: Pittsburgh, PA
Posts: 82
Likes: 0
Received 0 Likes
on
0 Posts
As I posted earlier, I met these guys at SEMA a few years ago then checked out thier site. TONS of good info on DIY from real pro guys and from guys who do it in thier backyard. They even go into which cheap "one job" guns to buy and which to avoid.
http://www.autobody101.com/forums/
http://www.autobody101.com/forums/
I was wondering if anyone else uses a single-stage paint could point me in the right direction (what's your favorite brand?). I want to do a flat color, nothing crazy like Zenki with chameleon and flake (looks good btw). Probably just going to spray my car white, not looking for a show car finish by any means but don't want it to look like complete crap either. Also, how much paint would I need to do the entire outside of the car. Thanks.
06-27-11, 11:41 PM
#357
Full Member
Join Date: Jun 2011
Location: Pittsburgh, PA
Posts: 82
Likes: 0
Received 0 Likes
on
0 Posts
Thanks. I don't have aero but extra paint will be good to have since I'm just learning to drift I'm sure I will be doing alot of repairs  I also read on that auto body forum that some guy had sprayed clear over his single stage. Is it worth it or would that be overkill (seems to defeat the purpose of "single stage").
Edit: just to clarify the reason he said he used clear was because he got orange peel on the single stage. Let it set for 24hrs. then wet sanded and cleared.
I also read on that auto body forum that some guy had sprayed clear over his single stage. Is it worth it or would that be overkill (seems to defeat the purpose of "single stage").Edit: just to clarify the reason he said he used clear was because he got orange peel on the single stage. Let it set for 24hrs. then wet sanded and cleared.
Last edited by KryptoniteFC3S; 06-27-11 at 11:47 PM.
06-28-11, 12:55 AM
#358
usually it all depends on the materials. i know Nasons doesnt react well to clear being sprayed over it for some time... the BASF professional automotive refinishing line is a little better, and you can usually spray clear the next day or so over single stage.
my car reacted horrible due to the heat.. i'm debating repspraying everything together with clear, but i too fucked myself by doing single stage so i'd honestly have to sand everything, and just spray base/clear with out priming anything...
i tried everything i could to get the air temps down... iced the gun. stored the paint/mixed it all in an A/C controlled room, and still the car was so hot the chemicals just started bubbling like laquer popping...
06-28-11, 12:57 AM
#359
honestly as "easy" as single stage is it's really not worth it... base clear is such a better paint setup to go with... single stage is super hard to get wet without getting drips. orange peel sucks, but thats with any paint/improper gun settings/mixture. I'm just getting into it too, and i'm way over single stage...
06-28-11, 10:57 AM
#360
Full Member
Join Date: Jun 2011
Location: Pittsburgh, PA
Posts: 82
Likes: 0
Received 0 Likes
on
0 Posts
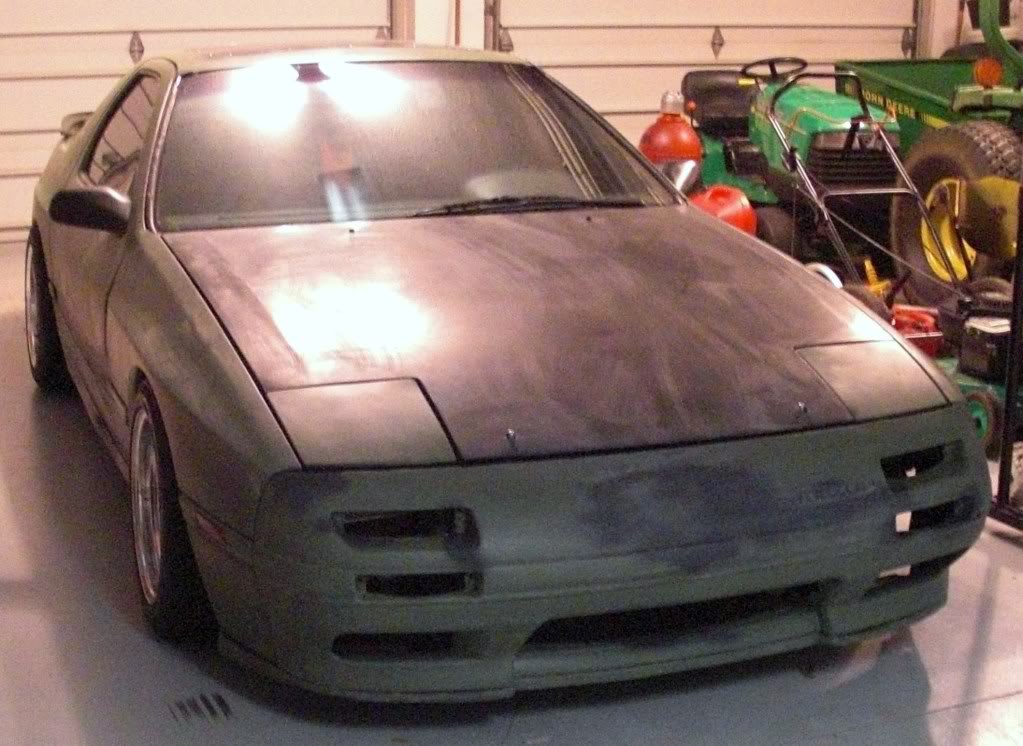
Thanks for all the advice guys  Maybe I will go BC/CC instead of single stage. Also sounds like it may not be a bad idea to wait until it cools down to spray it. This will be my first attempt at painting a car so I'm sure it will come out... well not like I hope it does lol. Maybe I'll just experiment (practice spraying/sanding) on my hood for now since it looks like it was attacked by wolverines.
Also my car already has a flat finish, may help the base coat stick after sanding? Although it may be a rattle can job, not really sure the previous owner painted it. I know on the auto body forum they recommended staying away from rattle can primers.
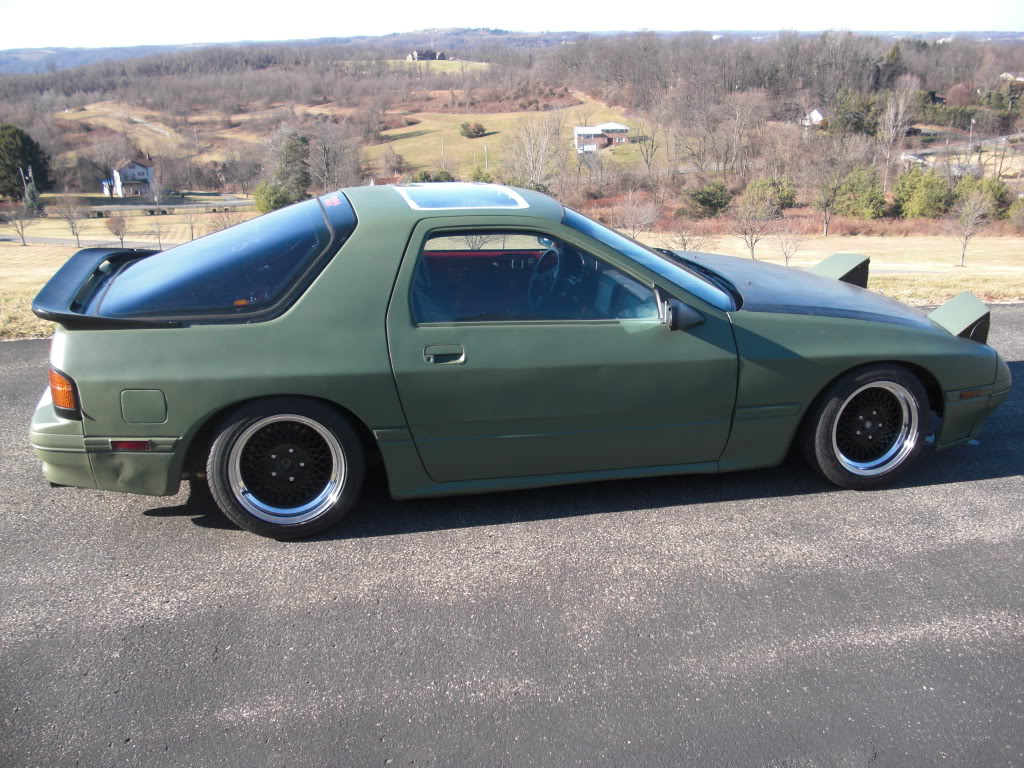
Maybe I will go BC/CC instead of single stage. Also sounds like it may not be a bad idea to wait until it cools down to spray it. This will be my first attempt at painting a car so I'm sure it will come out... well not like I hope it does lol. Maybe I'll just experiment (practice spraying/sanding) on my hood for now since it looks like it was attacked by wolverines.Also my car already has a flat finish, may help the base coat stick after sanding? Although it may be a rattle can job, not really sure the previous owner painted it. I know on the auto body forum they recommended staying away from rattle can primers.
 06-28-11, 07:47 PM
#362
DILLIGAF
iTrader: (13)
Join Date: Sep 2006
Location: Houston tx
Posts: 1,873
Likes: 0
Received 0 Likes
on
0 Posts
nah, after seeing Toshiki Yoshioka's s15 at the fan fest i got something better. i swear im spending waay too much ******* time on little **** thats gonna look sick lol
i am painting the car. brilliant black crystal pearl. same color on the chrysler town and country minivan
i am painting the car. brilliant black crystal pearl. same color on the chrysler town and country minivan
07-19-11, 05:23 PM
#363
Full Member
Join Date: Jun 2011
Location: Pittsburgh, PA
Posts: 82
Likes: 0
Received 0 Likes
on
0 Posts
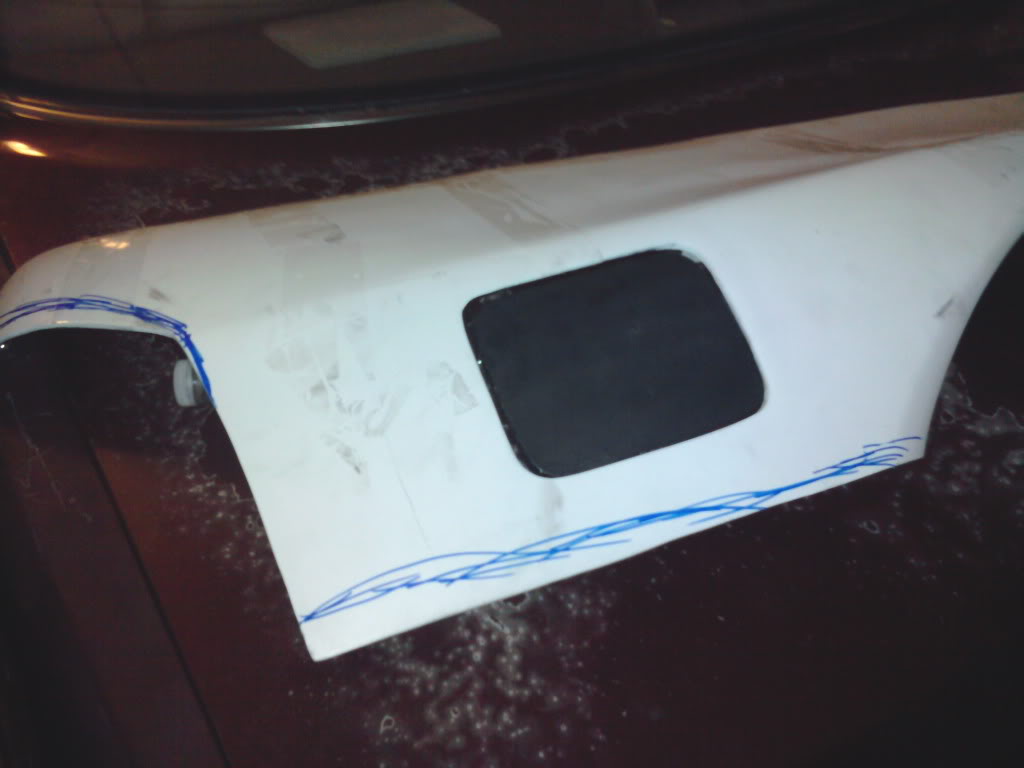
I've been moving at a snail's pace but almost ready to paint. Did some sanding/used body filler in a few places & primed. (Shaved emblem and filled the holes from the S4 wing  I think)
Wet sanded the entire car. (Still have to clean the car with a degreaser)
Also was waiting on my 15X8's for the back... I thought I would have a little fender work to do...
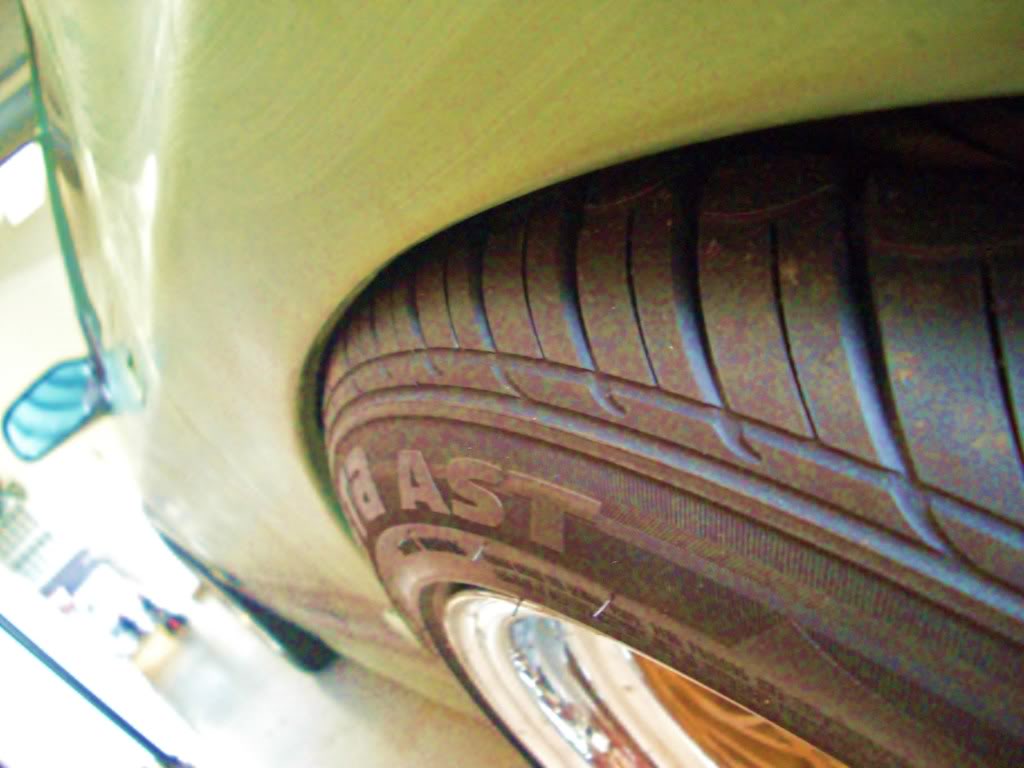
Hammer that lip up and a slight roll should take care of things.
Do you guys take out your door handles before you paint? In the manual it looks like only 2 bolts are holding them in. One bolt looks hard to get to and looks like a pain to deal with?
I think)Wet sanded the entire car. (Still have to clean the car with a degreaser)
Also was waiting on my 15X8's for the back... I thought I would have a little fender work to do...
Hammer that lip up and a slight roll should take care of things.
Do you guys take out your door handles before you paint? In the manual it looks like only 2 bolts are holding them in. One bolt looks hard to get to and looks like a pain to deal with?
07-19-11, 11:57 PM
#364
damn the resin + gas door idea is way better than what i was trying to do.
spent like 2hrs making an extended bracket to mount the gas door to the stock bolt holes, and have the bracket extend the door out to the over fender but i gave up... that **** sucks.
i think im going to pull my fender off and do that. i hate the sunken *** gas door look.
spent like 2hrs making an extended bracket to mount the gas door to the stock bolt holes, and have the bracket extend the door out to the over fender but i gave up... that **** sucks.
i think im going to pull my fender off and do that. i hate the sunken *** gas door look.
07-20-11, 05:31 PM
#366
Full Member
Join Date: Jun 2011
Location: Pittsburgh, PA
Posts: 82
Likes: 0
Received 0 Likes
on
0 Posts
Thanks I didn't even think to roll the window down.
On another note, I hammered the lip and raised the coilovers 1 turn. I went to take it for a ride to see if it would rub and it did a little. Guess I have to raise it another turn or 2 and do a slight roll.
On another note, I hammered the lip and raised the coilovers 1 turn. I went to take it for a ride to see if it would rub and it did a little. Guess I have to raise it another turn or 2 and do a slight roll.
07-20-11, 08:38 PM
#367
Full Member
Join Date: Jun 2011
Location: Pittsburgh, PA
Posts: 82
Likes: 0
Received 0 Likes
on
0 Posts
Yea for a second I thought it might be rubbing the heat shield for the exhaust but my offset is deep enough its not anywhere near springs, exhaust, etc. (Also I saw rubber on my fender and a ring on the tire) I just raised the rear another 2 rounds. I think the car is perfectly level now (must have had some reverse rake going) but still rubs when I'm on uneven pavement or go over a bump. Tomorrow I'm gonna try using an old magazine or something to roll my fenders a little. I don't really like a huge pull on FCs it messes up the flow of the car.
 07-21-11, 11:39 AM
#370
Full Member
Join Date: Jun 2011
Location: Pittsburgh, PA
Posts: 82
Likes: 0
Received 0 Likes
on
0 Posts
Yea I meant roll my bad, I'm going to give it a try later on today. I'll start with something thin. I still might have to raise the car a little more since I didn't take into consideration that I have less than 1 gallon of gas in the car.
07-21-11, 11:58 AM
#371
Full Member
Join Date: Jun 2011
Location: Pittsburgh, PA
Posts: 82
Likes: 0
Received 0 Likes
on
0 Posts
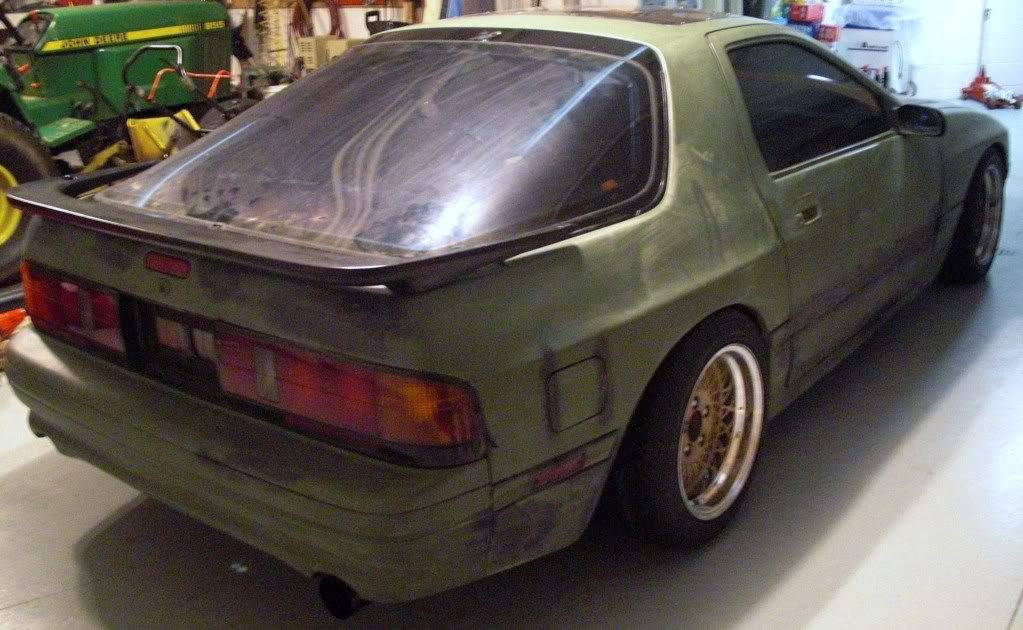
Yea about the sunroof I took some pictures yesterday and was going to put them up last night but I was too tired lol. When I bought my car the original sunroof was rusted completely through in a few places so me being cheap decided to use plexiglass. (It is dirty in this picture because of all the sanding I have been doing.)
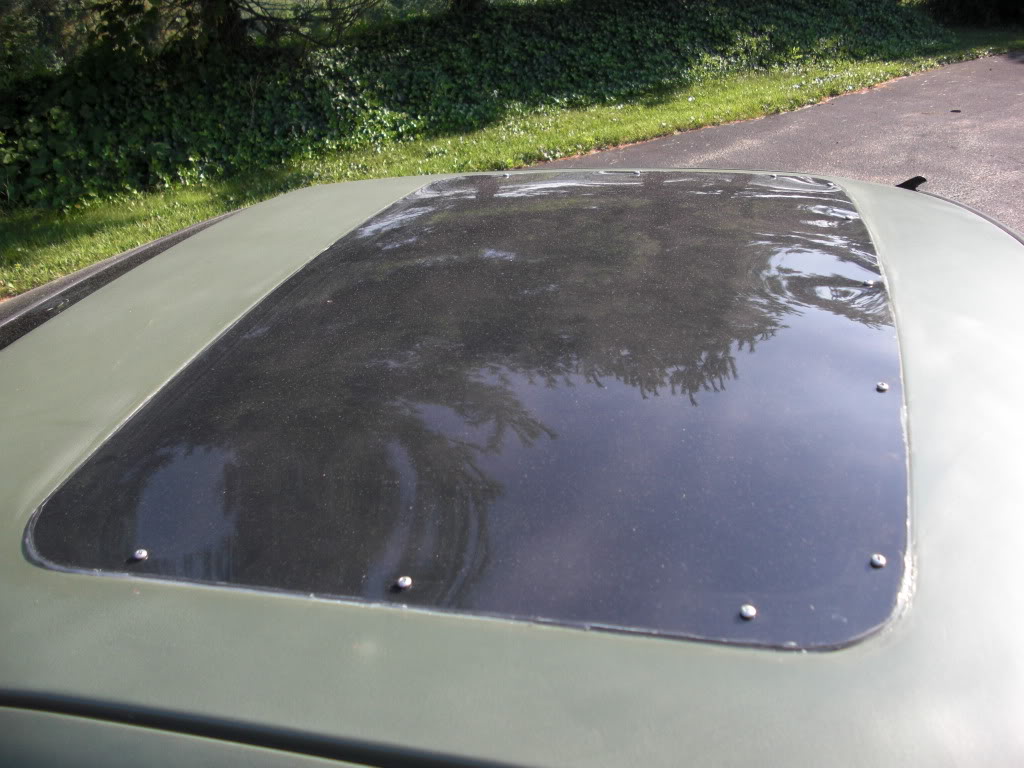
I actually used self tapping screws and bent some aluminum brackets. I just drilled through that narrow lip the hangs down from the sunroof opening.
I was originally going to tint it but then decided to use spray paint to keep the sun out so I don't bake alive at the track. To give it the glass look I sprayed it on the inside. I should probably replace the self tappers with something that I can put a nut on the other side, but so far I only drive on the skid pad and it has been rock solid.
Tips: Use a cutout wheel to cut the plexiglass (not a saw). Don't try to drill through the plexiglass while its on the car. Cut off a piece of extra plexiglass and drill a hole in that to guide the drill bit (keeps it from slipping on the sunroof) or if you have a drill press that would probably work as well. I just cut and bent aluminum brackets (5 across the front, 3 on each side, nothing on the back side except weather stripping) in a vice and they don't have to all be exactly perfect. My buddy hooked me up with some kind of flexible green glass from work that I laid across the brackets. I put some foam weatherstripping across the top of that (this also makes it easy to have a level sunroof since you can screw it a little lower or higher). Don't tighten the screws too much or drill too close to the edge to avoid cracking. Then to seal it off I used clear silicone. Taking the original sunroof & motor out saved 20 lbs. easy. Not bad for a $30 sheet of plexiglass.
07-21-11, 12:02 PM
#372
Full Member
Join Date: Jun 2011
Location: Pittsburgh, PA
Posts: 82
Likes: 0
Received 0 Likes
on
0 Posts
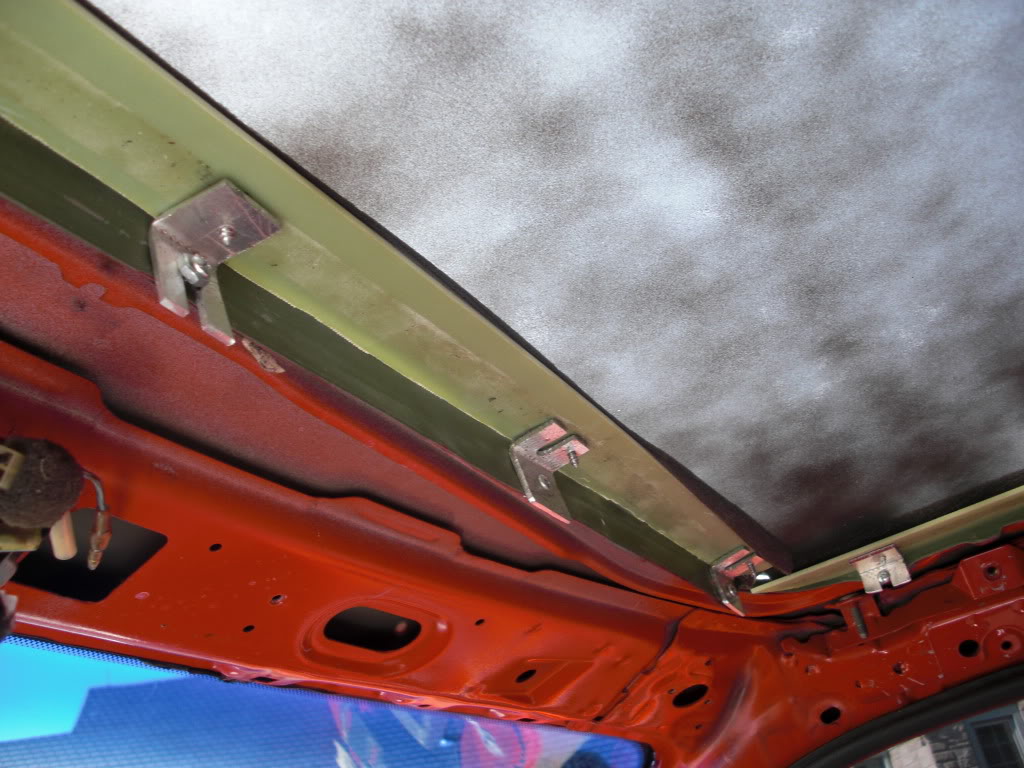
Also, cutting into the aluminum bracket like the one pictured on the far left makes bracket height adjustment easy. Just make sure you don't make a gap too big for your screws lol. I'm going to flip those other brackets eventually.
Last edited by KryptoniteFC3S; 07-21-11 at 12:08 PM.
07-21-11, 06:26 PM
#375
Full Member
Join Date: Jun 2011
Location: Pittsburgh, PA
Posts: 82
Likes: 0
Received 0 Likes
on
0 Posts
So far I haven't had it in the rain. I don't see why it would leak as long as you use silicone around the edge. I guess a little water could get in around the screws... just use some silicone around those as well if it leaks.
Only downside is you can't open the sunroof. It would be cool if there was a way to seal it from rain and have some kind of latch to pop the backside up to let a little heat out. But it definitely saves some weight
Only downside is you can't open the sunroof. It would be cool if there was a way to seal it from rain and have some kind of latch to pop the backside up to let a little heat out. But it definitely saves some weight