
RECOVERING My Shift Knob/Wheel/E-brake...

Not a problem. I have been cutting them up and using the leather anyway. I cleaned it and conditioned it and it actually became really soft. There are quite a few good spots left on the passenger seat. I can pick out the best spot and send it to you. I should have a large enough area that I can cut out. I don't want money for it, just pay for the shipping that's all. PM me your address.
I have the red seats as well, but want to wrap part of my Nardi wheel with red leather that will look just as worn. I don't think I'll get the same effect with new leather. So I'm thinking leather from a used set would look perfect. The horn surround is the area I'm thinking.
Would you be willing to sell me one cover or part of one big enough to cover the area?
Would you be willing to sell me one cover or part of one big enough to cover the area?
Last edited by hulanfd3s; Jul 14, 2010 at 09:05 AM. Reason: Quote too big!!
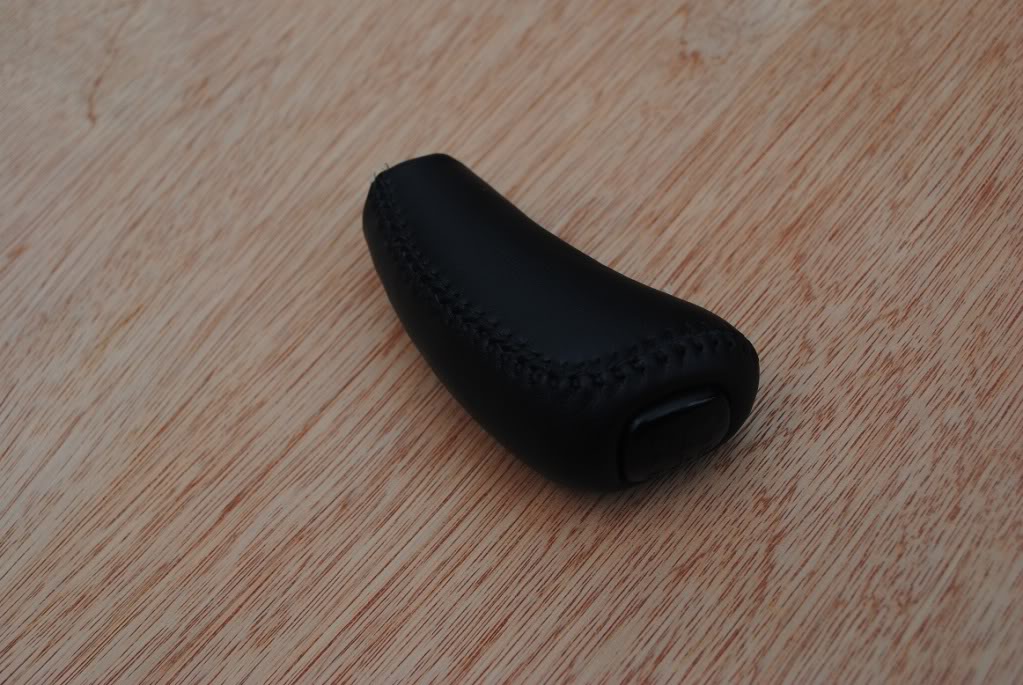
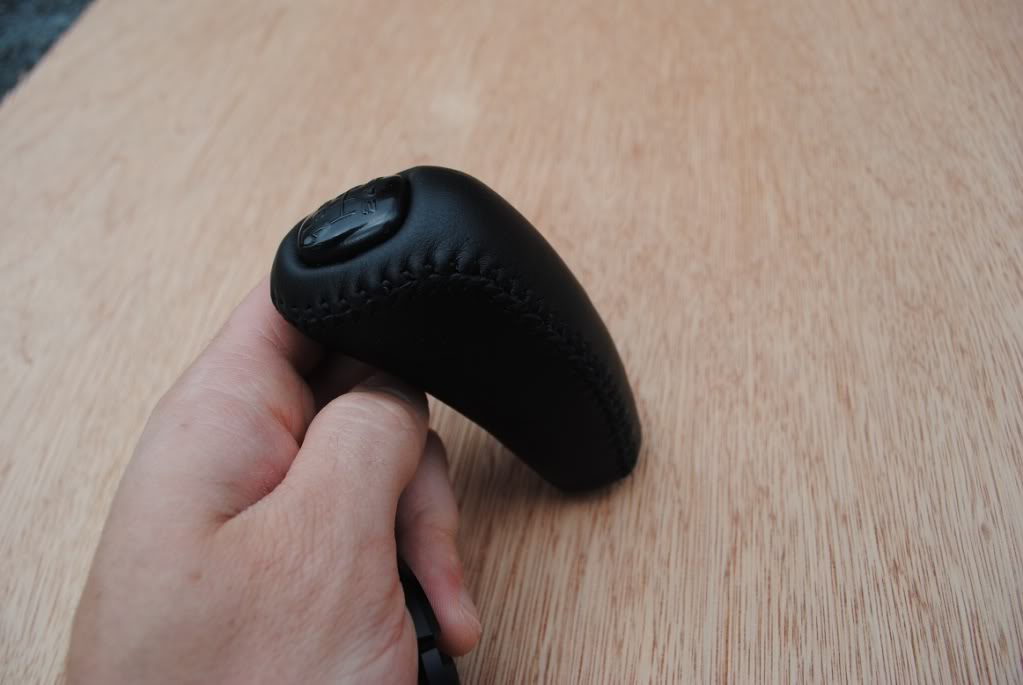
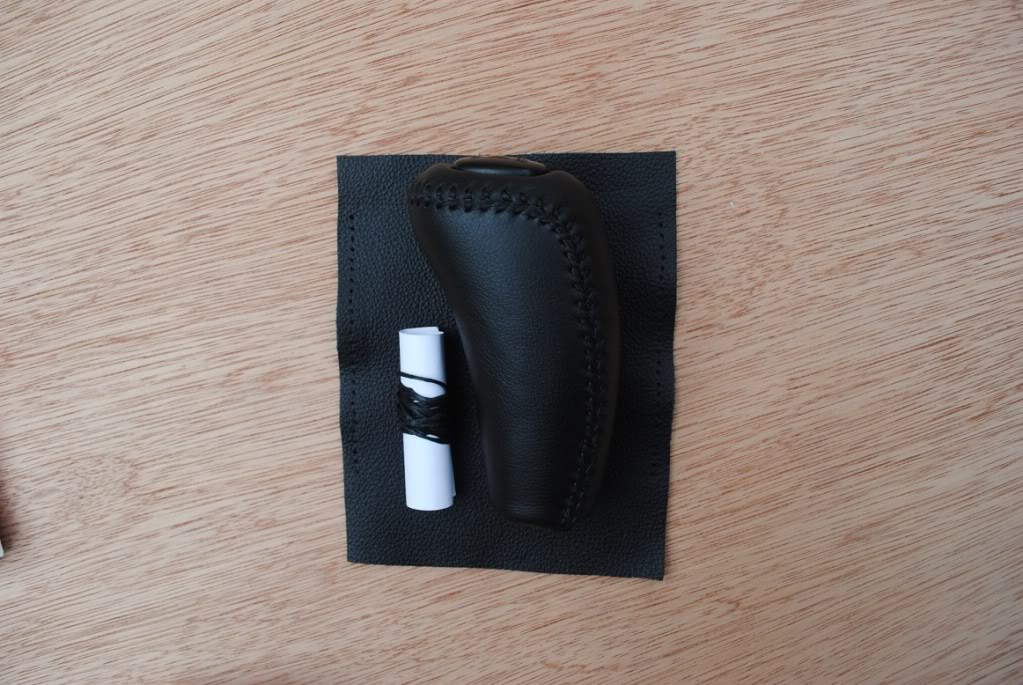
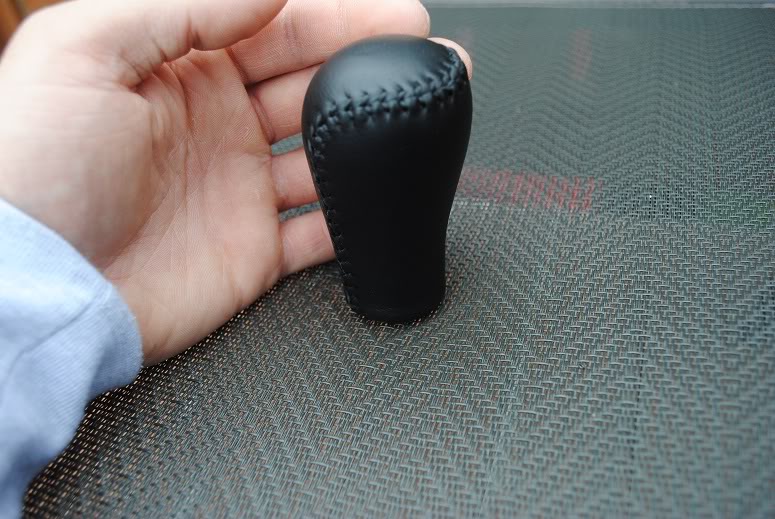
Just a few pictures of Pete_89T2's shift **** that I recovered last night. I also extrapolated a pattern for his e-brake cover from various measurements he sent me. He will lace it on himself when he receives it in the mail.
Best of luck Pete. Need some help with the stitching just let me know.

Best of luck Pete. Need some help with the stitching just let me know.


Just a few pictures of Pete_89T2's shift **** that I recovered last night. I also extrapolated a pattern for his e-brake cover from various measurements he sent me. He will lace it on himself when he receives it in the mail.
Best of luck Pete. Need some help with the stitching just let me know.
Best of luck Pete. Need some help with the stitching just let me know.


Rotary Enthusiast

Joined: May 2006
Posts: 763
Likes: 15
From: reno nevada
I am very impressed with your work. Excelent quality and you are very kind offering to help us all. I would love to recover my shift **** and brake handle do you know of any tutorials or do you have any advise to us trying to do this for a first time?

When I first started, there were no tutorials available and I still can't find them now. I guess it's a well kept secret haha. I think there may be some short videos on youtube that describe the baseball stitch, but nothing leading up to that.
If you're a do-it-yourselfer like me and want to tackle it, the process is actually quite simple. Basically you remove the factory cover by cutting the stitches with a blade, trace the pattern, punch the holes & lace with the baseball stitch.
Little bit more detailed than that, but in a nutshell...
The next one I recover, if I have some time I'll snap some photos of the process and write up a tutorial. I think that would be a great idea.
Thanks,
Hulan
I think it will be an excellent Idea, although it will be a while before I complete another wheel. I am awaiting a few to be sent when the snow hits.
I will definitely have a tutorial up for steering wheels as well in the near future.
I will definitely have a tutorial up for steering wheels as well in the near future.
Stitching a shift boot is completely different. A boot is completed using a sewing machine and is no more complicated than stitching an article of clothing.
Basically you remove your old boot, separate the panels, trace the pattern and run it through the sewing machine. Sewing leather requires an industrial machine like I have, but most boots are made from vinyl and can easily be stitched on any old machine.
I have to fab a boot for my fd so I will take some photos and write a tutorial for the shift boot as well.
Otherwise if you would like one made PM me...
Rotary Enthusiast
Joined: May 2006
Posts: 763
Likes: 15
From: reno nevada
I have a few more questions. I would PM you to avoid clogging up this thread but I'm sure others could use the information.
The leather on my shift **** disintegrated over time and I threw it out. Next time you do an FD **** could you maybe take a picture along side of a ruler of the leather? Or is it easy enough to just make a new pattern?
Also were do you purchase your leather from? I can't even find decent looking vinyl locally so I'm sure I'll need to order it.
Also in some stitch tutorials on YouTube they have the leather cut were the seams will touch when you wrap it around but in your pictures it looks like a small (maybe 1/8th inch) gap between the pieces and presumably the stiching streches it. Seems like the gap would make a cleaner look but I want to make sure I'm not seeing it wrong.
Thank you for all your help!
Hey not a problem at all...
I would take a picture for you, but it will do no good. You will need a pattern of the original in order for the circumference on both pieces to be exactly the same. this ensures the correct amount of holes to lign up.
I purhase my leather from leatherseats.com. The minimum they sell is 1/4 hide which is approximately 15sq ft. @ $80.00. So if you're only planning to cover a small project it's a waste of cash. I would try tandy leather. They may sell it in smaller portions. Do not use vinyl it will tear at every stitch.
There is no gap between the seams. The leather "puckers" from the force of the thread. It may look like a gap in the photos, but the seams lay flat in the middle. They seal all the way around.
I have the pattern here and would scan it and e-mail it to you, but I would imagine the sizing would be affected by the scan and program used to open it. It does not have the holes in the pattern, they must be calculated 5mm apart with a seamstress tape measure starting by marking the bottom of the **** while the pattern is in place and making sure the circumference measures exact on both pieces.
If you like you can PM me your address, I'll photocopy the pattern and send it to you along with enough leather to complete it or whatever works best for you. Just cover the materials and shipping which will not be much.
I have a few more questions. I would PM you to avoid clogging up this thread but I'm sure others could use the information.
The leather on my shift **** disintegrated over time and I threw it out. Next time you do an FD **** could you maybe take a picture along side of a ruler of the leather? Or is it easy enough to just make a new pattern?
Also were do you purchase your leather from? I can't even find decent looking vinyl locally so I'm sure I'll need to order it.
Also in some stitch tutorials on YouTube they have the leather cut were the seams will touch when you wrap it around but in your pictures it looks like a small (maybe 1/8th inch) gap between the pieces and presumably the stiching streches it. Seems like the gap would make a cleaner look but I want to make sure I'm not seeing it wrong.
Thank you for all your help!
The leather on my shift **** disintegrated over time and I threw it out. Next time you do an FD **** could you maybe take a picture along side of a ruler of the leather? Or is it easy enough to just make a new pattern?
Also were do you purchase your leather from? I can't even find decent looking vinyl locally so I'm sure I'll need to order it.
Also in some stitch tutorials on YouTube they have the leather cut were the seams will touch when you wrap it around but in your pictures it looks like a small (maybe 1/8th inch) gap between the pieces and presumably the stiching streches it. Seems like the gap would make a cleaner look but I want to make sure I'm not seeing it wrong.
Thank you for all your help!
 .
.