
From Zero to Hero: Heavy JDM Influenced Restoration


Thread Starter


Joined: Apr 2015
Posts: 398
Likes: 169
From: St. Louis, MO
Thread Starter
Joined: Apr 2015
Posts: 398
Likes: 169
From: St. Louis, MO
I have thought long and hard about purchasing that particular pair of housings/HIDs. There were a few things stopping me from pulling the trigger though. The biggest one being price, ~500 is not a small amount to pay for housings and HIDs. The second one, while minor, is that they bring what I like to call a "new age" look to the car. I rather fancy how the older style lights weren't completely clear. So, for now I decided to hold off. I may decide to dip in the future if they do another group buy.

Thread Starter
Joined: Apr 2015
Posts: 398
Likes: 169
From: St. Louis, MO
Thanks!
Update 2/14/2016:
Well, bad news..kind of. We were not able to get the car running this weekend. Good news, the wiring is complete�.kind of. I had a huge hand this weekend and we got the majority of the car wired. It is missing one or two things and then it can start. We simply ran out of time to get it done. Next weekend the car should be completely drive-able and the wires should all be loomed. Almost everything is also in the car. I ended up having a test-pipe that was to long. I had my welding buddy cut it down and put in some flex pipe. It turned out pretty good. Exhaust is officially in one complete piece now. I got my intake put together and in the car. I didn�t think an intake would end up looking so good. Got the fogs on the front support beam, didn�t end up putting it on yet though. I had a few spots of rust on my ECU mounting place. Wire wheeled the paint all off and sprayed it. I finally decided to slap on the rear wiper delete as well. As far as I know, this is the only one he made, unfortunately. I think it looks superb though. Since my battery box wouldn�t fit in the passenger bin my buddy thought of a pretty good idea for my battery. He modified the plastic topper so that the wires could go underneath it. It should look pretty good in the bin. I ended up getting the motor and transmission oil in the car. I drained the transmission and it seemed like the previous owner had used some auto transmission oil. It was really watery and not thick like the MT-90 I put in. I should also be able to get some more of the "pretty" things on the car next weekend. I should have the sunroof and side markers on at the least.
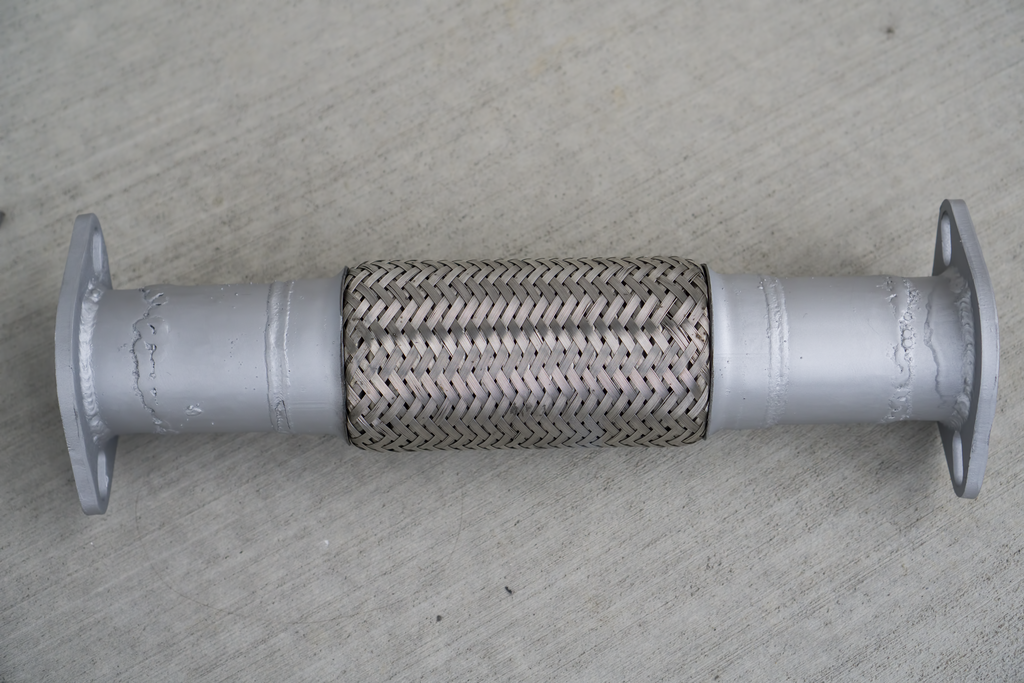
Here is the freshly welded test pipe:
Here is the ECU cover in progress to finish (Mount is done as well):

Here is the rear wiper delete:
Here is the fog and front support beam fitted (hilarity ensues if you turn the support beam with the fogs upside down):

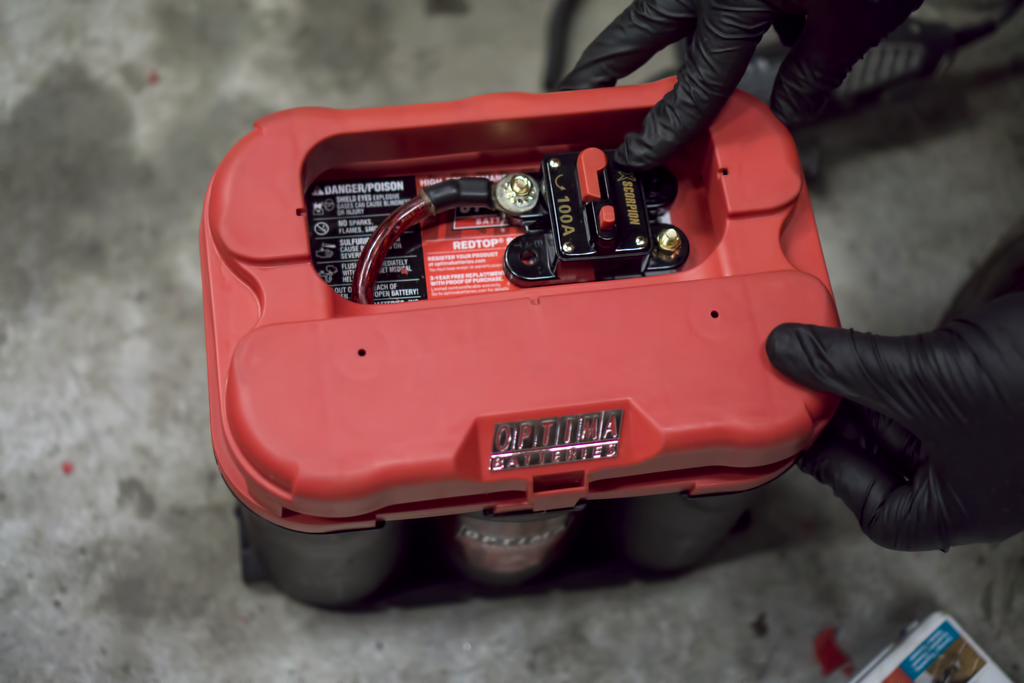
Here is the battery box and topper that has been modded (We are going to use 3M to mount the switch):
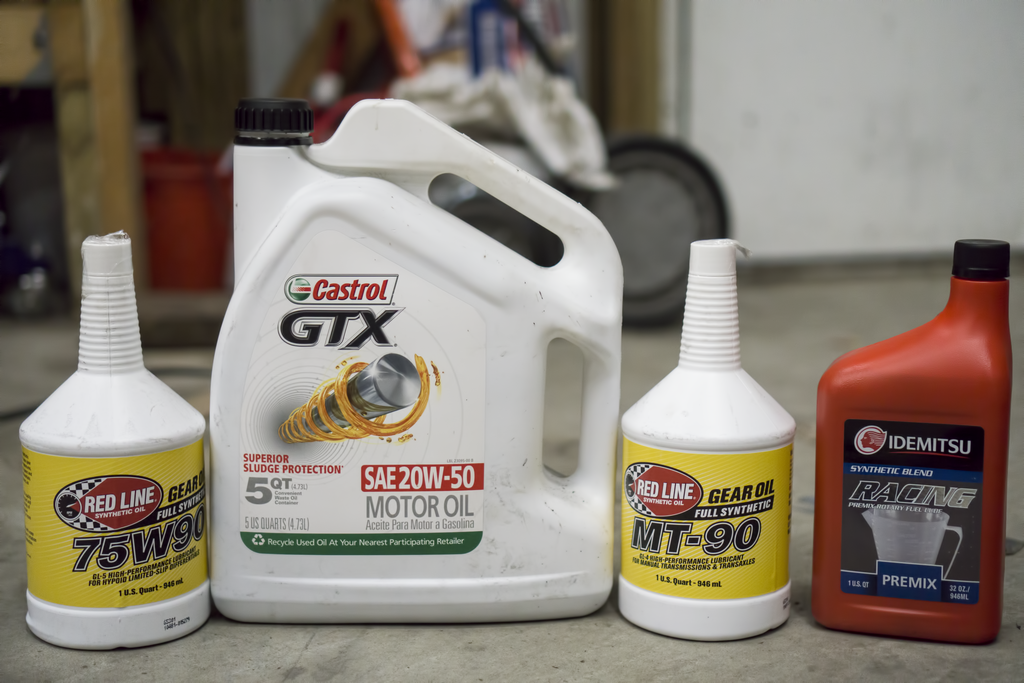
Here are all the wonderful fluids that have been/will be going in the car:
Update 2/14/2016:
Well, bad news..kind of. We were not able to get the car running this weekend. Good news, the wiring is complete�.kind of. I had a huge hand this weekend and we got the majority of the car wired. It is missing one or two things and then it can start. We simply ran out of time to get it done. Next weekend the car should be completely drive-able and the wires should all be loomed. Almost everything is also in the car. I ended up having a test-pipe that was to long. I had my welding buddy cut it down and put in some flex pipe. It turned out pretty good. Exhaust is officially in one complete piece now. I got my intake put together and in the car. I didn�t think an intake would end up looking so good. Got the fogs on the front support beam, didn�t end up putting it on yet though. I had a few spots of rust on my ECU mounting place. Wire wheeled the paint all off and sprayed it. I finally decided to slap on the rear wiper delete as well. As far as I know, this is the only one he made, unfortunately. I think it looks superb though. Since my battery box wouldn�t fit in the passenger bin my buddy thought of a pretty good idea for my battery. He modified the plastic topper so that the wires could go underneath it. It should look pretty good in the bin. I ended up getting the motor and transmission oil in the car. I drained the transmission and it seemed like the previous owner had used some auto transmission oil. It was really watery and not thick like the MT-90 I put in. I should also be able to get some more of the "pretty" things on the car next weekend. I should have the sunroof and side markers on at the least.
Here is the freshly welded test pipe:

Here is the ECU cover in progress to finish (Mount is done as well):


Here is the rear wiper delete:

Here is the fog and front support beam fitted (hilarity ensues if you turn the support beam with the fogs upside down):

Here is the battery box and topper that has been modded (We are going to use 3M to mount the switch):

Here are all the wonderful fluids that have been/will be going in the car:

Thread Starter
Joined: Apr 2015
Posts: 398
Likes: 169
From: St. Louis, MO
Update 2/14/2016 Continued:
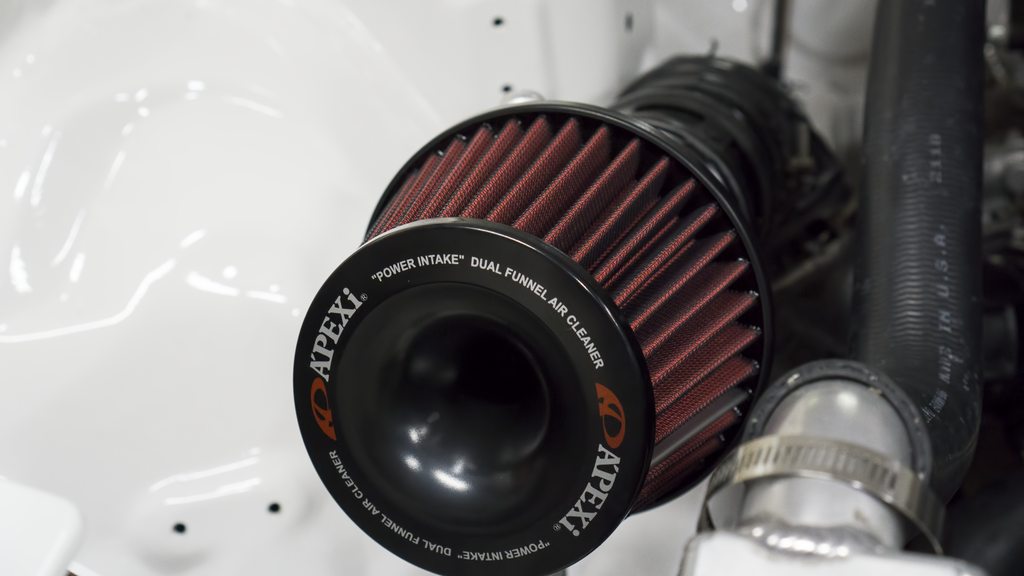
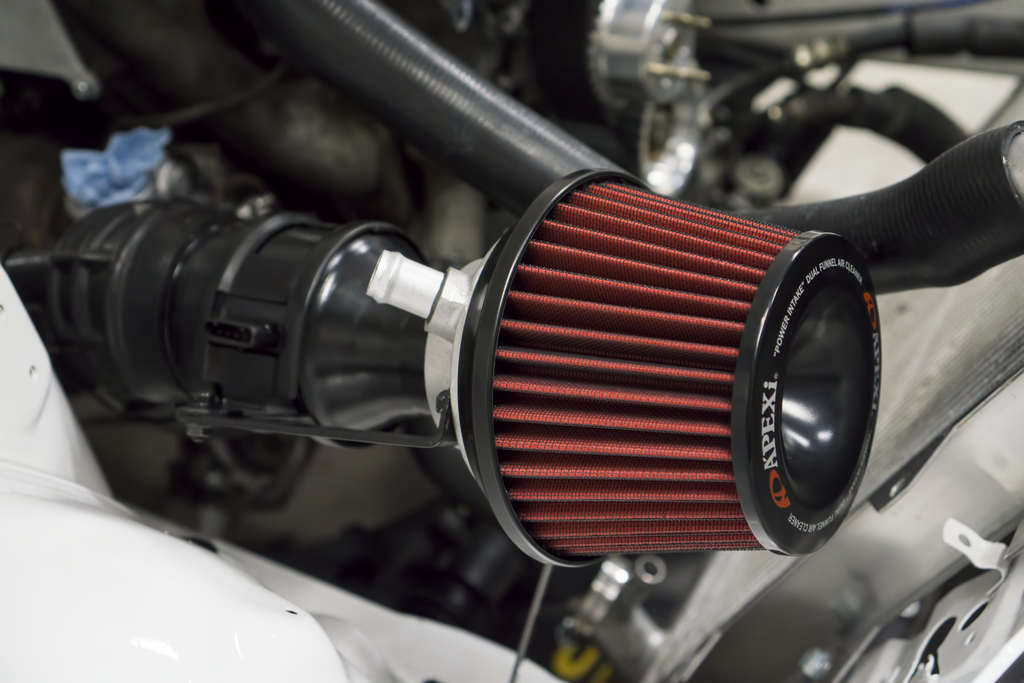
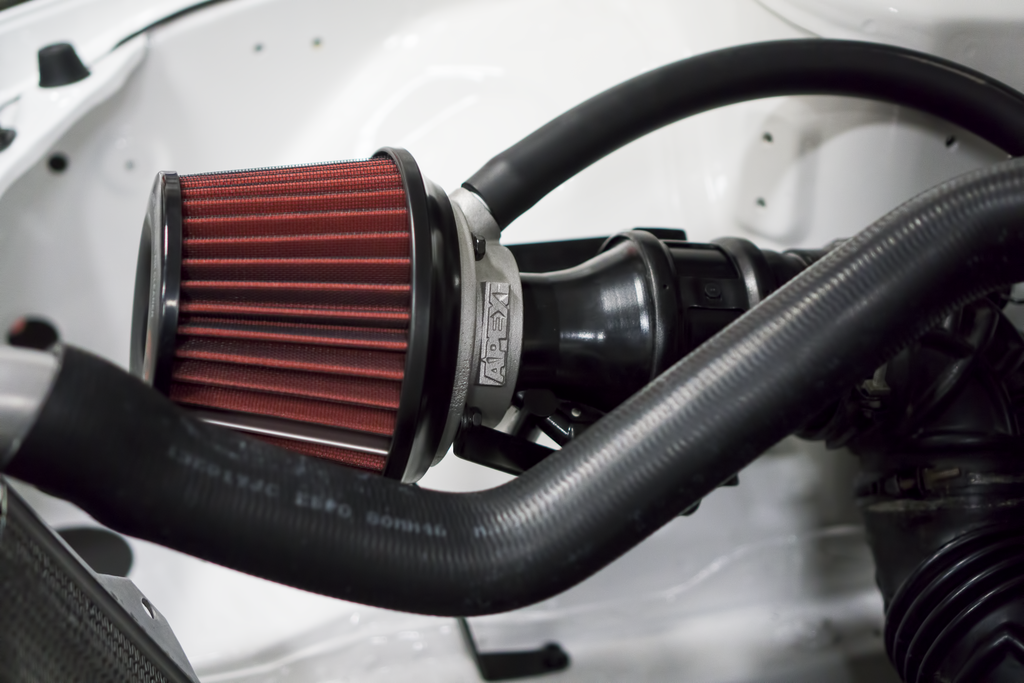
Here is the intake filter installed (I love this thing):
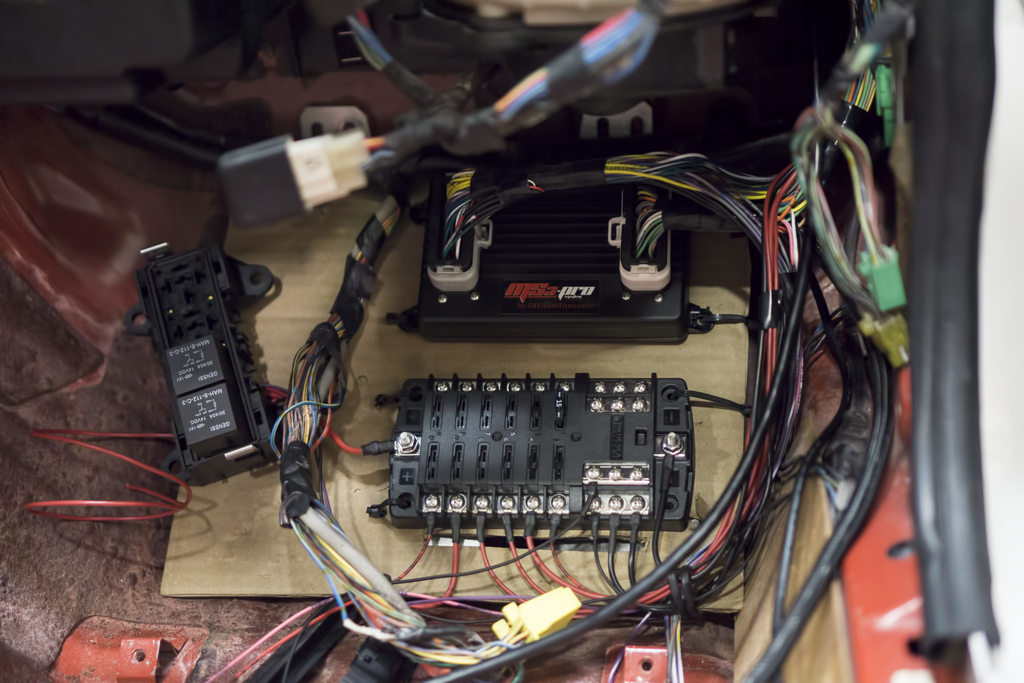
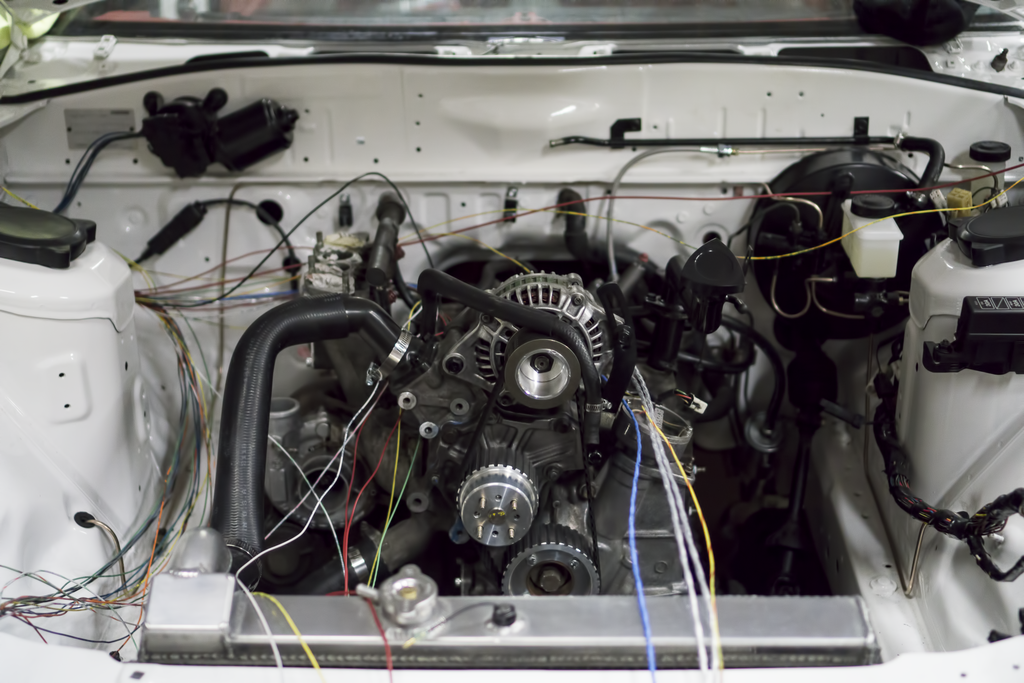
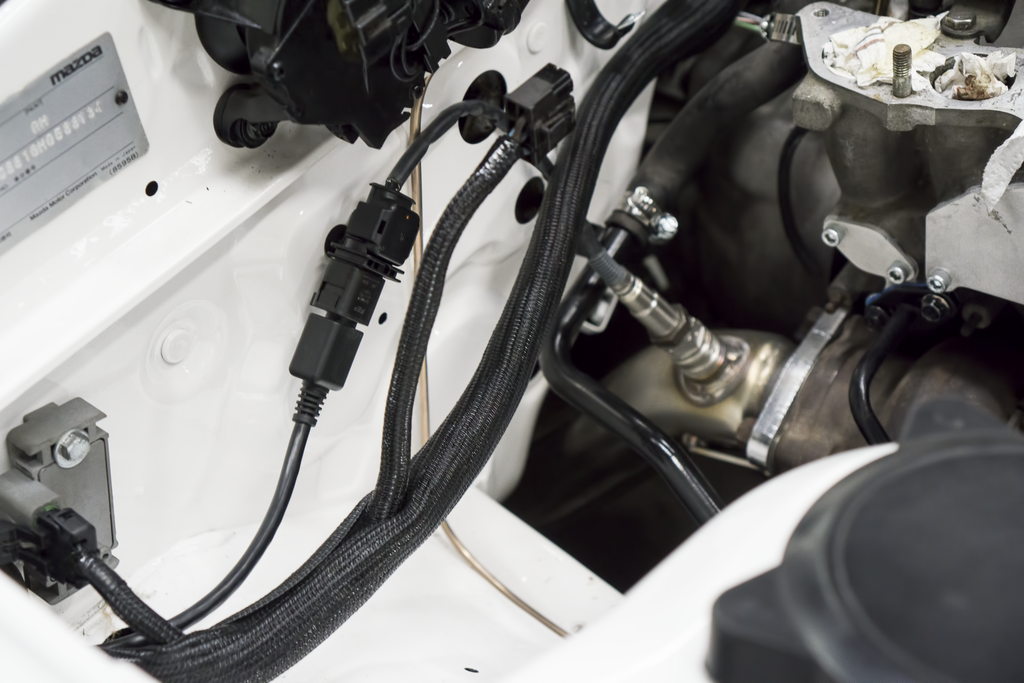
Here was the in-progress making the engine harness:
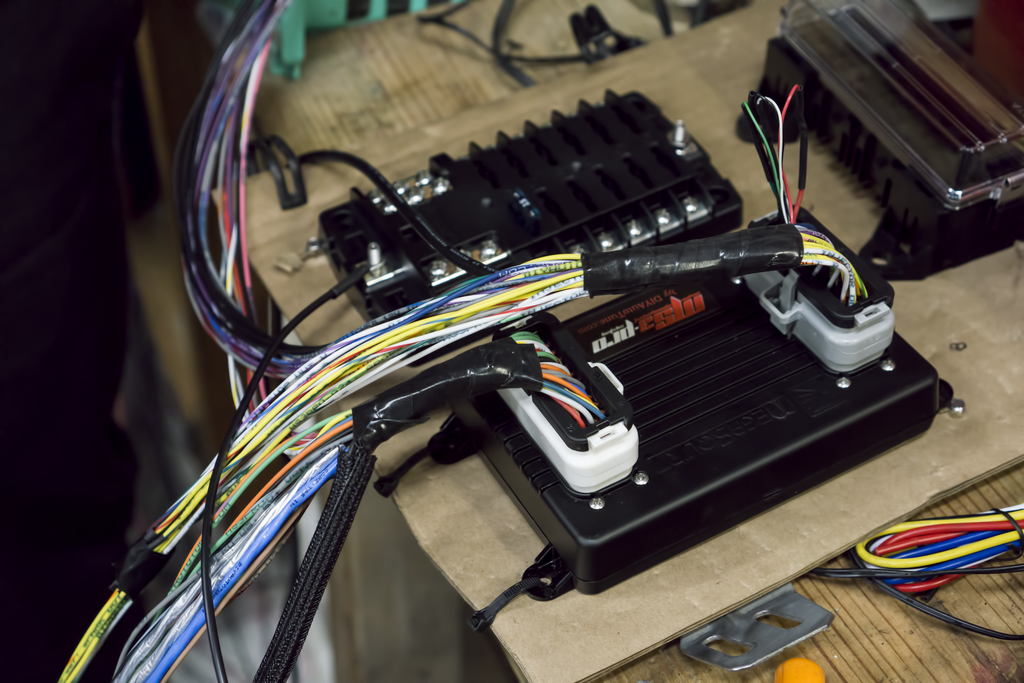
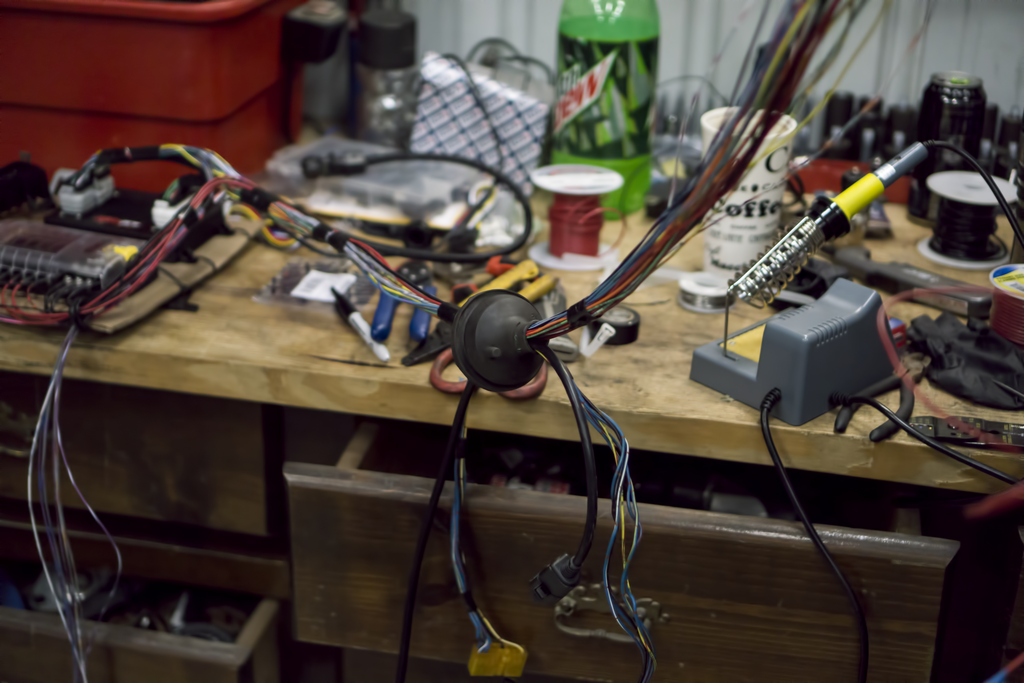
Here was the in-progress running the harness (cardboard is temporary template):

Here is the intake filter installed (I love this thing):


Here was the in-progress making the engine harness:


Here was the in-progress running the harness (cardboard is temporary template):


Thread Starter
Joined: Apr 2015
Posts: 398
Likes: 169
From: St. Louis, MO
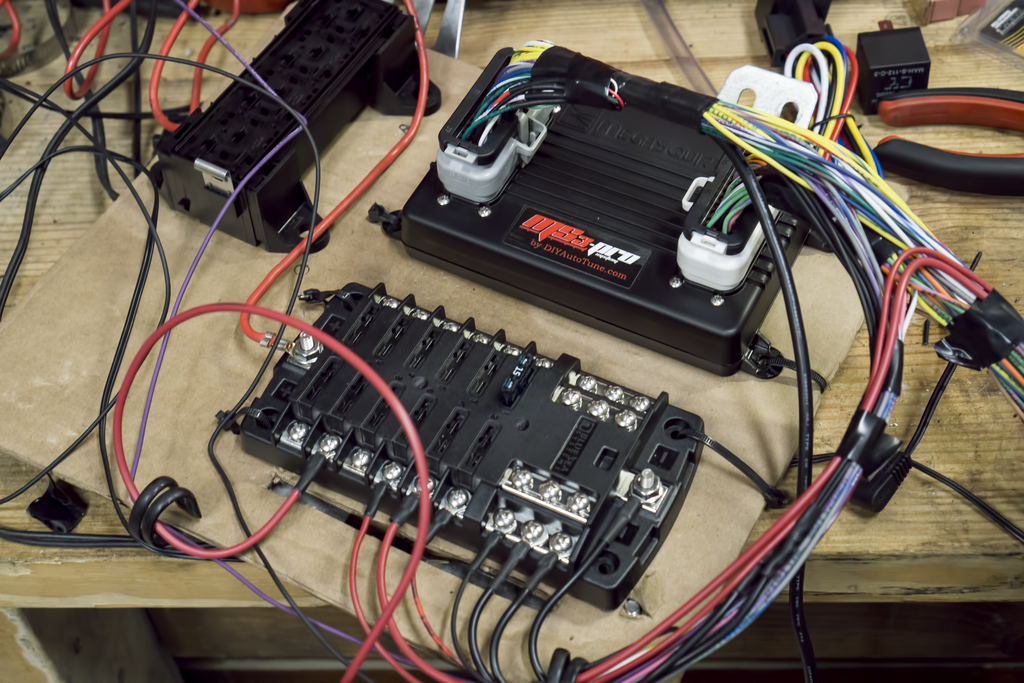
Here is the link to the Relay Box:
Here is the link to the Fuse Box:
Thread Starter
Joined: Apr 2015
Posts: 398
Likes: 169
From: St. Louis, MO
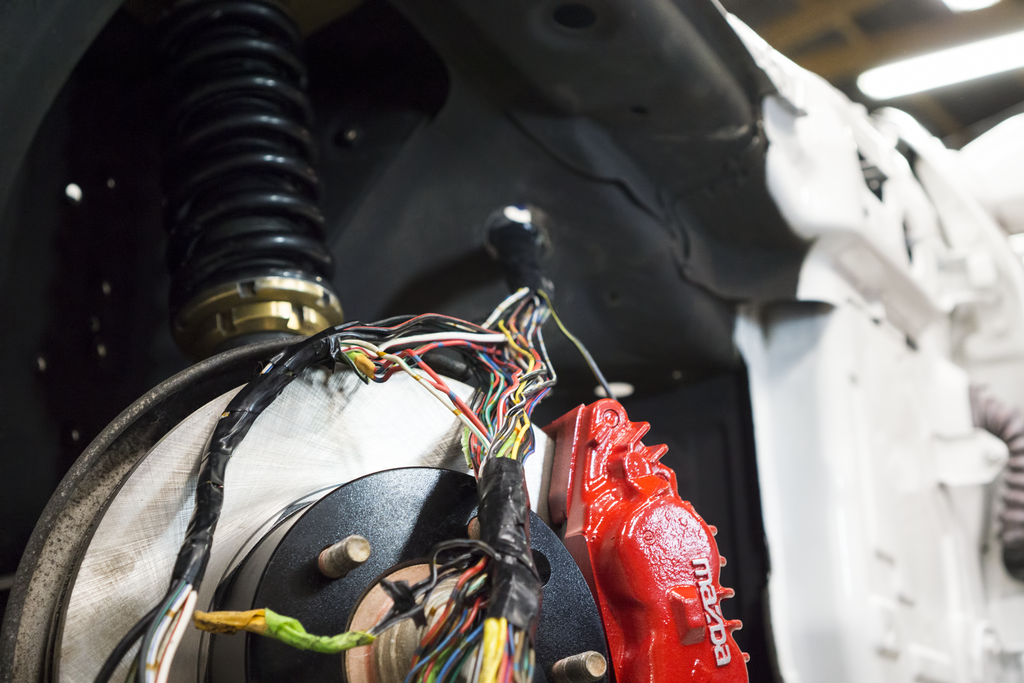
 I now have that sitting on top of the hub so I don't forget haha. These are a little messed up, so I will either be buying two new ones or using the pair from the other car.
Thread Starter
Joined: Apr 2015
Posts: 398
Likes: 169
From: St. Louis, MO
Update 2/21/2016:
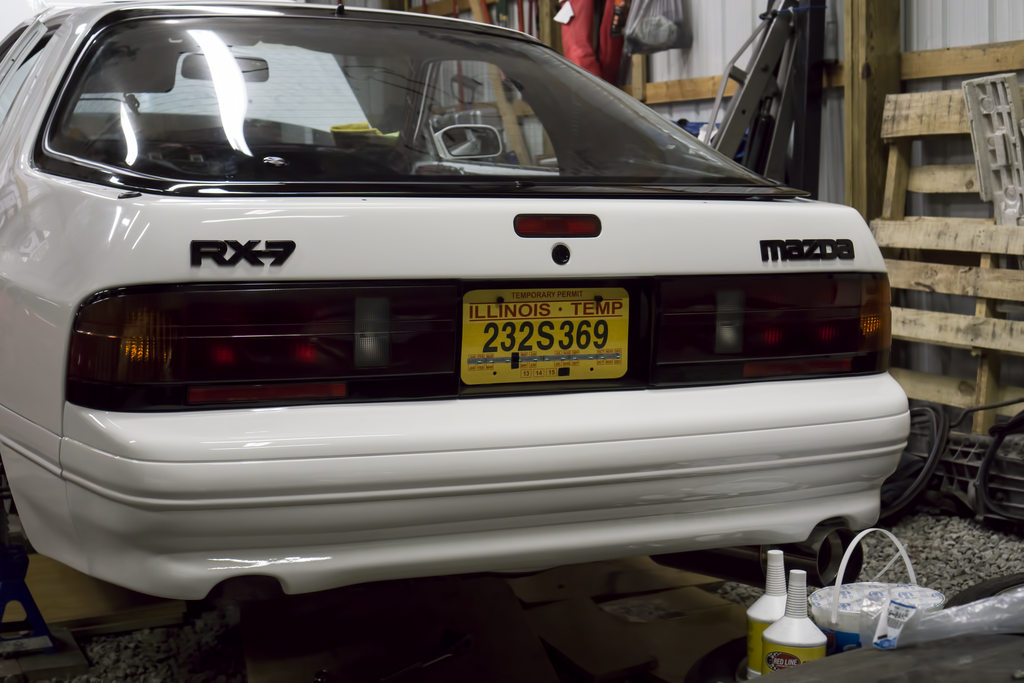
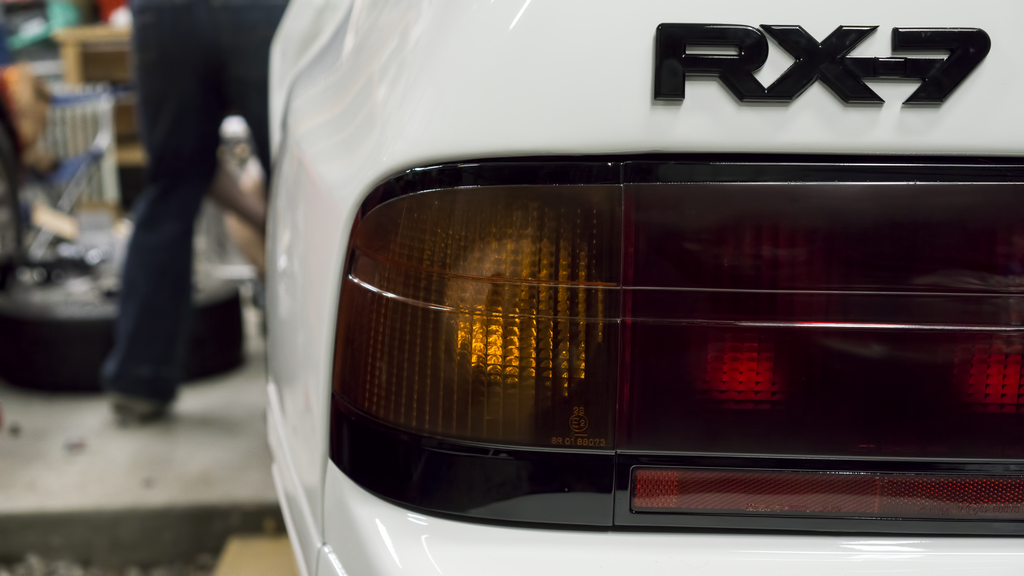
It’s been a fruitful weekend. The car has officially started and has a running tune. My friend from Chicago came down and with the help of another friend, we got it up. That was the main focus of the weekend, but a few other things were also completed. I got the sunroof back from the paint guy, slapped on the new stripping and got it on the car. It has this weird problem where the stripping is preventing the sunroof from closing all the way. At least, that is what it looks like. We also got on the rear emblems. They look good and really help bring the rear end together with the re-finished tail lights. We finished up doing a bit of looming and calling it. I will, unfortunately, be taking the next week off from touching the car at all (maybe something small...maybe). So, no update next Sunday. There will be a clip at the end of the post with two different angles of the engine running, and the exhaust. See you all again on March 6th!
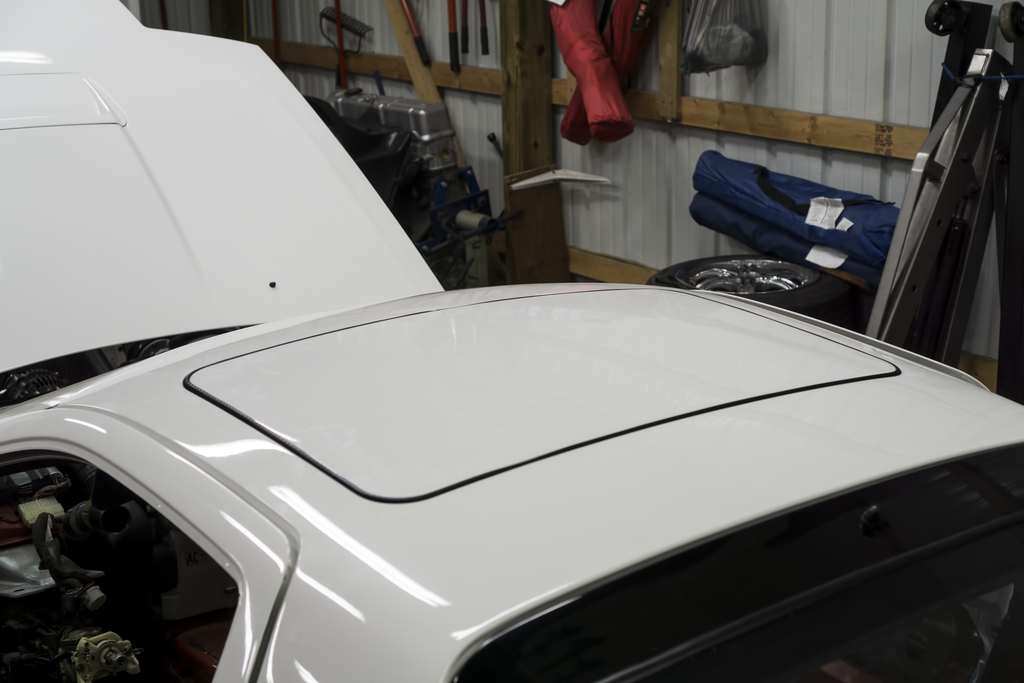
Here is the sunroof installed:
Here are the two emblems we got on (measured to the best of our ability!):
Here is a bit of the looming going on:
Here is the video of startup:
It’s been a fruitful weekend. The car has officially started and has a running tune. My friend from Chicago came down and with the help of another friend, we got it up. That was the main focus of the weekend, but a few other things were also completed. I got the sunroof back from the paint guy, slapped on the new stripping and got it on the car. It has this weird problem where the stripping is preventing the sunroof from closing all the way. At least, that is what it looks like. We also got on the rear emblems. They look good and really help bring the rear end together with the re-finished tail lights. We finished up doing a bit of looming and calling it. I will, unfortunately, be taking the next week off from touching the car at all (maybe something small...maybe). So, no update next Sunday. There will be a clip at the end of the post with two different angles of the engine running, and the exhaust. See you all again on March 6th!
Here is the sunroof installed:

Here are the two emblems we got on (measured to the best of our ability!):


Here is a bit of the looming going on:

Here is the video of startup:
Last edited by Akomix; Feb 21, 2016 at 11:20 PM.

Thread Starter
Joined: Apr 2015
Posts: 398
Likes: 169
From: St. Louis, MO

I'm looking forward to seeing more updates from you Jerry. Those seats came out really nice!
I'll ditto above, it looks fantastic! I'm also glad that you are taking such great care in the assembly. The quality really shows. Plus, you also have used the fuse block and relay block of my car's future, so thanks for that.

Rotard
Joined: May 2015
Posts: 29
Likes: 0
From: Wisconsin
Looks great and great pics. I don't recall if you stated why in the wall of pictures, and just assuming from the red in the interior, but why did you paint the red RX7 white? I love both colors but I'm just curious.
Thread Starter
Joined: Apr 2015
Posts: 398
Likes: 169
From: St. Louis, MO
 I hope this answers your question adequately. Sometimes it's hard to put reasons why I do things into words lol.
Rotard
Joined: May 2015
Posts: 29
Likes: 0
From: Wisconsin
There are a lot of reasons why I decided to choose white. I knew I wanted the RX-7 white before even buying one. That was part of the reason I purchased the original TII. The red shell came because of the original white RX-7 being unusable due to rust issues. The second reason, was partly due to Initial D. Ryosuke's was white, therefore mine would be as well. White, Dark Shadow Grey, and to an extent Silver are my top 3 favorite colors on cars. C5 Corvettes and FD's are an exception to this rule, they must be yellow. I hope this answers your question adequately. Sometimes it's hard to put reasons why I do things into words lol.
I hope this answers your question adequately. Sometimes it's hard to put reasons why I do things into words lol.Either way, looks great and I will check back in for your next update!
Thread Starter
Joined: Apr 2015
Posts: 398
Likes: 169
From: St. Louis, MO
Update 3/6/2016:
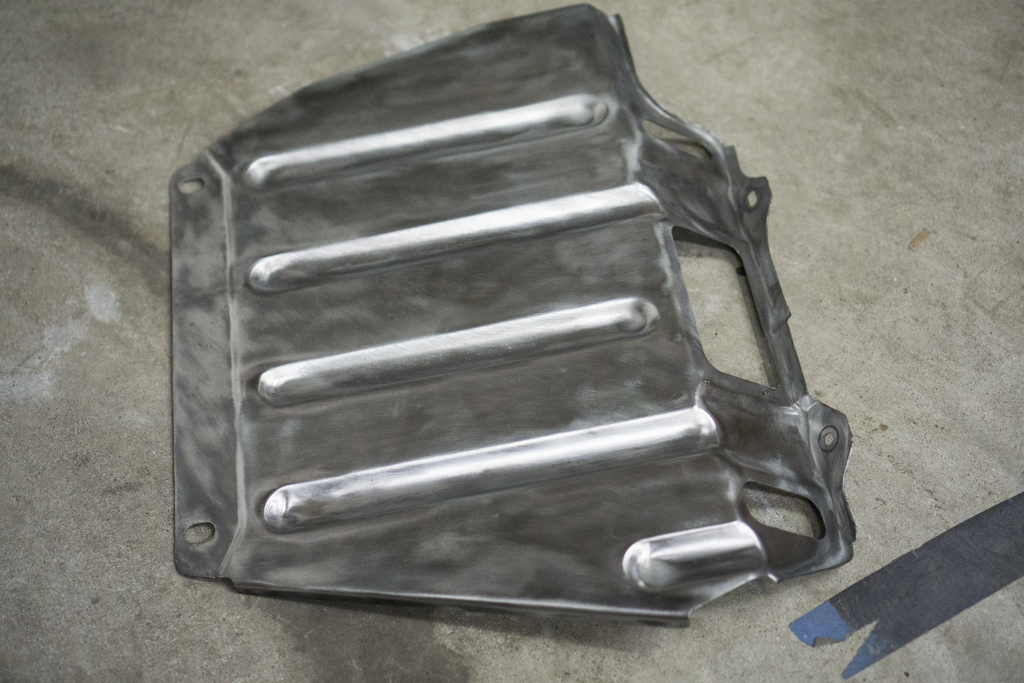
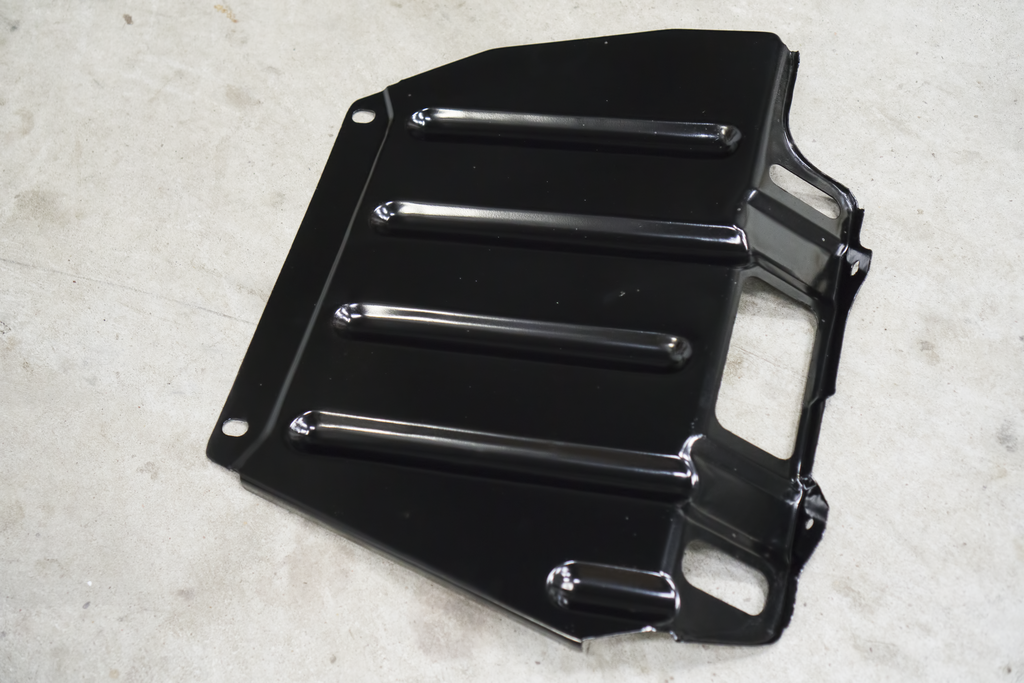
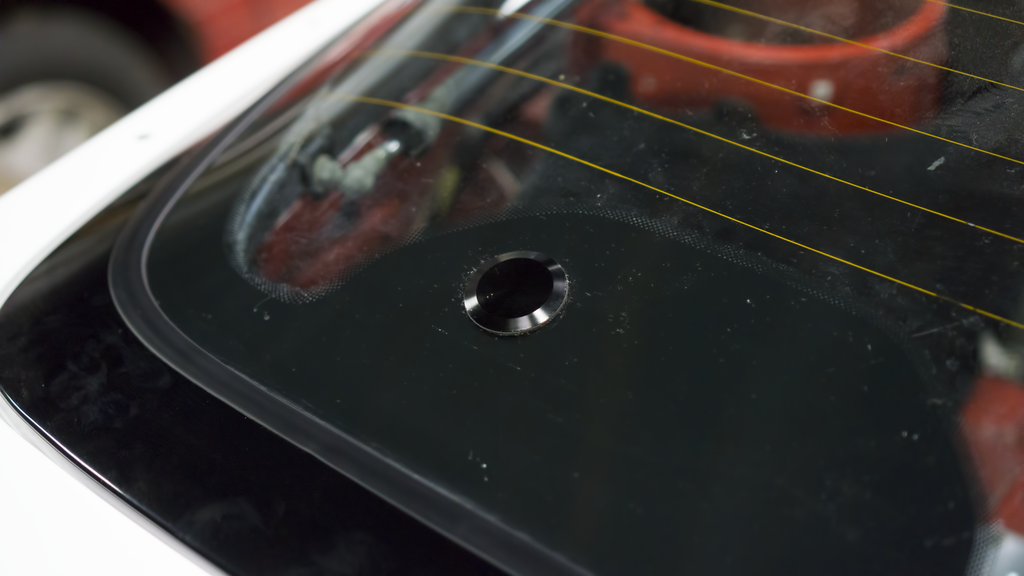
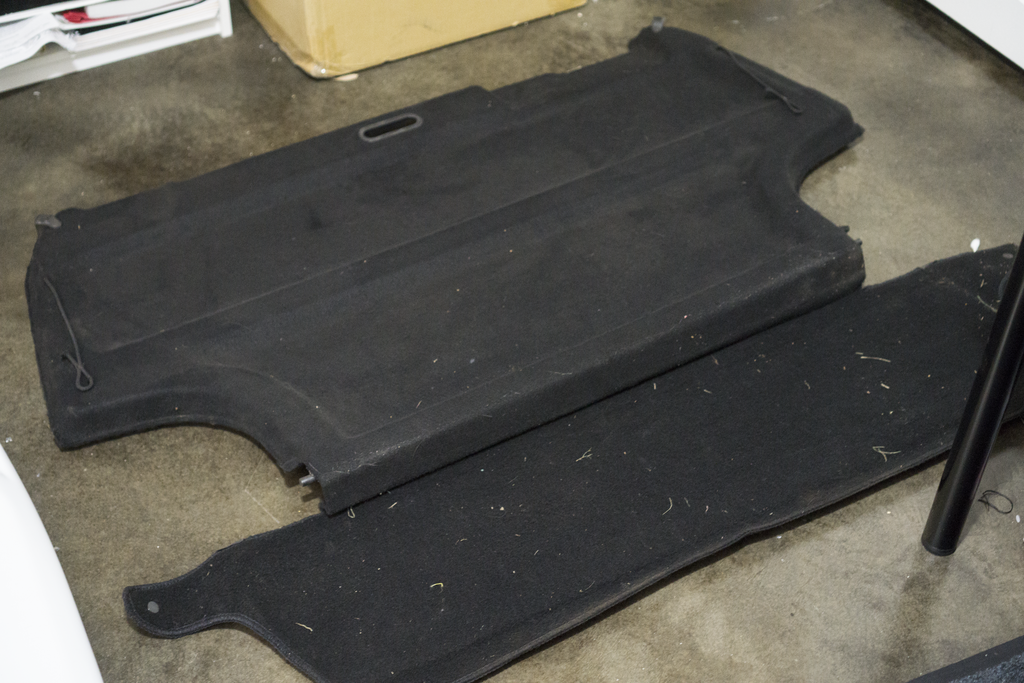
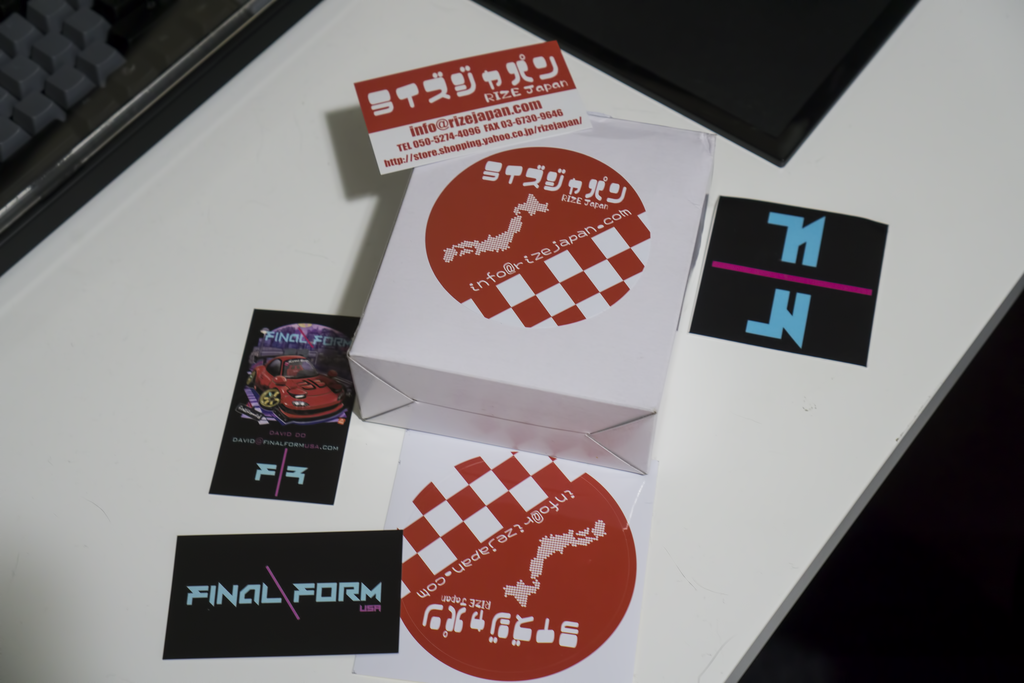
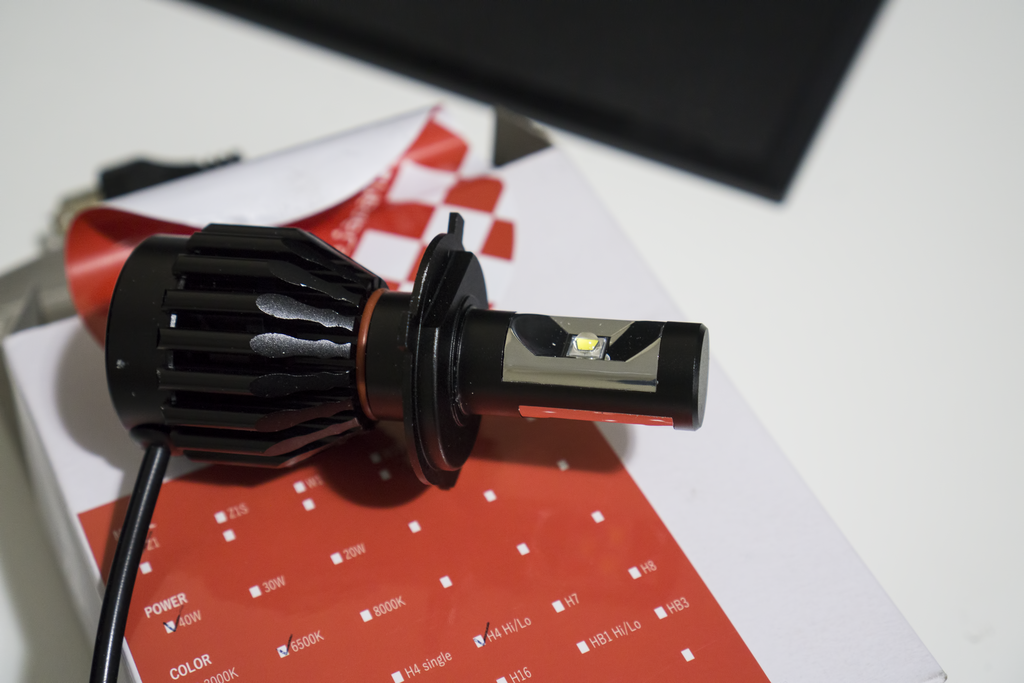
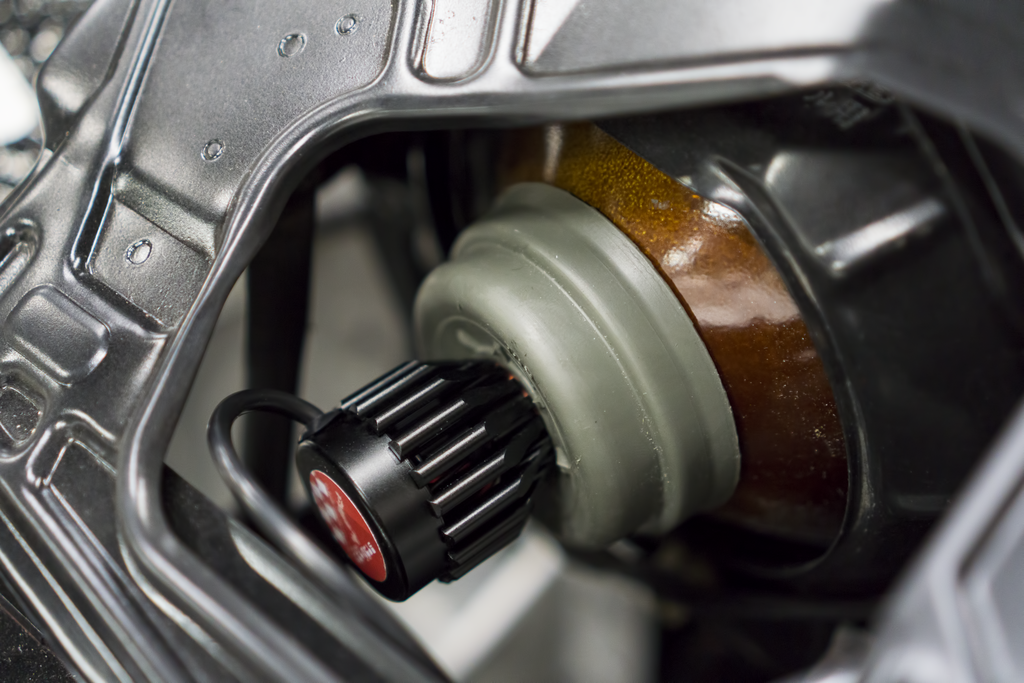
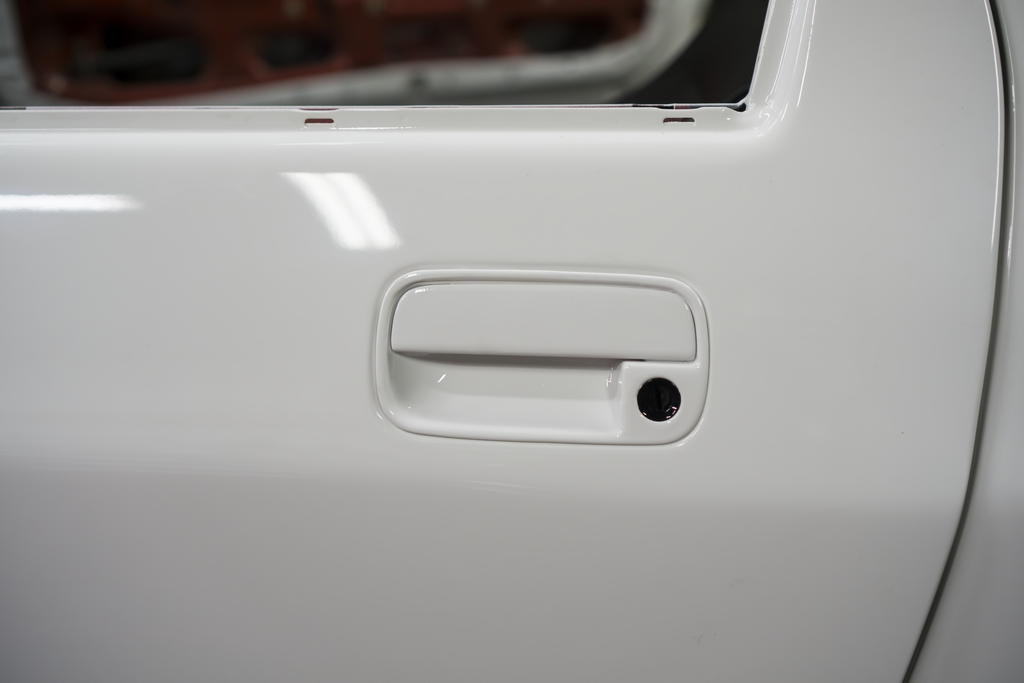
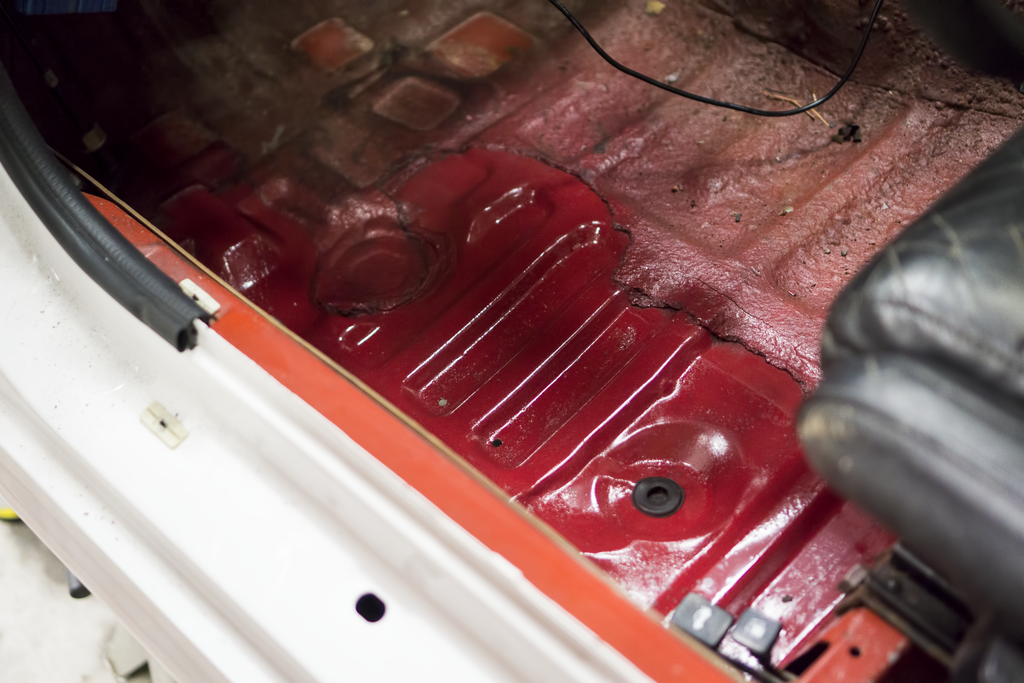
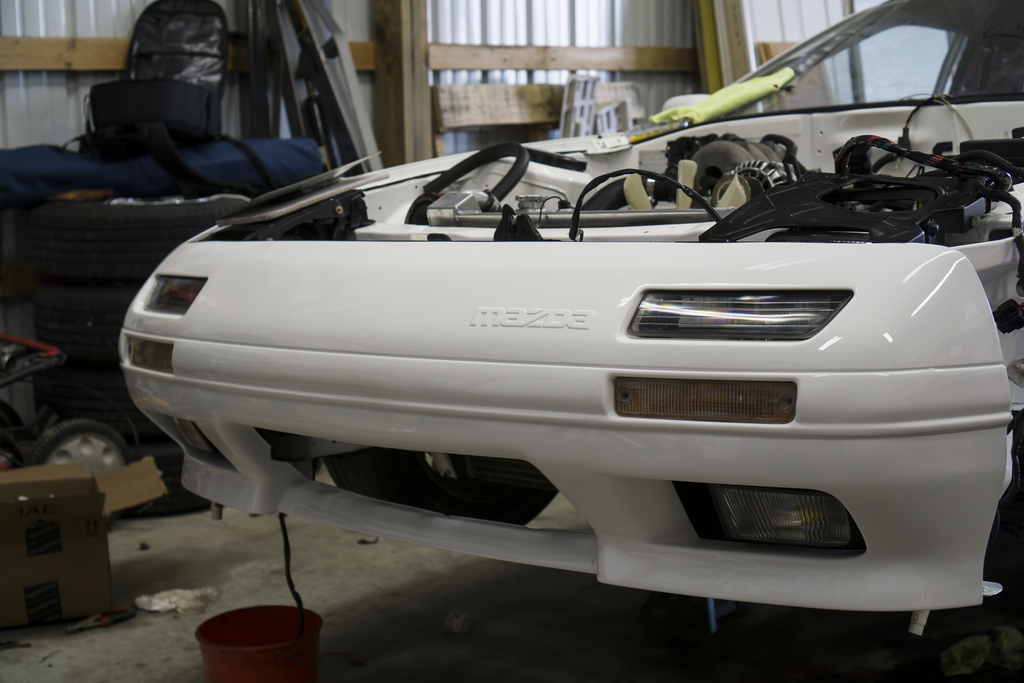
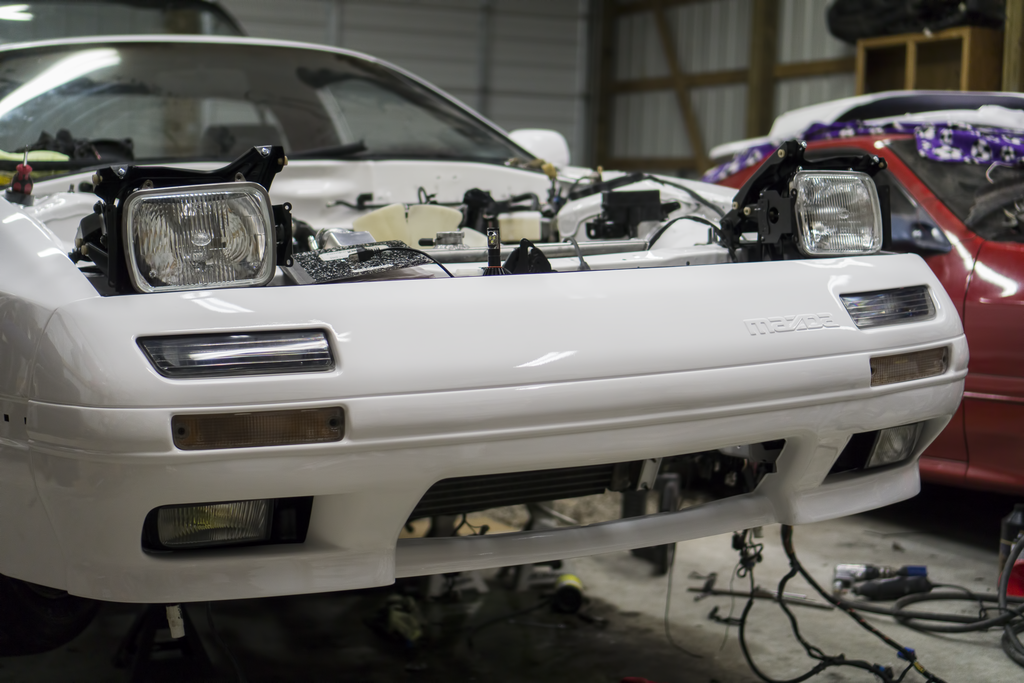
Wow, has it been two weeks already? I was initially going to break my promise and do some work last weekend, but ended up getting a really bad cold. I’ve been fighting it since last Thursday and it is still here. That wasn’t going to stop me today as I raced over to work on it early this morning. Before I dive into that, I ended up ordering a few things within the past few weeks. I have been in a constant fight to HID or not to HID and not to HID ended up winning. I noticed another forum member, ProjectFeint, went a different route. A company called Rize Japan makes a ballastless LED H4 bulb. After speaking with him a bit I decided to jump in the same boat. I also finally got around to ordering some tires for my wheels. There was a decent deal on discount tire if you spend more than 400 you get 100 off. I picked up some Potenenza 760s for 340 shipped. I felt that was a pretty good deal. When my friend came down a couple of weeks ago he brought me some interior goodies. The prize is a rear hatch cover in superb condition. I had one initially, but it was pretty beat up. This one definitely meets my standards and will be going. Some good progress happened today. I forgot to connect the gas tank fully to the filler port and had to drop the exhaust shield to put it on (whoops). Before the interior could go in, I wanted to do some rust prevention on a few spots that had a small amount of surface rust. In front of the driver seat where a PO had jacked it up from there… and in the rear tire well. I got all the rust off and put a coat of primer on top. I got the new bulbs in the housings. A friend helped me modify the rear rubber piece so that it would fit. The wiring of the electrical harness has begun. We put a hole in the driver side to route the wires behind the fender. That actual routing will begin hopefully next weekend. I went ahead and put the turn signals on the front bumper cover, and threw on the door handle to get a quick shot of it for the thread. I don’t have much, picture wise, to show this week. I have a few projects starting up that I will be able to work on at home. I have a square LCD that reads AFR that I will be putting in the idiot cluster where the clock usually goes. I also am taking Clokker’s advice and finally getting around to putting a screen mesh behind the rain guards.
Here are some of the goodies that came in:
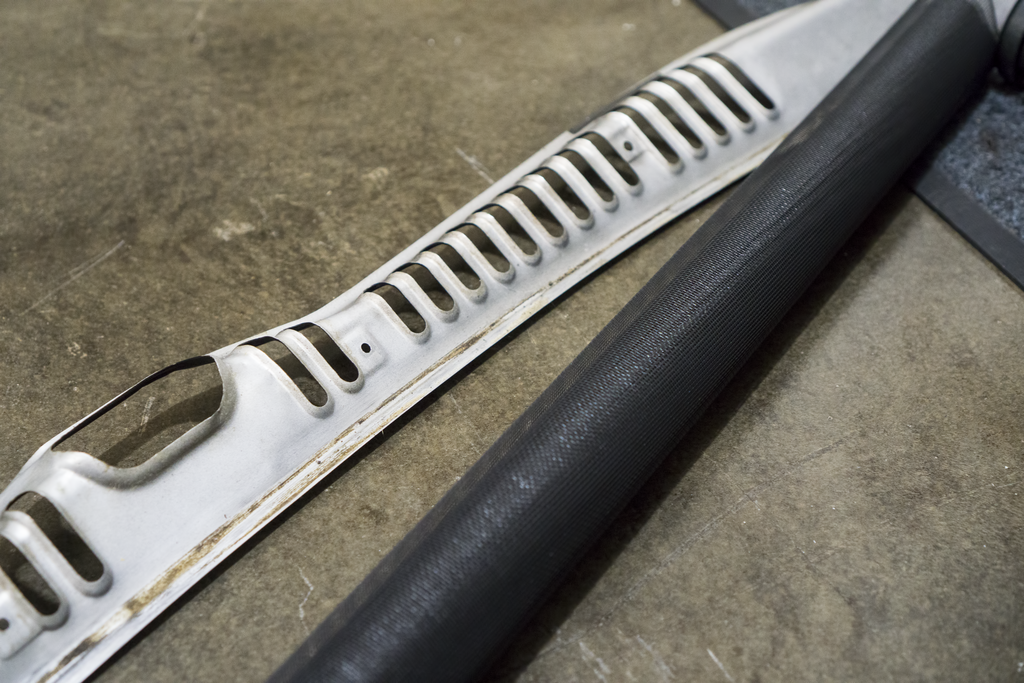
Here is the rear of the headlight housing with the modified rubber protector:
The almighty door handle before pulling it back off (still working on the rubber outside):
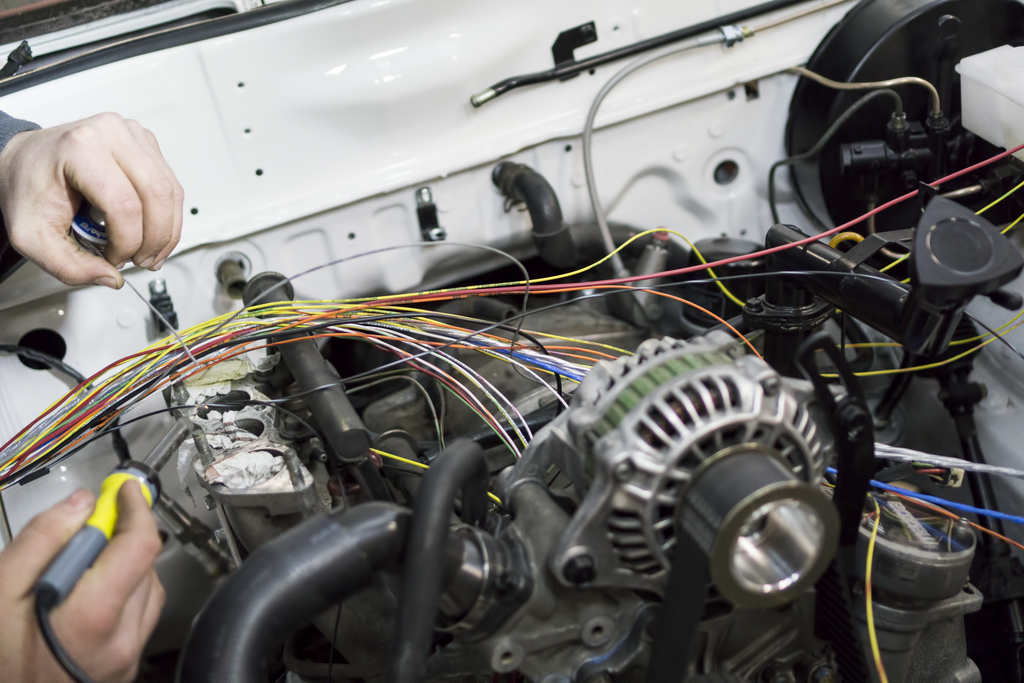
Here is a shot of the in progress wiring and the area I had to perform rust prevention on:
Here are some updated shots from the front with the turn signals:
Coming soon…:
I also wanted to take a second to bring to light a vlog that my friends wife has been doing. She covered, periodically, the installation of the MegaSquirt. There are three parts to the MS installation covering from the days it was -20 degrees out, to the following weekend it was 60 degrees out. If you have some extra time, it’s a fairly good watch. There are three videos total:
Wow, has it been two weeks already? I was initially going to break my promise and do some work last weekend, but ended up getting a really bad cold. I’ve been fighting it since last Thursday and it is still here. That wasn’t going to stop me today as I raced over to work on it early this morning. Before I dive into that, I ended up ordering a few things within the past few weeks. I have been in a constant fight to HID or not to HID and not to HID ended up winning. I noticed another forum member, ProjectFeint, went a different route. A company called Rize Japan makes a ballastless LED H4 bulb. After speaking with him a bit I decided to jump in the same boat. I also finally got around to ordering some tires for my wheels. There was a decent deal on discount tire if you spend more than 400 you get 100 off. I picked up some Potenenza 760s for 340 shipped. I felt that was a pretty good deal. When my friend came down a couple of weeks ago he brought me some interior goodies. The prize is a rear hatch cover in superb condition. I had one initially, but it was pretty beat up. This one definitely meets my standards and will be going. Some good progress happened today. I forgot to connect the gas tank fully to the filler port and had to drop the exhaust shield to put it on (whoops). Before the interior could go in, I wanted to do some rust prevention on a few spots that had a small amount of surface rust. In front of the driver seat where a PO had jacked it up from there… and in the rear tire well. I got all the rust off and put a coat of primer on top. I got the new bulbs in the housings. A friend helped me modify the rear rubber piece so that it would fit. The wiring of the electrical harness has begun. We put a hole in the driver side to route the wires behind the fender. That actual routing will begin hopefully next weekend. I went ahead and put the turn signals on the front bumper cover, and threw on the door handle to get a quick shot of it for the thread. I don’t have much, picture wise, to show this week. I have a few projects starting up that I will be able to work on at home. I have a square LCD that reads AFR that I will be putting in the idiot cluster where the clock usually goes. I also am taking Clokker’s advice and finally getting around to putting a screen mesh behind the rain guards.
Here are some of the goodies that came in:


Here is the rear of the headlight housing with the modified rubber protector:

The almighty door handle before pulling it back off (still working on the rubber outside):

Here is a shot of the in progress wiring and the area I had to perform rust prevention on:


Here are some updated shots from the front with the turn signals:


Coming soon…:

I also wanted to take a second to bring to light a vlog that my friends wife has been doing. She covered, periodically, the installation of the MegaSquirt. There are three parts to the MS installation covering from the days it was -20 degrees out, to the following weekend it was 60 degrees out. If you have some extra time, it’s a fairly good watch. There are three videos total:
Last edited by Akomix; Mar 6, 2016 at 07:48 PM.

You'll like the LED headlights. I bought some E-code H4 glass housings and Cree H4 LED bulbs about a year and a half ago. HUGE improvement and only cost about $100 total. Not very glarey and a very white crisp light. I wish I had done it before I ever got the car on the road. The factory halogens are downright dangerous.
Thread Starter
Joined: Apr 2015
Posts: 398
Likes: 169
From: St. Louis, MO
You'll like the LED headlights. I bought some E-code H4 glass housings and Cree H4 LED bulbs about a year and a half ago. HUGE improvement and only cost about $100 total. Not very glarey and a very white crisp light. I wish I had done it before I ever got the car on the road. The factory halogens are downright dangerous.
Very Nice to see another nearly down to metal resto-mod going on. I am just about to start a resto mod of my own. I have different goals, but mine will feature a down to bare metal paint job. And the electrical will be powered by Adaptronic, and electrical will be a retrofit CAN-BUS system. I look forward to seeing the completion of your project.
I will upload mine when I have time to start grouping the pictures!
well done!
I will upload mine when I have time to start grouping the pictures!
well done!
Thread Starter
Joined: Apr 2015
Posts: 398
Likes: 169
From: St. Louis, MO
Very Nice to see another nearly down to metal resto-mod going on. I am just about to start a resto mod of my own. I have different goals, but mine will feature a down to bare metal paint job. And the electrical will be powered by Adaptronic, and electrical will be a retrofit CAN-BUS system. I look forward to seeing the completion of your project.
I will upload mine when I have time to start grouping the pictures!
well done!
I will upload mine when I have time to start grouping the pictures!
well done!