
From Zero to Hero: Heavy JDM Influenced Restoration

Thread Starter


Joined: Apr 2015
Posts: 398
Likes: 169
From: St. Louis, MO
Update 9/27/2015:
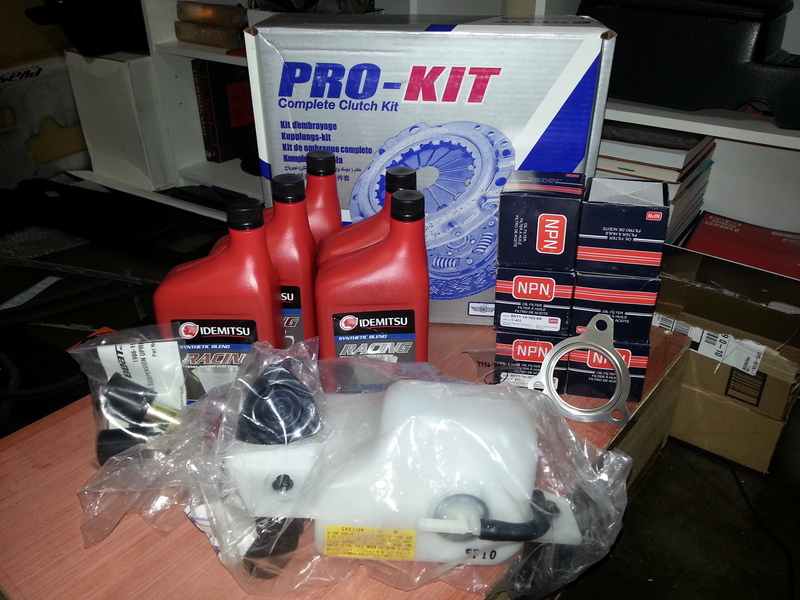
Not much to report on. I got around to rebuilding the instrument cluster. I moved all of the internals from the broken board into one with a good board. My short shifter came in from Rotary Shack and it is extremely nice. I also ordered around five hundred worth of parts from Atkins Rotary. I decided to, for my own assurance, purchase a clutch kit. I also purchased a brand new overflow tank as mine was gross. I ended up installing some rain guards on my STi (Got tired of rain coming in with window cracked). Other than all of that, still just waiting on paint. I’m hoping next Sunday to get the motor pulled from the White FC for cleaning. Since there isn’t much to show, I’ll go over some of my previous projects/purchased parts before I created this thread.
Here is a picture of the rain guards installed on the STi:

Here is the progress shots of the instrument cluster (everything got cleaned as well; glass is getting polished again):


Here is the Short Shifter:

Here is an older project. I took two center consoles and used the best parts. I also reinforced the elbow rest with more padding (still need to recondition it):

Here are a few of the things I ordered awhile back. The MazdaSpeed Leather Shift **** and an original Owner’s Manual (Because I had to have one
 ):
):


Last edited by Akomix; Sep 27, 2015 at 06:56 PM.

Thread Starter
Joined: Apr 2015
Posts: 398
Likes: 169
From: St. Louis, MO
Update 10/4/2015:
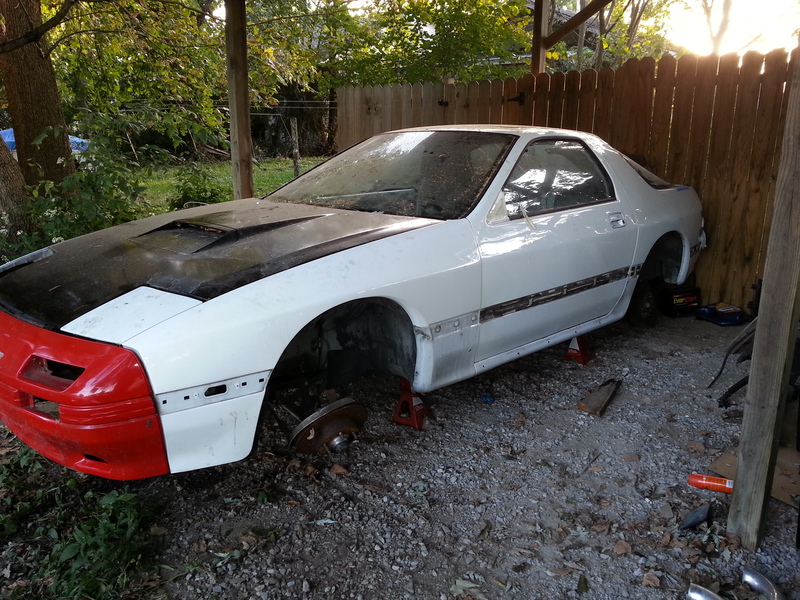
Well, would you just look at it. I started in at 8:45 AM this morning. Generally, pulling an engine wouldn�t take all day, however, we had to roll the FC into the garage across the street. The twist is, the FC didn�t have any struts or wheels on it. I was fortunate enough to have a group of friends come and assist with swapping the suspension over, and back over, as well as the engine pull. Fall break is next weekend. I�m hoping to have the engine completely clean by the end of the break. It has been neglected and is, cosmetically, horrendous. Depending on work load, I may try and get a few smaller projects done as well.
Here is how the car sat before moving over the suspension:
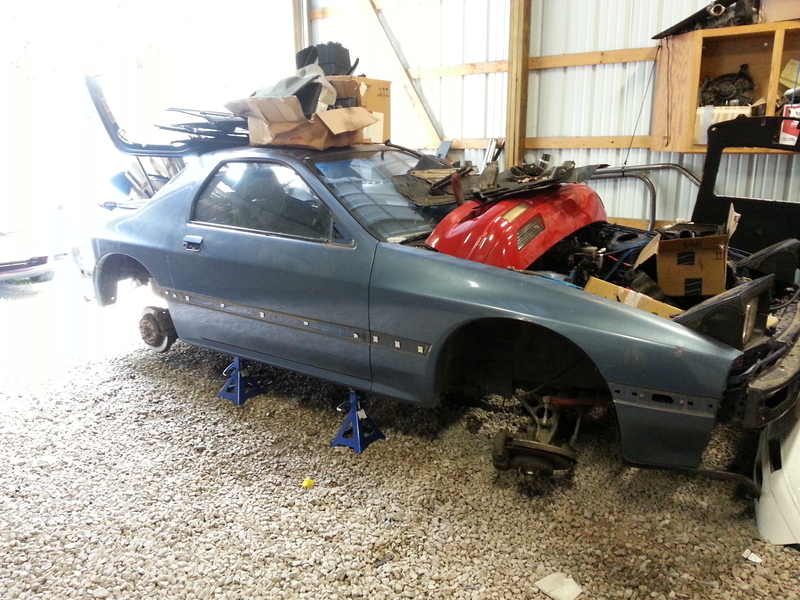
Here is the car we borrowed the suspension from as well as an in progress shot:
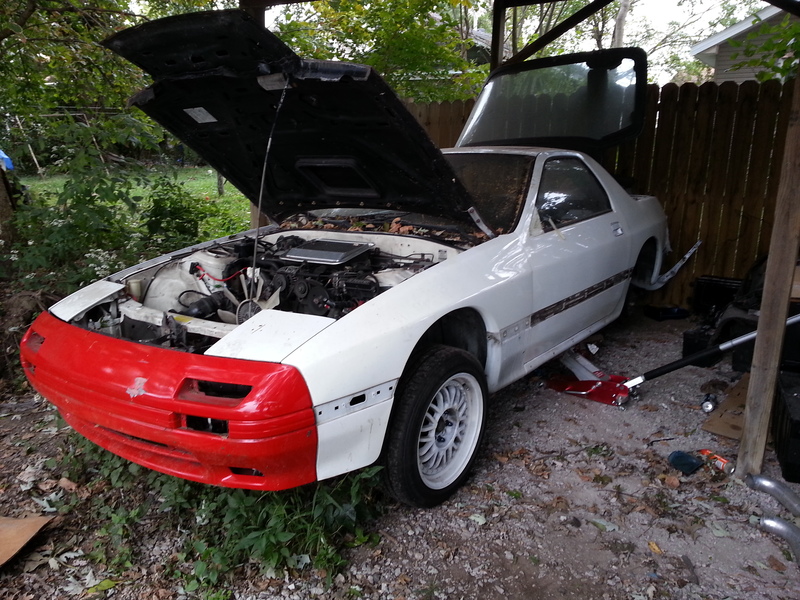
Yay we did it:
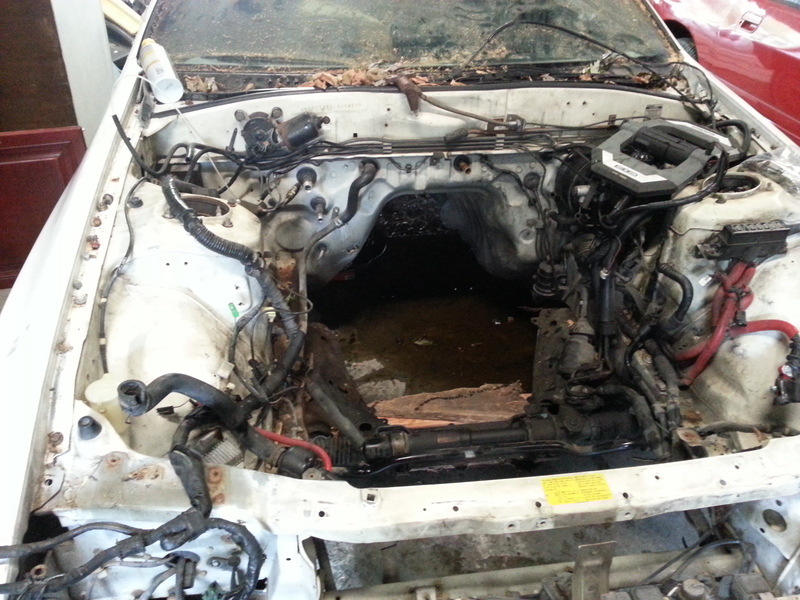
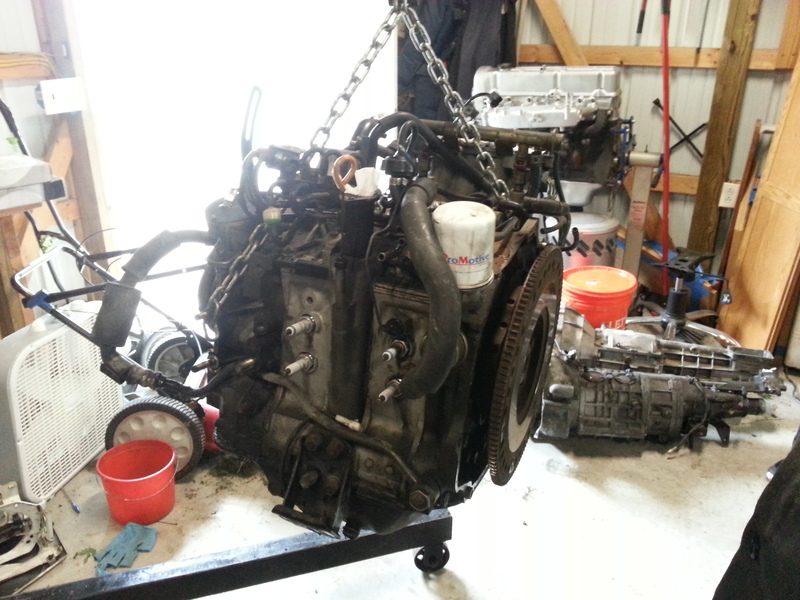
Here are some shots of how dirty everything is:
Well, would you just look at it. I started in at 8:45 AM this morning. Generally, pulling an engine wouldn�t take all day, however, we had to roll the FC into the garage across the street. The twist is, the FC didn�t have any struts or wheels on it. I was fortunate enough to have a group of friends come and assist with swapping the suspension over, and back over, as well as the engine pull. Fall break is next weekend. I�m hoping to have the engine completely clean by the end of the break. It has been neglected and is, cosmetically, horrendous. Depending on work load, I may try and get a few smaller projects done as well.
Here is how the car sat before moving over the suspension:

Here is the car we borrowed the suspension from as well as an in progress shot:


Yay we did it:


Here are some shots of how dirty everything is:


Thread Starter
Joined: Apr 2015
Posts: 398
Likes: 169
From: St. Louis, MO
Hope this helps!
Thread Starter
Joined: Apr 2015
Posts: 398
Likes: 169
From: St. Louis, MO
Update 10/11/2015:
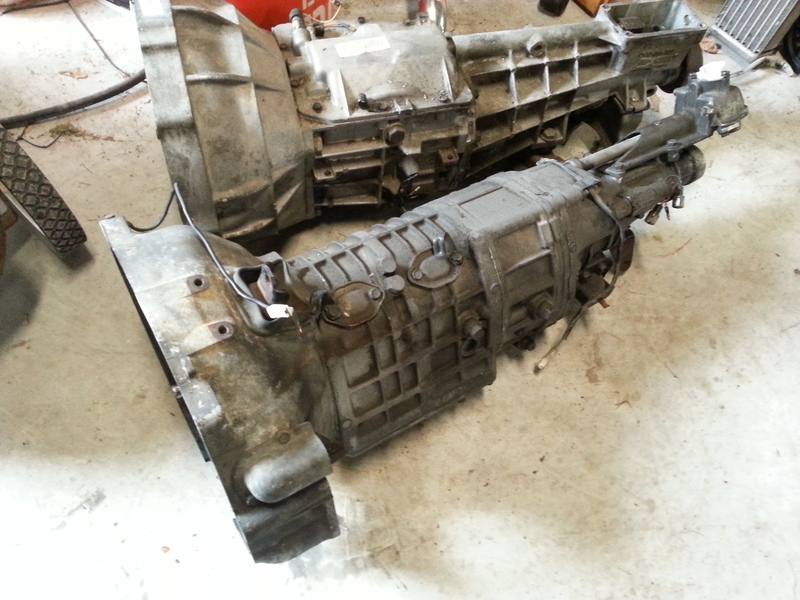
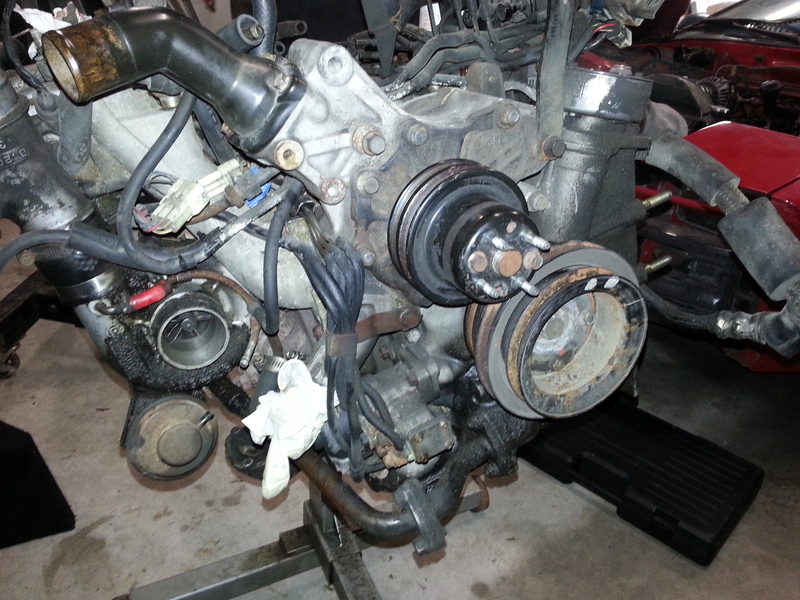
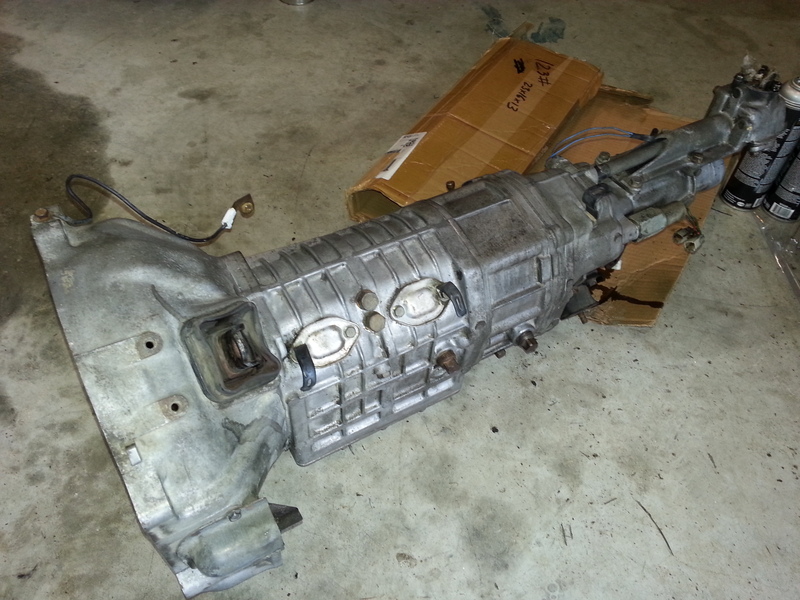
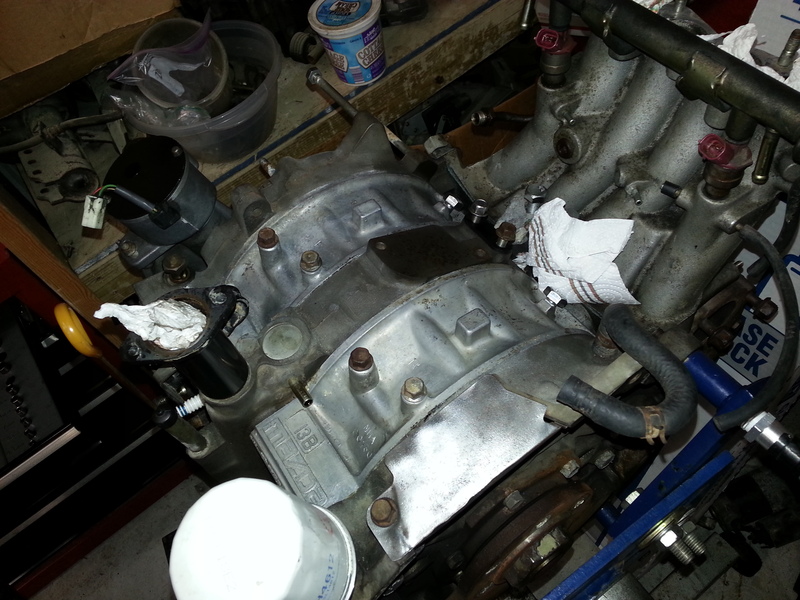
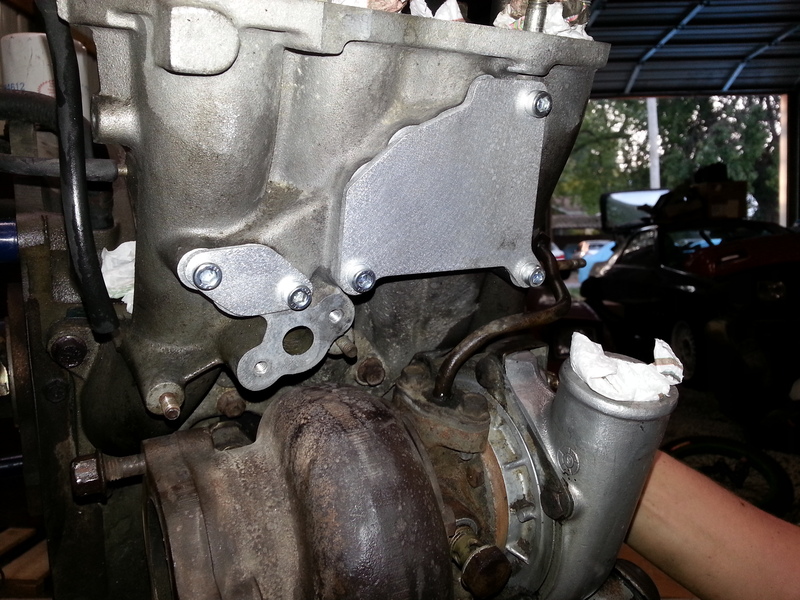
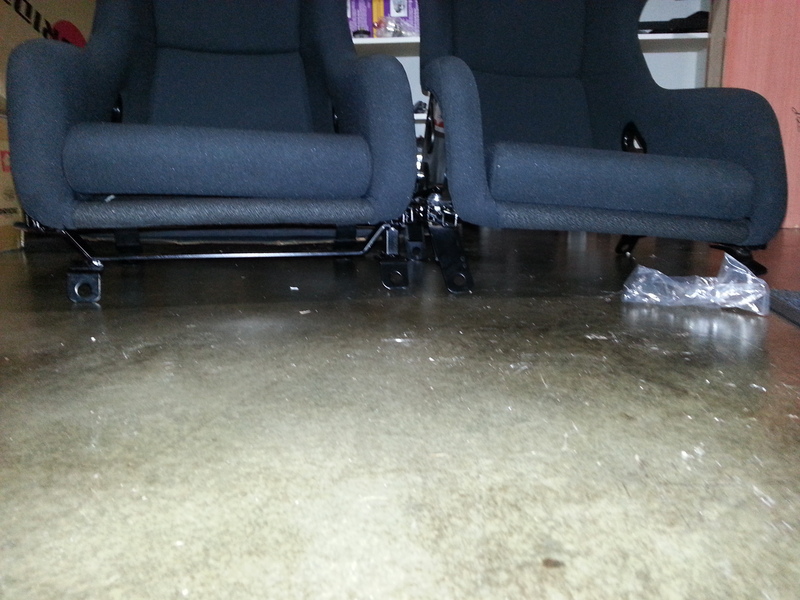
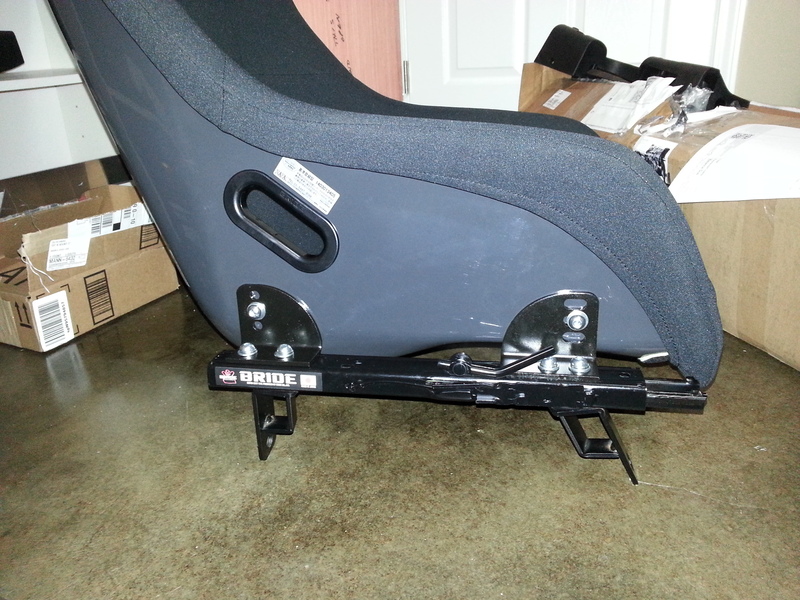
This weekend has turned out to be extremely fruitful concerning the amount of things getting accomplished. Earlier in the week my parts from Atkins came in; I didn�t know the overflow tank could look so good haha. I�ll have to place another order soon for all the gaskets I�ll need. I ended up getting the rats nest removed and the LRB Speed block off plates installed on the engine Friday. I also got the engine and transmission cleaned. I received a call earlier in the day Friday letting me know that the car was ready to be dropped off for paint. I loaded everything into the car and got it to the shop Saturday night. Sunday I got the rails installed on the Brides. Still have a lot of projects left to get done before the car gets back. I hope I can get them all done by then.
Here is all the stuff that came in from Atkins:
Here�s the engine and transmission cleaned:
Picture of the FC on its journey to the paint shop (That�s me on the driver side of the STi ):
):

The Brides with the rails installed:
This weekend has turned out to be extremely fruitful concerning the amount of things getting accomplished. Earlier in the week my parts from Atkins came in; I didn�t know the overflow tank could look so good haha. I�ll have to place another order soon for all the gaskets I�ll need. I ended up getting the rats nest removed and the LRB Speed block off plates installed on the engine Friday. I also got the engine and transmission cleaned. I received a call earlier in the day Friday letting me know that the car was ready to be dropped off for paint. I loaded everything into the car and got it to the shop Saturday night. Sunday I got the rails installed on the Brides. Still have a lot of projects left to get done before the car gets back. I hope I can get them all done by then.
Here is all the stuff that came in from Atkins:

Here�s the engine and transmission cleaned:


Picture of the FC on its journey to the paint shop (That�s me on the driver side of the STi
):
The Brides with the rails installed:


Thread Starter
Joined: Apr 2015
Posts: 398
Likes: 169
From: St. Louis, MO
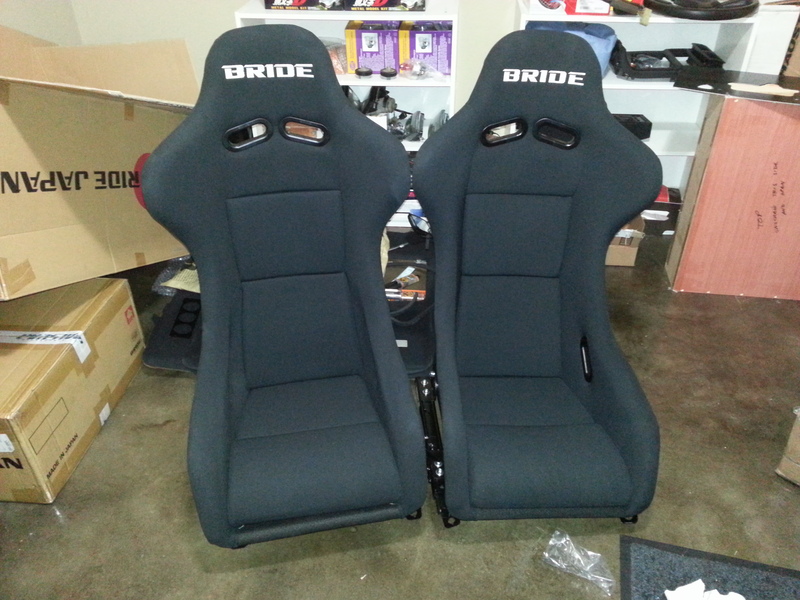
Haha, thanks Jerry. I was completely in awe at how a brand new overflow tank compares to a used one, cosmetically. Depending on how terrible the Brides sit over an extended amount of time I may end up selling them and opting for some Infini seats.
Thread Starter
Joined: Apr 2015
Posts: 398
Likes: 169
From: St. Louis, MO
Update 10/18/2015:
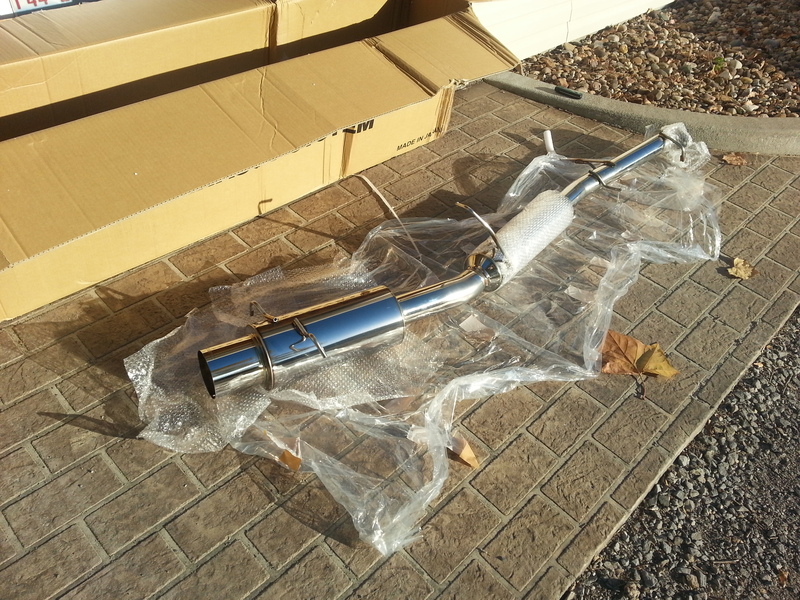
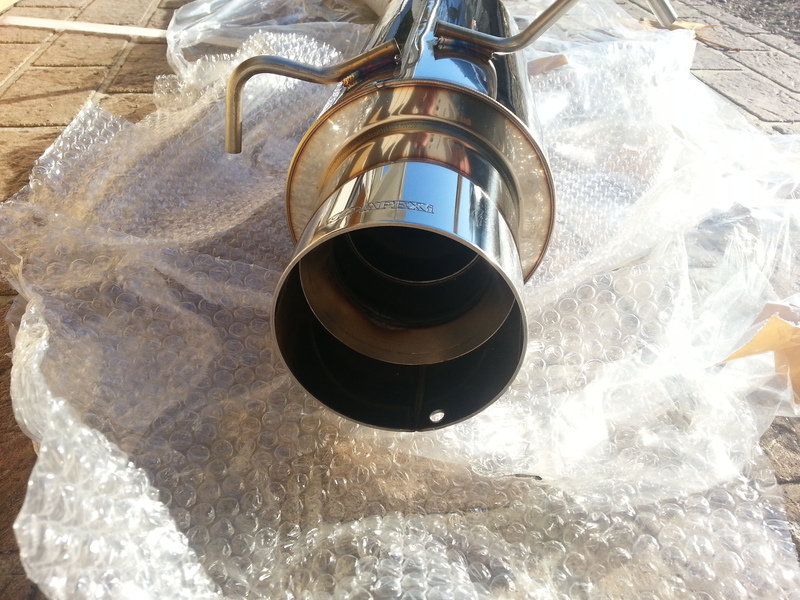
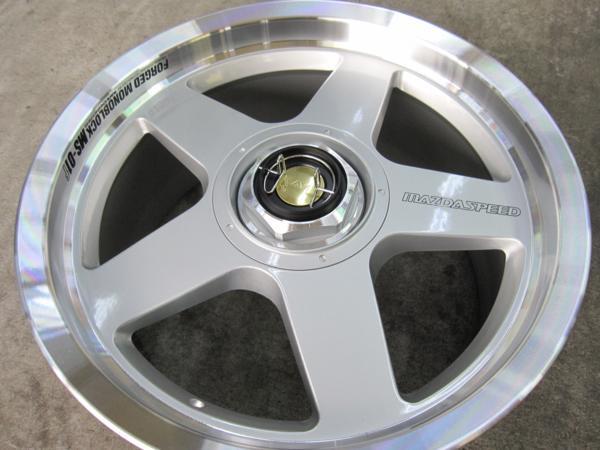
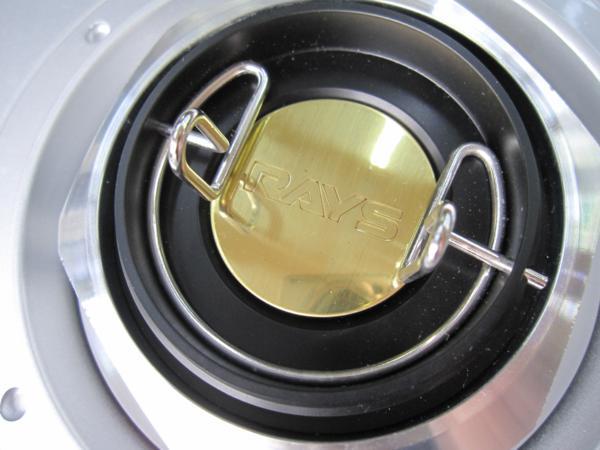
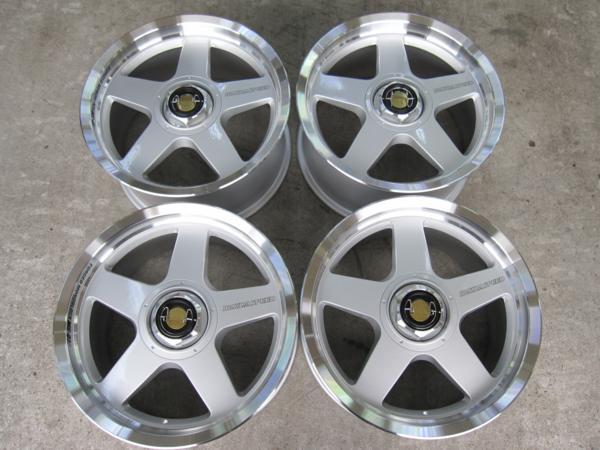
I didn�t get much done this week. My APEXi N1 Evo came in from a 2 month backorder. Much like the downpipe, I�m extremely impressed with it. I started a few projects that I�ll be showing off in the next update. I had an exciting opportunity to grab some really nice wheels. I noticed that there was a listing on Yahoo Auctions Japan for some MazdaSpeed MS-01f 16x8 +40. I contacted a source from Australia that could get them for me. A few hours later and they were purchased. These wheels were made in 1992 and I got a brand new set! They should be on the way to me shortly. Like the MazdaSpeed steering wheel I knew I wanted a pair of MS-01 before I even got the actual car. I�m super excited for them to come in - (auction pictures will be below). I�ll probably be doing a post with an updated mod list post here before long. I�ve gained quite a few thing since the OP.
Here is the exhaust that came in:

Here are the wheels that I�m super stoked for:
I didn�t get much done this week. My APEXi N1 Evo came in from a 2 month backorder. Much like the downpipe, I�m extremely impressed with it. I started a few projects that I�ll be showing off in the next update. I had an exciting opportunity to grab some really nice wheels. I noticed that there was a listing on Yahoo Auctions Japan for some MazdaSpeed MS-01f 16x8 +40. I contacted a source from Australia that could get them for me. A few hours later and they were purchased. These wheels were made in 1992 and I got a brand new set! They should be on the way to me shortly. Like the MazdaSpeed steering wheel I knew I wanted a pair of MS-01 before I even got the actual car. I�m super excited for them to come in - (auction pictures will be below). I�ll probably be doing a post with an updated mod list post here before long. I�ve gained quite a few thing since the OP.
Here is the exhaust that came in:


Here are the wheels that I�m super stoked for:


Thread Starter
Joined: Apr 2015
Posts: 398
Likes: 169
From: St. Louis, MO
Update 10/25/2015:
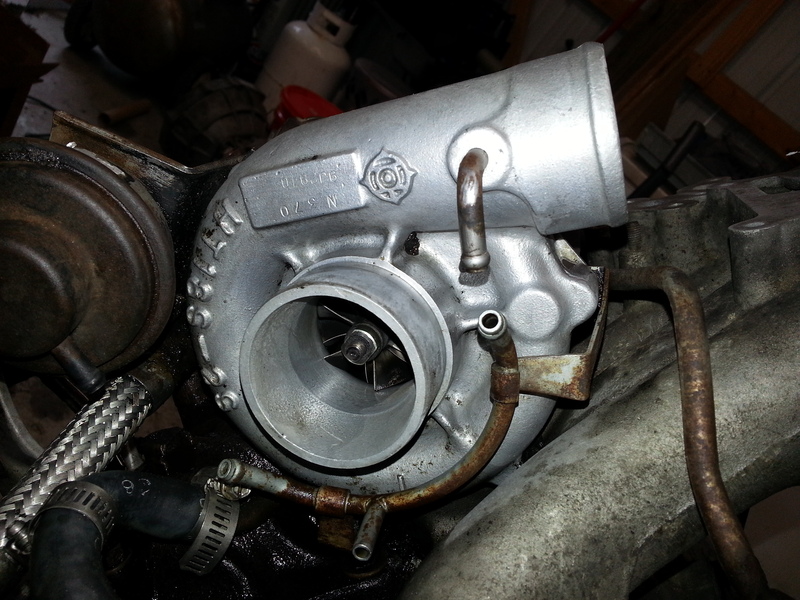
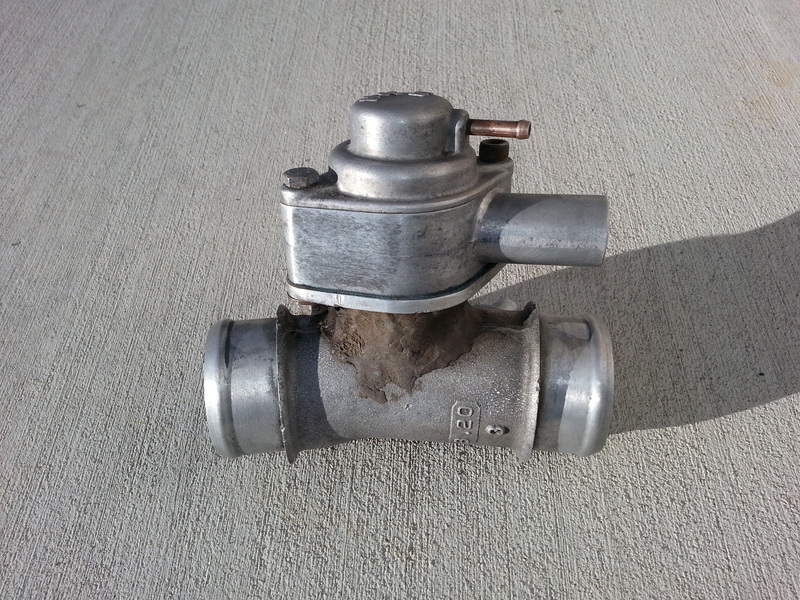
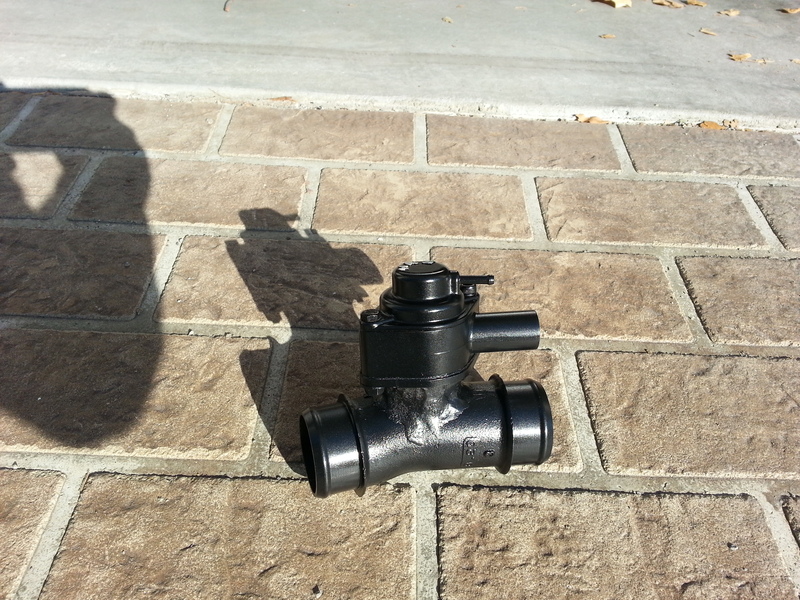
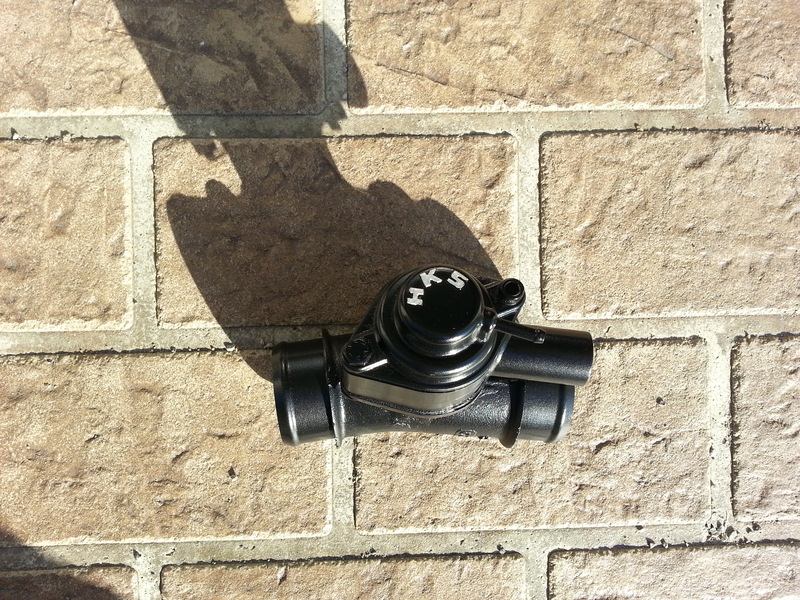
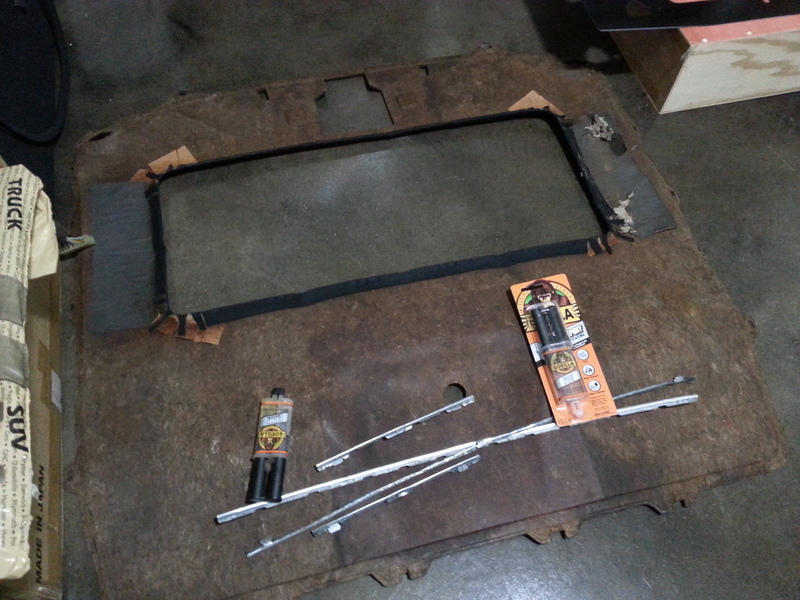
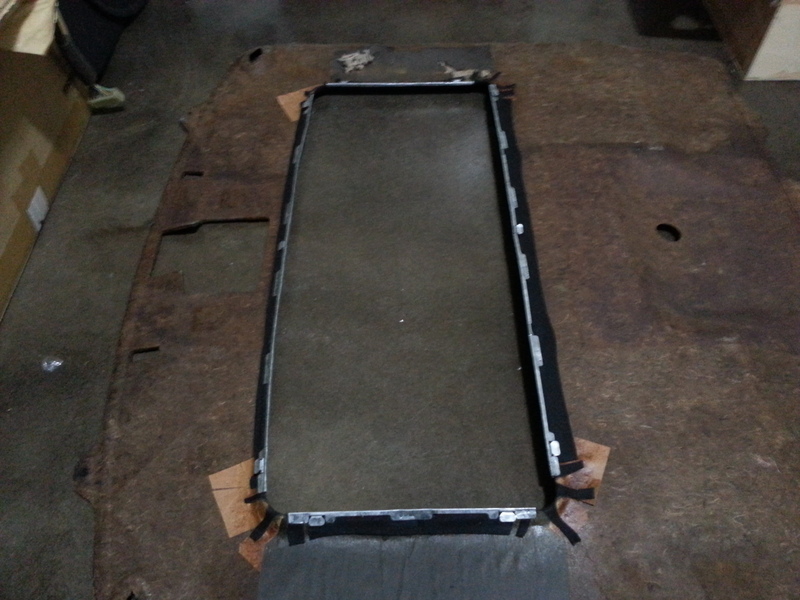
This update will be in two parts. The first part will what all I’d like to get done before the car is out of paint the second part will be as normal. I’m going to try and get around two projects done a week. I ended up getting three done this week, but to be fair, I started two of them last week. I got the top mount cleaned up, I may spray the bottom of it black to kind of blend in. I’m still debating on whether I want to add the turbo II stickers back to it. It looks like the previous owner used quick steel on my blow off valve. While not how I would have done it, it is functional right now. I decided to spray it to keep the eye attention away from the quick steel. My headliner was not in favorable condition. The metal fasteners that hold the headliner to the top of the car had come off. I used some epoxy and it seems to hold fairly well. The glue is still currently drying so I hope it turned out correctly when I flip it over.
Here is the list of things I’d like to (need to) get done:
Clean Fender Liners
Clean Sunroof Rails
Clean Up Radiator
Clean Weather Stripping
Finish Fog Light Housings (Buy Bolts)
Get Flywheel Resurfaced
Paint Window Sills
Recondition Center Console
Repaint Windshield Wipers
Repolish Idiot Cluster
Here is a before and after of the top mount:
Here is the blow off valve:
Here is the headliner:
This update will be in two parts. The first part will what all I’d like to get done before the car is out of paint the second part will be as normal. I’m going to try and get around two projects done a week. I ended up getting three done this week, but to be fair, I started two of them last week. I got the top mount cleaned up, I may spray the bottom of it black to kind of blend in. I’m still debating on whether I want to add the turbo II stickers back to it. It looks like the previous owner used quick steel on my blow off valve. While not how I would have done it, it is functional right now. I decided to spray it to keep the eye attention away from the quick steel. My headliner was not in favorable condition. The metal fasteners that hold the headliner to the top of the car had come off. I used some epoxy and it seems to hold fairly well. The glue is still currently drying so I hope it turned out correctly when I flip it over.
Here is the list of things I’d like to (need to) get done:
Clean Fender Liners
Clean Sunroof Rails
Clean Up Radiator
Clean Weather Stripping
Finish Fog Light Housings (Buy Bolts)
Get Flywheel Resurfaced
Paint Window Sills
Recondition Center Console
Repaint Windshield Wipers
Repolish Idiot Cluster
Here is a before and after of the top mount:


Here is the blow off valve:


Here is the headliner:


Thread Starter
Joined: Apr 2015
Posts: 398
Likes: 169
From: St. Louis, MO
Update 11/1/2015:
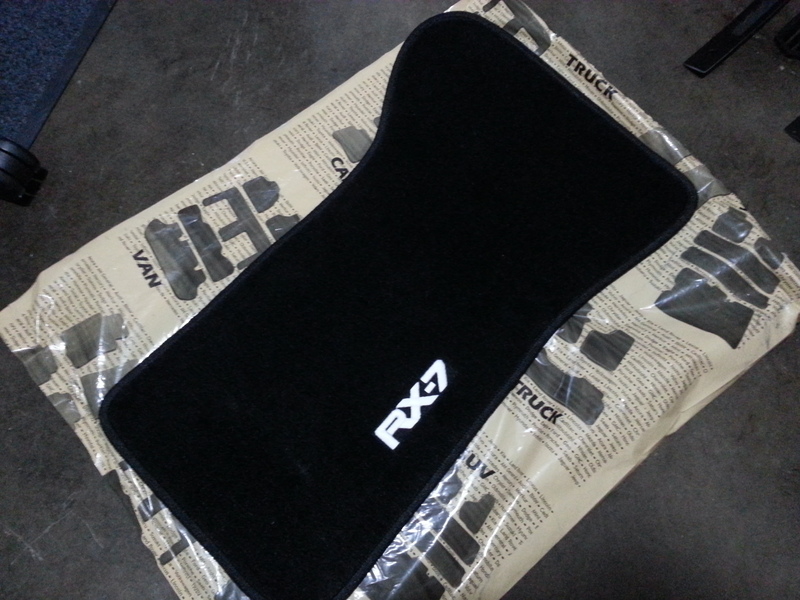
I literally didn’t accomplish anything this week project wise haha. I had a lot of important life decisions come up that needed my full attention. Now that I have made those decisions, successfully, I will concentrate again on projects. This week I intend to clean and polish the radiator and its shroud. I also have my glove box torn apart and I intend to spray the hinge as there is rust/corrosion on it..somehow. Since I have little to show I’ll post up an updated mod list. I probably won’t post another one until the car is driving. I’ll also include a picture of the floor mats that I purchased ages ago further down. If anyone knows of a coating to assist with keeping the floor mats clean please let me know. I think I’ll use the original dyed floor mats and overlay these when I’m hard parked at a show/meet �\_(ツ)_/�. The wheels are at the warehouse in Japan being prepped for its journey to me. I’m pretty excited to get those in (not that they'll be on the car for awhile ).
).
Mod List
Exterior:
626 Fuel Cap
GRZ Rear Wiper Delete
HELLA Vision Plus Housings
JDM Fog Lights
JDM Folding Mirrors
JDM Rear Side Moldings
JDM Side Markers
JDM Turn Signals
LRB Speed Aero Belly Pan
LRB Speed Belly Pan
Miata Antenna Delete
SDX Bi-Xenon 5000K HID
Shine Auto Front Lip
Shine Auto Spec-R Sideskirts
Shine Auto Spec-RE Rear Aero Guards
Sokie Tech Hood Dampeners
Suspension/Drivetrain:
MazdaSpeed Front Strut Bar
MazdaSpeed Rear Strut Bar
Racing Beat DTSS Eliminators
Rotary Shack Short Throw Shifter
Solid Aluminum Transmission Mounts
STANCE Super Sport Coilovers
Engine:
APEXi GT Spec Downpipe
APEXi N1 EVO Cat-Back Exhaust
APEXi Power Intake
Atkins Rotary Oil Cap
Bonez Race Pipe
Fluidyne Radiator
HKS Blow Off Valve
Lightweight Flywheel
LRB Speed Block-Off Plates
LRB Speed CAS Cover
LRB Speed Radiator Cooling Panel
Megasquirt 3 Pro
Solid Aluminum Motor Mounts
Stainless Steel Clutch Line
Street Port 13BT
Taylor 200 Aluminum Battery Box
Walbro 255 Fuel Pump
Interior:
Bride Type FG Seat Rails
Bride Zeta III Sport-C Seats
Custom RX-7 Floor Mats
LRB Speed Aluminum Defroster Vents
LRB Speed Aluminum Side Vents
LRB Speed Single Din Gauge Pod
MazdaSpeed 03.5 Pedals
MazdaSpeed B-Spec Steering Wheel
MazdaSpeed Leather Shift ****
MOMO Hub Adapter
Redline Shift Boot
Wheels/Tires:
RAYS MazdaSpeed MS-01f 16x8 +40
Here is a picture of the floor mats (I actually purchased these before the car itself…lol):
Here is the hinge, hopefully you can see the corrosion I was talking about:
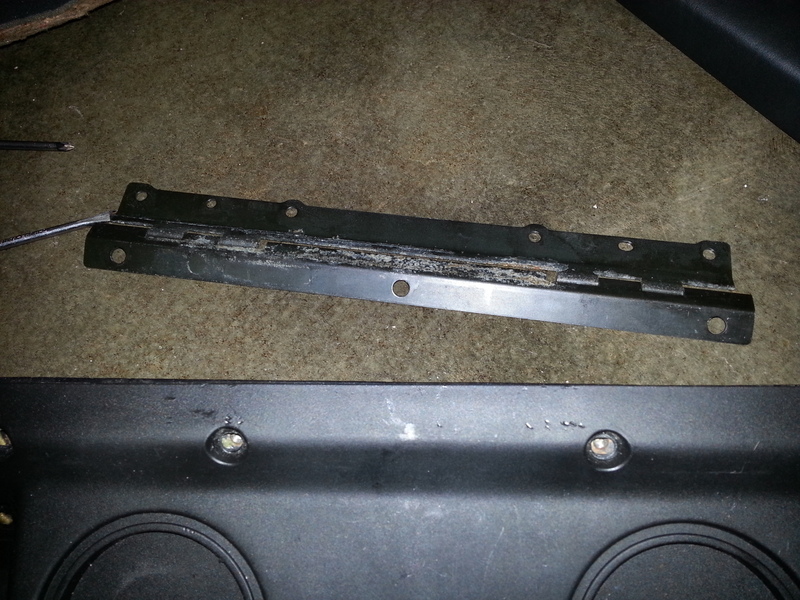
I literally didn’t accomplish anything this week project wise haha. I had a lot of important life decisions come up that needed my full attention. Now that I have made those decisions, successfully, I will concentrate again on projects. This week I intend to clean and polish the radiator and its shroud. I also have my glove box torn apart and I intend to spray the hinge as there is rust/corrosion on it..somehow. Since I have little to show I’ll post up an updated mod list. I probably won’t post another one until the car is driving. I’ll also include a picture of the floor mats that I purchased ages ago further down. If anyone knows of a coating to assist with keeping the floor mats clean please let me know. I think I’ll use the original dyed floor mats and overlay these when I’m hard parked at a show/meet �\_(ツ)_/�. The wheels are at the warehouse in Japan being prepped for its journey to me. I’m pretty excited to get those in (not that they'll be on the car for awhile
). Mod List
Exterior:
626 Fuel Cap
GRZ Rear Wiper Delete
HELLA Vision Plus Housings
JDM Fog Lights
JDM Folding Mirrors
JDM Rear Side Moldings
JDM Side Markers
JDM Turn Signals
LRB Speed Aero Belly Pan
LRB Speed Belly Pan
Miata Antenna Delete
SDX Bi-Xenon 5000K HID
Shine Auto Front Lip
Shine Auto Spec-R Sideskirts
Shine Auto Spec-RE Rear Aero Guards
Sokie Tech Hood Dampeners
Suspension/Drivetrain:
MazdaSpeed Front Strut Bar
MazdaSpeed Rear Strut Bar
Racing Beat DTSS Eliminators
Rotary Shack Short Throw Shifter
Solid Aluminum Transmission Mounts
STANCE Super Sport Coilovers
Engine:
APEXi GT Spec Downpipe
APEXi N1 EVO Cat-Back Exhaust
APEXi Power Intake
Atkins Rotary Oil Cap
Bonez Race Pipe
Fluidyne Radiator
HKS Blow Off Valve
Lightweight Flywheel
LRB Speed Block-Off Plates
LRB Speed CAS Cover
LRB Speed Radiator Cooling Panel
Megasquirt 3 Pro
Solid Aluminum Motor Mounts
Stainless Steel Clutch Line
Street Port 13BT
Taylor 200 Aluminum Battery Box
Walbro 255 Fuel Pump
Interior:
Bride Type FG Seat Rails
Bride Zeta III Sport-C Seats
Custom RX-7 Floor Mats
LRB Speed Aluminum Defroster Vents
LRB Speed Aluminum Side Vents
LRB Speed Single Din Gauge Pod
MazdaSpeed 03.5 Pedals
MazdaSpeed B-Spec Steering Wheel
MazdaSpeed Leather Shift ****
MOMO Hub Adapter
Redline Shift Boot
Wheels/Tires:
RAYS MazdaSpeed MS-01f 16x8 +40
Here is a picture of the floor mats (I actually purchased these before the car itself…lol):

Here is the hinge, hopefully you can see the corrosion I was talking about:

Last edited by Akomix; Nov 1, 2015 at 07:30 PM.
Thread Starter
Joined: Apr 2015
Posts: 398
Likes: 169
From: St. Louis, MO

Those wheels look like they've never been used. That's an incredible find there. They should look great.
I also have the same mats, from what I think is safe to assume the same seller.
I also have the same mats, from what I think is safe to assume the same seller.
Thread Starter
Joined: Apr 2015
Posts: 398
Likes: 169
From: St. Louis, MO
I should have some pictures of the RX-7 this weekend. Bodywork should be done by today I believe.

Thread Starter
Joined: Apr 2015
Posts: 398
Likes: 169
From: St. Louis, MO
Update 11/8/2015:
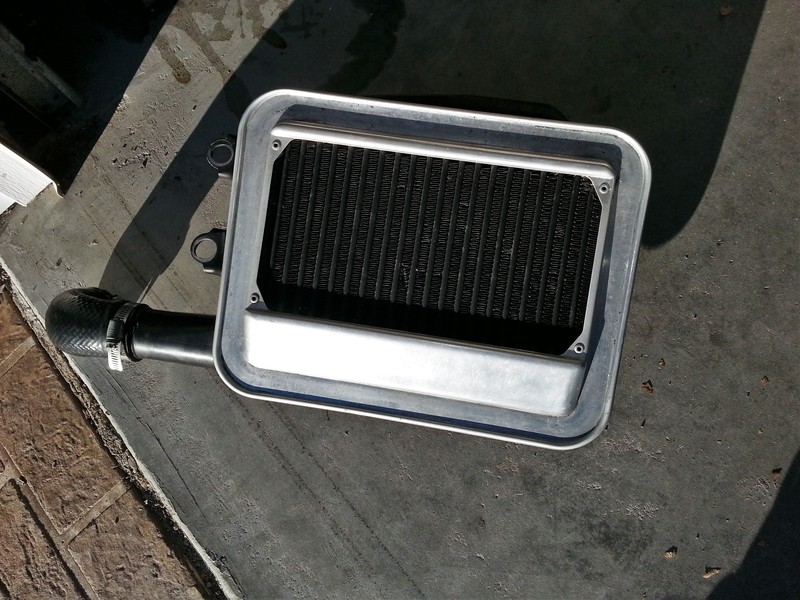
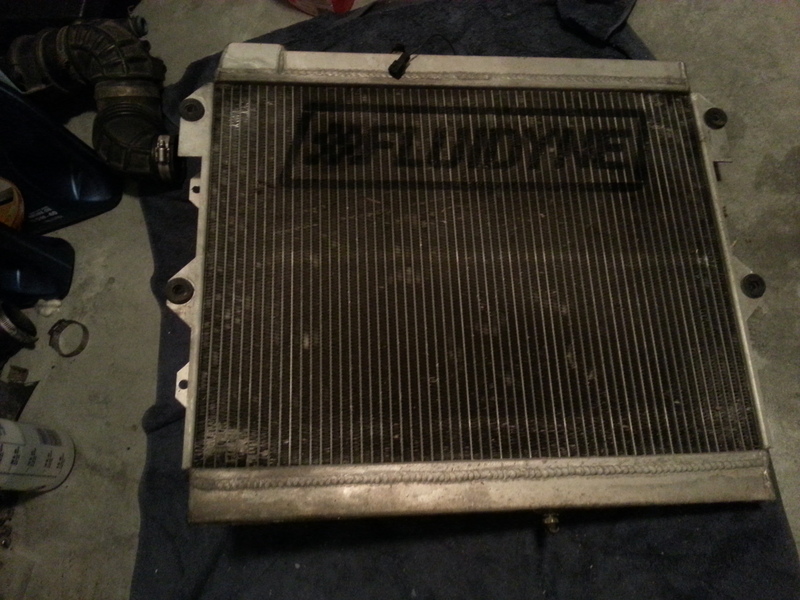
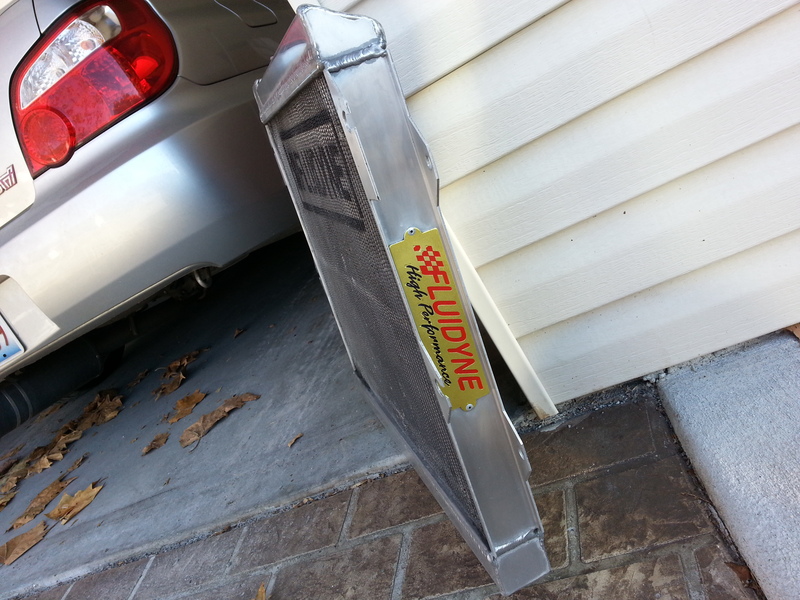
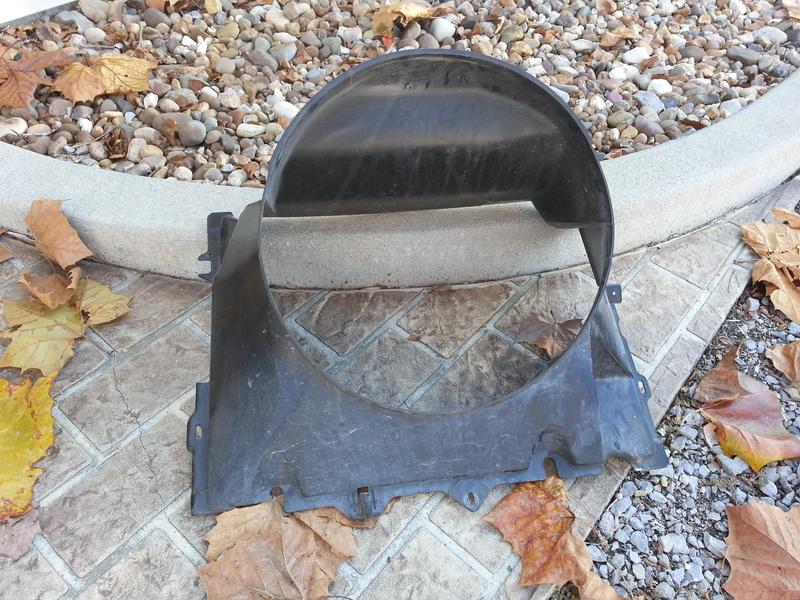
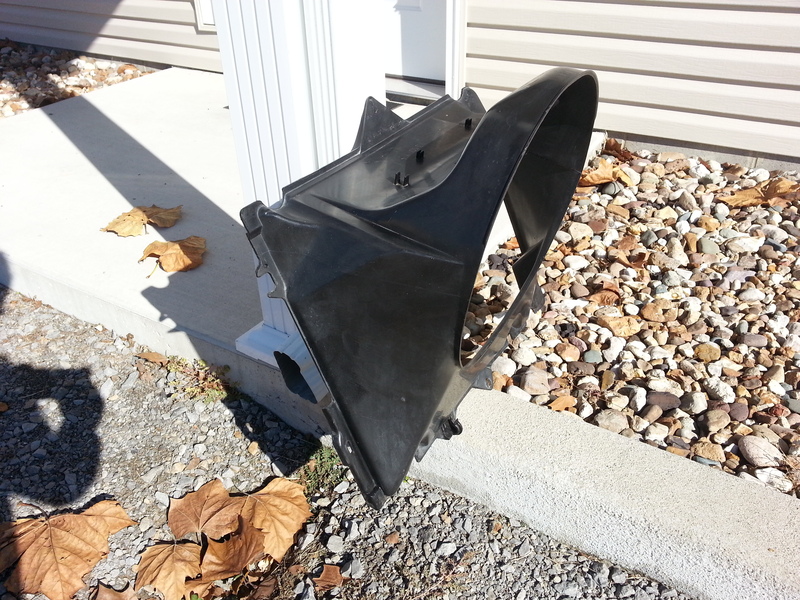
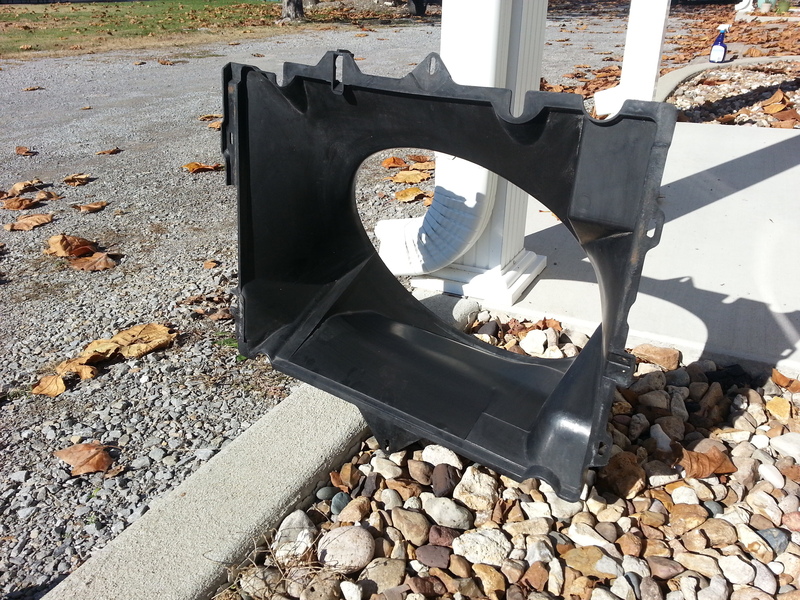
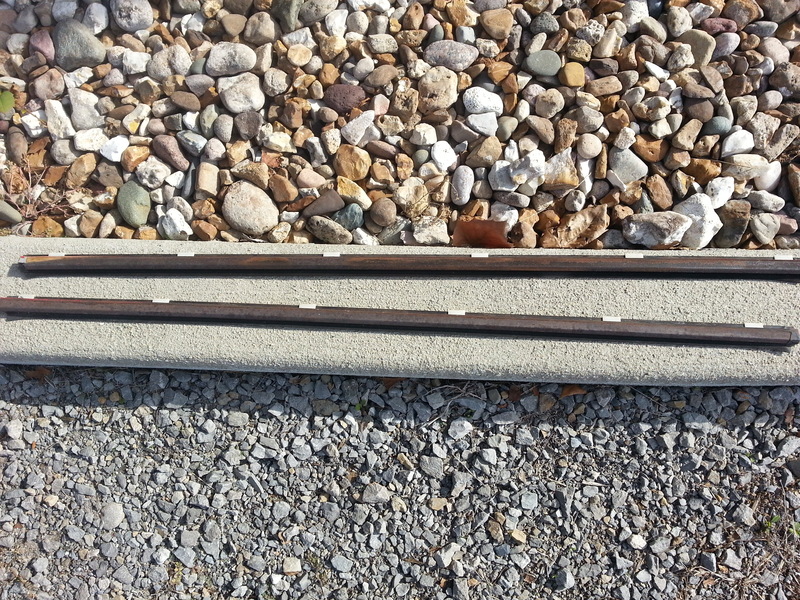
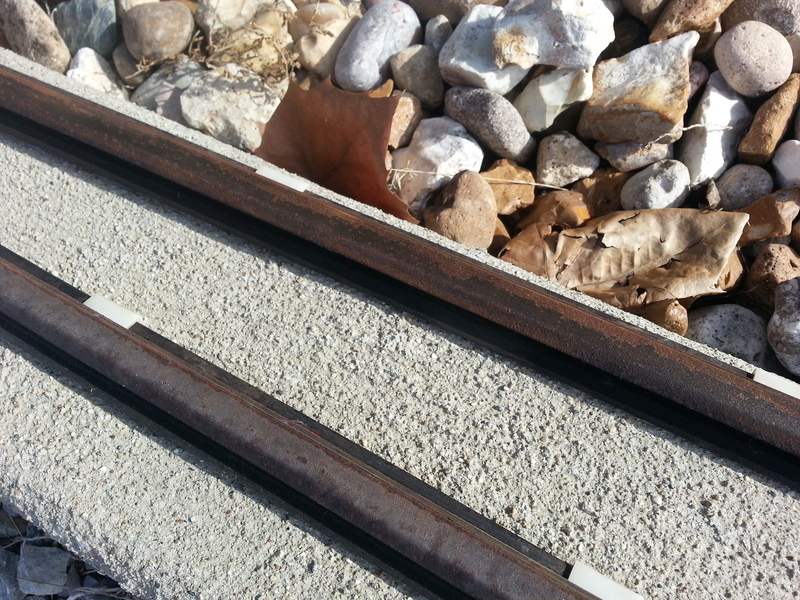
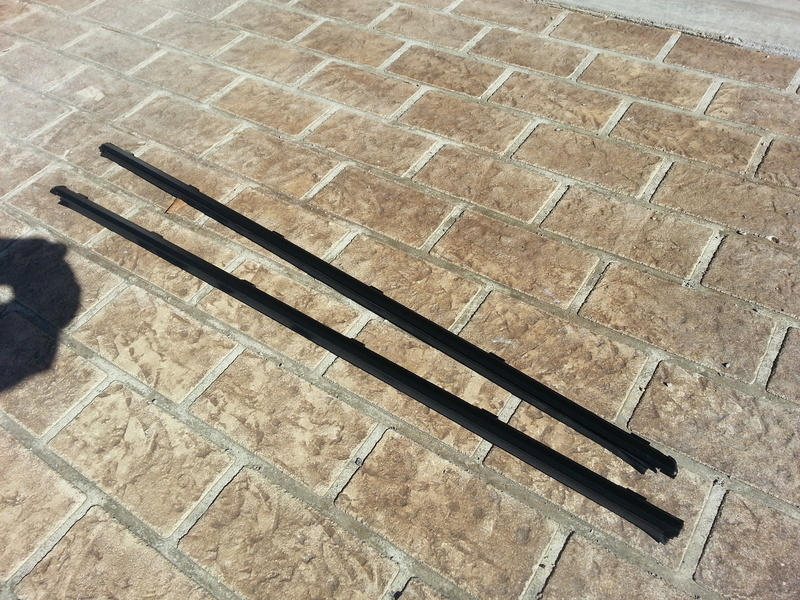
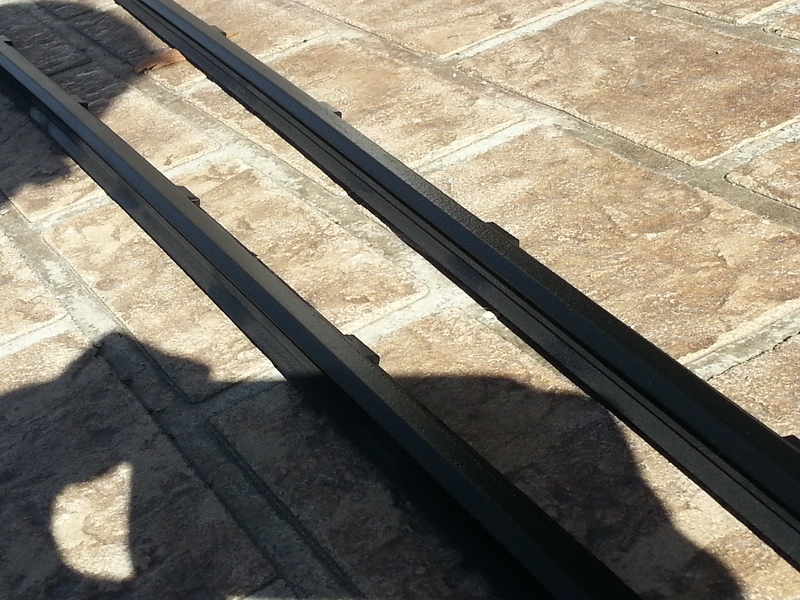
I got a lot done this week. I ordered a slew of parts from Atkins again. Mainly gaskets for the engine, but I did purchase a brand new rear hatch windshield seal. I�m still undecided if I should for the sunroof; I�m leaning towards yes. The majority of the things that I completed were not originally on my list though� lol. I stopped over Monday and got to check out the FC. I had forgotten to hand him the keys to the wheel lugs (whoops). I forgot to bring my camera, but had him snap a pic for me. He should be nearing the primer stage, if he�s not there already. I went over and cleaned up the front and rear support beam bars. The front one was riddled with overspray. I realize it will never be seen, but it would drive me nuts knowing it was there. Focusing on the radiator now, my original plan was to have it completely done this week. I then proceeded to spend 4 hours wet sanding it. I didn't intend on it taking that much time, but I'll polish and finish it next week. I finished out the week with cleaning the shroud cover for the fan. I have a free day next week, I hope I can get a few things knocked out during that day.
Here is an updated picture of the car (as of last Monday):
The beams cleaned up nice. I doubt they�ll stay that way though:
Front
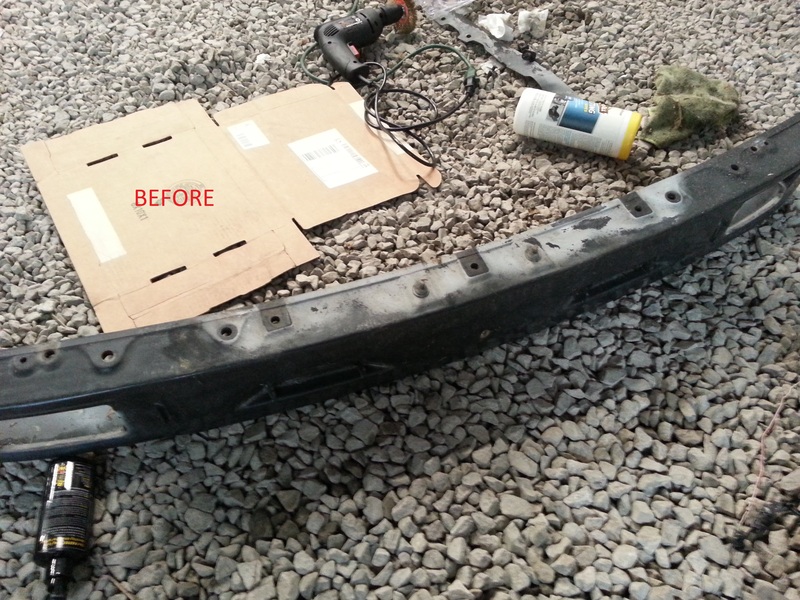
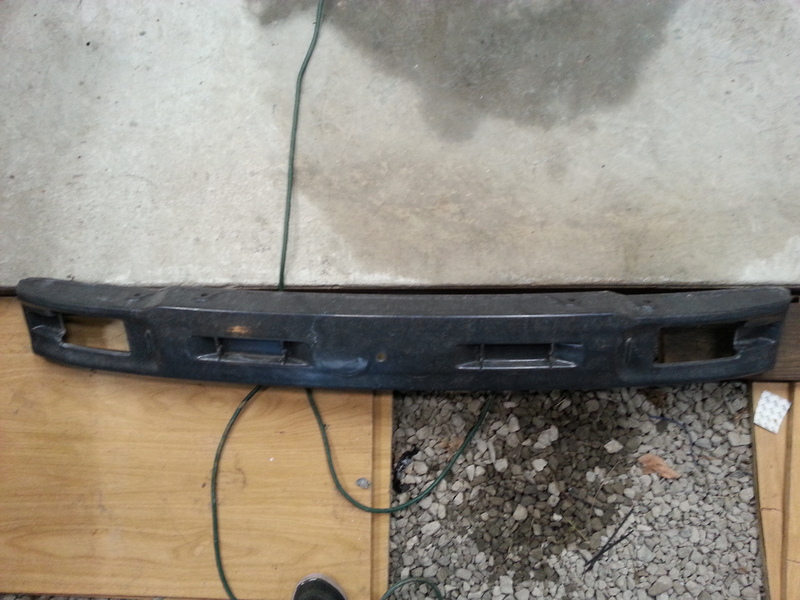
Rear


Here is the radiator (I almost expect another 3-4 hours for polishing):
Last but not least, the fan shroud. I�m sure it won�t stay clean either..):
I got a lot done this week. I ordered a slew of parts from Atkins again. Mainly gaskets for the engine, but I did purchase a brand new rear hatch windshield seal. I�m still undecided if I should for the sunroof; I�m leaning towards yes. The majority of the things that I completed were not originally on my list though� lol. I stopped over Monday and got to check out the FC. I had forgotten to hand him the keys to the wheel lugs (whoops). I forgot to bring my camera, but had him snap a pic for me. He should be nearing the primer stage, if he�s not there already. I went over and cleaned up the front and rear support beam bars. The front one was riddled with overspray. I realize it will never be seen, but it would drive me nuts knowing it was there. Focusing on the radiator now, my original plan was to have it completely done this week. I then proceeded to spend 4 hours wet sanding it. I didn't intend on it taking that much time, but I'll polish and finish it next week. I finished out the week with cleaning the shroud cover for the fan. I have a free day next week, I hope I can get a few things knocked out during that day.
Here is an updated picture of the car (as of last Monday):

The beams cleaned up nice. I doubt they�ll stay that way though:
Front


Rear


Here is the radiator (I almost expect another 3-4 hours for polishing):


Last but not least, the fan shroud. I�m sure it won�t stay clean either..):


Thread Starter
Joined: Apr 2015
Posts: 398
Likes: 169
From: St. Louis, MO
As I said earlier, I purchased them from a forum member. I'll shoot you a PM with his name. Thanks for the compliment! Shoot me a link to your thread when it gets up. I look forward to reading it!
Thread Starter
Joined: Apr 2015
Posts: 398
Likes: 169
From: St. Louis, MO
Update 11/15/2015:
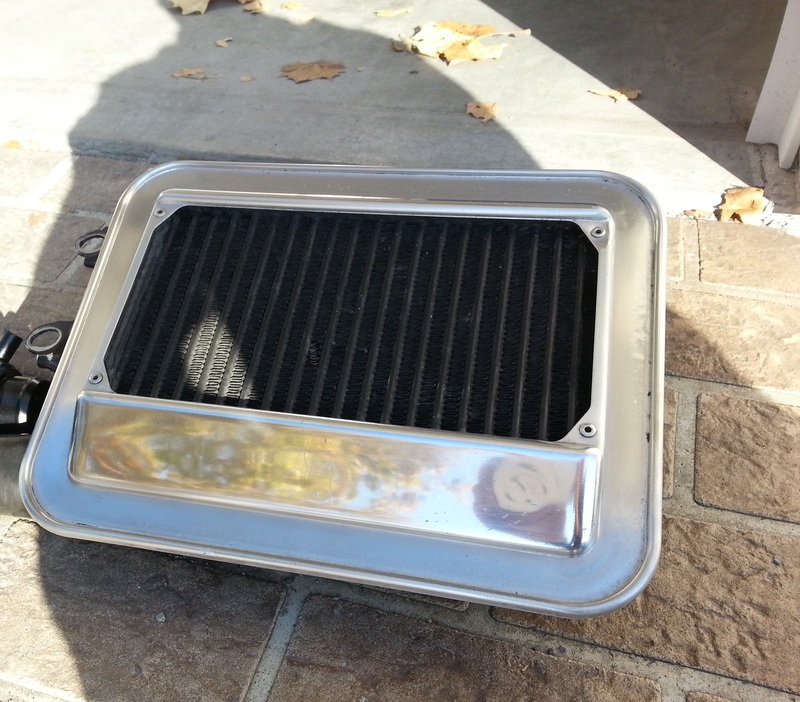
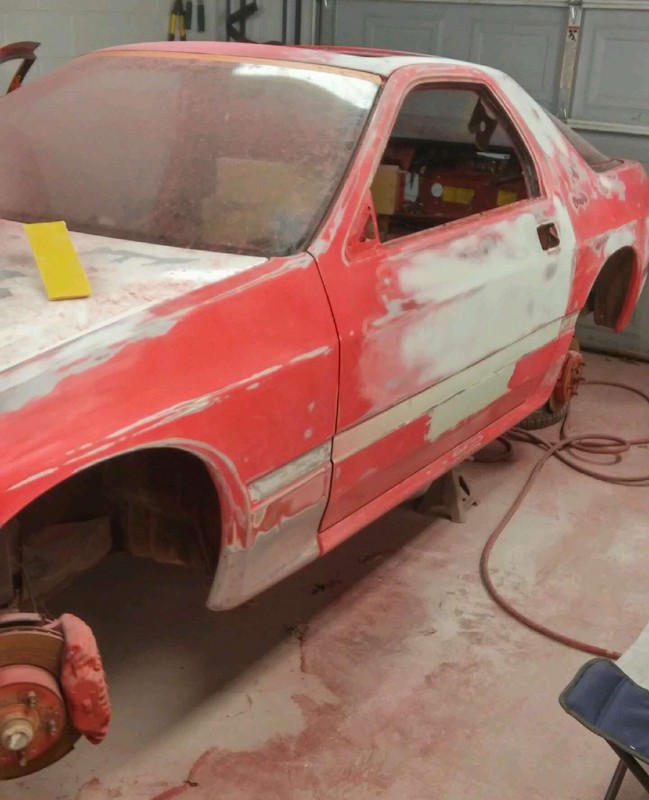
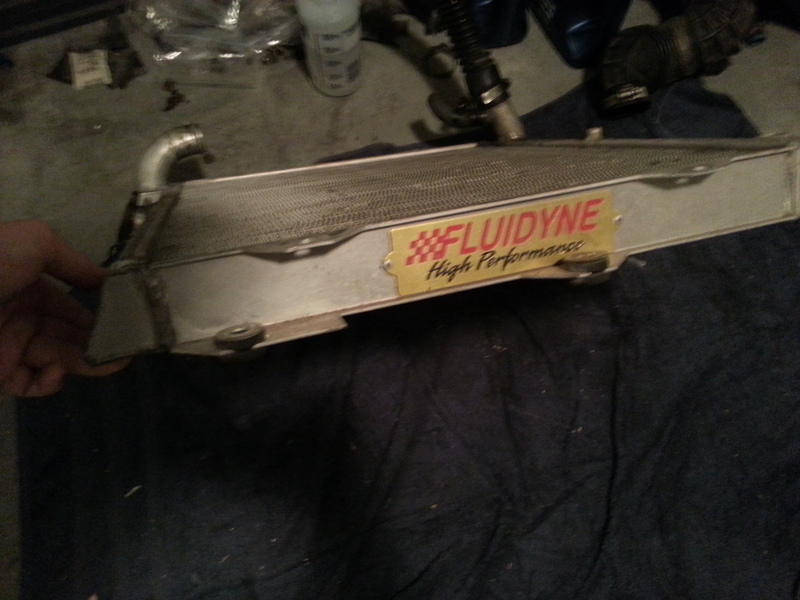
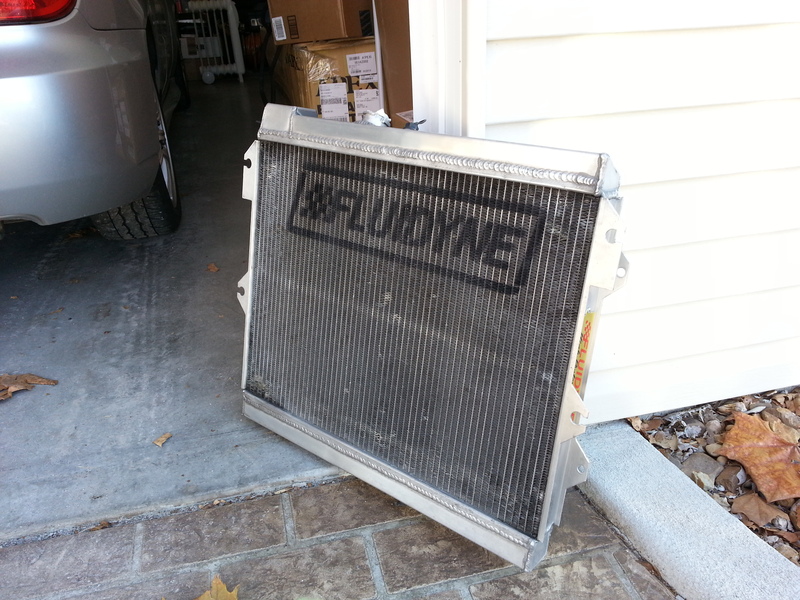
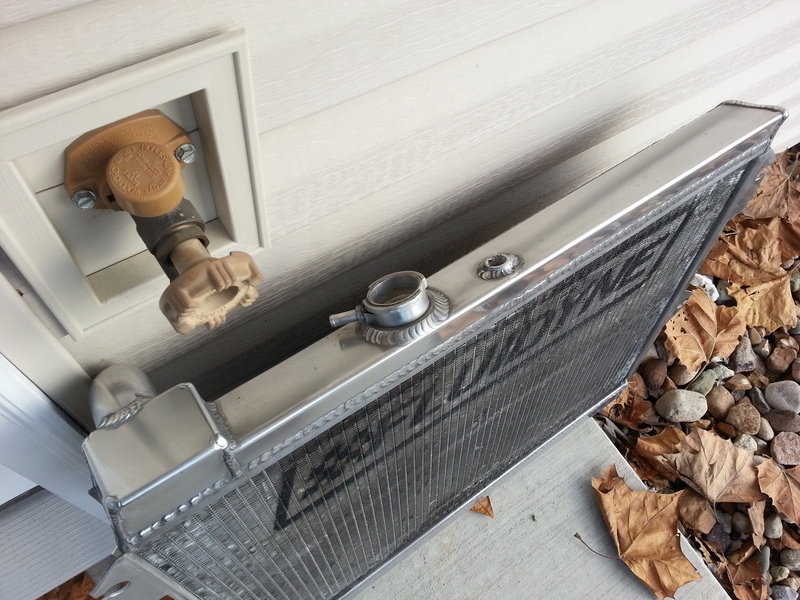
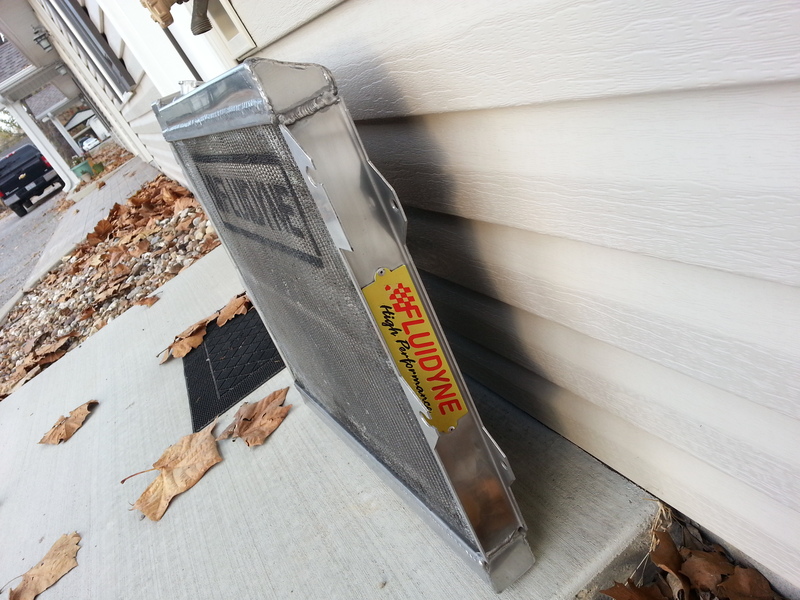
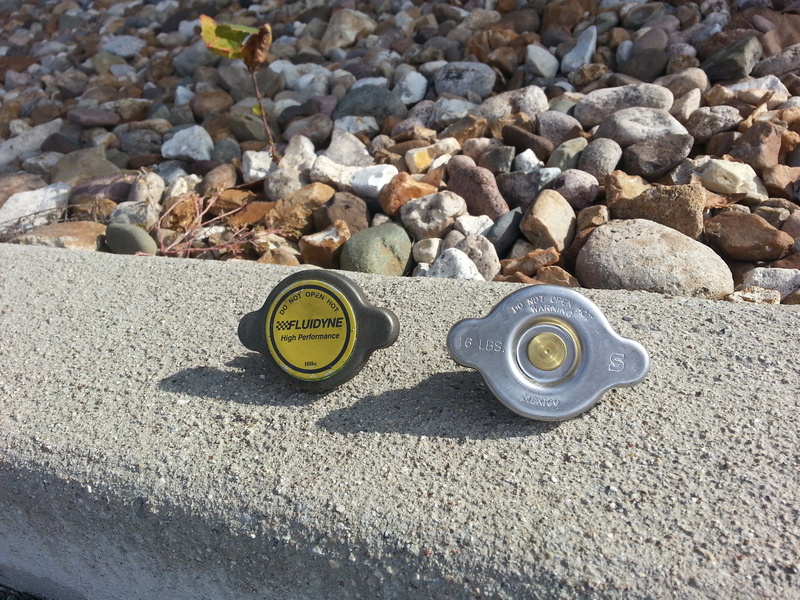
A decent amount has happened this week. The car is currently being primed. I stopped over and grabbed a few pics and saw the progress. My order came in from Atkins, which contained mostly gaskets. I finished polishing the radiator, it looks great. It could have been better, but I’m content with how it looks. The sensor was stripped and I had to drill it out, I cut into the threads a bit, so I hope I didn’t do enough damage that it is irreversible. I also ordered a new cap for it. The old original Fluidyne cap was discolored. The window sills were in extremely bad shape. I wire wheeled all the rust off, used rust convert and then sprayed them. They look much better than they originally did. I’m unsure if I want to replace them later on.
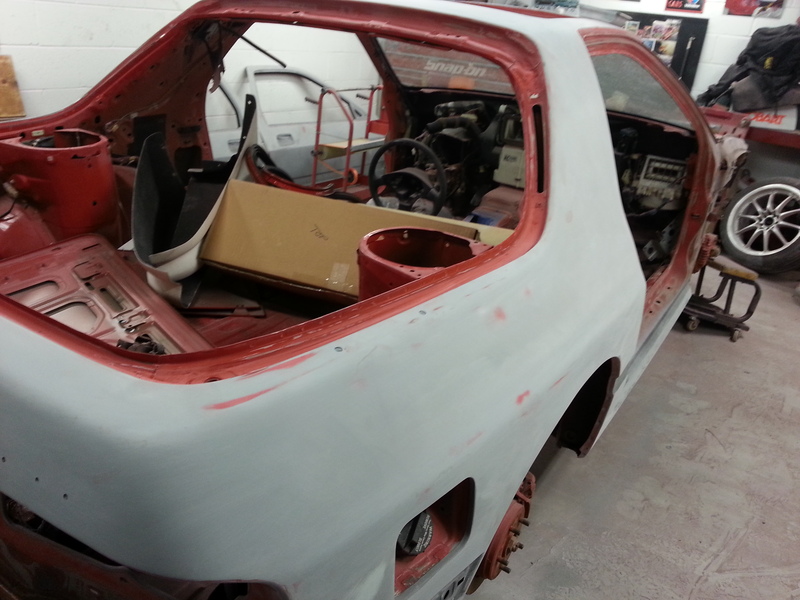
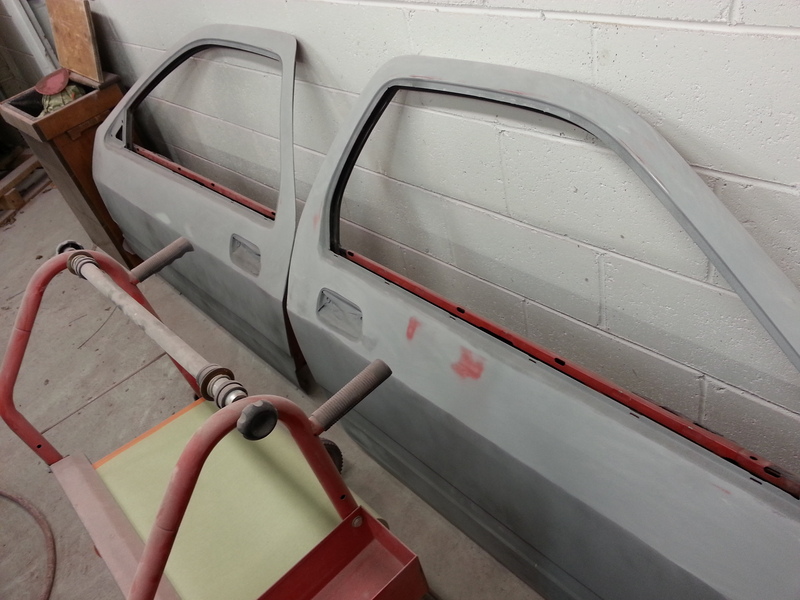
Here are the latest pictures of the car (still 2-3 weeks out from having the chassis back):
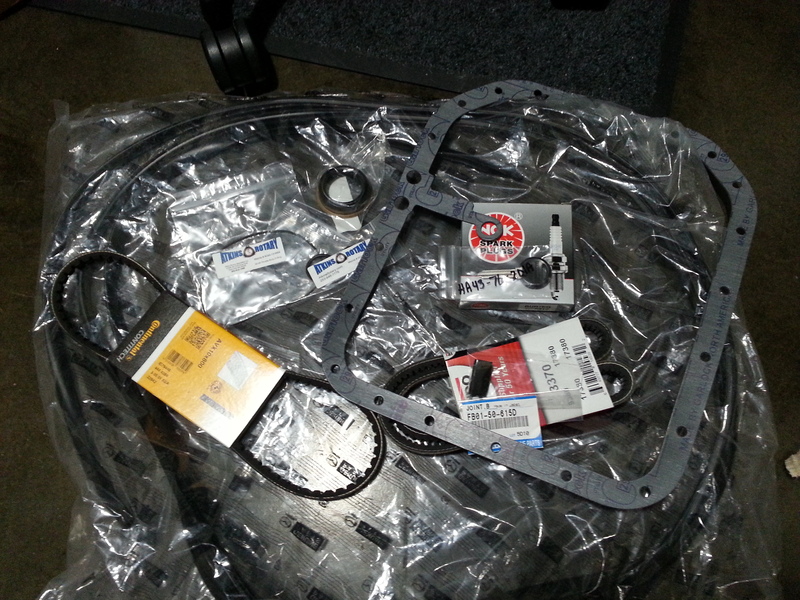
Here are all the goodies that came in from Atkins (I’m always amazed how much the little things cost):
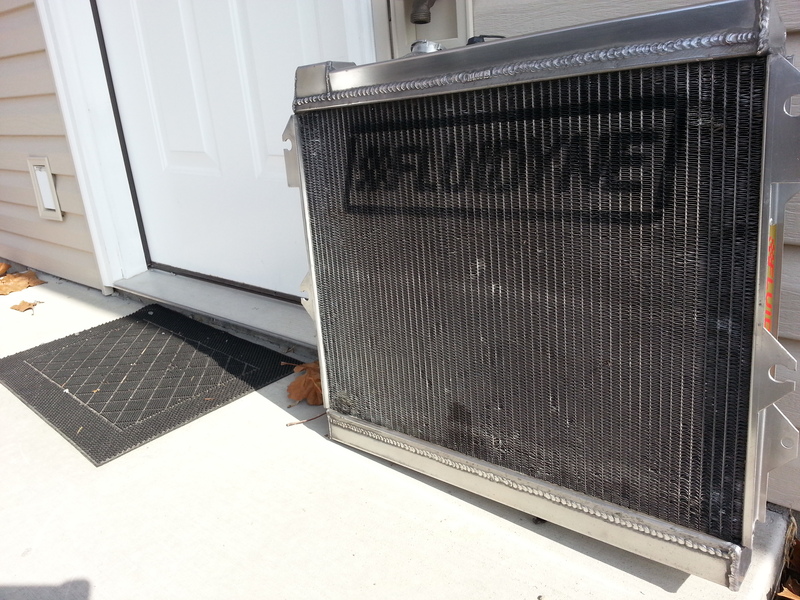
Here is the end result of 6-8 hours of wet sanding and polishing on the radiator:
The window sills turned out pretty good in my opinion. Here are some before and after shots:
A decent amount has happened this week. The car is currently being primed. I stopped over and grabbed a few pics and saw the progress. My order came in from Atkins, which contained mostly gaskets. I finished polishing the radiator, it looks great. It could have been better, but I’m content with how it looks. The sensor was stripped and I had to drill it out, I cut into the threads a bit, so I hope I didn’t do enough damage that it is irreversible. I also ordered a new cap for it. The old original Fluidyne cap was discolored. The window sills were in extremely bad shape. I wire wheeled all the rust off, used rust convert and then sprayed them. They look much better than they originally did. I’m unsure if I want to replace them later on.
Here are the latest pictures of the car (still 2-3 weeks out from having the chassis back):


Here are all the goodies that came in from Atkins (I’m always amazed how much the little things cost):

Here is the end result of 6-8 hours of wet sanding and polishing on the radiator:


The window sills turned out pretty good in my opinion. Here are some before and after shots:


Looking good. Your paid professional body guy seems to move a lot faster than my volunteer body guy.
I'm sure you could guess, but I am my body guy. Here was the car as of last weekend:

I'm sure you could guess, but I am my body guy. Here was the car as of last weekend:
Thread Starter
Joined: Apr 2015
Posts: 398
Likes: 169
From: St. Louis, MO
Thanks! I'm still waiting on the wheels to come in. There was a slight miscalculation on shipping charges, working on getting that taken care of.
Last edited by Akomix; Nov 18, 2015 at 09:41 AM.