
welcome home (drift build)


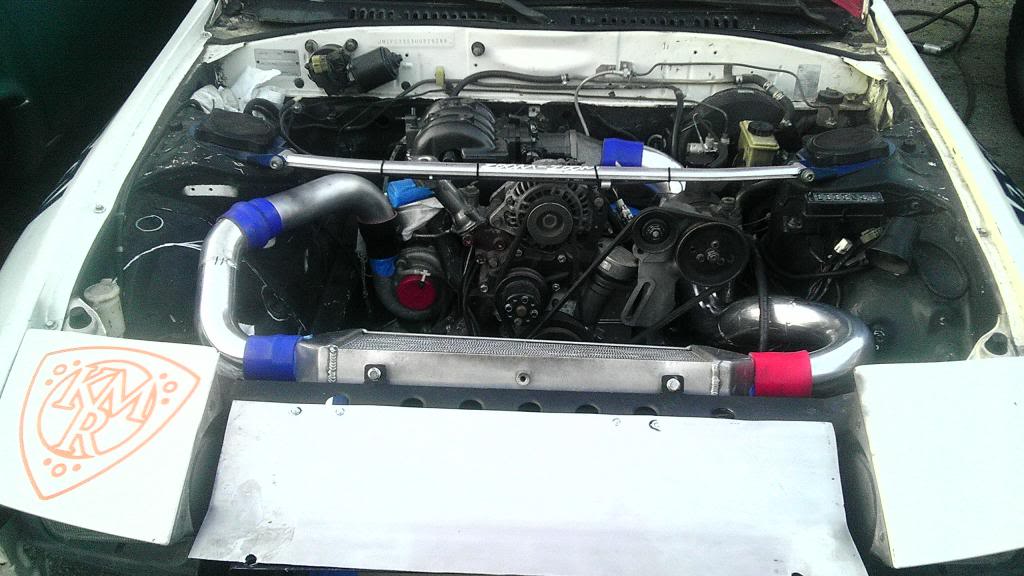
now comes the mocking up of the piping first i had to use tape to get it mocked up to how i wanted it
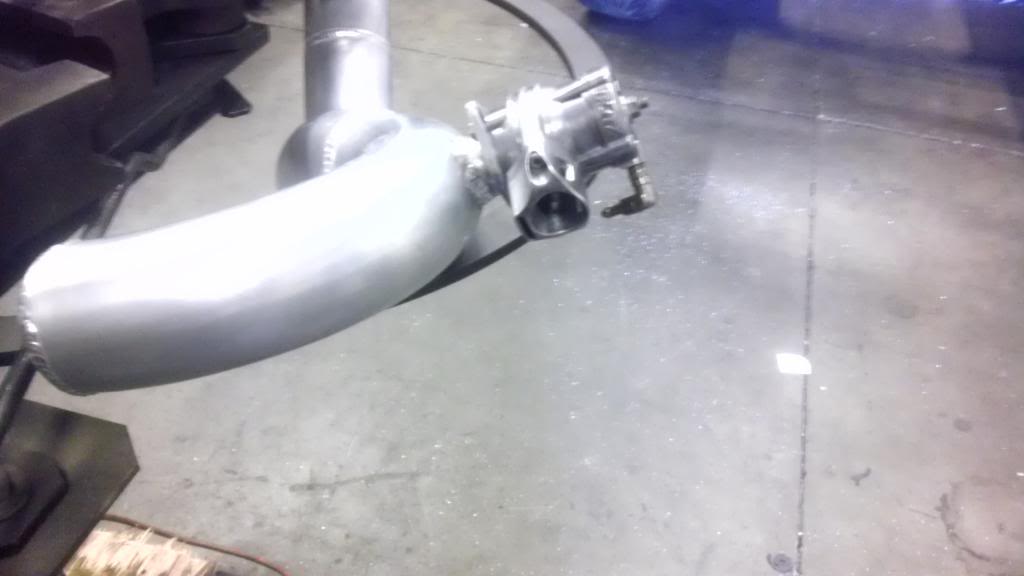
Turbo side:
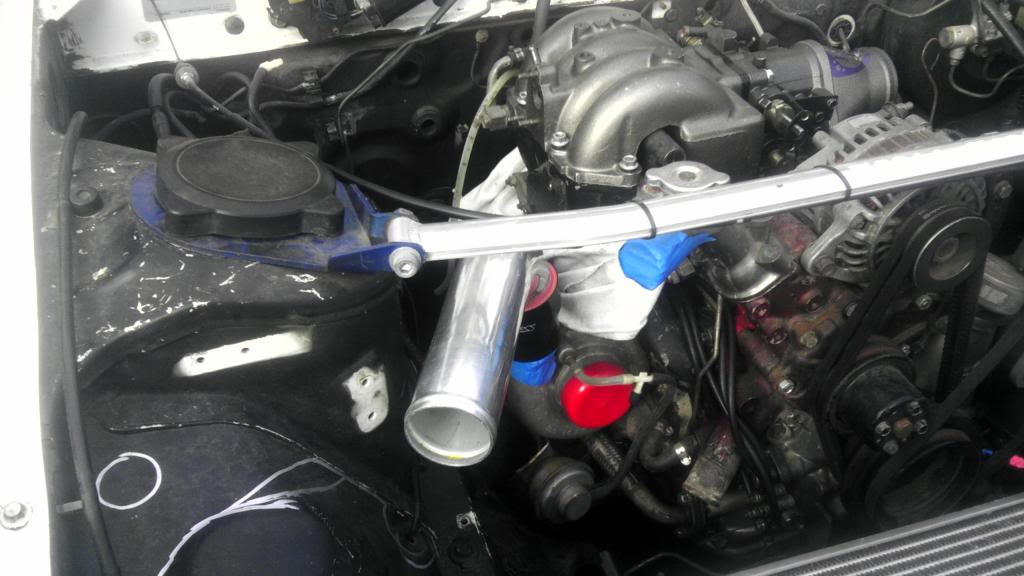
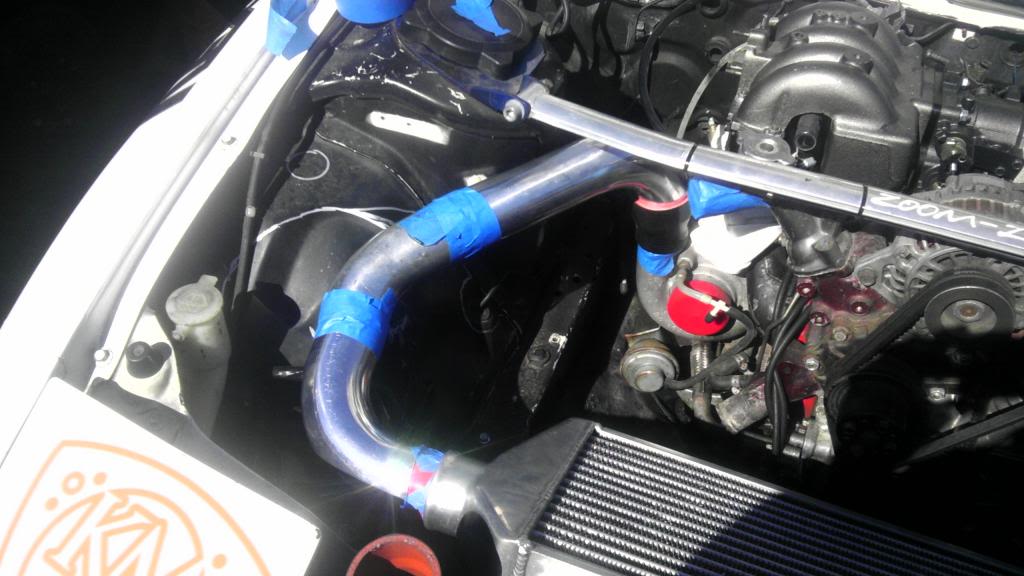
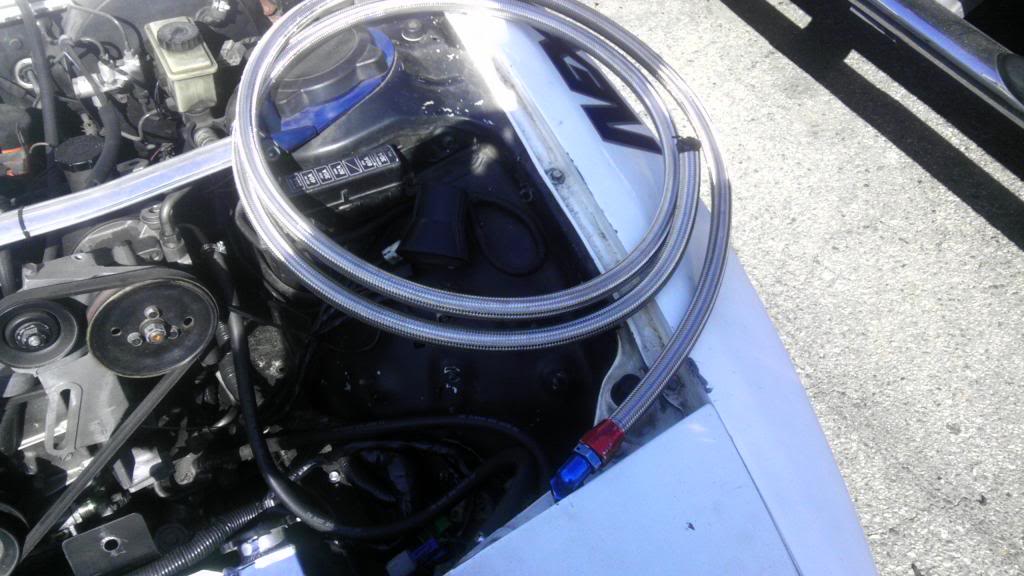
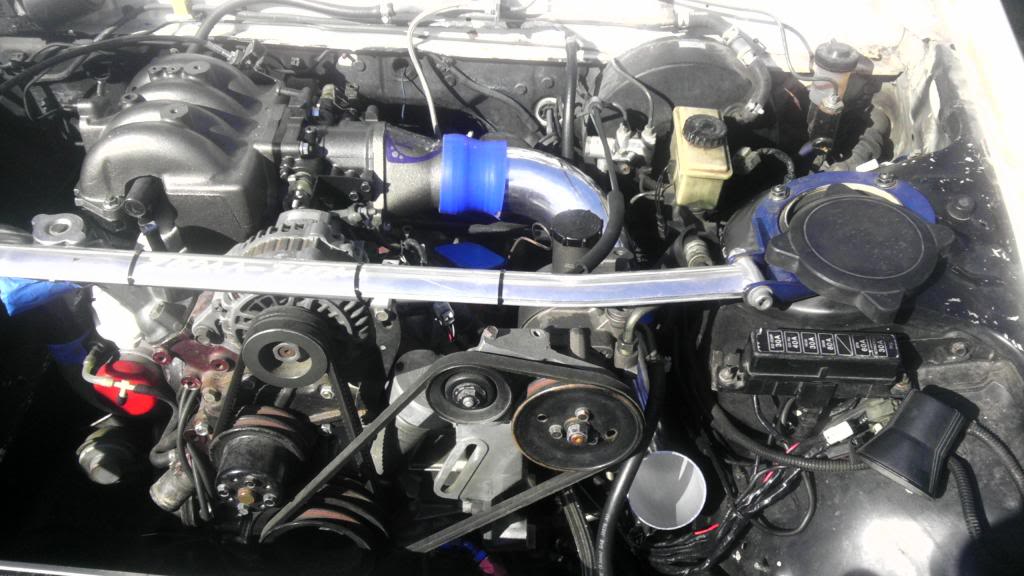
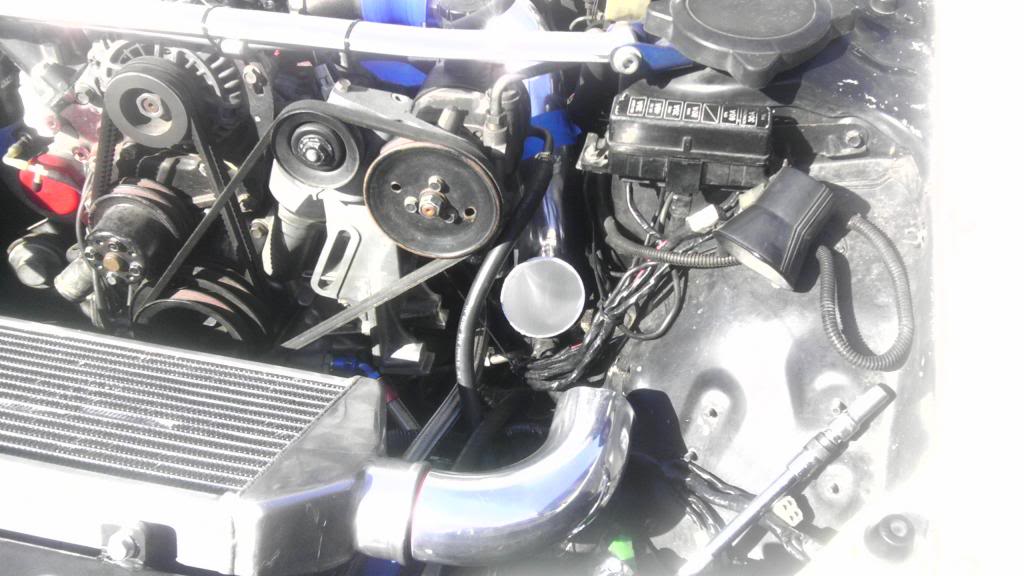
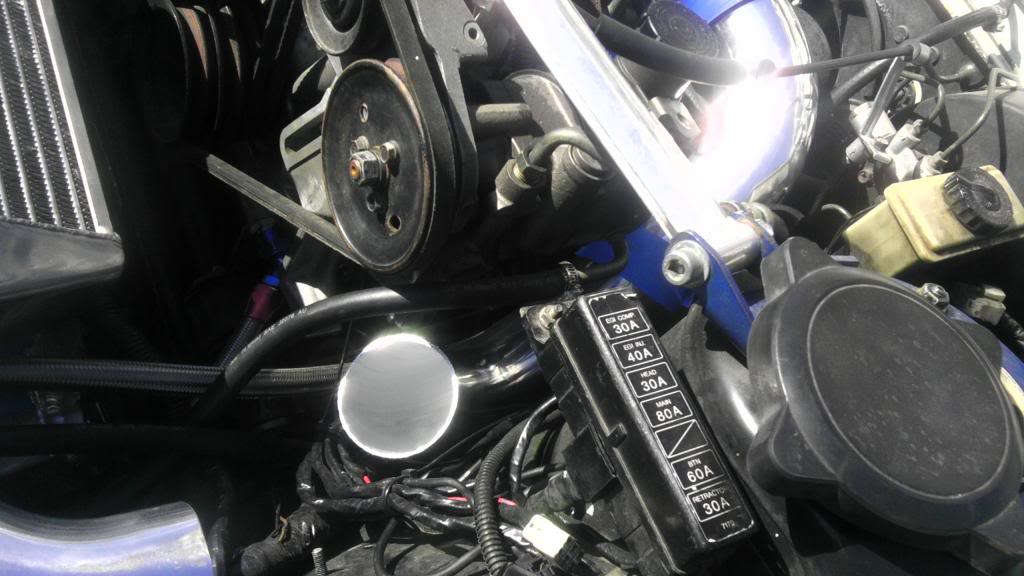
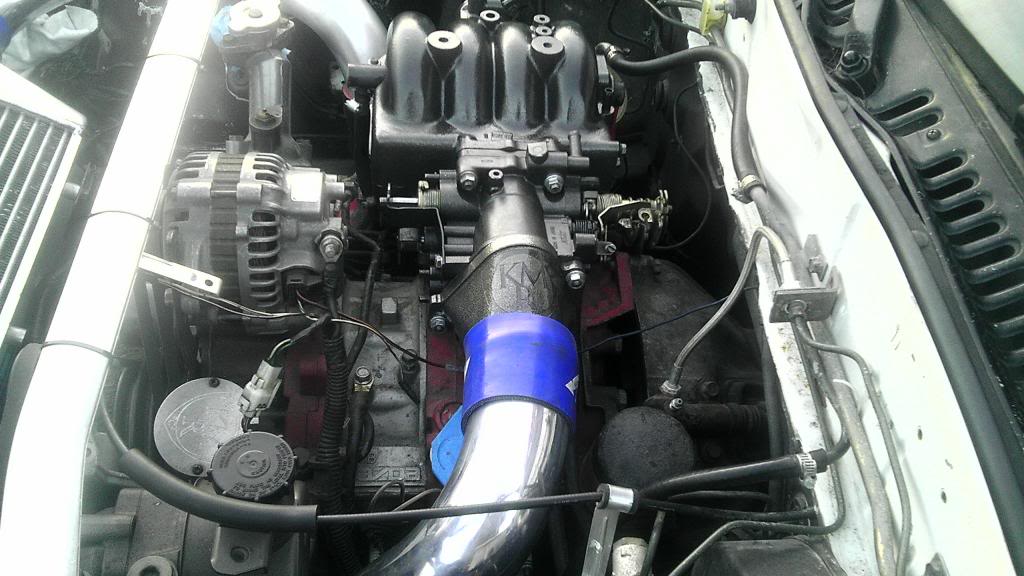
now the intake side was a bit tricky because i cant seem to find the power steering bracket from a gxl-se and i didnt feel like cutting my bracket so i had to route my piping under the power steering pump here is the intake side..
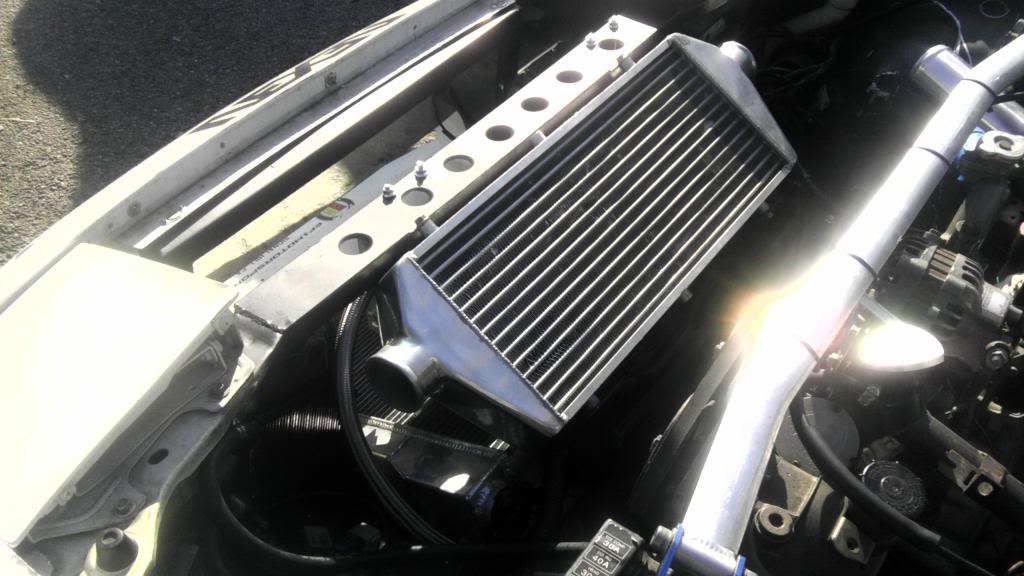
intake side:
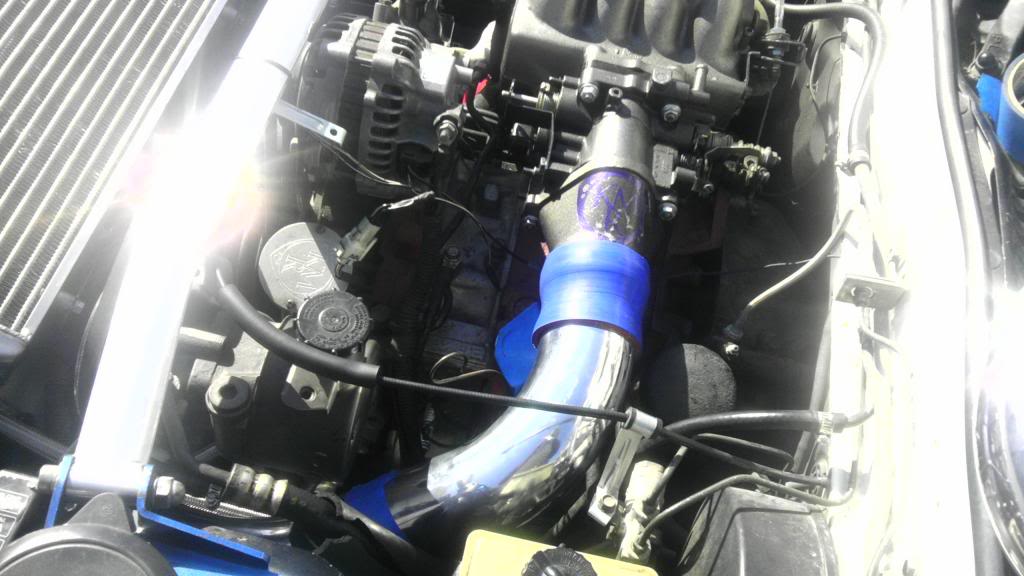
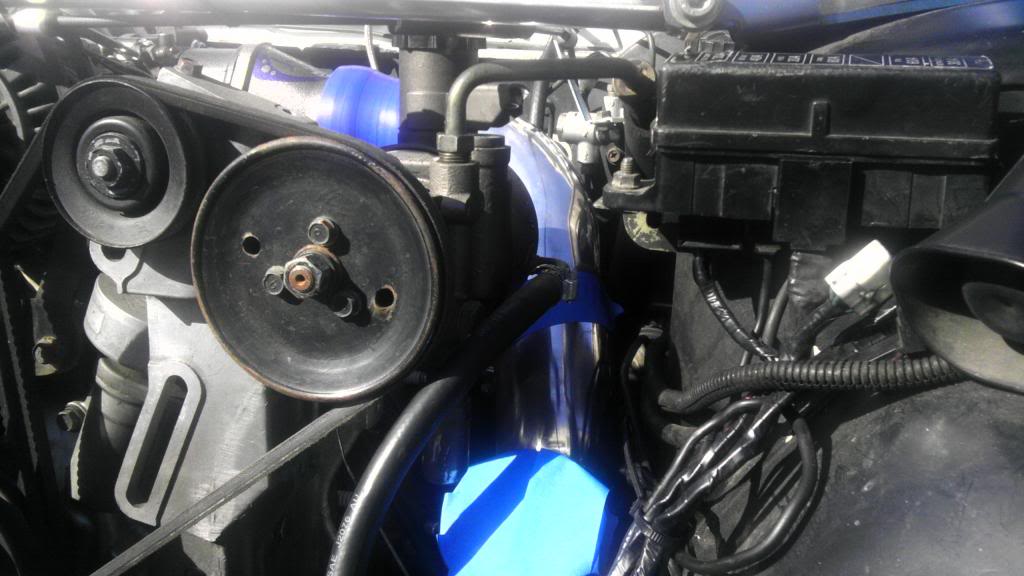
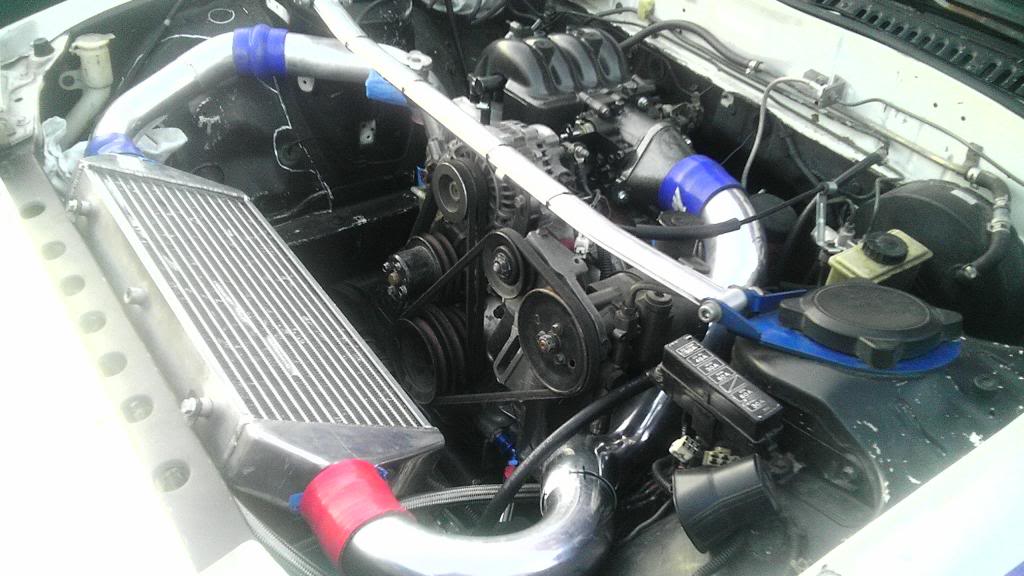
Turbo side:
now the intake side was a bit tricky because i cant seem to find the power steering bracket from a gxl-se and i didnt feel like cutting my bracket so i had to route my piping under the power steering pump here is the intake side..
intake side:
more of the intake side

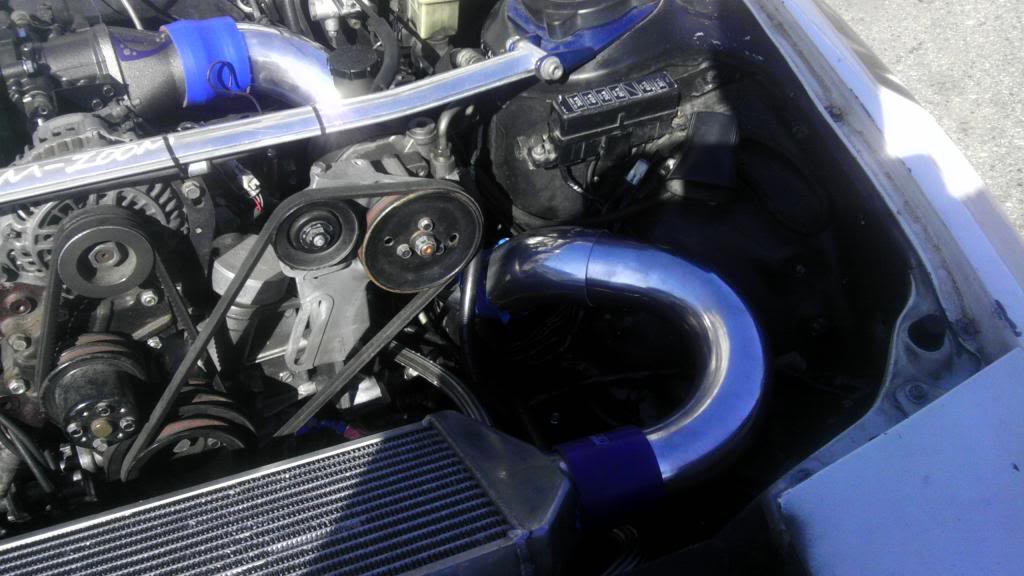
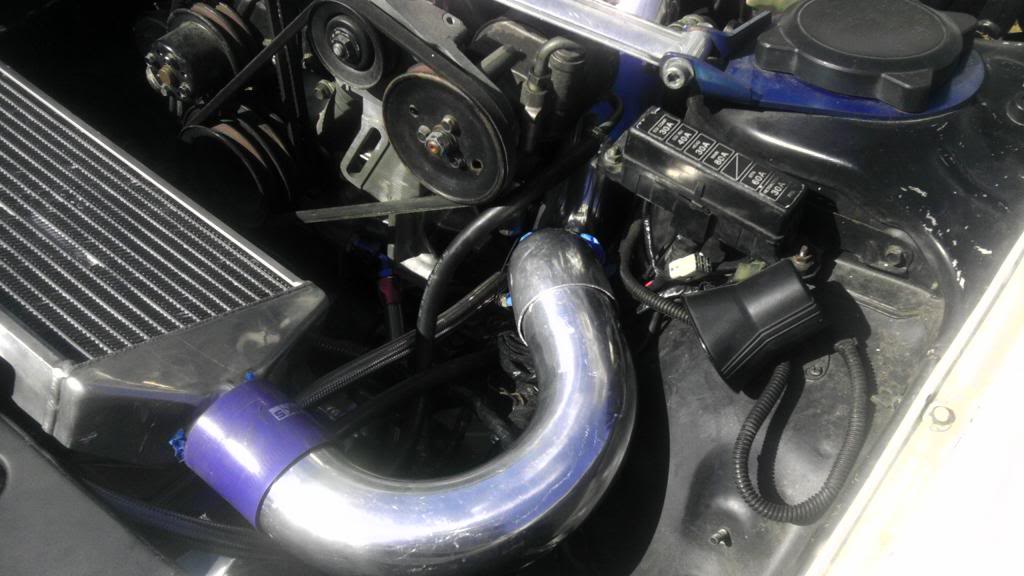
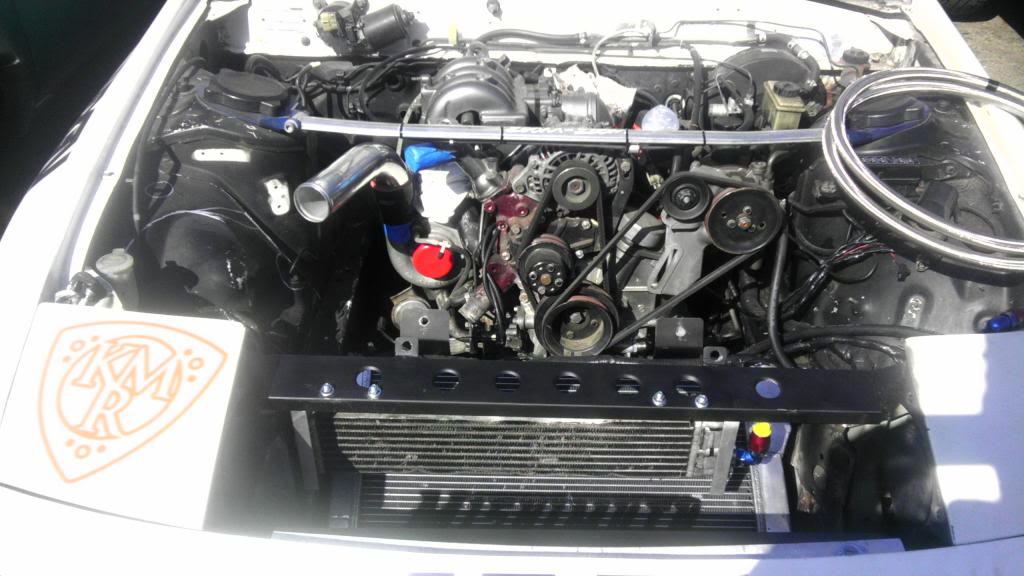
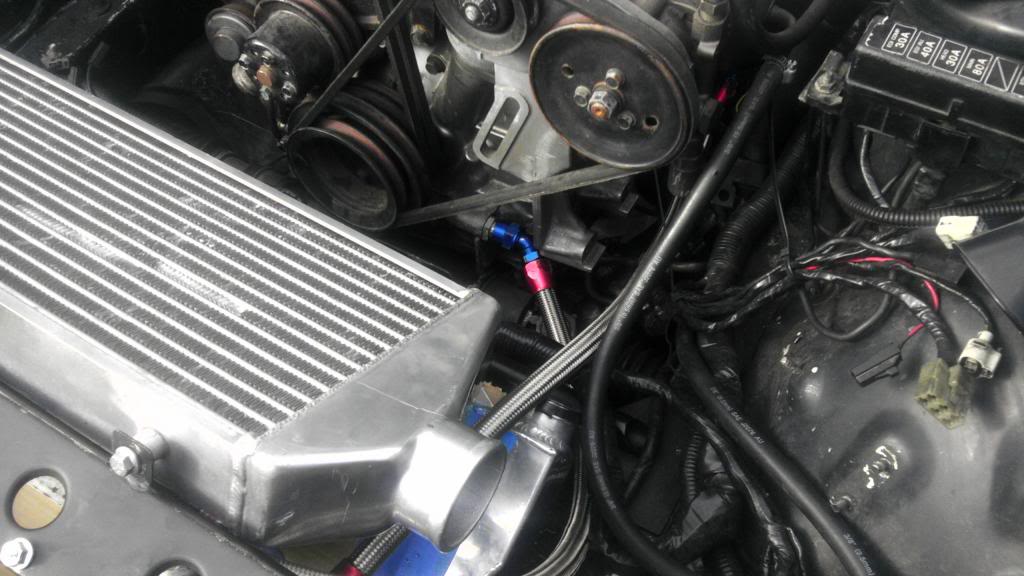
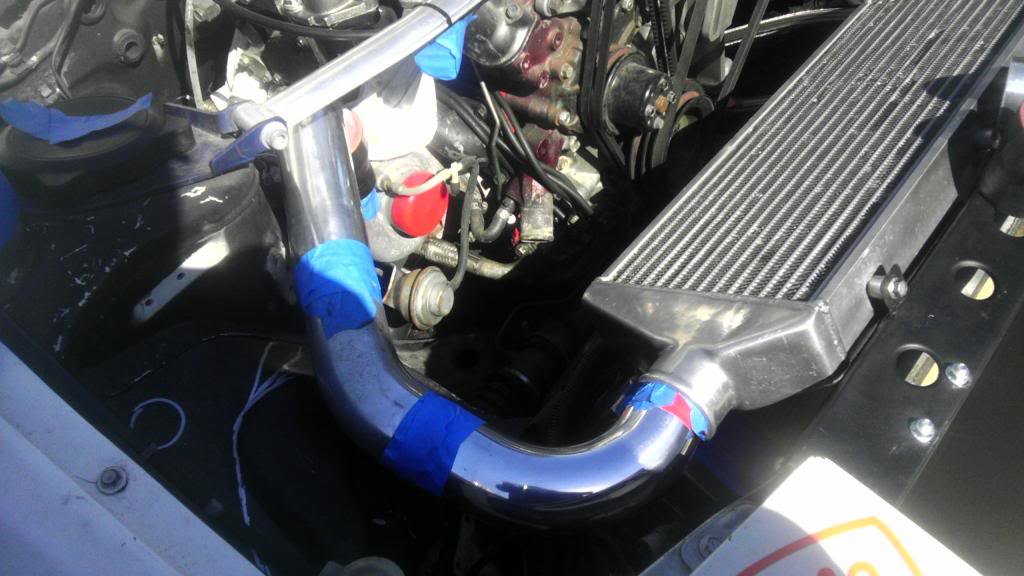
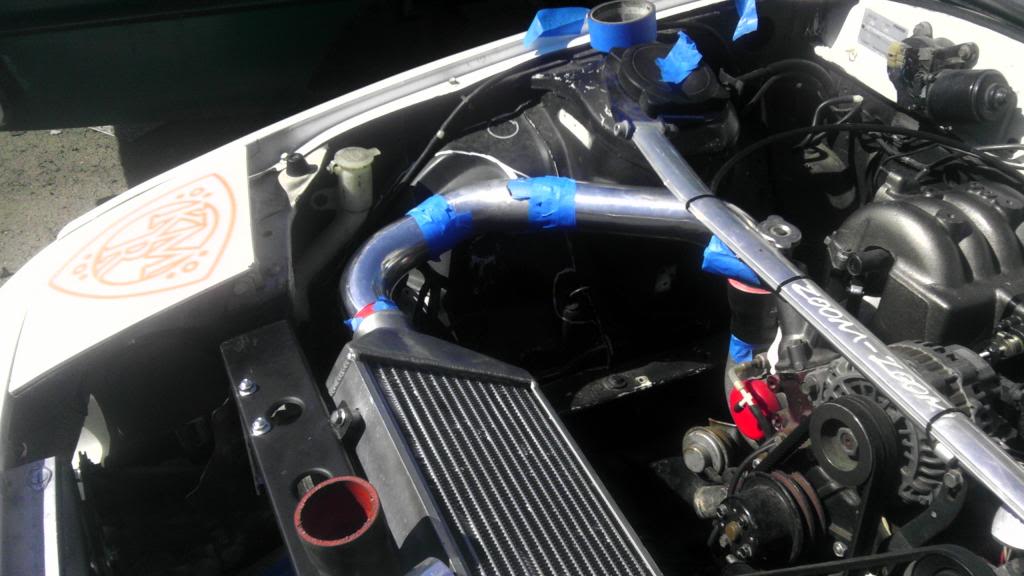
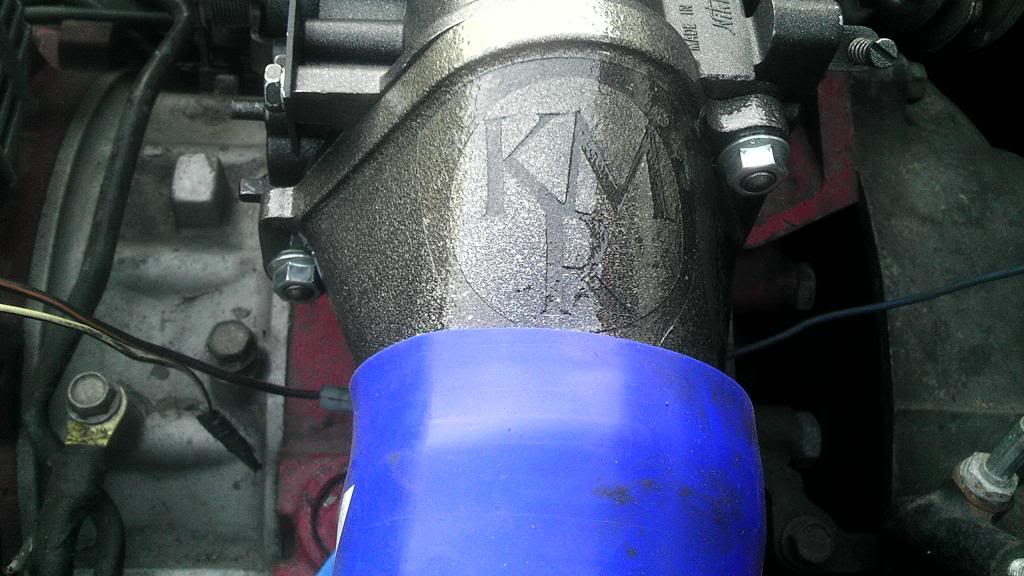
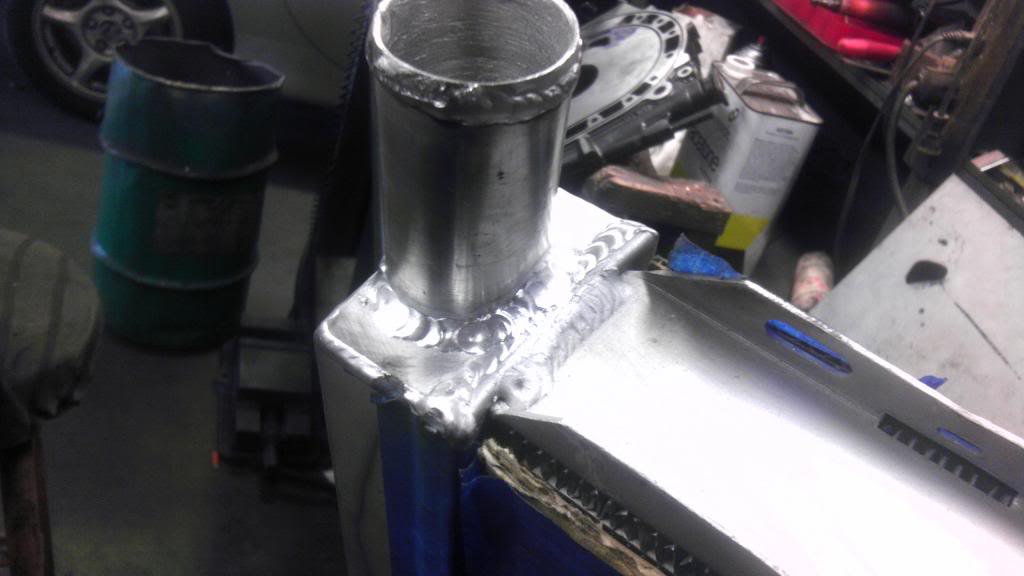
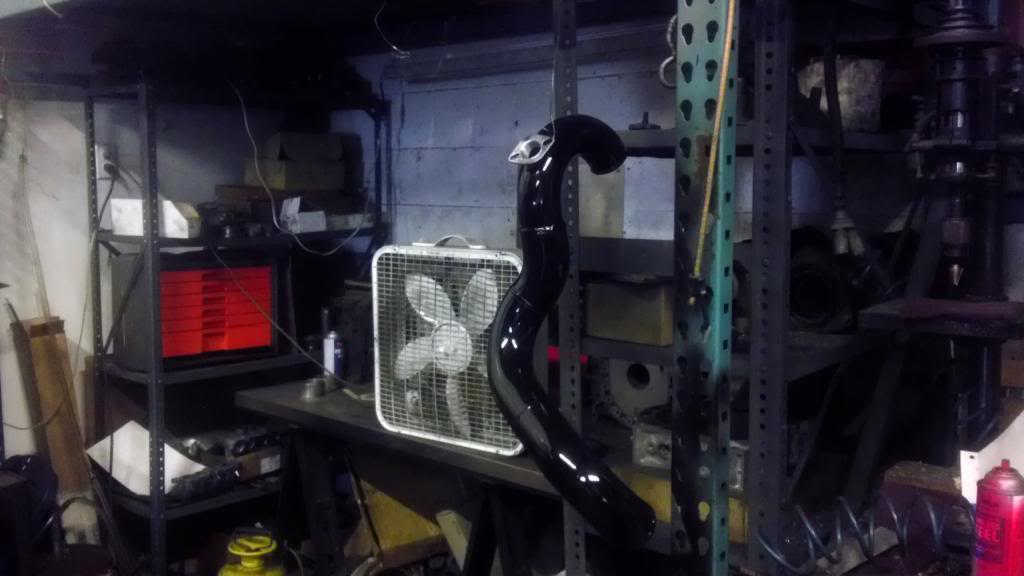
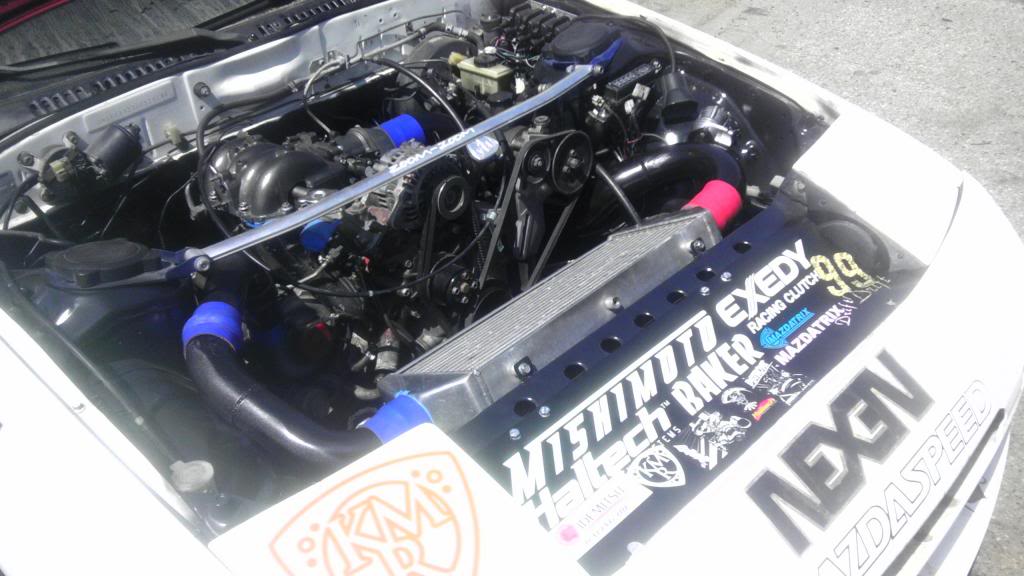
on the turbo side im running 2 1/2 inch piping and on the intake side from the intercooler its 2 3/4 going into 3inc. i run out of piping so i did it that way because thats what i had to work with...came out pretty nice...so now im going to have everything tacked up just to see if everything will fit before i weld it all up
on the turbo side im running 2 1/2 inch piping and on the intake side from the intercooler its 2 3/4 going into 3inc. i run out of piping so i did it that way because thats what i had to work with...came out pretty nice...so now im going to have everything tacked up just to see if everything will fit before i weld it all up
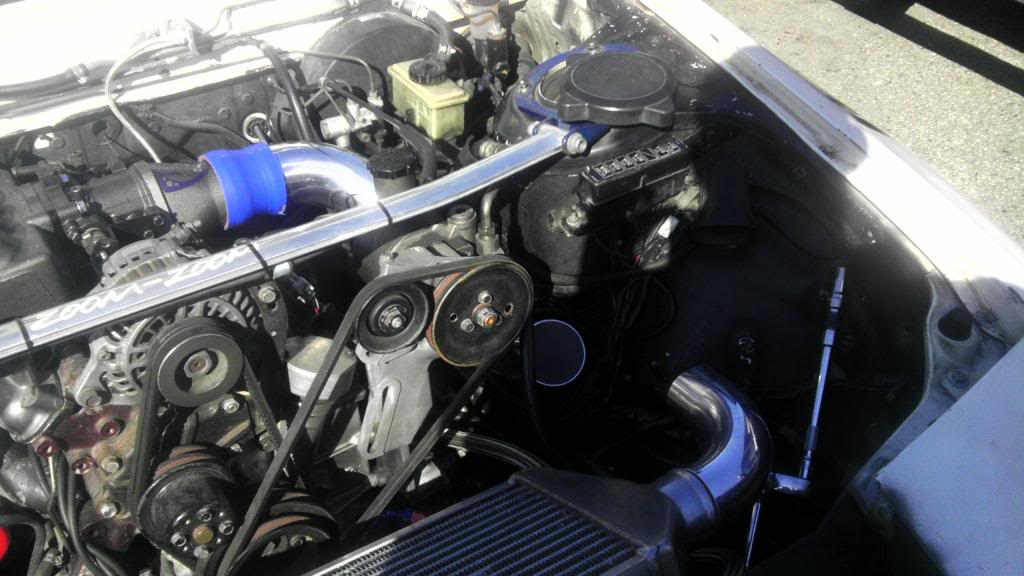
here is the piping tacked welded into place also if you notice i made a air direverter plate but its nothing special i was trying something out and what to see what it would look like..i may just do it over or i may just keep that one for now either wrap it in carbon or paint it black..
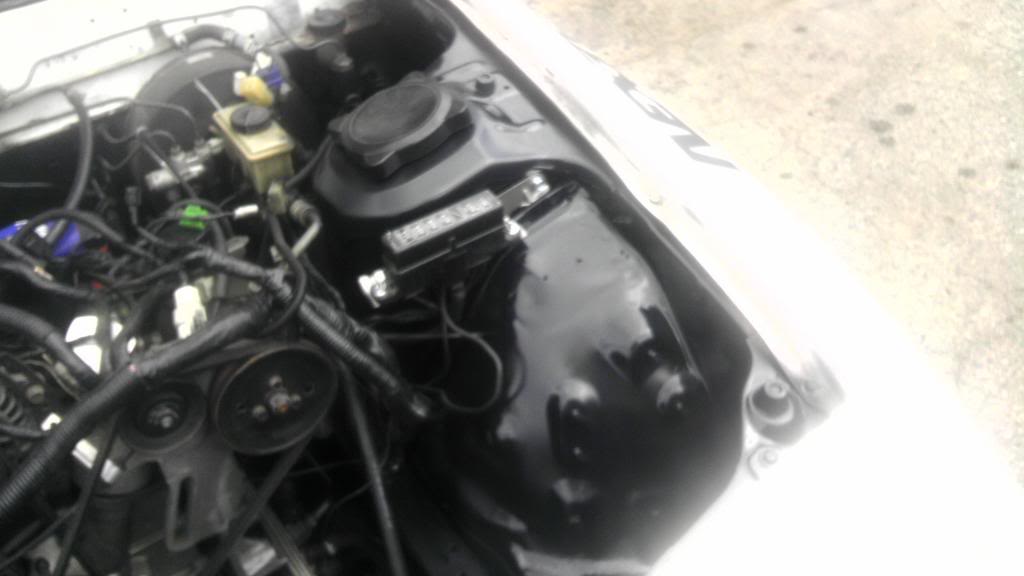
i also took the liberty of repainting my manifold a darker grey just something i felt like doing
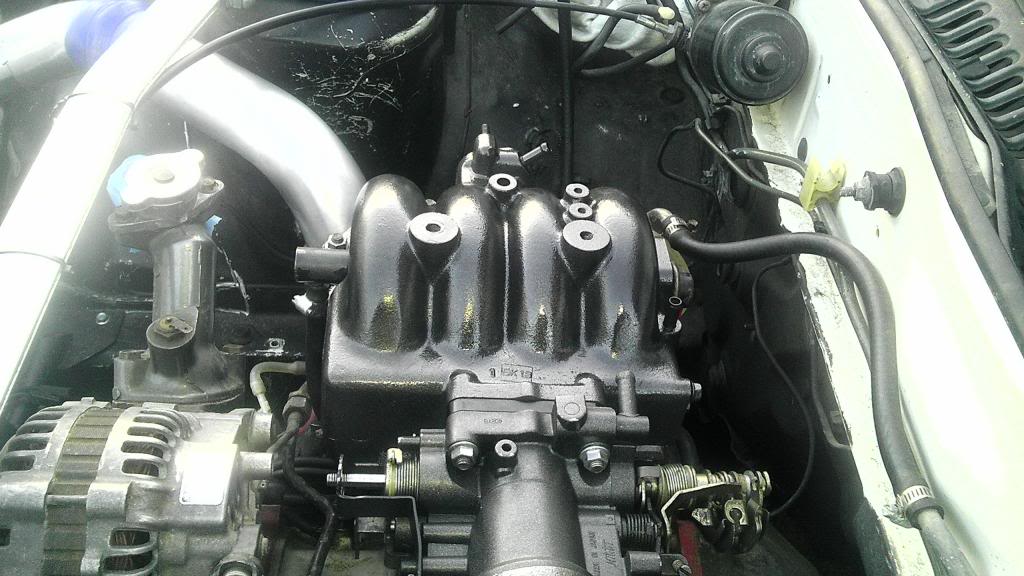
i also took the liberty of repainting my manifold a darker grey just something i felt like doing
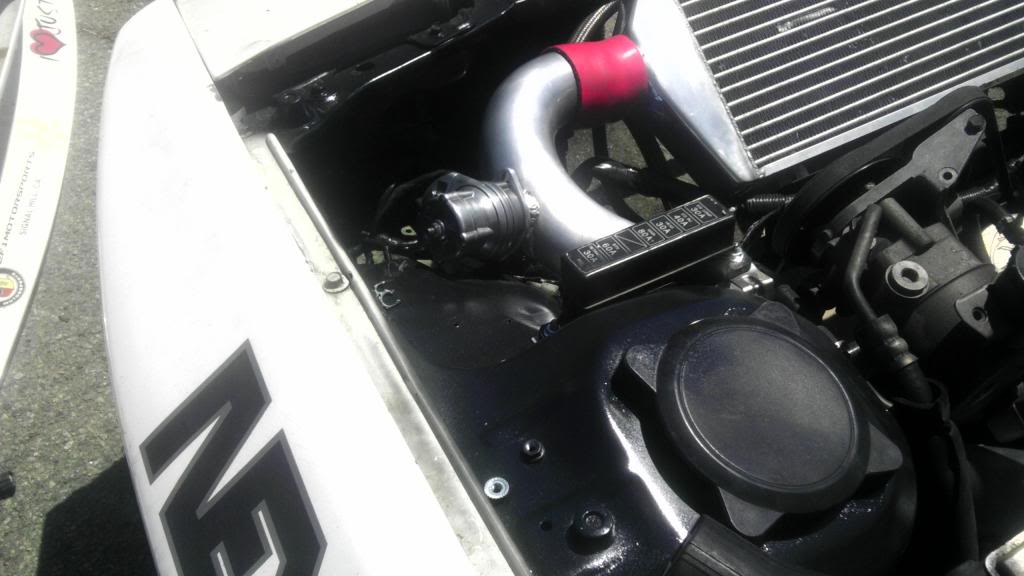
now that everything is mocked up im going to do some clean up and get some things going..i still have to mount and wire in the haltech and waiting for the drop vent and my ls coils to come in so that i can start the wiring...i also have to modify my radiator and start mocking up the hoses for it...once all of that is done im going to do a real good clean up of the piping and paint them black as well as the intercooler end tanks and the radiator and oil cooler...people say that painting it black retains heat whic is true but there is black paint with ceramic that helps disipates the heat so thats what im going for but ill cross that bridge with i get to it....the next update will be completing the welding of the piping and giving the engine bay and full clean up and repaint as well as some body work for the dents and putting on the wide qarter fenders in the back
Update
Been very busy with school, work, church, and shop (kmr) trying to get somethings situated but i have been making progress on the car. Im really close to having it ready to go hopefully i can have it done before mazfest. so far what ive done:
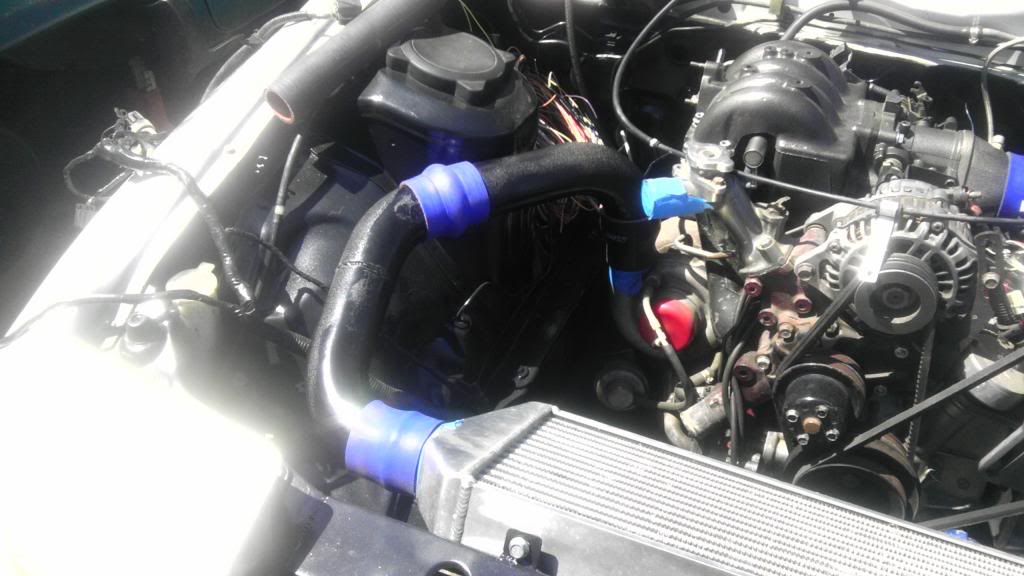
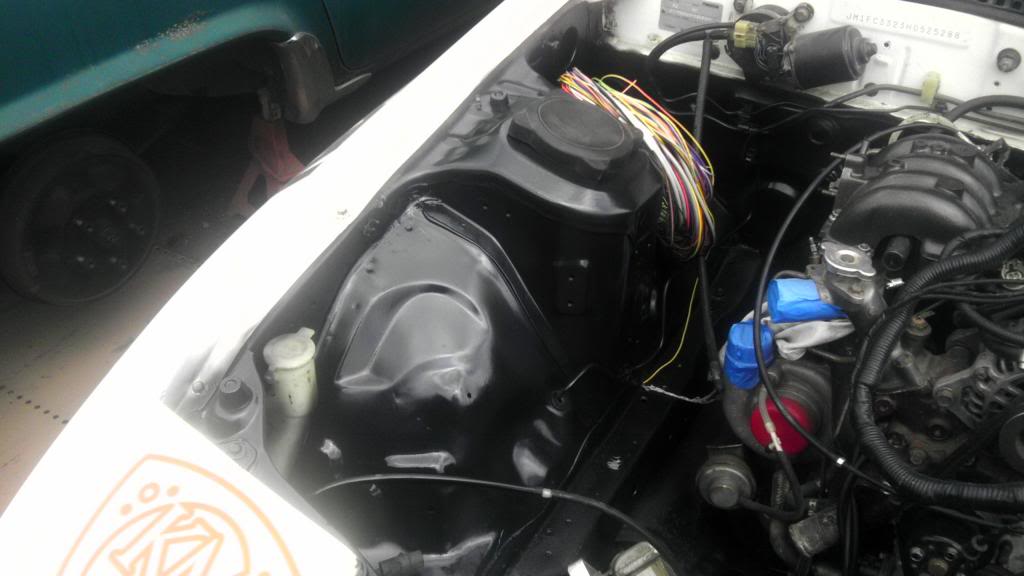
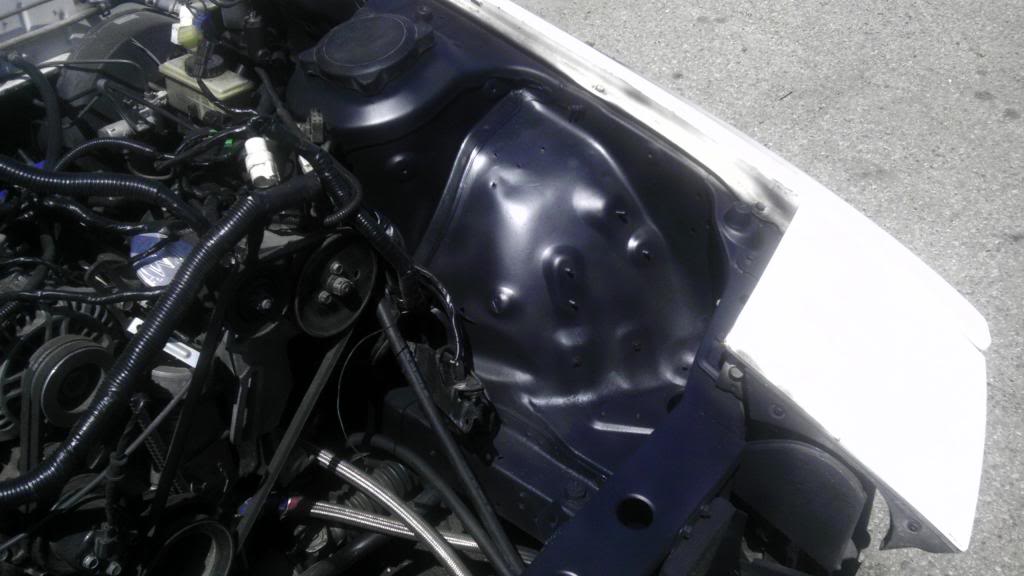
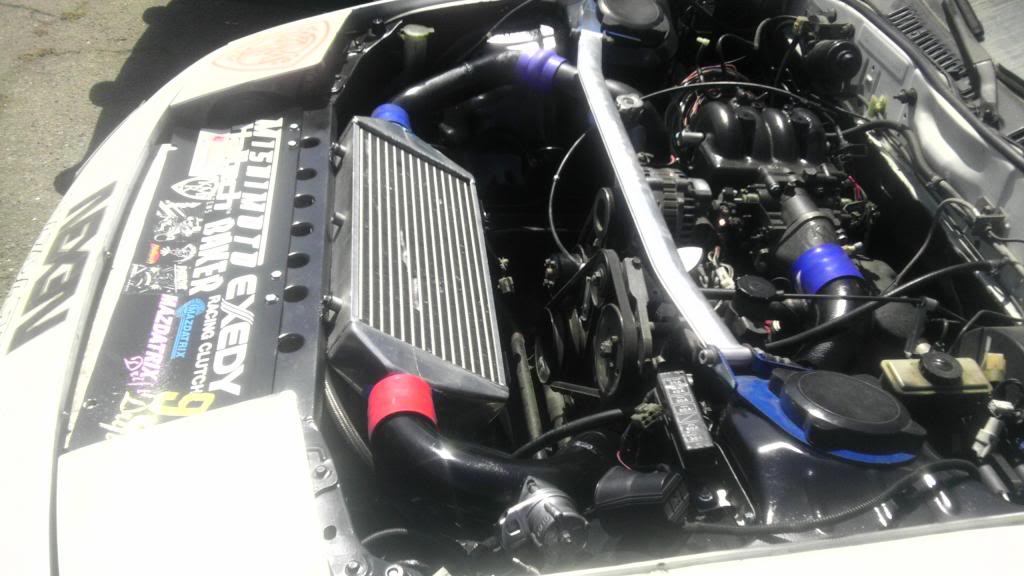
cleaned and touched up the engine bay with some flat black and clear
mounted my haltech in a safe location
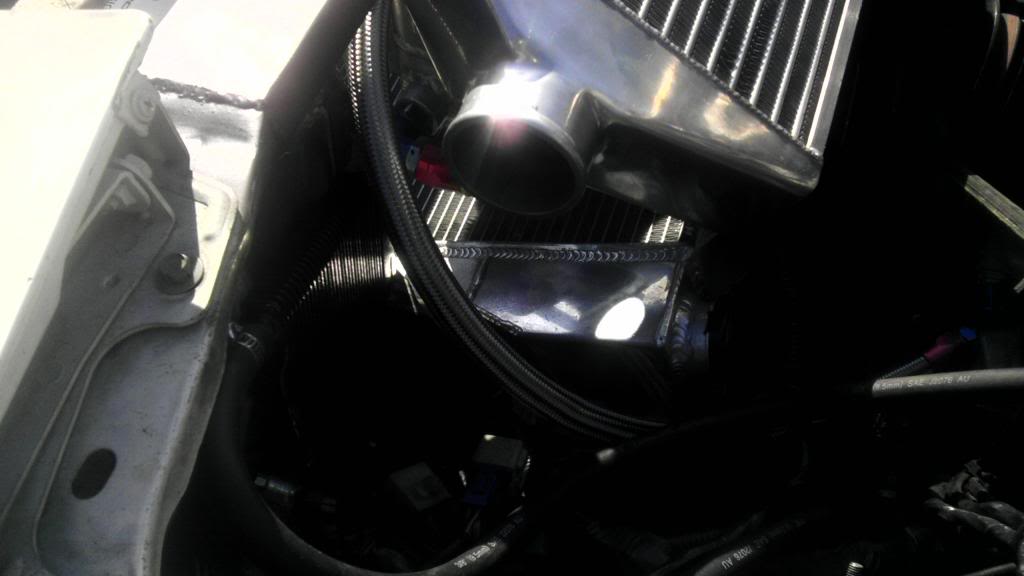
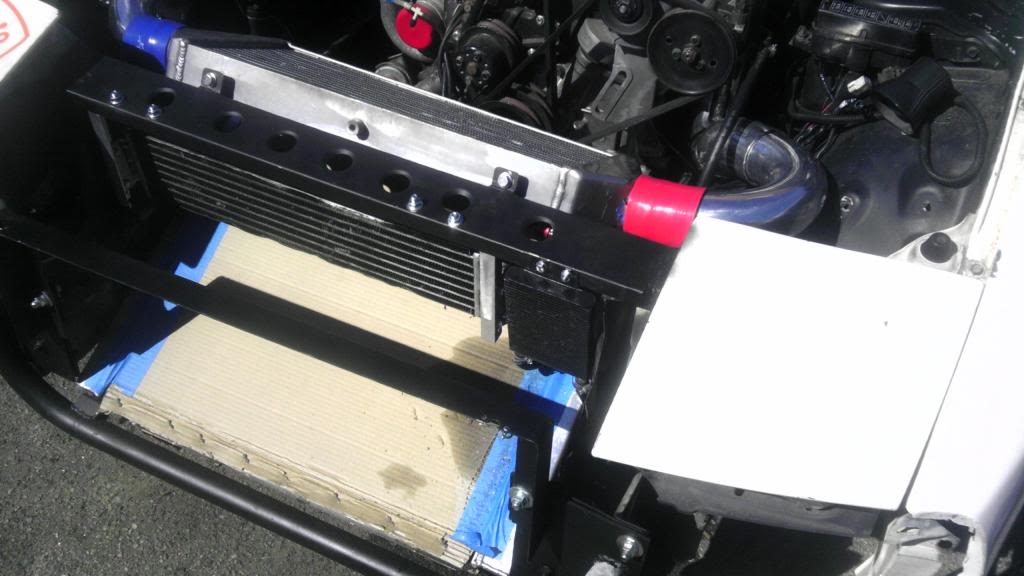
finished welding up the intercooler pipping
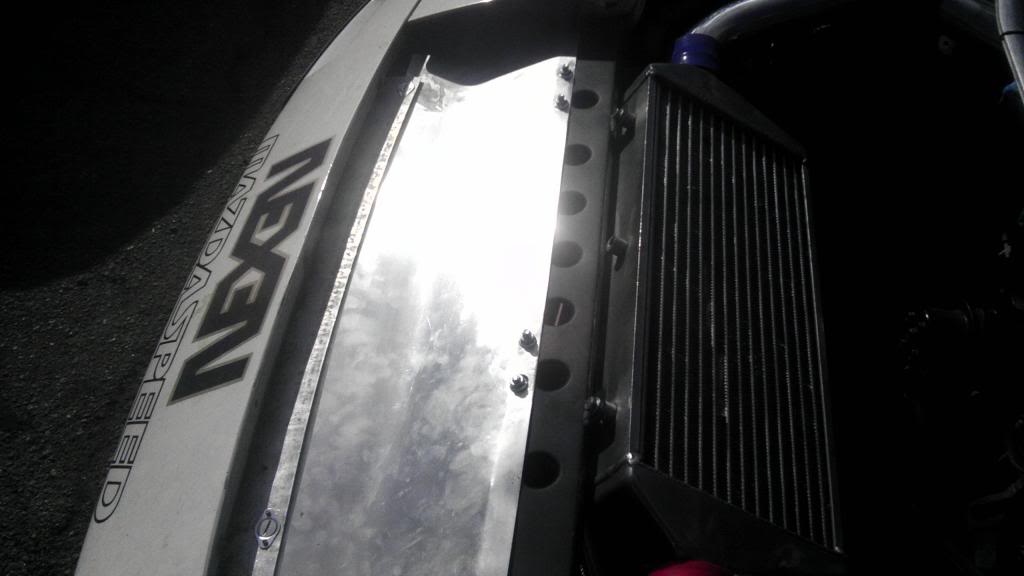
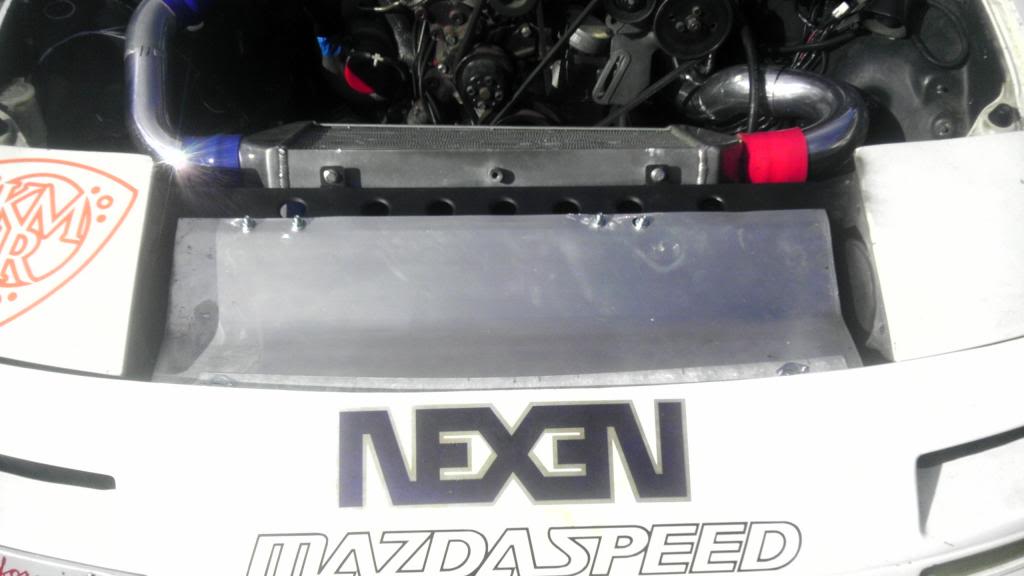
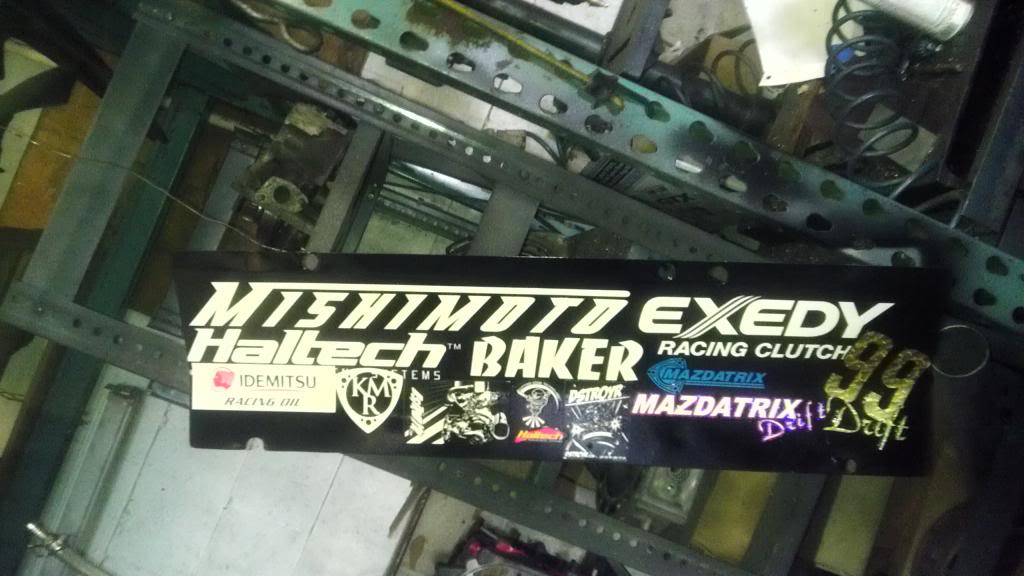
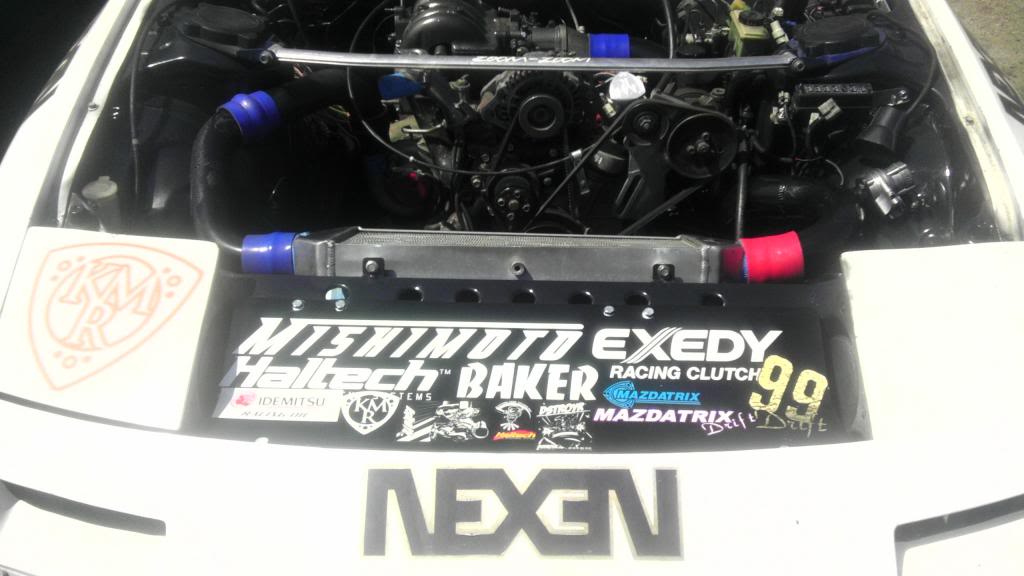
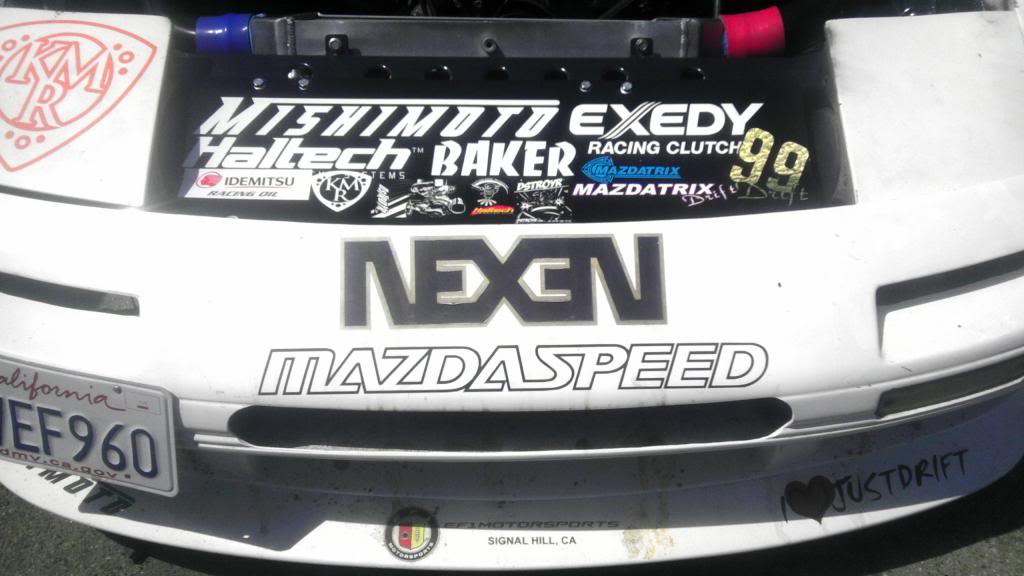
painted and sticker bombed my radiator cover plate
what needs to be done:
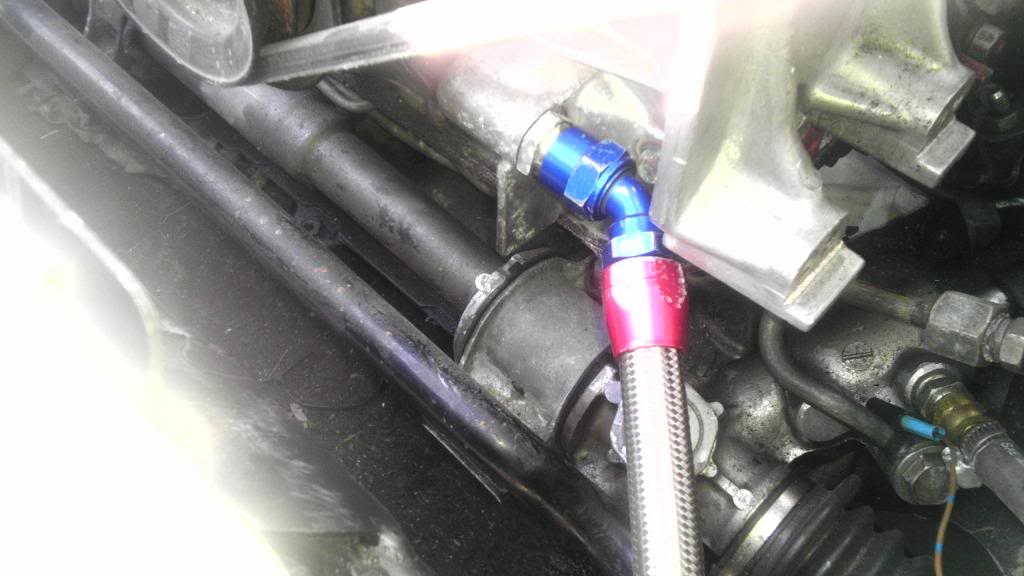
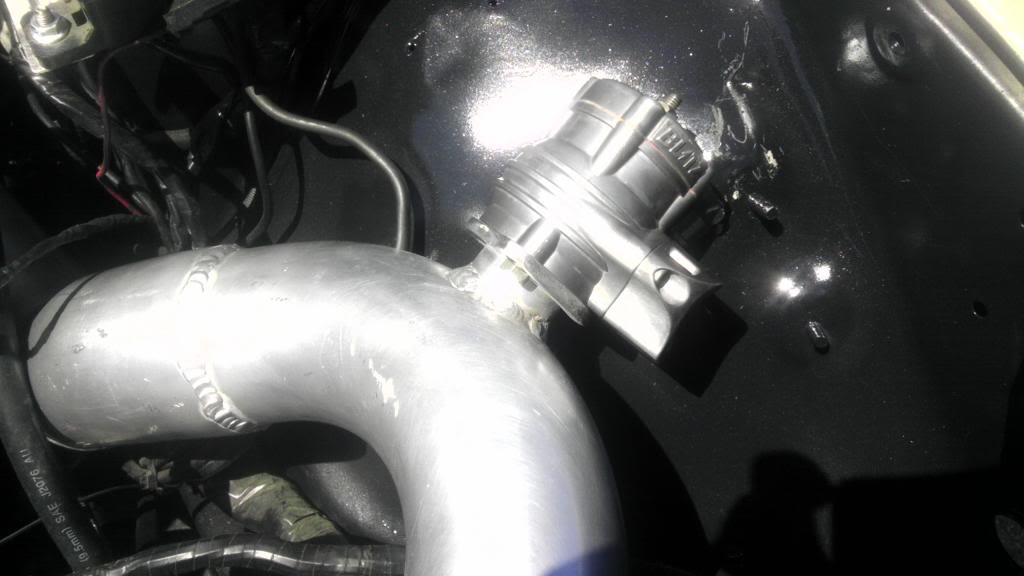
mock up adapter for blow off valve
wire up haltech and tune car
get grommets for injectors
cut hole in hood for drop vent
modify and weld up radiator
so far that is what i can think of at the moment. i will post pics of what ive done so far and what im going to do. ill keep you guys updated as i continue to finish this project.
STAY TUNNED...
cleaned and touched up the engine bay with some flat black and clear
mounted my haltech in a safe location
finished welding up the intercooler pipping
painted and sticker bombed my radiator cover plate
what needs to be done:
mock up adapter for blow off valve
wire up haltech and tune car
get grommets for injectors
cut hole in hood for drop vent
modify and weld up radiator
so far that is what i can think of at the moment. i will post pics of what ive done so far and what im going to do. ill keep you guys updated as i continue to finish this project.
STAY TUNNED...
update:
been really busy with work, school, and shop stuff. managed to get somethings done to my car in the process...almost there still a few things to do but here are some pics of what i have been doing:
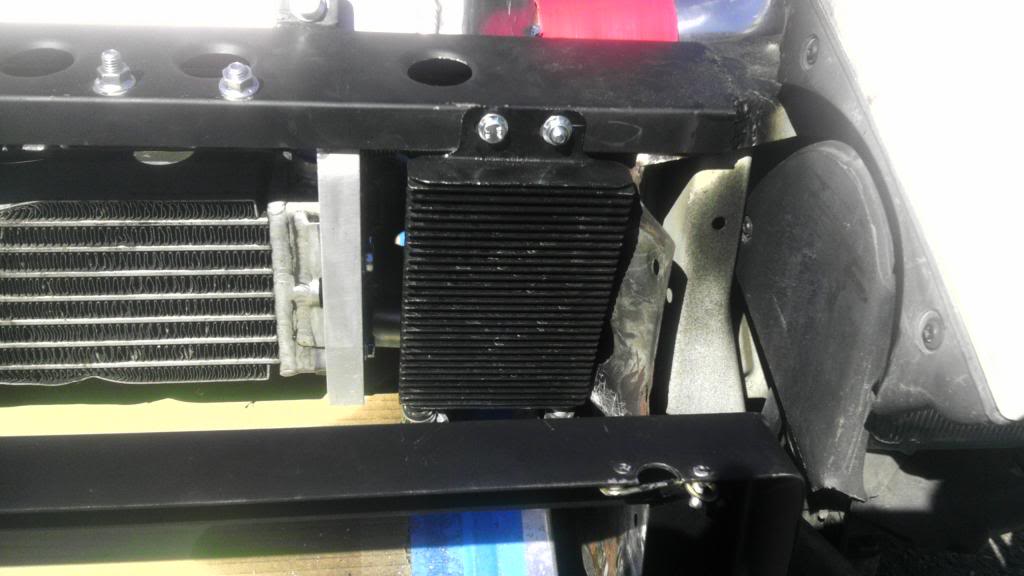
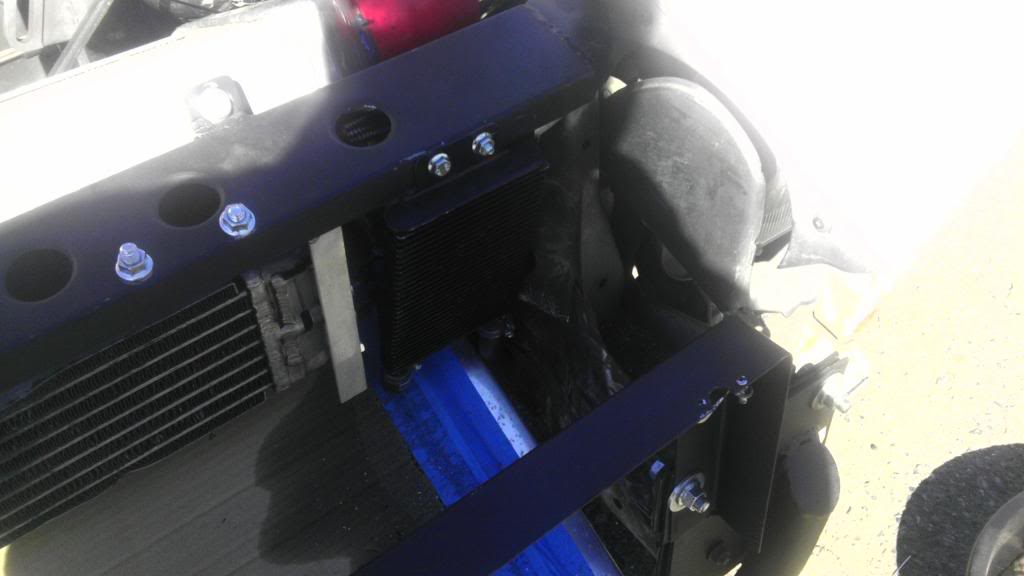
managed to modify the radiator, still need to put a bleeder plug in it
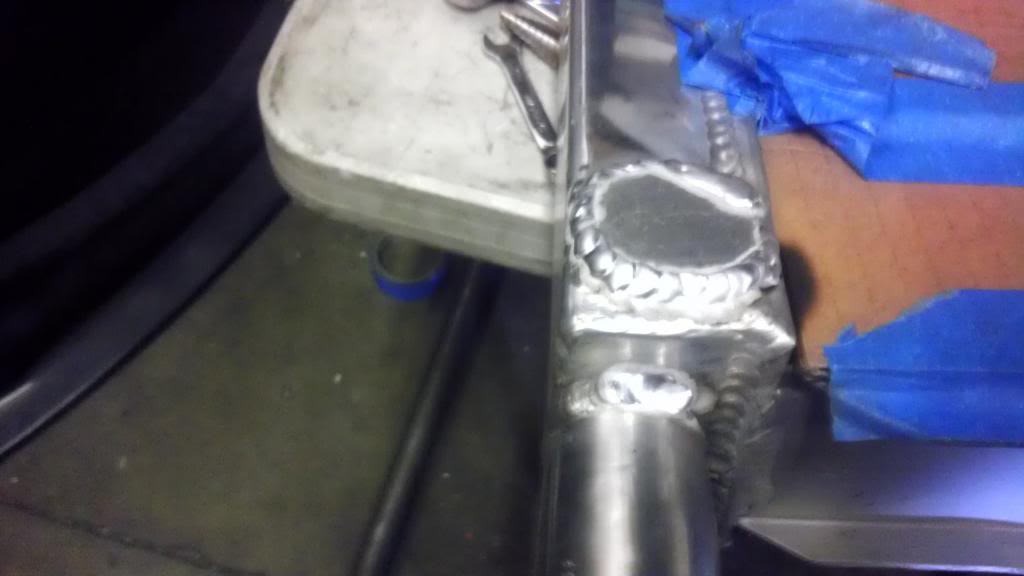
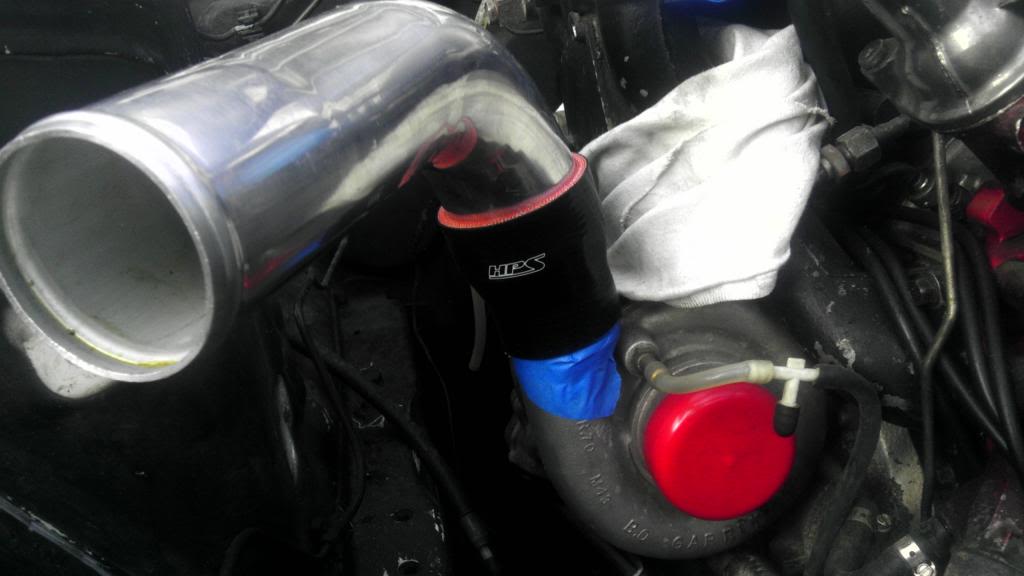
finished up the piping and welding the blowoff valve to it
been really busy with work, school, and shop stuff. managed to get somethings done to my car in the process...almost there still a few things to do but here are some pics of what i have been doing:
managed to modify the radiator, still need to put a bleeder plug in it


finished up the piping and welding the blowoff valve to it


also did some painting or touch up to the engine bay as well
sticker bombed my radiator cover plate...i think i was bored lol
what it looks like so far
more updates to come waiting on my hood vent and i recently made the bracket for my ls coils will have pics of that soon and then the wiring of the engine is next.....StayTuned


sticker bombed my radiator cover plate...i think i was bored lol

what it looks like so far


more updates to come waiting on my hood vent and i recently made the bracket for my ls coils will have pics of that soon and then the wiring of the engine is next.....StayTuned
been a while since ive updated...the car gets wired tomorrow (6/24/13) still have a couple of things that need to be done and a few parts that I need to get but the car is getting close to being done as far as the vmount set up is concerned...after that I will be working on body work more pics to come
small update:
picked up this for my haltech
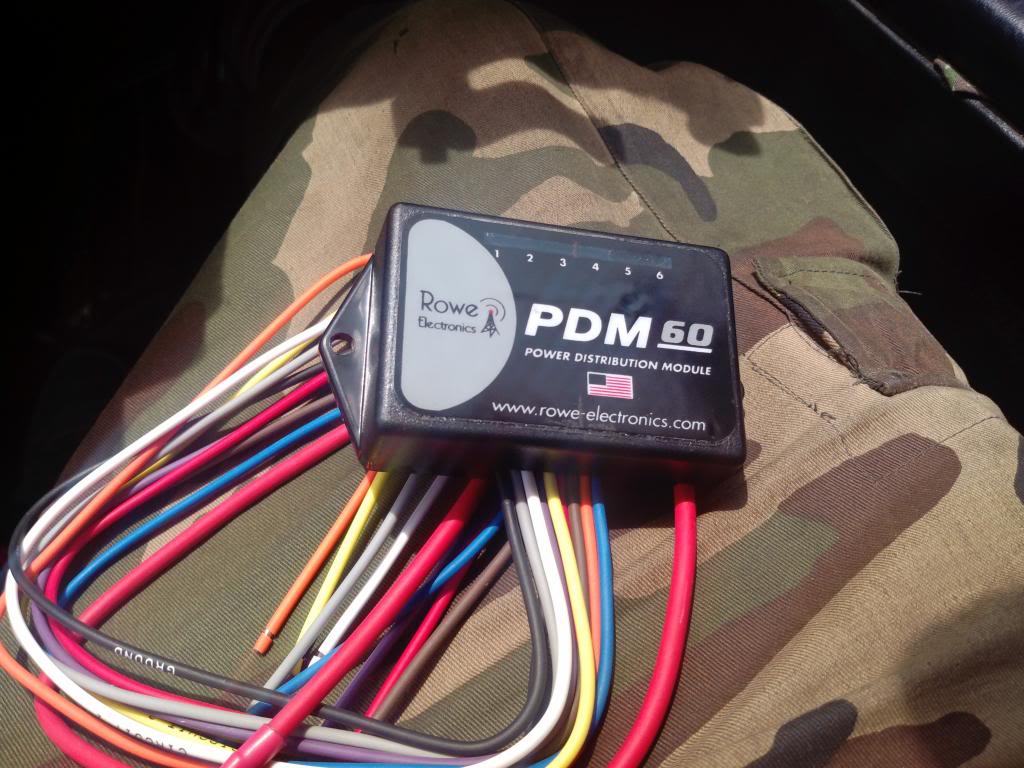 The PDM60:
-Makes adding or removing aftermarket electrical devices\electronics to your vehicle a breeze
- Simple to install, simple to use, and simple to own
- Connects directly to your vehicle battery
- Offers six power circuits to handle your favorite gadgets and accessories
- Super bright LED indicators on the PDM60 keep you informed of the status of each circuit
- Adding or removing aftermarket electrical devices\electronics a breeze
- Eliminates the need to check or replace fuses
- Eliminates the need to install relays to power high amperage applications


been dealing with some things but I have been working on the seven....almost done with the harness and been working on finishing up everything. will have some pics up soon and more updates to come.
sorry its been a lot going on but I did manage to do some things on the 7 and its almost complete. here are a few things that I managed to get done:
finally got the engine wiring done on the car
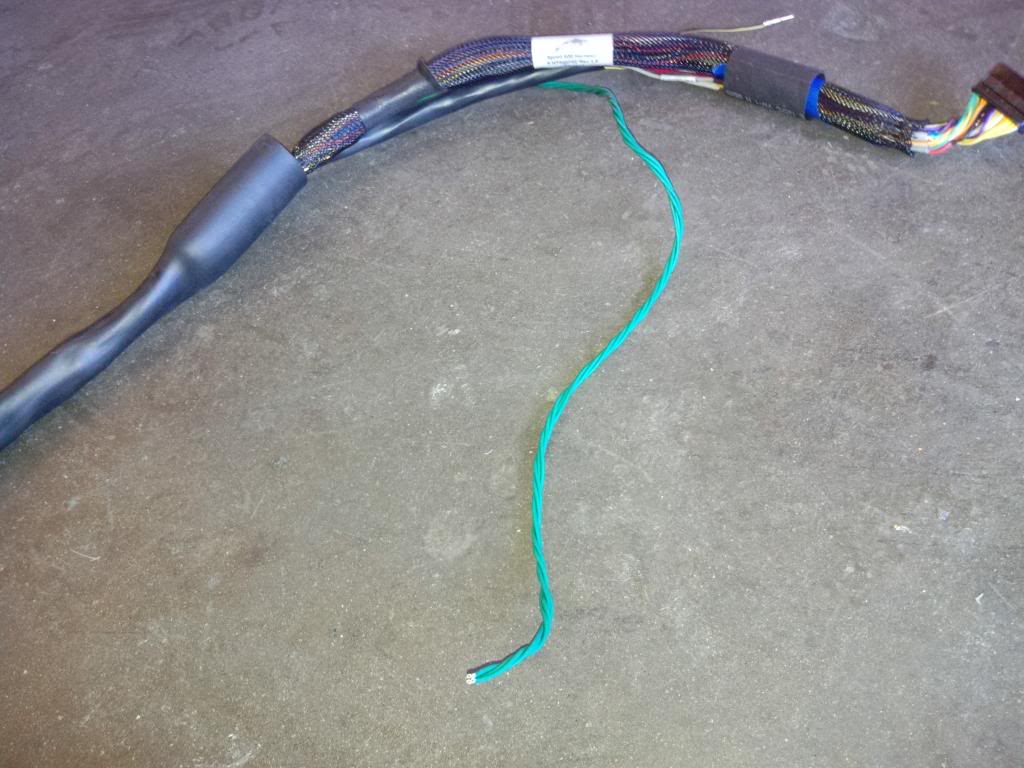
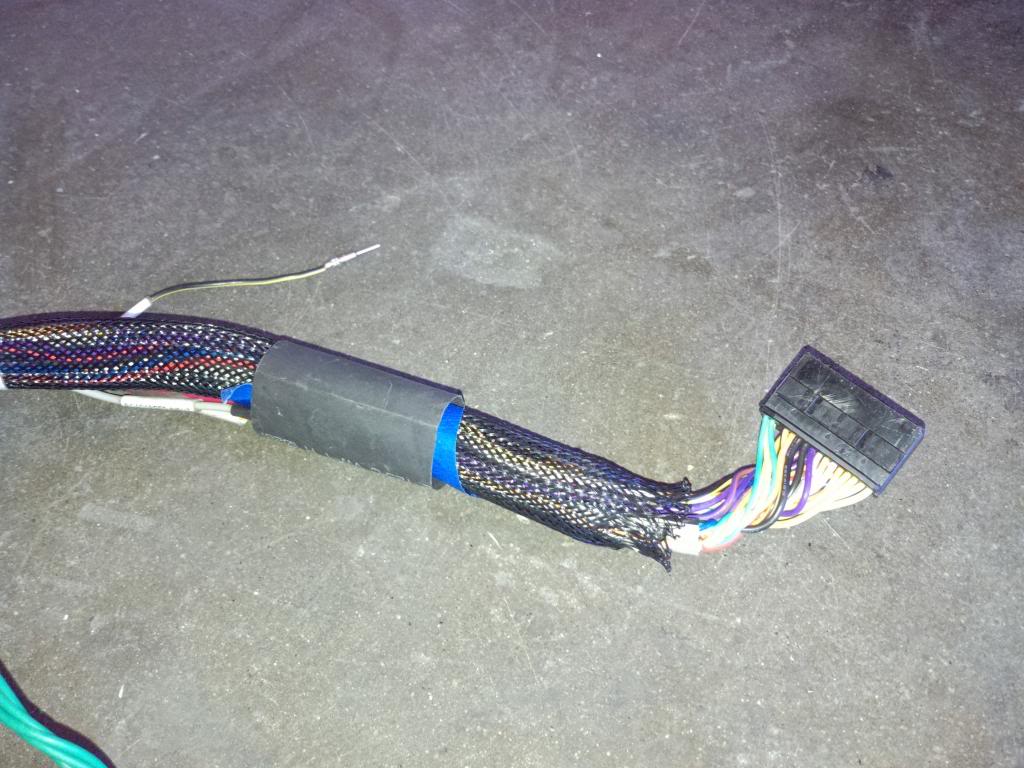
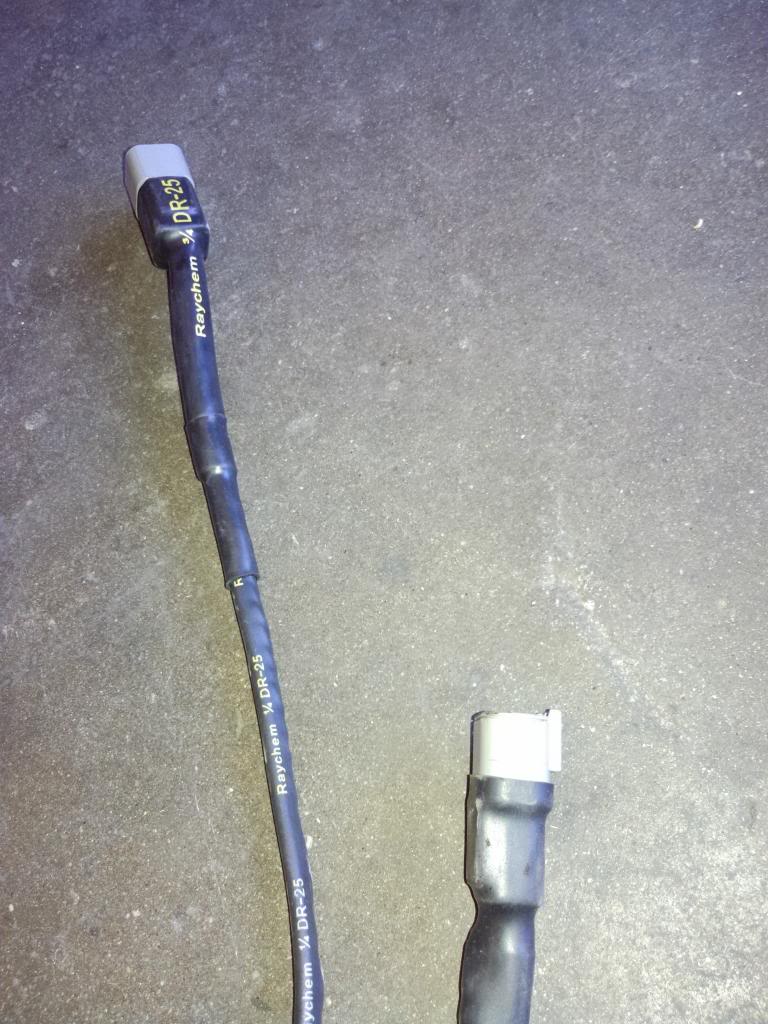
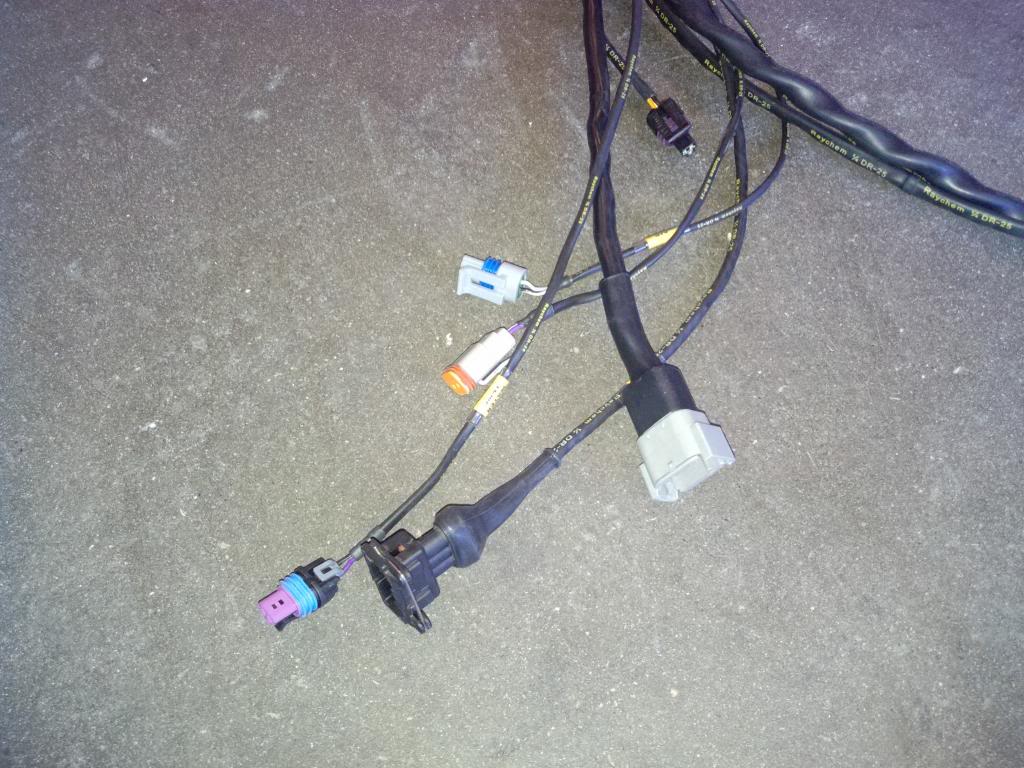
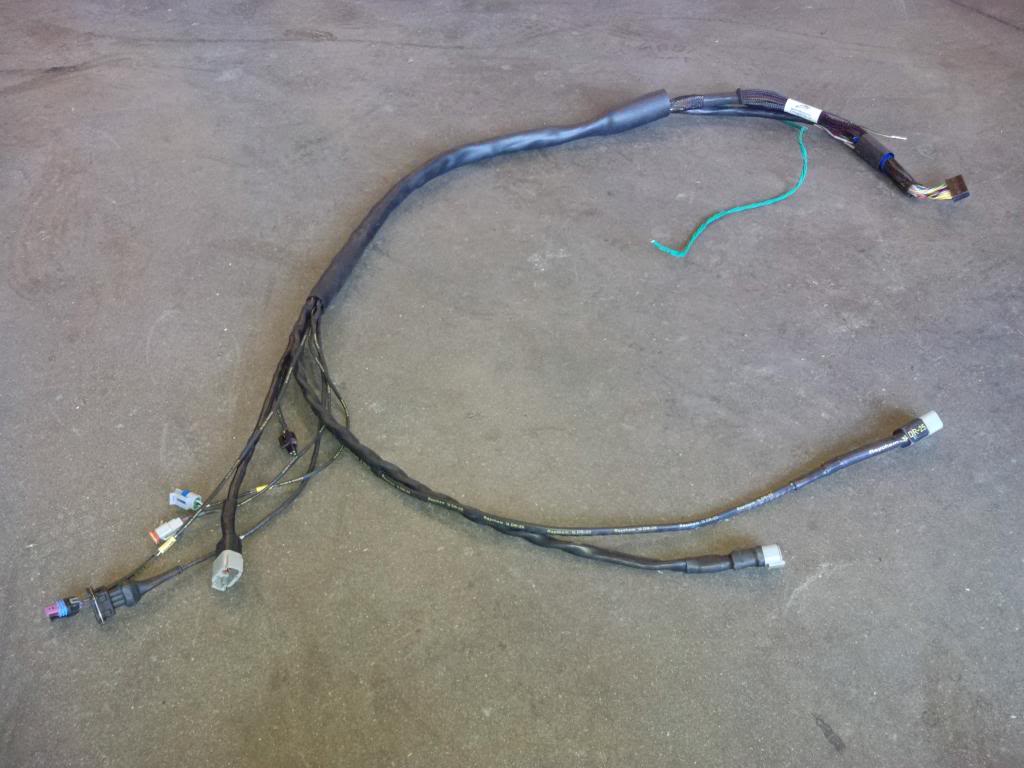
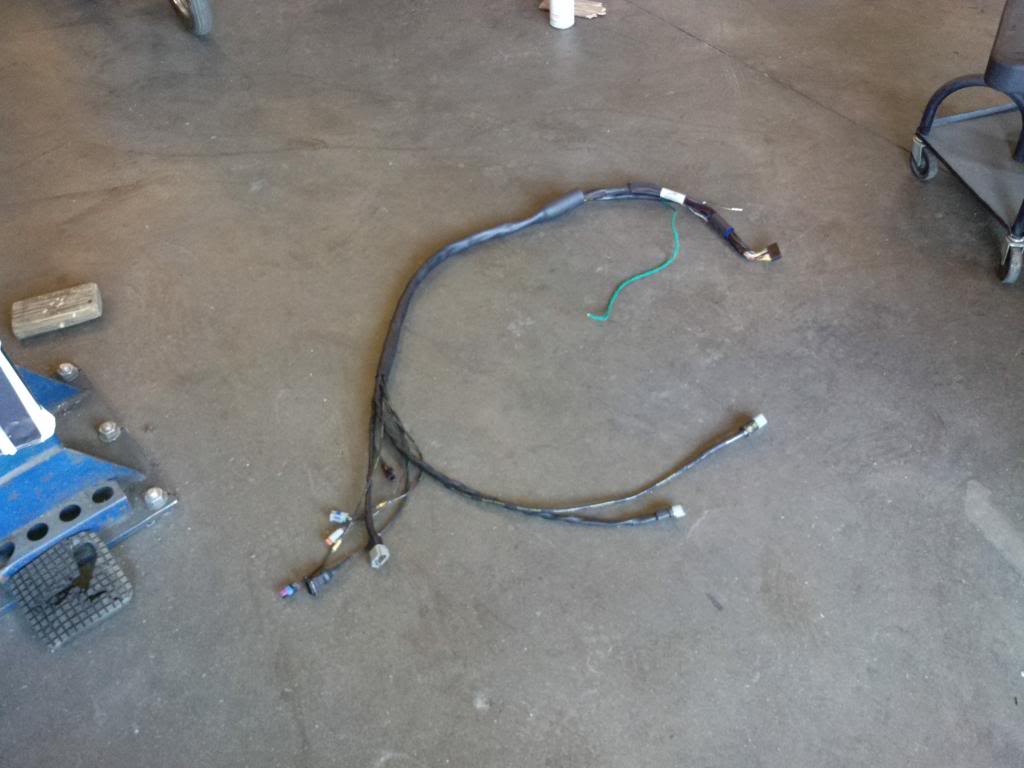
finally got the engine wiring done on the car


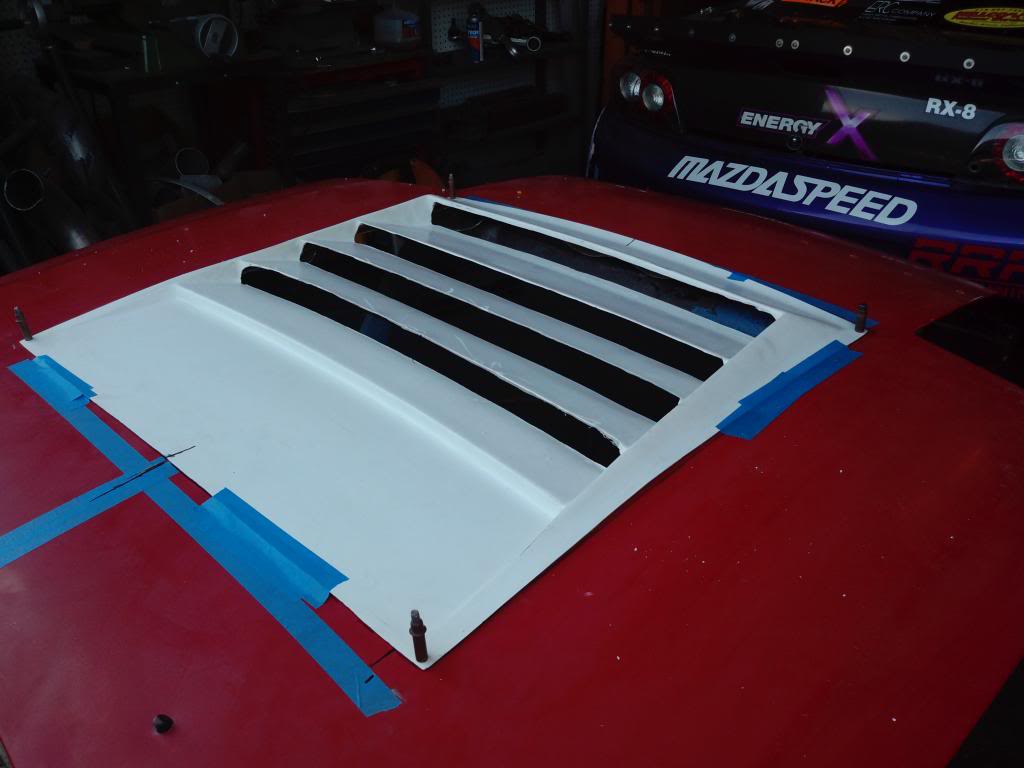
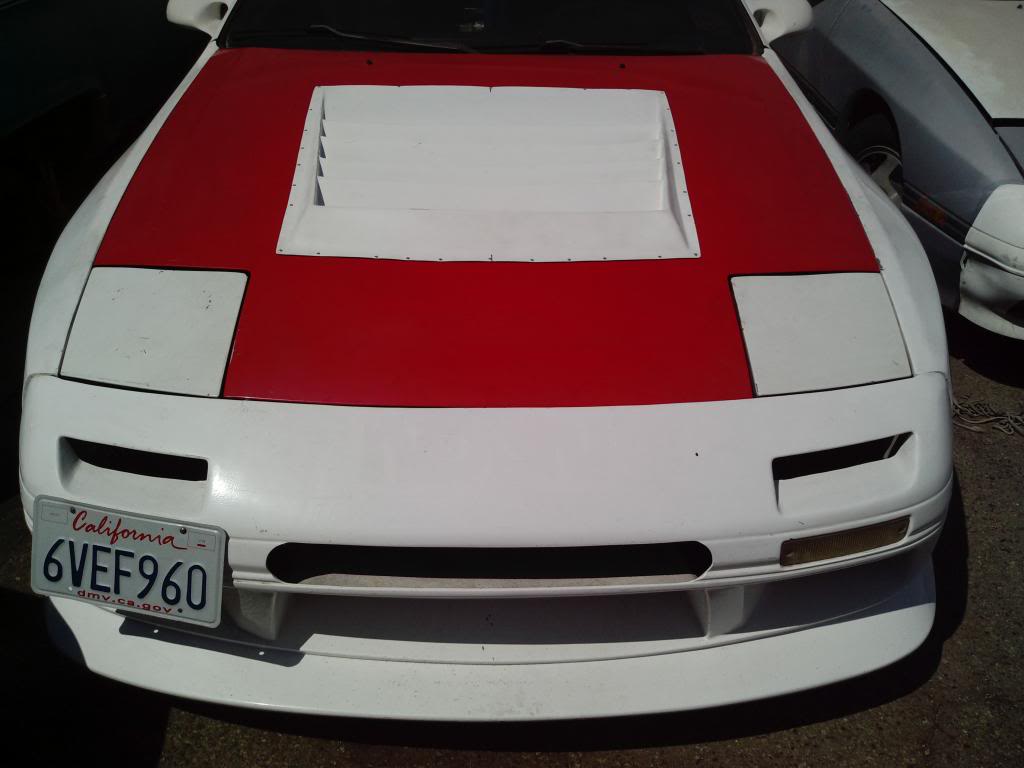
I finally got my hood vent for really really cheap and i managed to cut my hood and mount it
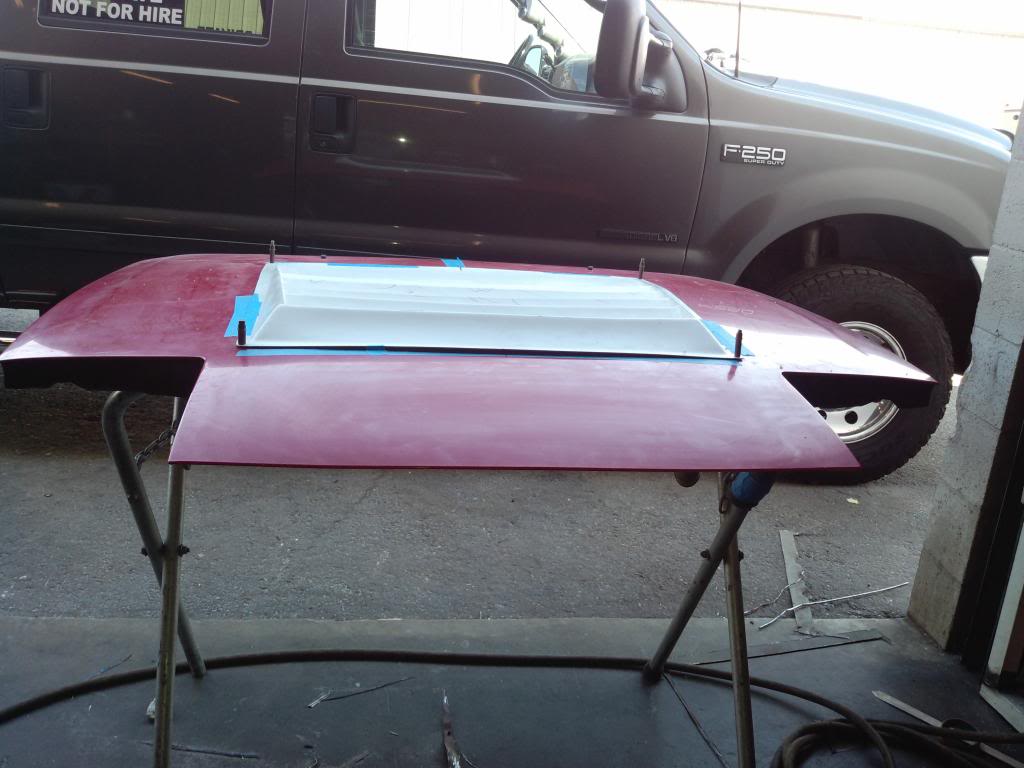
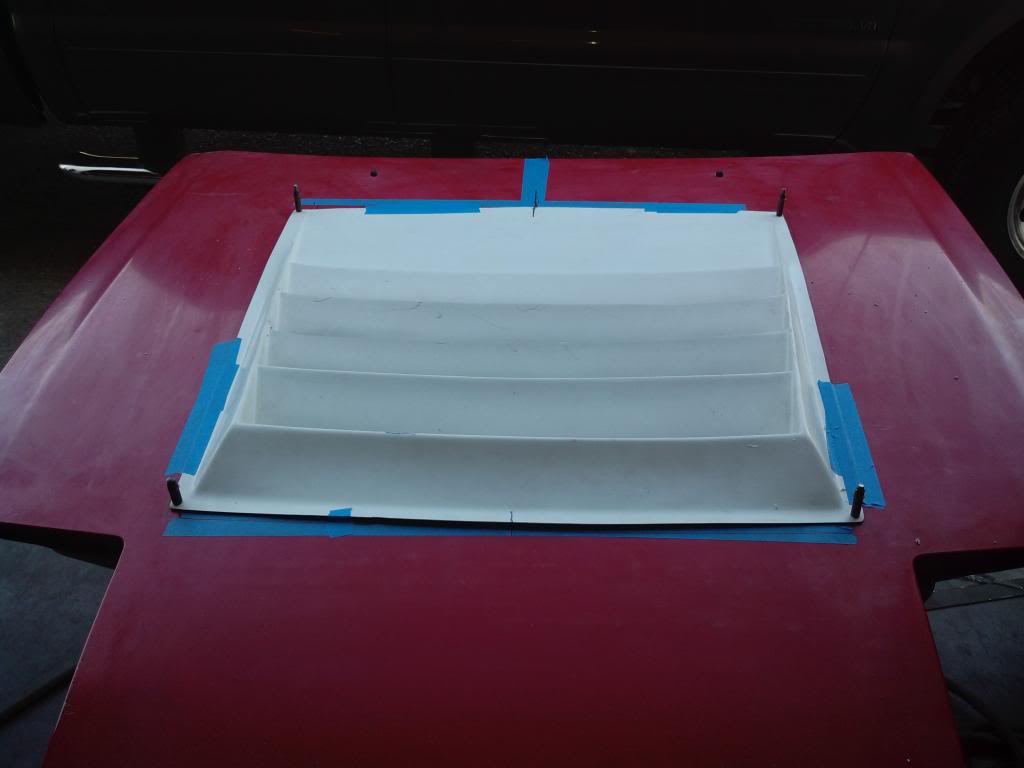
managed to cut the vents out i think i did an ok job but it could be better
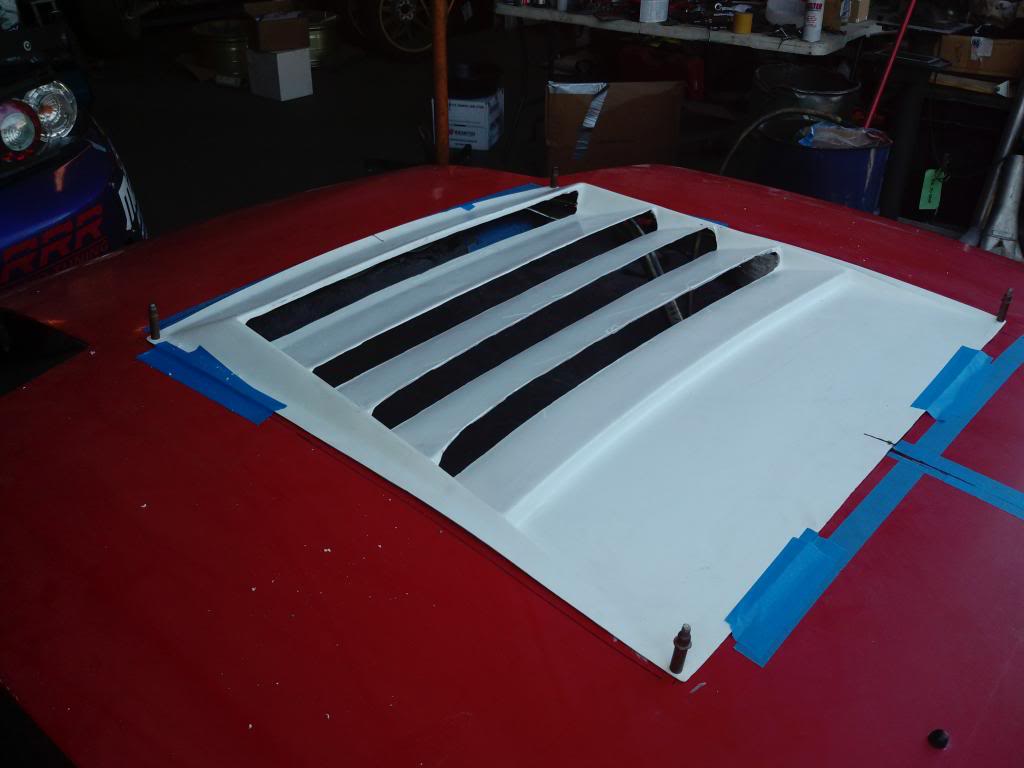
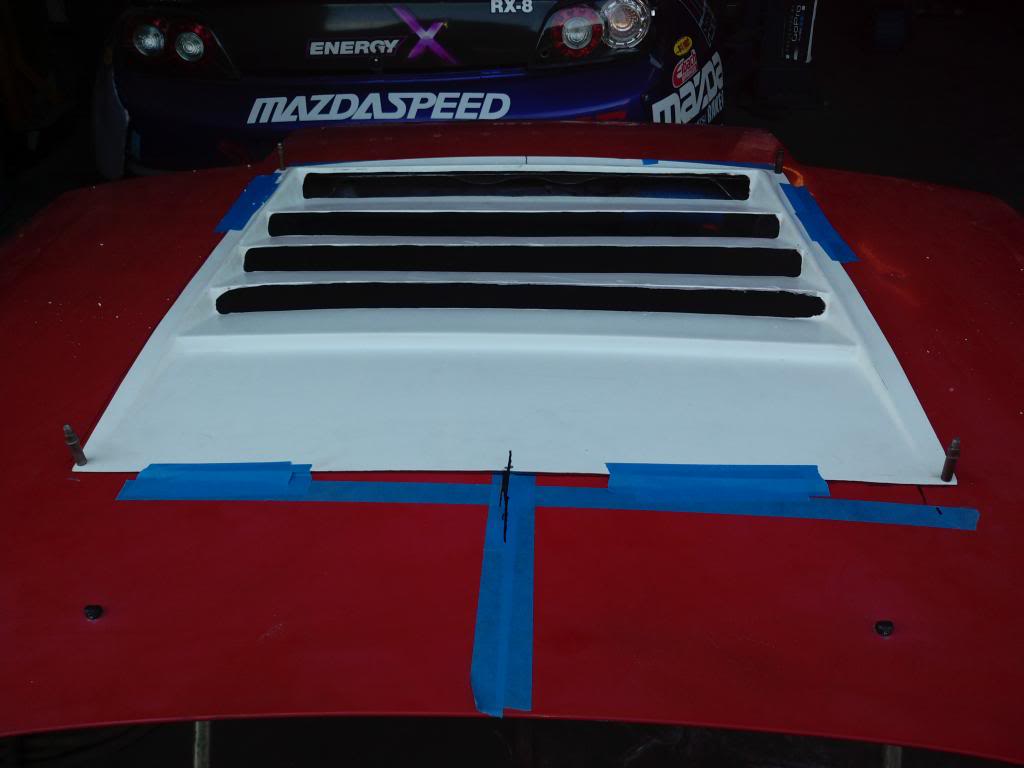
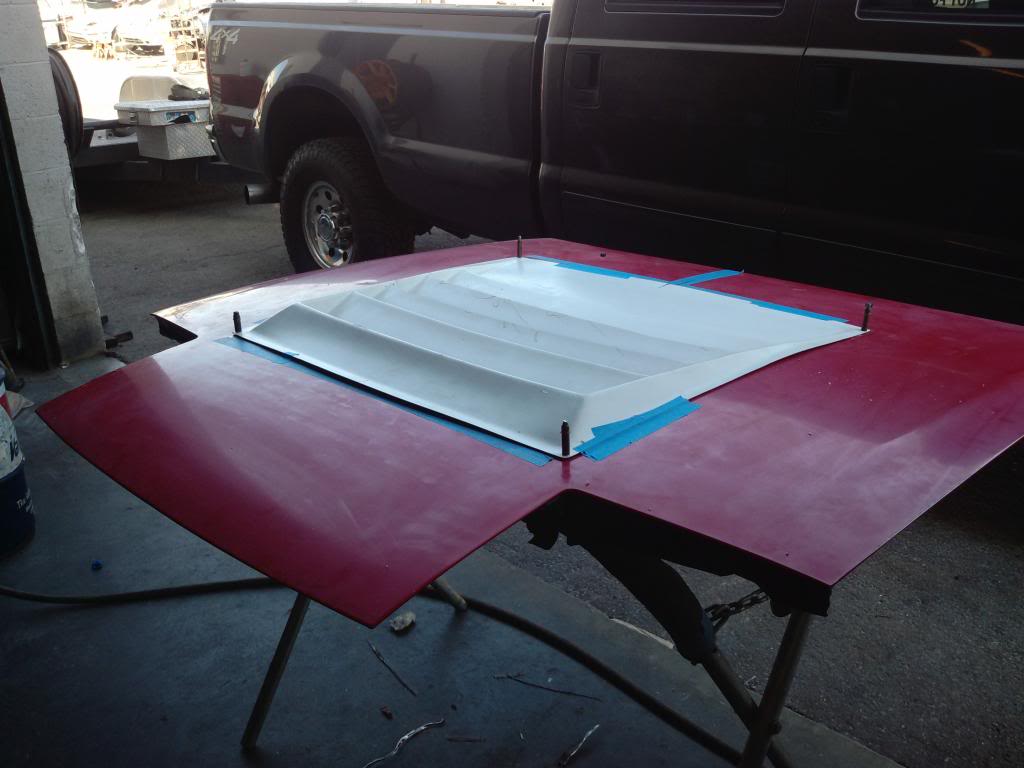
mounted on the car...this is what it looks like so far


managed to cut the vents out i think i did an ok job but it could be better


mounted on the car...this is what it looks like so far

did manage to change a few things on the motor. i had to change my water pump housing because my silly self broke the water temp sensor trying to take it off to put the haltech water temp sensor on smh....i also managed to get my ls coils installed and so maybe this weekend or up coming week im going to install the harness and then finish up the the wiring inside the car. i also picked up my wastegate actuator from frsport and that came in today so i cant wait to install that on my turbo and have it dyno tuned. ill keep you guys updated on the rest of the stuff when its done.