Tornado Silver Time - Now with 100% more REPU and 20b


 05-02-13, 08:23 AM
#232
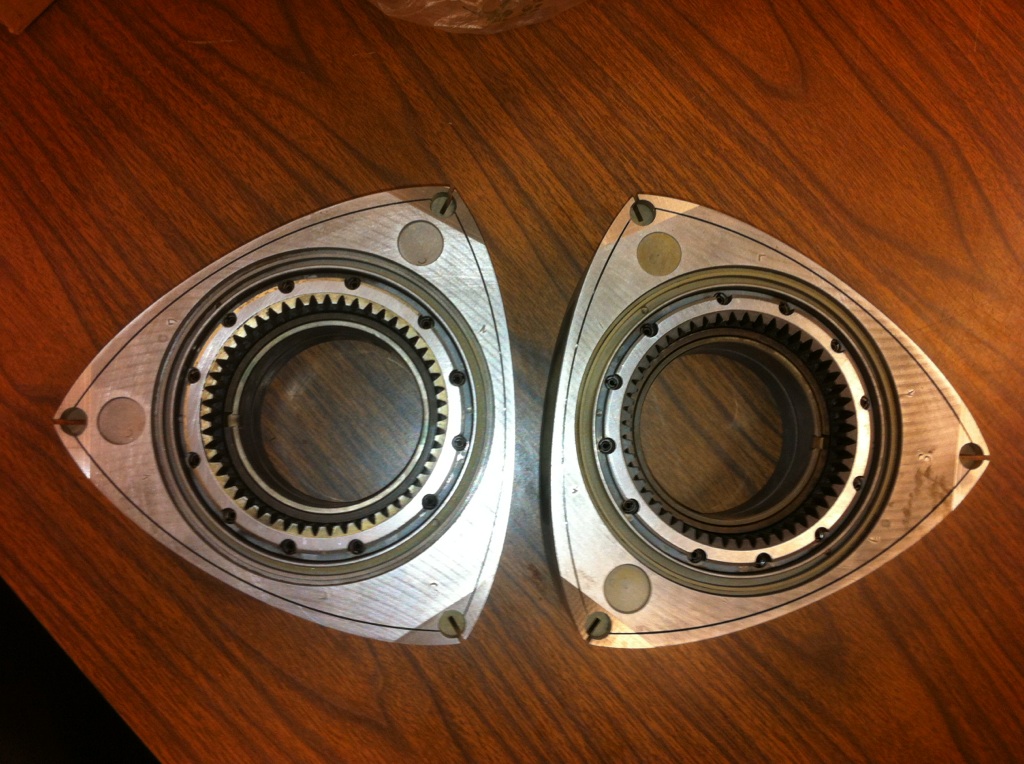
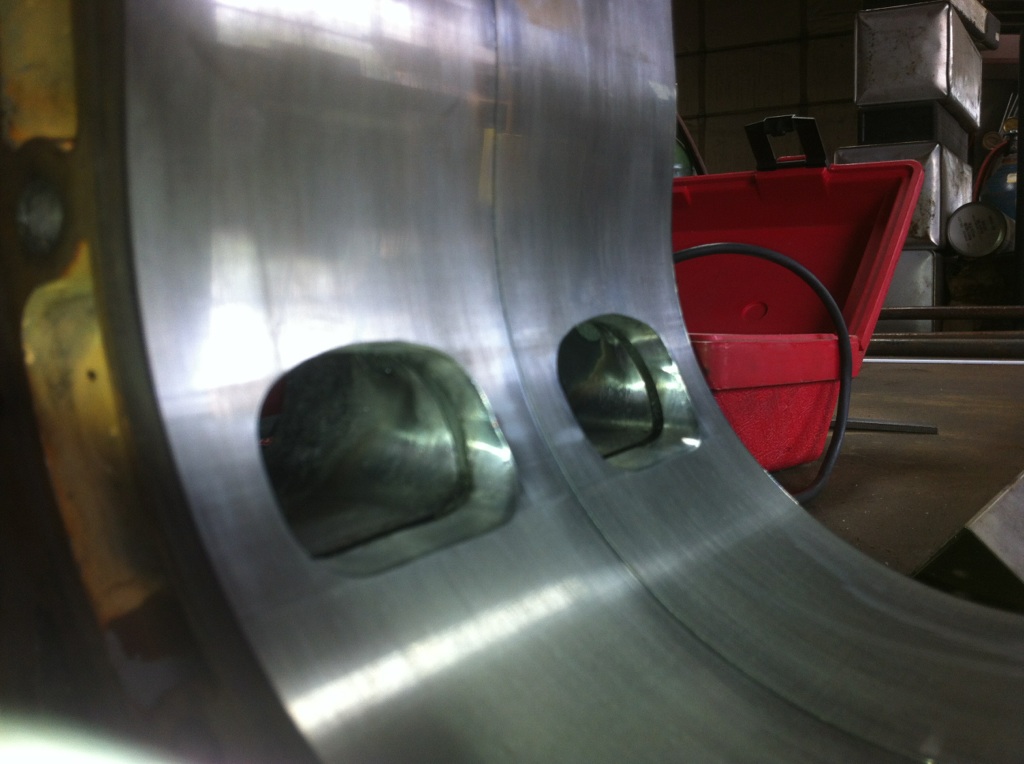
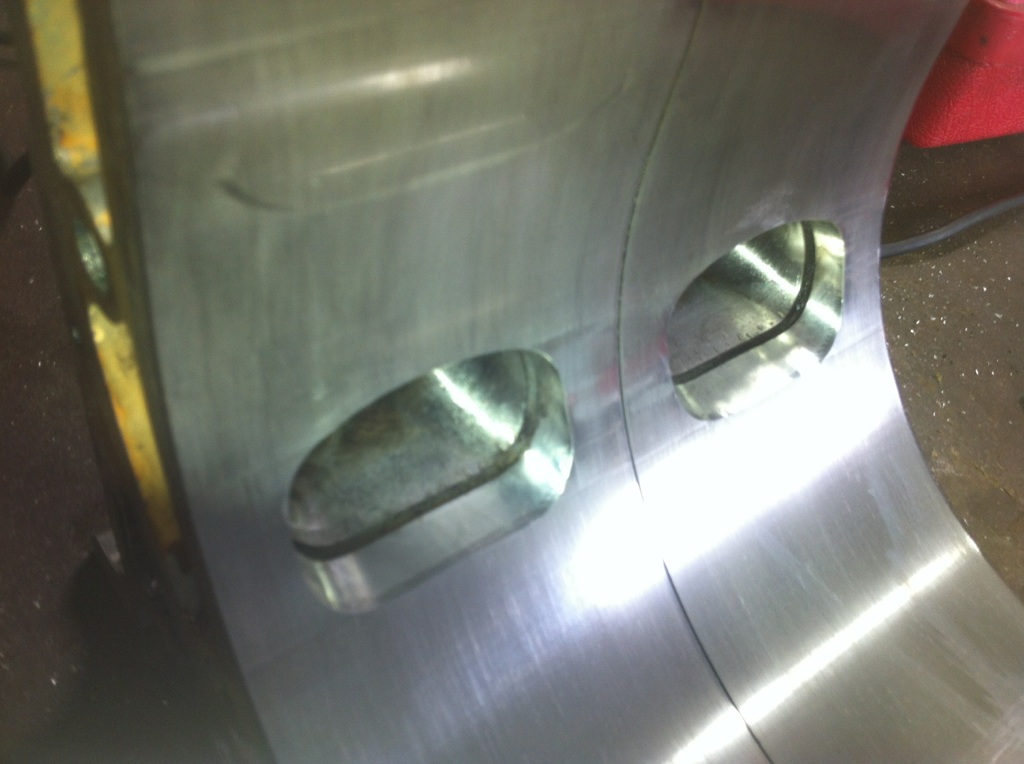
More toys!
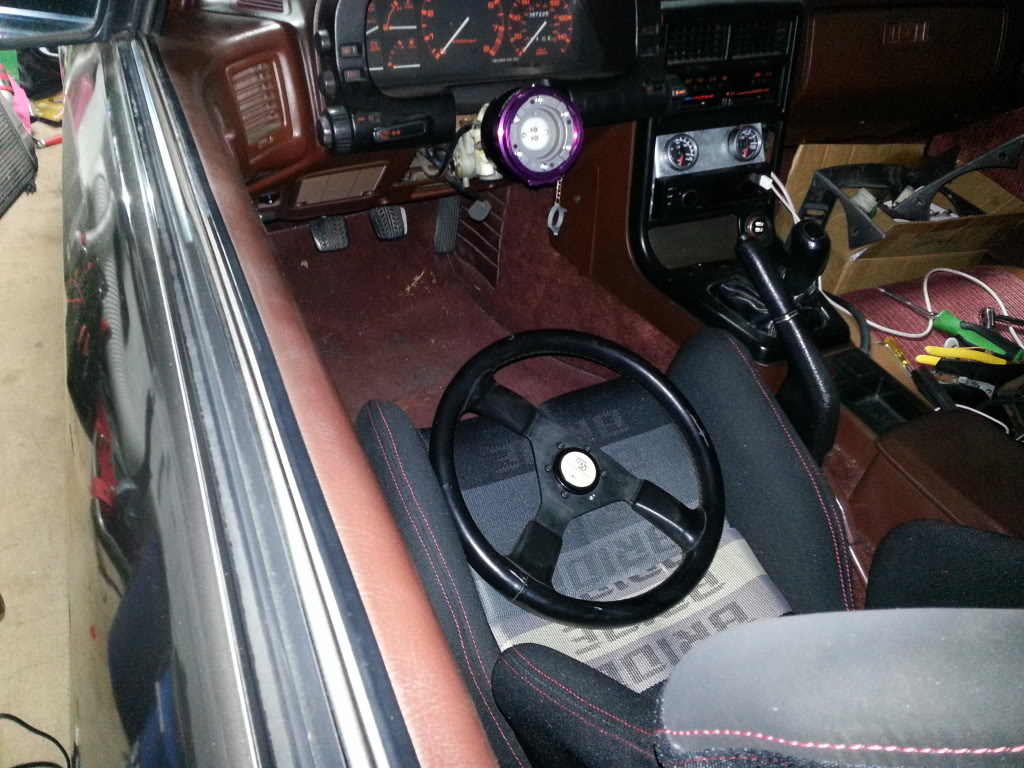
Now getting in and out of the seat is MUCH easier. I need to modify the trim for the short hub to fit. That should be a quick hit with the dremel, and then maybe some thing to make it look like a nice circle.
The red interior needs to go bye bye...
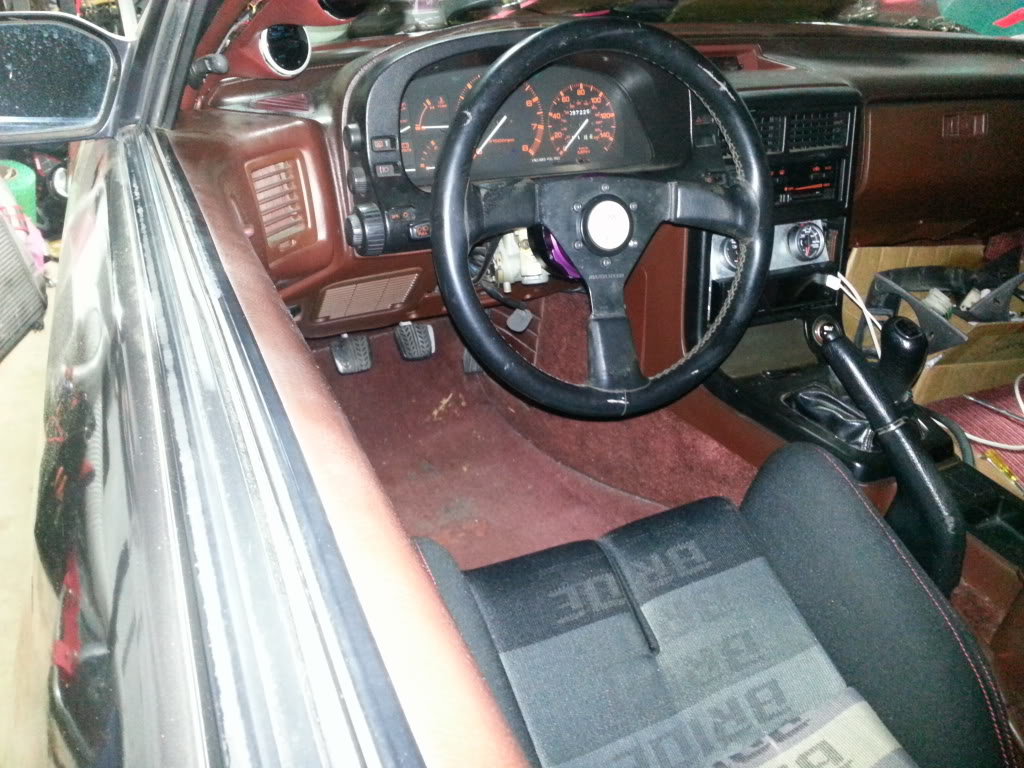
Now getting in and out of the seat is MUCH easier. I need to modify the trim for the short hub to fit. That should be a quick hit with the dremel, and then maybe some thing to make it look like a nice circle.
The red interior needs to go bye bye...
05-07-13, 12:06 PM
#233
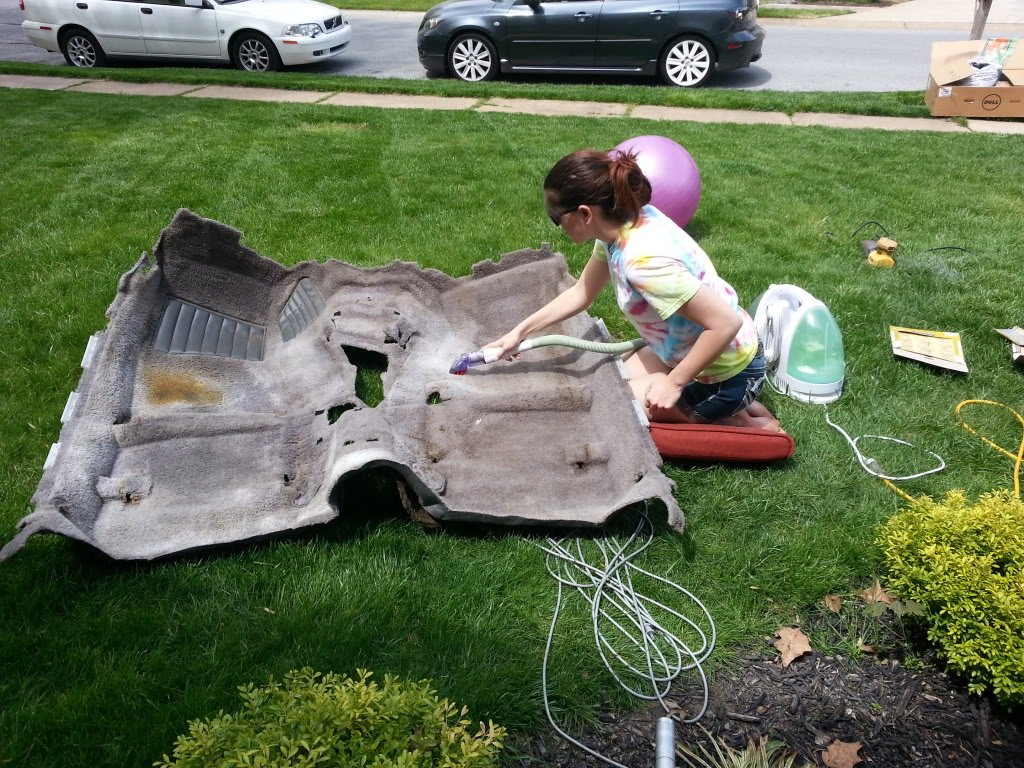
I started taking the red interior out around 1PM....had everything but the dash and carpet out by 4...didnt get the carpet/dash out until 6:30...that was no fun at all. All in all it wasnt too bad and i didnt break nearly as much as i expected. It's weird sitting in a different color interior now. it doesnt even feel like my car anymore!
on a side note the moisture barrier on the door panels was all dried out and flaking off. Where can I get more of that to replace it?
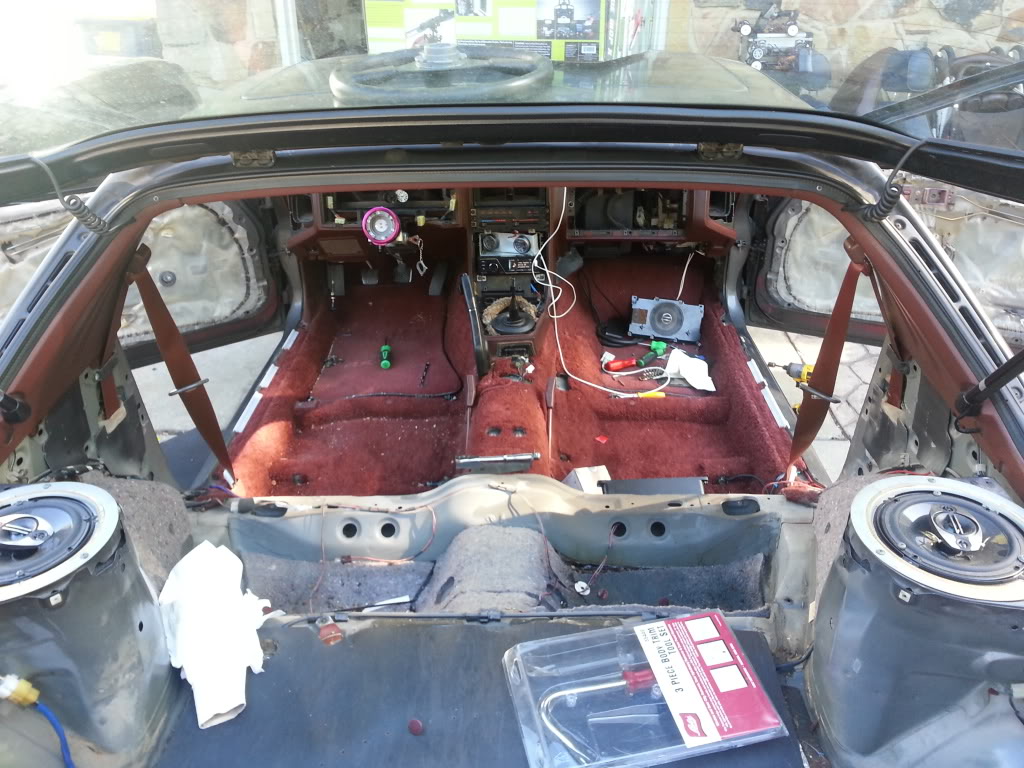
blue passenger seat since its S5 and has some nice side bolsters compared to the red S4s. need a grey glove box, idiot surround, fix the tabs for the dash where the cluster surround goes.... its a never ending list.
on a side note the moisture barrier on the door panels was all dried out and flaking off. Where can I get more of that to replace it?
blue passenger seat since its S5 and has some nice side bolsters compared to the red S4s. need a grey glove box, idiot surround, fix the tabs for the dash where the cluster surround goes.... its a never ending list.

 05-16-13, 10:55 PM
#237
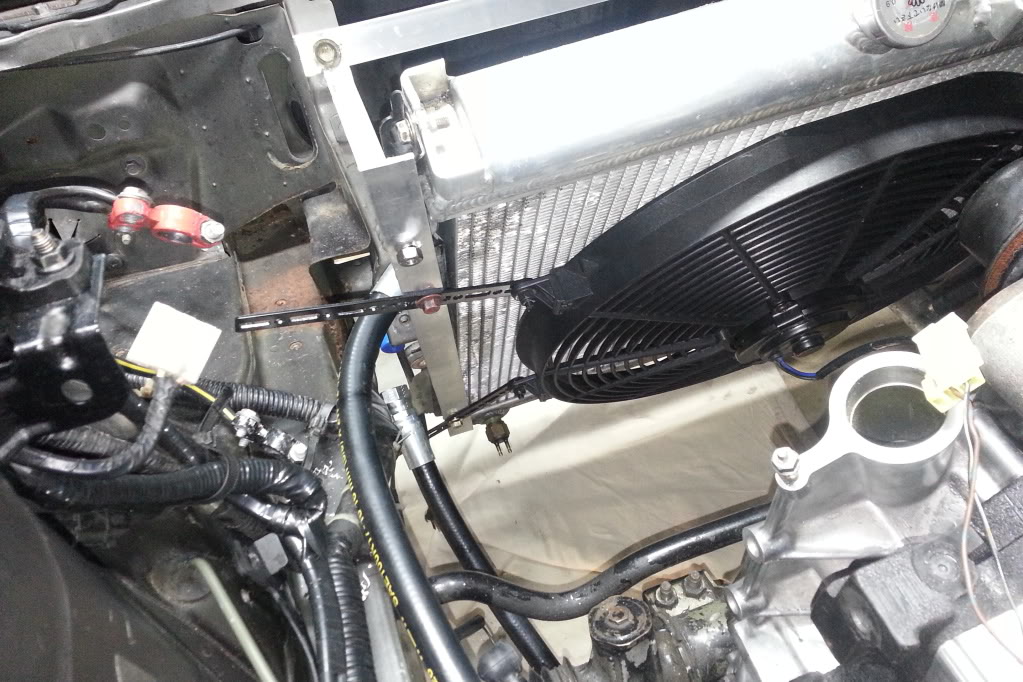
Tapped the waterpump for the new gm coolant sensor. I used the factory coolant sensor spot on the rear of the pump. I preferred the stealthy-ness of it in the rear rather than the front. Next is to rerun the sensor wires, and then wire up the efan circuit
05-20-13, 02:07 PM
#238
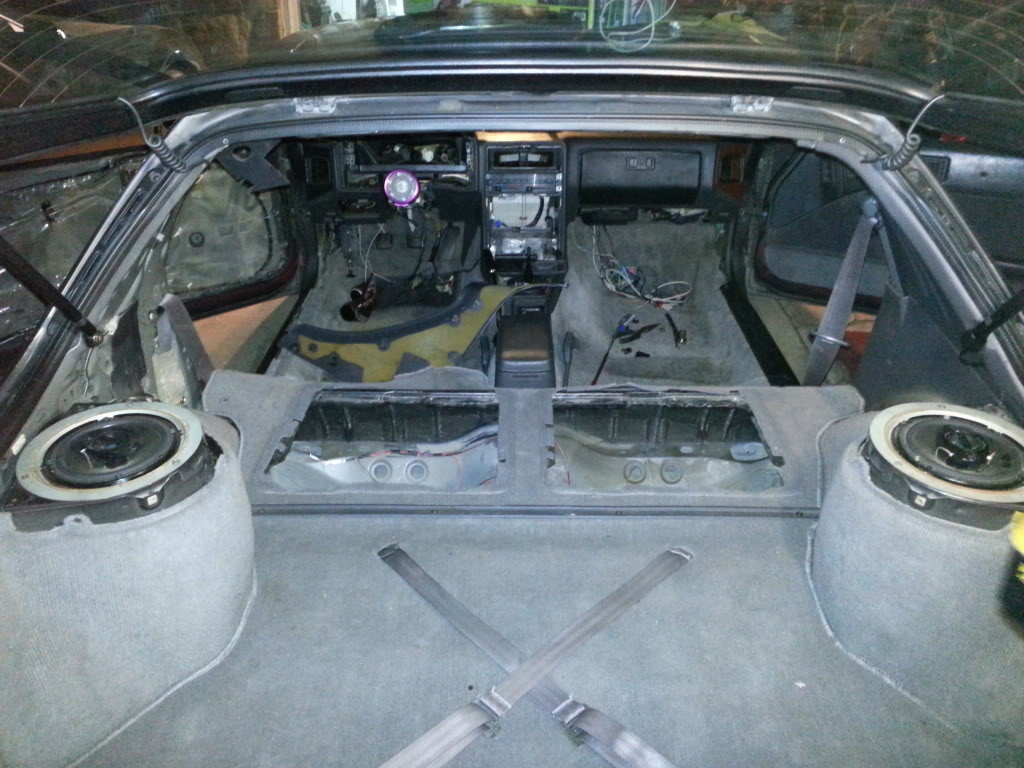
So I spent more money when I know I shouldnt have.....on the plus side, I wont be changing it for any other color anymore. Plus it came with all new vents. Thanks Richie! (Streetport 7) Going to paint most of the trim like the pillars black, they dont get touched much so they should be fine as is. I am working on getting black carpets since they do get used and dont take well to being dyed.
05-24-13, 09:27 AM
#239
Read your build thread and it was a good read.
As for the vmount I went with the same style, I referenced the extreme v mount and built a cradle to get more angle. I will say u need a fan thats more powerful 2400cfm at least which means u need more spce in fromt of the water pump pulley to the rad for the fan.
I see a new fan in your future (ask me how I know). I am testing a derale fan now and its working out real good so far i was limited because I did not leave enough space for like a taurus or villager as i used 2.5" slim fans in my final fab up. The after thought of moving everything welding stuff again to gain an inch was a PITA
Also you need to duct the hell out of it to get the desired cooling, seal that puppy up tight.
nice build keep it up
05-29-13, 08:20 AM
#240
Thanks Hybrid G! I will keep the info on the fan in mind. I will have it ducted tightly against the radiator with adhesive lined foam so there wont be any gaps. let me know how your fan choice goes! Ducting will be nice and tight, I'm kind of dragging my feet and also trying to design it so it is easily removable for future work.
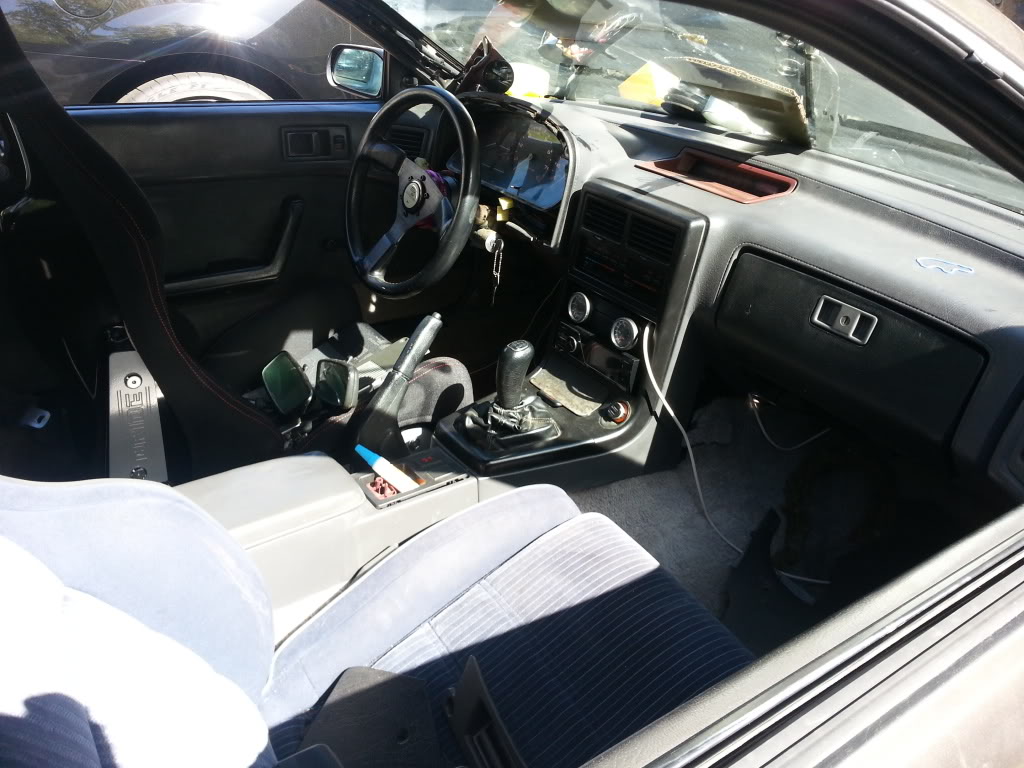
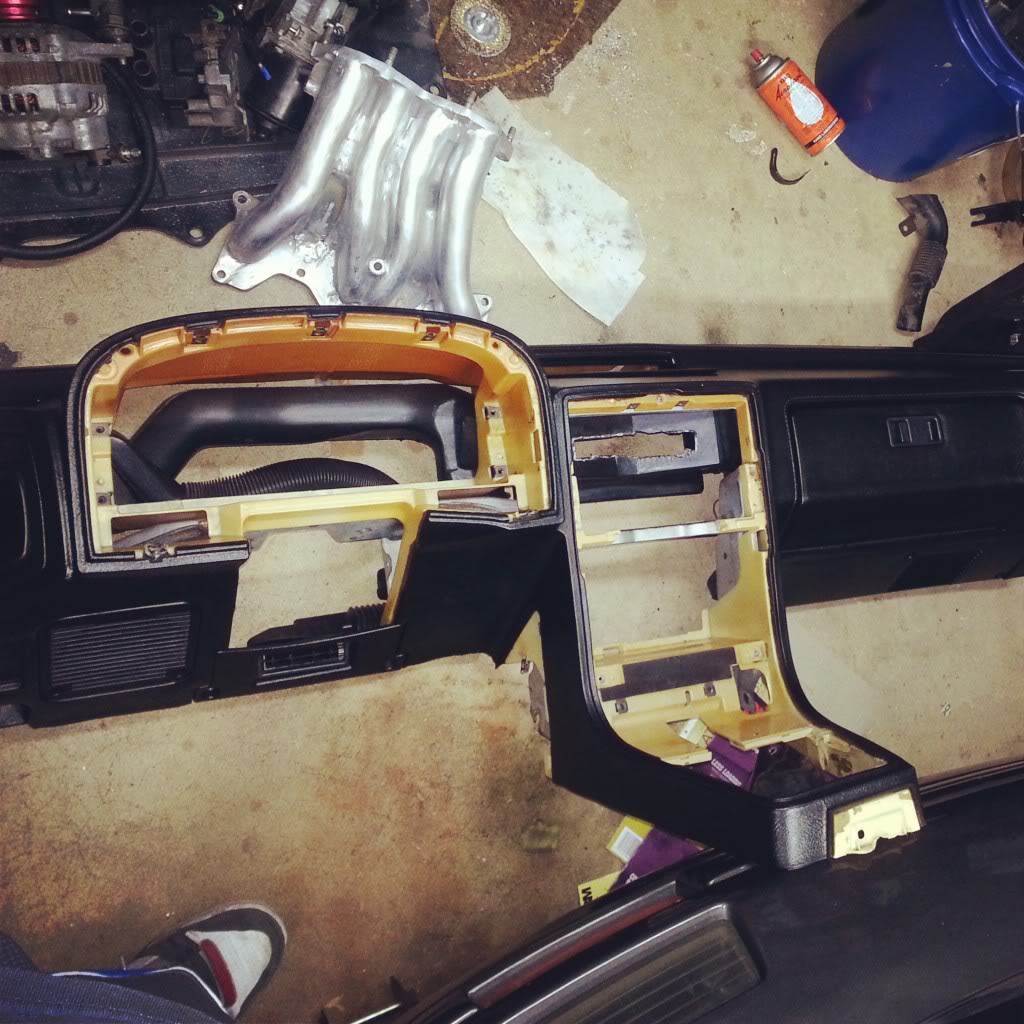
So here is what I did last night.... I dont know why I didnt do this sooner. It feels like a much more modern vehicle now. Due to space restraints i had to pull the door panel to get the dash in place...what can I use to replace the flakey moisture barrier?
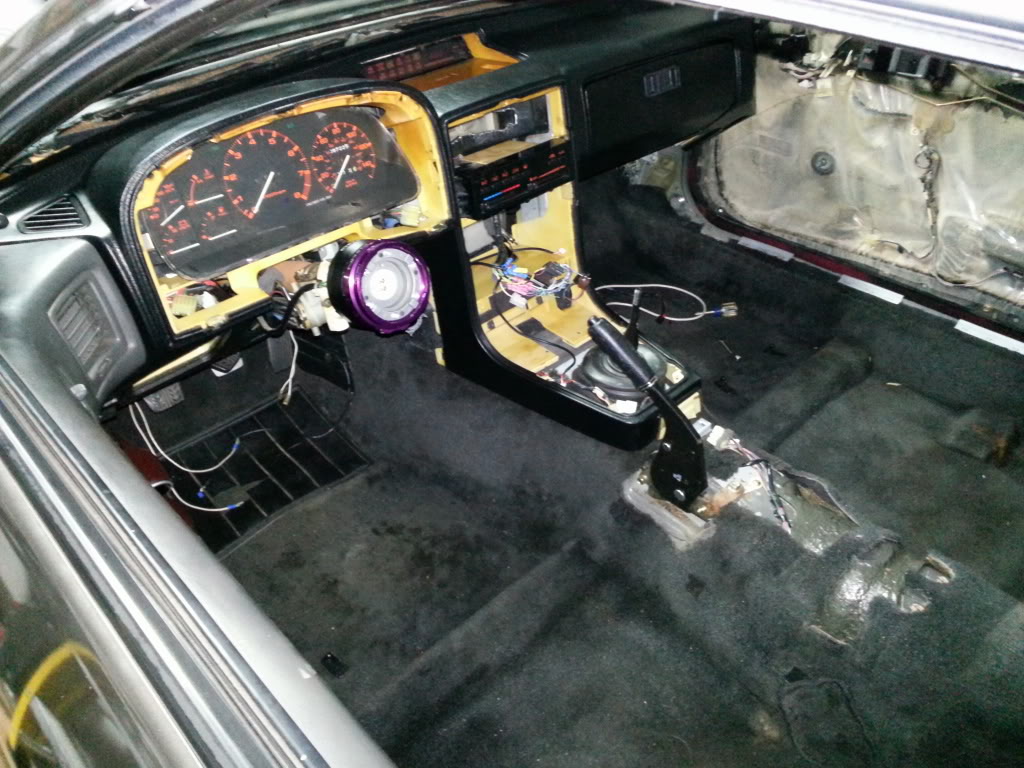
So here is what I did last night....
I dont know why I didnt do this sooner. It feels like a much more modern vehicle now. Due to space restraints i had to pull the door panel to get the dash in place...what can I use to replace the flakey moisture barrier?
05-29-13, 11:24 PM
#241
Raushan
iTrader: (12)
Join Date: Oct 2005
Location: Suffolk County, NY
Posts: 1,627
Likes: 0
Received 0 Likes
on
0 Posts
Thanks Hybrid G! I will keep the info on the fan in mind. I will have it ducted tightly against the radiator with adhesive lined foam so there wont be any gaps. let me know how your fan choice goes! Ducting will be nice and tight, I'm kind of dragging my feet and also trying to design it so it is easily removable for future work.
So here is what I did last night.... I dont know why I didnt do this sooner. It feels like a much more modern vehicle now. Due to space restraints i had to pull the door panel to get the dash in place...what can I use to replace the flakey moisture barrier?

So here is what I did last night....
I dont know why I didnt do this sooner. It feels like a much more modern vehicle now. Due to space restraints i had to pull the door panel to get the dash in place...what can I use to replace the flakey moisture barrier?
06-17-13, 08:19 AM
#242
Thanks! I appreciate you trading with me!
Got word that the motor is finished up so now I need to make the last payment and then it should be on its way back. I re-wired in the coolant temp sensor. I havent re-wrapped the harness because I plan on taking out the CAS shielded wire for the Full Function Engineering Hall effect trigger kit.
I still need to finish wiring up the battery now that its in the passenger bin. Once That is done I can wire up the electric fan. After that is done I can finish ducting the v-mount....and then after that when the car is running I can do the rear 5 lug swap. Big updates coming soon!

 07-02-13, 08:42 AM
#247
Thanks 88FC
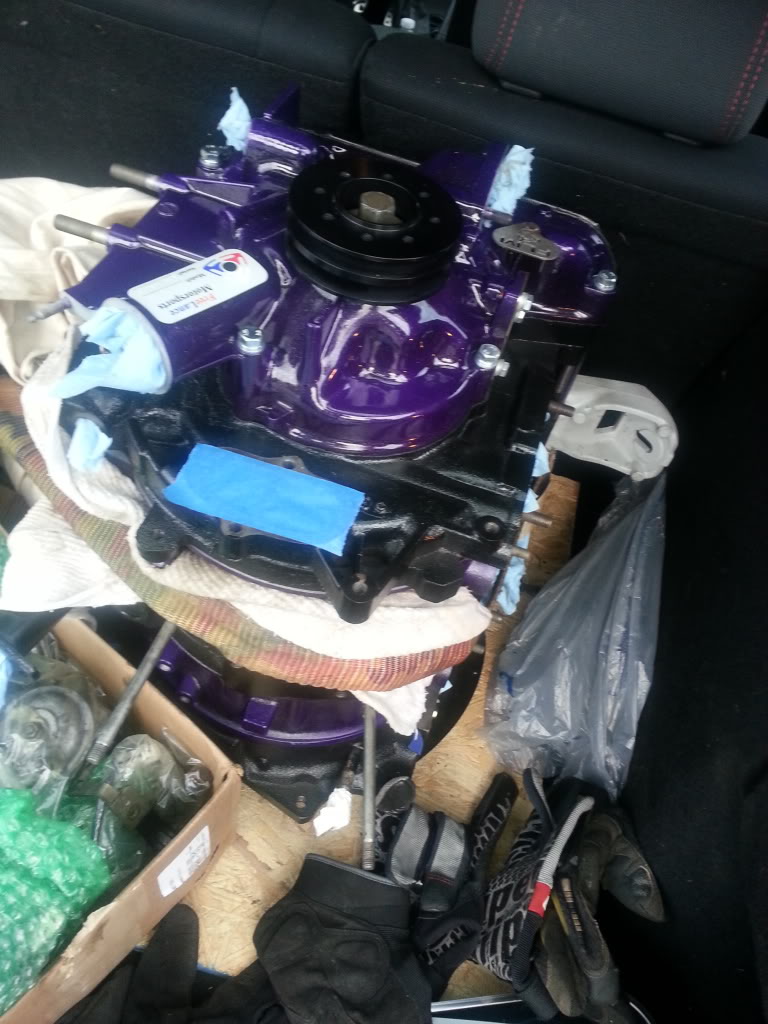
Yes I believe Lance did bevel the edges. He has built many engines with great success and even has a 3 year 36k mile warranty. It definitely comes with a price, though.
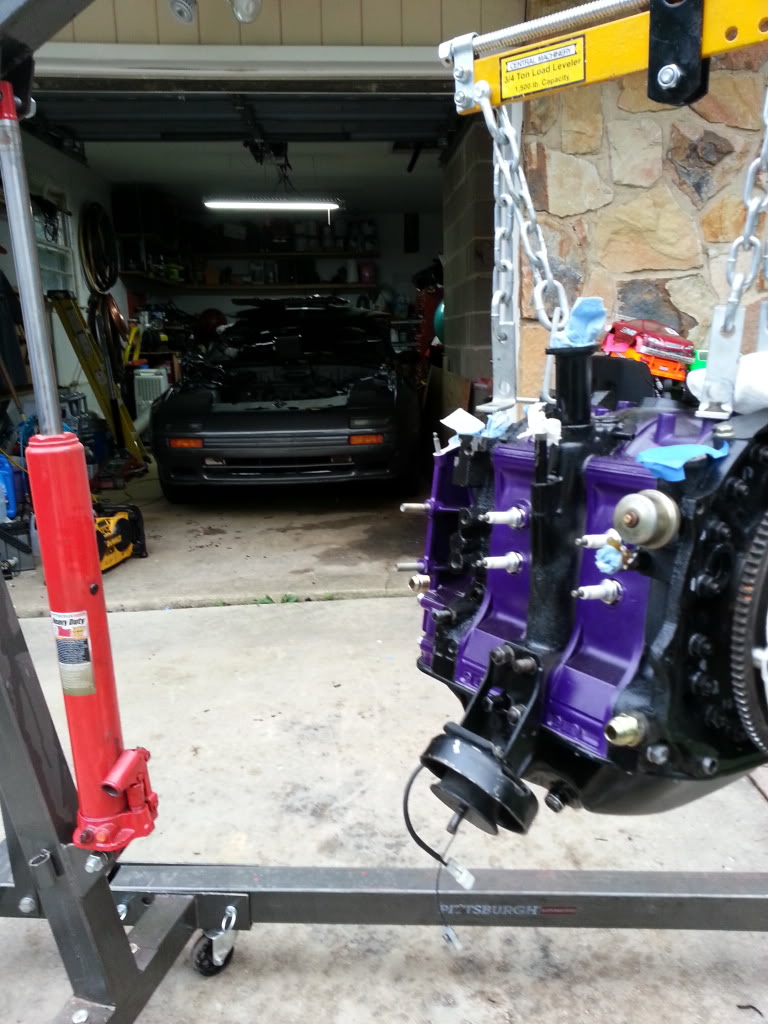
this thing better not blow up...
my buddy helping guide it in...
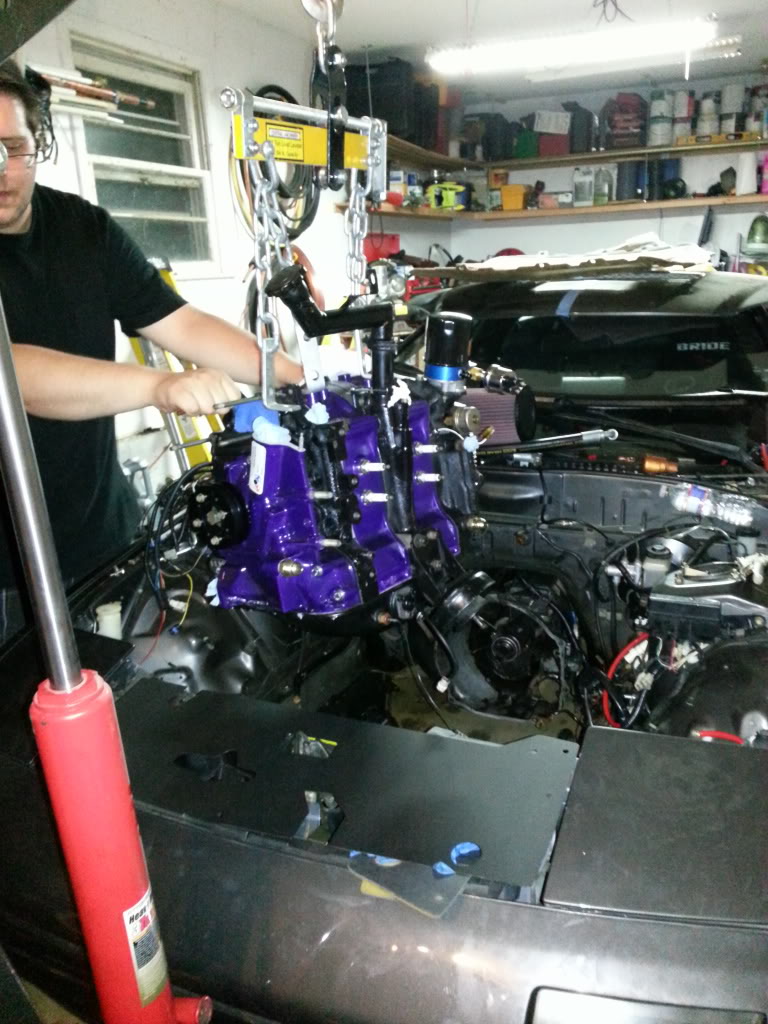
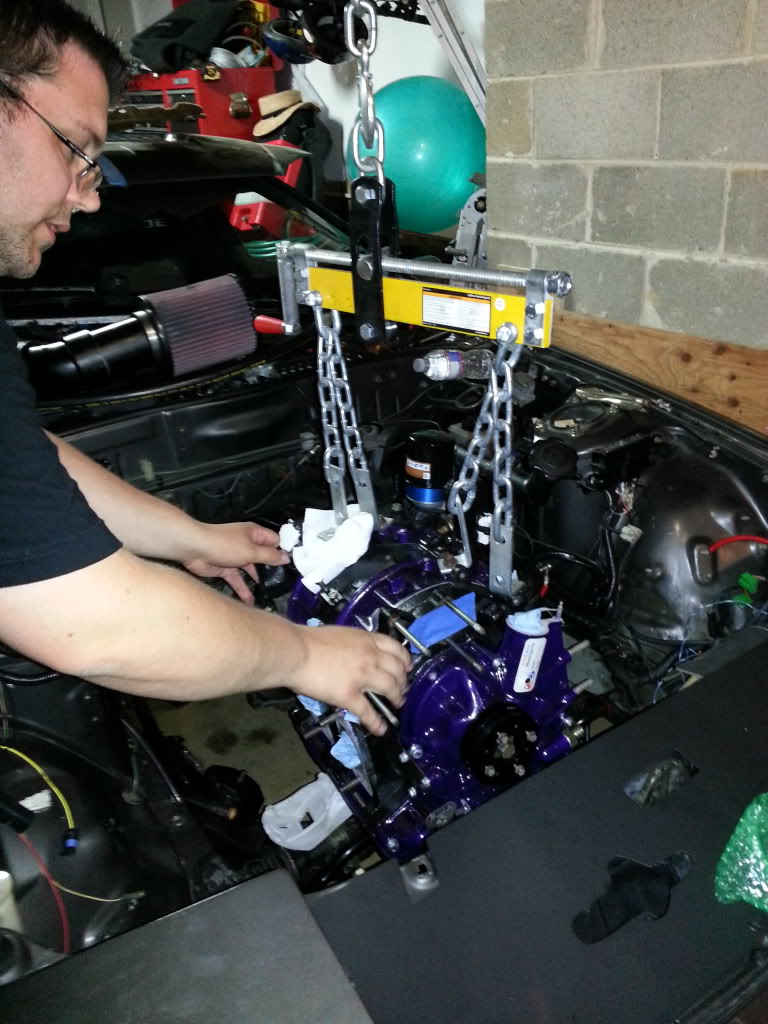
Me trying to get it to line up..The hoist doesnt go deep enough to get it in all the way so we had to pull out the pin on the engine hoist, slide it out a little more and still had to push it back.
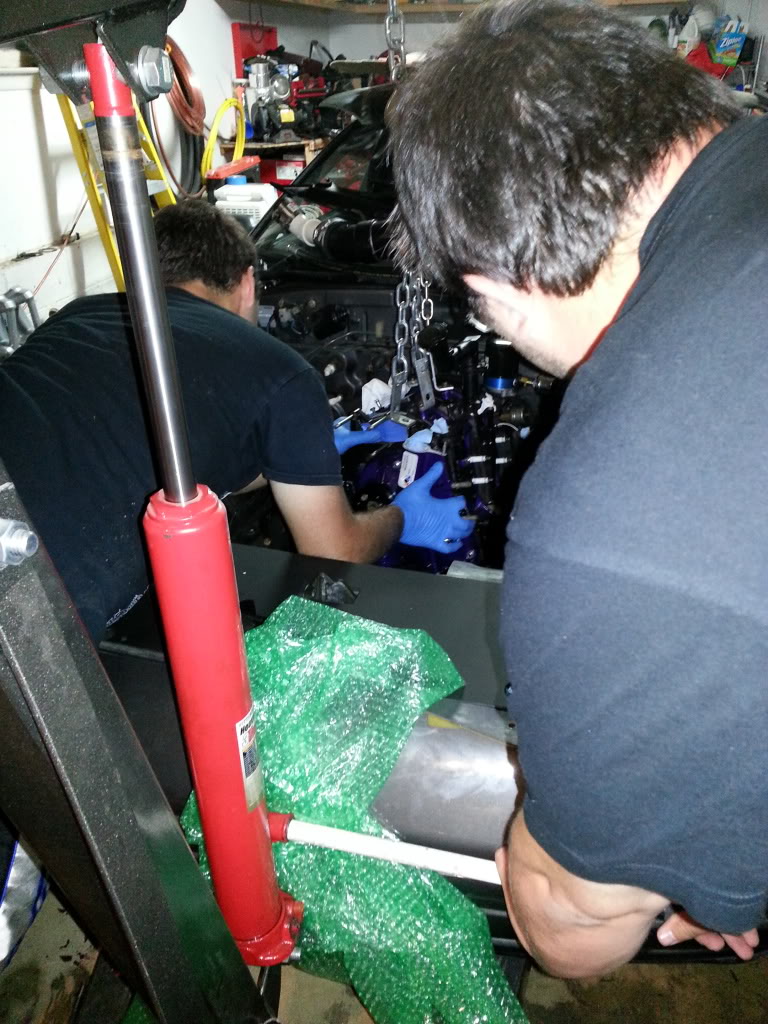
After this my dad thought it would be a great idea to pull the trans and get them lined up outside the car. Great idea till I forgot to drain the trans so now there is 3 quarts of stinky fluid in the garage...
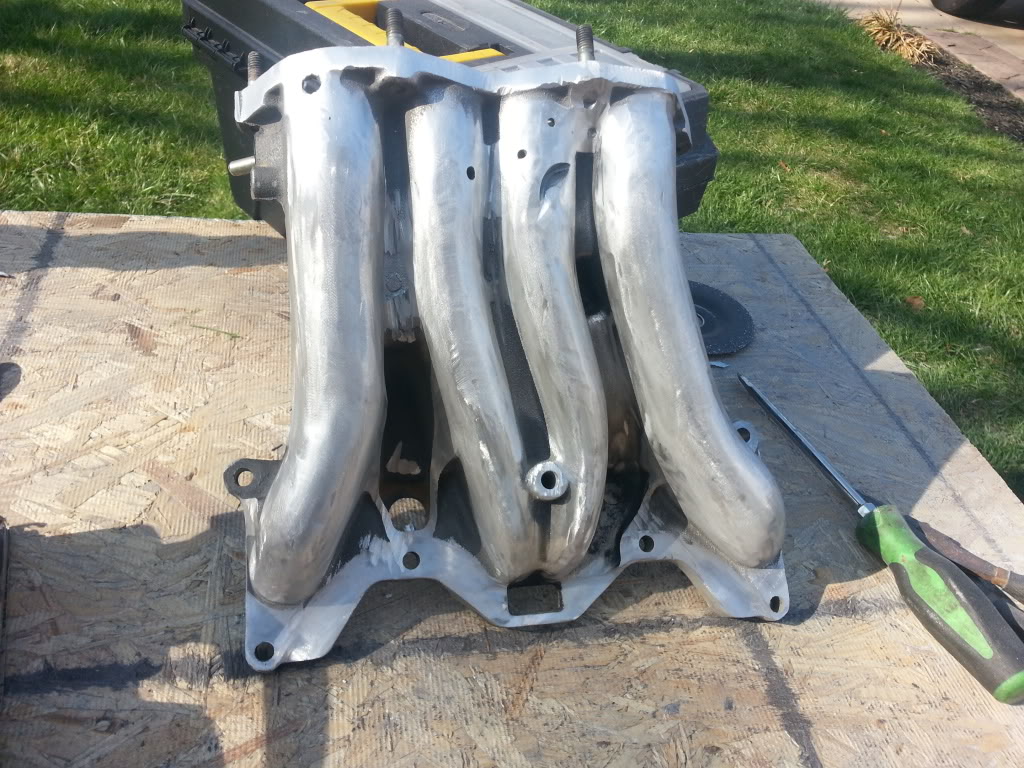
Hope to get the engine bolted in tonight and start assembling the v-mount. I need to get the intake manifold powdercoated before that goes on. So much to doooooo. Now that the engine is here I cant procrastinate anymore.
Yes I believe Lance did bevel the edges. He has built many engines with great success and even has a 3 year 36k mile warranty. It definitely comes with a price, though.
this thing better not blow up...
my buddy helping guide it in...
Me trying to get it to line up..The hoist doesnt go deep enough to get it in all the way so we had to pull out the pin on the engine hoist, slide it out a little more and still had to push it back.
After this my dad thought it would be a great idea to pull the trans and get them lined up outside the car. Great idea till I forgot to drain the trans so now there is 3 quarts of stinky fluid in the garage...
Hope to get the engine bolted in tonight and start assembling the v-mount. I need to get the intake manifold powdercoated before that goes on. So much to doooooo. Now that the engine is here I cant procrastinate anymore.
07-03-13, 07:55 AM
#248
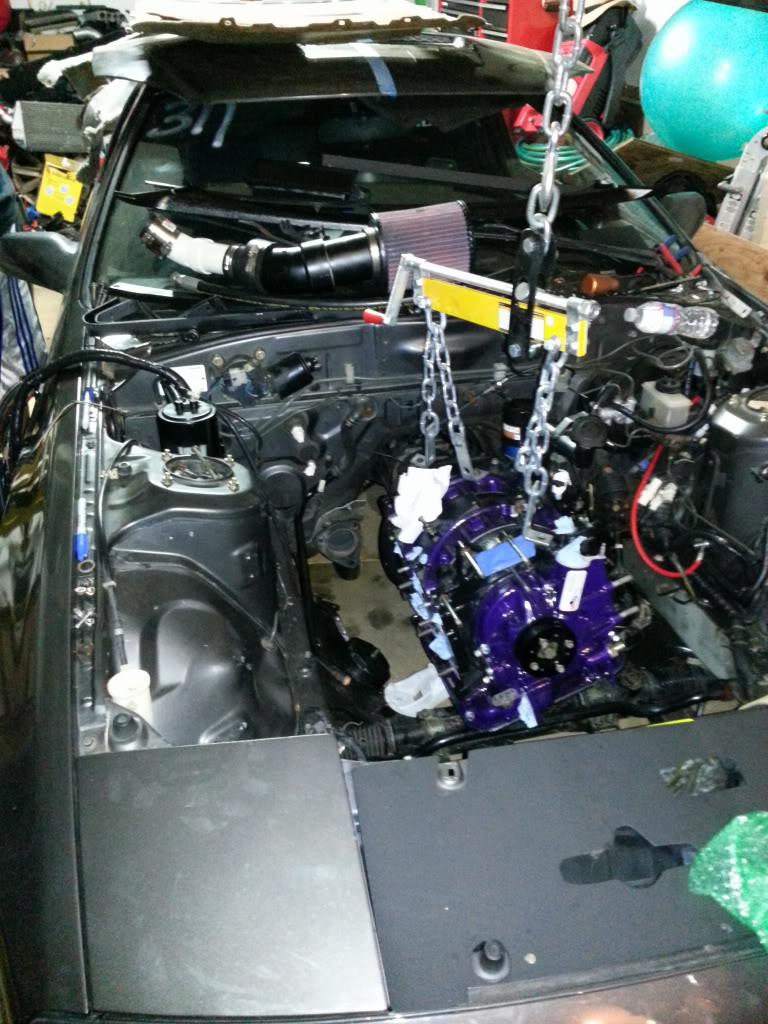
It's in! I need to do some painting and cleaning up of things....
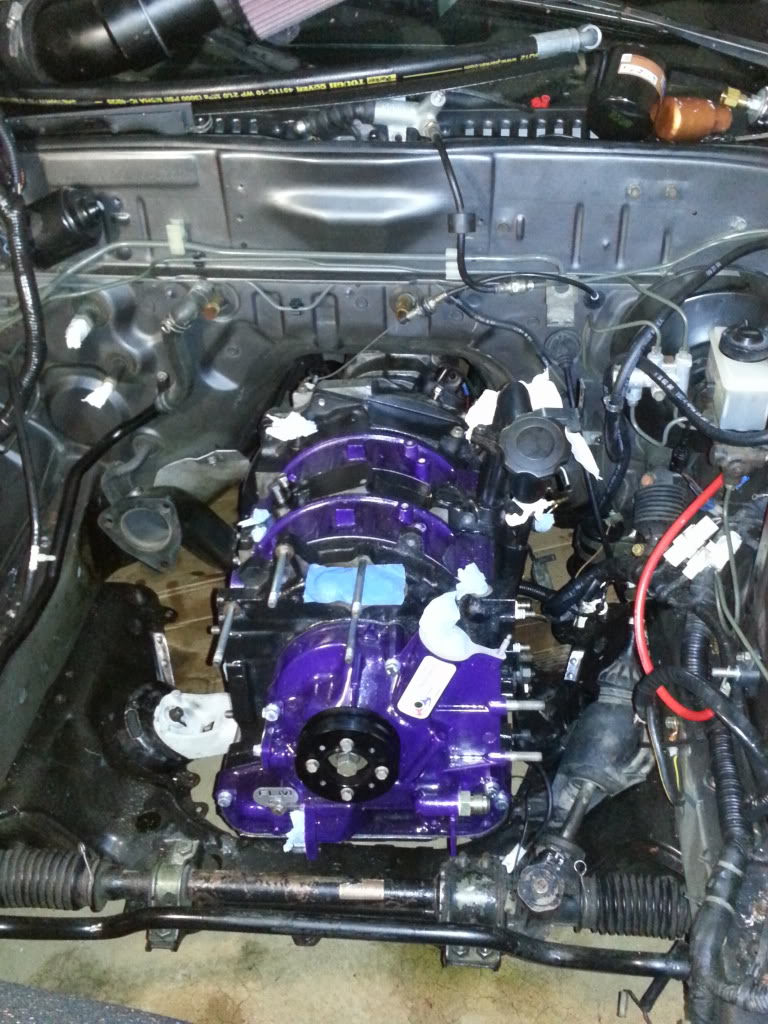
I'm starting to mount some stuff back in to remember how it goes I need a bunch of gaskets before I get rockin' and rollin
need: intake gaskets, waterpump gasket, exhaust gaskets....
Couple more weeks.
I'm starting to mount some stuff back in to remember how it goes
I need a bunch of gaskets before I get rockin' and rollinneed: intake gaskets, waterpump gasket, exhaust gaskets....
Couple more weeks.
07-07-13, 08:36 PM
#249
turbo and waterpump gaskets have been ordered from Atkins Rotary. I chose them over Mazdatrix due to Mazdatrix having poor shipping options. Prices were identical between the two. Gaskets should be here Wednesday.
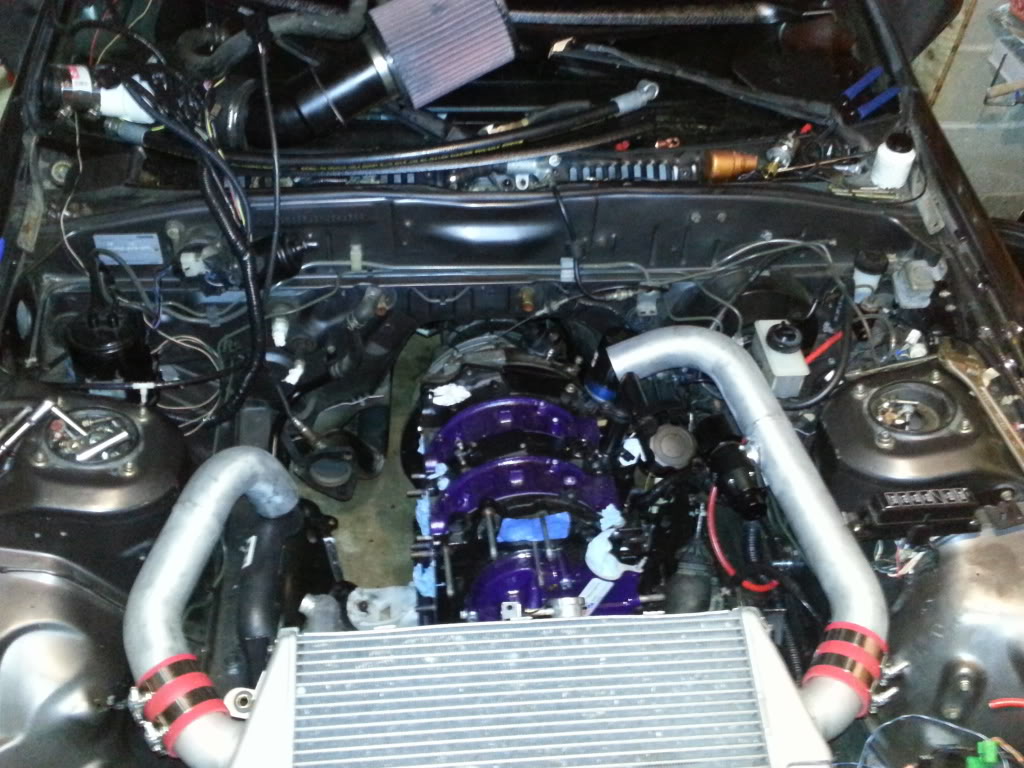
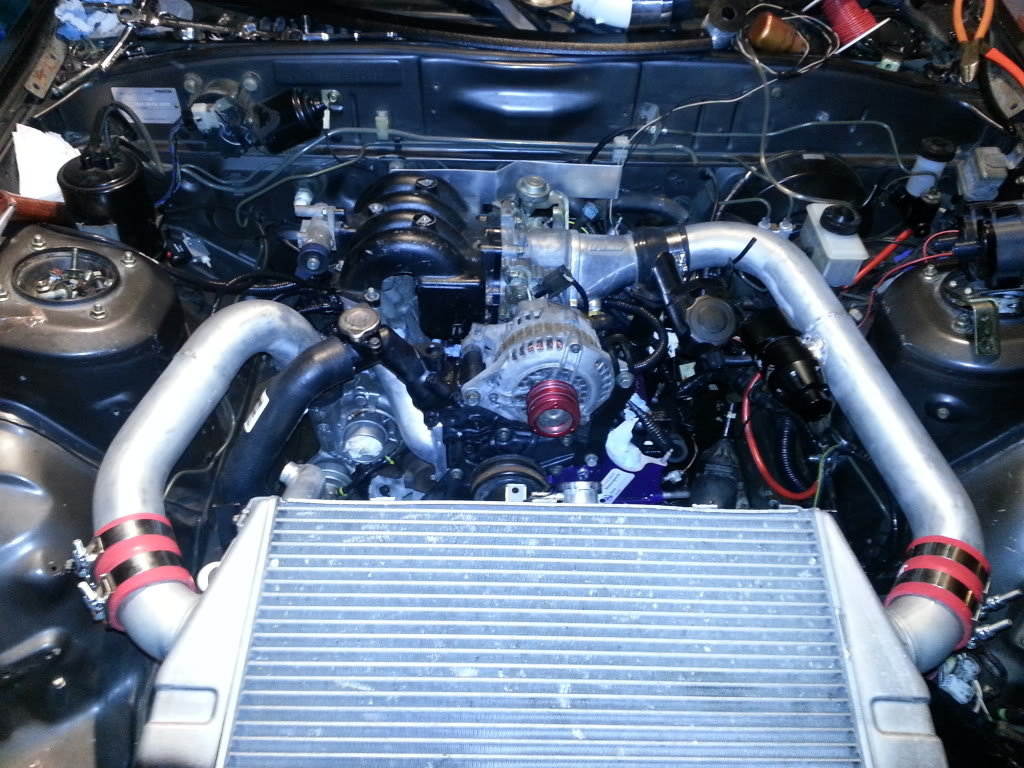
Once I get the turbo and waterpump on I can start to finish up the radiator and mount the fan. Then I can get the fan relay wired in. Still waiting on the leftover powdercoat to come in so I can get the intake manifold coated. After that I can attach the fuel system and whatever else. So much to do!
I also picked up a black rear carpet/bins from a local for a great price. That should be the last of the interior swap minus door panels. I'll post some pictures once I get the relocated battery situated and everything is nice and pretty.
07-08-13, 10:25 PM
#250
I think I'm gonna be a horrible person and getting it running. I'll get the intake manifold powdercoated later...It's a 10 minute job to get it off anyway.
tadaaaaaaaa. gotta finish up the battery before I can install the fiberglass tray and bins.
yes the battery will be changed.
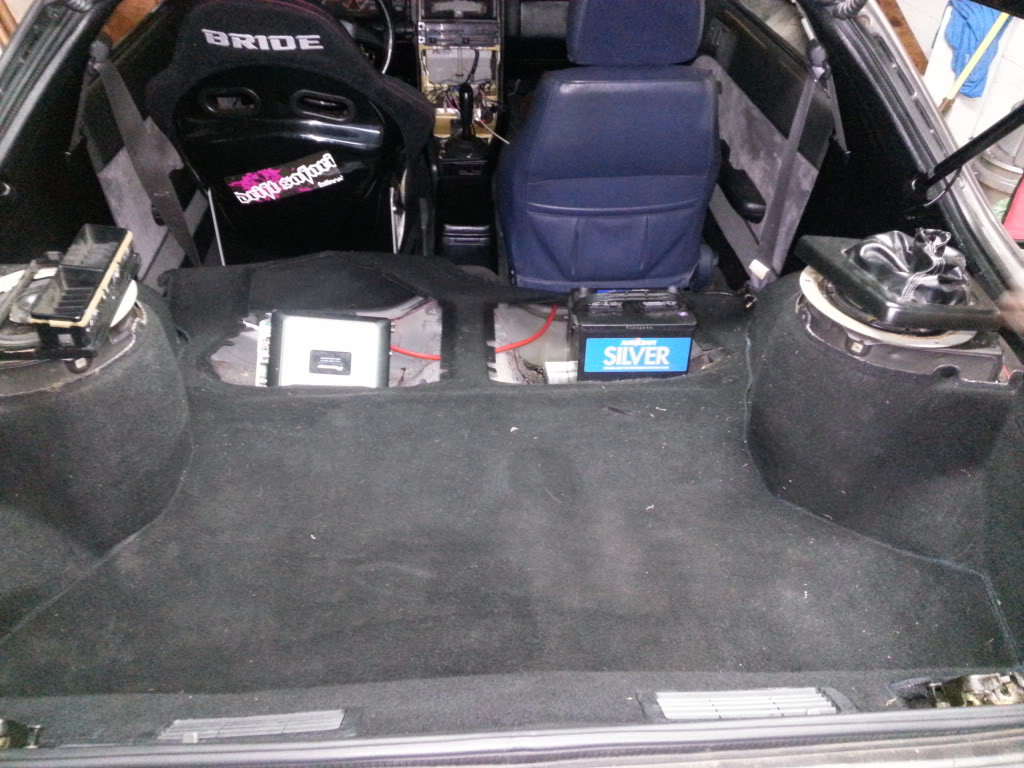
tadaaaaaaaa. gotta finish up the battery before I can install the fiberglass tray and bins.
yes the battery will be changed.