
Time to freshin up 88 Turbo Vert


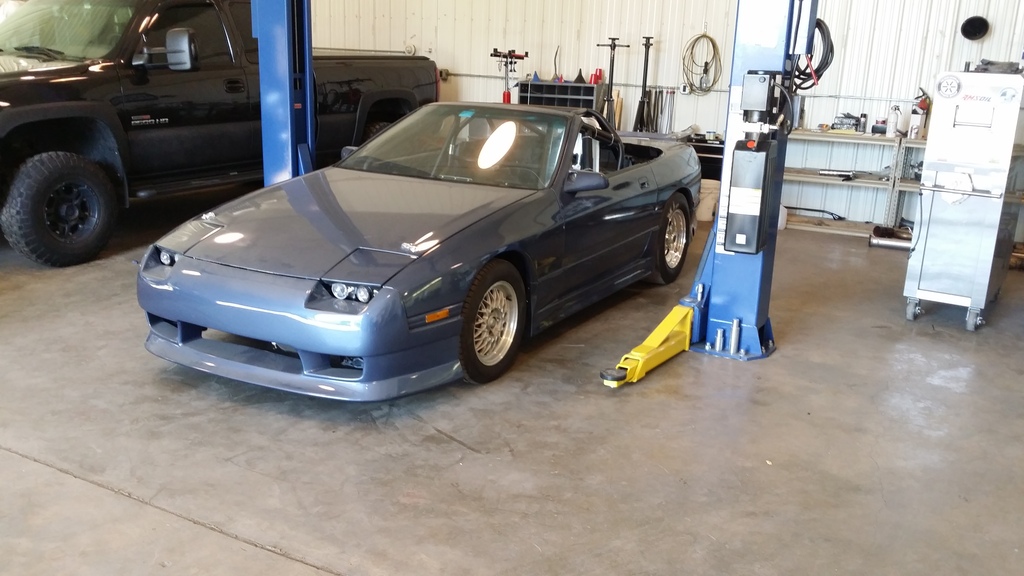
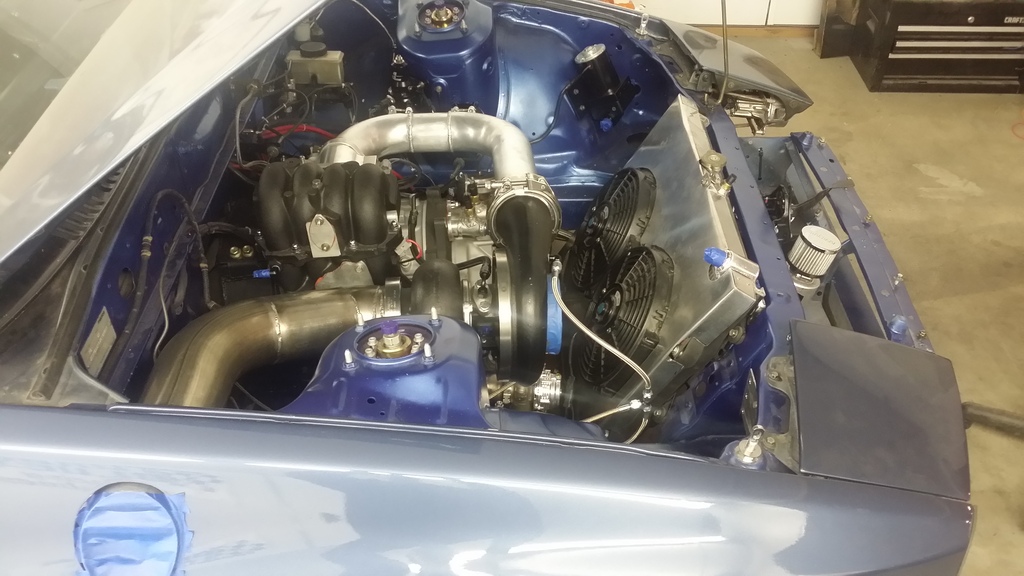
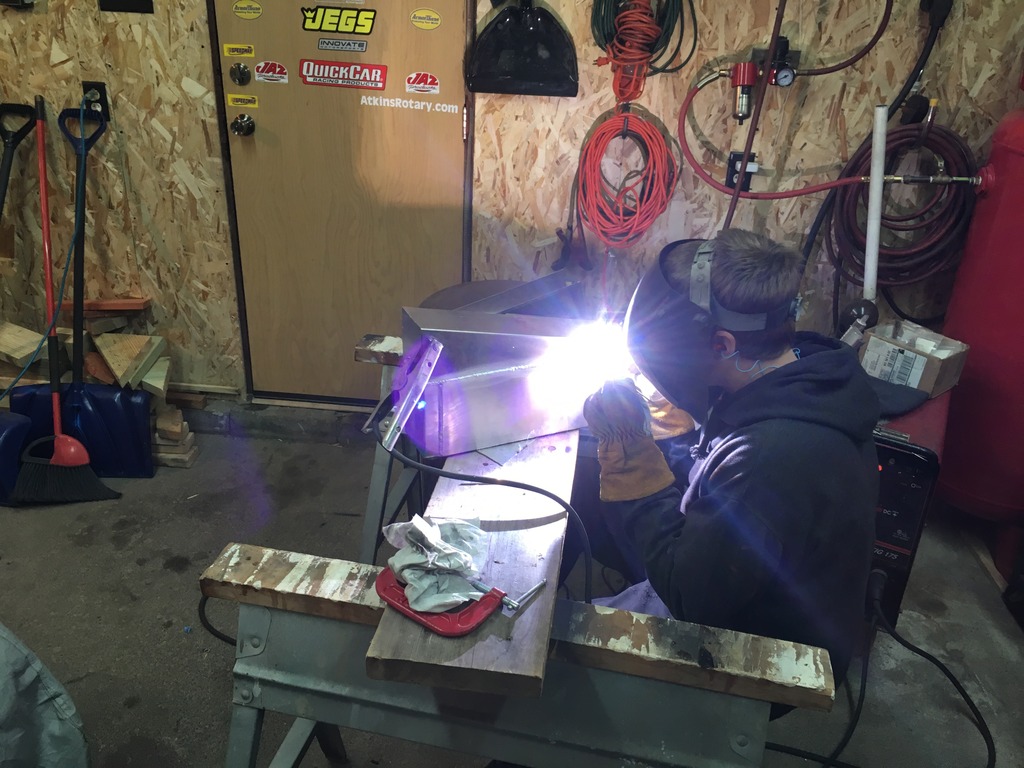
Some progress, moving forward with a first start up date April 27th. Here are some pics, enjoy!
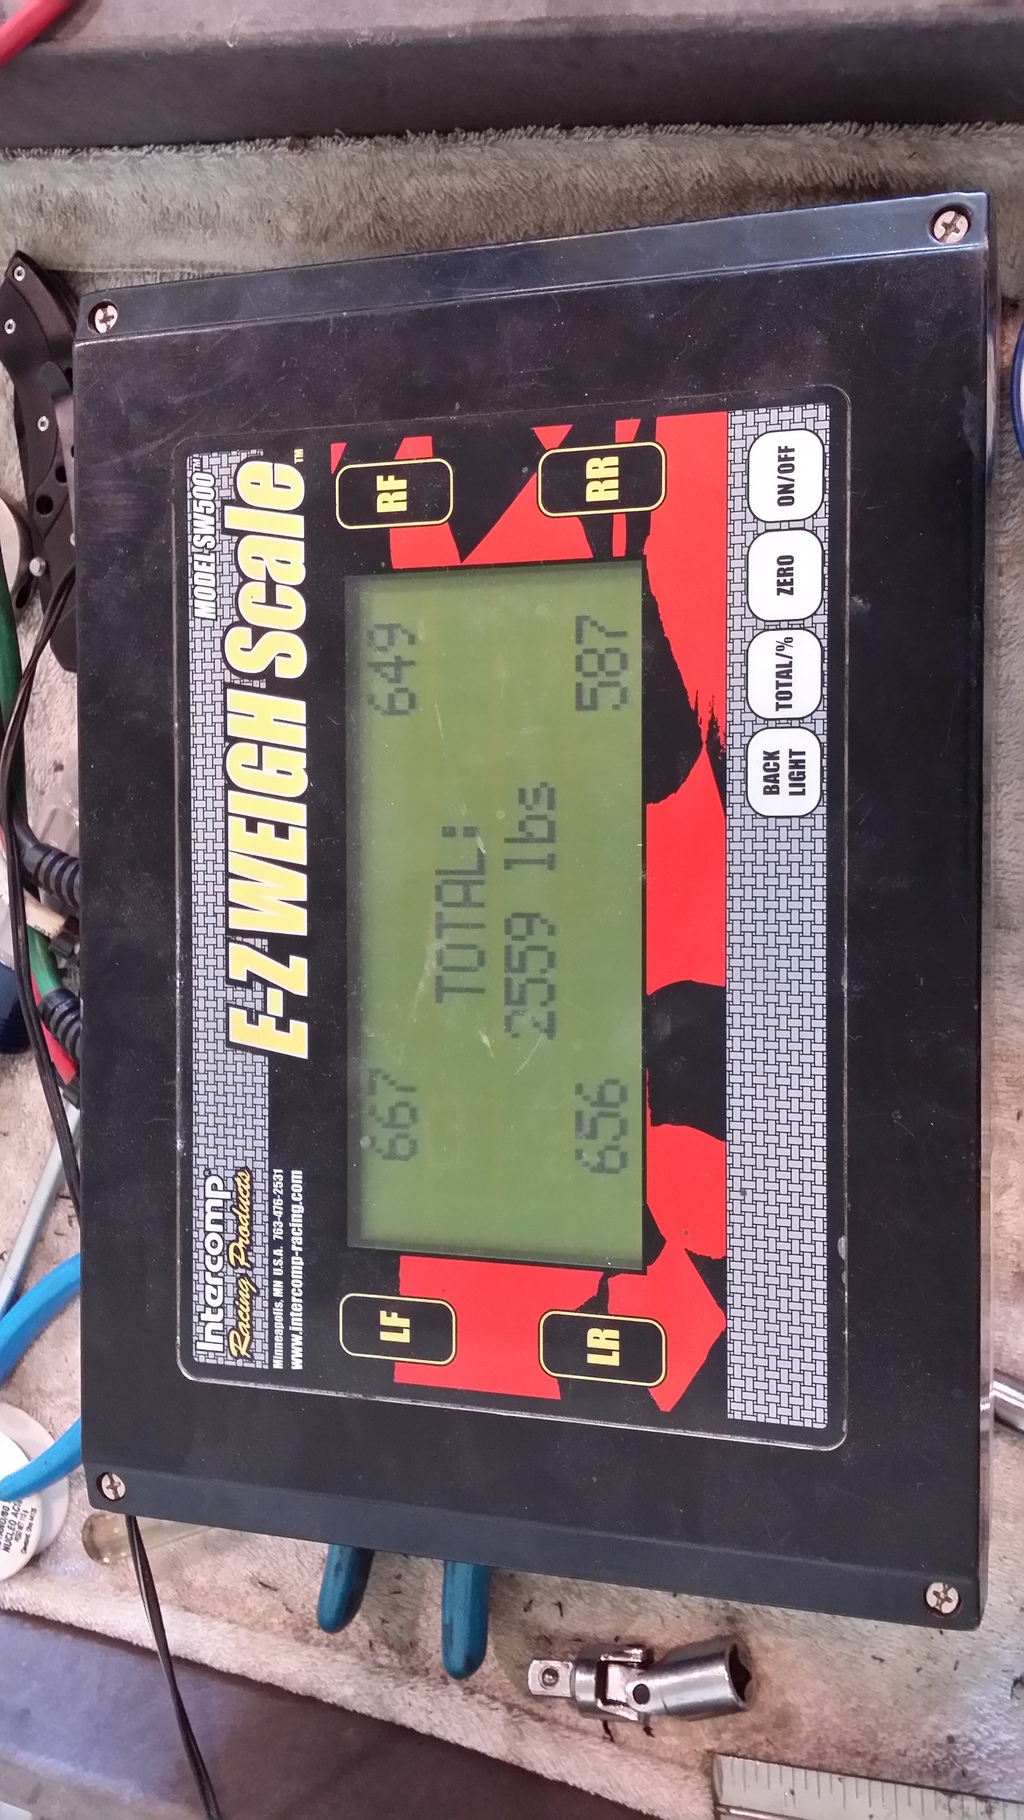
weighed her up at full weight

With me in it she tipped the scales at 2560lb
Little fab work on my waterpump adapter.

So close
weighed her up at full weight

With me in it she tipped the scales at 2560lb


Little fab work on my waterpump adapter.

So close


!!!!update!!!
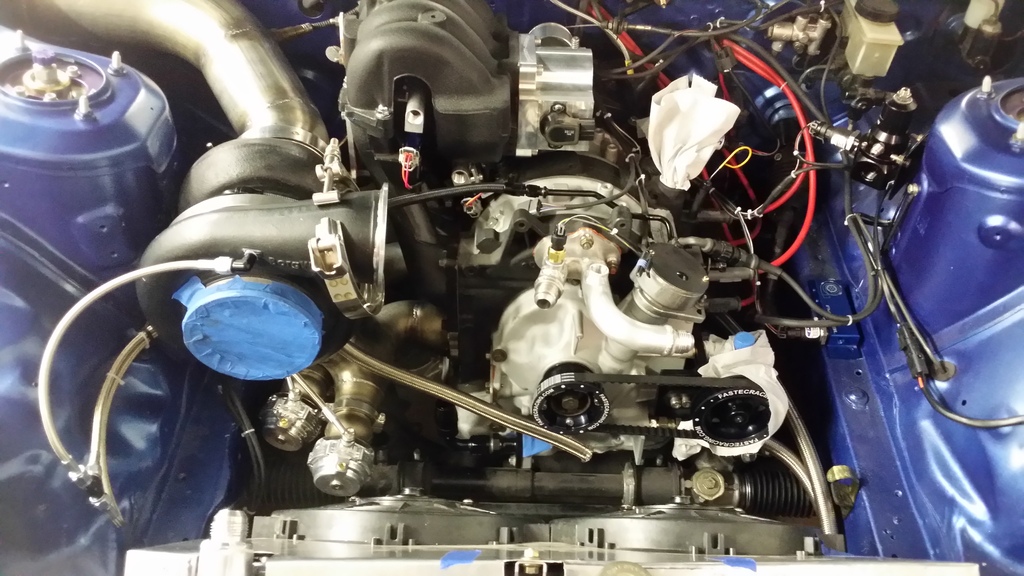
What a Milestone Today, First Sign of Life. Went though the oil, and water systems. No leaks, ran the EWP bled the system, checked oil pressure I was good 50psi on crank. So I said to myself "Mise well squirt some fuel in and see what happens"
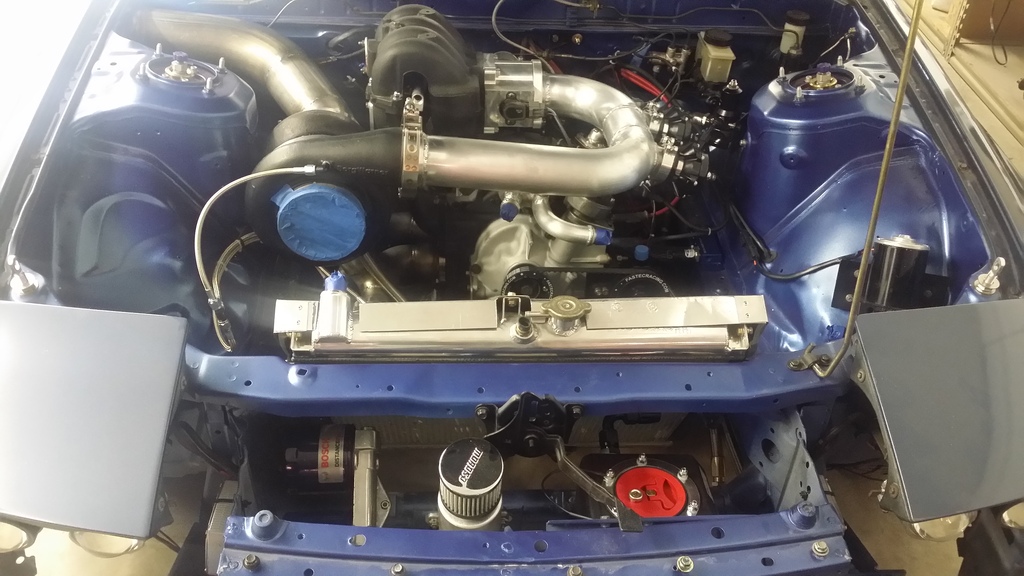
FIRED RIGHT UP! Ran for about 4 seconds perfectly, sounds amazing. I may be ready for my event in July after all. Just one more list of parts and this car is ready for the track after a 2 year build.
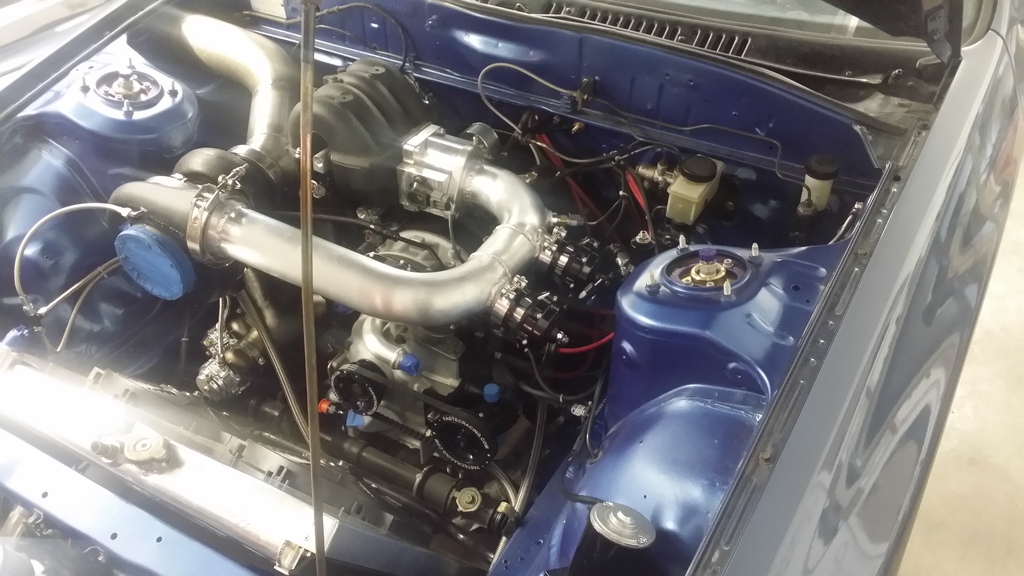
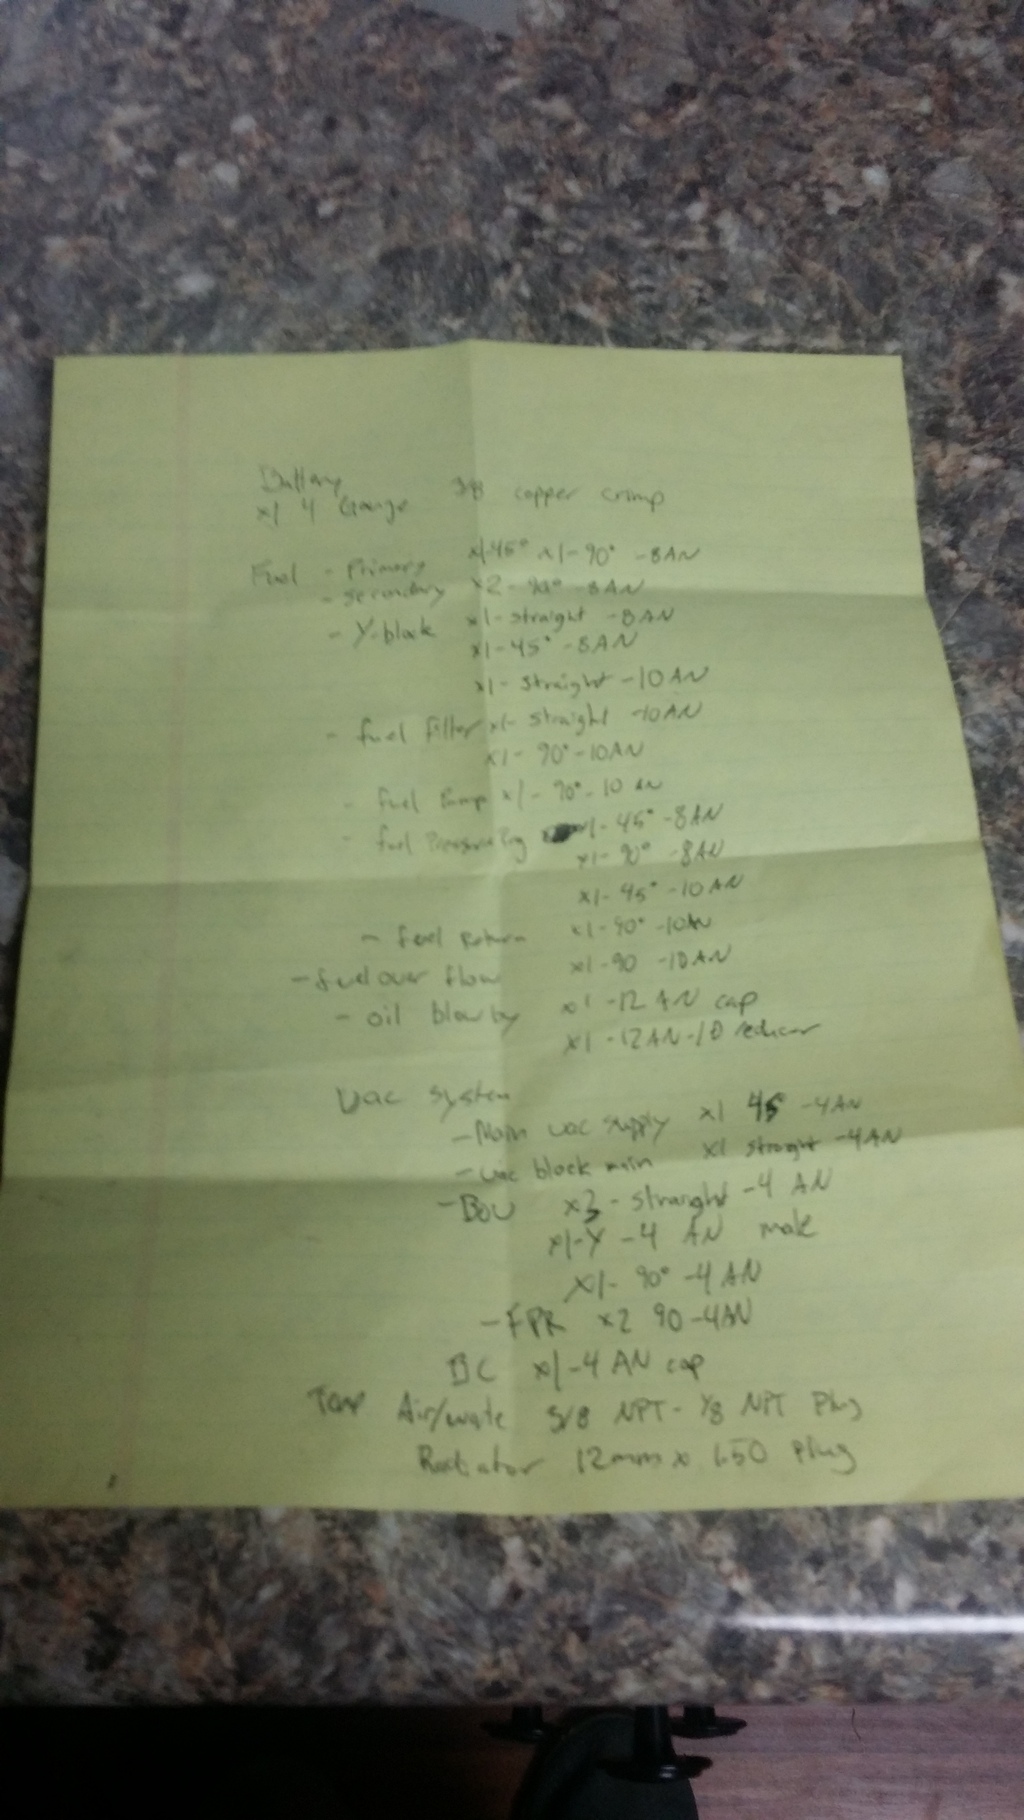
This is all that's left Fuel, and Vac lines, couple misc. items but nothing to bad
FIRED RIGHT UP! Ran for about 4 seconds perfectly, sounds amazing. I may be ready for my event in July after all. Just one more list of parts and this car is ready for the track after a 2 year build.
This is all that's left Fuel, and Vac lines, couple misc. items but nothing to bad

Unfortunately flying Mazda again.....

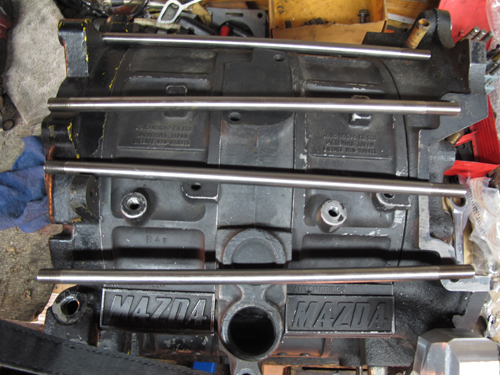
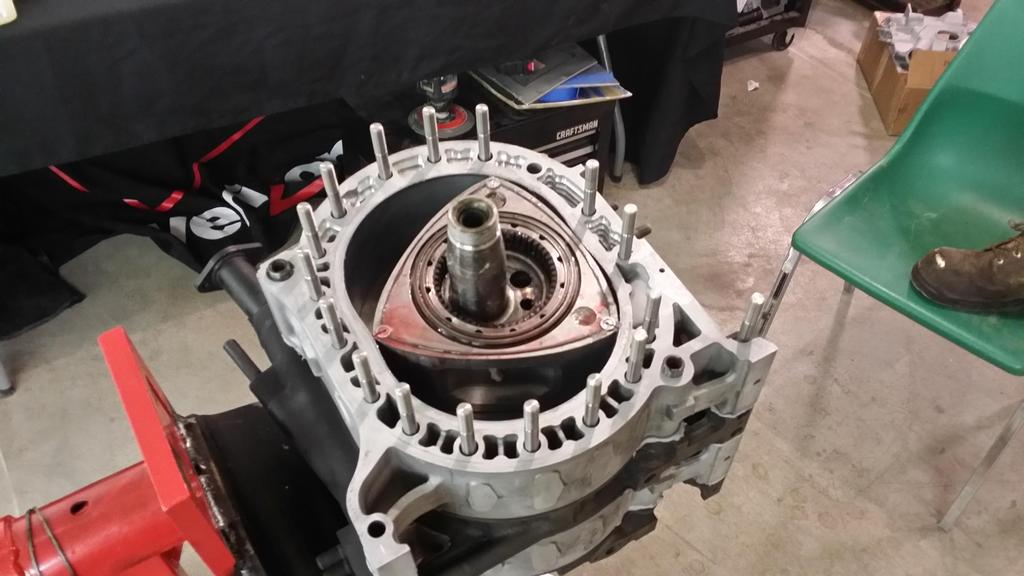
Well I figured I would through an update to my project as a install note for anyone thinking about purchasing or already purchased Rotary-Works Titanium Studs. I filled my motor with water last week, and this week went to finish up a few things. To my surprise I had a water spot under the car and it was dripping between the motor and trans. Pretty obvious what had to be done, so I removed the trans, and Clutch/Flywheel assembly. Very top Stud was leaking, which didn't make sense, I used the Mazda OEM tention bolt washers, and Rotary-Works provides the second washer for there nut. I installed as there pictures suggest on there website so why the leak???
  Well this is why, the pictures shown on the website show the Studs installed backwards. Which makes the threads of the stud a perfect place for water to seep through.... drip......drip......drip. Anyways I reversed the studs one by one, which then the OEM tension bolt washer lined up perfectly with the nonthreaded section of the stud, and sealed, and the Rotary-Works provided washer allows clearance for the nut to be torqued down to 30lb with no bottoming out issues. So moral of the story, Rotary-Works Titanium Stud kits, great product, Shitty install picture directions.
here is there install direction picture.
Here is how I installed them.
And this is where you can expect water to come through if you install them this way.
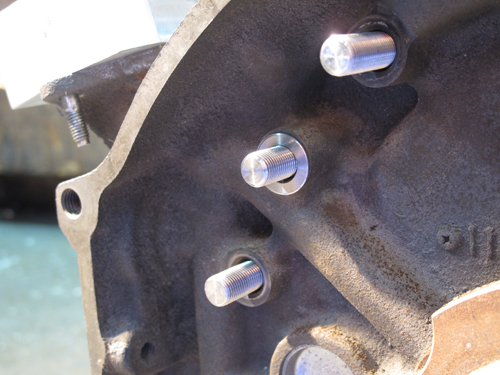
So if you don't want you motor to leak when using these studs, make sure you have the less threaded side of the stud facing up.

Well I figured I would through an update to my project as a install note for anyone thinking about purchasing or already purchased Rotary-Works Titanium Studs. I filled my motor with water last week, and this week went to finish up a few things. To my surprise I had a water spot under the car and it was dripping between the motor and trans.
Pretty obvious what had to be done, so I removed the trans, and Clutch/Flywheel assembly. Very top Stud was leaking, which didn't make sense, I used the Mazda OEM tention bolt washers, and Rotary-Works provides the second washer for there nut. I installed as there pictures suggest on there website so why the leak??? Well this is why, the pictures shown on the website show the Studs installed backwards. Which makes the threads of the stud a perfect place for water to seep through.... drip......drip......drip. Anyways I reversed the studs one by one, which then the OEM tension bolt washer lined up perfectly with the nonthreaded section of the stud, and sealed, and the Rotary-Works provided washer allows clearance for the nut to be torqued down to 30lb with no bottoming out issues. So moral of the story, Rotary-Works Titanium Stud kits, great product, Shitty install picture directions.here is there install direction picture.

Here is how I installed them.

And this is where you can expect water to come through if you install them this way.

So if you don't want you motor to leak when using these studs, make sure you have the less threaded side of the stud facing up.
Last edited by janousekmike; Jul 5, 2015 at 10:46 AM.
Doing some short Burnout logs in our parking lot before I hit the Drag Strip. Next weekend is Powercruise, should be able to dyno there, and I will be entered in the Roll Racing, and 1/8 mile Drag Racing. Should be a great time, hopefully lots of video to share, and not to many issues.
Lots been happing sine this summer. Testing and fine tuning a never before done setup takes time and patience, and a lot of data logging to find problems and redo it again lol.
Just to start after finding no way to get air intake temps below 255-300+ degrees I decided to get some control on that and install a Liquid to Air IC
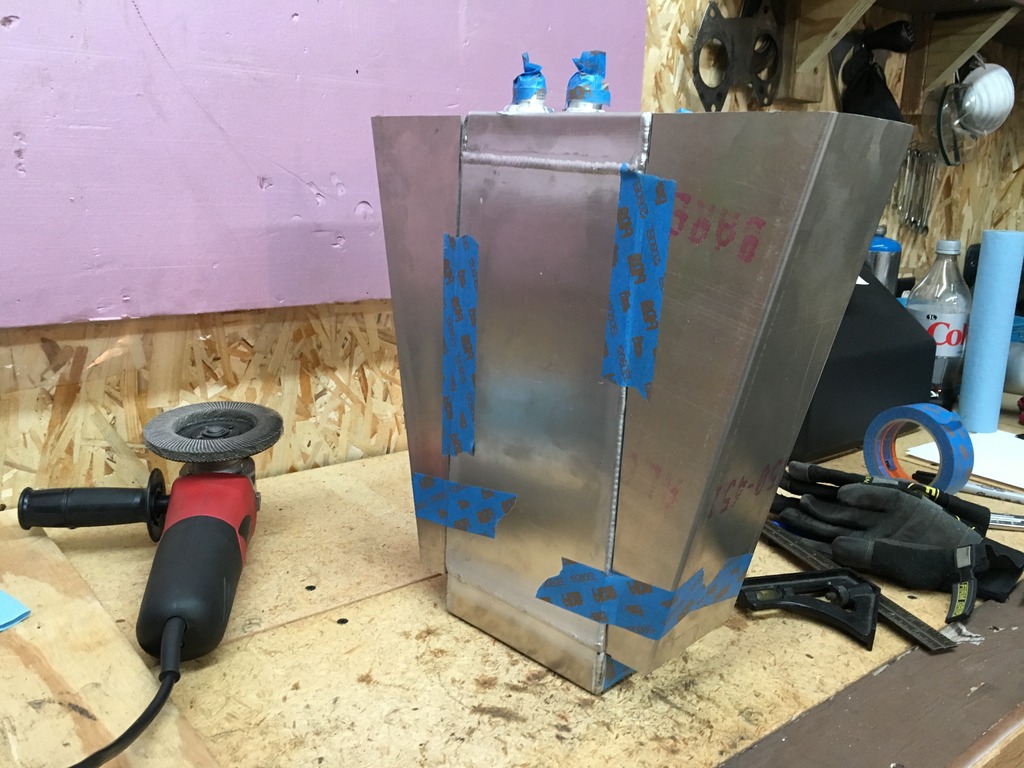
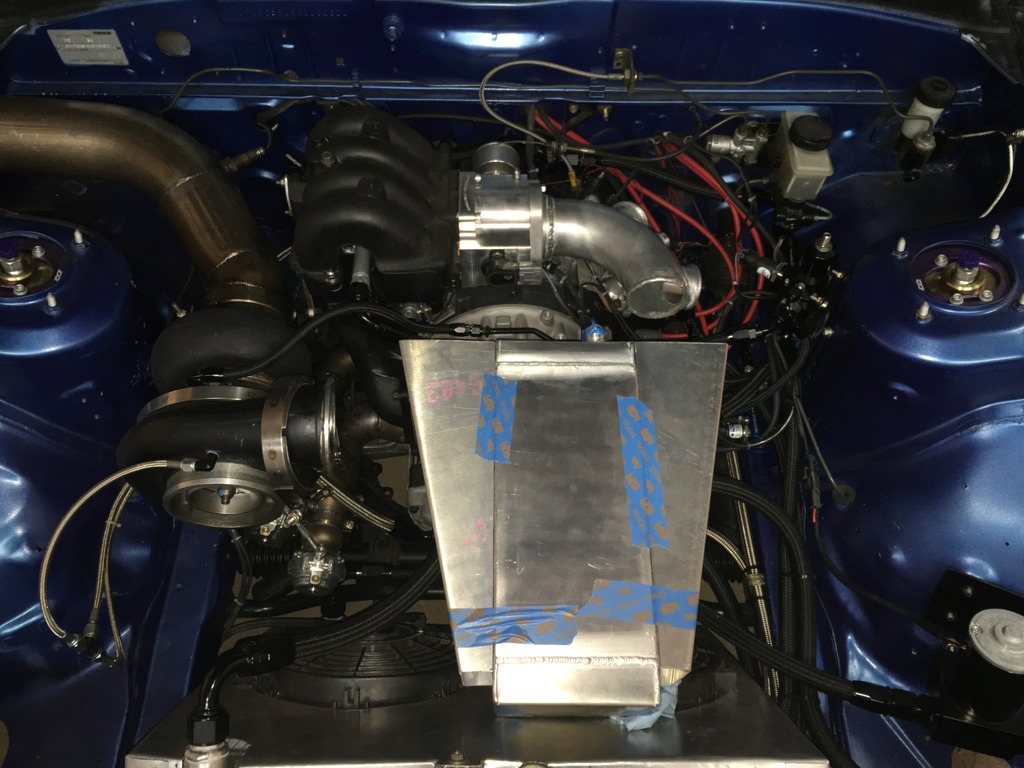
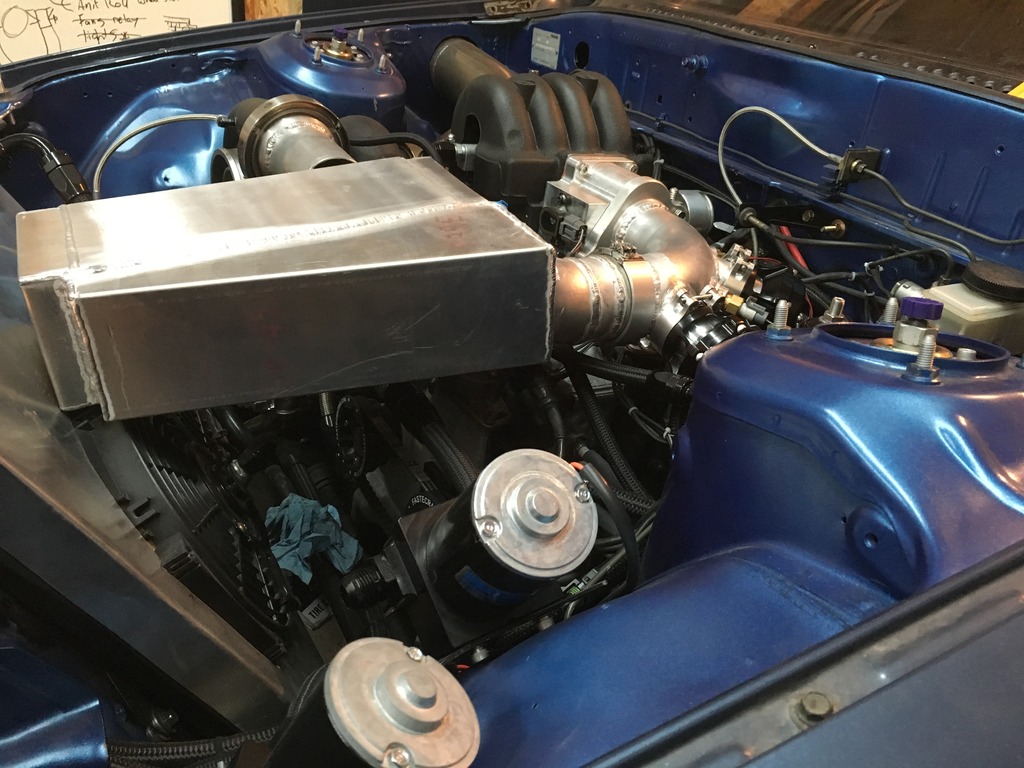
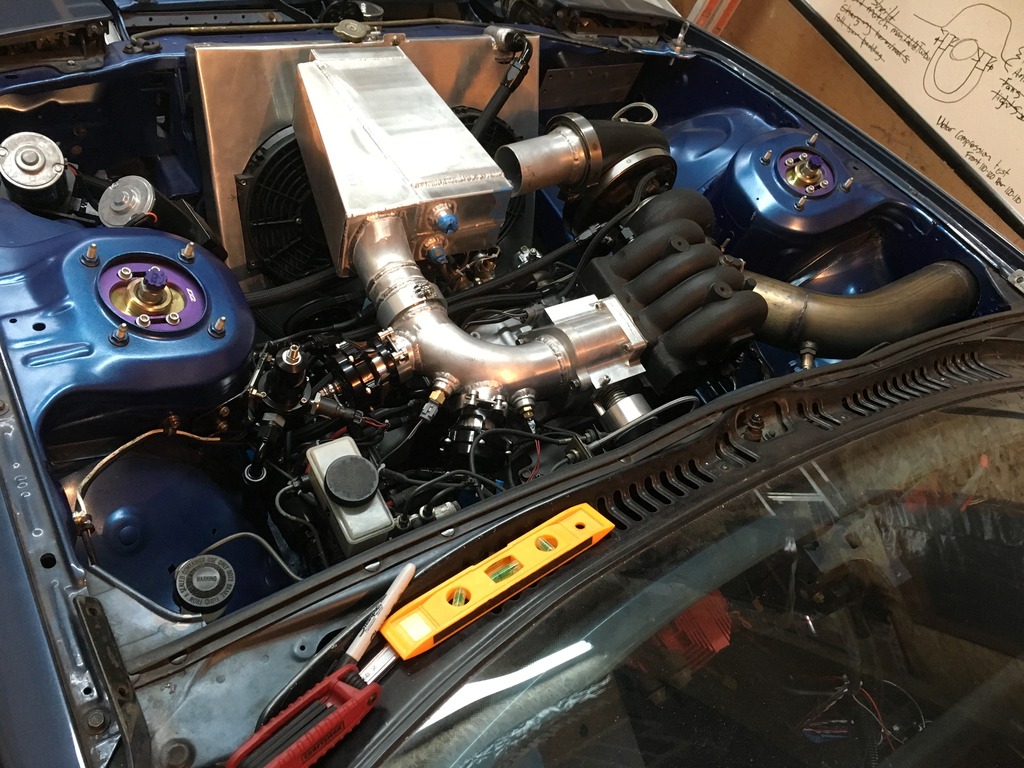
Still working on the hot side, as I finished the plumbing for the cooler and tested for leaks the Core pissed out the face of the core. It's since been set out for repair and is being sent back next week ready for final fab work.
This was on its way back to Bell Intercoolers, and that's a whole story by its self. I would not recommend anyone to this company.
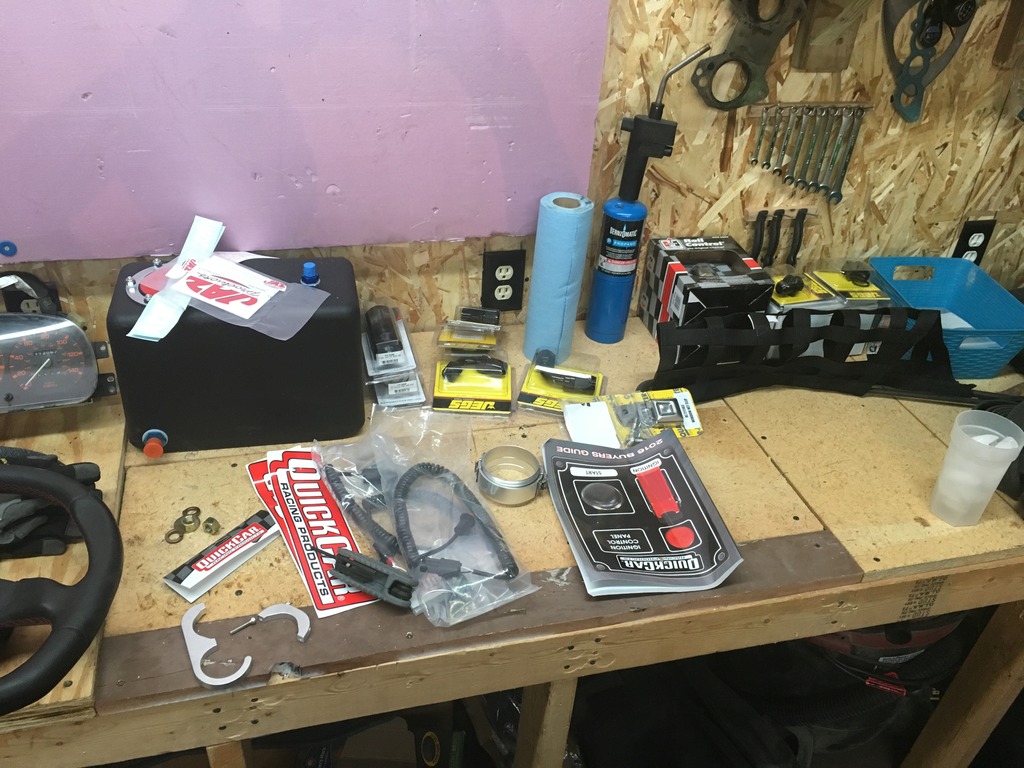
In the mean time lots to do
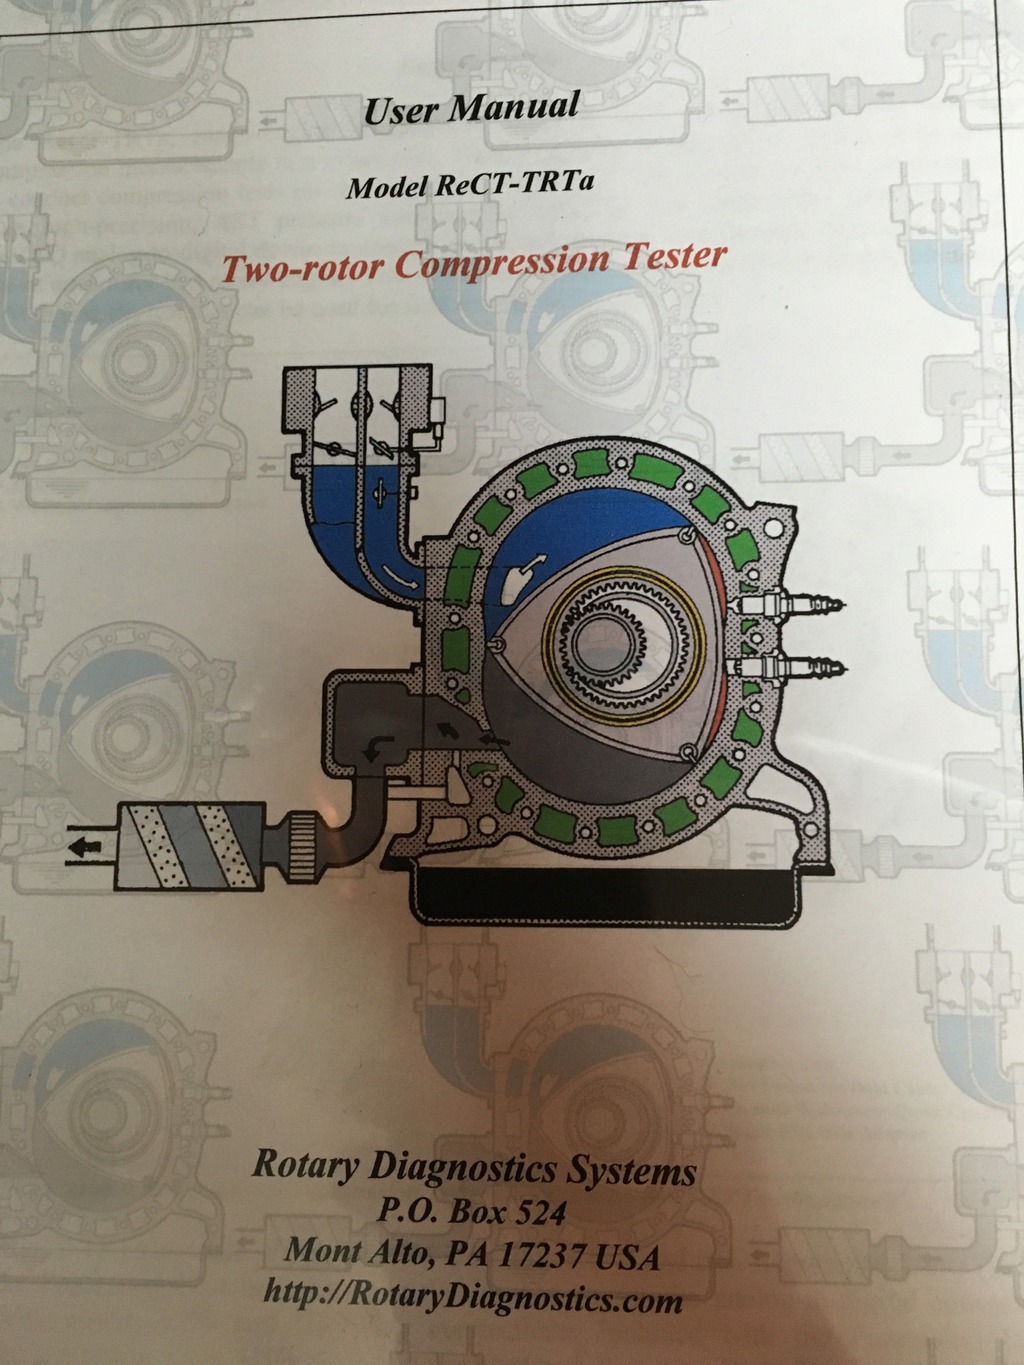
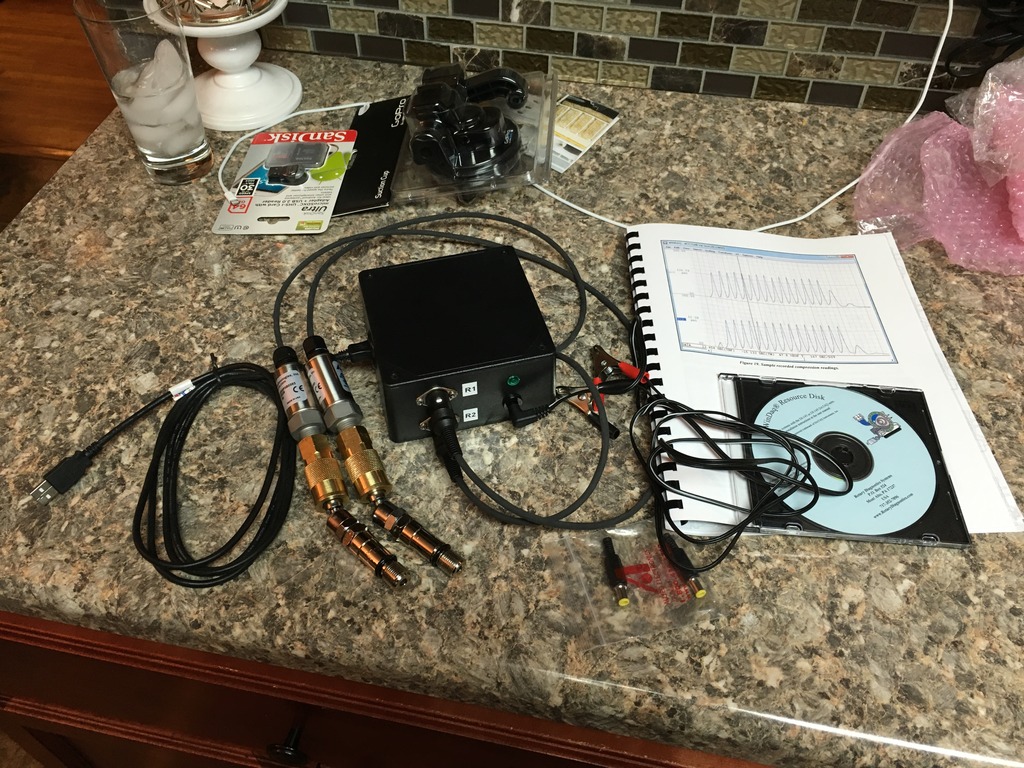
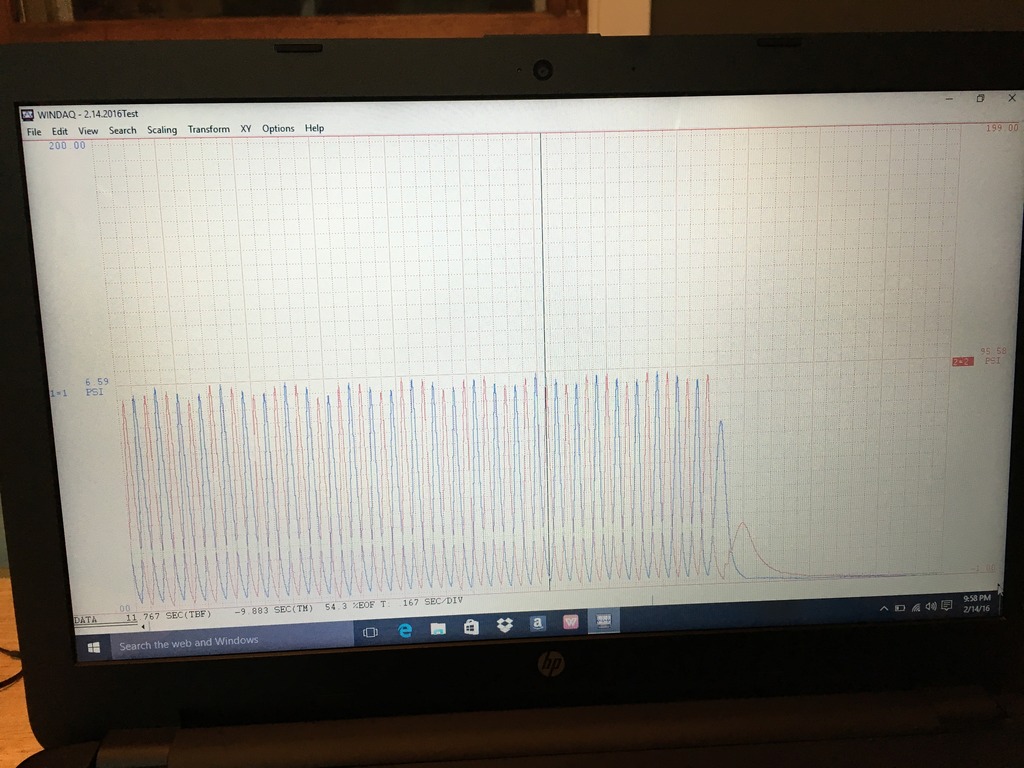
Also I picked up an awesome new rotary compression tester from Rotary Diagnostics. This thing kicks ***!!!! The software is amazing.
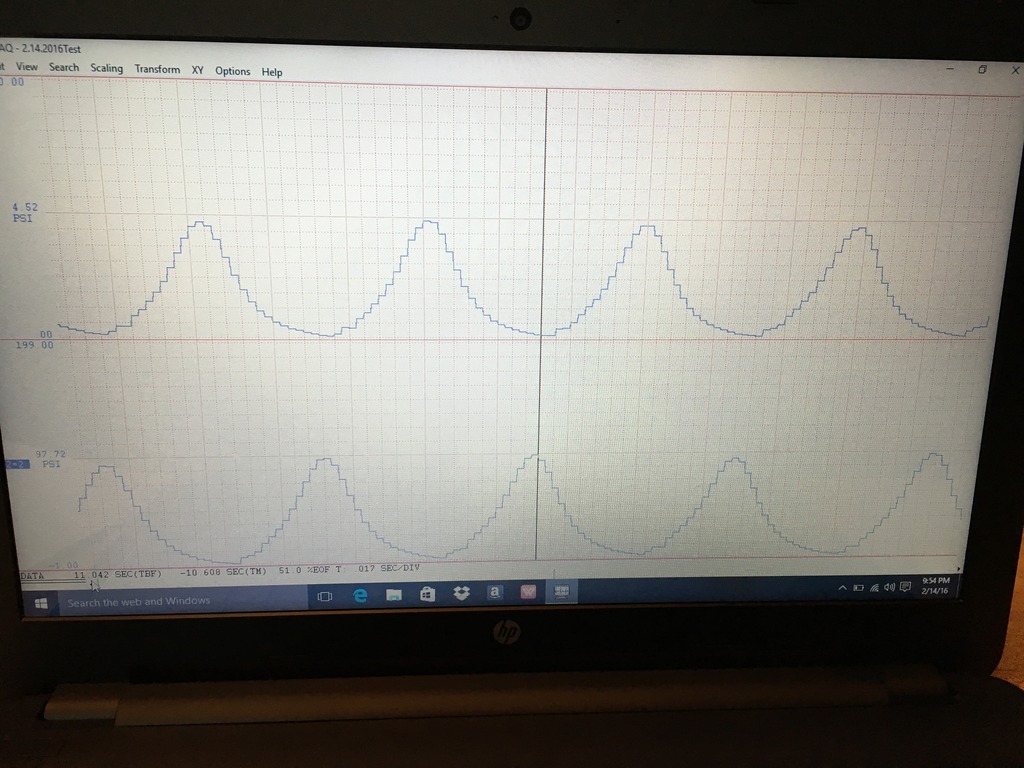
Tested my motor for the hell of it just to see all the abuse that it took with logging and 20psi pulls at 300+ intake temps and it looks good so far. 97.8psi average and 1.6psi difference min-max on all faces. I'm happy with that.
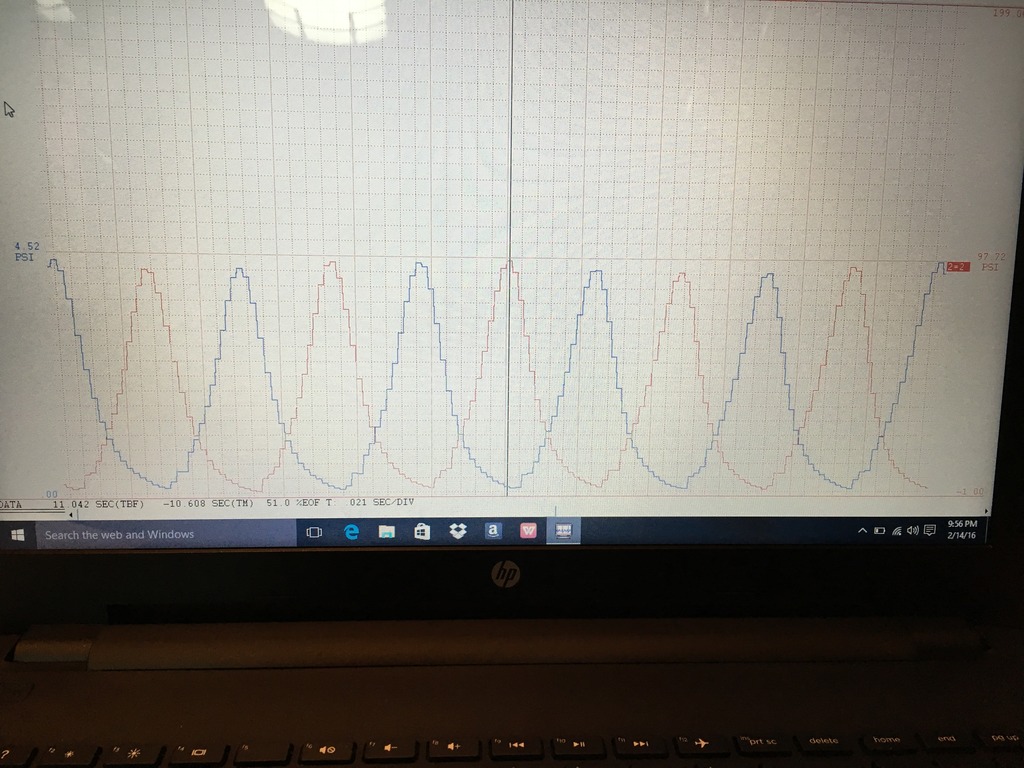
Overlay capable in the software
About a 20 second test in full view.
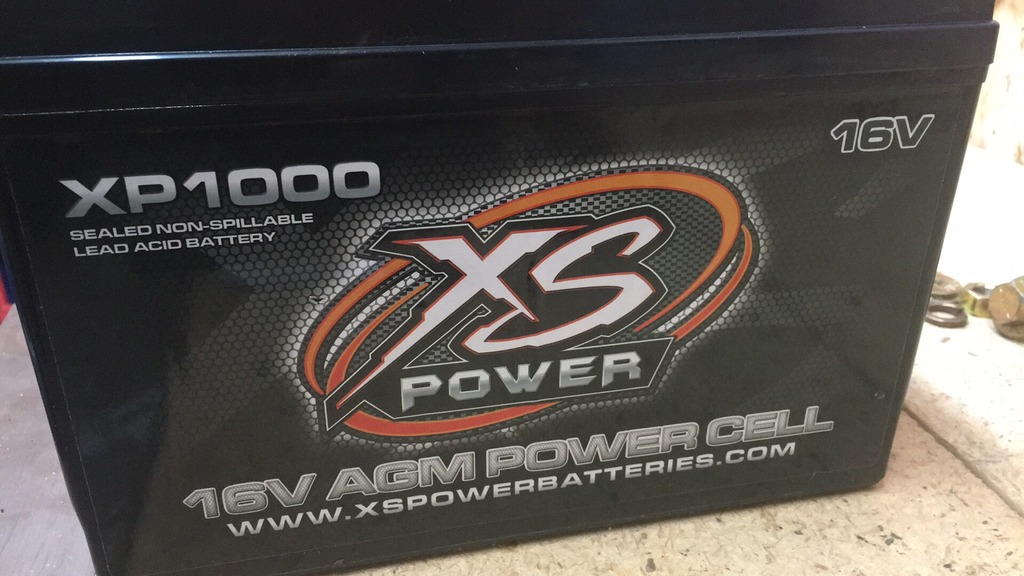
Last, but not least had to upgrade the Volts since I'm not running an alternator. Only for drag racing folks that's all she will see.
Just to start after finding no way to get air intake temps below 255-300+ degrees I decided to get some control on that and install a Liquid to Air IC


Still working on the hot side, as I finished the plumbing for the cooler and tested for leaks the Core pissed out the face of the core. It's since been set out for repair and is being sent back next week ready for final fab work.
This was on its way back to Bell Intercoolers, and that's a whole story by its self. I would not recommend anyone to this company.
In the mean time lots to do

Also I picked up an awesome new rotary compression tester from Rotary Diagnostics. This thing kicks ***!!!! The software is amazing.


Tested my motor for the hell of it just to see all the abuse that it took with logging and 20psi pulls at 300+ intake temps and it looks good so far. 97.8psi average and 1.6psi difference min-max on all faces. I'm happy with that.

Overlay capable in the software

About a 20 second test in full view.

Last, but not least had to upgrade the Volts since I'm not running an alternator. Only for drag racing folks that's all she will see.

Last edited by janousekmike; Feb 21, 2016 at 09:26 PM.


Thread
Thread Starter
Forum
Replies
Last Post
trickster
2nd Generation Specific (1986-1992)
25
Jul 1, 2023 04:40 PM
josef 91 vert
2nd Generation Specific (1986-1992)
23
Sep 3, 2015 11:20 AM