
My first RX-7 Build!!

Thread Starter
Add oil
Joined: May 2012
Posts: 101
Likes: 0
From: Greenville, SC
My first RX-7 Build!!
Hey everybody, I have been on the forums for quite a while and I have decided that its about time I started a build thread.
I have been building my seven for a while now. I have always been interested in 80's Japanese cars and decided to save up some $ with my summer job to get one "I'm a broke *** college kid". I love engineering and all things mechanically cool and I always new that the rotary engine existed and I thought it was soo cool even though I didn't know much about it. I have worked for several years as a mechanic and I am very mechanically inclined so I wanted a fun little project.
When I finally had enough cash for my 80's sports car I wanted something cool and rare so I thought... why not an Rx-7? I really wanted to learn about the rotary engine. Then I started searching for one...
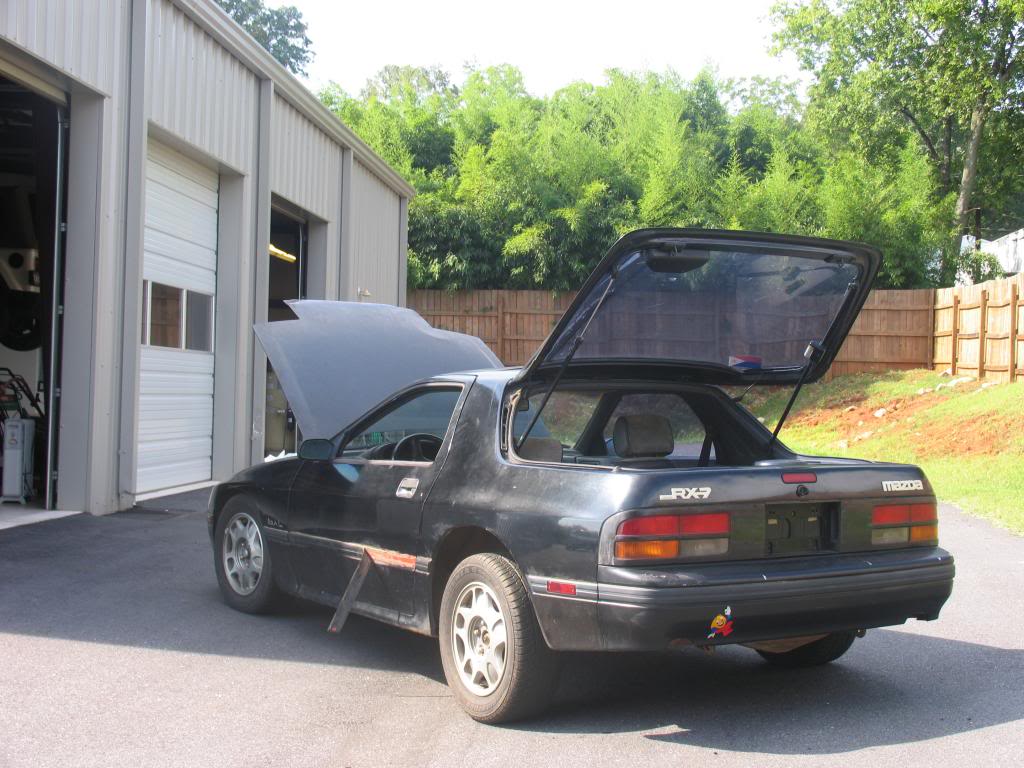
During my search for the awesome 80's Rx-7 Project I came across a local for sale post on the internet. It was fate. A 1988 Mazda Rx-7 GXL posted for $1000. I went to look at the car knowing that it had TII brakes and LSD differential after some research. The body and exterior in the car were pretty good except the paint. It didnt have any major damage like dents or rust. The interior was not perfect and did need a little cleaning but looked great. Under the hood was a different story. The 13b was really dirty "greasy". I started the car up and it ran fine other than the temp gauge moving up slowly past the quarter mark where it was supposed to be. I shut the car off and asked the seller what was going on. He told me that he had no idea why the car would not stay at operating temps and that he wanted to get rid of it. He also stated that the car had never been driven since he saw the temps climbing. With all this being said, I got the car for $800 and the guy gave me a ton of extra parts including a rear hatch "w/o wiper", tail lights, 3 ecu's, 3 MAF sensors, and some more misc. parts.
I jumped on the deal and got the car towed to the shop where I worked.
I have been building my seven for a while now. I have always been interested in 80's Japanese cars and decided to save up some $ with my summer job to get one "I'm a broke *** college kid". I love engineering and all things mechanically cool and I always new that the rotary engine existed and I thought it was soo cool even though I didn't know much about it. I have worked for several years as a mechanic and I am very mechanically inclined so I wanted a fun little project.
When I finally had enough cash for my 80's sports car I wanted something cool and rare so I thought... why not an Rx-7? I really wanted to learn about the rotary engine. Then I started searching for one...
During my search for the awesome 80's Rx-7 Project I came across a local for sale post on the internet. It was fate. A 1988 Mazda Rx-7 GXL posted for $1000. I went to look at the car knowing that it had TII brakes and LSD differential after some research. The body and exterior in the car were pretty good except the paint. It didnt have any major damage like dents or rust. The interior was not perfect and did need a little cleaning but looked great. Under the hood was a different story. The 13b was really dirty "greasy". I started the car up and it ran fine other than the temp gauge moving up slowly past the quarter mark where it was supposed to be. I shut the car off and asked the seller what was going on. He told me that he had no idea why the car would not stay at operating temps and that he wanted to get rid of it. He also stated that the car had never been driven since he saw the temps climbing. With all this being said, I got the car for $800 and the guy gave me a ton of extra parts including a rear hatch "w/o wiper", tail lights, 3 ecu's, 3 MAF sensors, and some more misc. parts.
I jumped on the deal and got the car towed to the shop where I worked.
Last edited by simonFC; Dec 30, 2013 at 09:05 PM.

Thread Starter
Add oil
Joined: May 2012
Posts: 101
Likes: 0
From: Greenville, SC
Sorry Im not too sure why the pic is not working. I have been testing in area 51 also and it does the same thing. I have photobucket. and Im using the copy and paste method into the insert picture icon. 
It has to start and end with the IMG code in brackets. Looks like the Photobucket copy/paste method has gone to putting URL in brackets around it. Remove all the crap around that and it should work.
I found the link by selecting "reply w/ quote" and I selected the Photobucket URL from that.
I found the link by selecting "reply w/ quote" and I selected the Photobucket URL from that.

Trending Topics

Thread Starter
Add oil
Joined: May 2012
Posts: 101
Likes: 0
From: Greenville, SC
Once I checked everything at the shop... Brakes, suspension, fluids. I started it up and drove it home after work. Well it ran fine but the car started to get hot after a few miles... I had to stop. and wait for it to cool down.
[IMG]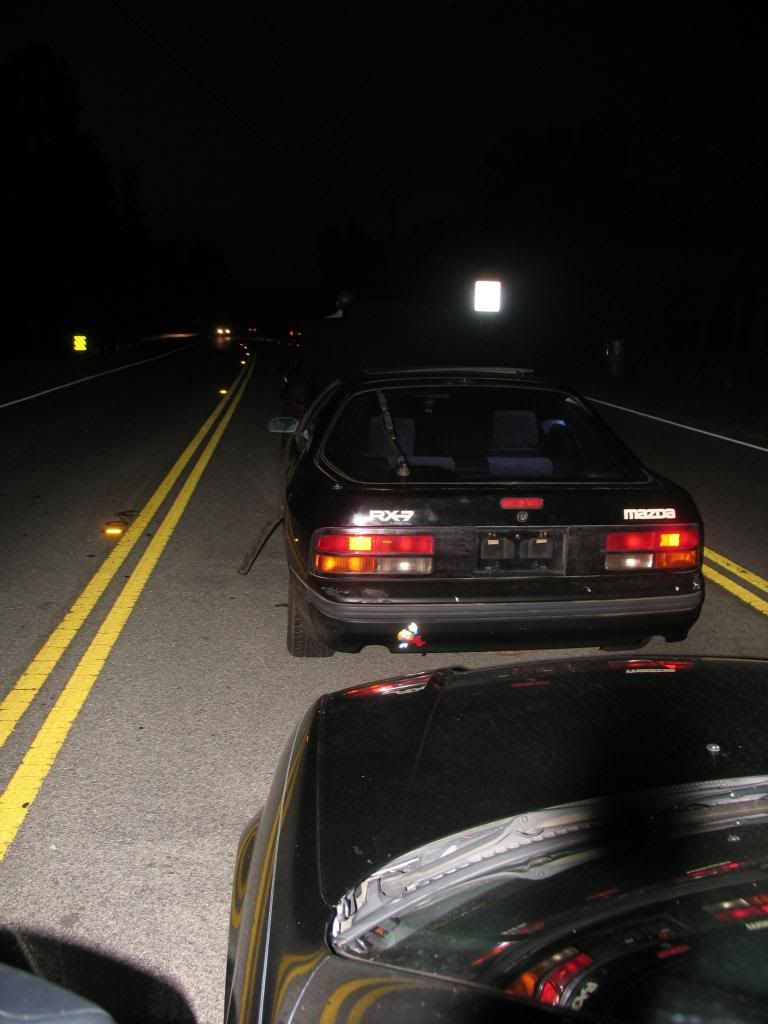 [/IMG]
[IMG]
 [/IMG]
Thread Starter
Add oil
Joined: May 2012
Posts: 101
Likes: 0
From: Greenville, SC
Once I parked it in the driveway I noticed that when left parked without starting for a few days it would be hard to start then it would smoke white for a little bit. It was showing all of the signs of blown coolant seals according to all the research I was doing. After all this was my first time owning a rotary.
One day I decided to pull out the spark plugs... Sure enough they were covered in coolant. I knew now that it was time to pull the engine. I was actually excited about it. I wanted to tear apart a rotary and learn about it.
After clearing out some junk in the garage I was able to have some space for the rebuild I was planning.


bcrotary.
Joined: Jul 2010
Posts: 513
Likes: 1
From: Abbotsford, British Columbia
Got your work cut out for you! The coolant seal rebuilds typically render the most re-usable parts so this isn't necessarily a bad thing either. What do you plan to do in the long run other than obtain an exhaust because by now you are likely deaf? It seems our name is becoming more common on this site as well. The population of Simons has doubled from 1 to 2 hah.
Thread Starter
Add oil
Joined: May 2012
Posts: 101
Likes: 0
From: Greenville, SC
Got your work cut out for you! The coolant seal rebuilds typically render the most re-usable parts so this isn't necessarily a bad thing either. What do you plan to do in the long run other than obtain an exhaust because by now you are likely deaf? It seems our name is becoming more common on this site as well. The population of Simons has doubled from 1 to 2 hah.

Rx Bandit
Joined: Jul 2008
Posts: 232
Likes: 1
From: Fort St John, BC, Canada
cool car man, i'm glad you're enjoying her so far. she needs a little tlc, but she's in better shape than mine when i first got it
you can put more than one image per post, just needs at least one space between img strings. it also seems like you are putting one too many sets of img tags on each pic, if what you're copy+pasting has img tags already (ie: photobucket), you don't need to add your own.
welcome dude, and have fun with your little rotary
-sean