When you click on links to various merchants on this site and make a purchase, this can result in this site earning a commission. Affiliate programs and affiliations include, but are not limited to, the eBay Partner Network.
The car has showed up in a magazine years ago... Can confirm it's my beast...
A few things to that I had no idea about - Motor is Dowelled.. Thank god. It's got a T66 turbo not a T04z/r.. it has bascially a complete Racing Beat suspension links. Cusco 1.5 way LSD, and FD front brakes
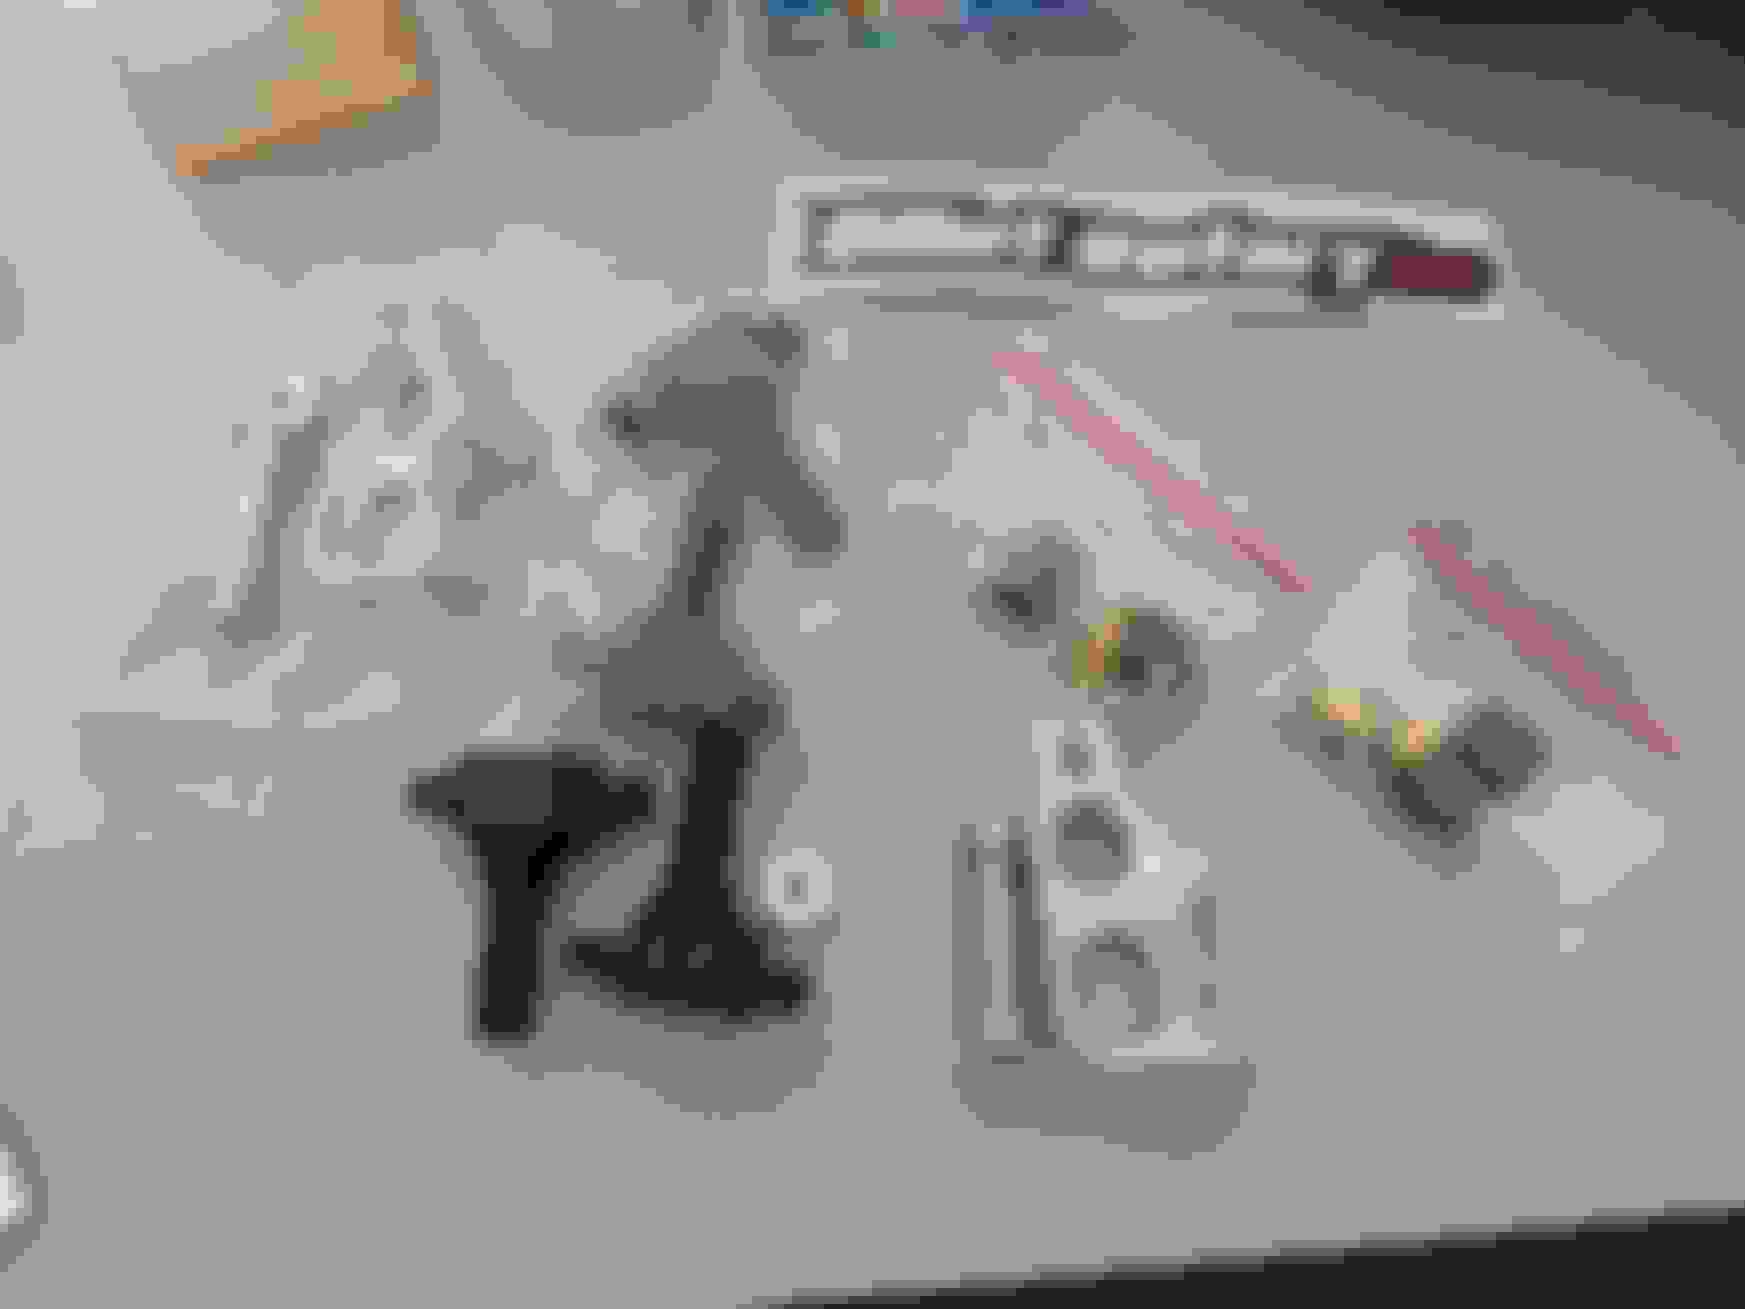
Well I am back from Japan holiday, and for some reason while I travel away I order HEAPS of stuff from online to greet me at home... LOL
More is yet to come for the fuel system and oil catch can...
I have deiced to change the infini seat's to a proper bucket racing seat, reason being I want to put a 6 point harness in the car, you cannot do that with those seats.. So I have sold them, and brought a set of Sparco Sprint seats.. I only got 1 pair of seat rails for the passengers side as the driver side needs custom mounts due to the tunnel...
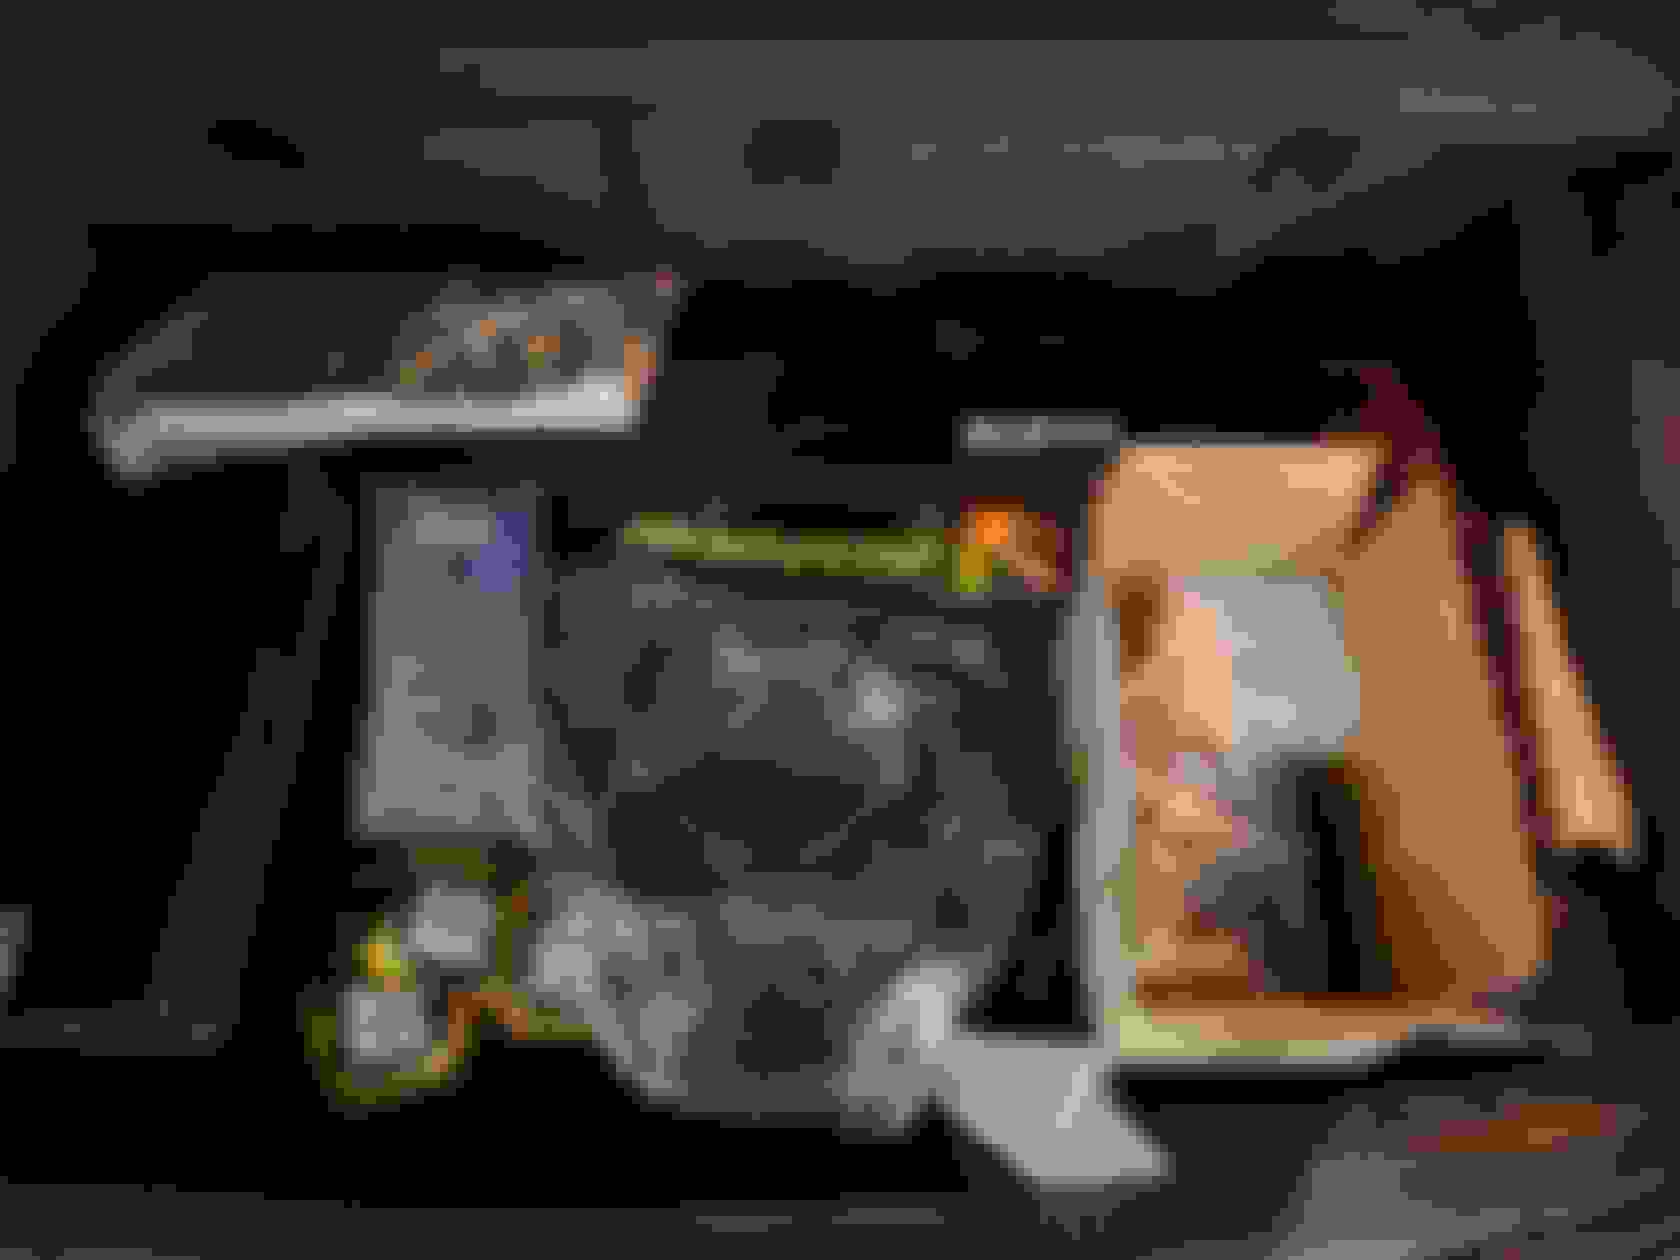
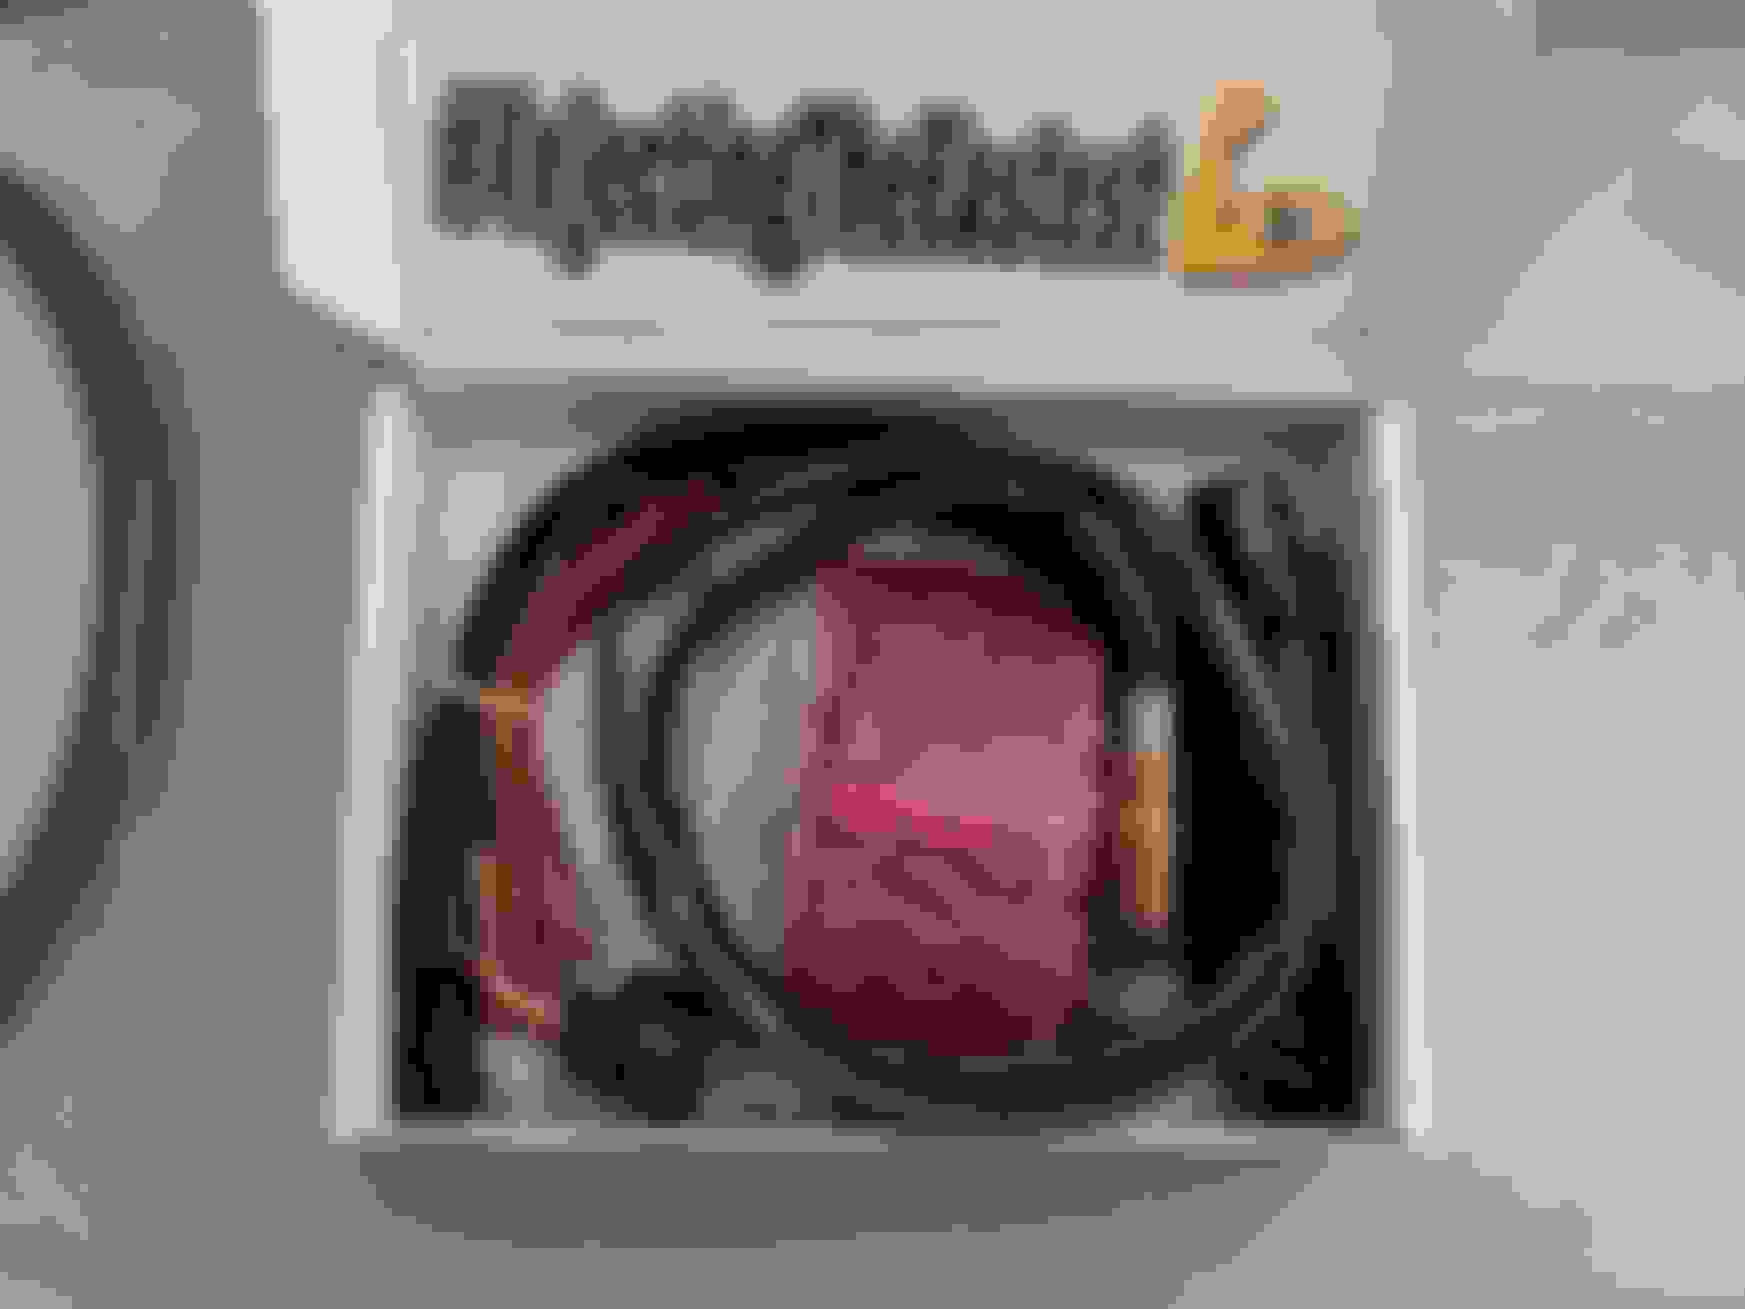
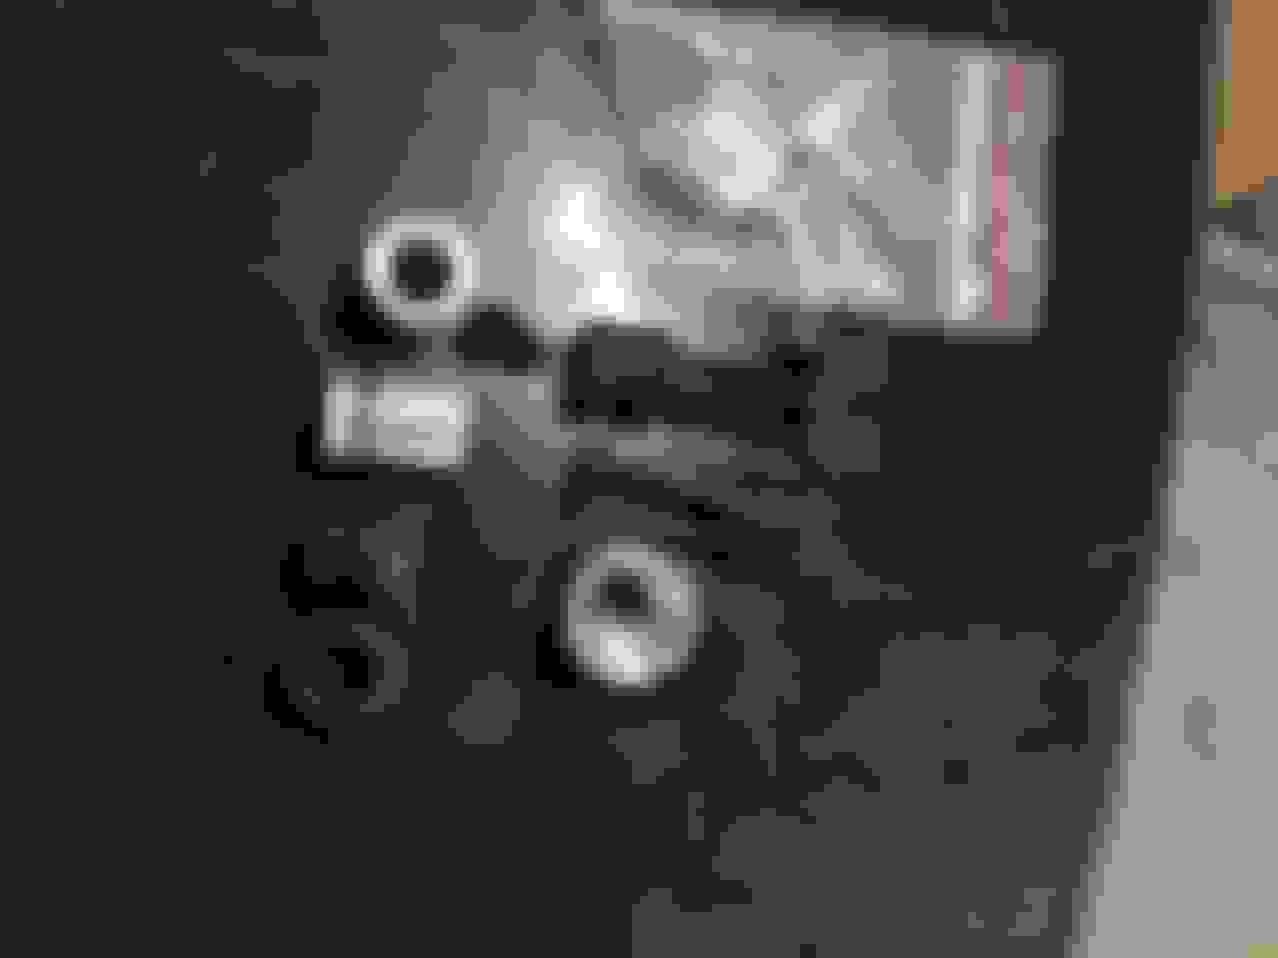
Also got 5mm Aluminum, for the battery box to mount it in the boot, 4.5 meters of -8 PFTP fuel line for return, and the feeds to the rails, some fittings, oil can catch (still yet to get the other half which is the lines and fittings), the fuel rail kit, radiator overflow (which is **** and I am going to find another one)
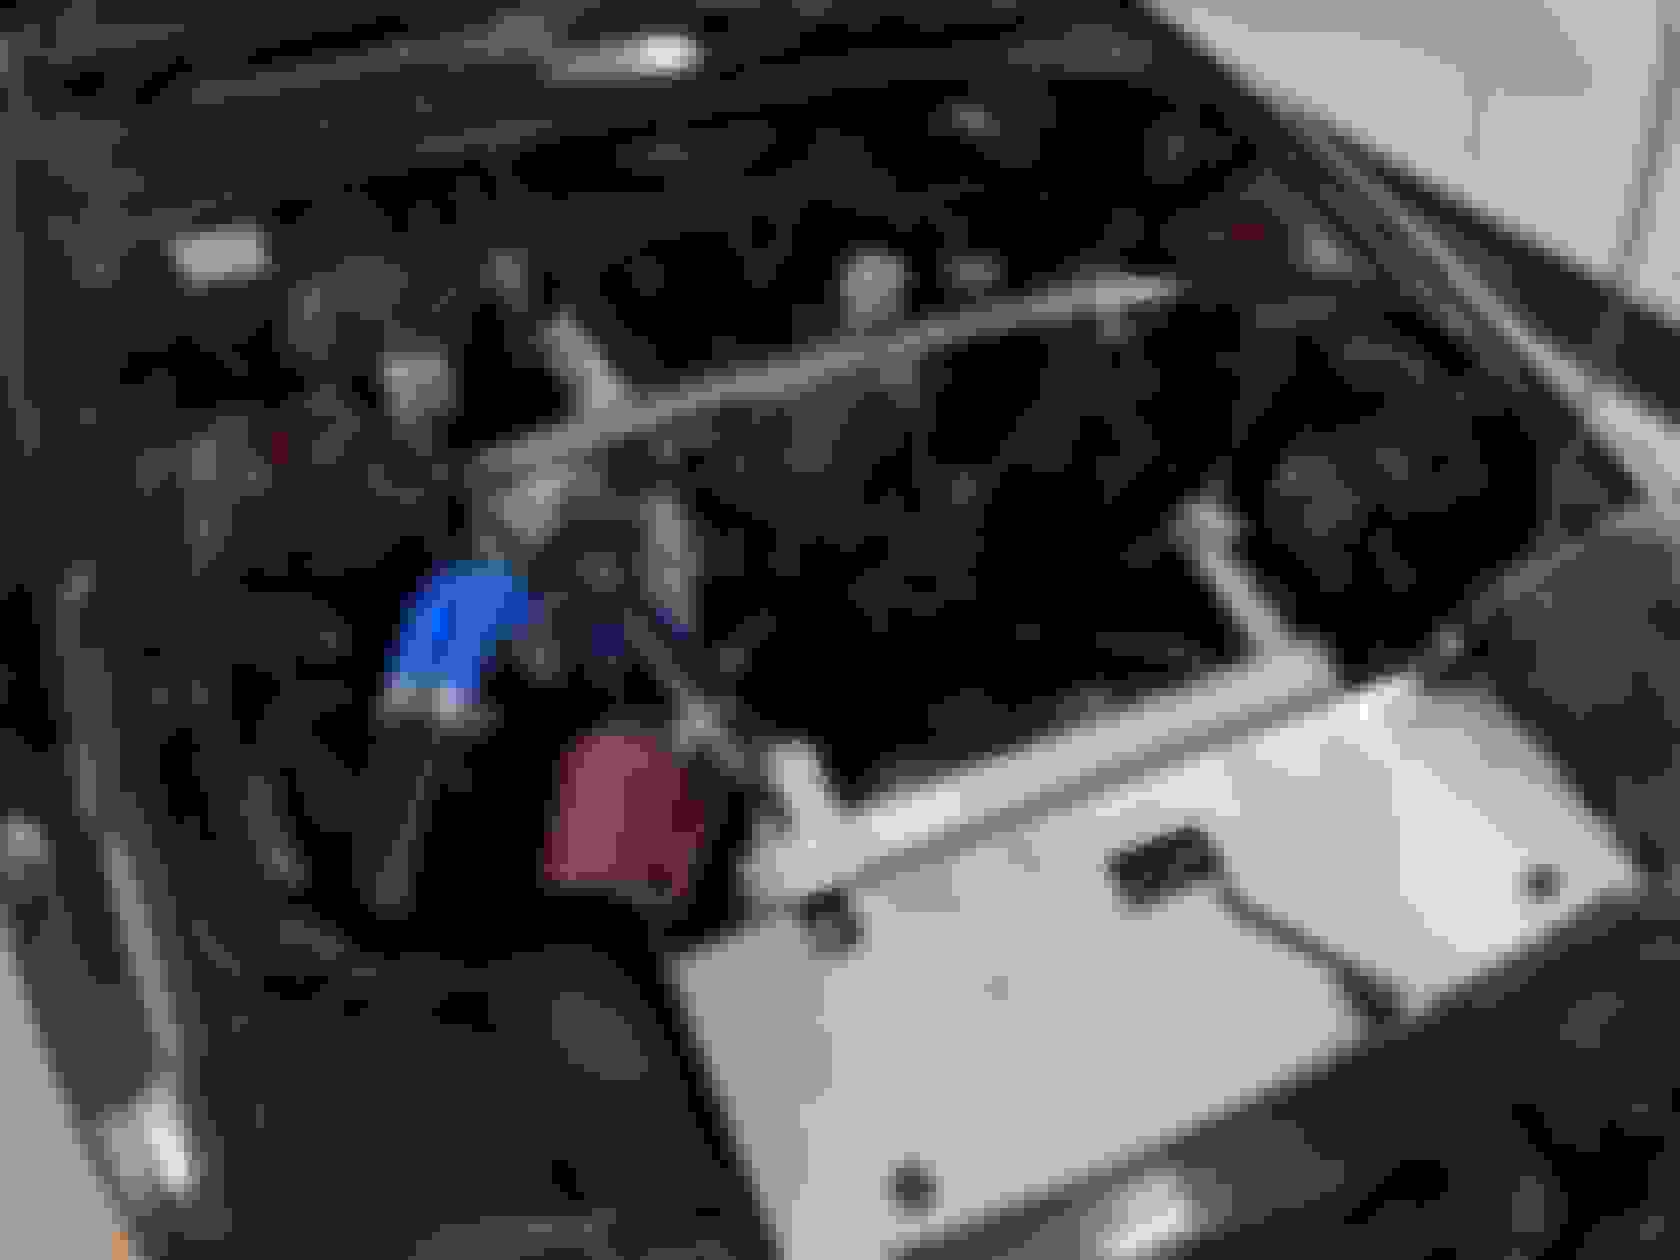
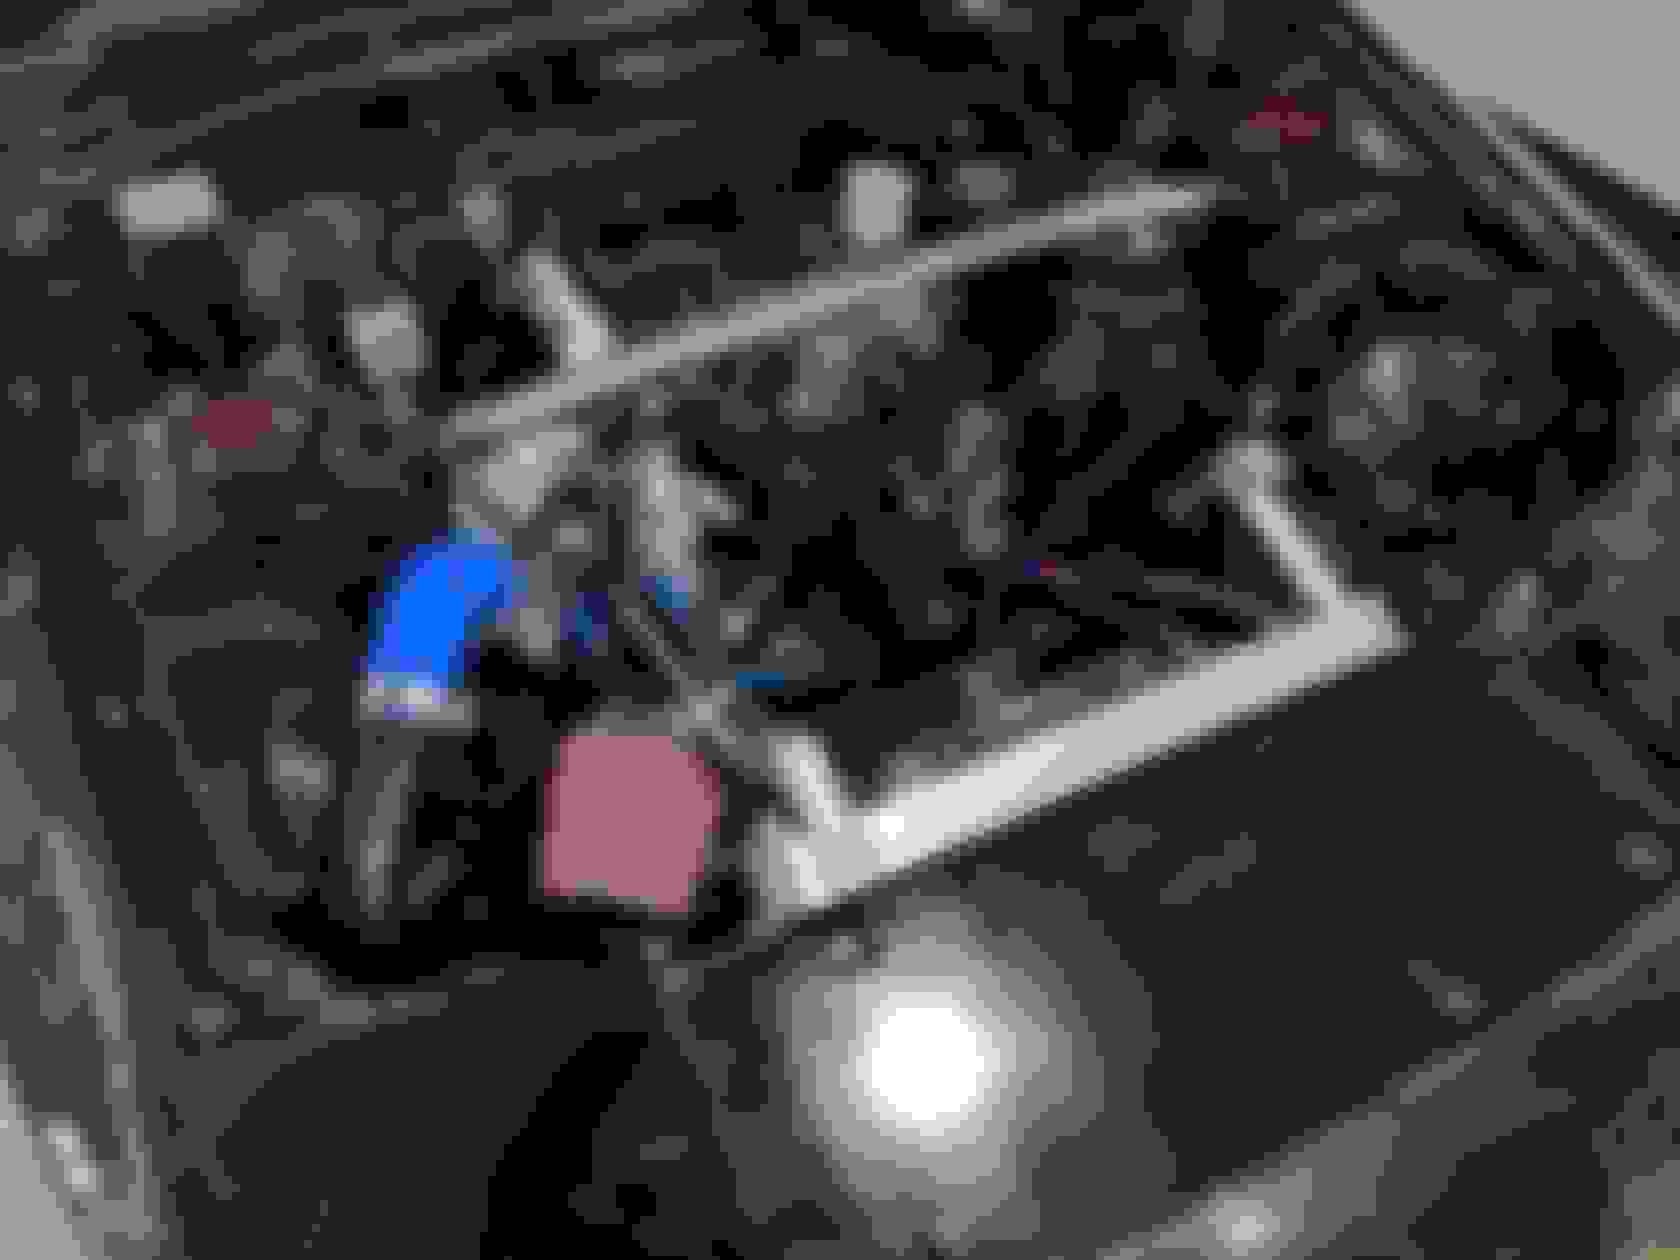
For anyone thinking about getting a fuel rail kit, these are MINT AF! The quality of these gobsmacked me! Unreal!
It makes my engine look old and rubbish!
Right now I have so much to do, I really don't know where to start..
I have been putting of the Microtech until I finish the fuel system... And I still need to do the Pro Dash... just so many things to do, not enough time!
So today I did a little more on the rotor today.. Not much but started to do the Pro Dash cluster install..
I got a idea from one of the FaceBook pages here in Aus, and got to work! It started out good and a little pain until I almost cut the top of my thumb off!!!! wont post any pic's of that!!! haha
So I took the plastic off the cluster itself, and would use the plastic as a backing with a bit of aluminium on the back of it...
I had to cut the bottom of it out a little so the dash would fit, its actually that large in the cluster...
Done pretty much... Just in the process of painting the aluminium gloss black at the moment, and will post another pic when its done... Soon as I did this I cut my thumb so was end to the day!!!
I am far from getting it to the track at the moment aiming for late year (October/November/December)..... I need to get it engineered, and rego and a ID stamp... and before that happens i need to get a custom half cage in, and the seats welded in, 6 point harnesses...
not to mention the other stuff i need to do..
Start the fuel system (still waiting for the pump hanger/cover), need to order pumps, reg, E85 content reader, -10 AN lines, and fittings...
Start the Microtech install... Finish the Pro Dash (not far from that actually...)
Start the Pro Dash wiring install...
Start the install of oil catch can...
Still need to order the LS1 coils..
Still need to order the seats..
Still need to order the harnesses...
After everything above is done, it then needs the rego exhaust fitted, screamer pipe plumbed back, remove the BOV... then it goes to get a rego tune.
Then once rego is done, and engineering cert is 2k btw... I will then replace the T66 with a GTW67, oil lines and feed, need to tap water for it aswell... then it goes to get a 4" straight through exhaust with 1 muffler... lol
Sooooooooooo no way soon.... that is also alot of $$$$$
Just need to figure out the fuel level sensor as it's not working.. and need to change the power source to a +12v ignition (currently on accessory) so the cluster turns off when you try to turn it on...
Sorry its really hard to see as the car is in a basement... but it looks mint!!!
The more I am digging into this, the more I want to do.. I am now thinking of just doing the turbo and everything while the car is off the road... Just not 100% sure yet...
For my first attempt at a door trim upholstery I am pretty happy with the outcome!
Removed the door insert which matched the old infini seats, and covered it in Black Suede..
Also notice the T66 front compressor housing! Yep its happening... It's coming off now and not in 6 months.. While its off the road I mose well do it! It's so old and has that much shaft movement... Being only oil cooled its not very efficient... So will be moving it a water/oil cooled Ball Bearing Garrett GTW67mm .. with a 1.15 rear - which should bring the RPM spool down to around 800-1000rpm.. So hopefully seeing full boost by 4,300rpm instead of 5,000-5300rpm with the 1.32 rear....
It is going to be a all-round car but first will be a street car, and a circuit car/hill climb before it is a drag car.. But I do plan on taking it to the drags first! and best thing is of course, you can swap those rear housing around - so i have options down the track if i want it! Still that 1.15 rear is good enough for 800hp....
Still need to get EGT's and Proboost when its past rego and pretty much have every microtech plug for this car... I guess when you plan on pushing 700hp it's needed...
The manifold still looks OK.. I don't like how its done, but it's not the worst I have seen.. It will do for now until I upgrade with next gen turbos in another year or so..
OLD OLD T66 turbo.. It's basically good enough for the bin.. Still good enough to make 420hp + but it's had its day.. It's got that much shaft play its time to rest!!!!
While this is off I will get some EGT bungs drilled and welded, and get the Manifold ceramic coated and wrapped!
So today, I finally pulled my finger out and did the door card on the passengers side!
Really happy with how it looks!
So for engineering the battery box needs to be basically mounted to the floor in the boot... Drills some holes (and easy i stuffed one.. hahaaha) and 5mm aluminum plate at the bottom of the box... It hasn't been full mounted just yet, I need to get some bolts and nuts welded to a plate to secure the battery box.
We have a public holiday here tomorrow... And I am also starting to run out of things to do with the car...
I am holding on the Fuel System and holding out on the Microtech wiring until the fuel system is done... But basically atm I am waiting for the aluminium vice grips to do the hose ends...
Important piece, Tail shaft loop! It wasn't needed for rego/engineering however important for what I will do after... Track days, so while the car is off road, I figured I mose well install it while I need take the carpet out for the Half cage anyways
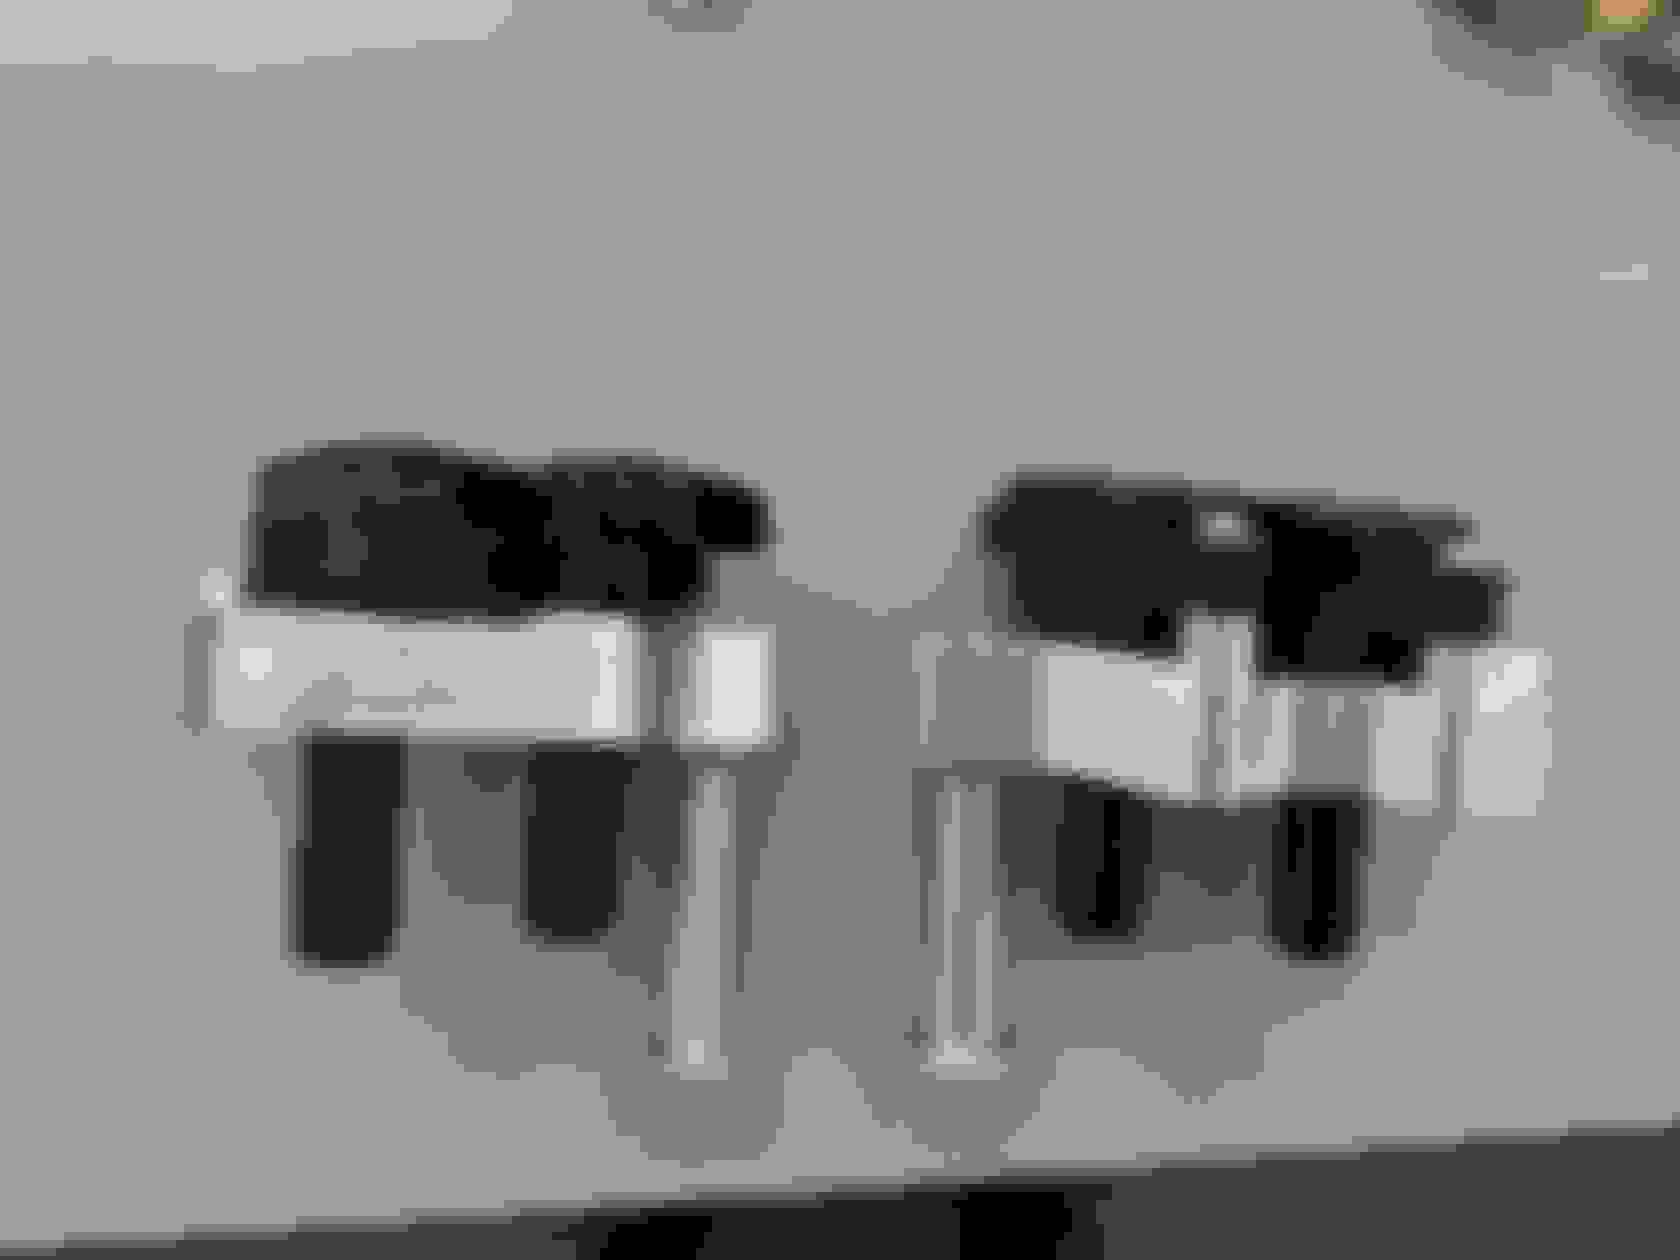
Here is what the new coil setup looks like installed... A little worried how they sit on the plug, but apparently that's how they are!
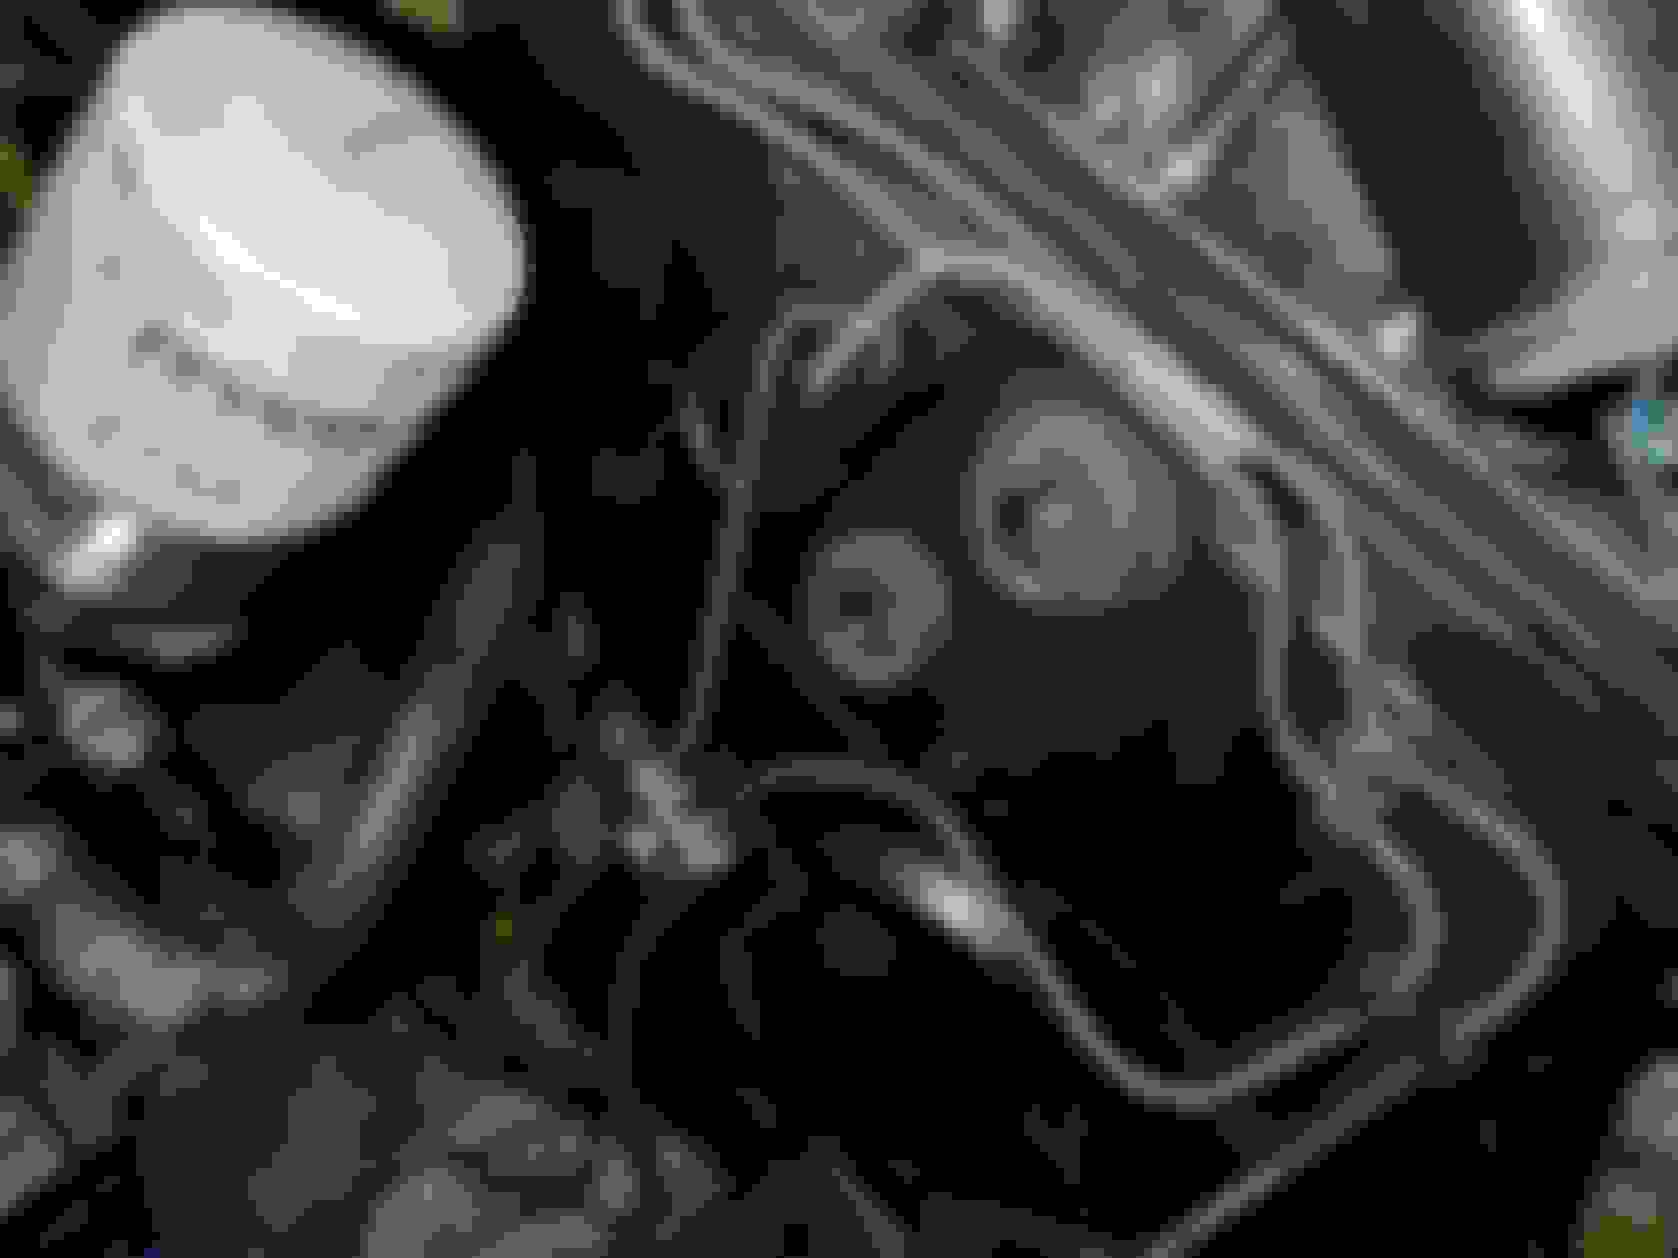
Since there is no use for it anymore, I took out the AC unit.
Now there is no longer ugly looking AC ends coming out of the firewall.. I have got some bungs to put in there, and now I have space to put my oil filter!
Turbosmart FPR 2000hp arrived
Along with x2 Walbro E85 460 pumps!
Having the right tools, makes jobs done really easy! Cutting the PFTE hose is a real PITA, but once you get the hang of it, its not that bad!
Currently I am getting the pumps mounted into place, and the return pipe set so its outside the inner baffle, so it doesn't return all the hot fuel from the engine..
All the fuel line fittings have been ordered and waiting on the rest to arrive.. EGT probes should be due tomorrow along with x4 2200cc high impedance injectors (good enough for now until I rebuild and max the setup out)
during all this, now that I have purchased my fuel system, the next thing on the list is the turbo one... I have changed my mind a few times, but I think I have found the perfect turbo for what I want the car to do... Will be a GTX3584RS with a 1.01 rear housing.. This alone should be more than capable of making that 450kw target i have set.
Bosch 2200cc injectors have arrived!!! They are a 11mm injector, and half the size to that of the 14mm injector.. This is compared to the 1000cc rochester injector.
Being a 11mm also means that the injector inserts need to change to fit. So had to pull out the old rubbish plastic ones and replaced them with Aluminum ones.
Some progress being made on the pump hanger...
Fuel pressure regulator installed!
Exhaust Manifold starting to come along. The Probe bungs for EGT's installed... Just need to get it ceramic coated.. But will do with the turbo has arrived.
Speaking of the turbo I have once again changed my mind... Keeping a budget in mind, the GTX unfortunately blows the budget put for this build.... So back to a Ball Bearing GTW 67mm turbo with 1.15 rear.. It should still be getting enough for track work... Once again, when i go a GTX turbo i will get a custom manifold made for it.
Were you able to fit both pumps in the tank? I managed to fit twin 450s on the stock sending unit but they wouldn't fit between the stock baffle in the bottom of the fuel tank.