When you click on links to various merchants on this site and make a purchase, this can result in this site earning a commission. Affiliate programs and affiliations include, but are not limited to, the eBay Partner Network.
Next up to prepare the car for the Drag Strip was to install a tail-shaft loop. Not sure what the rules are in US, however here in Australia, if the car is a RWD, and has a single piece tail-shaft and runs under a 13.00 second pass, it requires a metal loop around the tail-shaft.. for whatever unforeseen reason the tail-shaft breaks sending you and your car sky high!
I brought a kit from eBay, which was really rubbish.. I couldn't work with the metal at all it was that hard, and coated in some sort of stuff which made it almost impossible to bend and shape... So I ordered one from PAC Performance.. (properly the only thing ill ever buy from them)
This is what I had to work with.. The Exhaust is huge!!! And didnt leave me much room to play with...
Finally after 10 hrs, of in and out, smashing and bashing this it was finally done! I was forced to take the tail-shaft out because I just had no room.. It was forced but soon as I did that it made the job so much easier.... But again, NEVER AGAIN!
There inst much room between the tail-shaft and the loop itself.. it has about 5 mm clearance on the left hand side.. there shouldn't be anymore than 2 mm movement in that shaft so hopefully should be OK.
But finally its done... Days are counting down now.. It will be on a trailer on Wednesday for a power tune on 21-23 psi and hopefully if all goes well I will be heading straight to the drag strip for some fun!
Well we have finally got there! Mix emotions yesterday!
She went up to Sydney to get her first full power tune at Raceonly Garage to see what this setup can do and seems very promising! At the end of the day I am happy with the result and know what needs to be done now in order to make it more reliable and a faster car overall!
Here is the over all result.. This is on 24psi which equals around 550rwhp (600hp or 447kw at the motor)
So straight after the tune, we went to the drag strip to have some fun, after the 3rd run we put the business tyres on to let it eat.. I was having issues with the LSD going to a single leger on decell which wasnt feeling good leaving the burnout.. But out of the hole it felt OK.. So we marched on, i was prepared to let it die as i knew something has been up with the diff since i got it..
The very last run, I got the tyres up to good temp and let it eat, it wasn't a hard launch and a sometime forgiving launch but it really hooked and i got it right on the sweet spot however ended up with loss of drive within 1 meter of getting out of the hole..
Yep, it twisted the stub axle to the diff clean off, and also it managed to lock out putting into any gears, meaning clutch also done in the same launch.. two in one combo.. oh dear..
At the end of the day I know what this setup is able to do.. I am going to take a break from for a month or so, but already have a twin plate lined up.. and will more than likely go a 8.8 IRS rear end, just down to the simple fact of final ratios..
So slight update, took the diff out over the weekend to have a look...
Inspected the axle and it looked fine! it was only the stub axle that took the damage..
Took the diff out, was interesting getting the stub out.. lol oh boy... But turns out its a standard viscous diff not a 1.5 way Cusco like I was told...Confirmed it has 41:10 teeth.
Found a diff online for really cheap, I question the condition of it, but it could be cheap get me up and going.... I found a ATS 1.5 way mechanical diff meaning the stub axles are the same length also means if i actually snap a axle now i am able to upgrade them to the driveshaft shop ones so we can then enable 2-step launch control!
Fair size difference between the two diffs... S5 Viscous vs ATS 1.5 way closer inspection of the S5 diff it was completely ruined! it was no longer a LSD... LOL oh well.. The ATS looks like its in really good nic, just need to get the clearances on the clutches.. might do that one the weekend..
So while the clutch needs to be replaced, instead of the gearbox coming out I figured I would just pull the motor out and replace the rear iron and check the condition of the motor out.. give it a clean, and machine and slap it back together.. Compression still seems really good, and seemed happy to make 600hp still with a crack rear iron! So this motor will be maybe hold together another year and also might give it a bit more life, but I will still be building my mental block on the side.. and oh boy and its going to be a bitza motor I tell you! Parts from almost every 13b.... S4, S5, S6, Rx8.. yep thats right!
Motor ready to come out.. While its out ill be putting a new twin plate in here too!
I wont be able to do too much until I get back from Melbourne after the F1 here in Aus.. but the weekend after, the motor will come out and be read to be inspected/semi rebuilt.
New clutch I will more than likely order in the next week or two.
Not much of a update here.. Just a few photos I found from a professional photographer on the night of drags!
I did get some brand new clear front bumper lens, as you can see the photo above the left on is a little faded.. also some corner ones aswell!
New rear iron has been sourced and ready to go!
Even though it has been really quiet, it is really about to start picking up again!!! Right now the diff is off getting built with new bearings and seals, new Twin Plate clutch will be ordered this week, and planing on taking the motor to get this rear iron replaced, ported, dowelled and the motor cleaned (carbon cleaned) and rotor housings machined, and slapped back together in the next few weeks! Hopefully by the end of this month she will put back together, and i will be able to attend my first hill climb!
Well another swing of things, and changes for this car...
Yet again, my daily broke (BMW 135i) to no surprise and its out of action for a few weeks, but also a semi expensive repair..
I wanted to get the Mazda back on the road, and running as soon as possible so I can start testing the car for track work.. But this is another expense and it is life, and life does come before this car, so the more I thought about it the more I just bit the bullet and did it.. I knew once I had the diff built, and I started doing laps I can see it now I just wished I had put 4.3 final ratio in the diff while it was getting built... I have halted the diff build, and pushed back ordering the clutch and ordered 4.375 final drive for the Mazda from MazdaTrix. I had 4.30 ratios from Racing Beat years ago and it transforms the car! so it was a no brainier!!!!! Also the 4.375 is around 1-2mph closer than the 4.30 from Racing Beat, and a bit cheaper!
Hopefully the ratios will come sometime next week, and will finish the diff built and throw it in, in the coming weeks.
The time had come to do this.. While I haven't actually touched the car in a while i figured it was time to replace the CV boots on the rear drive axles.. It's a messy job, and when I did it many years ago (13years ago) I stuff it and the bearings spun in the joints and bearing cage..
I gave it another go to today now that I have alot more experience with the car, and reading the manual there is really nothing special about replacing the boots...
Part of the damage of when the diff axle stub twisted in half!
If you look at replacing the boots, these are the boots you need. Don't bother with Mazda OEM, you will be paying over $200 AUD just for genuine boots.. Kelpro are fine, and comes with grease and the clips. Part numbers below for inner and outter CV boots.
I found it odd that one was made in India and the other in Taiwan?? LOL ?
Outter boot done - pretty straight forward.
Completed. VS old that needs doing.
As for everything else, everything has just been pushed back and I am now questioning weather or not the car will be ready for World Time Attack Challenge in October... It is going to be a very hard task to do..
After the diff is built, it will go back in the car - order the clutch and hopefully if nothing else is a set back the Motor will be in Sydney at the start of May.. It will be out and back in the car within the weekend so will update when that happens.
To start some GREAT news! Well things are about to get CRAZZZYYYYY BUSSYYY!!!!
First attempt at WTAC has been accepted! Now the long road ahead of me!
Having been accepted into WTAC i really need to pull my finger out and get a move on and get the car track ready!
First thing is first, motor is coming out THIS week to replace that rear iron, and clean up the insides of the motor. The motor has been running on 98 with pre mix most of its life so its carboned to the max! so needs a good clean! The rotor housings will be machined if they are in good nic and not chromed.. and keeping the Apex seals if they are in good nic too, if not will be replaced. Hopefully all the bearings and everything else checks out!
The Diff is also almost done, hopefully end of this week, also ordered a new 2900lbs twin plate clutch with a lightened flywheel which should also be here this week. So with any luck this will be stripped down, cleaned, and put back together and back in the car with the new clutch by this weekend if it all goes to plan!
For your rear axles if you want a bolt in upgrade, i believe 1988 Mazda 929 rear LEFT axles. You need to order 2 Rear Left. the right one is too long i believe. drop in and larger in diameter.You may have to change the the Inner axle to the FC one. A drifter buddy told me something along these line. Not sure about the stub axles unless some strengthened up ones are made
For your rear axles if you want a bolt in upgrade, i believe 1988 Mazda 929 rear LEFT axles. You need to order 2 Rear Left. the right one is too long i believe. drop in and larger in diameter.You may have to change the the Inner axle to the FC one. A drifter buddy told me something along these line. Not sure about the stub axles unless some strengthened up ones are made
Thanks mate, ill keep them in mind for when these break and looking at options!
So a massive last few days happening with the Mazda... Engine came out and took it to Sydney to the guys at RaceOnly Garage to strip her down replace that rear iron and have a look inside her.
We noticed this when we pulled the clutch and flywheel off... Lets say I am extremely lucky it didn't get lose and destroy my bell housing or my car, OR my feet!
We found that 3 corner seals where stuck! yet it never had a problem cold or hot starting, or making 600hp!
We checked the tolerances of the Apex seals and they where a little out of spec, so we deiced to replace them, along with corner springs.
This rotor housings seen better days, some chatter marks from bad tune before hand...
This was the rear iron that we where replacing.. This port is utter ****! you can actually see where the side seal has been catching at the top of the port... its really bad, not to mention the bridge brow was really inconsistent! 3.8mm at the bottom, and 2.4mm at the top
The rotor casings, and bearings all looked to be in really good nic! so we where happy to reuse them (means the rotors dont' get cleaned!)
We noticed when pulling out the engine dowels, there was coolant that came out with 1 dowel for some reason.. as we got to the front iron you can see why!
Whoever built this motor before, used 13b and 12a dowels by doing this it leaves no martial and breaks.. this is the perfect example to why you dont use them!
A few happy snaps of the cars currently in the shop!
Because the doweling was so rubbish we re-doweled the block!
Rotor housings where also machined and come up a absolute treat!
All the Irons and Housings went into the bath to be cleaned.
Old center plate port vs new.. top being new. The old port is rubbish and is like a 1st year apprentice did them! they where in such bad shape not to mention NONE of the ports on this motor where the same!
Done! 2 day turn around! could not be any happier with the support from these guys!! I am so grateful, and excited to be taking them to WTAC this year!
Didnt have time, and didn't really care about getting it painted and all pretty. This motor is the ugly sister of the two motors I have!
Strapped down for the 2.5 hr drive home!
Direct Clutch Services twin plate installed with lengthen flywheel and 2900lb pressure plate!
Engine mounts on, and all ready to go in the bay!
Done! Was a little pain in the @ss! But got there in the end, the engine mounts themselves ended up being the most annoying part of it!
Because today was mothers day I didnt get much time to start putting it altogether, plus while the turbo and intake are off, I start to put some heat shielding in the bay try and protect my master brake and clutch cylinders!
So within 3 days, I have had the engine out, stripped, cleaned, clearanced, ported, dowelled and put back together, and back in the car!
I am super excited to get this thing back on the road! It is going to sound a little different with the port timing opening a little earlier than before!
Hopefully I should get my diff back this week from being built with the 4.375 and I might be ready to turn key sometime this week!
Well this last week hasnt exactly gone to plan.. Everything put back together, and running! Did a few heat cycles, before we started to do some remote tuning, and everything was good!!! The motor is so much more efficient now that we had pulled out 10-15% duty cycle on the injectors! vac went from -8 to -16!
After the first drive we did about 4 to 5 pulls and it we pulled fuel out of it! to a point we where happy to let it be for the night before we started putting 24psi into it. I get to my driveway, and the car stalls. It wouldnt start and felt like it was trying to move forward while it was out of gear.. I put my foot on the clutch it started fine, released my foot off the clutch while still in neutral and it stalled and sounded like crunching gears in the gearbox/clutch area... oh dear..
Without pointing any fingers at the gearbox, I replaced the master and slave clutch cylinder and bleed it.. Still no good!
I pulled the box out to see if there was any issue with the clutch and it looked fine! It was fully engaging, (rattling) and the wear on the pressure plate teeth look even!?? HAS TO BE THE BOX! I must of done some damage to it as well at the drags.. meaning TRIFECTA! Clutch, gearbox and diff all done on one launch!!! nasty!
Within the same day, I got my hands on a import S5 turbo box - It went in the next day!
The very next day the Diff with the 4.3s was ready! so that also went in!
She is now driving, and changing gears no problems. The Engine still needs some fine tuning, but we will get there..The more i think about it, i must of bend something in the gearbox, because sometimes it shifts most it doesnt, needing double clutching for it to go into gear, and didnt go into gear at higher RPMs...
Now its a matter of doing a few hundred km to bend in the teeth of the diff, but now also because we gained some injector back, this means we can now feed it 30psi! just hope i dont blew the gearbox or diff.. :\
So things have really started to ramp up again with the car!!
Now being under 4 months to go to World Time Attack Challenge, I have had to get the car ready!
I took it for a good drive, and it felt very solid!
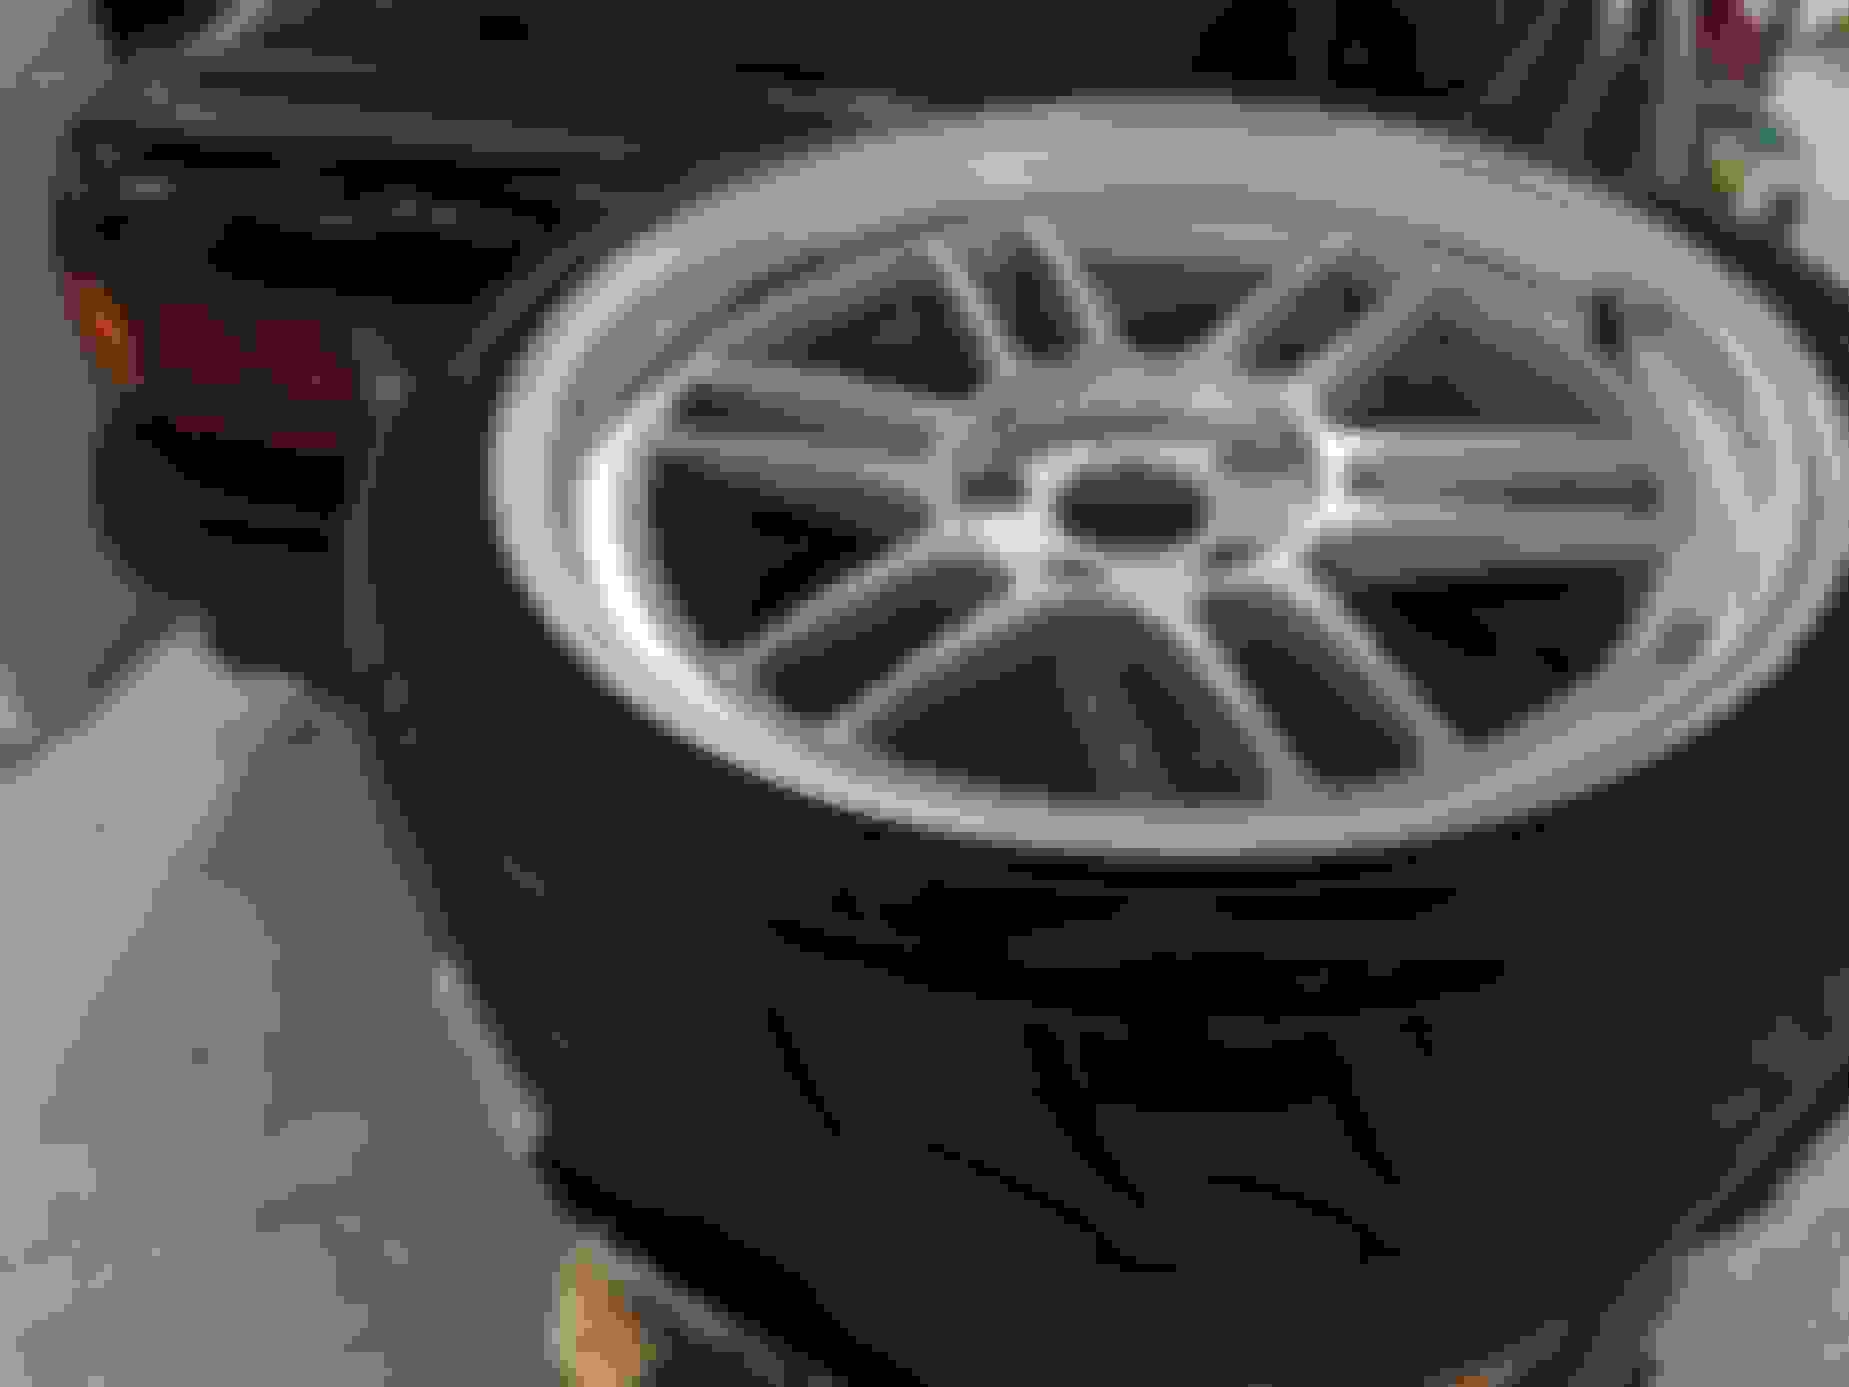
With plans to go bigger rubber, meaning I would also need to up the rim width too! So had added APR 3.25inch studs all-round!
Abit of a pain to do, had to heat up the stud, then bash them out. the rears (which it just pulled the chase bearing case), the hub had to come off to fit them. It all bolted up fine with no wheel movement what-so-ever.
So here they are!!!! A perfect set to what I was after came up on gumtree, just so happened to have new set of Advan AD08Rs which is what i need anyways, so it was a no brainier!
The offset was about right, and i had to run a spacer to make them fit with the intention of doing the impossible and fitting a 295 under the rear guard without adding on flares.
Enkei RFP1s vs Work Emotion D9Rs - the Works are a good 2k-3kg heavier!
Works D9Rs - (F) 8.5 inch rim 235/40/18 +32, (R) 9.5 inch rim 265/40/18 +38
Enkei Setup - (F) 9 inch rim 255/35/18 +25, (R) 10 inch rim 295/30/18 +28
255 down the bottom, then 265 middle (which is what was on the car) to a 295 to what will be fitted!!!
295 Rear poke with a 10mm spacer making the +28 offset. About 14mm poke, with about 10mm clearance to the inside control arms.
10mm poke up the front with a 10mm spacer to give it a +25 offset with about 5mm clearance to the suspension.
This was judgement day! Weather or not I was going to be able to run a 295 on the rear..
The rules for World Time Attack say the top of the tyre MUST at least align with the top of the guard.... oh and that it DOES!
Check inner poke at the fronts, where just done before. They are MINT and are spot on! The rears.. .well it looks like a OEM wide body! they are rolled and flared, with maybe still another 3-5mm of pull still left.. but where we worried that might start looking weird and stopped at the risk of buckling the guards.
295 fitted!!! no poke!
It looks so goooooood from the rear!
You can see the OEM line of the body and how much we had to pull it!
9.5 +38 back on.. and it looks LOL..
She needs the suspension to settle and to be slightly lowered a little as we lost 17mm in height from the profile to the guard.
I need to take it for a test drive still to see if it rubs anywhere, but from what i can see - it looks OK.. time will tell when i take it for a drive!
So i managed to enter Aus Time Attack which is about 40mins down the road from me while i had a few on Friday night.. not thinking about IF the car will actually be ready... then i panicked and started ordering a heap of stuff otherwise it just wouldnt be ready for a track day at all!
This 4.75 Litre (1 gallon) surge tank arrived today and i plan on installing it under the car on the left side where normally the second muffler goes - heaps of room and its right next to the outlets of the fuel tank!
Heaps more to come in this space over the next 3 weeks! I have exactly 4 weeks to get the car track ready! It wont have a half cage or racing seat/harness by then - but its more of a shakedown to see what i need to do to improve the car by October!
I mounted a 2L surge tank where the left-side muffler originally went and it worked out well. Granted, mine has 2X submerged AEM 380LPH pumps, so it is substantially smaller than yours, but there is a decent amount of room. I also kept the heat shielding to provide some protection from rock kickup from the tires as well. Keep up the good work
I mounted a 2L surge tank where the left-side muffler originally went and it worked out well. Granted, mine has 2X submerged AEM 380LPH pumps, so it is substantially smaller than yours, but there is a decent amount of room. I also kept the heat shielding to provide some protection from rock kickup from the tires as well. Keep up the good work
Yeah this is the place i was planing on putting this thing.. Its a bit bigger than I had originally thought.. This thing is a 4.75L - I am running E85 so the more the better - basically means I will be able to hold 75L of fuel..
Ohhhhhh yep, perfect thank you for the idea on the shield!? I didnt think of that, i have something in mind that i will use just 2mm aluminum! But of course will cover it from all the rubber
The CAMS/FIA approved cage was custom made and installed in 1 day... The cage still needs a lick of paint (matt black), but holding off until the Racing Seat and Harness comes.. This will be installed along with the harness bar..
Looks wicked with the rear strut brace now! doesn't look out of place, and kinda looks like its all apart of it..
Finally got the rear spacers - wheels are now 100% full time, so now i started playing with the ride height.. It came down around 18mm - I need to test drive it but I may need to slightly raise it to around 5mm up from where it is now