Clean 90 FC build


 08-27-13, 07:23 AM
#79
Senior Member
Thread Starter
iTrader: (1)
Join Date: Oct 2012
Location: Ontario
Posts: 386
Likes: 0
Received 0 Likes
on
0 Posts
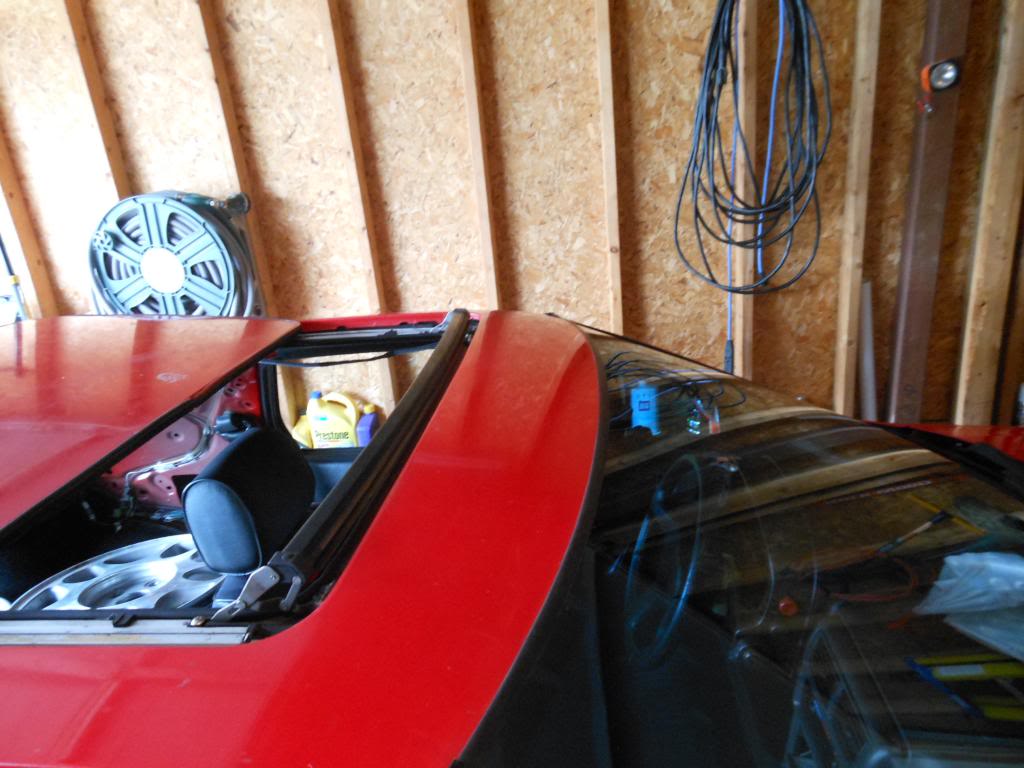
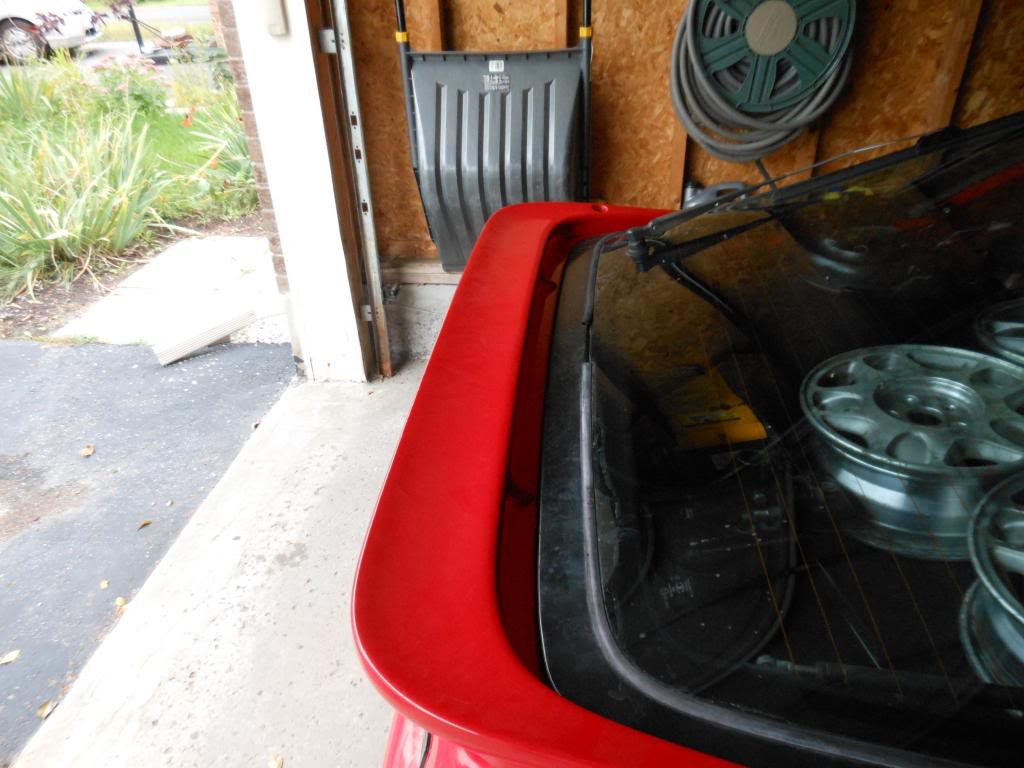
its been a while since ive updated this thread. the car has had the wing painted and roof rust patched, new stereo, and a full set of coilovers installed. I lent my camera to my parents who are taking a vacation out of the country but i will post pictures as soon as i can 
09-13-13, 11:52 AM
#80
Senior Member
Thread Starter
iTrader: (1)
Join Date: Oct 2012
Location: Ontario
Posts: 386
Likes: 0
Received 0 Likes
on
0 Posts
just catching up on things that have been done.
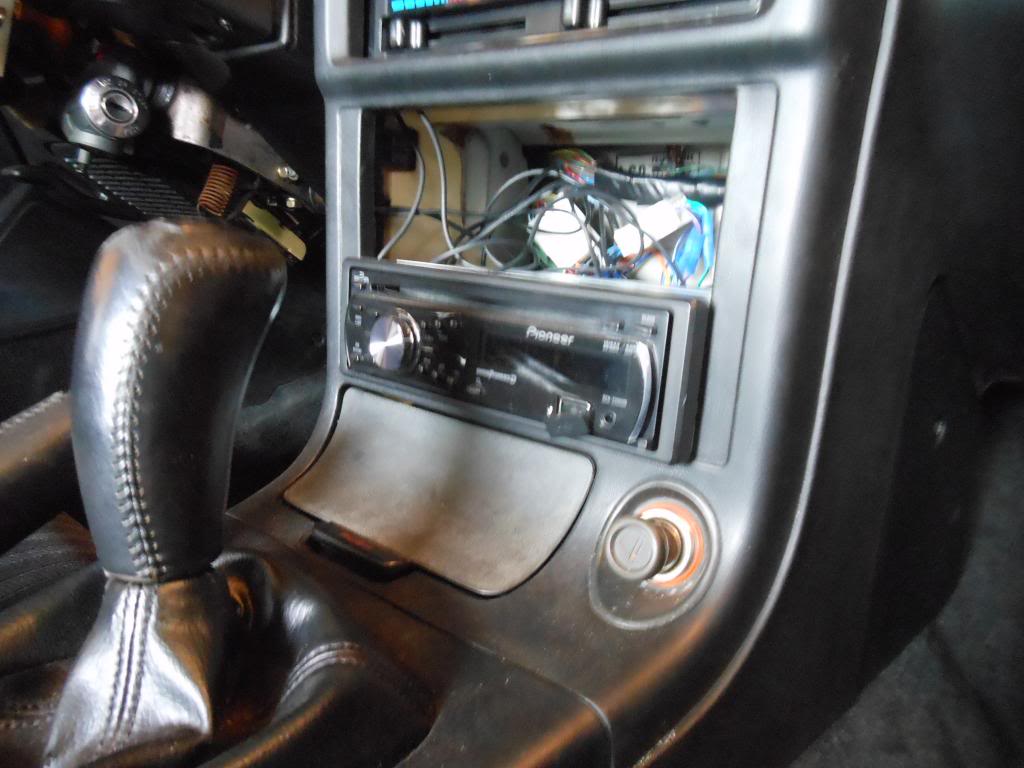
painted wing, patched roof rust, new radio
Recently one of the pad springs/spacers in the rear left brake somehow fell off and caused excess heat. As a result now, the piston in that caliper is sticky. Its forced open for the time being but doesnt move when handbrake is applied
Other than that, the car is a blast to drive. I've been taking it to the local track to drift and it just handles so well. I just wish i had a bit more power to keep things sideways.
painted wing, patched roof rust, new radio


Recently one of the pad springs/spacers in the rear left brake somehow fell off and caused excess heat. As a result now, the piston in that caliper is sticky. Its forced open for the time being but doesnt move when handbrake is applied
Other than that, the car is a blast to drive. I've been taking it to the local track to drift and it just handles so well. I just wish i had a bit more power to keep things sideways.
Last edited by ibeljin; 09-13-13 at 11:52 AM. Reason: because derpcar


 10-15-13, 02:24 PM
#83
Senior Member
Thread Starter
iTrader: (1)
Join Date: Oct 2012
Location: Ontario
Posts: 386
Likes: 0
Received 0 Likes
on
0 Posts
the exhaust has always sounded like *****, and it has a few holes in it. so im looking to get a fresh exhaust from the header back. once the car is off the road for the winter im gonna put new poly bushings all round. I'm kinda split on turbo vs N/A. Even if i whent turbo, im not looking for more than 250hp anyways so the response of an NA might be more desirable. Doubt i will do much about the powertrain in the next year anyways.
 01-09-14, 08:58 PM
#85
Senior Member
Thread Starter
iTrader: (1)
Join Date: Oct 2012
Location: Ontario
Posts: 386
Likes: 0
Received 0 Likes
on
0 Posts
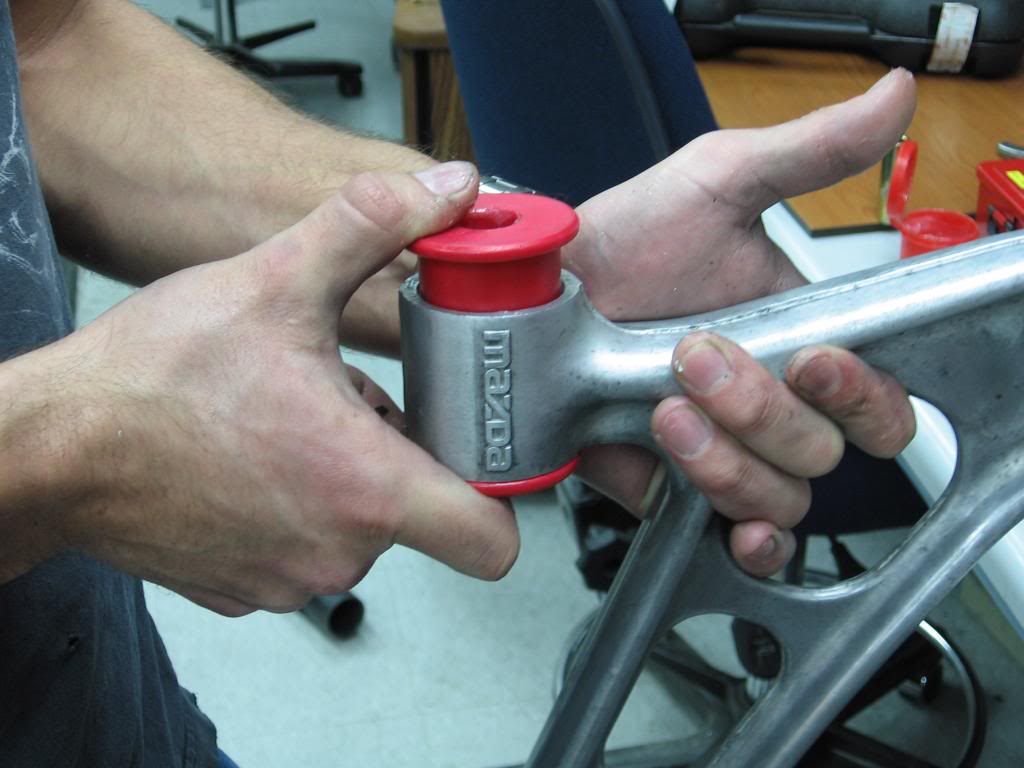
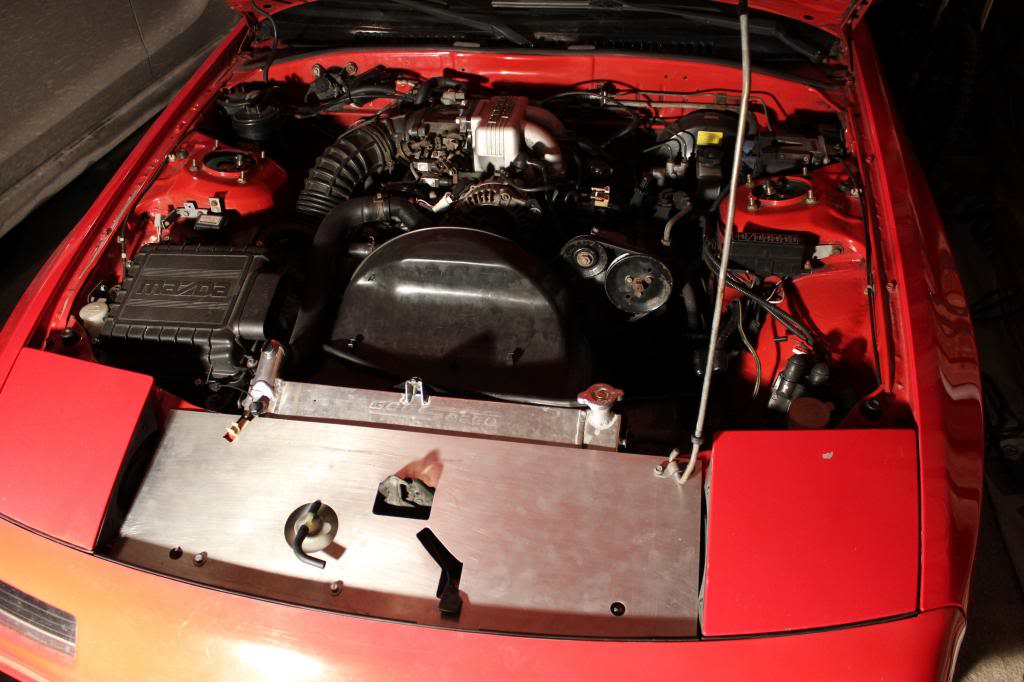
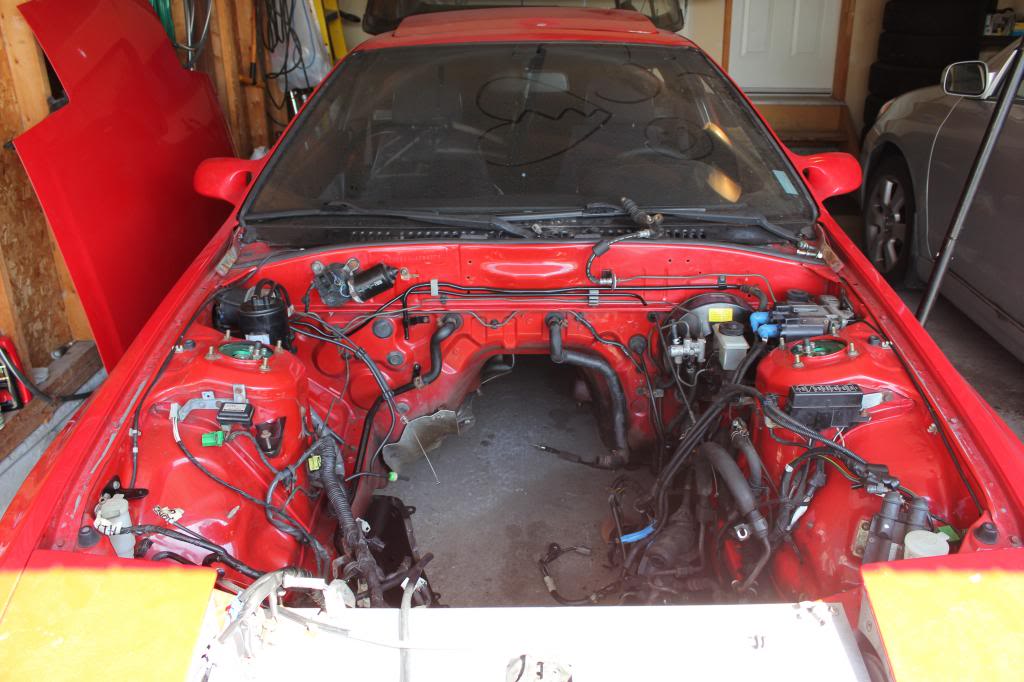
ouf its been a while since ive update this thread. A few things have changed over the last few months but I havent really touched the car since the weather dipped below -20c. I finally got around to changing out the bushings in the front control arms and it is a job i look forward to never doing again. During some free time at school i milled my own aluminium cooling tray. Just thought the engine bay would look a little nicer if all that black plastic crap was torn out and dealt with.
Plans for the coming year are as follows:
-Racing wheel+hub adapter
-Strut bars
-Racing beat catback exhaust
-Strut bars
-aftermarket oil and water gauges
My goal is spend more time at the track than underneath the damn thing. I have no plans on turning up the power until the engine pops or a few years down the road. Here are some photos

 03-16-14, 09:23 PM
#86
Senior Member
Thread Starter
iTrader: (1)
Join Date: Oct 2012
Location: Ontario
Posts: 386
Likes: 0
Received 0 Likes
on
0 Posts
Very excited for warmer weather to drive this thing again!
one issue that arose over the winter is a very loud clanking noise from the front suspension when the car leans into a corner. Finding a new exhaust is high up on my list of things to do as the current one basically fumigates the cabin. The car is almost dangerous to drive without the windows open
I'm planning on spending more time driving and tracking the car this season than working on it so it should be interesting how things plan out. *final last words of any rx7 owner before the engine blows*
03-17-14, 05:34 PM
#88
Senior Member
Thread Starter
iTrader: (1)
Join Date: Oct 2012
Location: Ontario
Posts: 386
Likes: 0
Received 0 Likes
on
0 Posts
Hopefully I'll make it out this year, the car was in the shop for an alignment last year which resulted in some complications. I just want it to warm up so I can wrench on the car again
04-04-14, 10:14 PM
#89
Senior Member
Thread Starter
iTrader: (1)
Join Date: Oct 2012
Location: Ontario
Posts: 386
Likes: 0
Received 0 Likes
on
0 Posts
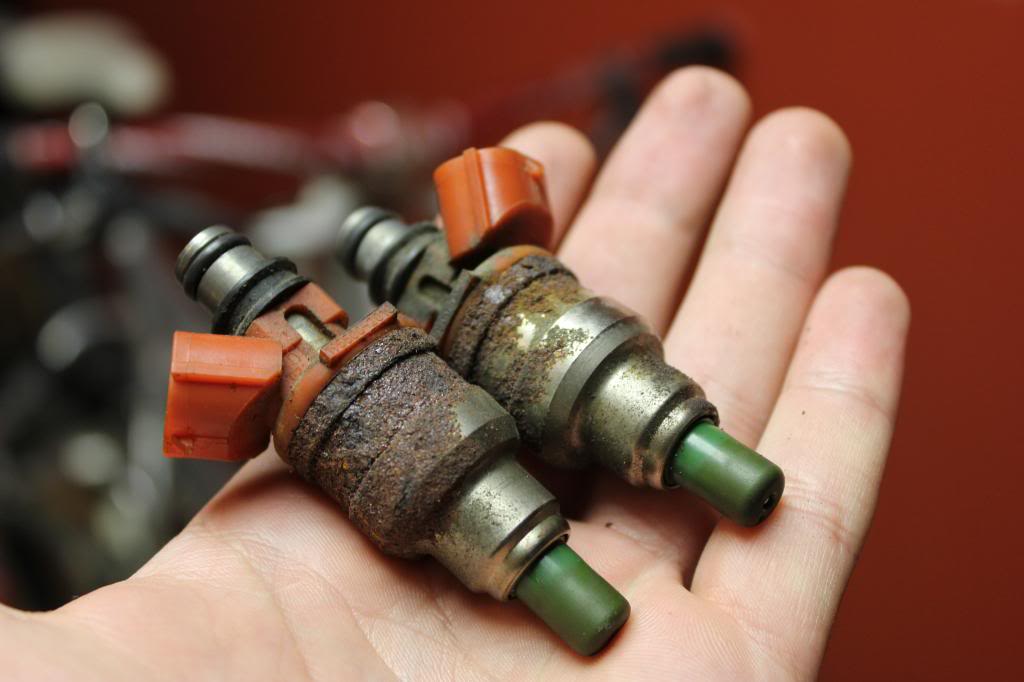
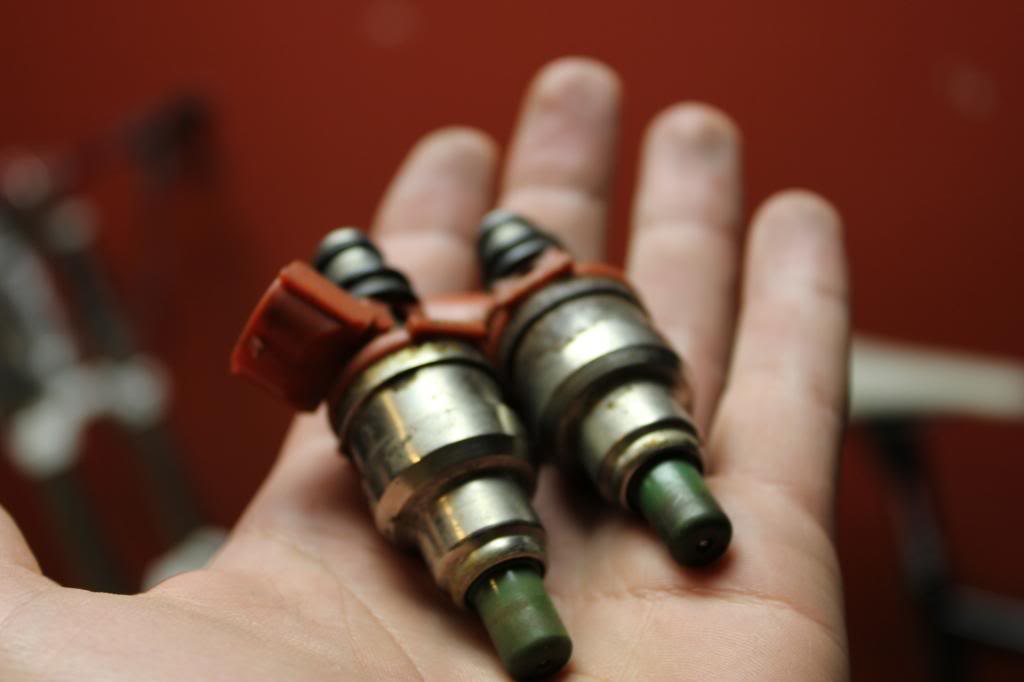
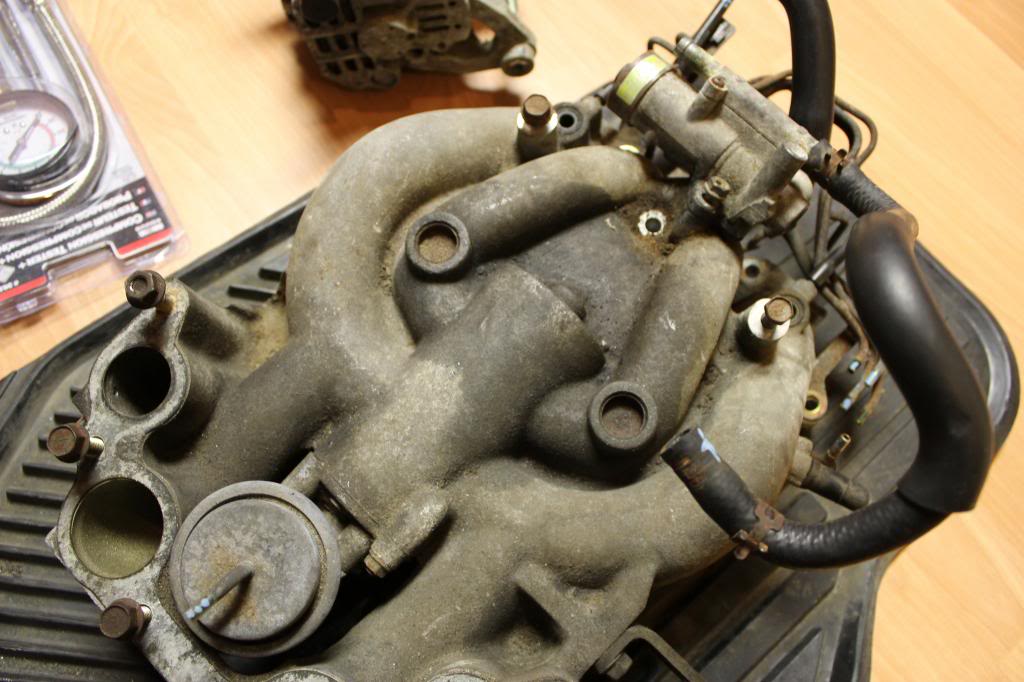
over time, the car developed a lazy start issue and the exhaust smelt of fuel which lead me to believe some of that lovely varnish we saw in the fuel tank must have accumulated in the fuel lines as well. So off with the intake manifold and down to the injectors! While im down there i will be cleaning EVERYTHING, and replacing most of the vacuum hoses while im at it. Im having trouble pulling the LIM and im considering leaving that bit alone in fear of stripping the bolts and making a mess. After all I would like to get this thing back together and singing up to redline as soon as possible.


 05-10-14, 09:22 AM
#91
Senior Member
Thread Starter
iTrader: (1)
Join Date: Oct 2012
Location: Ontario
Posts: 386
Likes: 0
Received 0 Likes
on
0 Posts
ouf alot of things have happened in the last few weeks. Starting with the simple job of putting in clean injectors, I managed to drop a nut down the intake. Here are the results
sooo i toasted a perfectly working engine.... F&*K.
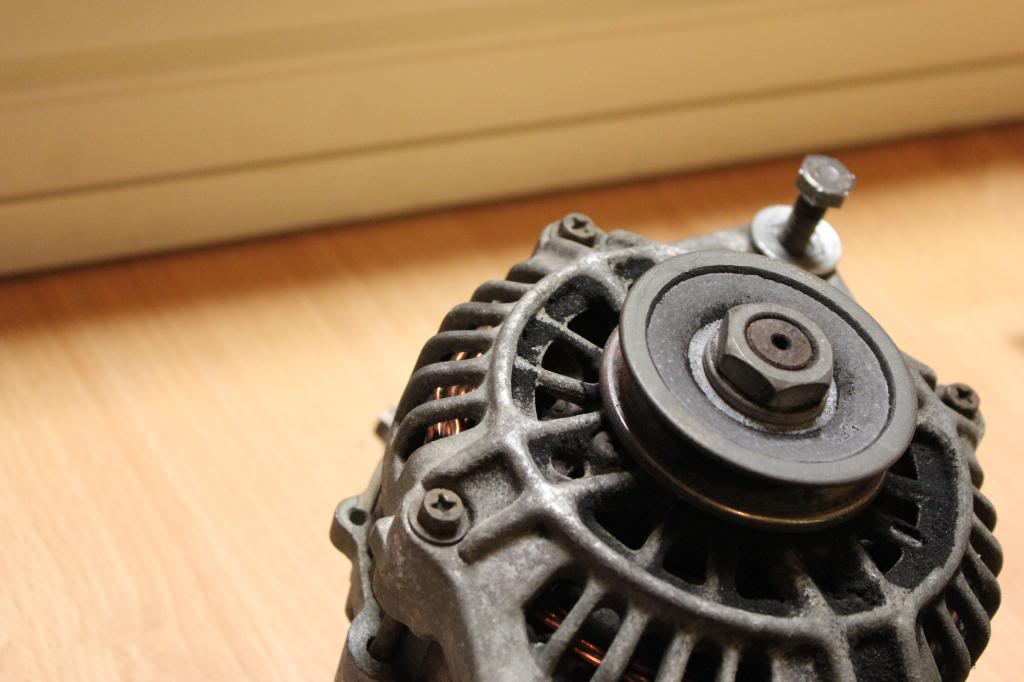
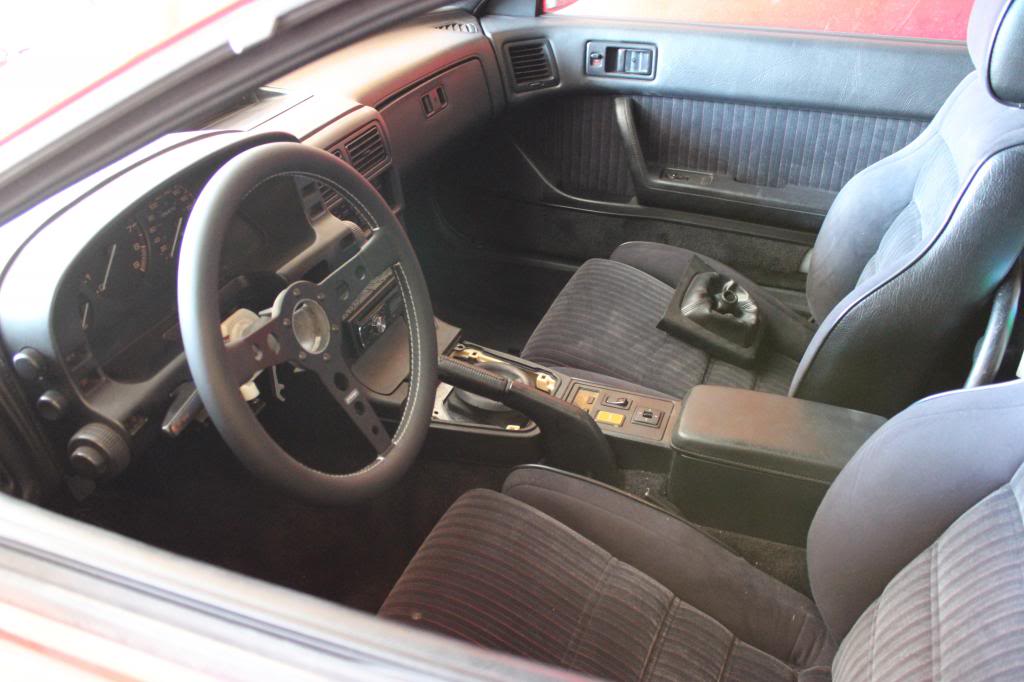
The steering wheel i ordered before the engine popped came in and at least the car looks good. I also took the time to relocate the clutch switch for the starter and turn it into a hidden kill switch. The damn thing only worked 40% of the time because it would miss the bracket on the clutch.


sooo i toasted a perfectly working engine.... F&*K.
The steering wheel i ordered before the engine popped came in and at least the car looks good. I also took the time to relocate the clutch switch for the starter and turn it into a hidden kill switch. The damn thing only worked 40% of the time because it would miss the bracket on the clutch.


 06-01-14, 05:16 PM
#93
Senior Member
Thread Starter
iTrader: (1)
Join Date: Oct 2012
Location: Ontario
Posts: 386
Likes: 0
Received 0 Likes
on
0 Posts
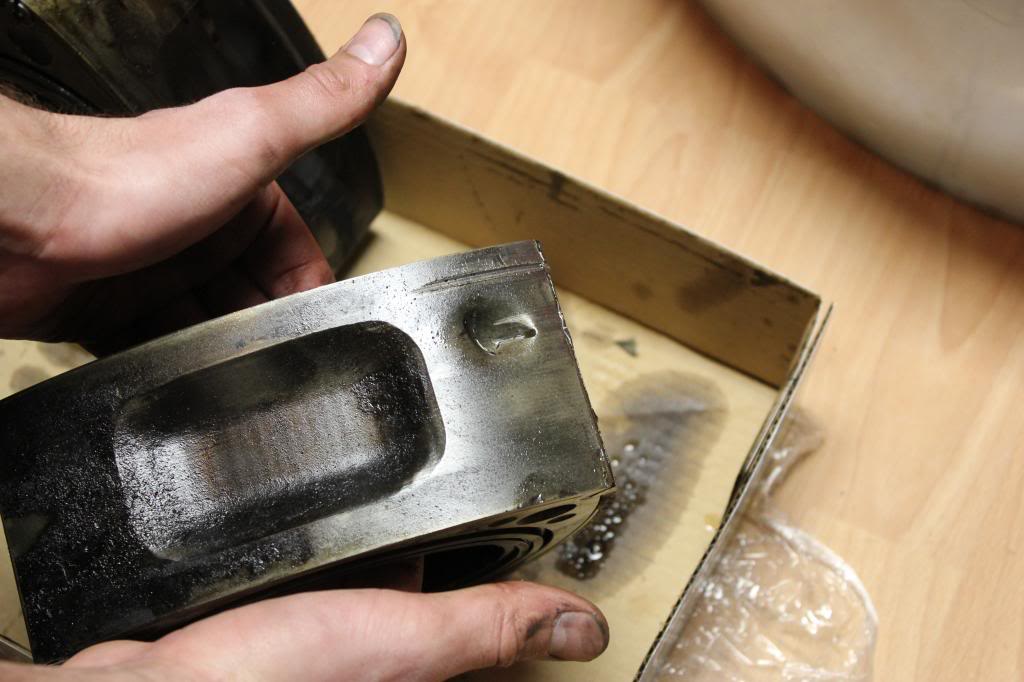
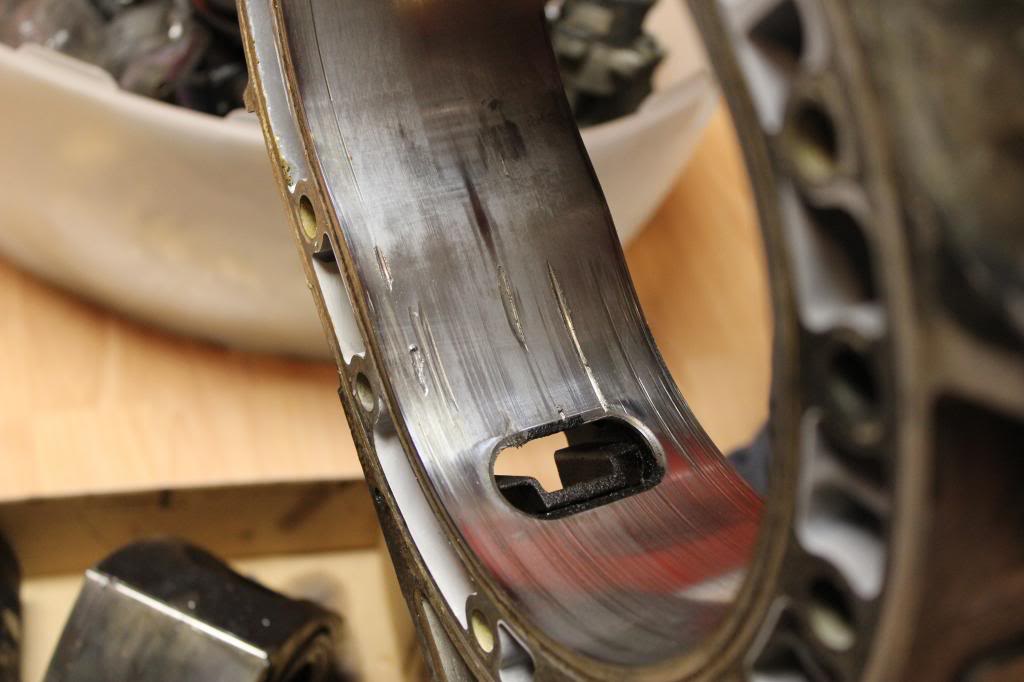
still waiting on parts to arrive, streetporting the engine in the meantime. Will post pics when things start coming together. Not sure if i want to remove the exhaust diffusers in the NA sleeves or just port around them. some people think the diffusers make a huge difference in power while others not so much, so im not sure what I want to do. Not to mention they are hard to get out, and hard to grind down
Definitely staying NA though. Its too much work and money to do a full turbo driveline swap and make it all work correctly. I'll buy an entire turbo car before doing a swap
Definitely staying NA though. Its too much work and money to do a full turbo driveline swap and make it all work correctly. I'll buy an entire turbo car before doing a swap
06-01-14, 08:47 PM
#95
Senior Member
Thread Starter
iTrader: (1)
Join Date: Oct 2012
Location: Ontario
Posts: 386
Likes: 0
Received 0 Likes
on
0 Posts
There was no way I was going to sell the car on that note. Its not like I could get much money out of the car if i sold it at this point anyways so might as well put a couple hundred back in the car to at least enjoy the darn thing.
Rebuild kit should be coming in sometime this week, but I want to figure out an oil pan baffle and port the exhaust before everything is ready to come back together. Going to take things SLOW and avoid RUSHING because its what put me in this mess the first time round.
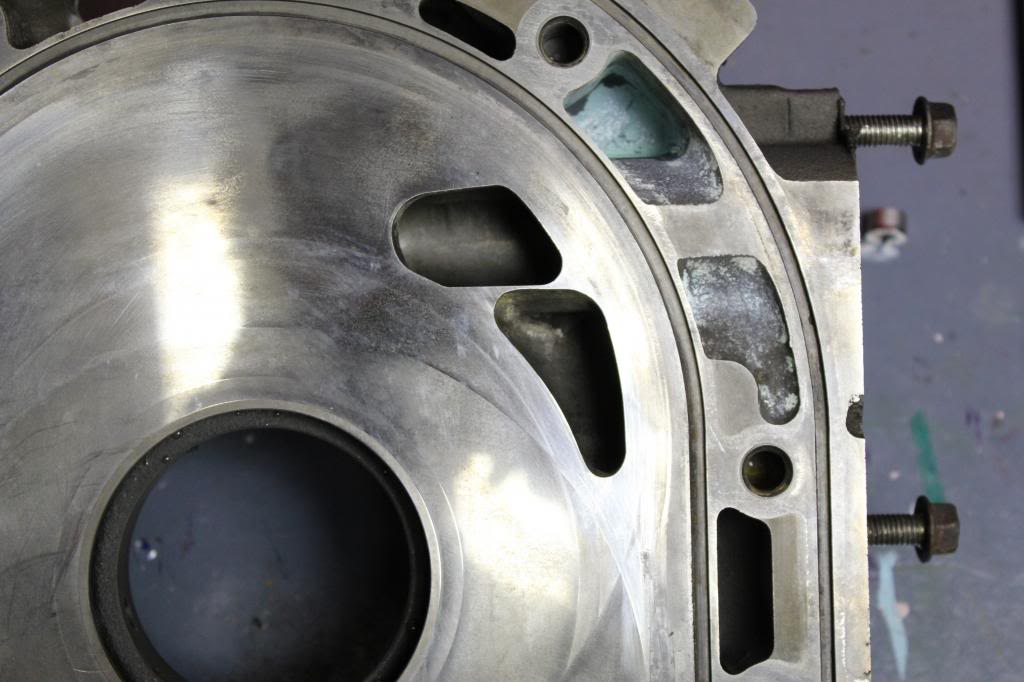
heres what the ports look like, don't think im going to port it out any further on the intake side.
Rebuild kit should be coming in sometime this week, but I want to figure out an oil pan baffle and port the exhaust before everything is ready to come back together. Going to take things SLOW and avoid RUSHING because its what put me in this mess the first time round.
heres what the ports look like, don't think im going to port it out any further on the intake side.
 06-01-14, 09:32 PM
#96

How about did you make the kill switch with the clutch switch? Sounds like a really cool idea. Sucks about your engine, I just found out my housings are toast as well, ordering new ones or buying used? Mine is being ported right now as well, thinking of buying TII housings so I don't have to worry about the diffuser. Glad you're sticking through with it, even after all that.
06-02-14, 06:17 AM
#97
Senior Member
Thread Starter
iTrader: (1)
Join Date: Oct 2012
Location: Ontario
Posts: 386
Likes: 0
Received 0 Likes
on
0 Posts
all I did was essentially relocate it so that it is a hand operated switch. All you need for the mod is some double sided tape, no rewiring needed. Will post pics when I get off work this evening.
I found a decent used housing and some rotors for my build. Buying brand new is kinda silly unless im doing something radical in terms of power
I found a decent used housing and some rotors for my build. Buying brand new is kinda silly unless im doing something radical in terms of power
06-02-14, 08:01 PM
#98
Senior Member
Thread Starter
iTrader: (1)
Join Date: Oct 2012
Location: Ontario
Posts: 386
Likes: 0
Received 0 Likes
on
0 Posts

 06-04-14, 08:05 PM
#100
Senior Member
Thread Starter
iTrader: (1)
Join Date: Oct 2012
Location: Ontario
Posts: 386
Likes: 0
Received 0 Likes
on
0 Posts
So a big batch of pretty parts arrive today and I began cleaning to the S5 rotors and housing that i have received in the mail....Only they were sold as s5 but were actually s4... I just dropped a bunch of money in seals and parts just to have been sold the wrong engine parts and return to square one..
If anybody knows somebody in the montreal-greater toronto area-Ottawa who may be in possession of s5 parts. please contact me.
If anybody knows somebody in the montreal-greater toronto area-Ottawa who may be in possession of s5 parts. please contact me.