
A perpetual build thread for my '85

Thread Starter
its supposed to do that
Joined: Jan 2003
Posts: 1,352
Likes: 2
From: PNW
A perpetual build thread for my '85
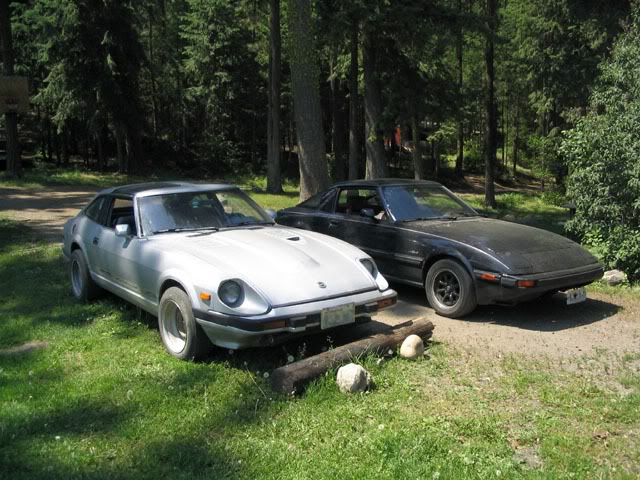
As most rx7 owners know... it is never finished. I bought my 85 gsl in '01 as a daily driver, she was clean, low miles, and meticulously cared for. I added an rb race header, 3in exh back from the header (unknown origin, but obviously factory made for an fb with dual pre-silencers and thick wall pipe). The stock nikki was modded and the car drove like a dream. Wheels are 3-piece SSR (rsWatanabe) RS-8s (for sale) in 14in.


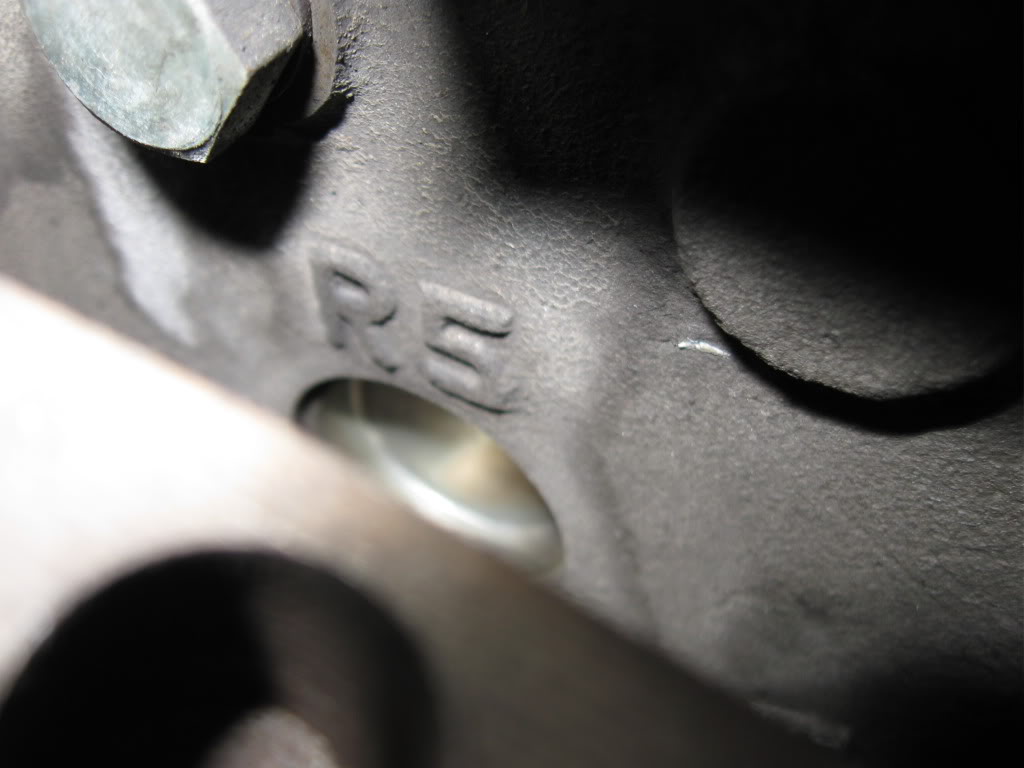
I drove the car like this for about 60K, then decided it needed more power, so the 12a came out and a large SP 4-port 13b went in. A tallport center iron with NOS R5 ends, and a -se rotating assy. I modded the nikki even more, and ran it atop an rx4 intake manifold. The 12a header got cut and re-welded to fit the 13b. I painted the hood, and drove her about another 8-10k before moving/married life/kids/and work forced the rx into the back corner of the yard.
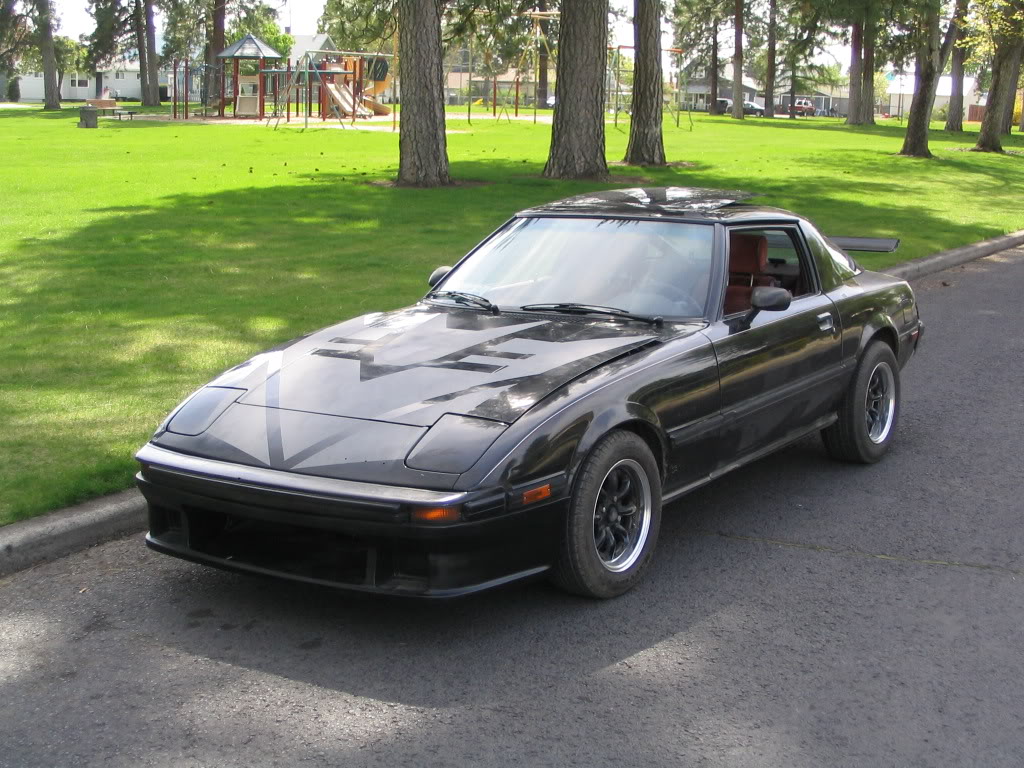
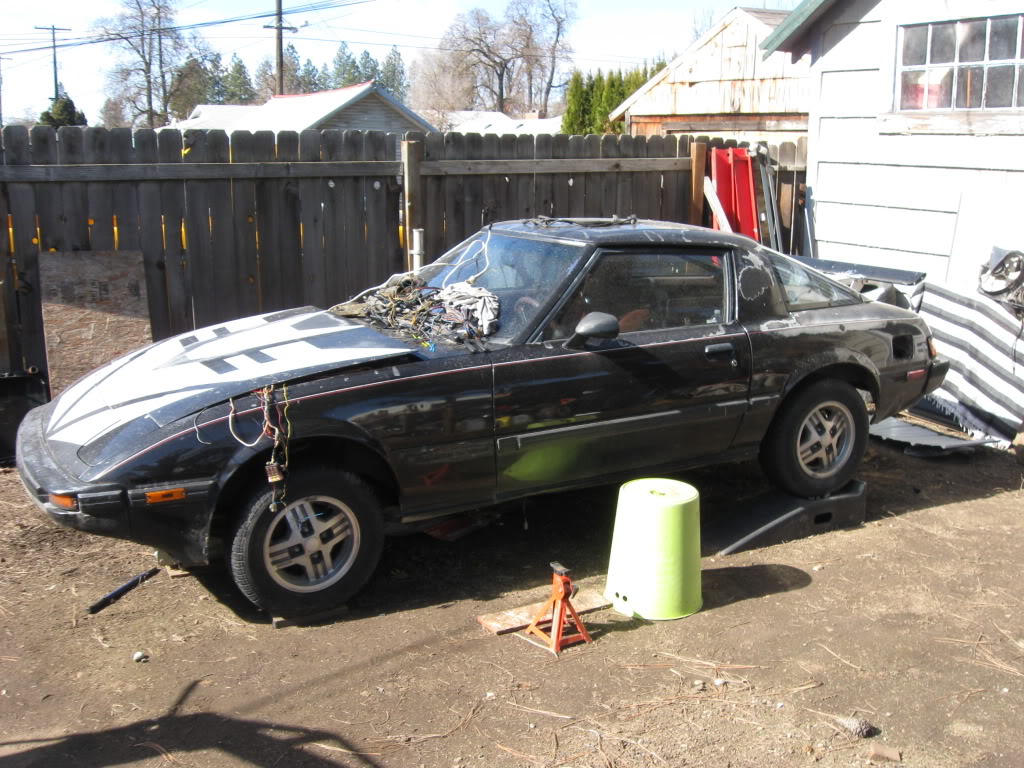
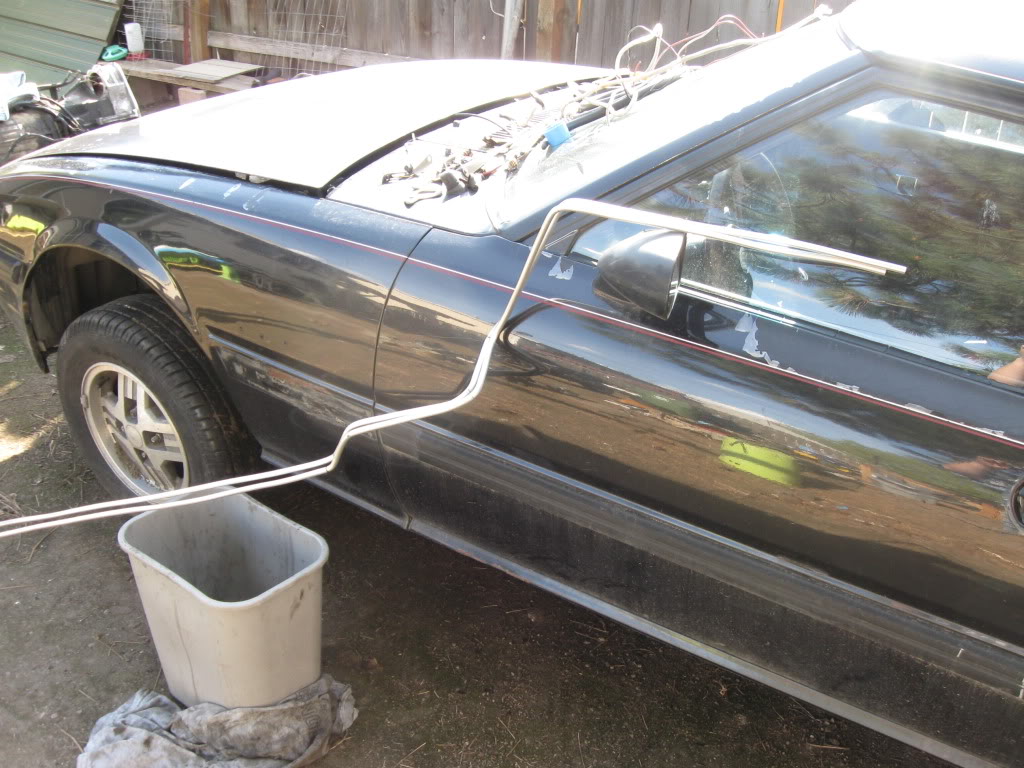
I drove her only sparingly from '08 until '11 and have been slowly hoarding parts for a complete overhaul. At some point the clear coat got bored and moved away, and a family member took it for a joyride while i was away, busting the front airdam and running from the police... he did elude capture and make it back to my house in the car.
How she looks now.
This is where the actual build part starts, and I will try to document as I go along.
Isaac
I drove the car like this for about 60K, then decided it needed more power, so the 12a came out and a large SP 4-port 13b went in. A tallport center iron with NOS R5 ends, and a -se rotating assy. I modded the nikki even more, and ran it atop an rx4 intake manifold. The 12a header got cut and re-welded to fit the 13b. I painted the hood, and drove her about another 8-10k before moving/married life/kids/and work forced the rx into the back corner of the yard.
I drove her only sparingly from '08 until '11 and have been slowly hoarding parts for a complete overhaul. At some point the clear coat got bored and moved away, and a family member took it for a joyride while i was away, busting the front airdam and running from the police... he did elude capture and make it back to my house in the car.
How she looks now.
This is where the actual build part starts, and I will try to document as I go along.
Isaac
Thread Starter
its supposed to do that
Joined: Jan 2003
Posts: 1,352
Likes: 2
From: PNW
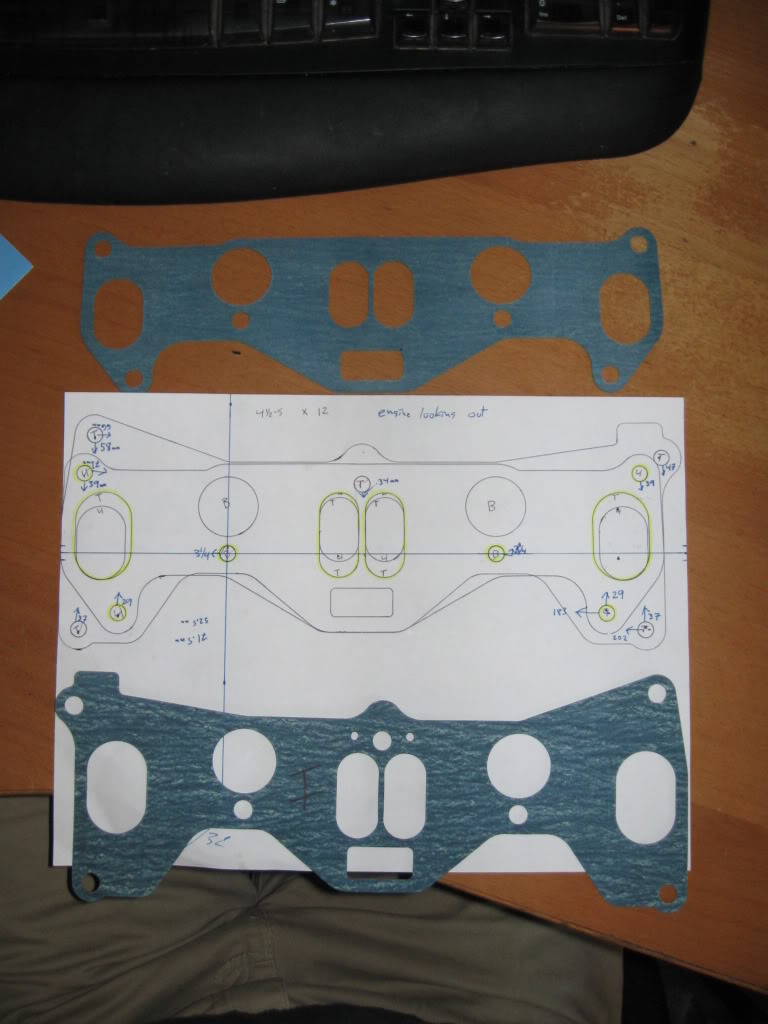
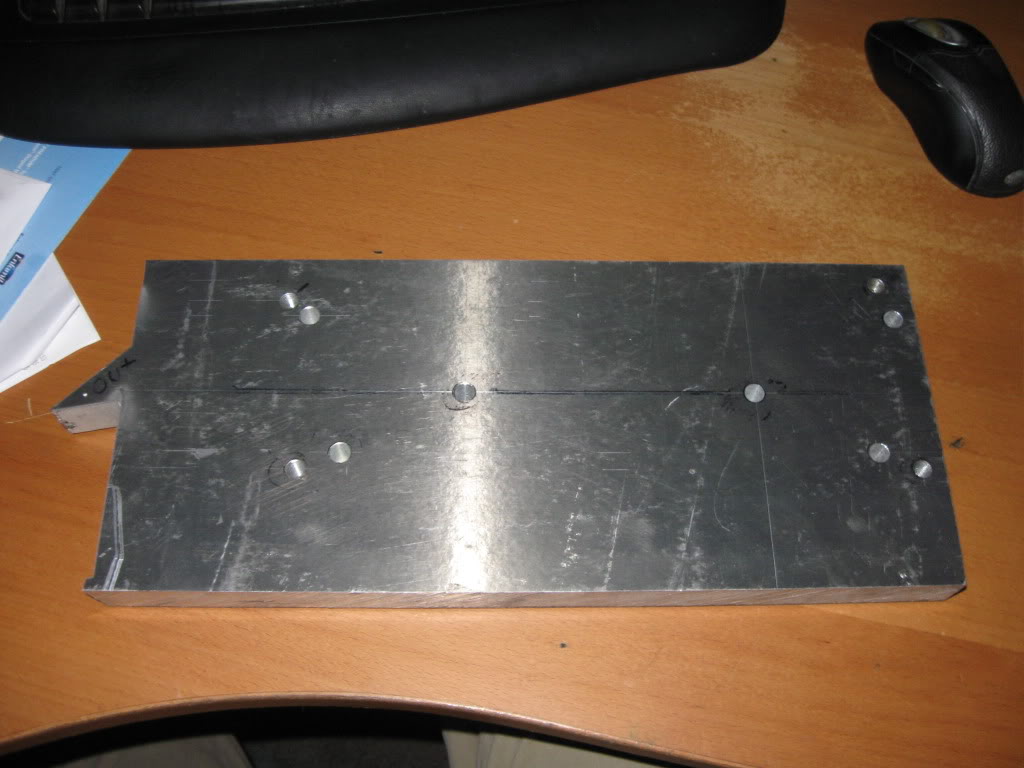
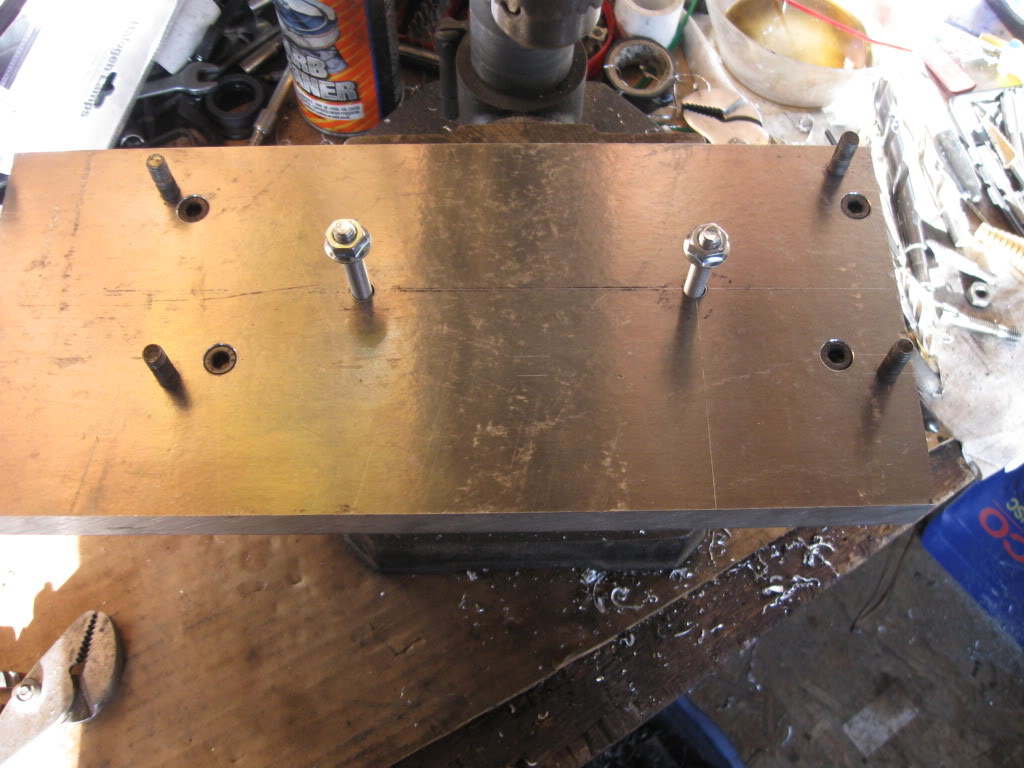
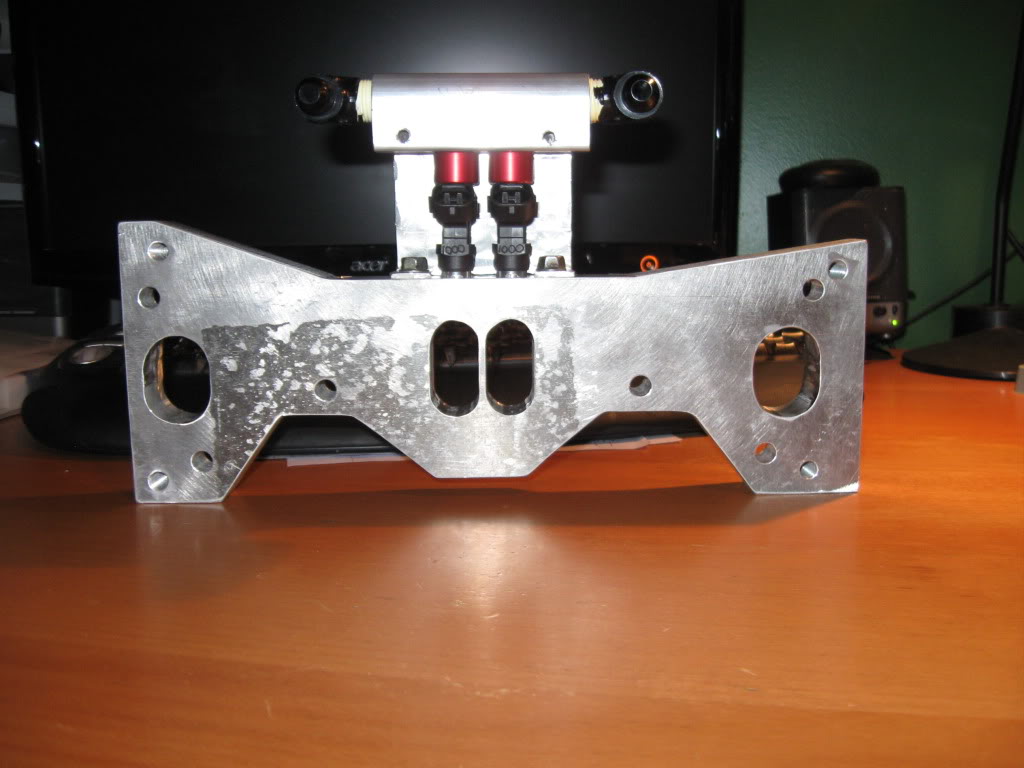
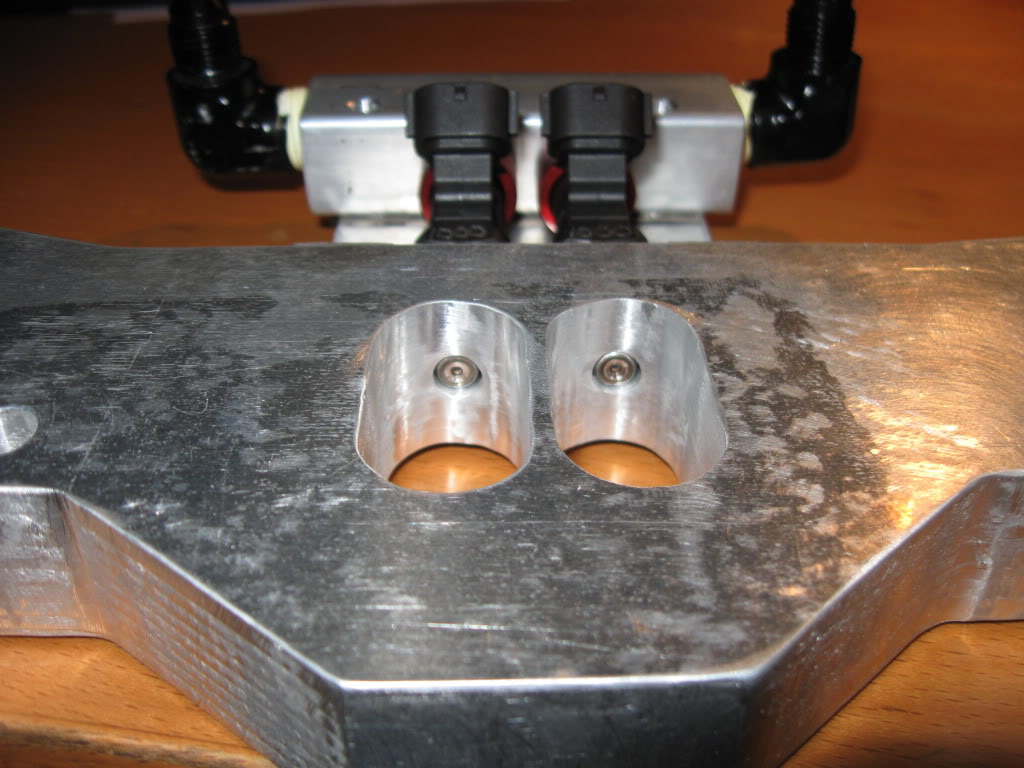
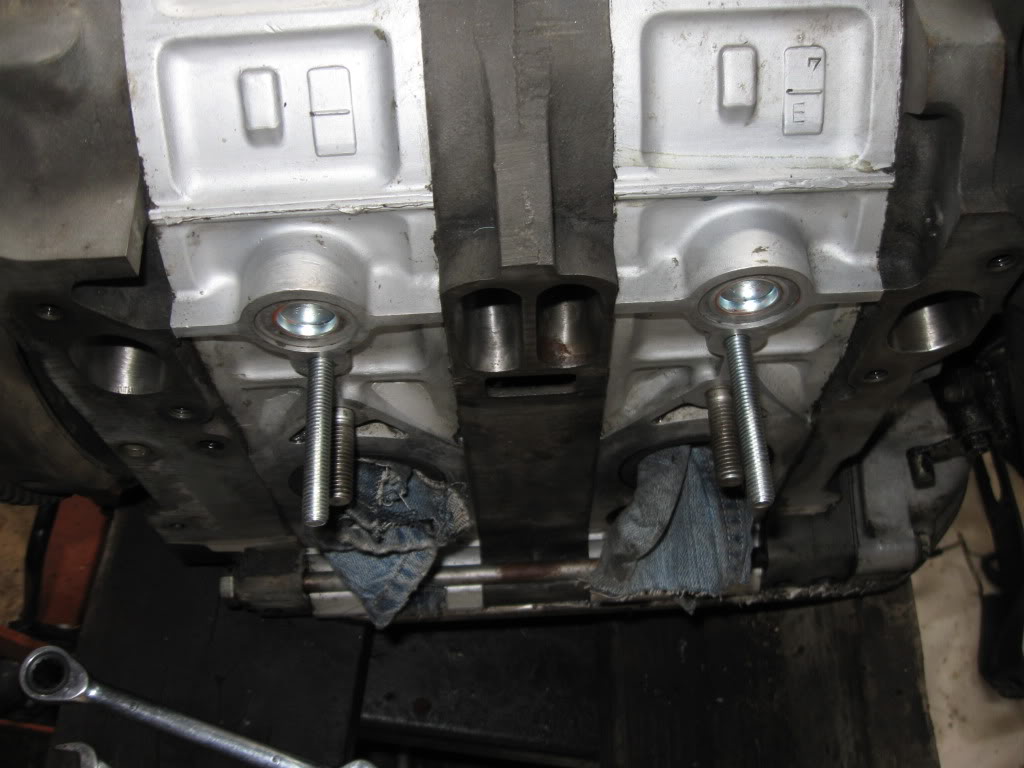
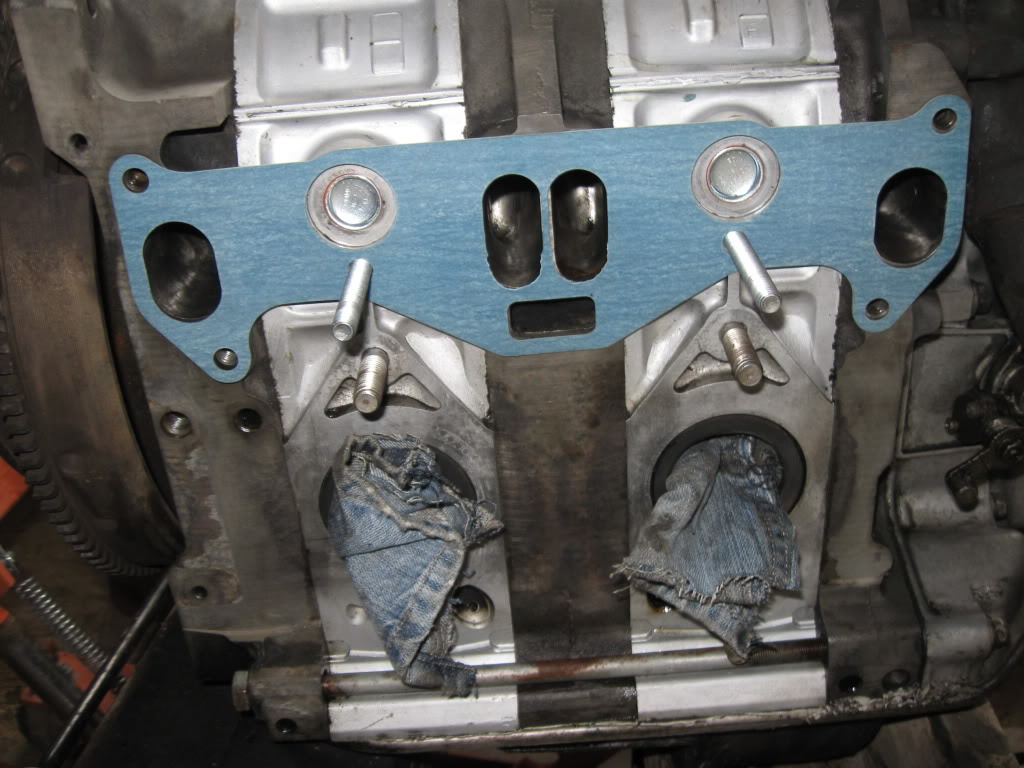
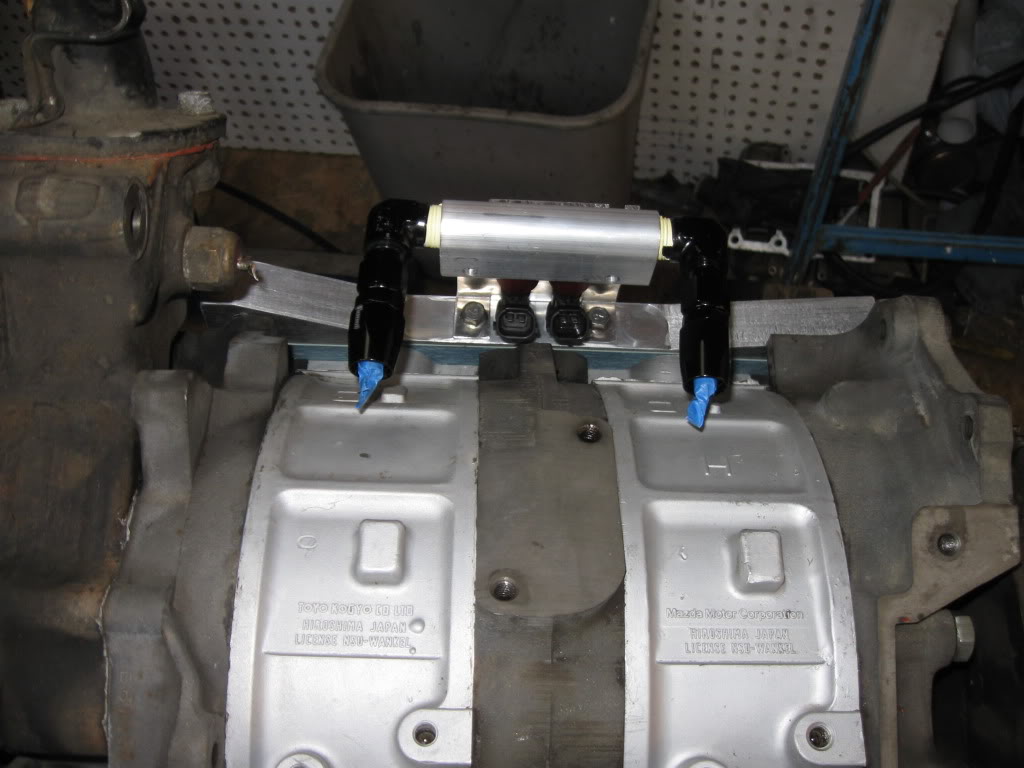
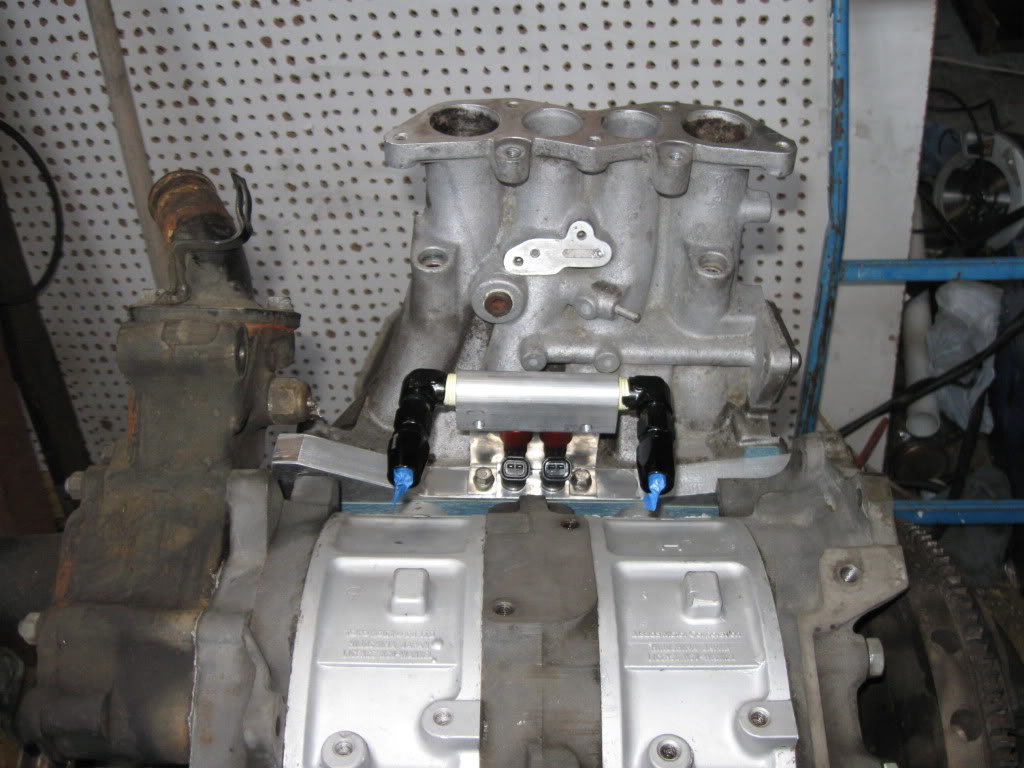
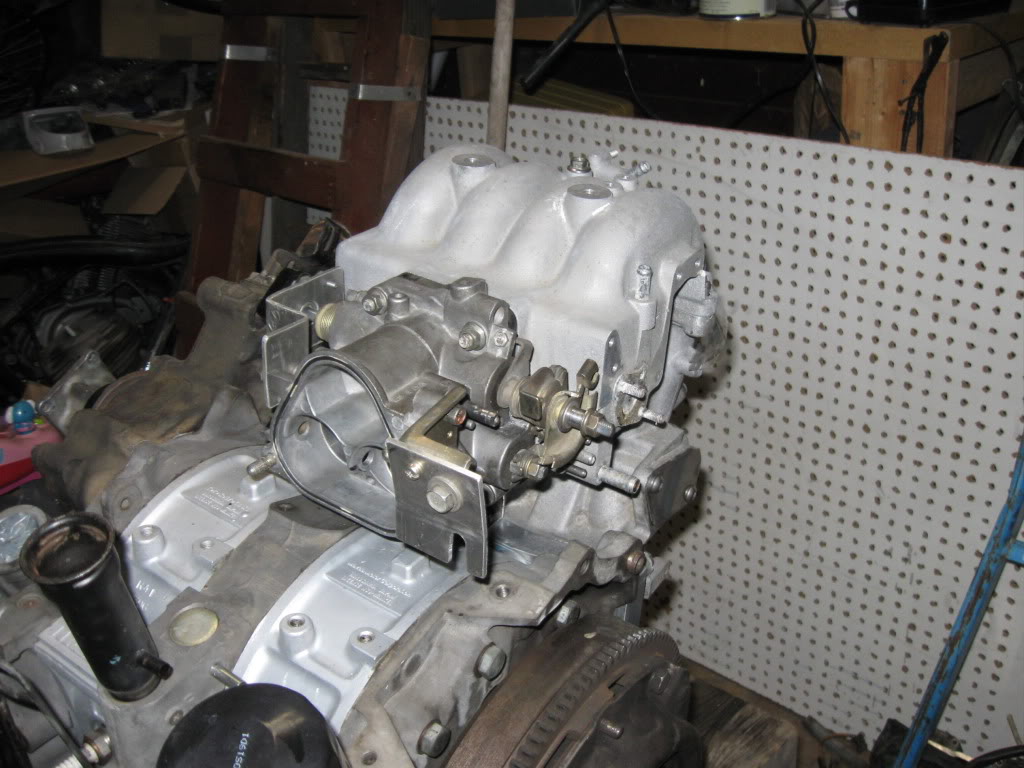
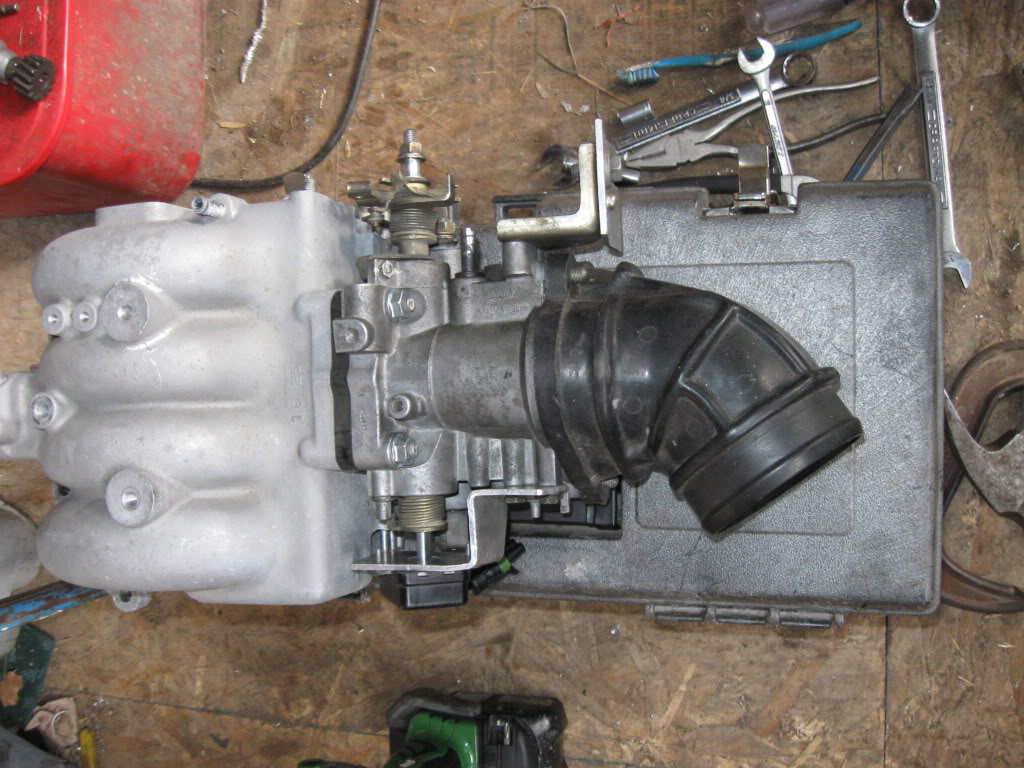
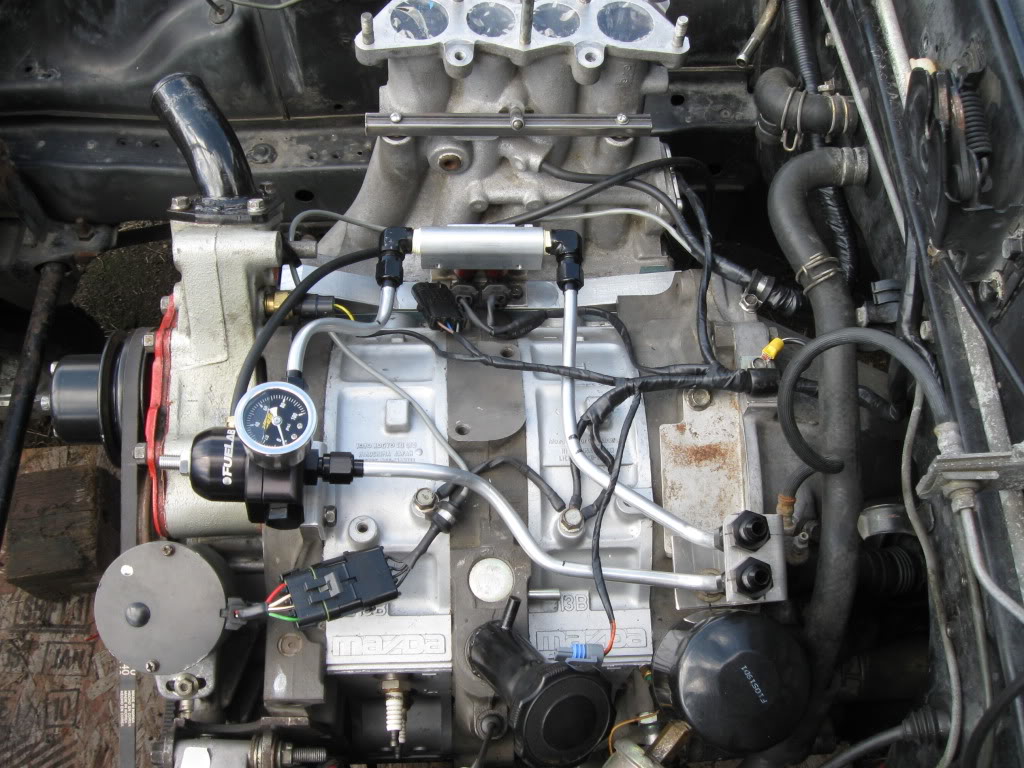
The plan for the car is Megasquirt, t04e, 1000cc injectors, TII intake, and all the things I have forgotten. I had already built the megasquirt in anticipation of installing it a few years ago, so the first order of business was to bolt the TII intake up to my old school 4-port block and add some primary injectors.
Isaac
Isaac
Thread Starter
its supposed to do that
Joined: Jan 2003
Posts: 1,352
Likes: 2
From: PNW
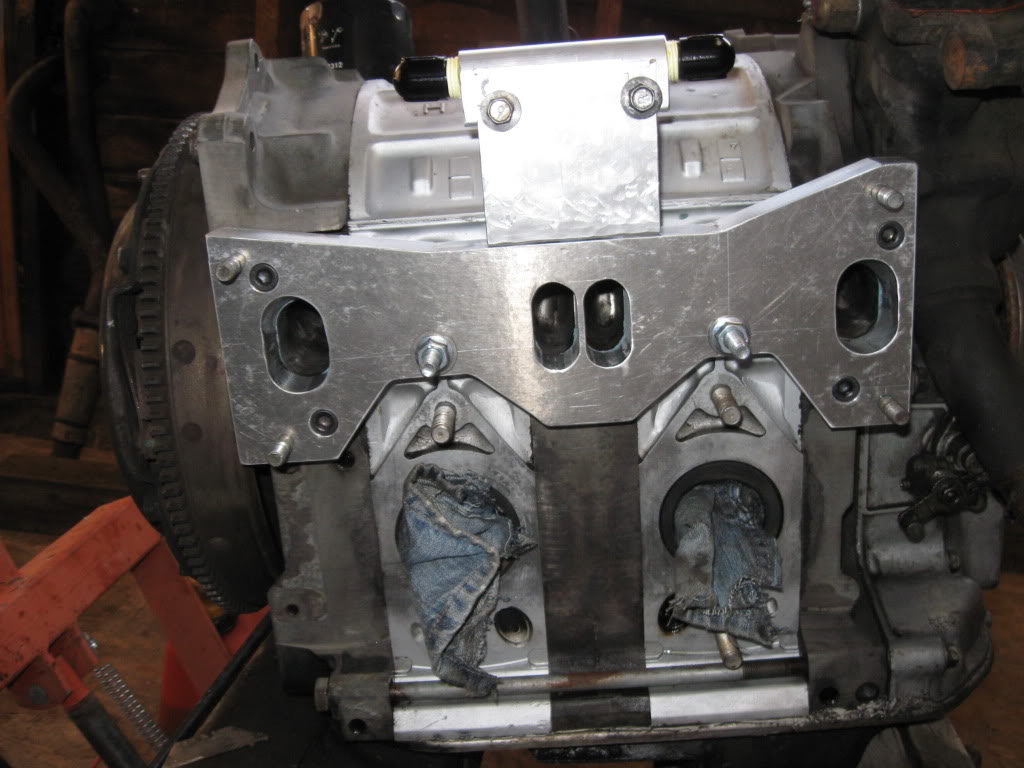
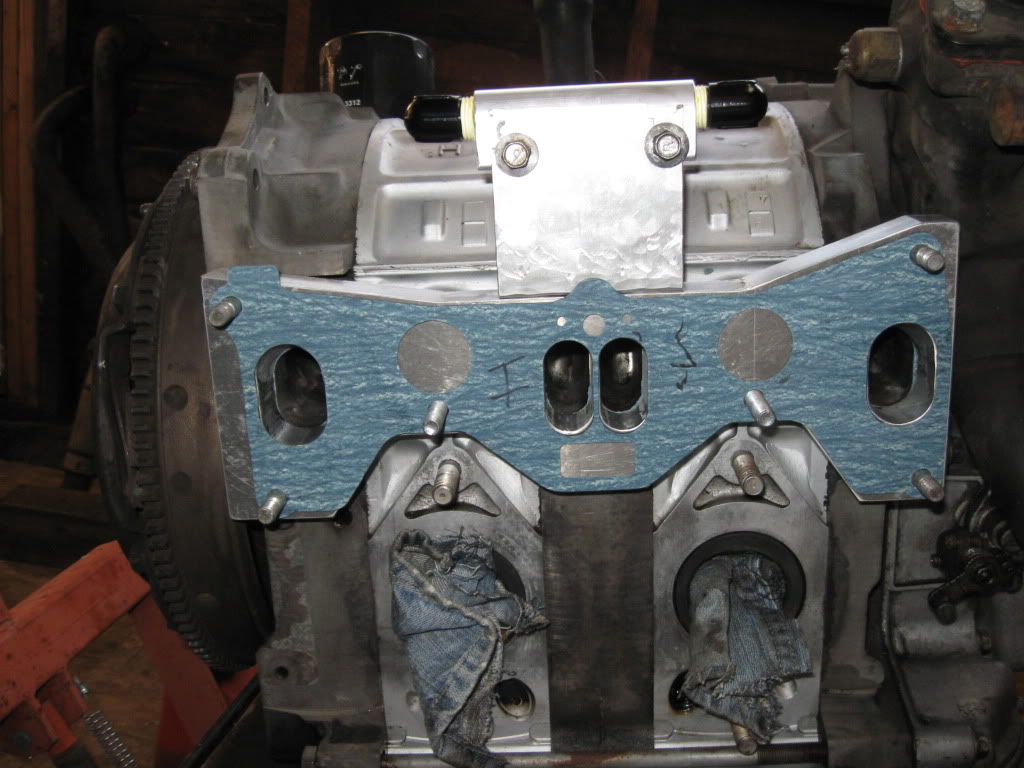
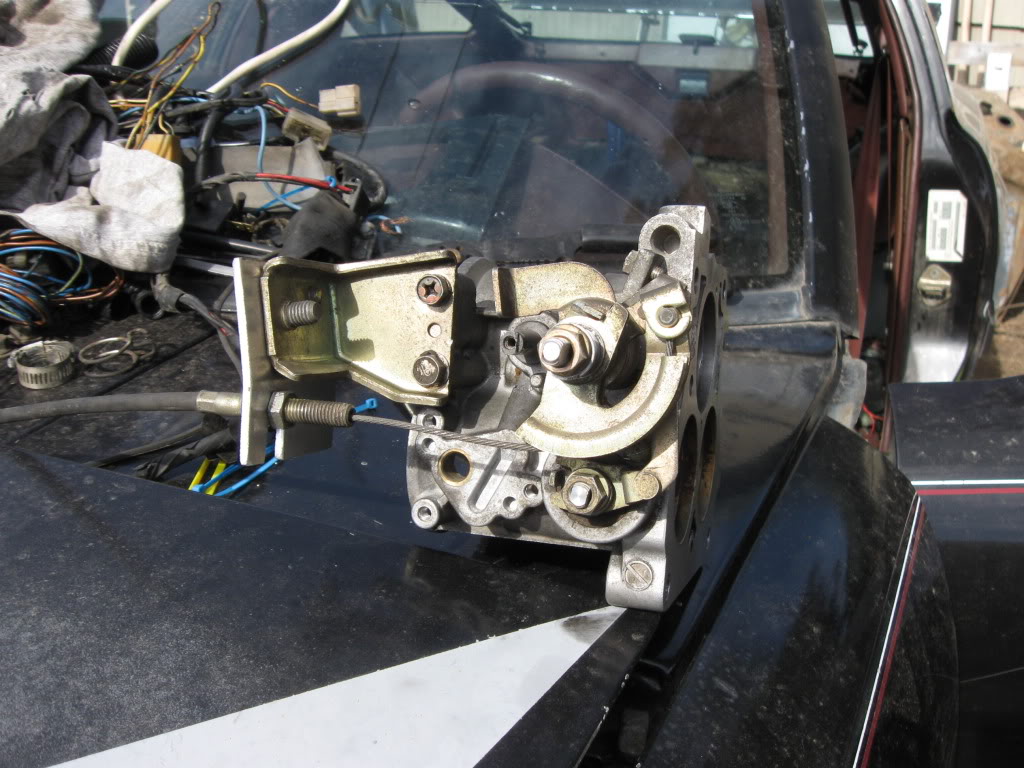
I didn't have a 2nd gen TPS, or throttle cable bracket, so I removed most of the useless crap off the throttle shaft, and installed a nikki carb throttle cam much further inboard of the original cam. Then I whipped up a quick temp bracket to use a nissan tps I had from another project, and a throttle cable bracket that bolts to the dashpot mount.
Isaac
Isaac
Joined: Jun 2008
Posts: 8,376
Likes: 28
From: Chino Hills, CA
Nice machine-work!
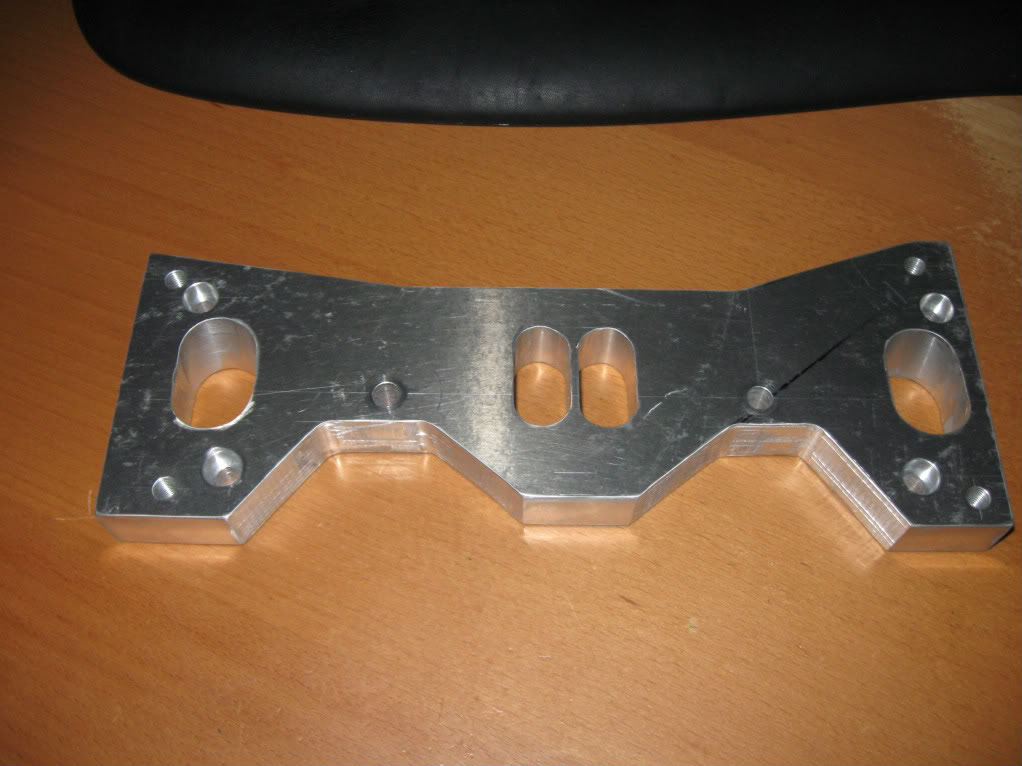
Not being an FI guru & thus kinda ignorant in this direction, I find myself wondering about having injectors only on the midplate ports.
I understand how you can make that work volumetrically with FI, but doesn't having fuel only spraying in one set of ports mess up the charge mixing?
Illuminate me, please!
Trending Topics
Joined: Apr 2006
Posts: 3,740
Likes: 6
From: Las Vegas, NV
DD^, those are just primary injectors. Secondary injectors and rail bolt onto lower intake manifold above primaries. Looking great so far! I hate the turboII style throttle cables. They are retarded! Your solution is nice, but you'll have to go with a greddy elbow it looks like. Looks like a stock elbow won't work with your bracket there.
Thread Starter
its supposed to do that
Joined: Jan 2003
Posts: 1,352
Likes: 2
From: PNW
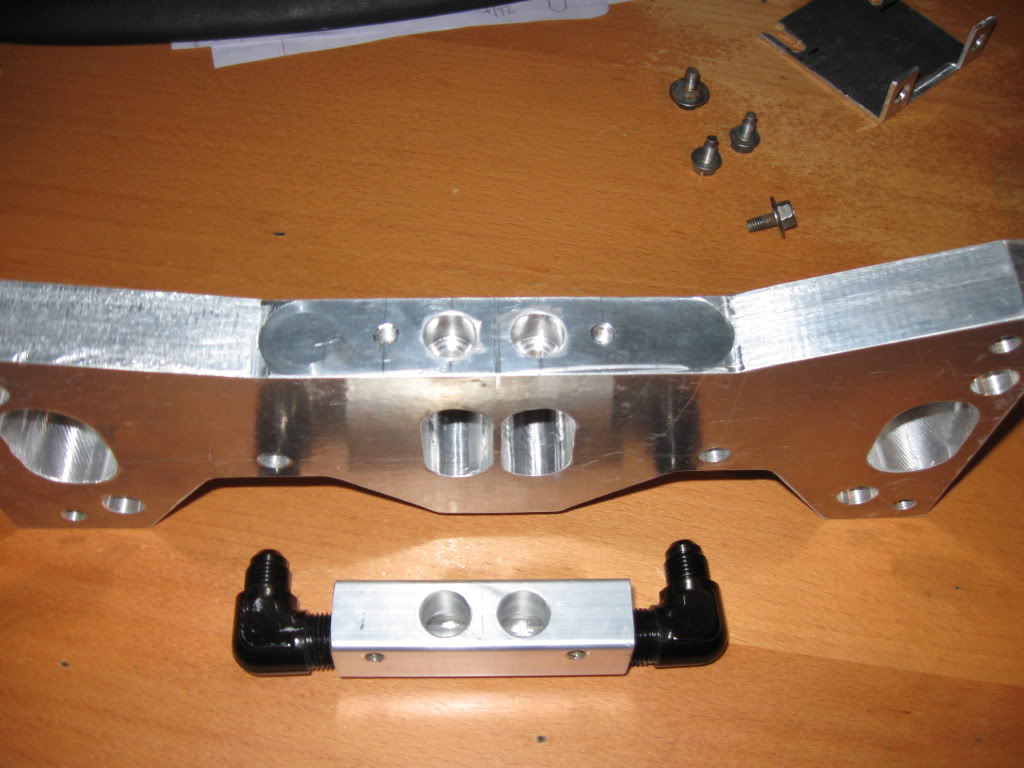
IIRC the gsl-se only had 2 injectors, and they were in the center iron? I do plan to run 4 injectors (two more in the stock TII secondary position) before the turbo goes on. Due to budget cuts it looks like i may be tuning it on the one set until I can pick up 2 more 1000cc ev14s and a rebuild kit for the turbo.
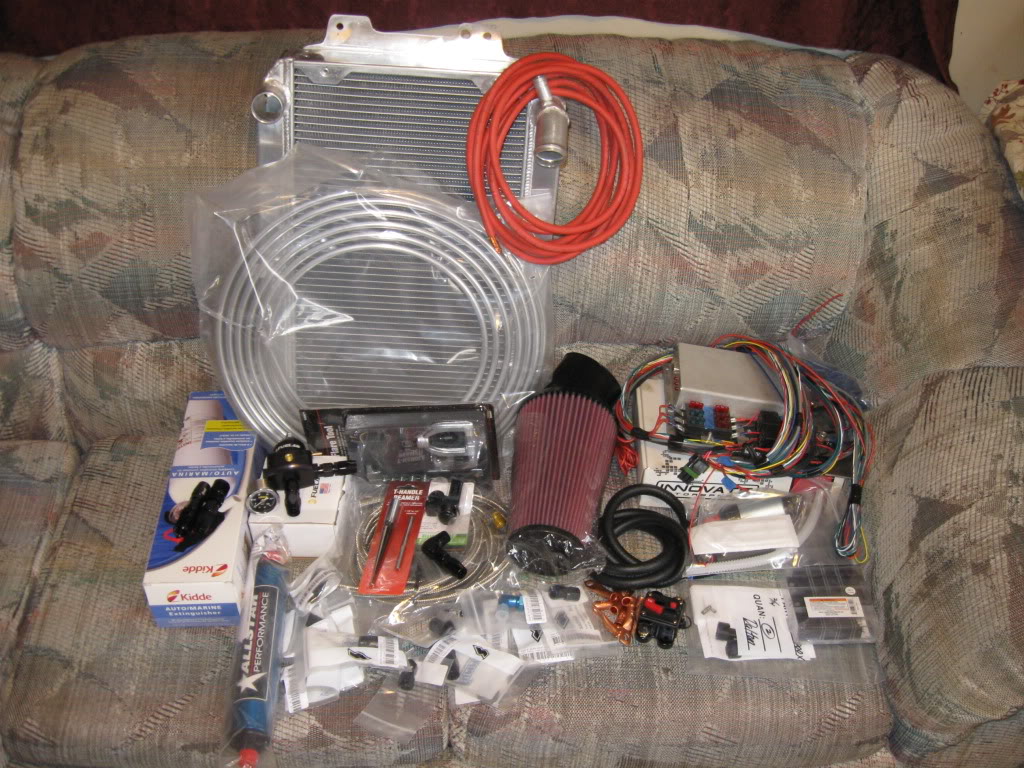
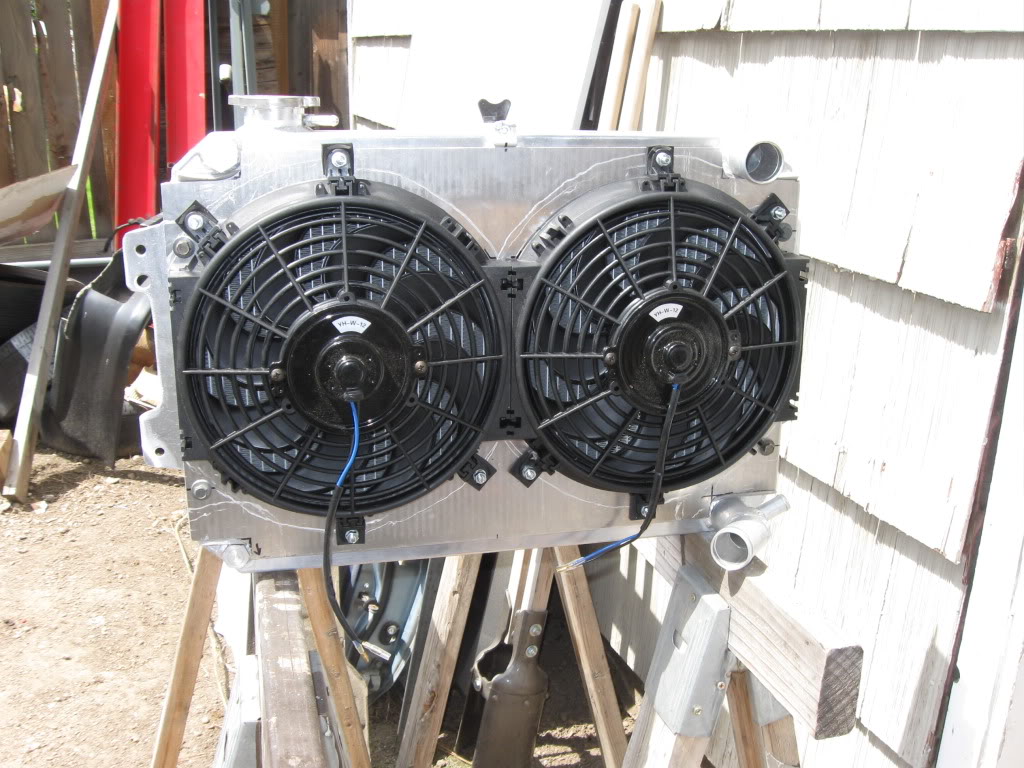
The car sat for a long time and needed a lot of little parts just to get it drivable again. Add in new fuel lines, pump, filter, Alu radiator, enough AN fittings to plumb an aircraft carrier, and it adds up fast.
I never considered the stock TII intake elbow, it was designed for one purpose, to fit in a cramped spot and feed the tmic into the TB at a silly angle. I will be building a v-mount setup, and to loop back around into that stock elbow requires some odd bends and a lot of extra pipe. If I can get my hands on an N/A elbow I think it may sneak inside the oil fill tube due to the 1in of offset added by the intake manifold adapter. If this is not the case, I will make one that does
Thread Starter
its supposed to do that
Joined: Jan 2003
Posts: 1,352
Likes: 2
From: PNW
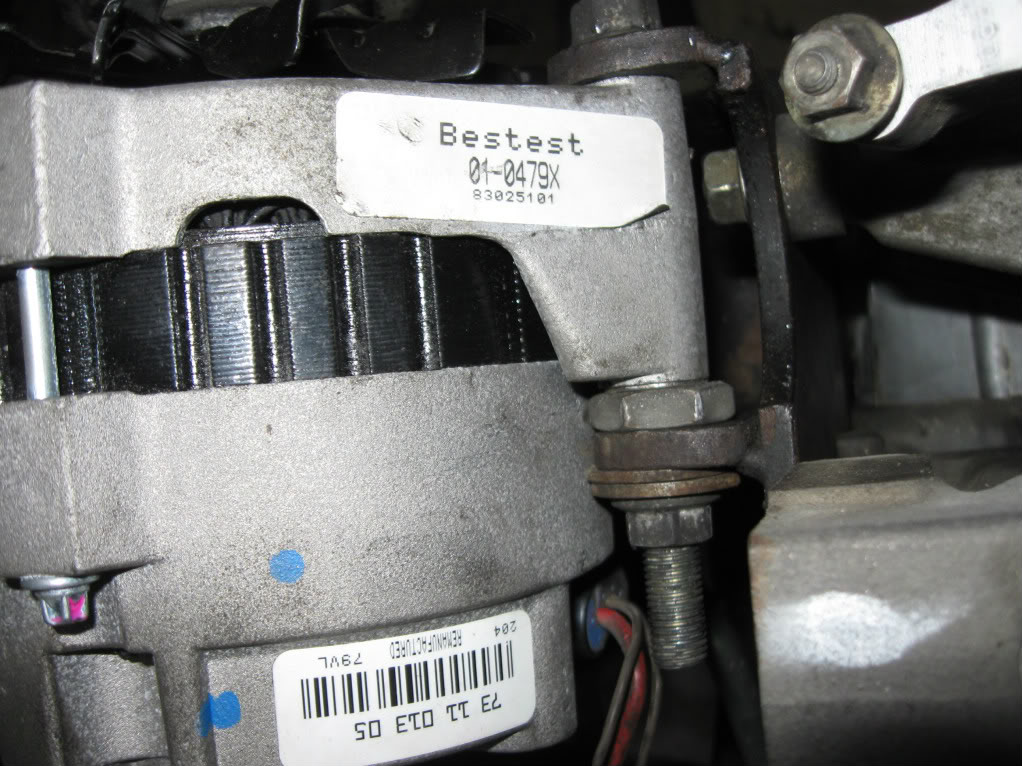
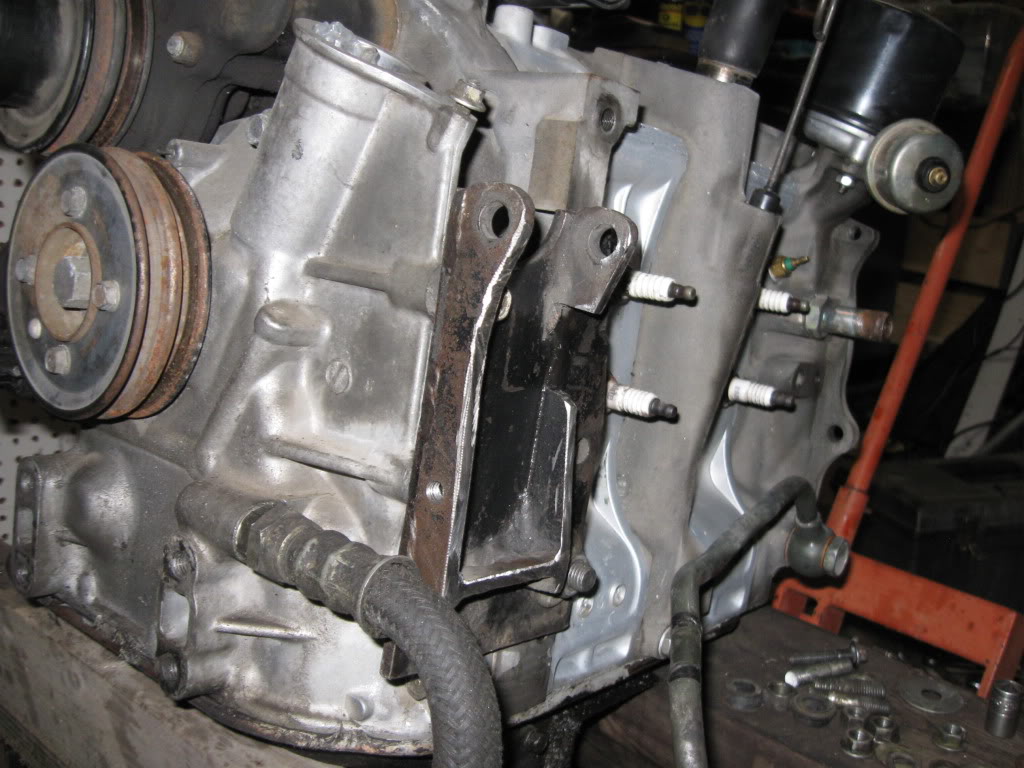
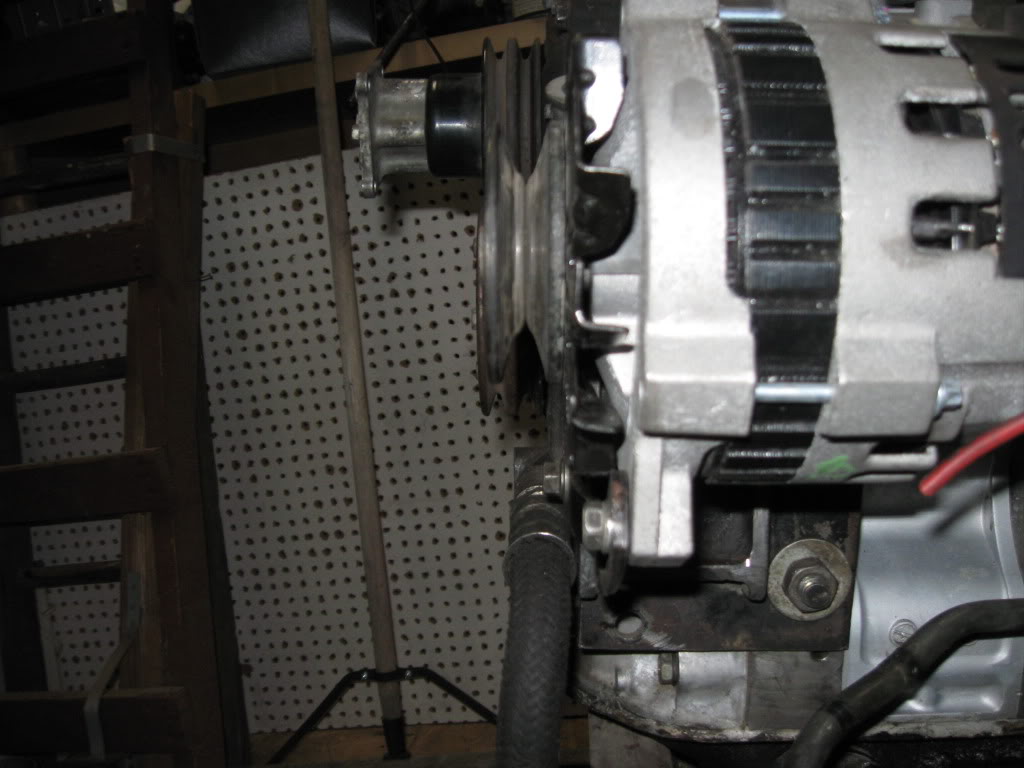
Made some progress, side mount alt bracket is just about finished. It was once a stock a/c compressor bracket. The alt is a cs130 105A from an 80s gm product with a v-belt pulley from an 80s subaru(same as the mazda pulley but 5/8 shaft).
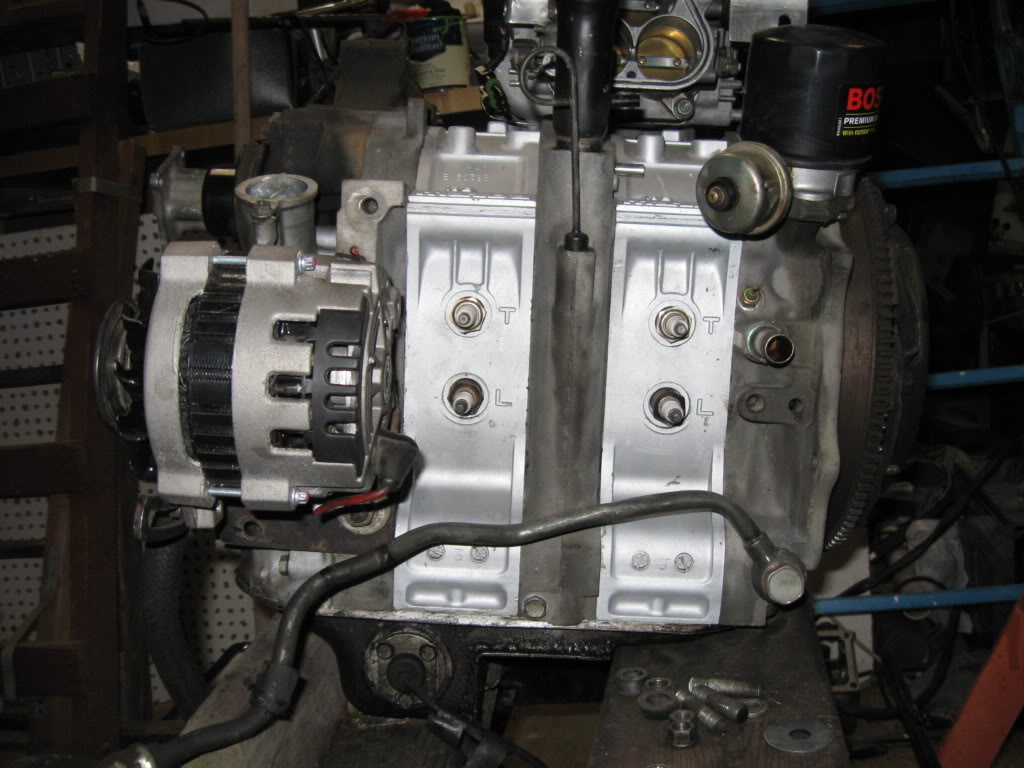
On the front iron there are several sets of holes for studs, and the stock bracket bolts to the upper set. This was a little too high for my tastes, so i moved it down to the lower set (approx. 60mm). This necessitated re-drilling the forward hole in the bracket 60mm higher, the rearward hole just bolts up to the lower stud.
Here are some progress pics.
alt part #, also shows the extra nut/washer I used as a spacer during mockup.
At this point a person could us a short adjuster, or shorten the stock adjuster and it fits just fine, but it isn't nearly the sleek mount I was going for.
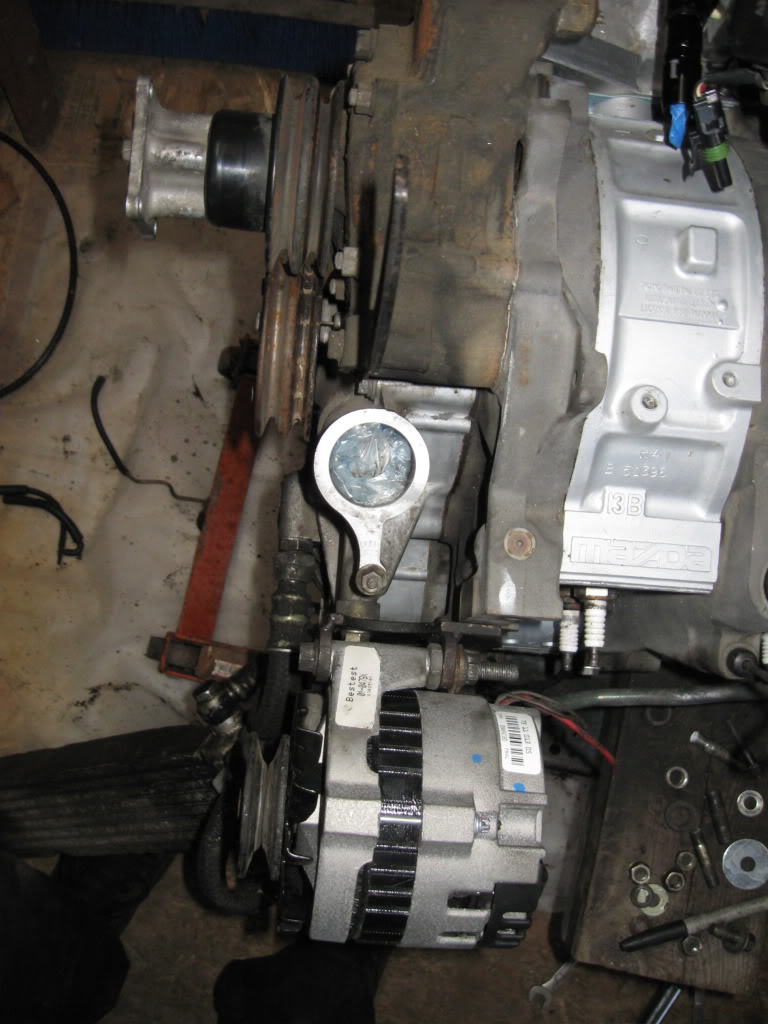
After a little trimming we get:
You can see the new front bolt hole located 60mm above the old hole.
I then cut the bend off the stock adjuster, bent a new offset in the end, and tapped a hole in the bracket to bolt it on. This shows minimum and maximum adjustment.
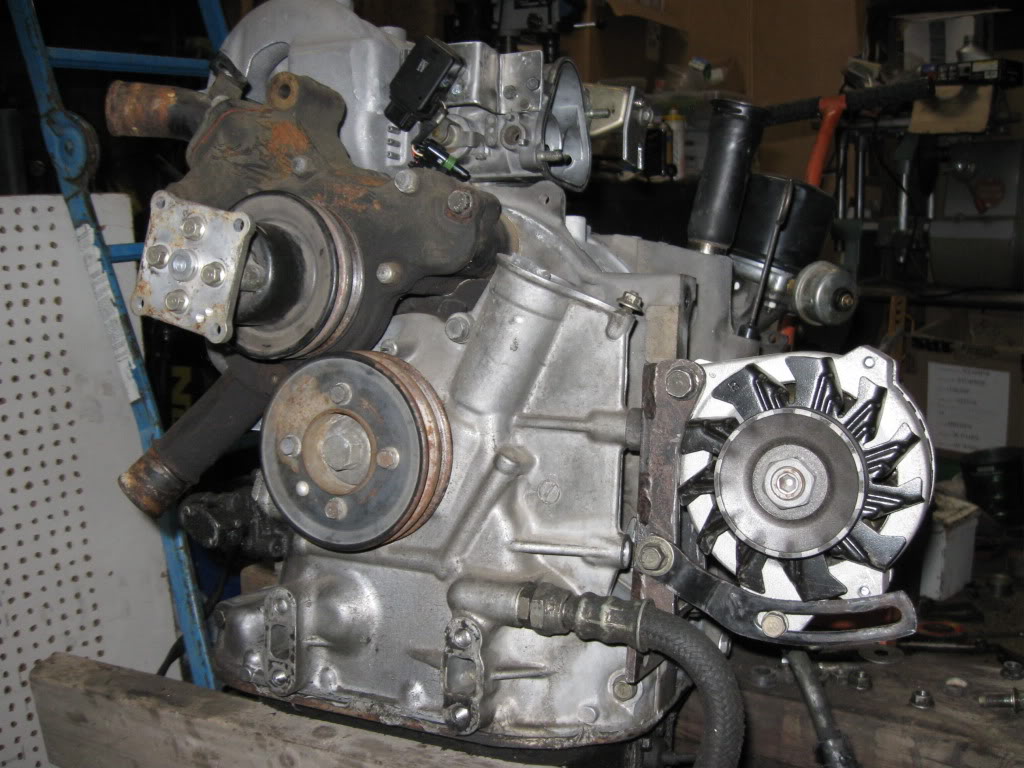
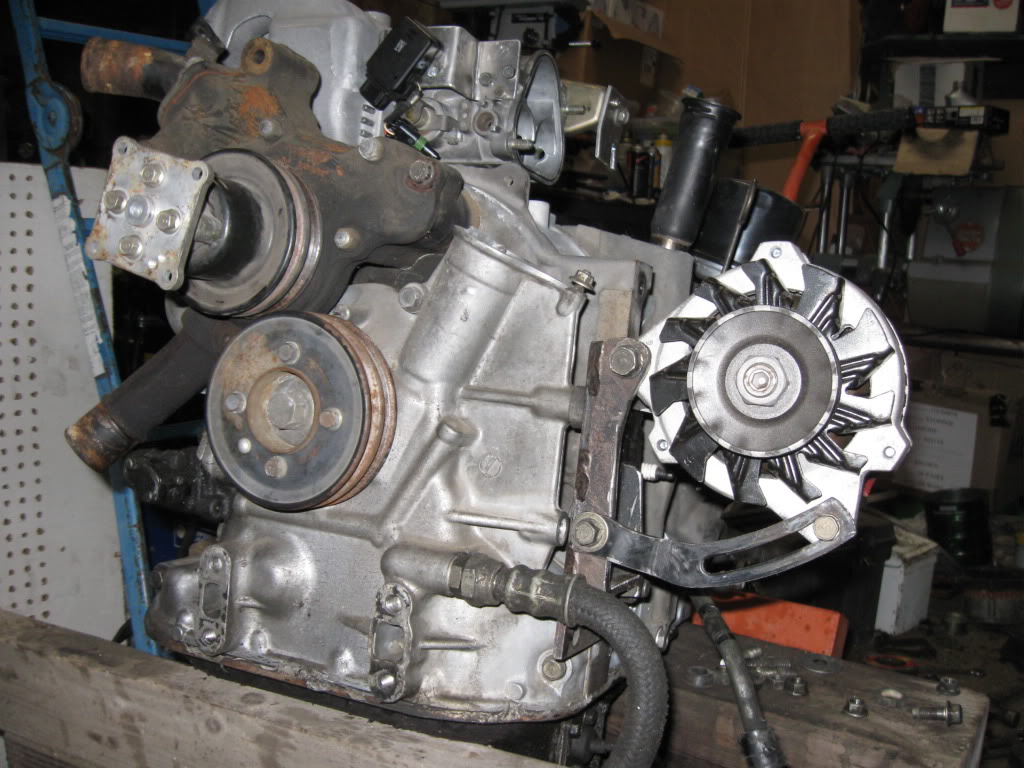
The beltline is perfect (checked with a straightedge) with the alt mounted against the inside ear of the stock bracket.
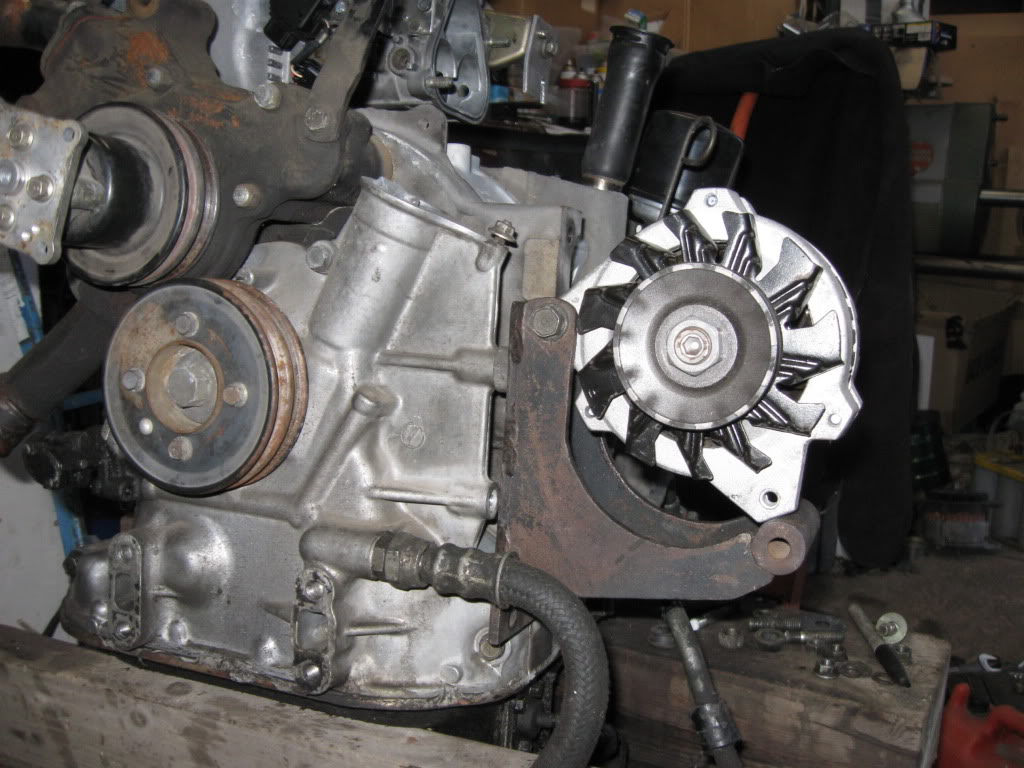
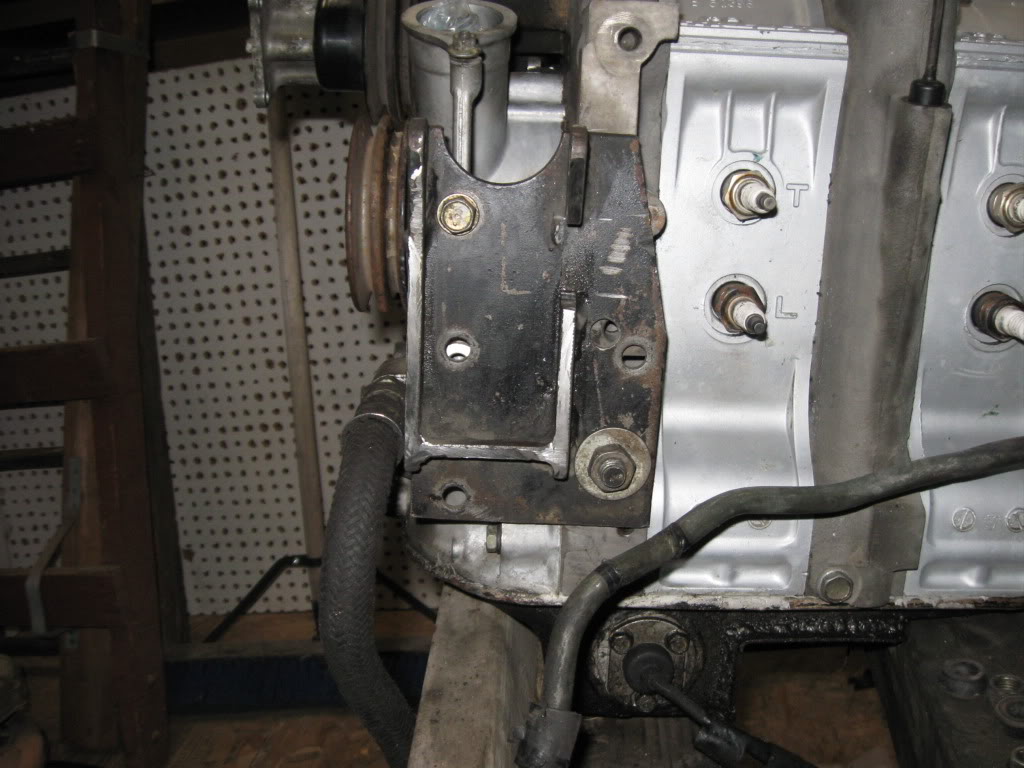
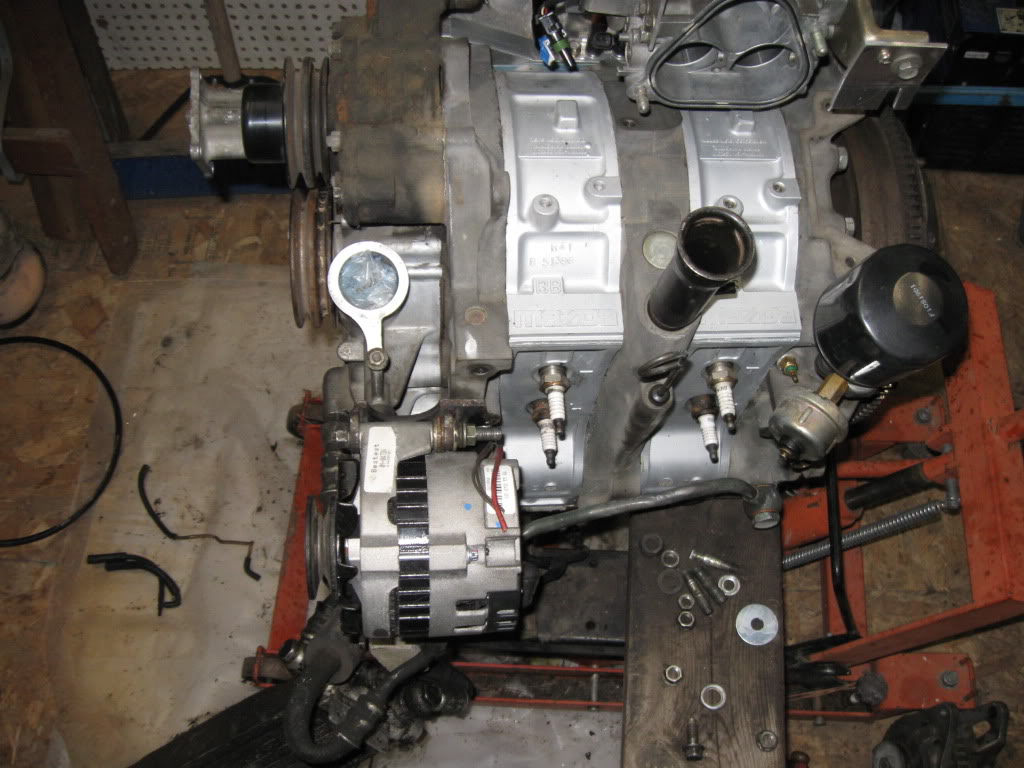
Plug and block clearance shots:
Now that mockup looks good I am going to machine a spacer down for the extra space on the main alt bolt between the end of the cs130 mounting ear and the inside of the bracket, and shoot some paint on it. A 15370 belt fits very tight on the adjustment, and a 15375 fits in the middle of the adjustment.
Plenty of room for IC piping to come from a v-mount right to the TB
Isaac
On the front iron there are several sets of holes for studs, and the stock bracket bolts to the upper set. This was a little too high for my tastes, so i moved it down to the lower set (approx. 60mm). This necessitated re-drilling the forward hole in the bracket 60mm higher, the rearward hole just bolts up to the lower stud.
Here are some progress pics.
alt part #, also shows the extra nut/washer I used as a spacer during mockup.
At this point a person could us a short adjuster, or shorten the stock adjuster and it fits just fine, but it isn't nearly the sleek mount I was going for.
After a little trimming we get:
You can see the new front bolt hole located 60mm above the old hole.
I then cut the bend off the stock adjuster, bent a new offset in the end, and tapped a hole in the bracket to bolt it on. This shows minimum and maximum adjustment.
The beltline is perfect (checked with a straightedge) with the alt mounted against the inside ear of the stock bracket.
Plug and block clearance shots:
Now that mockup looks good I am going to machine a spacer down for the extra space on the main alt bolt between the end of the cs130 mounting ear and the inside of the bracket, and shoot some paint on it. A 15370 belt fits very tight on the adjustment, and a 15375 fits in the middle of the adjustment.
Plenty of room for IC piping to come from a v-mount right to the TB
Isaac
Thread Starter
its supposed to do that
Joined: Jan 2003
Posts: 1,352
Likes: 2
From: PNW
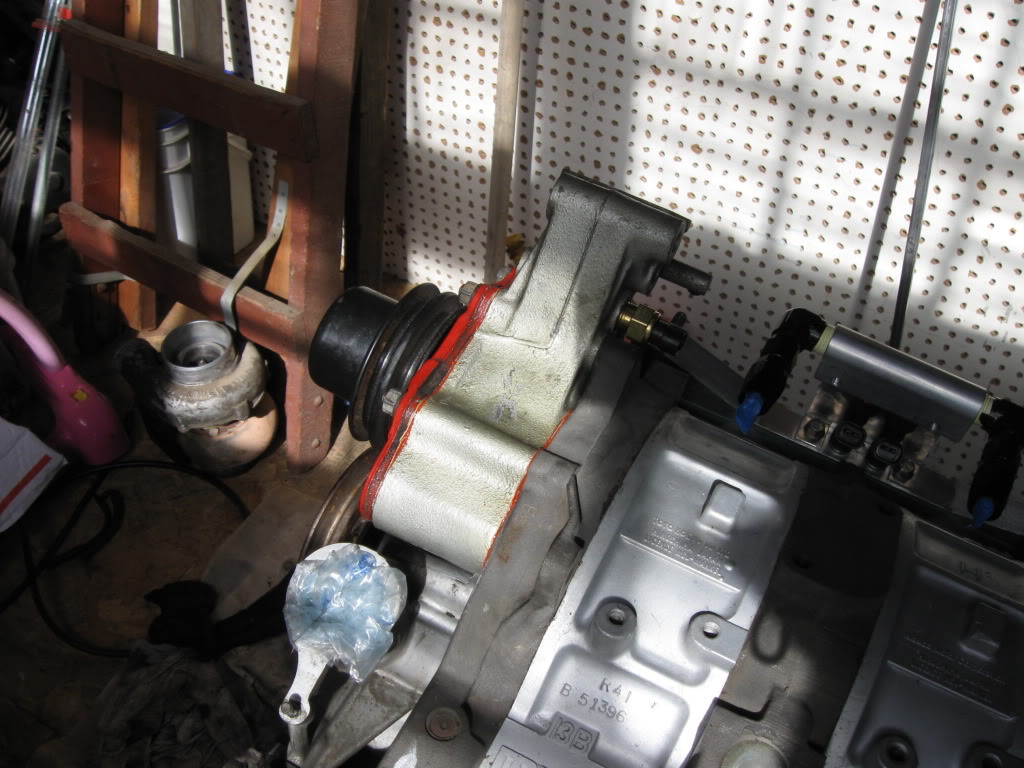
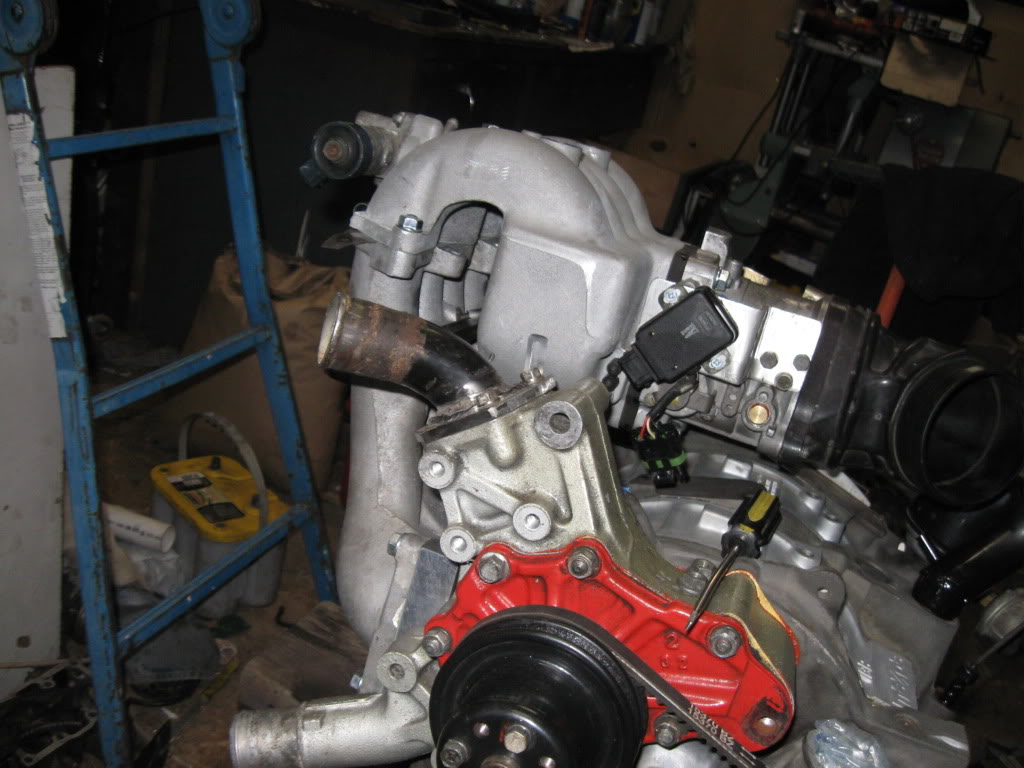
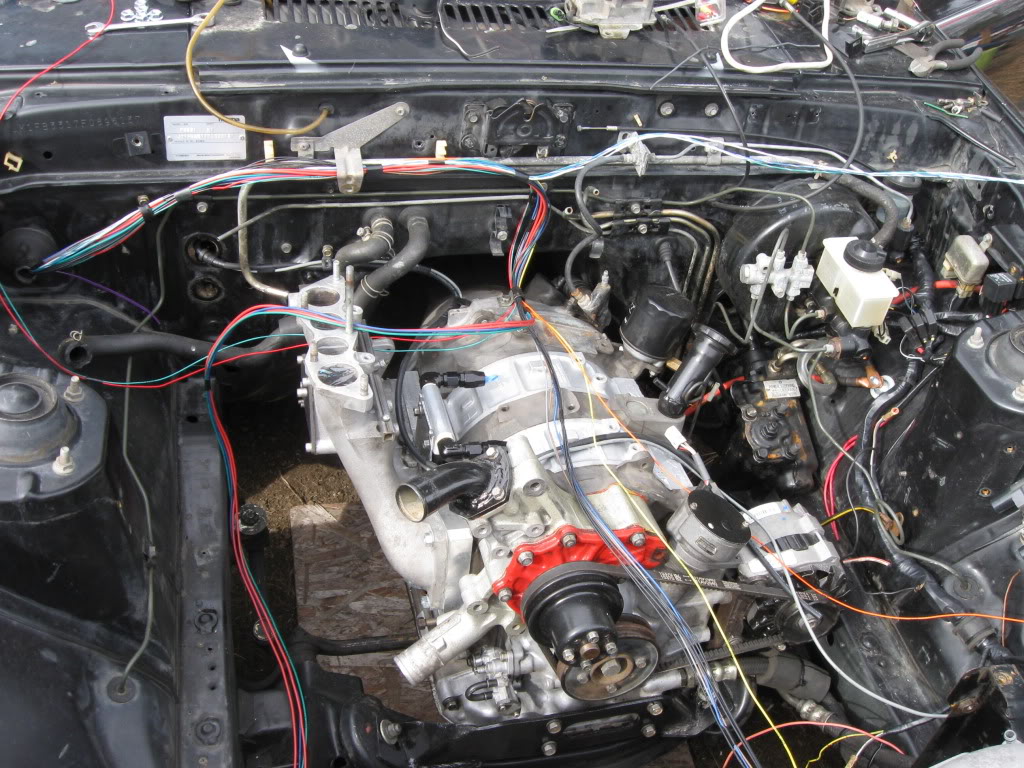
Some progress happened this week, the S5 TII water pump housing, and water pump arrived, and an n/a intake elbow.
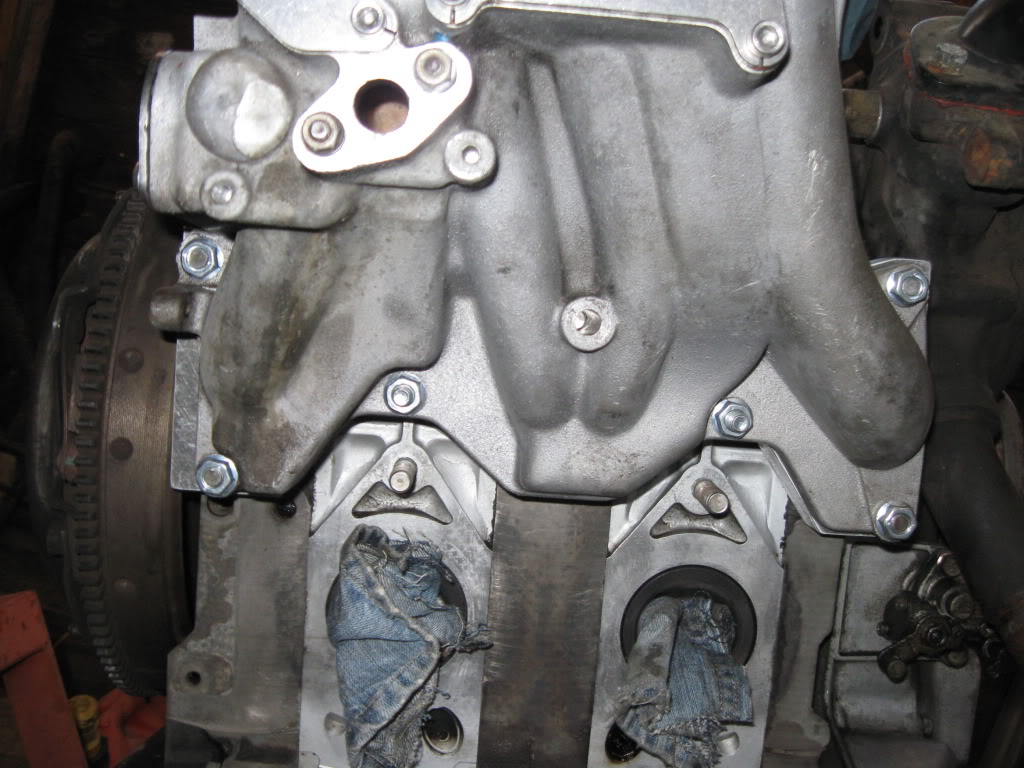
With a little grinding and clearancing, the s5 wp and housing slide right on. I used a 1/8 npt plug in the extra hole where it meets the front iron, and tapped the larger hole on the back for my GM water temp sensor. I am aware of the "special" paint colors... I bought it used, and figure I will repaint things like that when I mount the turbo in a few months.
Since I didn't have an s5 coolant neck ( I'm not sure I would use one anyway due to them being old plastic), I made a new flange out of 1/4 plate and welded in a cannibalized 12a coolant neck. This satisfies the s5 o-ring seal for the thermostat, and puts the coolant out in the stock fb location.
The next project was to fit the IAT sensor. The n/a intake elbow has a nice big smooth spot on the side just begging for a hole.

I bent up a piece of 1/8in aluminum to match the radius of the elbow and with a little JB weld, attached it... permanently.
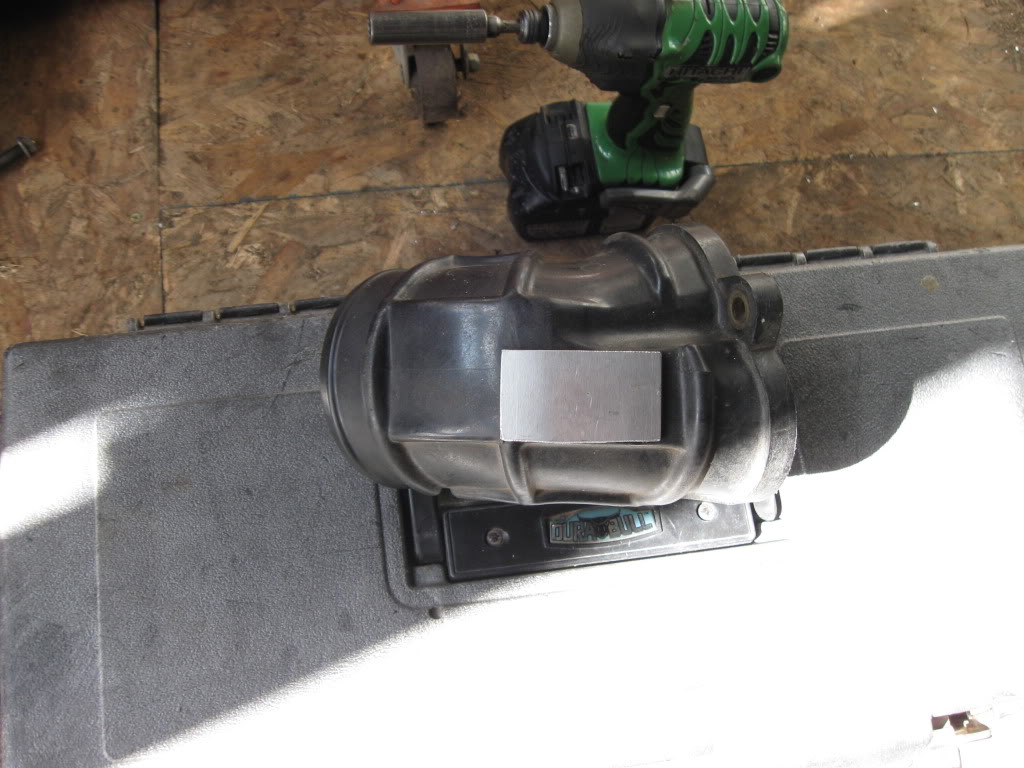
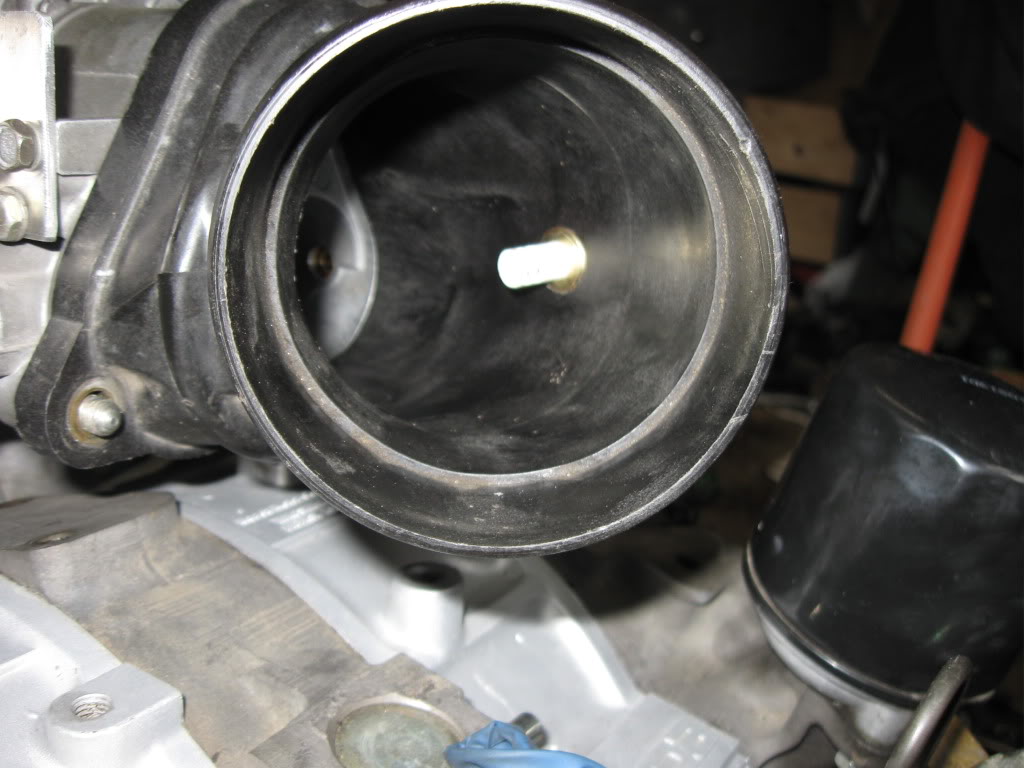
A drilled and tapped hole later, it looks factory... from the inside anyway.
Isaac
With a little grinding and clearancing, the s5 wp and housing slide right on. I used a 1/8 npt plug in the extra hole where it meets the front iron, and tapped the larger hole on the back for my GM water temp sensor. I am aware of the "special" paint colors... I bought it used, and figure I will repaint things like that when I mount the turbo in a few months.
Since I didn't have an s5 coolant neck ( I'm not sure I would use one anyway due to them being old plastic), I made a new flange out of 1/4 plate and welded in a cannibalized 12a coolant neck. This satisfies the s5 o-ring seal for the thermostat, and puts the coolant out in the stock fb location.
The next project was to fit the IAT sensor. The n/a intake elbow has a nice big smooth spot on the side just begging for a hole.
I bent up a piece of 1/8in aluminum to match the radius of the elbow and with a little JB weld, attached it... permanently.
A drilled and tapped hole later, it looks factory... from the inside anyway.
Isaac
Thread Starter
its supposed to do that
Joined: Jan 2003
Posts: 1,352
Likes: 2
From: PNW
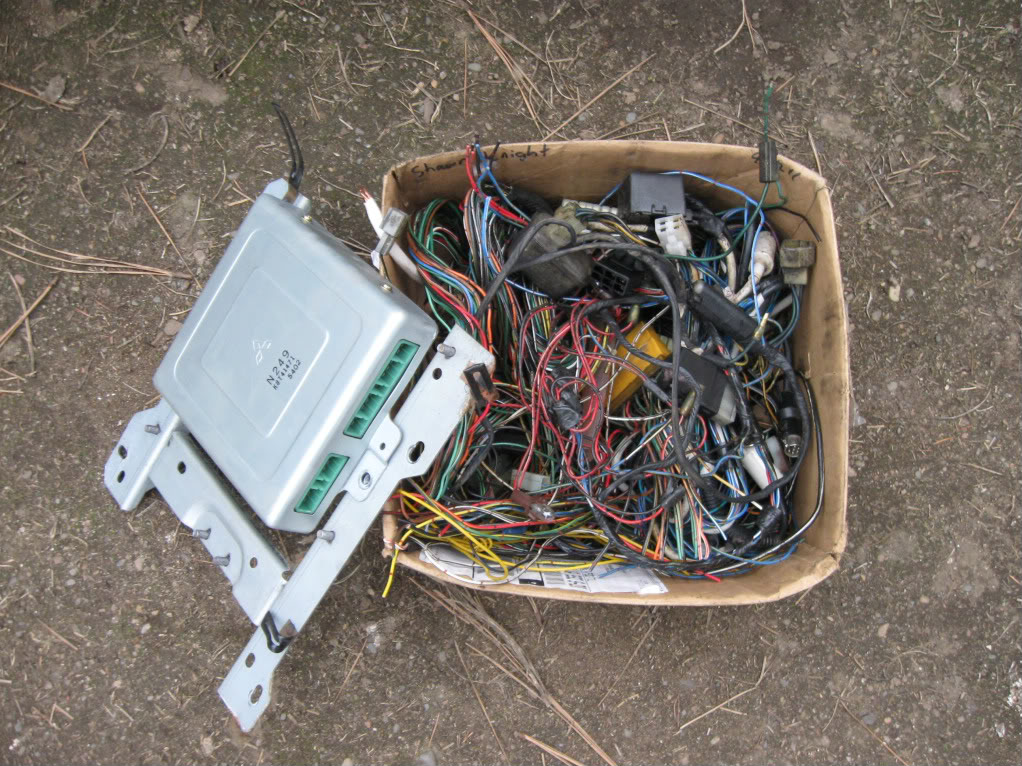
Finished removing the rest of the useless wiring and emissions unit. The passenger side grommet will now be solely megasquirt wiring, while the drivers side is the lighting and general use circuits.
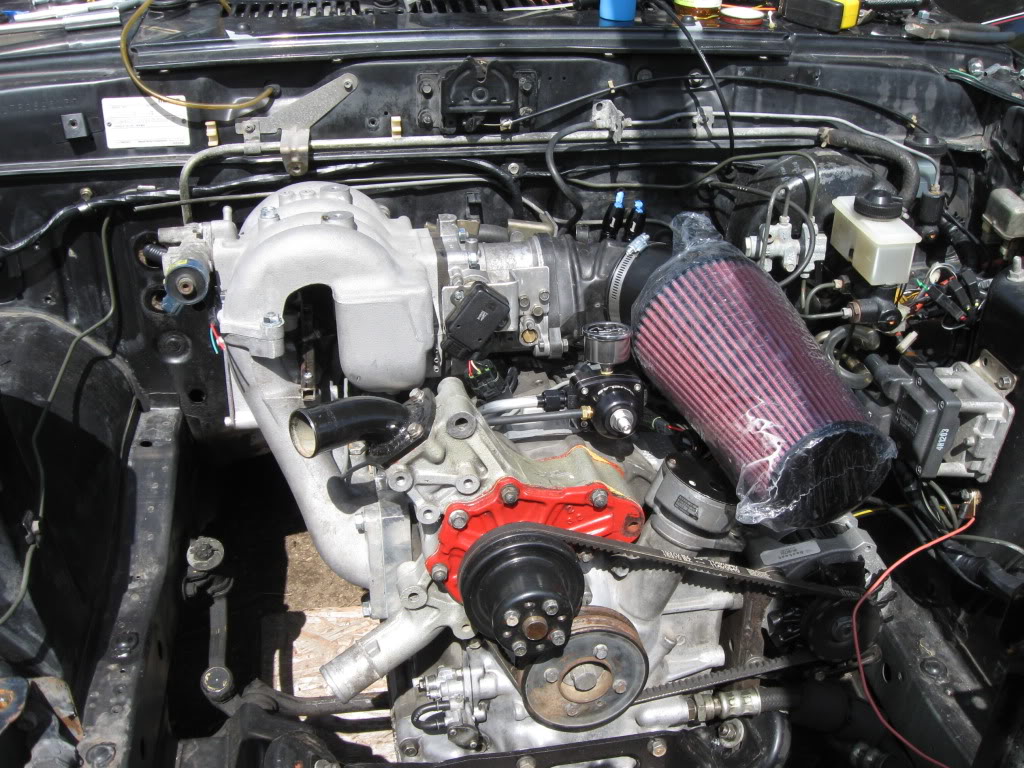
Then the motor went back in the chassis.
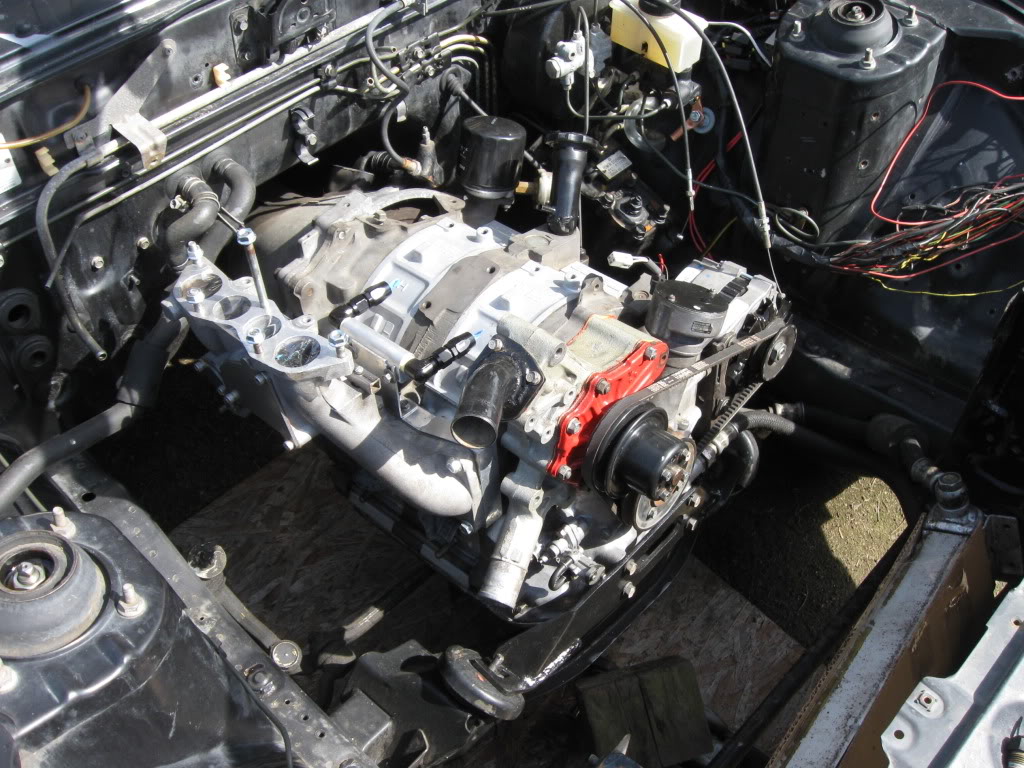
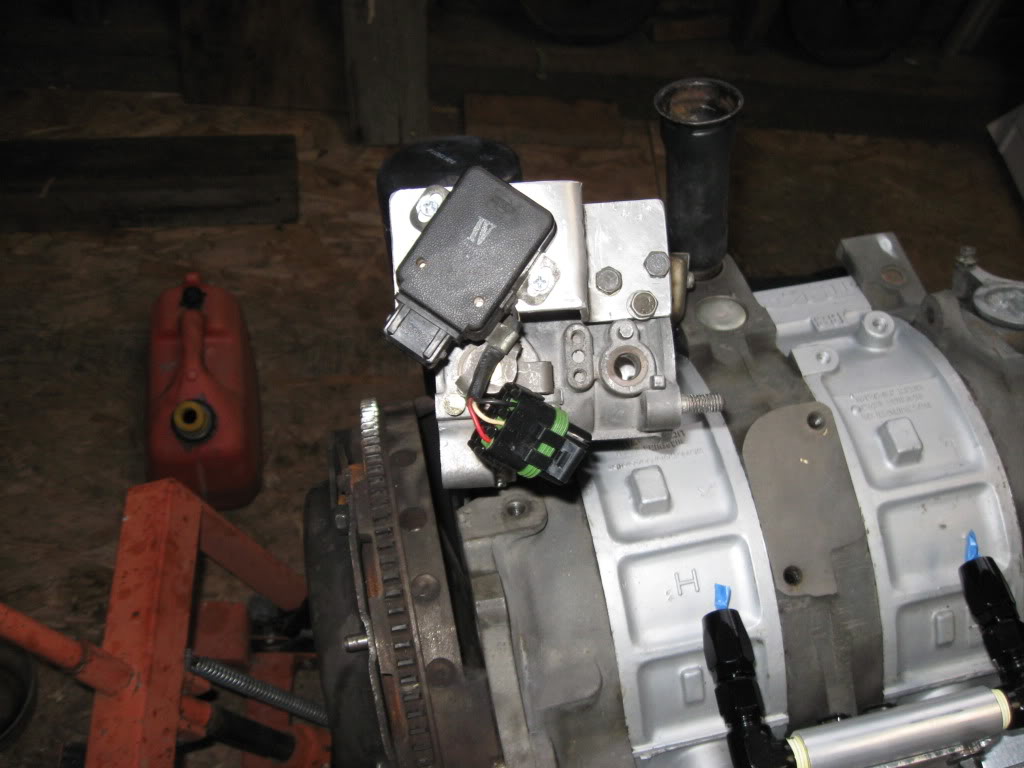
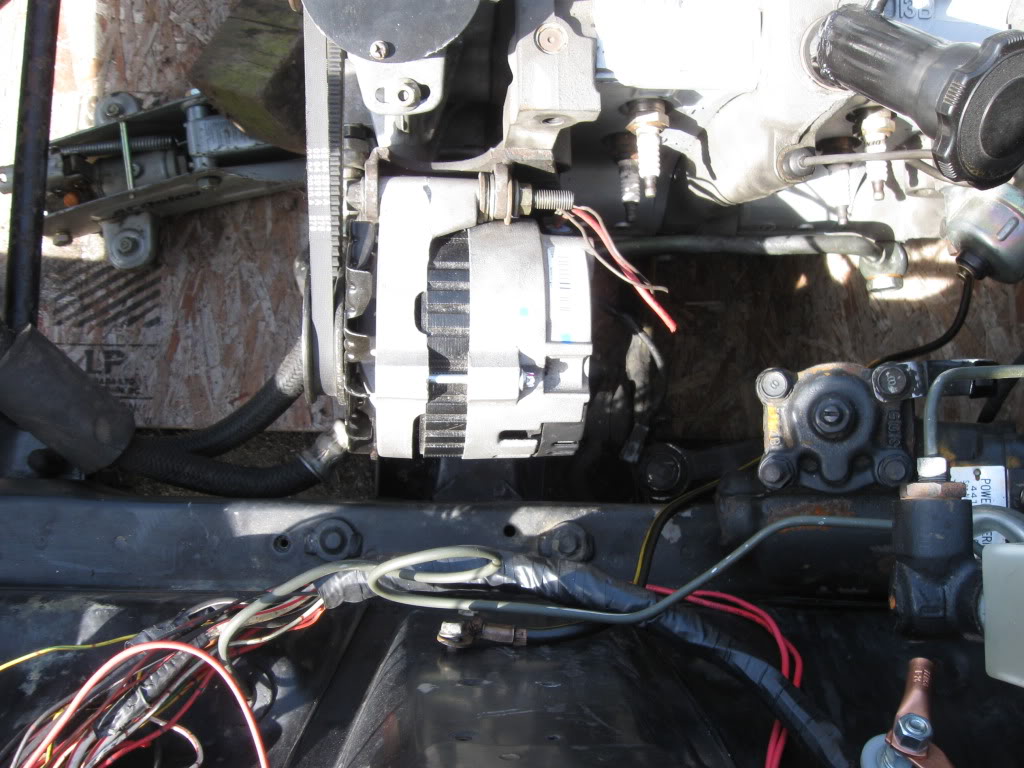
Shot of the mod to the oil fill to clear the n/a intake elbow, and a good shot of the alt belt clearance in relation to the CAS.

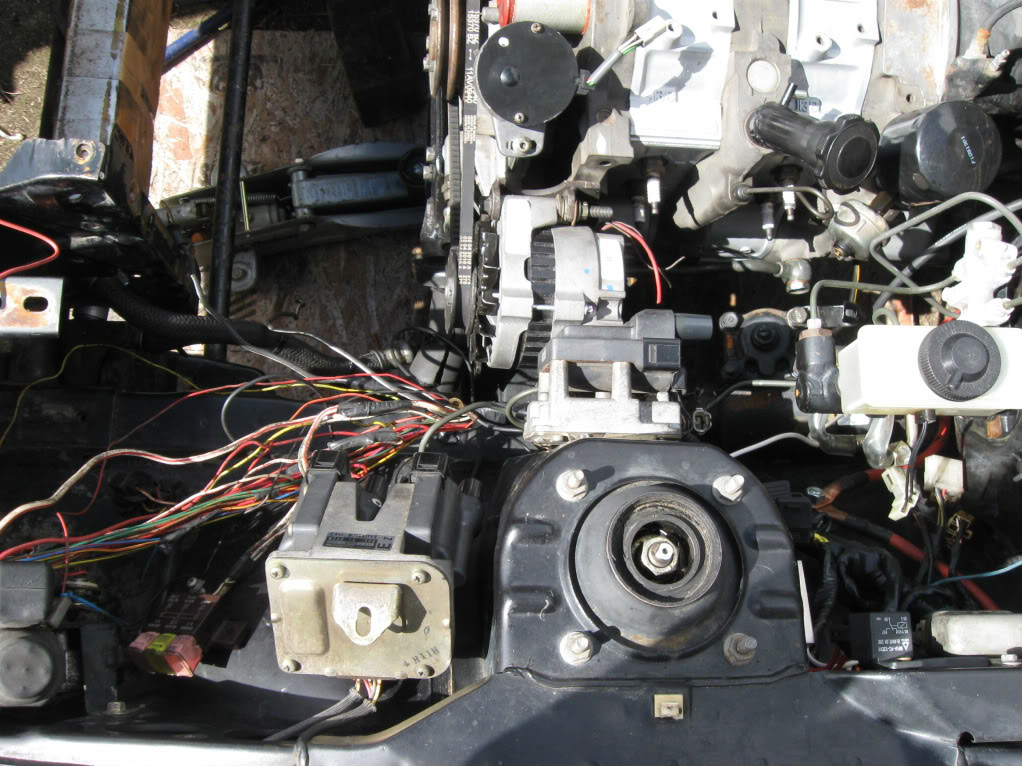
Alt to fenderwell/ strut tower/ frame rail clearance.
Got the coils test mounted, man those things are huge.
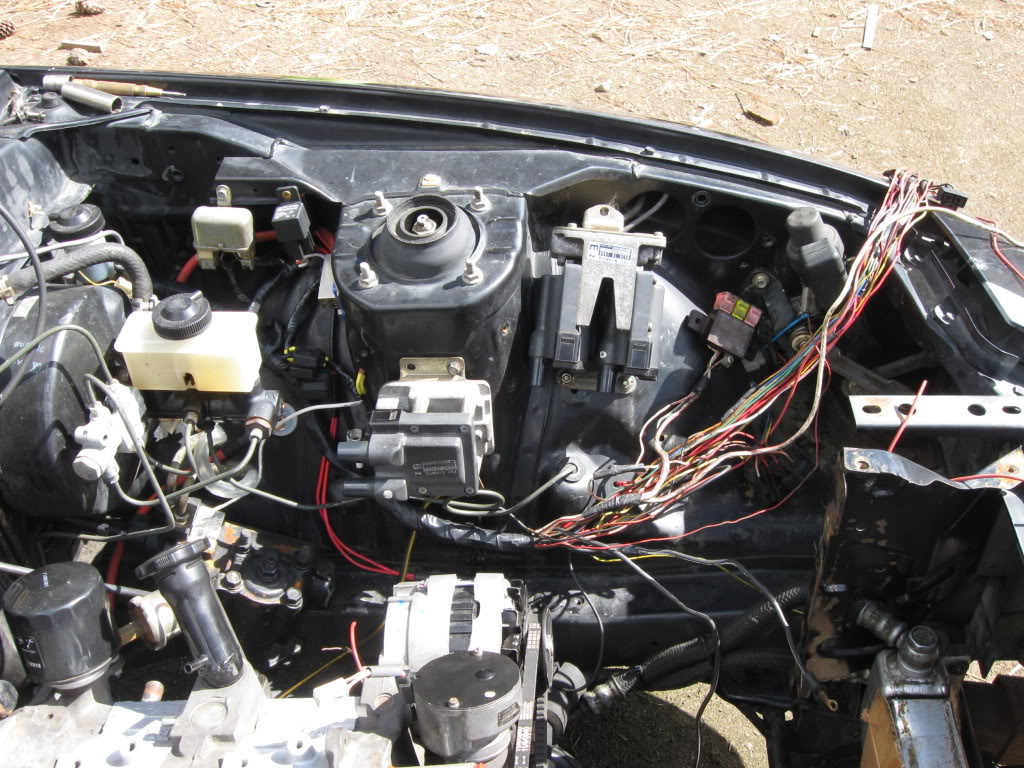
Now I get to install the pile of parts that has been patiently waiting on the shop couch.
Isaac
Then the motor went back in the chassis.
Shot of the mod to the oil fill to clear the n/a intake elbow, and a good shot of the alt belt clearance in relation to the CAS.
Alt to fenderwell/ strut tower/ frame rail clearance.
Got the coils test mounted, man those things are huge.
Now I get to install the pile of parts that has been patiently waiting on the shop couch.
Isaac


Thread Starter
its supposed to do that
Joined: Jan 2003
Posts: 1,352
Likes: 2
From: PNW
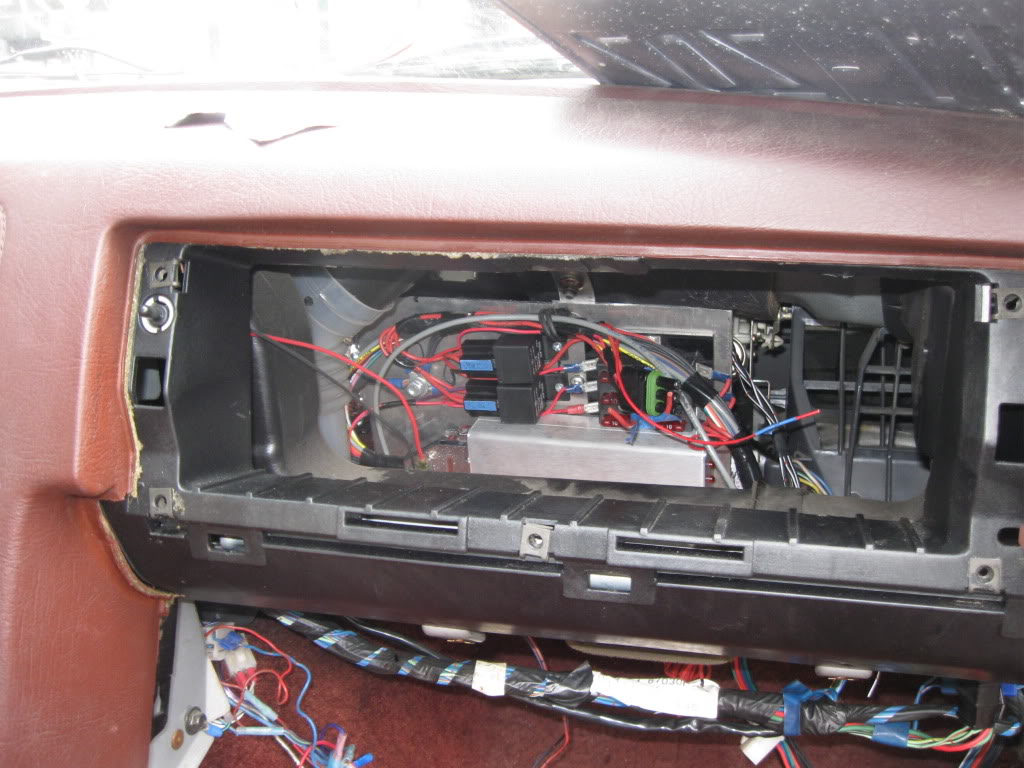
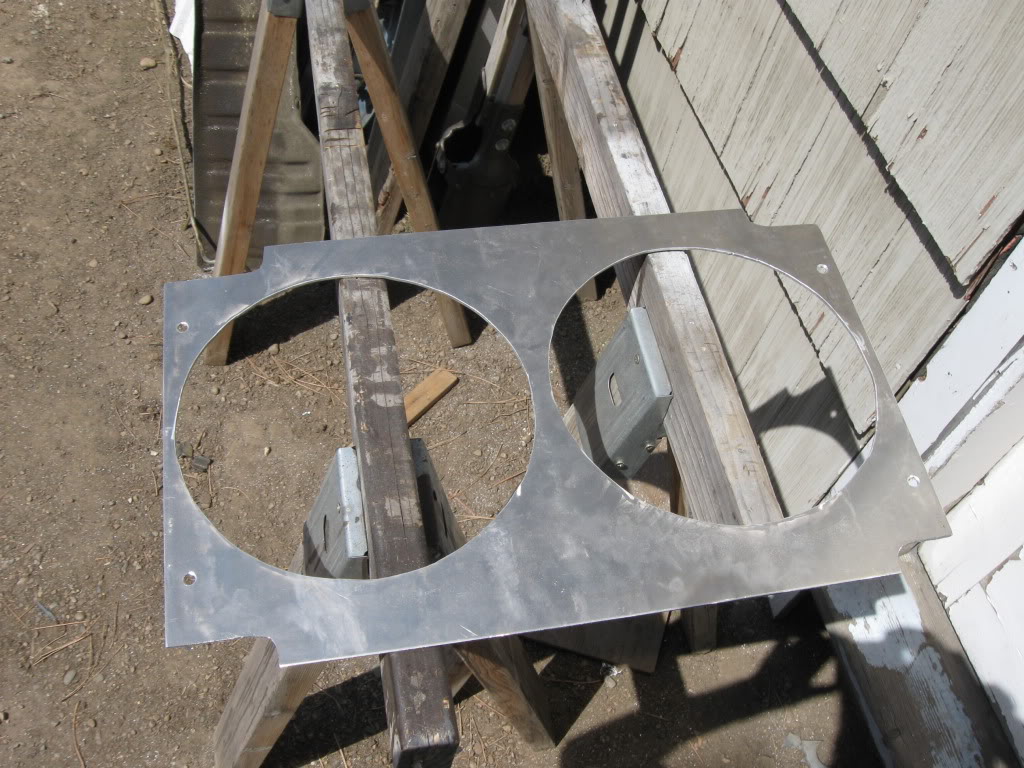
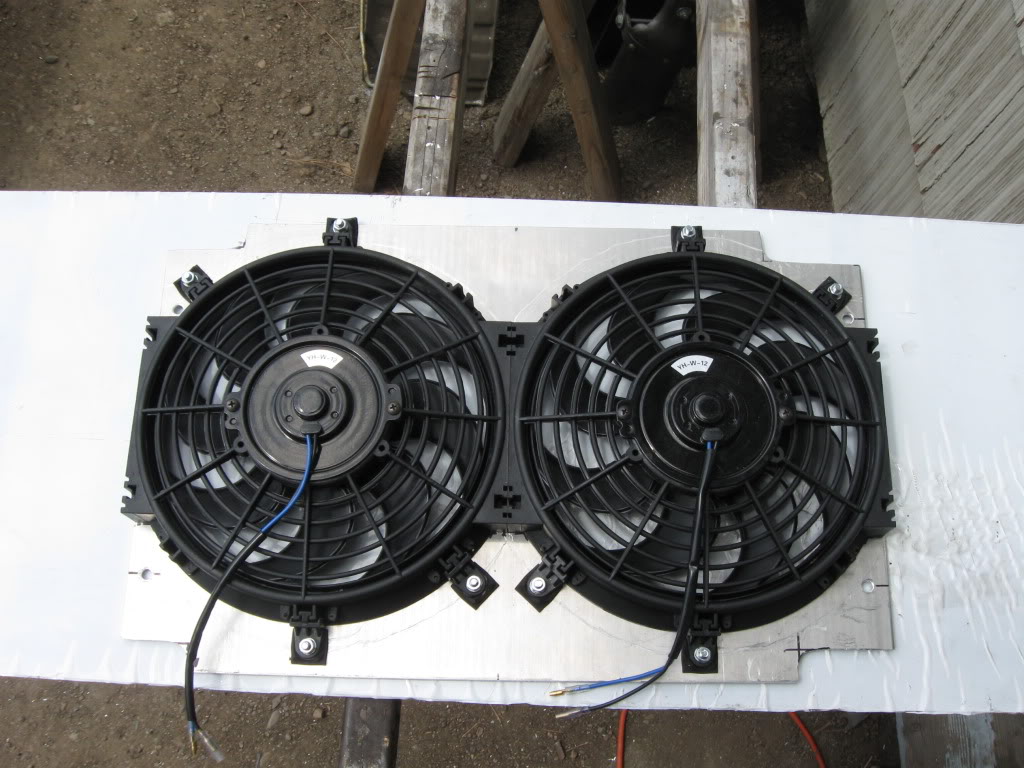
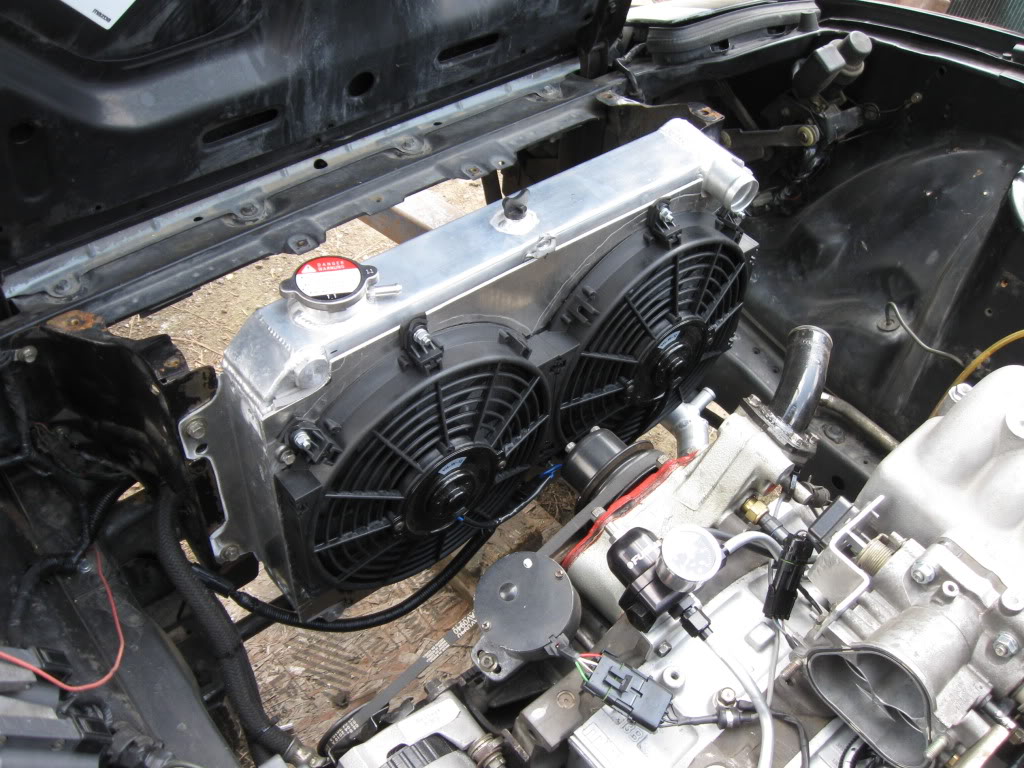
Pulled the huge a/c condenser box, replaced it with ducting from the fan to the heater box, and mounted the megasquirt. I started to run wires, but it has been alternating between rain, hail, and sunshine on 5 minute intervals.
Isaac
Isaac
Thread Starter
its supposed to do that
Joined: Jan 2003
Posts: 1,352
Likes: 2
From: PNW
Straightened out 20ft of 3/8 alu. tubing and started bending up the new fuel lines. Copying the stock rear bends worked like a dream and they slid right up into place.
Then I mounted the FPR, and worked on the hardlines on the engine.
The UIM/TB/elbow/filter went on perfectly.
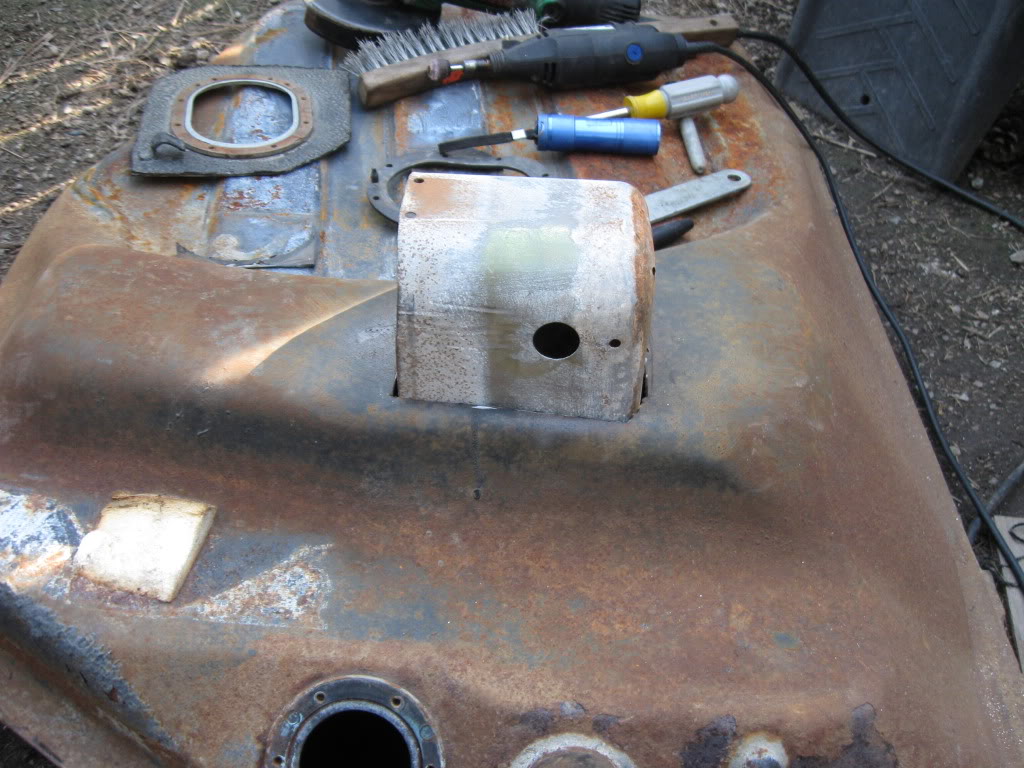
Then came some fun, I cannibalized a perfectly good FC gas tank for its slosh cup and mounting ring.
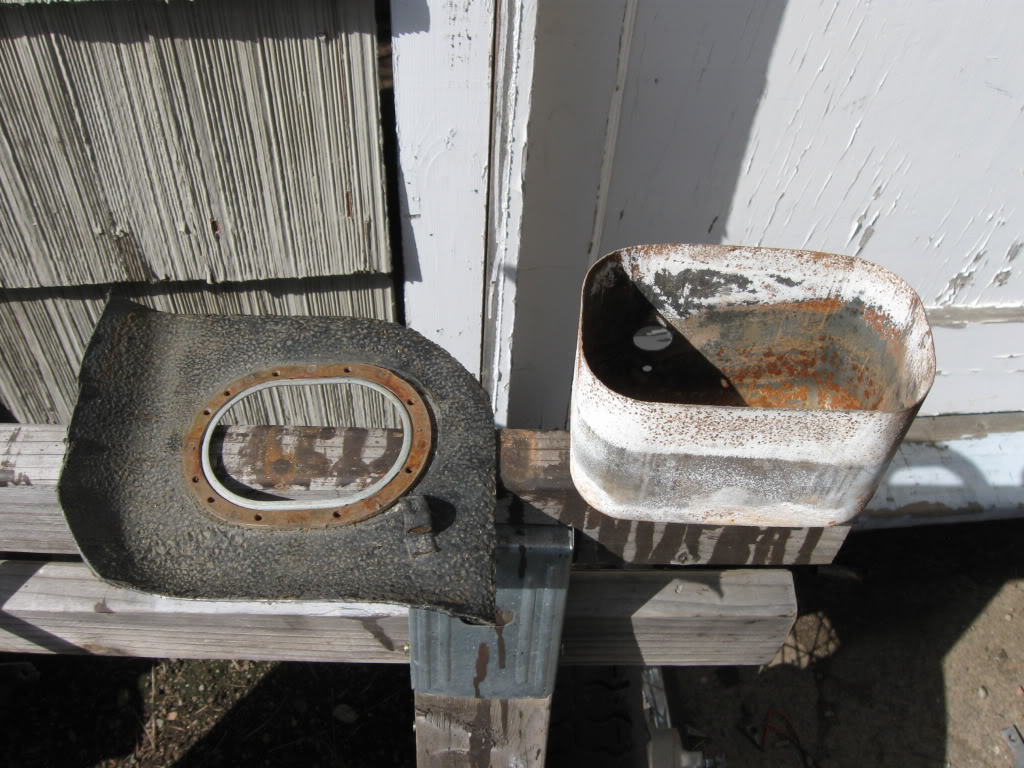
Made a hole in the tank big enough to get the entire slosh cup in. I figure mazda made it huge for a reason, so I wasn't going to cut it down like most fc into fb tank guys do.
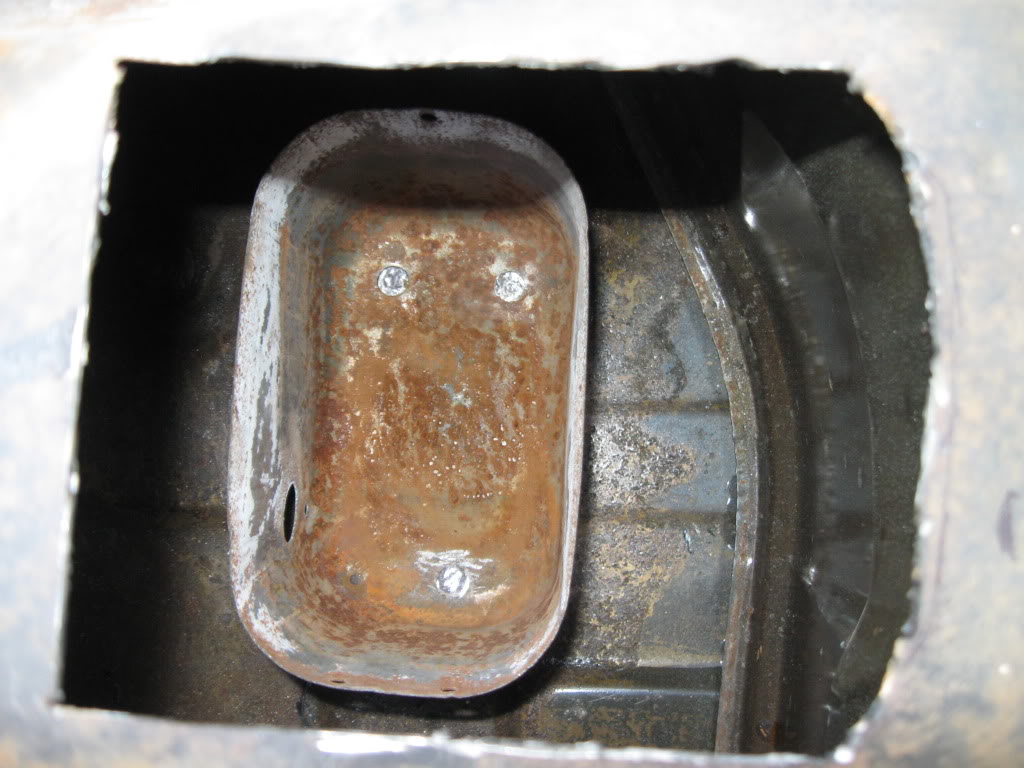
Nestled snugly in its new home... soon to be pulled out, cleaned, and welded to the tank floor.
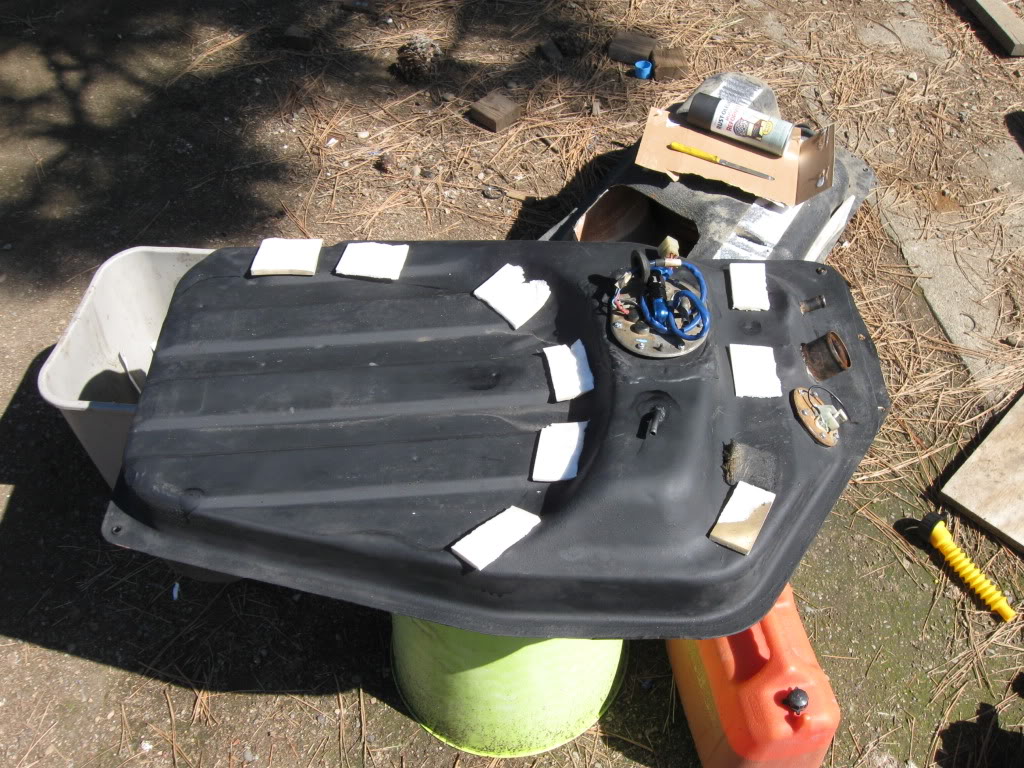
I drilled out the top of the FC feed line to run a 90* bulkhead in its place. The pump is a cheapo fc replacement, but should be adequate for some n/a tuning. I will run a bosch 044 once the turbo is rebuilt and I acquire another set of 1000cc ev-14s.

Isaac
Then I mounted the FPR, and worked on the hardlines on the engine.
The UIM/TB/elbow/filter went on perfectly.
Then came some fun, I cannibalized a perfectly good FC gas tank for its slosh cup and mounting ring.
Made a hole in the tank big enough to get the entire slosh cup in. I figure mazda made it huge for a reason, so I wasn't going to cut it down like most fc into fb tank guys do.
Nestled snugly in its new home... soon to be pulled out, cleaned, and welded to the tank floor.
I drilled out the top of the FC feed line to run a 90* bulkhead in its place. The pump is a cheapo fc replacement, but should be adequate for some n/a tuning. I will run a bosch 044 once the turbo is rebuilt and I acquire another set of 1000cc ev-14s.
Isaac
Thread Starter
its supposed to do that
Joined: Jan 2003
Posts: 1,352
Likes: 2
From: PNW
Finished up the tank welding, leak tested, pressure tested, then added a skim coat of quicksteel on the weld seam for extra security. A bit of rust inhibitor and paint, and it's ready to go back in the car.
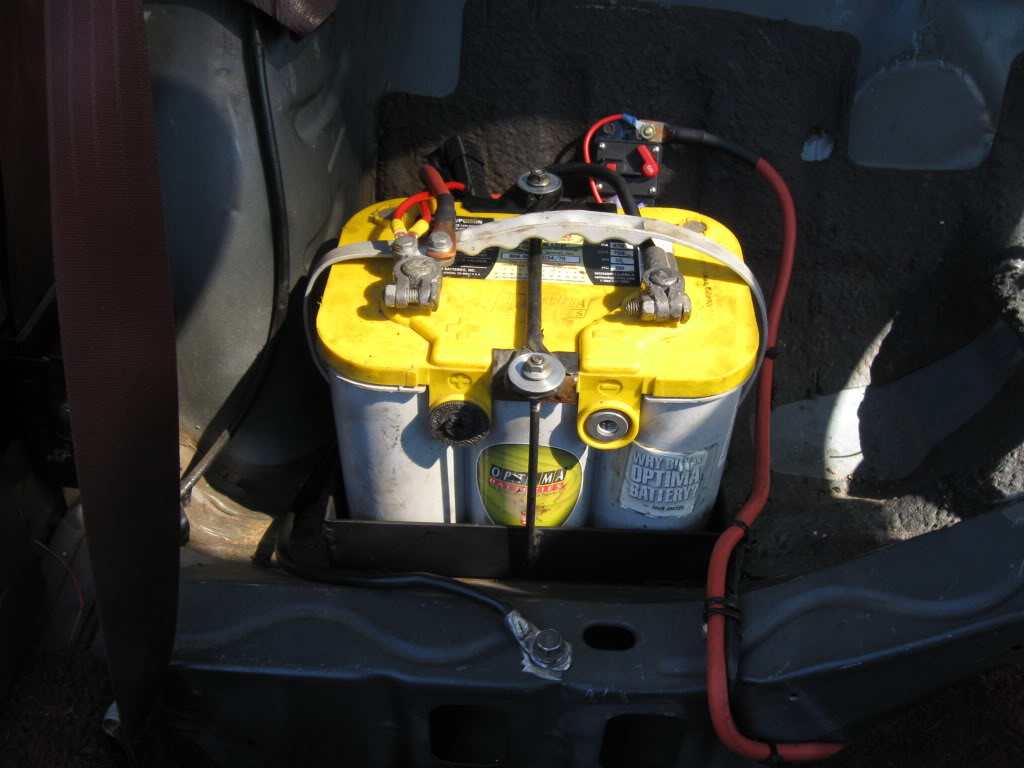
I whipped up a battery tray that bolts through and has reinforcements on the outside of the body, mounted a breaker, and finished up the main wiring.
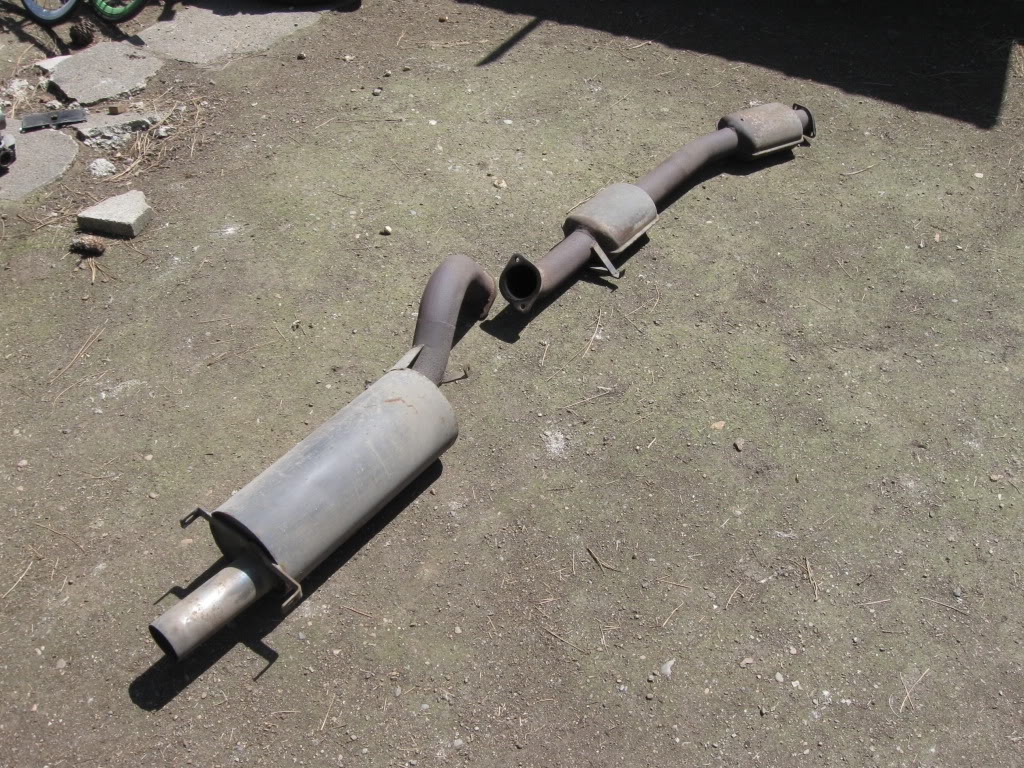
The exhaust was next, there were a few weak spots in the muffler that needed welding up and reinforced. The front section is a 12a rb race header lengthened to fit a 13b, and a collector (getting a bung for the wideband welded up).
I have had this exhaust for about 10 years now, but never knew what company made it, if anyone knows I would appreciate the info. It appears to be set up to bolt to the stock cat, and is 3in back with two presilencers, and uses all the factory mount points.
Isaac
I whipped up a battery tray that bolts through and has reinforcements on the outside of the body, mounted a breaker, and finished up the main wiring.
The exhaust was next, there were a few weak spots in the muffler that needed welding up and reinforced. The front section is a 12a rb race header lengthened to fit a 13b, and a collector (getting a bung for the wideband welded up).
I have had this exhaust for about 10 years now, but never knew what company made it, if anyone knows I would appreciate the info. It appears to be set up to bolt to the stock cat, and is 3in back with two presilencers, and uses all the factory mount points.
Isaac
Thread Starter
its supposed to do that
Joined: Jan 2003
Posts: 1,352
Likes: 2
From: PNW
In a glorious cloud of smoke, 2-stroke, and unburned hydrocarbons... she lives! After getting the idle set, and cleaning up the VE table around idle, I pulled it off the jackstands and drove around the block...
first impressions...
AWESOME!
http://www.youtube.com/watch?v=98jg-nzudy8
Isaac
first impressions...
AWESOME!
http://www.youtube.com/watch?v=98jg-nzudy8
Isaac
Thread Starter
its supposed to do that
Joined: Jan 2003
Posts: 1,352
Likes: 2
From: PNW
Isaac