
The Dont Judge Me Build Thread 82 Dellorto 13b Swap SE Susp Swap Build PICS

Thread Starter
slammin an jammin
iTrader: (6)
Joined: Feb 2012
Posts: 198
Likes: 0
From: Parkersburg, WV
The Dont Judge Me Build Thread 82 Dellorto 13b Swap SE Susp Swap Build PICS
Yes my first build well not technically but first semi step photo build for me haha just one of those people that doesn't like to record what they do...
OK so a little story, I (Sidney Steffen) live in WV planned on moving BACK to Las Vegas, NV on 3/23/13 in my 87 FC.This story begins 2/23/13. Being me liking to go against my gut instinct went for a drive in my almost mint 87 FC (not to mention it just got done snowing about 3 hours before i left) i started up the FC, pulled out of my driveway and took off down rout 50 (people out here know what im talking bout). I came up on some folks doing 35mph on the interstate and being that i was in back, (mind you roads are still slick and the passing lane still had some snow on it, i don't trust the way people drive so i don't like being in the back of the pack when the road conditions are bad) I hop in the passing lane and pass them all, being about 200 yards in front of the cars being passed i go to hop back into the right lane, and looky there a big chunk of ice that fell off someones running board.... i try to dodge it and hit it with my left rear tire and it kicked me to a full 90 degree slide and yup being some what of a drifter i throw the wheel for full counter steer and guess what it was coming back then me thinking with my head say damn if the back end comes back to fast it will throw to the other side and throw me into on coming traffic so i drop my counter steer and realize the back end is dropping out again so go full lock counter steer again and it was to late 50mph boom right into the guard rail me saying "F*CK! F*CK! F*CK! F*CK! slamming the steering wheel" while sliding through the dirt right before the impact looked the car over and it was still drivable surprising right? so the damage was a bent uni-body right before the sub-frame (totally pull-able but not worth the time since it would cost 5x as much to get it back to some what normal) inner tie rod end bent at like a 45 degree angle surprised it didn't break and a 3 inch deep dent in the back right side, but yup got me the next 10 miles to my buddy's and there it sat for 3 months till i figured out what to do and how to get it and how im guna get out to Vegas... had my 82 sitting in my yard not running thought screw it 13b 82 se swap here we go! END
ok so the build
87 13b with ~67k miles
Dellorto 48 dhla
SE suspension swap
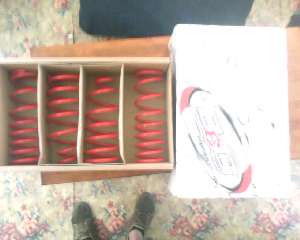
B&G sport springs
Tokico Blues
Full Energy Suspension Poly Bushing Kit
RB Header
RB Webber UIM
RB Aluminum flywheel
RB Mallory fuel pump and regulator
RB 12a to 13b front mount
Banzai Racing Poly motor mounts
SE oil pan and front cover
ACT full disk clutch and pressure plate kit
alot more stuff that i cant think that im trying to get or just dont remember
ill be posting pics on the weekends hopefully
OK so a little story, I (Sidney Steffen) live in WV planned on moving BACK to Las Vegas, NV on 3/23/13 in my 87 FC.This story begins 2/23/13. Being me liking to go against my gut instinct went for a drive in my almost mint 87 FC (not to mention it just got done snowing about 3 hours before i left) i started up the FC, pulled out of my driveway and took off down rout 50 (people out here know what im talking bout). I came up on some folks doing 35mph on the interstate and being that i was in back, (mind you roads are still slick and the passing lane still had some snow on it, i don't trust the way people drive so i don't like being in the back of the pack when the road conditions are bad) I hop in the passing lane and pass them all, being about 200 yards in front of the cars being passed i go to hop back into the right lane, and looky there a big chunk of ice that fell off someones running board.... i try to dodge it and hit it with my left rear tire and it kicked me to a full 90 degree slide and yup being some what of a drifter i throw the wheel for full counter steer and guess what it was coming back then me thinking with my head say damn if the back end comes back to fast it will throw to the other side and throw me into on coming traffic so i drop my counter steer and realize the back end is dropping out again so go full lock counter steer again and it was to late 50mph boom right into the guard rail me saying "F*CK! F*CK! F*CK! F*CK! slamming the steering wheel" while sliding through the dirt right before the impact looked the car over and it was still drivable surprising right? so the damage was a bent uni-body right before the sub-frame (totally pull-able but not worth the time since it would cost 5x as much to get it back to some what normal) inner tie rod end bent at like a 45 degree angle surprised it didn't break and a 3 inch deep dent in the back right side, but yup got me the next 10 miles to my buddy's and there it sat for 3 months till i figured out what to do and how to get it and how im guna get out to Vegas... had my 82 sitting in my yard not running thought screw it 13b 82 se swap here we go! END
ok so the build
87 13b with ~67k miles
Dellorto 48 dhla
SE suspension swap
B&G sport springs
Tokico Blues
Full Energy Suspension Poly Bushing Kit
RB Header
RB Webber UIM
RB Aluminum flywheel
RB Mallory fuel pump and regulator
RB 12a to 13b front mount
Banzai Racing Poly motor mounts
SE oil pan and front cover
ACT full disk clutch and pressure plate kit
alot more stuff that i cant think that im trying to get or just dont remember
ill be posting pics on the weekends hopefully
Thread Starter
slammin an jammin
iTrader: (6)
Joined: Feb 2012
Posts: 198
Likes: 0
From: Parkersburg, WV
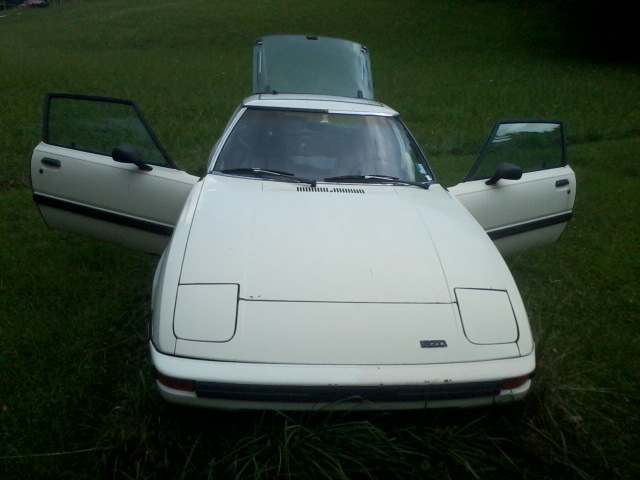
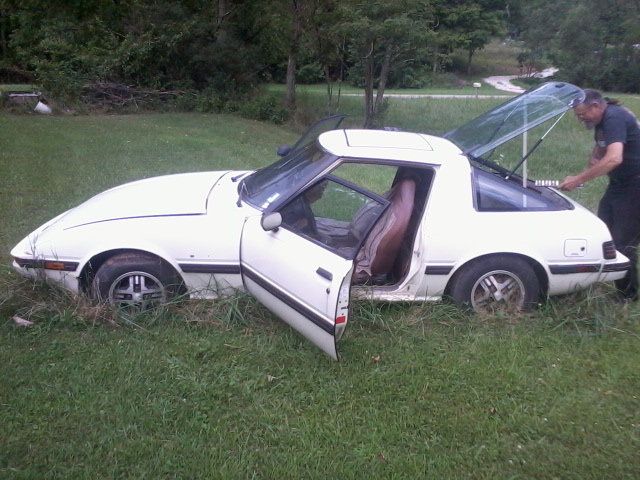
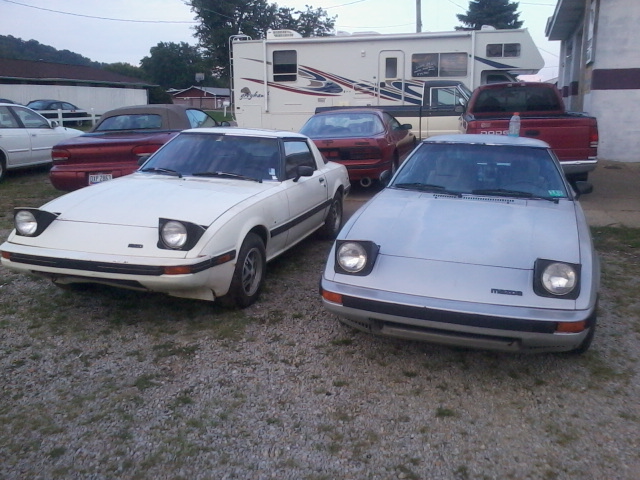
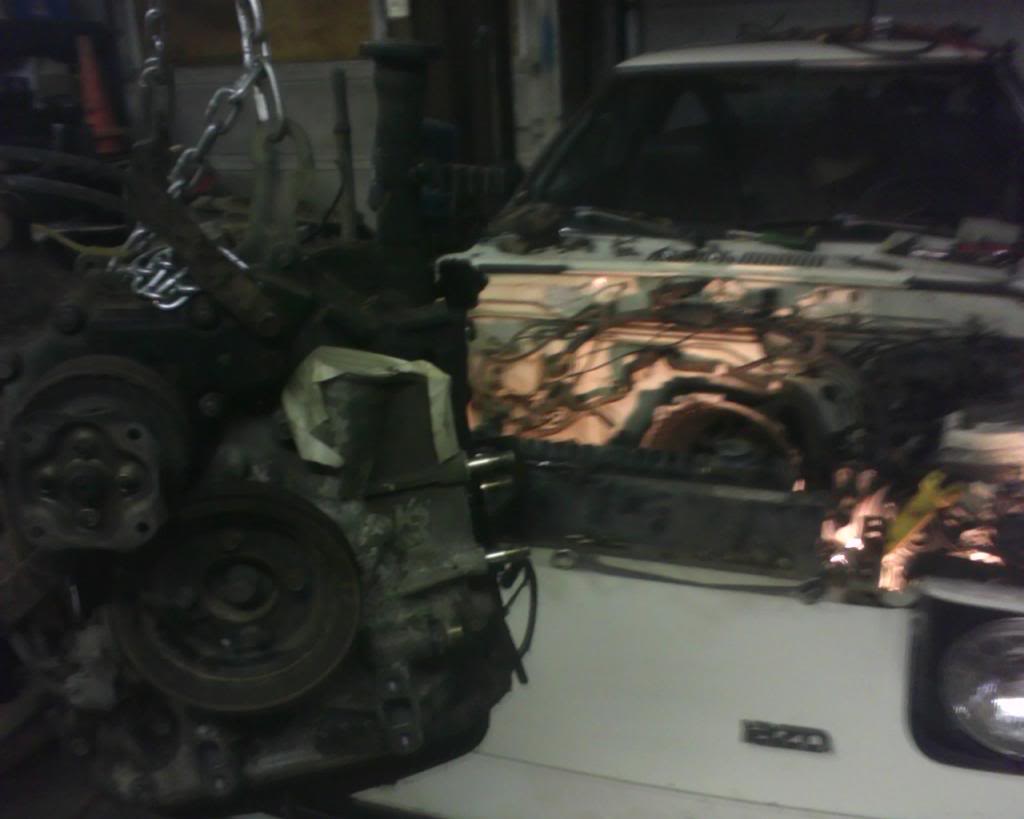
some pics like promised
the day i found it and the day i told the guy ill buy it and ill be back in a month to pay(luckly he said ok it will be waiting haha)
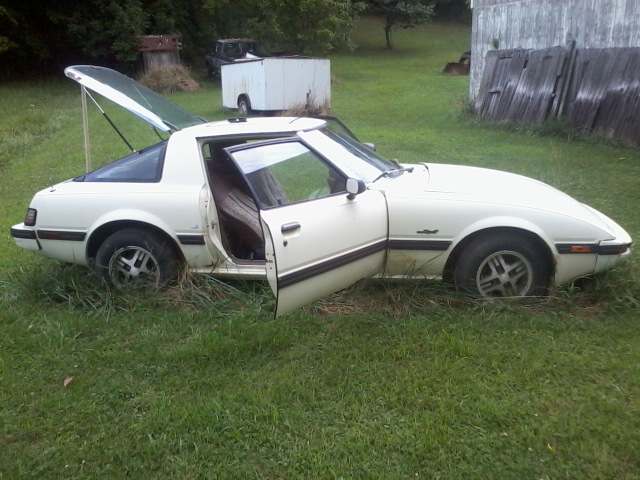
the guy i bought it off of
next to my 85
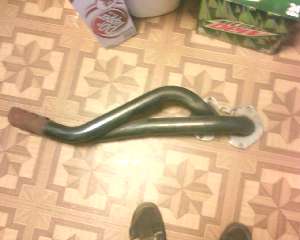
my 13b header
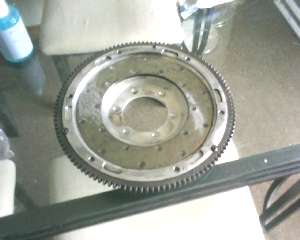
aluminum flywheel
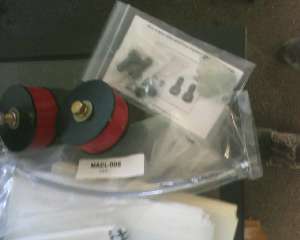
Banzai stuff omp block off ss clutch hose and poly motormounts
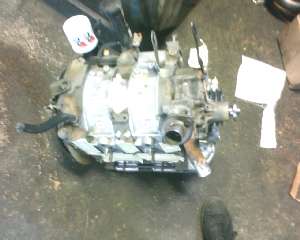
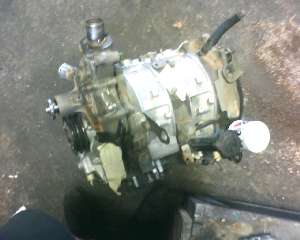
the donor 13b block
[imghttp://i656.photobucket.com/albums/uu290/theexploited1/Mobile%20Uploads/IMG00112.jpg[/img]
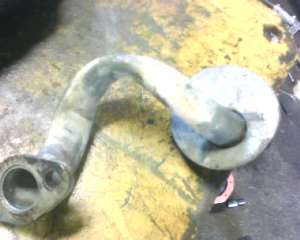
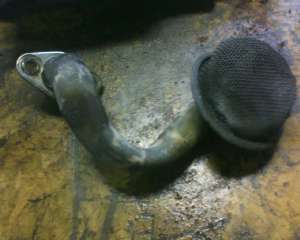
oil pickup tube modified(sketchy to do just buy one much easier)
the day i found it and the day i told the guy ill buy it and ill be back in a month to pay(luckly he said ok it will be waiting haha)
the guy i bought it off of
next to my 85
my 13b header
aluminum flywheel
Banzai stuff omp block off ss clutch hose and poly motormounts
the donor 13b block
[imghttp://i656.photobucket.com/albums/uu290/theexploited1/Mobile%20Uploads/IMG00112.jpg[/img]
oil pickup tube modified(sketchy to do just buy one much easier)
Thread Starter
slammin an jammin
iTrader: (6)
Joined: Feb 2012
Posts: 198
Likes: 0
From: Parkersburg, WV
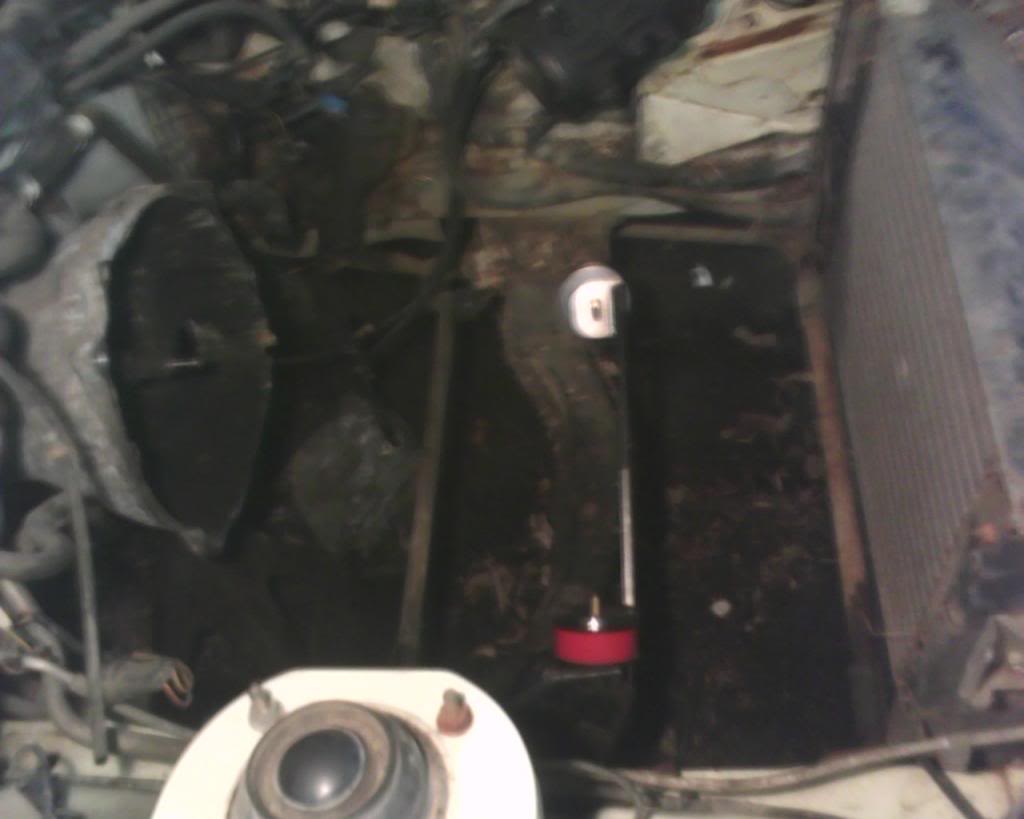
sorry for the small pics my phone downsizes them when i upload them....
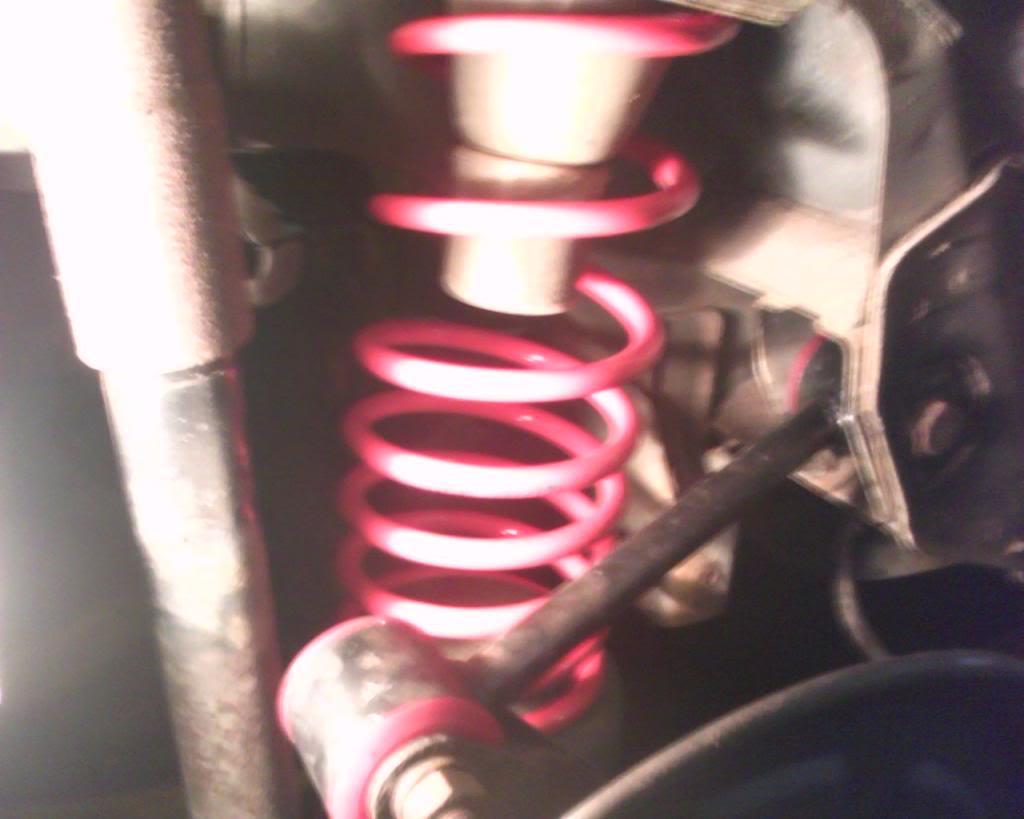
B&G sport springs
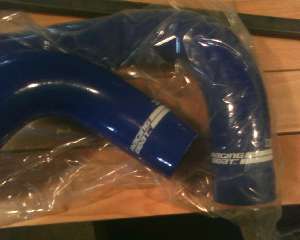
RB silicone rad hoses
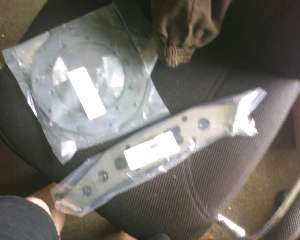
RB friction disk for the flywheel and RB 12a to 13b front mount
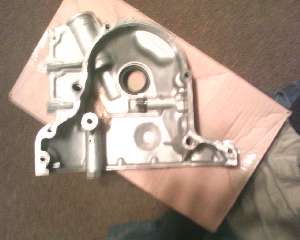
SE front cover
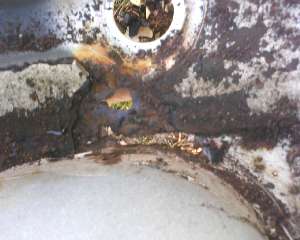
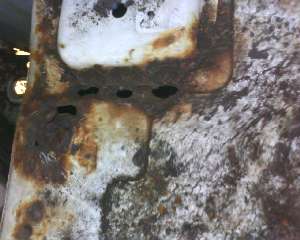
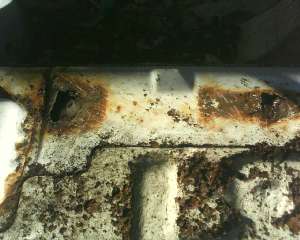
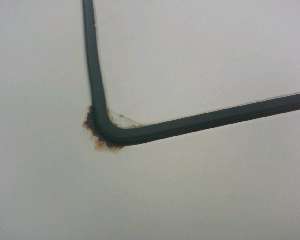
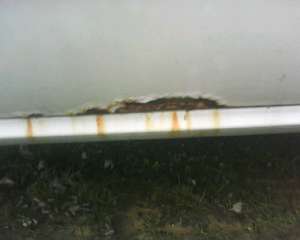
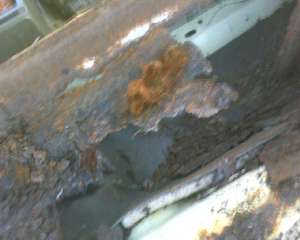
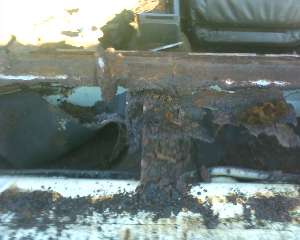
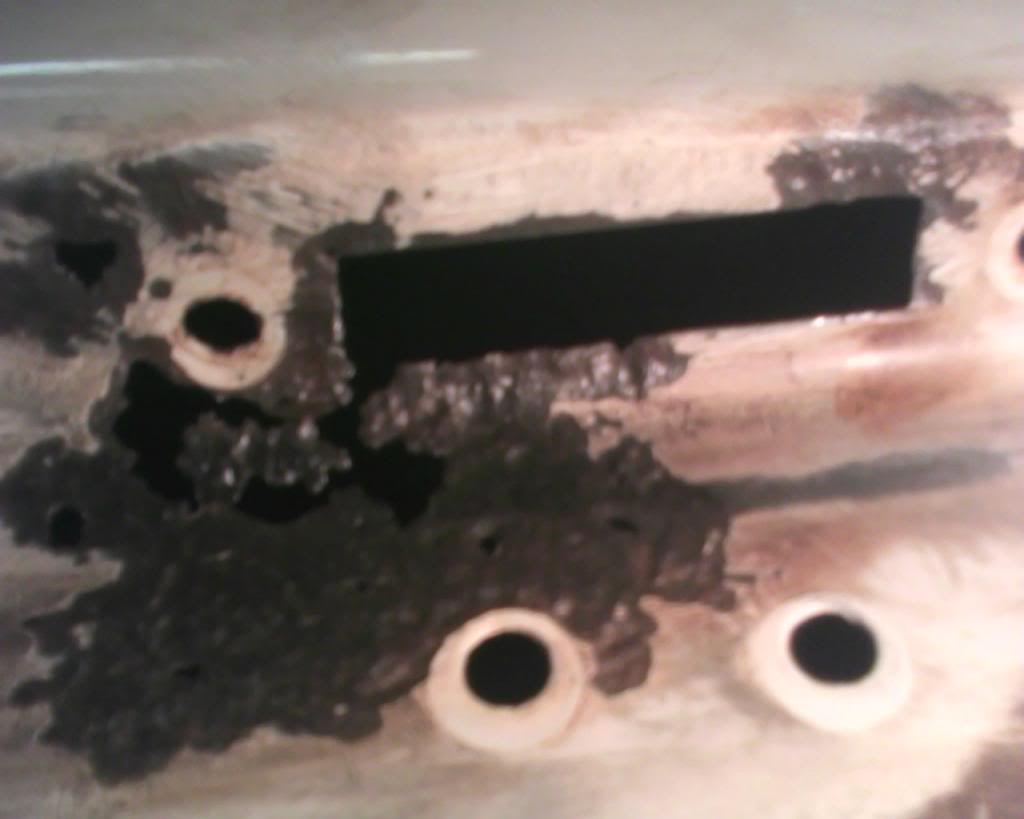
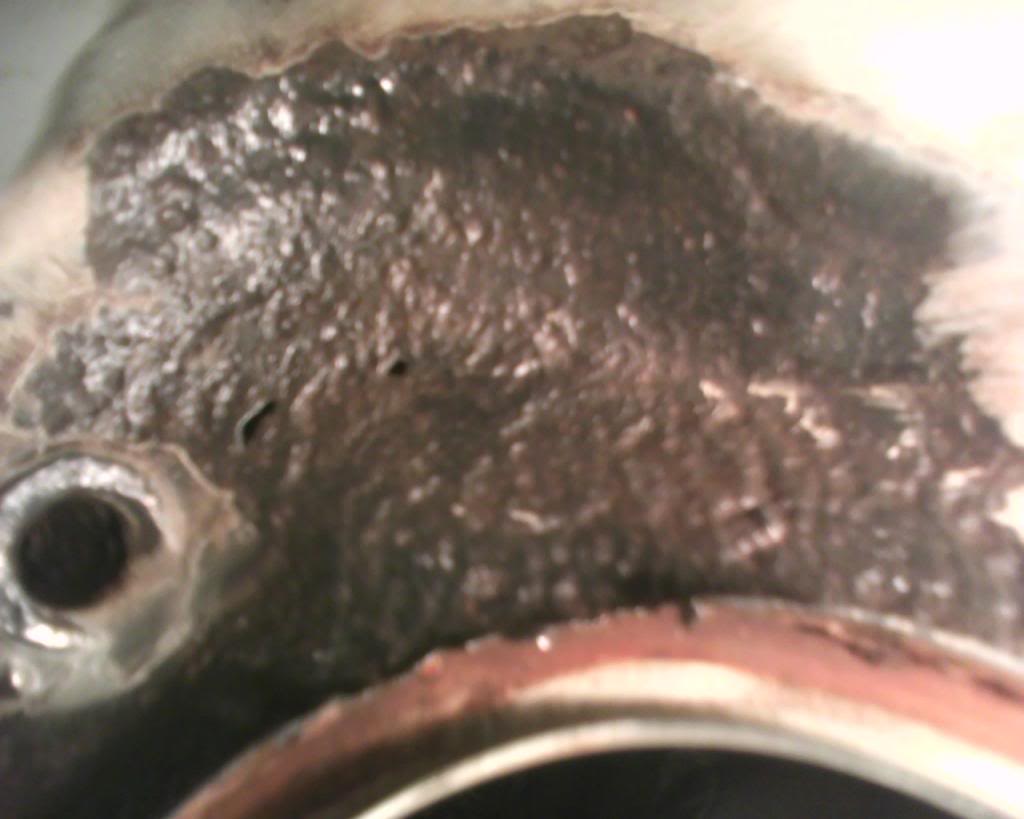
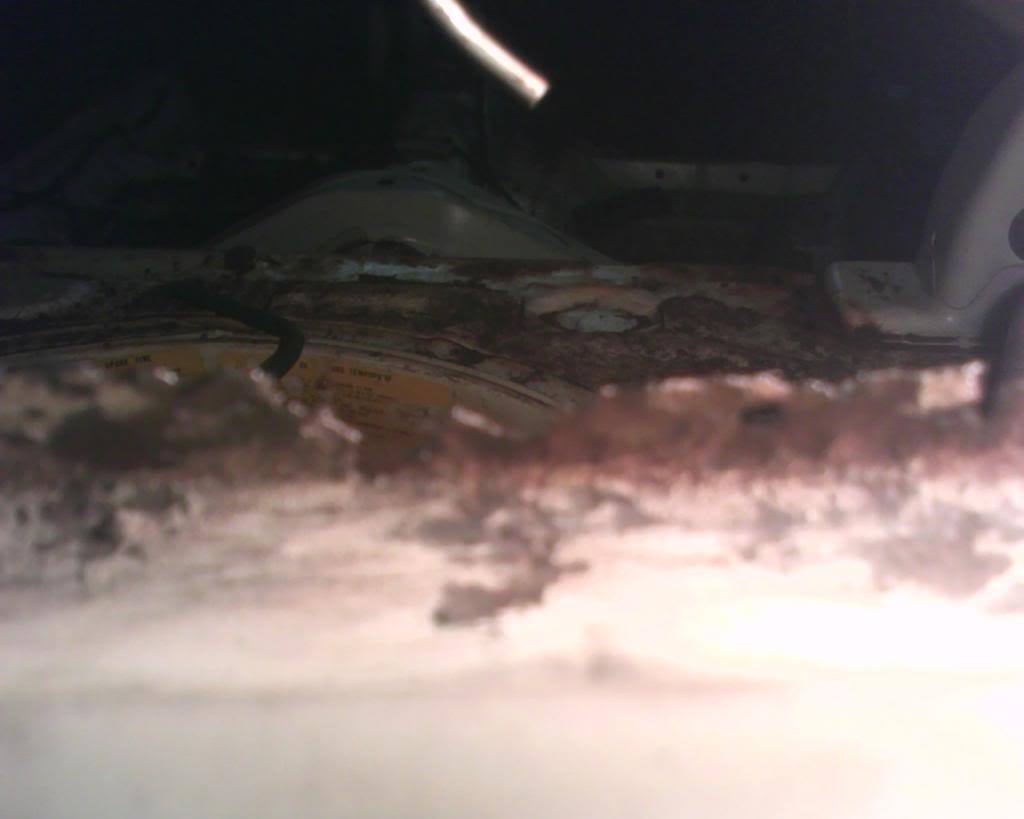
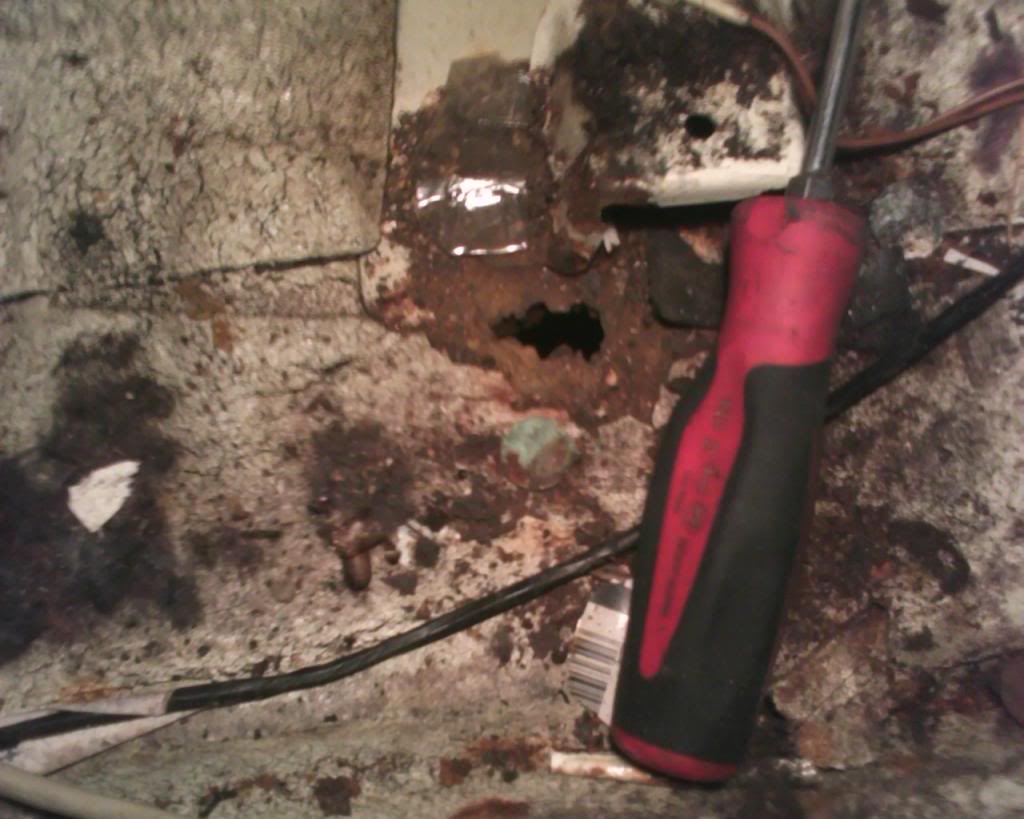
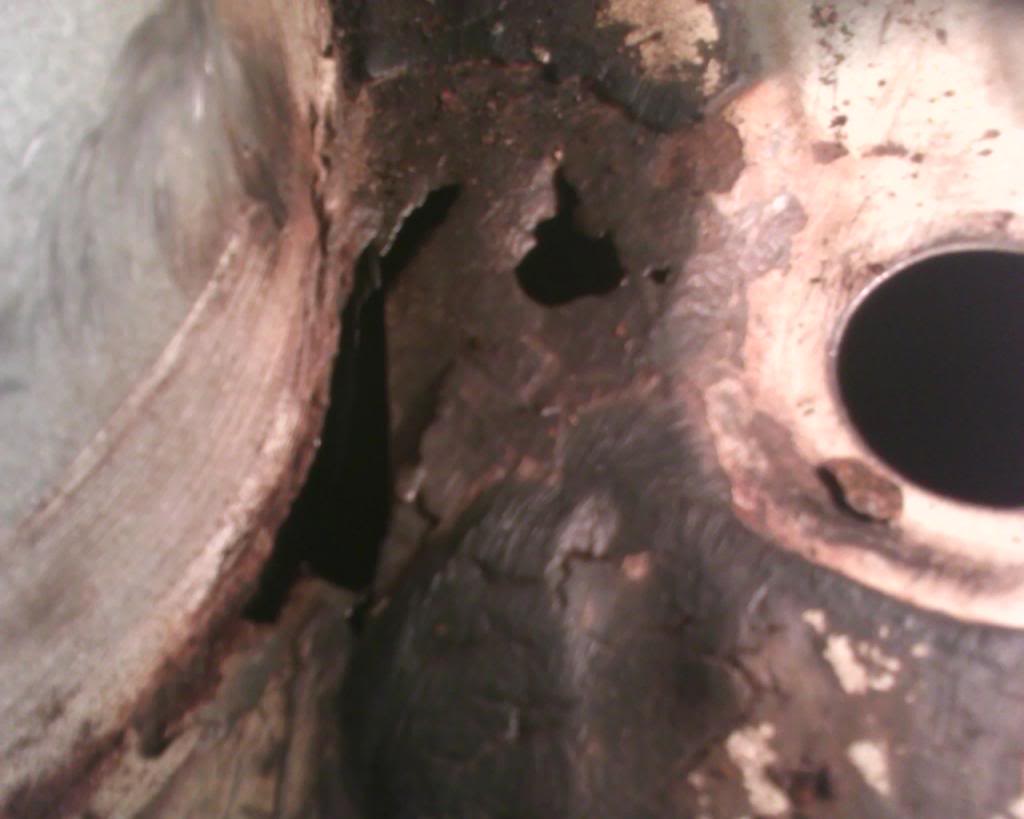
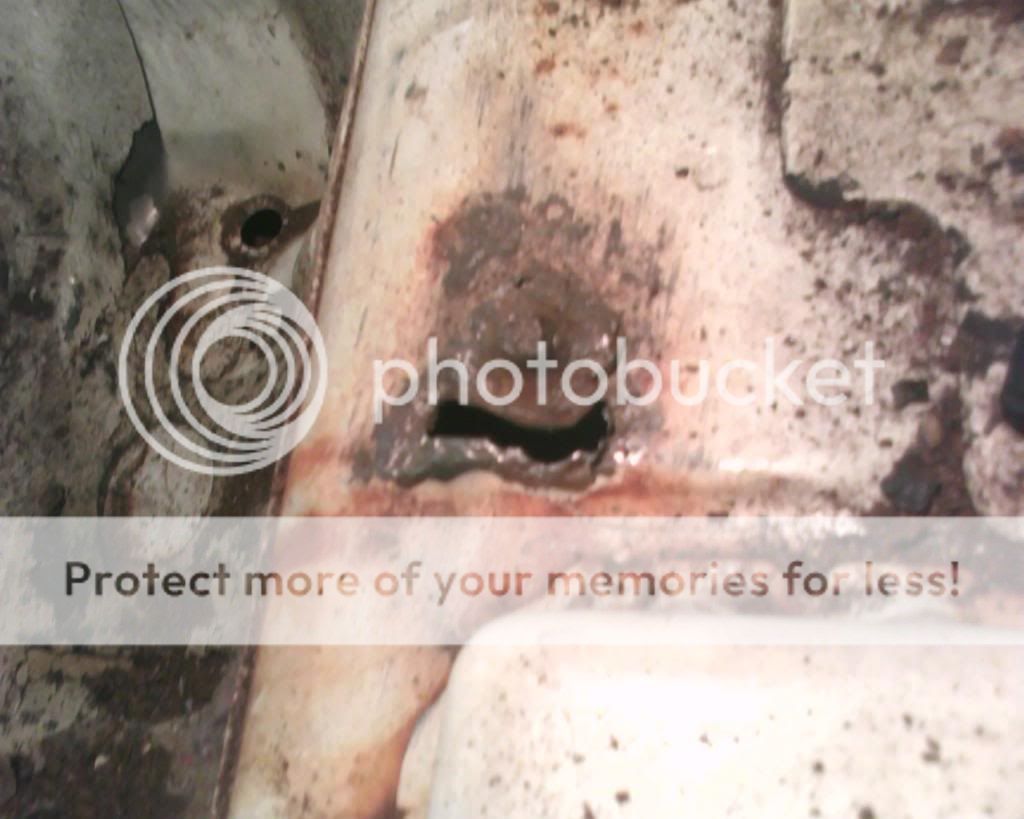
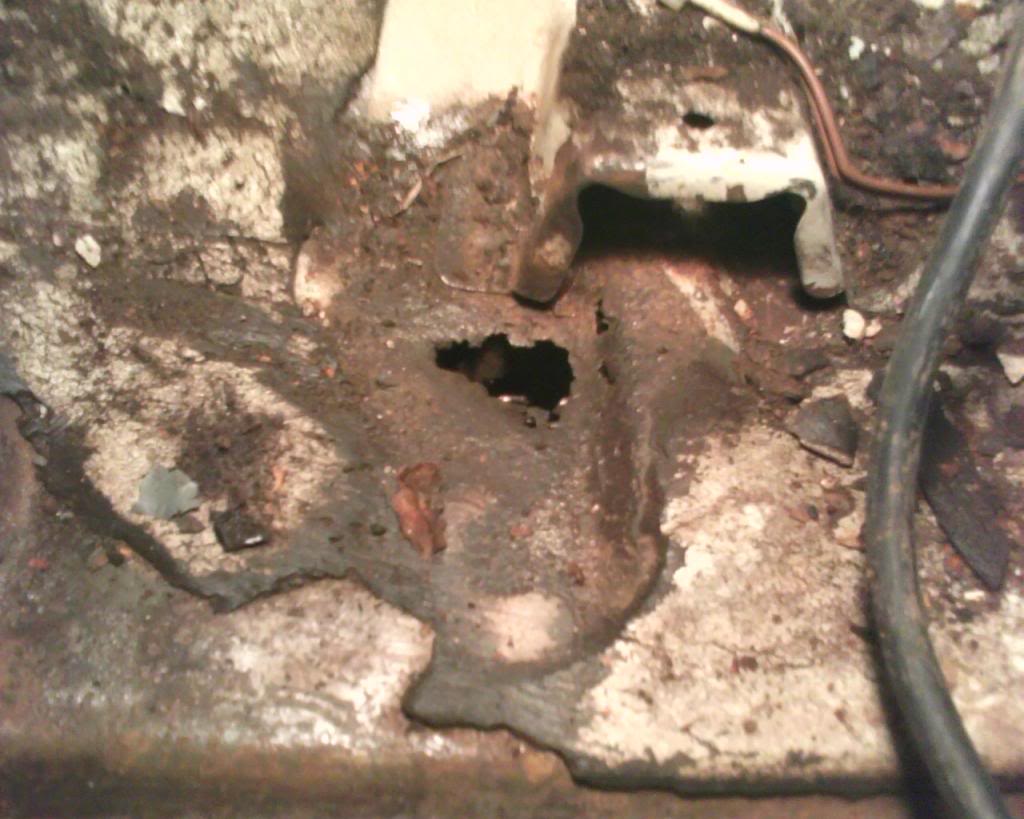
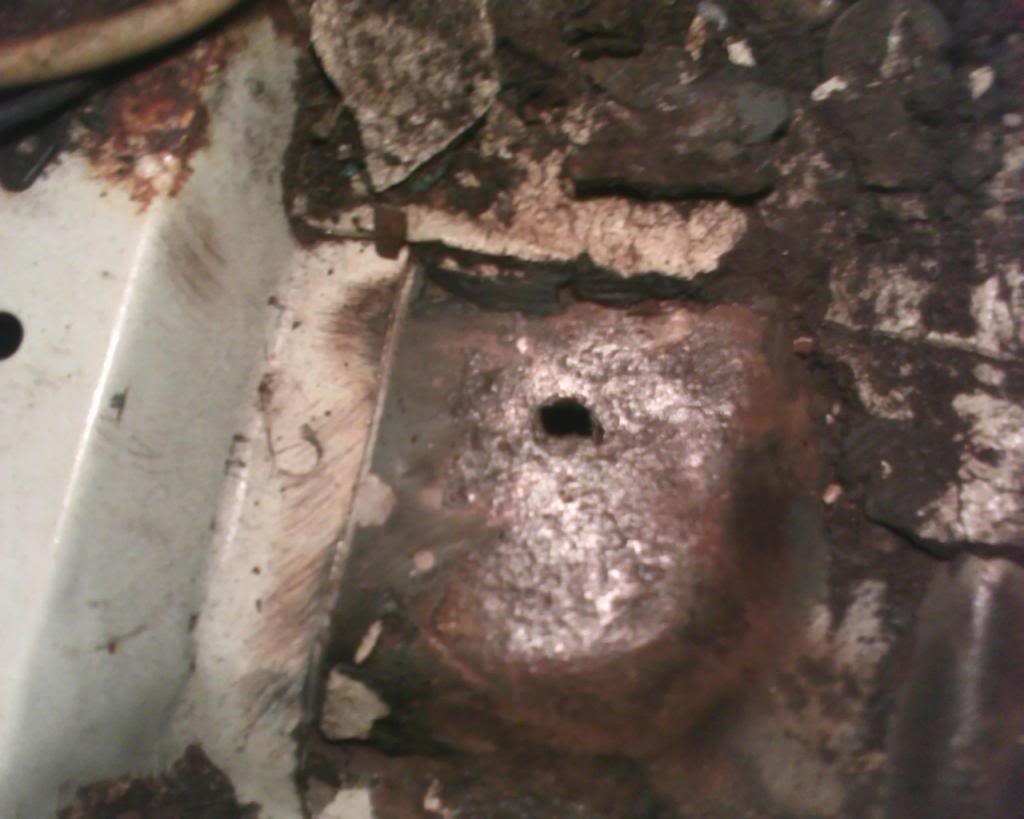
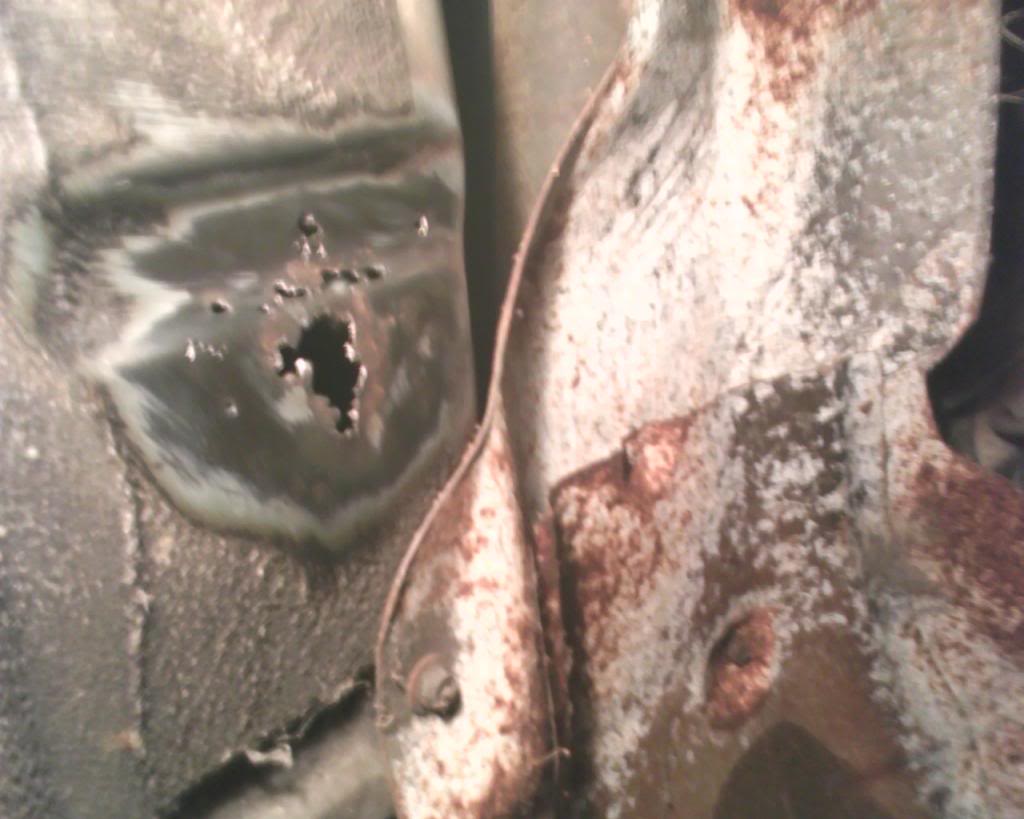
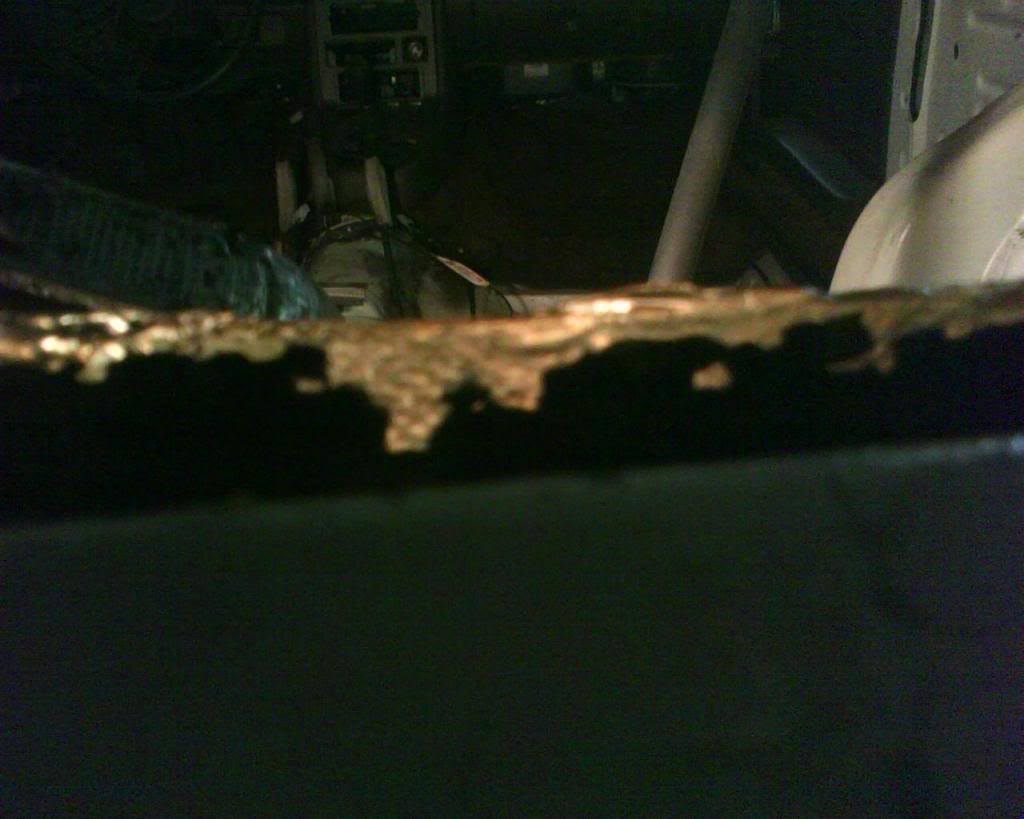
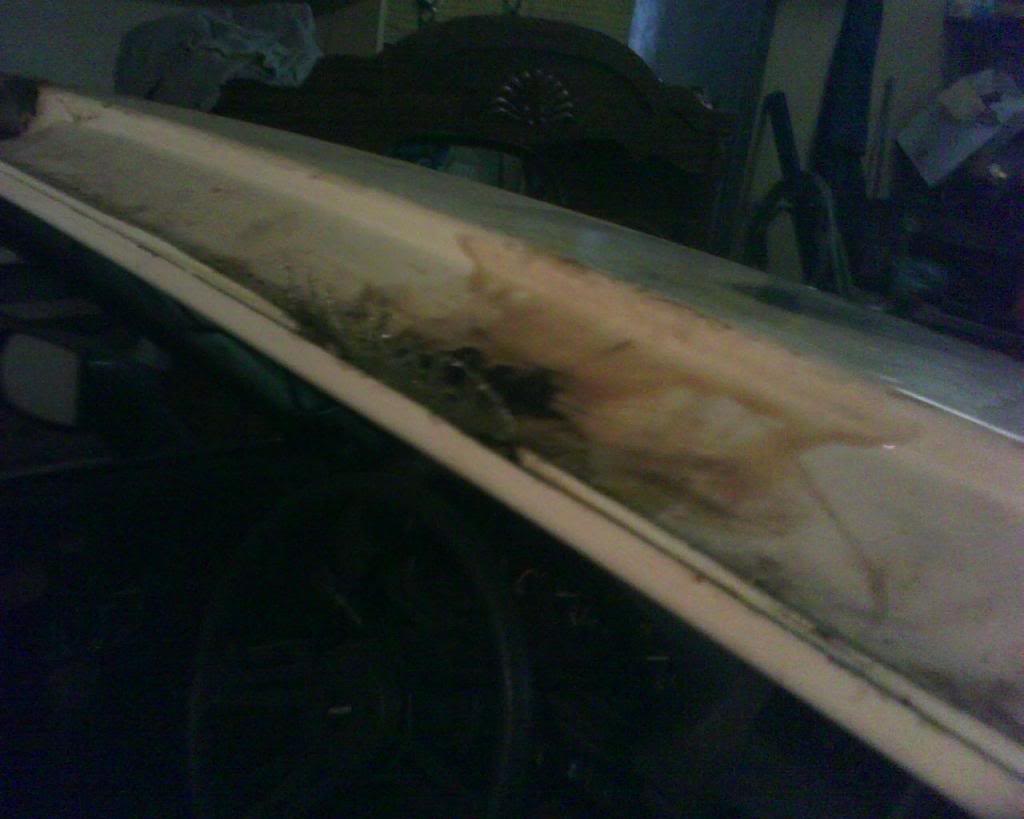
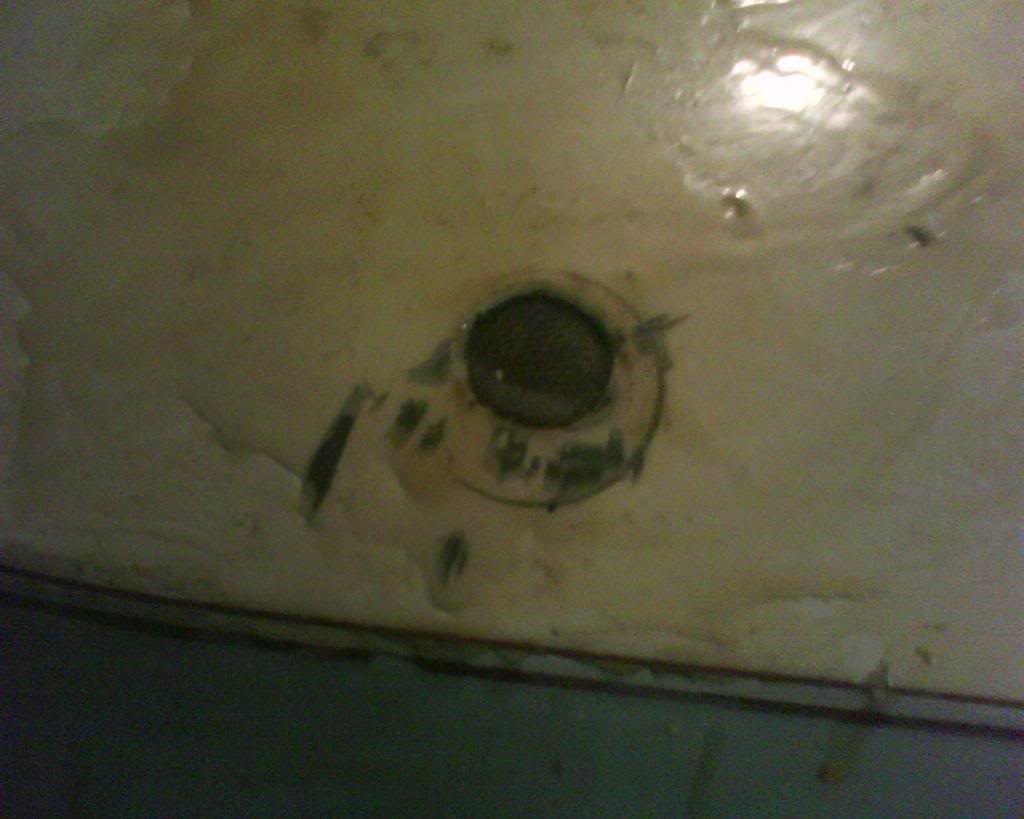
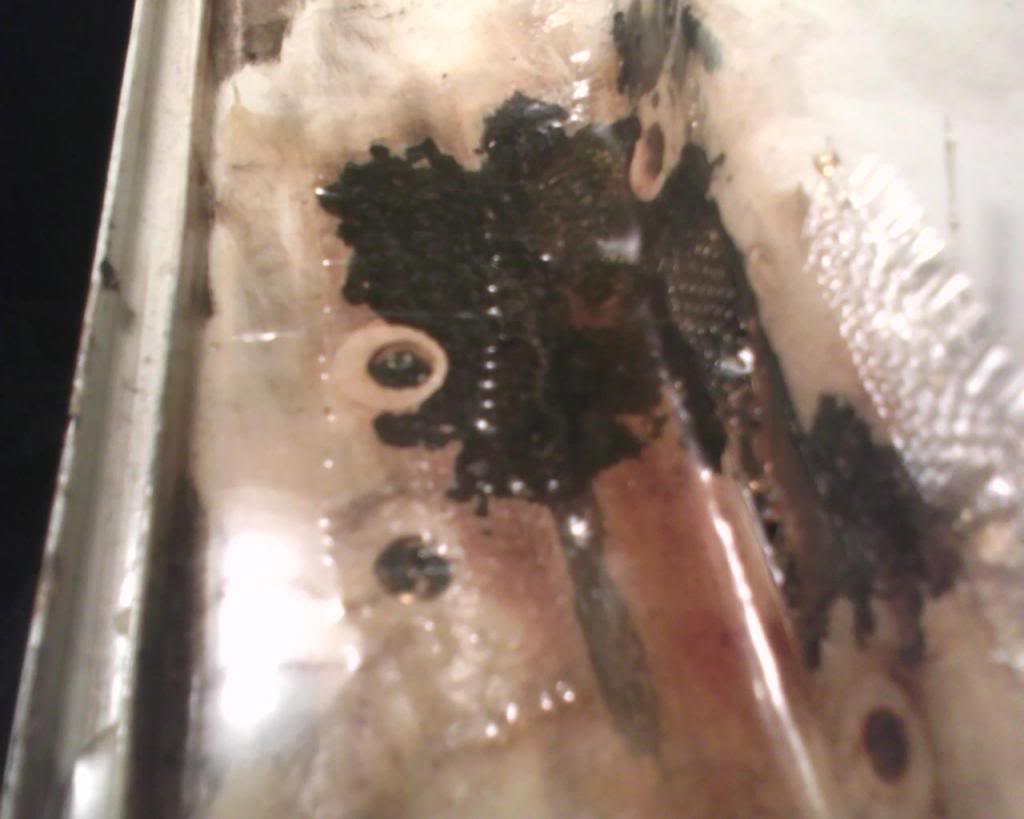
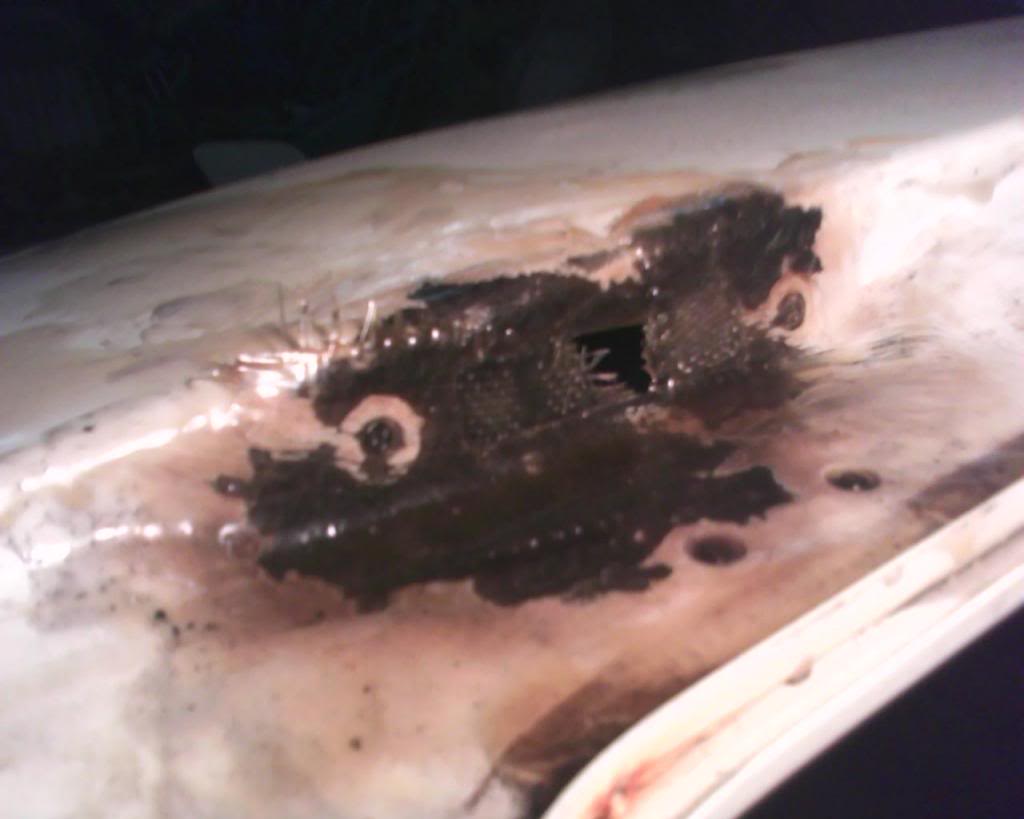
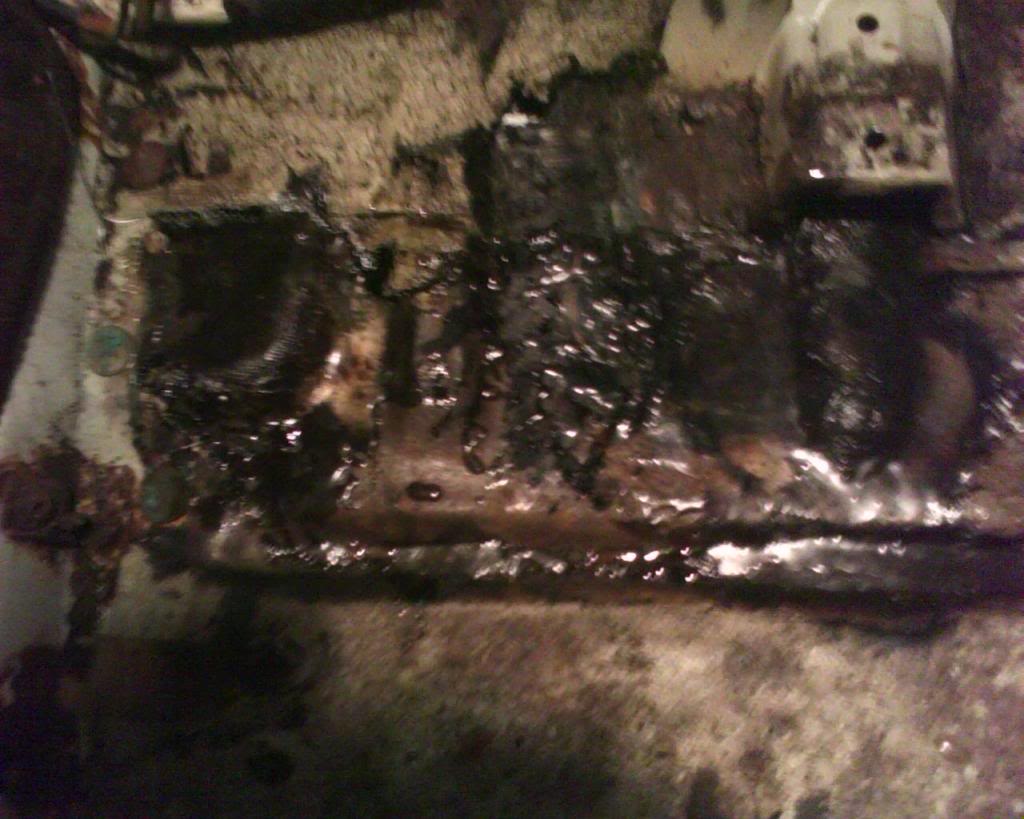
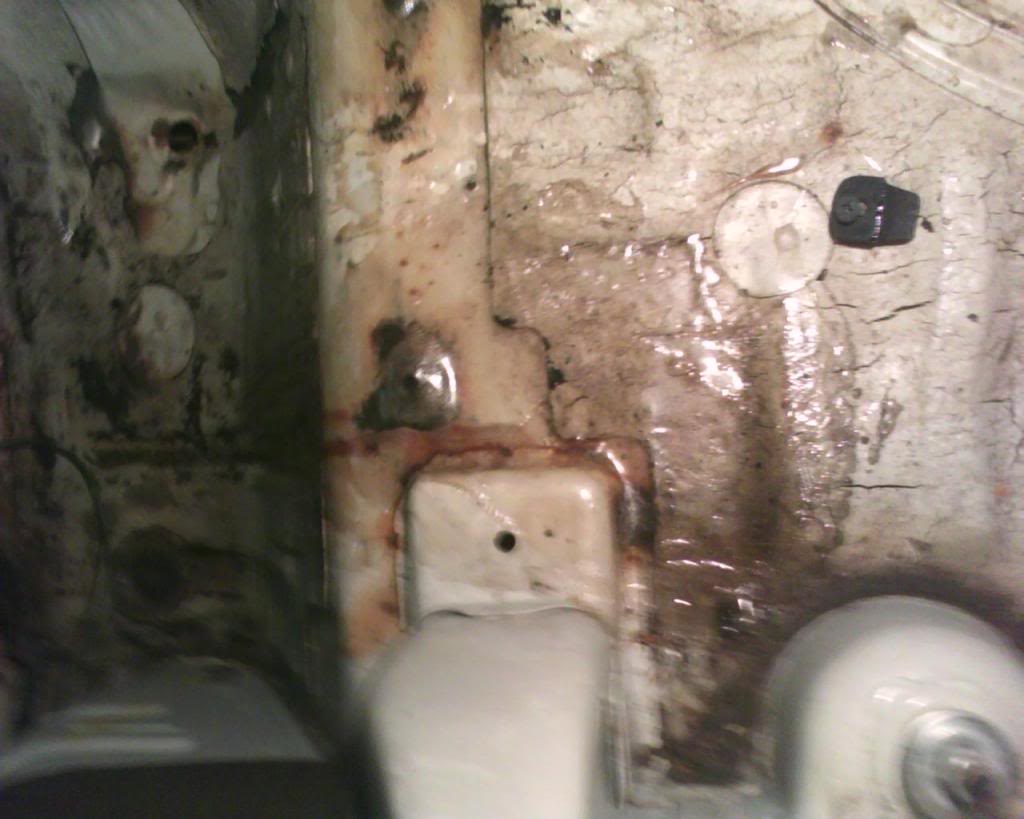
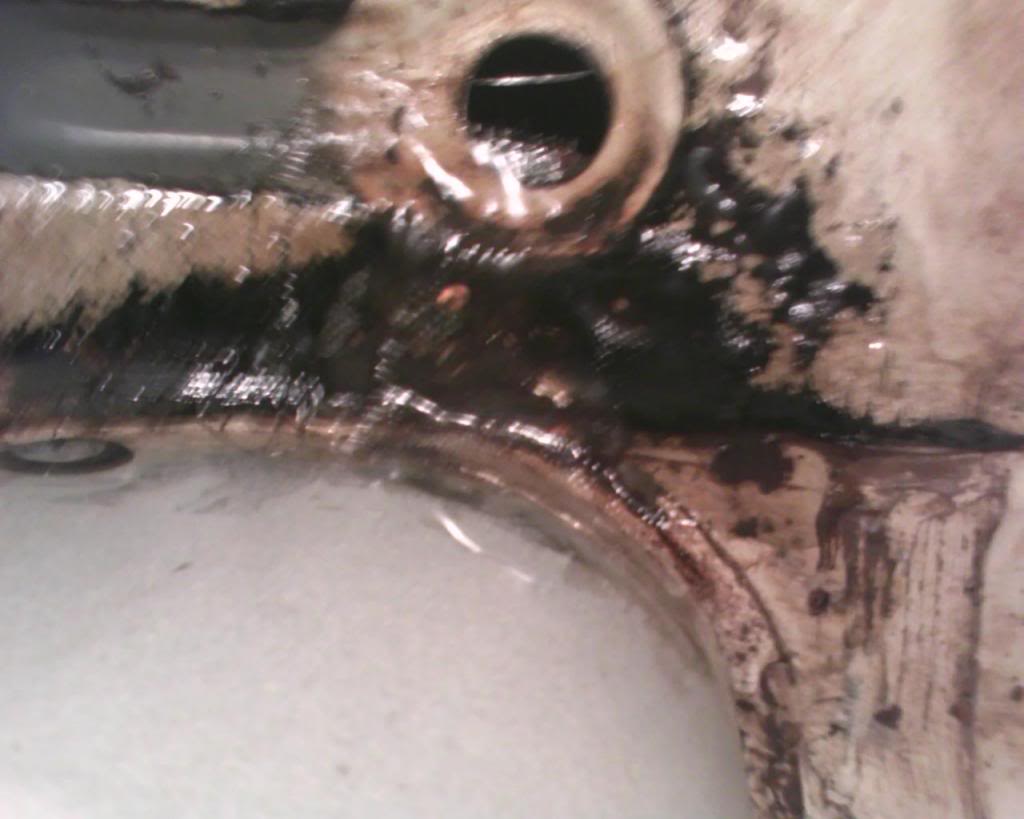
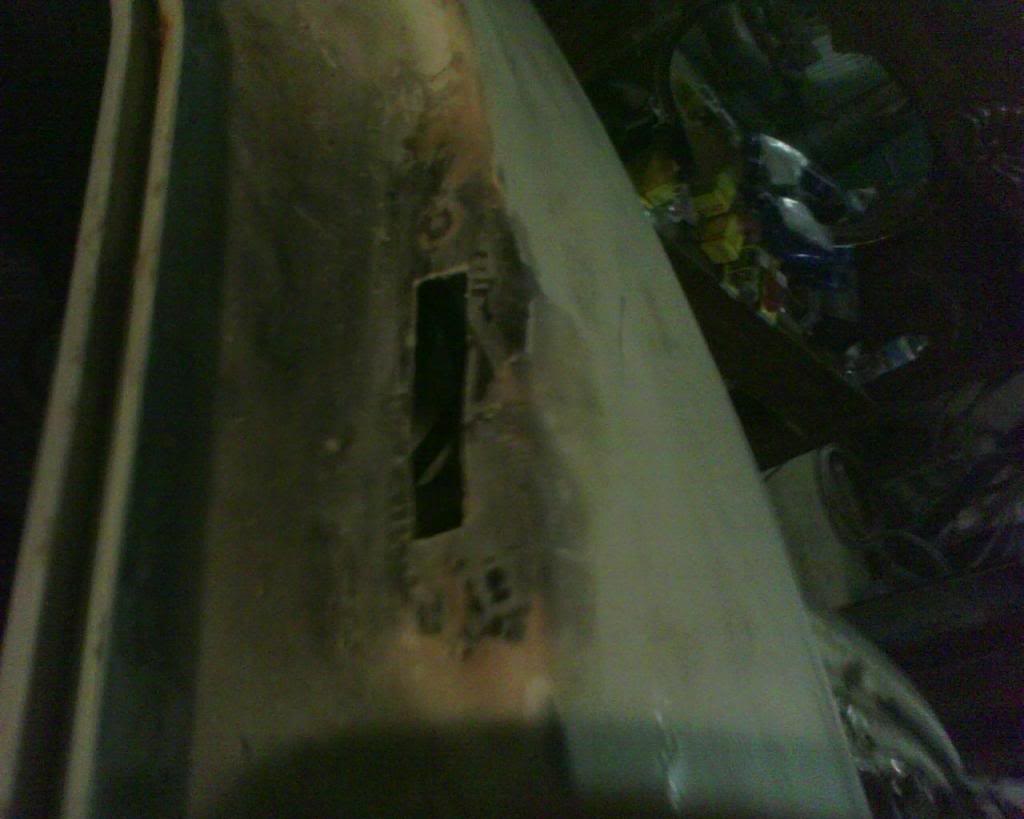
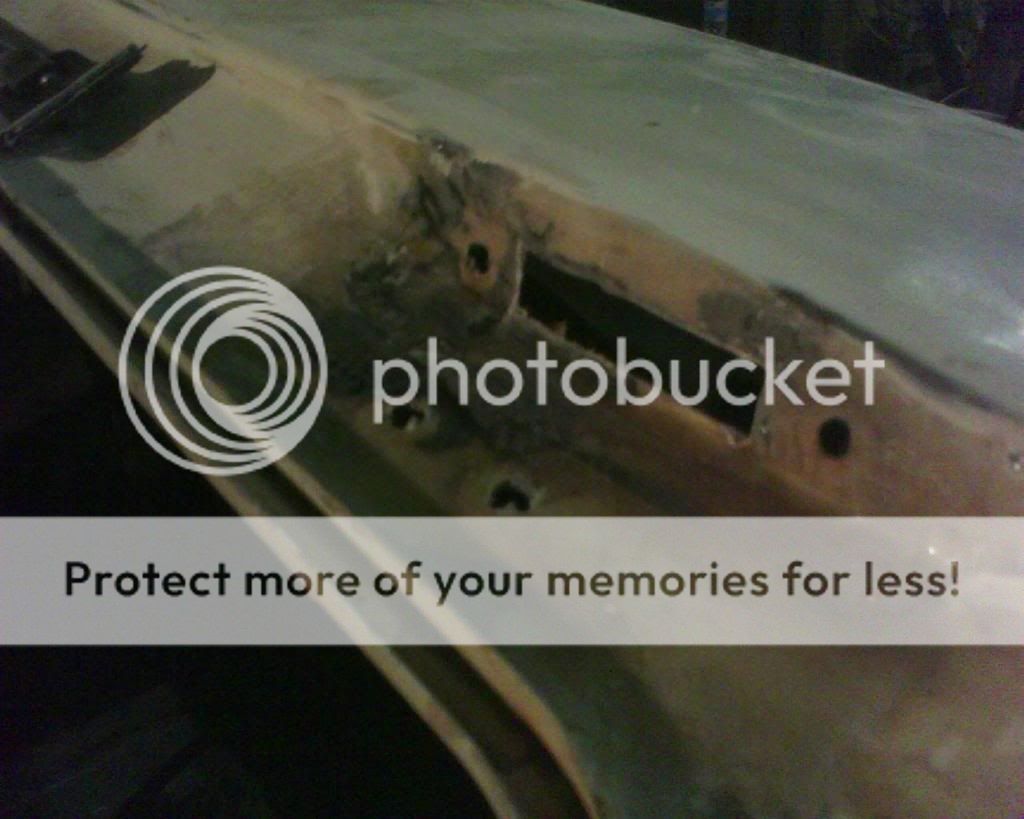
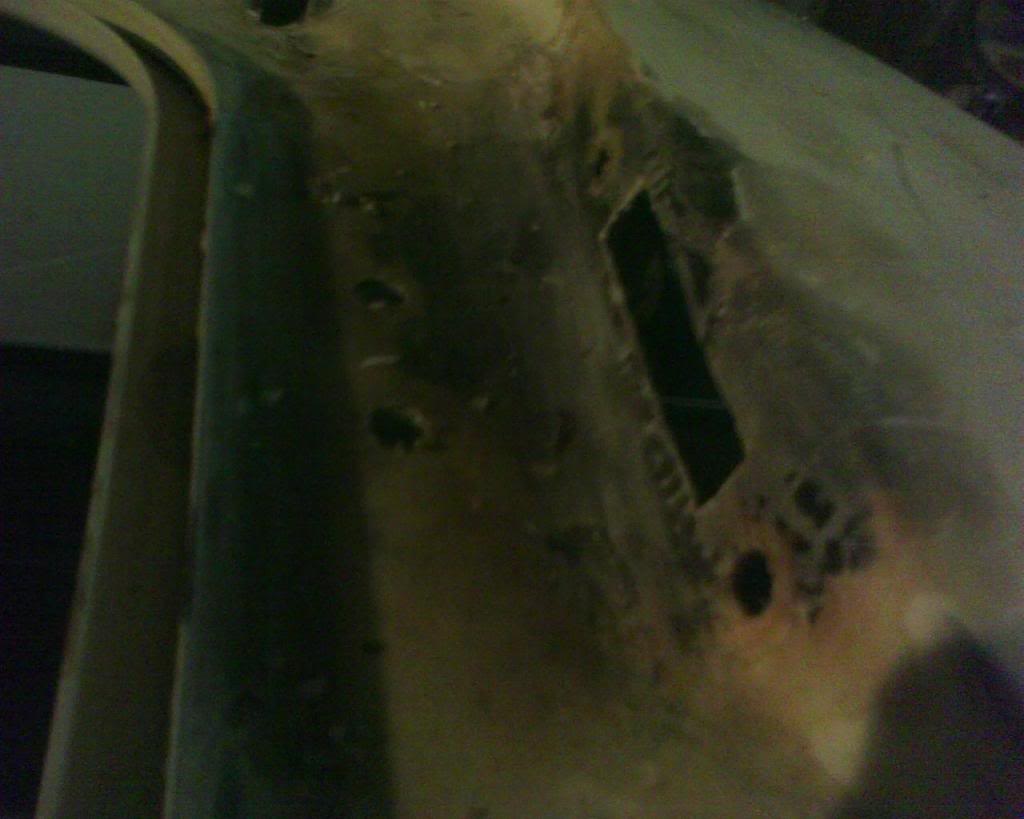
RUST!!!!! OH GOD RUST!!!!
B&G sport springs
RB silicone rad hoses
RB friction disk for the flywheel and RB 12a to 13b front mount
SE front cover
RUST!!!!! OH GOD RUST!!!!
Thread Starter
slammin an jammin
iTrader: (6)
Joined: Feb 2012
Posts: 198
Likes: 0
From: Parkersburg, WV
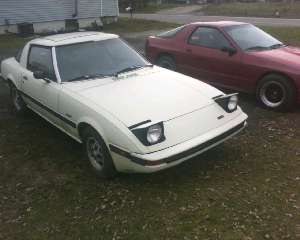
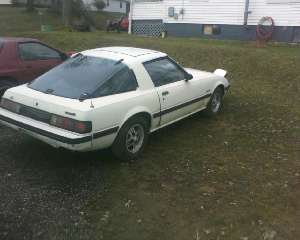
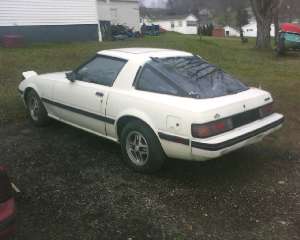
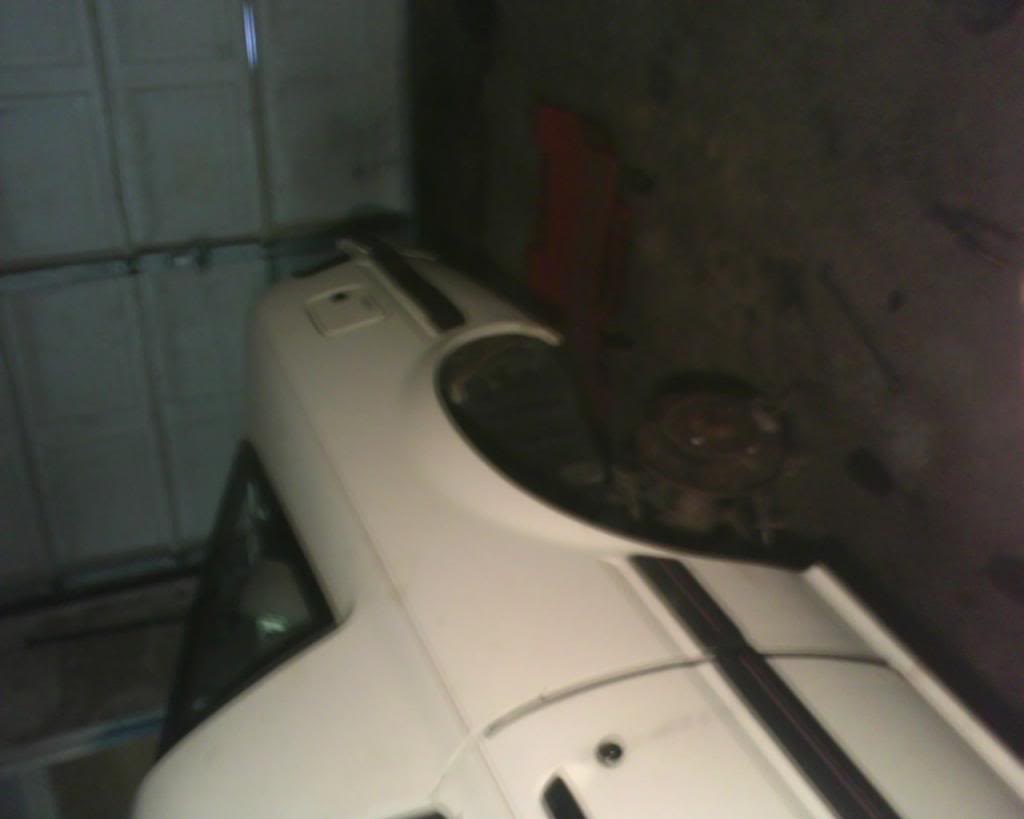
glammer shots next to the 87
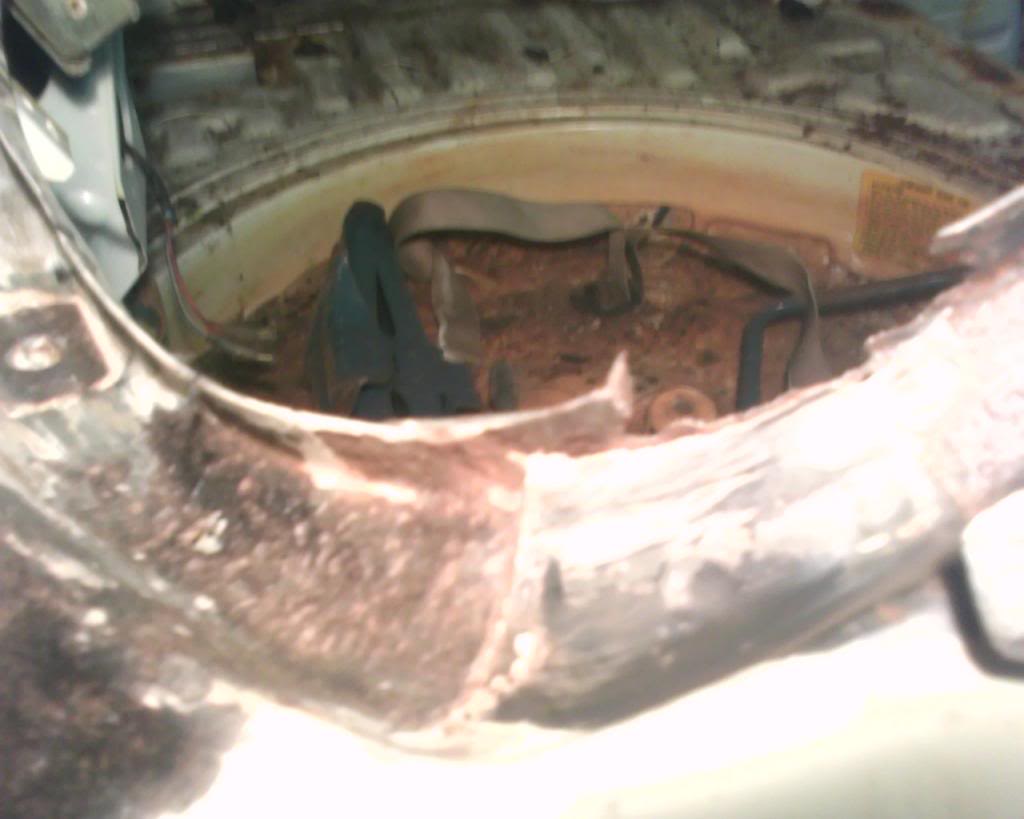
what bins when i got it they were flaps (rusted out bin shells w/e you call em]

more to come guna load the rest of the pics onto a micro sd so they come out the right size
and sorry about them being all mixed up and what not like i said i dont record stuff so its guna be a little off time haha i already have the rear end out and the engine out so some pics on the rear end/s sadly forgot to take pics of the engine pull but im pretty sure everyone knows what and engine getting pulled looks like
what bins when i got it they were flaps (rusted out bin shells w/e you call em]
more to come guna load the rest of the pics onto a micro sd so they come out the right size
and sorry about them being all mixed up and what not like i said i dont record stuff so its guna be a little off time haha i already have the rear end out and the engine out so some pics on the rear end/s sadly forgot to take pics of the engine pull but im pretty sure everyone knows what and engine getting pulled looks like

Thread Starter
slammin an jammin
iTrader: (6)
Joined: Feb 2012
Posts: 198
Likes: 0
From: Parkersburg, WV
haha na not to bad, not putting the bins back in. everything else is easy flowing so far, engine bay looks amazing, no rust in wheel wells, so looking pretty good. but i did find a spot of bondo about an inch thick between the passenger side door and the wheel well, im just guna flow with it im not worried about it atm just tryin to get it goin so i can move haha
Thread Starter
slammin an jammin
iTrader: (6)
Joined: Feb 2012
Posts: 198
Likes: 0
From: Parkersburg, WV
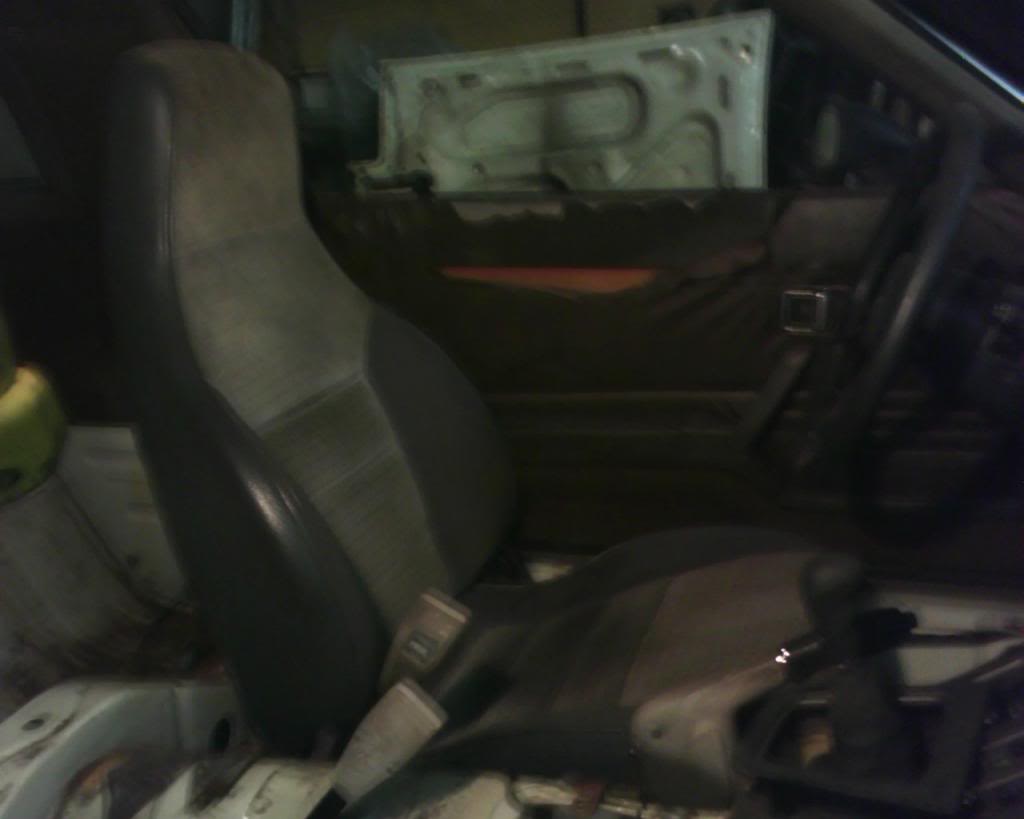
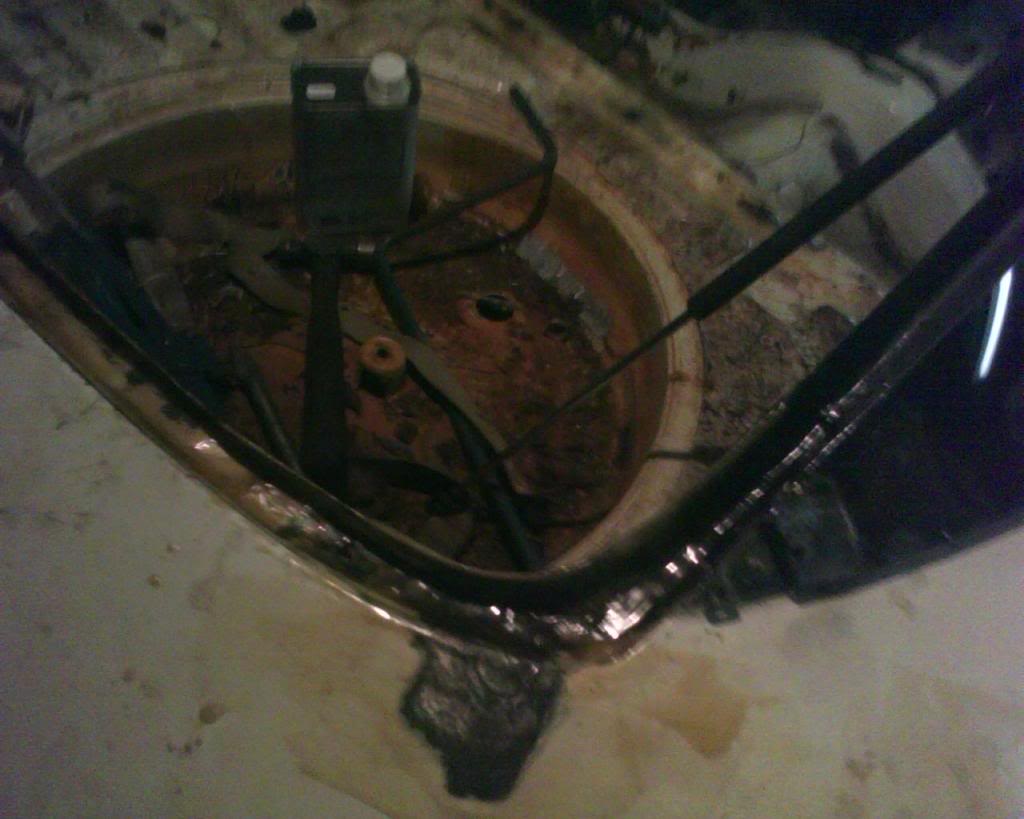
hey yall back for another round of pics so i stole the seats out of my fc to put in this gem haha and got the rear end set in still waiting to get a clutch so i can drop the motor... and still waiting to get some tokicos so i can build my front struts but so far so good found a little more rust but nothing a little bit of sheet metal and my awesome welding coworker cant help me fix. oh and i found a before and after engine pull takin about 5 min from eachother haha
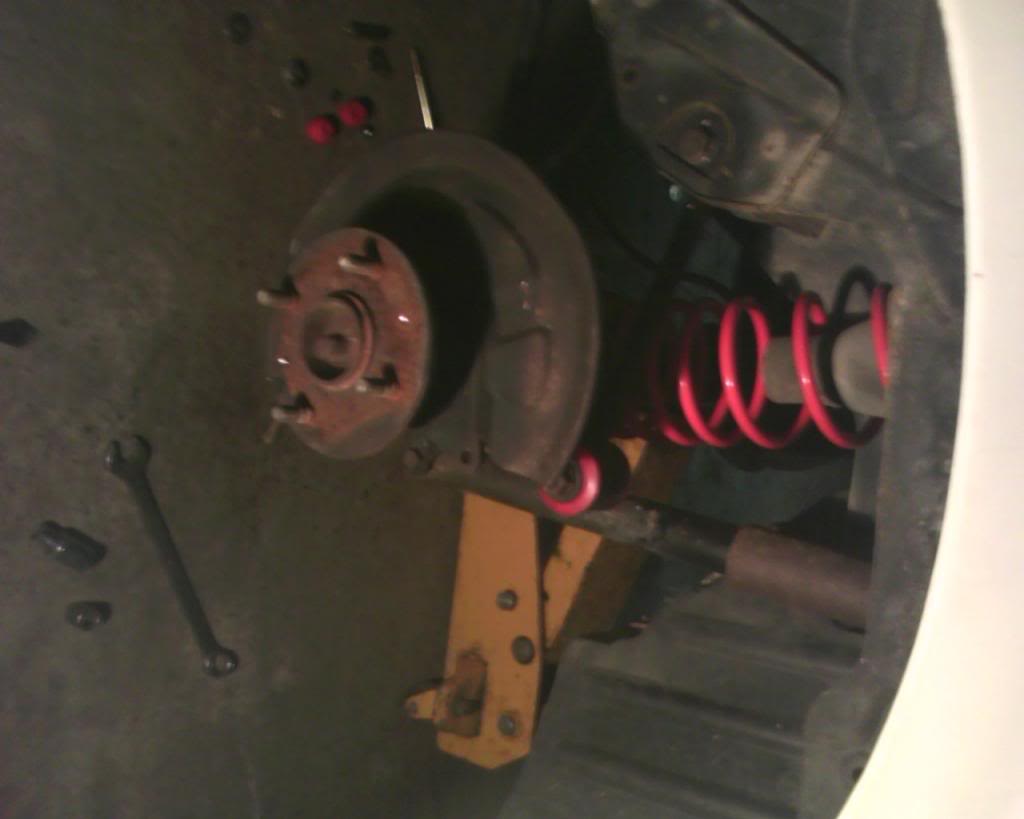
rear end before
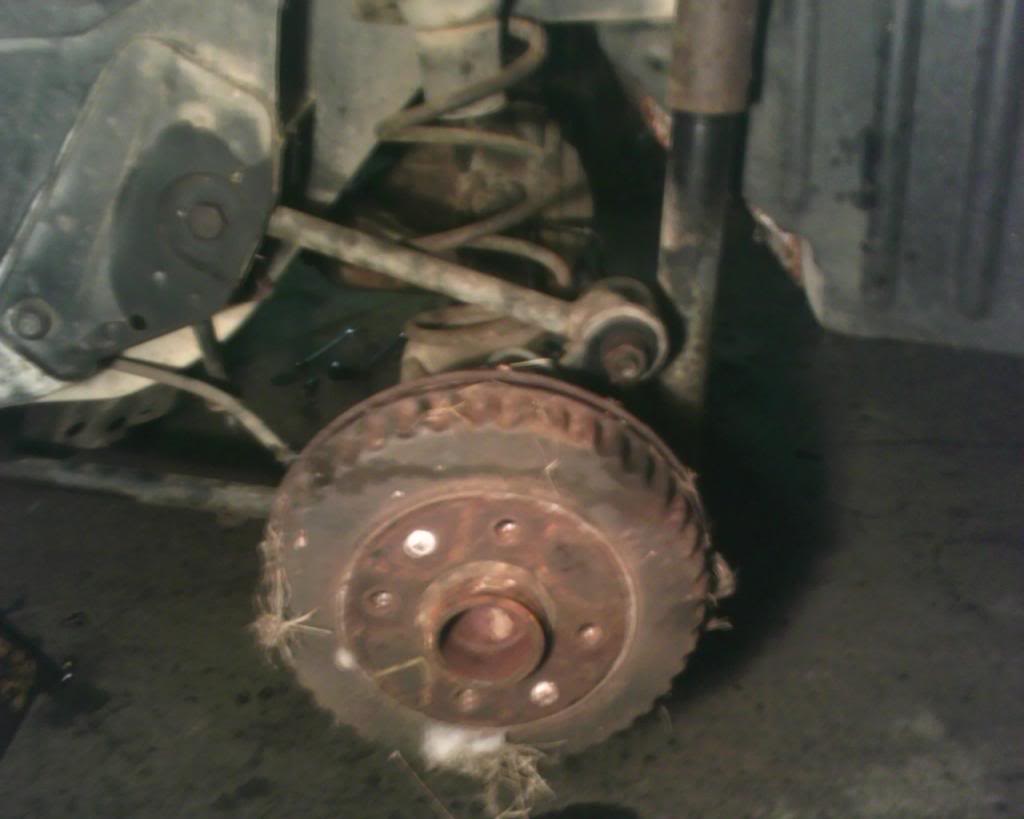
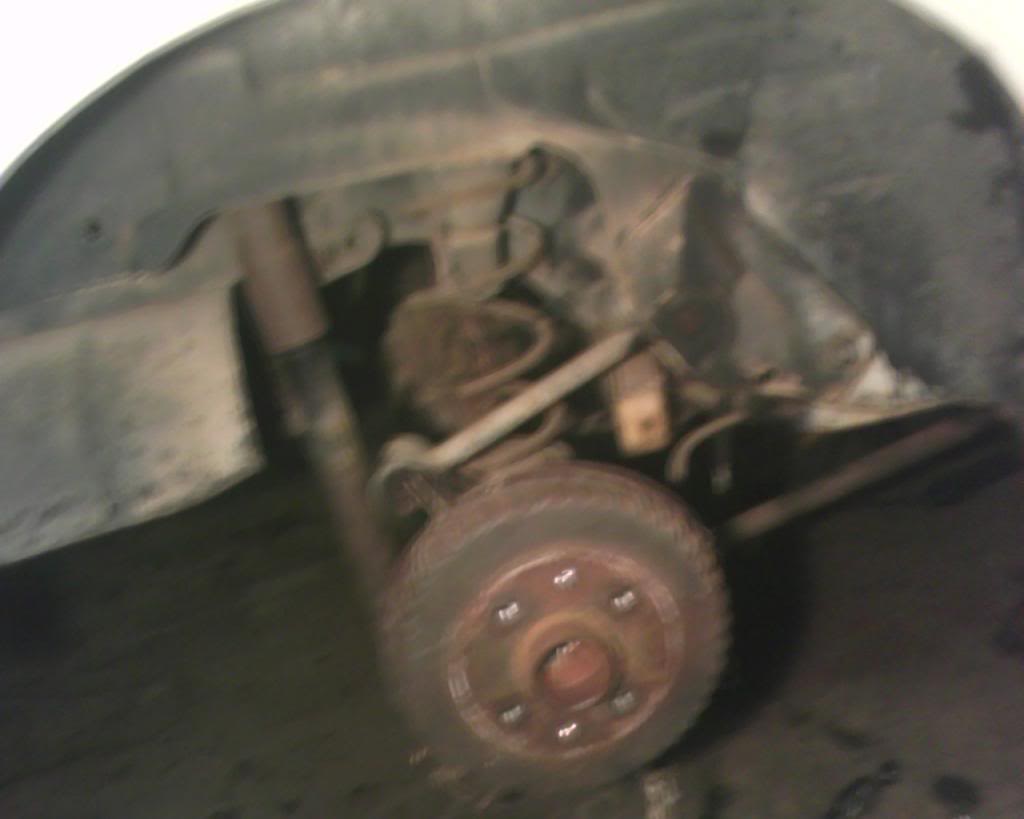

se rear end
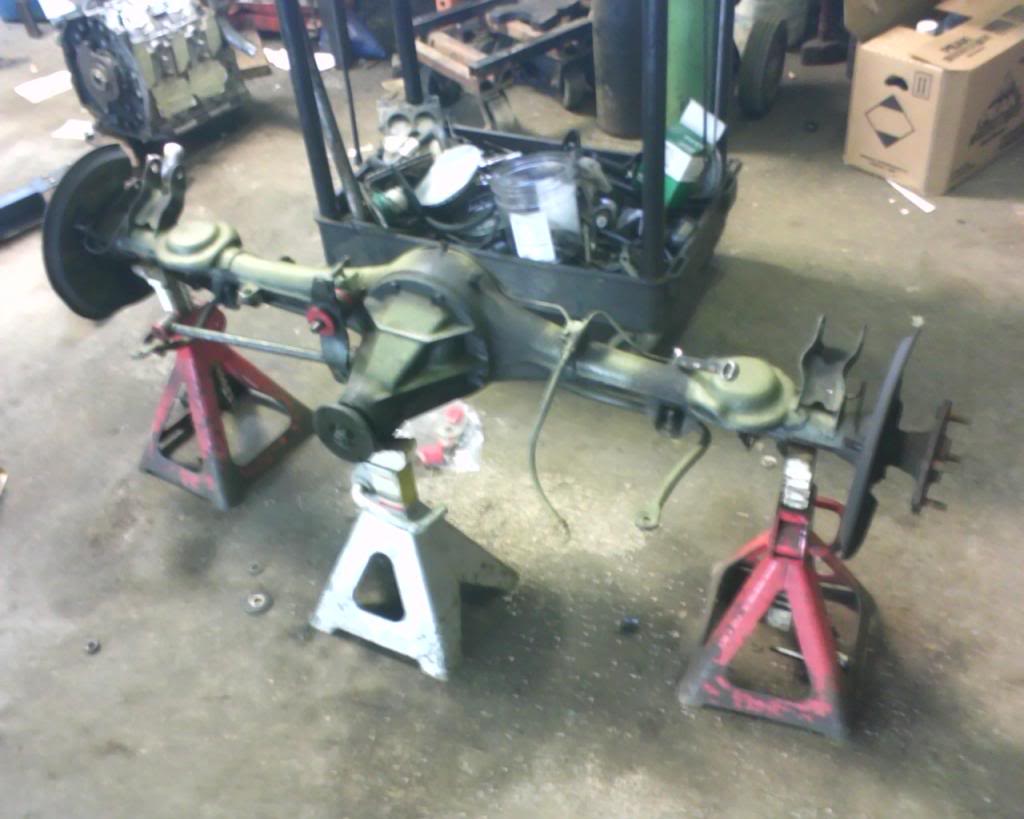
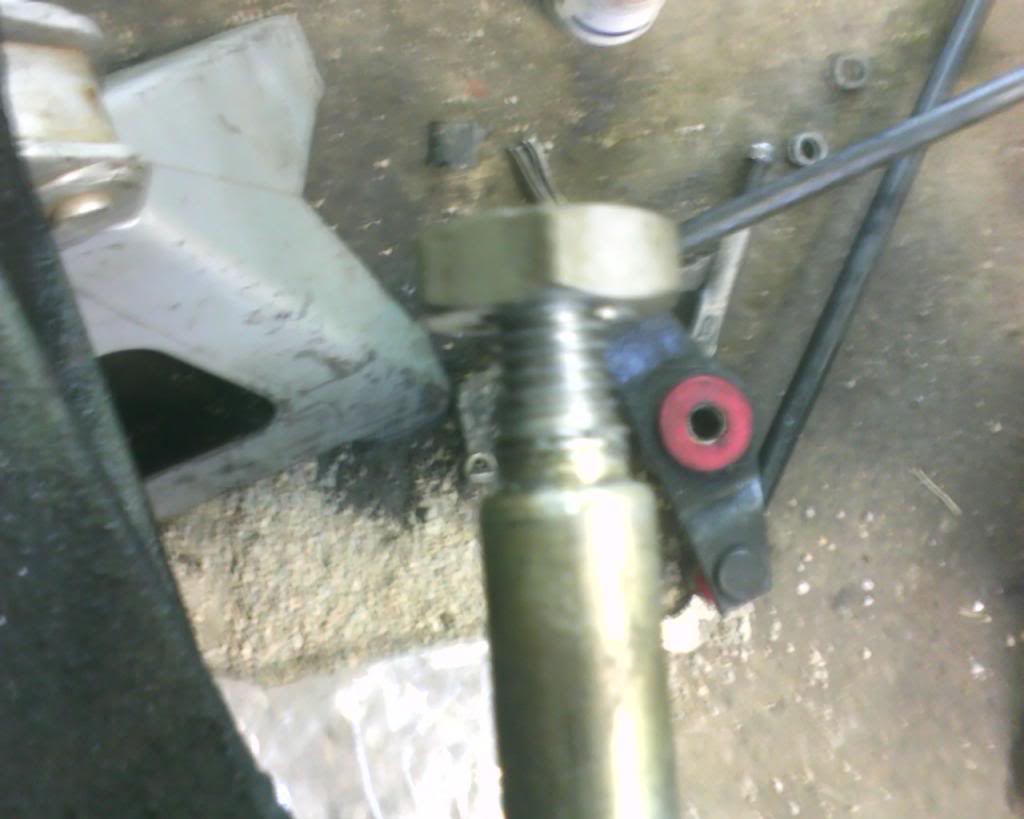
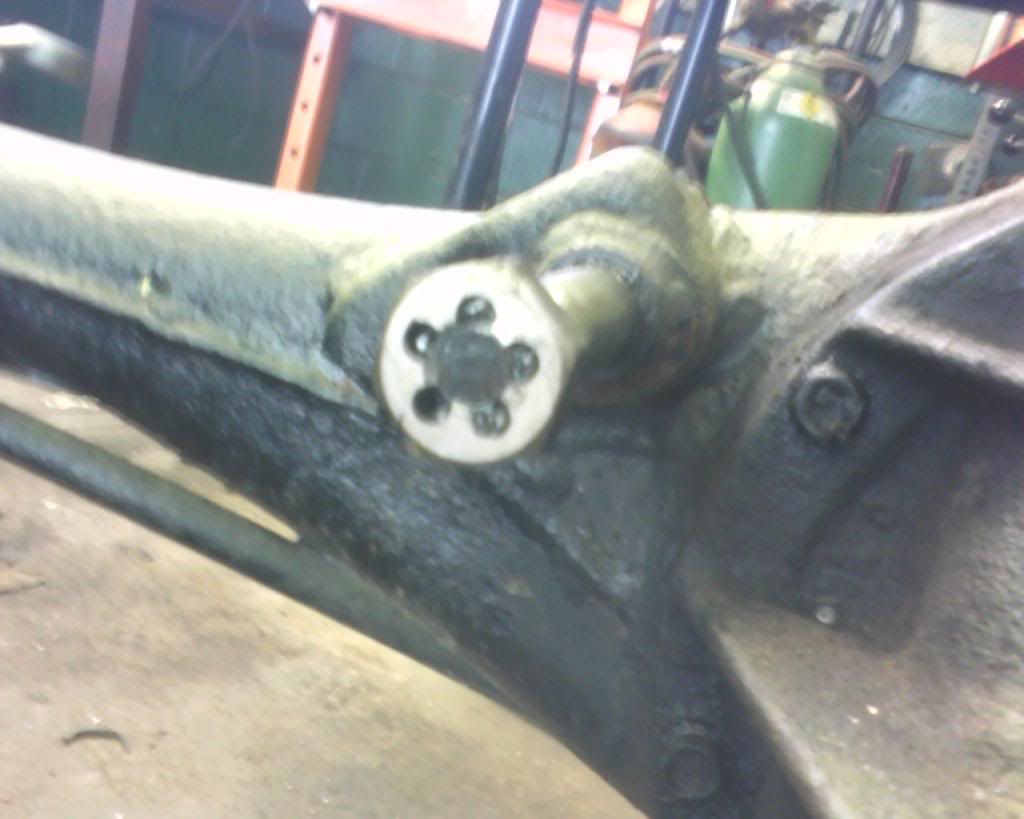
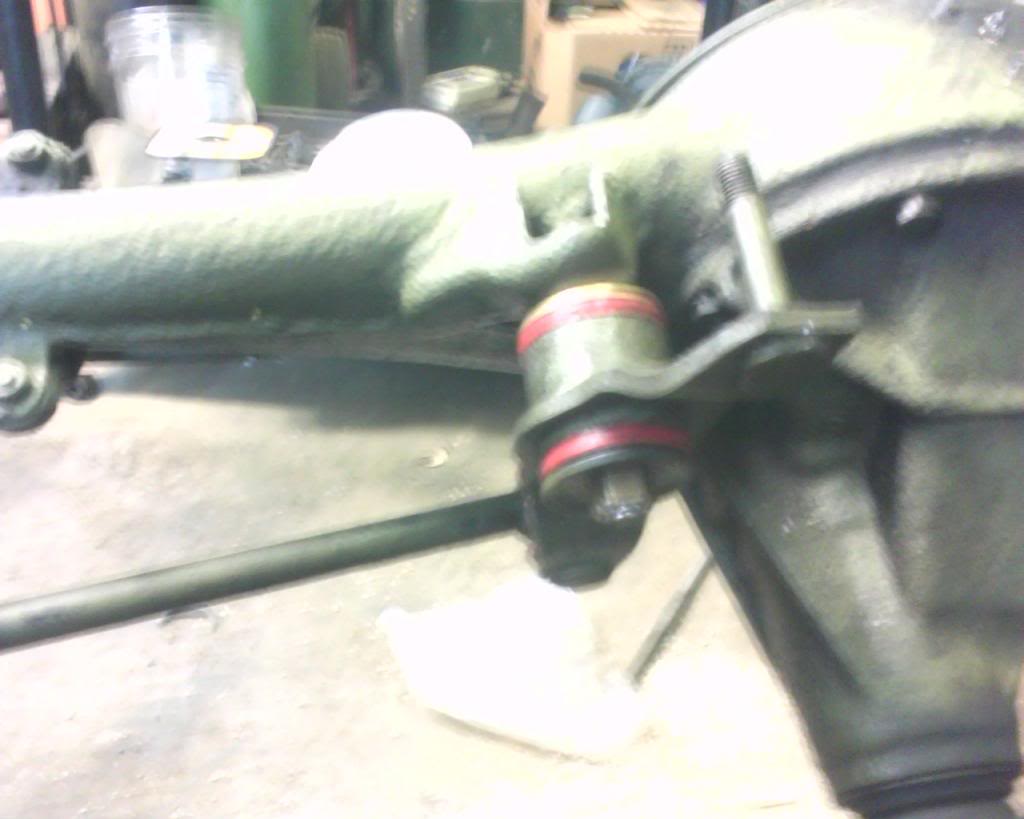
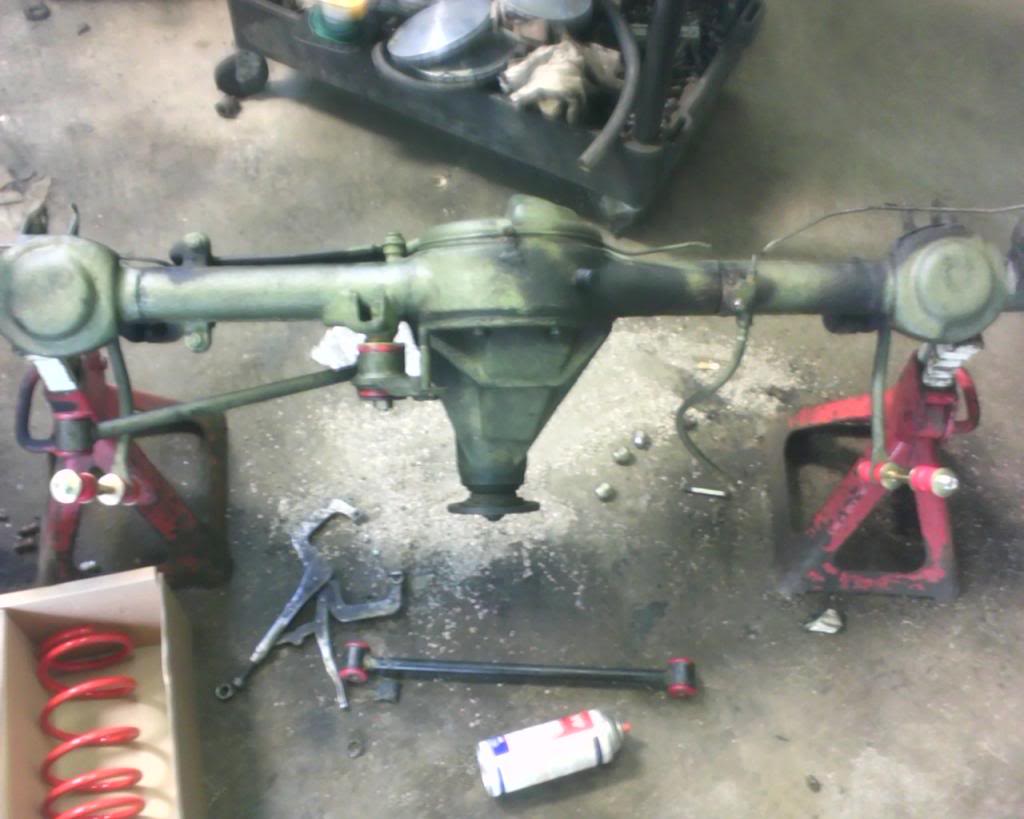
in with the B&G springs
rear end before
se rear end
in with the B&G springs
Trending Topics
Thread Starter
slammin an jammin
iTrader: (6)
Joined: Feb 2012
Posts: 198
Likes: 0
From: Parkersburg, WV
i split the 3rd member from the housing before doing anything and inspected it and replaced the fluid. haha
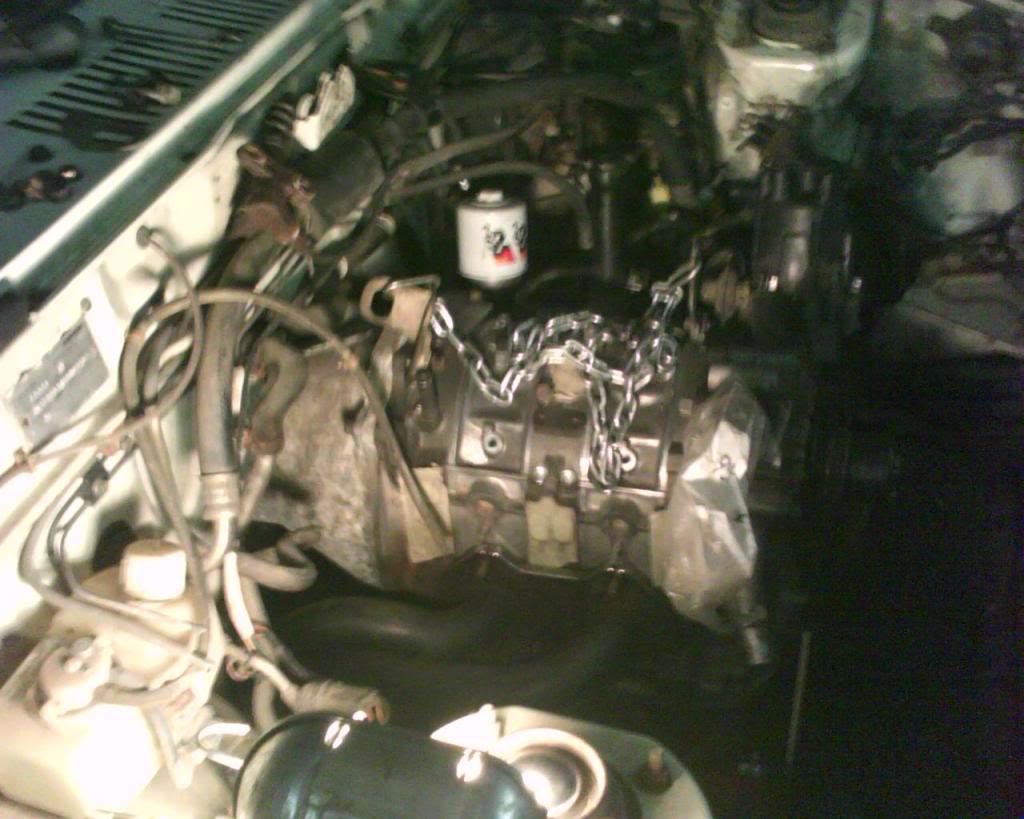
now for the 2 engine bay pics haha
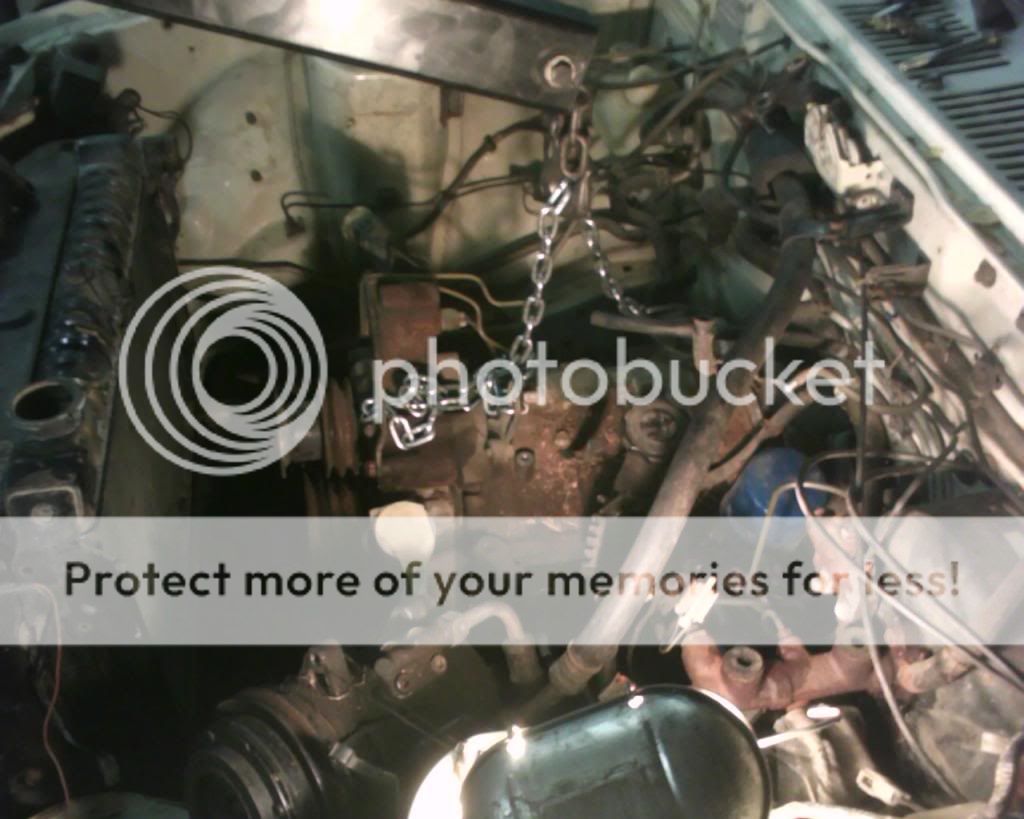
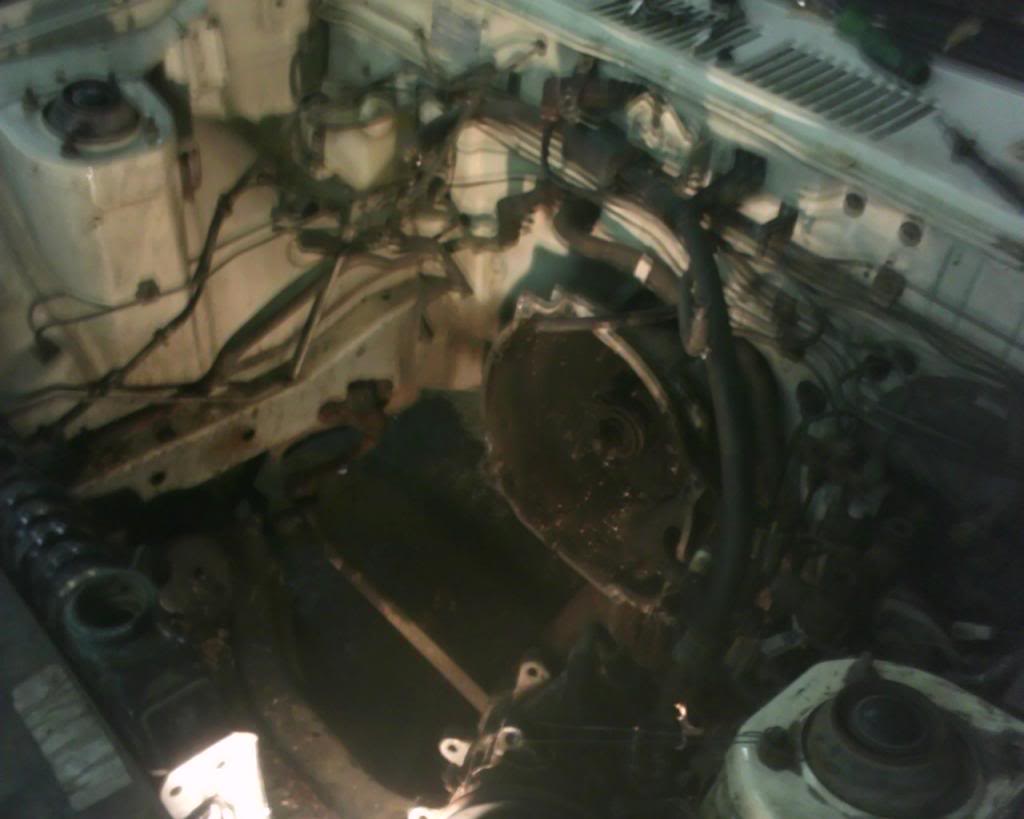
installing and installed motor mounts just used the front mount as a guide for mount placement

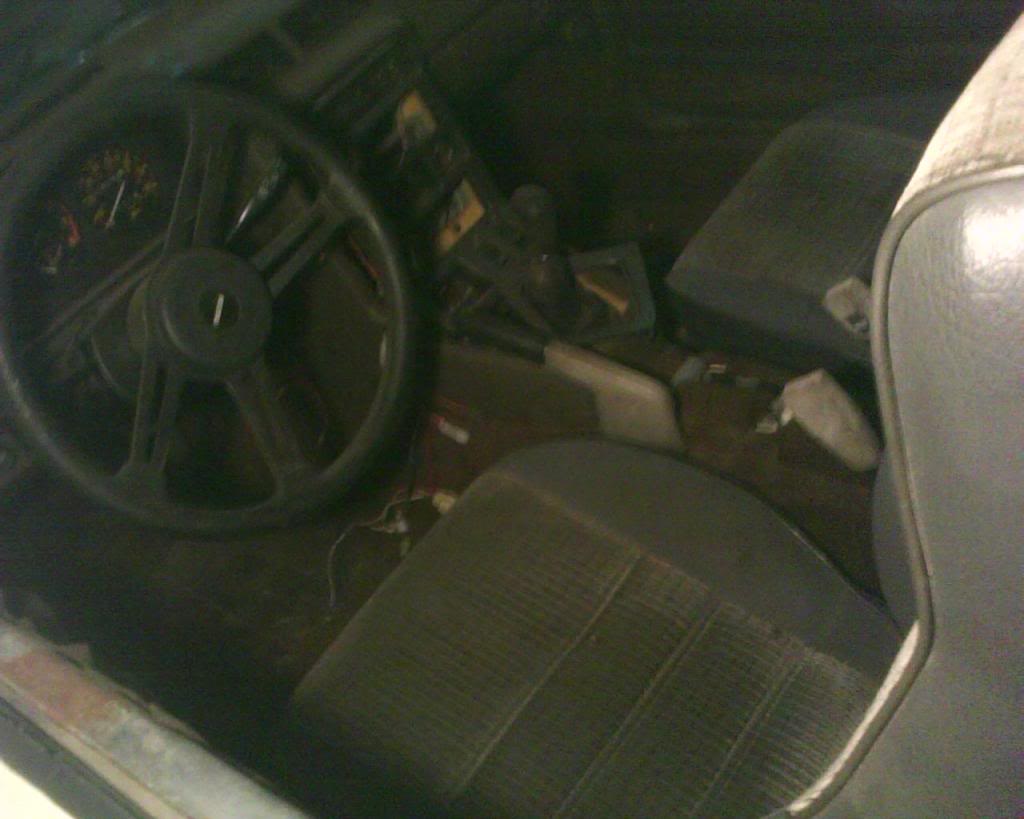
FC seats anyone? YES! who would think the passenger side would bolt right up!? and the drivers just swap the right side bracket hahaha
thats it for now will update again next weekend hopefully with some rust repair and what not
now for the 2 engine bay pics haha
installing and installed motor mounts just used the front mount as a guide for mount placement
FC seats anyone? YES! who would think the passenger side would bolt right up!? and the drivers just swap the right side bracket hahaha
thats it for now will update again next weekend hopefully with some rust repair and what not
Thread Starter
slammin an jammin
iTrader: (6)
Joined: Feb 2012
Posts: 198
Likes: 0
From: Parkersburg, WV
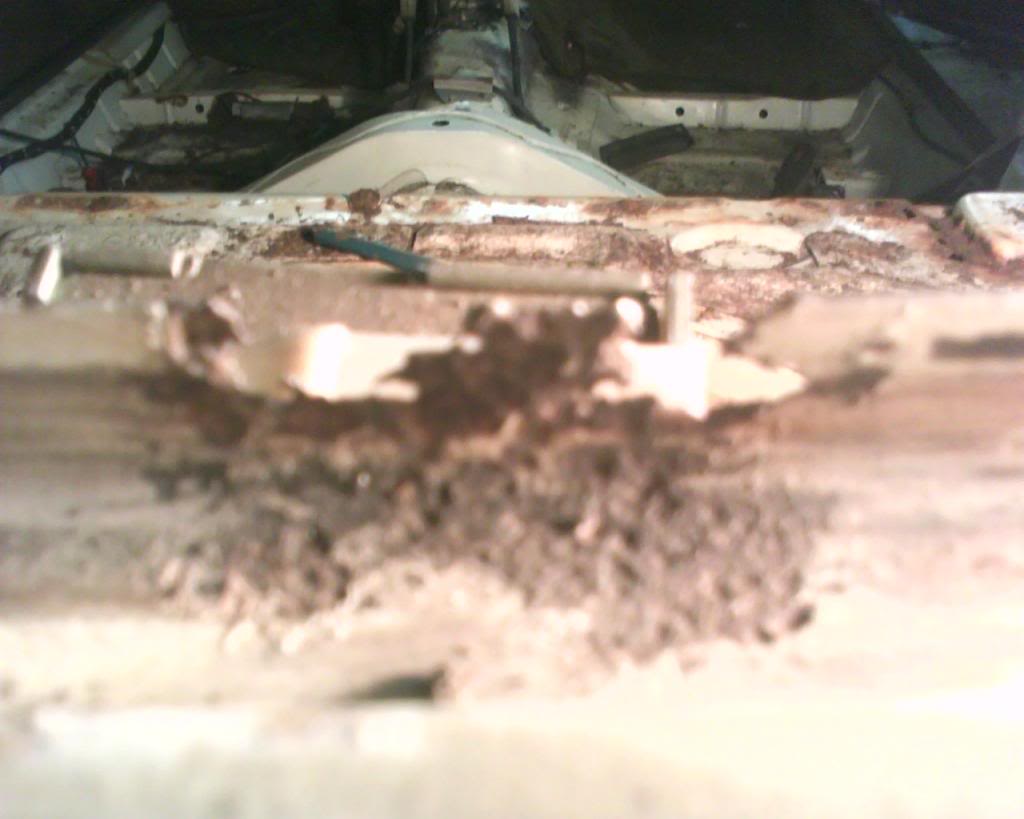
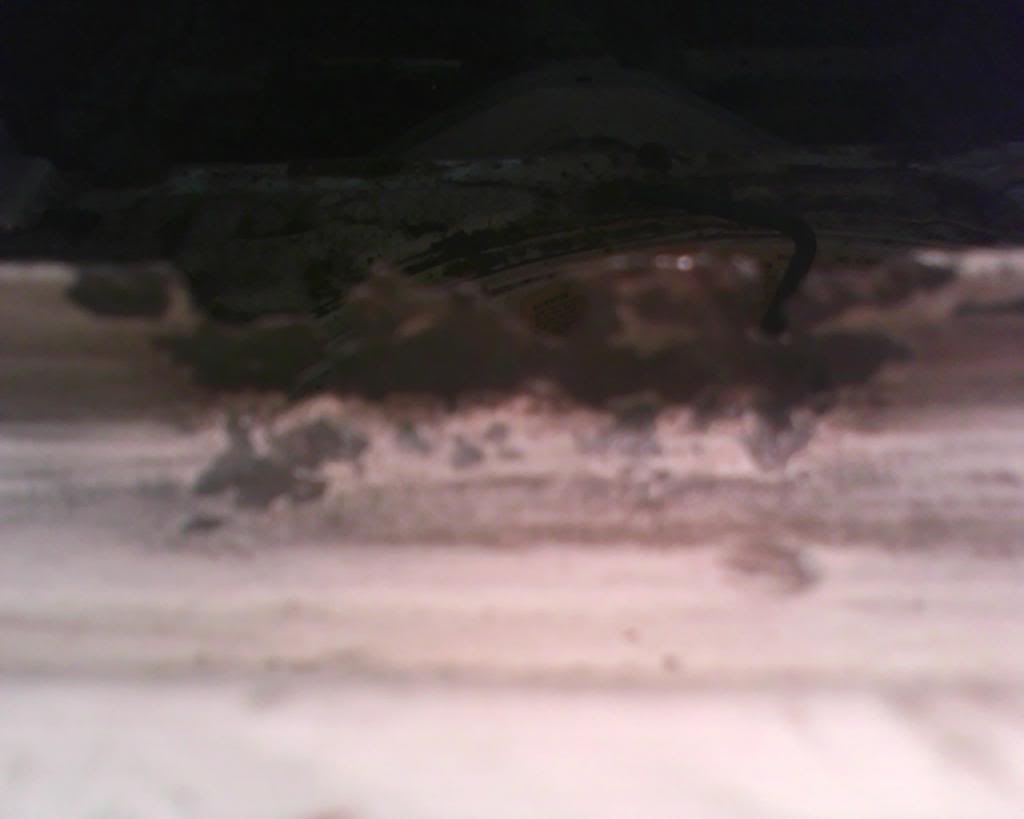
oh in the mount pics all that "rust" on the frame rail and what not are just leaves i had a opossum living in the engine bay for a bout 4 months lol it slept in the battery tray haha
edit: and sorry for the blurry pics its like a 20 year old phone dont judge haha
edit: and sorry for the blurry pics its like a 20 year old phone dont judge haha
Thread Starter
slammin an jammin
iTrader: (6)
Joined: Feb 2012
Posts: 198
Likes: 0
From: Parkersburg, WV
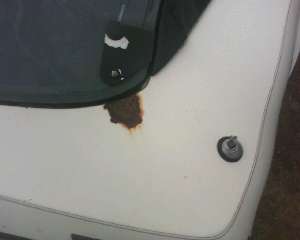
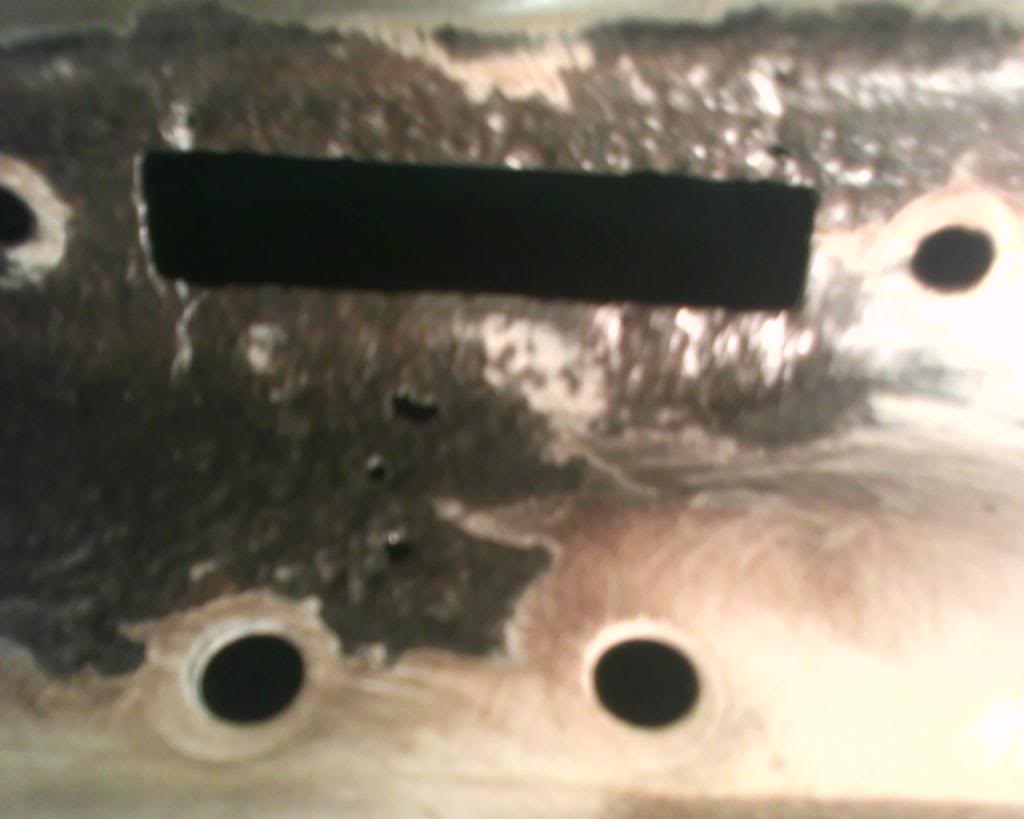
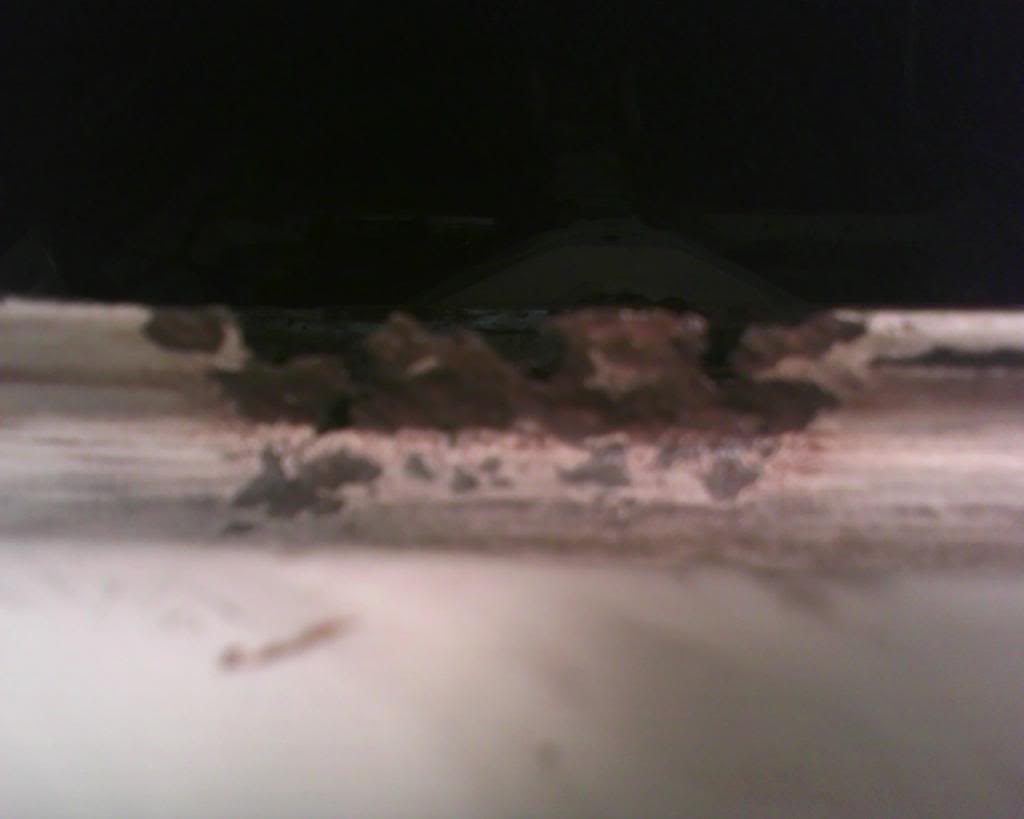
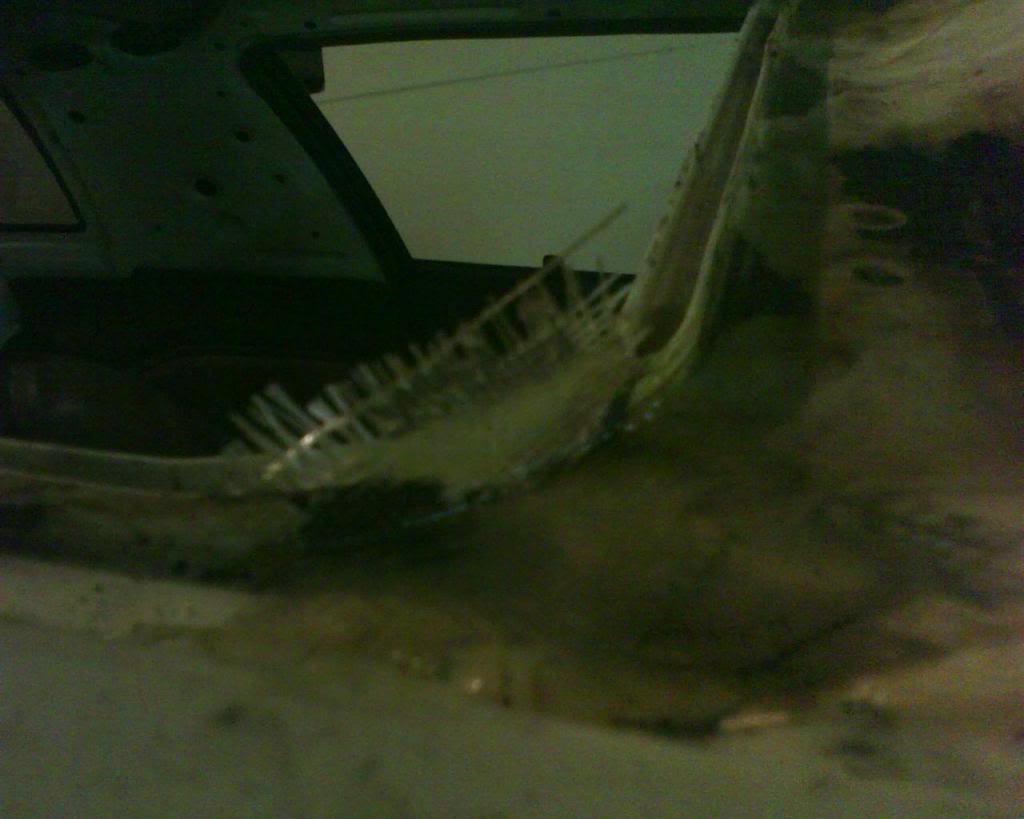
haha yeah but it still doesnt have as much as that 85 did the rust on this 82 is mostly surface a couple a minor pinholes easy patch stuff ive been looking at it the last couple of days and realized how easy it will be to fix i was expecting worse but there only 1 spot on the front floor board that has rust and its right beside the drivers front seat mount easy to fix and the bin area is mainly just the passenger side if you were to see it you'd probably say the same.
Thread Starter
slammin an jammin
iTrader: (6)
Joined: Feb 2012
Posts: 198
Likes: 0
From: Parkersburg, WV
ok update time
so not to busy on the car this week but i did clean up some more of the rust with a wire wheel got the spot by the driver side seat mount welded up but forgot to take a pic so it will have to wait till next week... some pictures of what i did....

so not to busy on the car this week but i did clean up some more of the rust with a wire wheel got the spot by the driver side seat mount welded up but forgot to take a pic so it will have to wait till next week... some pictures of what i did....
Thread Starter
slammin an jammin
iTrader: (6)
Joined: Feb 2012
Posts: 198
Likes: 0
From: Parkersburg, WV
more pics to come next weekend hopefully i can get some more of this rust repaired planning on fiberglassing the rust in the sun roof slot and around the hatch we will see what come out of next week. thanks for looking dont be afraid to comment.
sidney
Thread Starter
slammin an jammin
iTrader: (6)
Joined: Feb 2012
Posts: 198
Likes: 0
From: Parkersburg, WV
ended up doing alot of fiberglass work on the rust and what not this week just got done laying and top coating it today no pics but will take some for next weekend (my reasoning for fiber glassing instead of patching with sheet metal was that the little buzzbox 110 migs like to blow holes so woohoo fiberglass i actualy enjoy laying it so it was a blast for me exept for the fact that the resin i was using was really touchy and took me a little to actual get it to consistency i hate using resin that i havnt used before im usto using surfboard resin but out here in the burg there is no such thing so...) all came out well now i just gota trim and sand haha
Thread Starter
slammin an jammin
iTrader: (6)
Joined: Feb 2012
Posts: 198
Likes: 0
From: Parkersburg, WV
UPDATE TIME! haha hi guys im back and got some pics so this week i didnt really do anything but set the engine in for a little exhaust mock up (seeing all i needed) and put some of my interior back together.
so lets get started with the pics
first off is the interior with the fc seats
now the engine teaser
lol now for the fiberglass pics here you go!


so lets get started with the pics
first off is the interior with the fc seats
now the engine teaser
lol now for the fiberglass pics here you go!

Thread Starter
slammin an jammin
iTrader: (6)
Joined: Feb 2012
Posts: 198
Likes: 0
From: Parkersburg, WV
the fiberglass came out great after the sanding and touch up/trim
all the globs and where it looks really thick is an optical illusion everything is smooth and level they add character i think for the time being until it gets painted which will be a long time till then
all the globs and where it looks really thick is an optical illusion everything is smooth and level they add character i think for the time being until it gets painted which will be a long time till then
Last edited by Theexploited1; Jun 8, 2013 at 07:41 PM.
Thread Starter
slammin an jammin
iTrader: (6)
Joined: Feb 2012
Posts: 198
Likes: 0
From: Parkersburg, WV
works been slow so no money to spend on the fb so ive decided to start installing the stereo and got side track with the factory front speaker amp out of my wrecked fc so i mounted it in the back of the fb to power the rear speakers, also doing some dead switch stuff like making the rear defrost switch into the fuel pump switch. also contemplating a starter starter button, im thinking about taking something on the dash that moves and making it the starter button, im not sure what yet but there will be pics this weekend hopefully! 
Thread Starter
slammin an jammin
iTrader: (6)
Joined: Feb 2012
Posts: 198
Likes: 0
From: Parkersburg, WV
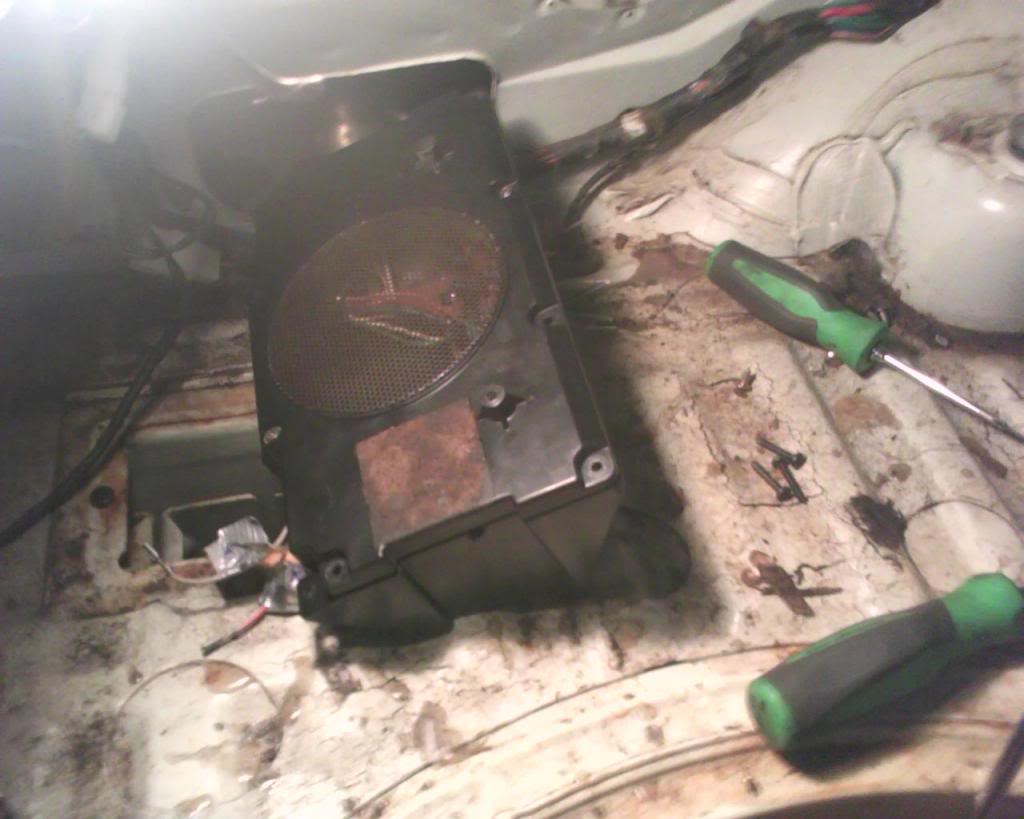
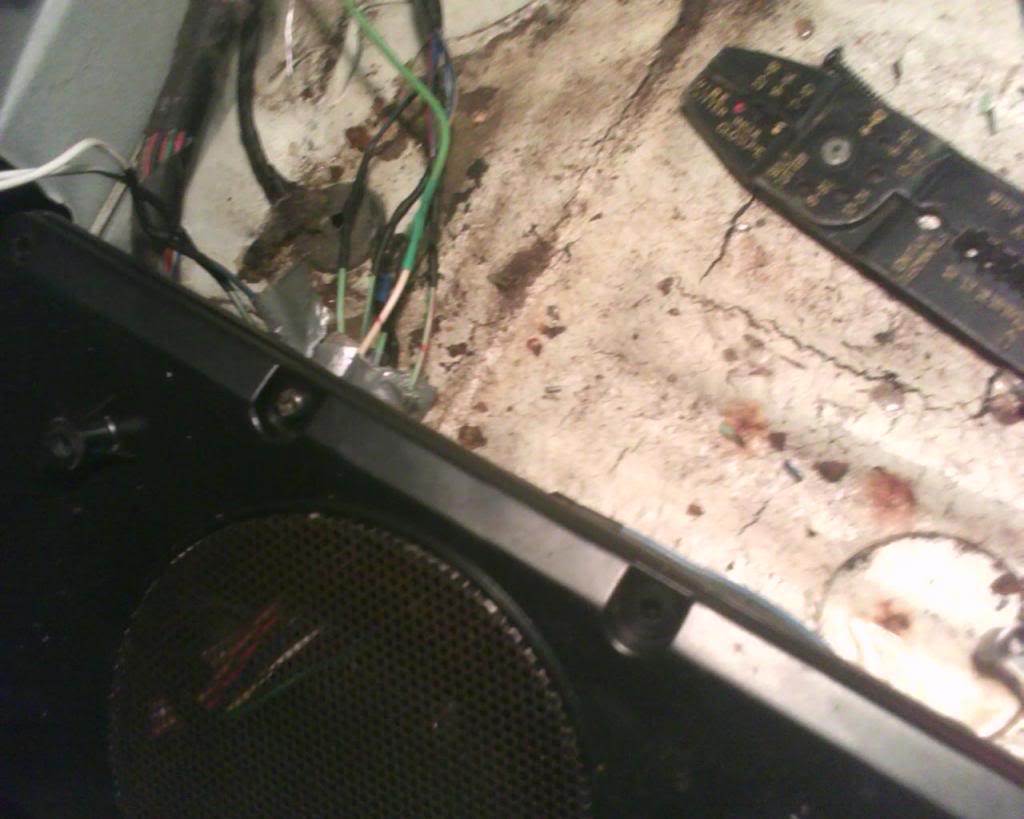
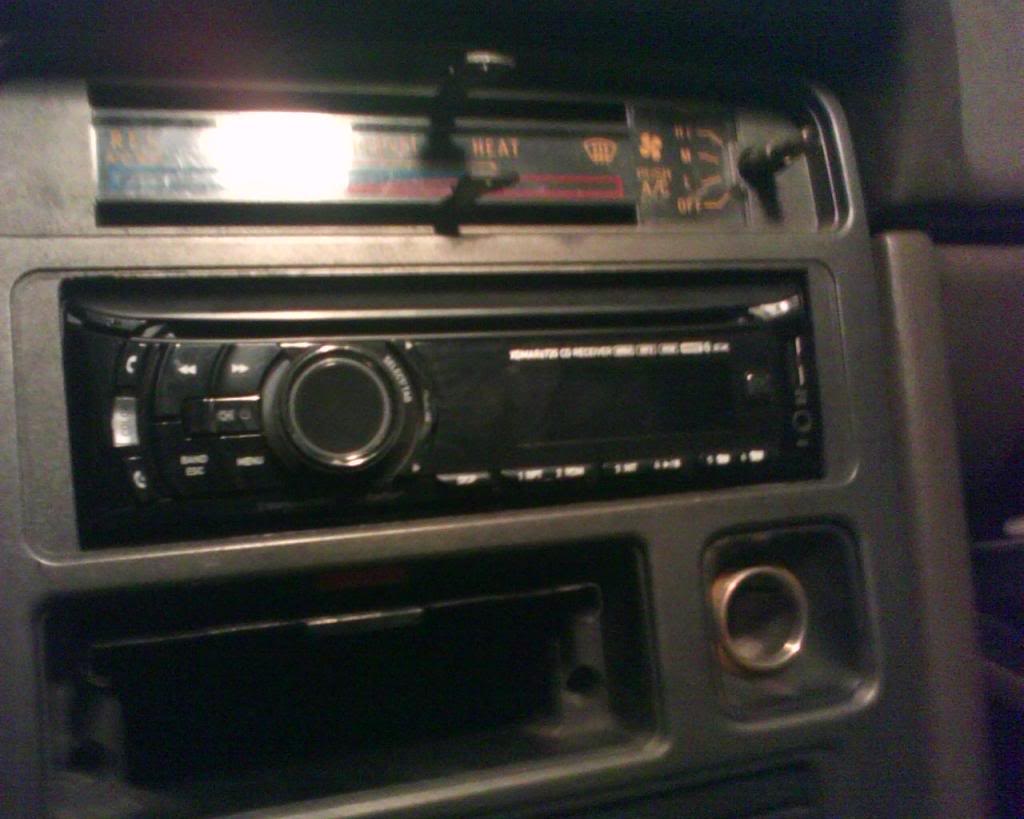
ok got my stereo wired up and both my dead switches first off the amp setup
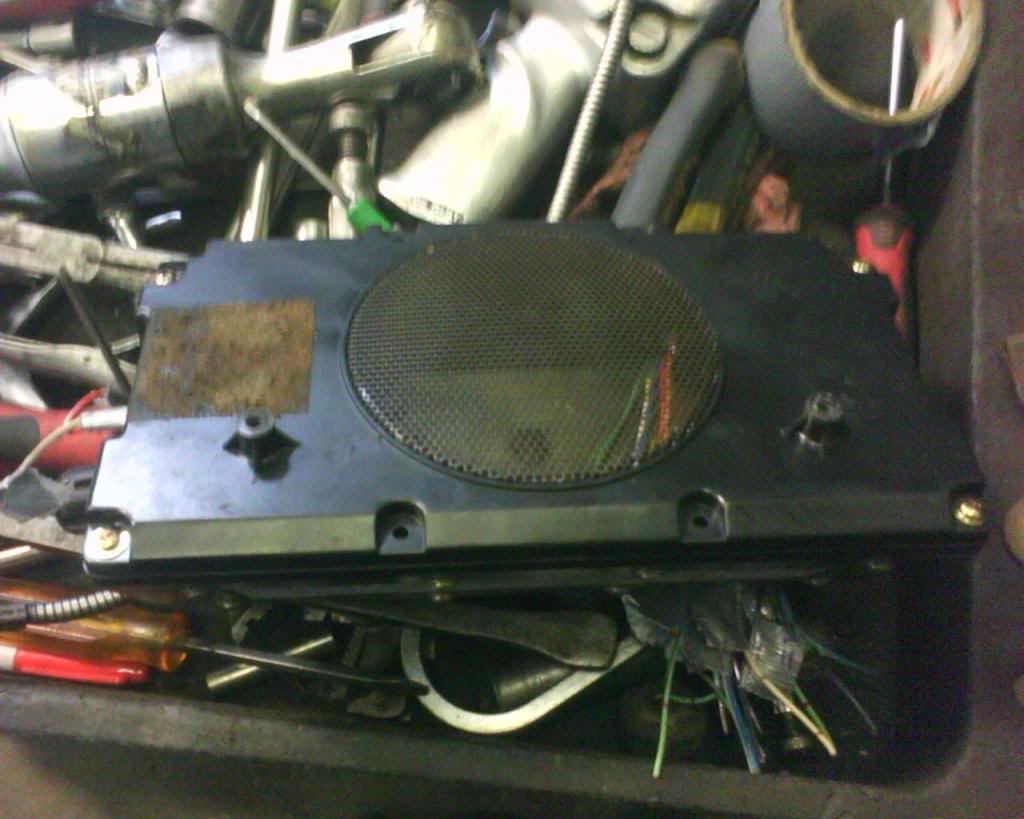
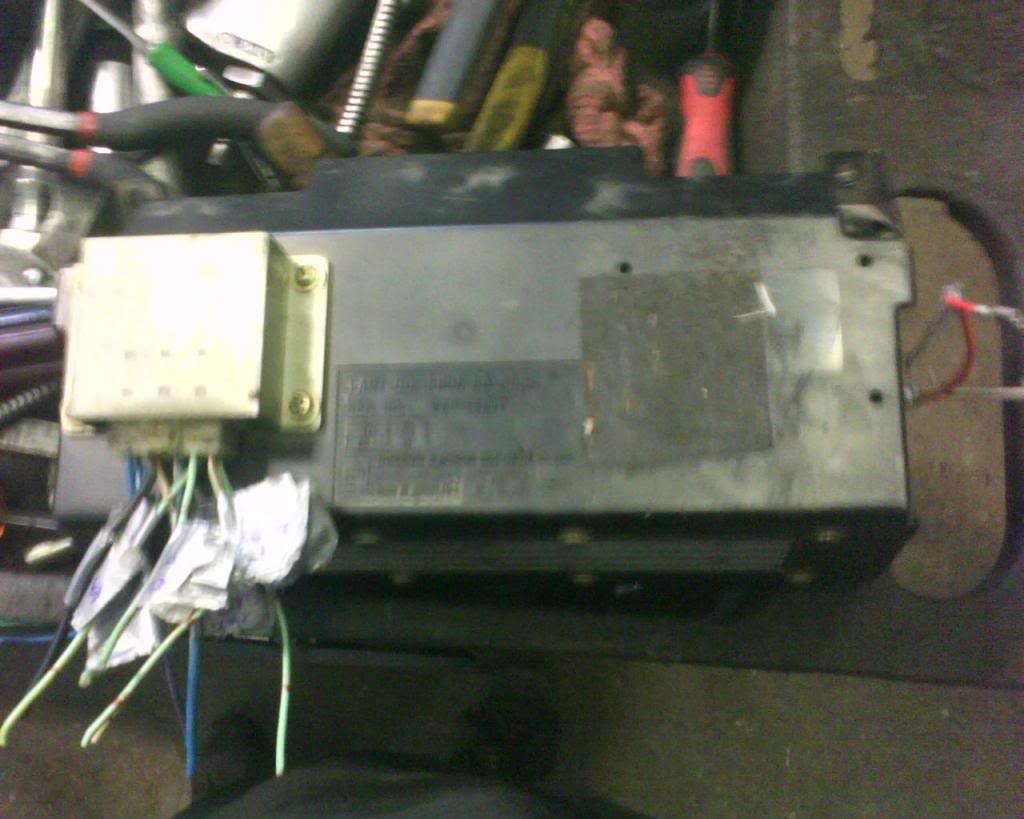
bolted down well screwed down same difference right?
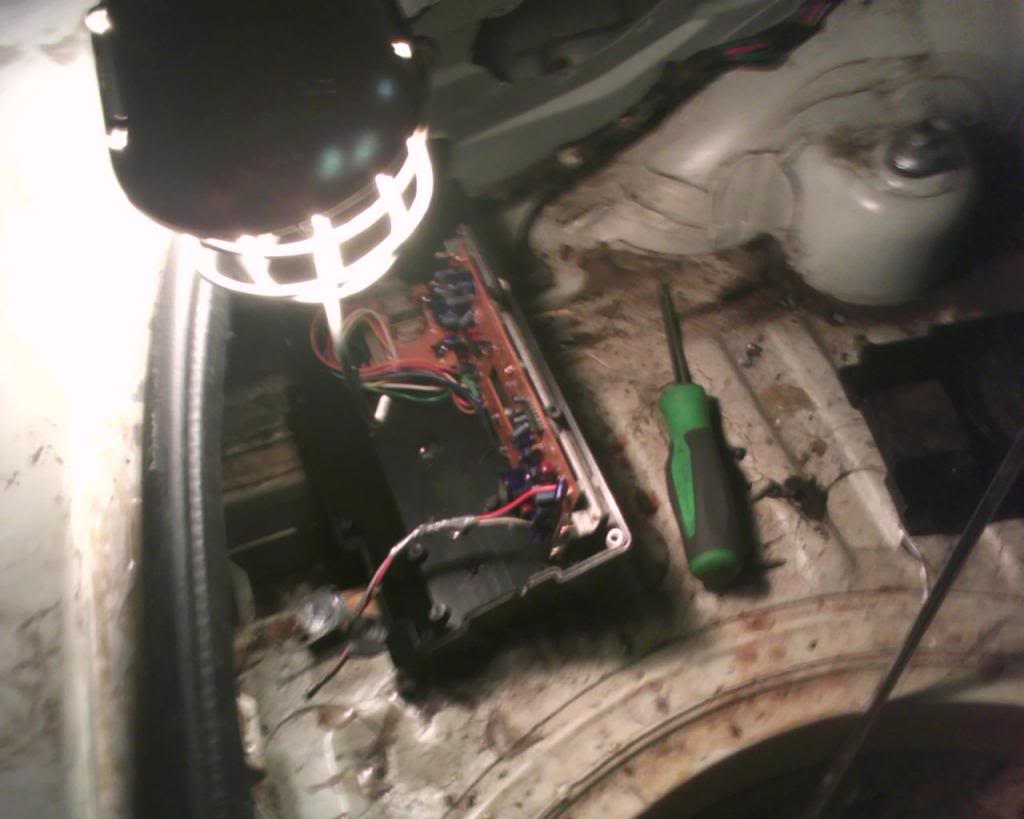
tops on getting ready for wiring
all wired up
deck installed and stereo surround mach up
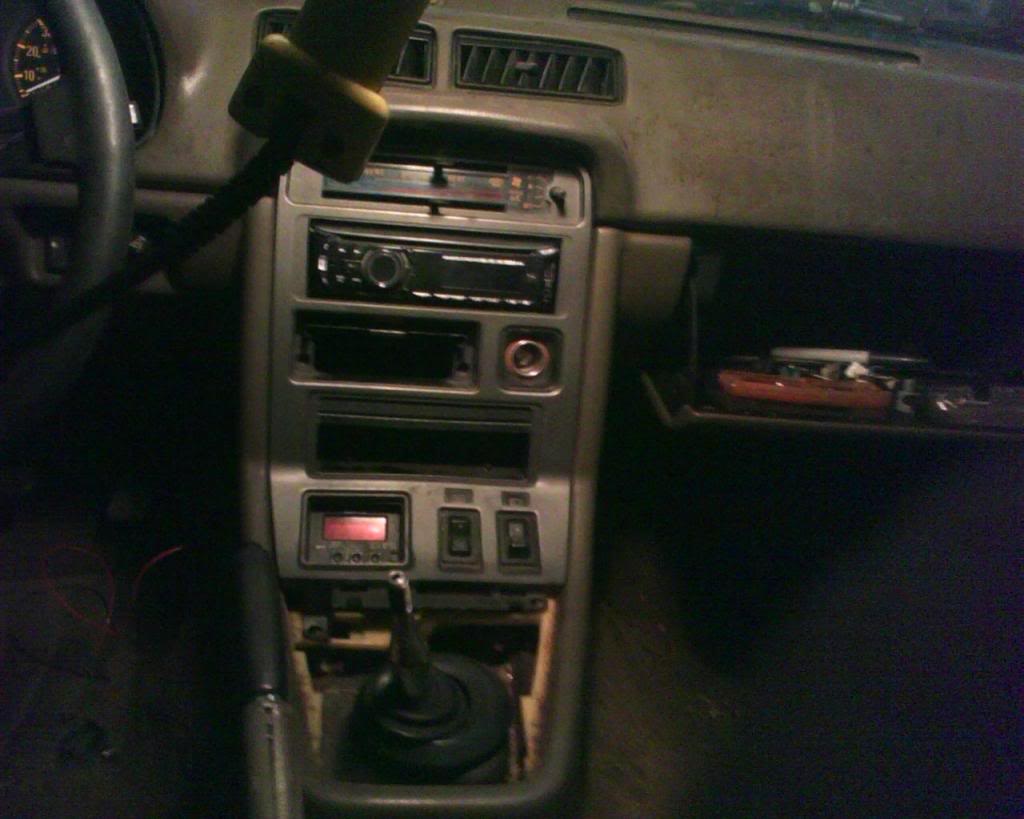
there was an aftermarket computer/alarm system gay thing here removed all the wiring and everything from it and replaced it with the little stow away from my old 85 fb install kit
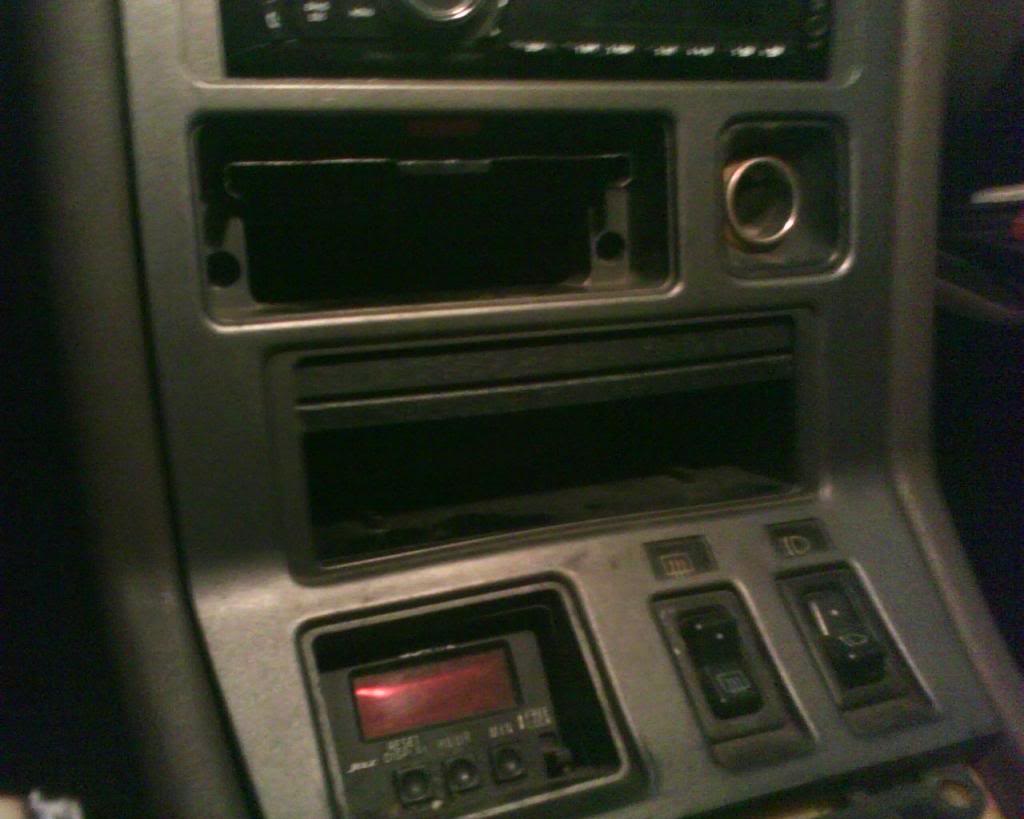
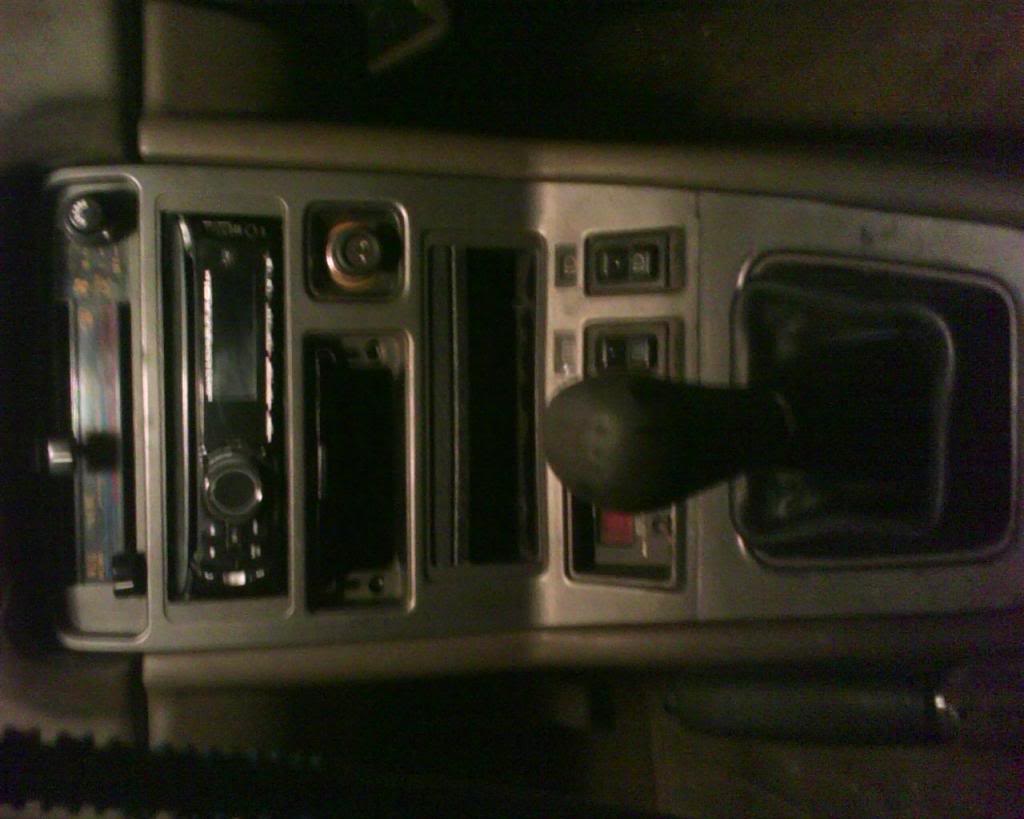
everything done back together and fixed my shift boot (it was detached from the surround like most), and all the **** back on. oh and you see the cig lighter? thats the starter switch.
bolted down well screwed down same difference right?
tops on getting ready for wiring
all wired up
deck installed and stereo surround mach up
there was an aftermarket computer/alarm system gay thing here removed all the wiring and everything from it and replaced it with the little stow away from my old 85 fb install kit
everything done back together and fixed my shift boot (it was detached from the surround like most), and all the **** back on. oh and you see the cig lighter? thats the starter switch.

Thread
Thread Starter
Forum
Replies
Last Post
Machupicchu
1st Generation Specific (1979-1985)
8
Aug 17, 2015 08:27 PM