When you click on links to various merchants on this site and make a purchase, this can result in this site earning a commission. Affiliate programs and affiliations include, but are not limited to, the eBay Partner Network.
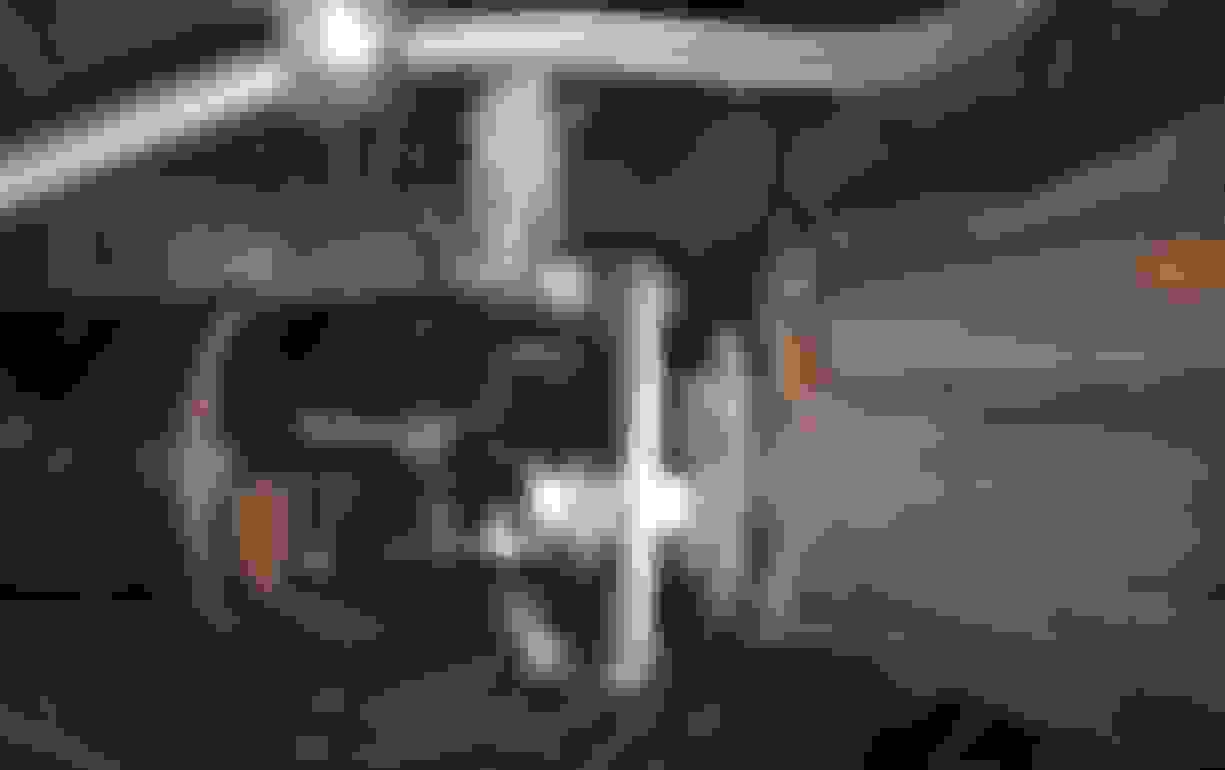
got round to making up the solid brake lines for the rear of the car, also installed a wilwood brake proportioning valve as im not sure how well the new setup will work, for the cost of the unit and the fact i had the hard line tool there i figured i would put it in. it can reduce the rear brake capacity by as much as 65%. Can reach the valve without jacking up the car. The fuel filter is shown just above.
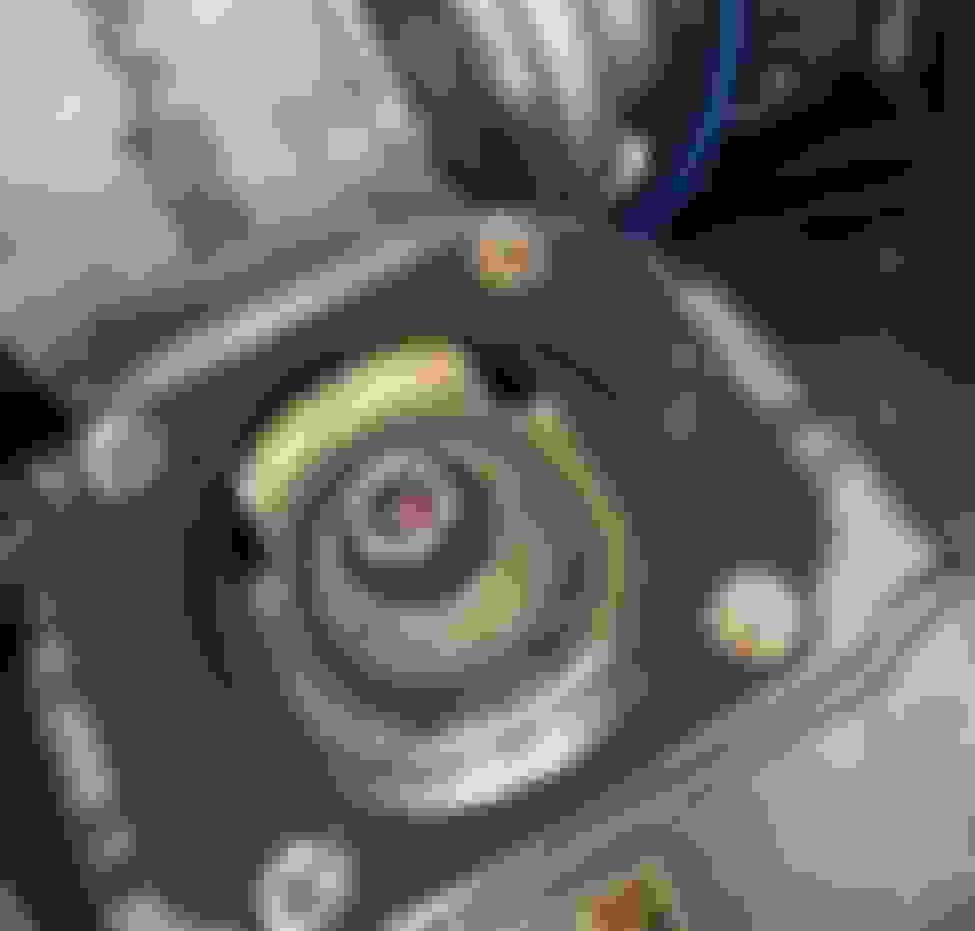
been trying to locate some wheel bearing caps, as mazda don't stock them on the planet. found a few trailer companies locally that say they supply the 48mm OD required
did some road testing, and found the panhard rod was sitting too close to the diff and hitting it on boost (i have a 8" hilux diff in) and there is less than 15mm of distance between the housing and bar. So ill reset it and continue to find the sweet spot, i think ultimately im going to need to remake it or replace it.
the suspension is fantastic, its as good as some cars ive had with bilsteins - still only early days with 800m of driving i didn't want to risk it considering ive just had the whole car apart and now only just wheel aligned. After trying 6 sets of wheels and alot of washers i managed to find something that would clear the brakes, not hit the coil overs nor foul on the front guard.
The steering is very quick and responsive, it might even be a little too light, ill do some more testing with the fuse out of the pump and try again. Simply cant hear the electronic power steering pump over the engine at all. defiantly a worth while upgrade, as it keeps the engine bay tidy with the alternator to one side. Instead of running all the pulleys and belts near where my intercooler lines are.
I had some further issues with the rear brakes, as the handbrake wasn't operating correctly (disengage handbrake it would apply pressure to the rears) turns out whomever rebuilt the rear brakes put the worm drive in the wrong side so just waiting on a seal kit and rebuild them again should be all fine from there out; drop off the car to get rims made to suit and onto engineering!
last quick upgrade, addition of a 4bar map sensor as ive been hitting over 28psi figured it would be prudent to swap it over:
Right well as you are all aware C0VID completely fucked up everything, in terms of getting parts. getting things fixed or even locating people to get things made
so updates of what i have been able to do are as follows:
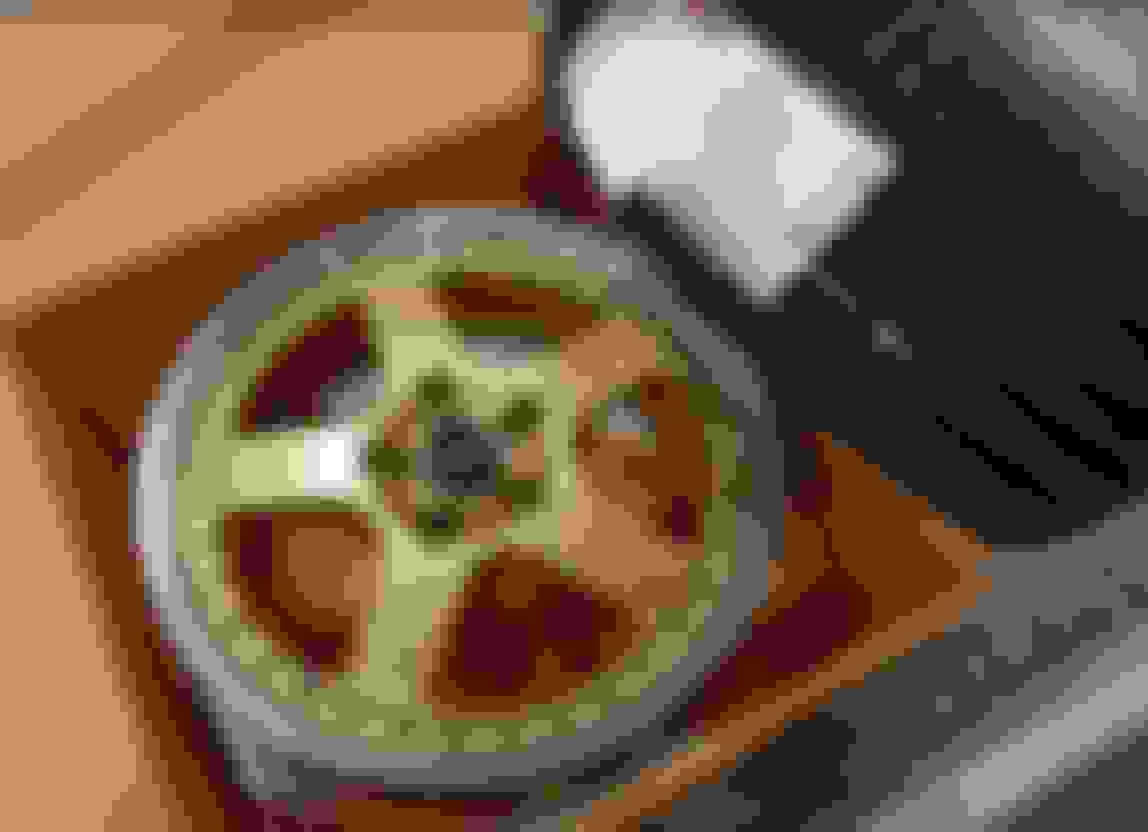
managed to find some rims to suit the front end and get the beast to the wheel alignment shop, so i could get some rims ordered to suit
huge massive delays getting the wheels made, and tyres sourced for even simple stuff and very common wheels here.
as due to the rear brakes playing up and locking on i ended up getting the car taken on a tour around adelaide on its own personal truck, stopped in at all the places to get anyone to source the wheels for me and get the rear brakes sorted so i could move it again. Turns out people are useless and all i got was just replace them... finally found a company that would repair and source new internals and found the internal bore of the brakes wrecked and scratched to *****.
located replacement, same problem....! turns out its a common issue. Forward a few weeks and found another set and new pistons installed and boom all fixed. Going over this rear end again i would of sourced a borgwarner rear end with the amount of mods ive had to do to get it to work. As i have found yet another problem with the clearance of the new said diff and the tunnel.
On boost 10psi or more the tailshaft is hitting like a huge thud, and rubbing against the seat belt mount, rear seat belt tunnel area, pinion, bolts etc.. tried to raise the rear end up to only aliviate the issue a bit. But it wasn't until id taken the car around to a couple more workshops to figure out what needed doing to fix. More on that in a bit.
New wheels arrived after 2months on back order (normally a 2 week wait) together with fresh rubber to suit (normally 2 week wait, more like 4 weeks in the end)
not overly happy with the tyre sizes as they are very hard to match and find at a good price
wheels:
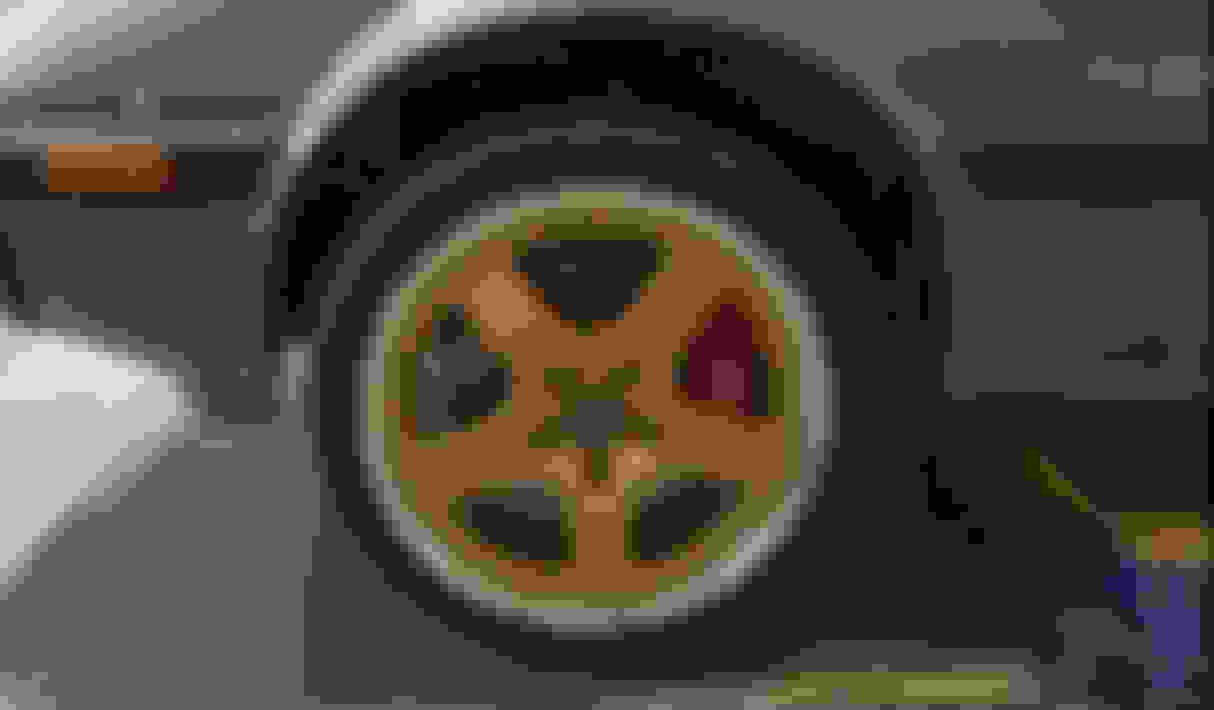
Simmons FR17 17x7 (offset 30p) front, 17x8.5 rear (offset 15p)
as i have run with the fc brake upgrade it pushed out the further and i didn't get the 215 i was chasing without it rubbing on the coil overs, i could of gone with a 9" on the rear however i was already concerned about the chance of hitting the inner guard. to be fair i'm not happy with the inner guard clearance; very hard to fix now as my hilux diff has been shortened.
tyres:
205/40/17 front
245/40/17 rear
absolute lousy tyre sizes to find locally, anything with 45s are fine, i will have to revisit this when we get some rims in the shop to try, i still think they wont clear and will rub. Rears have guards lipped on the inside.
home and cleaned, faffing around with coil over heights:
i was initially thinking that the diff modifications were done poorly, however it has been my gearbox mount all along that has caused most of my alignment issues. I put it in almost 14yrs ago and it has worked well in alignment since Shifting the engine over to clear the strut tower for the larger turbo and together with a new diff that is physically larger has added to the issue.
hard to get photos together, but you get the idea:
added white paste on to see where its hitting:
looking pretty nasty, and its amazing how much the diff pinion changes. guess i should of expected these kind of things when i keep modding it beyond believe. After about 2 months of pondering what to do i took it to the engineer and went from there; took it to a fabricator - and i mean like a really good one to get it sorted.
two weeks in the shop, and a transformation has occurred, much like the technotoy tuning rear traction brackets, i have now had all my issues resolved!
new engine mounts, aligning the engine correctly and in line with the firewall
new gearbox mount, modded factory type, 20mm shifted over - have no idea how i managed to get it so far out after all these years
massaged tunnel, 15mm clearance around the tailshaft and pinion!
re-enforced rear strut towers, engineer was concerned about the weight that the coil overs now take instead of spring perches on the diff
fuel tank inspection lid, can reach the fittings and wiring from inside car/trunk
new rear coil over lower bracket
complete re-design on rear control arms, upper + lower, strengthened traction bracket, oversized and bloody strong
waiting for next inspection date, and waiting for C0VID to seriously **** off figured i would start another little project. Since im getting old and sick of all the little ticks and noises coming from owning a near 40yr old car. I bought a bunch of butyl rubber and started the massive clean out on the interior.
process was:
remove interior
oven cleaner
scour and scrub
metho
pre fit + cut (time consuming as fk)
heatgun rubber + body
stick and roll down
did not expect it to take as long as it did, i was pretty particular and made sure i could cover as much as i could. researched around and found a nice cheaper alternative than the expensive brands around, and to be fair its just butyl rubber (roofing rubber) and aluminum foil.. Have no illusions - this stuff is HEAVY!! yes it will make your car slower !!
gonna say, out of all the mods i've done to my car over the years, this was ONE OF THE BEST THINGS IVE EVER DONE!!!!
those little annoying clicks, and **** that drives you MENTAL, stuff you can hear over the exhaust! BLOODY GONE!!!! absolutely worth doing, worth your time day and night difference, its turned the car from crazy noisy rocketship to cruiser id even drive more if i could afford E85!
note i did not take the effort to remove the existing sound deadening, i tried to chip it away and i gave up after 20mins.
You will cut the **** out of your hands, swear profusely as you get yet another ridiculously deep cut and then coat yourself in oven cleaner..... but it is worth it!
Just out of curiosity, how much did all that deadening weigh?
as to removing the old stuff for future projects, i believe dry ice is the go. You freeze it and then you have at least some hope of chipping it off but is still a bastard.
Nice work Laggy. Looking very nicely engineered now and good to hear how much a difference the sound deadening made.
As you get older, the smells and noises do get more noticeable and these improvements will make you want to drive the car more often.
Originally Posted by WANKfactor
Just out of curiosity, how much did all that deadening weigh?
as to removing the old stuff for future projects, i believe dry ice is the go. You freeze it and then you have at least some hope of chipping it off but is still a bastard.
Some people have weighed it and it's probably not worth the effort if it's not a fully stripped race car.
Just out of curiosity, how much did all that deadening weigh?
id say ive added 12-15kg so ill have to goto the gym to make up for it
Originally Posted by KYPREO
Looking very nicely engineered now and good to hear how much a difference the sound deadening made.
thanks Kypreo, again it was definitely worth it, i'm yet to do the doors, and forward of the front seats
in total i ordered 10x of those square sheets, and the 8m roll and have 2 sheets and less than a metre left. Its important to note that you don't need to completely cover all surfaces, as to the wheel arches its really hard to get it to fit snug and tight, so just a few 65mm strips spaced apart made a huge difference
put another 200kms on the car and another wheel alignment and check to see if anything is further rubbing or playing up
only thing so far im not happy with is the adjustment on the strut tops, id like to change them out for something a bit more scientific, instead of guessing with the level:
plenty of clearance now and nothing getting close
fuel system holding up well, good to see there is no leaks
ready for my first shakedown/trackday - unfortunately the day turned to mush and the track was coated in sheets of water
the good :
drove from home to the track, didn't open the toolbox the whole day, managed 4 sessions back to back, just needed some tuning with the link and we attempted to setup the traction control but failed
the bad:
brand new helmet didnt fit me whilst in the car
spun out at 90kmph and took a few shovels of dirt into the wheels!
the power steering setup is pretty much useless for road feel over 130kph, its WAY too light.
id say the whole day i was driving it at a max of 60%, got up to a maximum of 210kph on the straight with no twitchy-ness found or knocking so i cant wait to see how it is in the dry. Lots of comments on the day mentioning how mental the car is and how good the car sounds
After all this pain of wrestling with the car its great to actually put it to some use and unload some gears!
Also, the Astra pump should be speed sensitive to a degree. The onboard ECU inside the pump regulates output according to hydraulic input. In theory, whenever speeds are higher, the steering effort when turning the wheels should lower, pressure input should therefore be lower and thus the pump should not wind up as much. Have you noticed the pump whirring up and down based on demand?
Also, do you have a restrictor in the return line like the factory setup? It has a 2-2.5mm ID restrictor to maintain pressure in the system and improve feedback from the pump.
Also, do you have a restrictor in the return line like the factory setup? It has a 2-2.5mm ID restrictor to maintain pressure in the system and improve feedback from the pump.
A simple restrictor might be just the easiest way to lesser the assist!
As its hard to judge how fast the car is with no drag track and covid, the only thing that we run currently is the roll racing. It was as great night out and impressed even me how fast this thing is.
We de tuned it for the night, as I was worried about missing a gear or blowing something up.. Pulled it back to 265kw at 28psi. Plus kept my shifting down to 6500rpm as the turbo quickly drops off being a smaller efr 7670. Have been interested in change it over to an 8374 as it would make more power up top but be less responsive - and that's hard to gauge as the efr line is already amazing responsive
Have been hard at work on my next project which is a simpler is300 with 2jz going for a motorx/motorkarna roll racing and street car. This is my first piston car I've built and I figured I'd aim high and ignore all the smaller Sr20, Rb25 setups
I wouldn't nt have used the fd throttle even if I got for free. There is too much to gain moving to dbw throttle. Launch/traction/anti lag/cruise all setup and working now
Made an adapter plate and used a generic Rx8 throttle. Vdo pedal sensor from anything euro - 20 bucks from wreckers


 so just waiting on a seal kit and rebuild them again should be all fine from there out; drop off the car to get rims made to suit and onto engineering!


 Shifting the engine over to clear the strut tower for the larger turbo and together with a new diff that is physically larger has added to the issue.