When you click on links to various merchants on this site and make a purchase, this can result in this site earning a commission. Affiliate programs and affiliations include, but are not limited to, the eBay Partner Network.
Background: My first car ever was a 85 GS Auto (swapped to manual and did a few other things) and since then I have had a few more fb and fc rides.
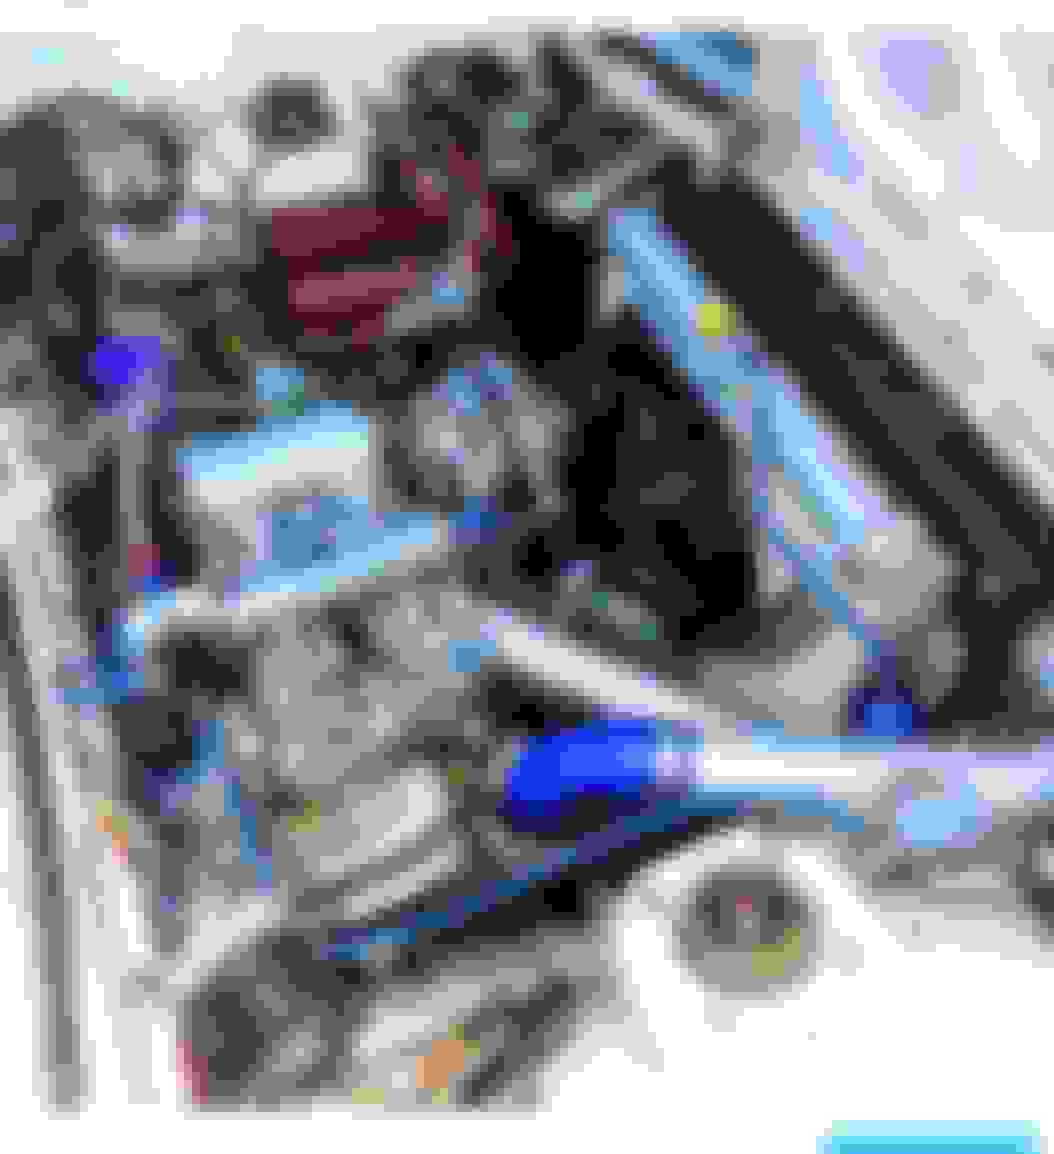
My only one now is a 85 FB GSL-SE. This was how it looked after cleanup when I first got it
I acquired it a couple years ago and all I really did was the plugs, oil, some nitto tires, and that was it. It has the 13b turbo setup with efi already in it, and had always been running c16 fuel. adjustable suspension. T2 tranny. FMIC. Koyo Radiator. Nos system. It was using a microtech mt4 for fuel management. IT was always incredibly difficult to start. I had someone take the fuel injectors for a clean and pulse session and it was a long time before they got returned to me. Anyway I moved and parked it at my shop, where it sat for over a year. During that time the MSD digital 6 was ripped out along with a coil by a thief. Fast forward and recently I sold the 65 impala that was blocking it in its space... and every time I walked out the door it was just staring at me. I decided I would get it running again at almost any cost.
Initial Attempt:
I started with trying to hook the normal ignition up with coils on the distributor. A wire was butchered and racingbeat wouldnt sell me a single lol. So I got the Ultra Silicone wire set from them. we dropped/flushed the fuel tank to be thorough, and added a fresh barrel of c16. Turns over but wont start
Ok, I start checking other stuff like fuses and relays, all look pretty good. I get the factory service manual and start learning the wiring diagrams etc. I start to realize this car has just about everything on it changed or modded. Not necessarily in a bad way, just sometimes in a penny pincher way. Like the mt4 computer choice... man what a POS. It has things that I suppose are technically custom, but its like a fuel rail made in shop or a upper intake with bungs for injectors welded in, etc. Stuff that if it was machine made would be of higher precision and quality but would of costed the PO significantly more money. Moving on. I purchase a replacement MSD 6AL, and proceed to install that to my leading coil. Initially I misinterpreted how to wire the msd to the distributor and basically hooked it up to the functioning J-109 igniter located on outside of the distributor. When this didn't work I incorrectly assumed it was the used MSD unit i purchased on offerup (mostly because the "big red wire" wasn't big at all and I started thinking is this a counterfeit) and went to get a second one.. Same exact results so I realized that it was something I did. Learned about the Igniter removal and wiring to behind the connection by reading endlessly on these forums. I end up doing a Direct fire ignition with a coil for each leading plug and a third one for the trailing. Wire the distributor up to the magnetic pickups correctly, and I am getting a beautiful strong spark! Awesome, but still wont start.
Fuel System:
I move onto the fuel system. Now this fuel system is a bit janky. We have a sort of Frankenstein situation because the car used to be carbureted. So first off the guy who pulled the injectors didn't mark anything correctly. I proceed to print the manual for the microtech mt4 out along with a wiring diagram. I start checking stuff out and I find some weird choices for where color coded wires are hooked up. After tracing everything back and forward and scratching my head.. also trying a bunch of stuff and learning all about tuning which is a considerable endeavor in itself. I decide to open the harness completely up because its just bat **** crazy, only to find that the ends have been cut and switched on wires so that the colors don't make sense but the wires do match the ones coming out of the ecu. Awesome right. So I make my own wiring diagram pink = green blue = yellow/red etc. and through this i can put the correct injector connection in the right spot. Also was able to double check some other stuff. Ok, now i need to start this car! nope nothing, still wont start. Now the fuel pump is wired through a switch on the dash, so I can cut it and turn the car with no fuel supply if wanted. This helps to fight flooding. more on this later. I mess with the MT4 settings for 4 days. trying everything I could. I find that you can put the injectors into test mode which makes the pulse as if it was at about 3000 rpms. They work, they are firing and functioning fine. Ok maybe the fuel pressure is low.. I get a new battery as the existing one was lacking, I go to the store and get a fuel pressure gauge. The pump puts up 50psi pretty easy. Hmmmmmm. I inspect fuel lines for leaks, and check voltage. After some extreme troubleshooting sessions I come to the conclusion that my pump is wired to a section of the car (in the dash using the defroster switch) that does not get electrical while cranking... I then proceed to wire a direct line including a fuse, relay, and a switch from the battery to the pump, that can be controlled independently of the car's system. thinking now I have spark and fuel during crank, I should be good. No, no start still... Well, after more troubleshooting I was still suspicious of my injectors. I pulled the rail with the injectors still in it and sat it on a towel with some weight on the top, the idea was to crank the car and see if it sprays the towel with fuel. So I proceed and an injector just blows out and fuel pumps out everywhere. Ok, new approach. Install all that back where it was removed from, then pull the whole upper manifold, fuel rail/injectors, throttle body, and intake plenum, as one connected piece. because the rail is attached to the UIM the injectors wont be able to blow out during this test.. Ok so I crank the car and voila, nothing. no fuel being pulsed out. Spend another disguising amount of time with the microtech and the maps and settings etc. I come to realize that there is the t_inj map which tells the injector when to fire, and because the tach doesn't usually pick up the low rpms of crank, it wasn't pulsing the injector. I set those settings to delay injectors at 0 instead of the recommended numbers and i finally got spray at crank! So Spark, Fuel pressure, Pulsing injectors.. we should start! Nope, no start. Im guessing its the maps or timing at this point. I mess with the maps and try every one that's even remotely close to my setup offered online. All to no avail. Ok its probably timing.
Ignition:
I start with adjusting the distributor, just by rotating slightly at first. I learned about the pulley and timing mark pin and how to remove and restab the distributor. I find my pulley to have 4 clean marks and 2 rough indents. confusing right? I try every combination I could but didn't actually achieve a proper timing. Maybe the marks are arbitrary and the person set it up disregarding them. At this point Im not sure of my fuel map or my timing. After trying all other TDC methods, I attempted the wire in the plug hole TDC method but I didn't stick with it and it just wasn't ideal to me. At the moment I am waiting for a friend to bring a fiber optic camera line which I think would be cool for checking the rotor positions in the engine along with some other things. I also came to the conclusion I needed to get a better EMS/ECU to be able to control timing. I started shopping for better options. Luckily I came across a Haltech PS1000 with a 13b Harness for an FC. I also got a CAS to replace the distributor and some LS1 smart coils (making my MSD(s) and coils obsolete of course). I ended up removing the MSD, Coils, brackets, and associated wiring. Removed the MT4 and its harness/connectors. Bought the Haltech 33hz boost controller, new silicone hosing, haltech air sensor and coolant sensor. The external MAP sensor too. I removed the AC and heater to make room under dash for relays and the fuse box as well as the EMS itself. Installed the boost controller against the passenger suspension tower in the engine bay and the MAP against the firewall on the passenger side up pretty high. Wired them both up. I had to switch the TPS connector as well as two of the injector connectors on the harness. I now have too solder and connect the plug for the CAS on the harness, that's on the list for tomorrow. I will also be hooking the ems up to that computer fuel pump control so it can maintain it for me. Should have the Haltech wired up in a day or so. The software is about a million times better. Do not use microtech, it cant even compare to haltech and what it offers. With the ability to time every aspect of every action on the engine, I really hope I can get it running soon.
Cosmetics/ Etc:
Got new weather stripping for the doors.
I have done a few more things to this engine/car and I will update this as I remember them. I am tired and ready for bed
Well, It's really about to be a build thread now. I got the inspection camera and compression gauge and boy does it look bad in there. I did the ATF treatment thing and we will see tomorrow but regardless I will be rebuilding this engine in the best case scenario. Looking like I will need new engine components for sure. Wish me luck lol.
So here is the inspection video I made with my new camera. youtube link below. looks horrible in there lol.From now on the first thing I do on any rotary is camera and compression. I believe Diabolical1 told me first thing to check compression but it took me a few days to get a gauge and all.
So I have acquired a bunch of parts including rotors and housings etc. a 13b rew. a s4 na long block, and I just finished removing the 13bt from my fb that started this mess. I am gonna tear this engine down tonight, i tore the 13b rew down a couple days ago. I got one good housing and rotor, and everything else that comes with it. My shop is basically a rotary shop now lol. I just said f it and got everything I need to repair these cars. I probably have 8 rotors and housings now, can make a NA and a turbo engine so that will be fun. I need to take more pics. the 7 will be getting a paint job too, might just go with the pearl white that my 2018 mazda 6 has so they match.
Pictures of the car? We all love to see whole car pictures!
Pulled this out of a 13b rew. The other side was good..
here are random pics from What i have. I'll get some car photos asap. Its raining rn maybe I'll grab a couple before I crash out. The engine on the stand is the 13b rew. I also got a new tool box and impact that removes the flywheel nut with ease.
Took my engine apart and it was just carbon locked. Seals aren't even broken, when they definitely looked broken in one of my videos.... I think leaving the atf in there these last 8 days while i set the shop up cleaned up the internals. My first thought was did i tear down a dif engine? right after pulling it from the car lol.. crazy world. Now i can be a bit reckless because i got replacements